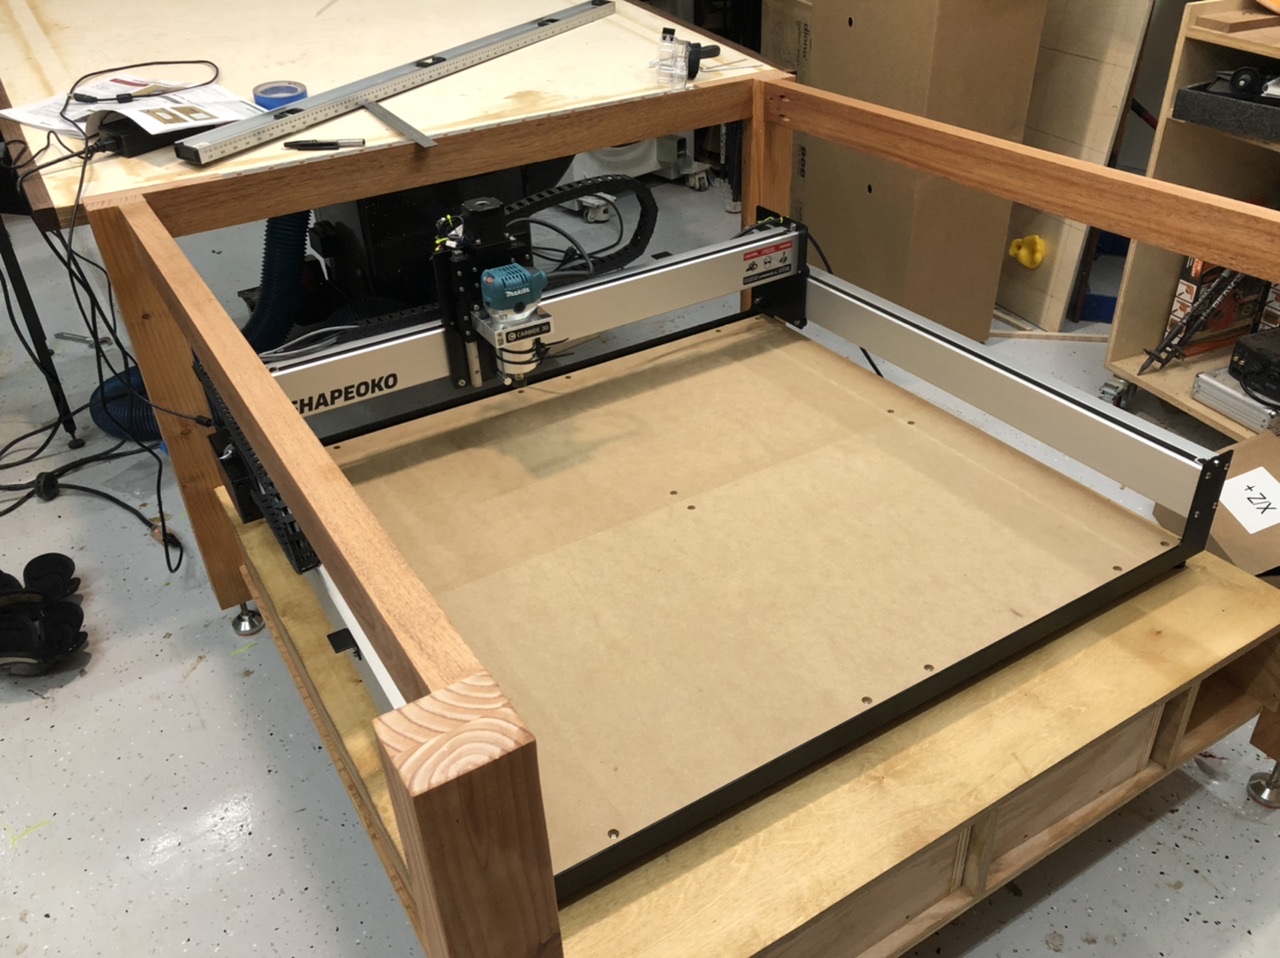
All done! Ran hello world, but my cardboard was warped so it got bits and pieces of itt, but mostly missed the center, hah. Ran it again with the sharpie a bit lower. Worked fine that time.
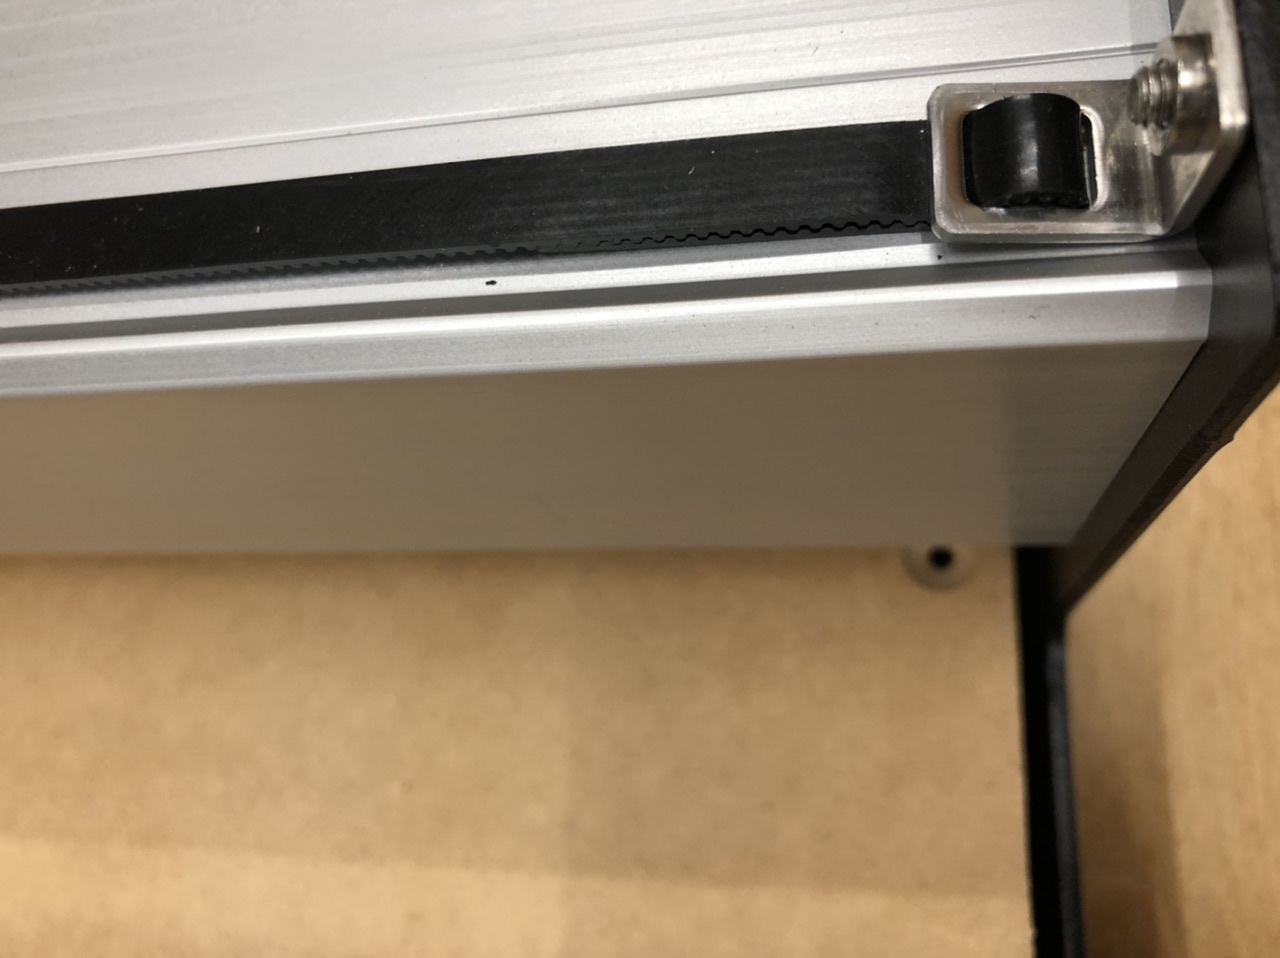
Anyway, couple of issues. I think the Y travel is slightly impeded by the belt clips in the rear of the machine. One of the V wheels got a gouge in it when I was squaring up the machine. Doesn’t look to have caused any operational issues, but it irked me. What’s the best way to keep the clips flat but out of the way of the wheels?
The machine doesn’t fully return to home after the job completes. Z resets fine and it travels back in Y and stays where it is in X. If I start up Carbide Motion again, it homes itself again. Seems odd for sure.
You may be able to get just enough clearance but untightening the belt clip enough that you can rotate it slightly, then push it towards the outside (with a screwdriver or something), and tighten again (while keeping it pushed). I did just that for most of my belt clips.
For one or two it would still not give me quite enough clearance, so I Dremel’ed off a millimeter or so from the side, done.
Yep, that is CM behavior. I think the idea is to move the router out of the way (for you to access the piece after the cut), while NOT re-homing (which in some conditions may affect the zeroes slightly, so it’s not ideal for multi-tool projects and people who do not own a BitSetter)
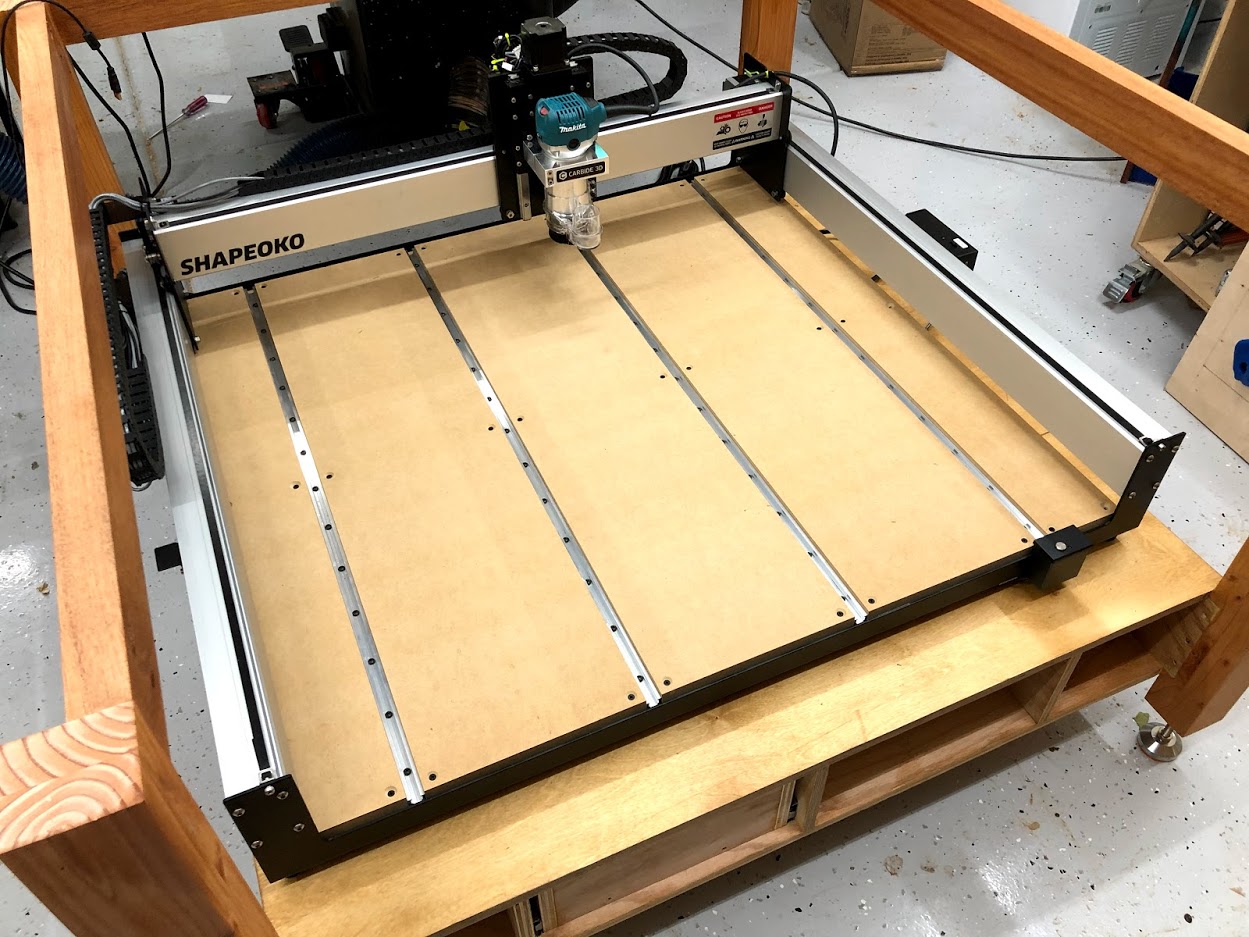
Pushed the clips out a bit. Definitely helps with clearance. Thanks! Hoping to get more time this weekend to install the bit runner and finalize all the wire routing and kill switch.
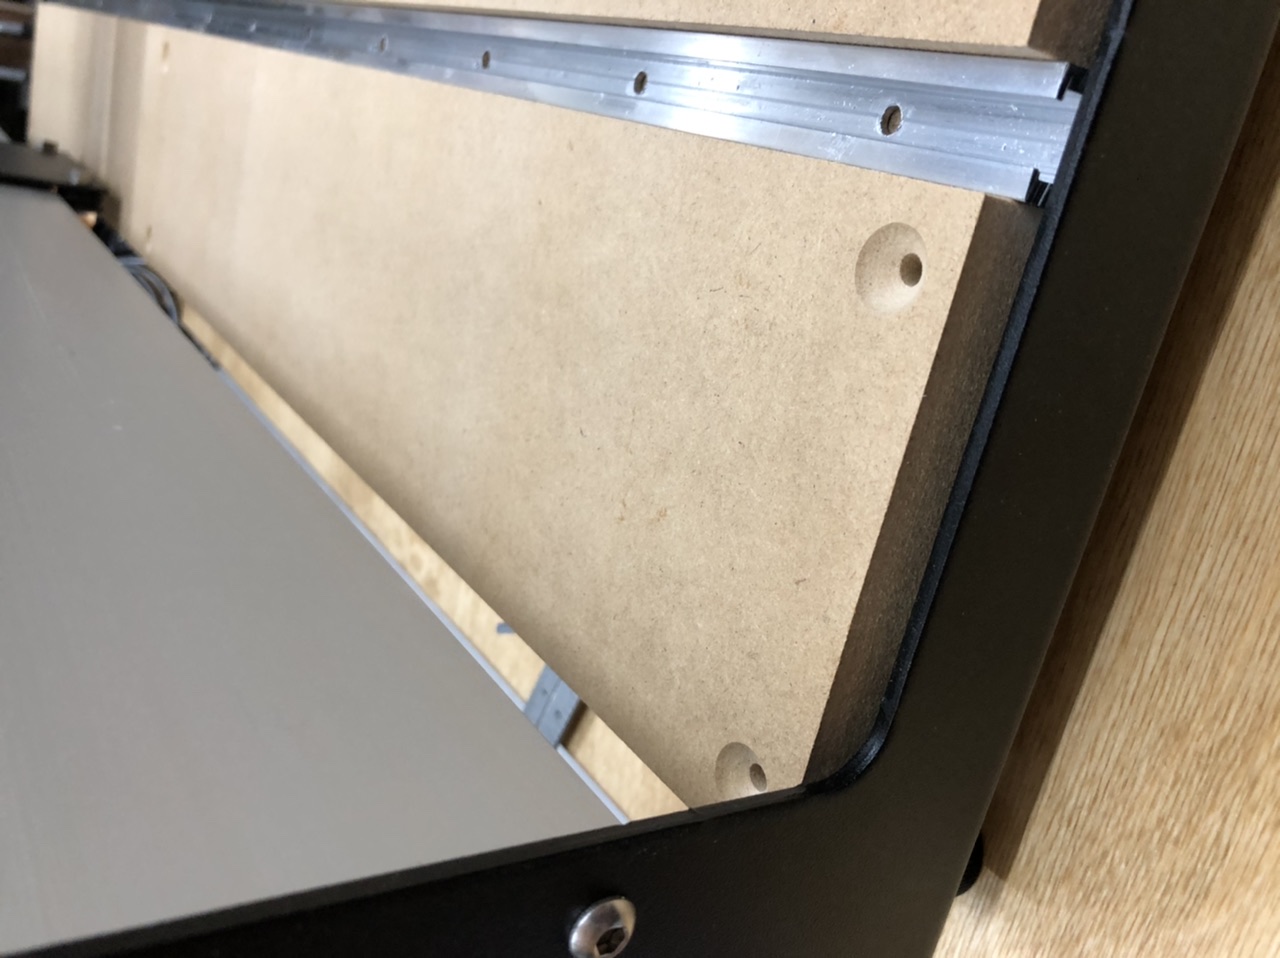
So I’ve cut a few things so far, and figured it was time to install the t-track. After laying it out, my rails cover much more of the screw holes than in Carbide3D’s install pictures. What am I missing here? I have a bit that will snake under and drive the screw, but I was planning to pre-drill.
The kits have undergone some iterations since the instructions were released.
You only need two or three screws per filler strip to hold them securely — the outside ones on my XL only had two screws until I swapped out my rails for an upgrade.