Nope, that is with the gantry in the back/normal position. Which is where I think I’ll have it 99% of the time. If I do shift the gantry it would be purposefully over the front edge of the table.
Otherwise the suggestion of 68" deep is probably a good benchmark for most tables.
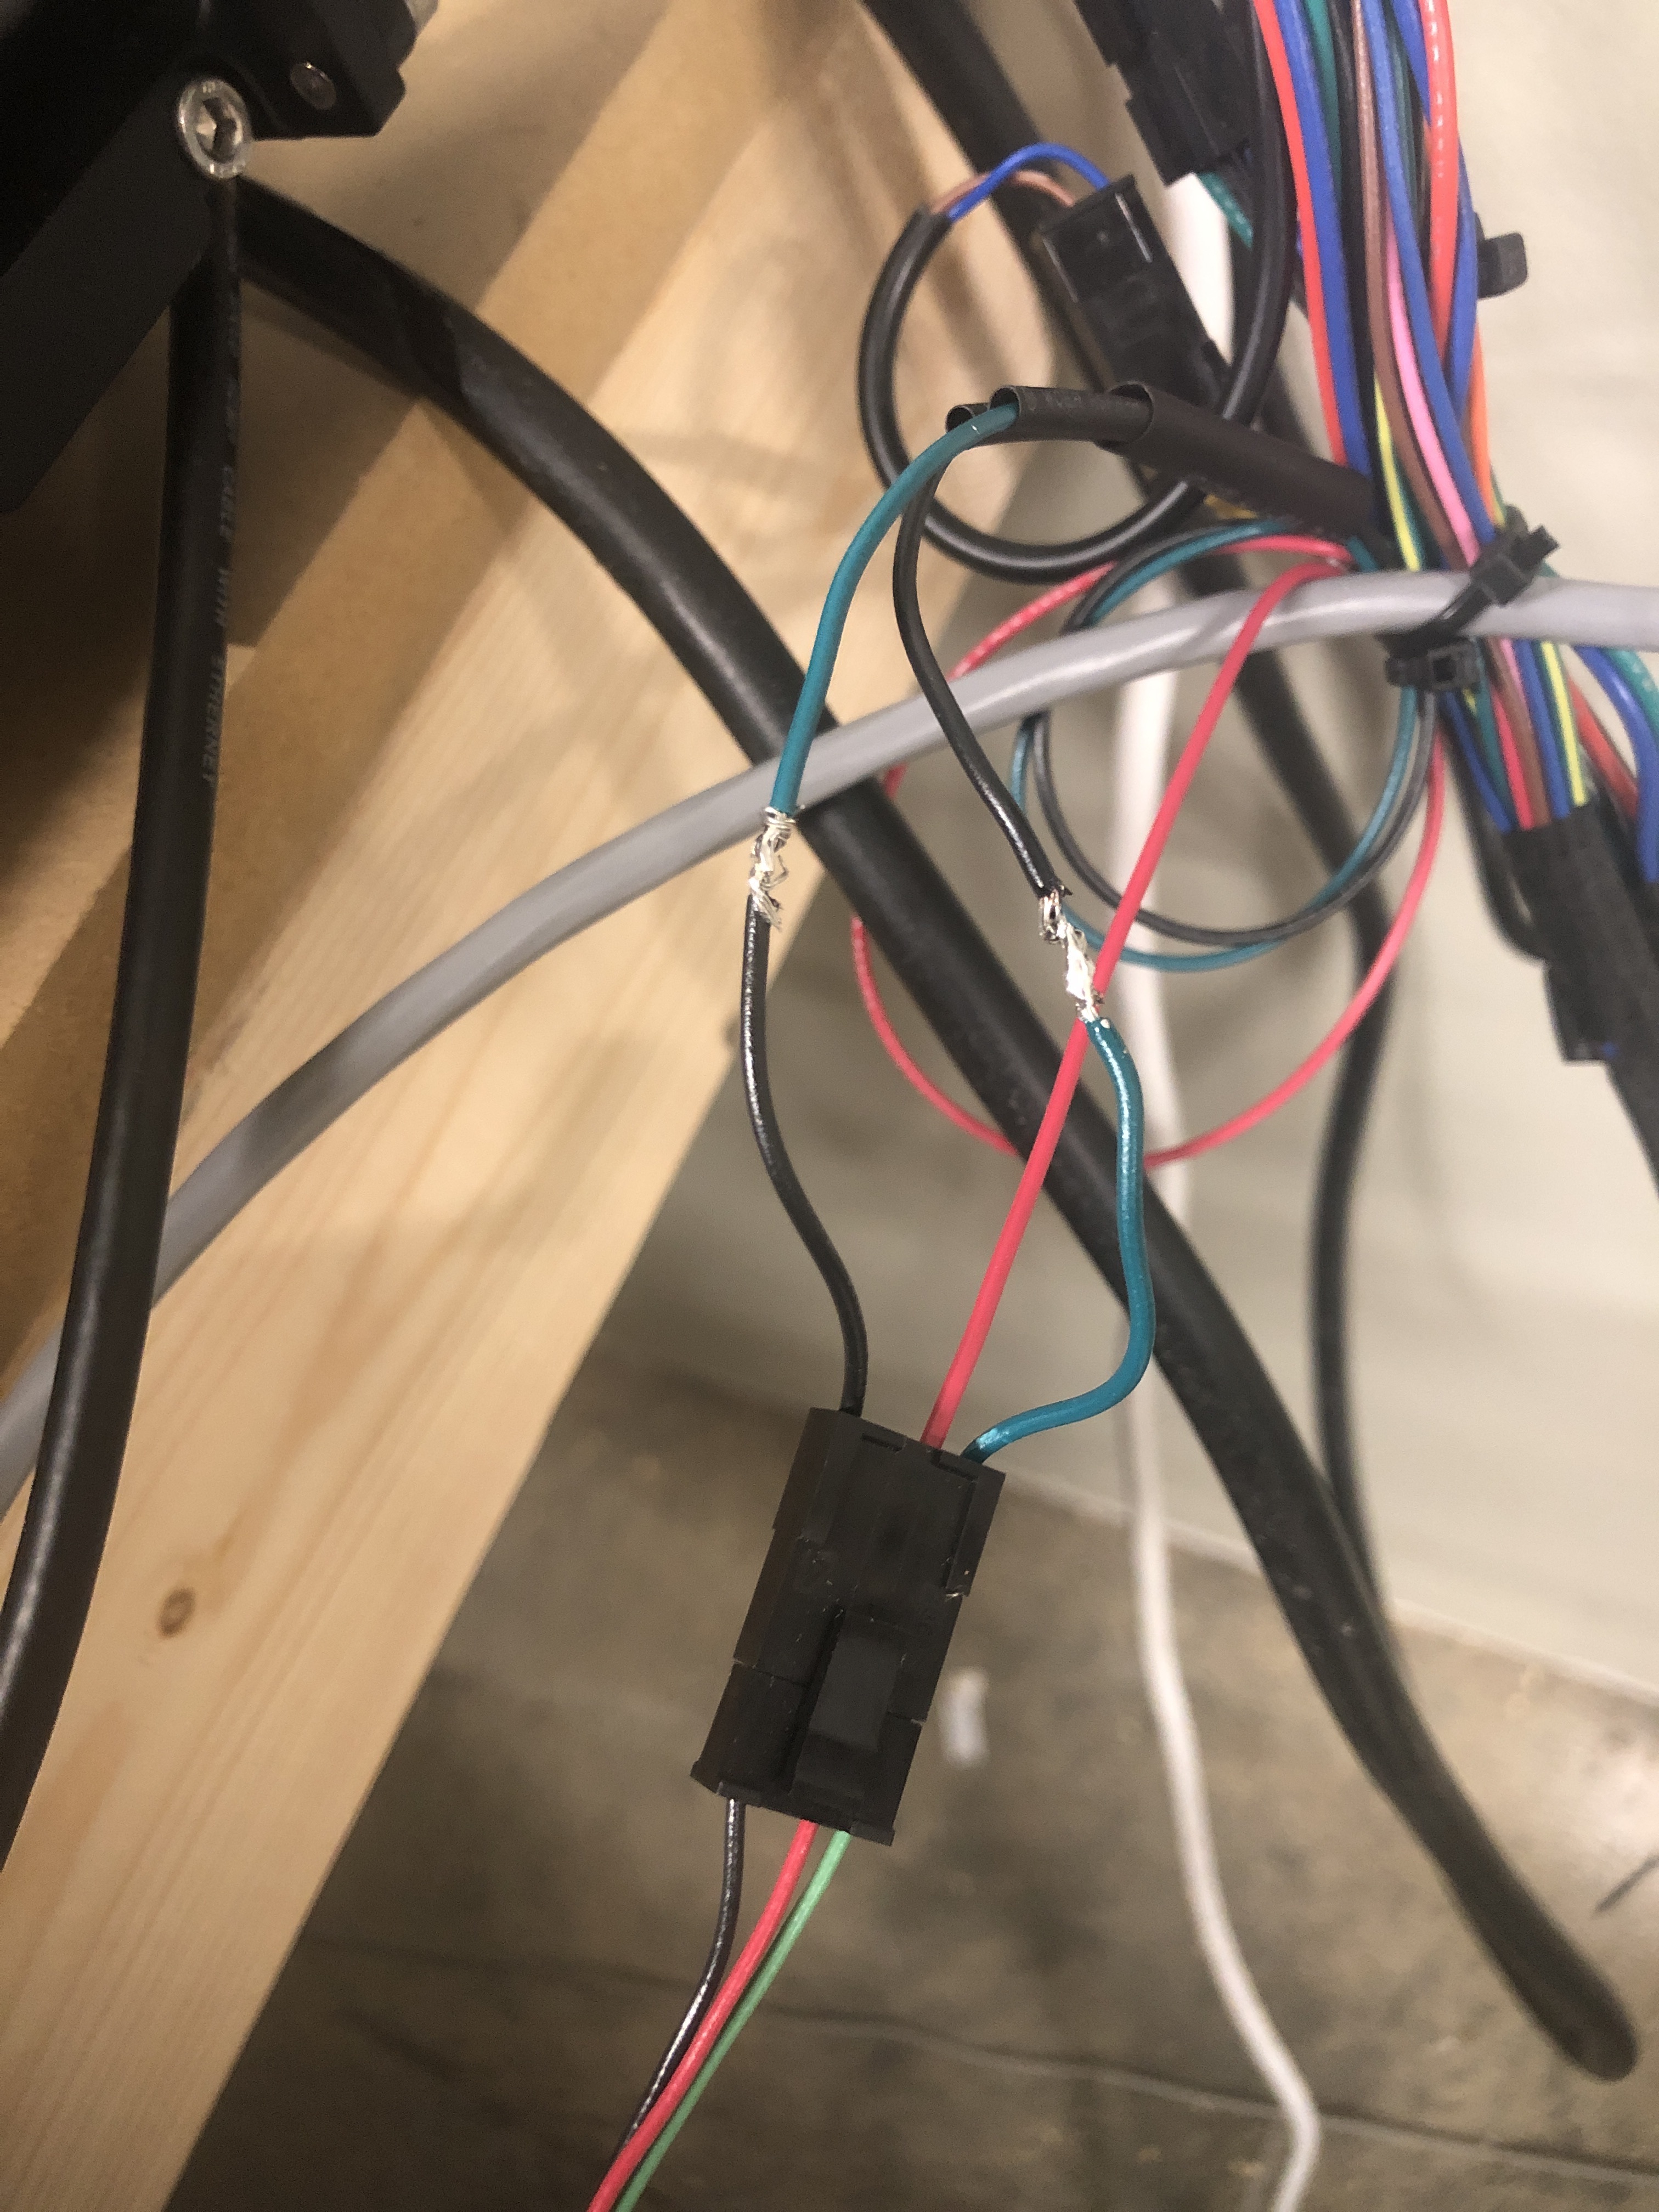
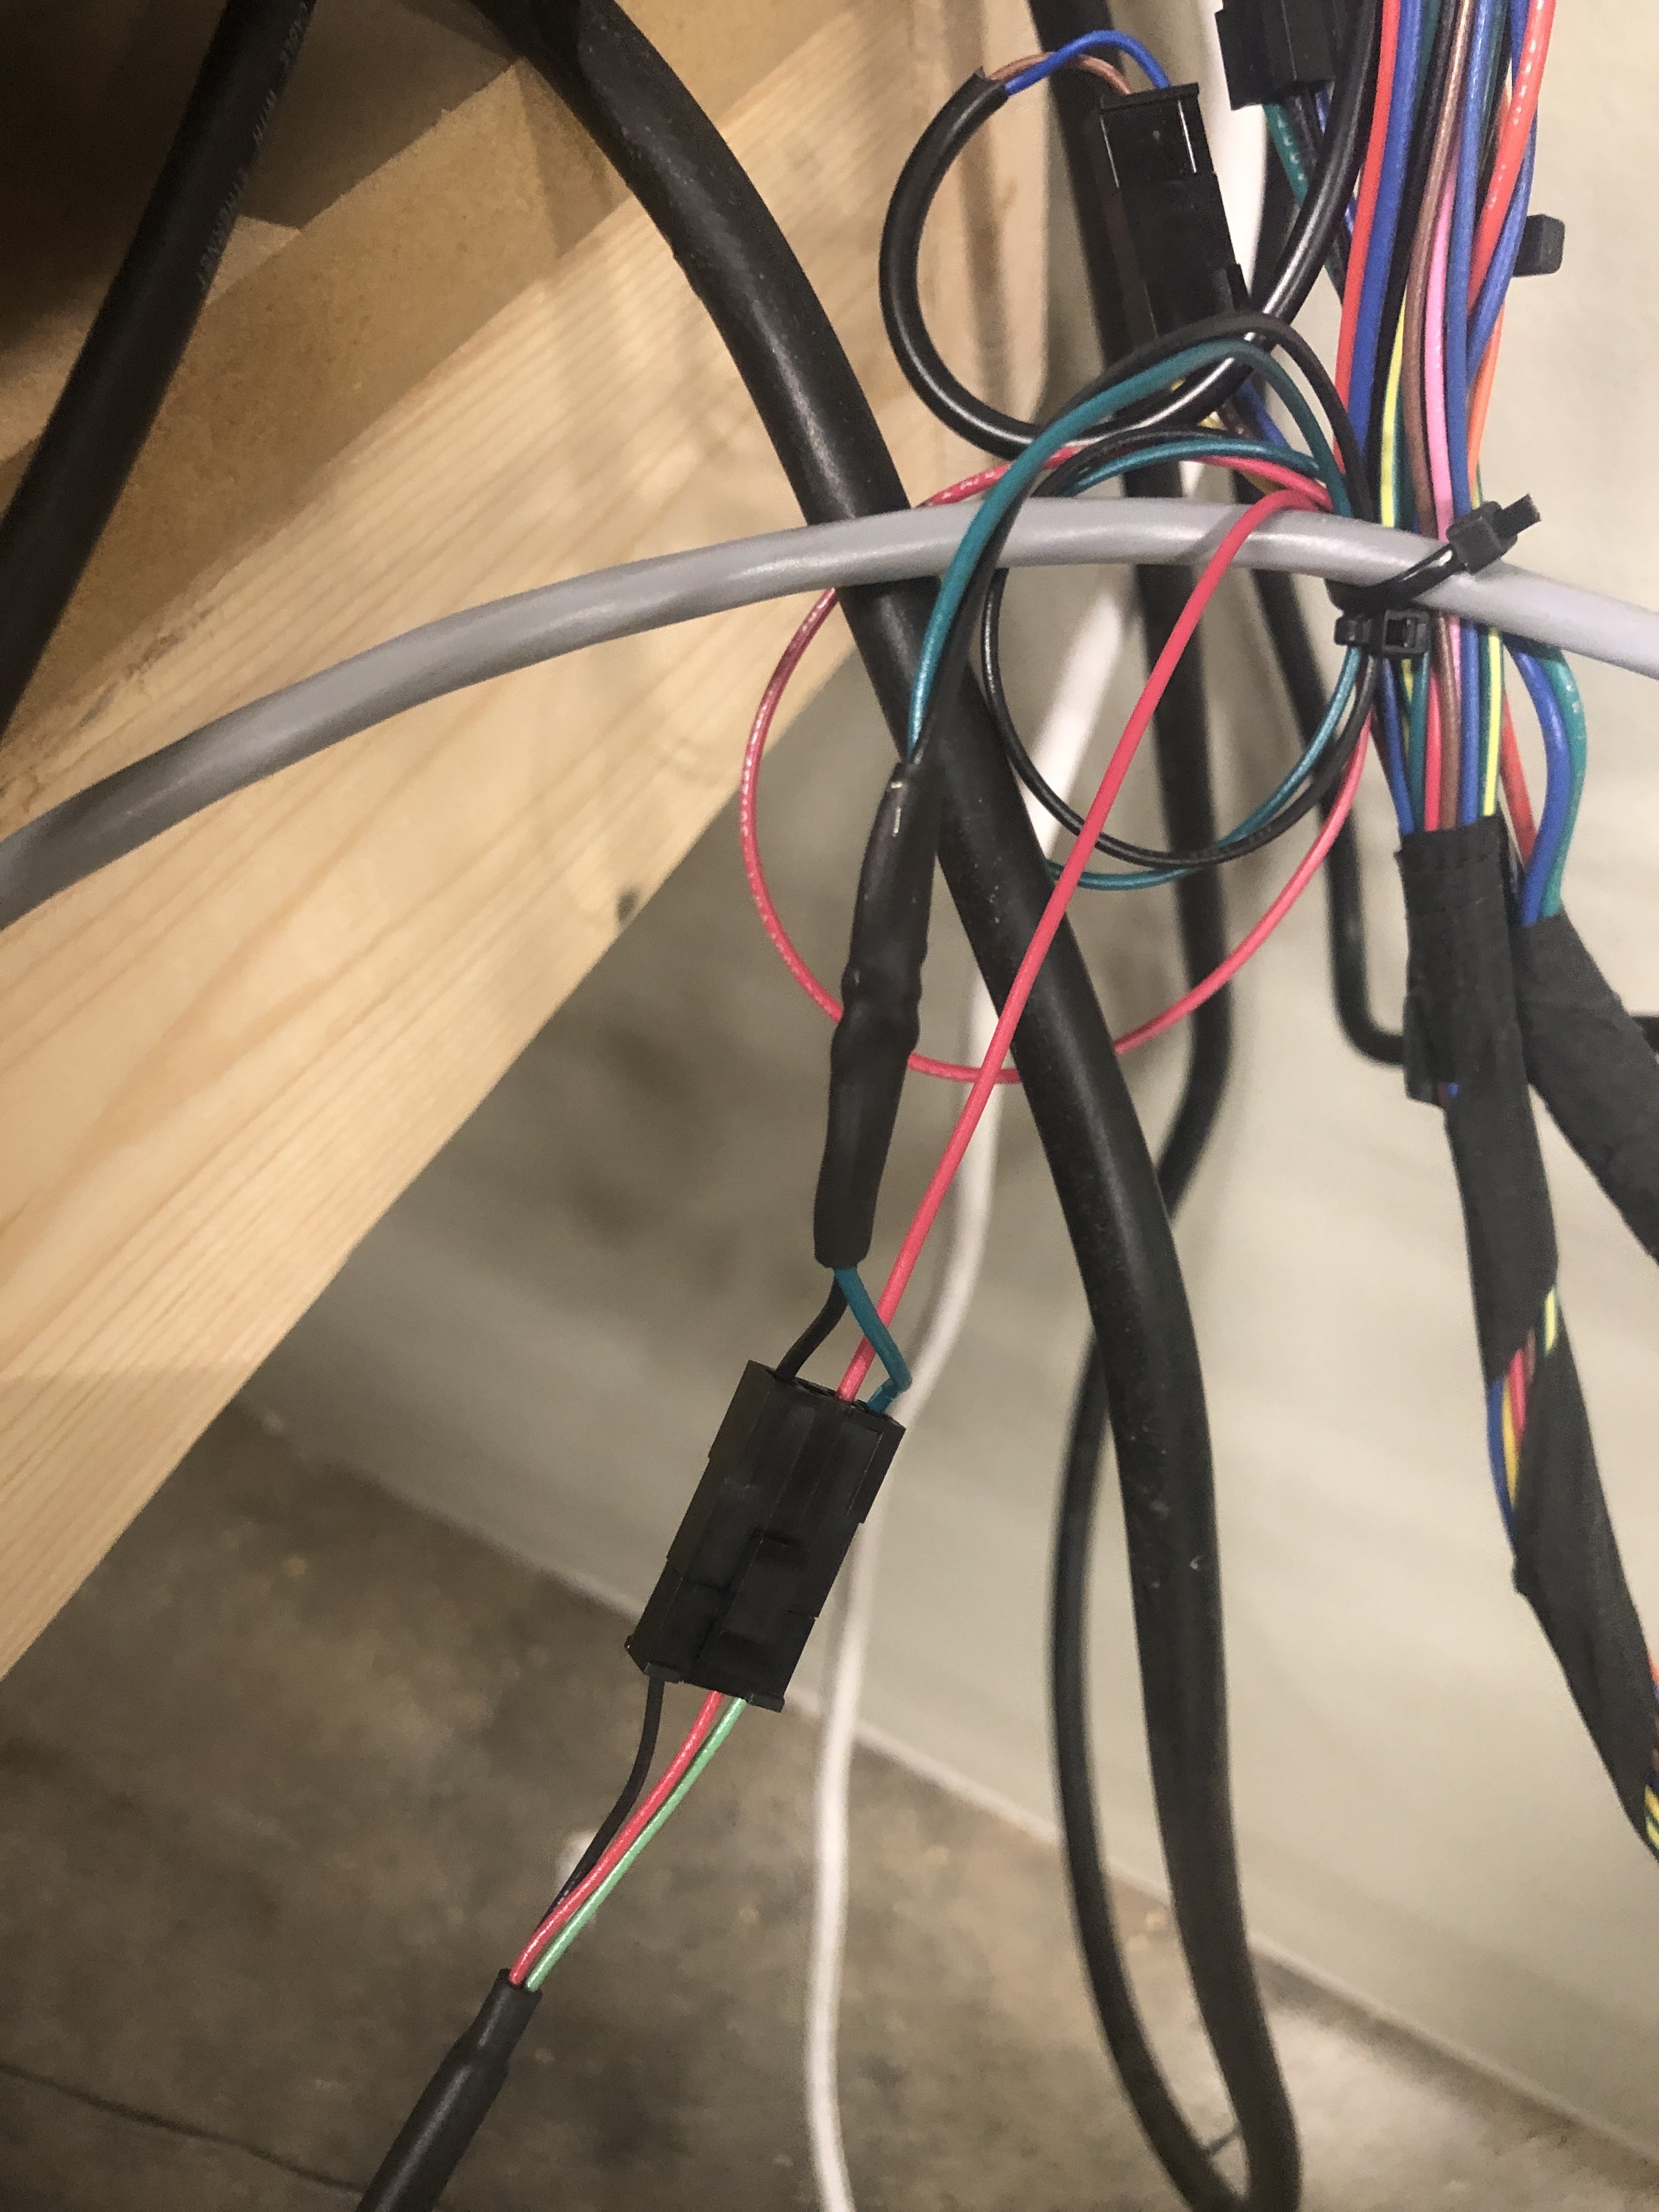
I fixed my bitsetter issue by swapping the black and green wires on the female side of the face plate extension cables 4 pin connector. Works great now!
Just got my tracking info for something so I assume it is for this. This is great as I have not been able to get the bitsetter to work correctly since I received the machine 1 week ago. Excited.
Howdy everyone! I’m brand new to this community, but I’m expecting my Shapeoko 5 Pro XL to be delivered tomorrow - very exciting!
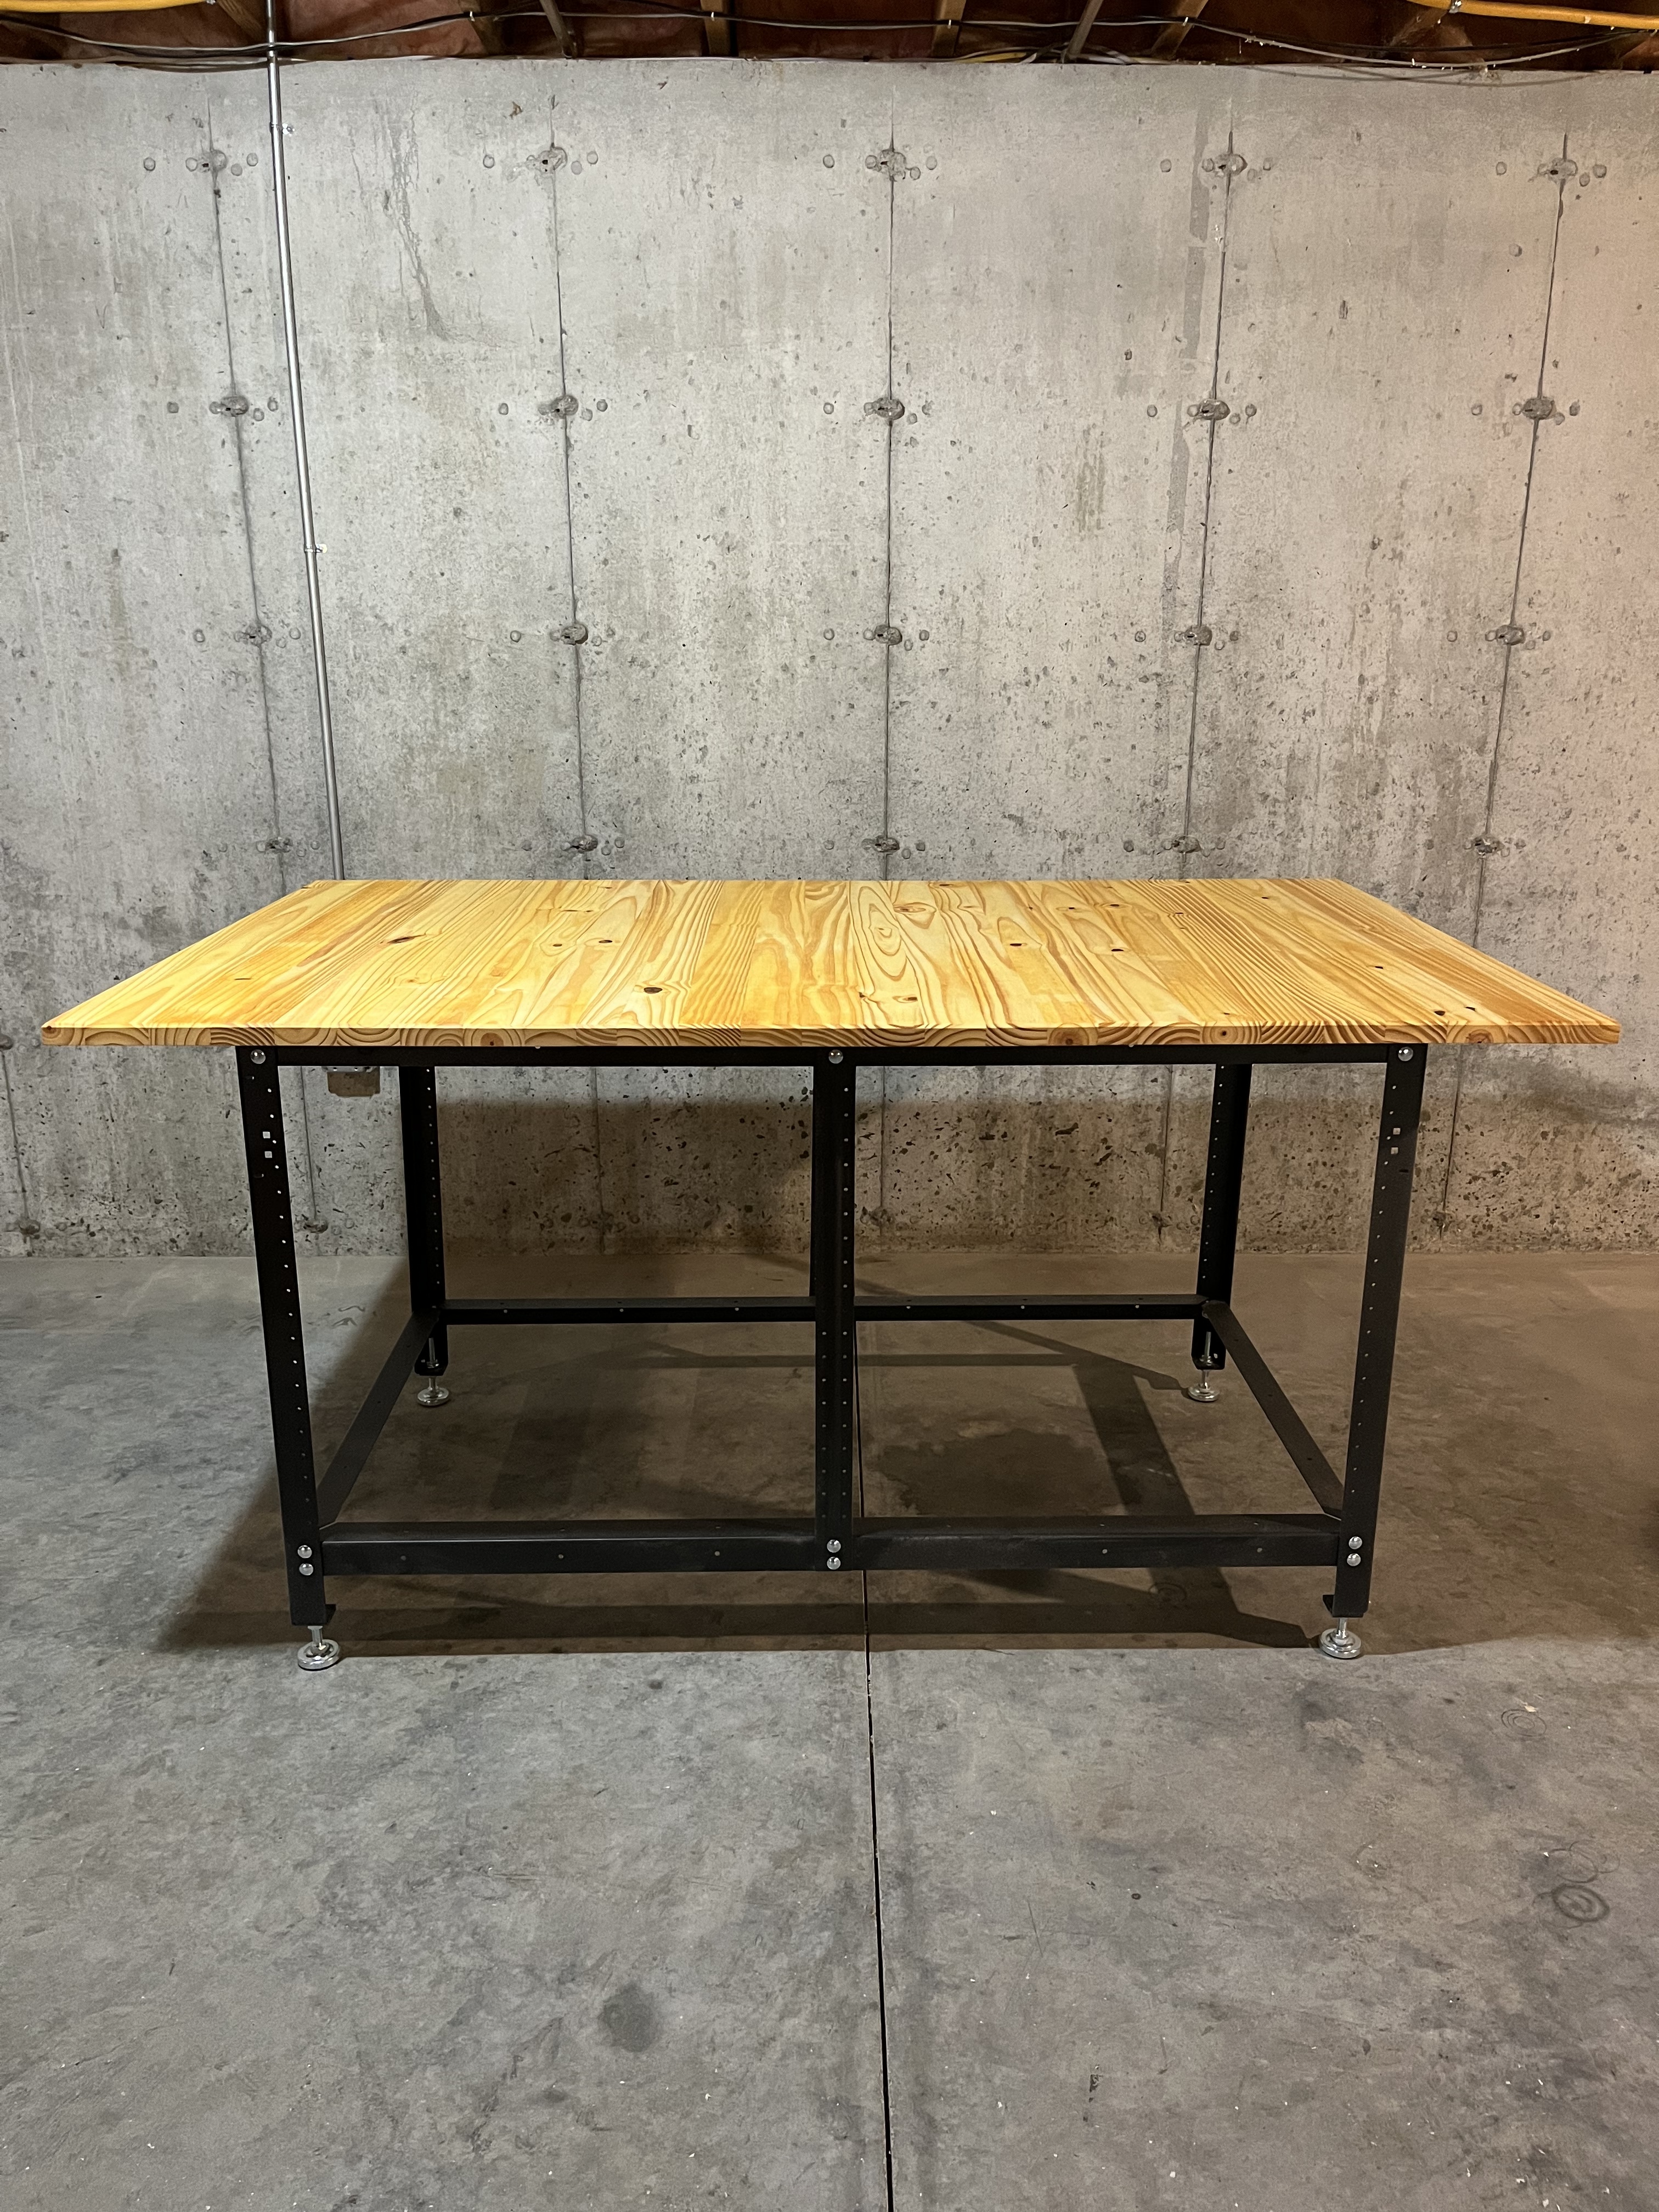
In anticipation of its arrival, here’s a picture of the table it will live on. I used the 56”x32” Rockler rock-steady stand with project boards from Lowe’s on top. I plan to add drawers and additional storage as a future project once I get a feel for the tools and workflow I’ll be using regularly.
I’ve been reading lots of posts on this forum the past couple months and I’m very excited to join such a supportive community.
For the uses most SO5 Pro’s will see…I don’t see much need to mod. Other than more power for a spindle, I can’t think of much that can be improved upon for making most of what people will be making on them. Like how much power and precision do you need for making flags, cribbage boards, 3D “Last Suppers”, and (to include myself) Star Wars Aztec calendars.
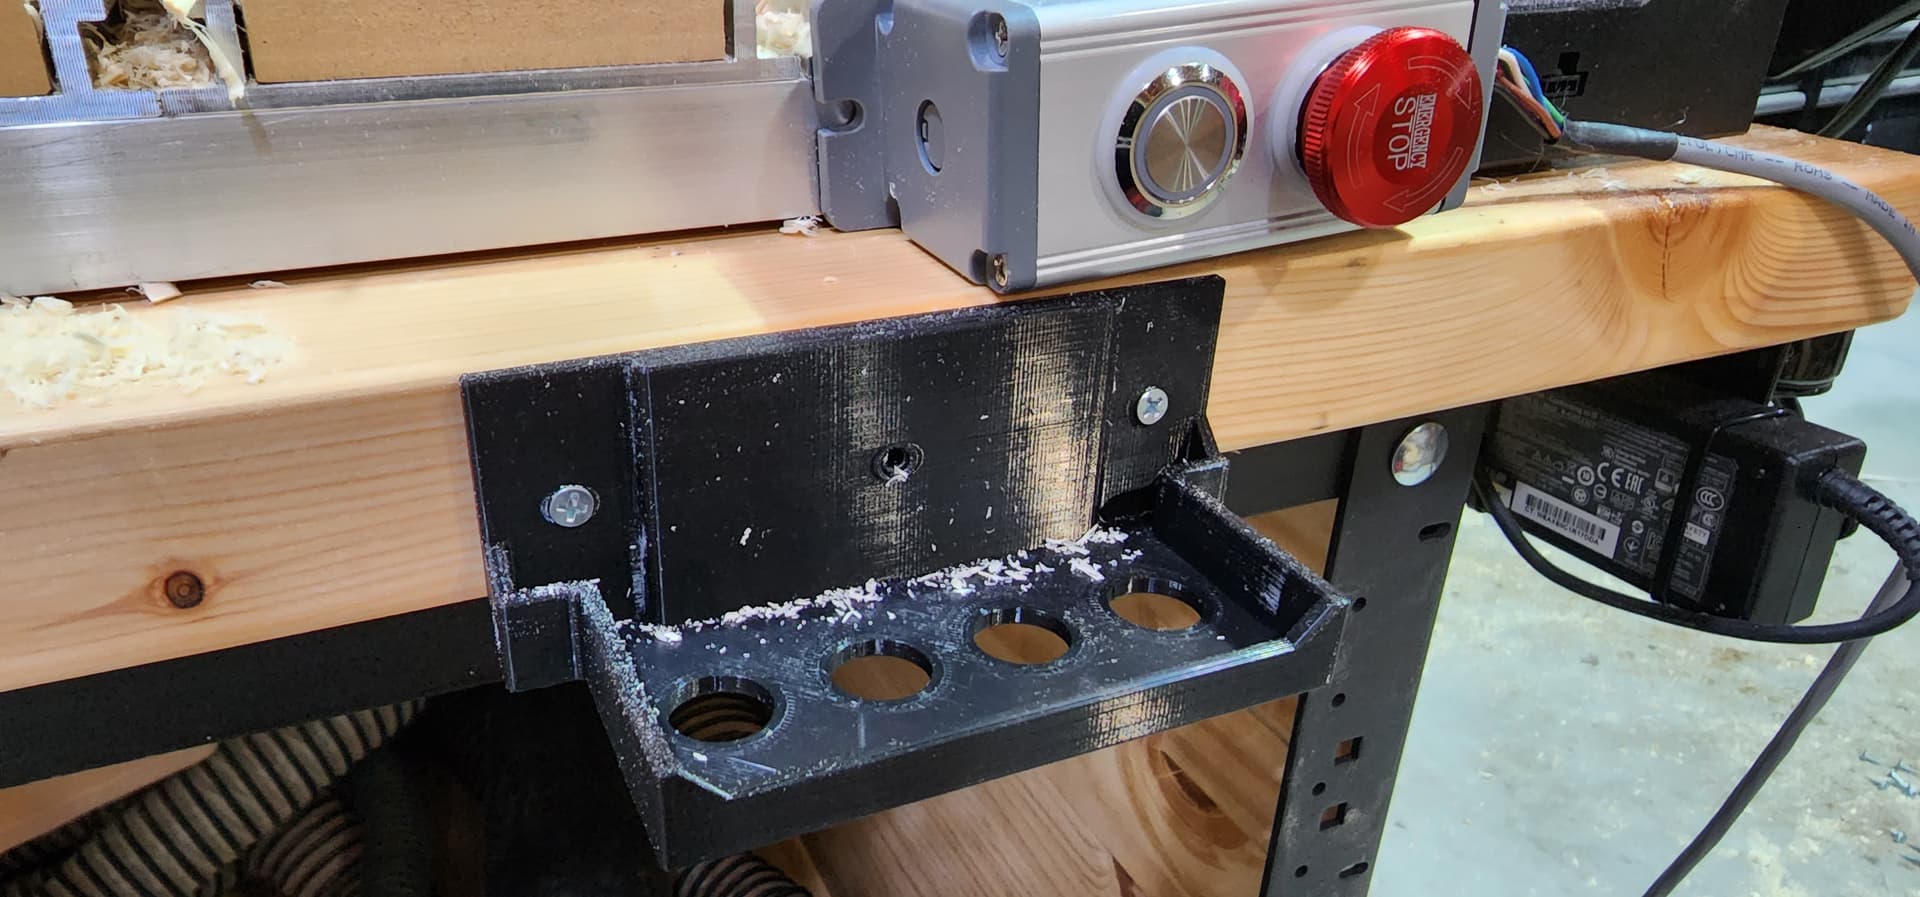
I’m 3D printing a cradle to hold the pendant and the clamps. But for what I’ll be making on it…I don’t see it getting too much better.
That said…I’m excited to see what capabilities they are adding. C3D’s engineers know what they’re doing better than I do.
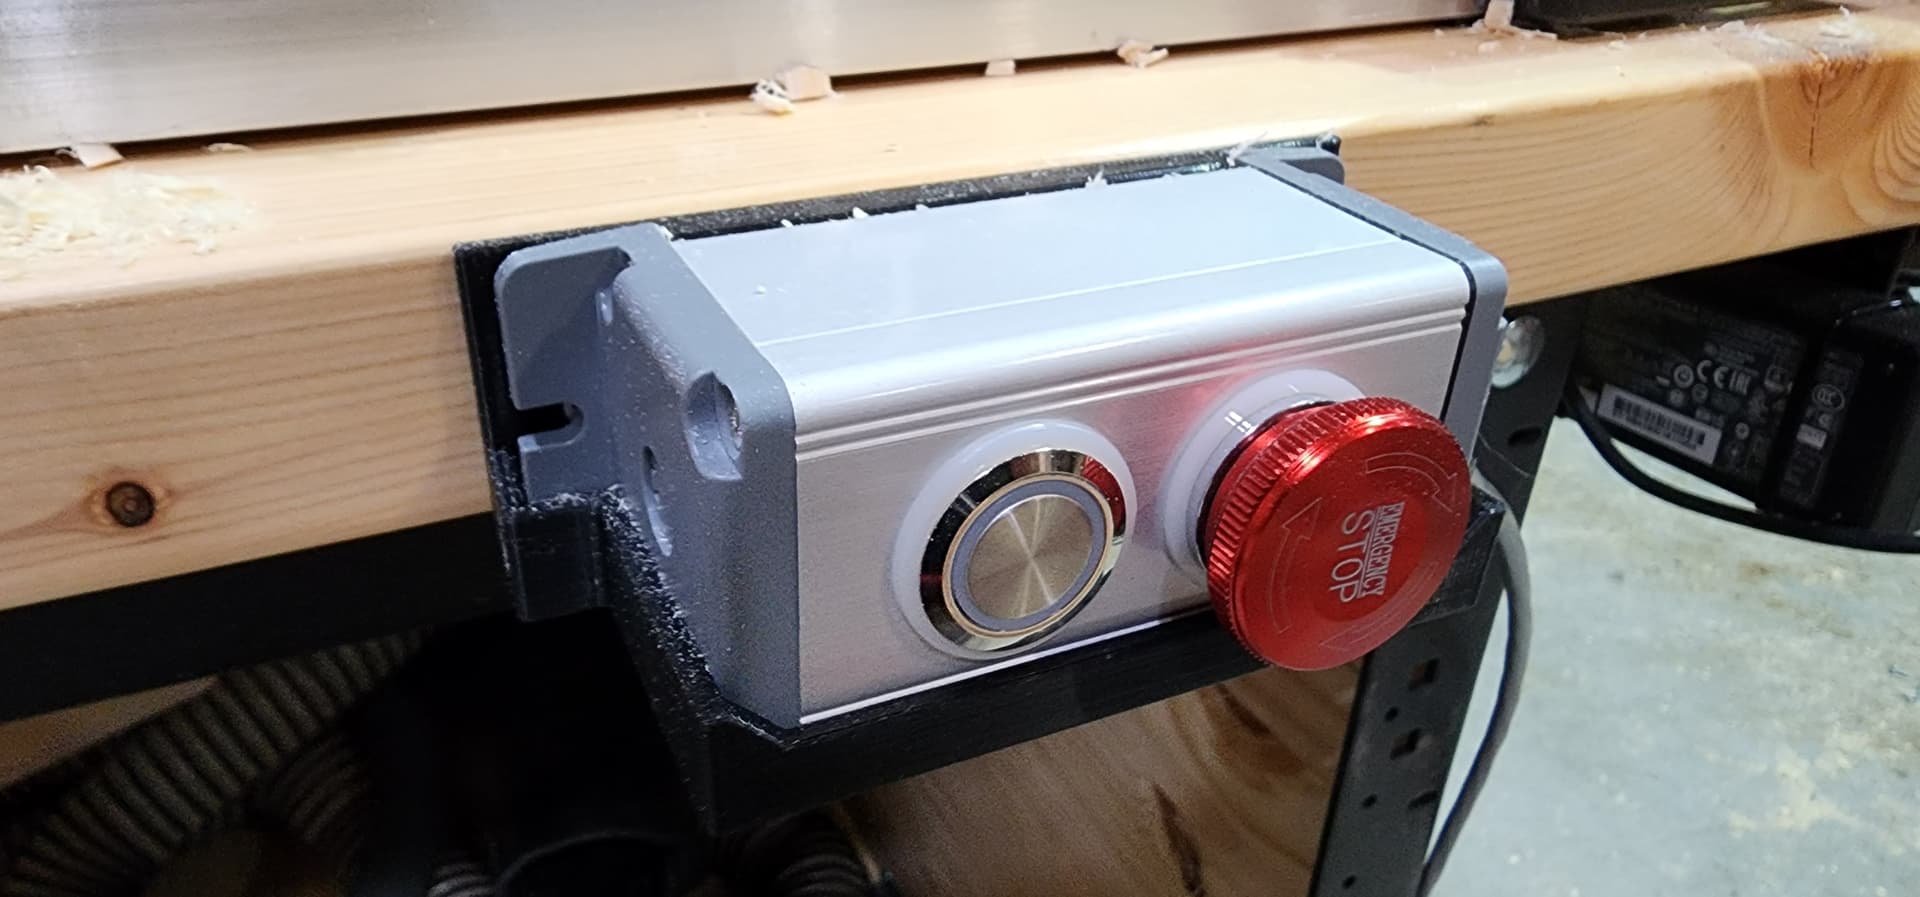
Here’s my 3D printed power/feed hold pendant cradle. I love the ability to permanently mount it, but wanted a way to quickly place and remove at my minimum sized bench. . Nailed it on the first try with a fiction fit.