Eldon,
Welcome to the Carbide 3D community. A few answers and some resources.
We do everything we can to make the Shapeoko Universe a win for you the New CNC Operator. That starts with My.Carbide3D.com Go there and check out the 5+ hours of video training we have covering the software hardware, first 5 projects and more.
Additionally we are super active on YouTube with info about new items as well as project ideas.
As far as the router discussion goes: The Shapeoko 5 is more than capable with the Carbide Compact Router. You’l find that cutting wood, plastics and various composites is easily accomplished by the router. IF you’re looking to cut aluminum and brass on the regular you’ll find that the power and control of the VFD is a nice benefit. This doesn’t mean you cannot cut metal with the router, its simply easier with the VFD.
Additionally, if you’re going to cut a ton of hardwood the VFD will allow you to cut faster and deeper, equalling less machining time. The tradeoff is cost.
On the programming side, we’ve put together 5 projects to get your creativity flowing. First Five on My.Carbide3D.com contains video instruction for those items which may start your CNC exploration. We also have two units covering aspects of Carbide Create, our included CAD Software.
You can download the software and watch all the video training without owning a machine.
CutRocket.com is a fine resource for ready made files that you can chose to run as is or modify for your own projects.
The Unofficial Facebook pages for Shapeoko are filled with new folks and experienced operators who will also help answer questions and offer ideas. There’s always something new being made and put up on those pages. Josh runs the Unofficial Page and Lori runs the Beginners Page.
Know this, there is no substitute for practice. The more you design the better your creations will become. The more you run the machine, the more you’ll understand how it functions and its capability.
We’ll be here with Support, Ideas and Information to help you along the way. The company as well as the people in this community are all about each others success and enjoying the power of owning a CNC machine.
As far as the difference betwee the two compact routers, the standard and the ER-11:
The standard has a Makita style collet. The ER11 uses a more industrial ER-11 style. The ER-11 has the advantages of better clamping, the possibility of less run-out, and a larger range of sizes of collets.
The router will easily get most jobs done, but the VFD spindle is my favorite.
Thank you both so much. I’ll check out the mycarbide3d and see if I can figure out the computer stuff. I’m sure I’ll be getting the Pro 5, but I also want to have an idea what I’m doing my first 30 days just in case I need the 30 day mistake period. When I placed the 5 Pro in my cart, it won’t ship until June, so I will indeed see what I can do to prepare prior to ordering. That also gives me time to order the Kreg stand and castors, if I go that direction. Thanks again, and happy New Year.
Thank you sir, good to know. I’ll just go with the Standard Carbide, and up grade later if I find the need.
1 Like
Griff
(Well crap, my hypometric precursor device is blown…)
336
Way back when I was as young as you and also a noob I bought a Shapeoko 3. If I can do it anyone can, you are going to have a ball! We’re all here to help.
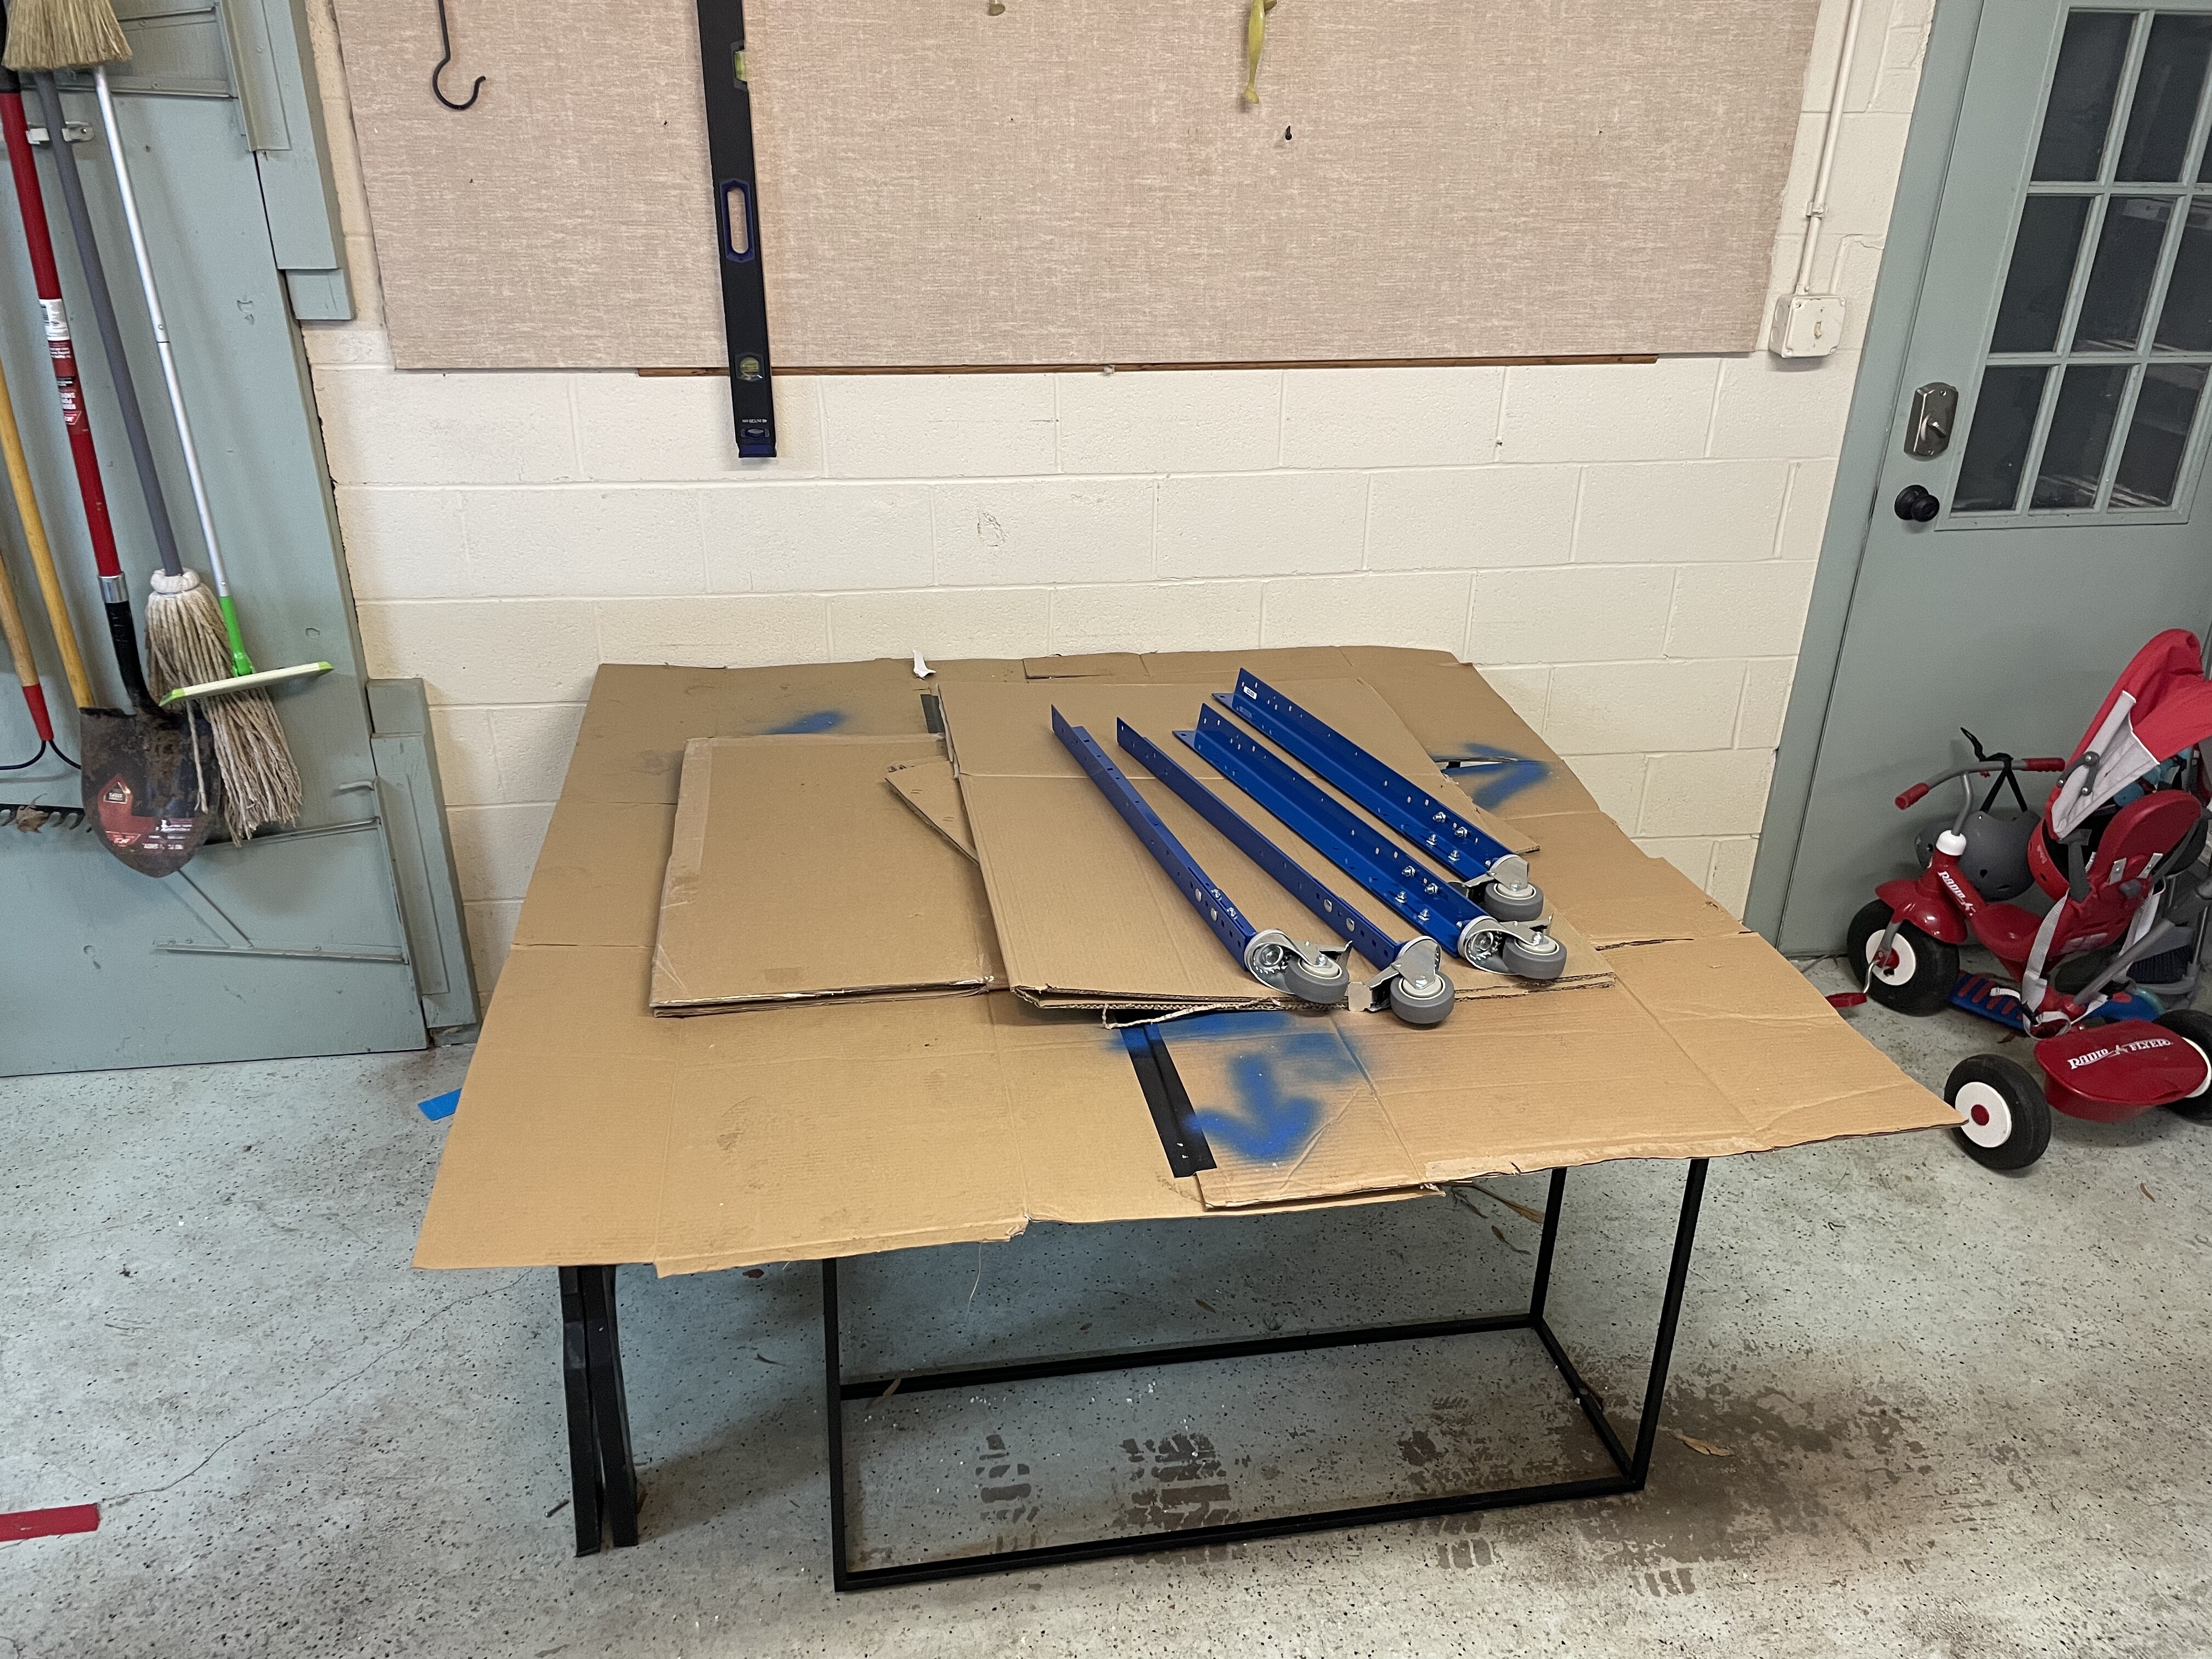
This is as far as the cnc dream has gotten for me as I await the - now ahead of schedule - shipping on a 5: finding a spot for the kreg table. Cardboard in pic is ~64x64” to get a visual while I wait on the side rails. Oh and trying to learn CAD/CAM completely from scratch in the meantime, which has been fun but a challenge.
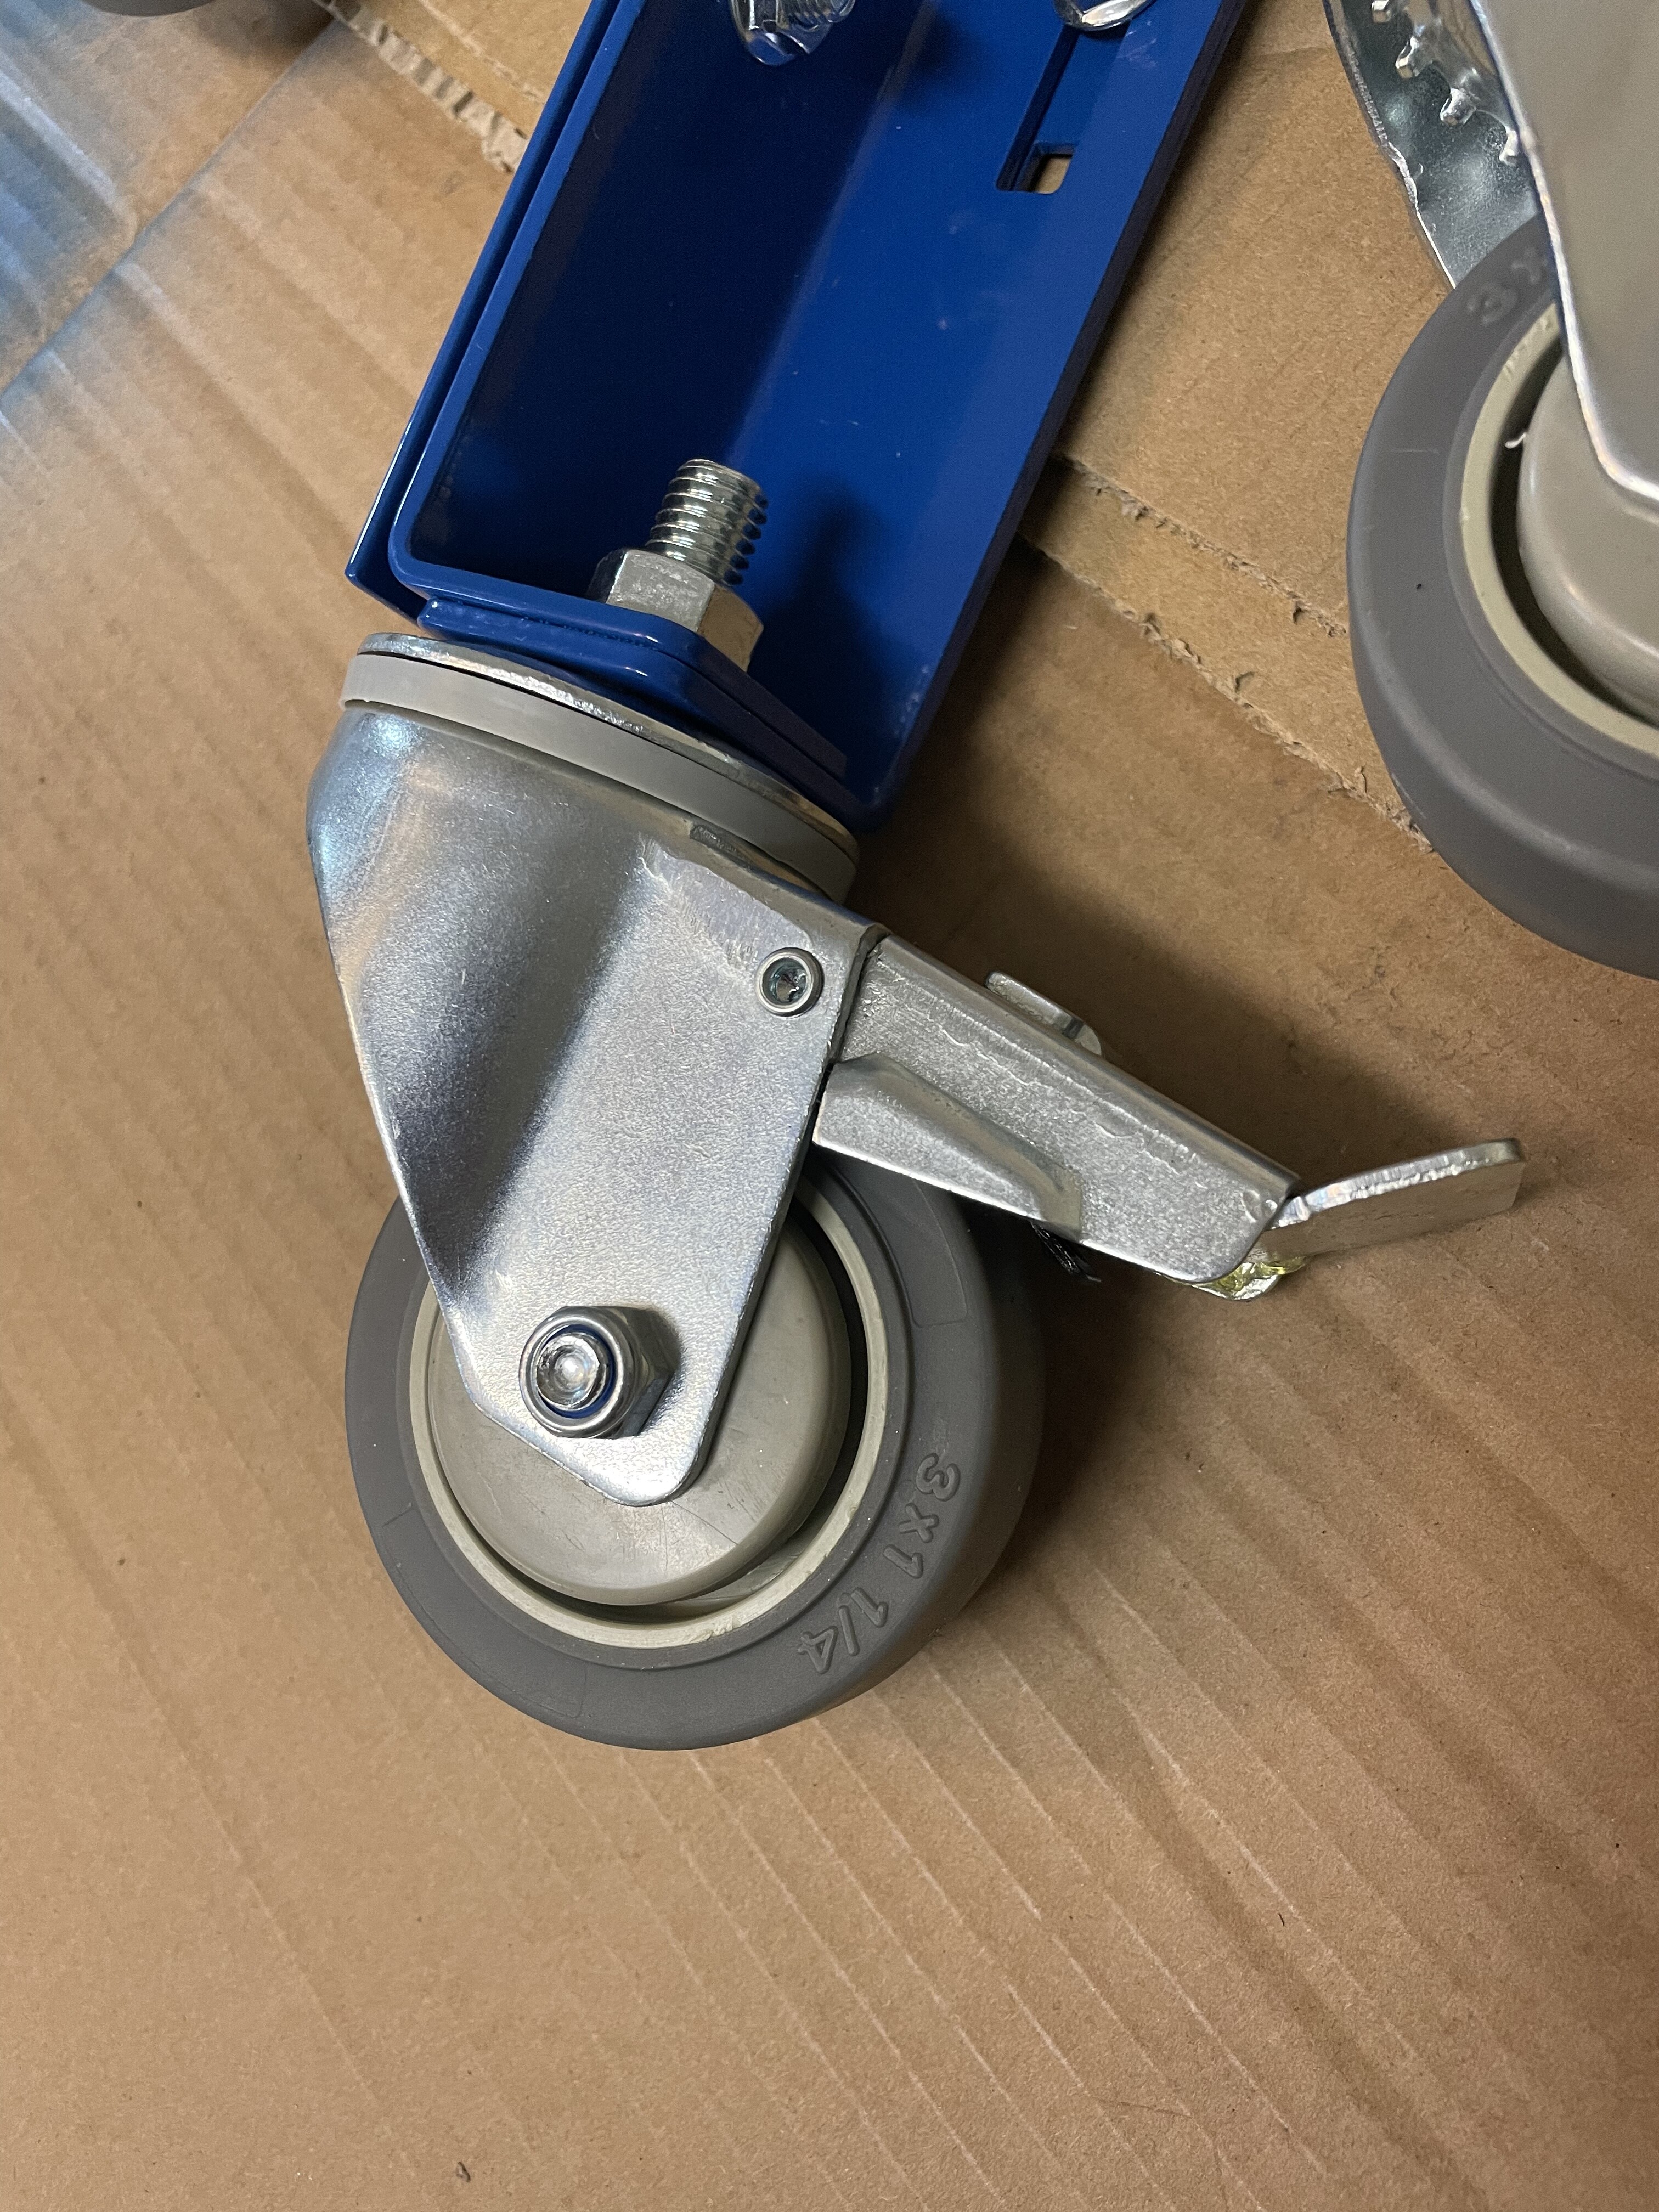
The kreg casters look pretty sturdy and meaty to me and are double locking, so hopefully they will get the job done. If not I guess put them on something else.
For the worktop, I was thinking about 4”+ overhang for extra table space and maybe fit an enclosure contraption. Need to figure out wtd underneath too, which is a whole project onto itself.
Still hoping the big mother water spindle/VFD gets launched before March.
Thank you, I have a Kreg router table with the same castors, they work great. I’ll be ordering the 64x64 and castors in the real near future. I spent about 2 to 21/2 hours on the mycreate site trying to figure out the CAD/CAM software stuff, I learned that I have so much to learn. Like you said, fun but definitely a challenge. I guess I made it through 20 years of Navy, so I’m sure I should make it through this. I also started Taekwondo just over two years ago and am going for my 2nd degree black belt this year, so yep, I’ll accept the challenge. Thanks again, I look forward to seeing pictures of your machine and set up. I’ll order my 5Pro after I get my stand ordered and set up. I’m planning on ordering within a month or so.
If you have any problems w/ a file or project, let us know here in the forums, or send it in to projects@carbide3d.com and we’ll do our best to assist.
Wow, thanks William, I have so much to learn. We just don’t know what we don’t know. I’m excited about getting started knowing now that I have a go to place for help and answers. Thank you so much.
For anyone who has already gotten their machine, how much space do/did you leave on the sides for clearance? If the envelope is 60" how much extra do you need for any associated electronics boxes, wire movement, etc.?
I’ll eventually build an enclosure but need to build the base first and was planning on a torsion box (and wanted to get it done before my machine gets here).
Thanks!
My top is 62" wide and 60" deep. It barely works for the depth. I have an inch or so on either side. The electronics are on a 3’ long tether, so no need to account for them on the inside of the enclosure. I don’t really plan to enclose, so I went minimal. The machine is pretty large and being able to easily reach the full area to clamp and whatnot was where I focused.
If you’re planning for an enclosure I would do minimum 68" wide and 68" deep. That gives you some room on the sides for maintenance (still put wide side doors for linear rail and ballscrew cleaning and lubrication) as well as room for a dust boot to stick out on the front of the router/spindle. Forgetting to account for the dust boot has caught a lot of people.
I already received my shipping notification for the replacement wire…on the same day my small order of a Deep Sweep, some Essential Clamps, and an endmill got delivered.
This evening I’ll check the tram and get started planning projects. Although the tram plate I just leveled is already buttery smooth indicating it might already be pretty close to trammed, as-assembled.
Are you also taking into account the extra space needed for gantry shift? I haven’t see any videos of that feature in action but supposedly it’s another 3+ inches in front of table.