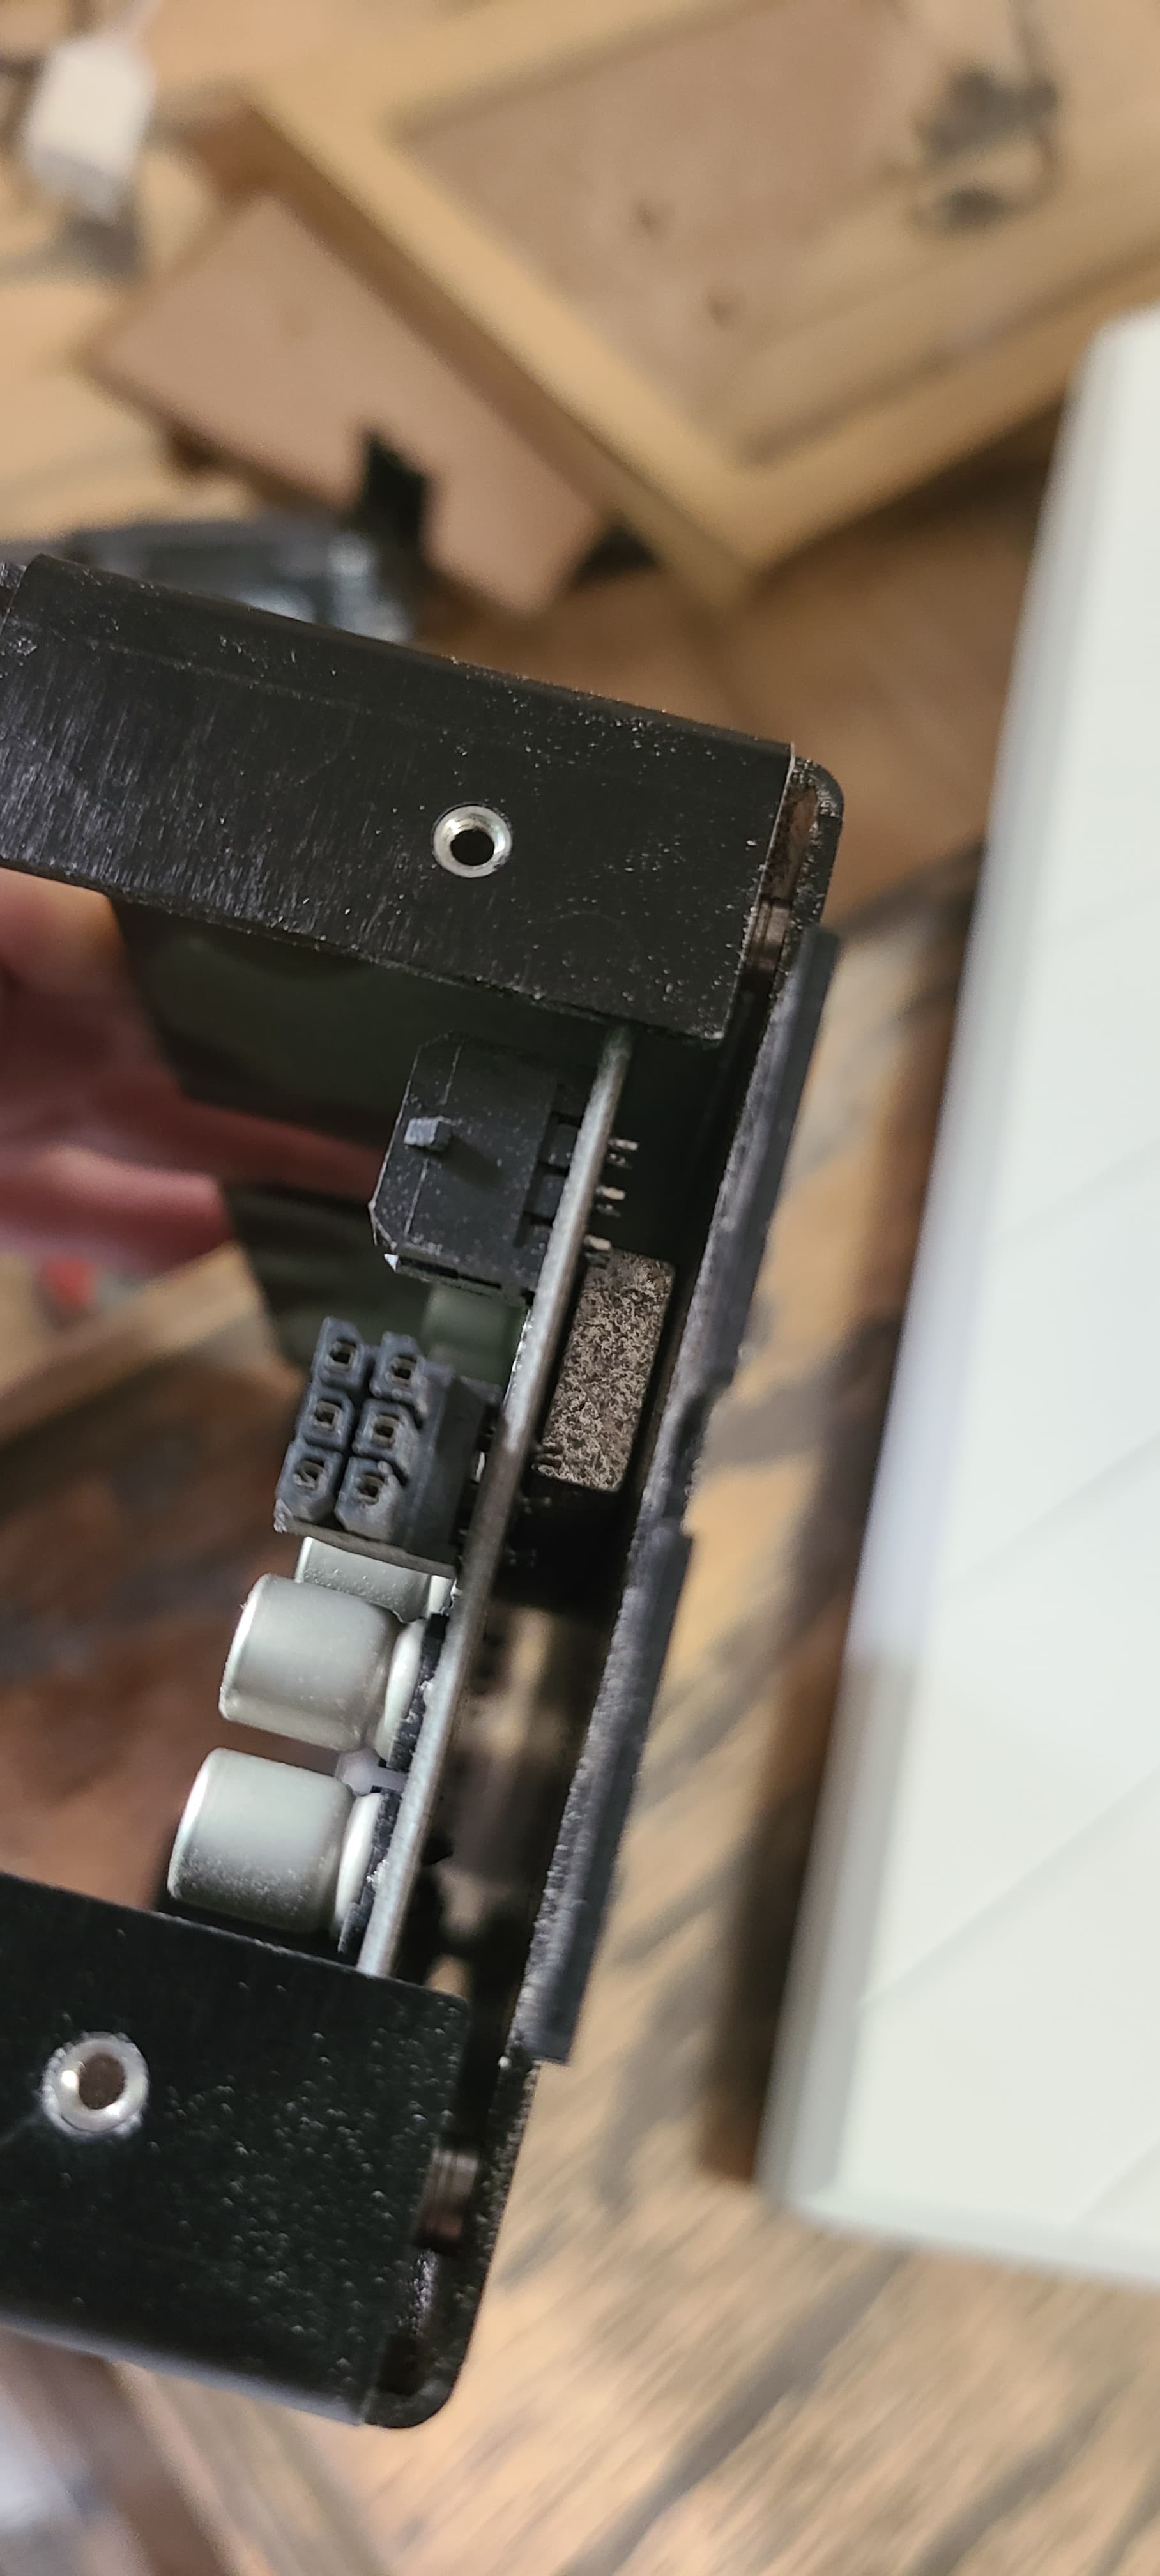
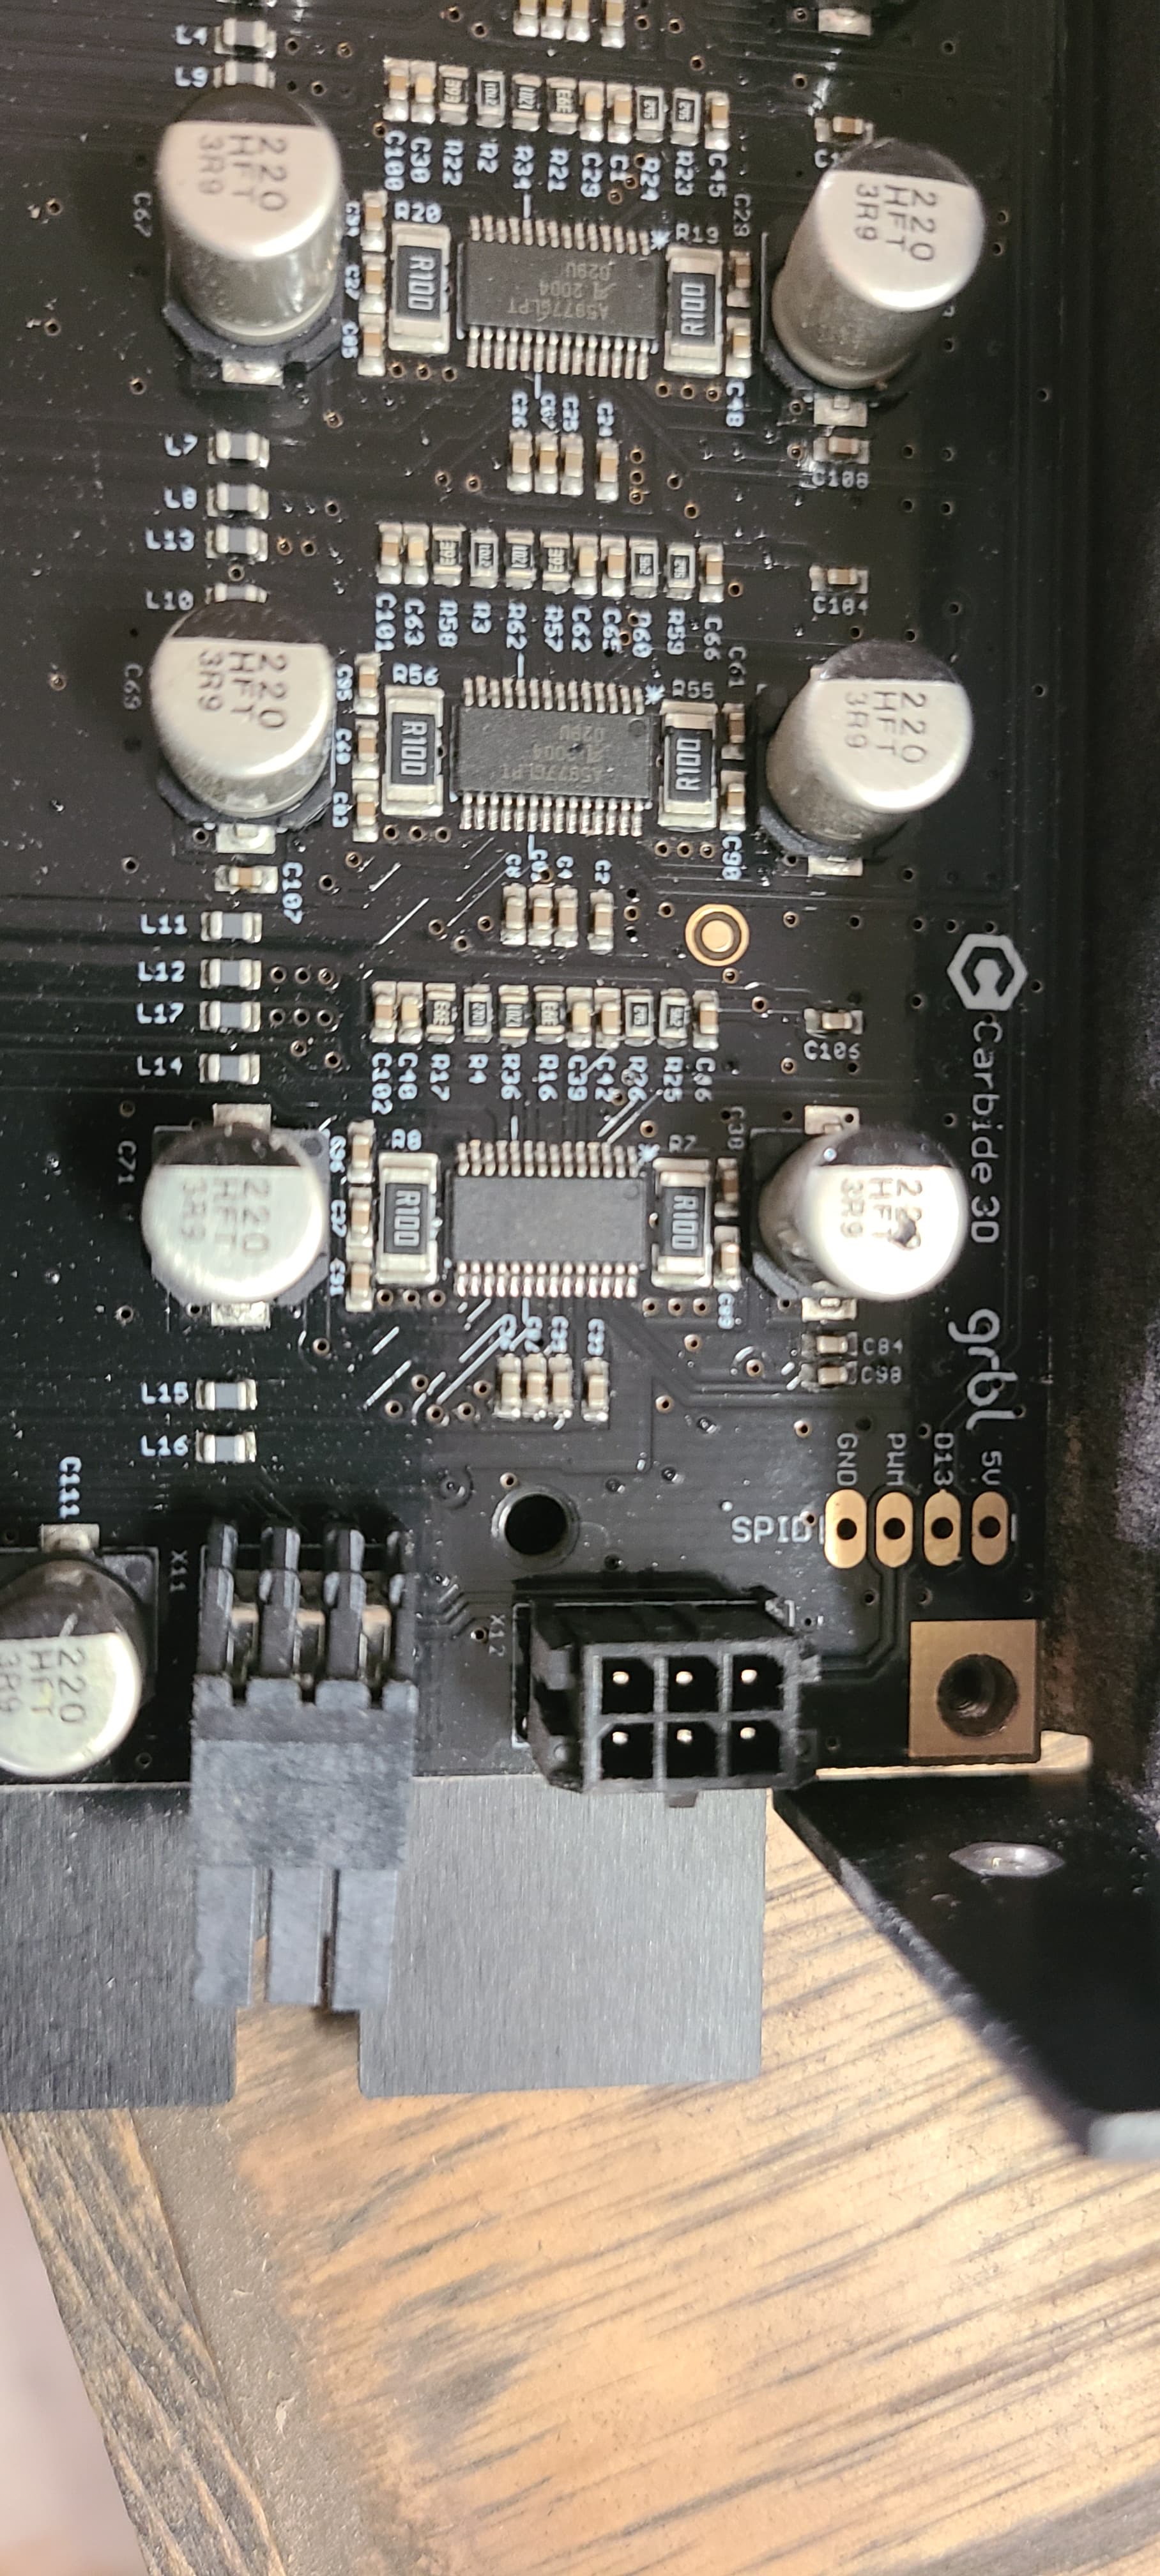
I asked before how to get the Relay working on the pro. I was told to populate the pwd and gnd spots on the top right. I finally took the controller board off, but after removing the 4 black screws on each corner, I couldn’t remove the board from the backing plate. On the pictures you should be able to see a metal part keeping that on.
I HIGHLY recommend JTech Photonics Press-in Molex connectors. I’ve installed them on 5 different Shapeoko (Shapeoko 3, 4, and Pro) control boards. No soldering is awesome. That completely solves your issue.
The control board uses a sticky thermal pad on the back of some of the components to the case so it can be used as a heat sink. That is why it’s still stuck on.