Did you end up facing the entire thing afterwards? I don’t know if the HDM can get ±0.005 across the entire cutting area
I did not. I faced each plate individually. I will do so on my next attempt. That will be a plate limited to the cutting area of the machine, 7/8” or 1” thick, mounted on the frame.
I’ve learned that covering the entire HDM surface with fixture plate is aesthetically pleasing but not particularly useful. At least for my needs.
Fwiw, I did use the non cuttable area of my 4 Pro fixture plates when I was running a set tiling jobs on pieces 30" wide and 32-48" long. Using the extra space gave me extra material for clamping while still using almost my full cutting area for the project.
So, there is very occasionally a use for it but it’s not going to be often…
1 Like
Will I be needing a spot drill to drill 4mm holes at 1in deep? I think there would definitely be deflection from the long carbide drill bit but considering that its only supposed to be an opening for the boring operaition, would I need to spot drill it? I’d rather not have to get an extra tool and a couple hundred more operations. Thanks
4 Likes
I read at the article but was somewhat unsure. I have a 4mm carbide drill, but it’s also a jobber drill, (80mm long). I think I should be fine but I wanted to make sure.
Since you have a HDM, you could probably get away with it. As for myself, I have a Pro 4, and as it’s a rubber band drive, I would spot drill them all first, and then come back with the 4mm jobber’s bit. However, in the eleven hours since your post, they could have all been spotted and drilled. ![]()
Following your thread with interest. As I consider my new design.
I picked up a Datron single flute, 5mm x 22mm doc. I prefer the F360 bore toolpath to drilling. So, 20mm thickness for my final plate, 6mm hardware, carried over from my first plates.
1 Like
James @TheBigJam
I’m still considering angles for a new HDM plate but I’m getting close to what I think I need.
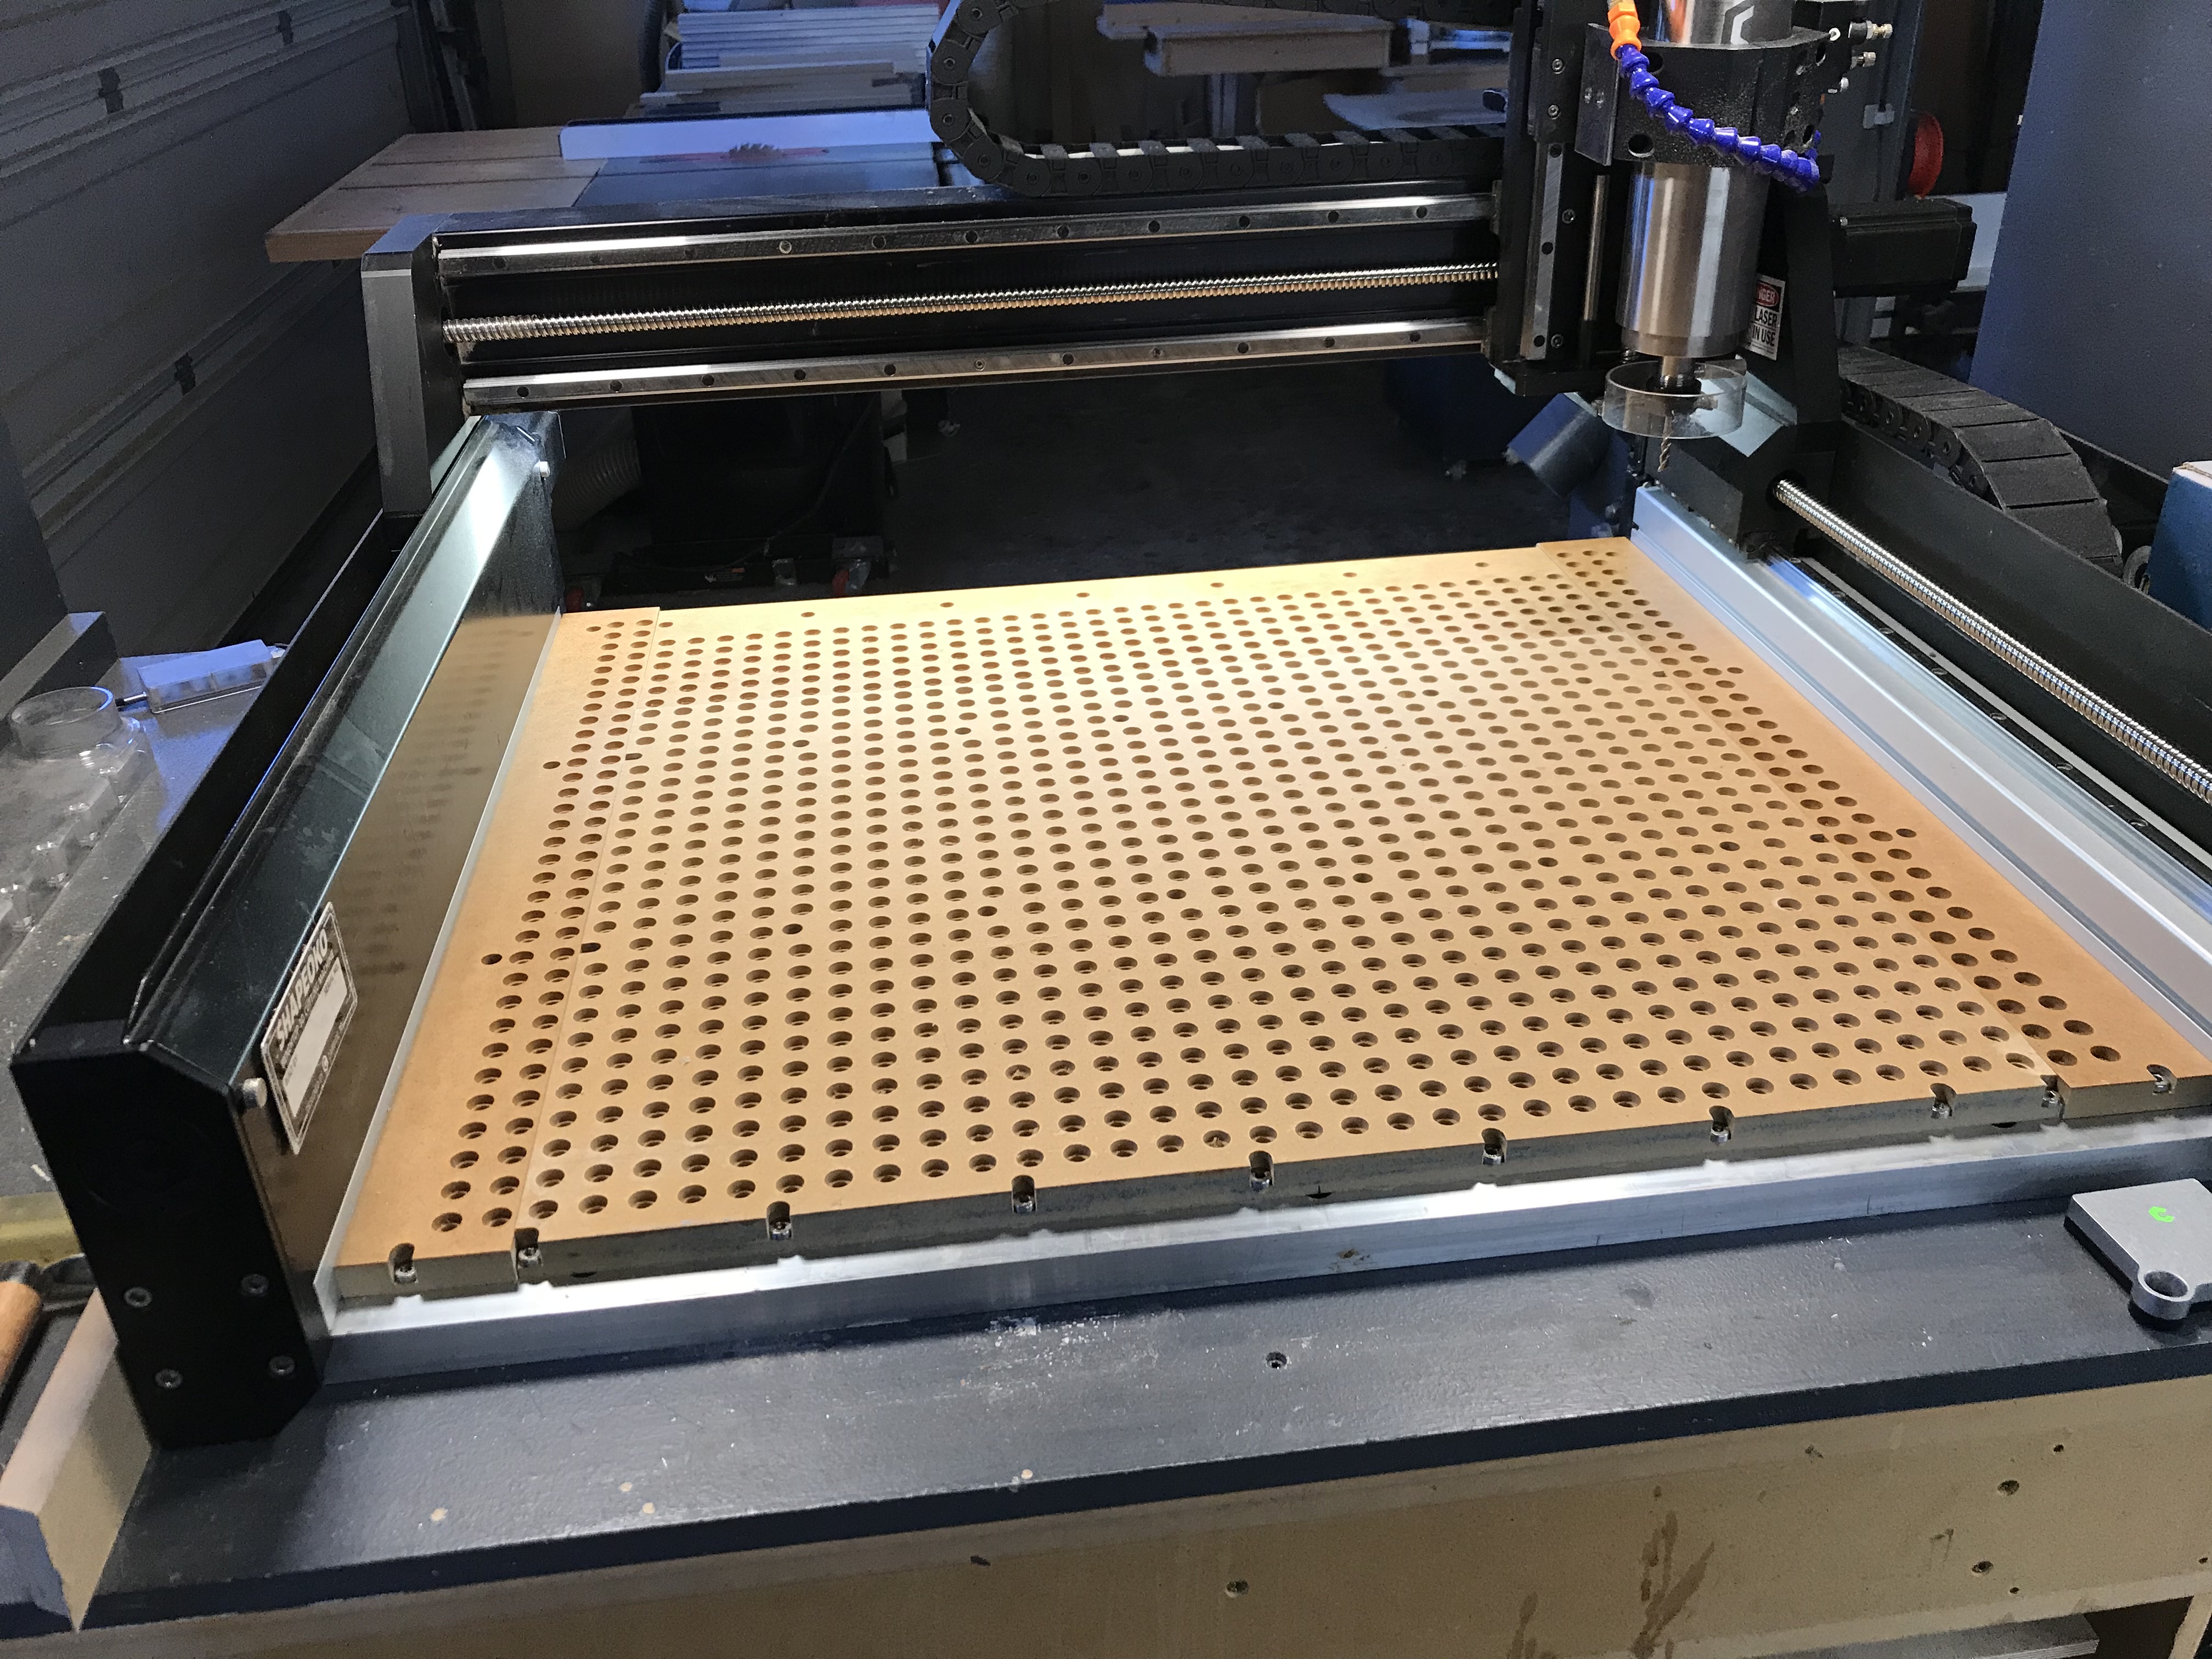
This test piece is set up for inserts rather than 6mm threaded holes but the basic design applies to both.
The center section, the actual fixture plate, is 26” X 20” (slightly smaller than actual cut area). This provides wiggle room for machining/facing. It sits proud of the side and back plates a few millimeters. Also, if need be, the sides and back can be removed and shaved down to enable deeper re-facing of the fp, an important feature for me as I make a lot of mistakes!
I’ll stick with the mdf sides and back, at least to begin with and machine the fp from 7/8” ATP5.
How are you progressing?
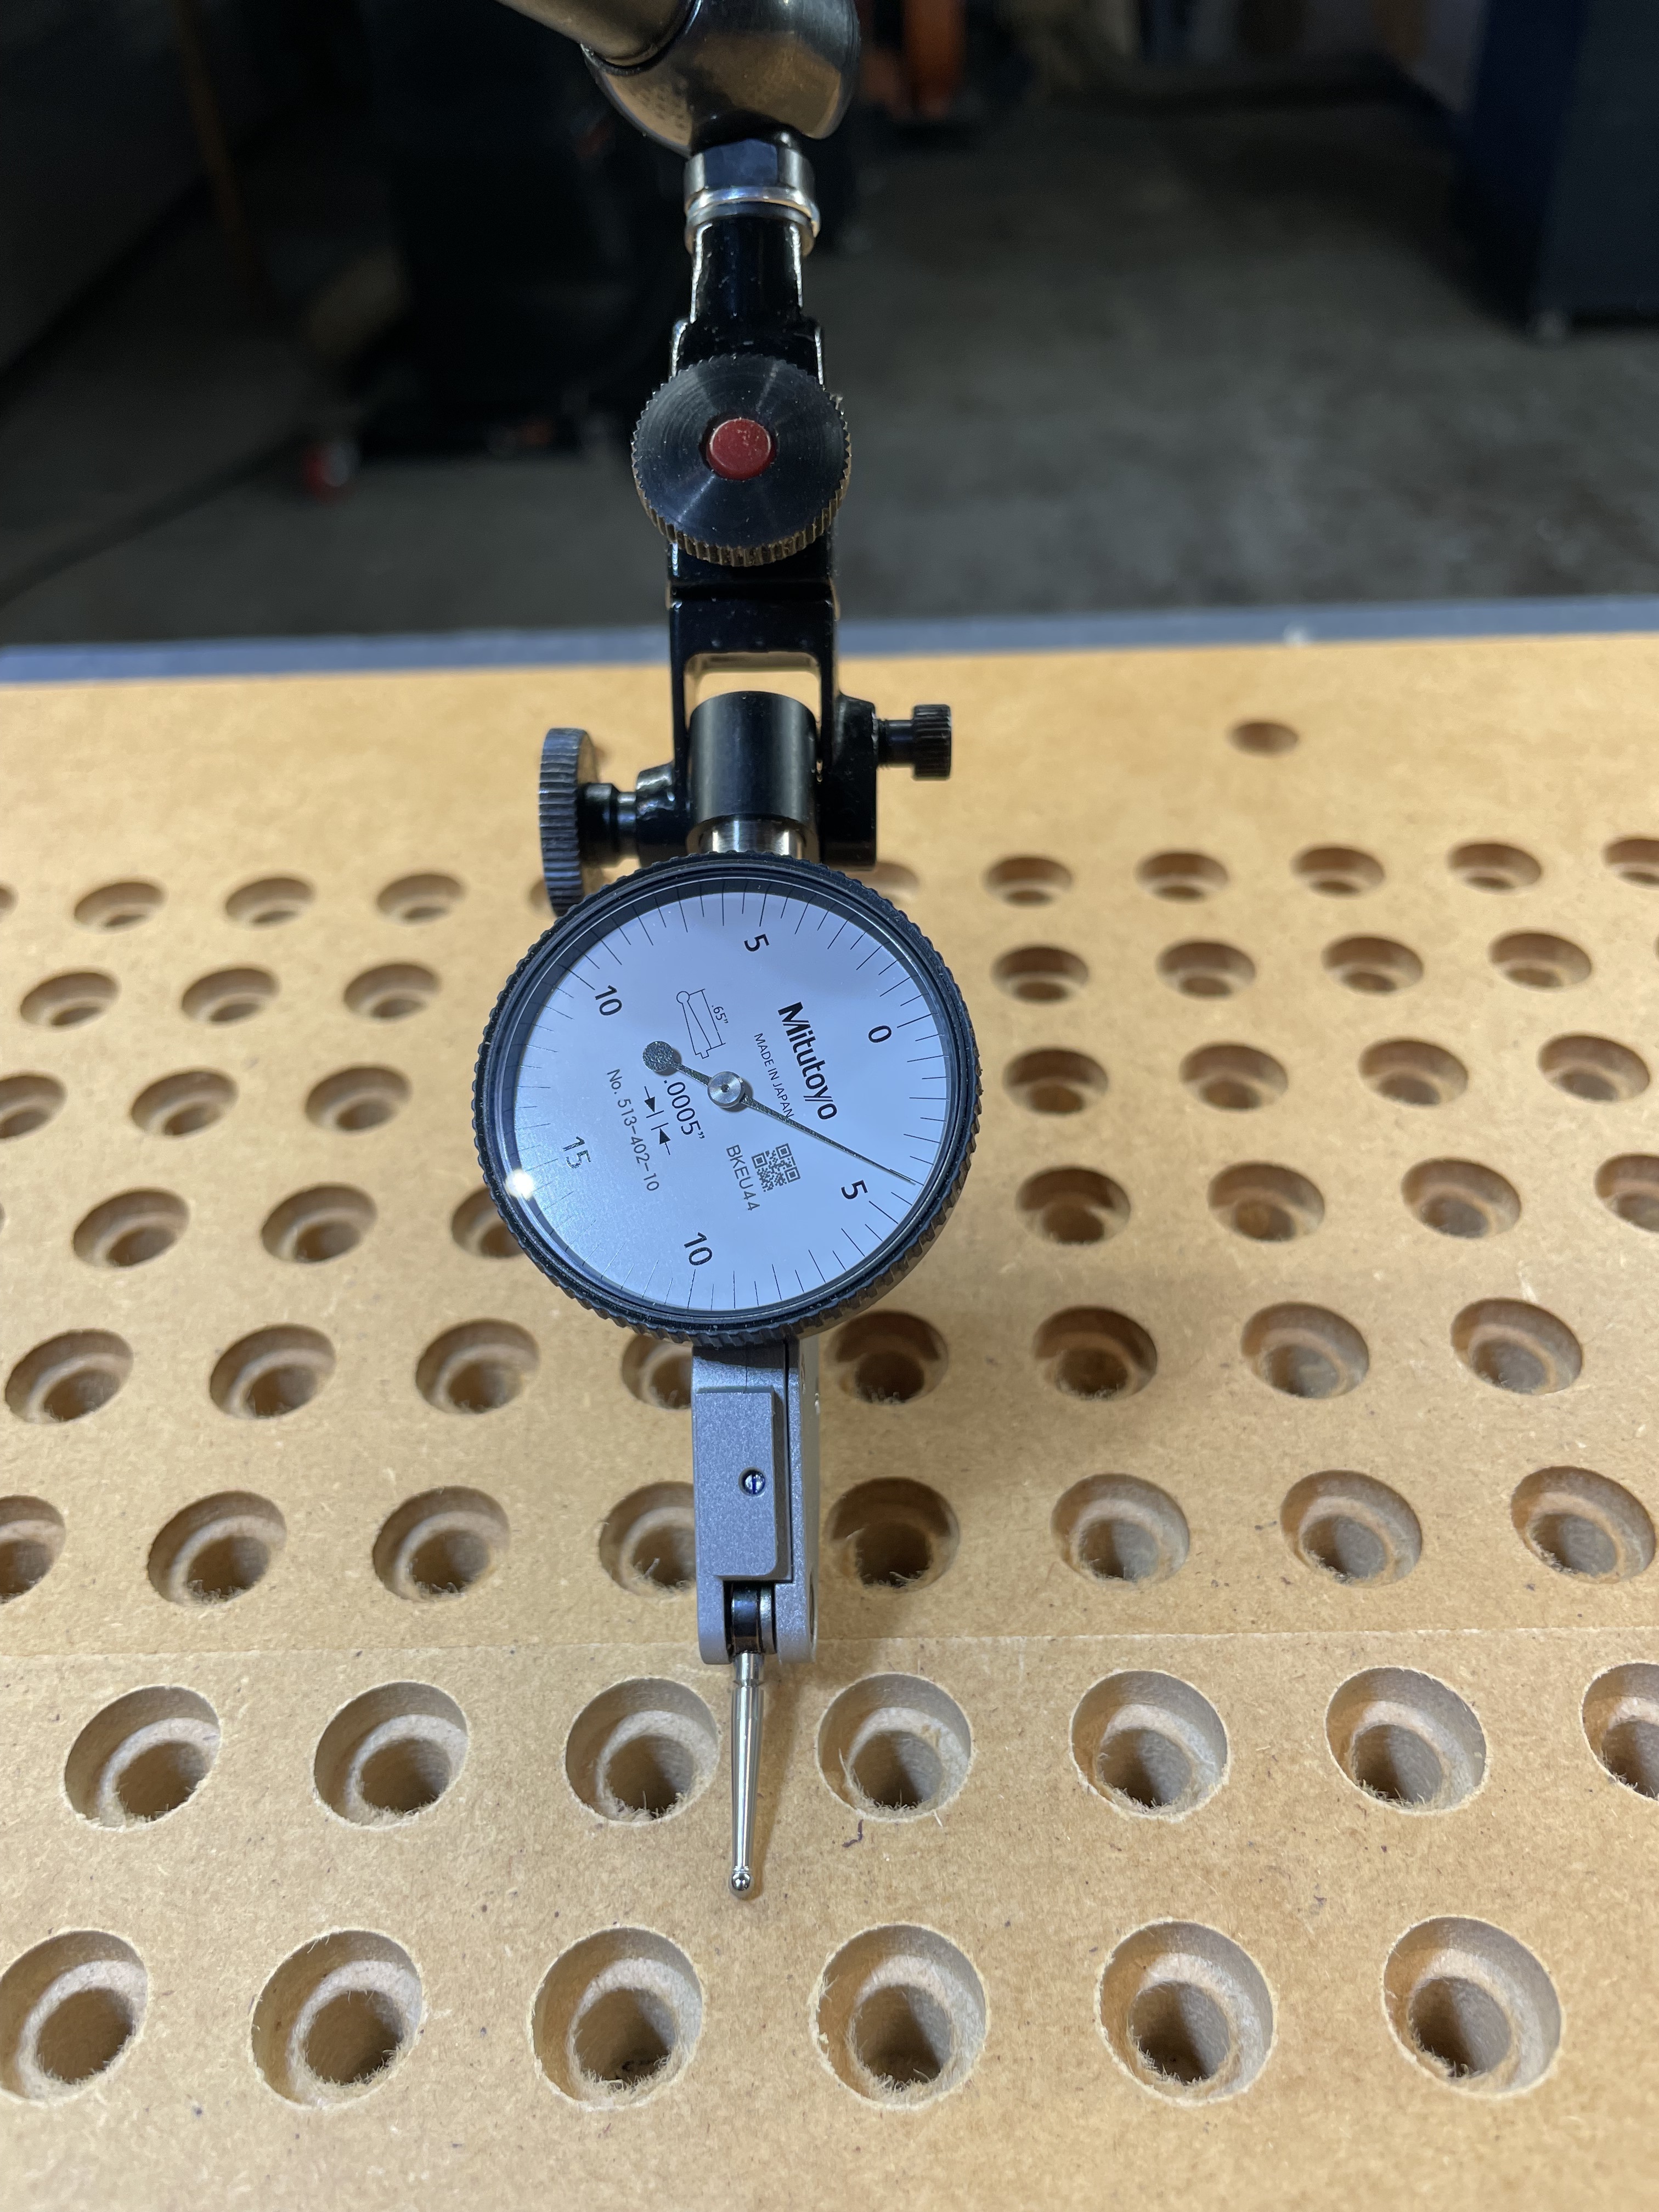
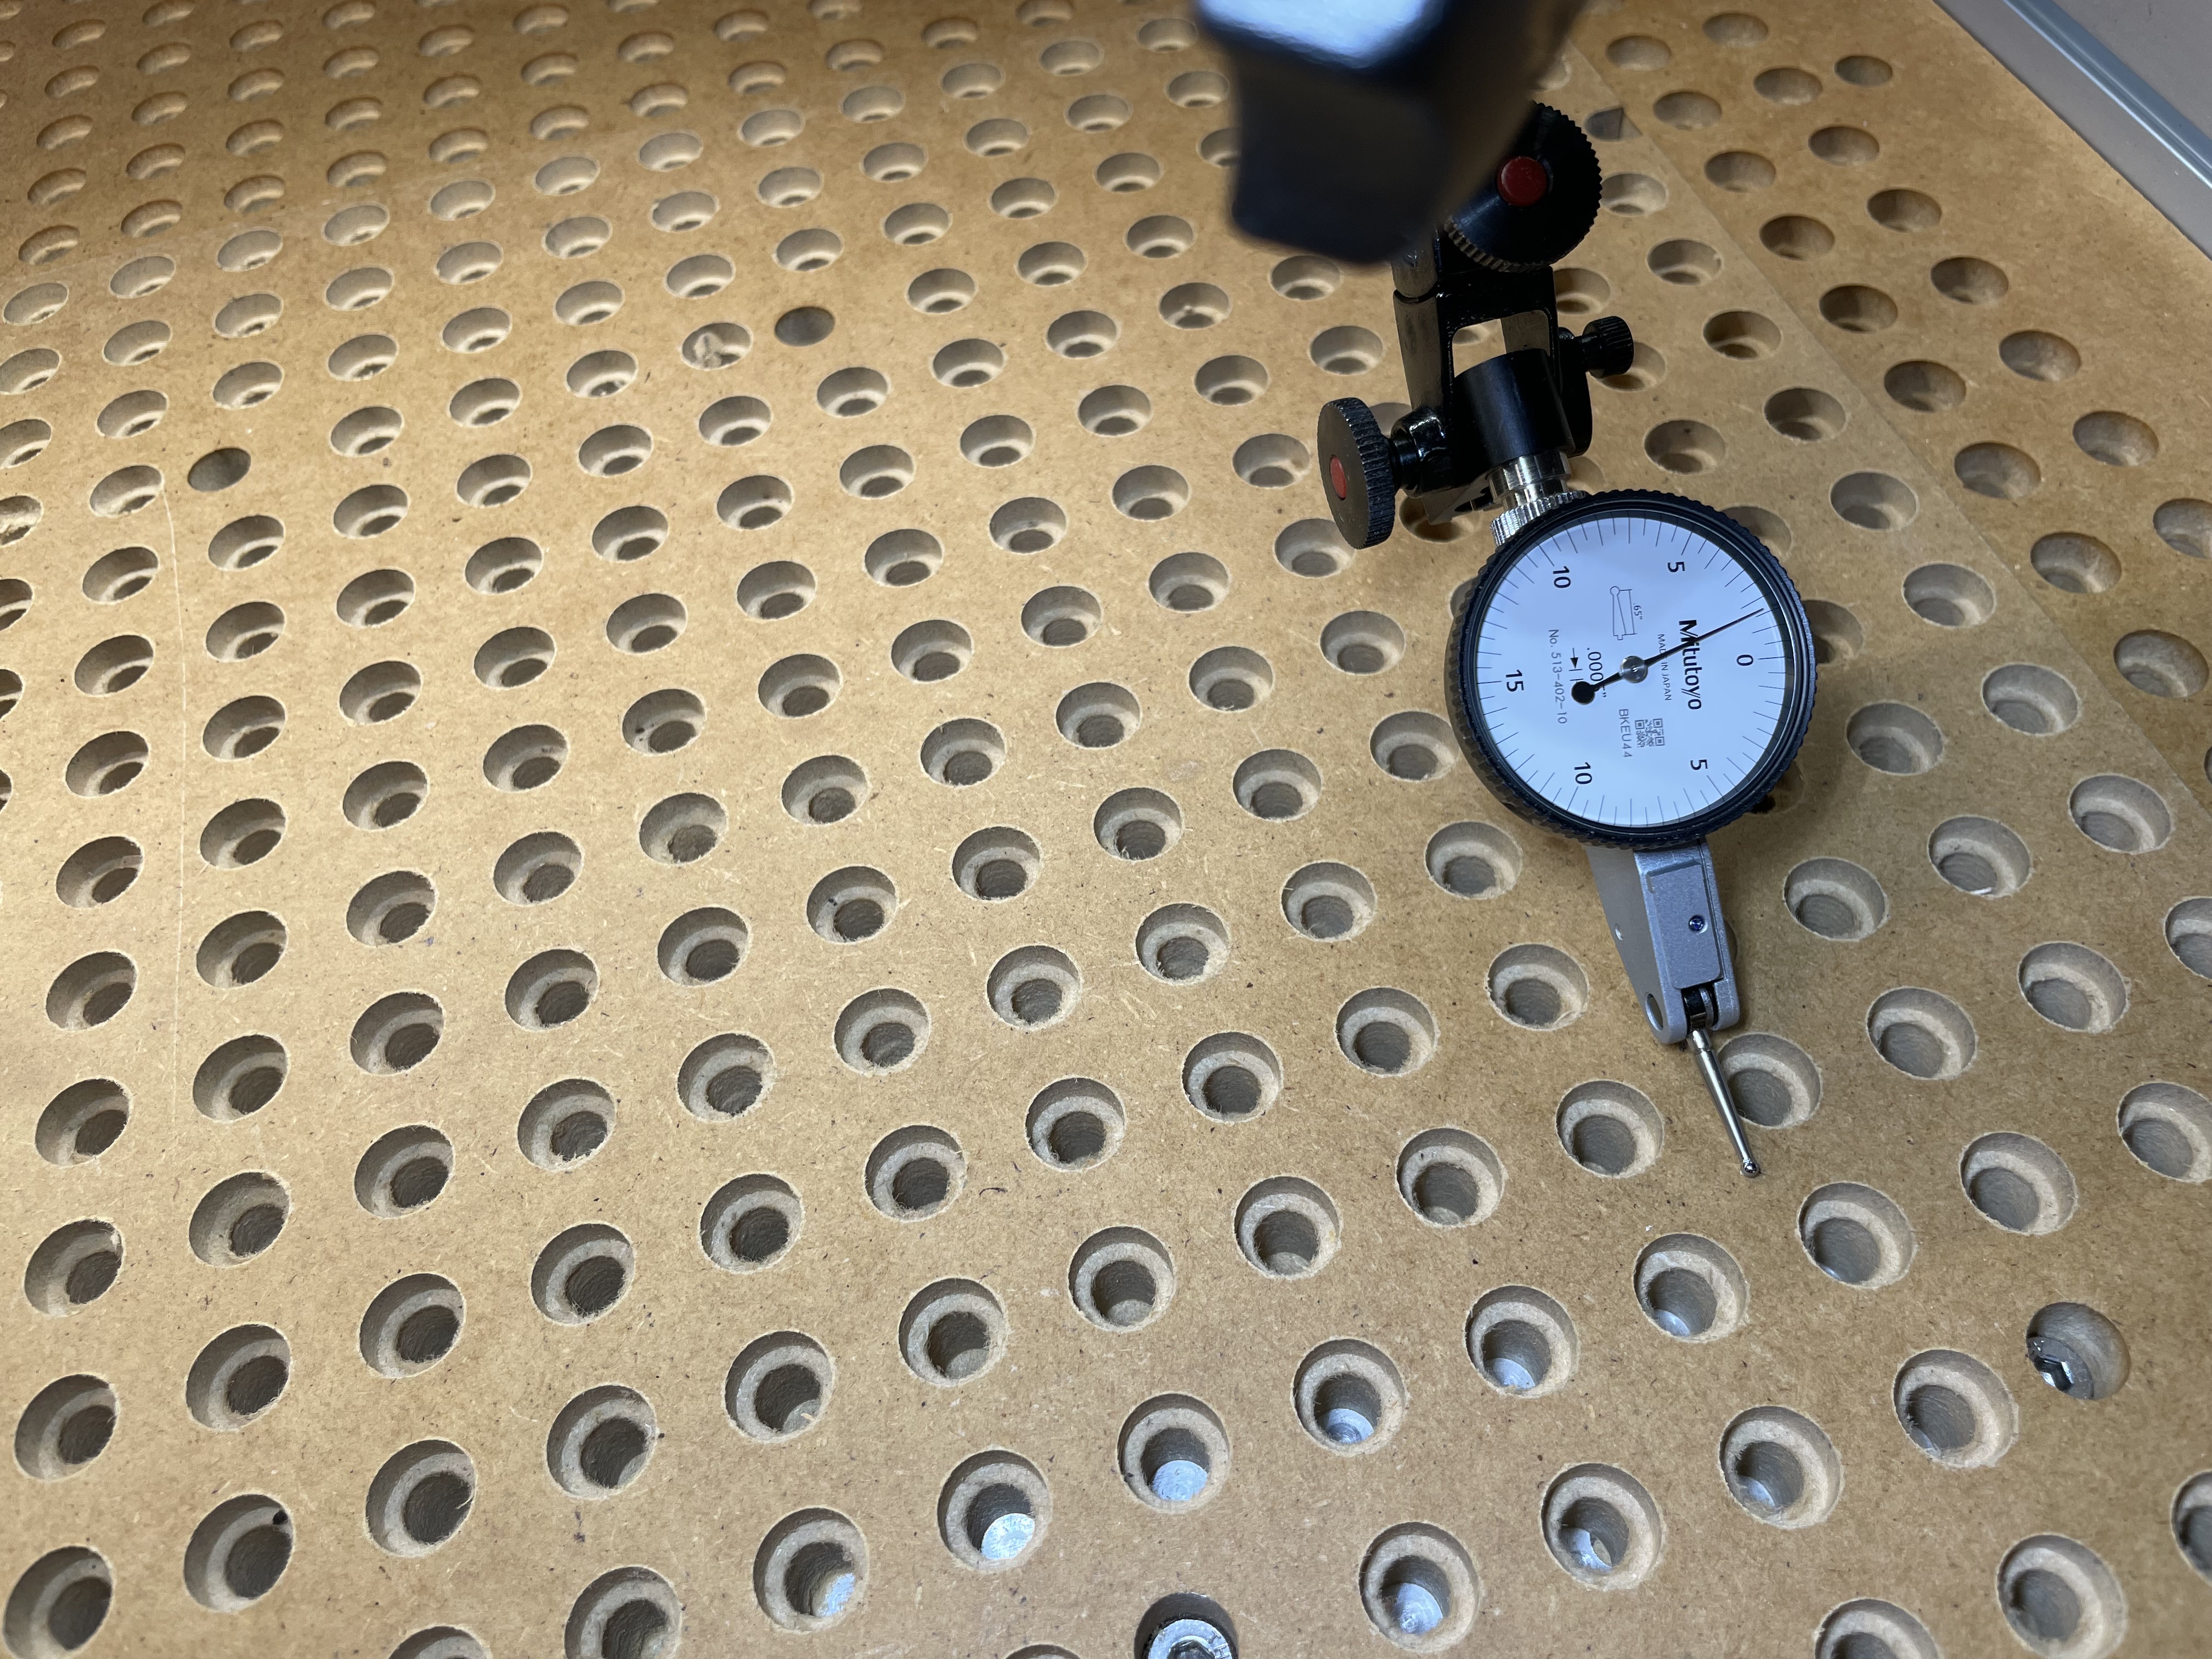
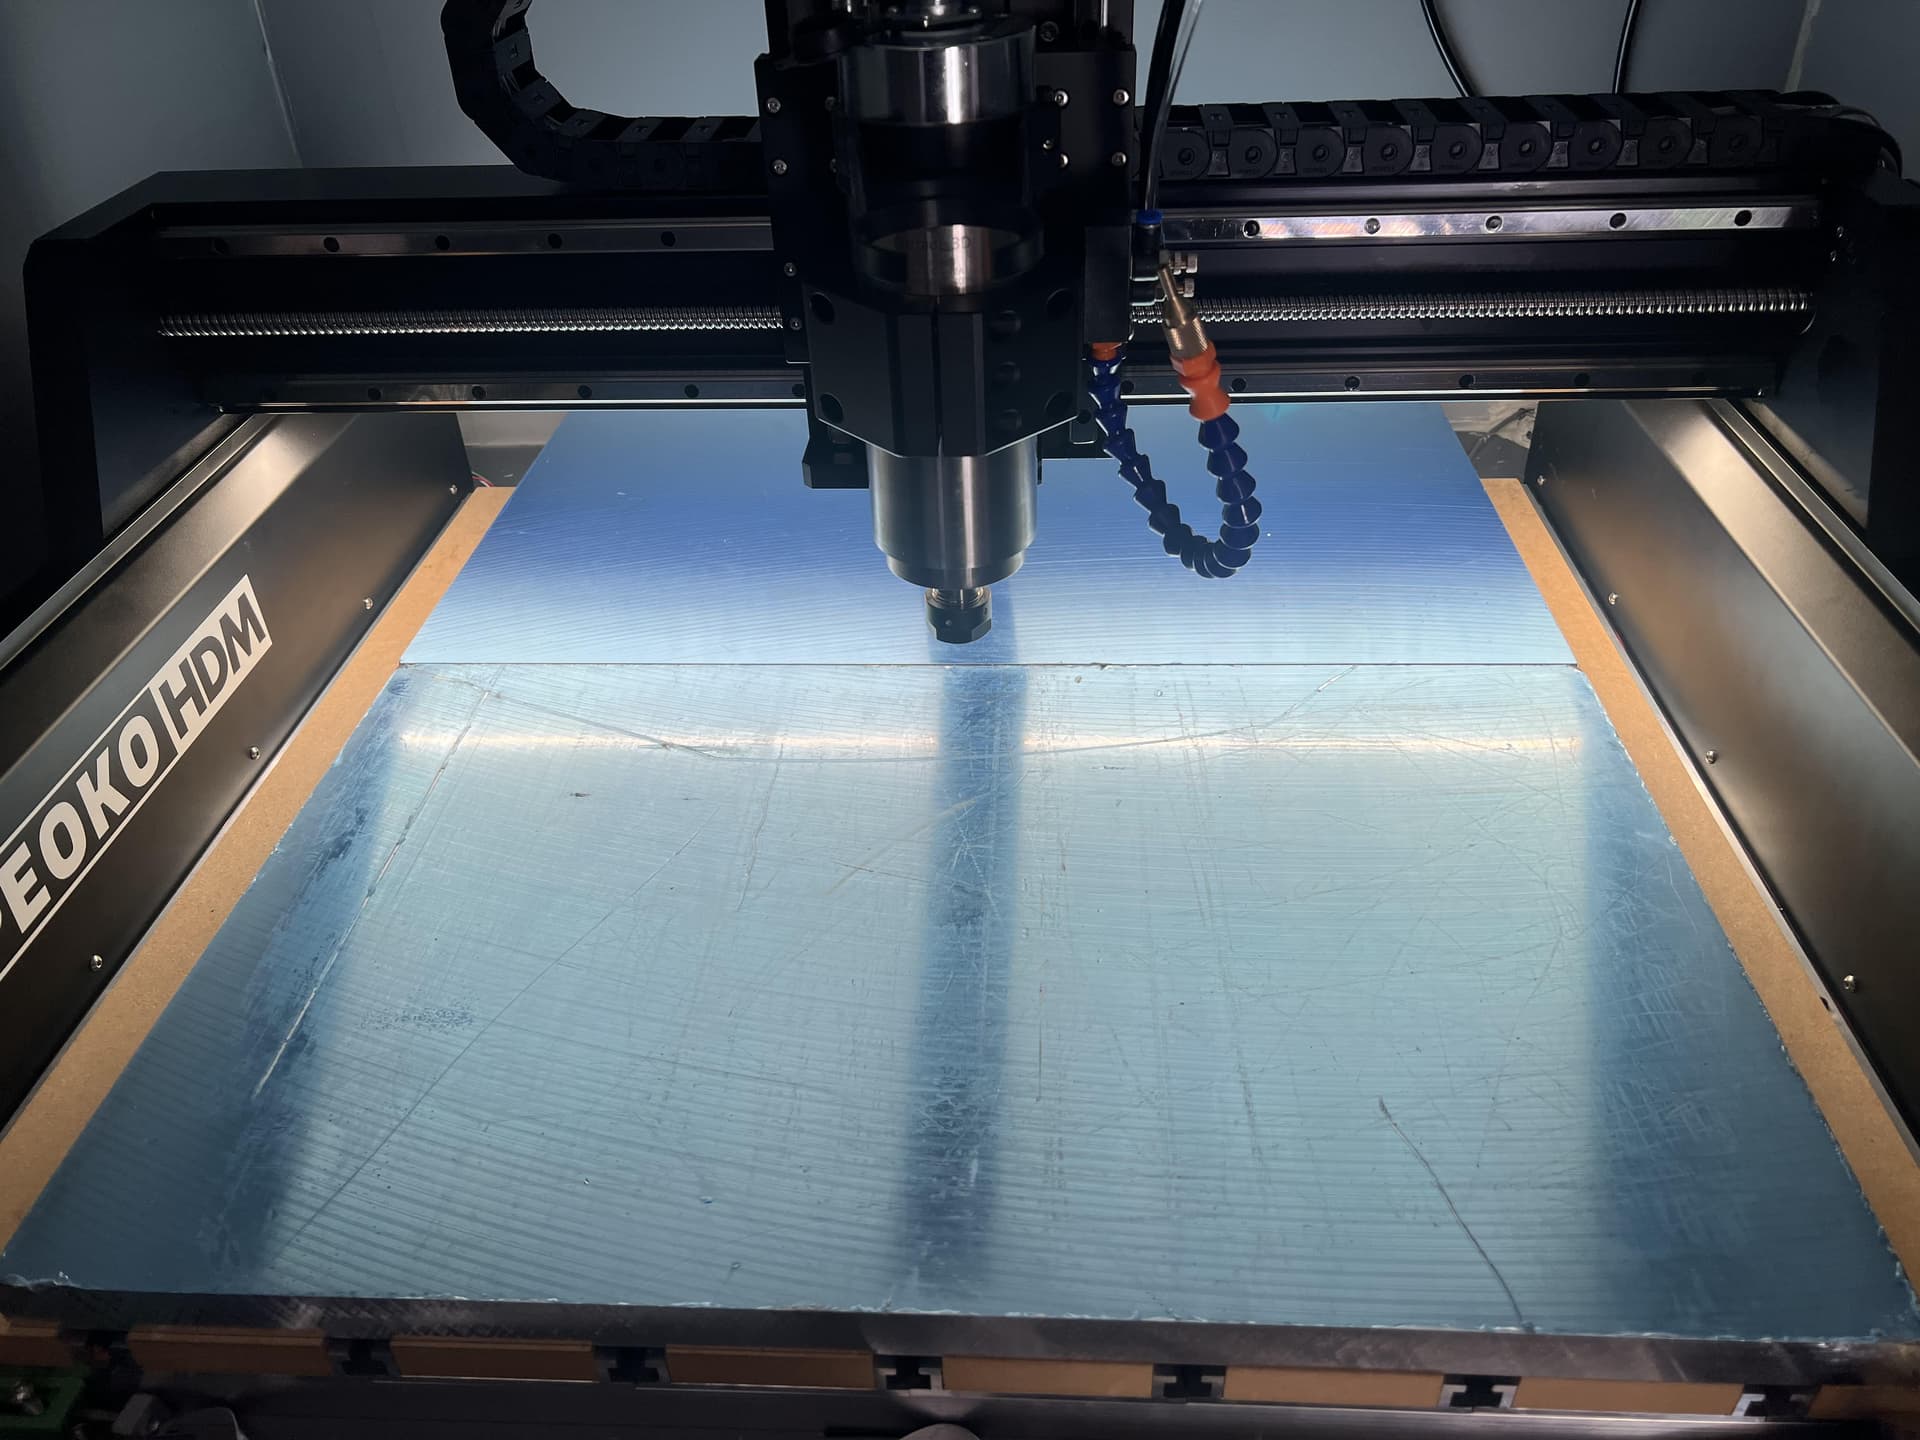
What I found on my non-surfaced MDF fp:
About .0015” in X and about 0.004” in Y. Kind of surprising I think.

2 Likes
Would you mind sharing your thread milling feeds along with how many passes you used to get a nice fit?
I am currently doing 8-32 threads with a multi form thread mill but will be using a single form for some 10-32 threads on my next setup.
For 6mm threads I used:
Single form .18” threadmill, 8000 rpm, feedrate 1016 mm/min, thread pitch 1mm, Pitch diameter offset 1.24 mm, multiple passes 2 stepovers, stepover .15mm.
4 Likes
If anyone is interested, 2L Tools also have longer 5 mm single flutes. 2 for the price of 1 Datron and 3 silly mm longer.

2 Likes
Looks awesome!
The main centerplate’s and detachable sides are a really smart idea, wish I would have though of that before putting in an order for the stock. I think with a aluminum main center plate you could also use HDPE or phenolic for the side plates for moisture resistance if misting.
I got my two plates from Midwest in the mail yesterday along with a small piece to run test feeds and speeds on. Next step for me is to prototype and run through the whole operation in MDF before. Getting the whole thing to be consistently flat across two plates might be a bit of a challenge though as I have to surface them individually, but I think shims should solve this issue if it were to come up.
I think at this point I could either stick with my original idea of two ~26x16 fixture plates, or alternatively, I could have one smaller 26x16 plate to cover the majority of the cutting area and sub-plates made from the rest of the stock. I’m not sure if I have enough stock to get full coverage with 3 sub plates, but I could always just go HDPE and use the remaining stock for other projects.
Edit:
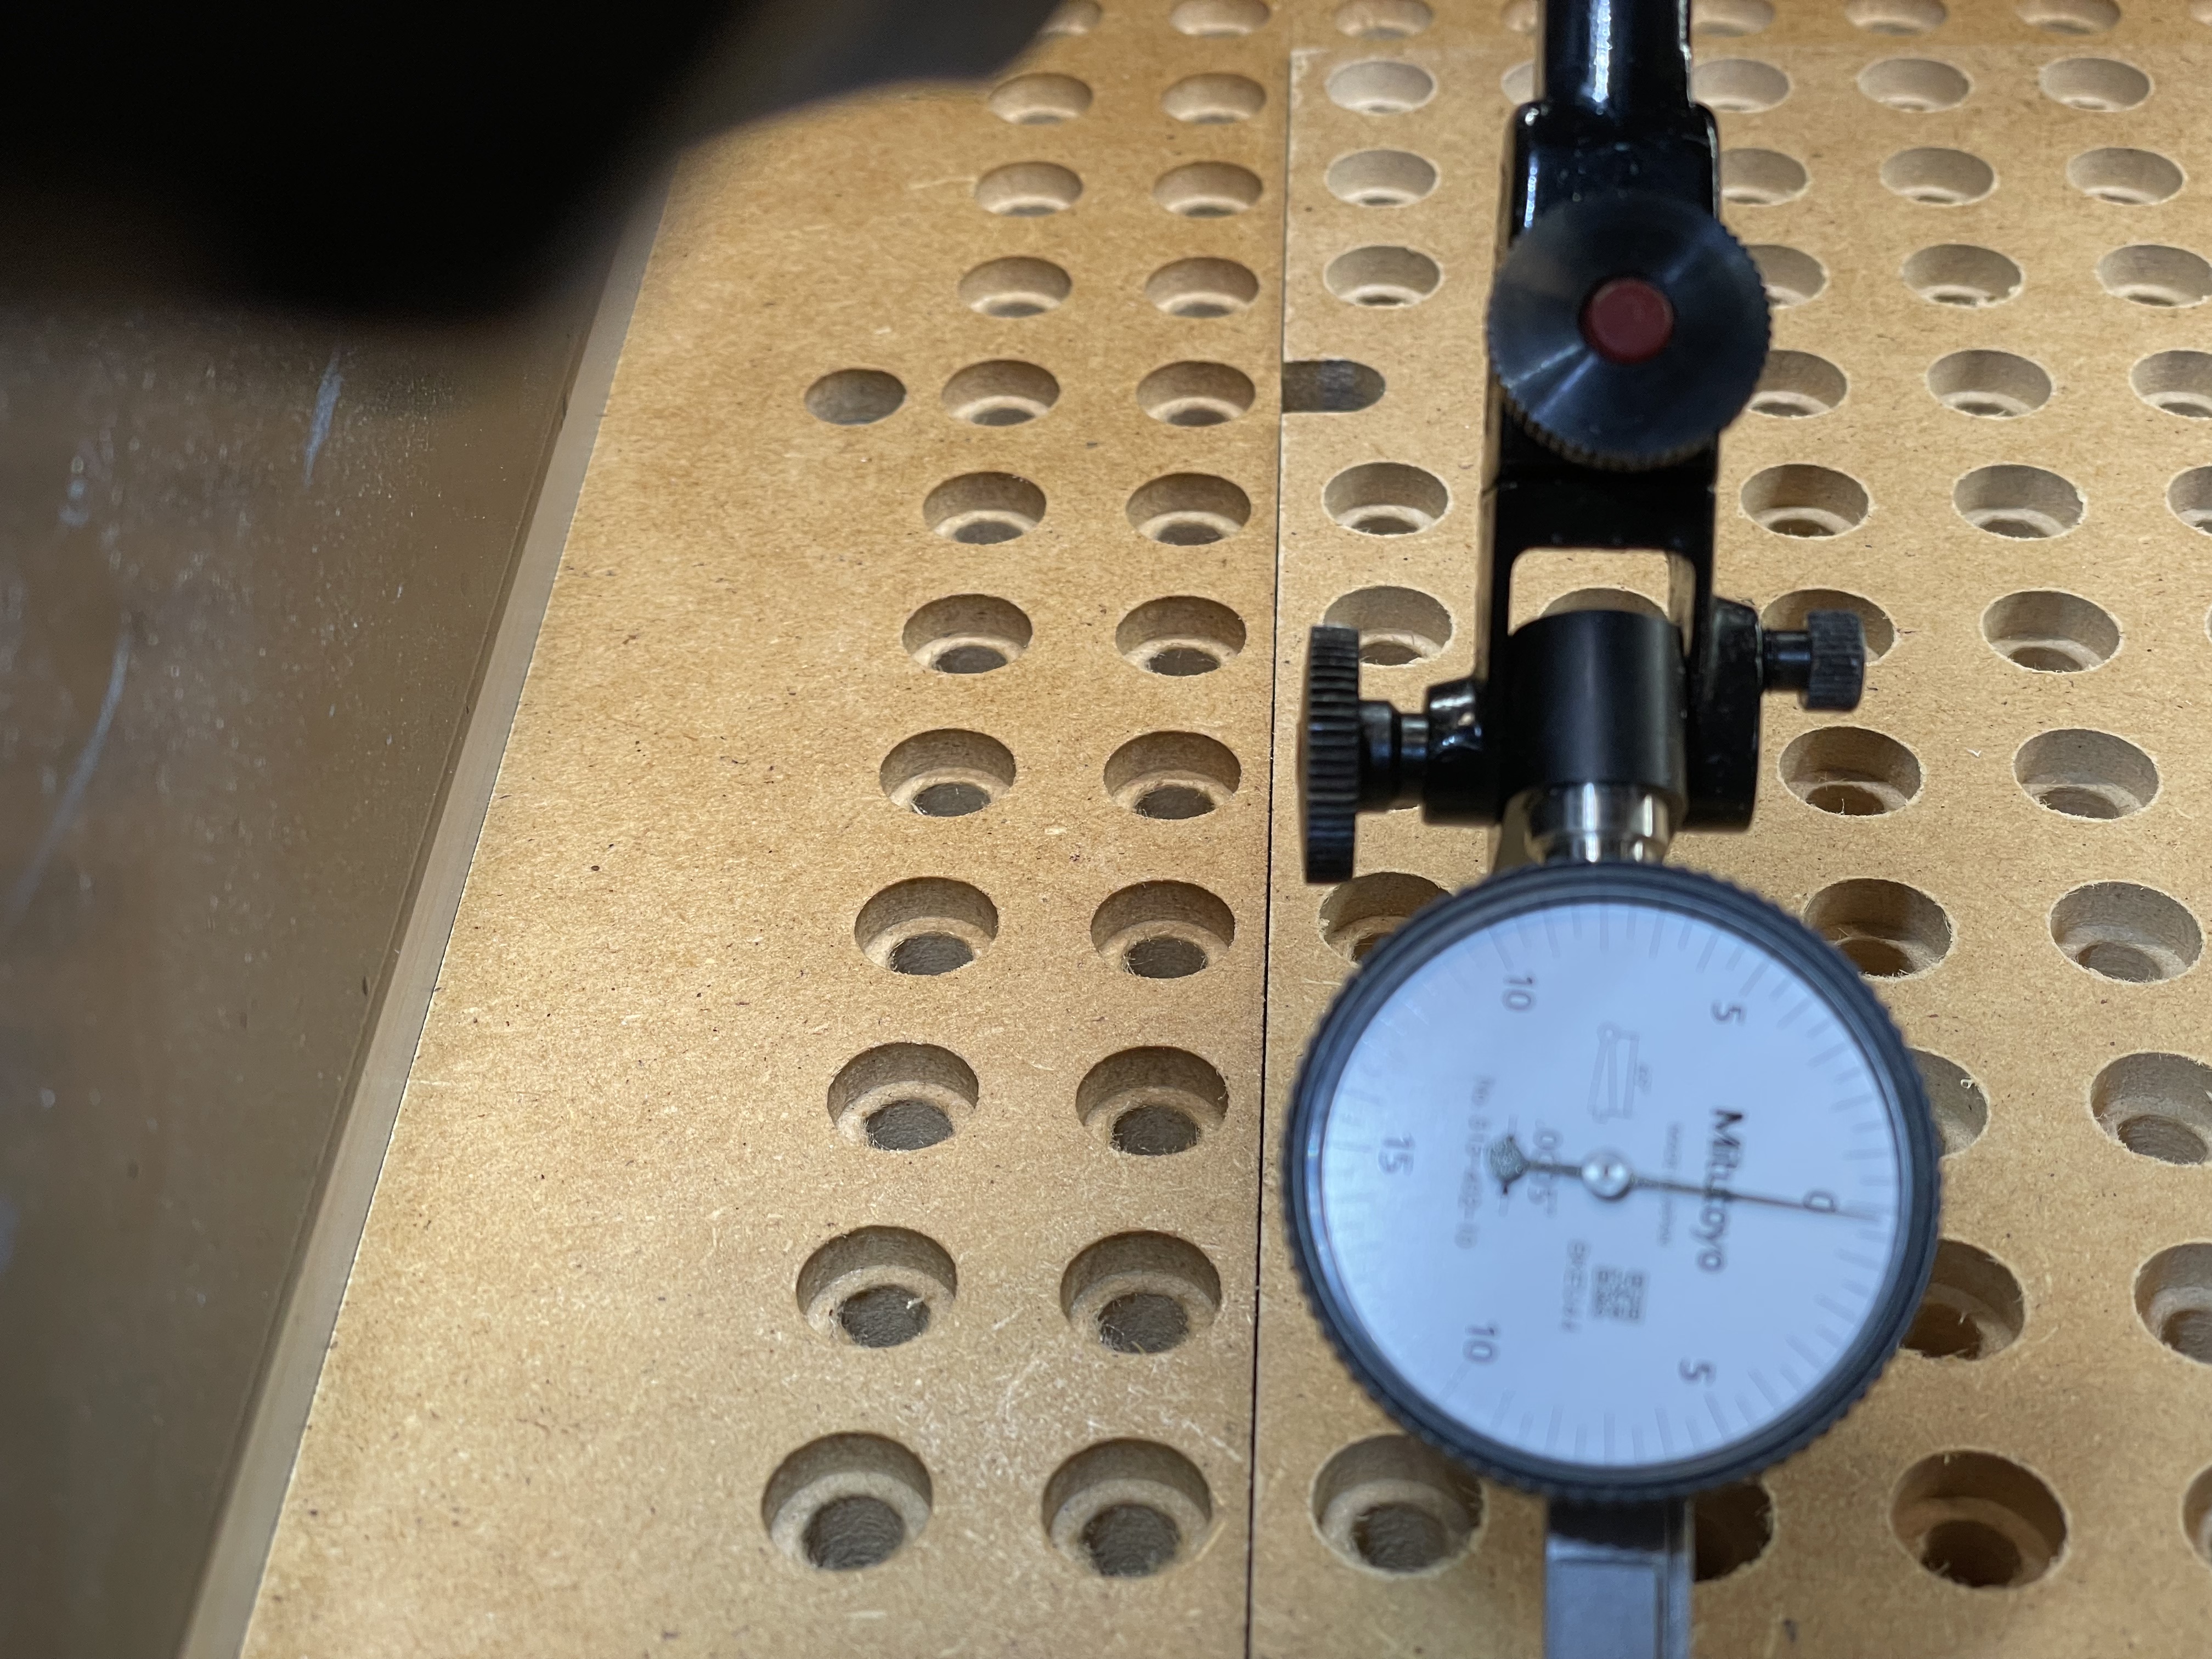
Lined the plates up, probably better to stick to the 2 plate design. Hard to tell from the photo but the join line is pretty much at the center of the bed.
2 Likes
Just to verify, is this the threadmill you used?: #10 Solid Carbide Single Form Thread Mill 24-56 TPI x 1" Reach USA I20 — CarbideToolSource.com
I read on your post in What did you mill on your shapeoko today and there was a 1/4 threadmill linked
I just wanted to make sure I get the right tool before ordering
I use/used 1/4" Solid Carbide Single Form Thread Mill 20-56 TPI x 1" Reach USA I24 — CarbideToolSource.com for 6mm holes. 0.018” cutting diameter.
BTW, practice threading in wood first.
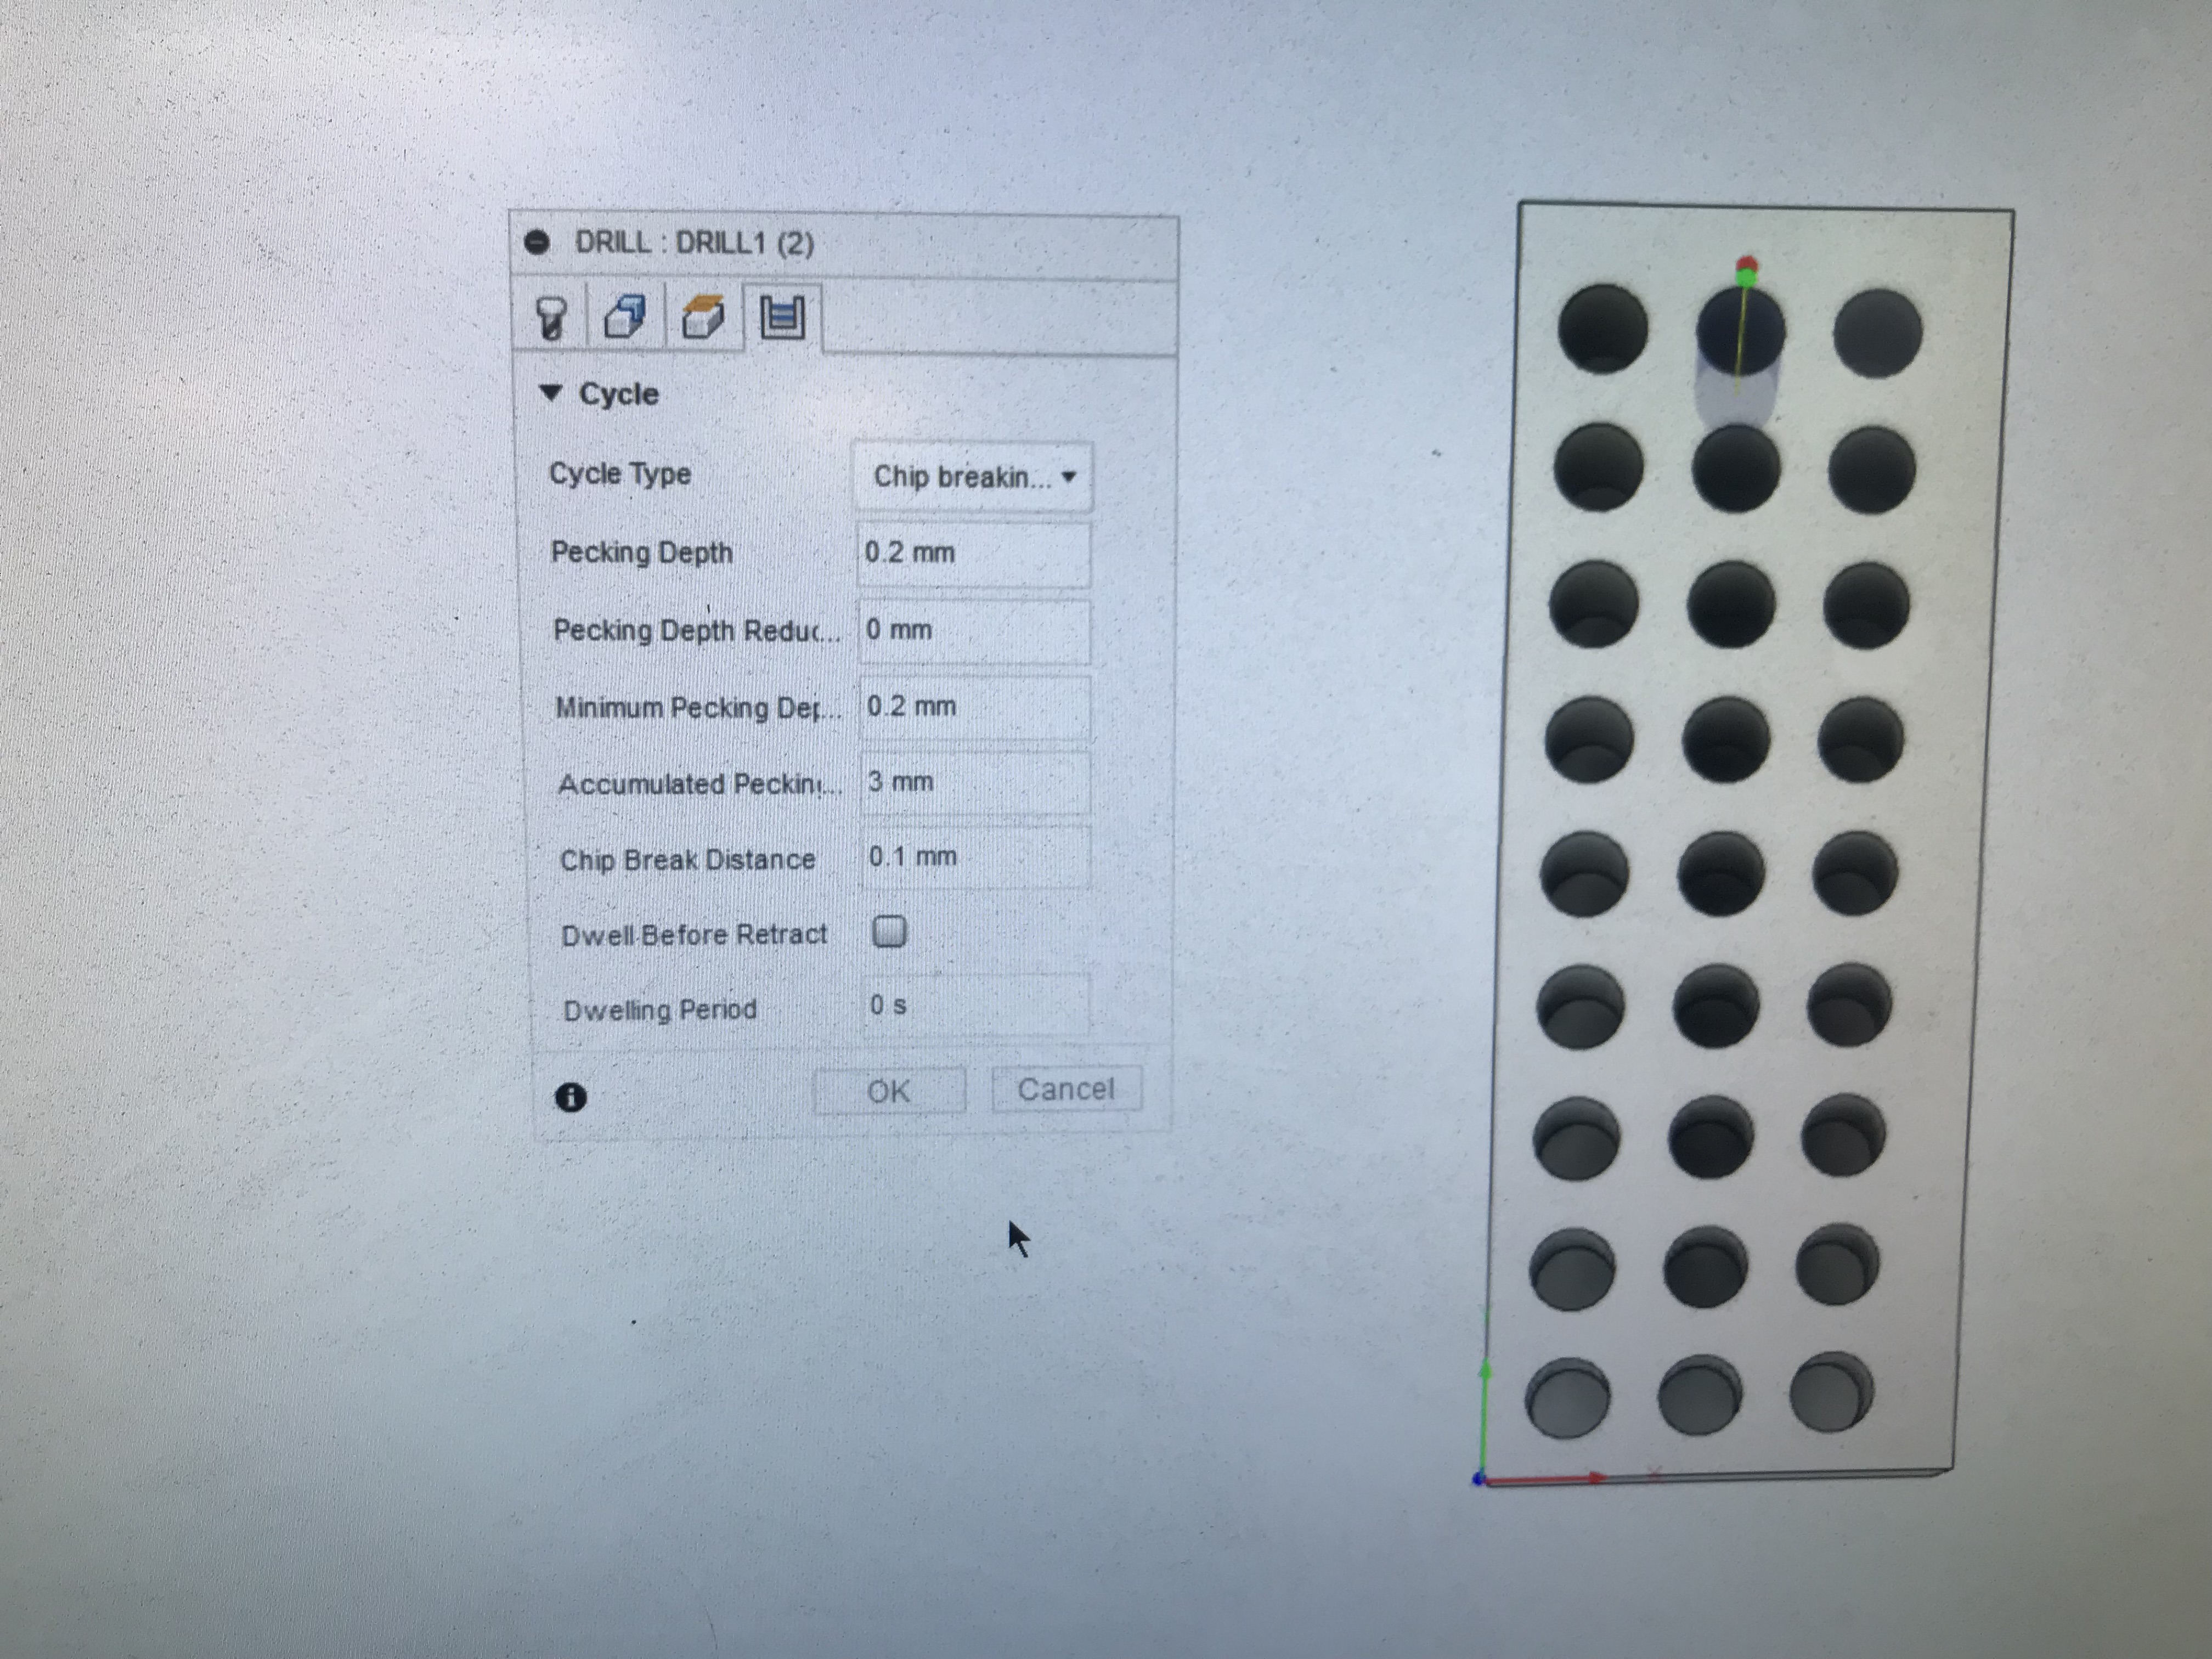
Also, I’ve changed my strategy for hole boring. I’m using the Drill/chip breaking option in F360.
Using an end mill that is very close to the diameter of the hole being bored is much different than using, for example, a 1/8” bit for a 6mm hole. Something obvious to machinists I’m sure, not so much to me.
I’ll be interested to hear of your experiences!
1 Like
One thing to check and possibly be aware of is when using the jogging quick points at least on my HDM the center point doesn’t line up with the center T track for some reason its a few MM off. I don’t know why and it almost cost me but luckily I noticed it before I drilled my older plate.
Where center falls for the Rapid Position points is determined by:
- physical position of the homing switch (there is some adjustment possible)
- Travel Dimensions
It should be possible to adjust those two so as to get things perfect centered (for values of perfect w/in the precision of the switches and the distance of a micro-step on your machine).
1 Like
Curious to hear your strategy for drilling/boring?
I’ve been working on learning peck drilling myself.
Hopefully some others will share too. Not much about peck drilling with hobby machines on the web.
At present I am peck drilling 5.05 mm holes with a 5mm single flute uncoated Datron mill.
So far, I’ve learned air blast is not needed, chips are large and clear nicely. Lubrication is definitely needed, especially as you get deeper.
I rigged a WD40 reservoir and connected it to my cheap Chinese mister. Low airflow + 50-75% open mist valve results in a nice drip. The higher viscosity of the WD40 helps to reduce flow.
Settings and results:


What’s next -
Will try a 4.5mm single flute end mill from 2L.
Reduce the number of full retracts.
Bump the federate a bit.
7 Likes