So I recently upgraded from the 7w Pro laser to the 24w Quad and also added the Jtech Rotary to my HDM. Installation was simple by following Jay’s directions. I’ve designed a few accessories and mounts for the module that I’ll post below along with photos and other findings. The 24w quad is very well built, and has performed great in my initial testing. The rotary is great also. However, there is no reason you couldn’t use a fancier rotary like a PiBurn as long as you used the proper stepper motor. I will use this thread to document my build and answer any questions.
Be sure to check back as I will be updating this as i progress with the build and will update each post with photos.
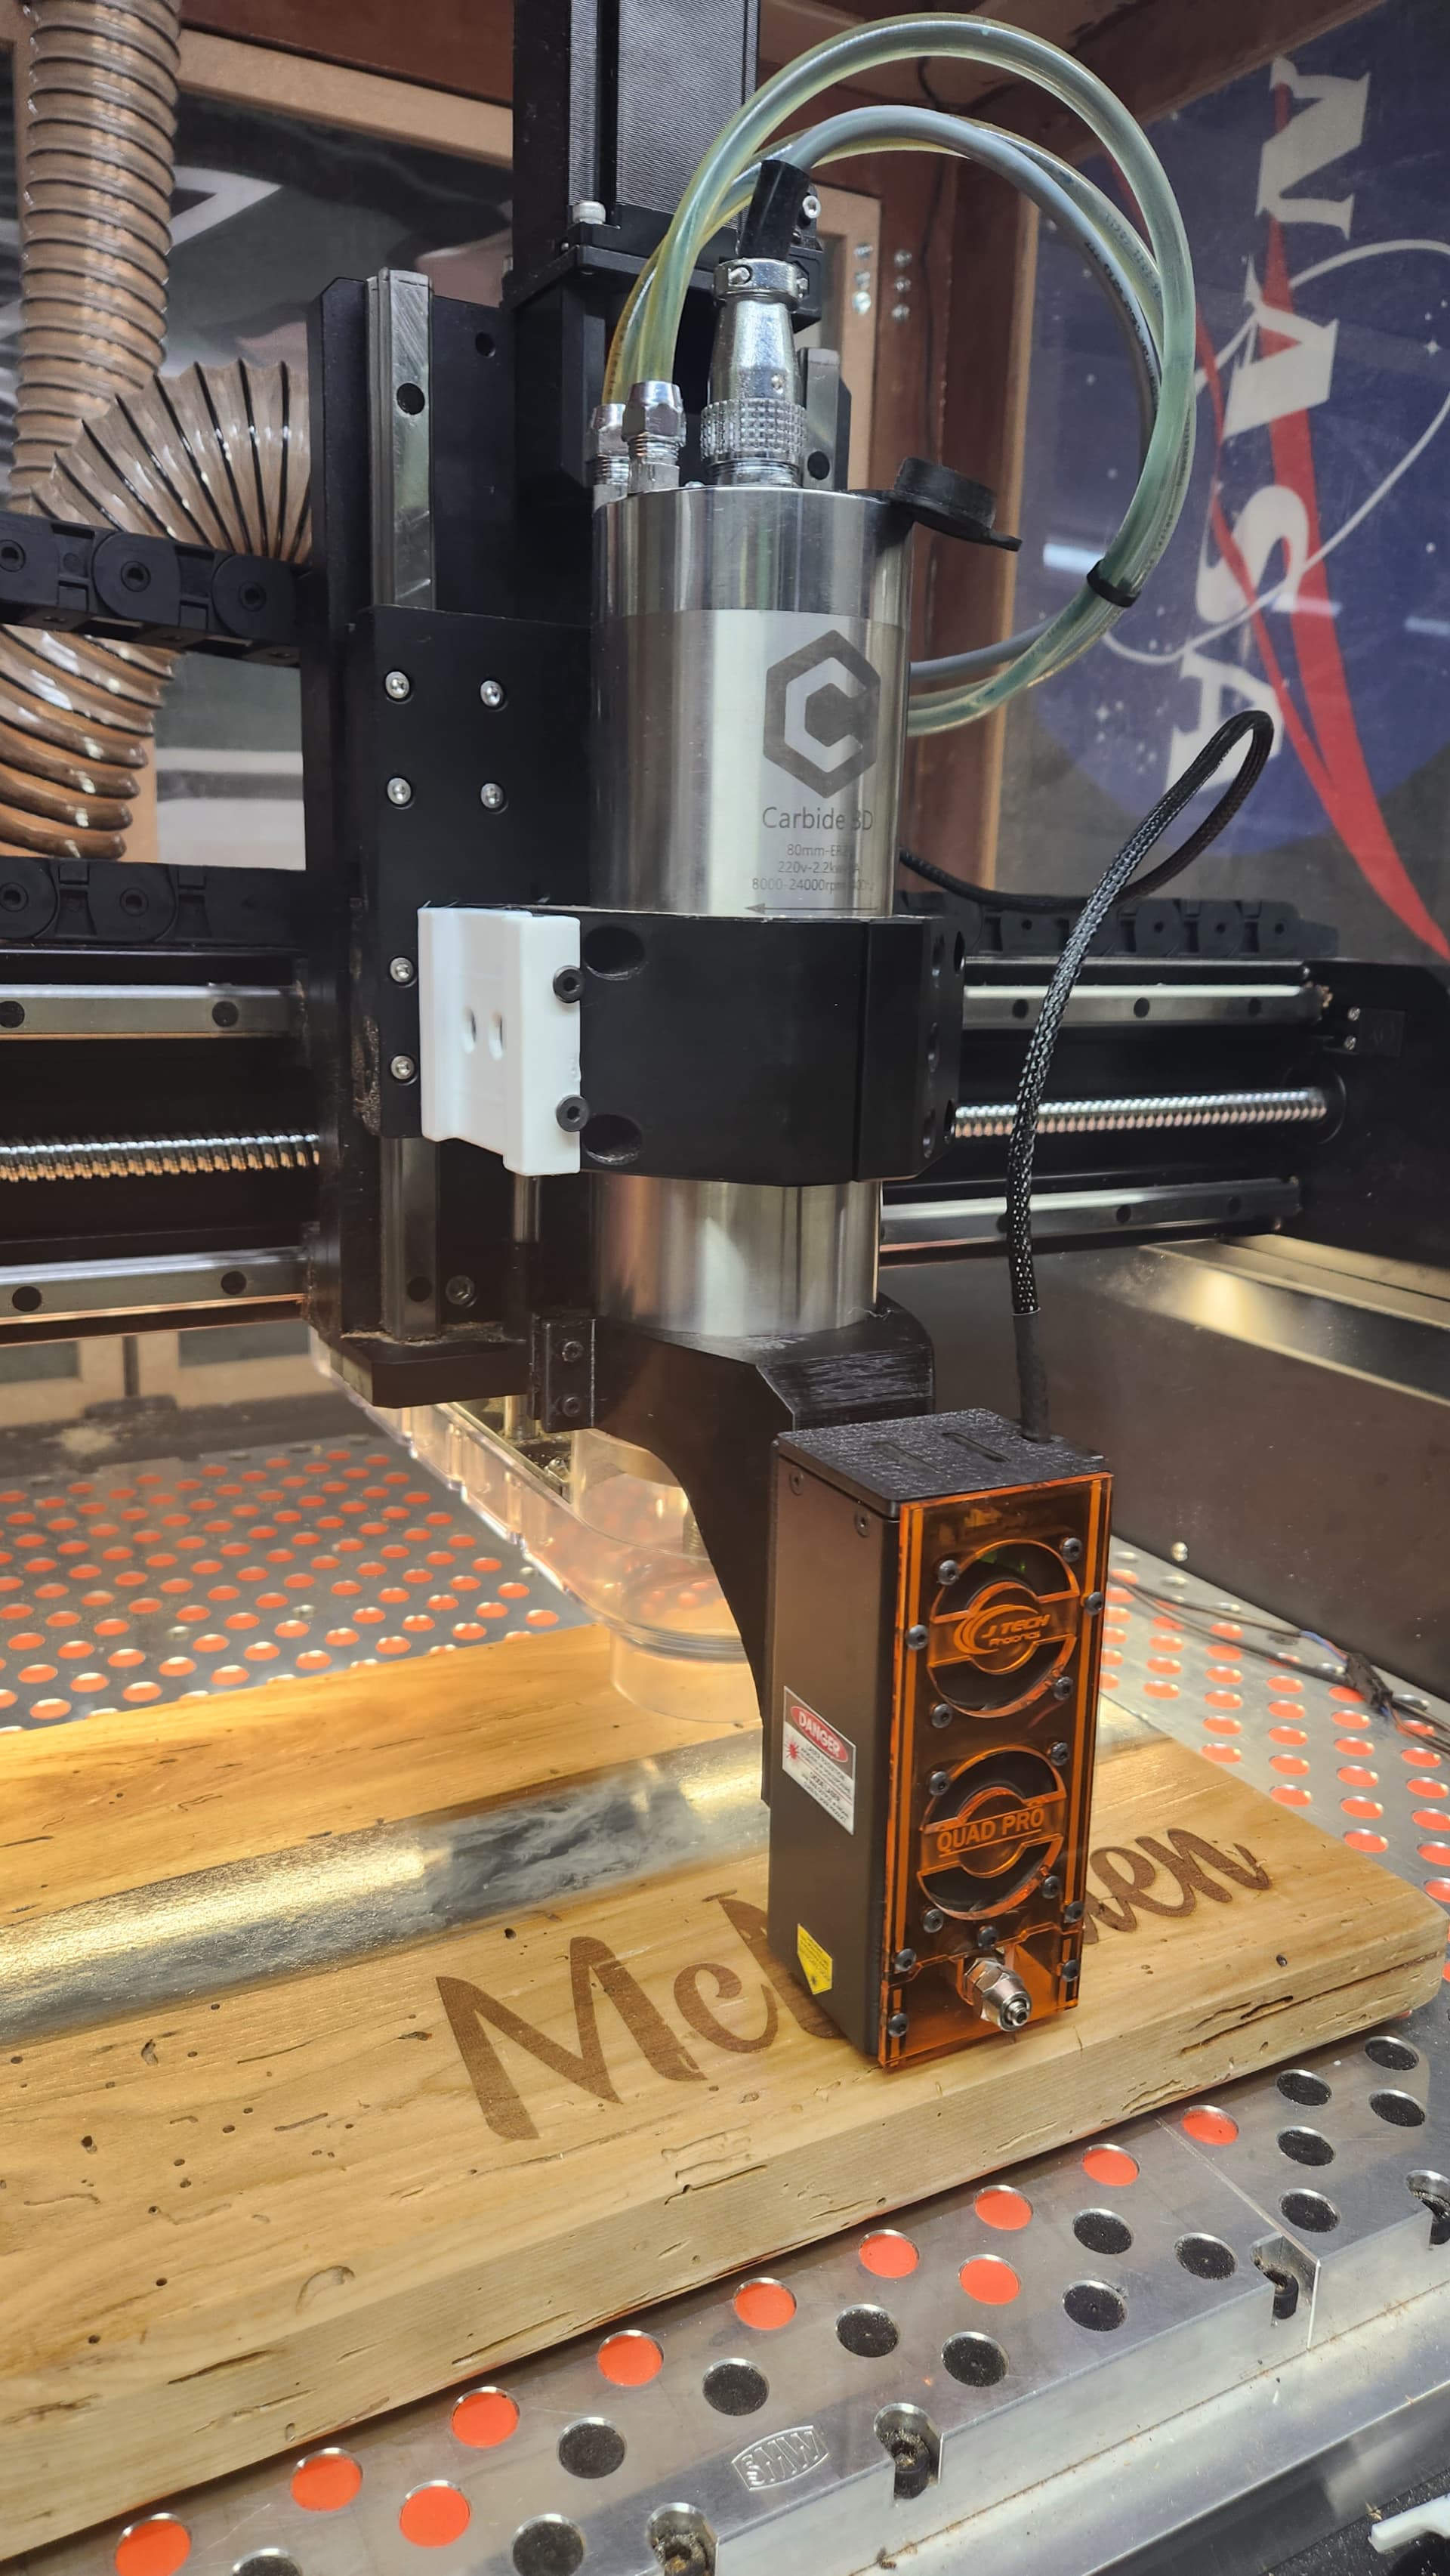
Very stoutly built. Loud though. Has an extruded or bent metal channel case on three sides with a front cover of laser resistant acrylic. One 4 pin cord instead of two cords like on older model. I fully believe it is 24w. I am working on building a library for it and will post it once I have it better together.
Integration:
Push in the header into the unpopulated spindle pins on the warthog, connect the wire, close the cover. I used a couple self tapping screws and secured the driver to the front panel of the HDM control box.
Mounting Options:
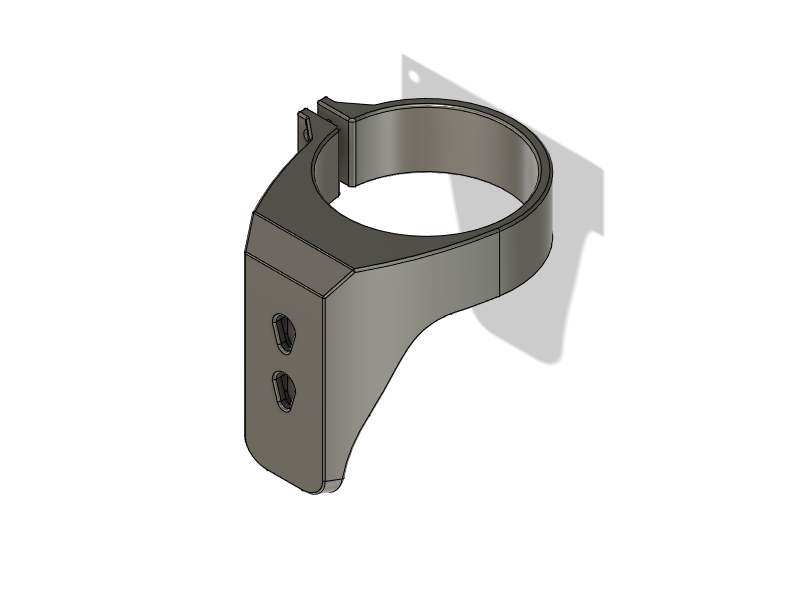
For my HDM, none of the included mounts worked. Jay does have an 80mm spindle mount but I just designed and printed my own. His didn’t appear to have clearance for the trim ring around for the sweepy pro.
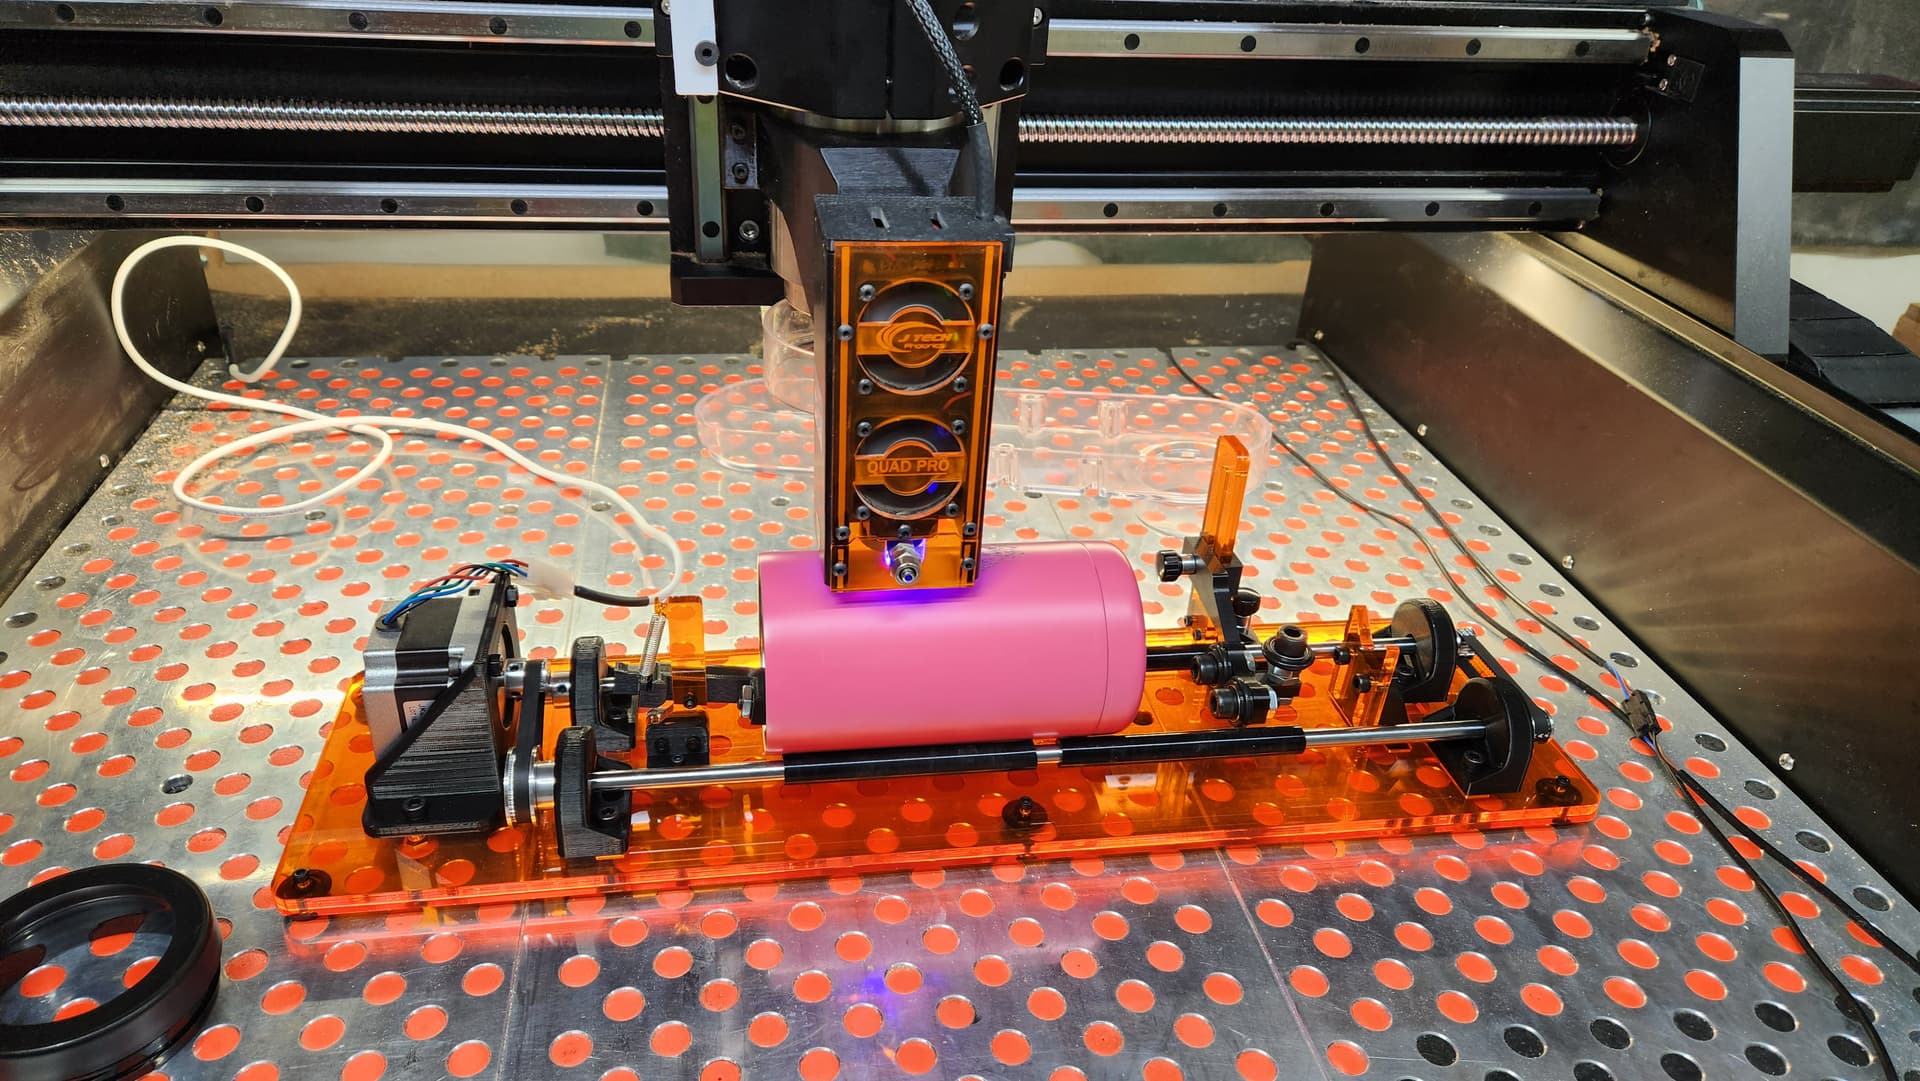
I have owned high end rotarys (Piburn V4, PiBurn Grip) and they are amazing. No compromise for performance. The JTech, is definitely built to a price point. Now don’t take that as a bad thing. A lot of thought and development went into this to get the functionality for best price point. Very Simple to assemble, sort of a PITA to swap over to on the HDM (at least in my enclosure) as it is difficult to get to the Y-Axis motor connectors to disconnect them. The rollers aren’t dead nuts and the rotary struggles with light cups.
Very simple, unplug both Y-Axis motors, plug the rotary into either, configure in Lightburn. The Lightburn config can be confusing but you’ll get it.
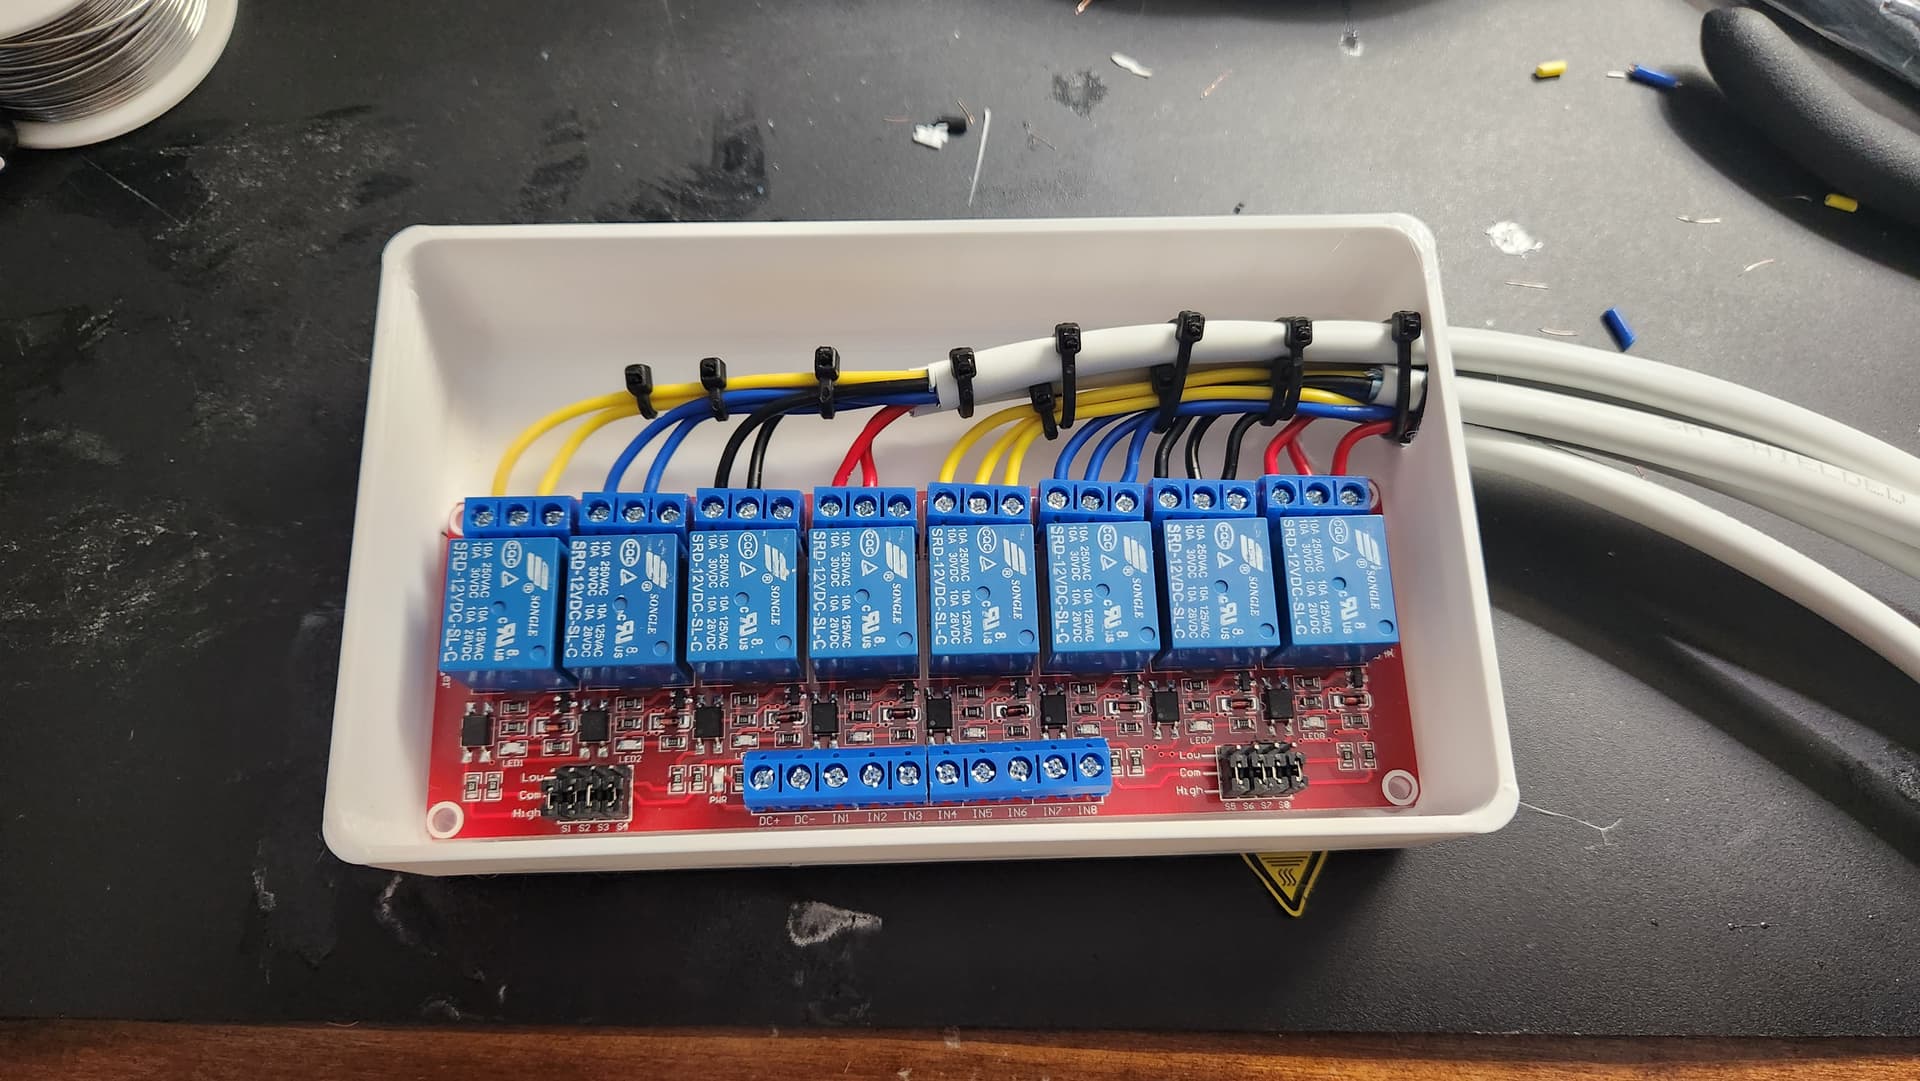
Due to the difficulty in connecting and disconnecting the rotary, I am designing a solenoid based switching box to make switching as easy as flipping a switch.
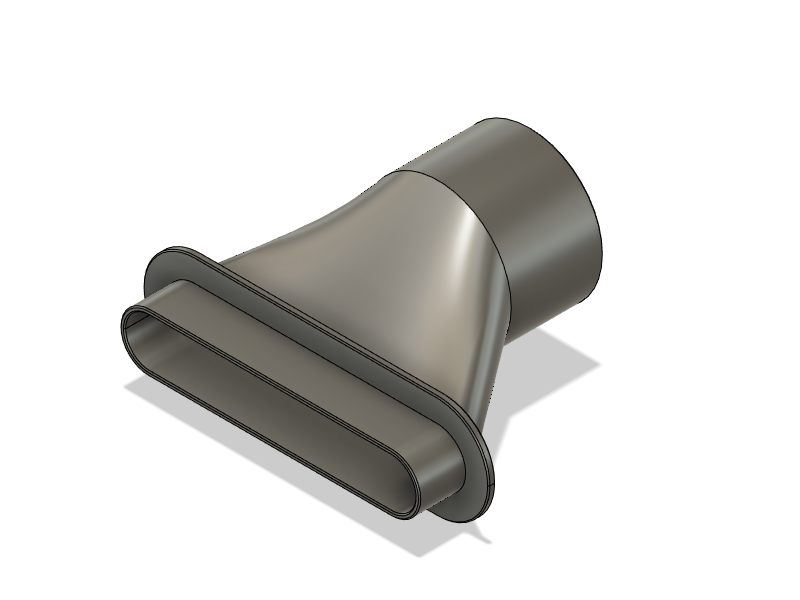
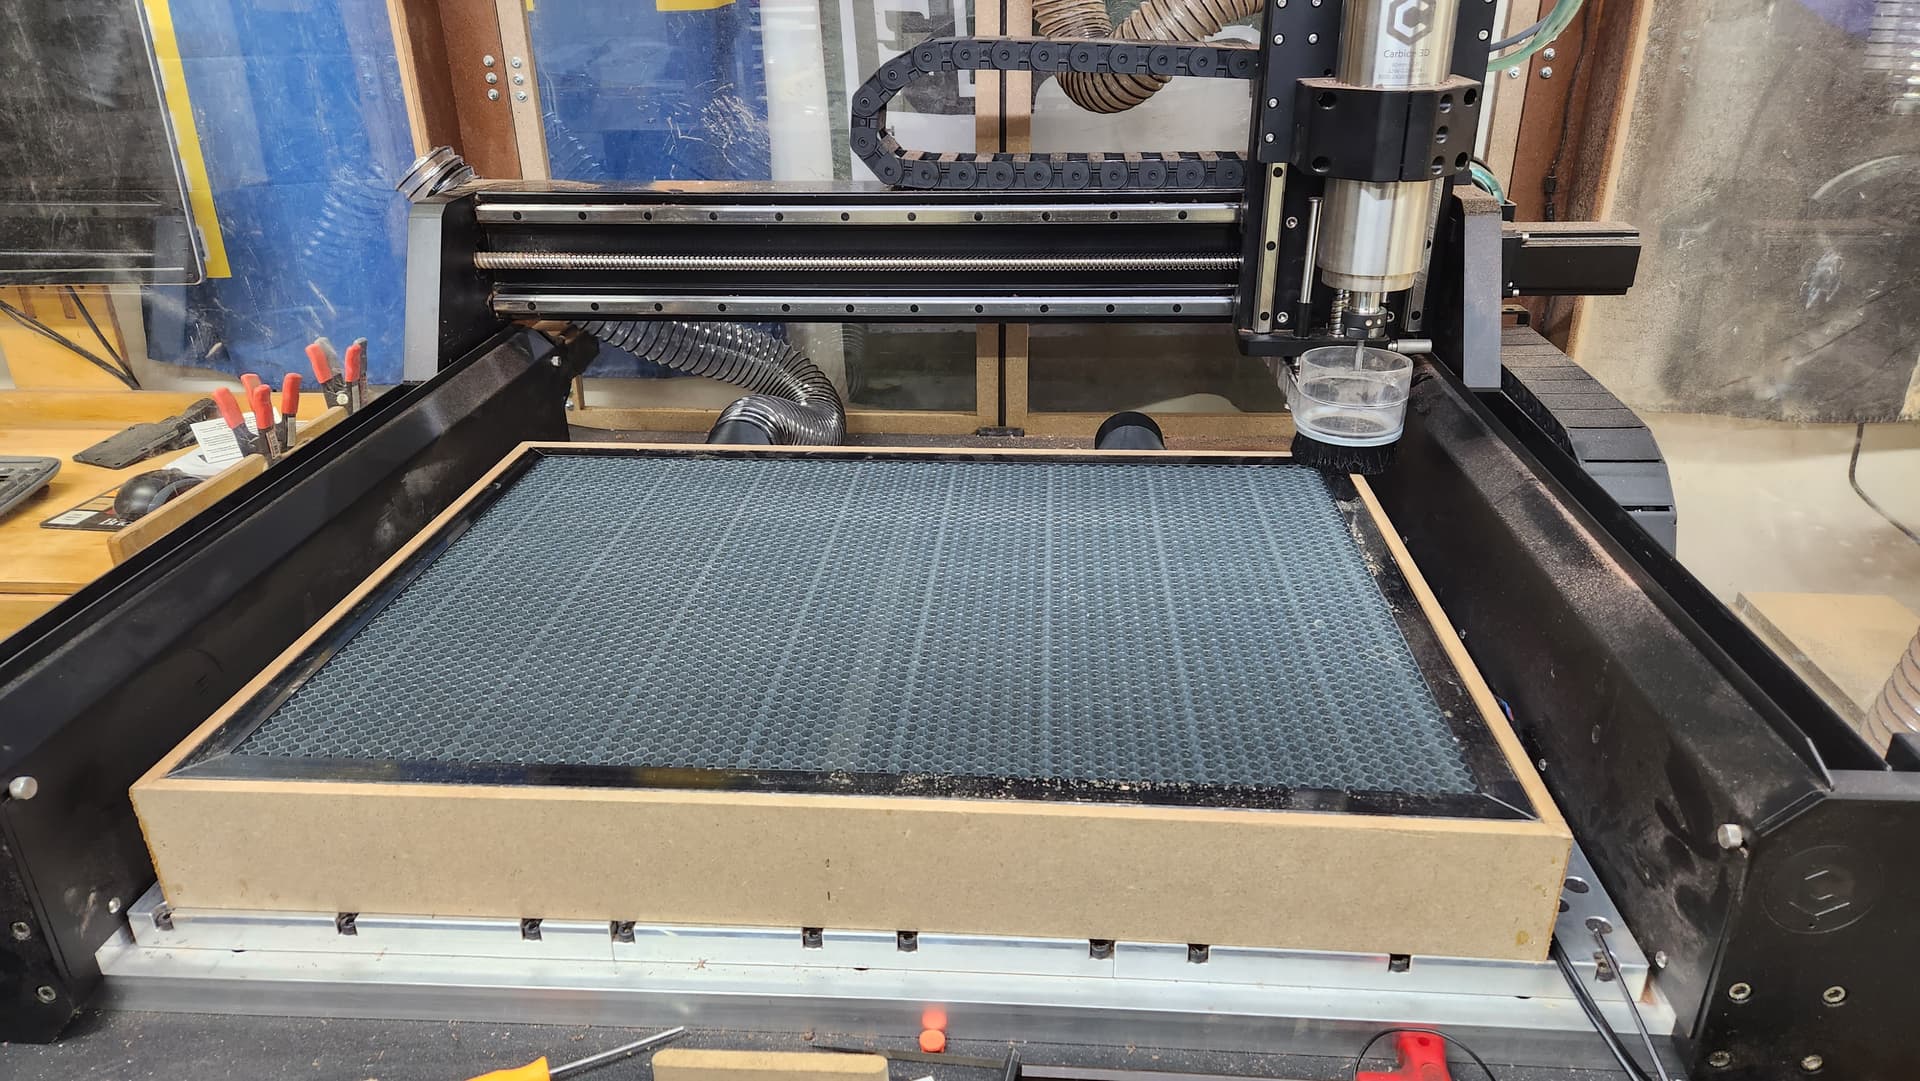
For engraving, you can just lay your material on the bed and engrave away. For through cutting, it’s best to have your material elevated with an open bottom. I struggled to find a large enough honeycomb bed for the HDM but was able to locate a 700 x 500mm one on amazon. I built a down draft box to hopefully capture the smoke.
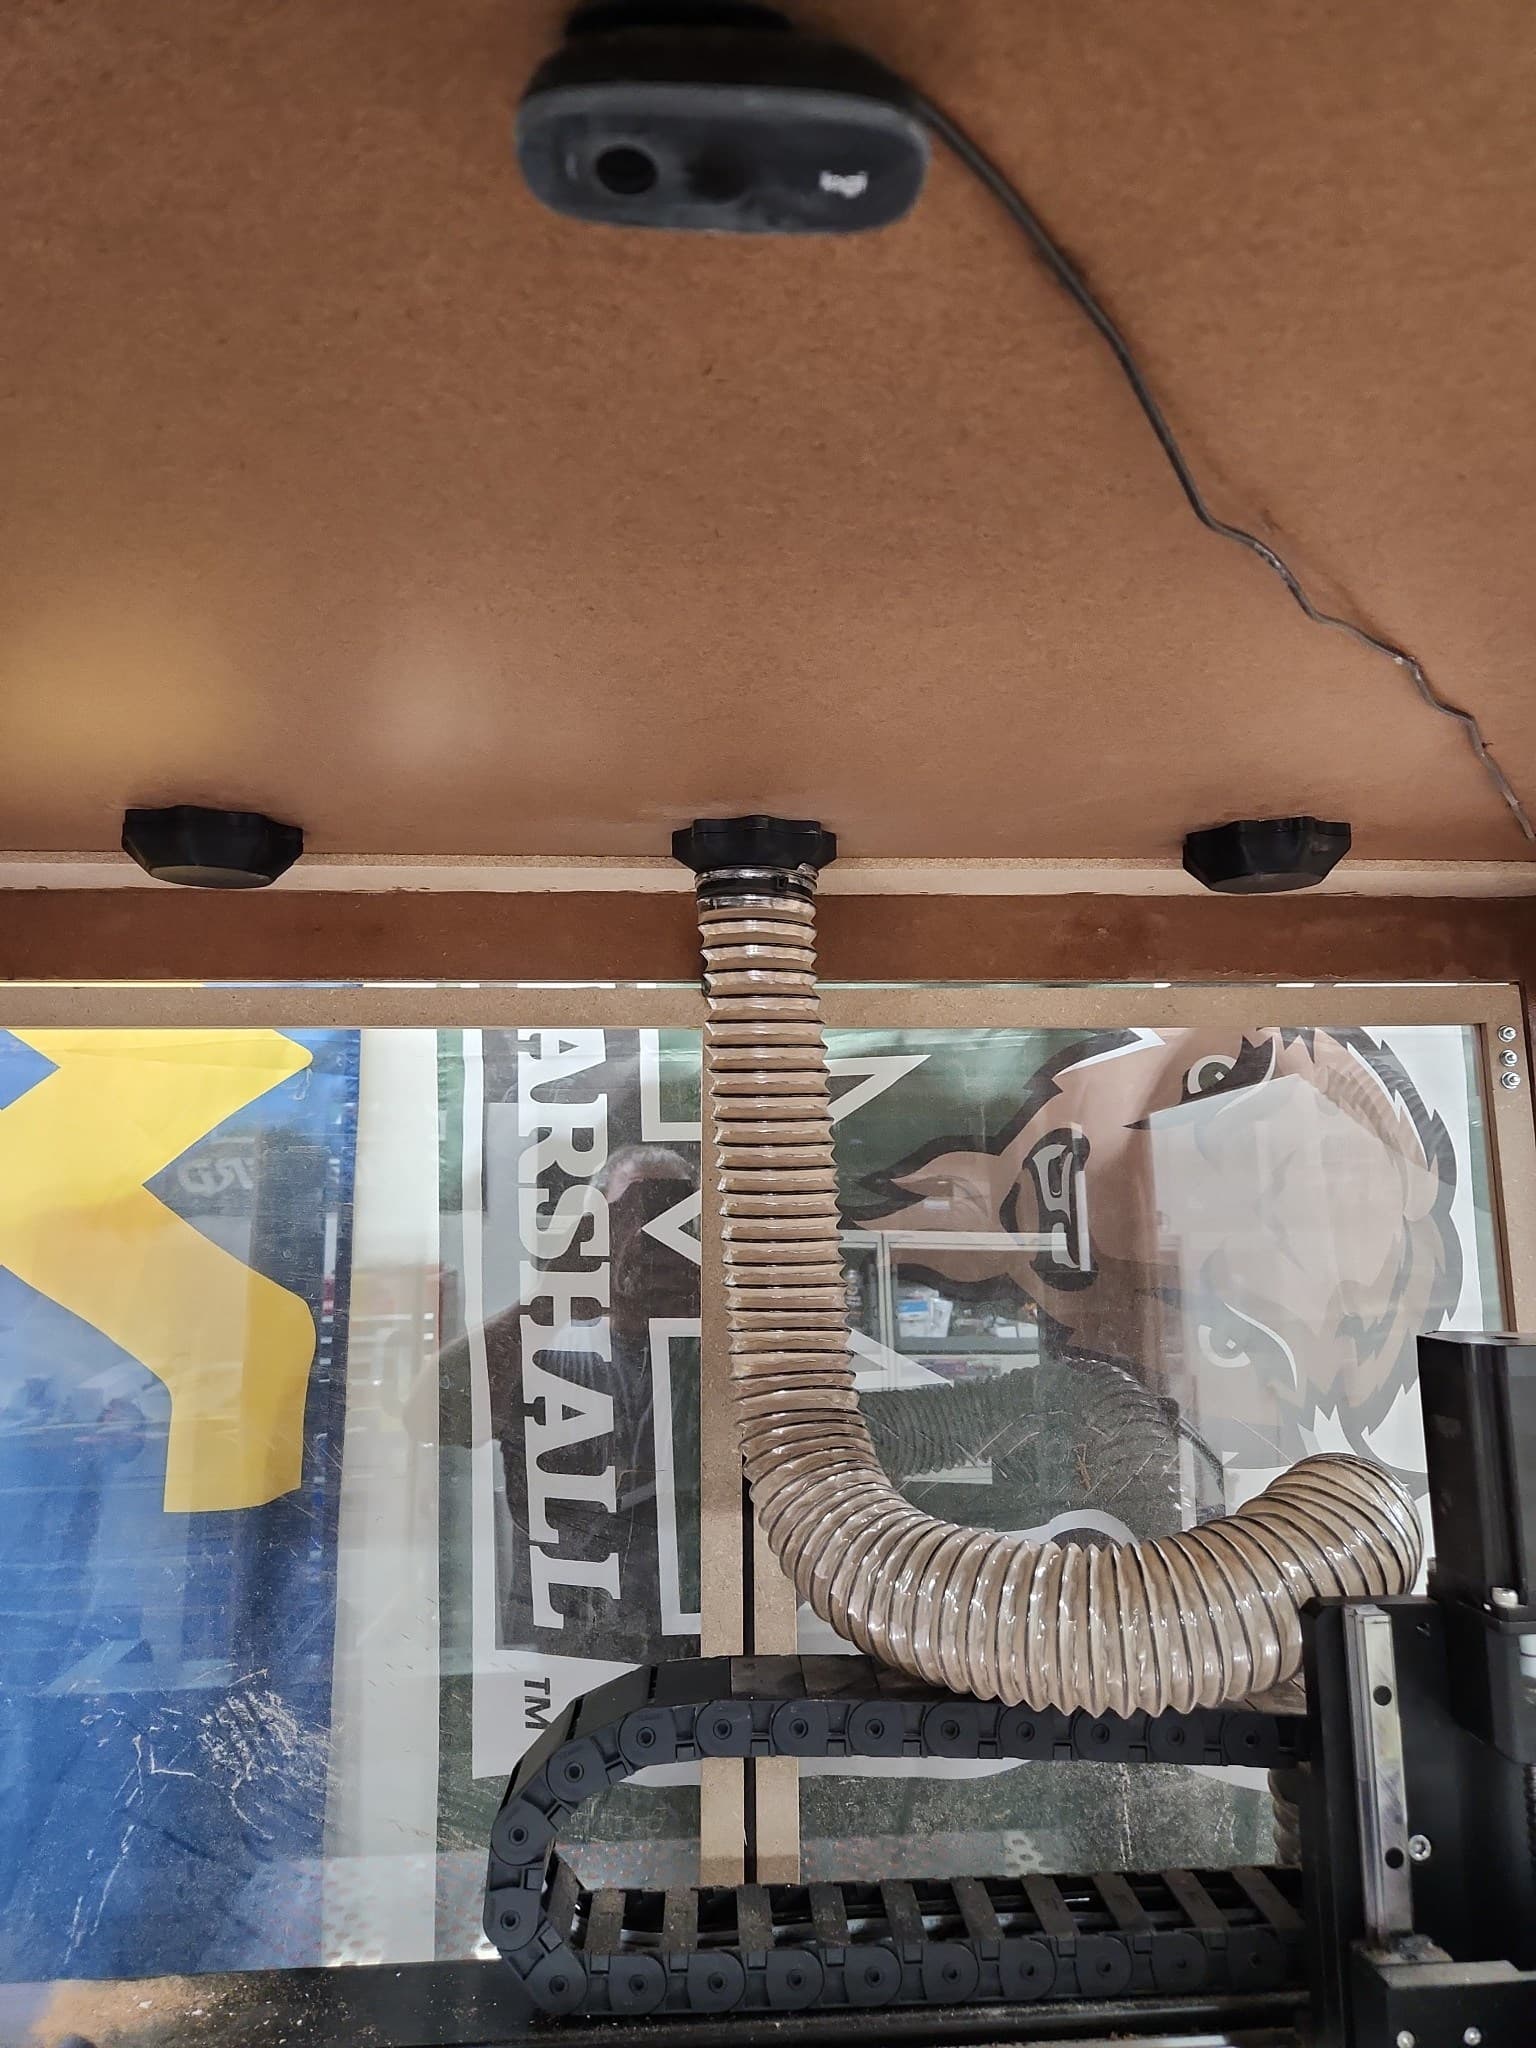
Control of smoke is necessary not only for health reasons but to help prevent early and unnecessary wear on the laser module and optics. I have made use of magnetic couplers and the existing dust collection setup in my enclosure to give several options on smoke control.
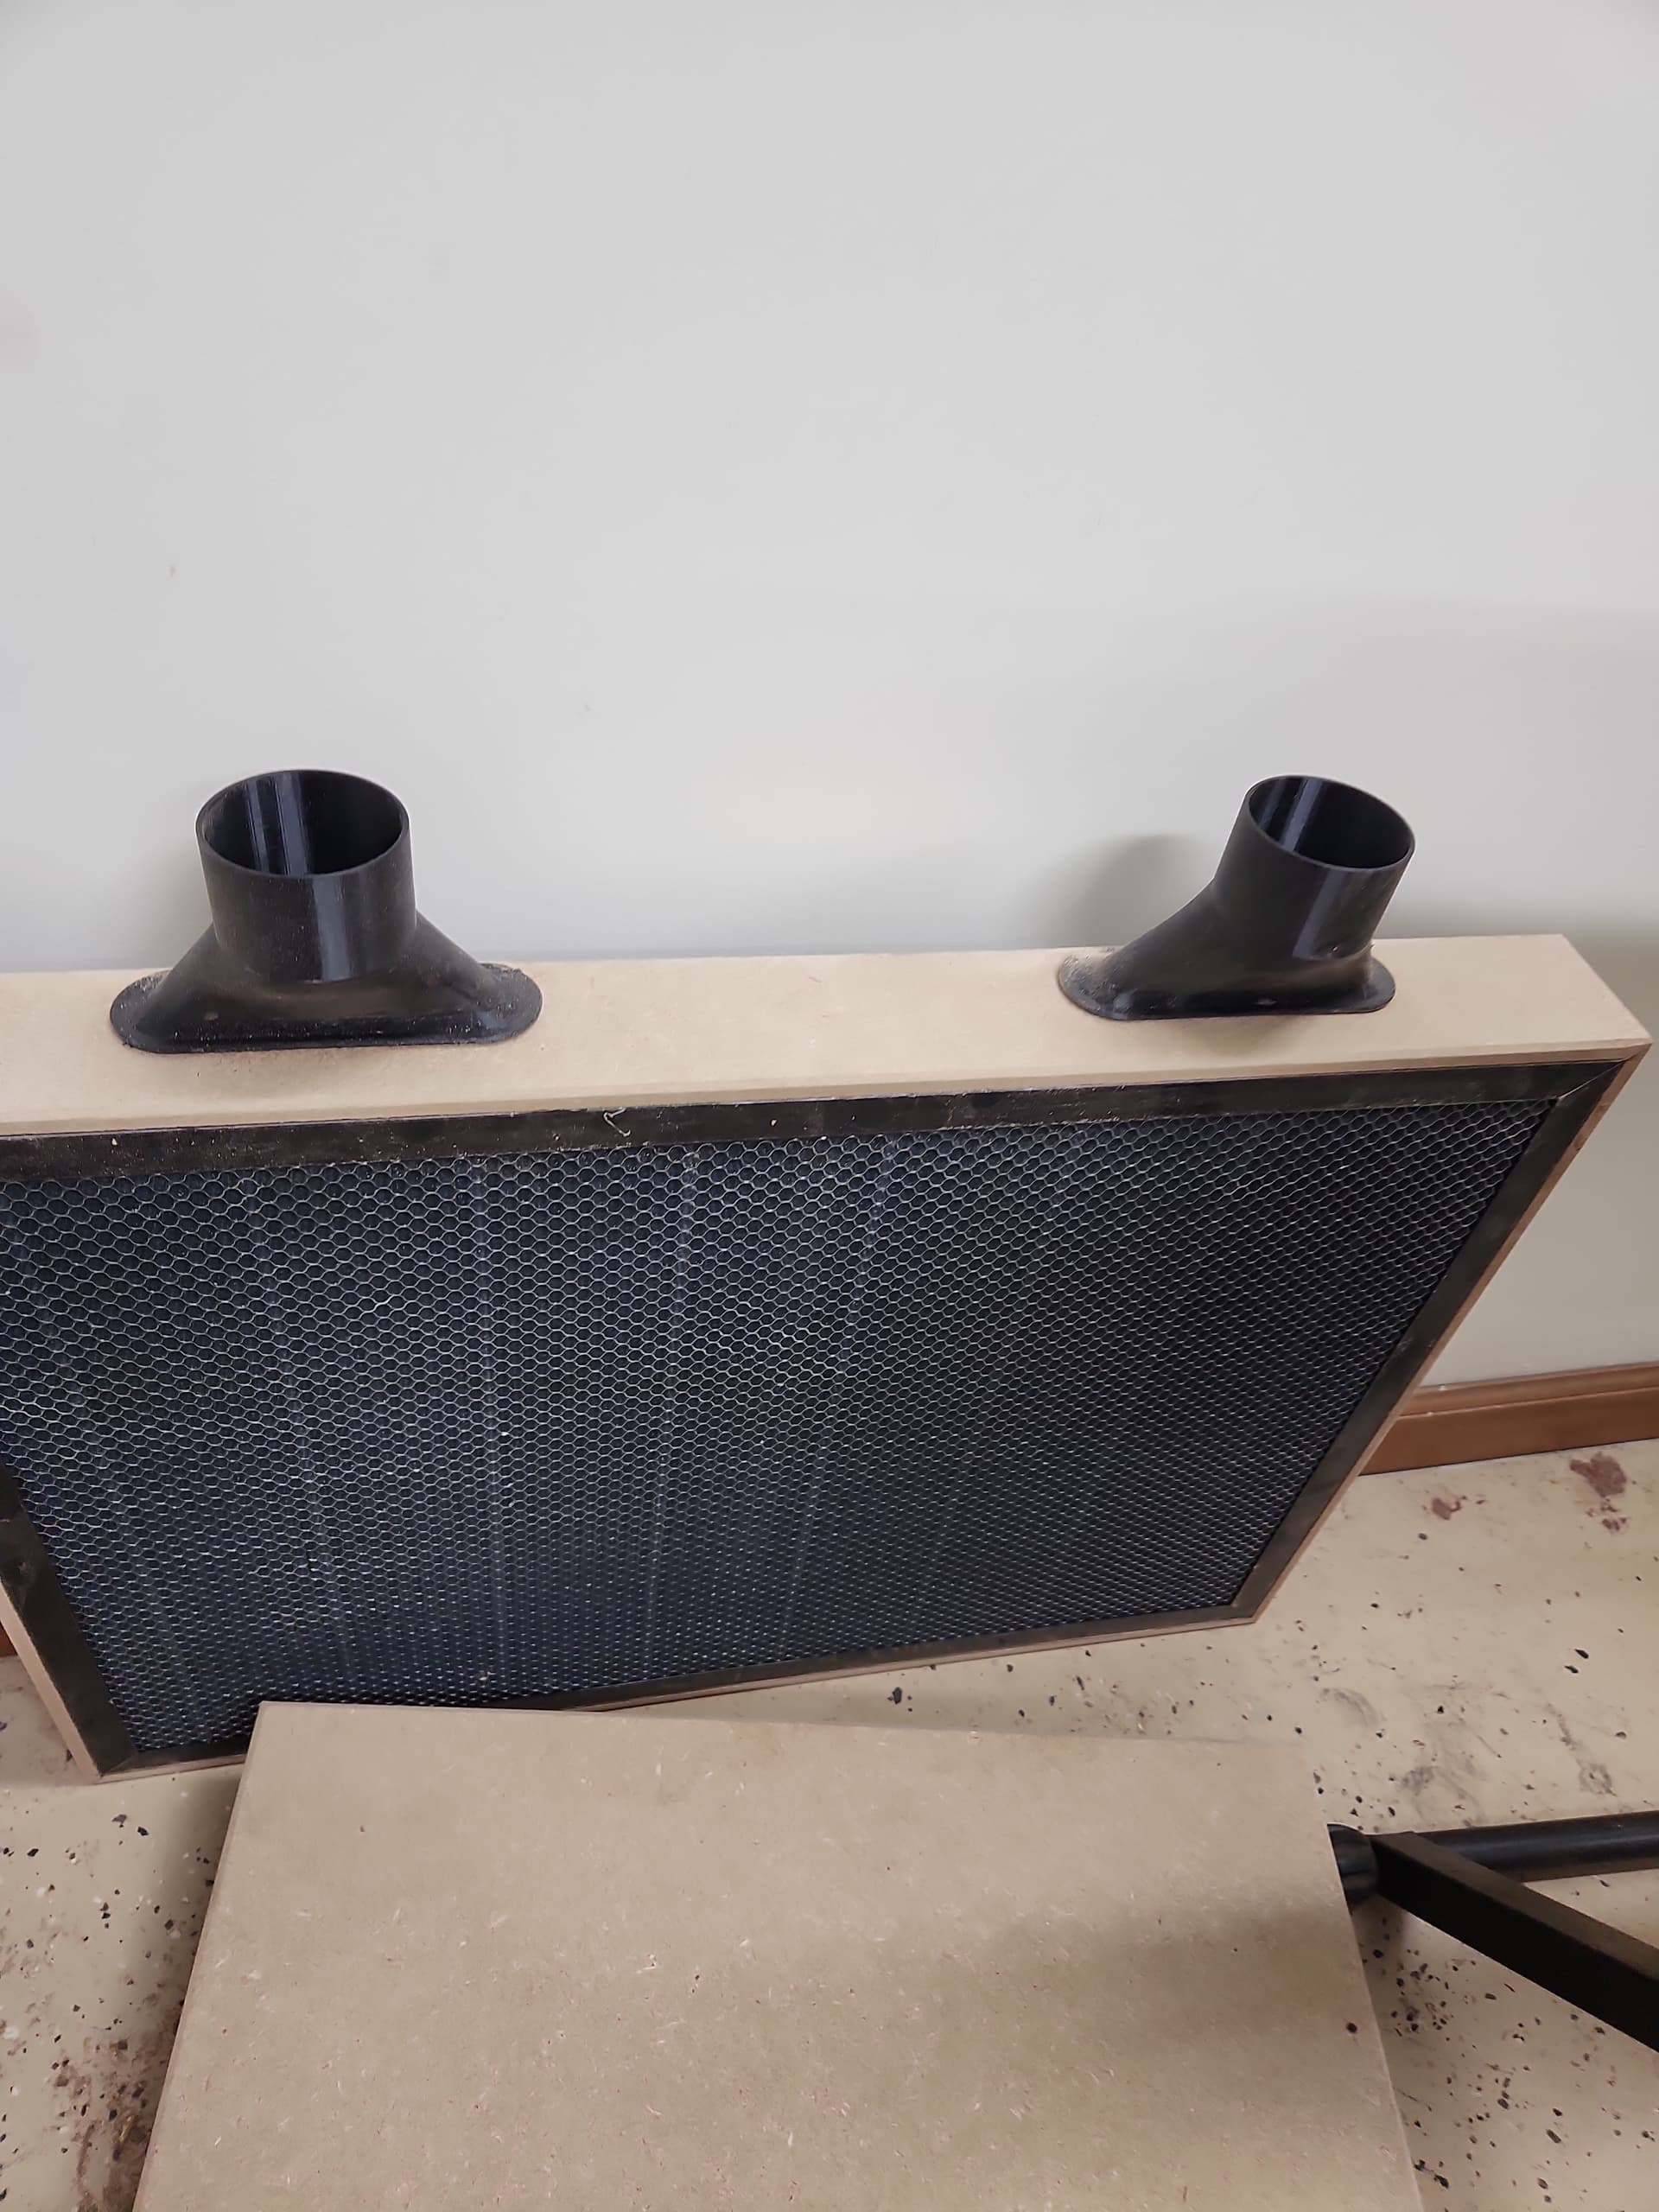
The Honeycomb box has 2 zones and I can hook up either or both to the built in ports in my enclosure depending on what process I’m doing.
I can also uncap the ports and not hook anything to them for general dilution ventilation.
Or I can hook the sweepy pro up and draw from near the point of operation.
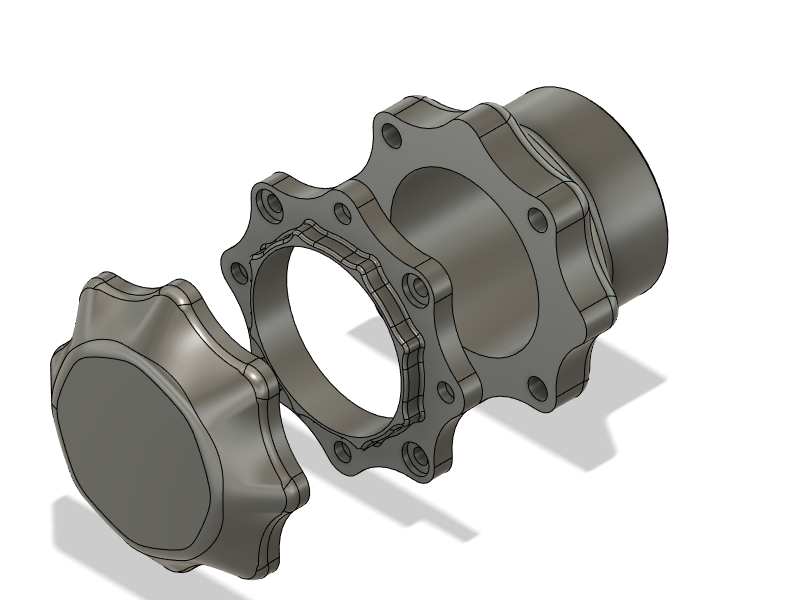
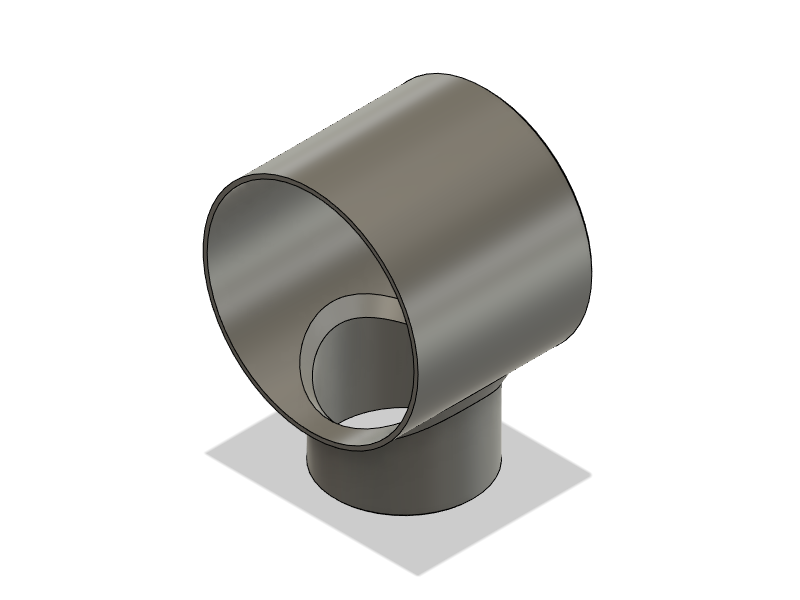
I am using an AC Infinity 4 inch fan to draw from the cabinet. It’s not great, but it seems to work. I did have to design and print a couple pieces to fit my needs.
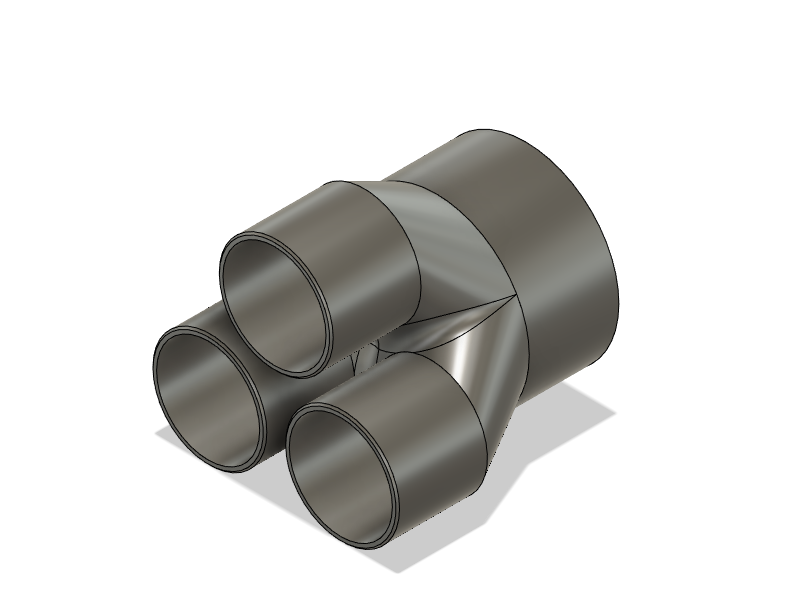
This divides the 4 inch hose into 3 2.5 inch lines that attach to the cabinet. Two of the lines stay connected and one has a magnetic connector that I use to switch between smoke evacuation and dust collection.