I have been asked to make a fairly large sign, 4’ x 8’.
Im not sure where to start on this and would love some advice. I was thinking a 3/4" plywood for the back and then add all my ‘pieces’ such as lettering onto that. What should i use for the lettering? A thought for that was to make them out of a 2x8 or 2x10. Again, i have never attempted a sign this size so id appreciate any thoughts and help.
TIA
Plywood even treated will fail relatively soon. Depending on your budget PVC sheet would be a better and more weather proof option. They do make multi color colored plastic. I found this after a quick search. Not recommending this particular company but it might be a starting point. The HDPE color core would allow you to carve the lettering into the HDPE and not have to paint it or use glue and/or nails to put your lettering on the sign. HDPE and PVC are not cheap but so is treated plywood (likely less than HDPE or similar).
Treated plywood would work but it expands and contracts so paint will eventually fail. Plastic and PVC will expand and contract but its color should stay true longer. All things in the weather eventually fail.
If you have an SO5 then you could use tiling to cut the whole sign.
2 Likes
Thank you for tour input…I do have an S5…go on please…
I was told that your text should be 1" high for every 10ft away from the sign it will be viewed.
So if people will be 30 ft away from the sign, you should have 3" high text.
3 Likes
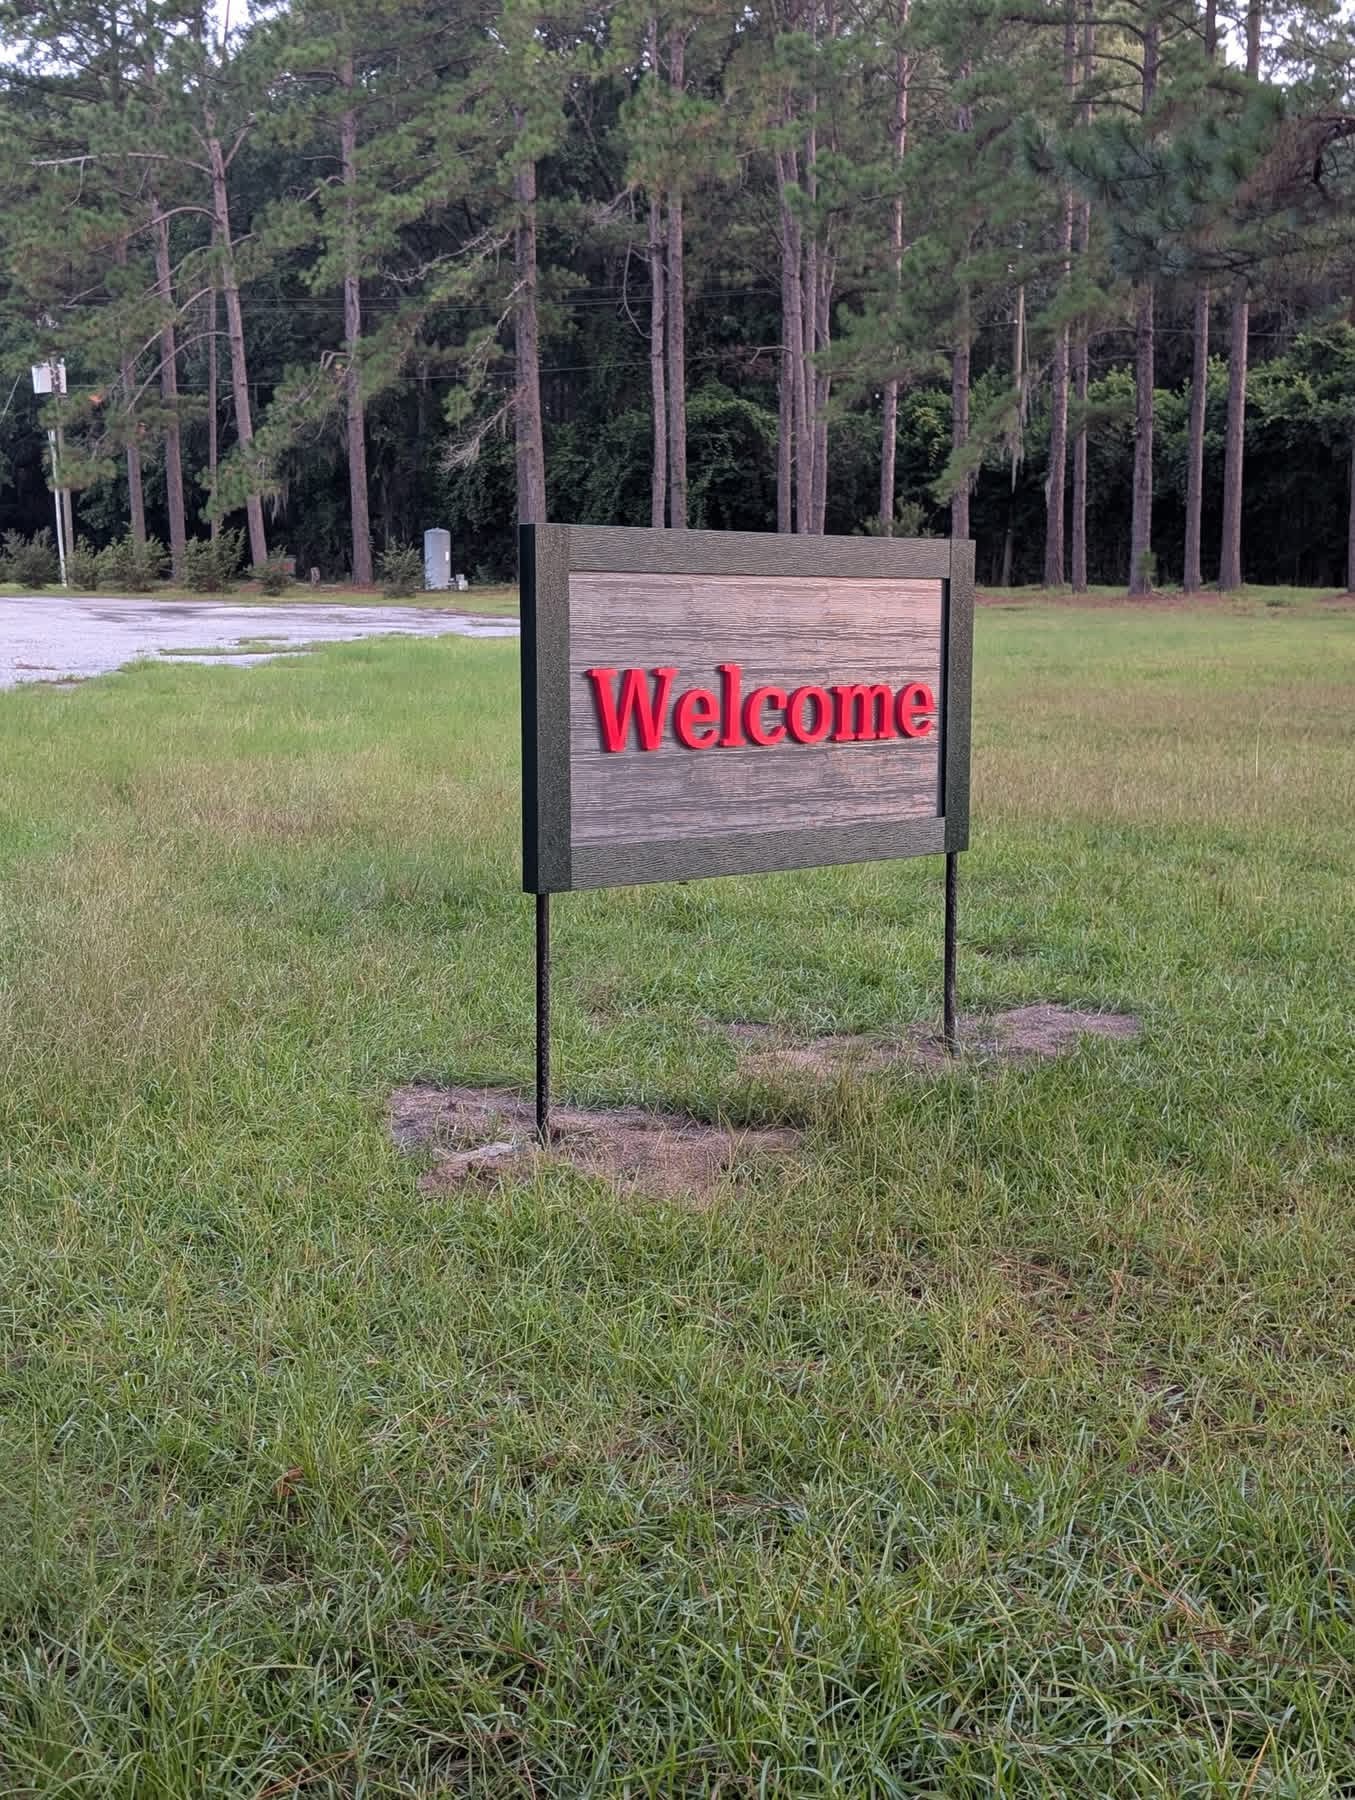
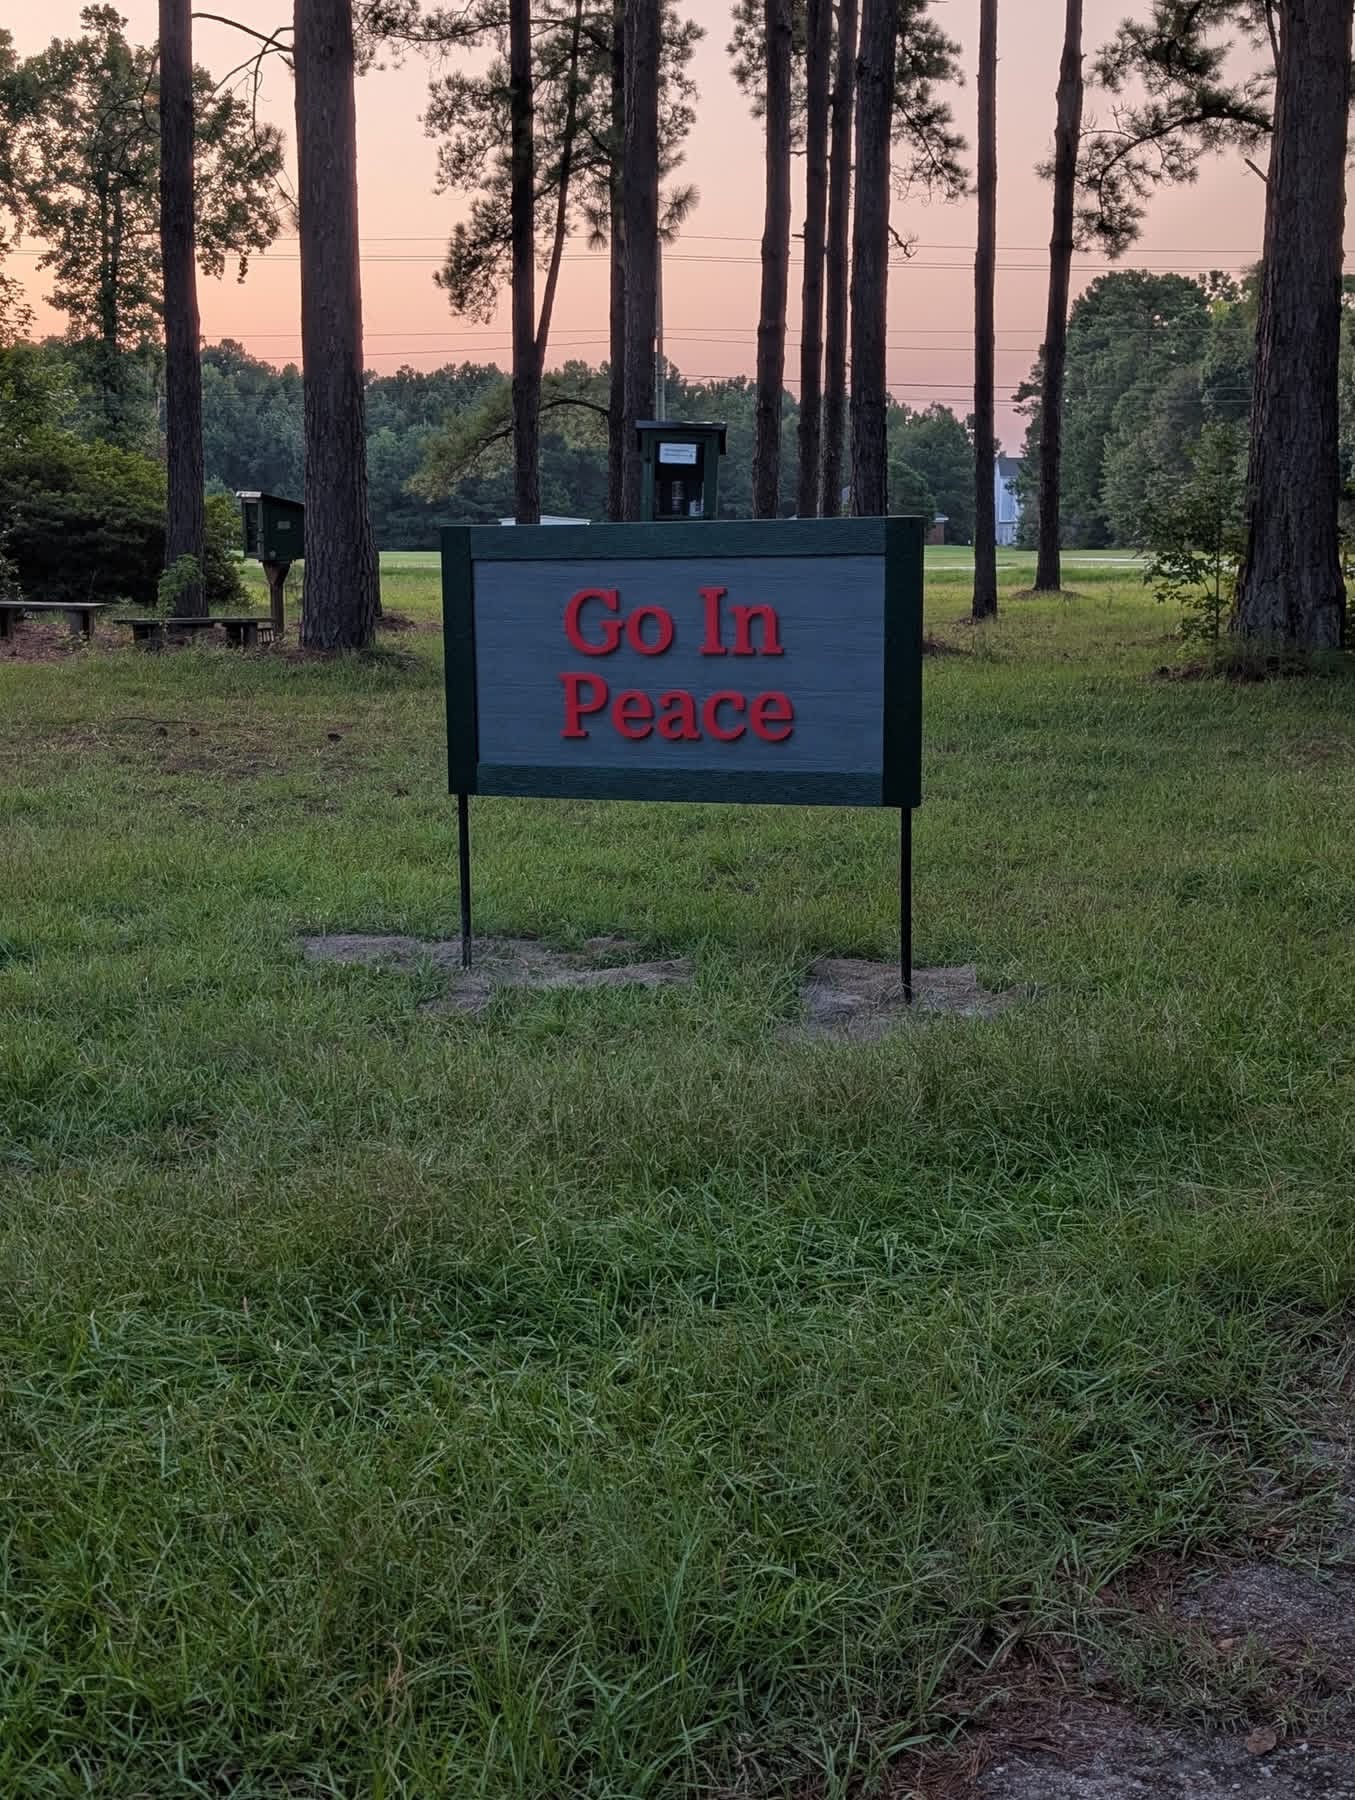
Here is one I did for a church. It’s all PVC, letters,
Backer, frame. The only thing not PVC is the legs which are black pipe.
It is about 28x52 if I remember correctly. If you want more details let me know and I will explain it more.
I think this could be scaled up to 4x8 but it will be heavy. These are double sided. Are
You looking for that or single?
3 Likes
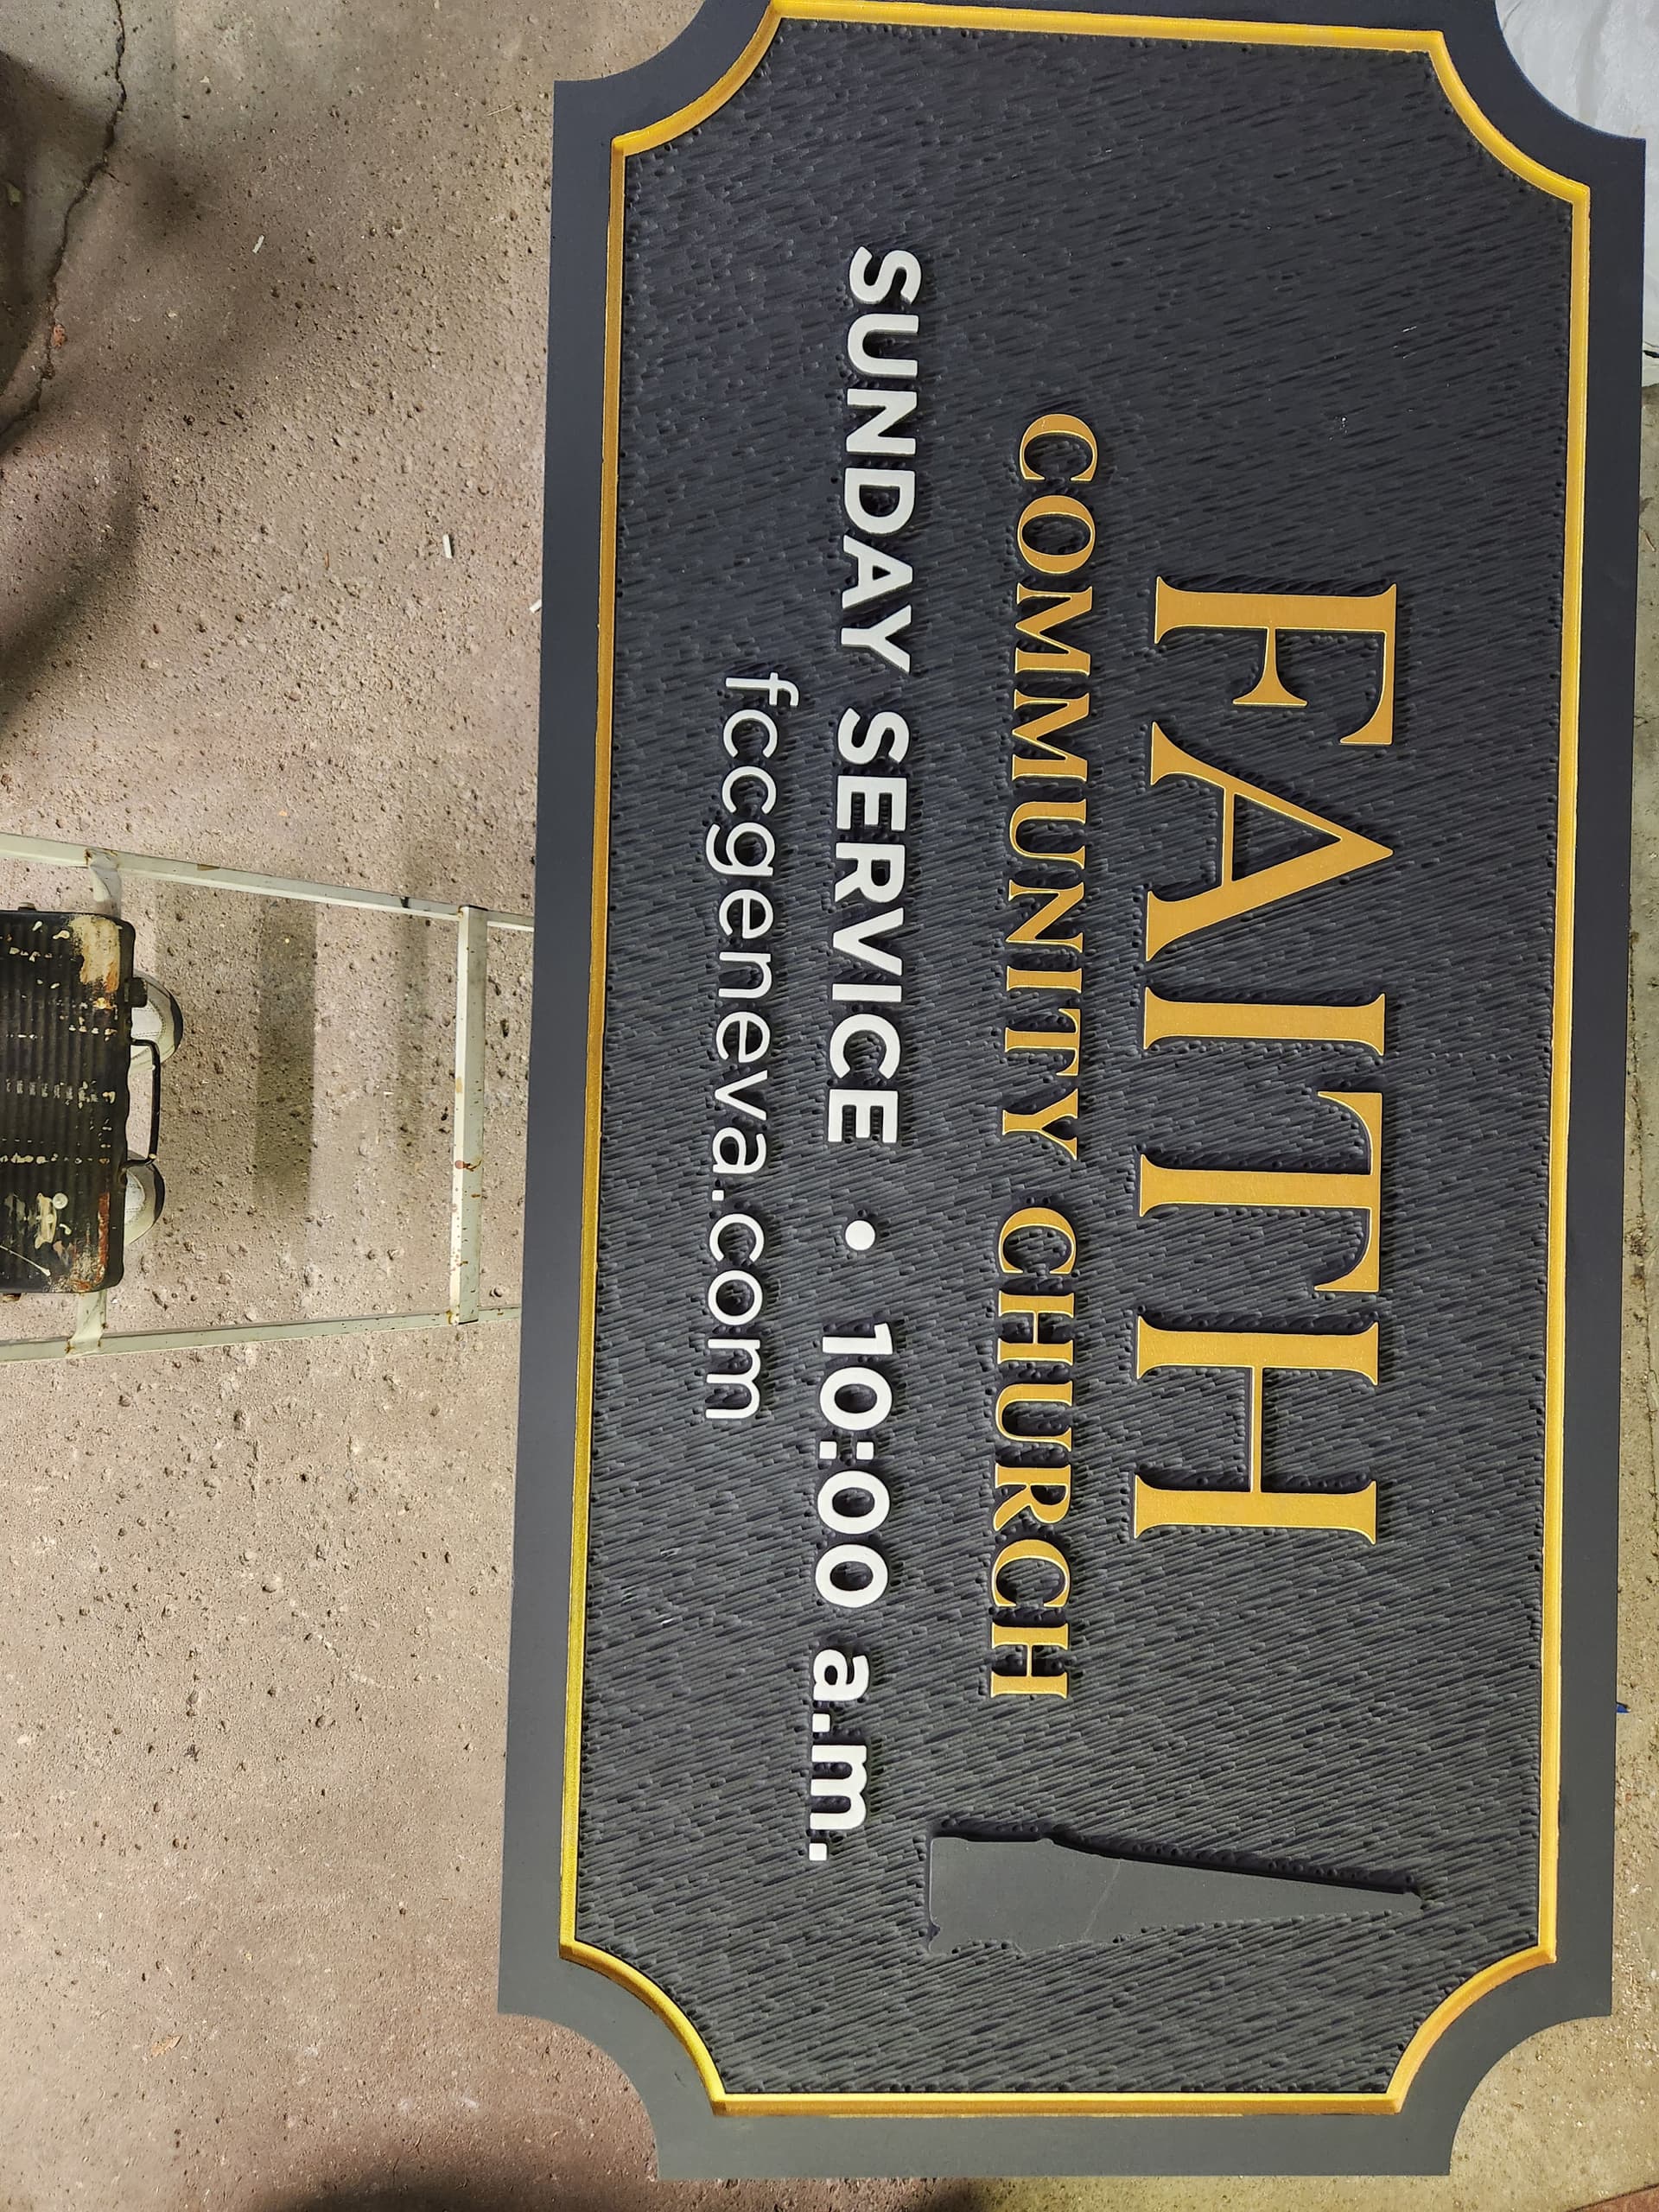
While expensive, the right material to use for an outdoor sign, especially this size is HDU. Typically 1.5 inch thick and 15 pound wirght. I just finished posting (Everything In The Pot) about a 64"x32" sign for a church that had texturing.
Sign prior to finish.
6 Likes
It looks great. Two quick questions. How do you achieve the texturing? And do you paint it afterwards, or is the yellow and white from sort of layered/masking effect?
Great questions. The texturing is done using the texturing tool in Carbide Create Pro. There are a few settings, but it gives you a fair amount of flexibility to create a texture that you might like. HDU is a light green material throughout the board. In this case I cut everything then sprayed on 2 coats of white primer/sealer over the whole thing. Next went on two coats of flat black in this case. The letters are hand painted using what is called a “floating” technique. Using a foam brush, 1/2 inch in my case, get a fair amount of paint on it. Starting in the middle of the letter dab/stroke the brush towards the outer edge of the letter. Before putting on the primer, use 240-400 grit sandpaper to break the edges of each letter. This makes the paint adhere better to the letter while providing a clean edge. My letters are 0.200 high while the material is 1.5" thick.
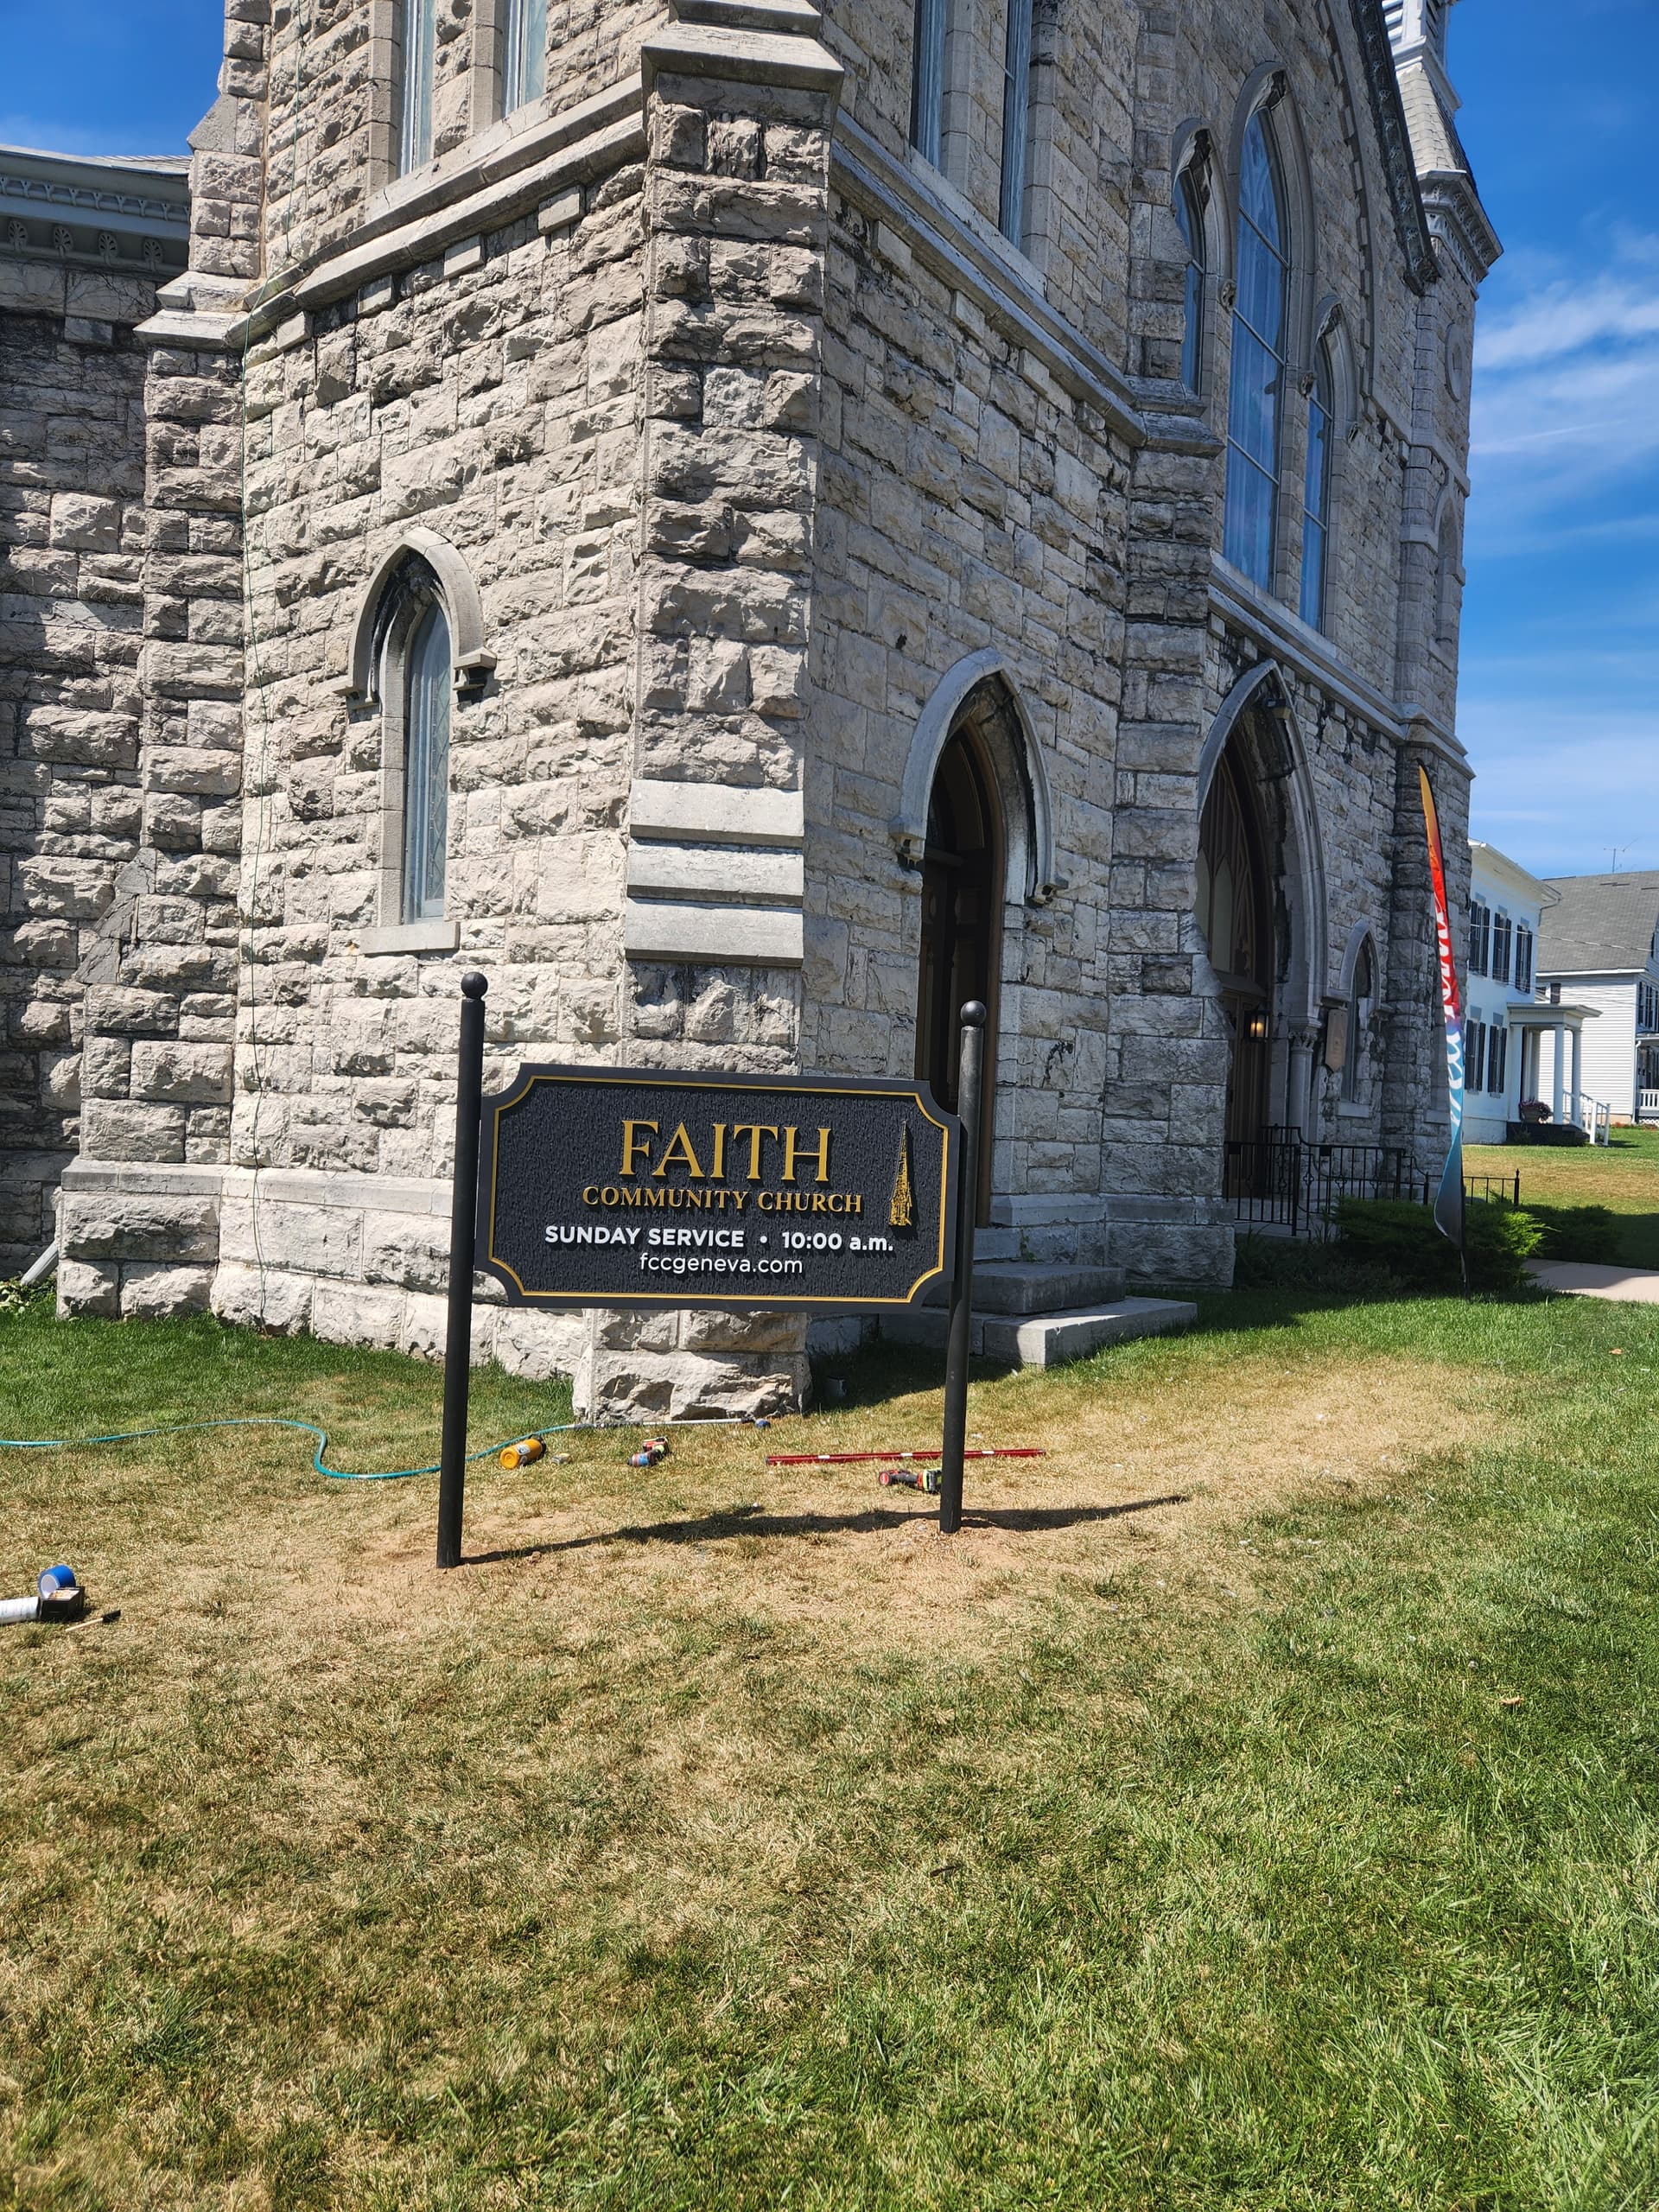
Here is a picture of the sign in the front yard.
3 Likes
That texture toolpath probably takes a while on something that size.
I used PVC for the one I posted above as it already had the woodgrain texture. I did the whole project for cost which was probably close to the cost of that sheet of HDU that you used😊
I like your posts, how did you attach them to the piece? I used black pipe for the posts and routed a channel in each half of the frame side to make a cylindrical hole when assembled that the pipe so would slip into. No hardware showing anywhere.
1 Like
Nice work Cullen on the PVC sign. I use 3/4" PVC sheet material on smaller signs that are being used outside. The only issue with PVC is that it is very porous where it is cut so it is important to use a good sealer/primer in those areas. This also helps reduce the number of paint coats you need to apply in the exposed areas.
PVC Sign
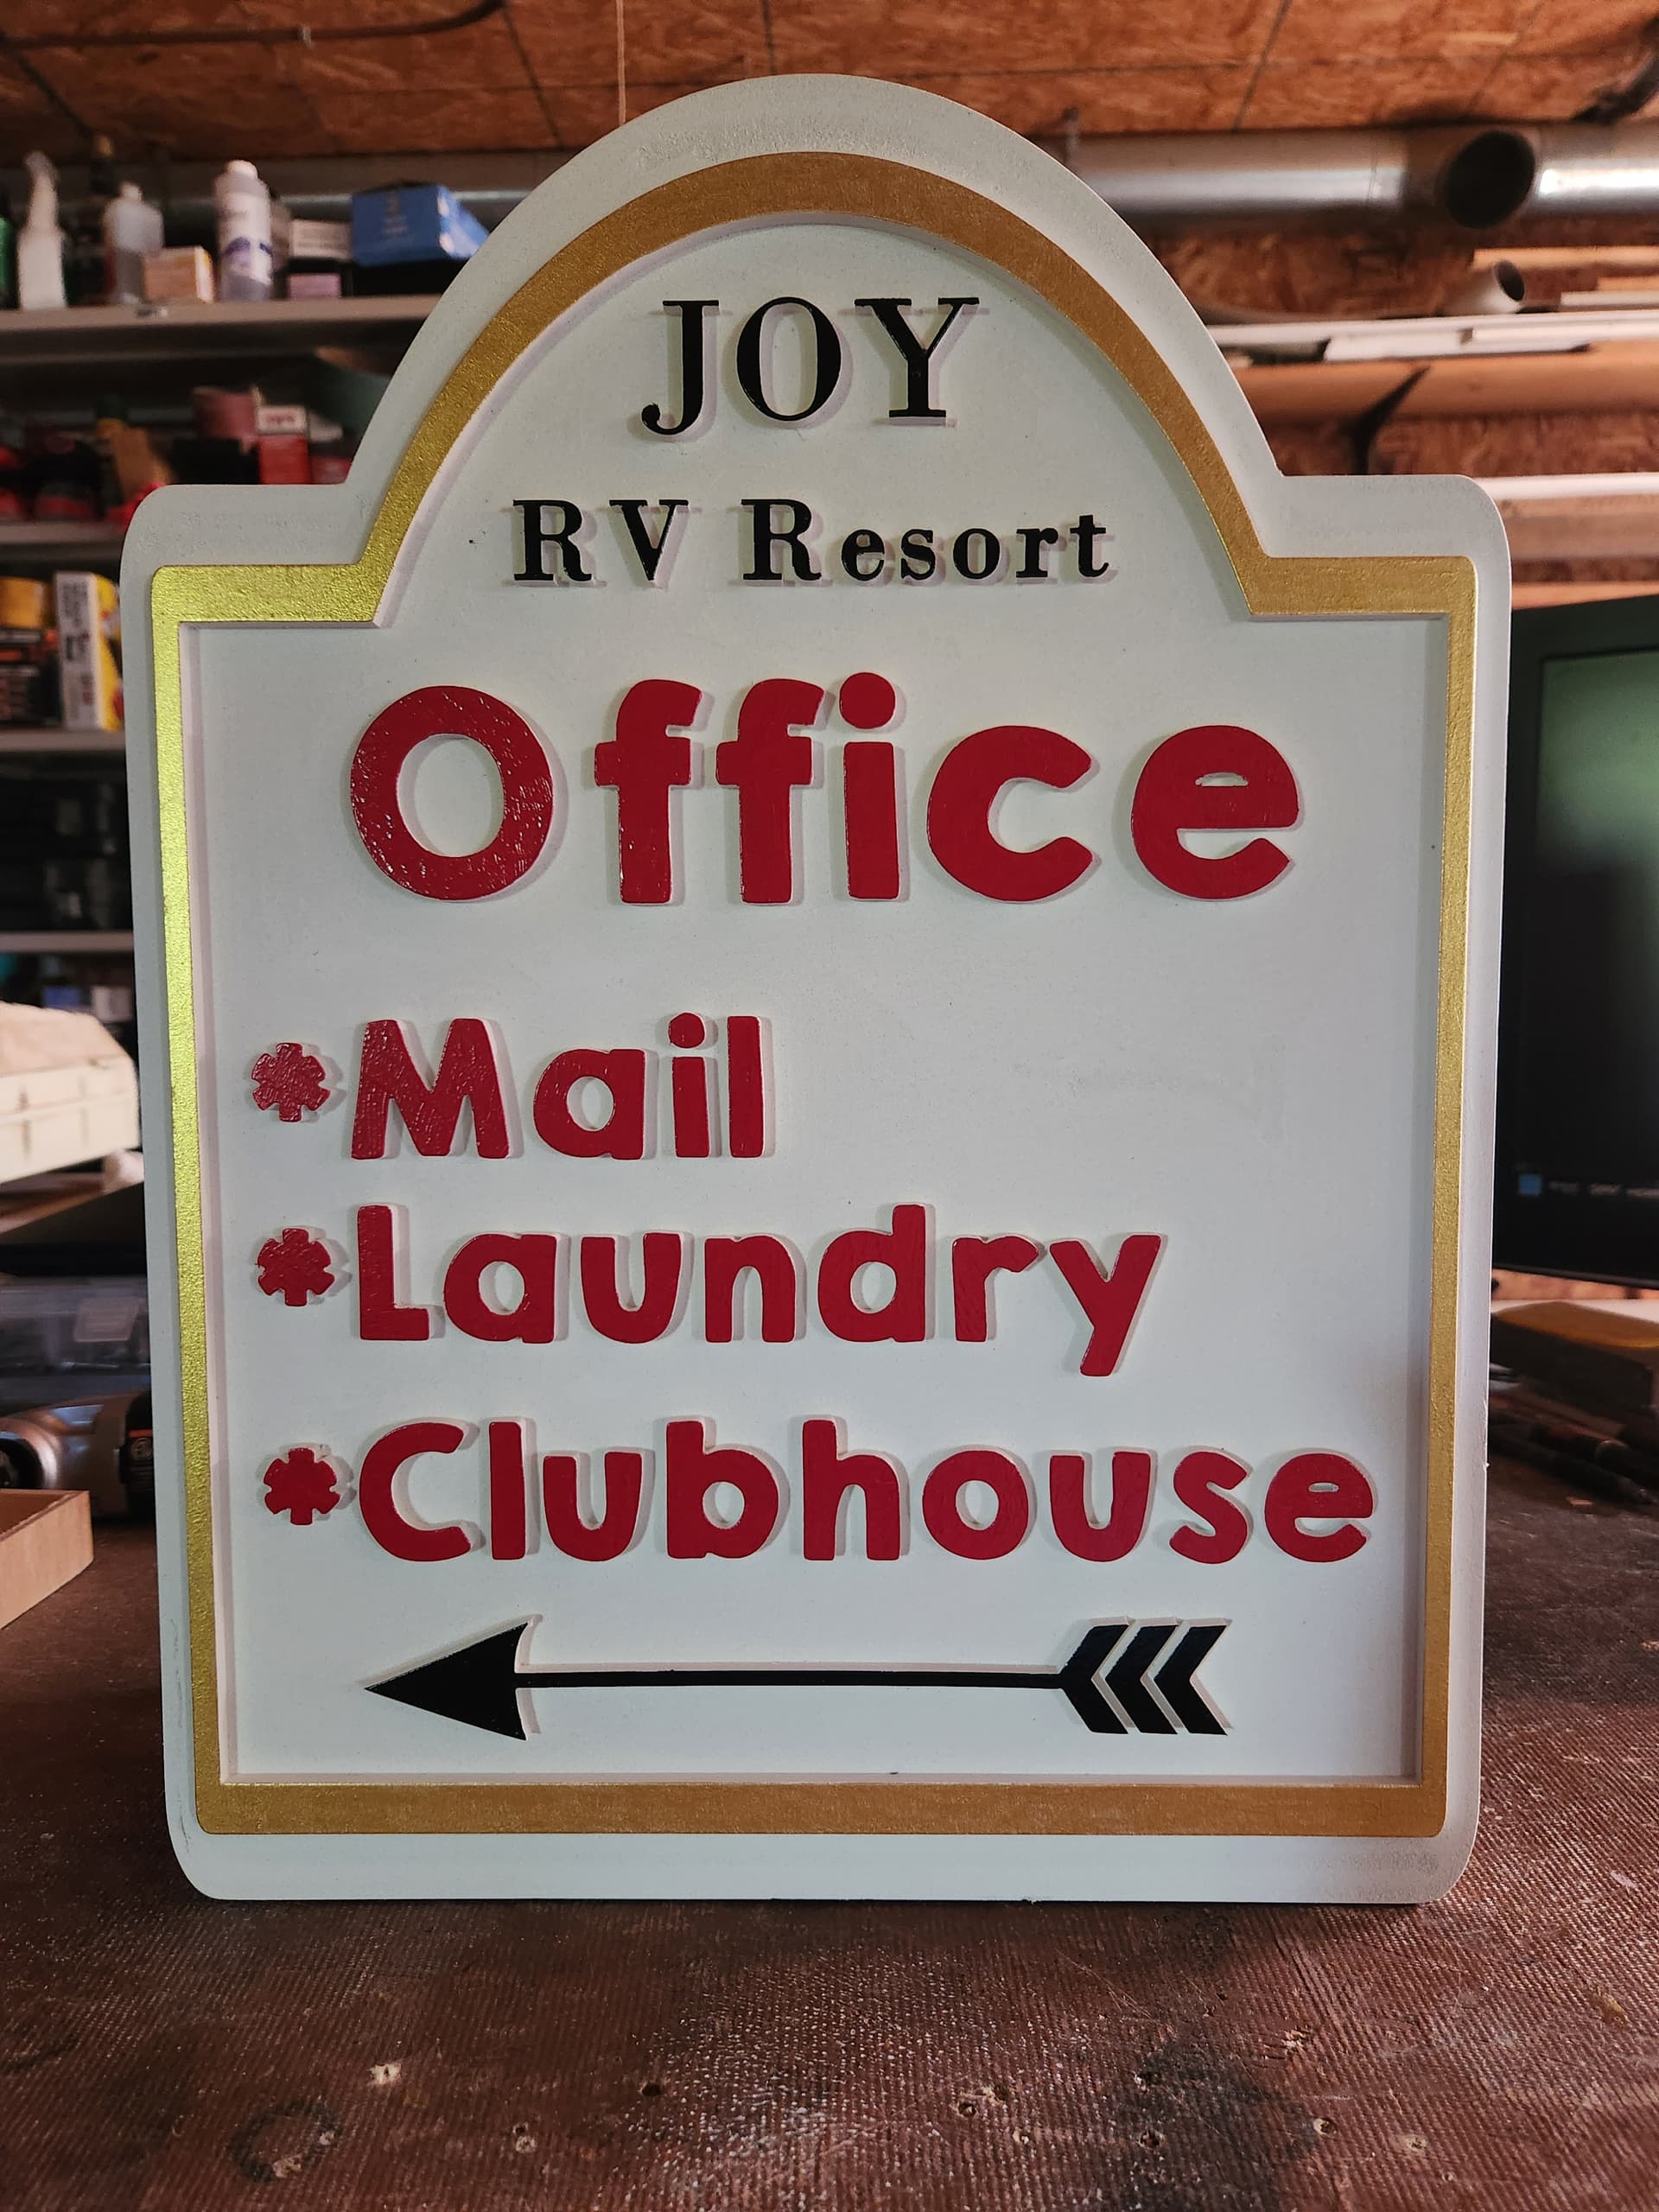
The texturing was 75% of the time to cut, even at 185"/minute, I think the total cut time was over 5 hours. The letters were not made separate and glued to the church sign. The sign is carved leaving the letters as you see them.
As for the mounting, the church had a frame made of two 4" metal post with 1.25" box tubing welded between the two poles. This whole thing was powder coated black. The sign is mounted to the two horizontal box tubes using high-quality silicone and 1.25" screws every 10" apart.
3 Likes
I’ve never used PVC, so I can’t comment on that. I’m an HDU guy all the way. It is a very easy material to carve. Cost is definitely up there, but a textured sign in hdu is pretty awesome (@StephenMV signs are beautiful examples).
Are you having to design the sign or is it already designed and you are just carving it?
Here was my struggle through my first tiling project using HDU which turned out to be a happy success.
And the finished product in place
Also be sure to watch the tutorial that Carbide 3d has put out
Do a couple practice rounds of small tiling projects. That way you can learn and screw up on a scrap vs your larger project.
Texture can take LONG time if it is a small texture, but sure looks stinkin’ good!
I did that sign without using CC pro, but had another sign that I decided to try it out for the tiling feature and it was pretty sweet! I think this was it (horrible pic but it’s the only one I got that I can find!)
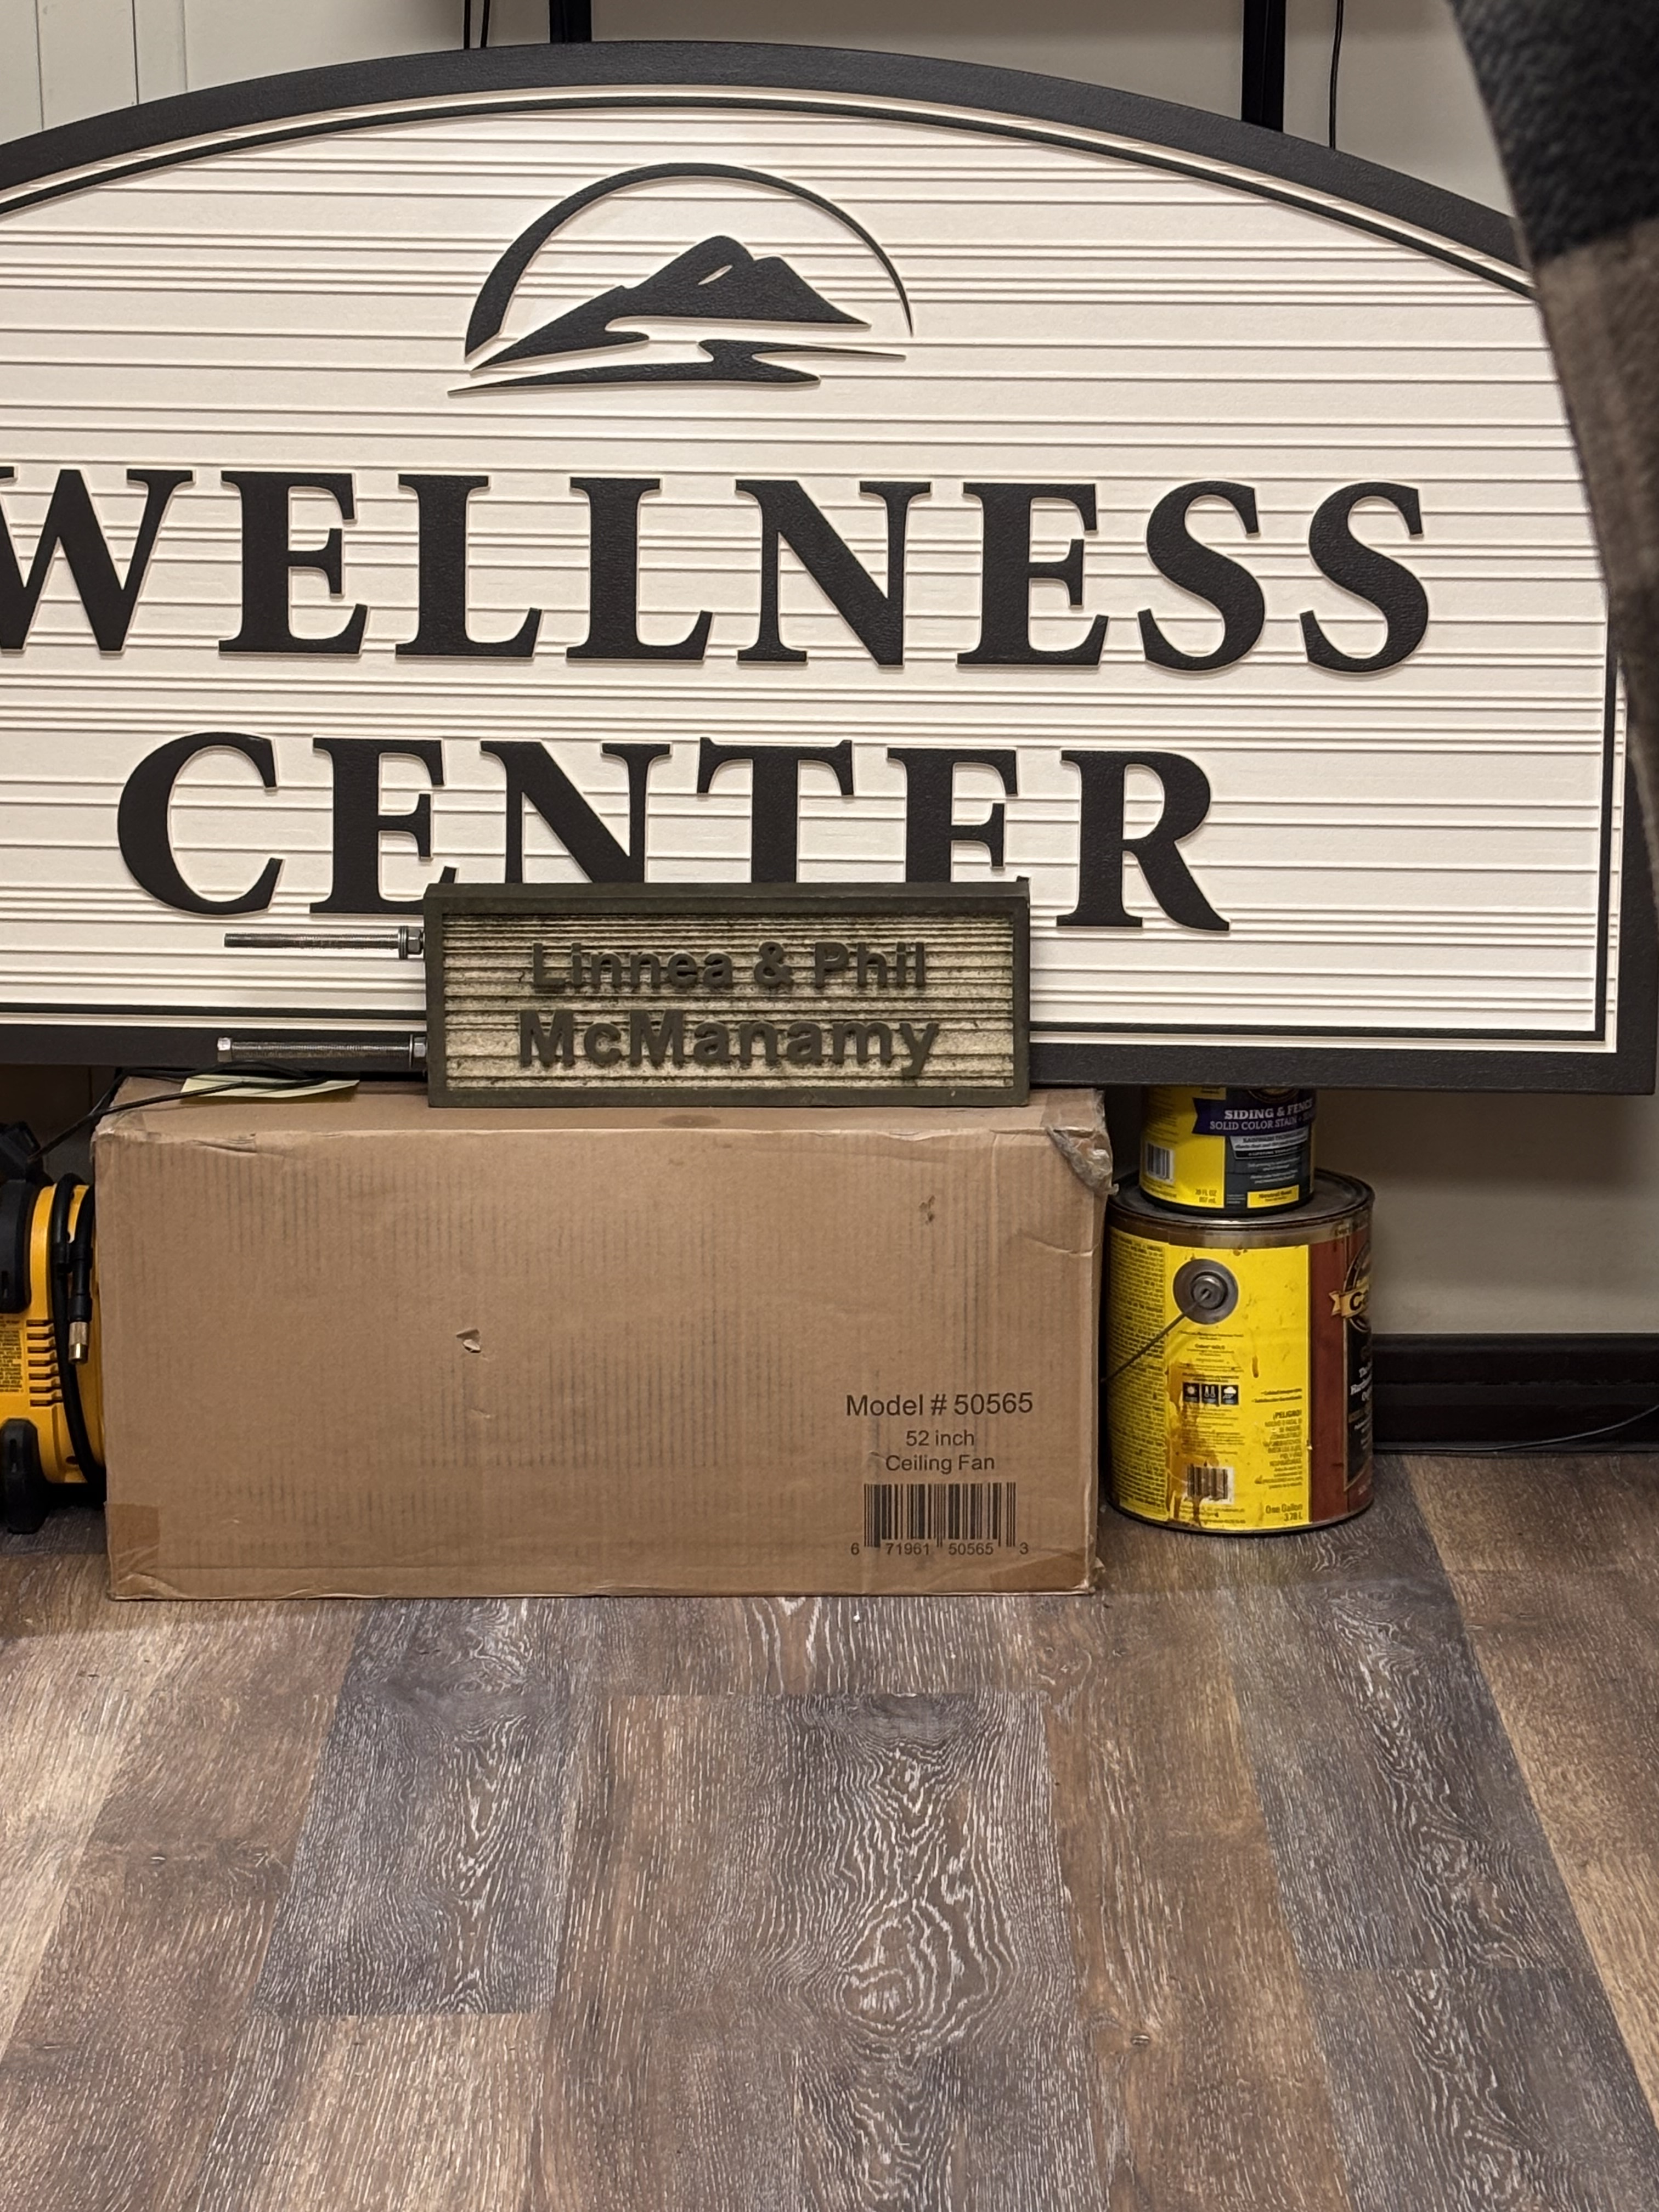
2 Likes
So…woodgrain texture on the pvc? Interesting! Is that what is on the borders, on the background of the sign or both?
Great looking signs, btw!
The PVC boards are typically textured on one side and smooth on the other.
The backer was two 3/4” pieces glued together on the smooth sides to leave grain exposed on both. The frame is true 1” x 4” glued back to back in the same way except that I routed pockets on them before glueing to create mortises for the sign to slip into and for the pipe support legs.
For the letters I put the smooth side up instead of the woodgrain so that I could nest them all in a 2x4 sheet and not worry about grain orientation looking weird.
@StephenMV I know what you mean about the porous surface and it not taking paint as well. I did a little research and tried wiping with acetone to make it smoother but discovered wit just a little sanding it worked just as well. One of the reasons I did this sign the way I did was to keep 98% of the surface the factory finish so the paint worked better. The only thing not factory finish is the ends of the vertical boards and the 1/8” roundover I put on the edges of the frame boards.
2 Likes
Have you considered HDU?
My inquiry into a 15lbs 1.5" 4x8 sheet of HDU came back at 500 CAD with 500 CAD for delivery to store then 166 CAD to deliver to me.
1,166 plus 13% tax puts me at 1317.58 and that equates to $41.17 sqft.
Intense!
@Varty5 Where in Canada are you? A quick google search came up with multiple suppliers with locations across Canada but no pricing online.
Yes - that is getting pretty pricey!
Nice sign! You did a great job with the painting, too!
Kingston Ontario Canada
I’m near London On. I found a couple HDU suppliers in London and like I said they don’t have online pricing which I’m sure isn’t cheap but I can’t imagine the cost would be near what you were quoted.