I watched Ben Myers video on configuration of a laser on the shapeoko. In the video he show that you need to configure the grbl firmware to allow the laser to work.
My laser is soldered into the carbide v2.4 circuit board at gnd and pwm pins . The video explains that you need to configure firmware 1.1
To allow the laser to function. So the 32 = 0 is changed to 30=1 and also the 30 =255 .anyway this is all fine what puzzles me is that further in the instructions it tells you macro setting 1 and two are configured ,use laser, use cnc respectively. But at the end of the video he says when you are done using lightburn the laser software where you reconfigured the grbl firmware when you want to use carbide motion you go into settings and reconfigure which ever model shapeoko you have ???
This erases everything you did in lightburn
Yeah it’s not very clear in the video. To use the laser, you modify GRBL parameters 30,31,32, 10, and use G10 L2 P1 to set different work offsets.
In his video, the “use laser” macro does:
$32=1
$10=0
G10 L2 P1 X- Y-<valeur_max>
while the “use CNC” macro restores values to:
$32=0
$10=255
G10 L2 P1 X0Y0
so you can see that params 30 and 31 are left unaffected by the “use CNC” macro. Which is why he takes a shortcut and tells you to rerun the “send shapeoko config” in Carbide Motion, while that is not really necessary: 30 and 31 happen to be the min and max RPM, used by the Shapeoko controller to adjust the PWM signal: if you have a router on your shapeoko, the PWM is unused, so it’s not a problem that 30 and 31 have been modified, and you can perfectly use Carbide Motion without setting the config again, as long as you ran the “Use CNC” macro in Lightburn before exiting (to restore $32/$10)
Note: if you have a spindle though, then you do need to restore 30 and 31 to their original values (in my case 0 and 24000) before using the CNC again.
EDIT: i checked the end of his video and he does mention that using Carbide Motion to “send config” is only a shorter/simpler way to reset the GRBL params than doing the $30/$31 params modification manually.
Ok I followed the instructions setting up macros , ( use laser/ use cnc)
Movements of command icons in light burn are working correct except the home command brings the laser head to the back right ??
In the settings windo I have asked home to be in bottom left
The little green icon is showing in bottom left and under the green icon there seems to be a reddish brown icon there too. Any ideas?
In the “Use laser” macro, what X and Y values did you use in the G10 L2 P1 line ?
This is the line that should make Lightburn home to the bottom left
Did you determine the values for your specific machine as described in the video ?
G10 L2 P1 X-762 Y-762. These are the code I used in use laser Marco
When I jog x or y in move console laser moves in correct direction but when I click get position the values are in - 1.550. Shouldn’t these number in lightburn be positive numbers?
Do you have $10=0 in the “User laser” macro ? This is what makes the position values (from “Get Position”) show up as positive numbers.
Regarding your previous question, I may have read too fast: the home button in Lightburn will trig a homing, just like in CNC mode, so it’s normal that the machine would go to the back right corner.
Ok that makes sense for home to go where limit switches are
And no my $10=255
So you say I should change to $10=0
yes, “Use macro” should have a line for $10=0 (and the Use CNC macro should have the $10=255 to restore it)
Huh, so besides the G10 L1 P2 X-762 Y-762 in use laser Marco I am to also put $10=0
Does it go below or inline with the G10 code??
??
Yes, the macro needs to have at least three lines in it.
- one line for setting $32 to 1
- one line for setting $10 to 0
- one line for adjusting G10 L2 P1 coordinates
Here’s a copy/paste of the text in my “Configure for laser” macro. I have one extra line for setting $20 to 0, which disables soft limits: in my setup I was getting errors when soft limits were enabled, so I added that line, it won’t necessarily be required for you)
$32=1; enable laser mode
$10=0 ; to get positions displayed as positive numbers
$20=0 ; disable soft limits
G10 L2 P1 X-459 Y-415 ; deal with inverted coordinates
Here’s how it should look:

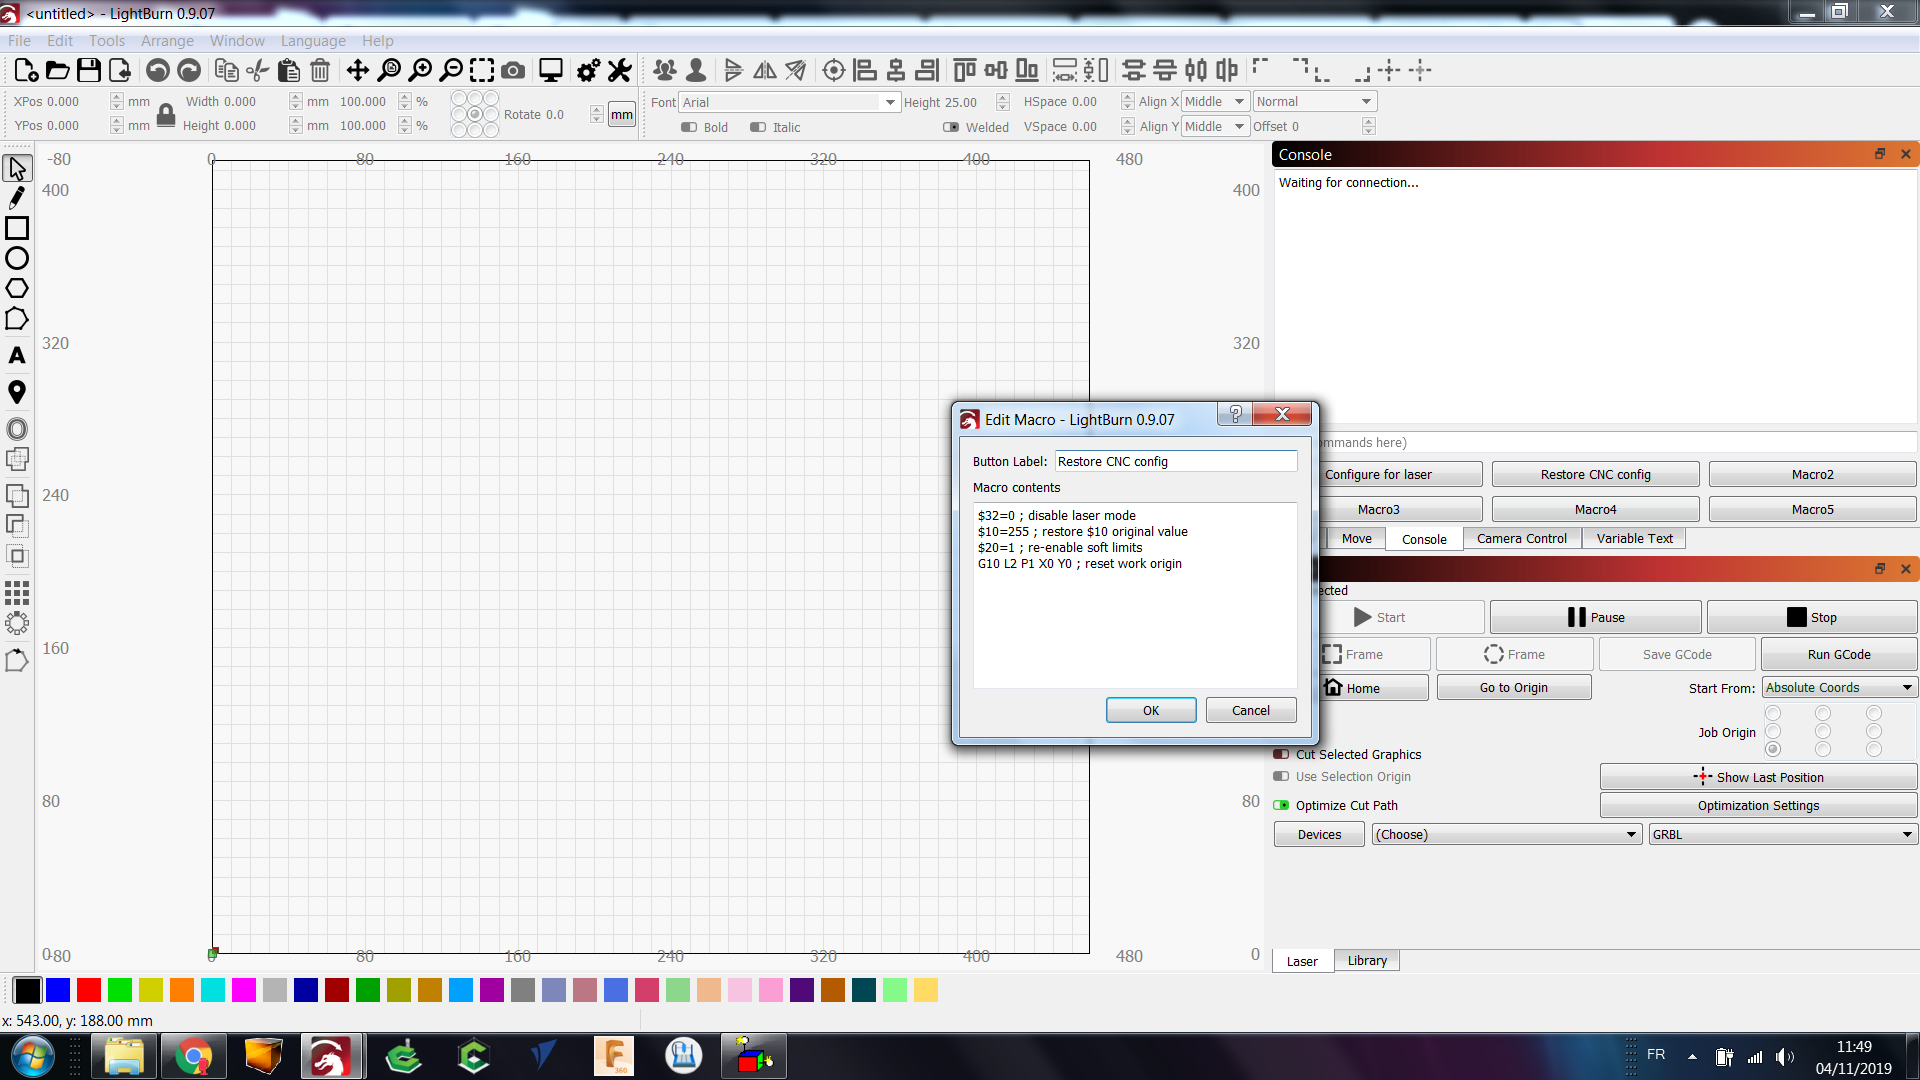
Similarly, I named the other macro “Restore CNC config”, it restores the original values, and in my case looks like this:
Wow , it finally makes sense . Putting instructions in the macro wasn’t shown in YouTube or jtech instructions
Works like it should now .
Thanks so much
I saved myself all this trouble and bought a 60W Co2 Laser Engraver/Cutter. You can get a smaller 40W for less than $400.
Hey @ispot,
What do you think of that laser?
The thing that has me worried about these has always been the lifetime of the laser tube, and they’re not cheap, has that wokred out ok?
I love the cutter, and it does have a one year warranty. As long as you use a good liquid cooling setup to cool your tube, you don’t have to worry about the tube. I did not use the included water pump. I used a Watercool MO-RA3 360 PRO Stainless Steel Radiator radiator, and mounted total of 18 DEEP COOL CF140 RGB cooling fans, 2 two Alphacool VPP655 PWM D5 Pumps, , and a Aquacomputer Aqualis XT 880 mL with Fill Level and Lighting Option | Nano Coated, , and to match the cutter color, I used the Alphacool Eiswasser - Premixed Coolant - Crystal Red - UV Reactive, and for tubing, I used Pure Silicone Tubing - 1/4" ID x 3/8" OD - High Temp Kink-Free Hose Tube to connect to the cutter Laser Tube, and the Alphacool Eisrohr 13/10mm PETG for the rest of the loop.
Yep I’ve sort of abandoned my diode laser since I bought my CO2 laser. My Chinese “50 watt” laser was likely closer to 30-35 watts. I swapped the tube and power supply with a true 45 watt (53 watts measured at peak) and its around 5” longer. The Chinese fudge their numbers a little. I was cutting 1/8” Baltic birch at 11-12mm/s with the old tube, I replaced the Chinese mirrors and lens which got me to 14mm/s, when I replaced the tube and power supply I’m up to 23-25mm/s at 14mah…Chinese “50 watt” is nowhere near 50 watts. The diode by comparison is probably 1/30th the speed. I use a proper CW-5000 water chiller. When the ambient temperature in my garage is 100+ degrees there’s no way a radiator cooler is going to keep my coolant at 60 degrees, which means dead tube. Now that my garage is down below freezing I just leave the chiller running 24/7 so it doesn’t freeze, so far so good.
Dan
Julien- do you like the Jtech?
While I’d love a big chinese one I dont have the room in my basement at the moment, and $700 is more appealing than $2400 .
I do.
I initially rolled my eyes at the price point, it’s easy to consider this is just a cheap laser diode in a 3D-printed case, but I took a second look, and for me the following ended-up being more important:
- the controller has several safety features (physical key + I leveraged the additional electrical enable signal to put a second interlock on the outside of my enclosure)
- the shroud is great, and I knew I definitely wanted one (i.e. a protection window around the area where the laser is burning the material). Of course I still wear a good pair of laser goggles in addition to that first layer of defence
- I did not want to take any chance with 100% chinesium quality. I’m paranoid when it comes to my eyes, and fire safety. I know, that it is quite possible to buy a cheap chinese laser and add all the missing/quality safety features oneself, but I did not feel like investing my time in that endeavour.
- the tests I have done so far have given me good results (but this is my first laser, I don’t really have any comparison point)
- I LOVE the integration with my Shapeoko. I 3d-printed a custom magnet holder (the stock one was for the stock router mount), and I can install/remove the laser in seconds. My tiny garage is not compatible with a standalone laser machine anyway.
It all boils down to your expectations: if you intend to do a lot of cutouts, the JTech modules probably won’t satisfy you, and a more powerful standalone laser (like @DanoInTx has) is way better. For my usecases (99% surface engraving, with the occasional cutout in thin material), it’s great.
The one catch I have found so far, is that with the JTech laser integrated on the Shapeoko, you need to think about fumes evacuation & air assist, and there is no solution out of the box for this (but a fair number of good ideas here on the forum)
sweet. that’s pretty much what i was thinking/hoping to hear.
i see other folks in other corners of the internet that …honestly kinda make me cringe with concern when i see them rushing to buy the cheapest chinese lasers than find on Ali Express all willy nilly like… serious “yikes” vibes.