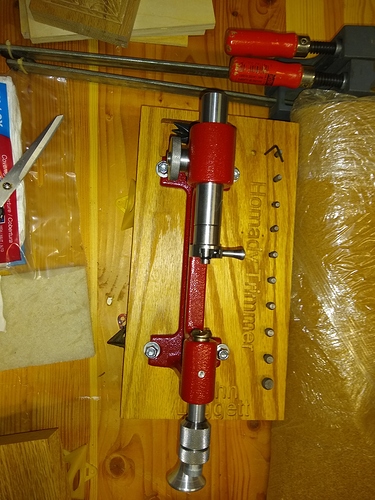
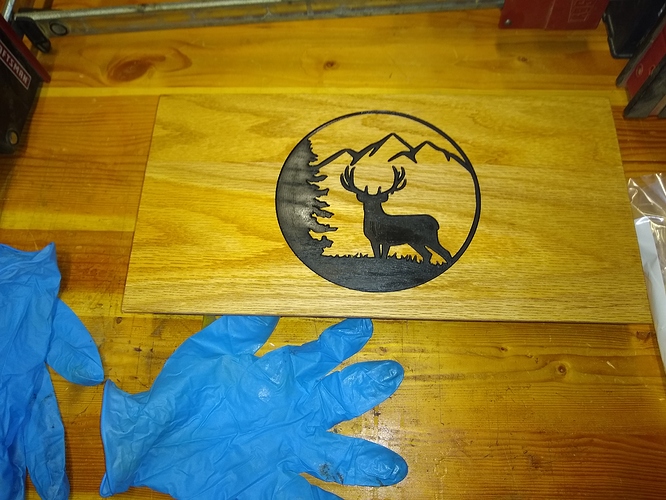
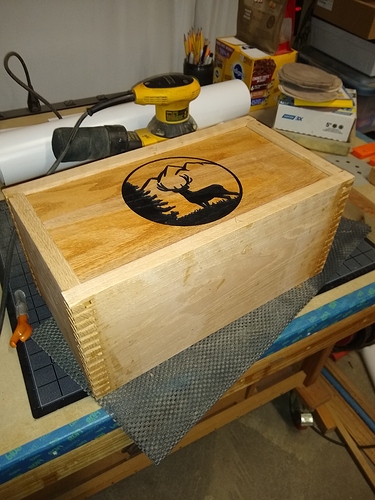
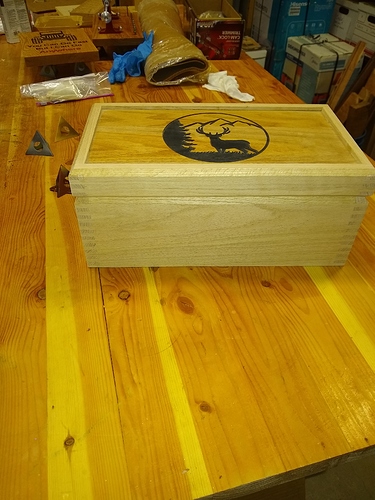
One of my friends came over Thursday with a new Hornady rifle case trimmer. He wanted me to make a base for it. I made the base but decided to make a case for it. I got the top of the box carved and put on a coat of Watco Teak Oil. Will glue up box tomorrow, then cut the top off and add hinge. I will apply the same Watco Oil to the case. I have a latch and two handles for the sides. You need to prefinish the top before glue up to avoid the lid from shrinking and having an unfished line showing. Deer hunting is a popular hobby around here.
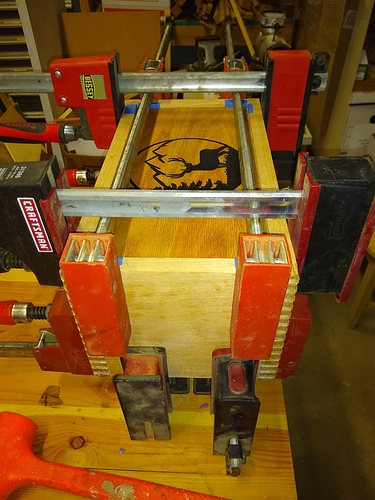
Took the box out of clamps. After lunch I will sand off the corners. I always have a them a little proud. My 6x48 belt sander will make short but dusty work of then.
I usually cut the top of the box off on the table saw. Then I cut off the bottom to have my pins continue to alternate. I may try to cut the lid off on the bandsaw. My bs blade is a 1 inch carbide resaw blade but it cuts quite smoothly for a 3 tpi blade.
I would worry about blade wander with the bandsaw cutting something that tall.
The box and design are beautiful
I will note that when I did a similar box, I put a thin groove in:
and it made cutting the lid off far easier.
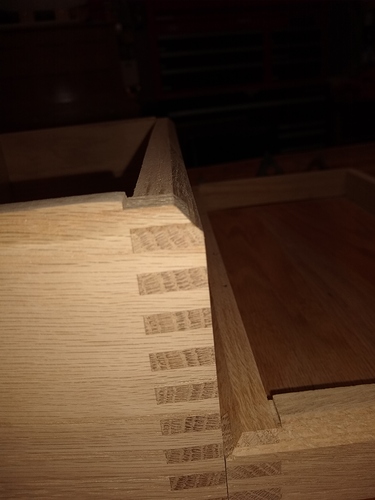
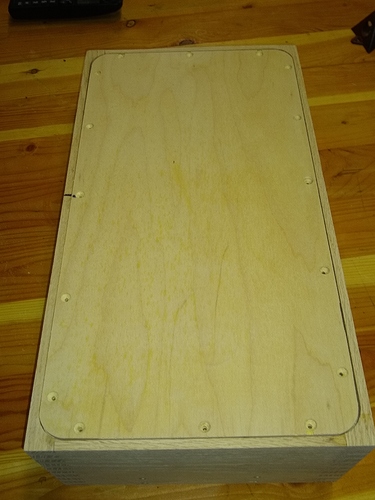
Well I cut the box top off on table saw. I cut the two long sides first and add some plastic 1/8 inch shims to cut the two short sides. I cut a rabbet on the back of top and bottom a little less than half the thickness of the hinge thickness. I do that so the back is just a little higher than the front so the lid sits down well. I then champher the top, bottom and around the lid to create a shadow and it hides the edge where the top and bottom meet. I had to go back and champher the back of lid and bottom so when top opens it makes a natural stop so the hinge is not the only stop. The hinge is 100 degrees stop but if the lid is flung open and he weight can pull the #4 screws out. Additionally I rabbet out the bottom of the box and fit a piece of plywood in with rounded corners. This way I can glue on fabric or psa velvet on trim and the edges are hidden. I countersink #6 screws to secure the bottom. The top is captured in a 1/4 inch groove and is insert in when glueing up the box joints. The bottom can be captured as well but I prefer to rabbet it in so in the future the liner can be replaced.
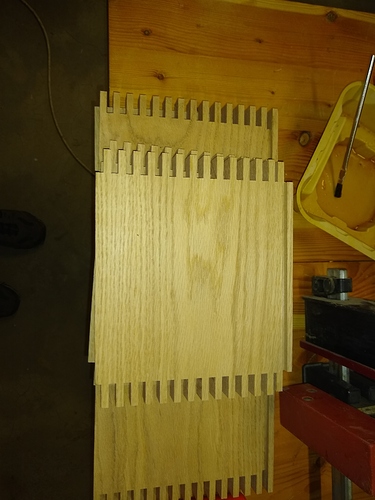
This is a hybrid project. Made finger joints with Frued box blade and Incra Box Jig. The Incra once setup you put blade on put material in jig and make box joints forever. The original set up takes minutes and is setup forever.
The lid carving was an advanced vcarve. #102 bit and #302. Advanced vcarve is great. The trimmer base was just vcarve with #112 for text and #201 bit for pocket and recess holes and through holes to bolt down trimmer.
Guy, do you consider the box joint finger width when you decide on the height of you box’s sides? It looks like you do, and that’s interesting.
I did when I set up at the link above.
I guess I’m thinking one could make the parts more than a “notch” wider, and then trim to the best width after cutting all the notches.
Perhaps there’s something Guy does differently, but those are swell joints.
The Frued blade makes 1/4 and 3/8 cuts. I like the 1/4. I make the box full height and cut off top. Then a few places me so joints match. Even if box is not square the top and bottom match both in size and grain.
If I were to change to 3/8 fingers the jig takes about 5 minutes to adjust. Once set for a size no further adjustments are needed. Make your joints and a year later set the Incra on the table saw, adjust blade for height, make box joints.
If I change size to test I make a test in plywood about a foot long. Any error will be magnified over a foot and if adjustments are made use the other side of your plywood to retest. The Incra I-Box is simple and reliable. If you blow up the pics the box joints are gap free.
I use Bessy square clamps and they draw a the box together and box joints are self squaring.
