I finally have a permanent home for the SO3 where it’ll actually be usable on an ongoing basis (long story) so I’m getting ready to install the HDZ and make some other mods. I just started looking at how to level it and install a waste board setup. One of the prior mods was to install the C3D black one-piece threaded table. I was thinking about making a torsion box base but then wondered if it’s necessary.
My question is this: since the table is in theory dead flat, and the Y rail metal plates attach to it, can I rely on only this for the basic machine rigidity, and skip right to adjusting the X/Y extrusions and tramming the Z?
Seems to me the table has enough rigidity that I shouldn’t need anything else. Am I being overly optimistic?
I ended up locking my extrusions so they couldn’t shift by using two flat-head screws in each joint. Then I shimmed the aluminum table. It had been that way for about a year and has not budged.
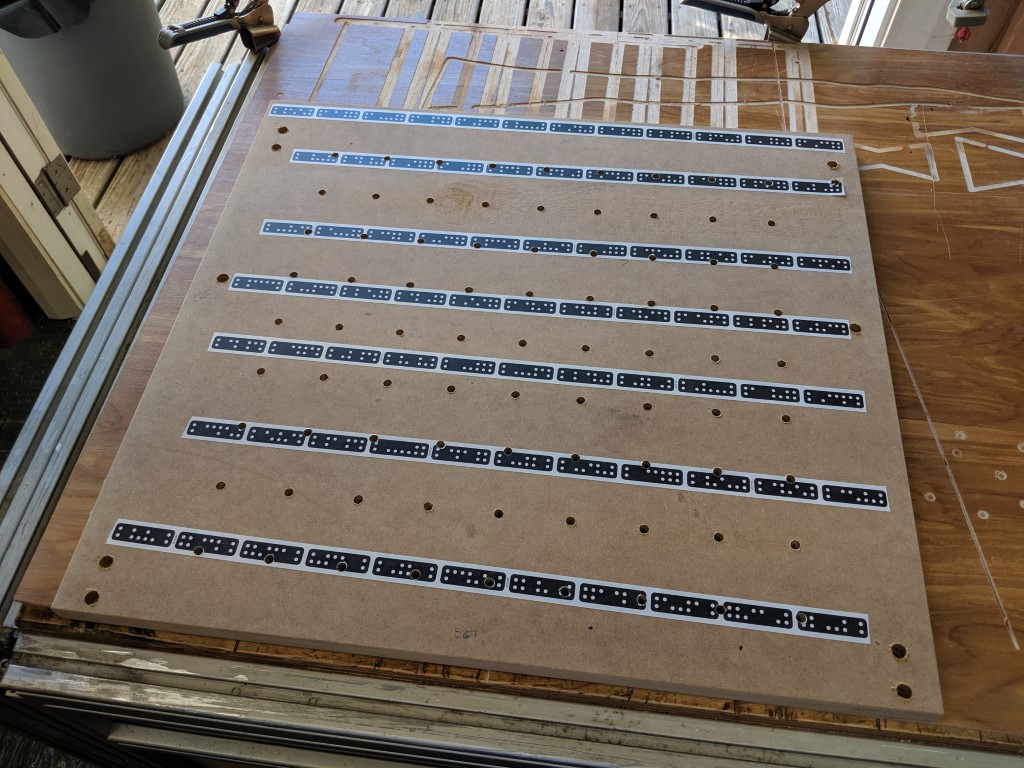
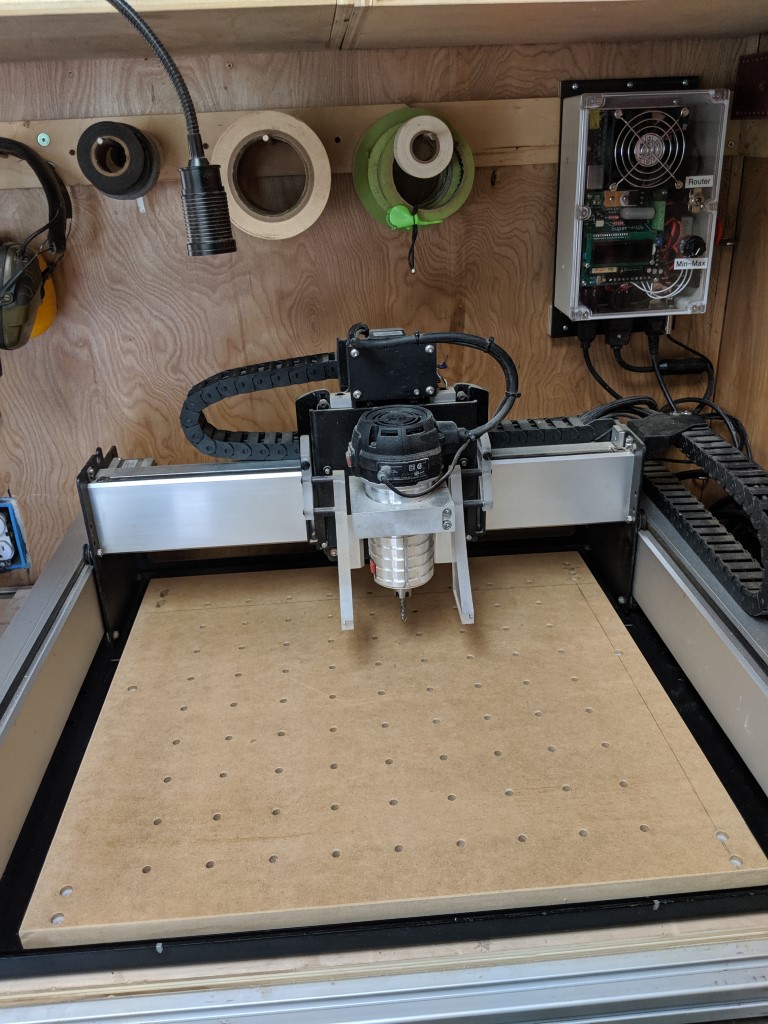
Perfect use case for the Shaper Origin, using the helix mode I cut holes 7mm thru to 20mm depth in about 8 seconds each. Followed this up by going back to mounting holes to add a 1.5mm negative offset 10mm deep for the counterbore. Slicker’n snot.
Subtracting the obligatory 60 minutes of goofs it only took around 30 minutes.
Ordered steel belts I’m waiting on, then given a free weekend I’ll drag this out to the workbench and get cracking on the HDZ and other mods. I have the prox switches from @Luke and a probe ready to go. Open to any suggestions on other worthwhile mods while I have everything torn apart.
I had to look up “Shaper Origin” and then went “oh, that’s what these black and white strips are about”. Very nice tool, and using that for setting up your Shapeoko must feel like CNCeption
While you have it on hand, why not cut slots on the sides of the wasteboard to insert side walls ?. I did a similar thing on mine as a test drive, and ended up leaving them installed all the time.
@Julien I have to admit it didn’t occur to me. I recall reading the thread on your sidewalls and thinking “that’s a great idea” I should do that… Thanks for the nudge.
Given this wasteboard is on the small side now I may just attach them to the edges until it’s time to replace.