Yep,
Everything Brian says is sensible there.
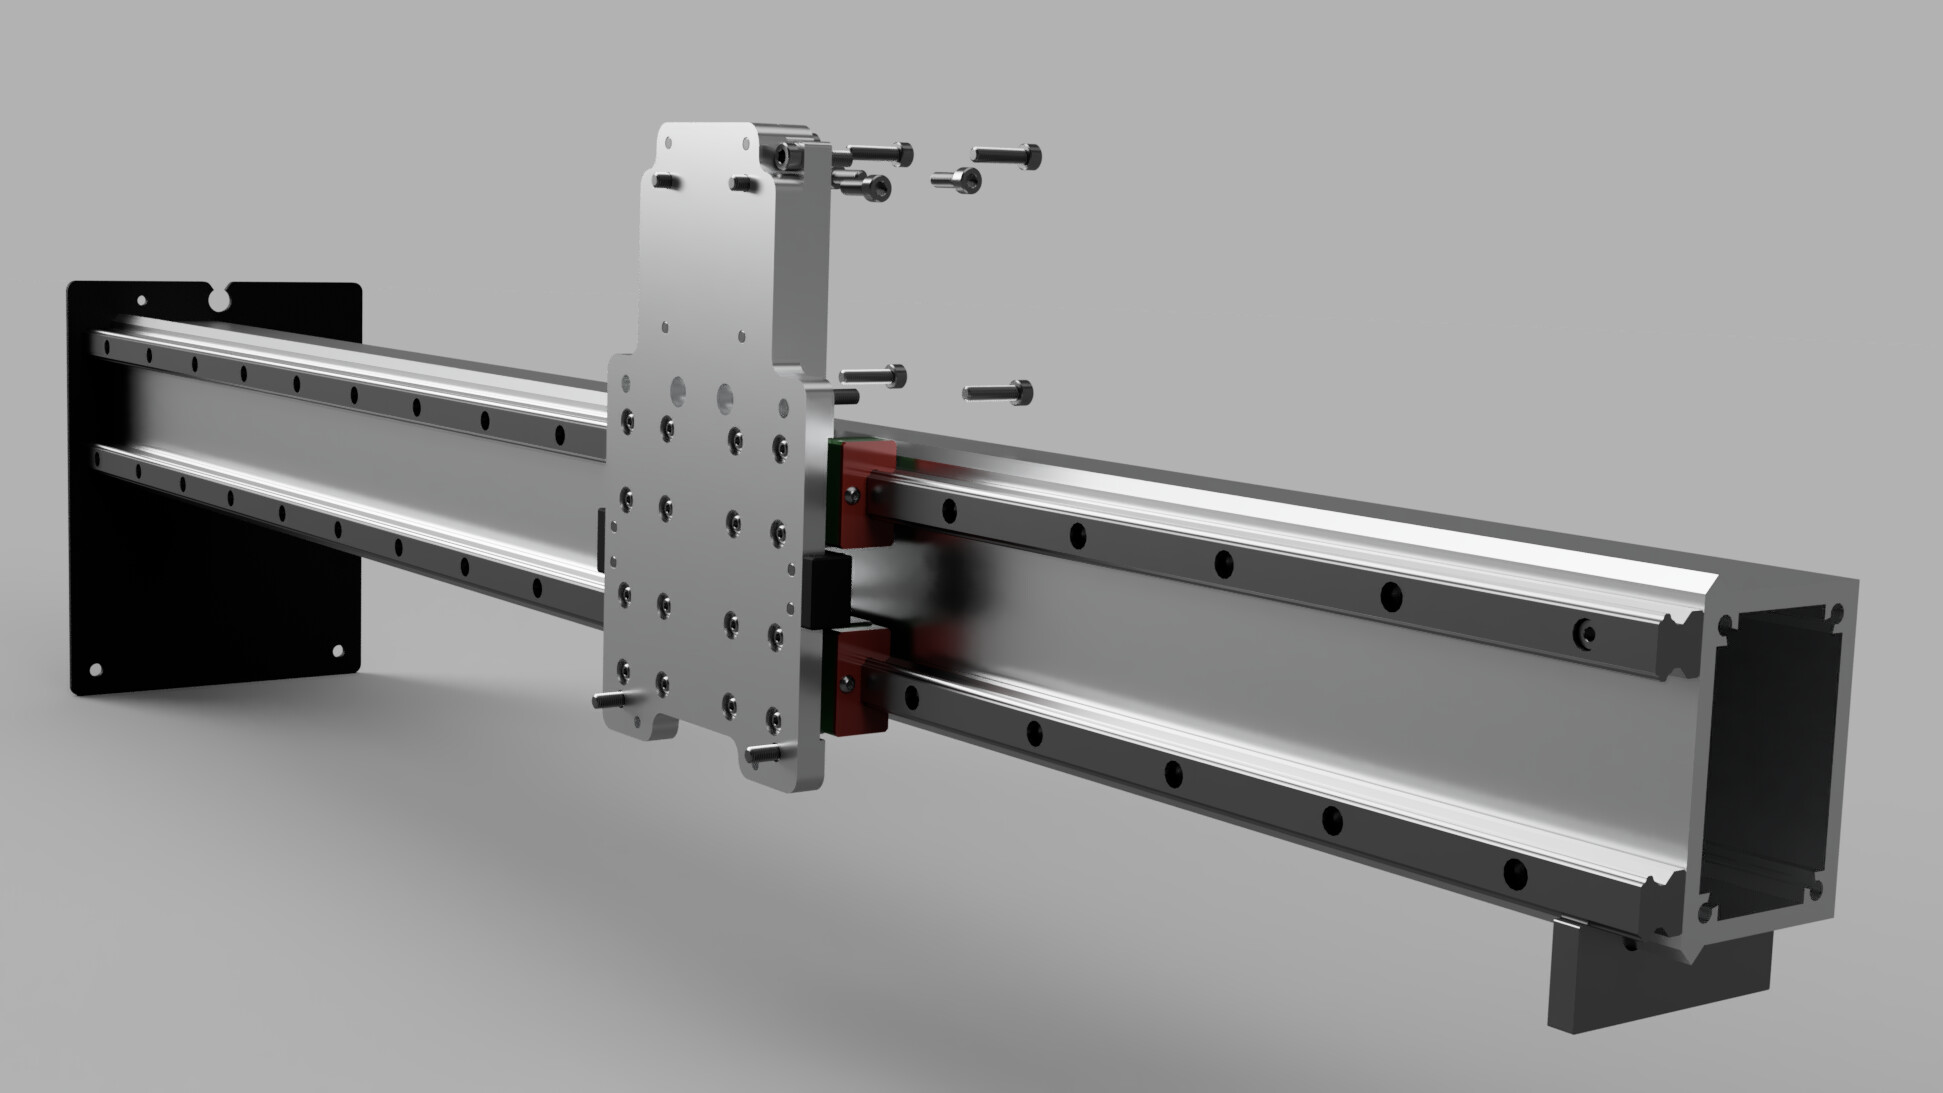
I used Dan Story’s CAD design as the basis for my X conversion too. The adapter plate to mount HDZ onto the rail blocks was a really useful place to start and saved me several rounds of prototyping. I still have V wheels on the Y plates and my machine is hugely improved, my measurements suggested and confirmed that most of the deflection is due to the X-Z V wheels.
As Brian and Lucas say, you may lose rather a lot of rotational stiffness if you only use one block per rail, you may just have to accept the reduction in X travel.
The alternative (again, as Brian says) is to ‘go pro’ and flip your Y plates to the outside of the rails on your machine, you can rotate the Y rails to put the V wheels on the outside. However, this would mean you need to find a new extrusion long enough to bridge between those outer mounted Y plates and also, if your rails are only 1000mm they probably don’t have the spare length anyway (The CAD says mine were 1016mm on my XXL).
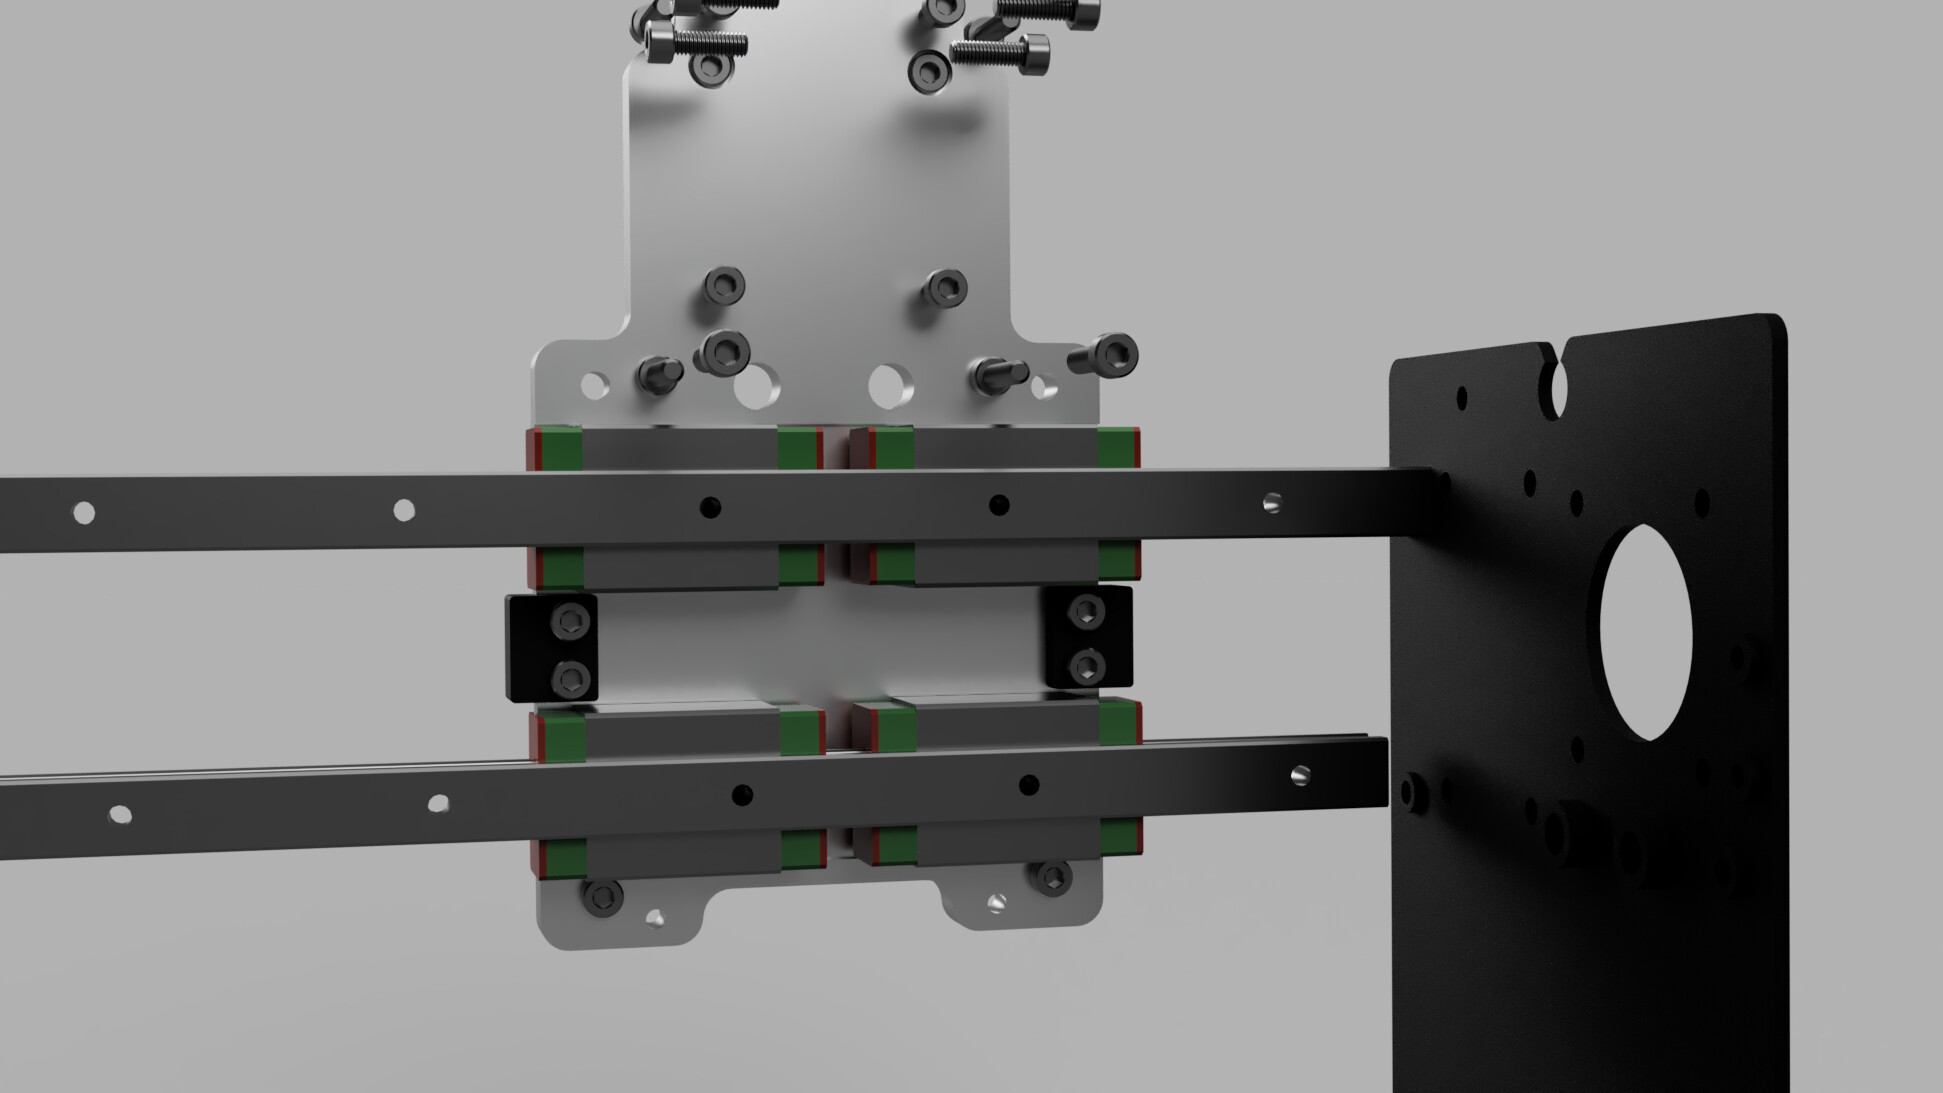
Realistically, as you’ve found, there’s not much room left for longer blocks behind the Z adapter plate and you’ll find the rails need to stop short of the Y plate to clear the V wheel bolt points as well.
This second pic has the small alignment bracket I made a pair of for aligning the lower linear rail to the bottom side of the X rail which made assembly a little easier, I also put an alignment edge on the bracket plate to align both lower bearging blocks. The upper blocks and rail then became the parts that got adjusted during assembly.