For awhile now I’ve wanted plugs for my nomad fixture plates and table. Something to keep chips and swarf out of my bed of holes.
Luckily, the folks at Saunders Machine Works open sourced a solution for me and the ~12 other people with this problem!
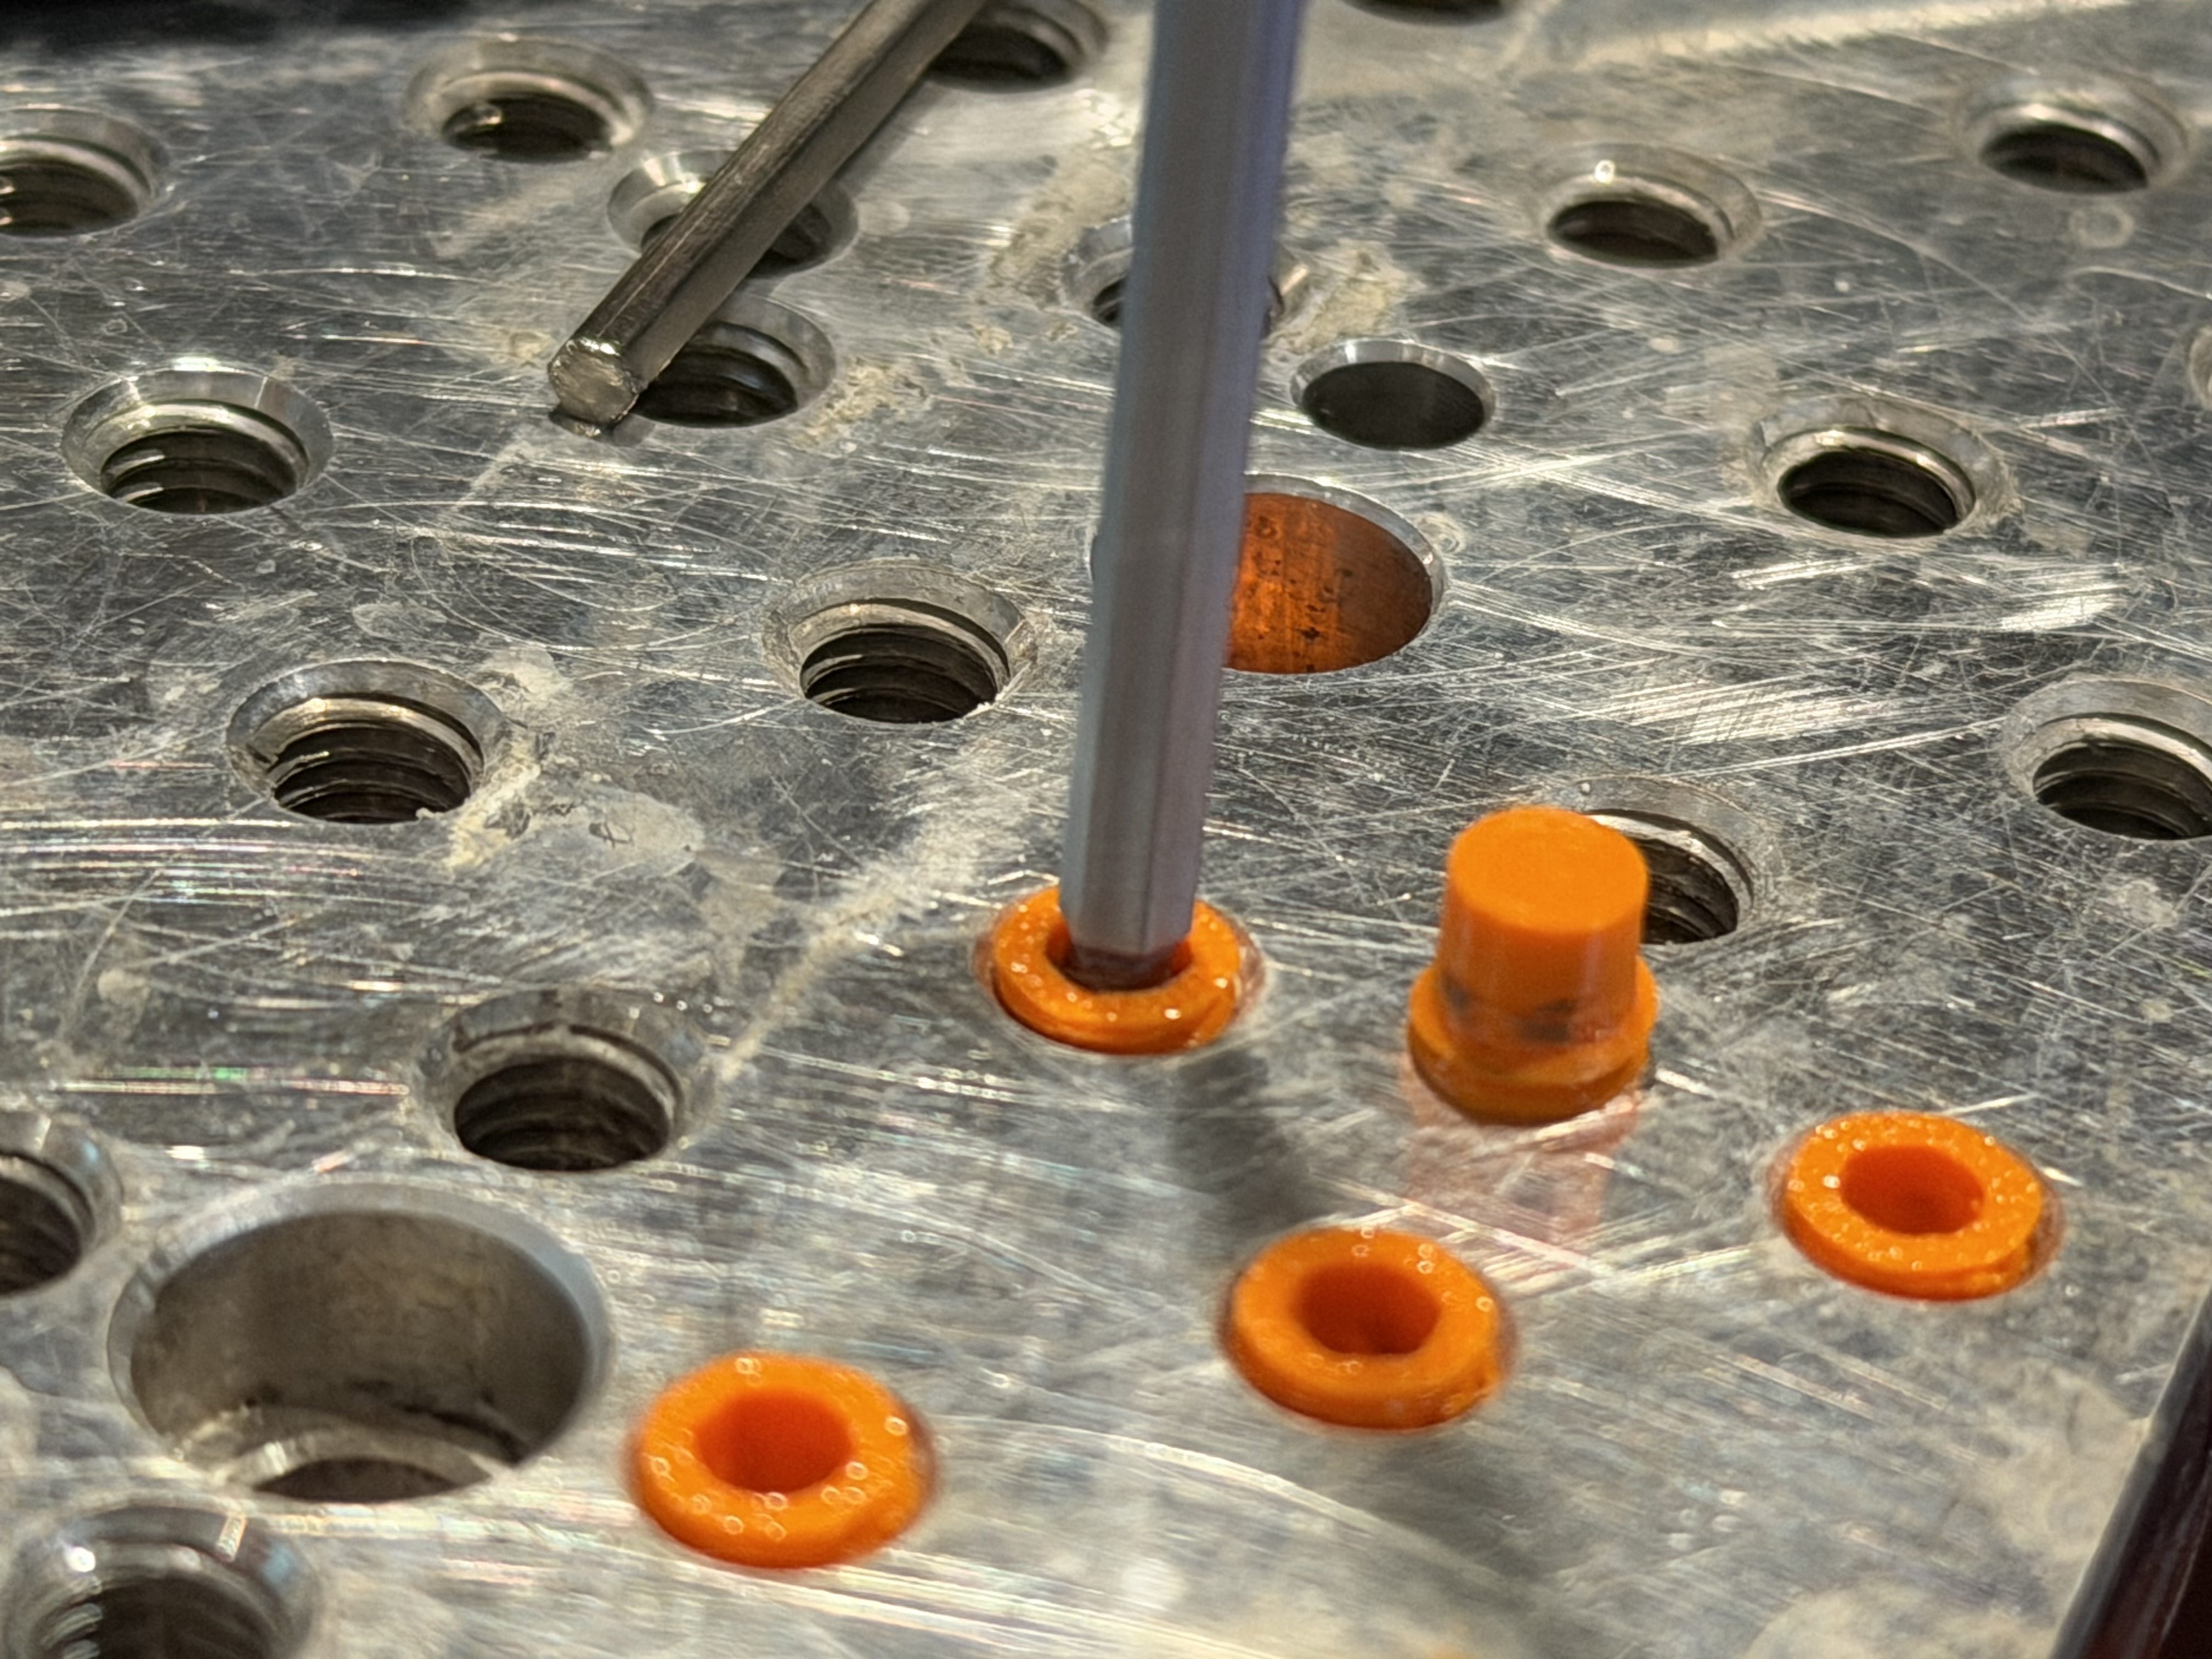
A little 3d printable plug that sits just below flush. It has a single thread to hold it in place so it’s quick and easy to insert/remove. Pretty clever in my opinion
One benefit of 3d printing is that one could use different colors to indicate different setups. I personally use a variety of custom fixtures and tend to just mark the plate with sharpie…which is never there when I go to use the fixture again
So color coordinating setups and such seems like a nice quality of life upgrade.
I am printing a bed of these now. If it turns out they tend to break too often, I’ll try my hand at either milling or molding some. No layer lines would improve things and if I get really annoyed, there’s always delrin…but for once in my life, I’m going to keep it simple and only resort to the nuclear option if/when it becomes necessary
I’ll report back with photos and some immediate use commentary when they’re done.
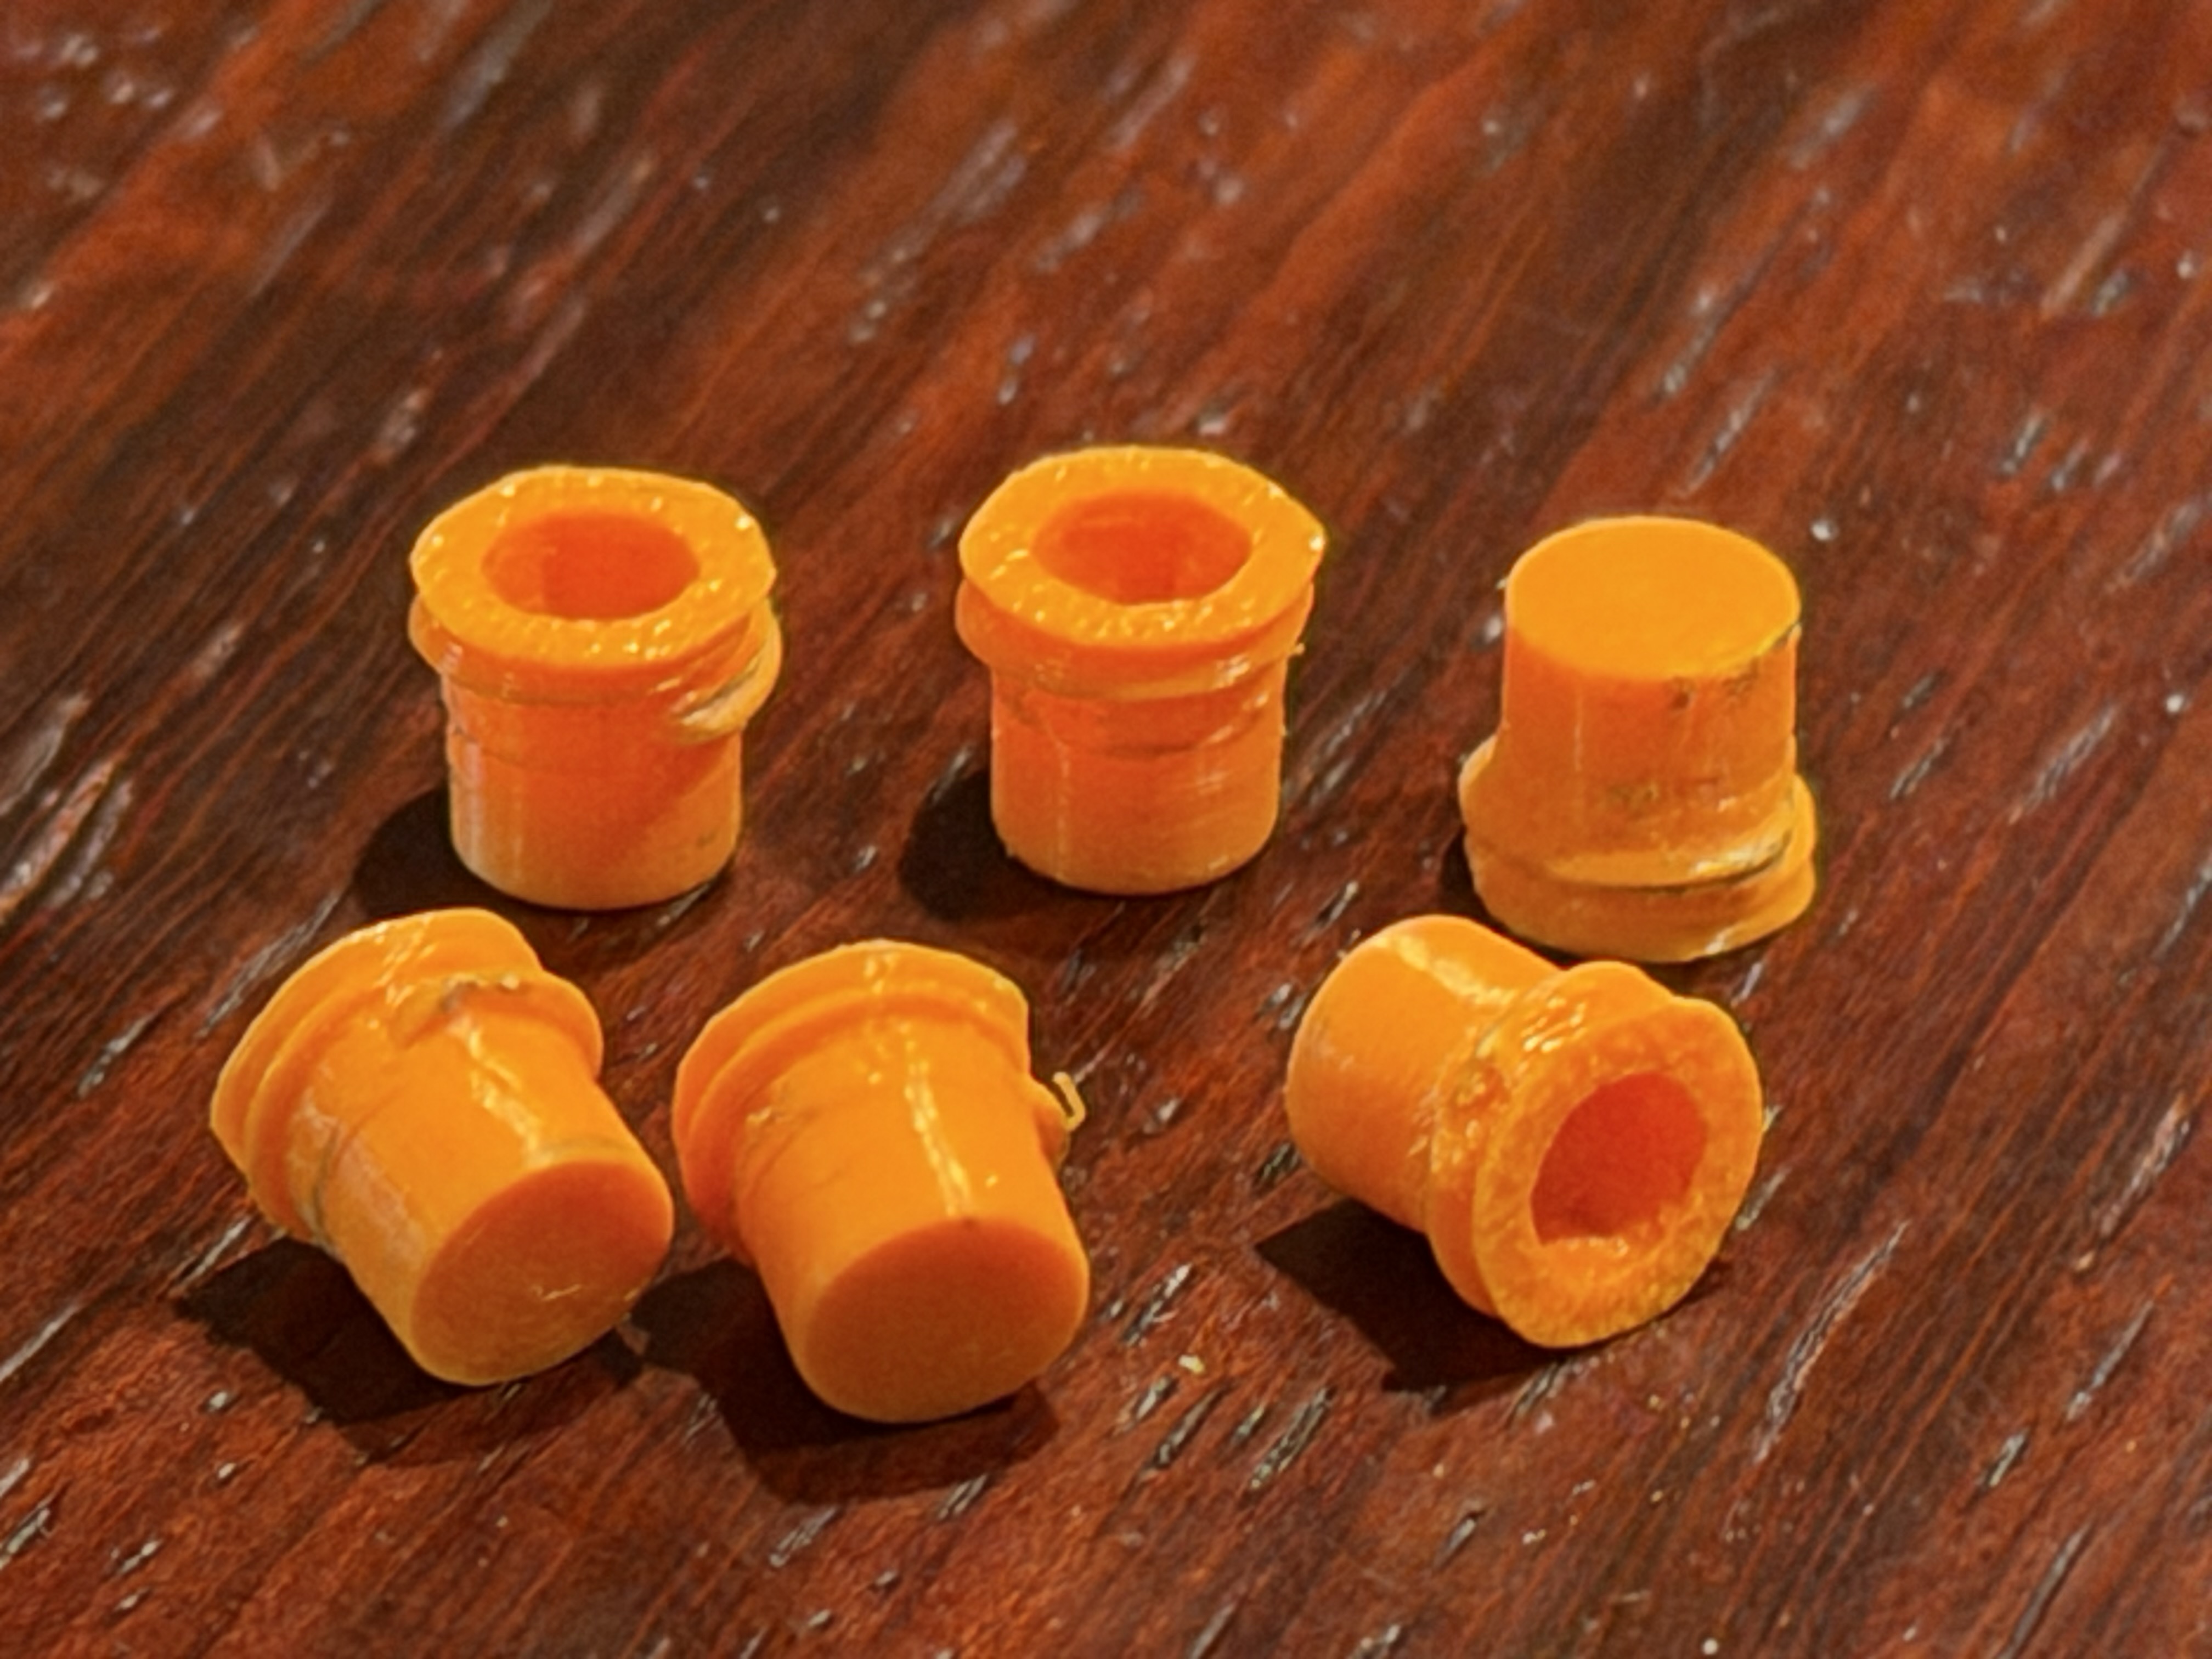
Initial impressions: Decent - certainly with a try
Kind of a pain to print since there’s so little surface area for bed adhesion. Not a huge problem but noteworthy.
They don’t seem to sit below flush, not sure what that’s about, maybe a print defect getting caught or something silly.
They strip incredibly easily, though just adding a touch more force causes some bite so you can get them out. Gift and a curse
All in all, decent. Not great, not terrible. Super quick to print, colors are going to be handy, and a bit of tuning would probably serve me well.
That said, I’ve already got 100 M6 grub screws so I’ll probably go that route for the majority of hole filling and just swap out with colored plugs as I get fixtures set up
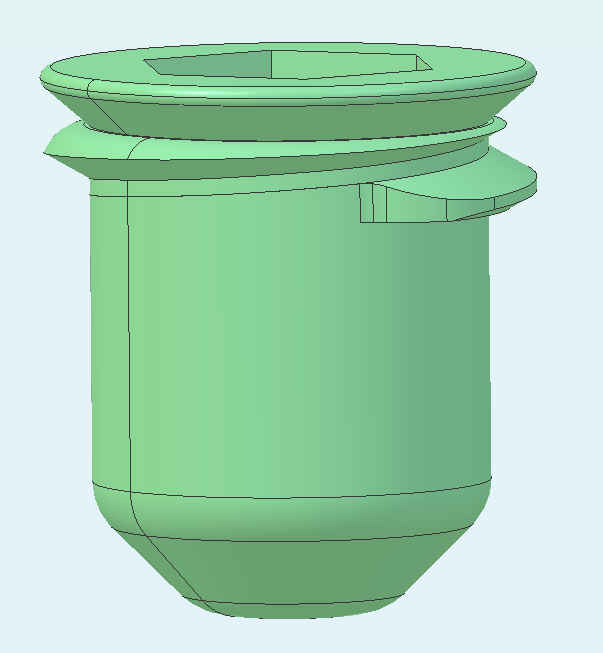
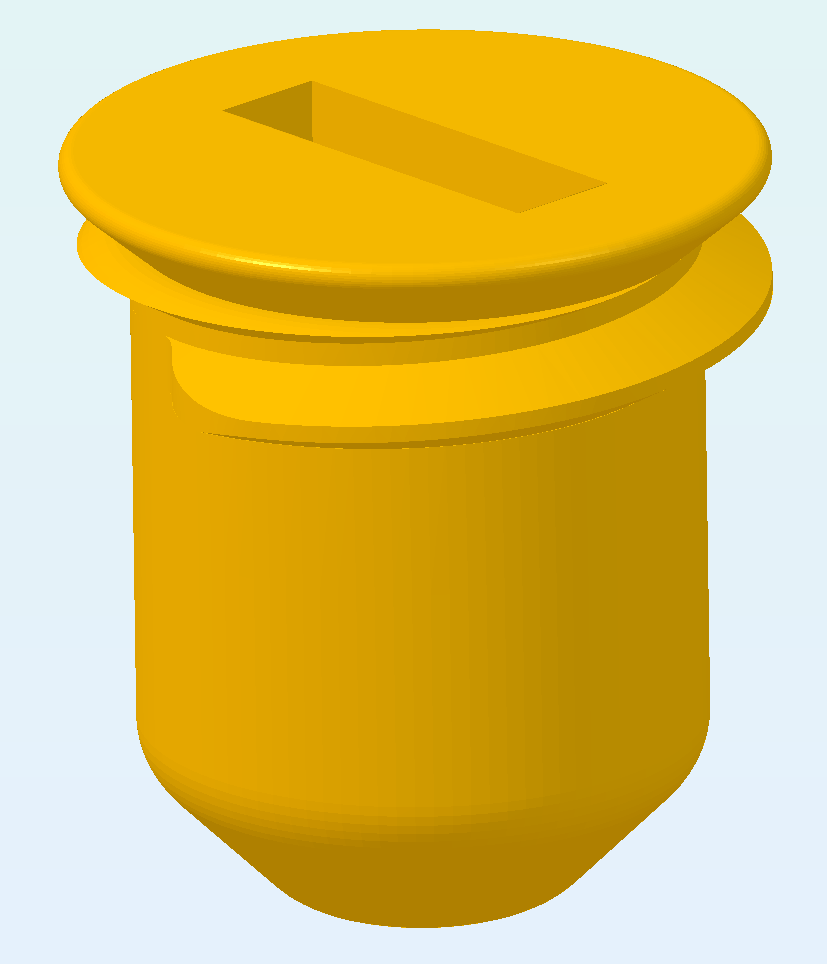
Cool find, Tyler thank you for that! (And obviously thanks to Saunders!) On small parts I enable a brim, which adds a 1-layer-thick surface to grip the plate. Did you happen to print any of the slotted version to try? For some reason, they only supply a 3mf of that version, so I’ll need to extract the stl from it. It does look like the plug should at least theoretically fit flush to the surface given its geometry (STEP imported into Atom3D here)
Very nice! I’m printing them from eSun PLA+. Gray is what I have loaded so they are kind of stealth in place… I kept the speed low, 50mm/s outer and 80mm/s inner for the whole part, to help my little Neptune 4 Pro stay accurate. I used a 5mm brim, which is pretty easy to pull off the part. The slot is just the right size to wedge onto a Wiha 2.5mm flat-blade, and I have no problem inserting them below flush without using a lot of torque. My first plate was 7 just to try, and I have another 25 printing now, which will be just over an hour (but it is not my time–I’m doing other stuff!) I’m doing print by part rather than print by layer, so 25 is all that Orca Slicer will let me place on the plate at a time.
That looks like just enough, Tyler. I count 97 threaded holes in the N4 table (80 in the grid and 17 off-grid). But that is from photos–I still have the glass plate and Cricut backing sheet clamped to my table.
My mistake–the off-grid holes are unthreaded dowel pin holes. Only the 80 grid holes are threaded. I’ve gotten adventurous and am printing 80 more plugs, layer-at-a-time so they are all grouped together on the plate, using 100 outer and 200mm/s inner speed except for the slower first layer. The brims all run together. And I really need to do a bed leveling–the discrete brims on my first set of parts varied widely in their peel-ability. Some pulled right off and some I needed to use a side-cutter on…
I tried printing a batch of the plugs from 85A TPU to use in the non-threaded holes. Not a win. By the time I got the plug pressed into the hole, it tended to pop below the surface and I needed to use a dental pick (the “weeding” tool I’m using for the vinyl cutting) to extract it.
I may enlarge the chamfer on the dowel pin holes a smidge. As it is, the chamfer seems too narrow to give enough of a stop for a hole plug that needs to be pressed in.
I’ll try modeling a push-in plug with little crush ribs, or maybe a hex body with a circular tapered flange to seat into the enlarged chamfer. I could print it from regular PLA in that case.
If you’re not usually cutting ferrous metals, you might get away with a pack off the shelf precision dowels. They could sit ~flush or just below flush and you can use a magnet to pull em out.
Depending on the exact specs it should be like $10
That’s a good suggestion, Tyler. Since the dowel holes are thru, I’m just wondering if the dowels are a tight enough fit to not slip on thru, would a magnet be enough to extricate them?
Oh that’s a good point, I hadn’t considered them being though hole.
Probably not the best idea to have it just hanging out there without any real retention.
Maybe going with the 3d print is a good idea after all. Your idea of some crush ribs would certainly work, getting them out might be annoying but I rarely use them with the current workflows I’ve got so maybe it’s worthwhile for me.
So the hole plugs are great, until I forget they are there and wonder why I can’t screw my spoilboard back onto the table… A task for tomorrow is to print out a bright orange set like yours, Tyler (but with the screwdriver slots, they work really nicely).