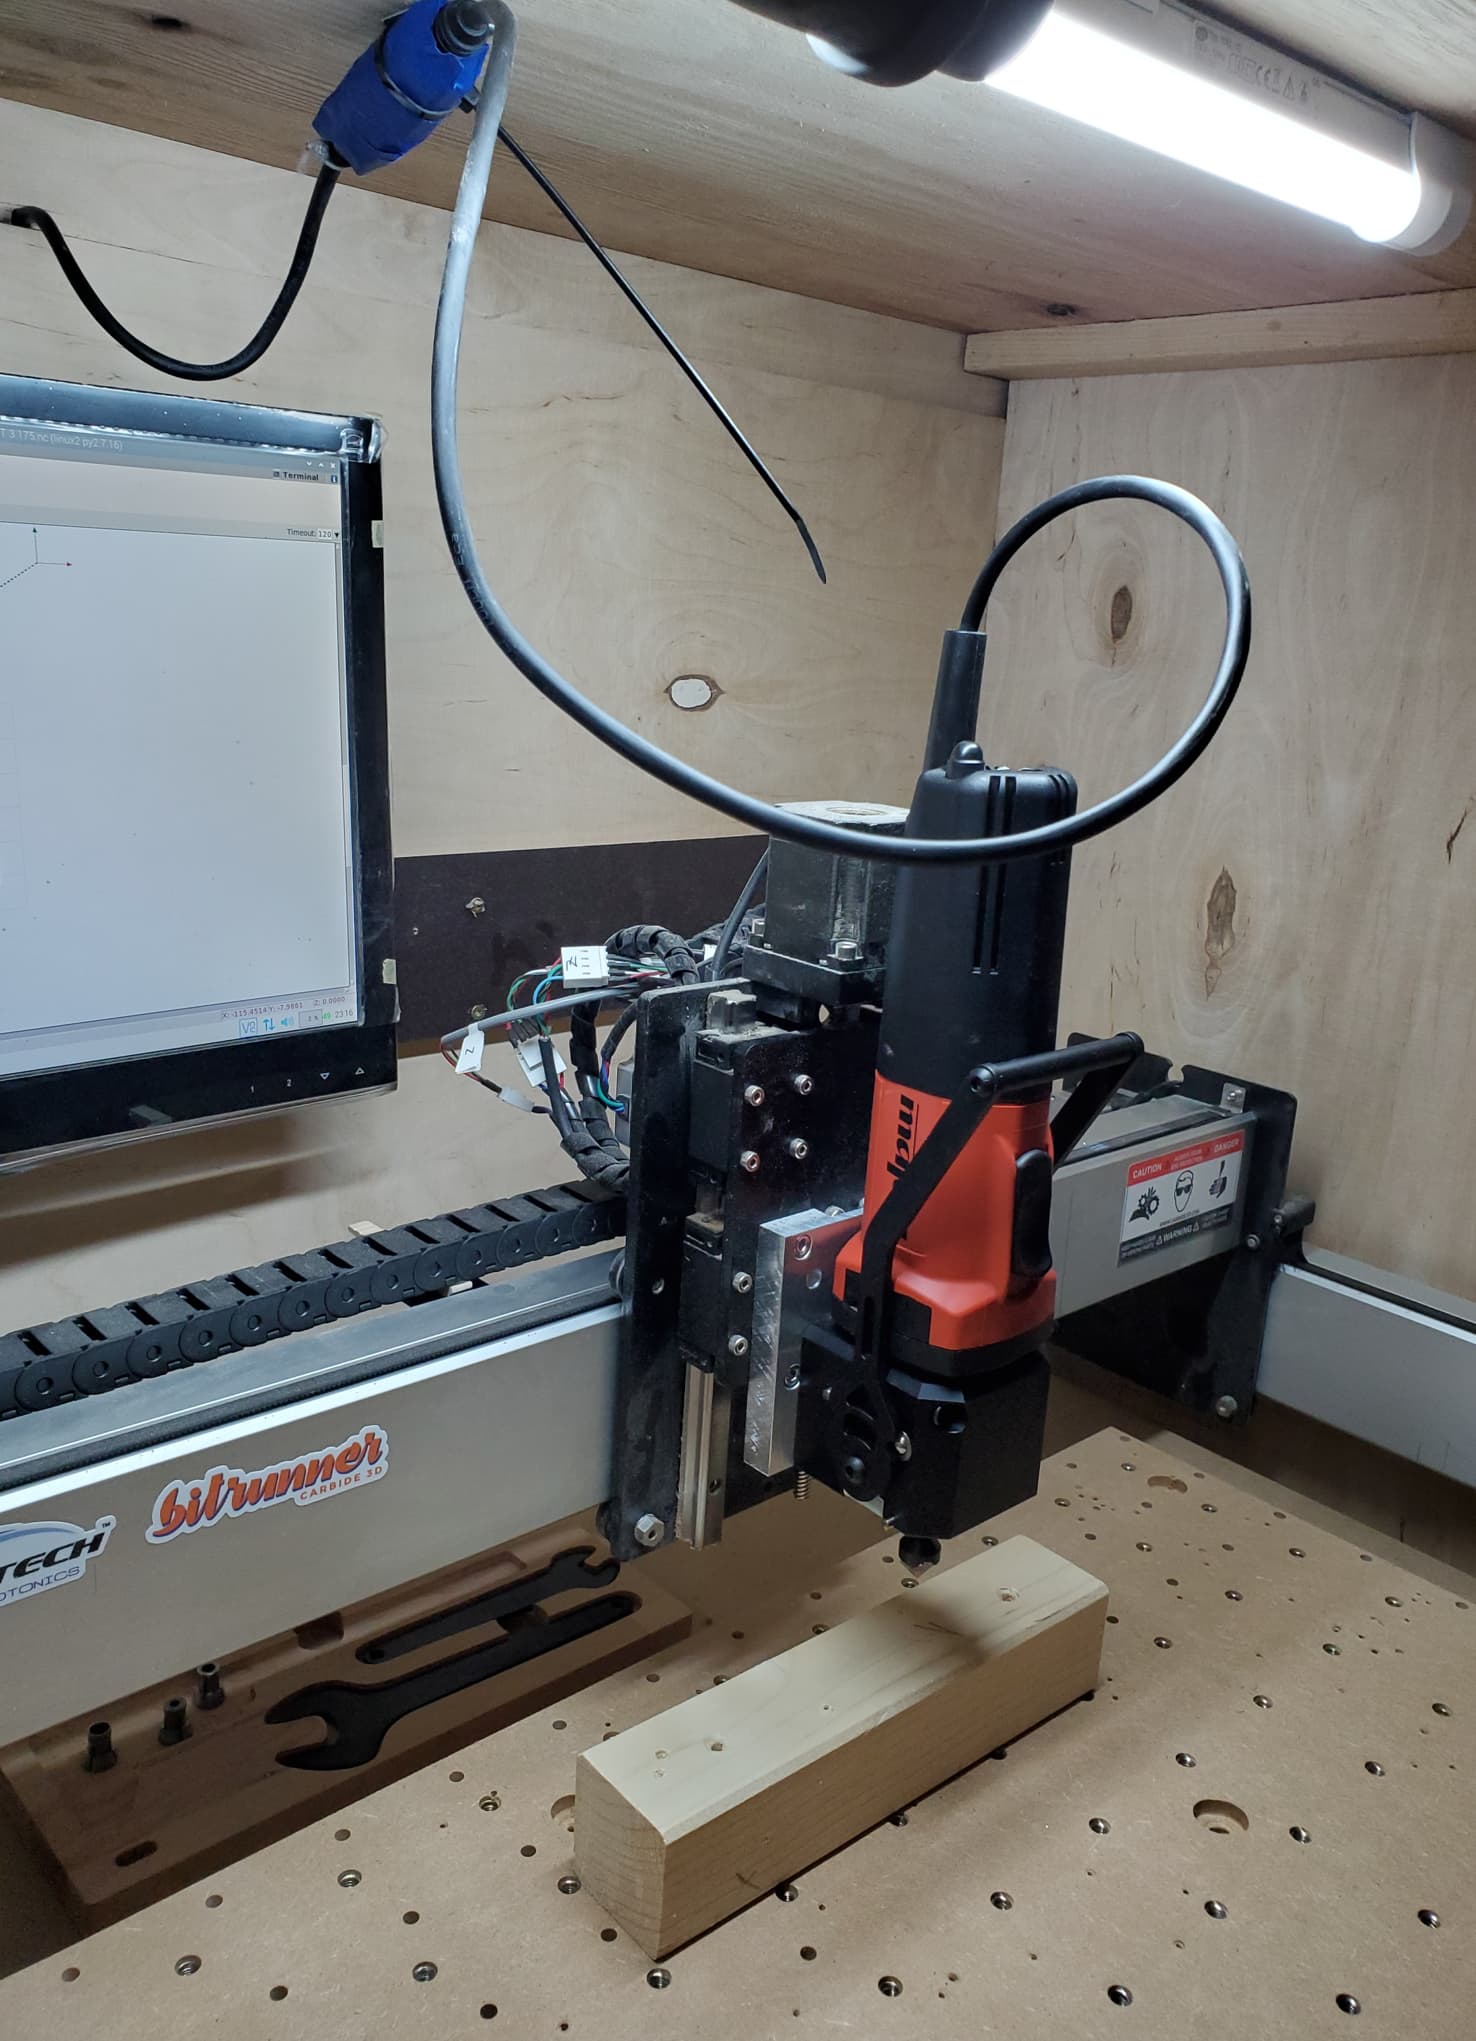
Recently picked up a Mafell router with quick tool change (manual) in preparation for a new ballscrew machine. While I wait for the machine to be built (13 weeks!), I decided to mount this bad boy and make my Shapeoko life a little easier in them meantime. Multiple tool changes will hurt just a little less now!
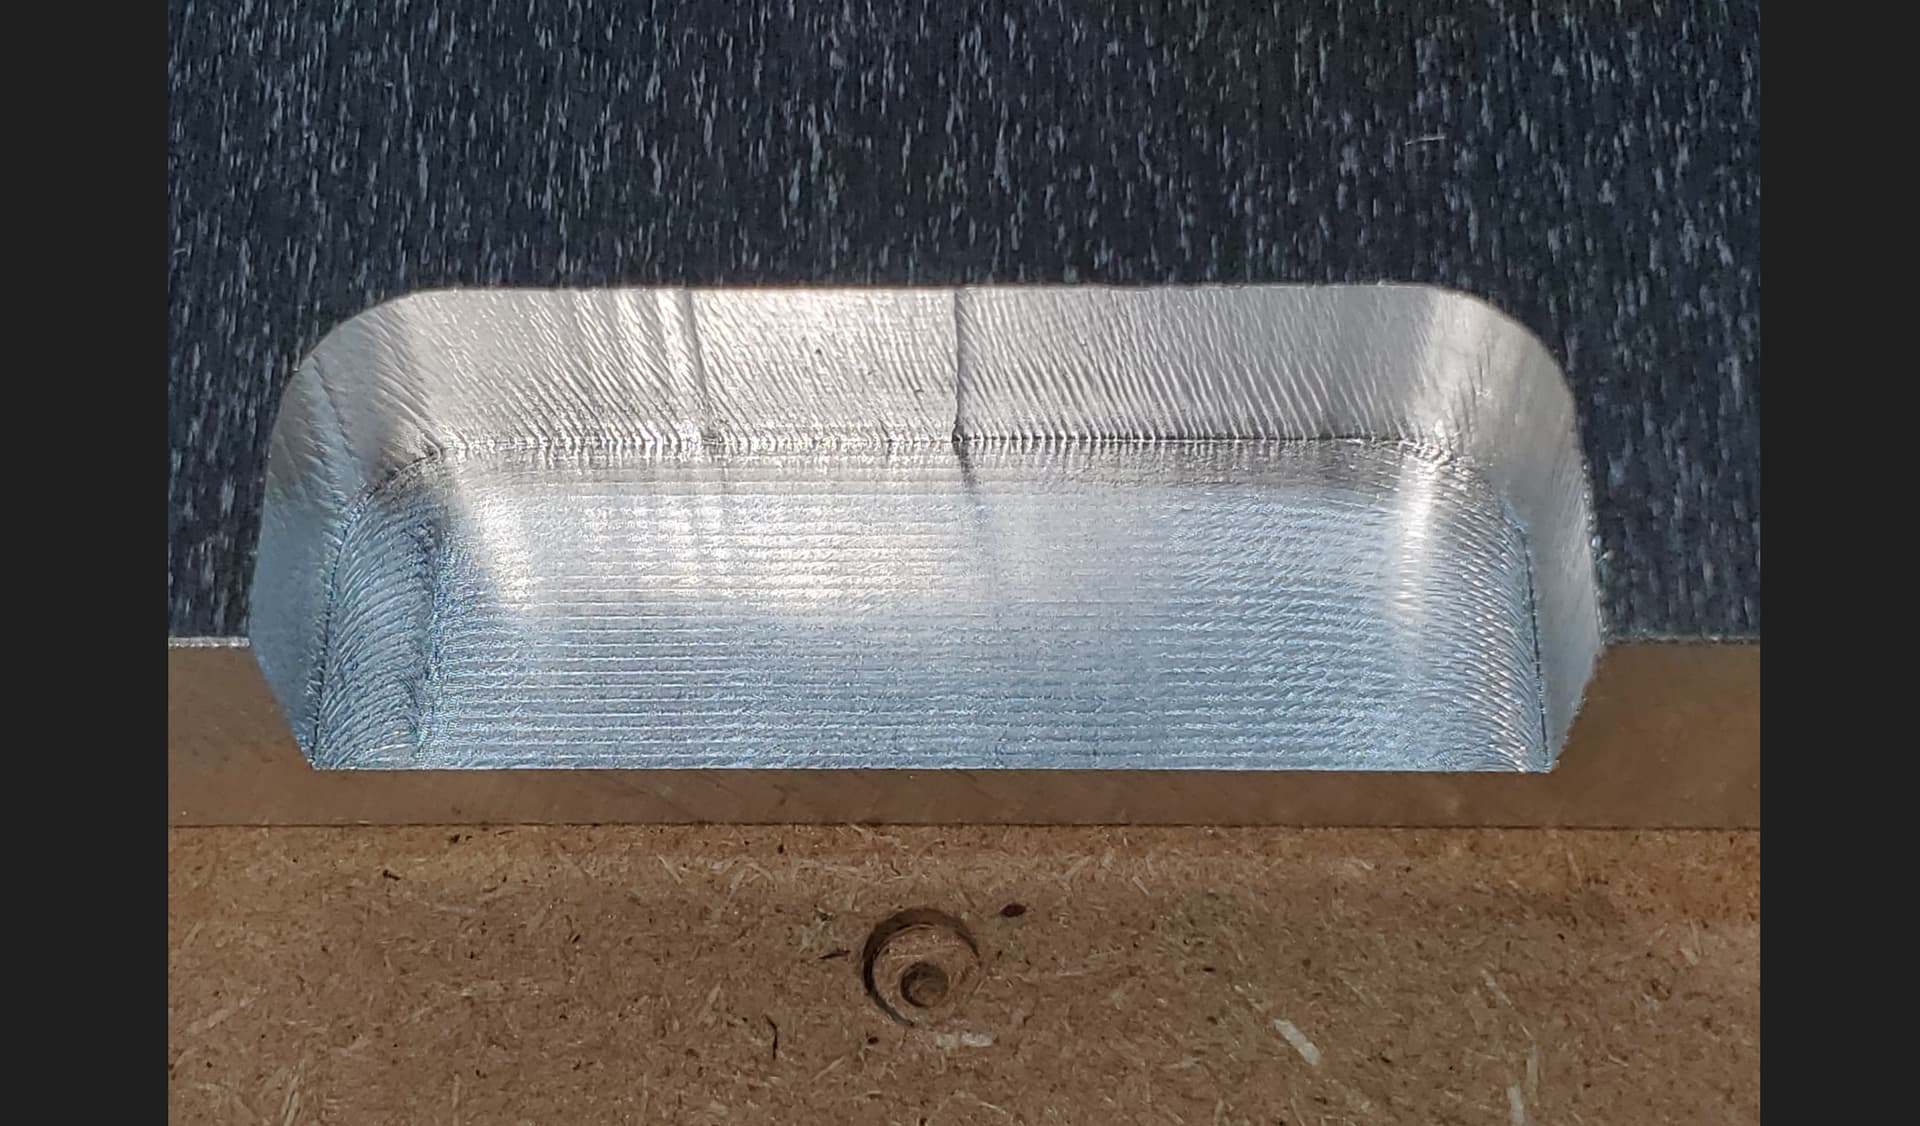
I milled an adapter plate from 15mm aluminum and it actually works! This was my first actual aluminum cut so I was super light on feeds and speeds but it came out pretty OK.
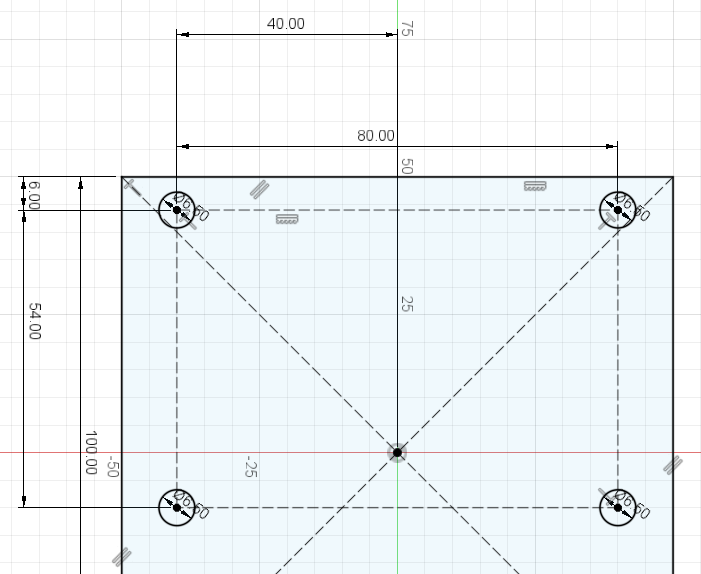
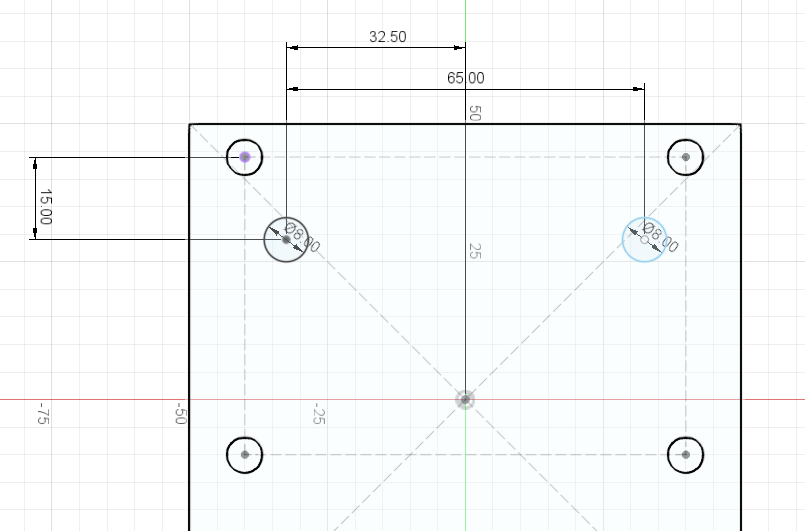
ZPlus Tramming plate mounting holes:
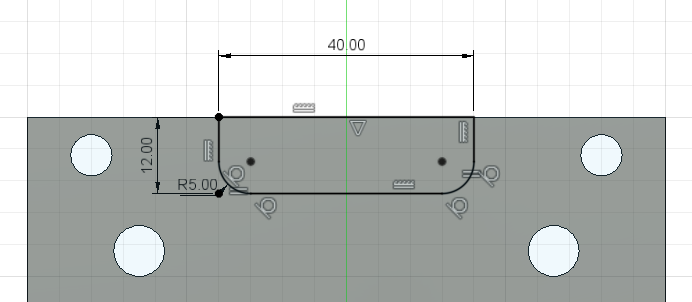
Relief hole dimensions from the ZPlus tramming plate:
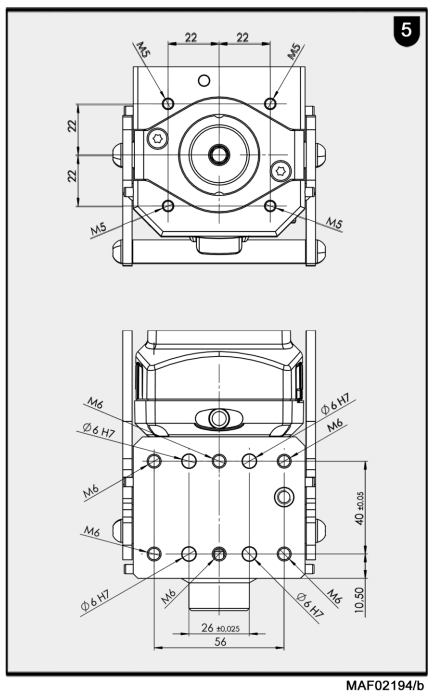
Mafell dimensions:
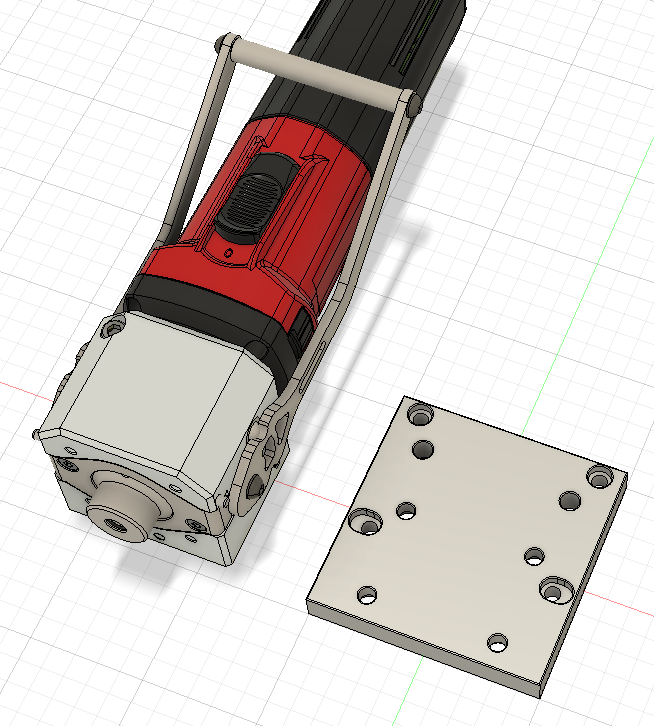
Front side of model with fix:
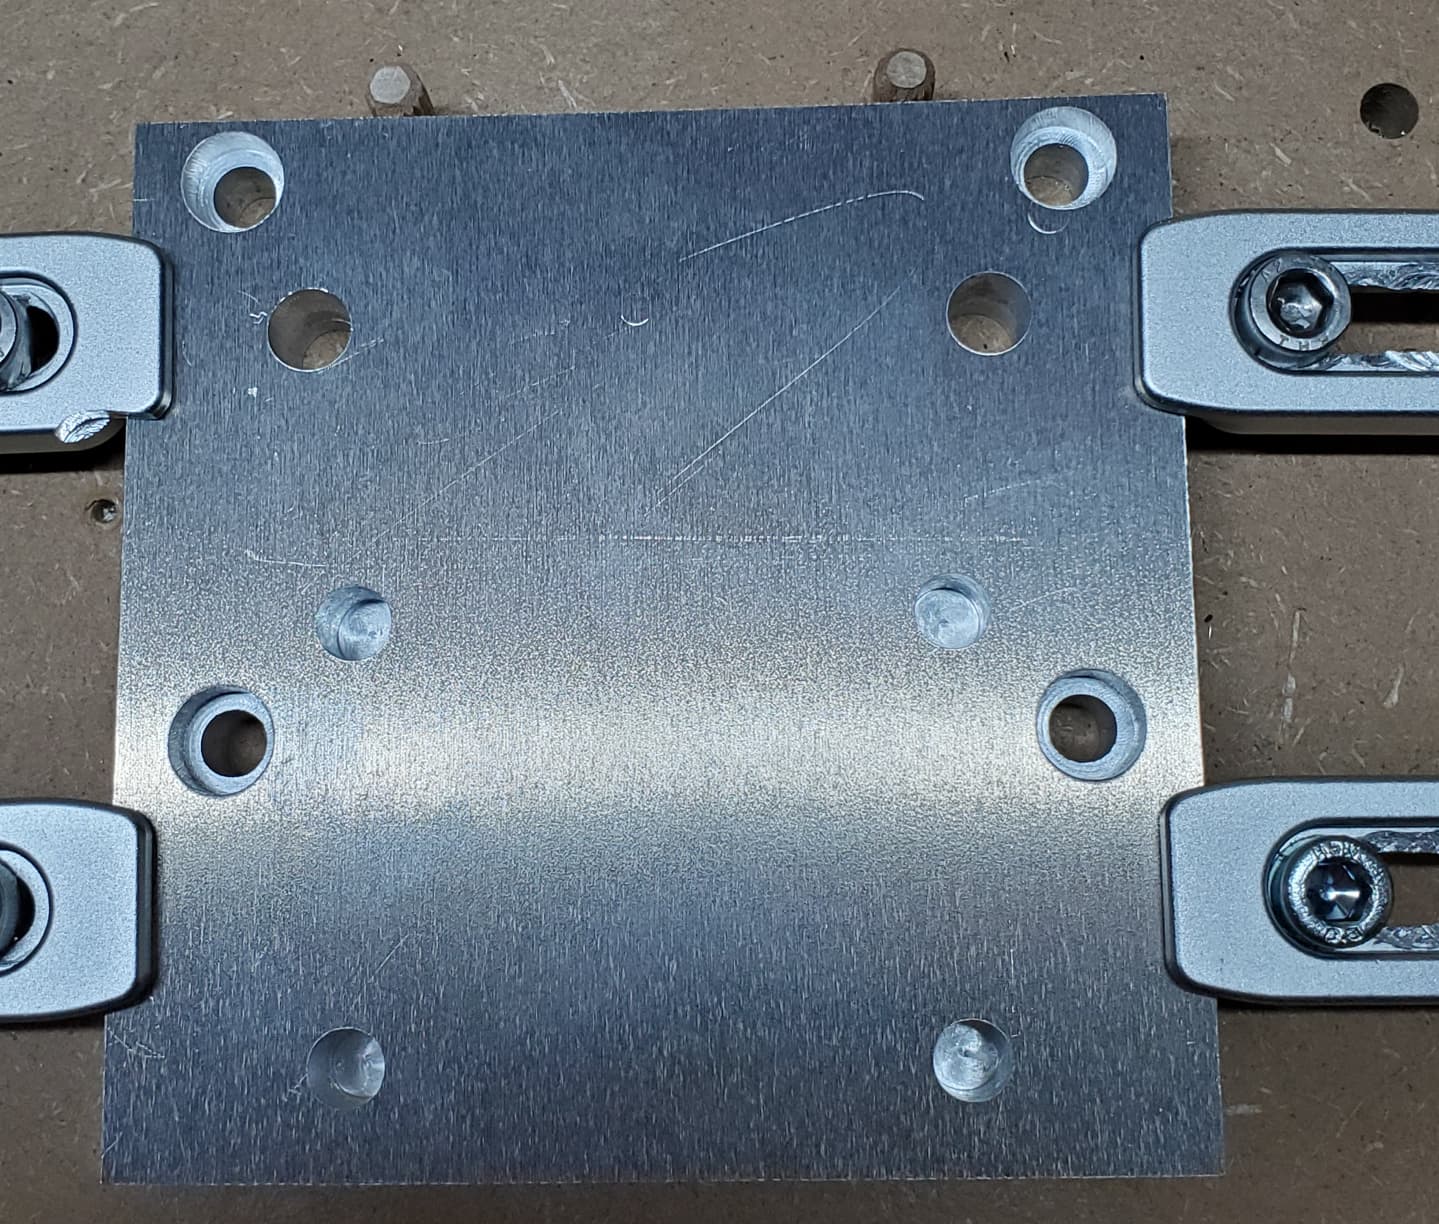
Back side of model:

Nothin to see here, except that Fusion doesn’t start its gcode with a Z height move like Vectric does…
Repeatable workholding for two sided: Dowels to locate X axis, clamps to locate Y
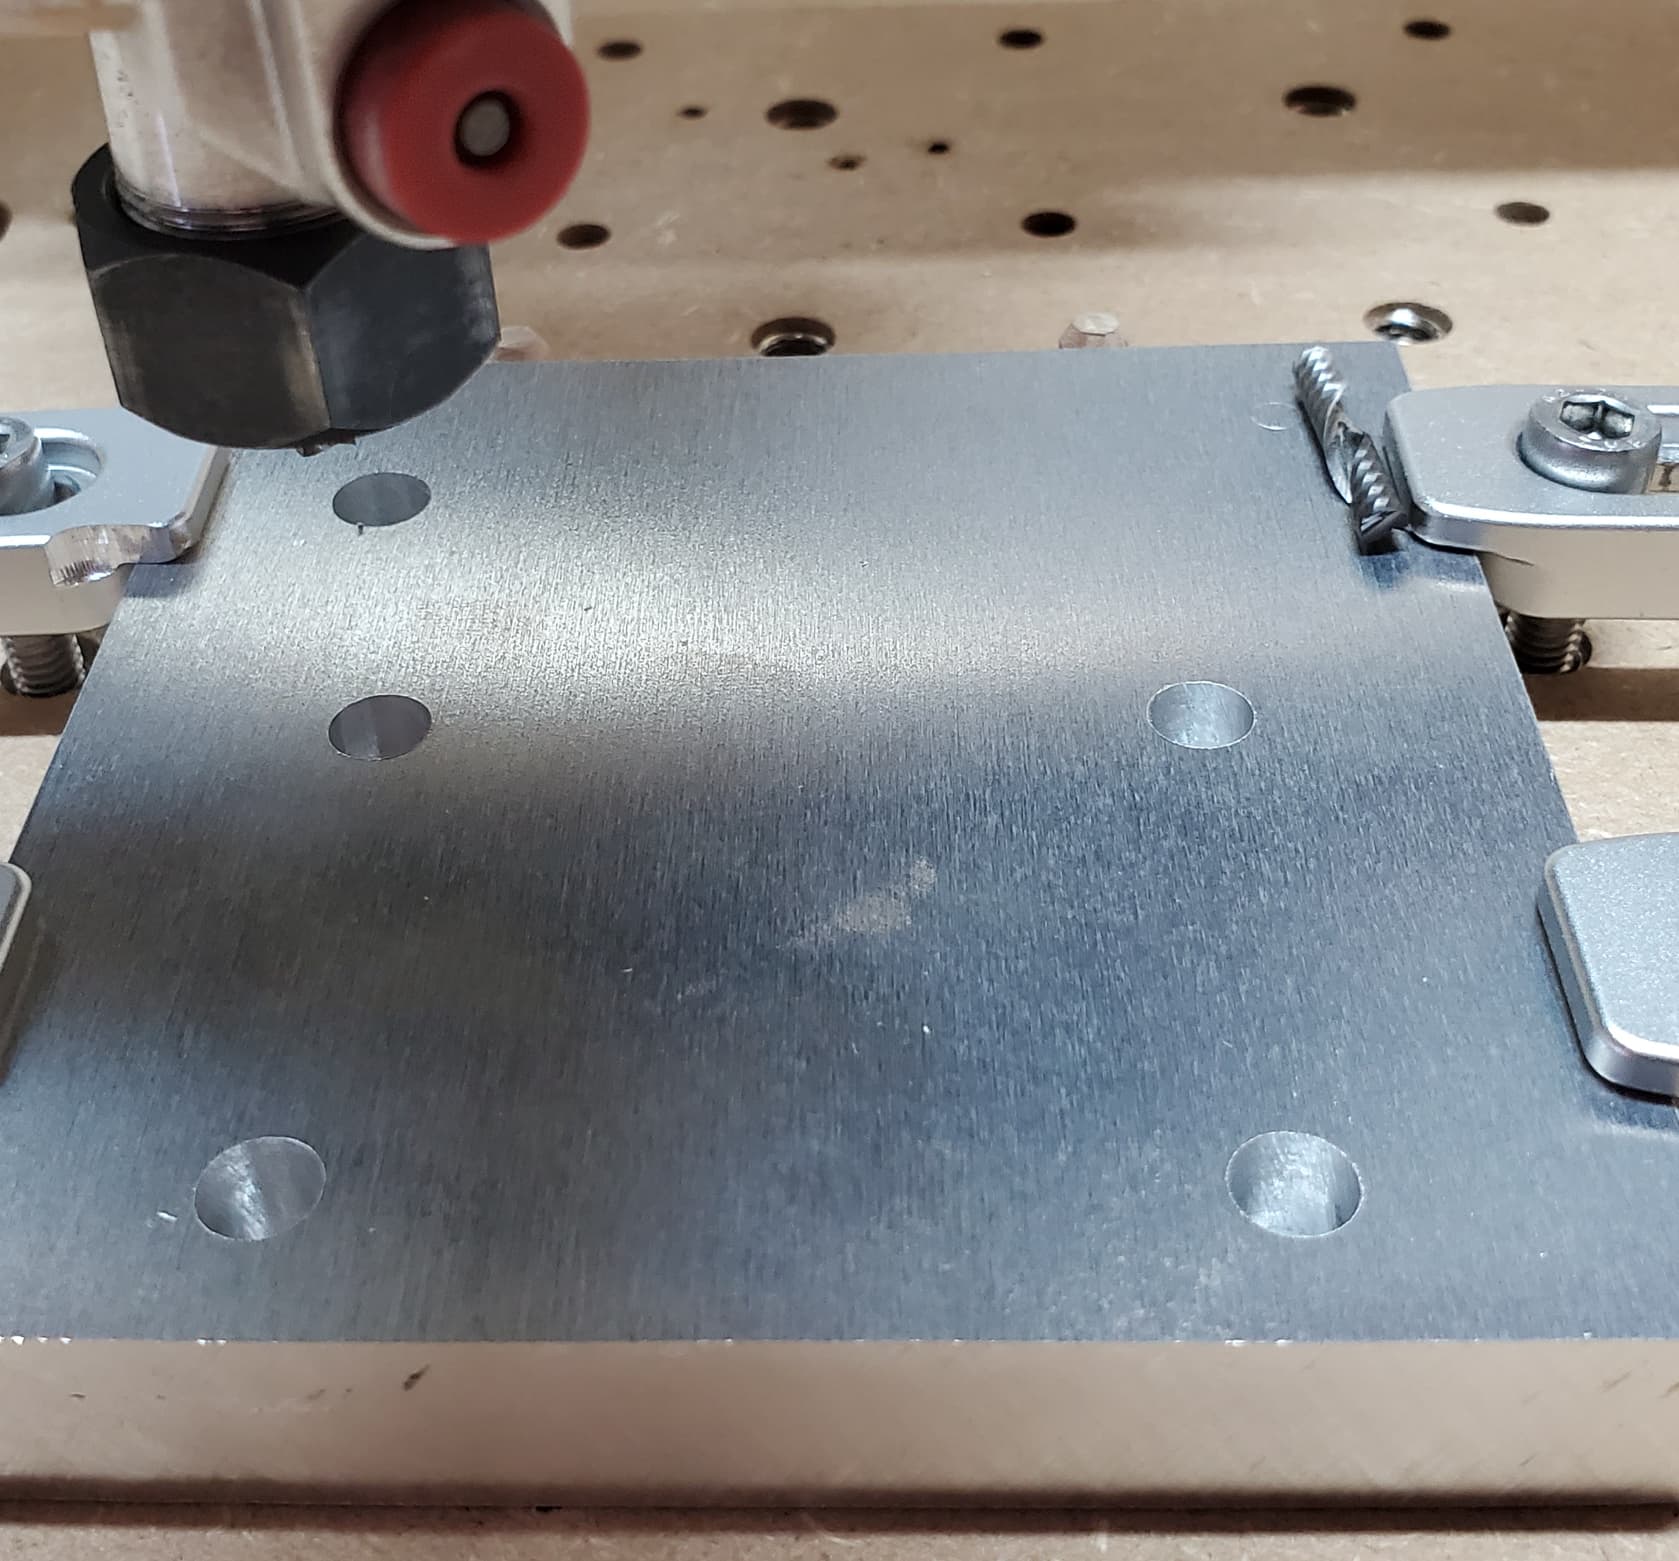
3.175mm single flute, 1000mm/min, 1mm DOC, .5mm stepover
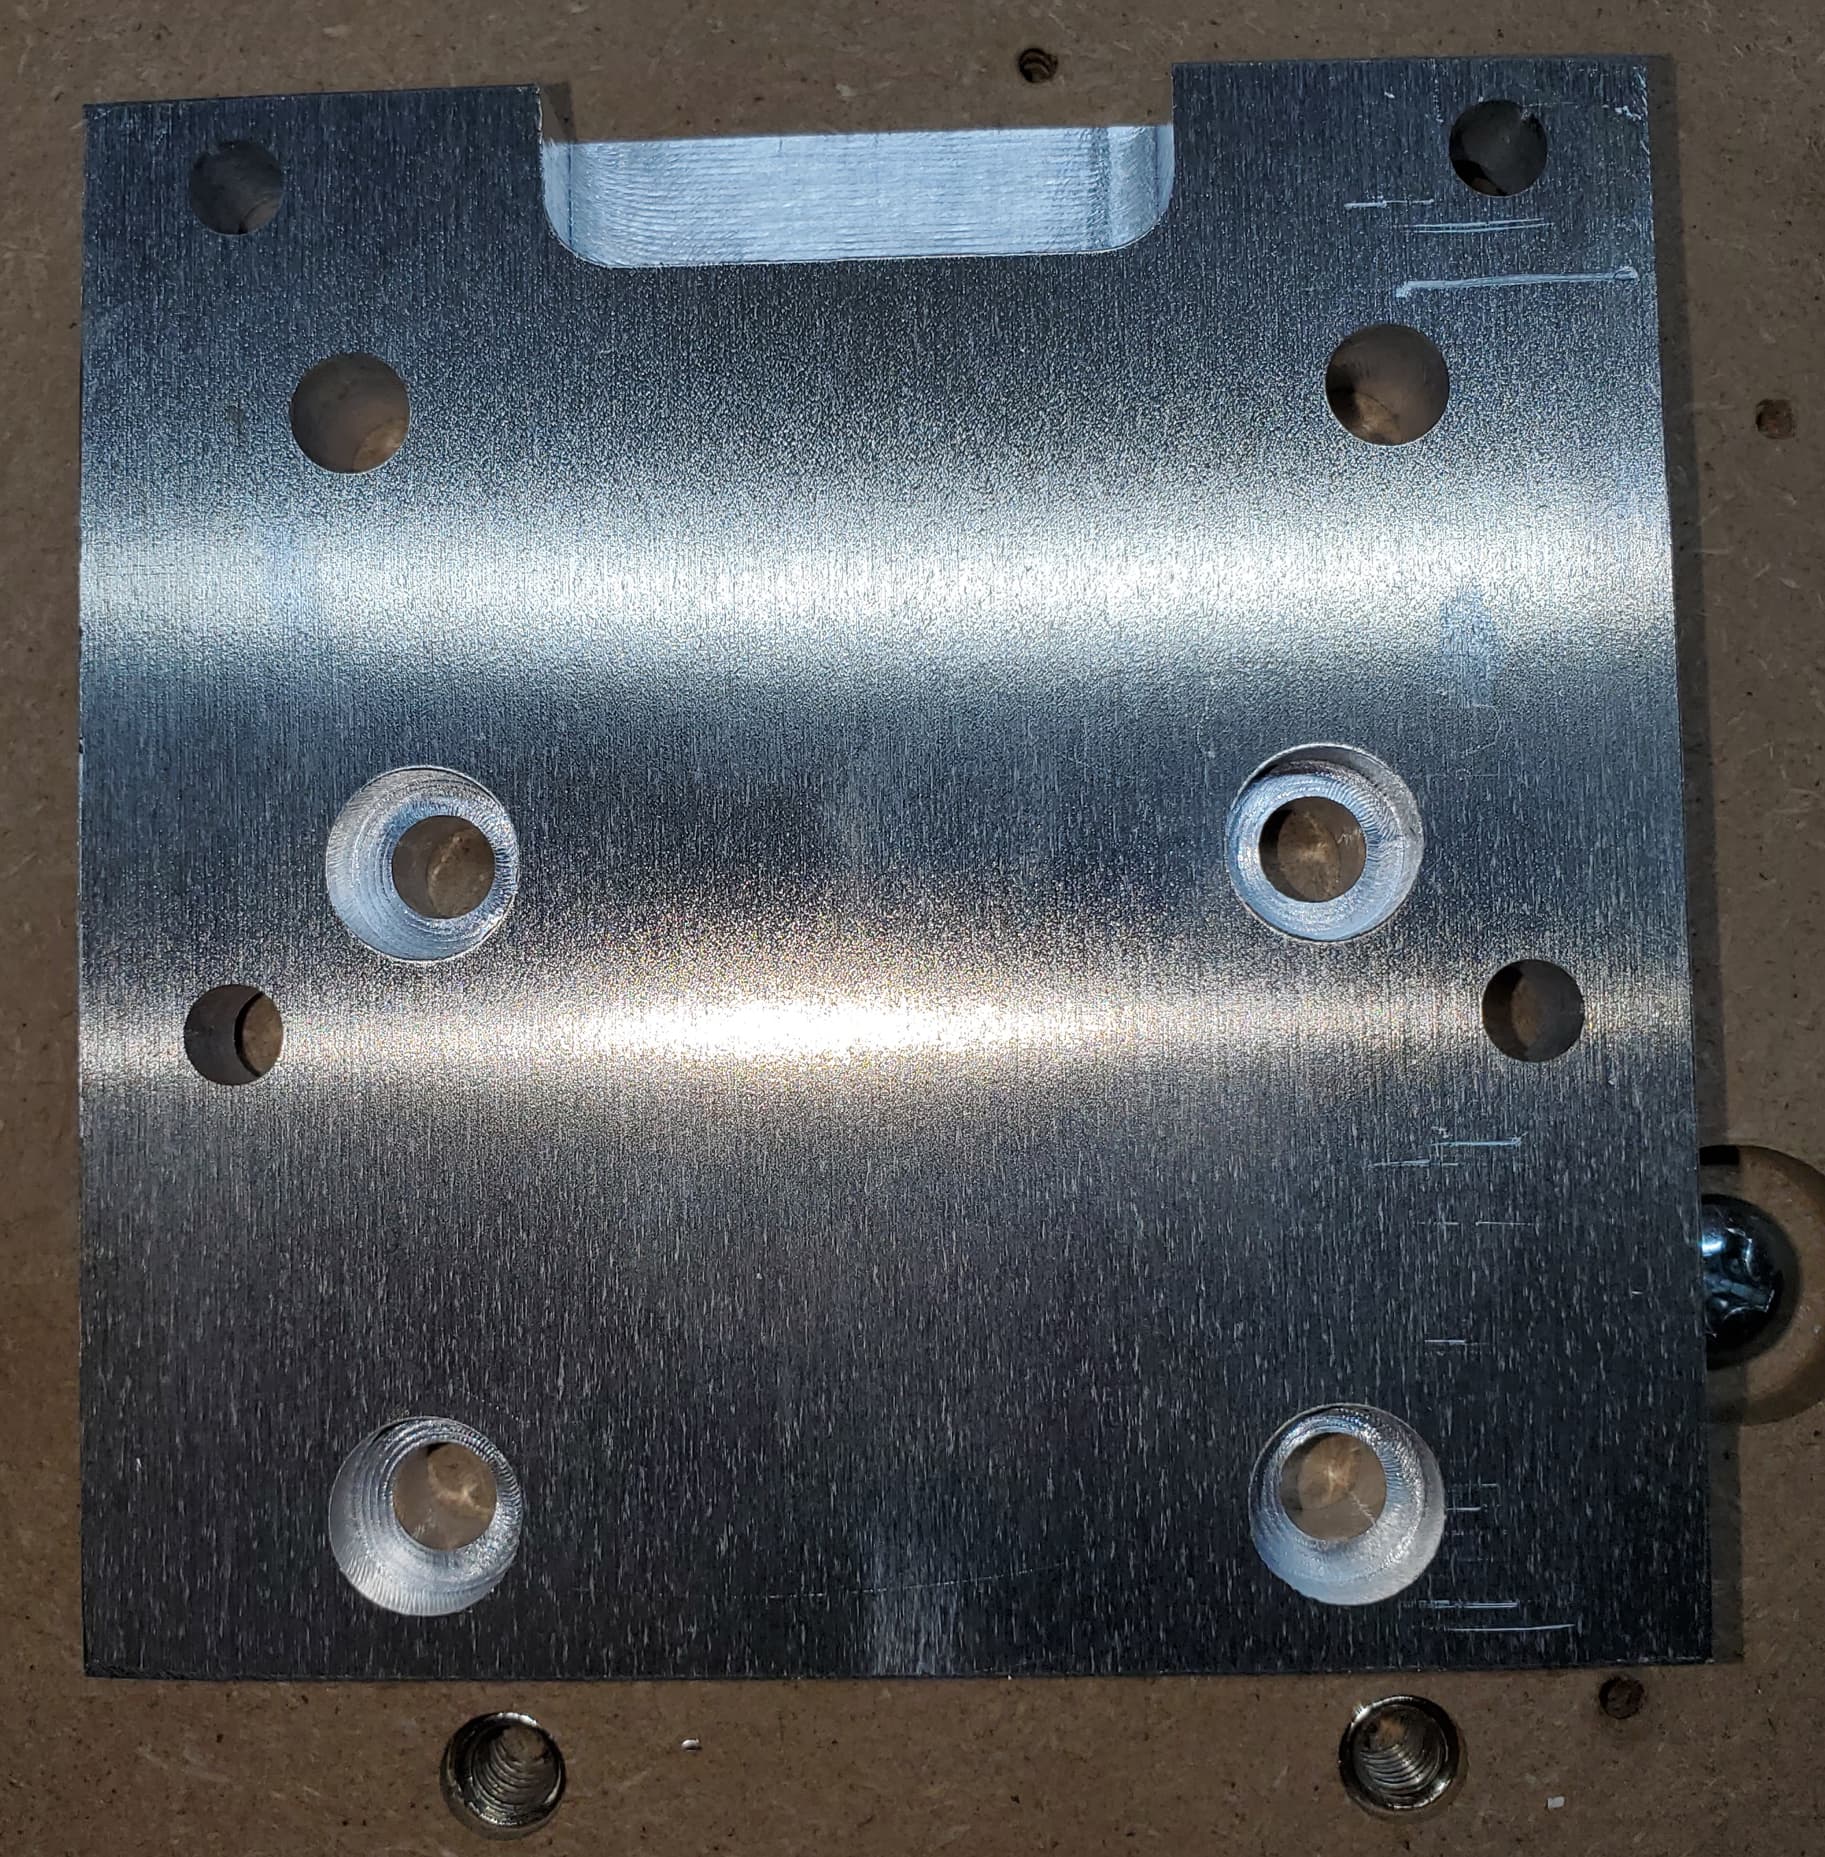
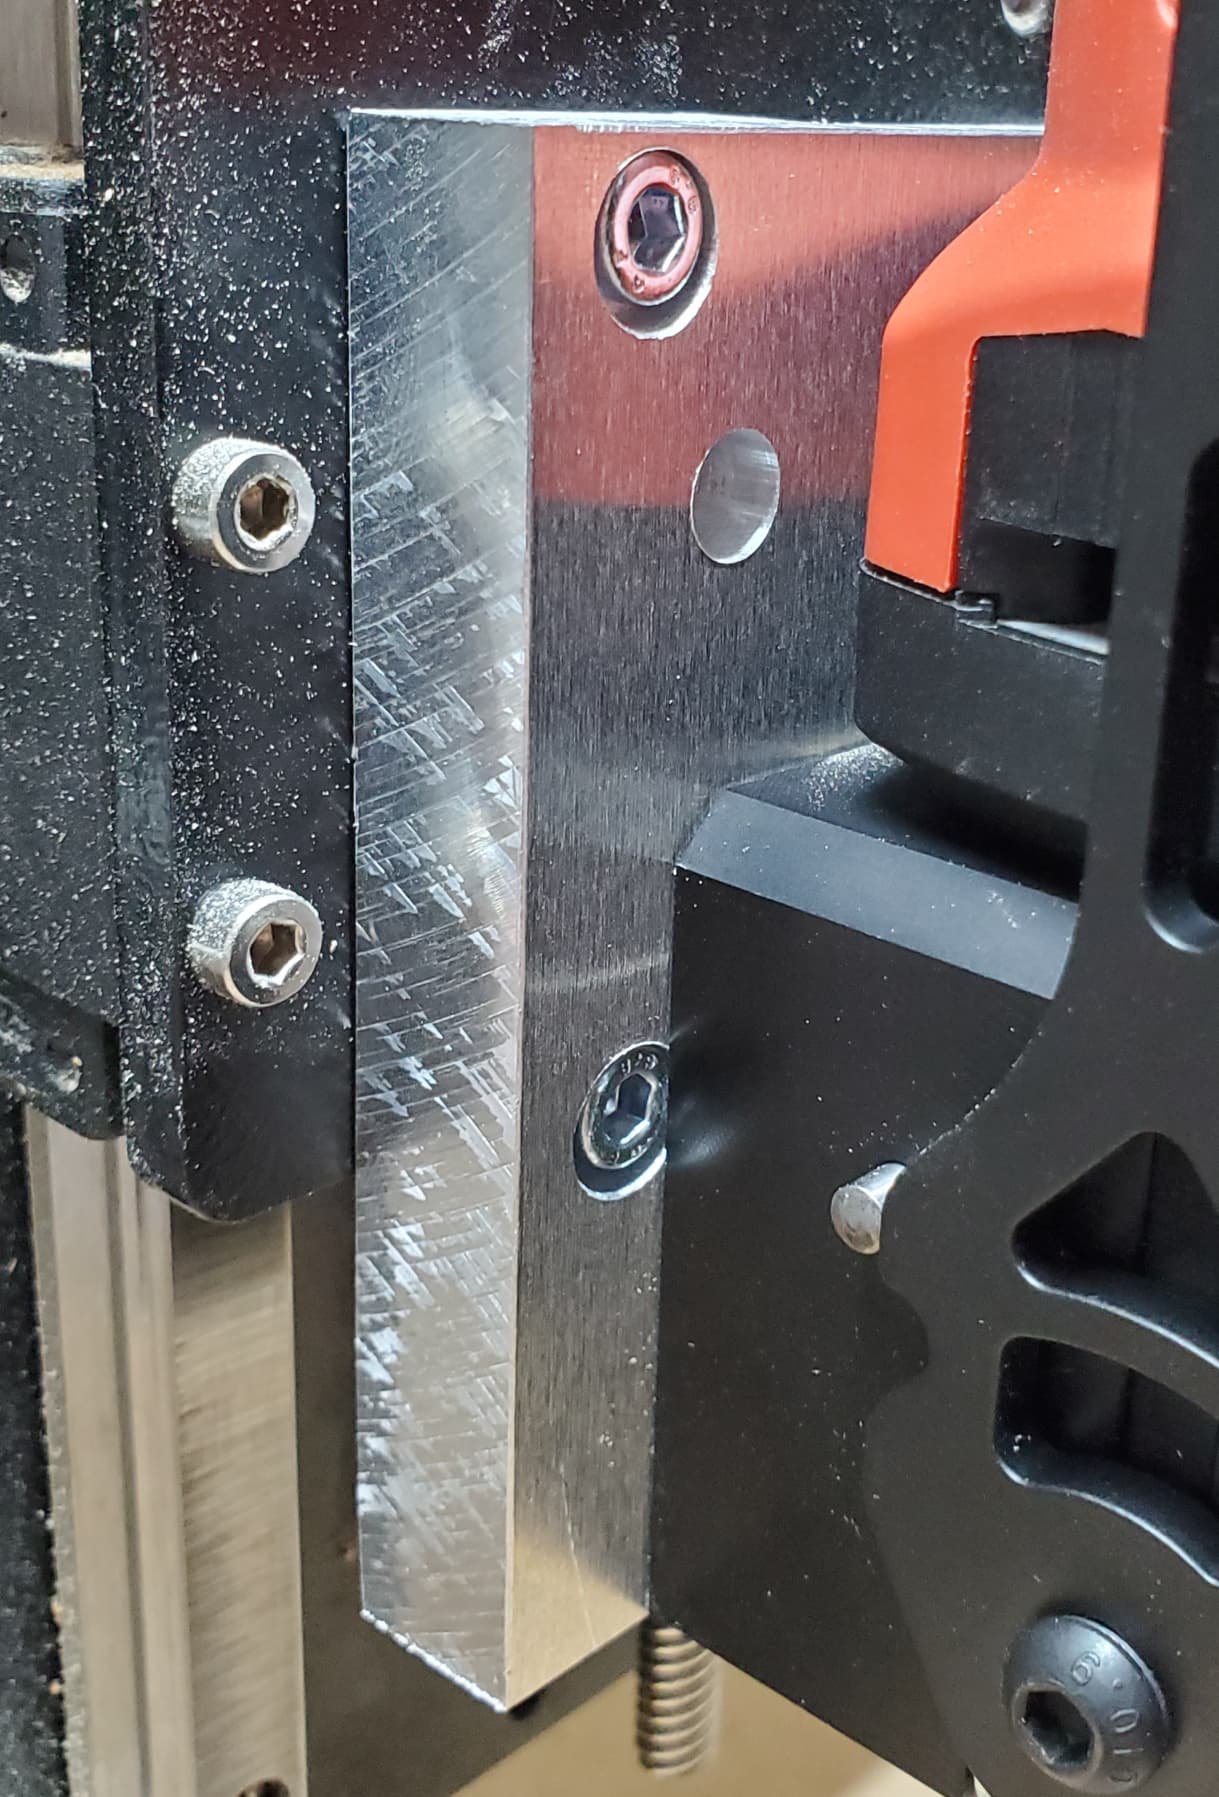
I threw this together pretty quick so I didn’t consider much in the design besides dimensions. For instance, the Mafell mounting face partially covers the lower tramming bolts, to the point of needing to install the bolts first, then tightening the Mafell, then incrementally installing the tramming plate side by side. I made some updates to the model based on the installation, like ovalizing the countersinks to let the screws fit past the router more easily.
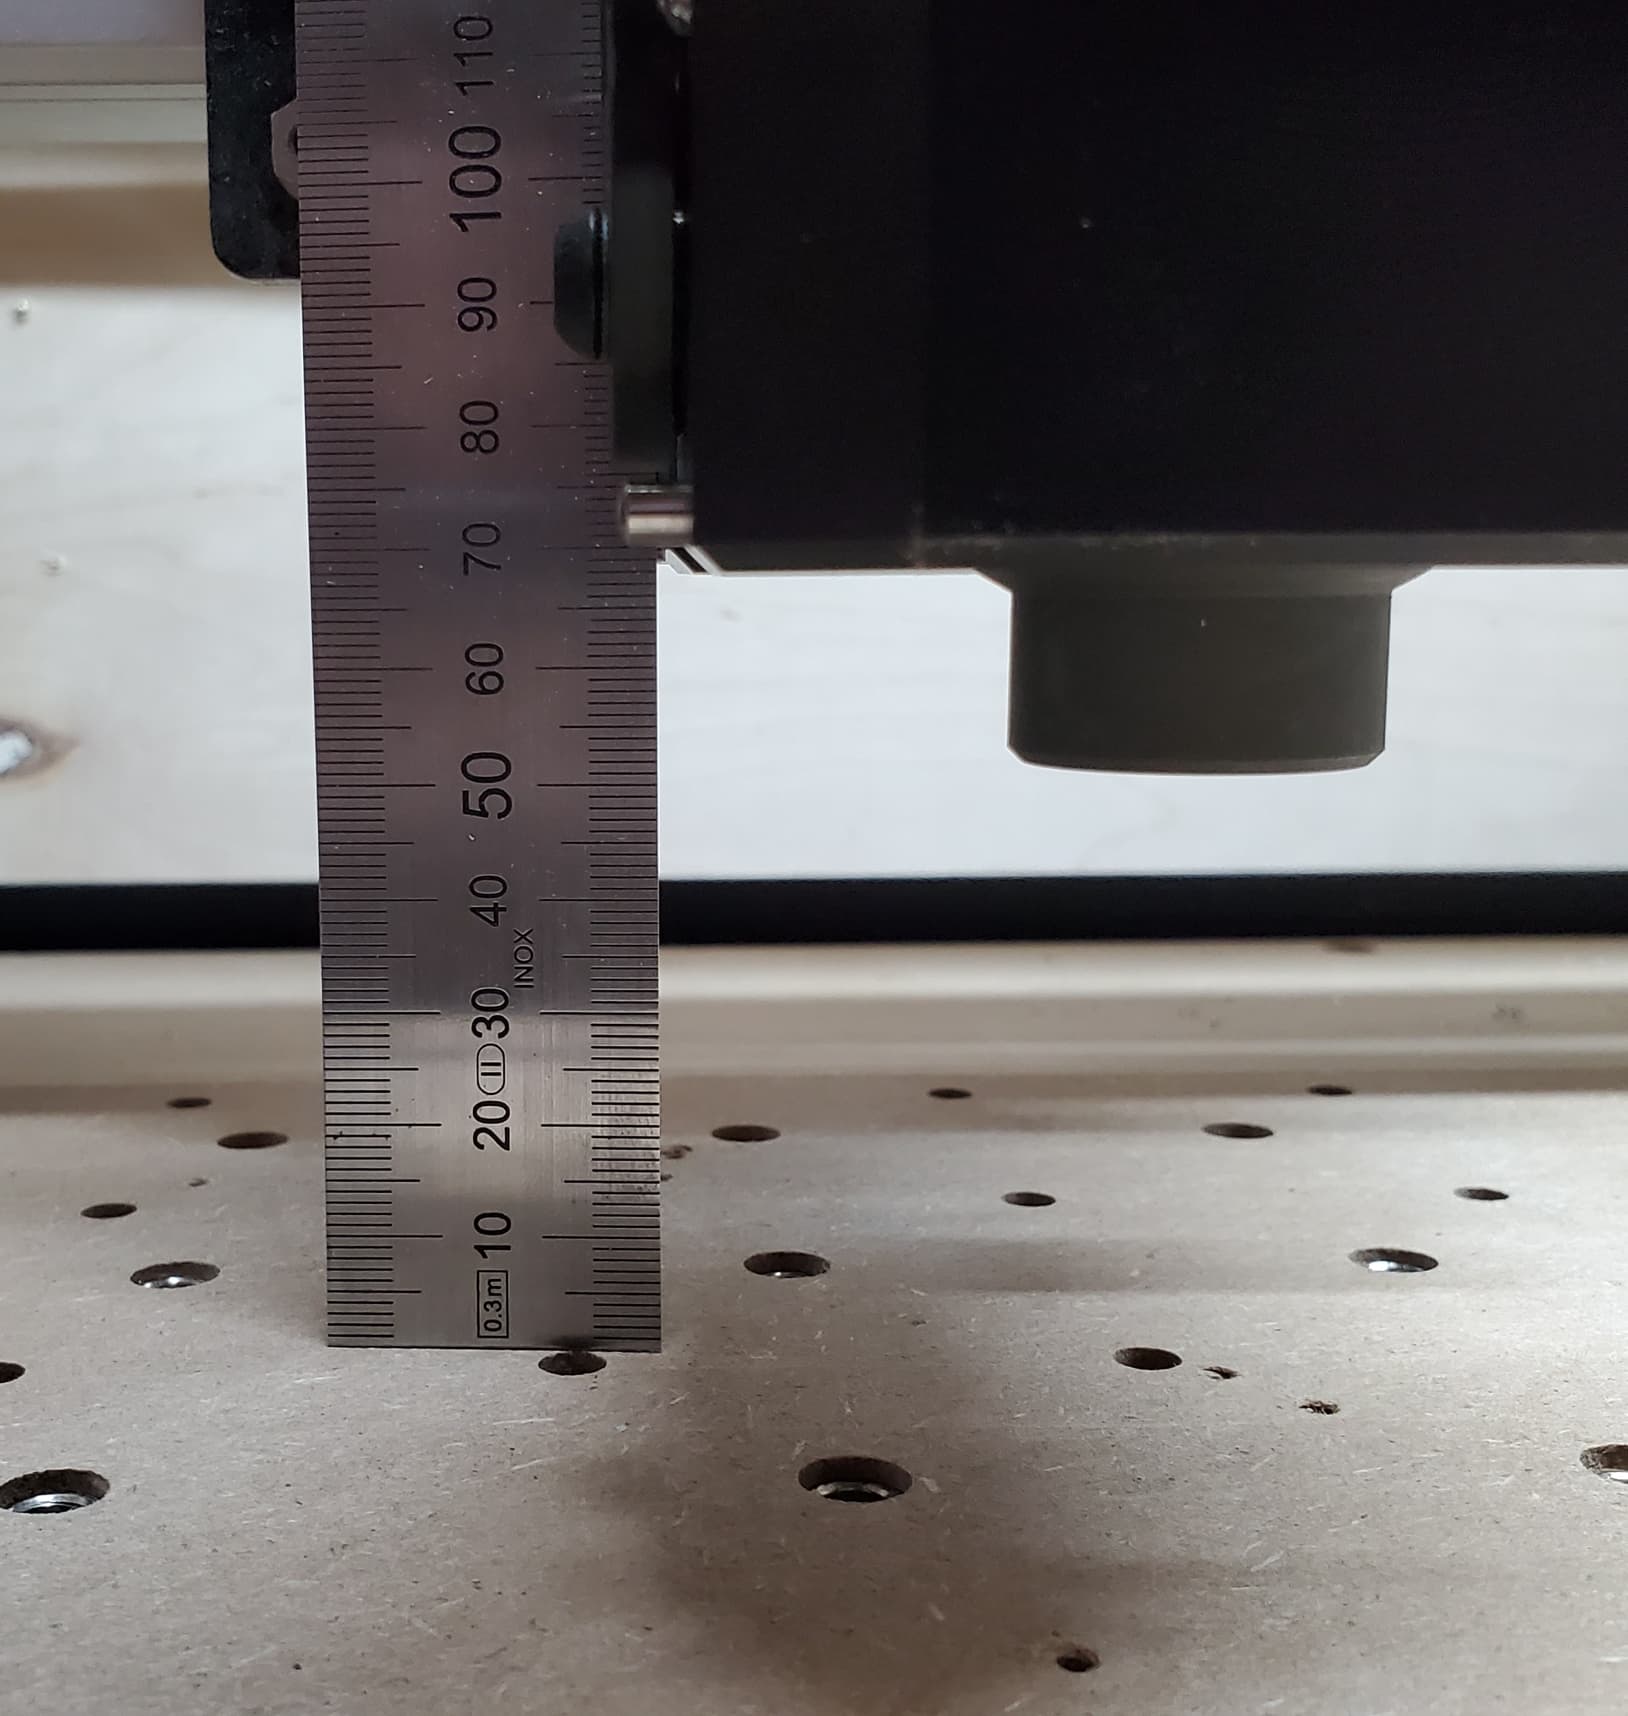
Additionally, since I used a 100x100mm plate, I actually lost some Z depth (about 25mm) compared to the Makita sitting all the way down in the mount. I had to fix this just by adding another sheet of MDF beneath the spoilboard to enable my bits to cut all the way through materials.
Here you can see the lowest Z position is 50mm above my original spoilboard (22mm MDF) and my favorite cutter only reaches 30mm.
Very excited to start using this!
Looks like I can’t paste the model directly, so I’ll have to upload it somewhere and link it.