I made a couple of “magic” wands and their boxes using my XXL. I hope a link to a project hosting site is ok. https://www.simplecove.com/1106/magic-wands-wand-boxes/
beautiful ! great work…
Love love love love them–the calligraphy, wax seals, wood work (of course)–very nice.
Your attention to detail is enviable, those look amazing!!!
Funny thing, my wife is a huge Harry Potter fan. She happens to be out tonight, and I happen to be needing a new lathe project 
Dan
2 Likes
Thank you!
If you can turn, you can probably bang these out a lot faster than I could right now. I hope she likes it!
1 Like
Wow! Those are incredible! You did a really great job and I’m sure made them very happy.
Would you share some more details of how you made them? How did you do the 2-sided carving? What tools did you use? How long did it take?
I hope you don’t mind my just providing a link. I detailed the process when I did a similar but larger project and someone asked. All the details are the same for the wands, just smaller scale. Hope this helps!
Edit: Oh, but you asked about time too. Each side took about 1.5 hours with tool changes.
3 Likes
Had my 21 year old son make one(with a little help) first time on the lathe:
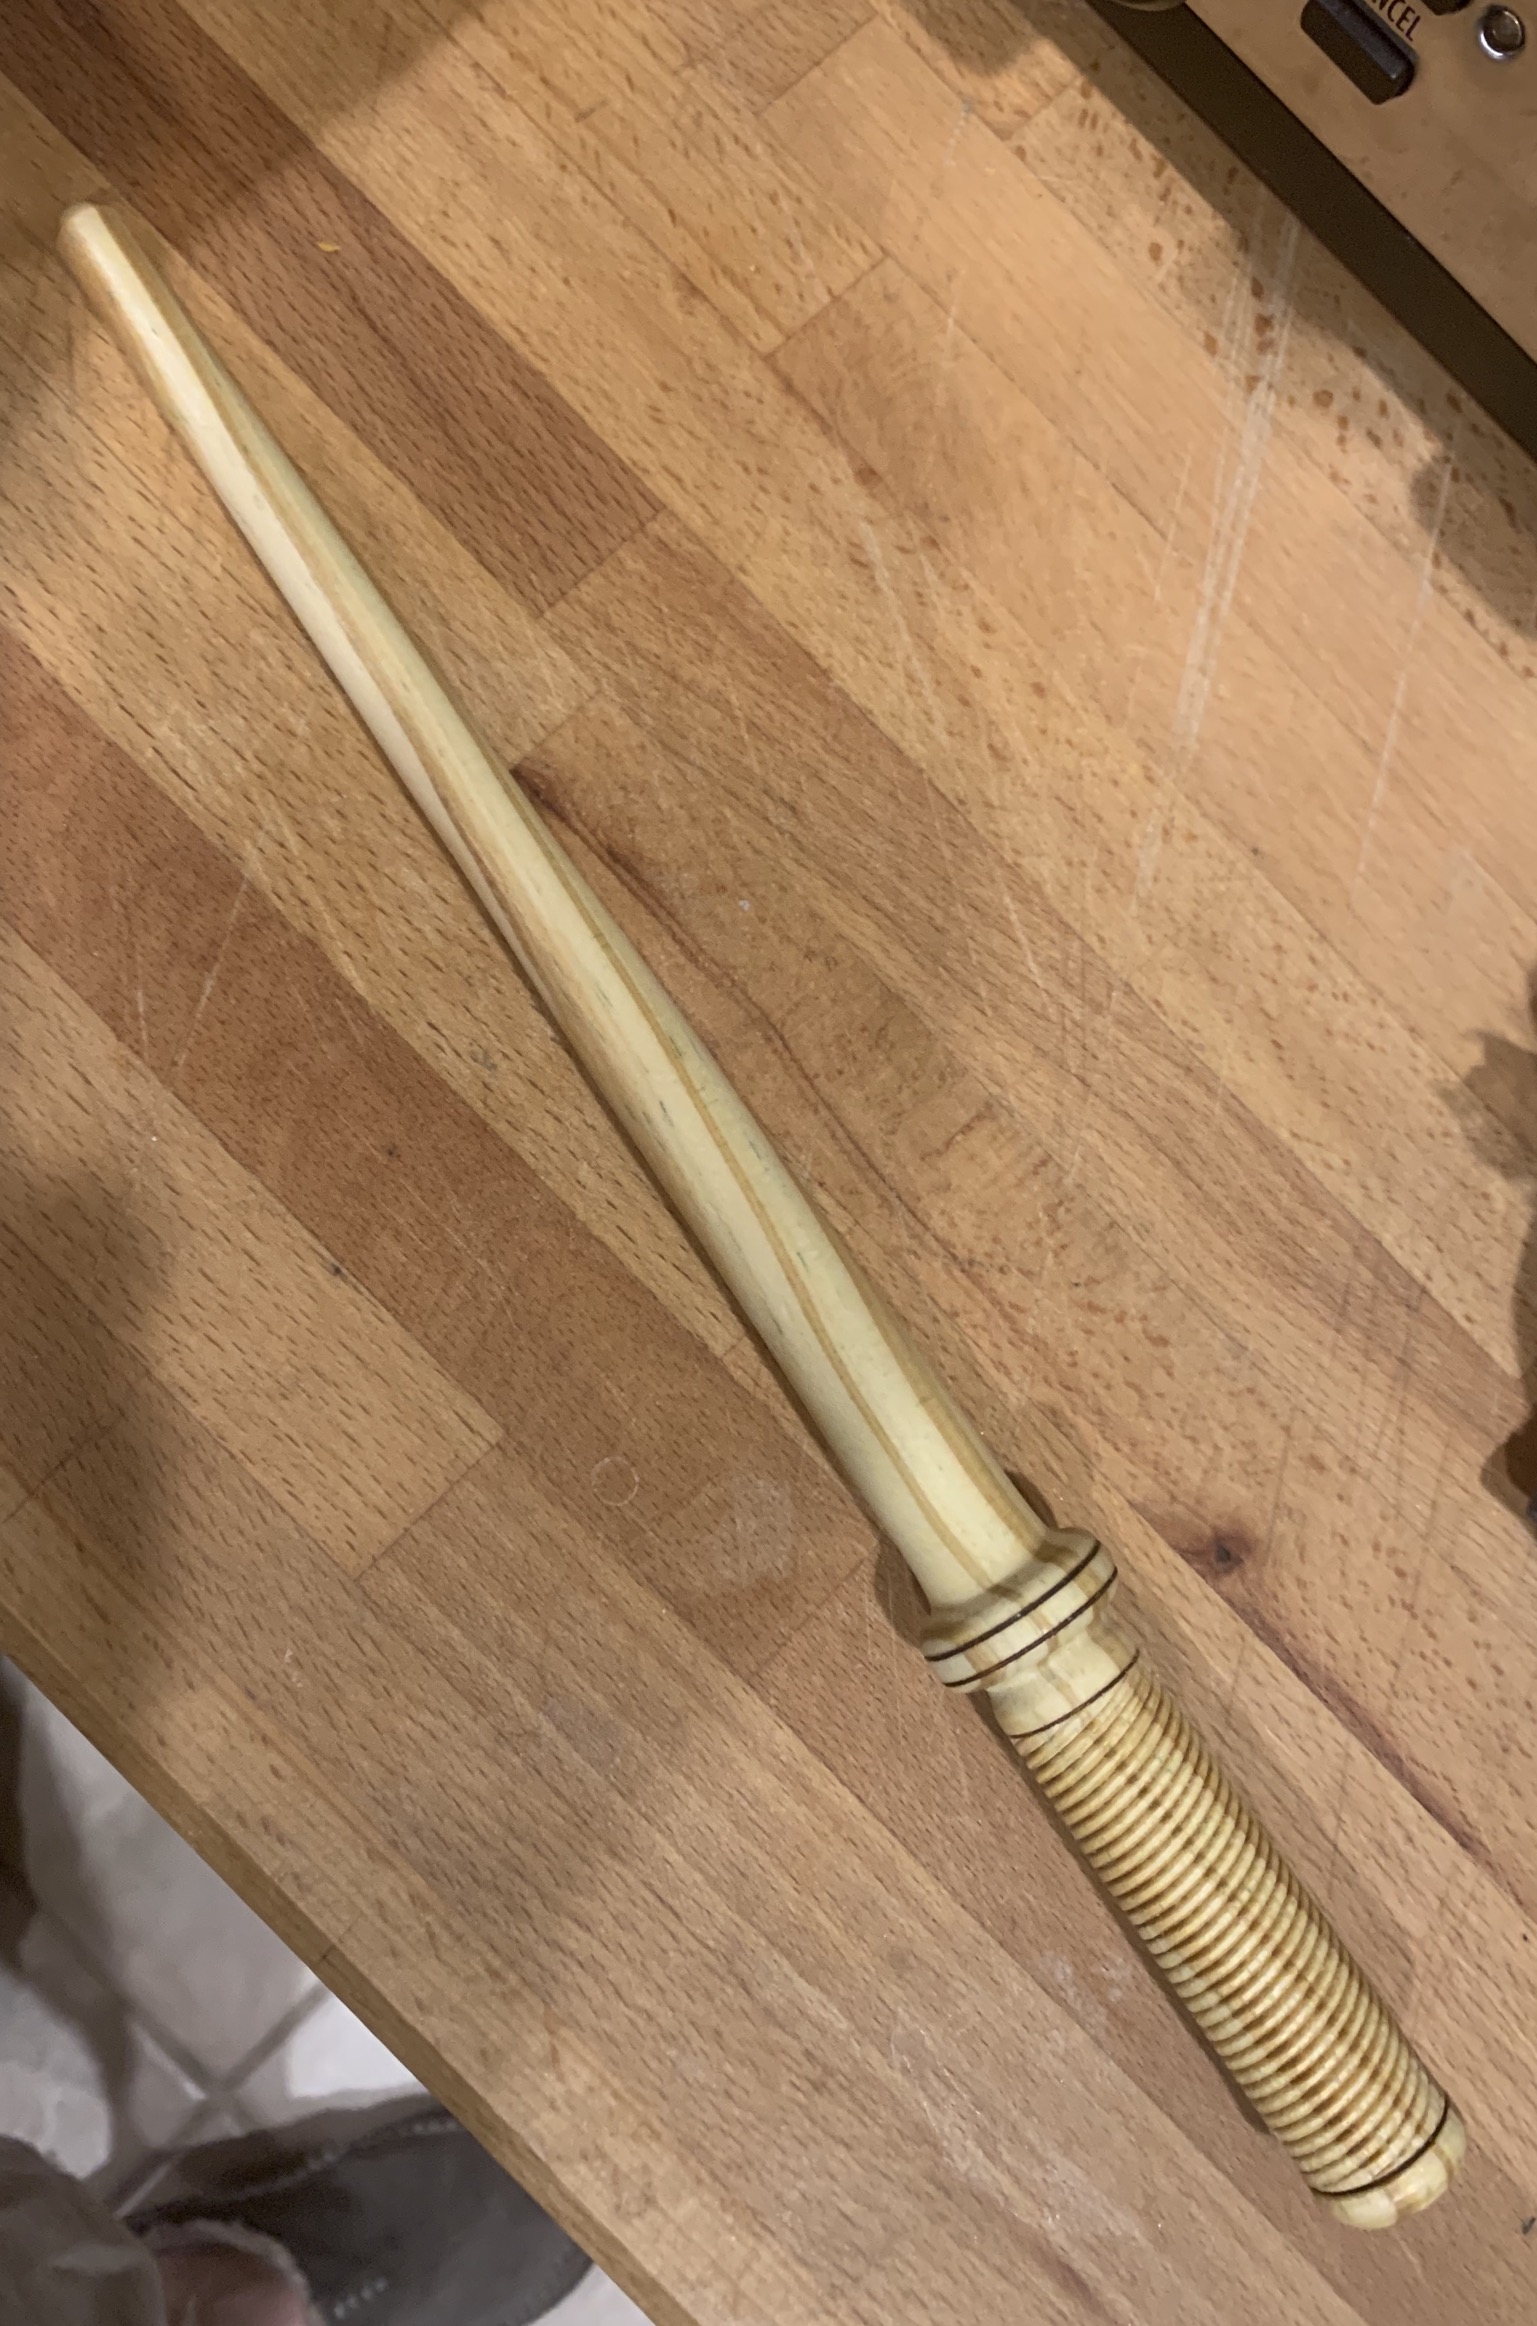
About 45 minutes start to finished. Sanded to 600 grit, applied walnut oil, then HUT wax and polish with a paper towel. Cheap piece of pine I had kicking around. Was fun to see my son take to it and was genuinely happy when he left with his new “tool of magic” to go home.
Dan
3 Likes
The threaded handle is cool as heck! Nice work to the both of you!
1 Like
Perfect! Links are great. Thanks
Also, I haven’t used a tapered endmill yet. Do they provide extra rigidity for small tips?
I’d bet you could cut “threadlike” threads on your 2 sided cuts, but you’d need a very small bit or coarser threads. On the lathe I use a spiraling tool and it literally takes less than a minute to do them, but it takes some practice and soft open grain wood like this pine doesn’t always yield great results. Yours are definitely a step up from our creation, this was more about Dad and son time and learning a little bit of a new skill. Since he’s mostly grown up, and he didn’t do shop with me when he was little, we could have turned an ugly ashtray and I would have been just as happy. Thanks a bunch for the inspiration!!
Dan
2 Likes
Extra rigidity for small tips is one thing. I use them pretty much exclusively for the finishing pass on my terrain relief models due to their greatly increased reach.
I usually go with one (from Amazon) with a 1/4" shank and 0.5mm tip, and it gives me 31.75mm of thread length to work with. That lets me do a 31mm-deep 3D carve in one (post-roughing) pass, which quite helps the efficiency.
2 Likes
You said it exactly.
Just curious, how do you make your terrain models? I have an idea for a project that involves both a topographic model and a bathymetric (sea floor) model.
Awesome, thanks!
@JFischer911 - He has a whole post here in the forums about it. Check it out.
I do have a forum thread about it, but since that started, I’ve pretty much reworked the whole process (even writing a QGIS plugin, which you can now install from the plugins repository using the built-in plugin manager). I’m planning to make some more terrain relief models for a hiking/camping trip I’ve got coming up, so I’ll use that to document the current state of my art from the top and in full.
2 Likes
Awesome, I want to make a terrain model of a specific area and would love some guidance on that from how you do it. I was just going to follow your old post.