as requested on support…
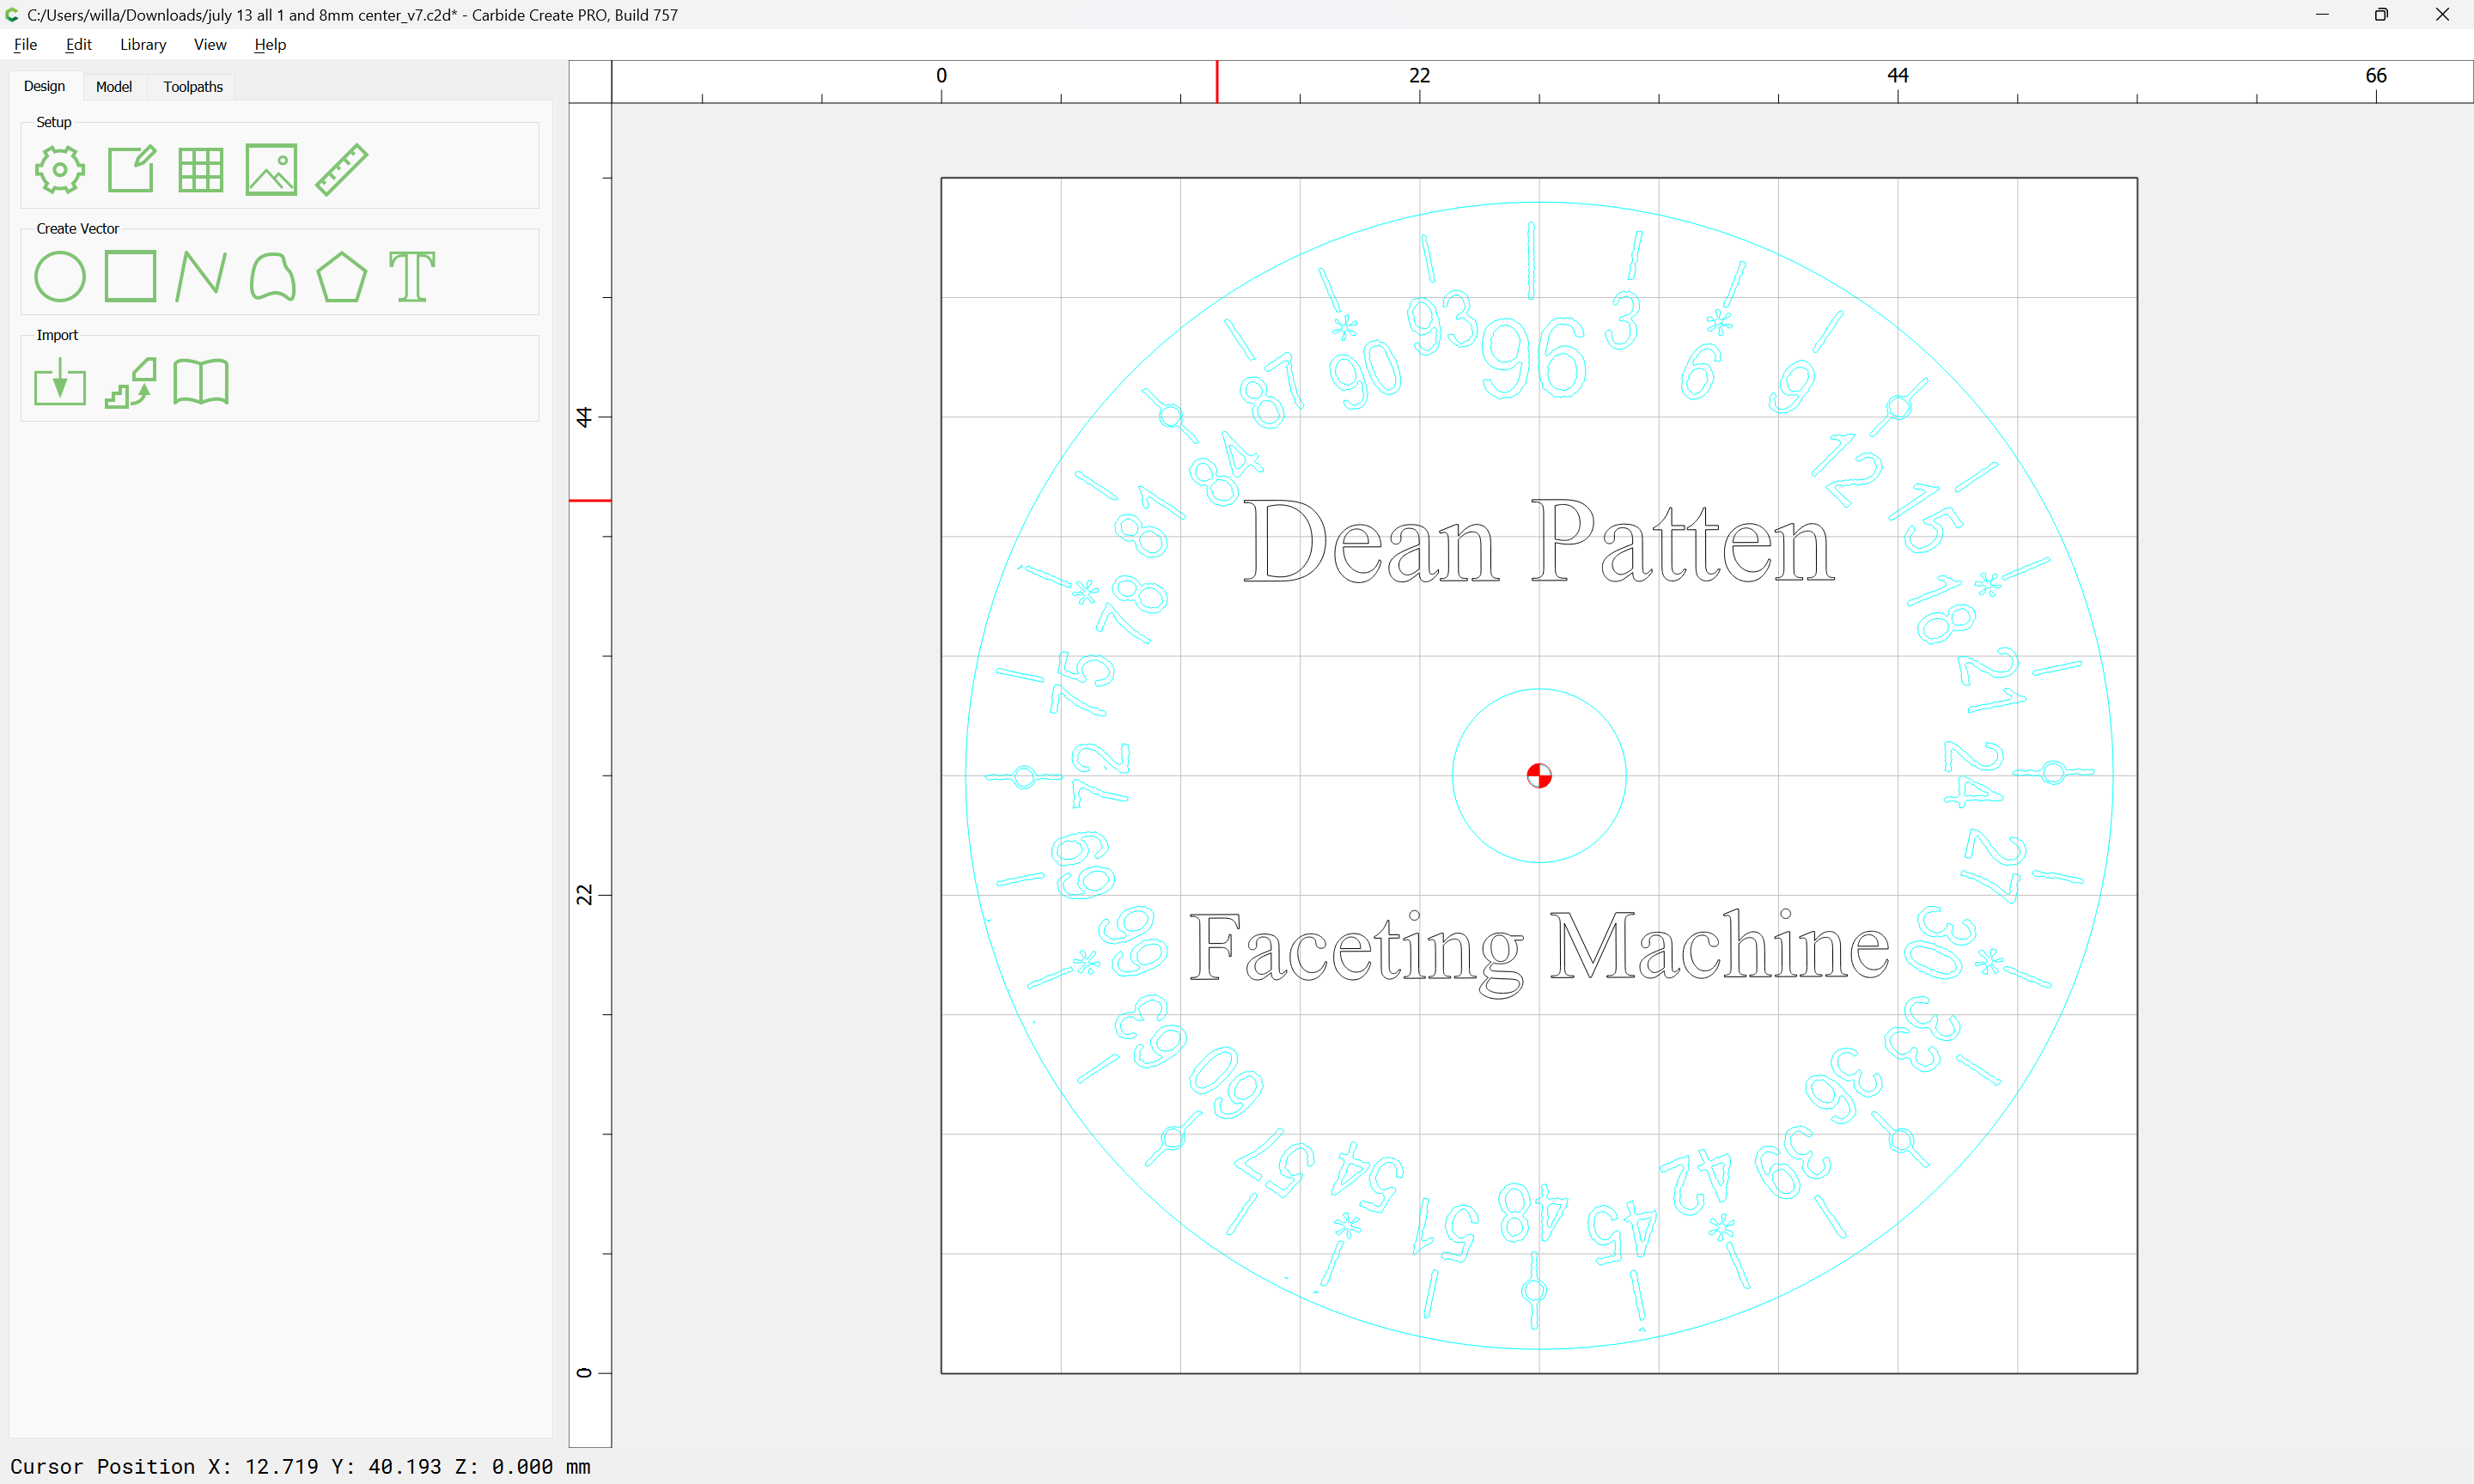
Carbide Create has gained a number of features which make this far simpler than it was in the past, so recreating a dial face such as:
Is now quite straight-forward, rather than using the rather rough auto-tracing.
as requested on support…
Carbide Create has gained a number of features which make this far simpler than it was in the past, so recreating a dial face such as:
Is now quite straight-forward, rather than using the rather rough auto-tracing.
First, rotate things so that everything is orthogonal/level and then put the trace on a new layer and lock it:
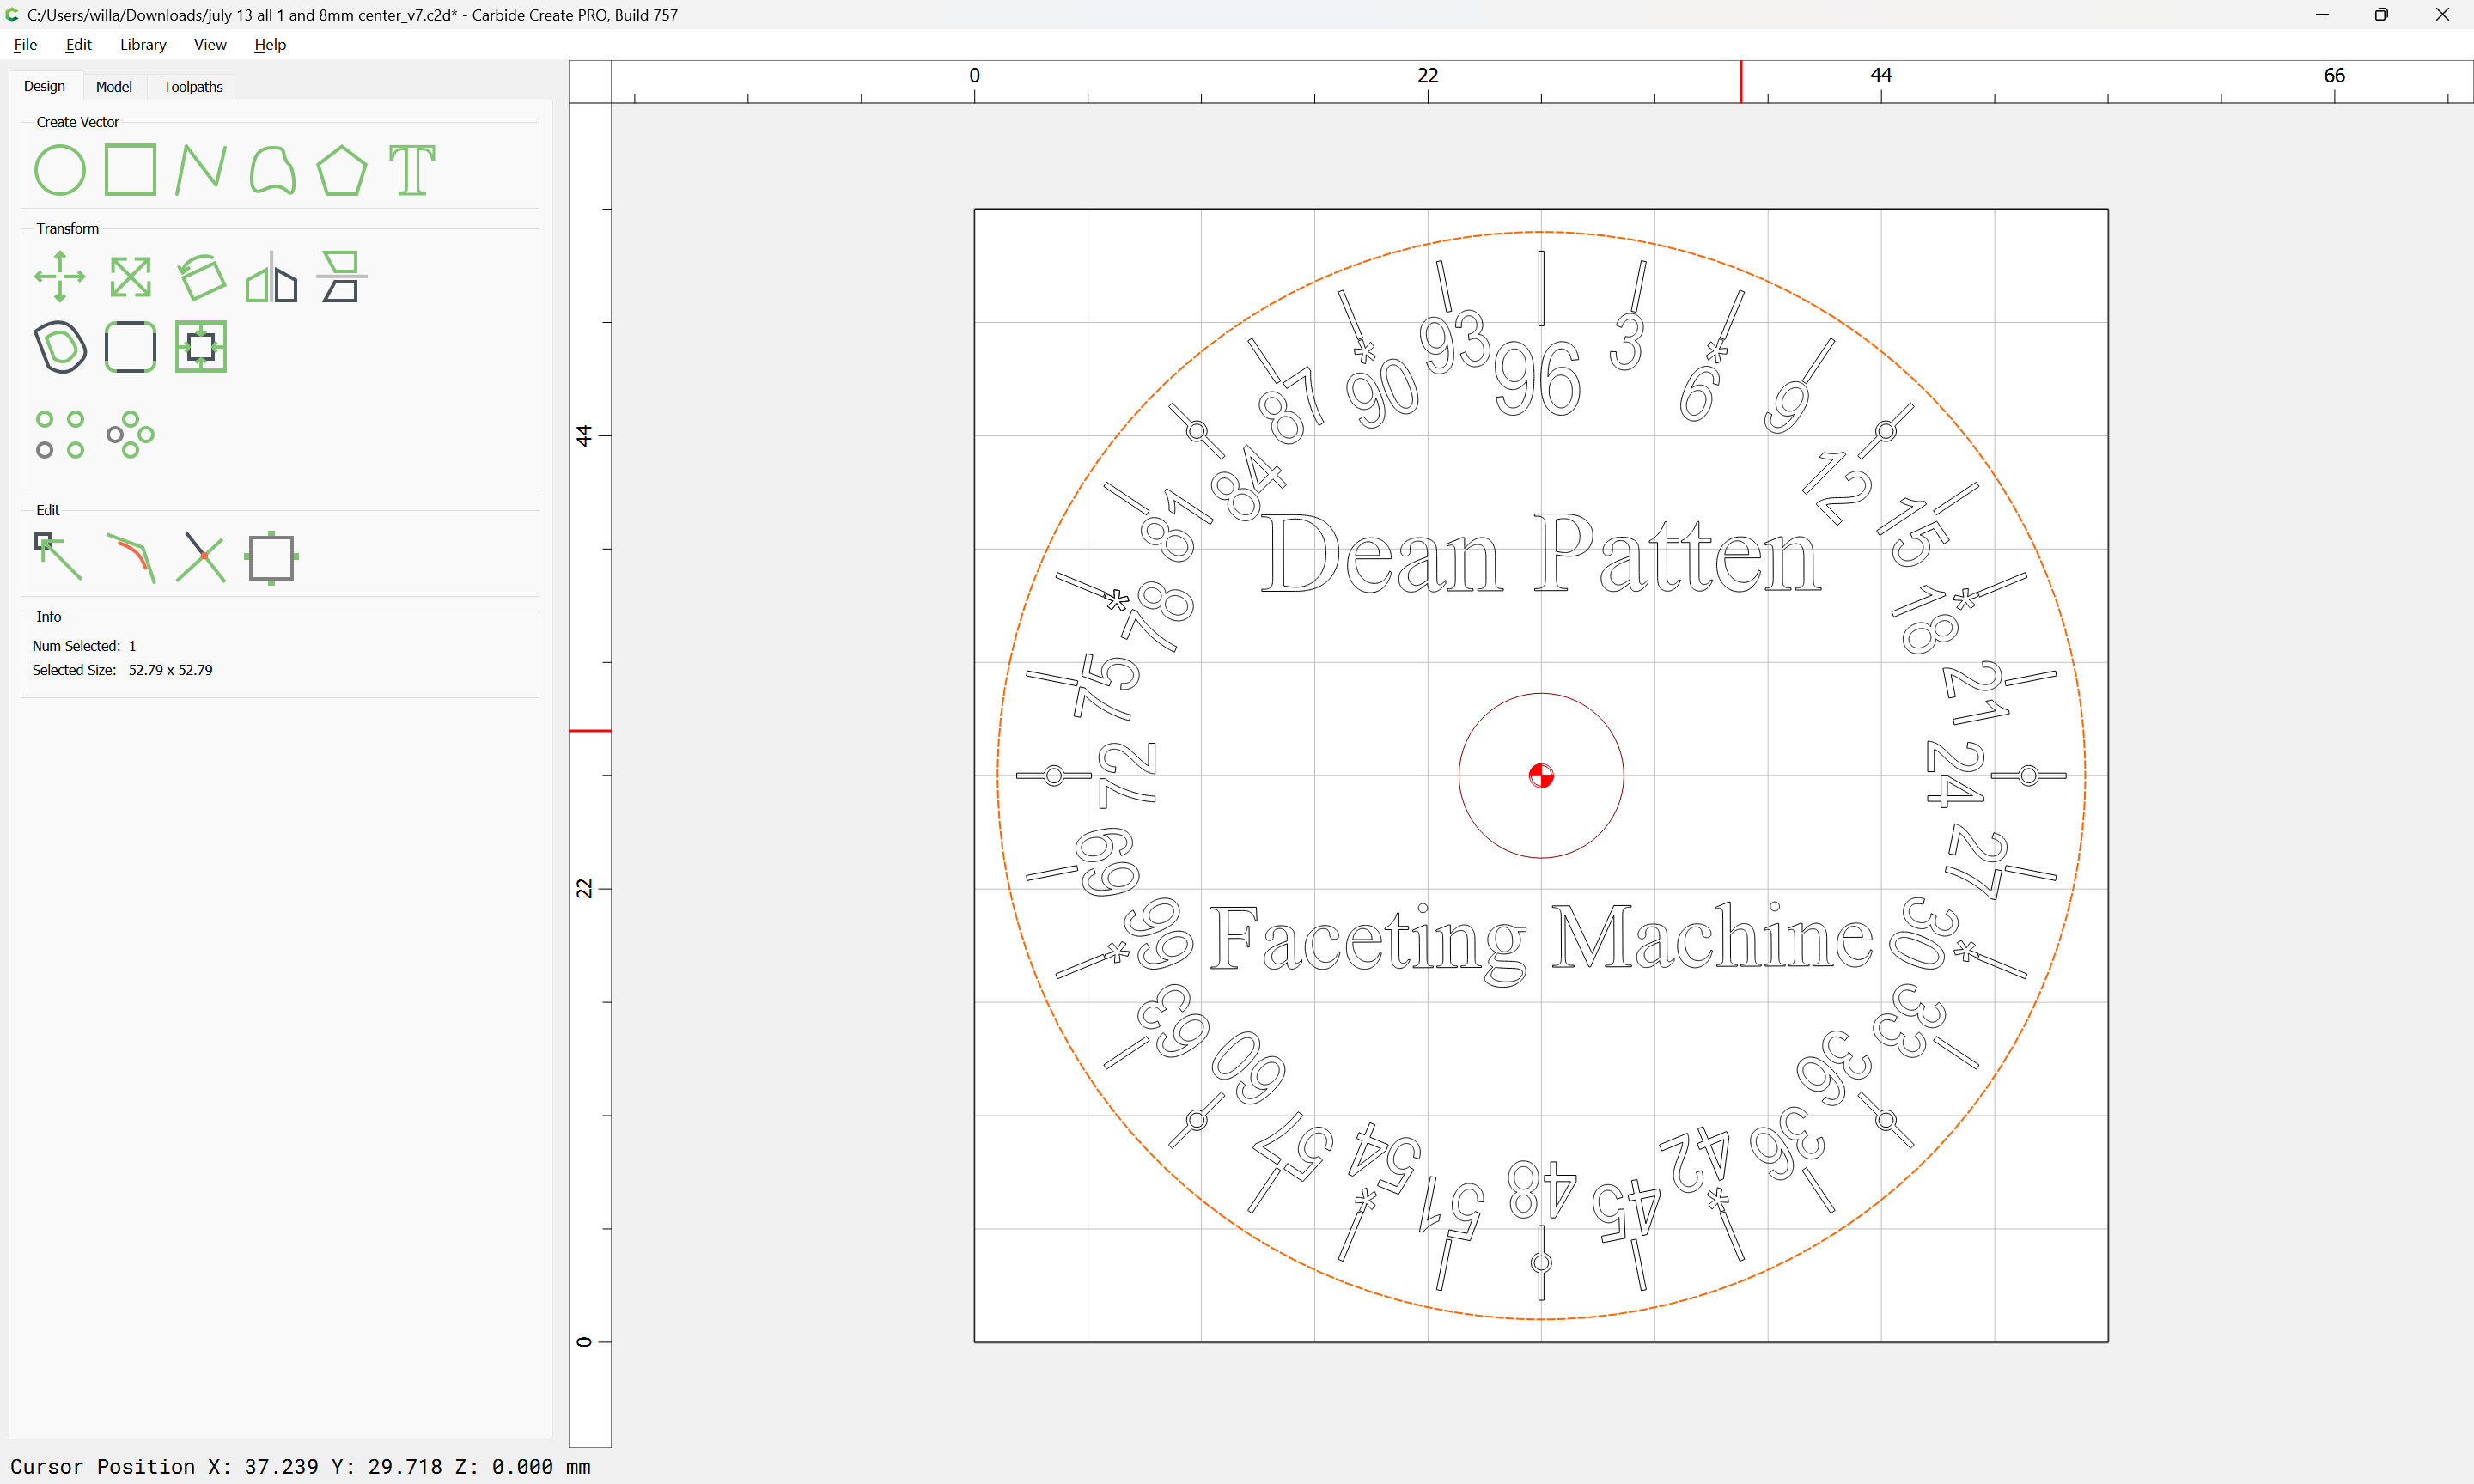
Then begin re-drawing — draw a single element in the correct position:
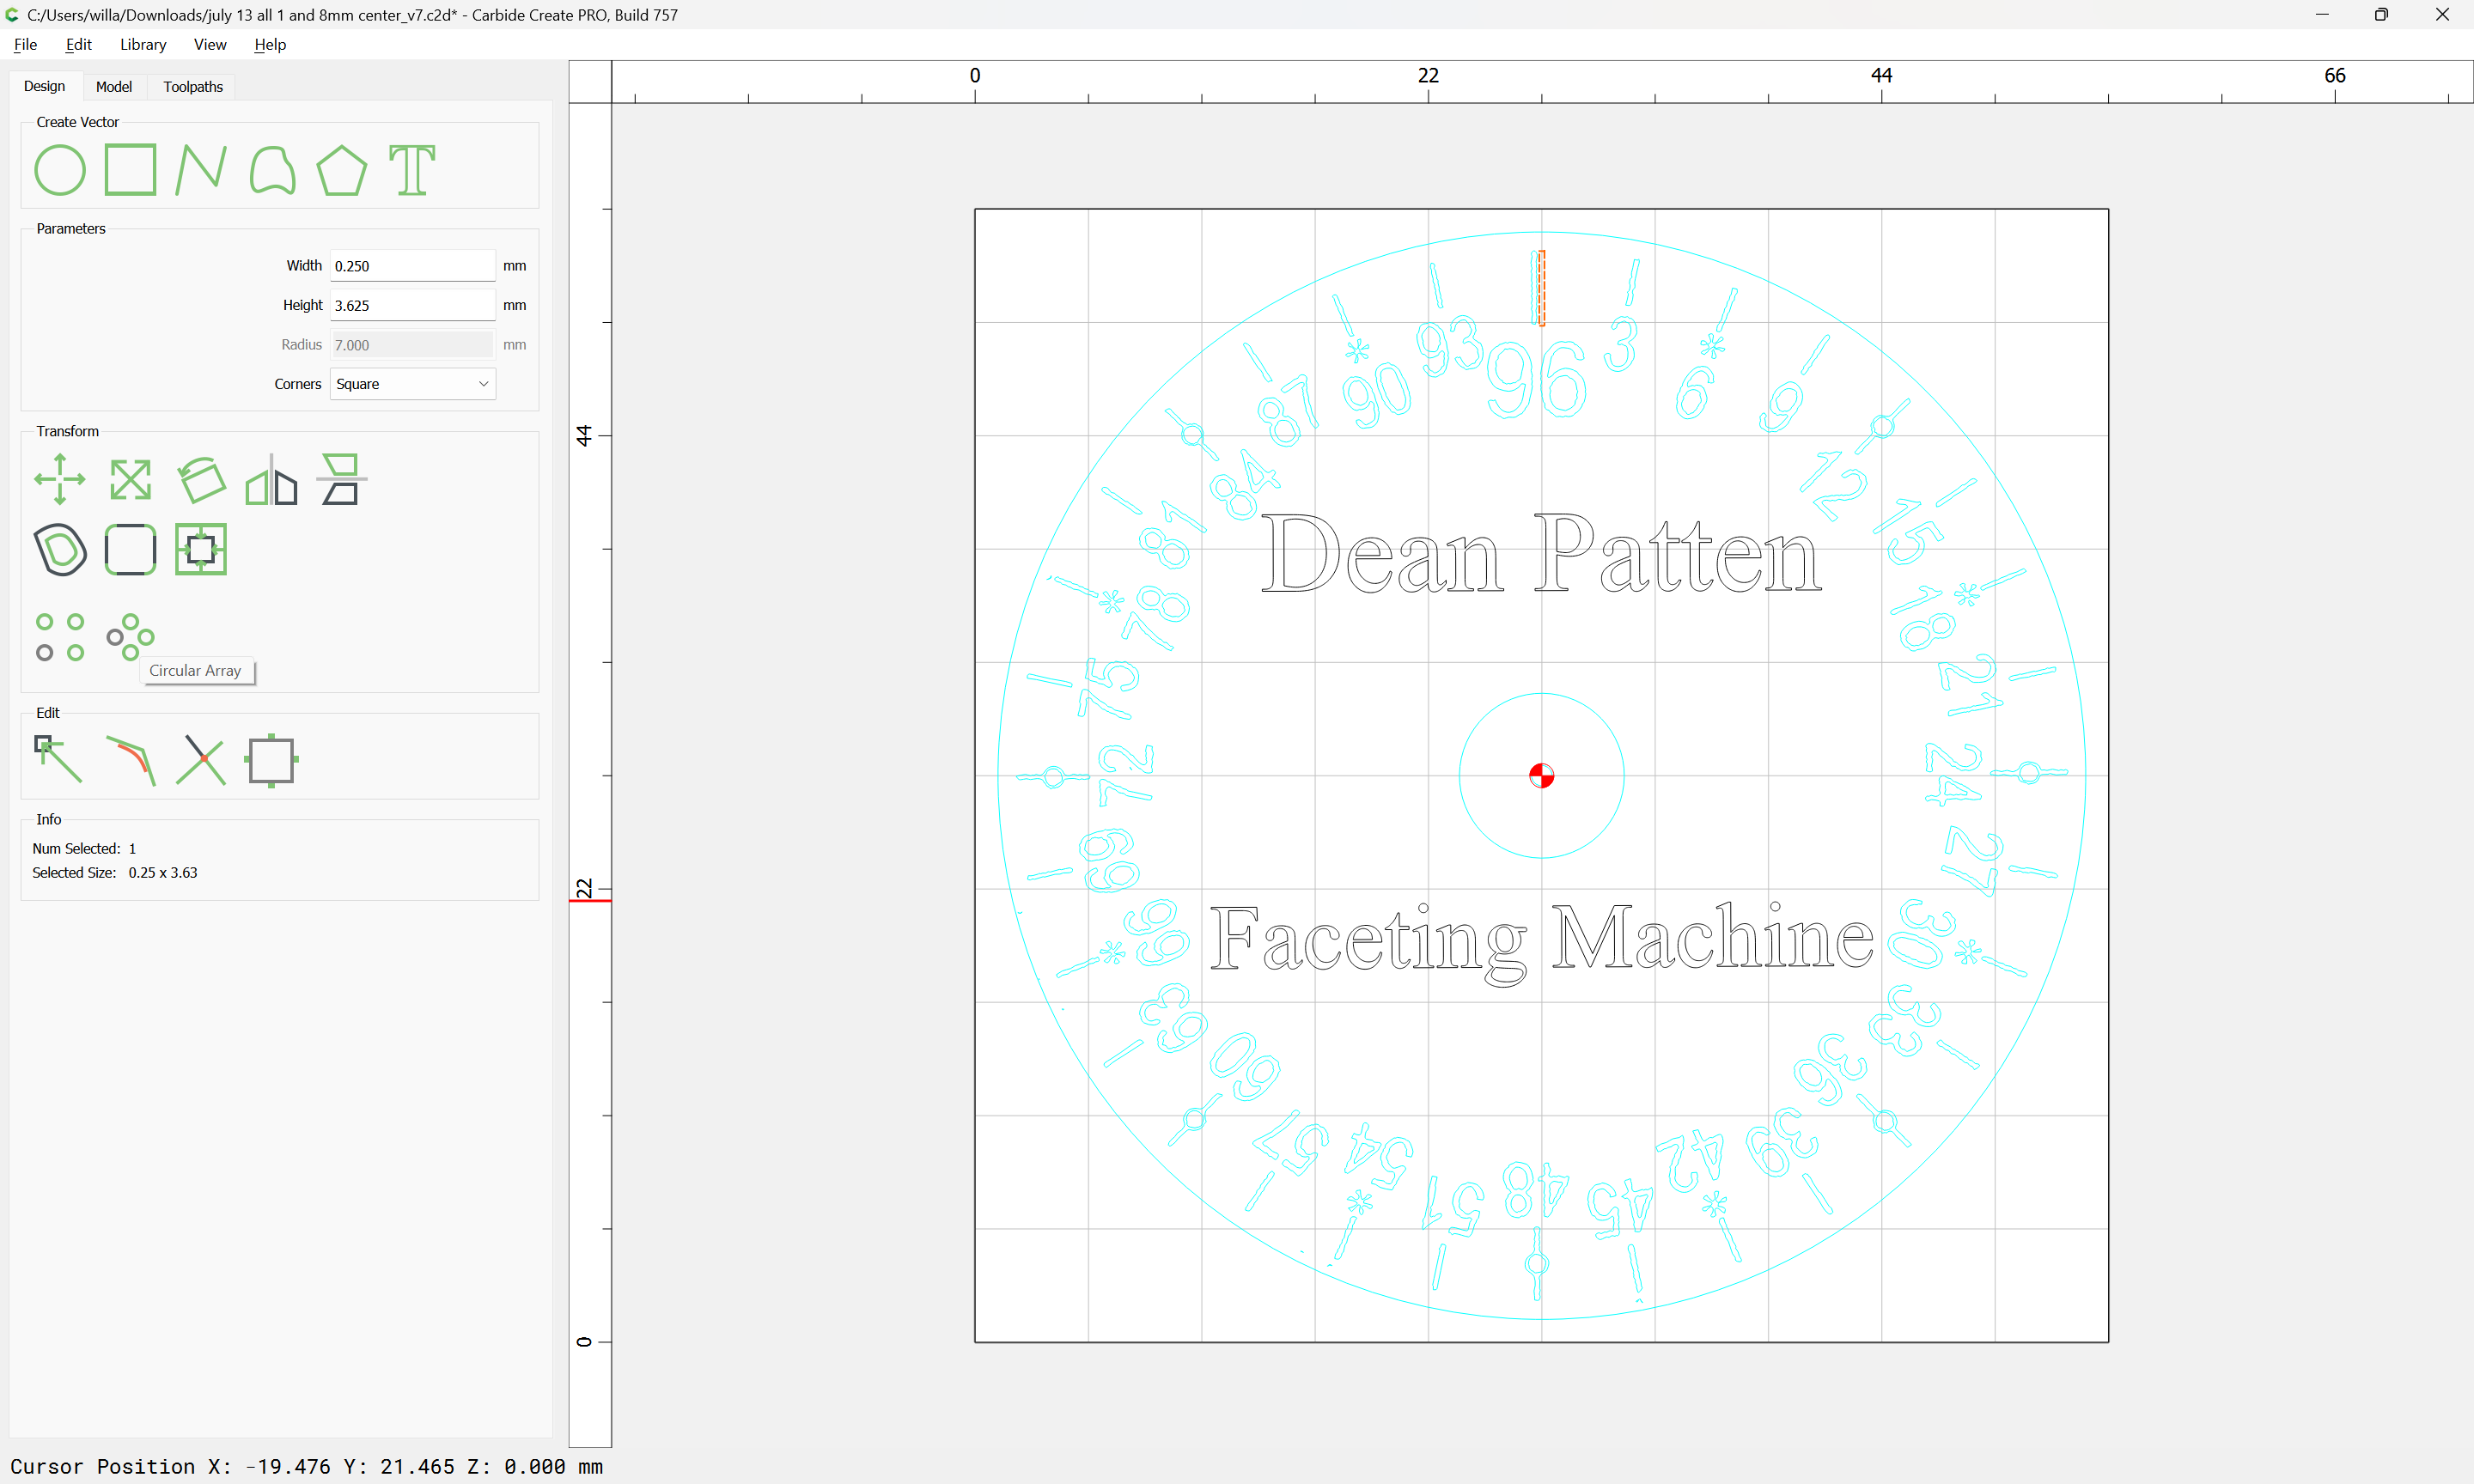
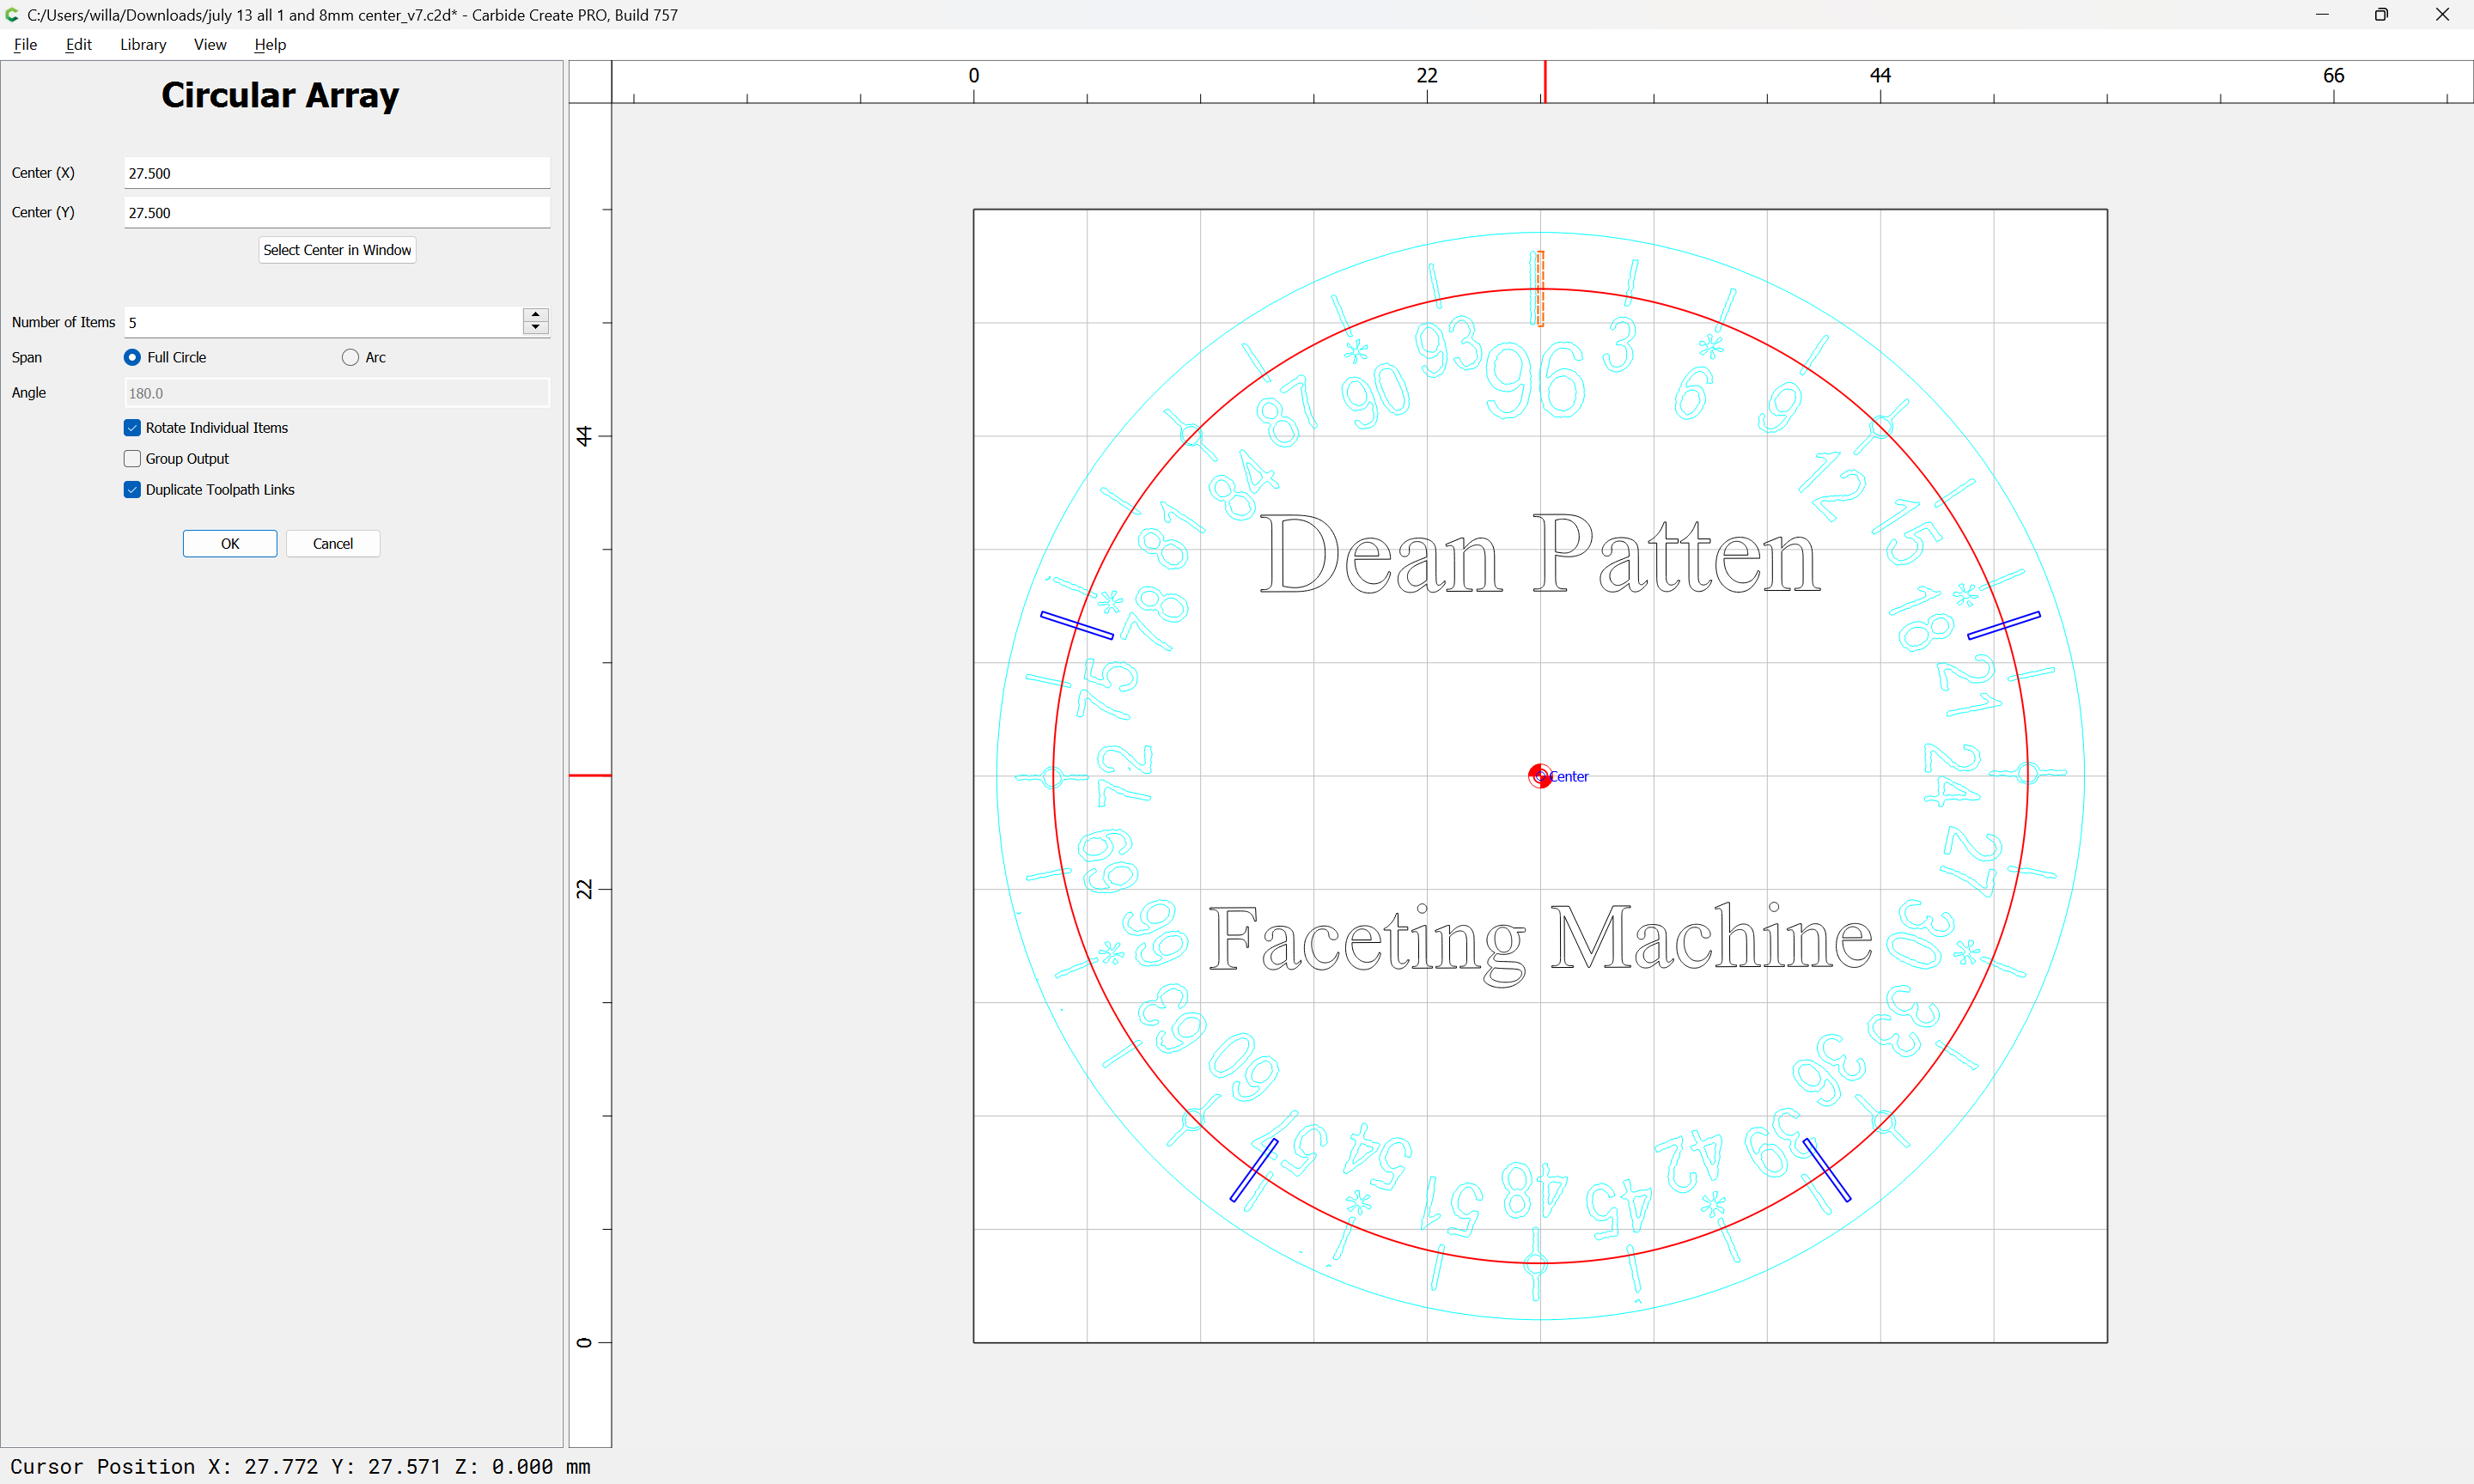
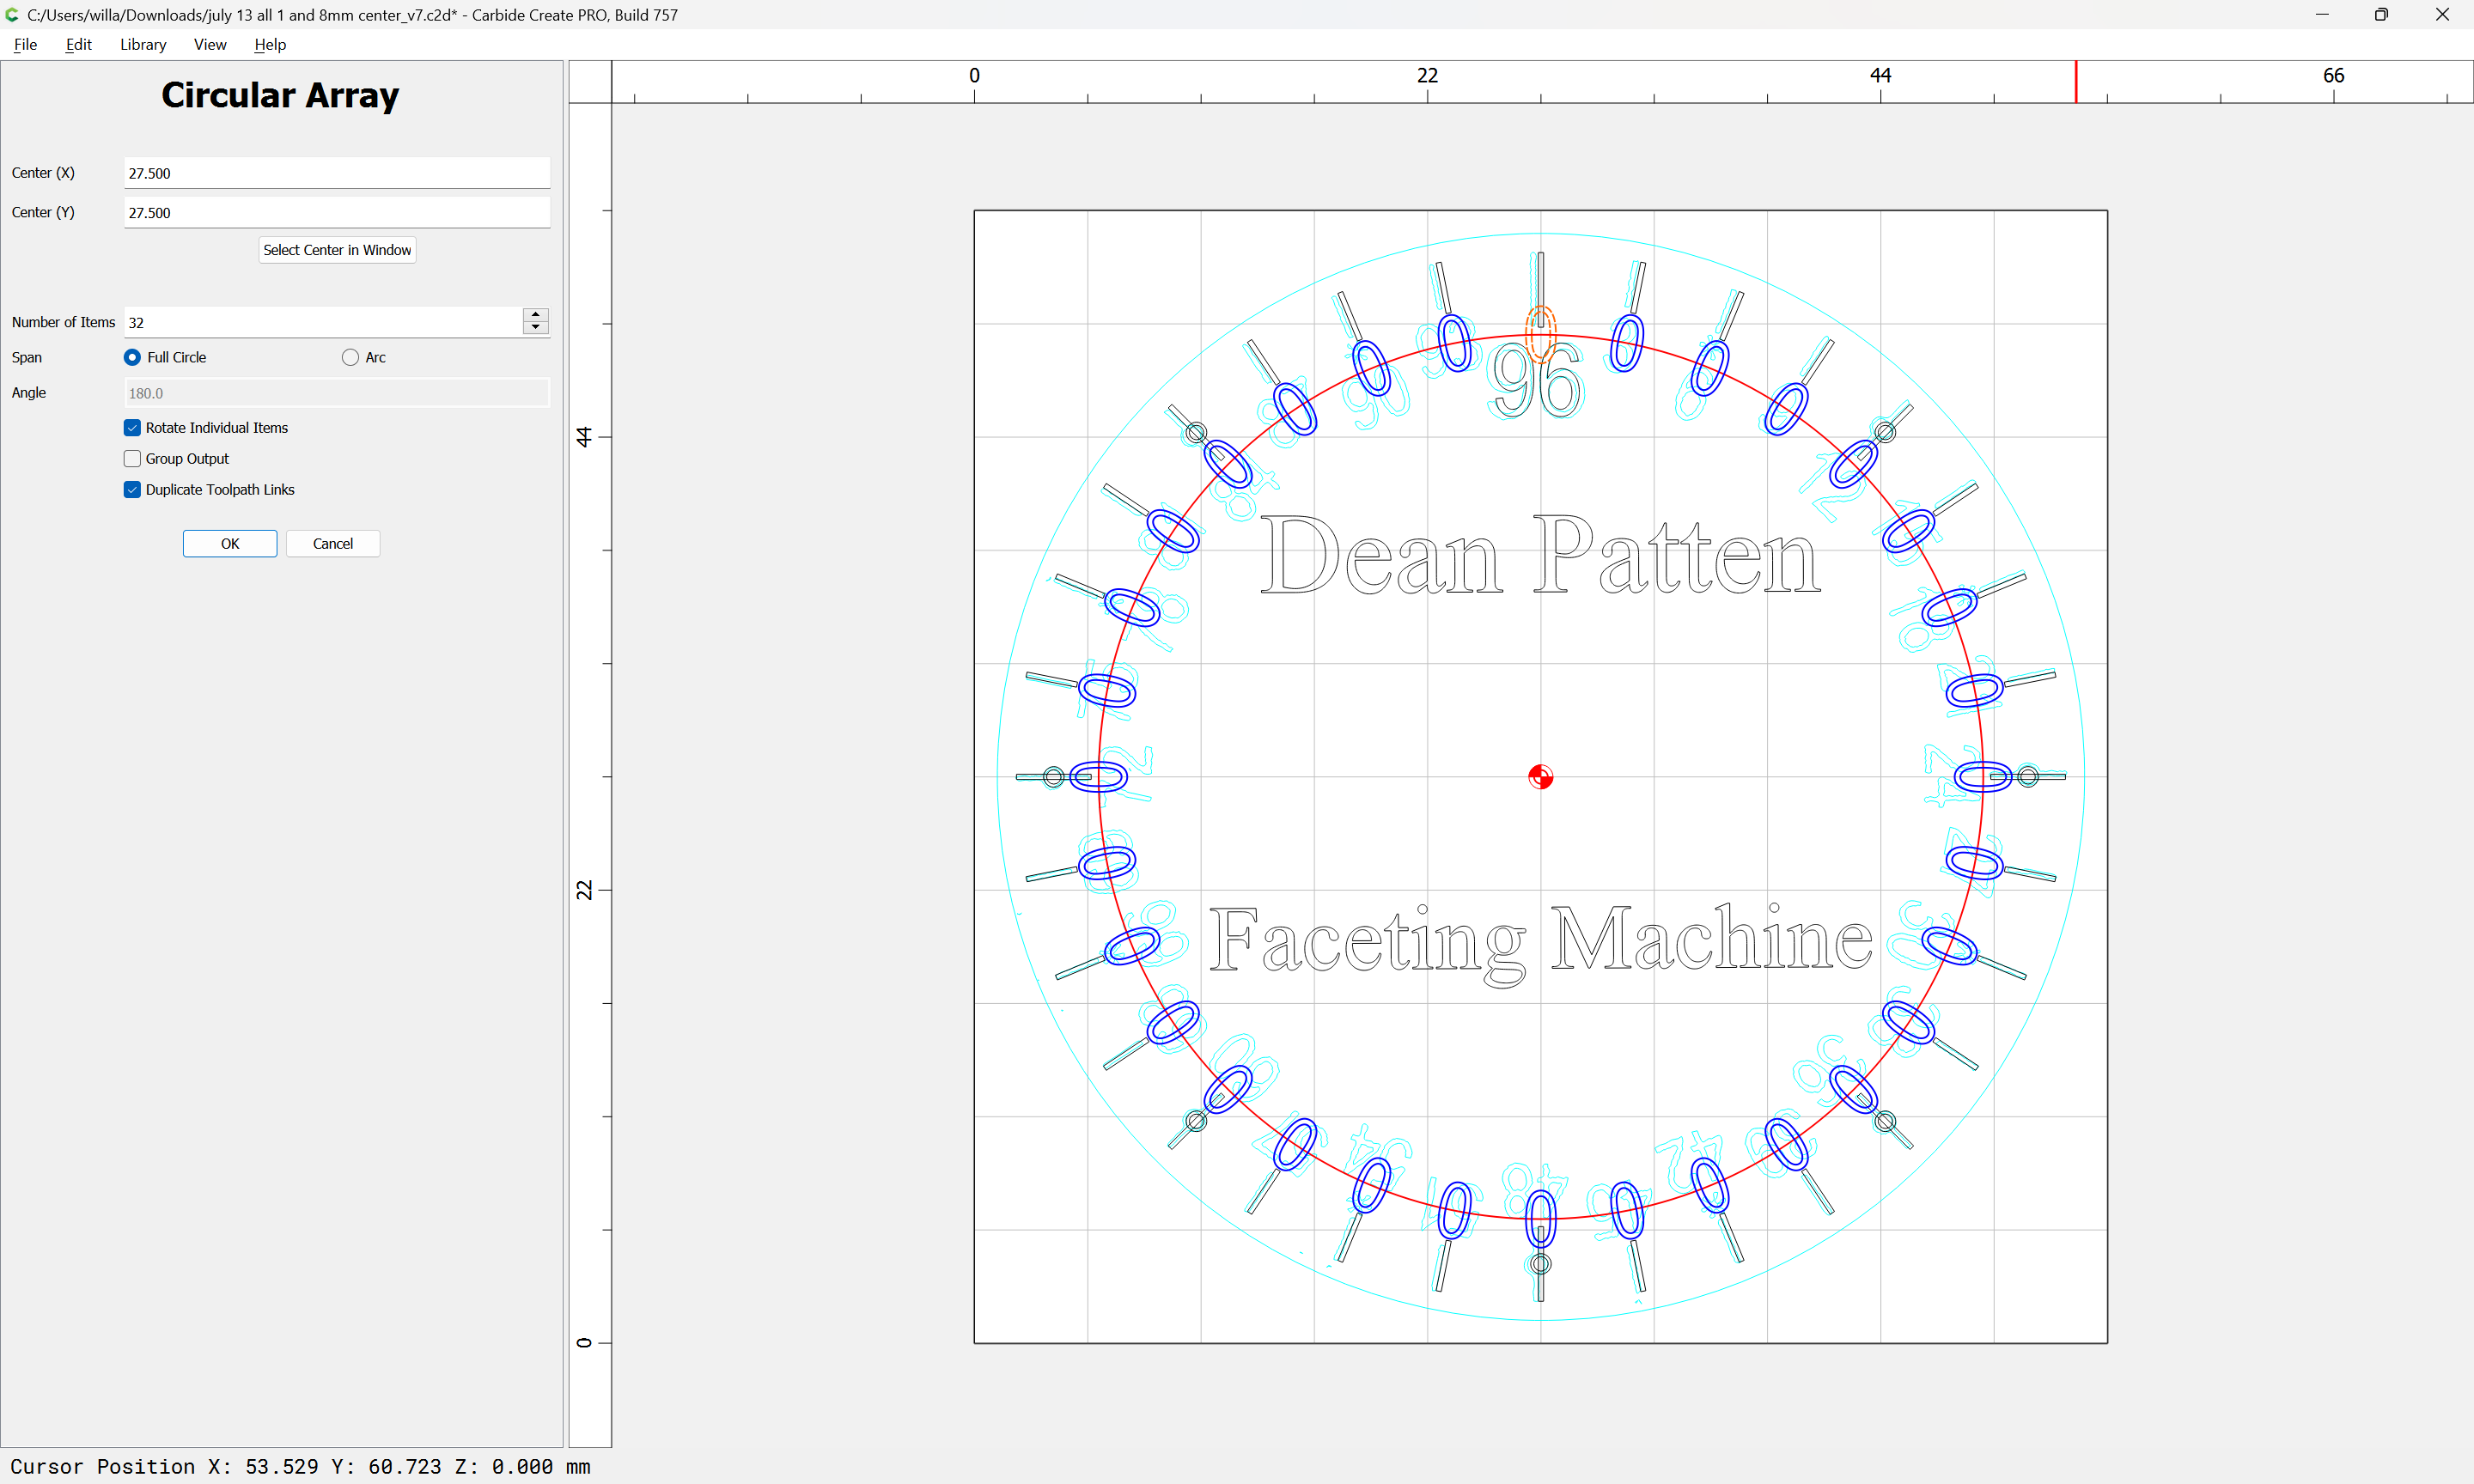
This should also appear at the 12, 24, 36, 48, 60, 72, and 84 positions, so we create a Circular Array:
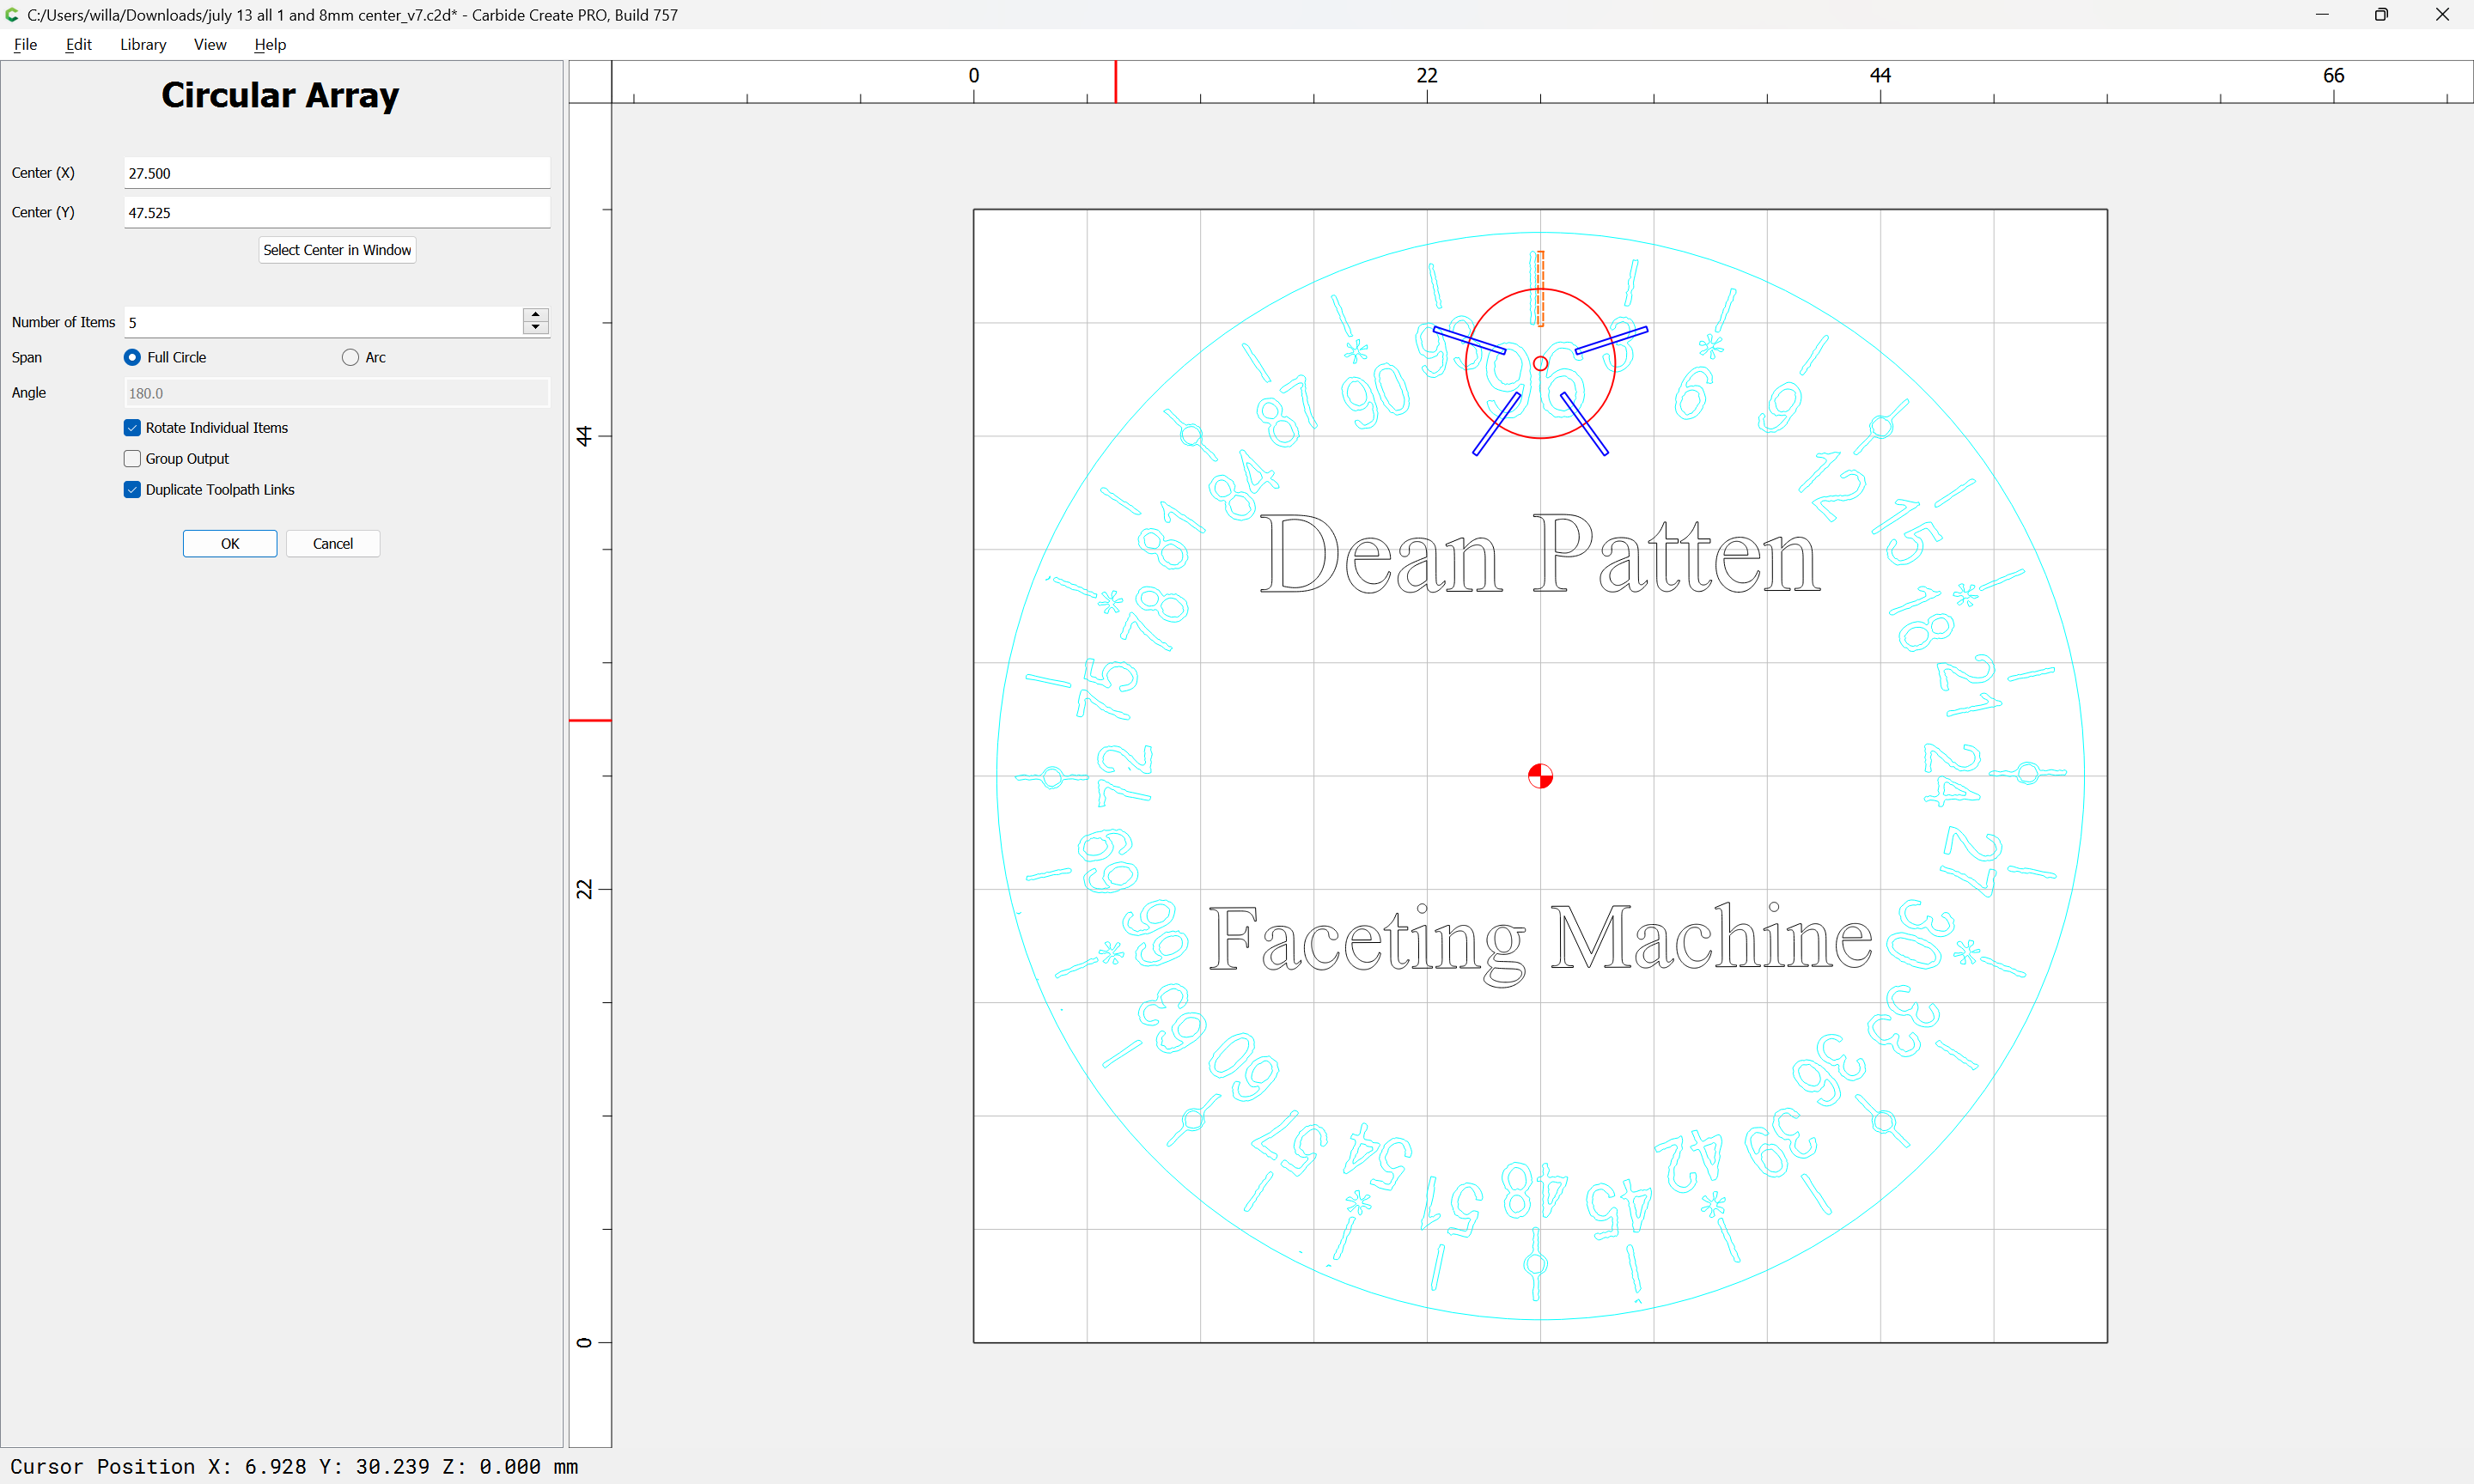
“Select center in window”:
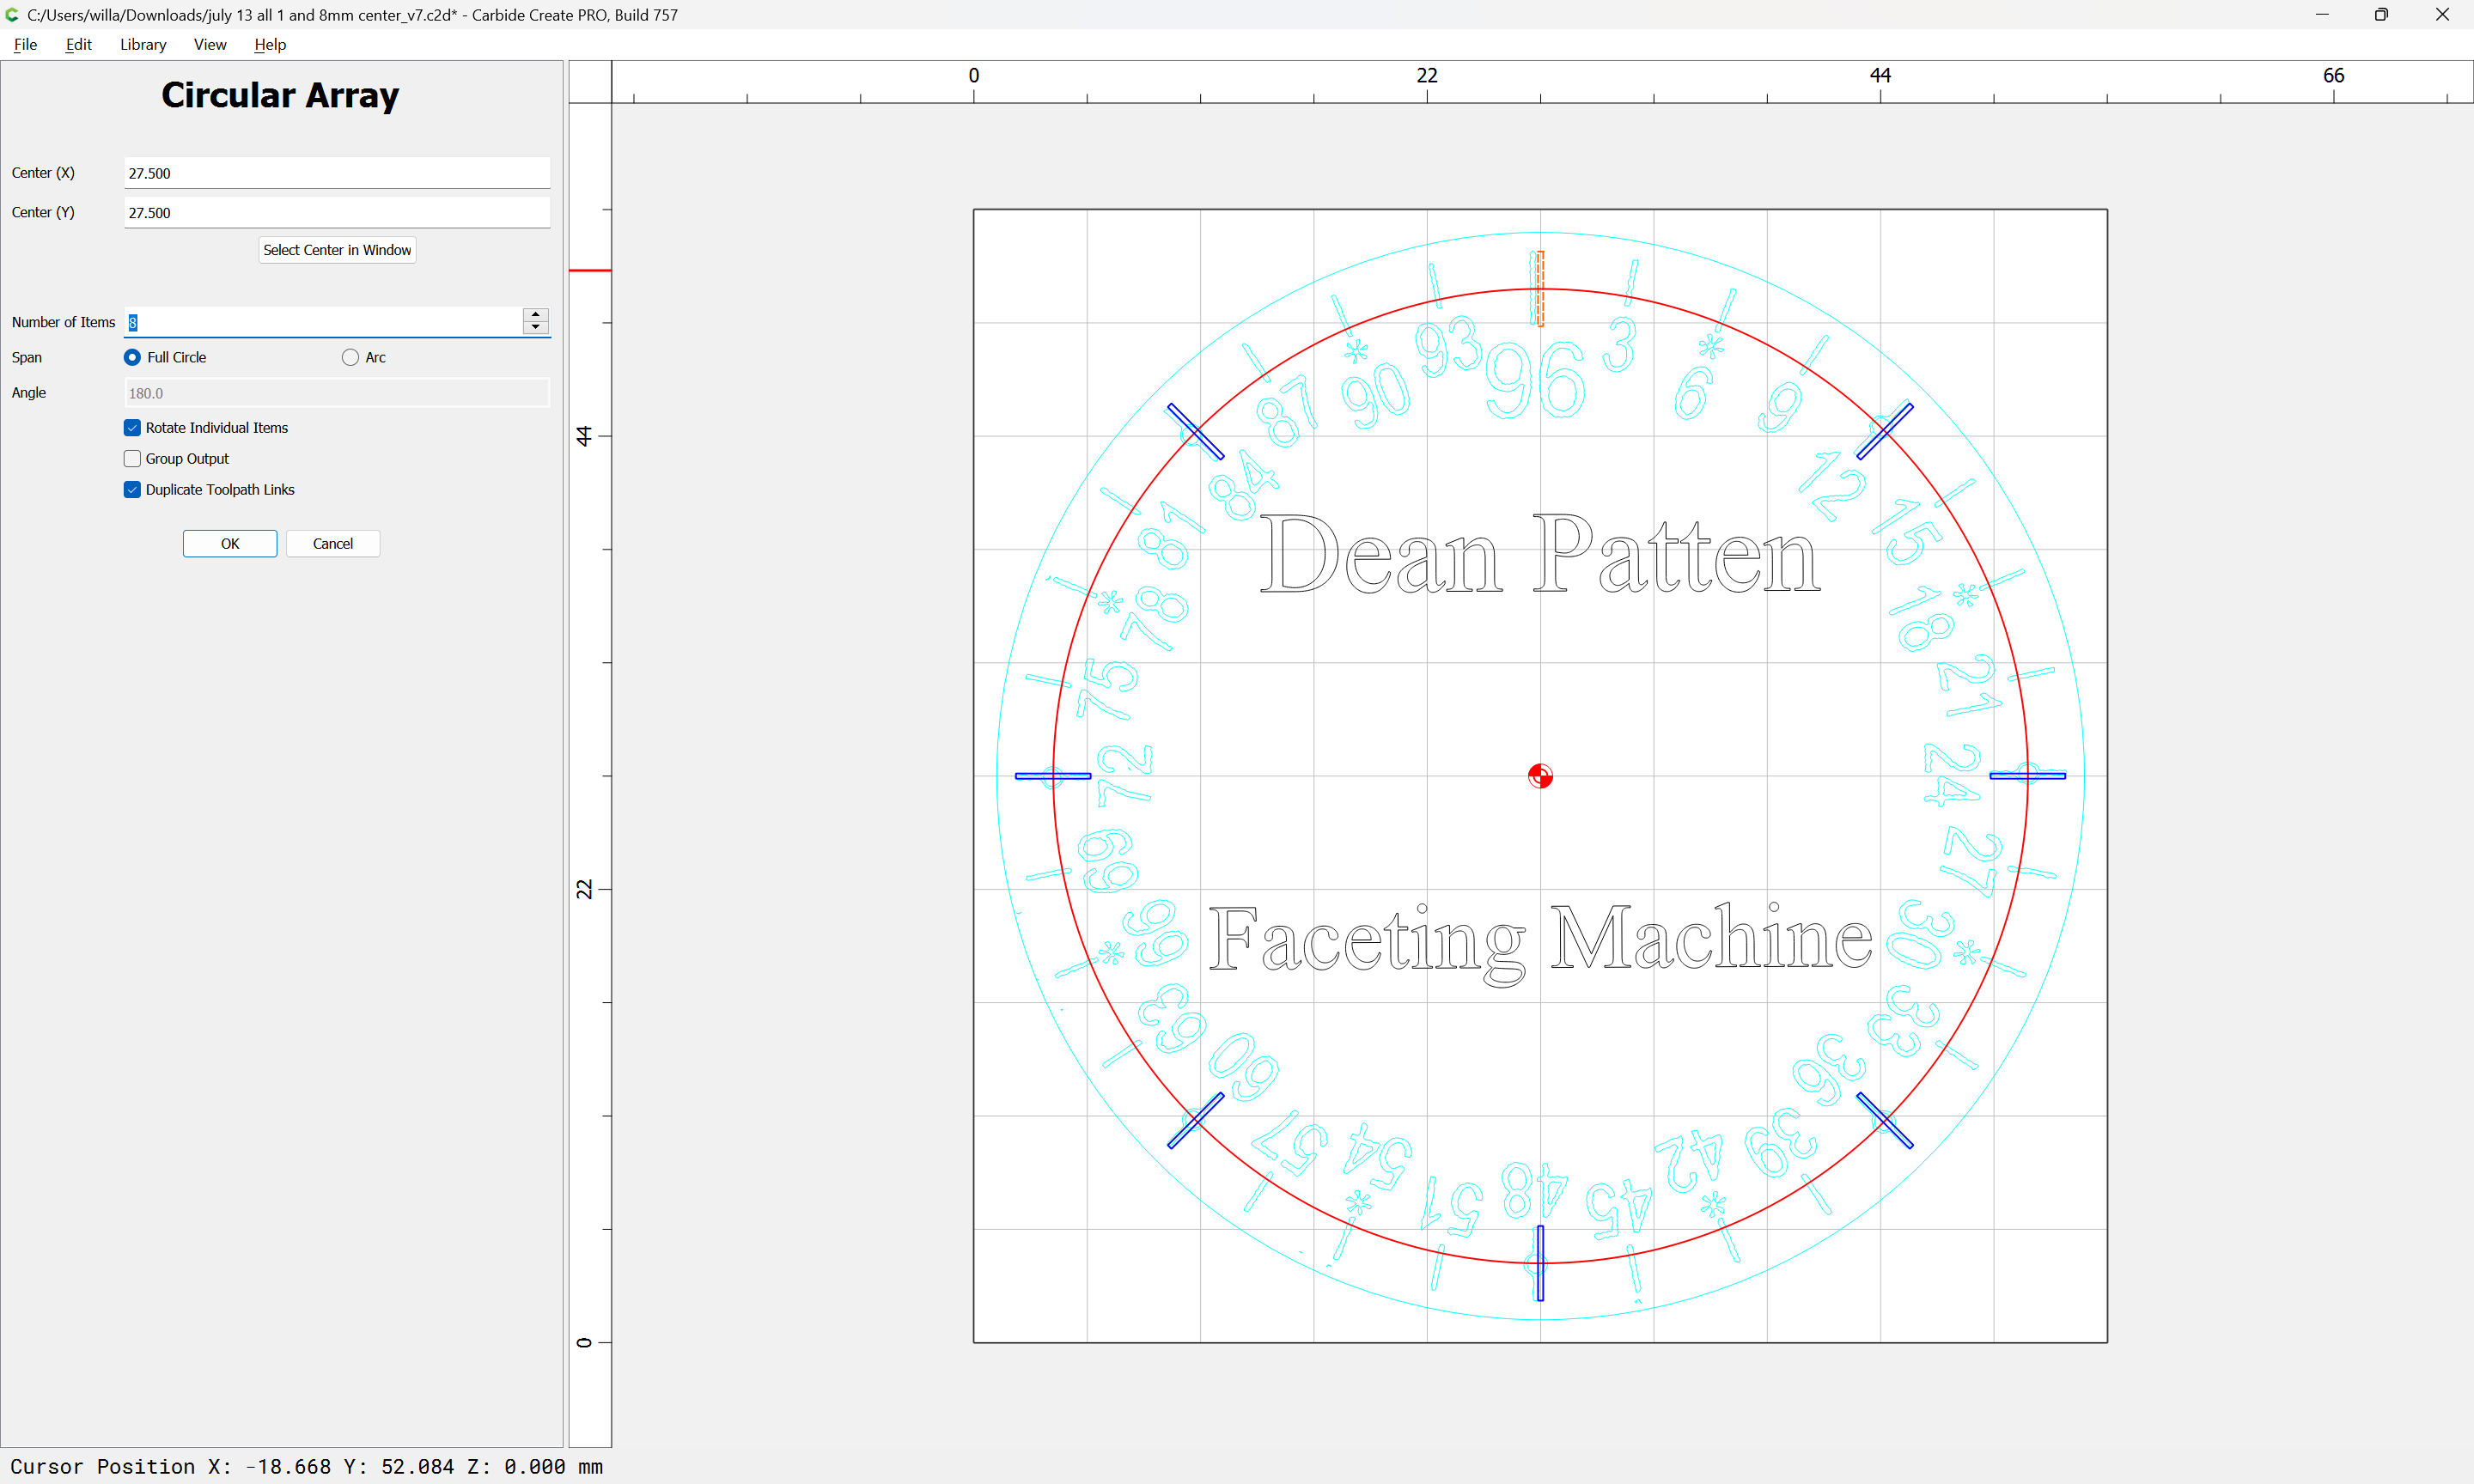
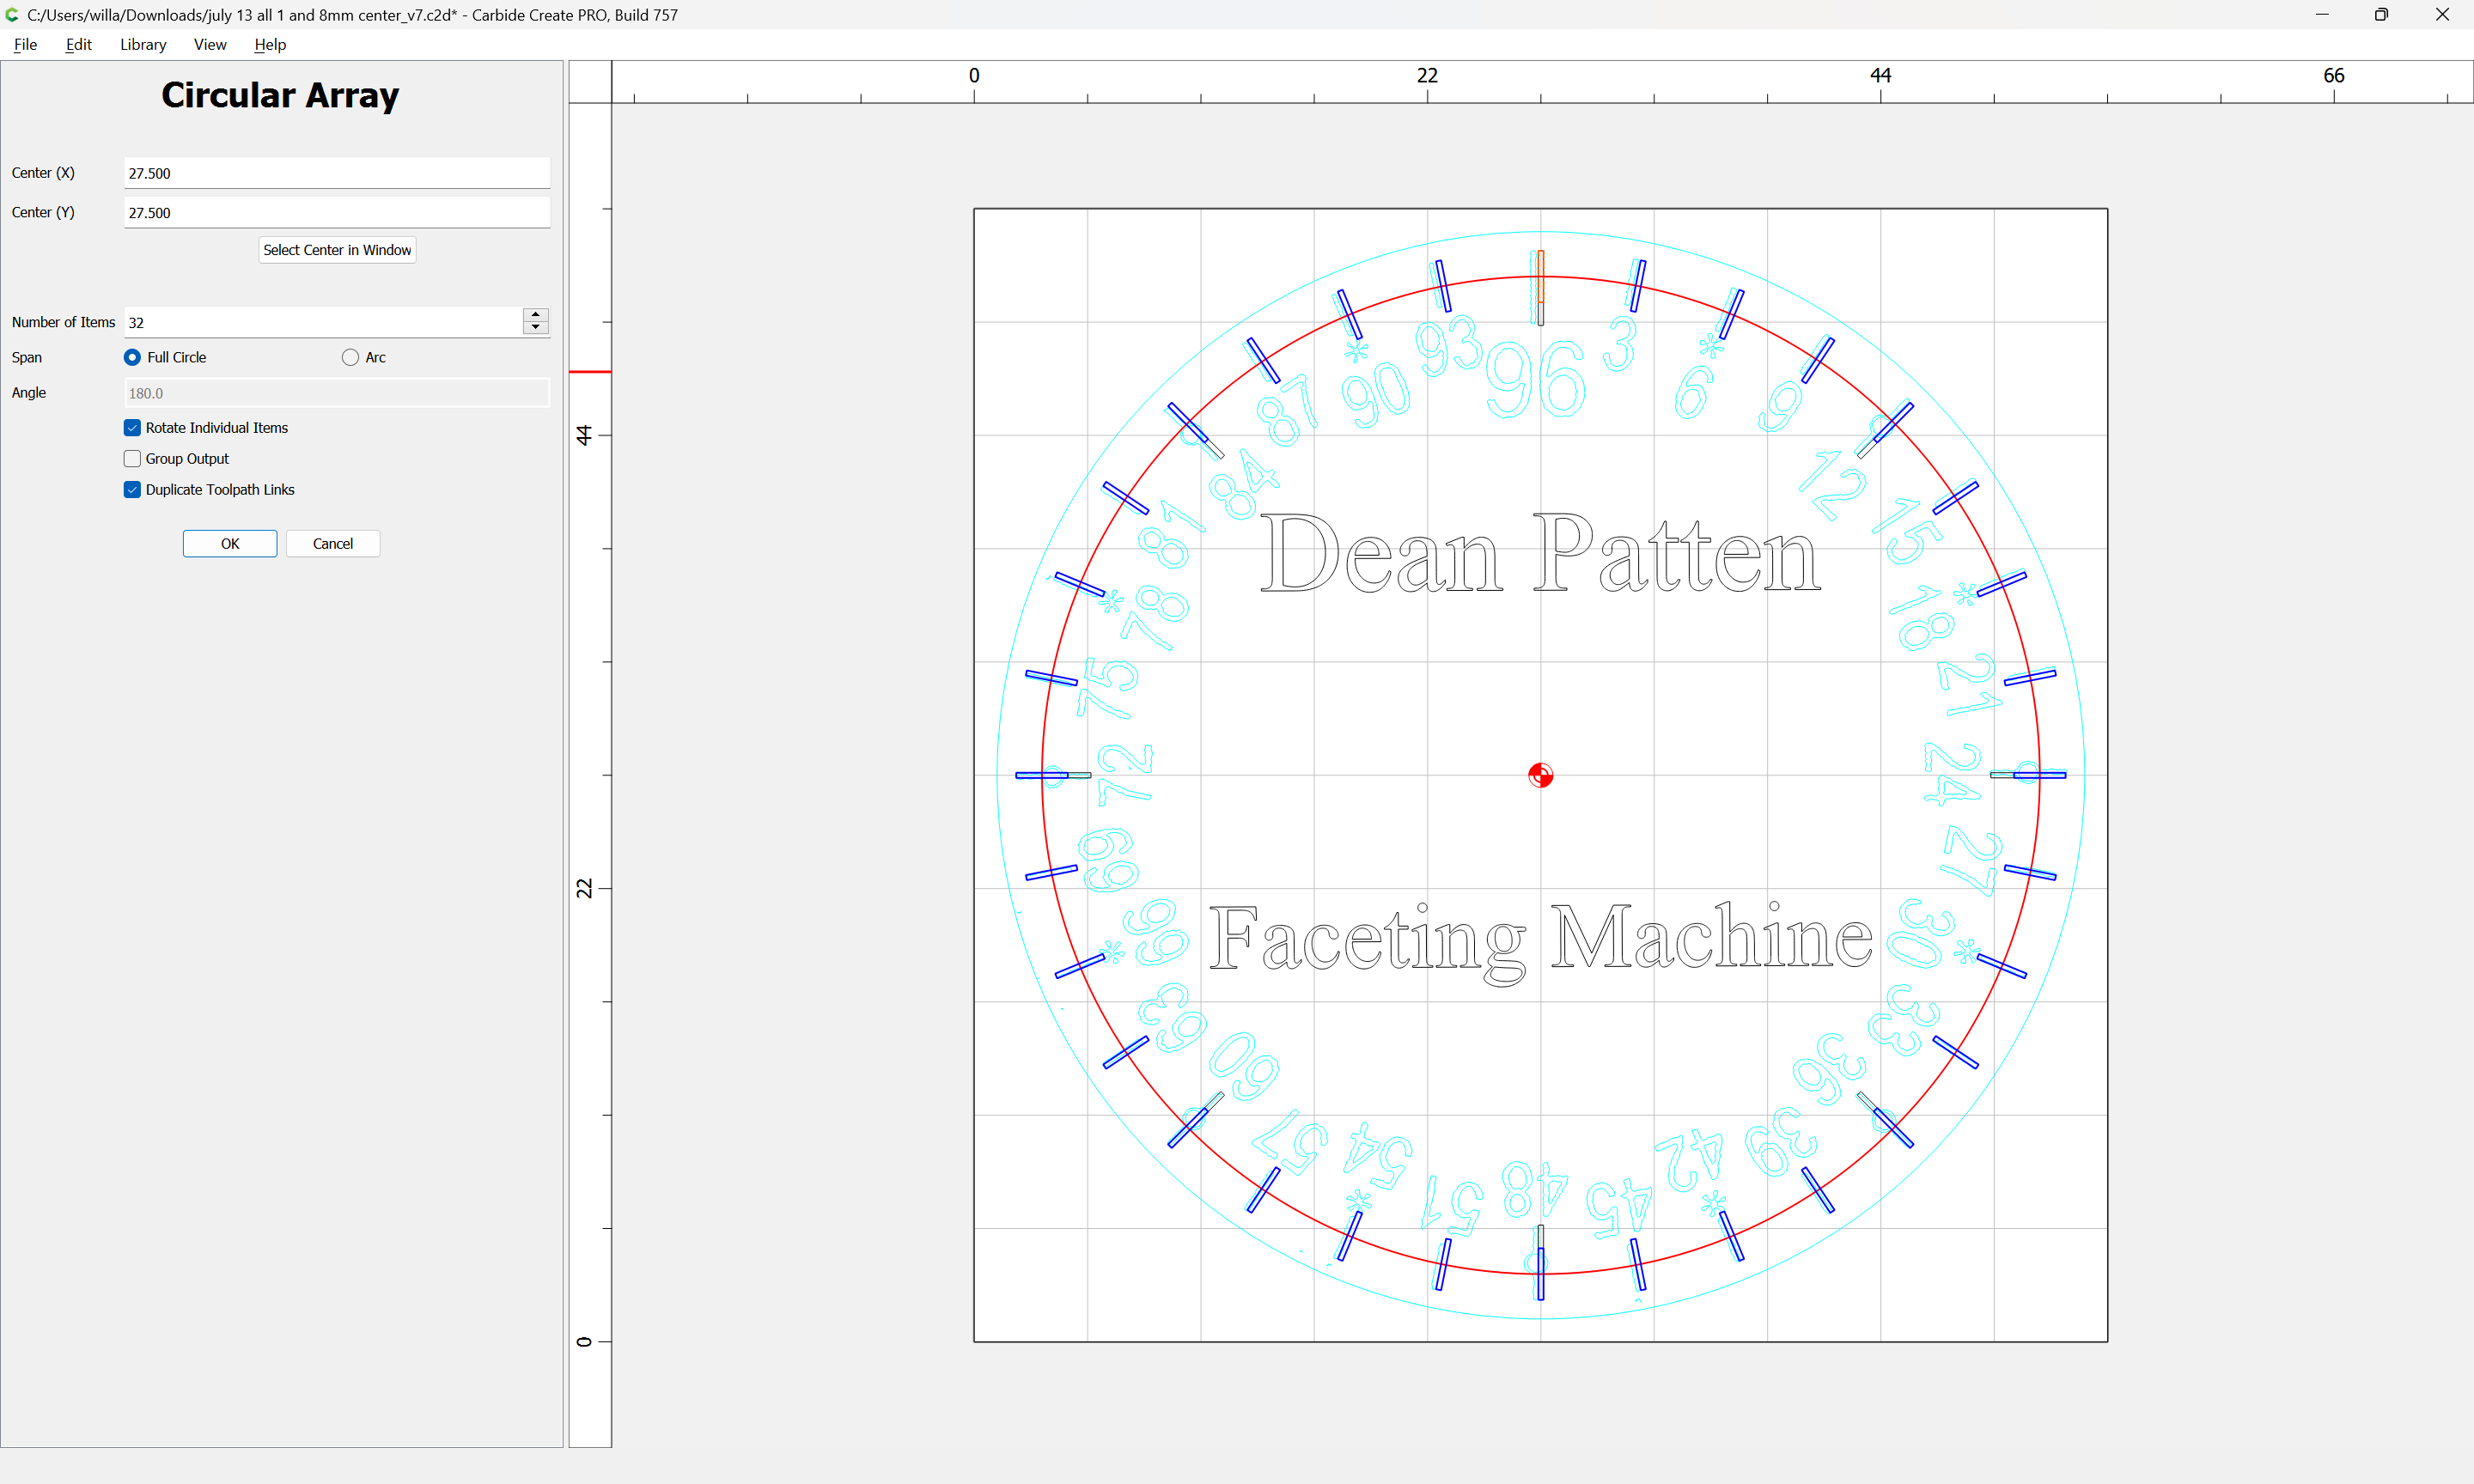
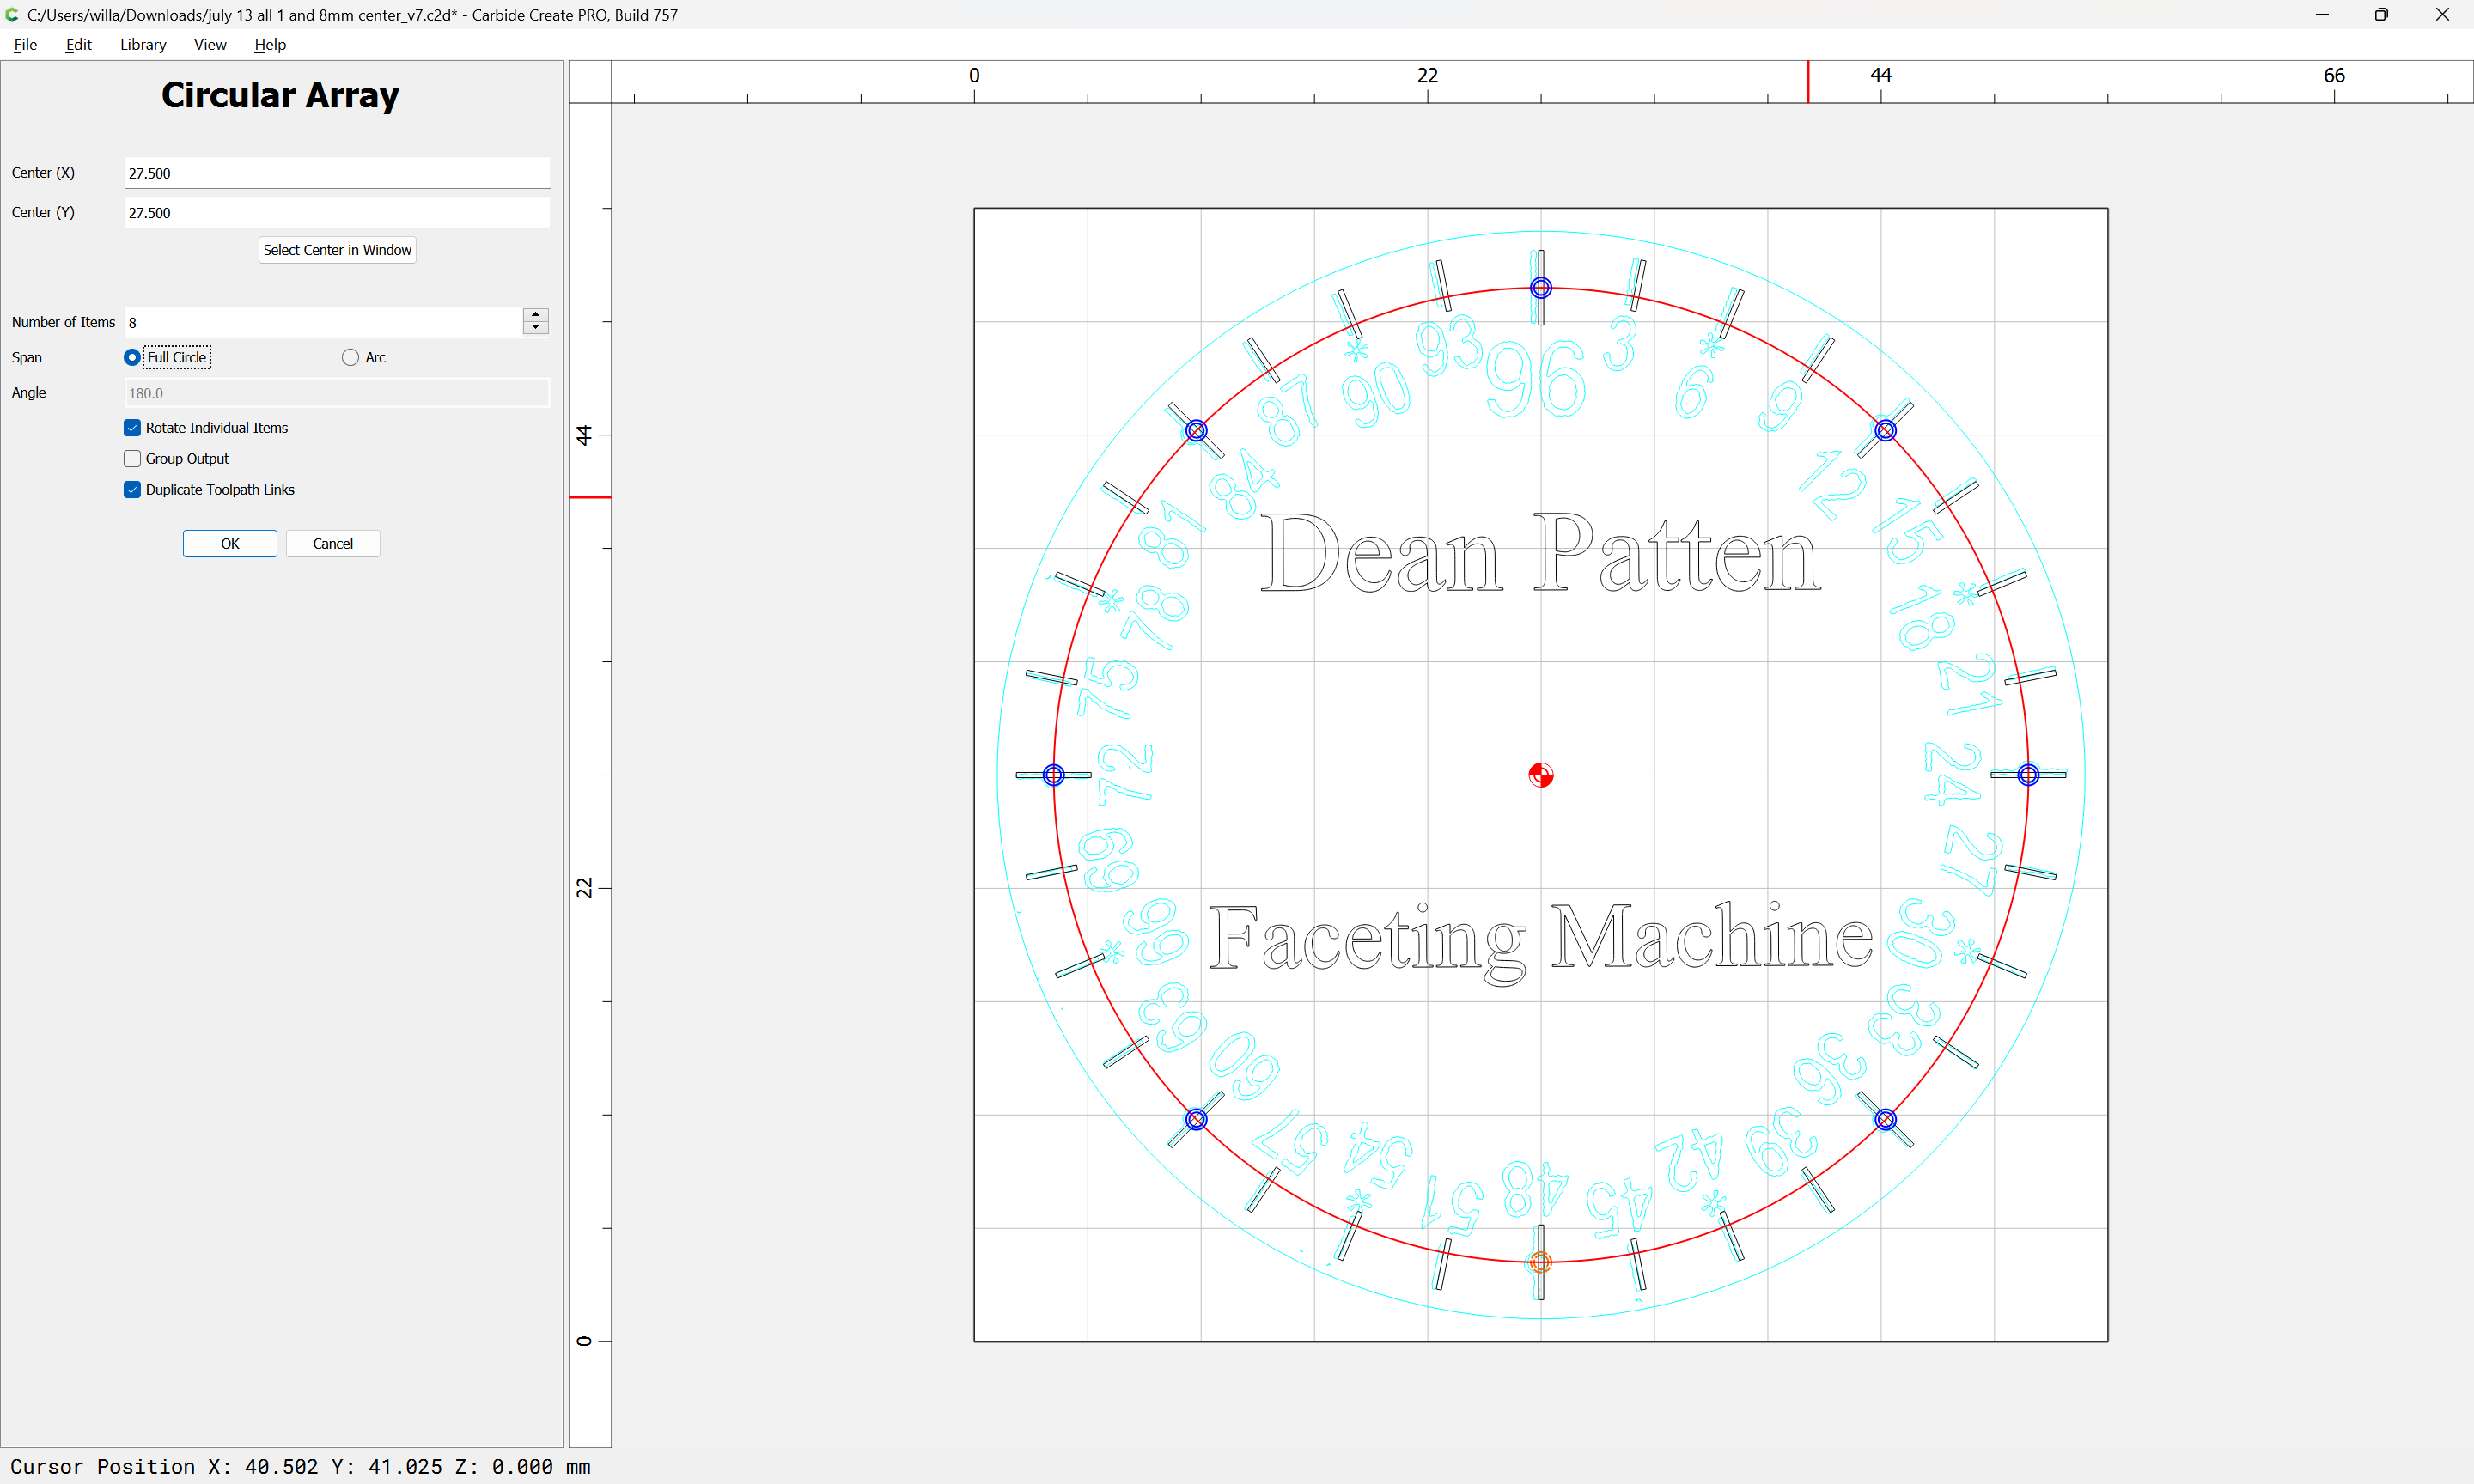
Adjust the number of items until things line up:
Repeat this for the other elements:
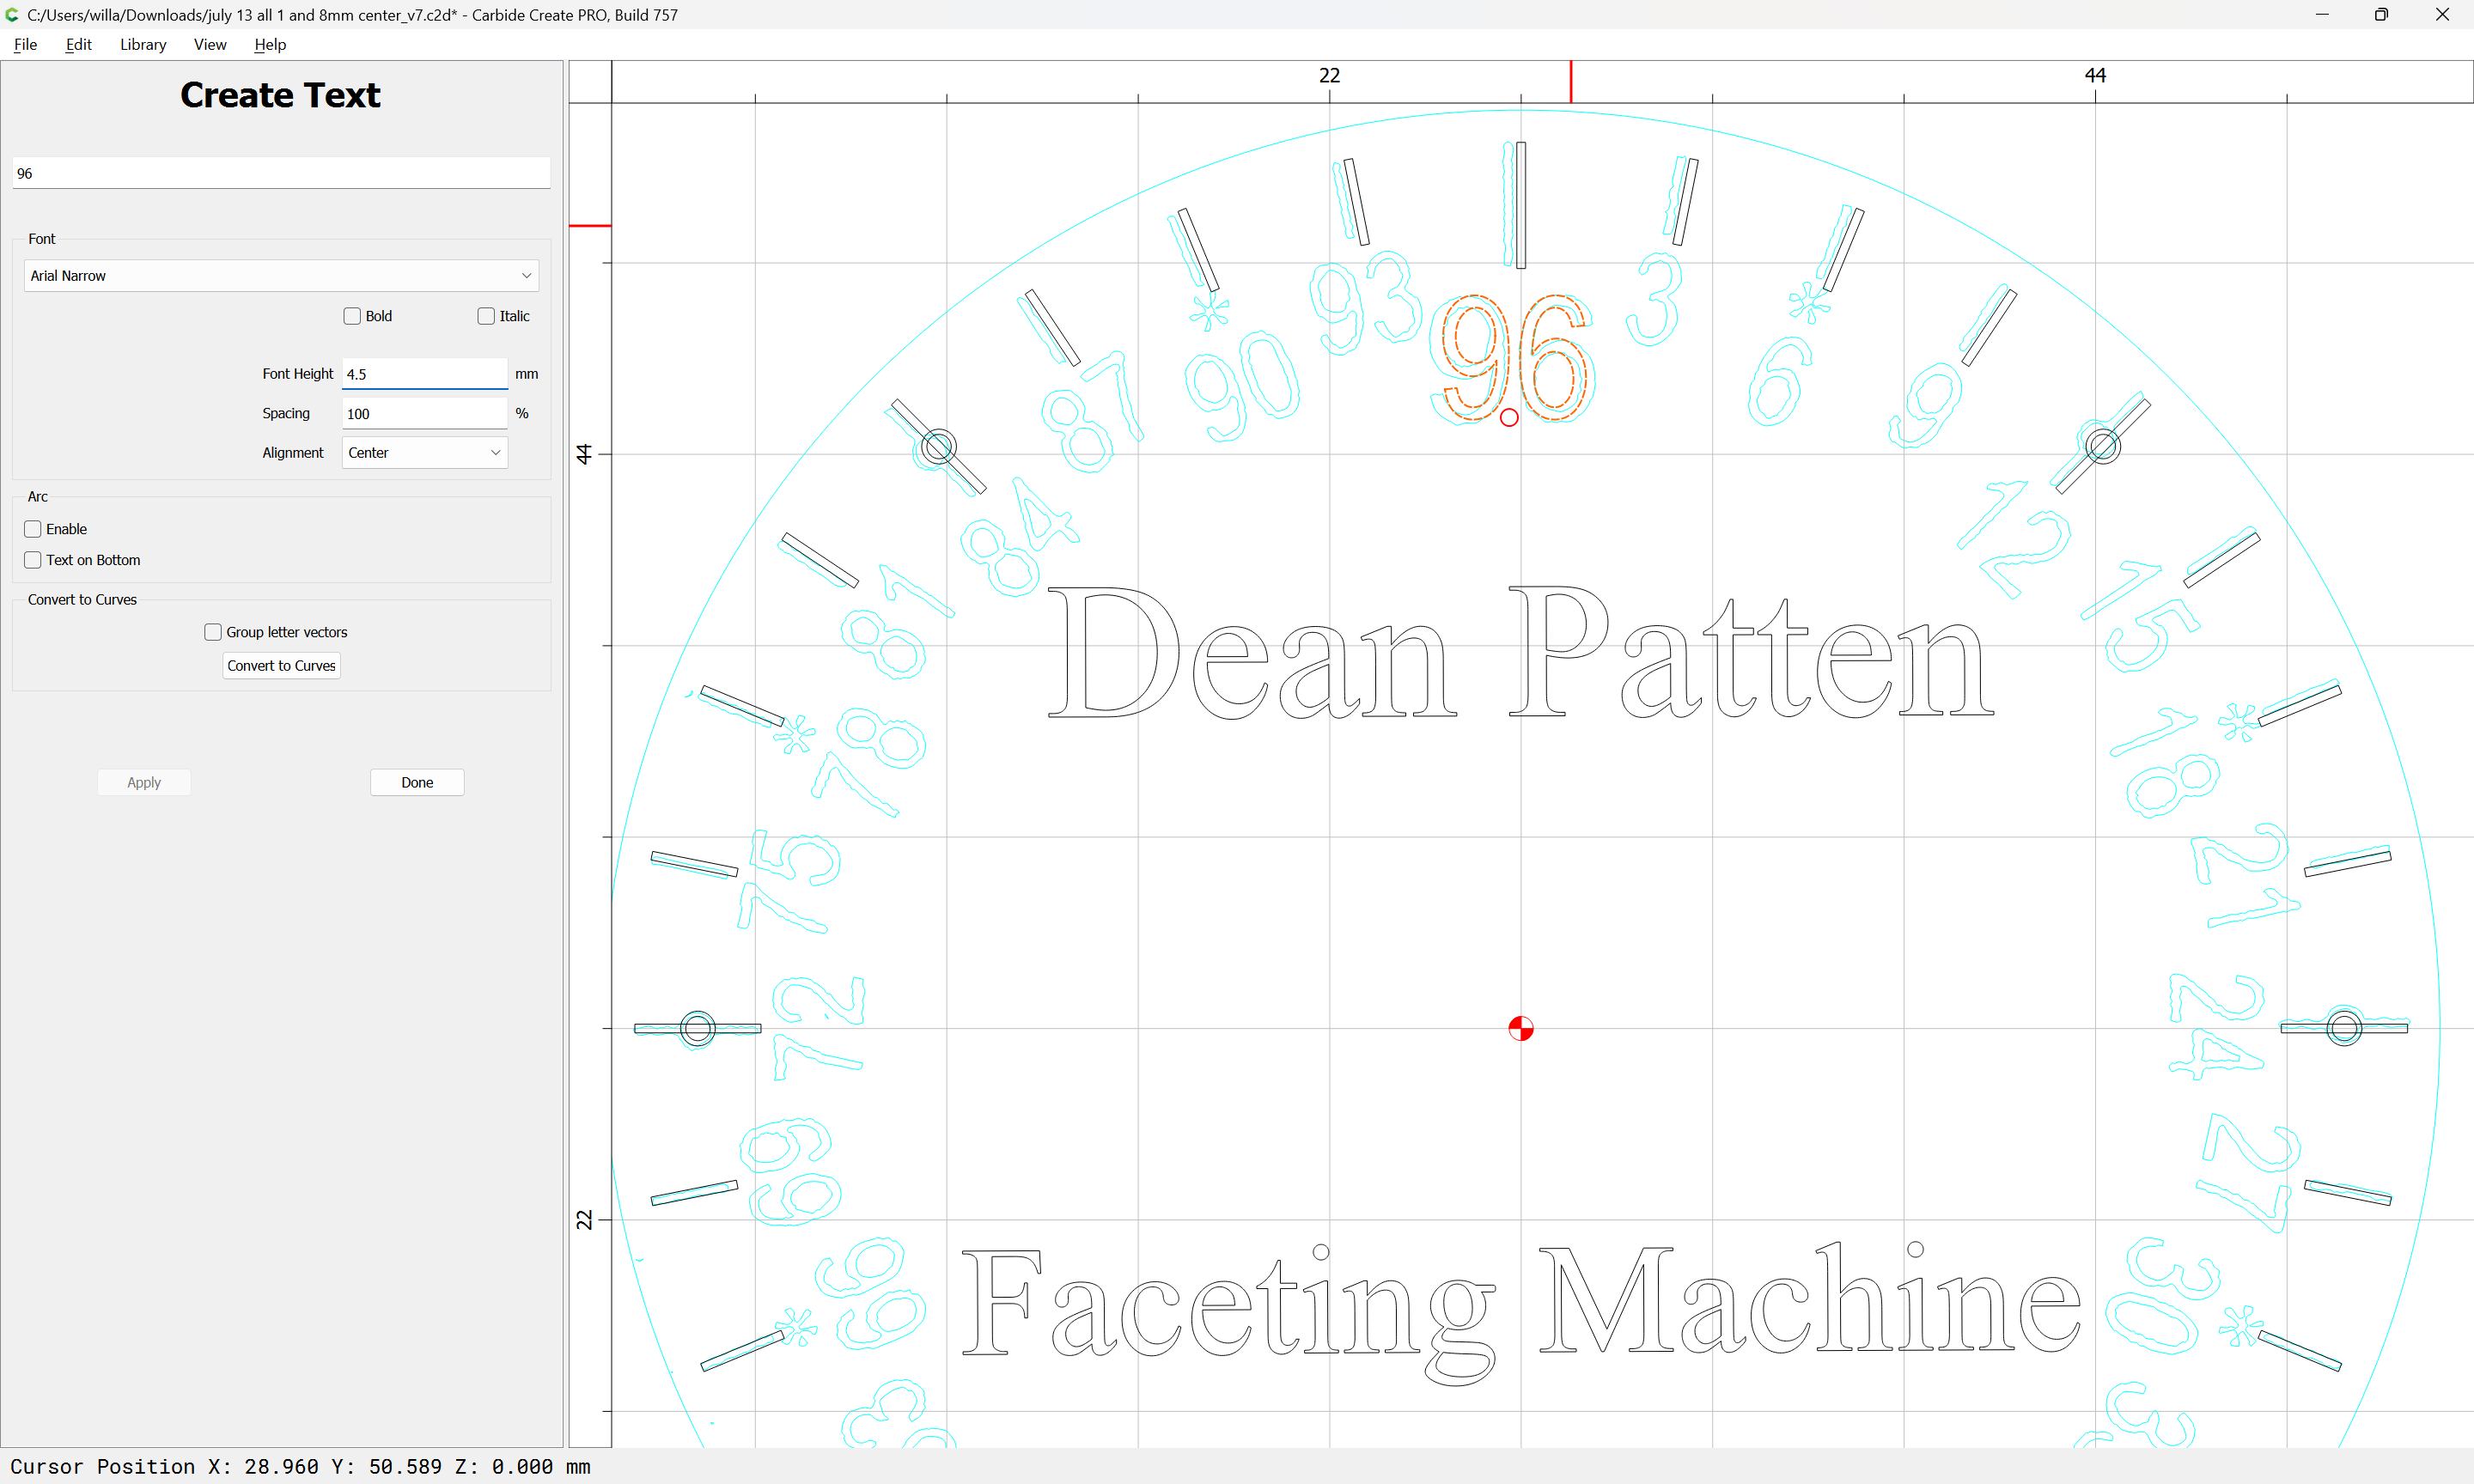
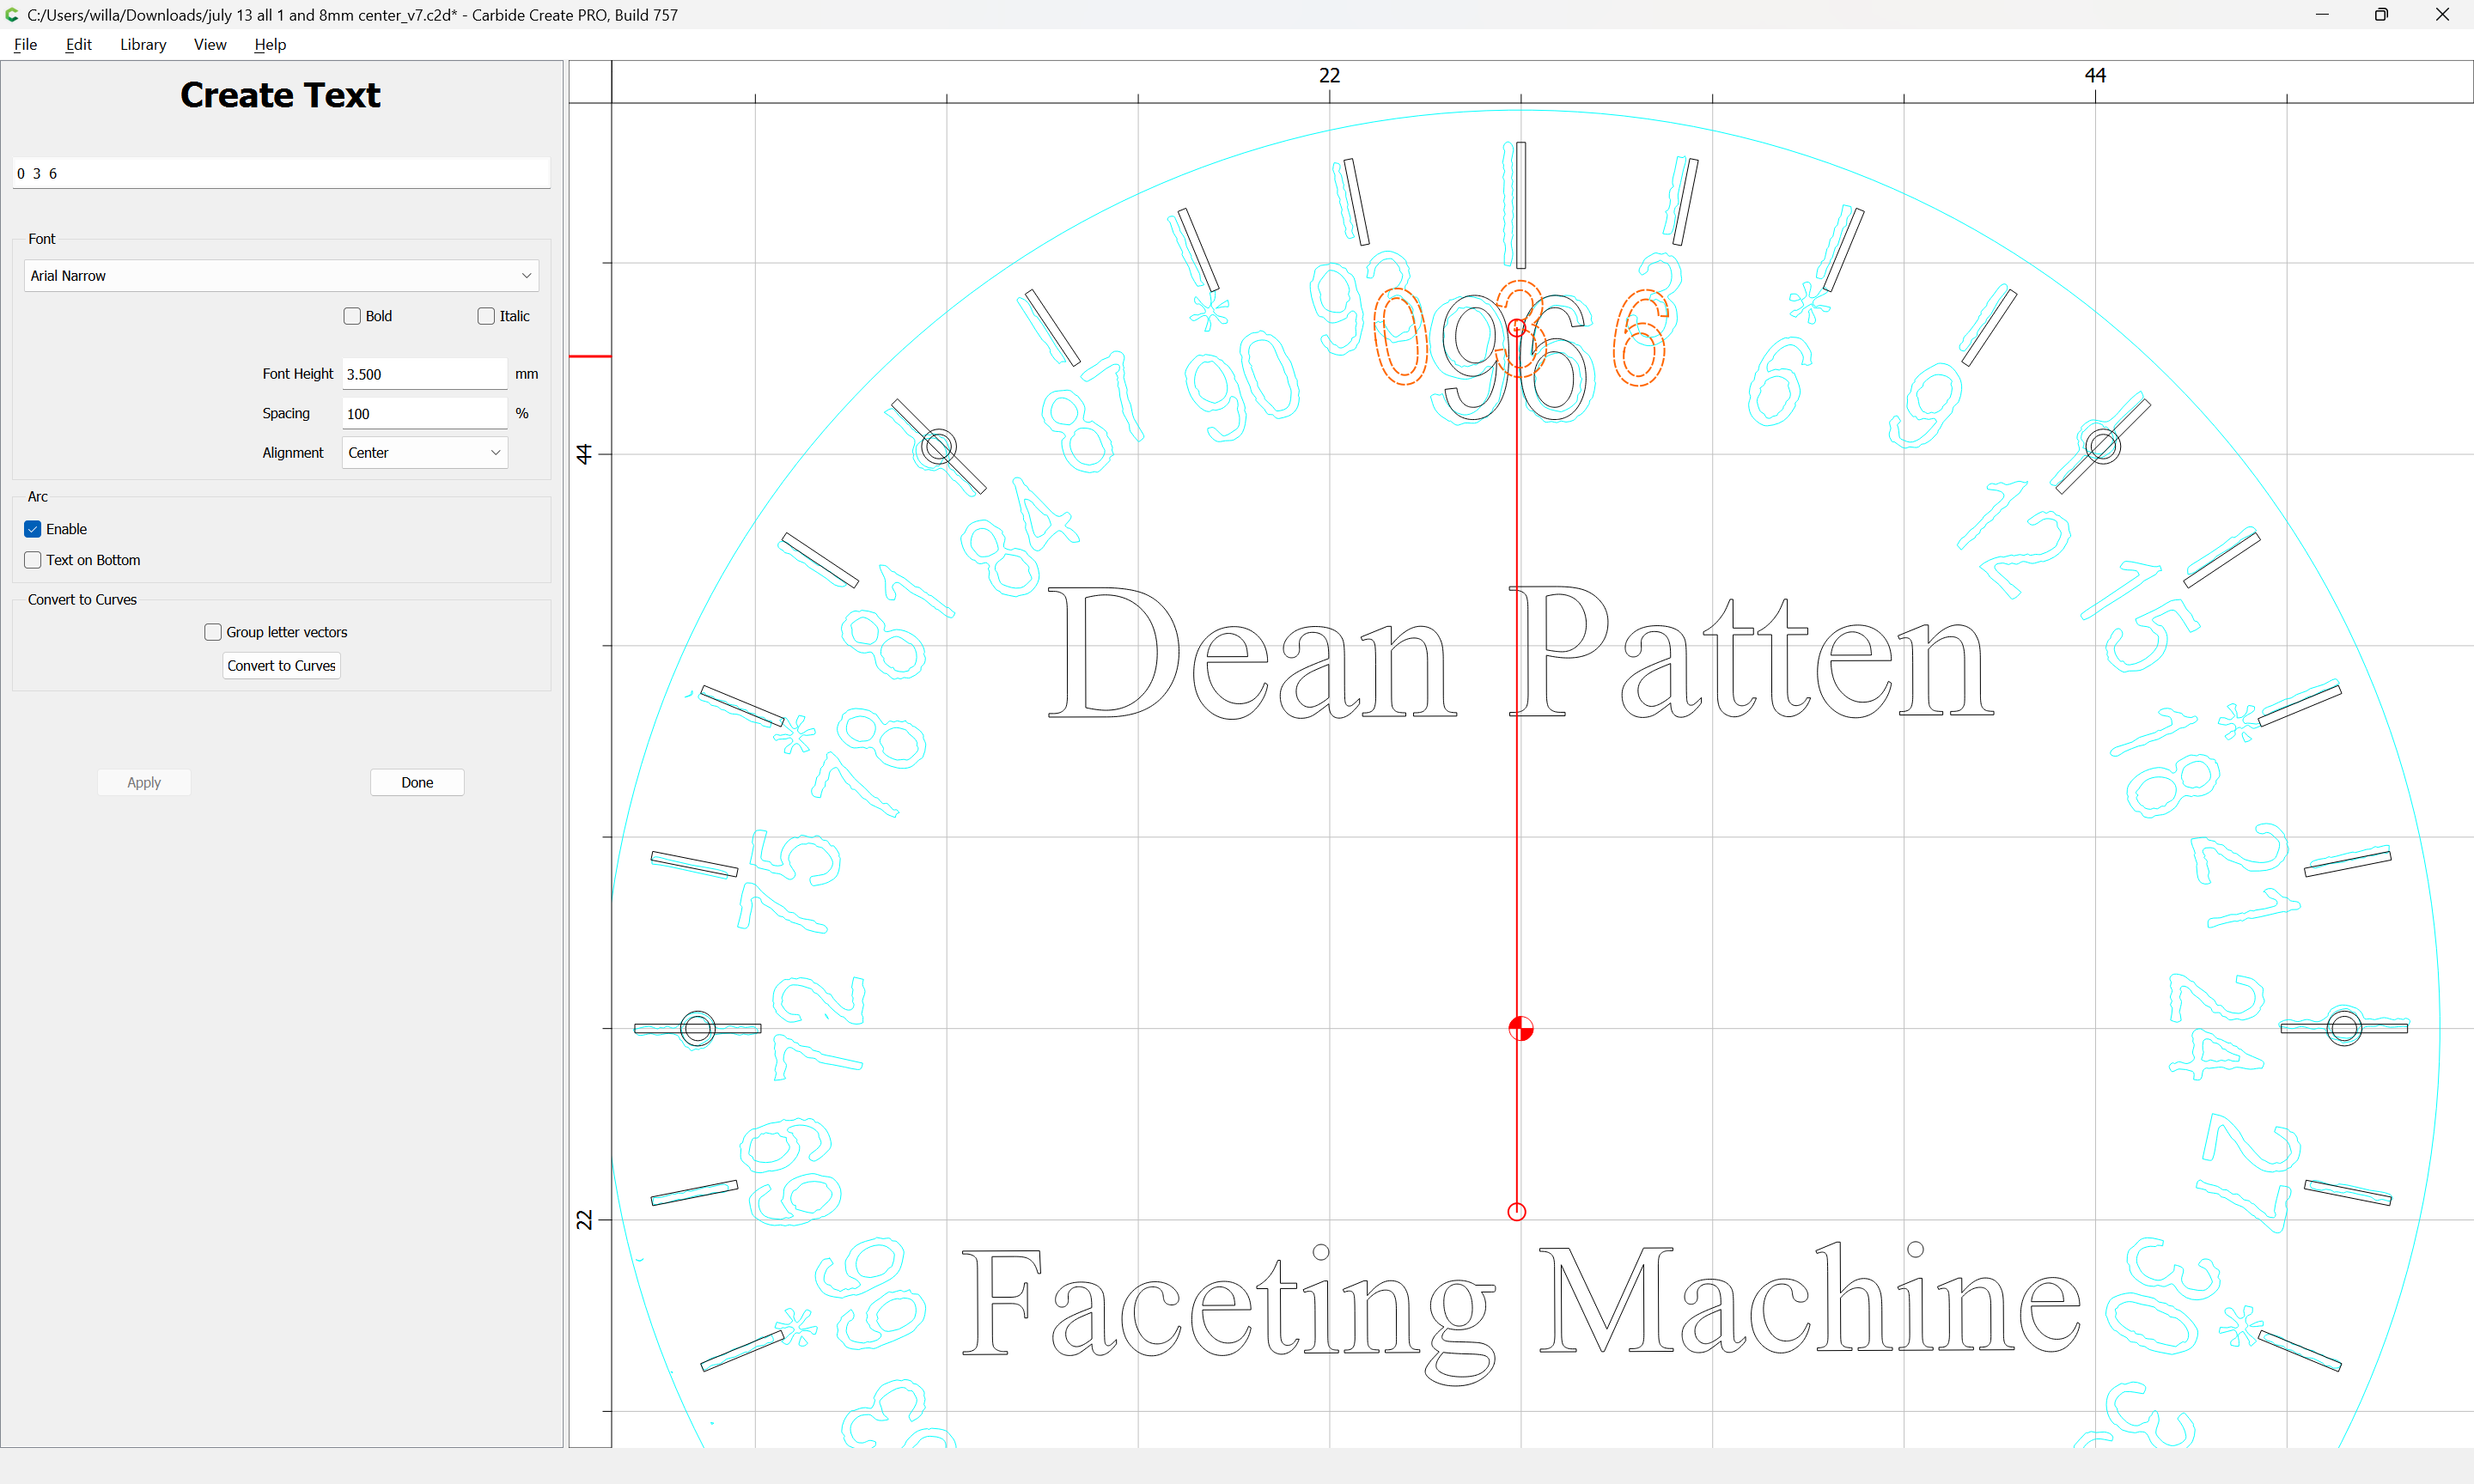
Then set the text:
It might be workable to use an arc:
but it’s more straight-forward to use Circular Array and reset each text once it’s in the correct position.
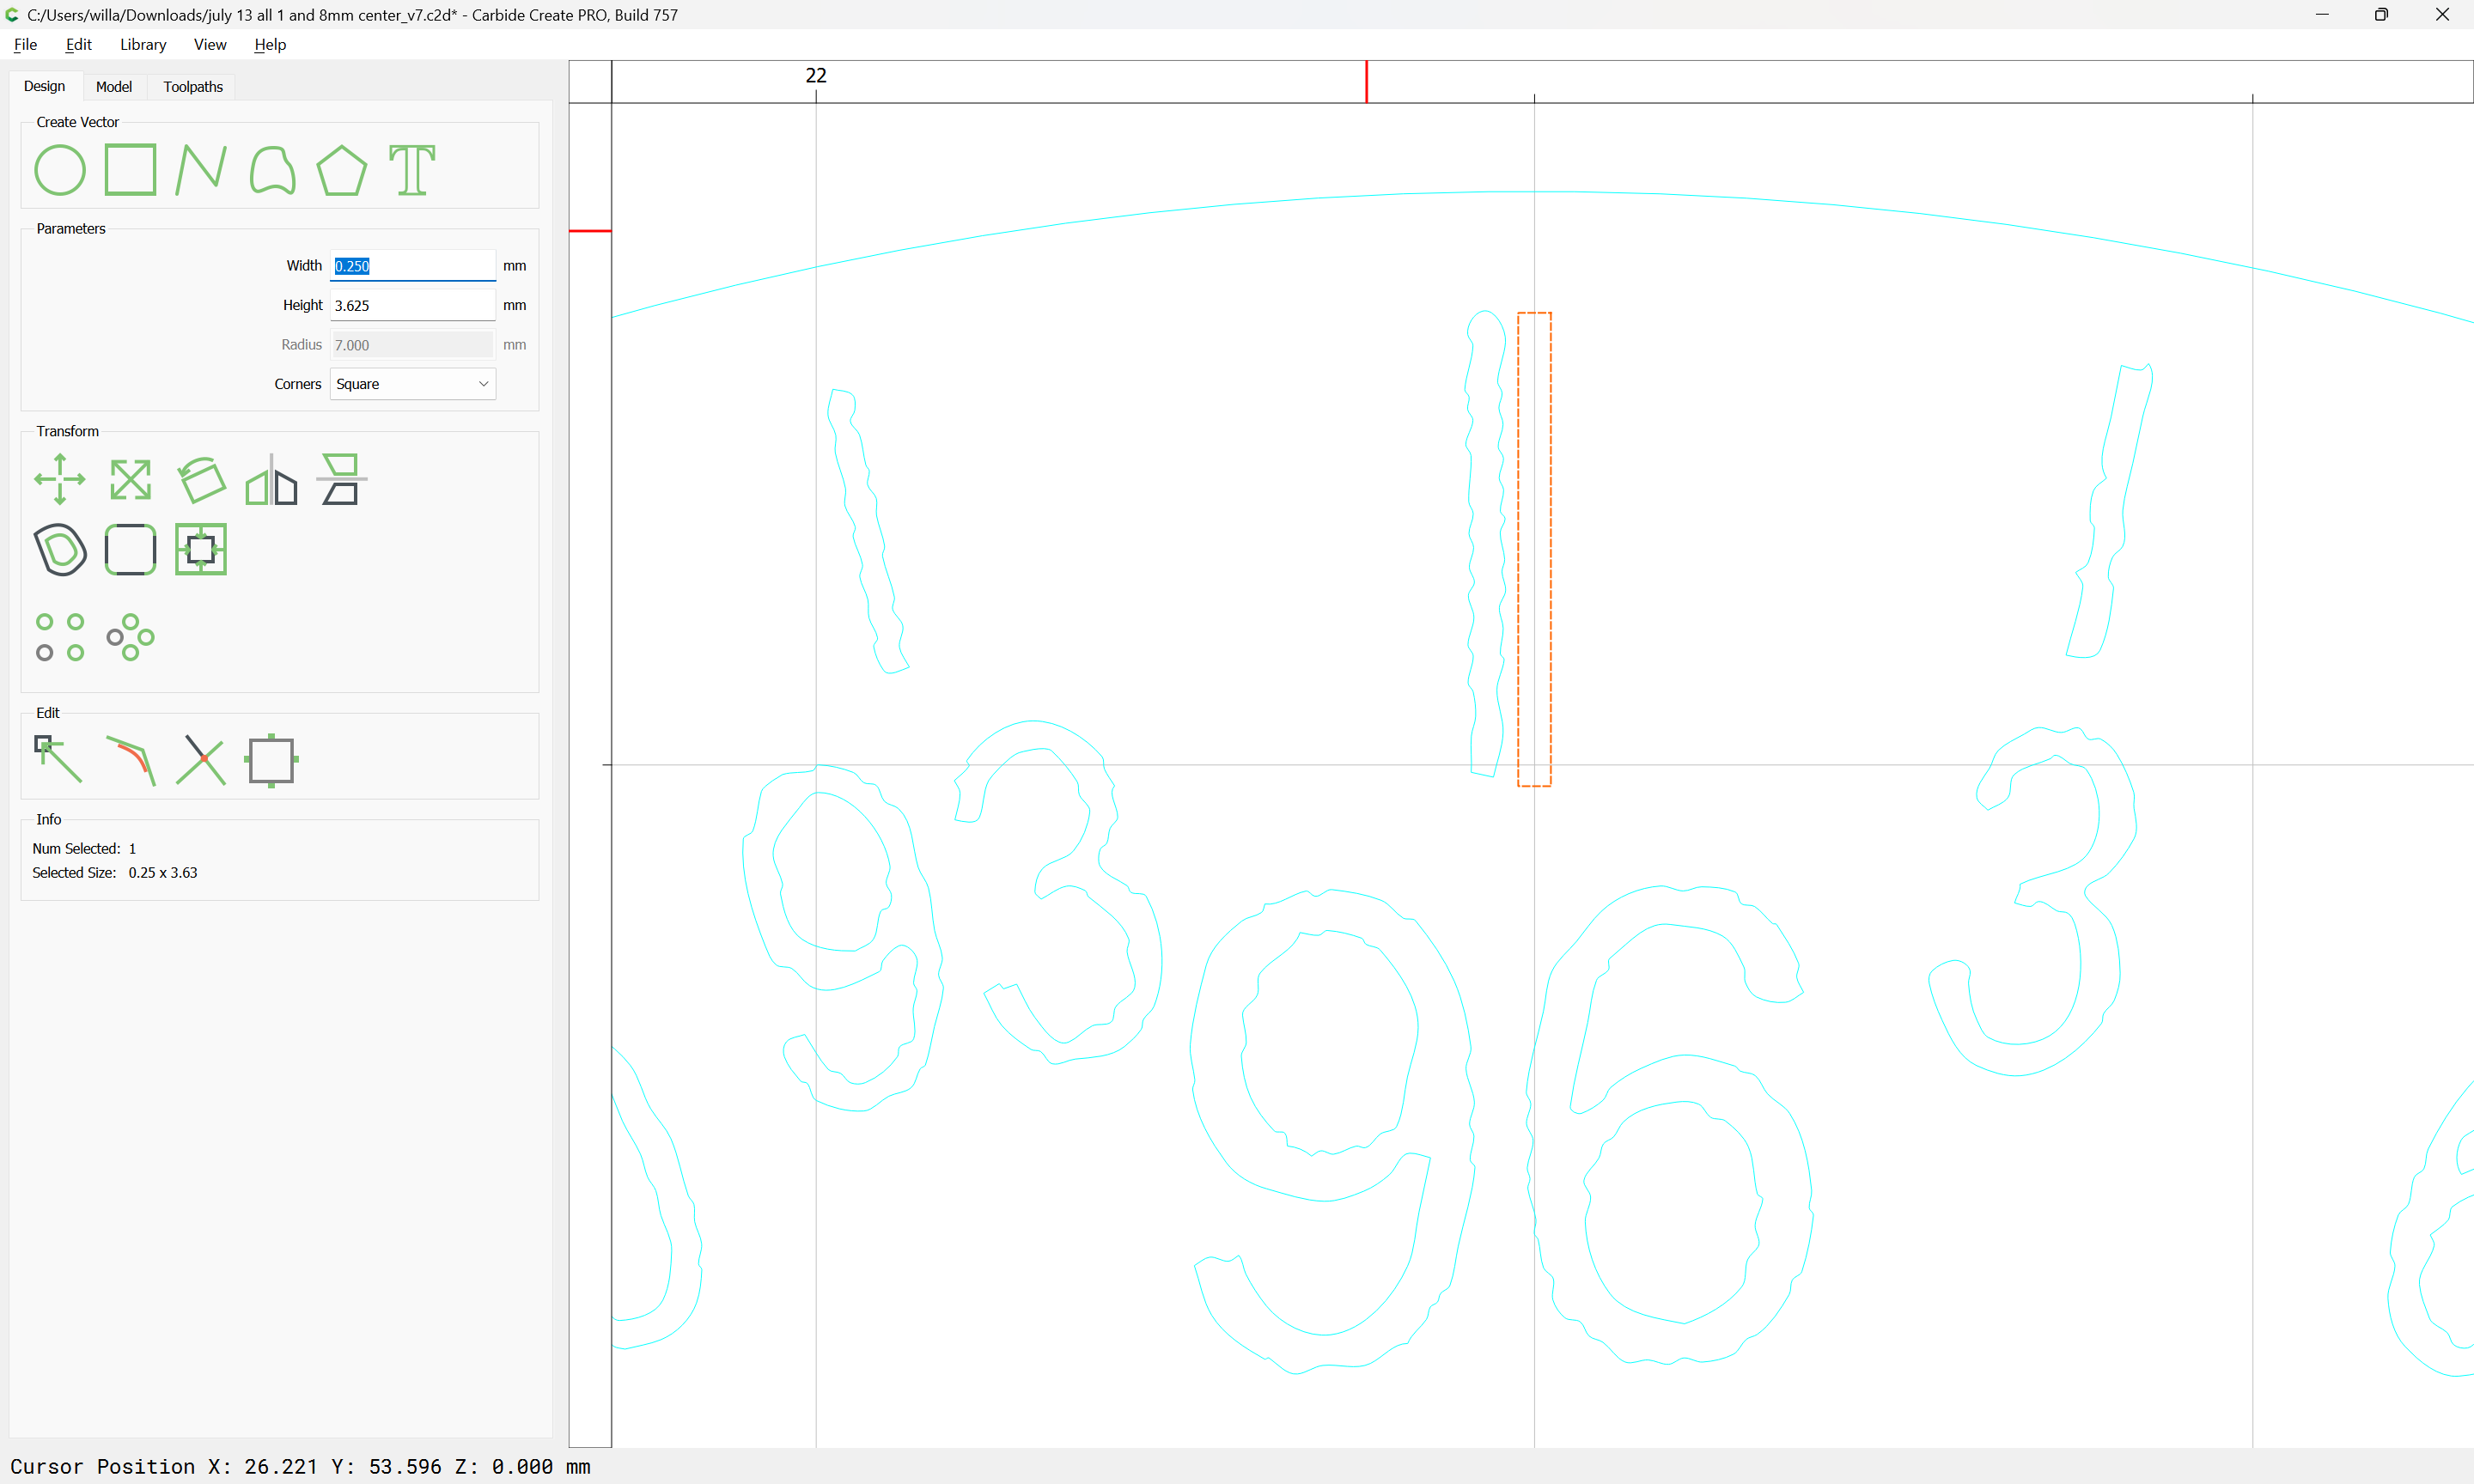
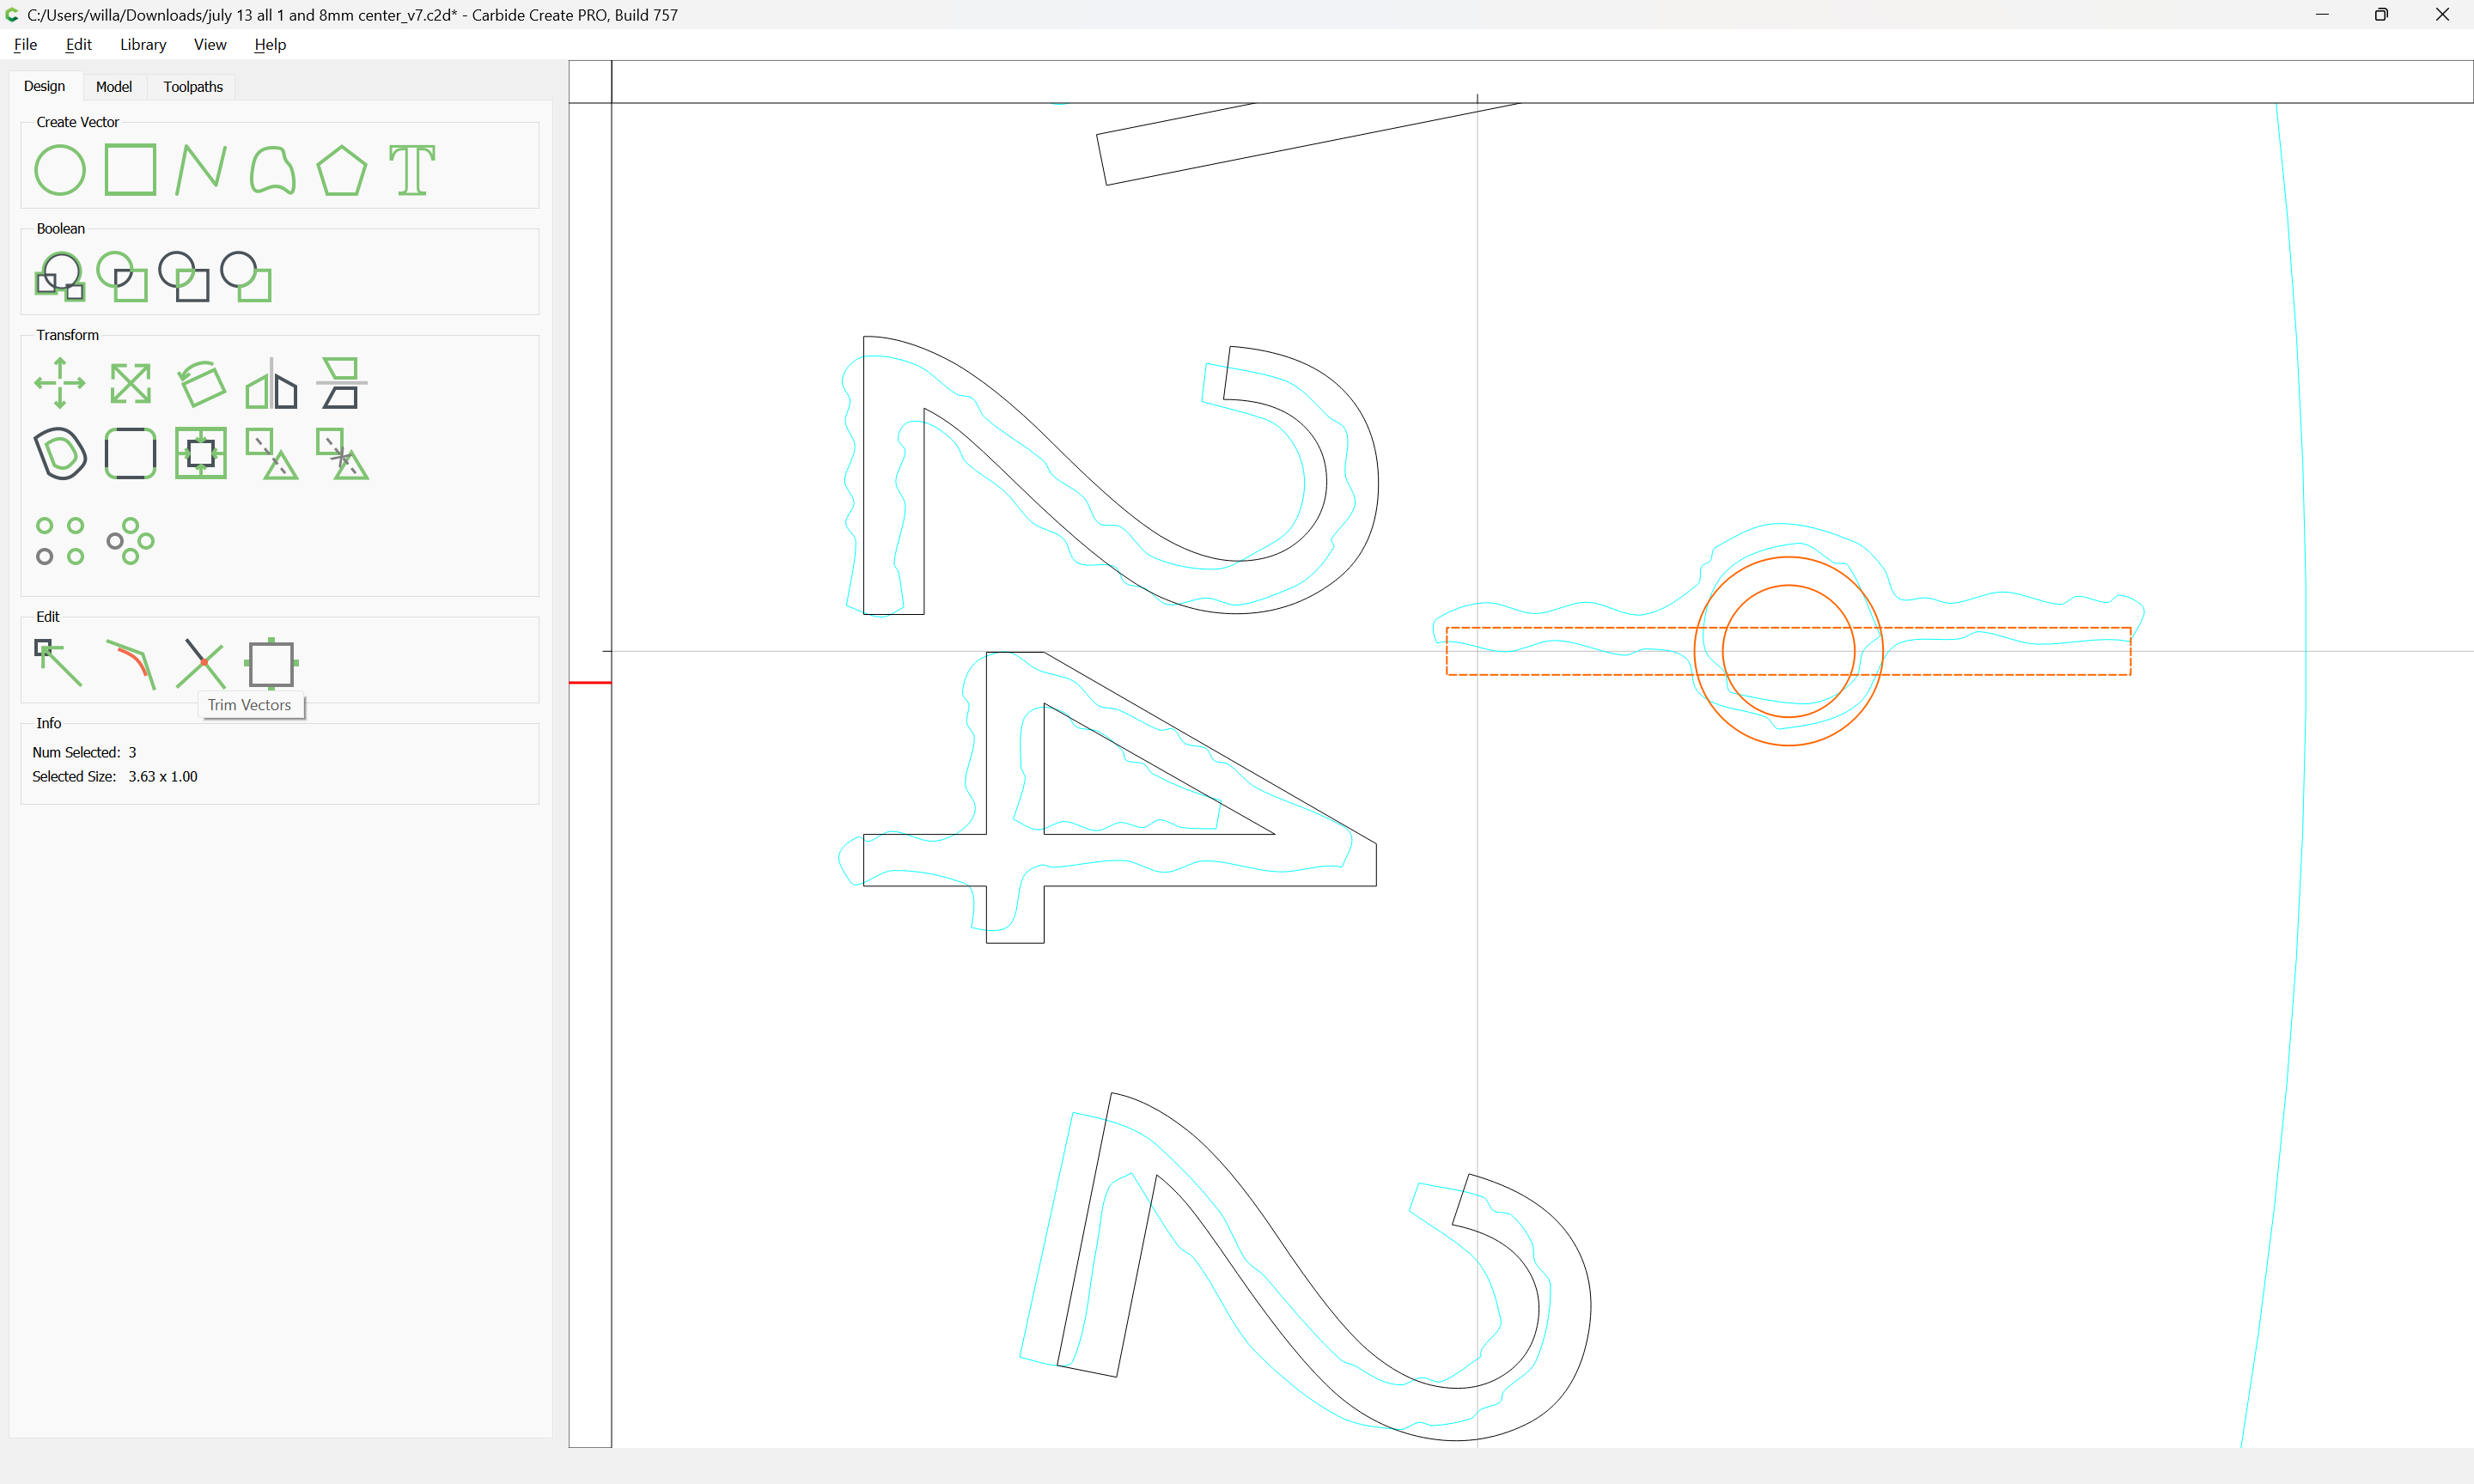
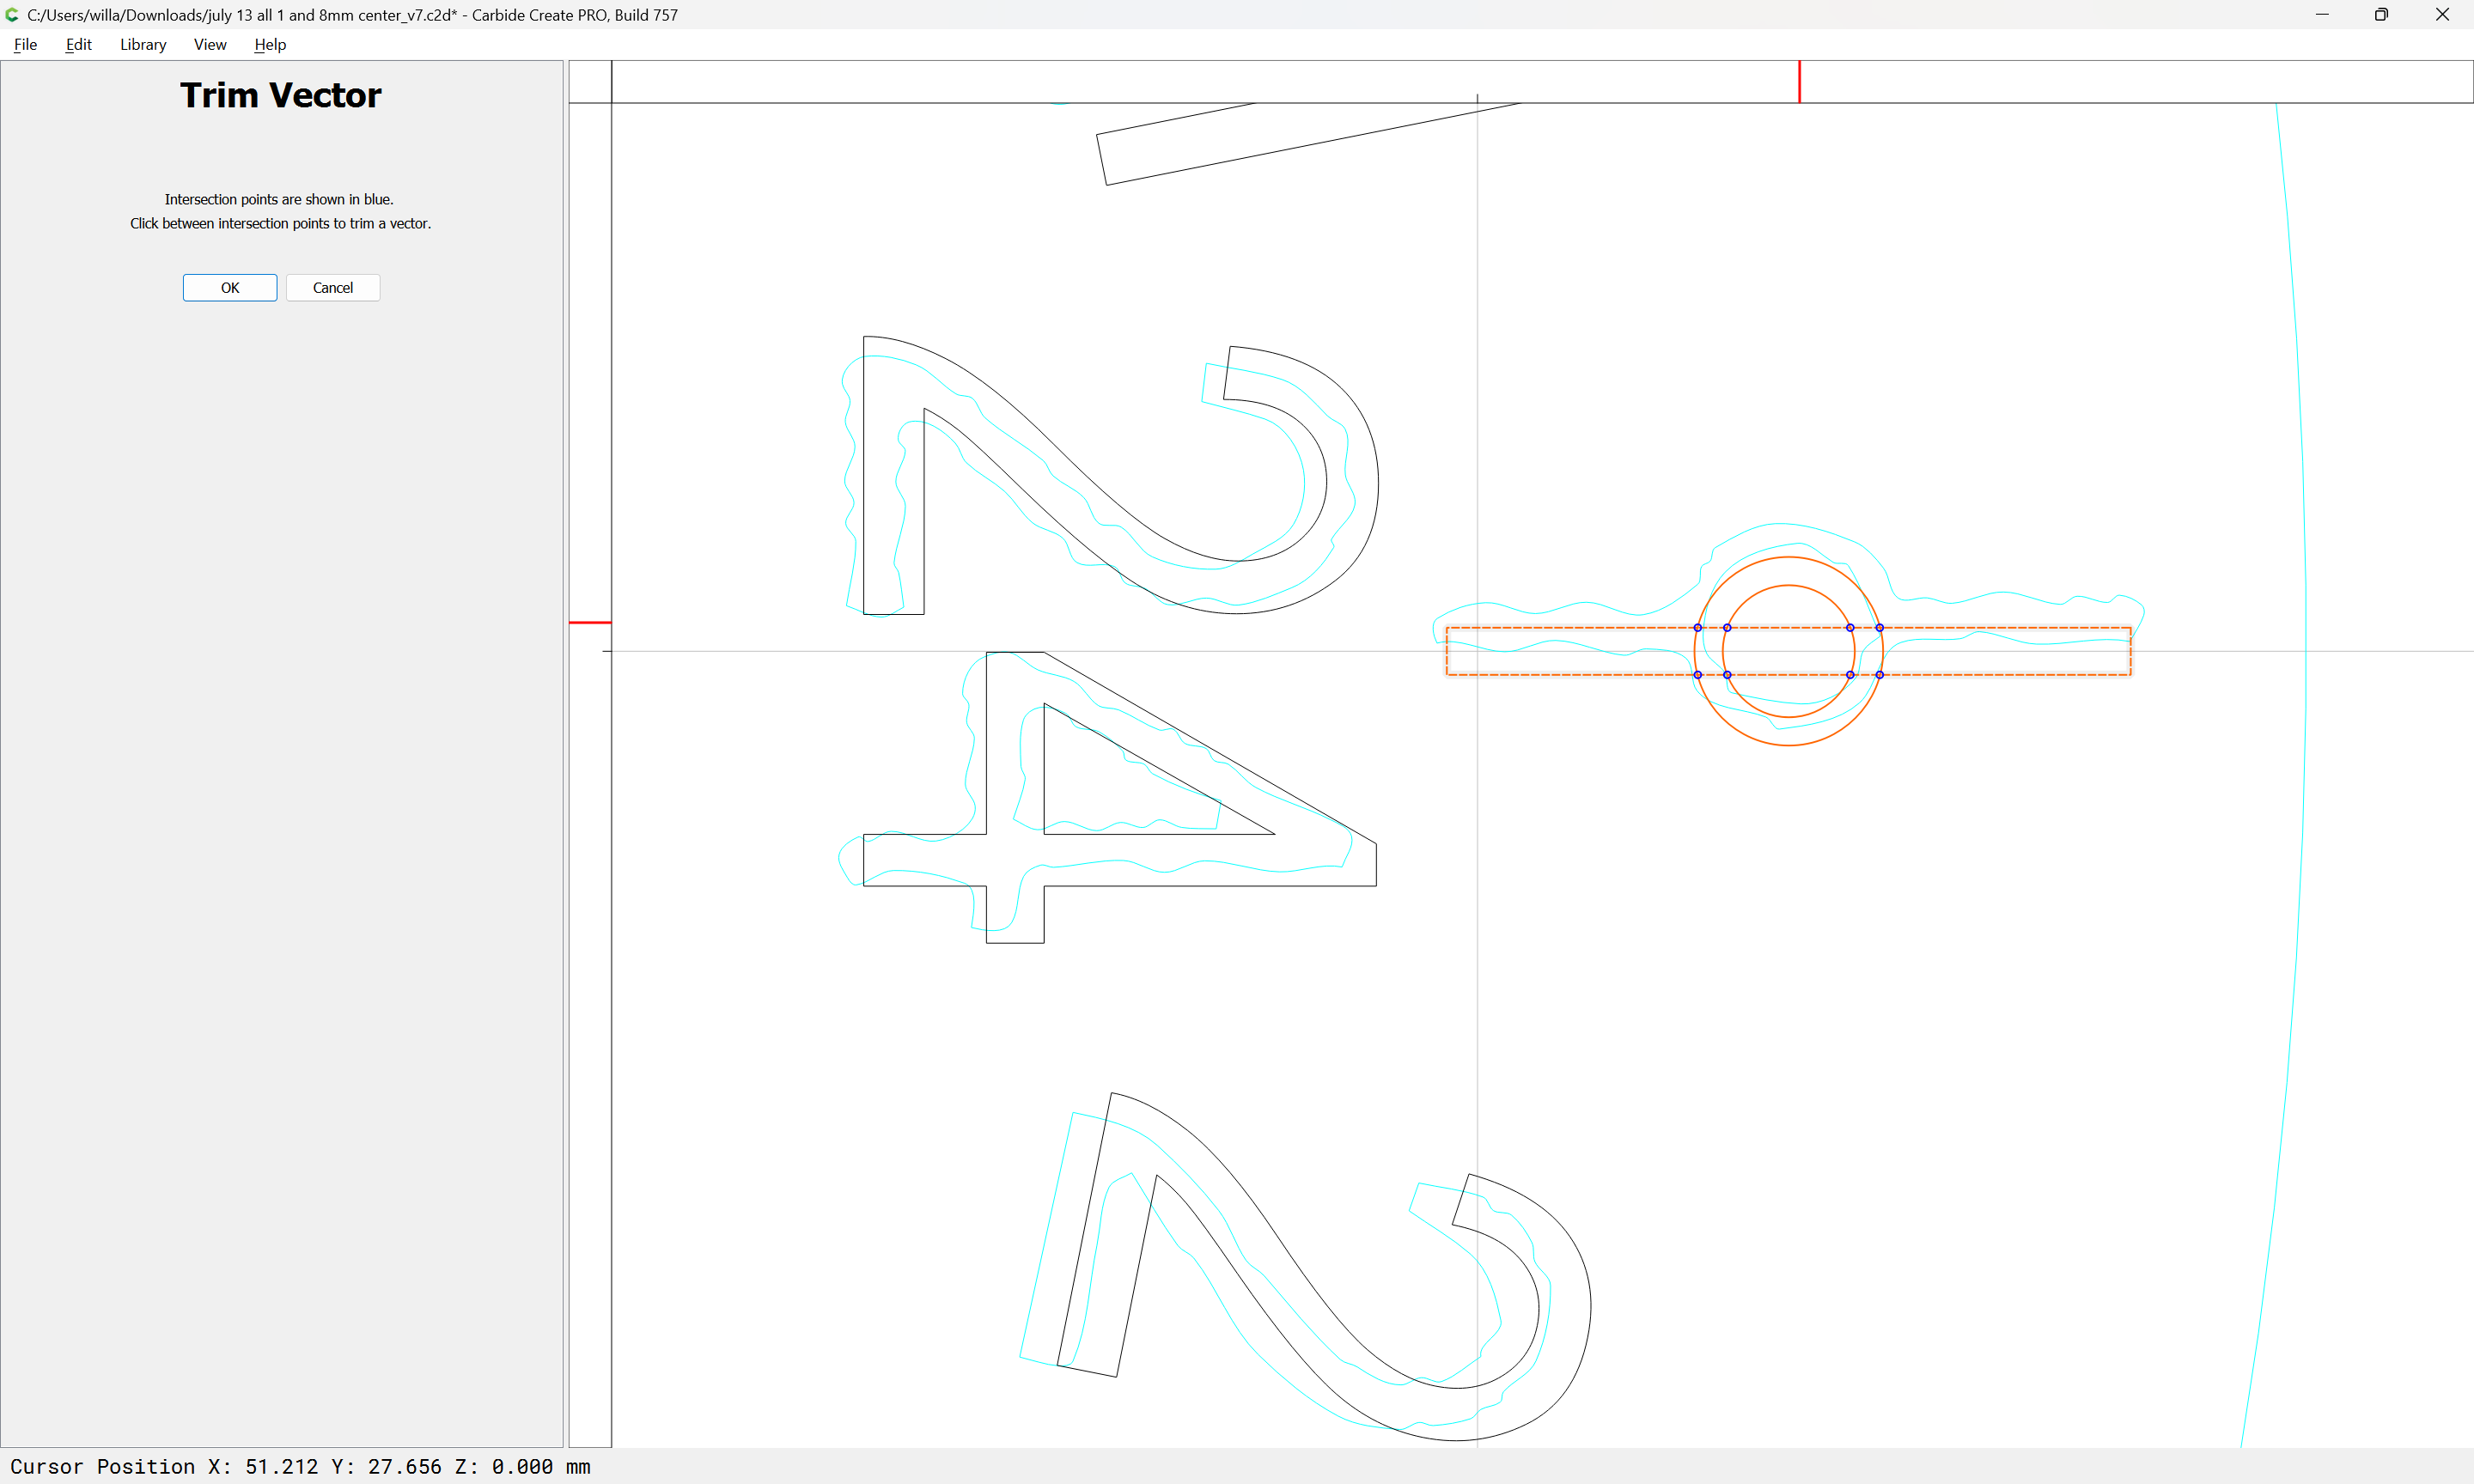
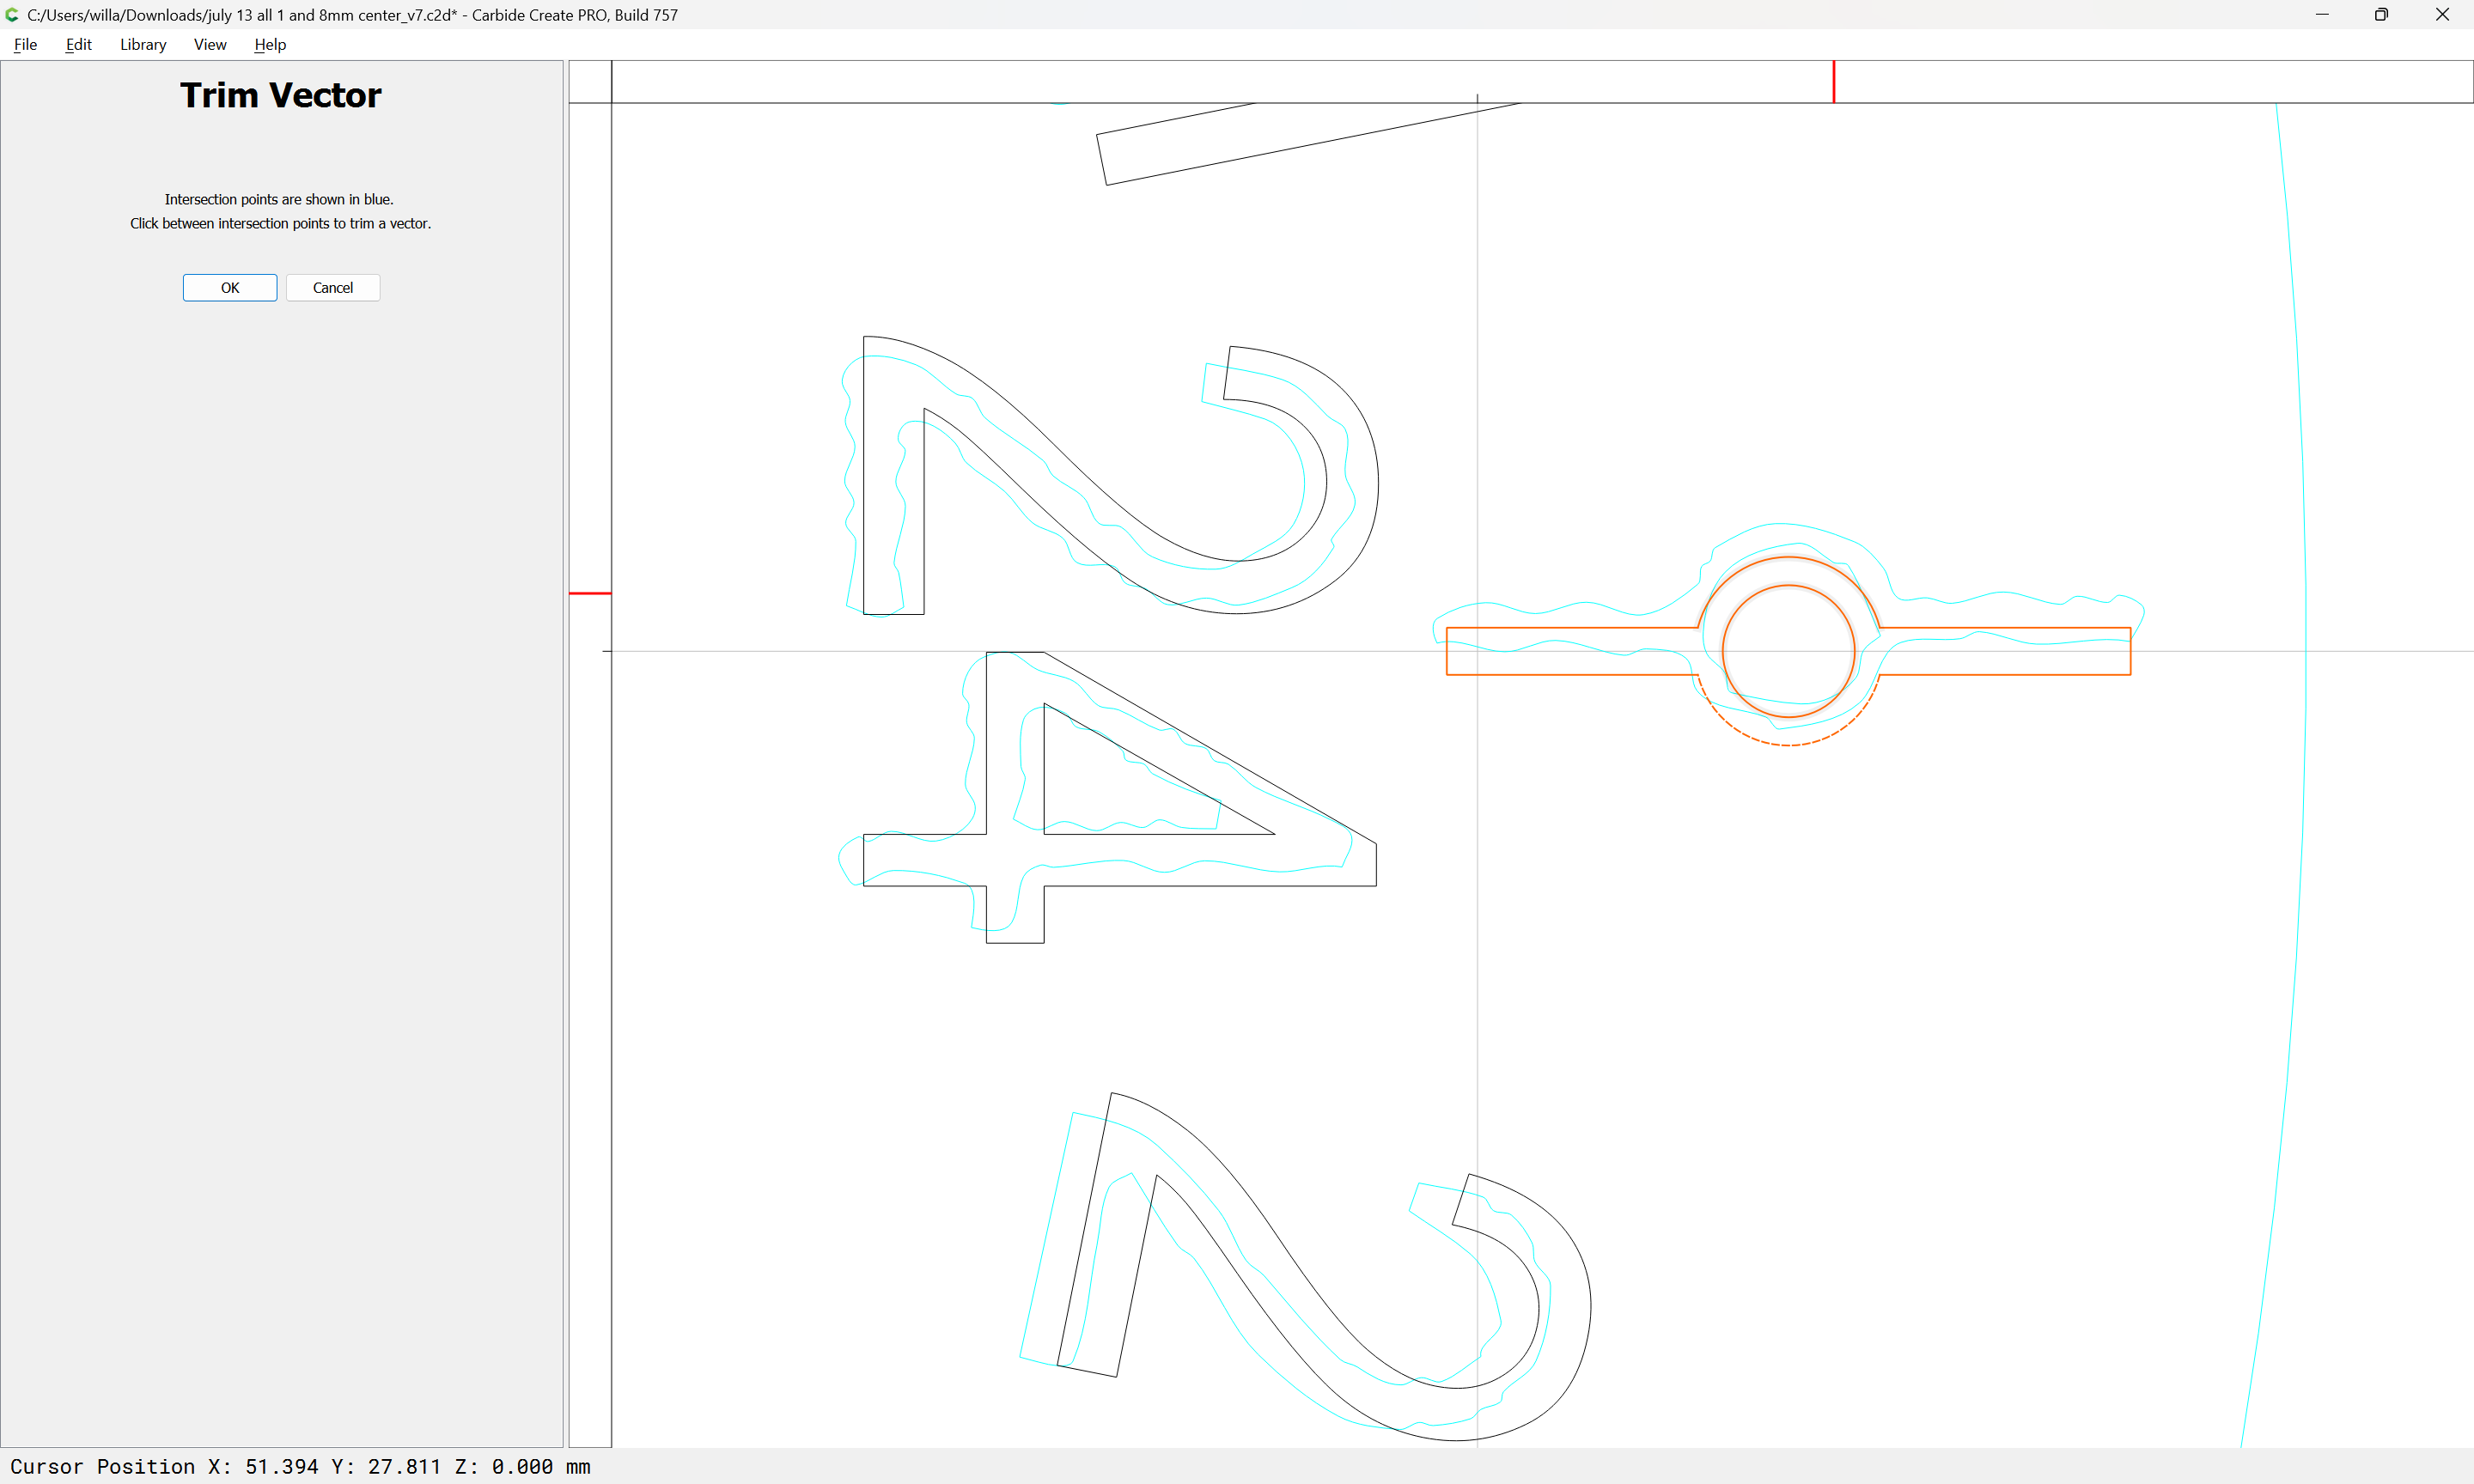
Use Trim Vectors to cut away the elements which are not needed:
OK
OK
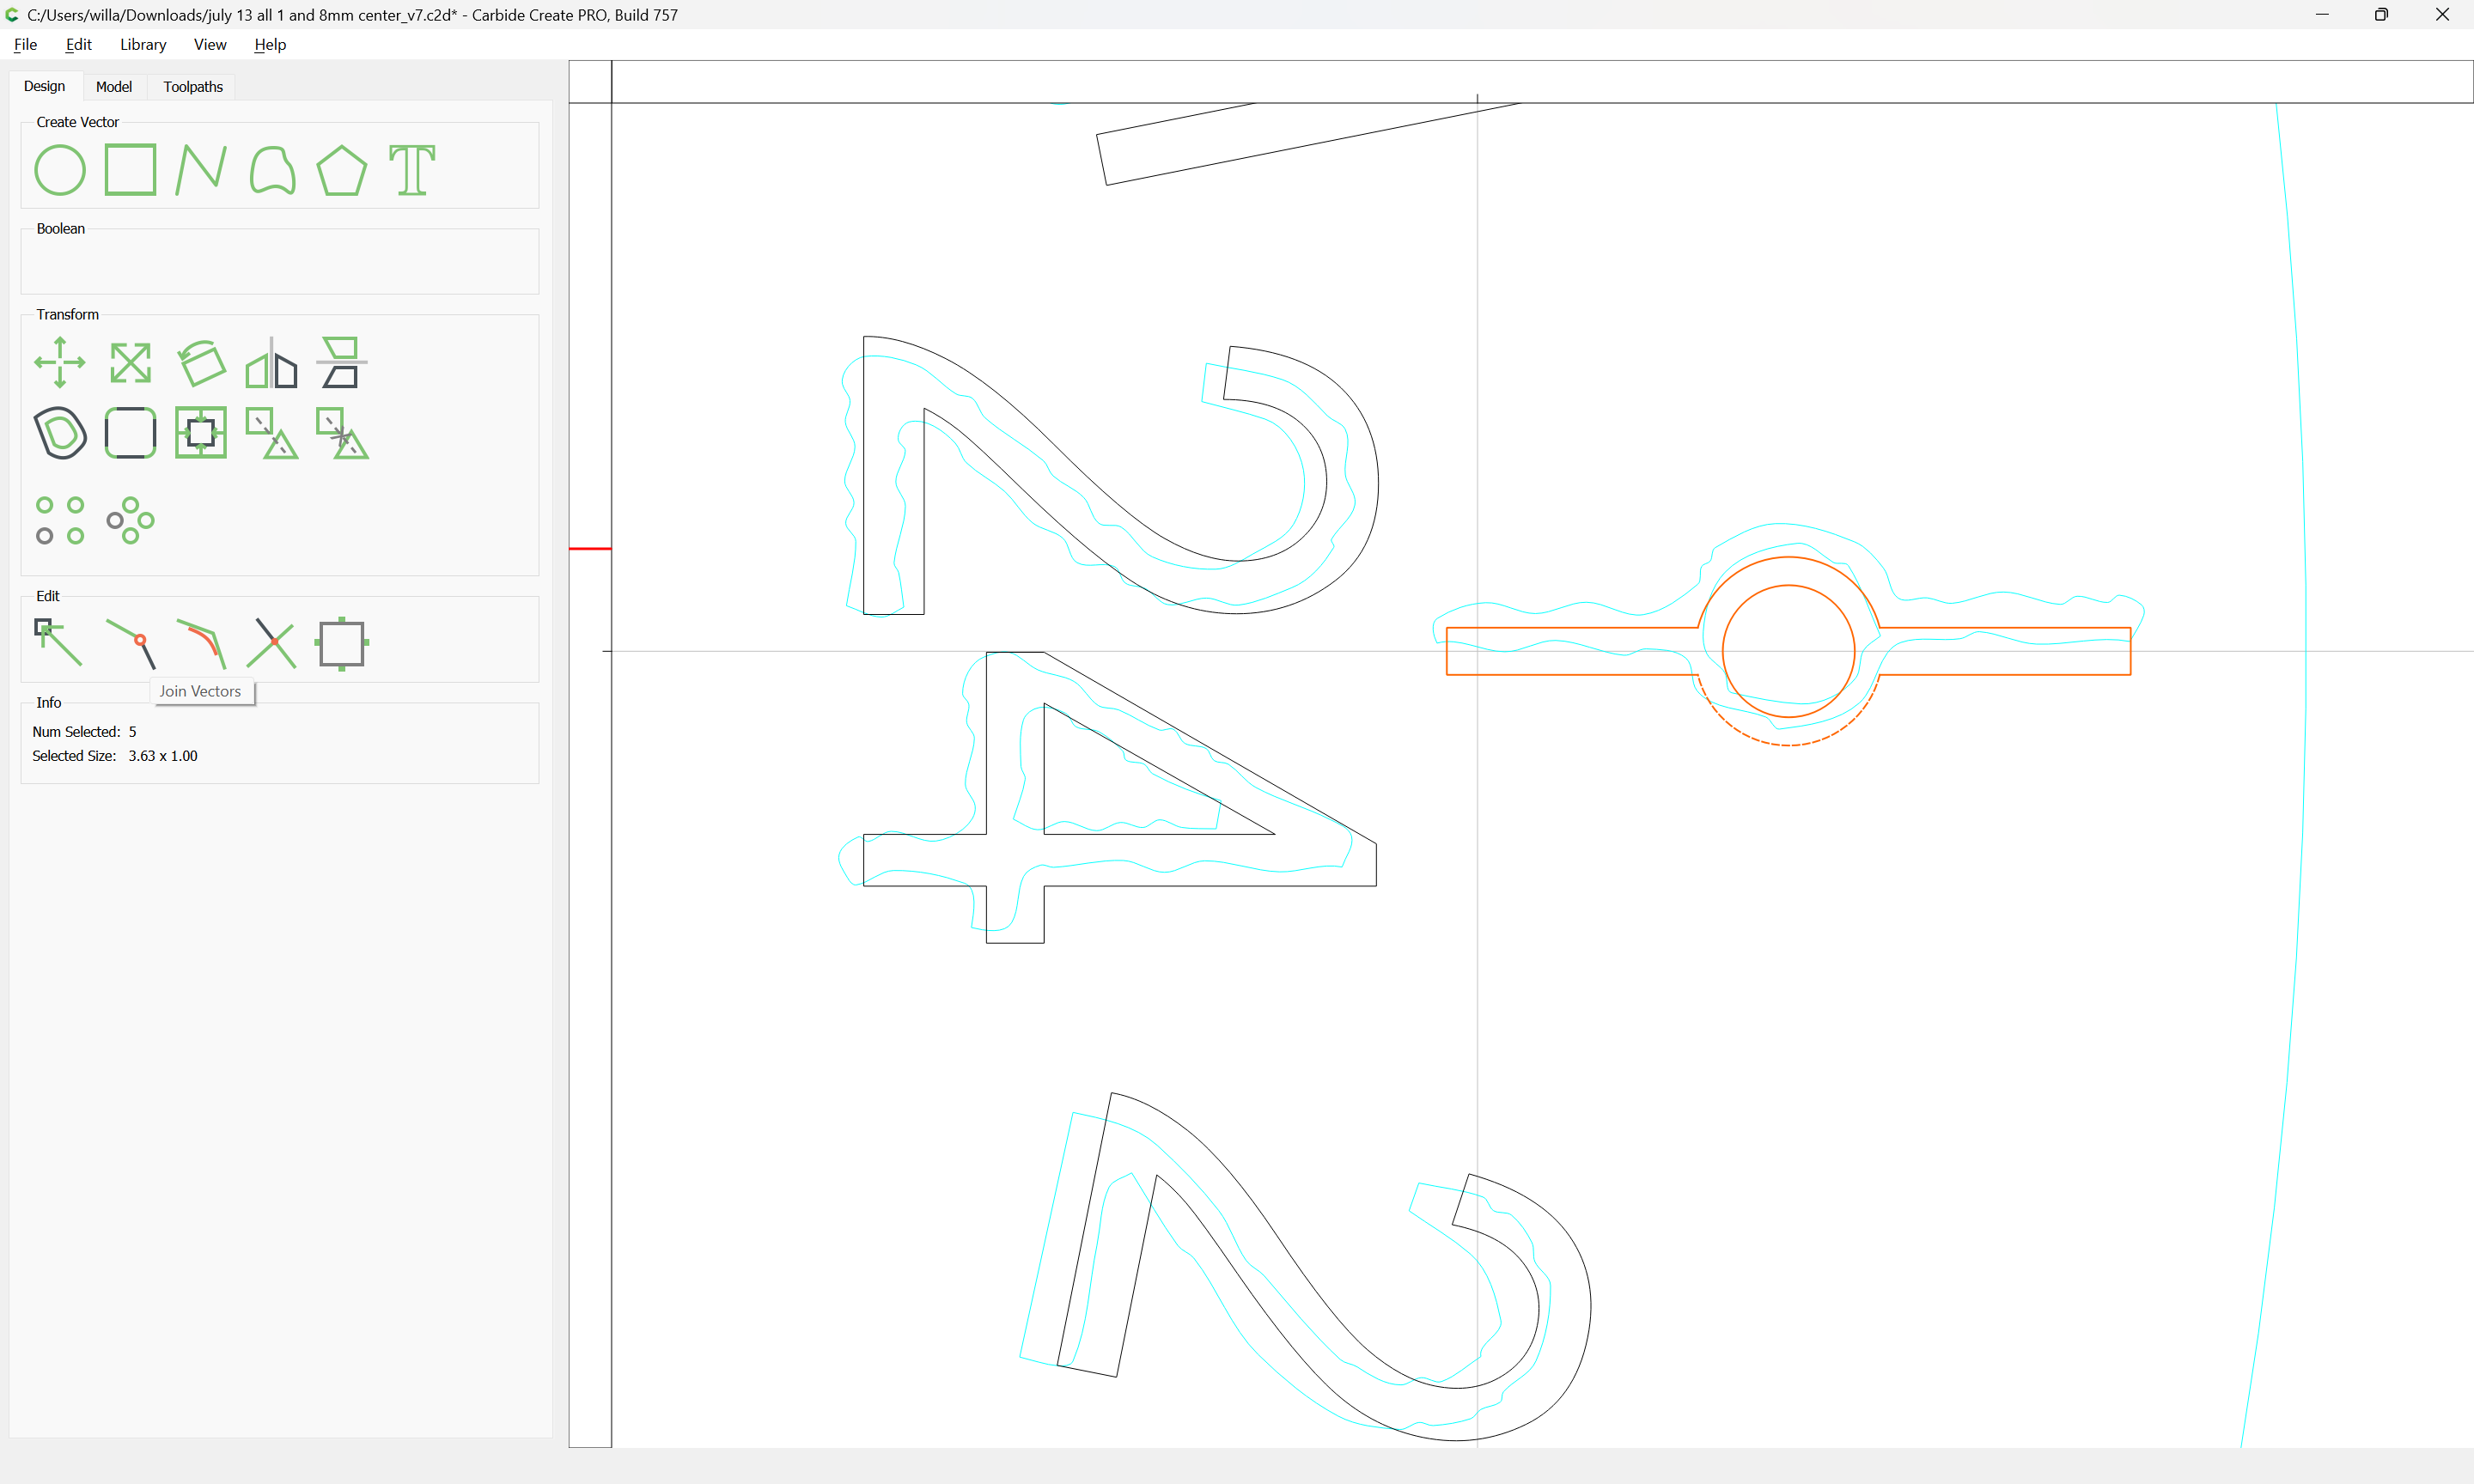
then use Join Vectors to close things:
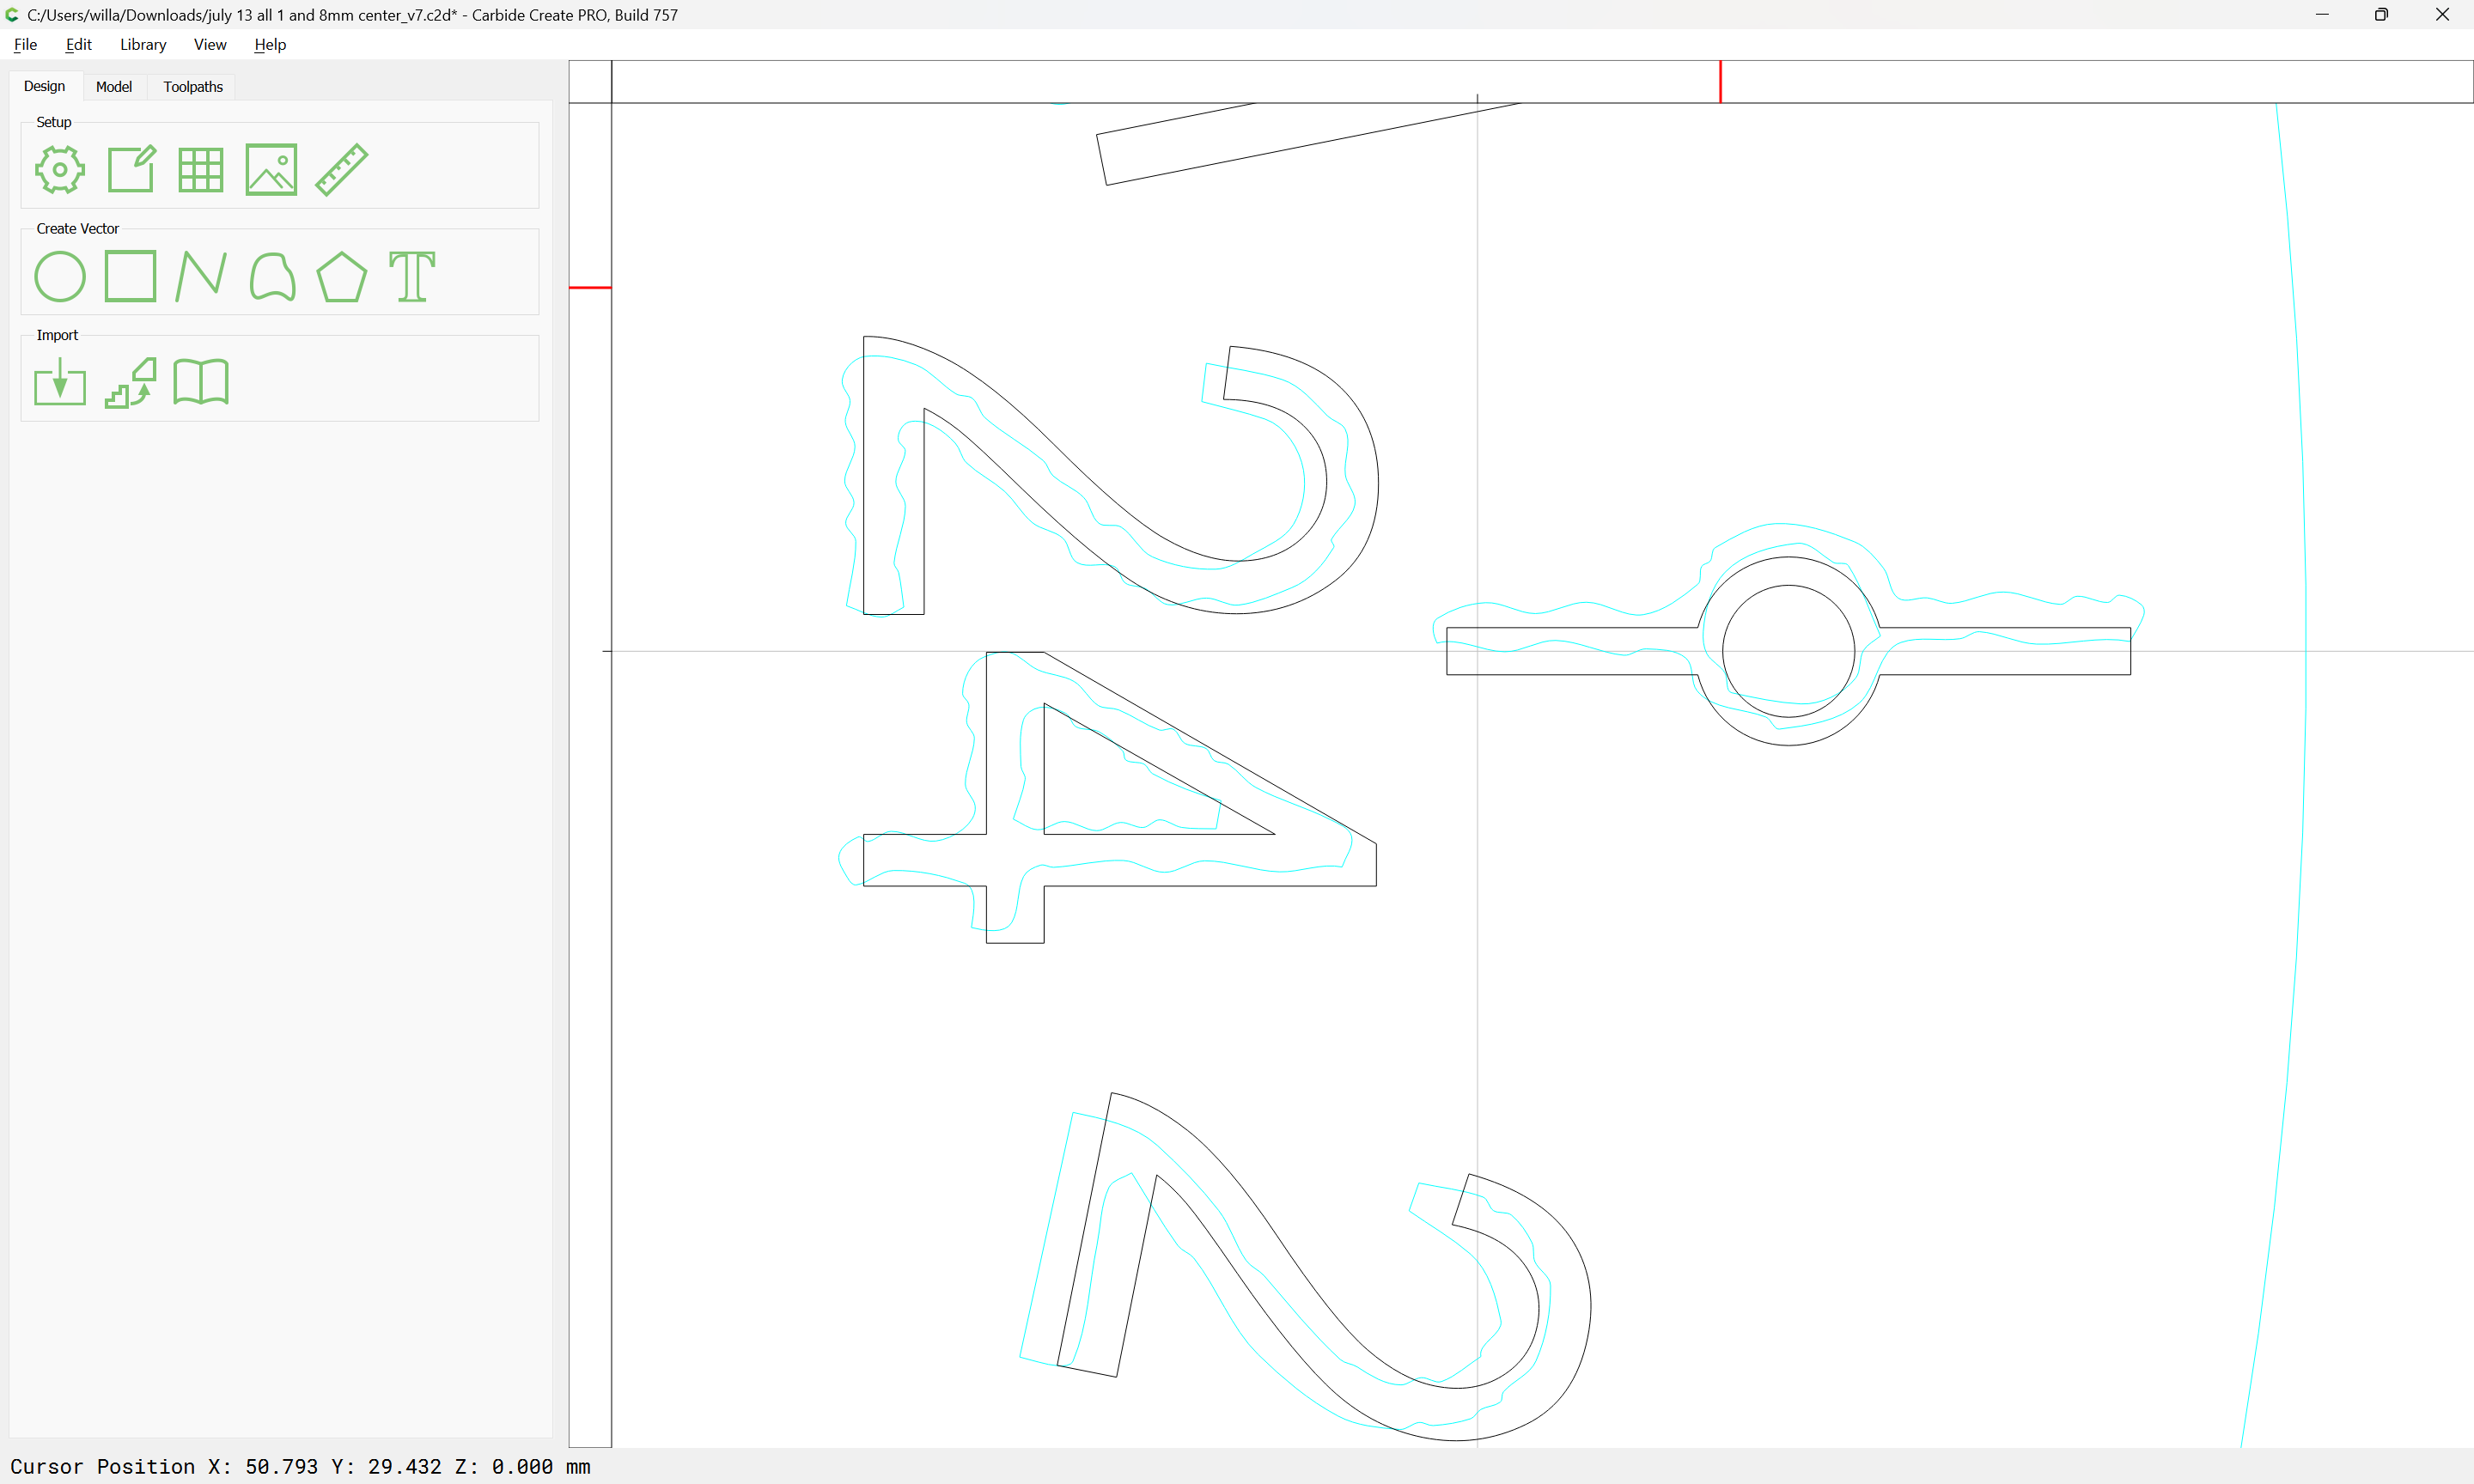
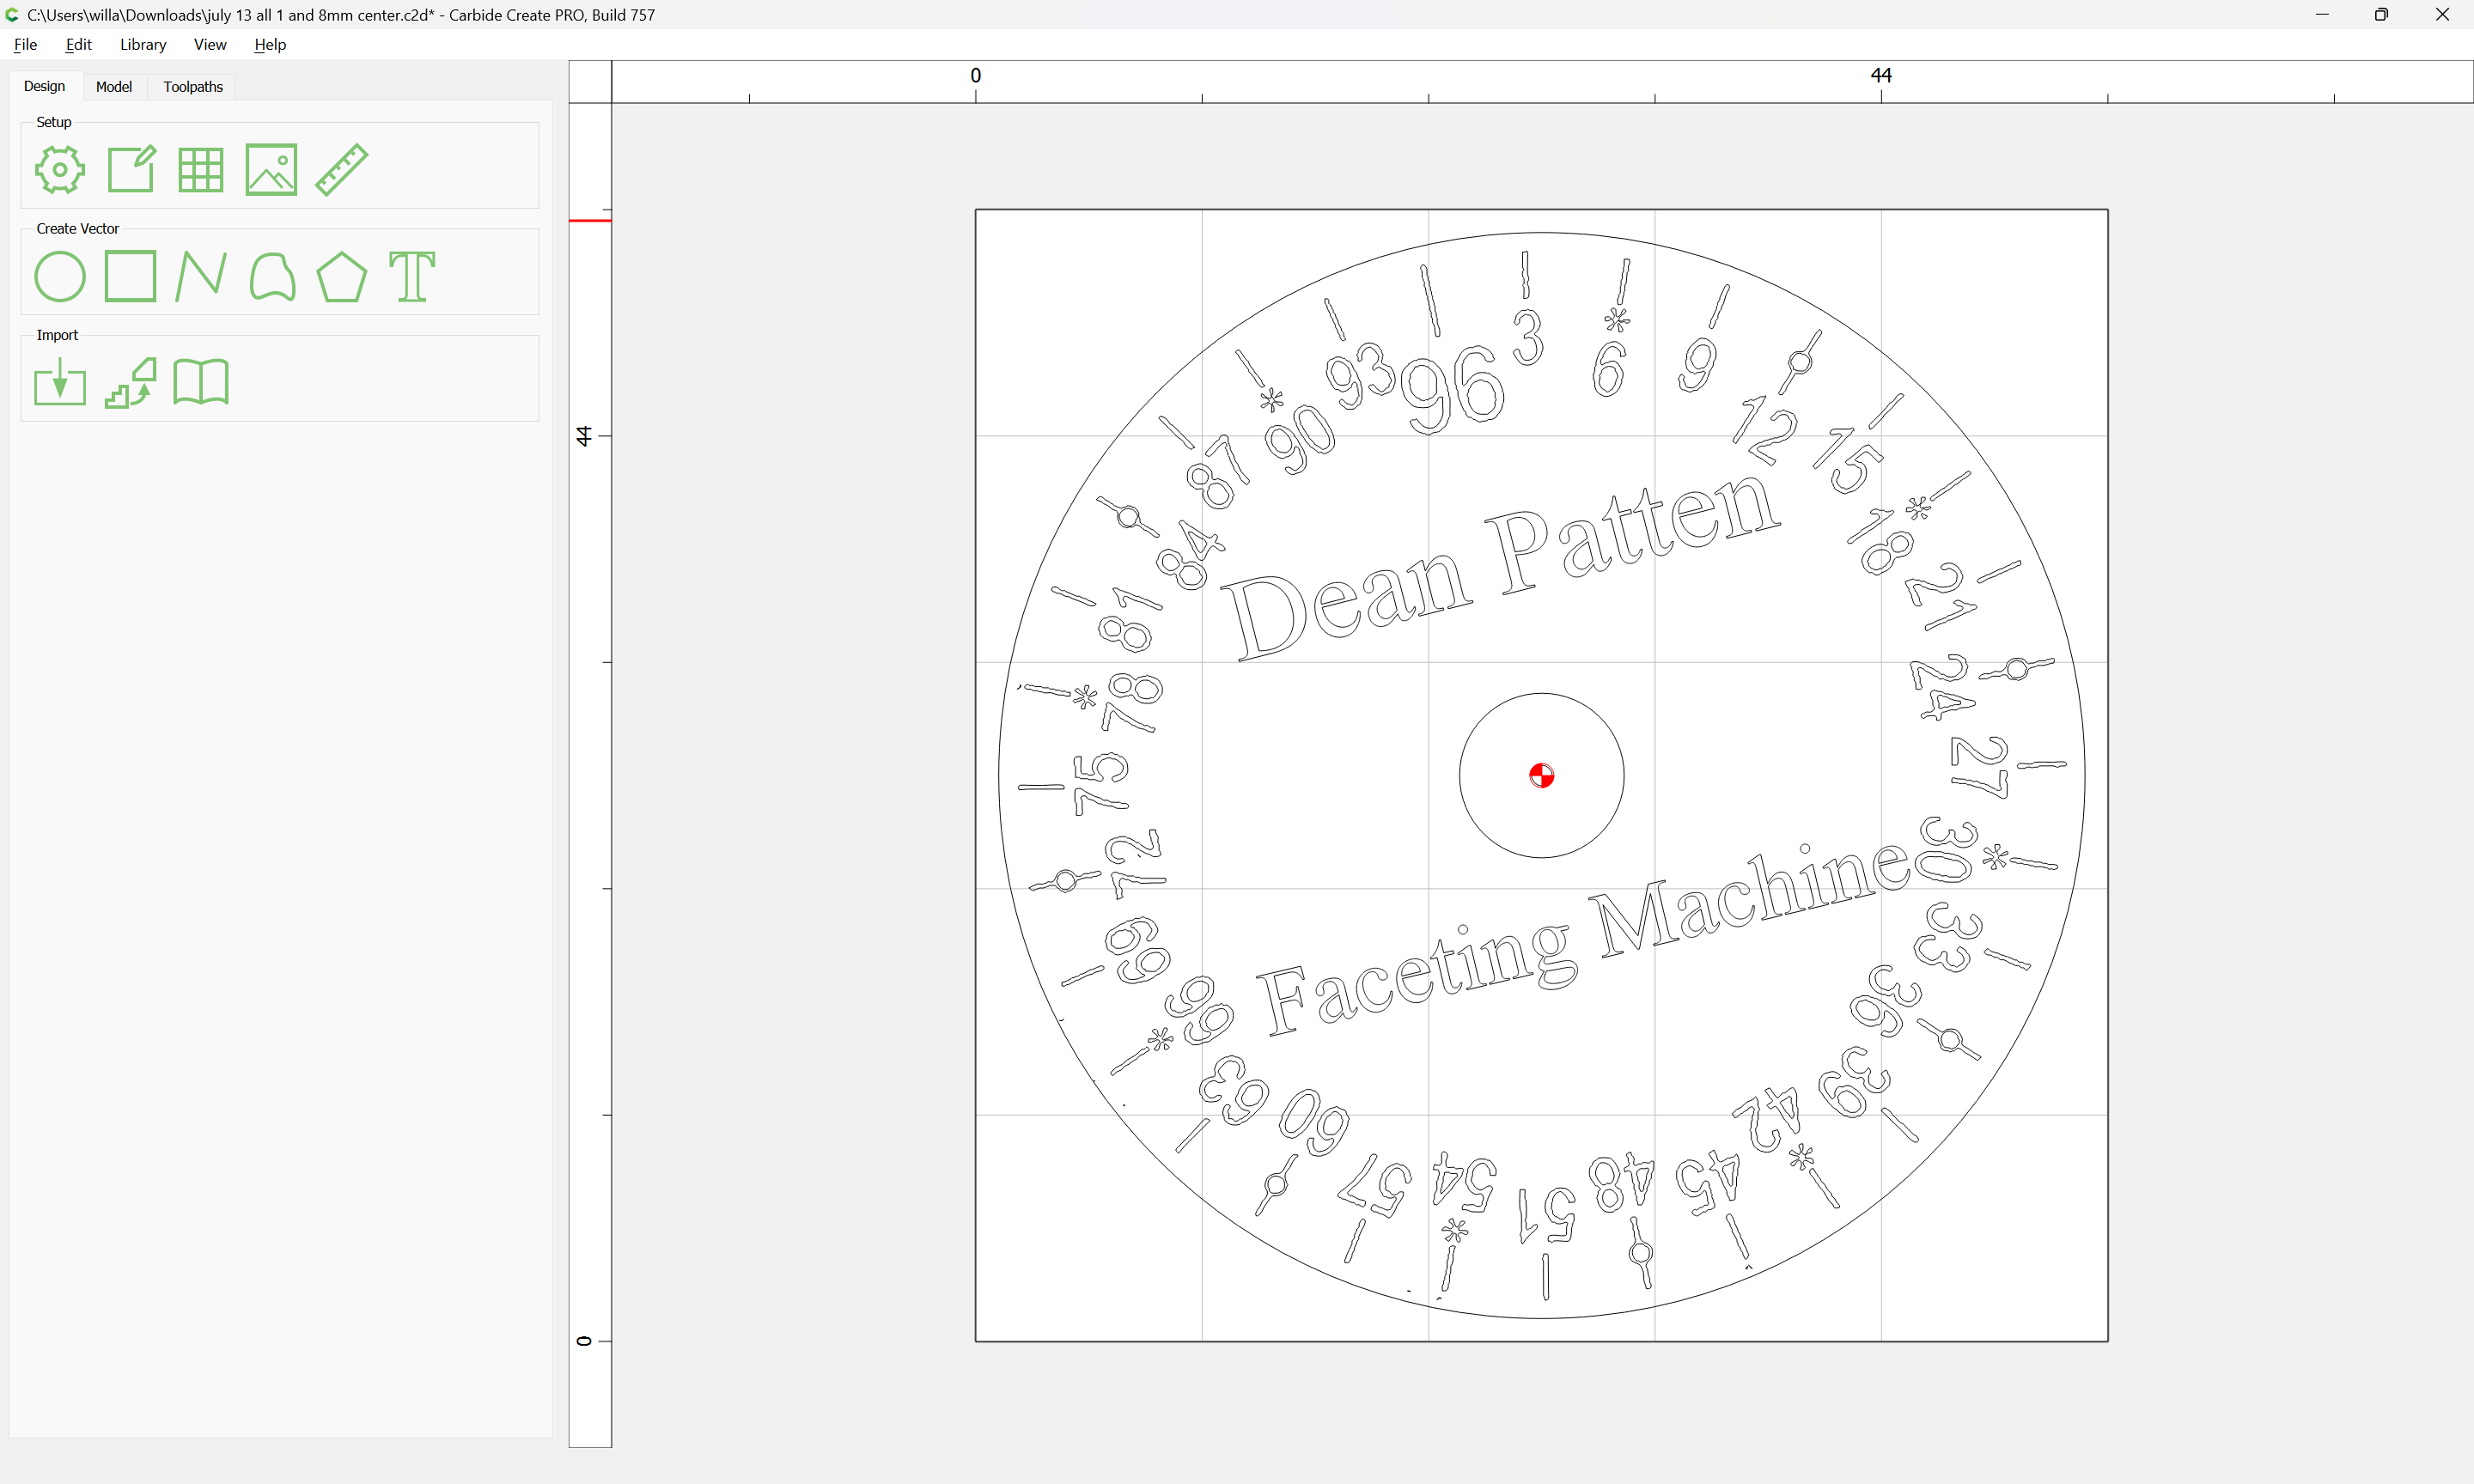
Repeat for all other such elements to arrive at:
One issue here is that the font being used, Arial Narrow, has a different asterisk than the actual font (probably Helvetica Narrow, because of course, such trivial changes were necessary for the changeling which Microsoft arranged to have created rather than doing business with a company which had sued them for trademark infringement over the “Tms Rmn” and “Helv” font aliases).
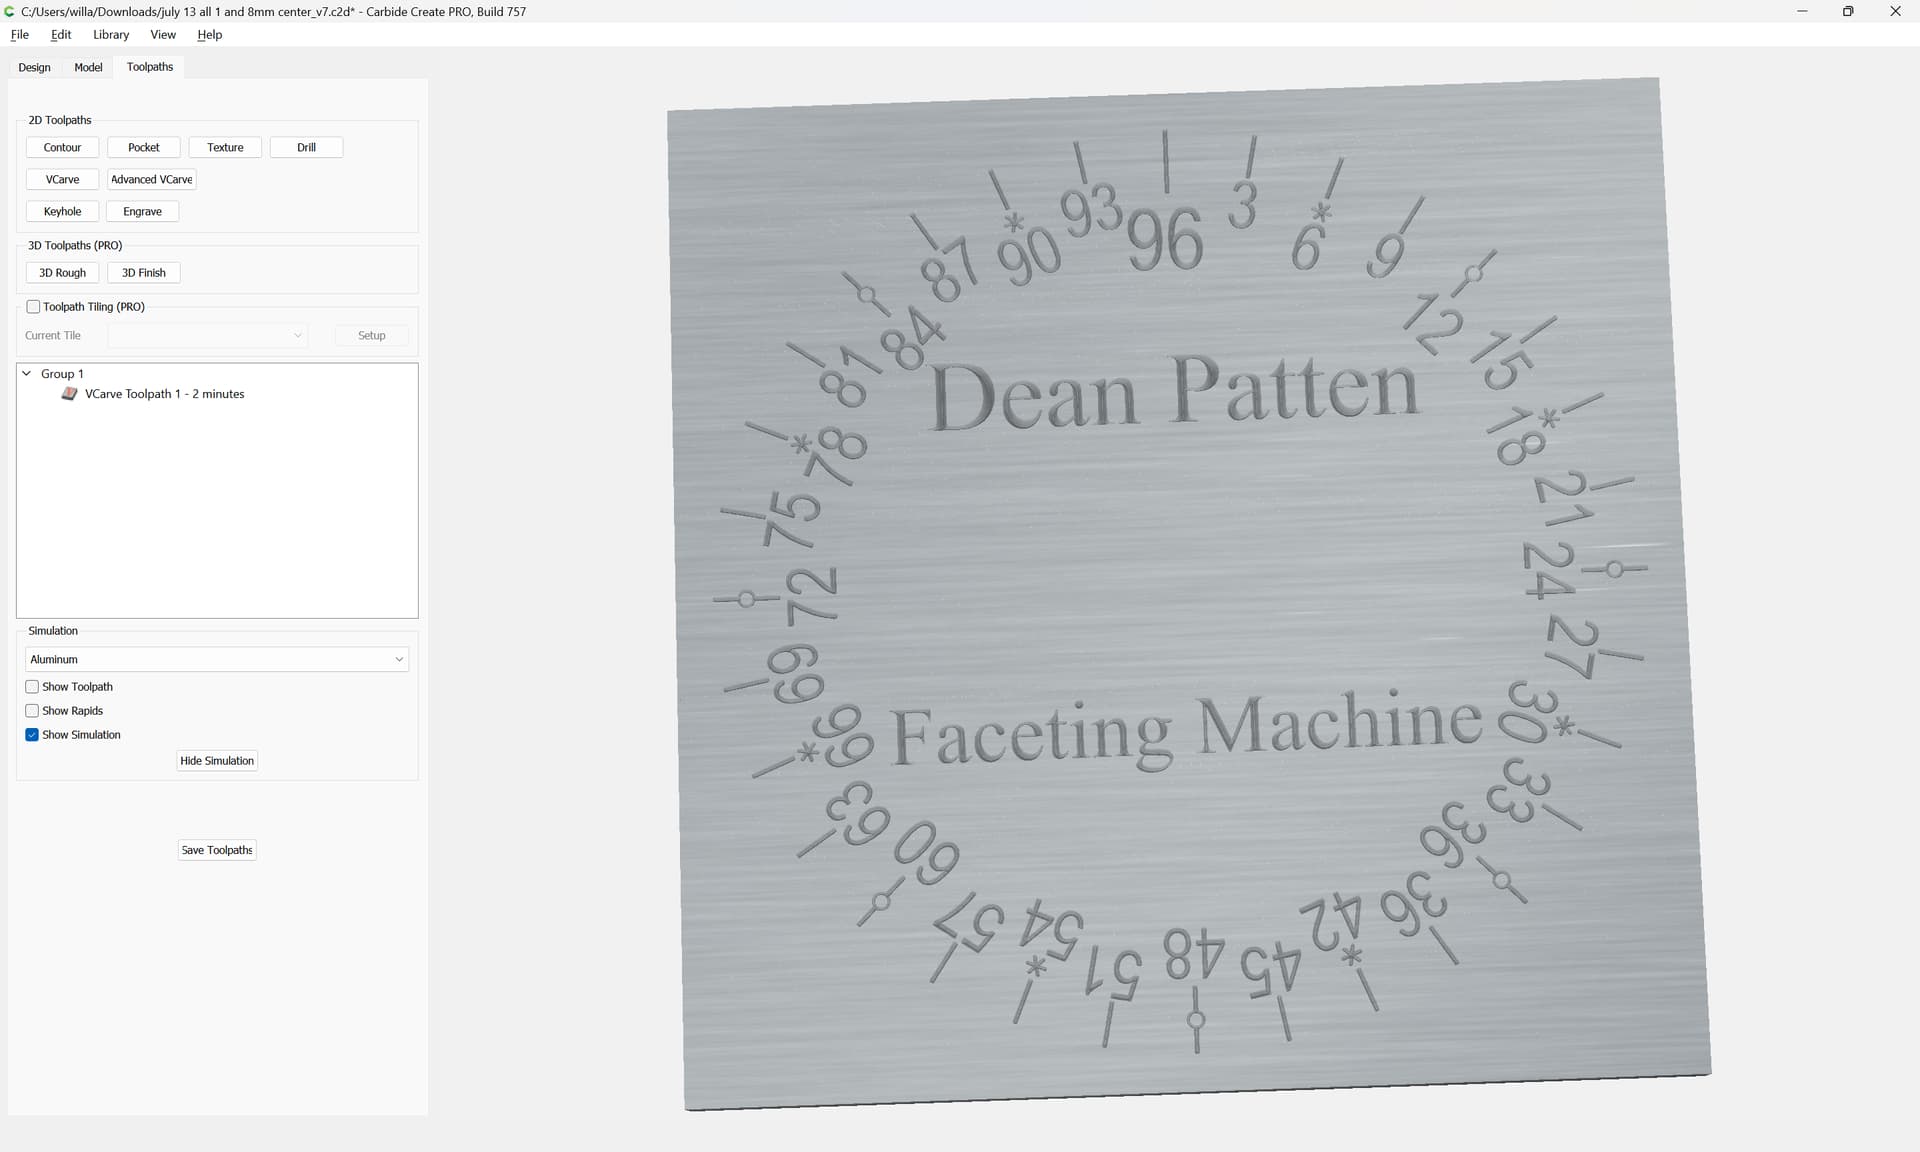
With the asterisks adjusted a V carving toolpath using a 30 degree endmill has a reasonably sharp appearance and should cut well in a suitable material:
Thank you that was perfect learning,. Very helpful.
This topic was automatically closed after 30 days. New replies are no longer allowed.