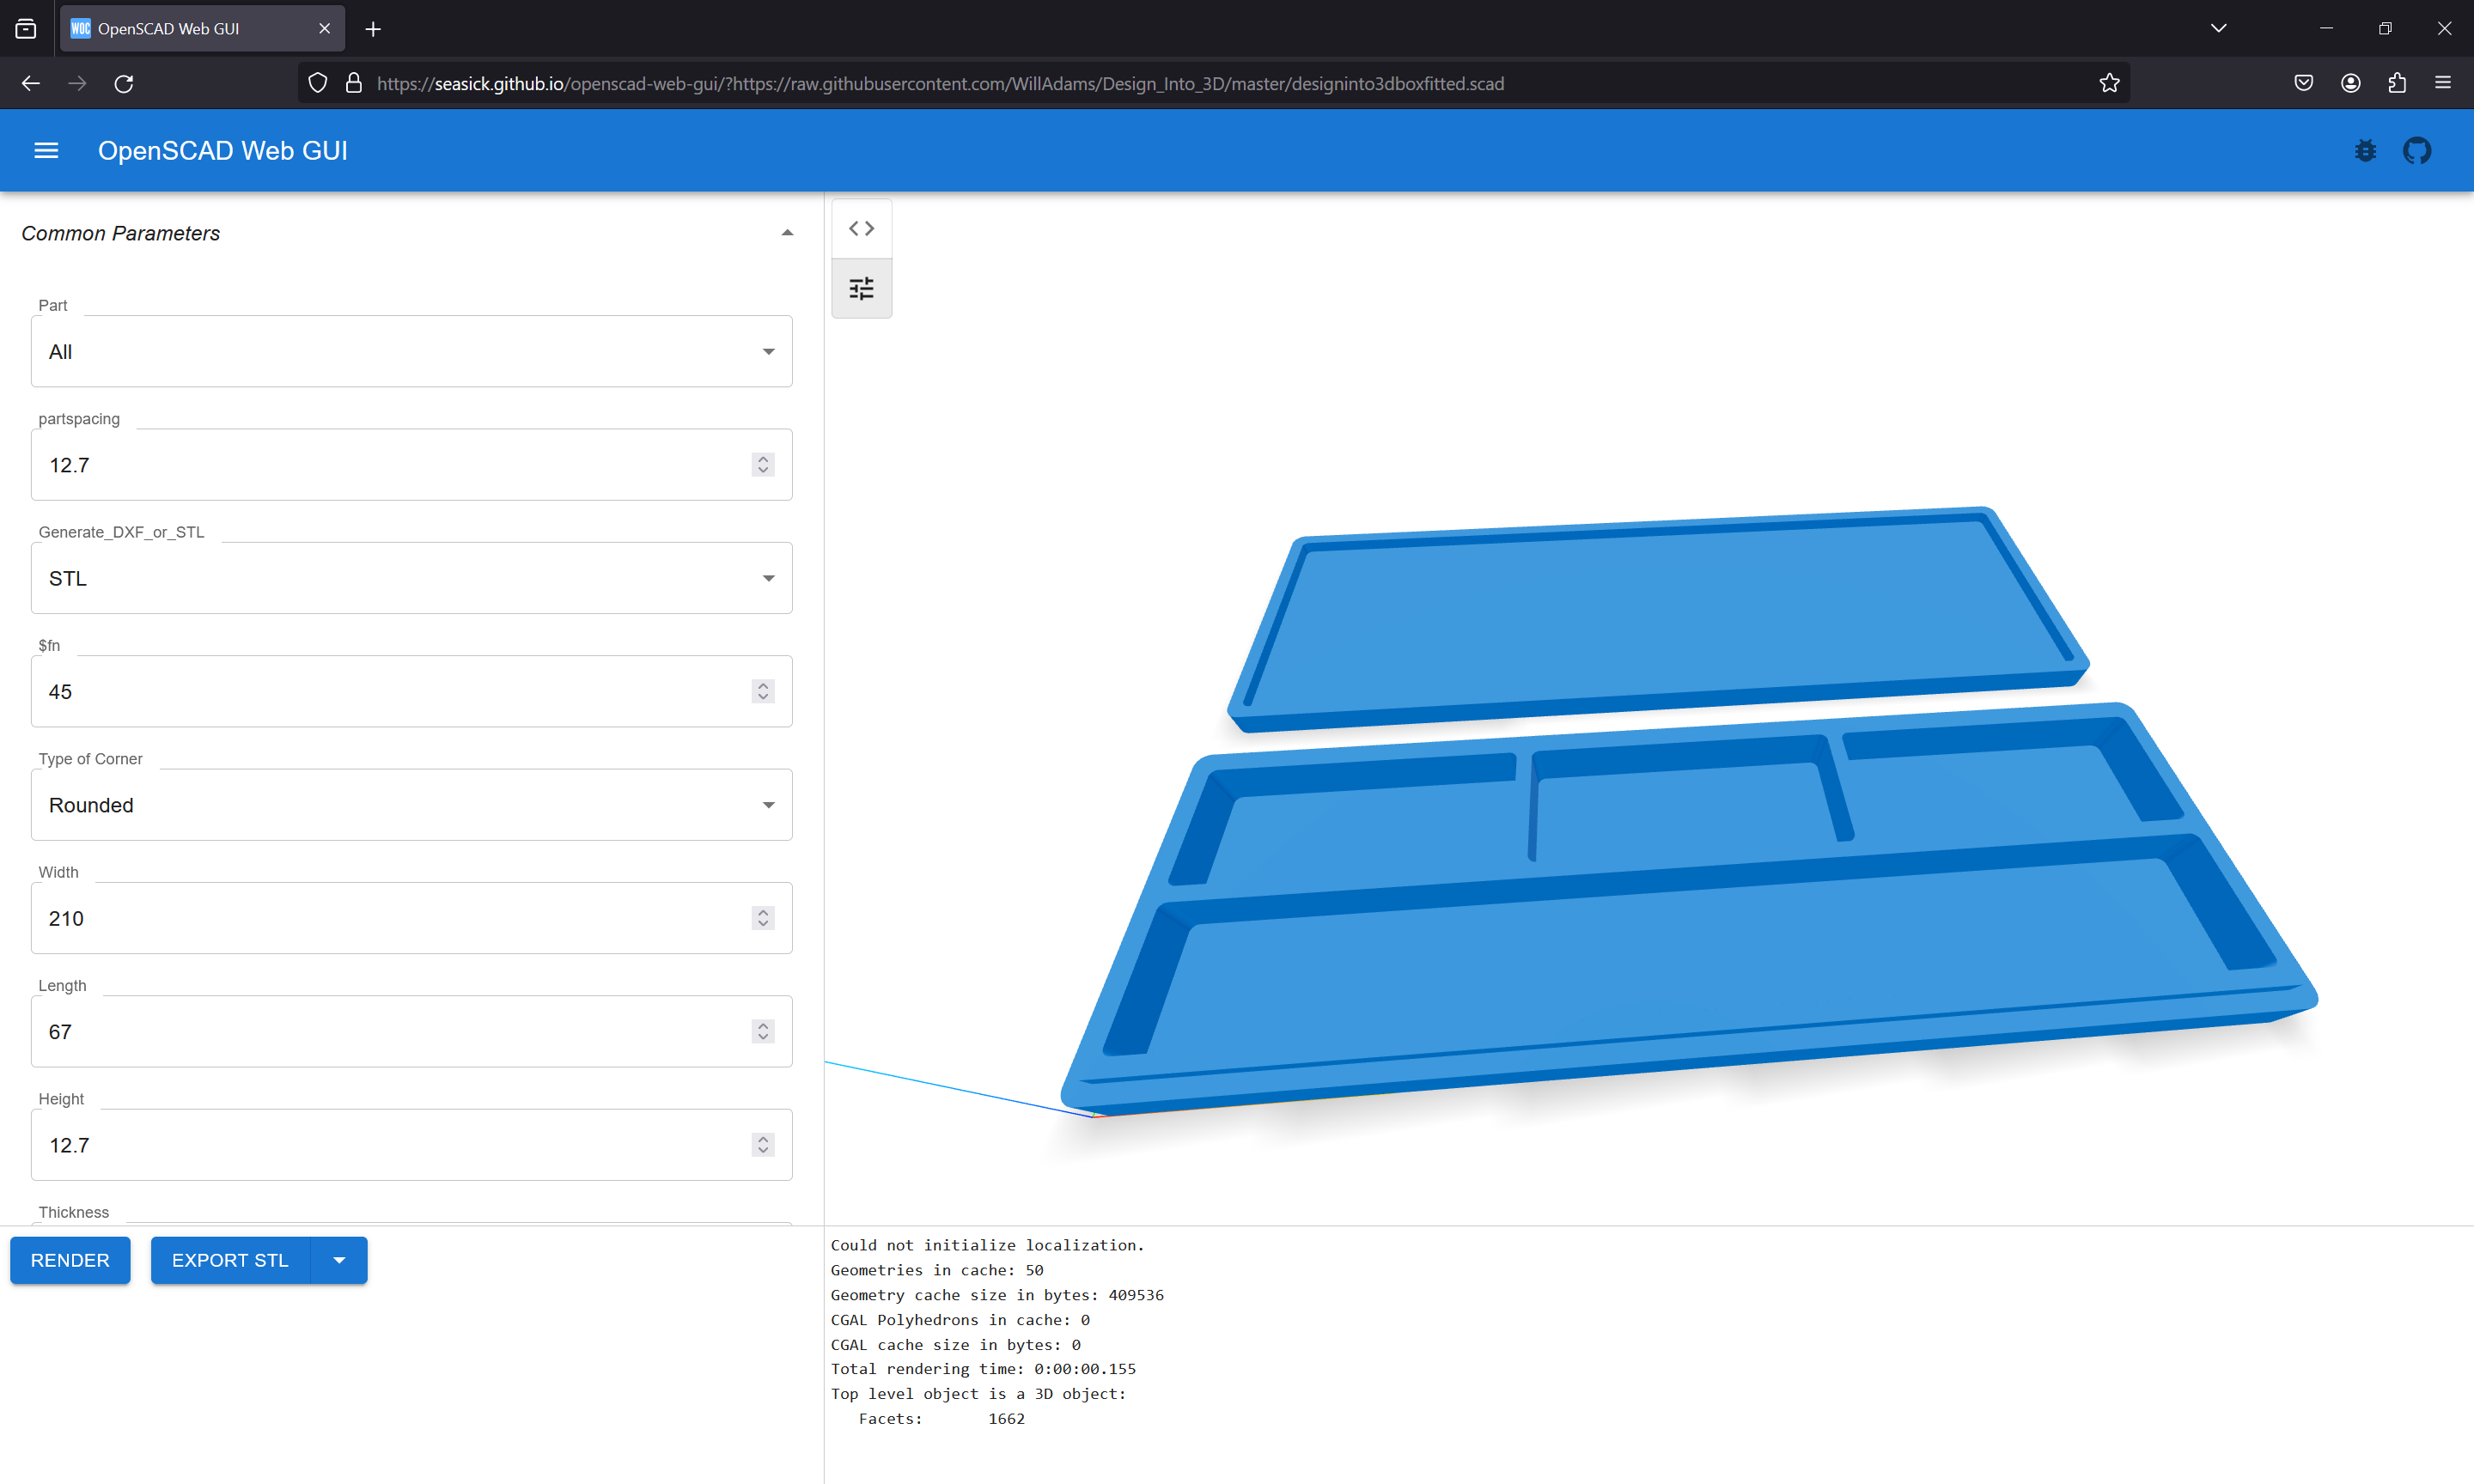
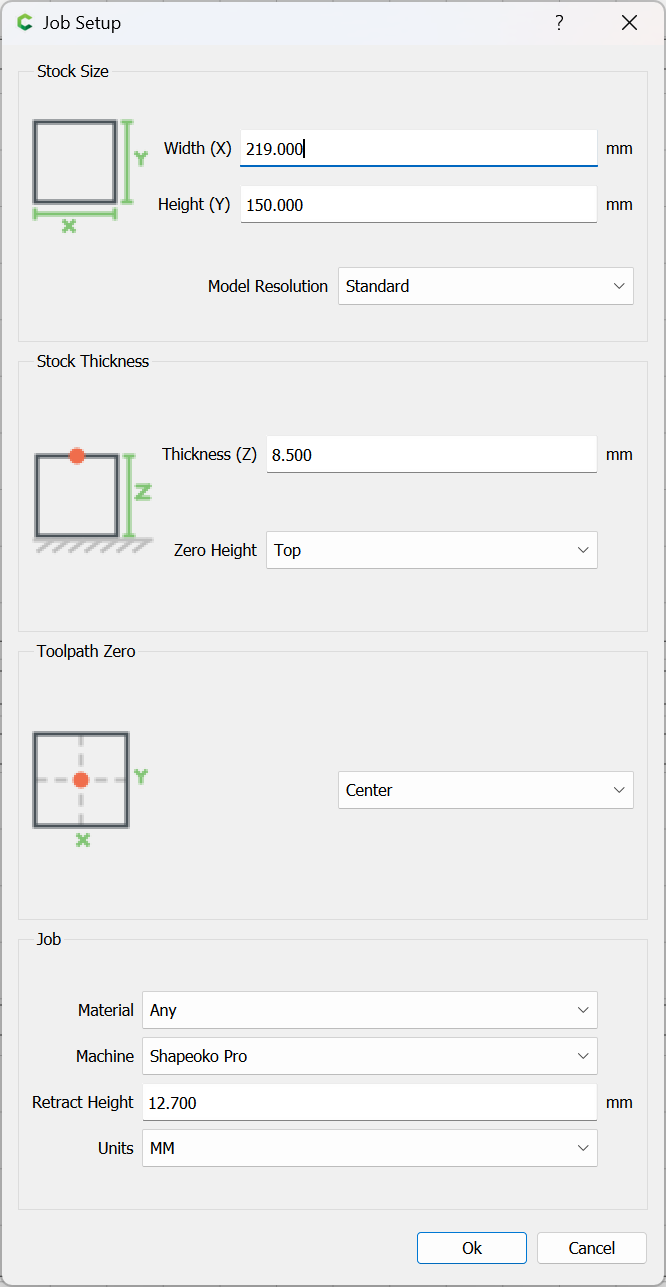
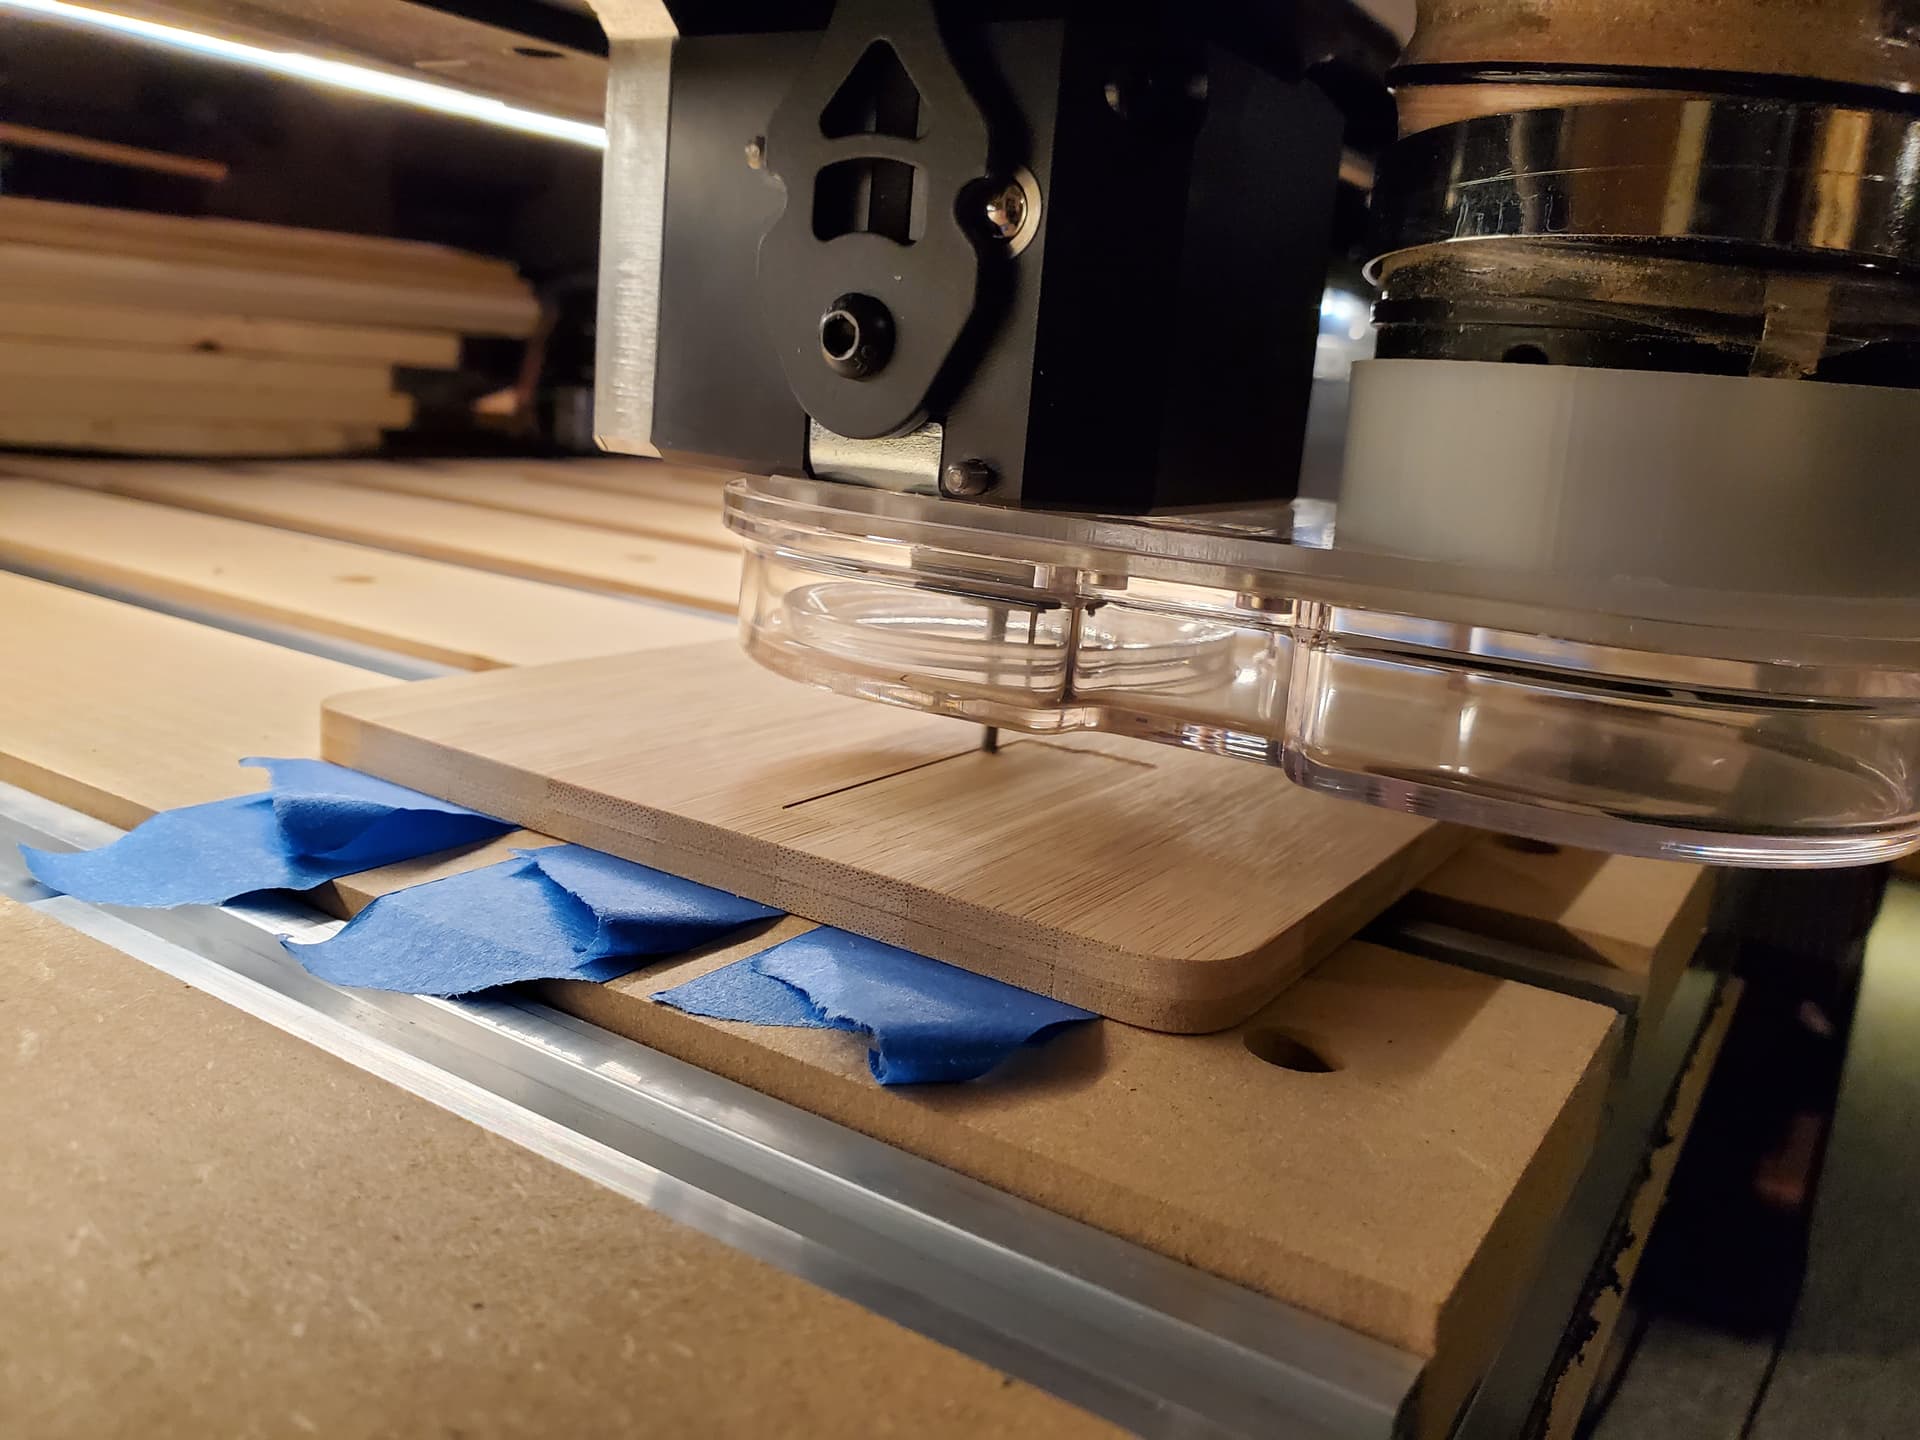
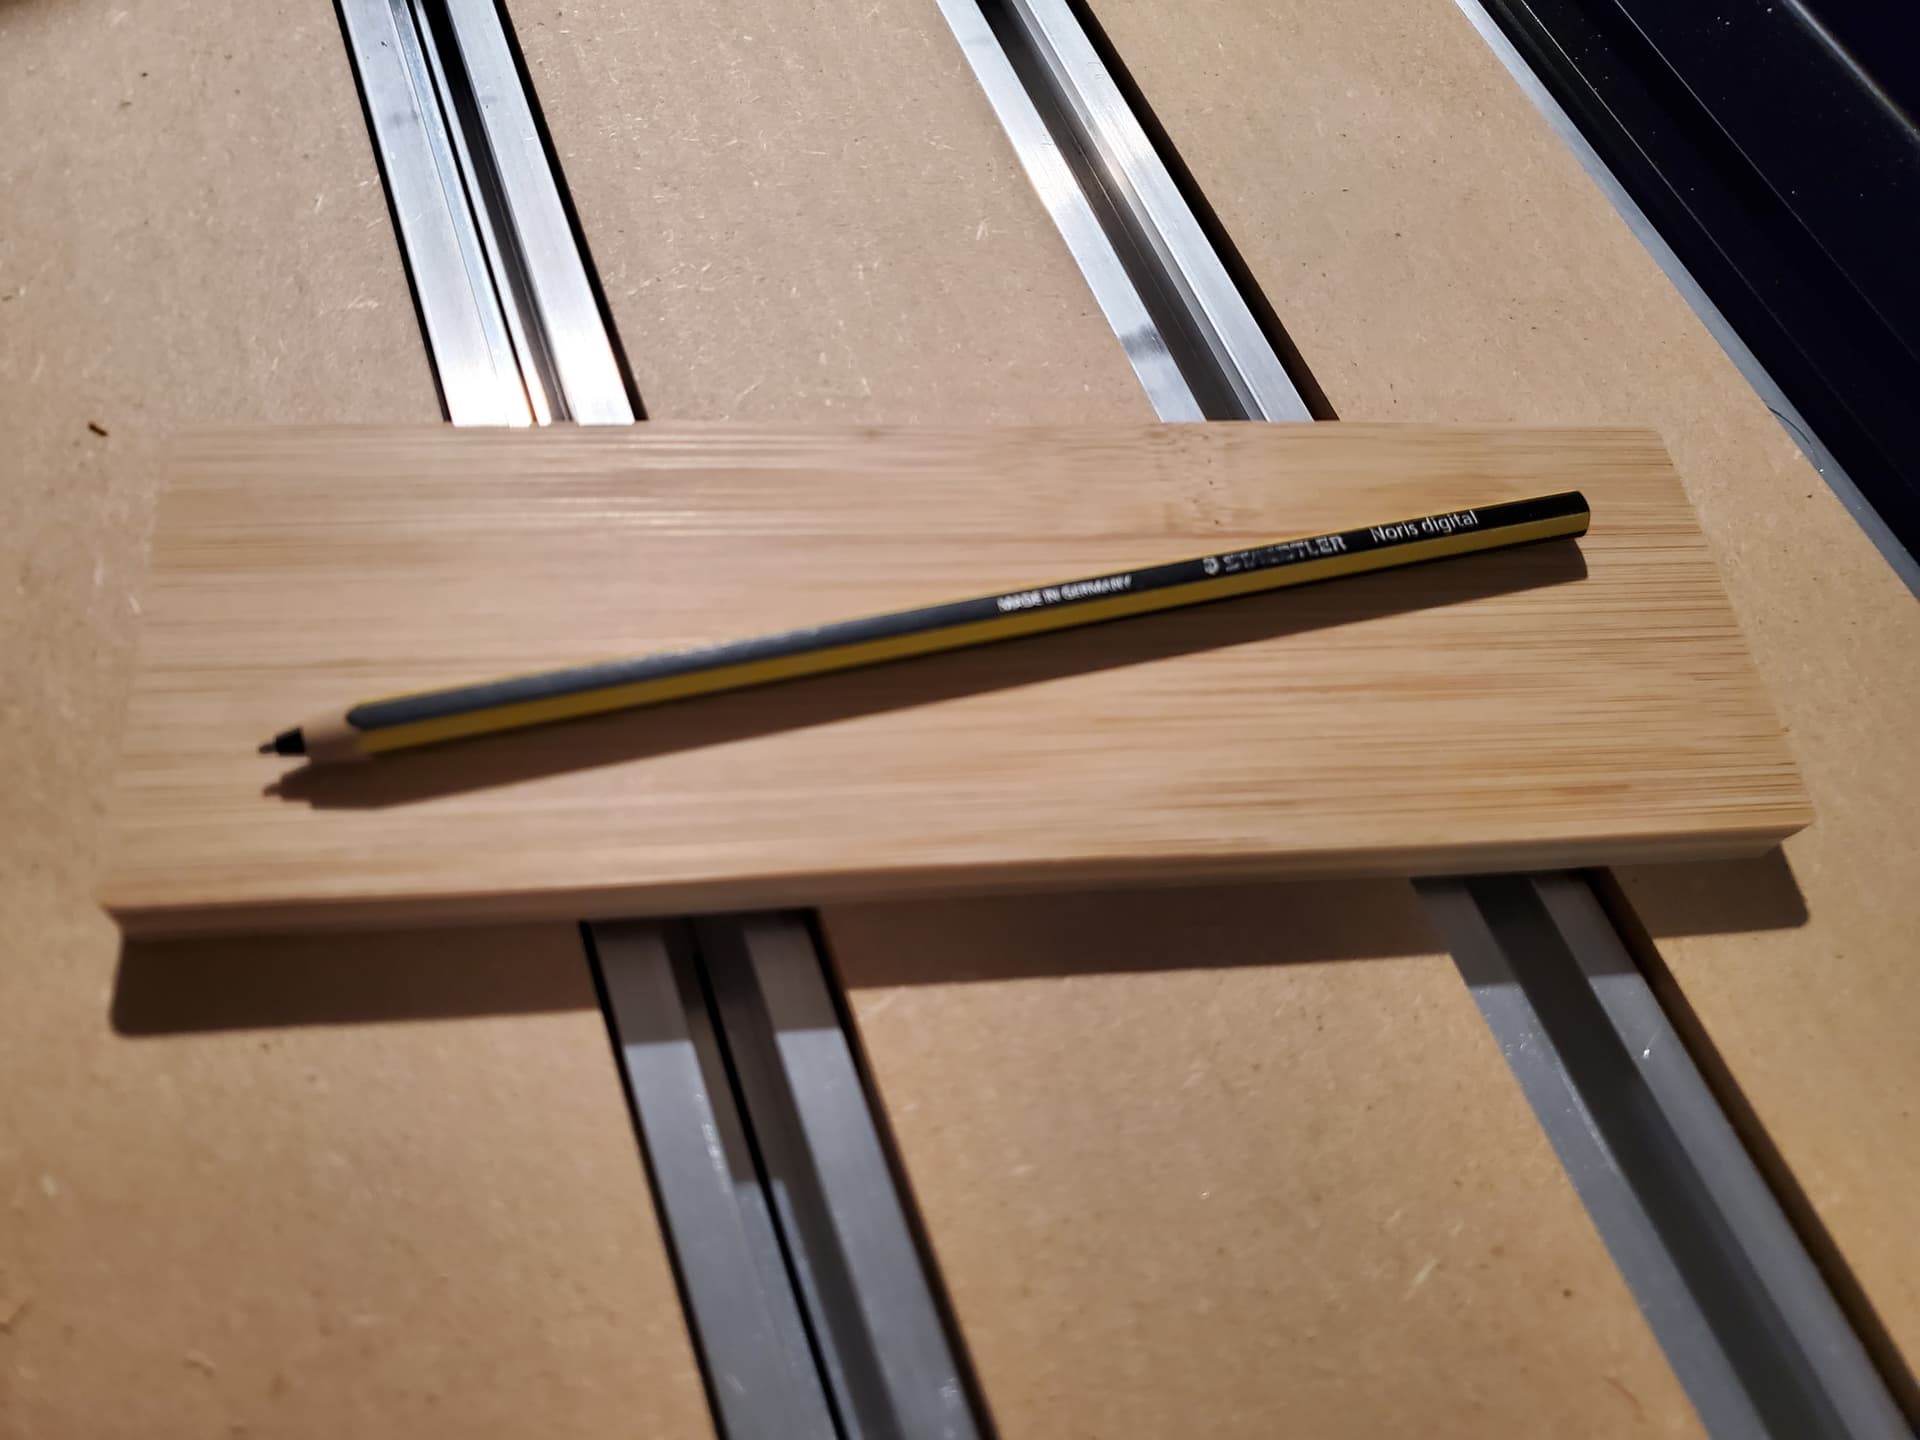
The first thing to do is to set up the Stock:
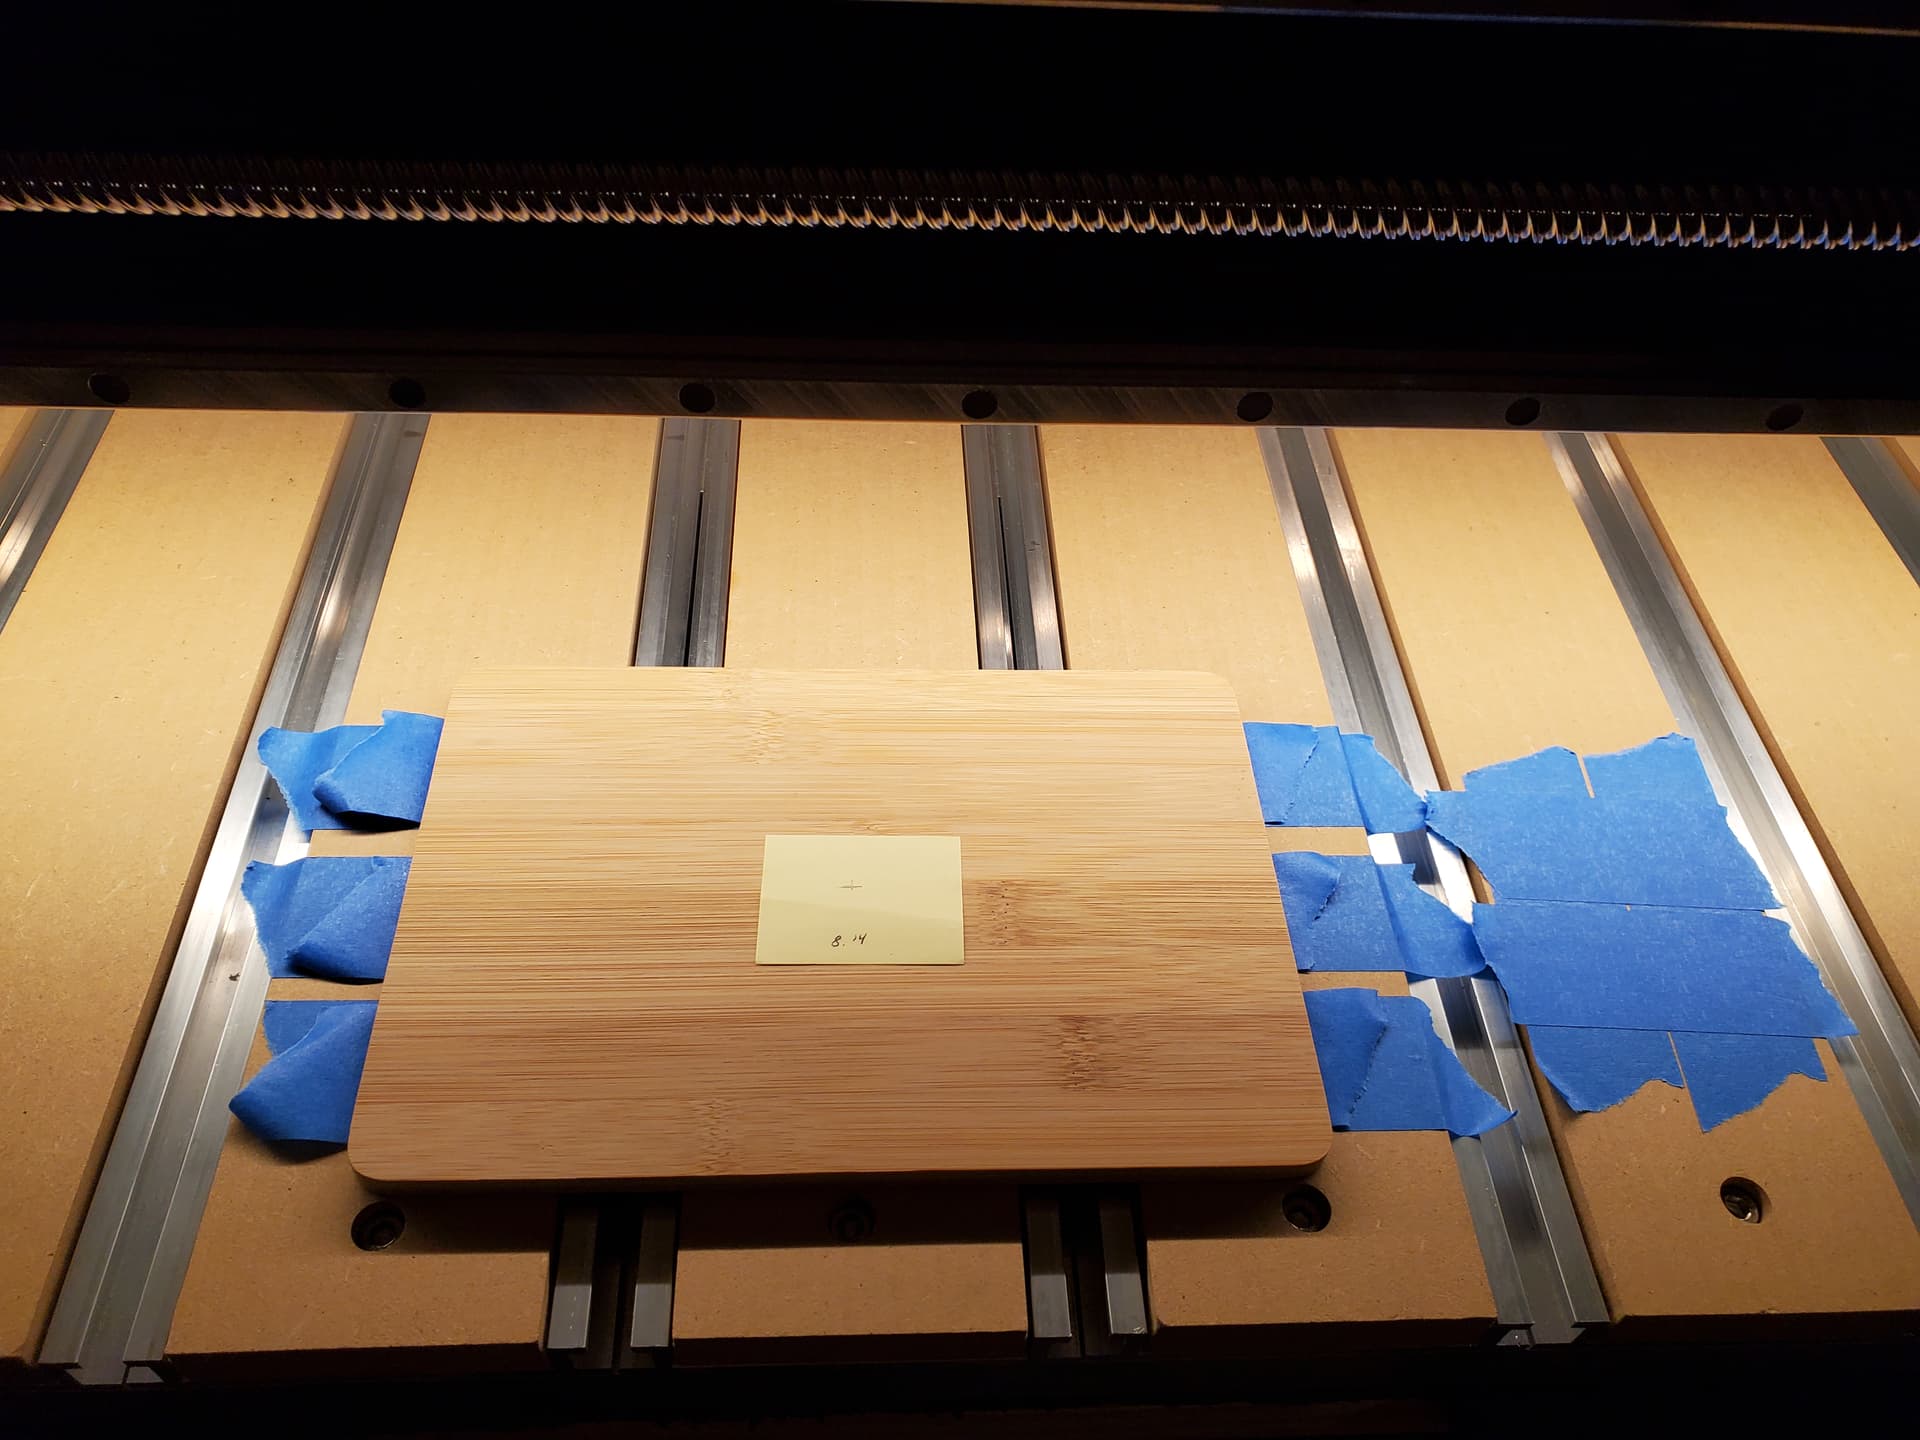
we will be using $1.25 cutting boards from Dollar Tree as our stock:
https://www.dollartree.com/cooking-concepts-bamboo-cutting-boards/284446
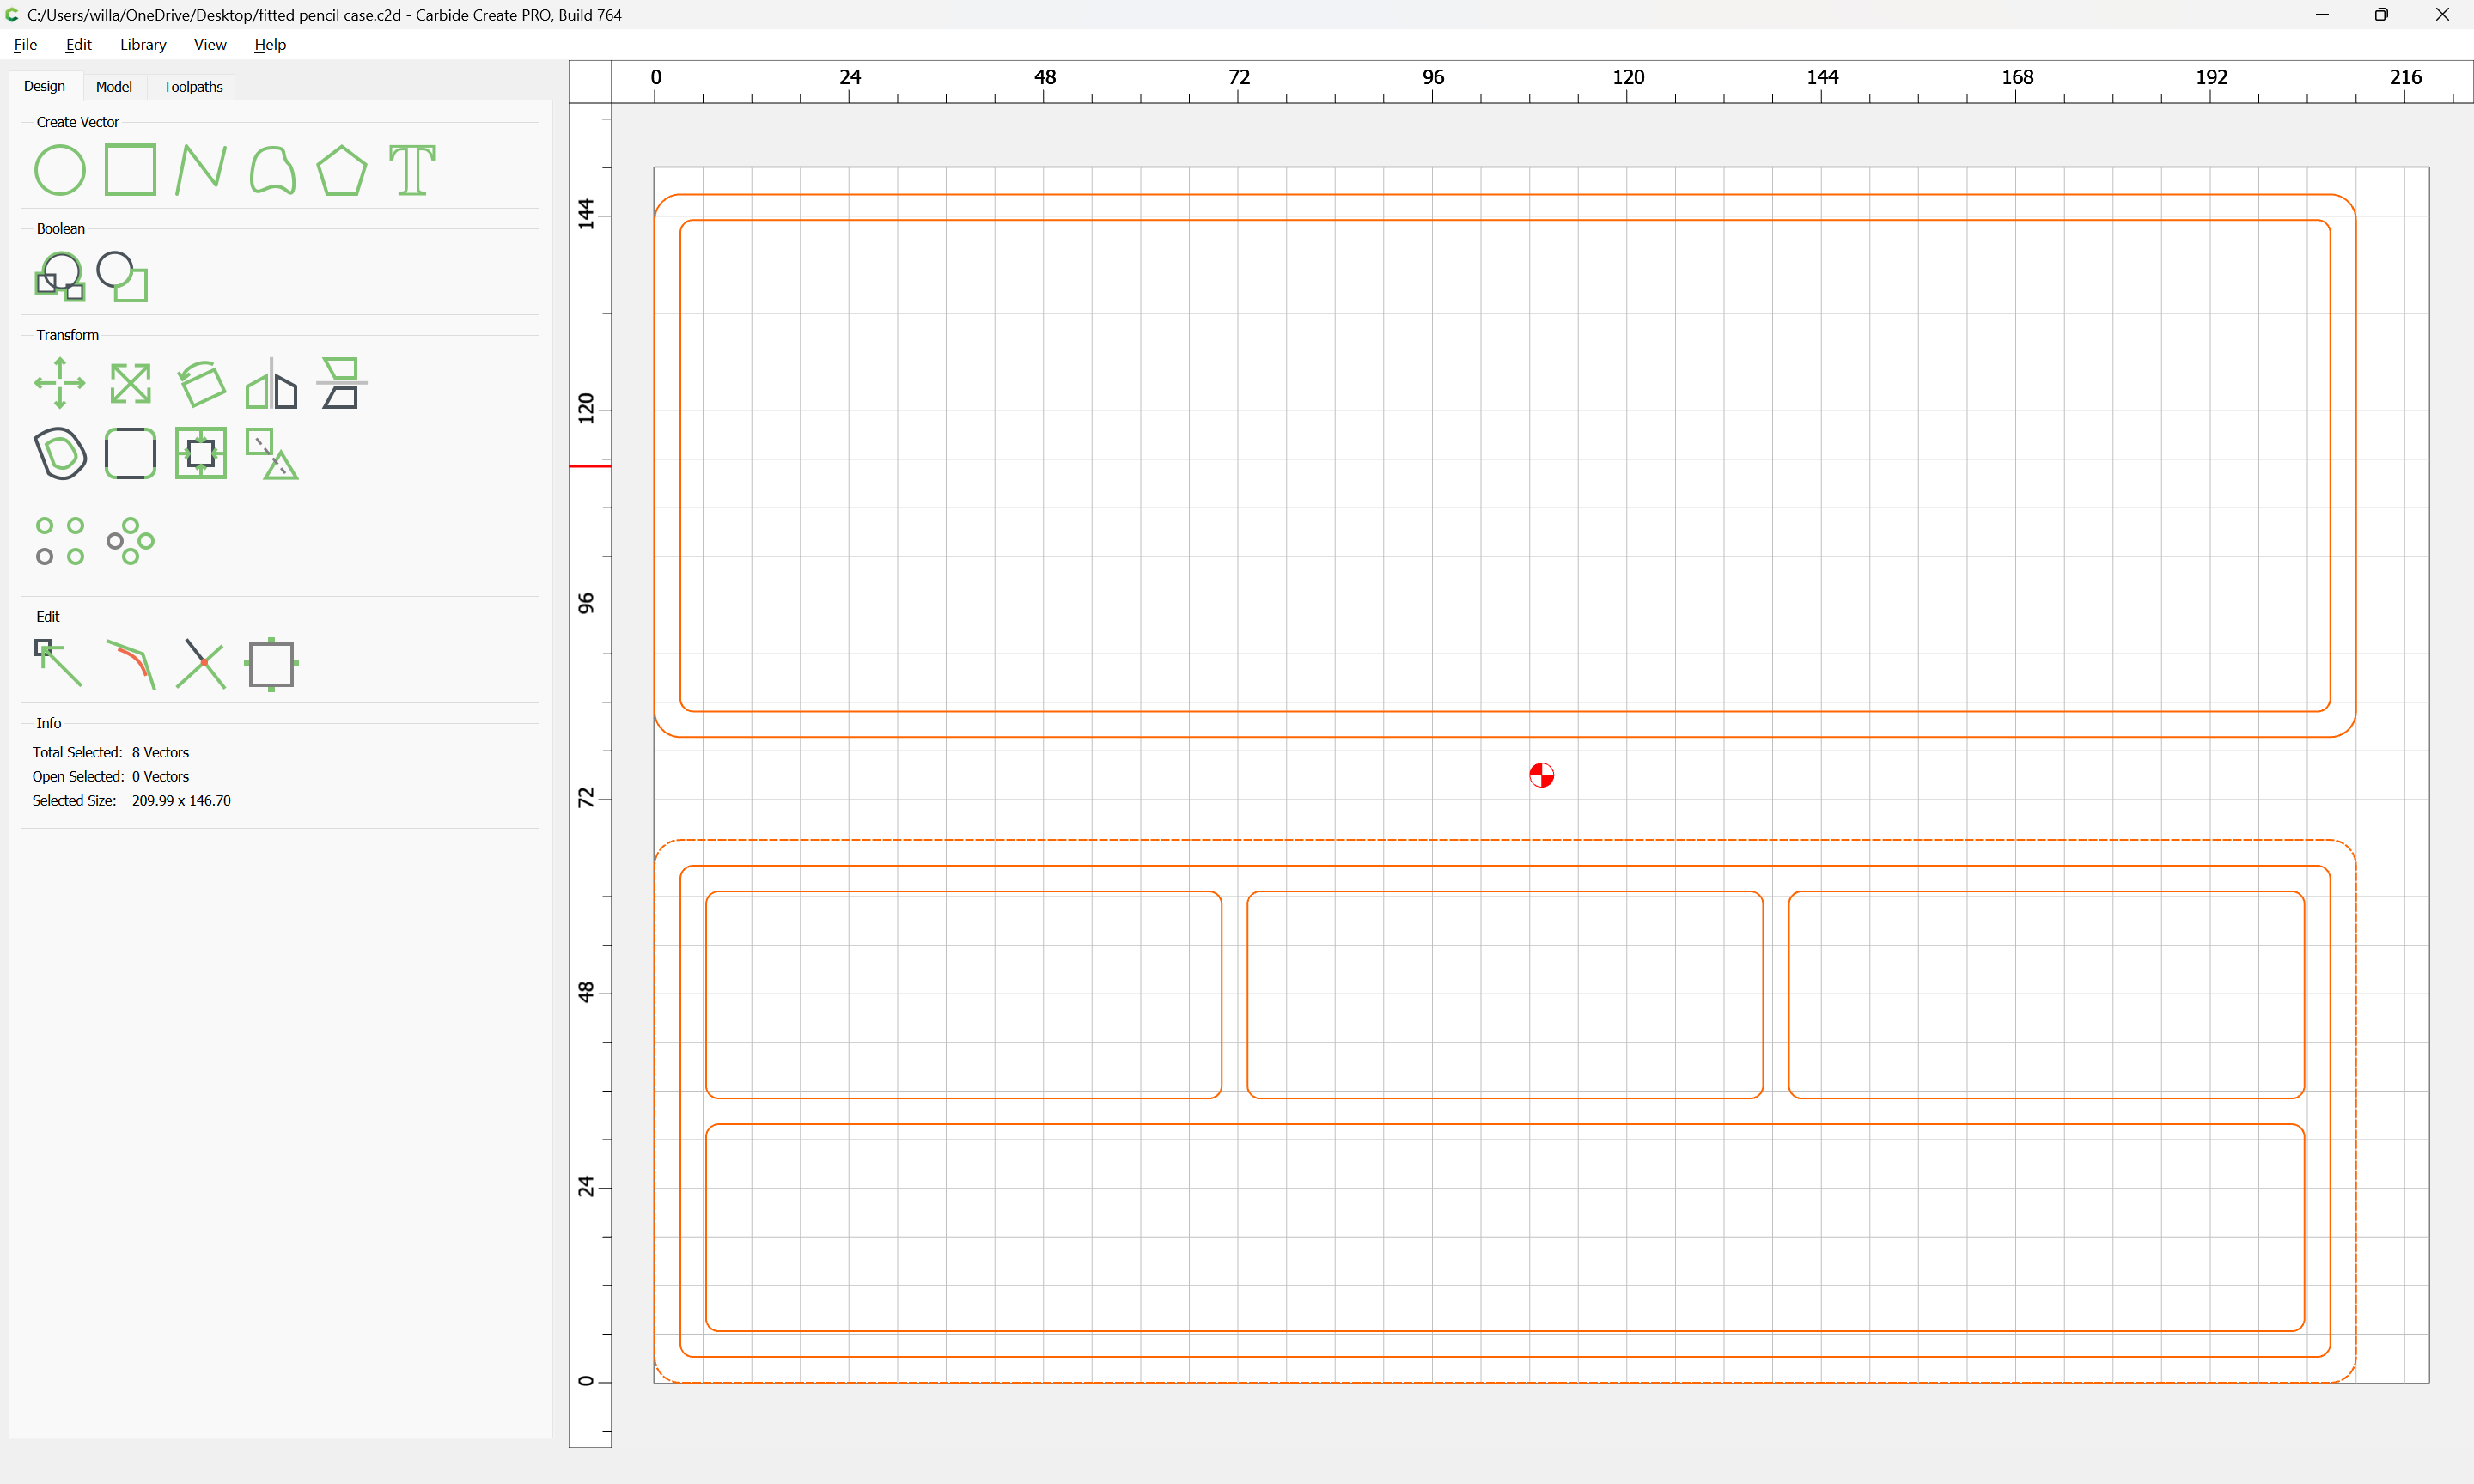
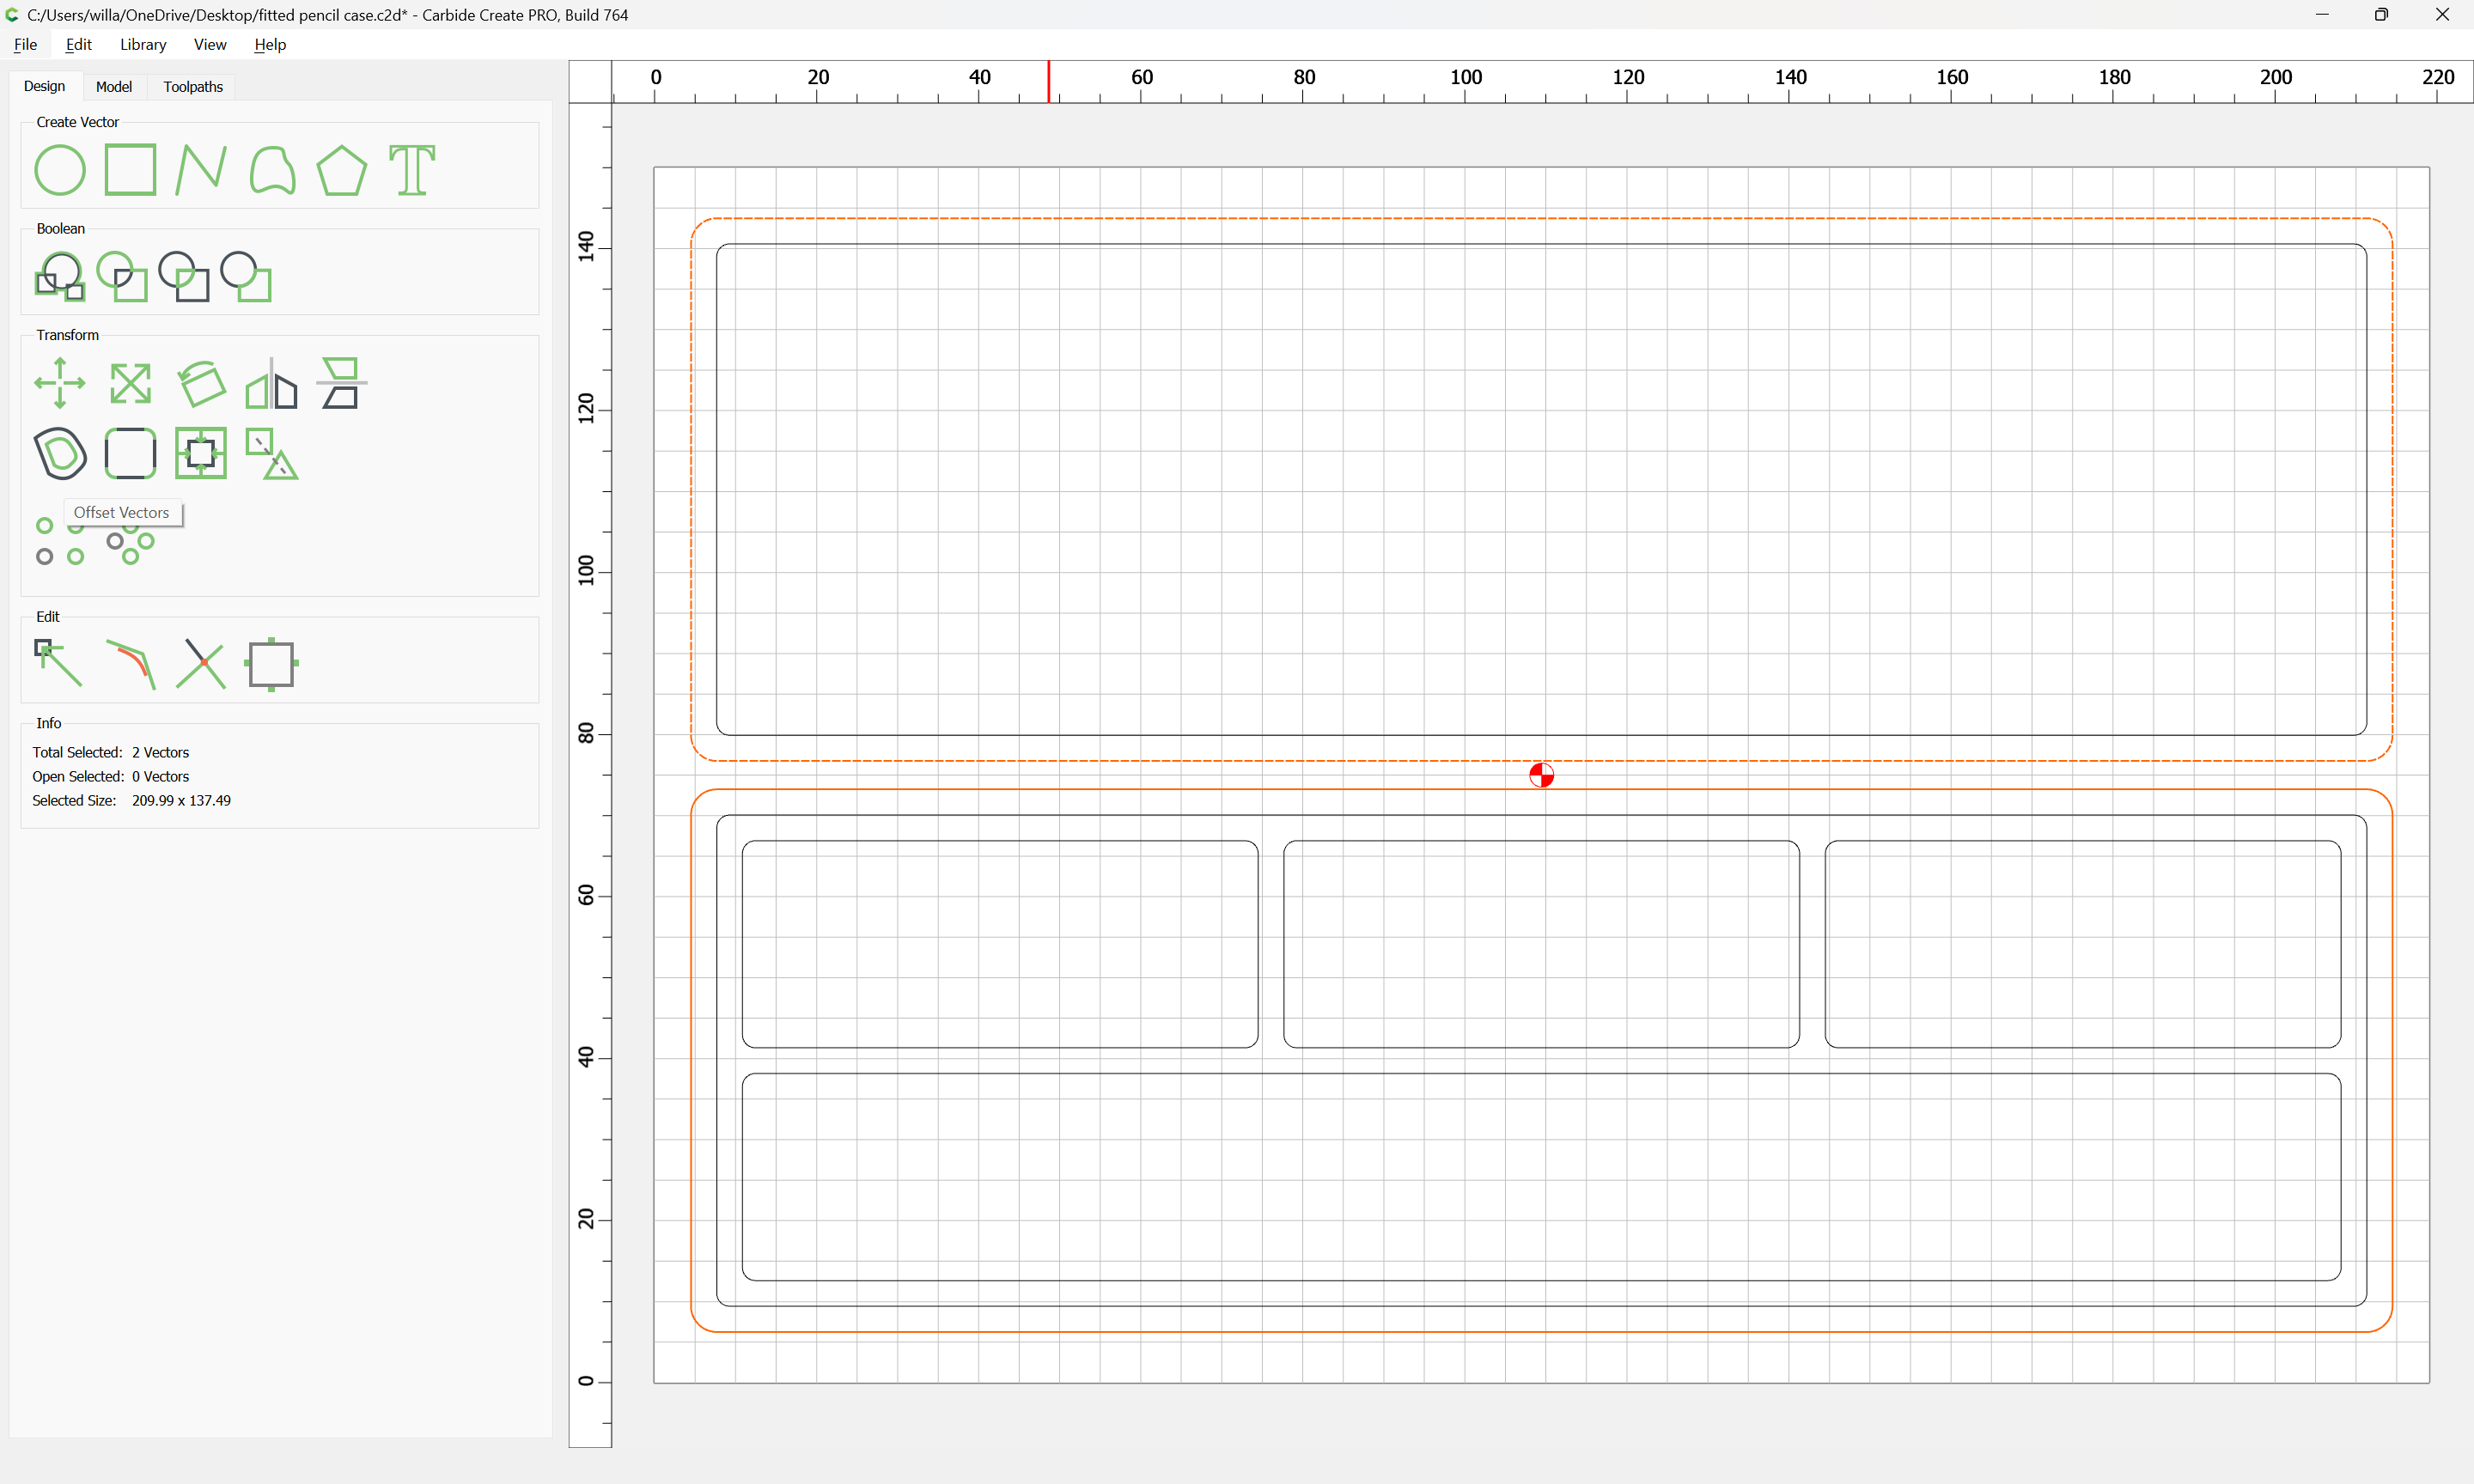
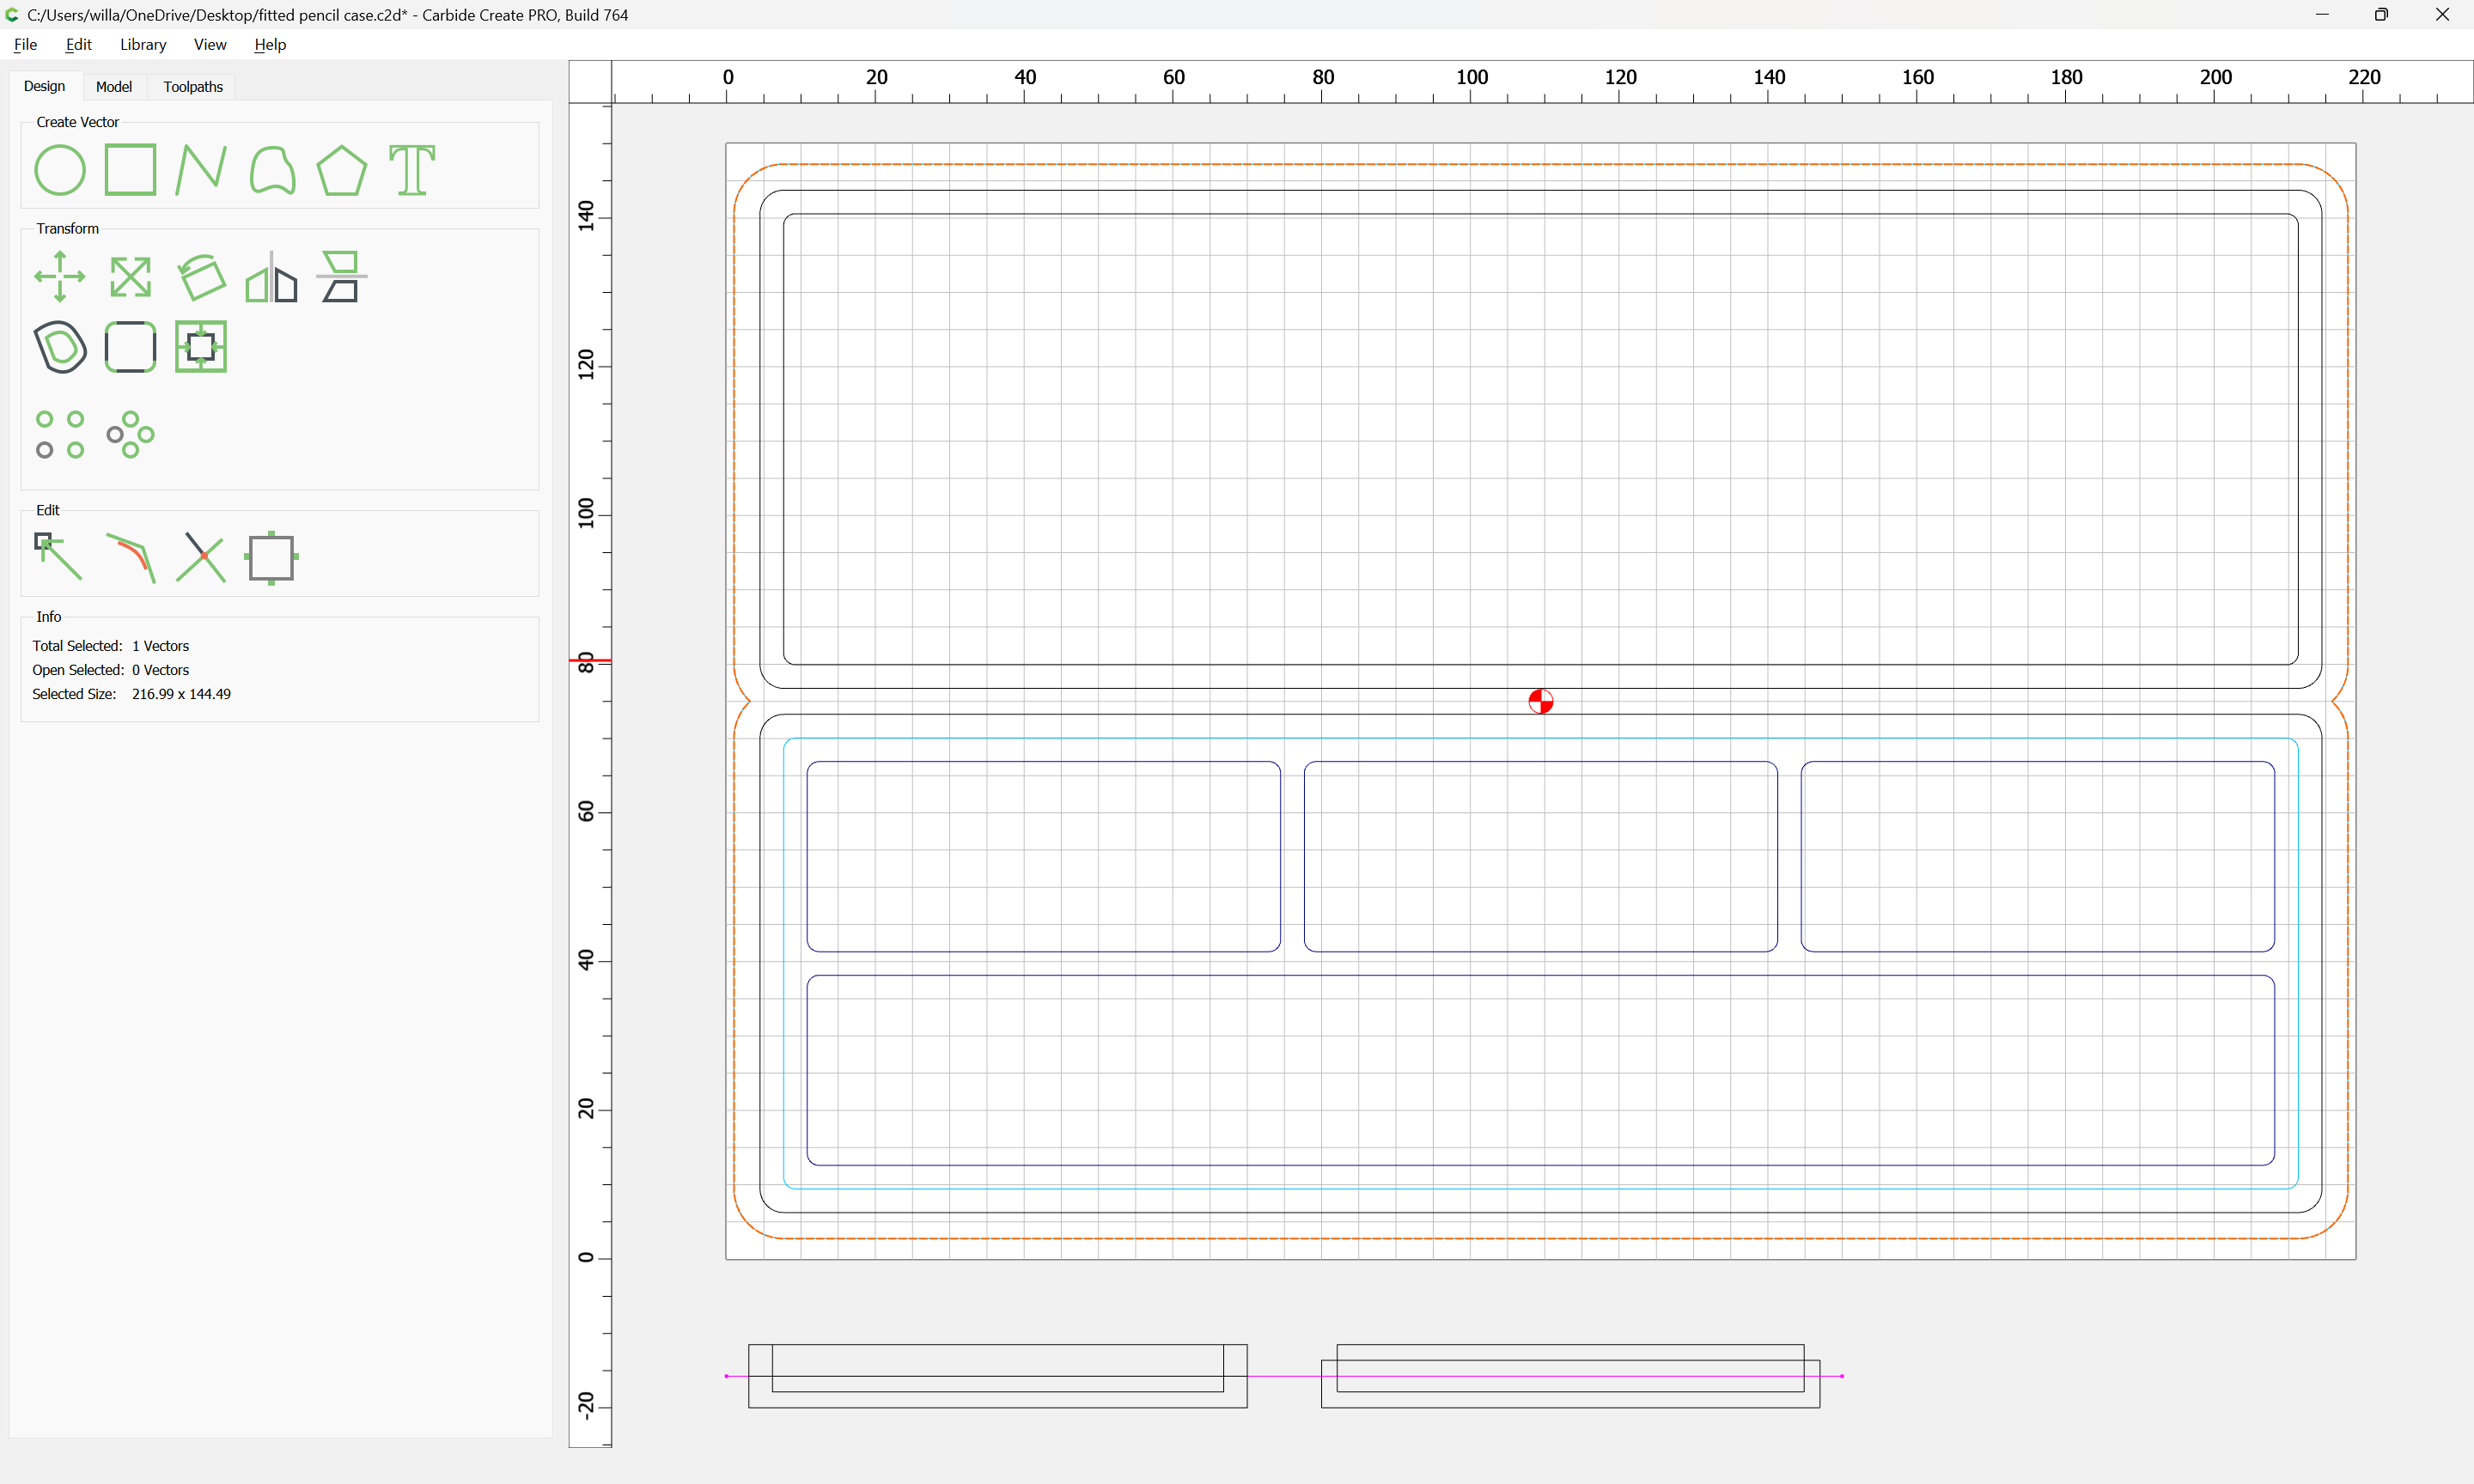
The parts are positioned 3.5mm from each other, and we select the perimeters:
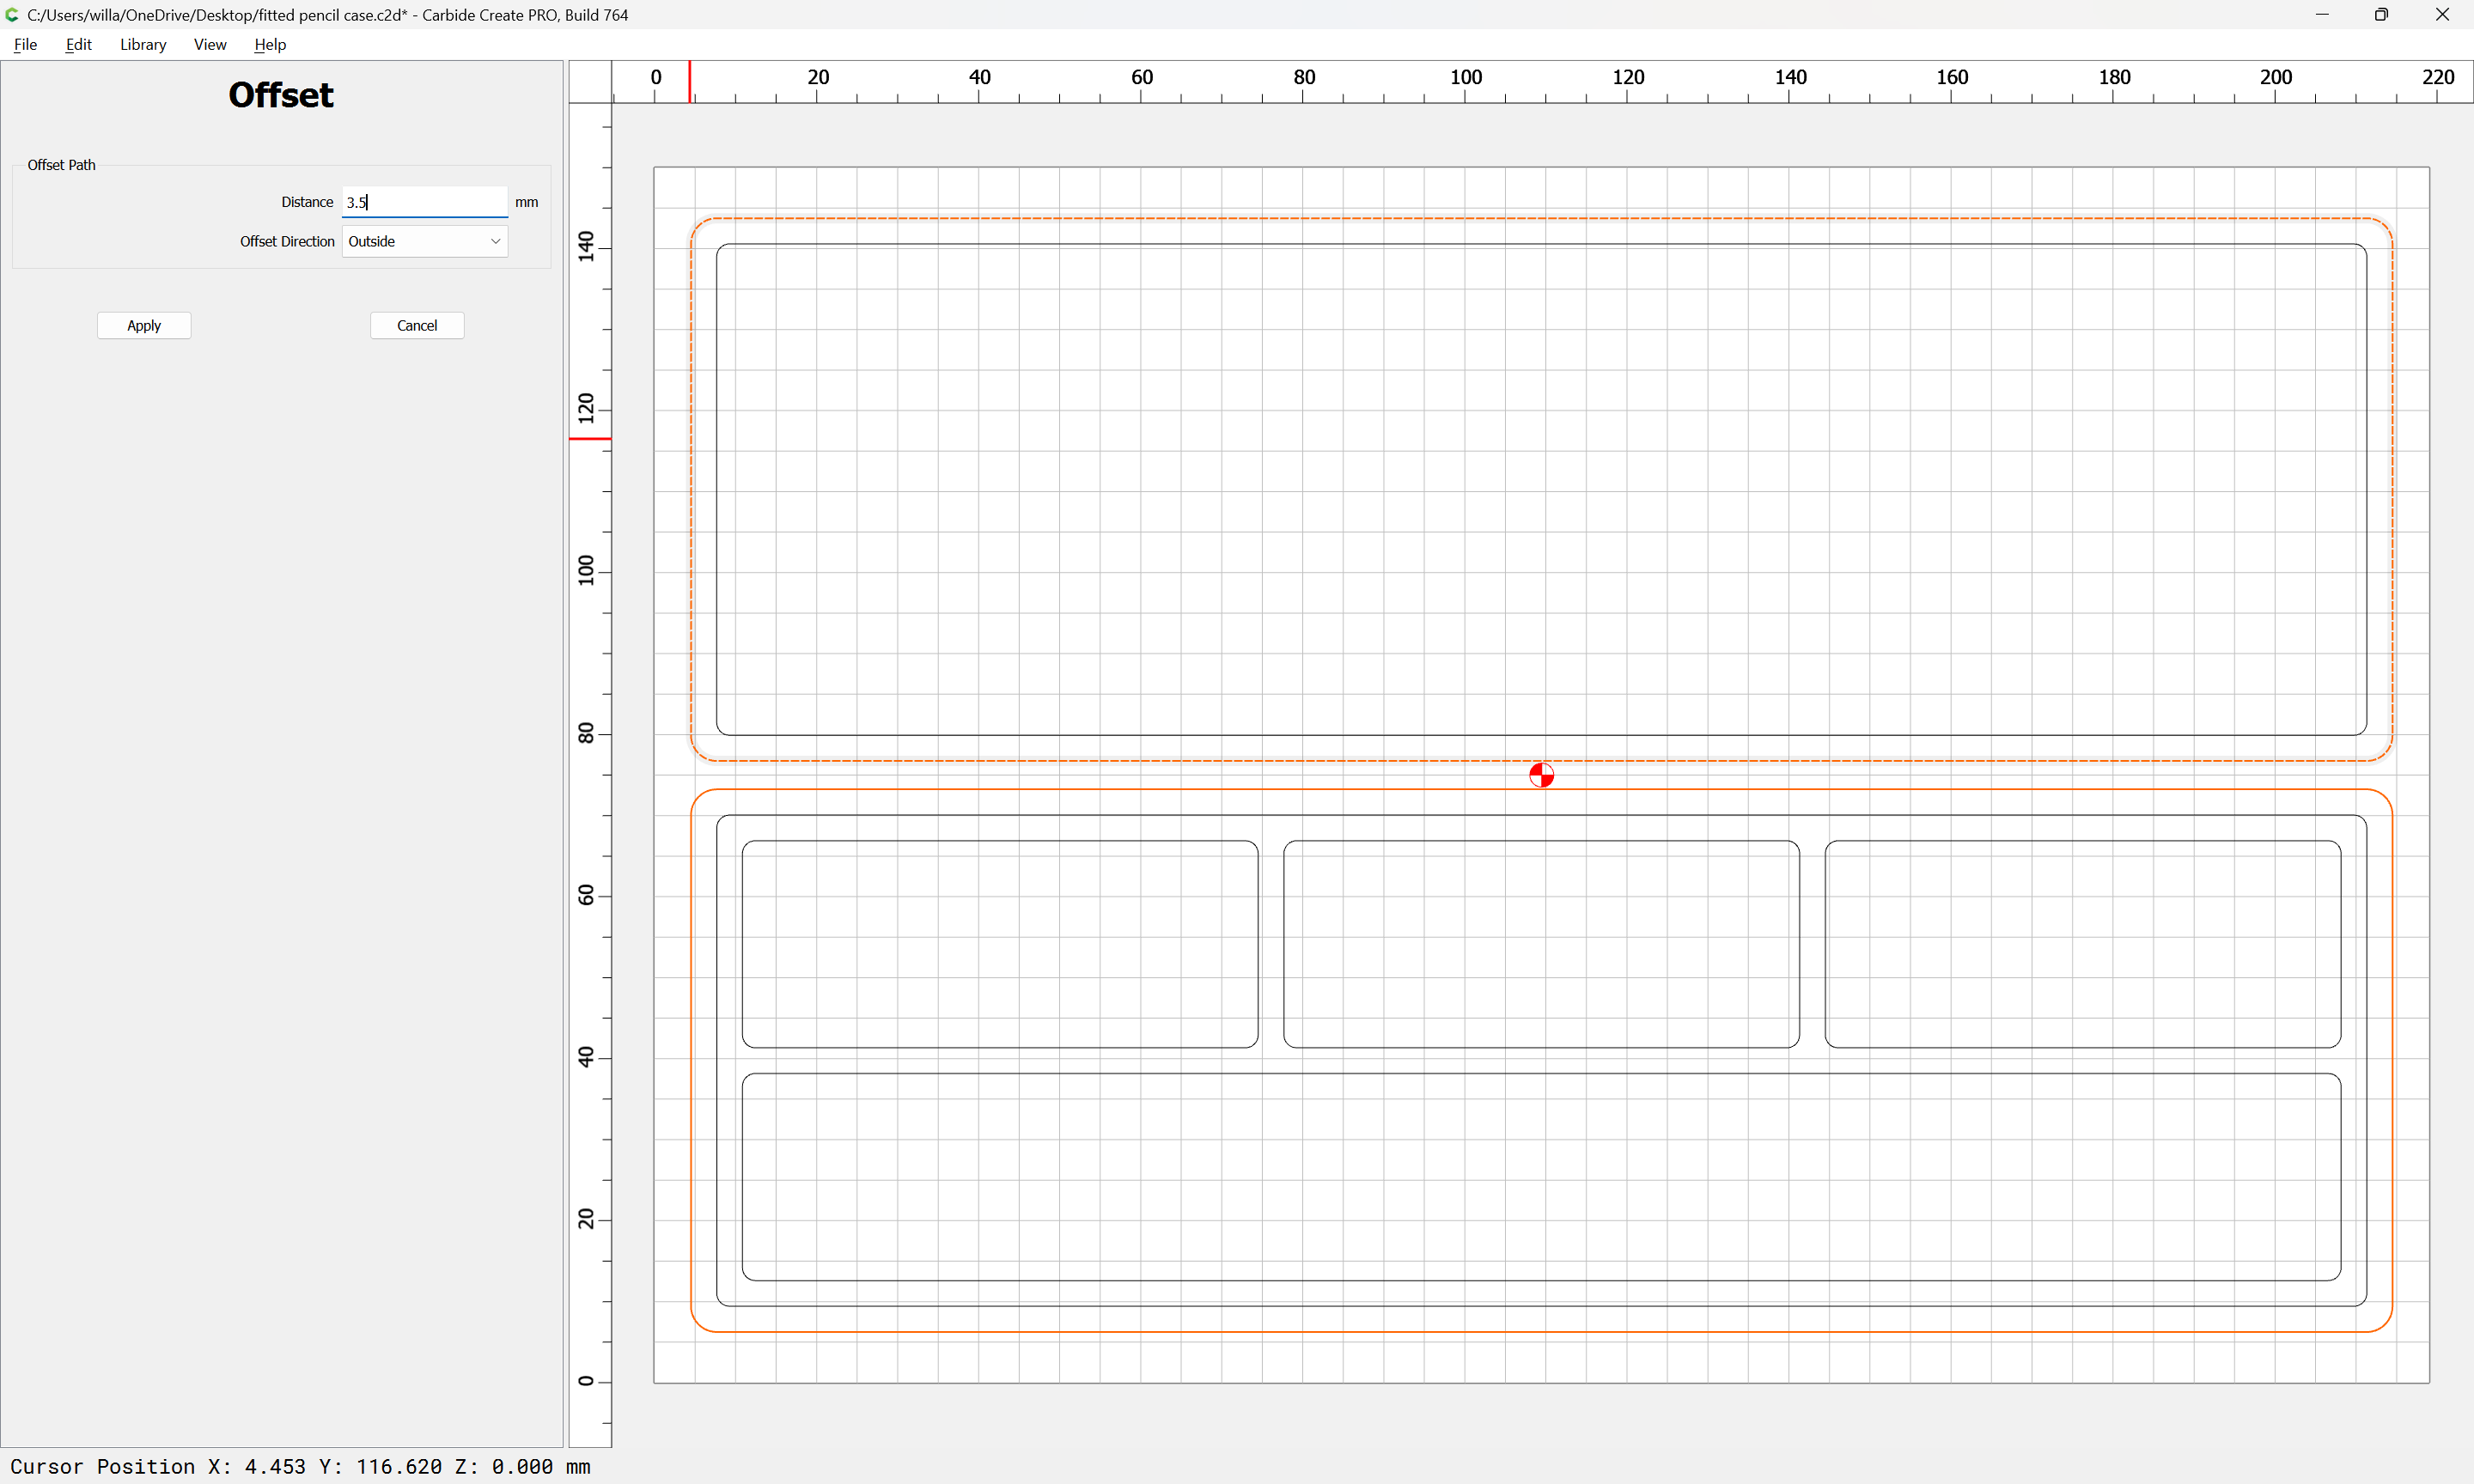
and offset to the outside by 3.5mm:
Apply:
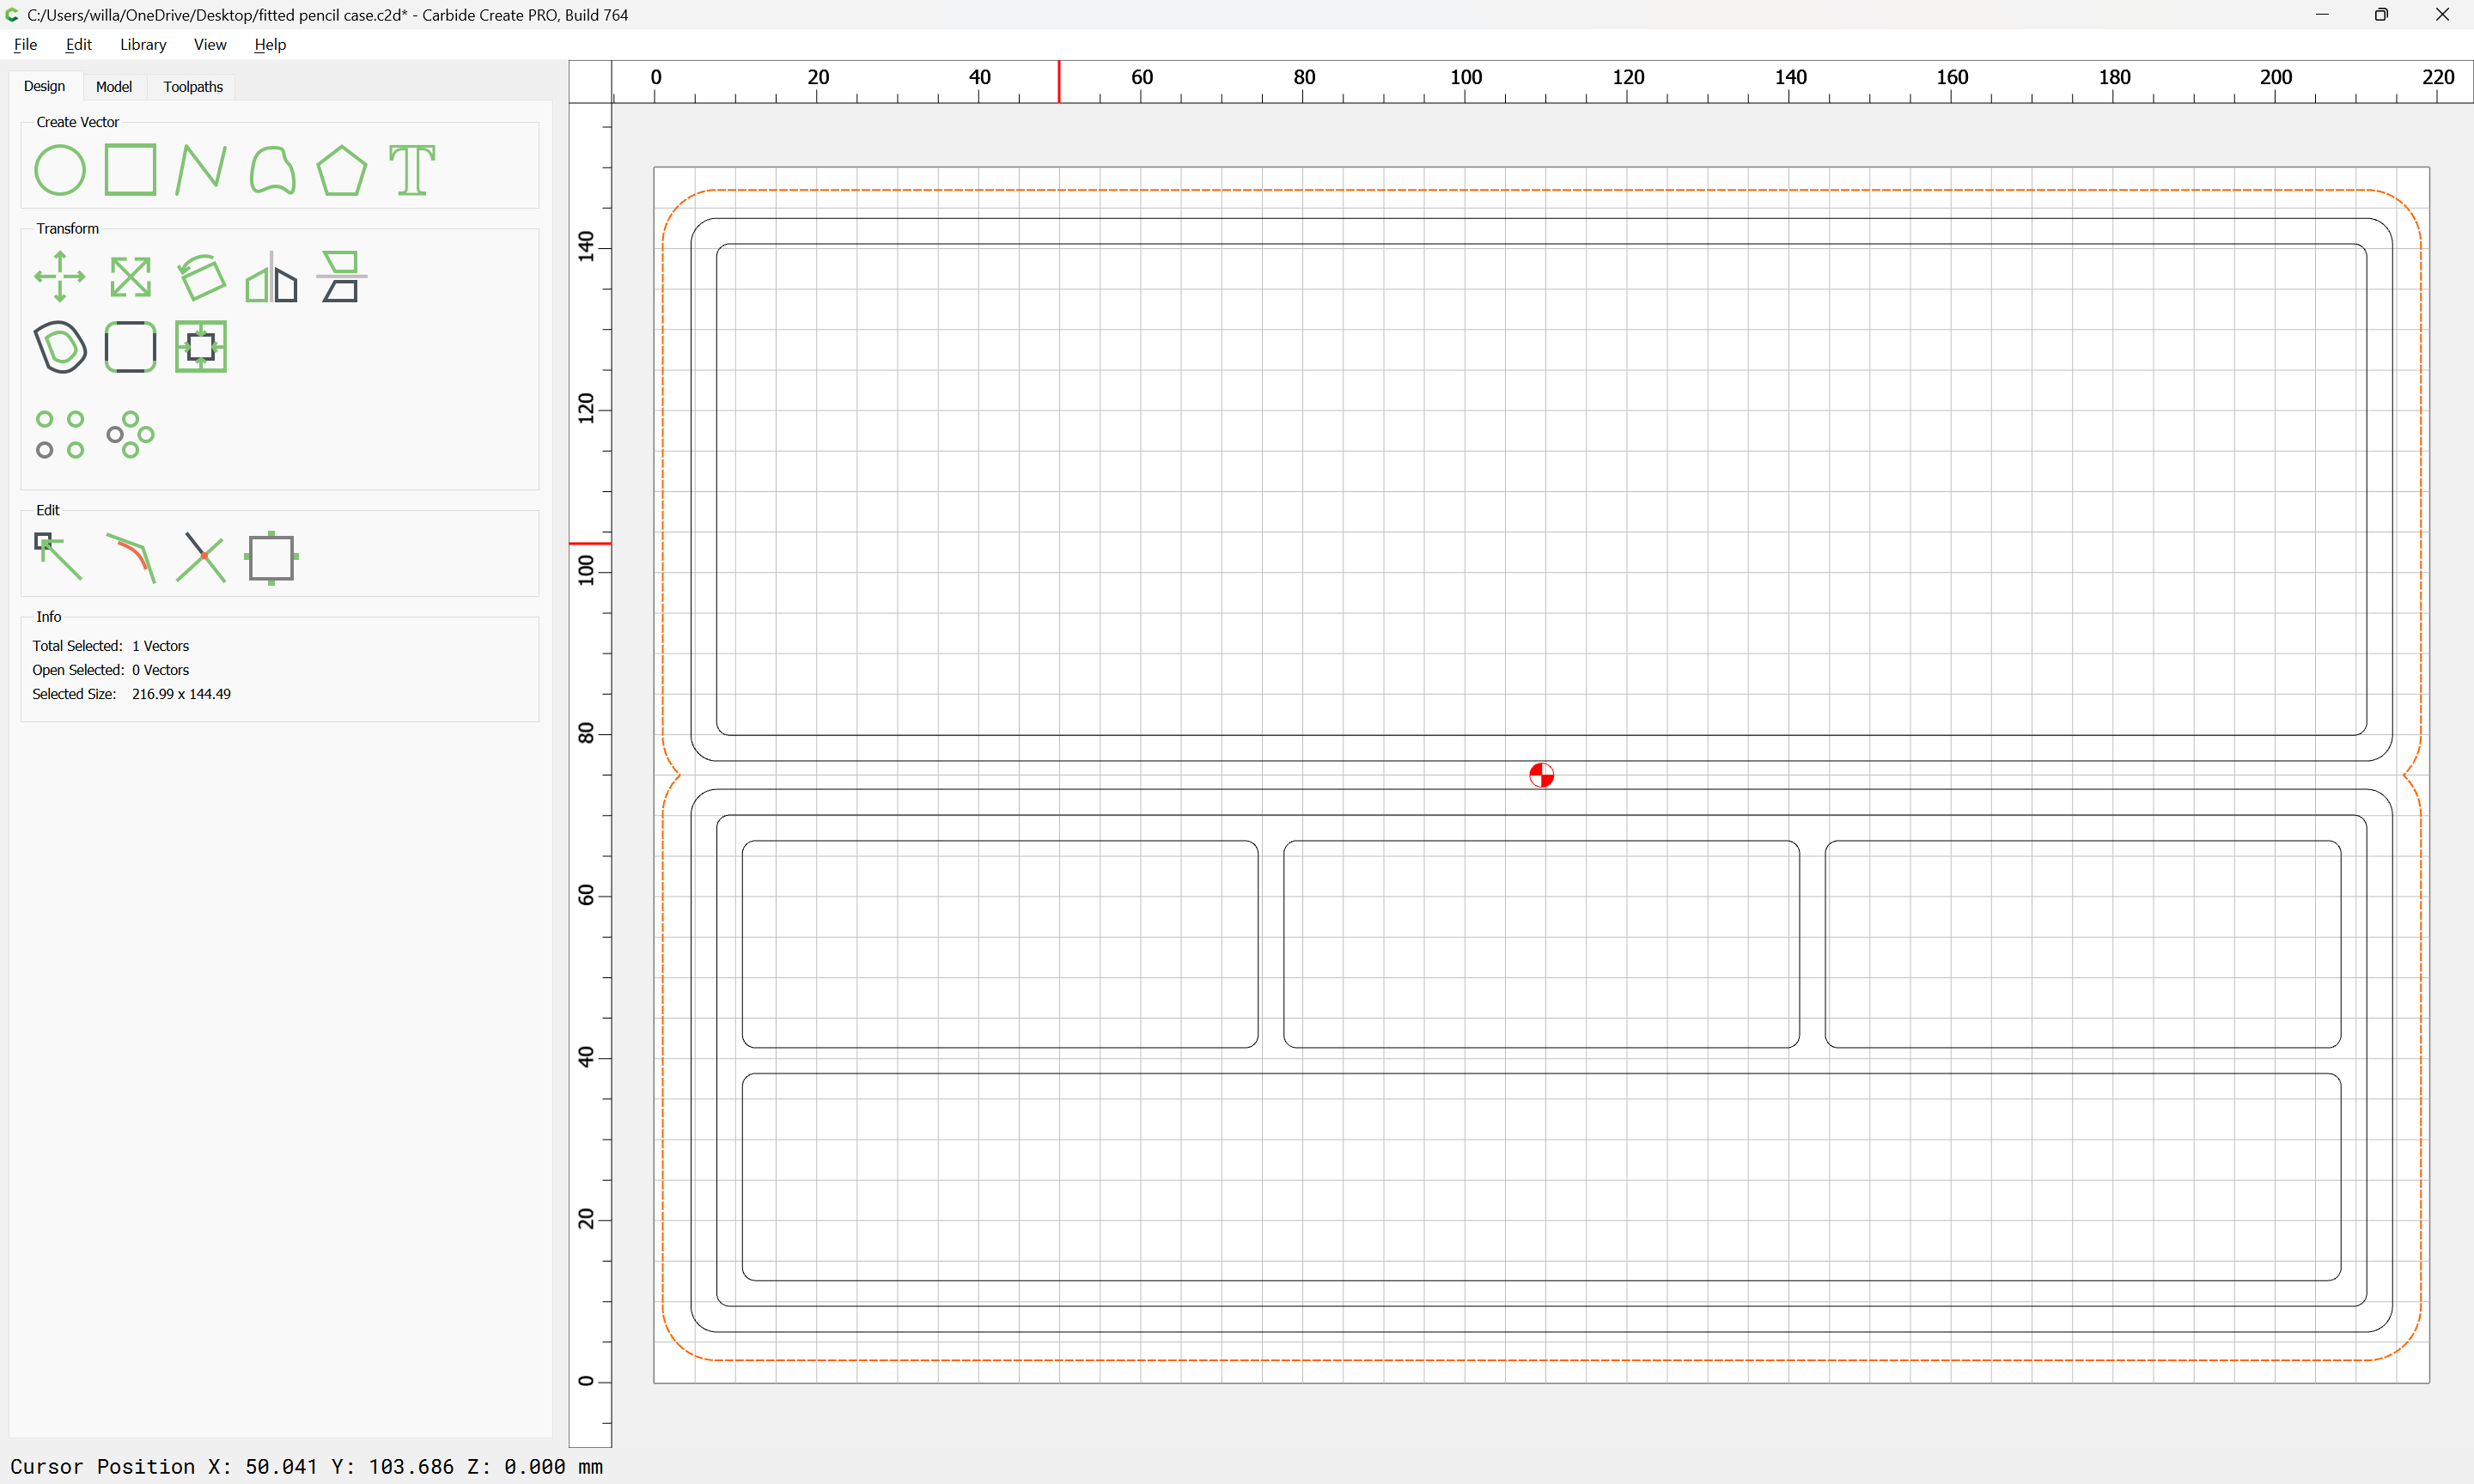
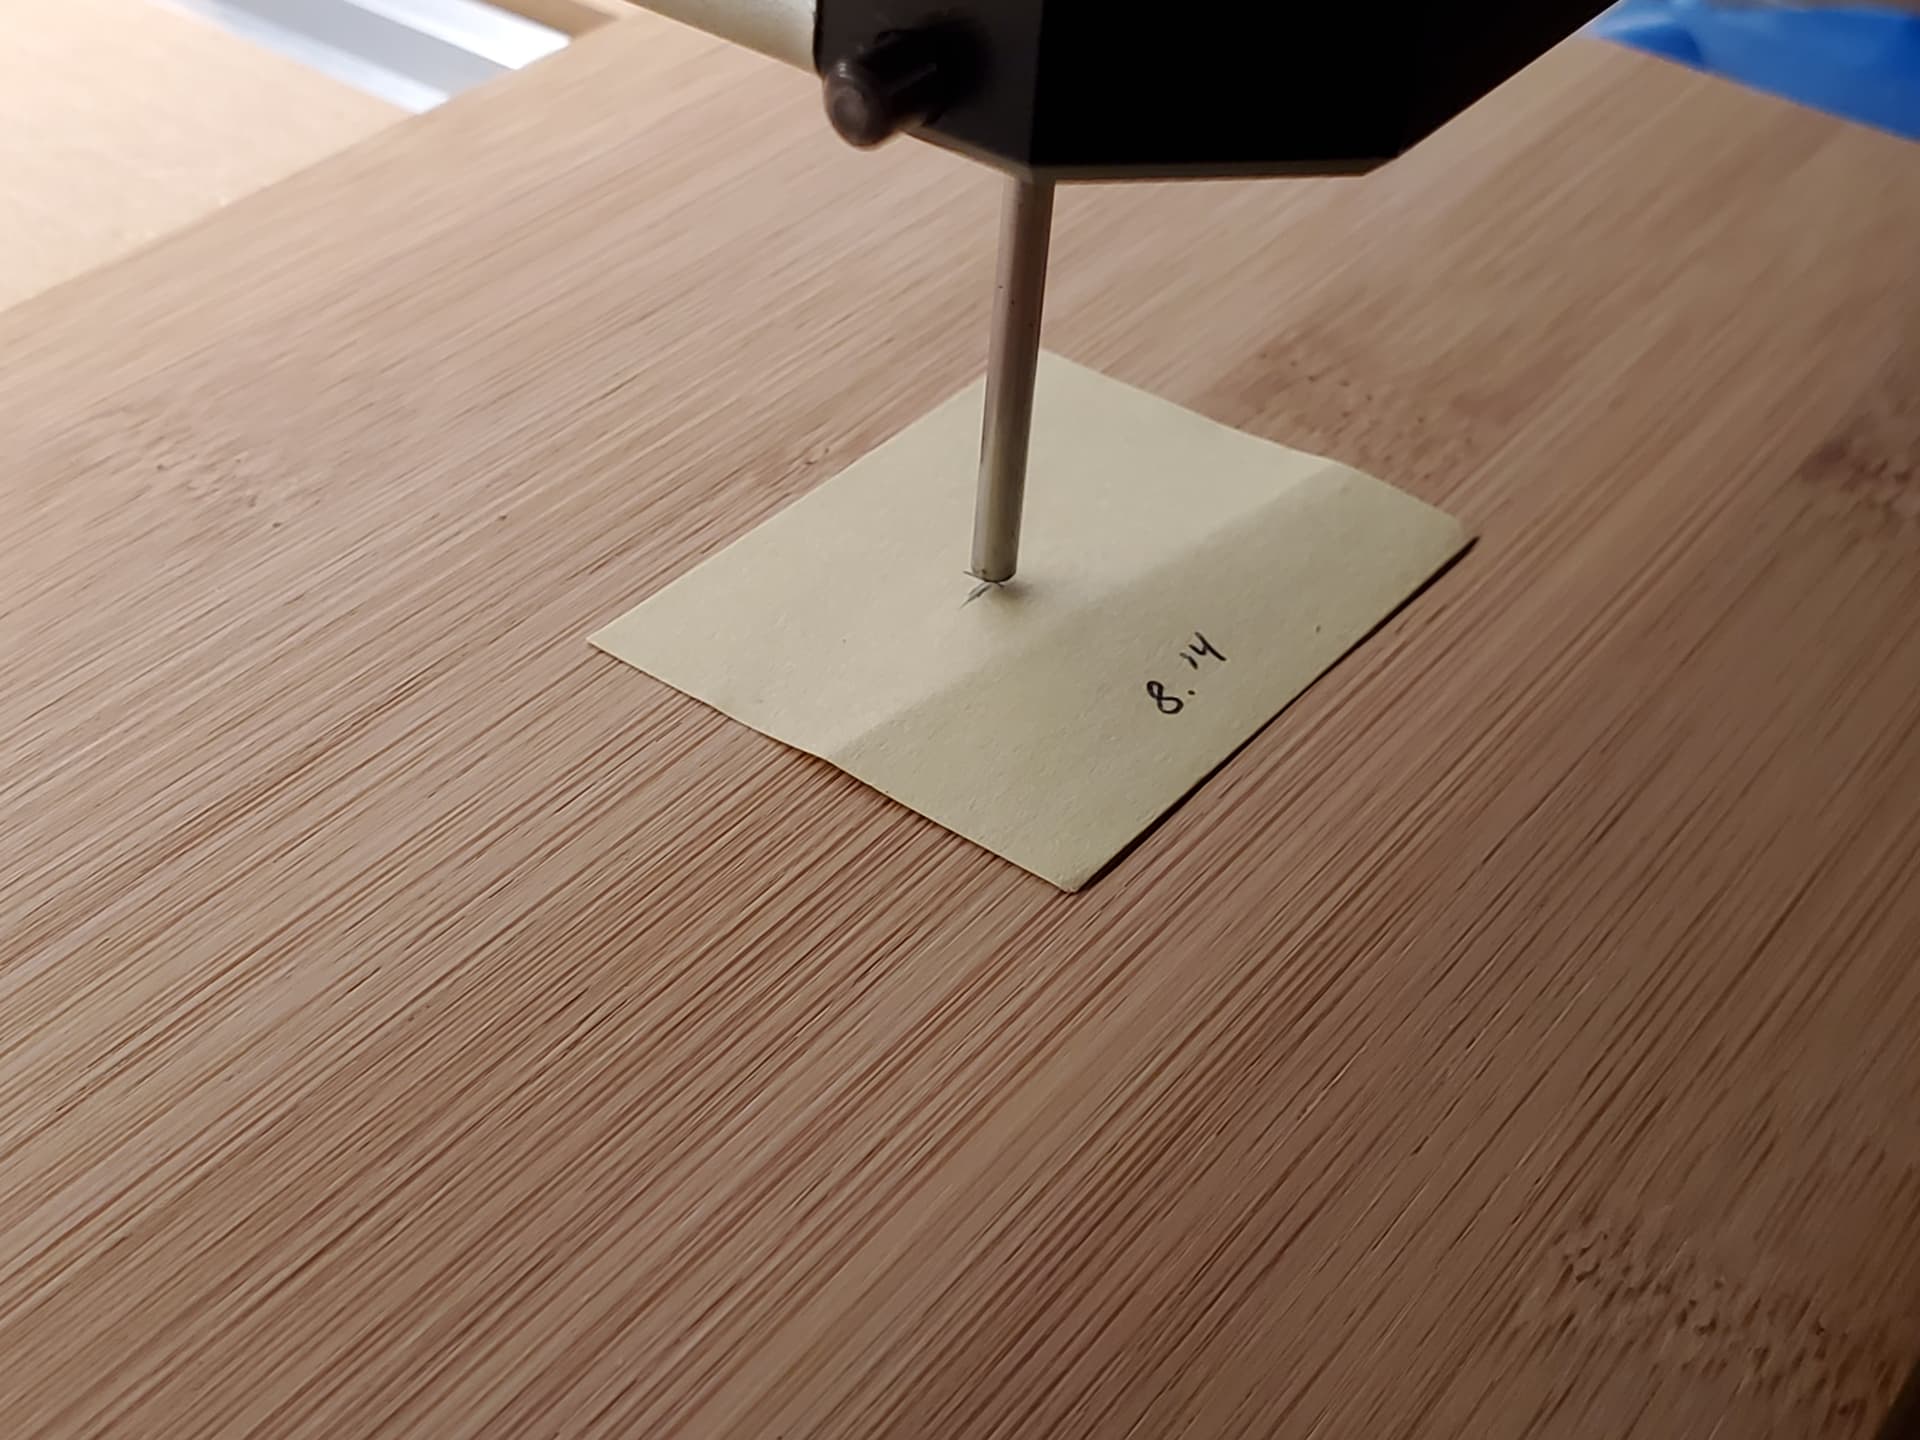
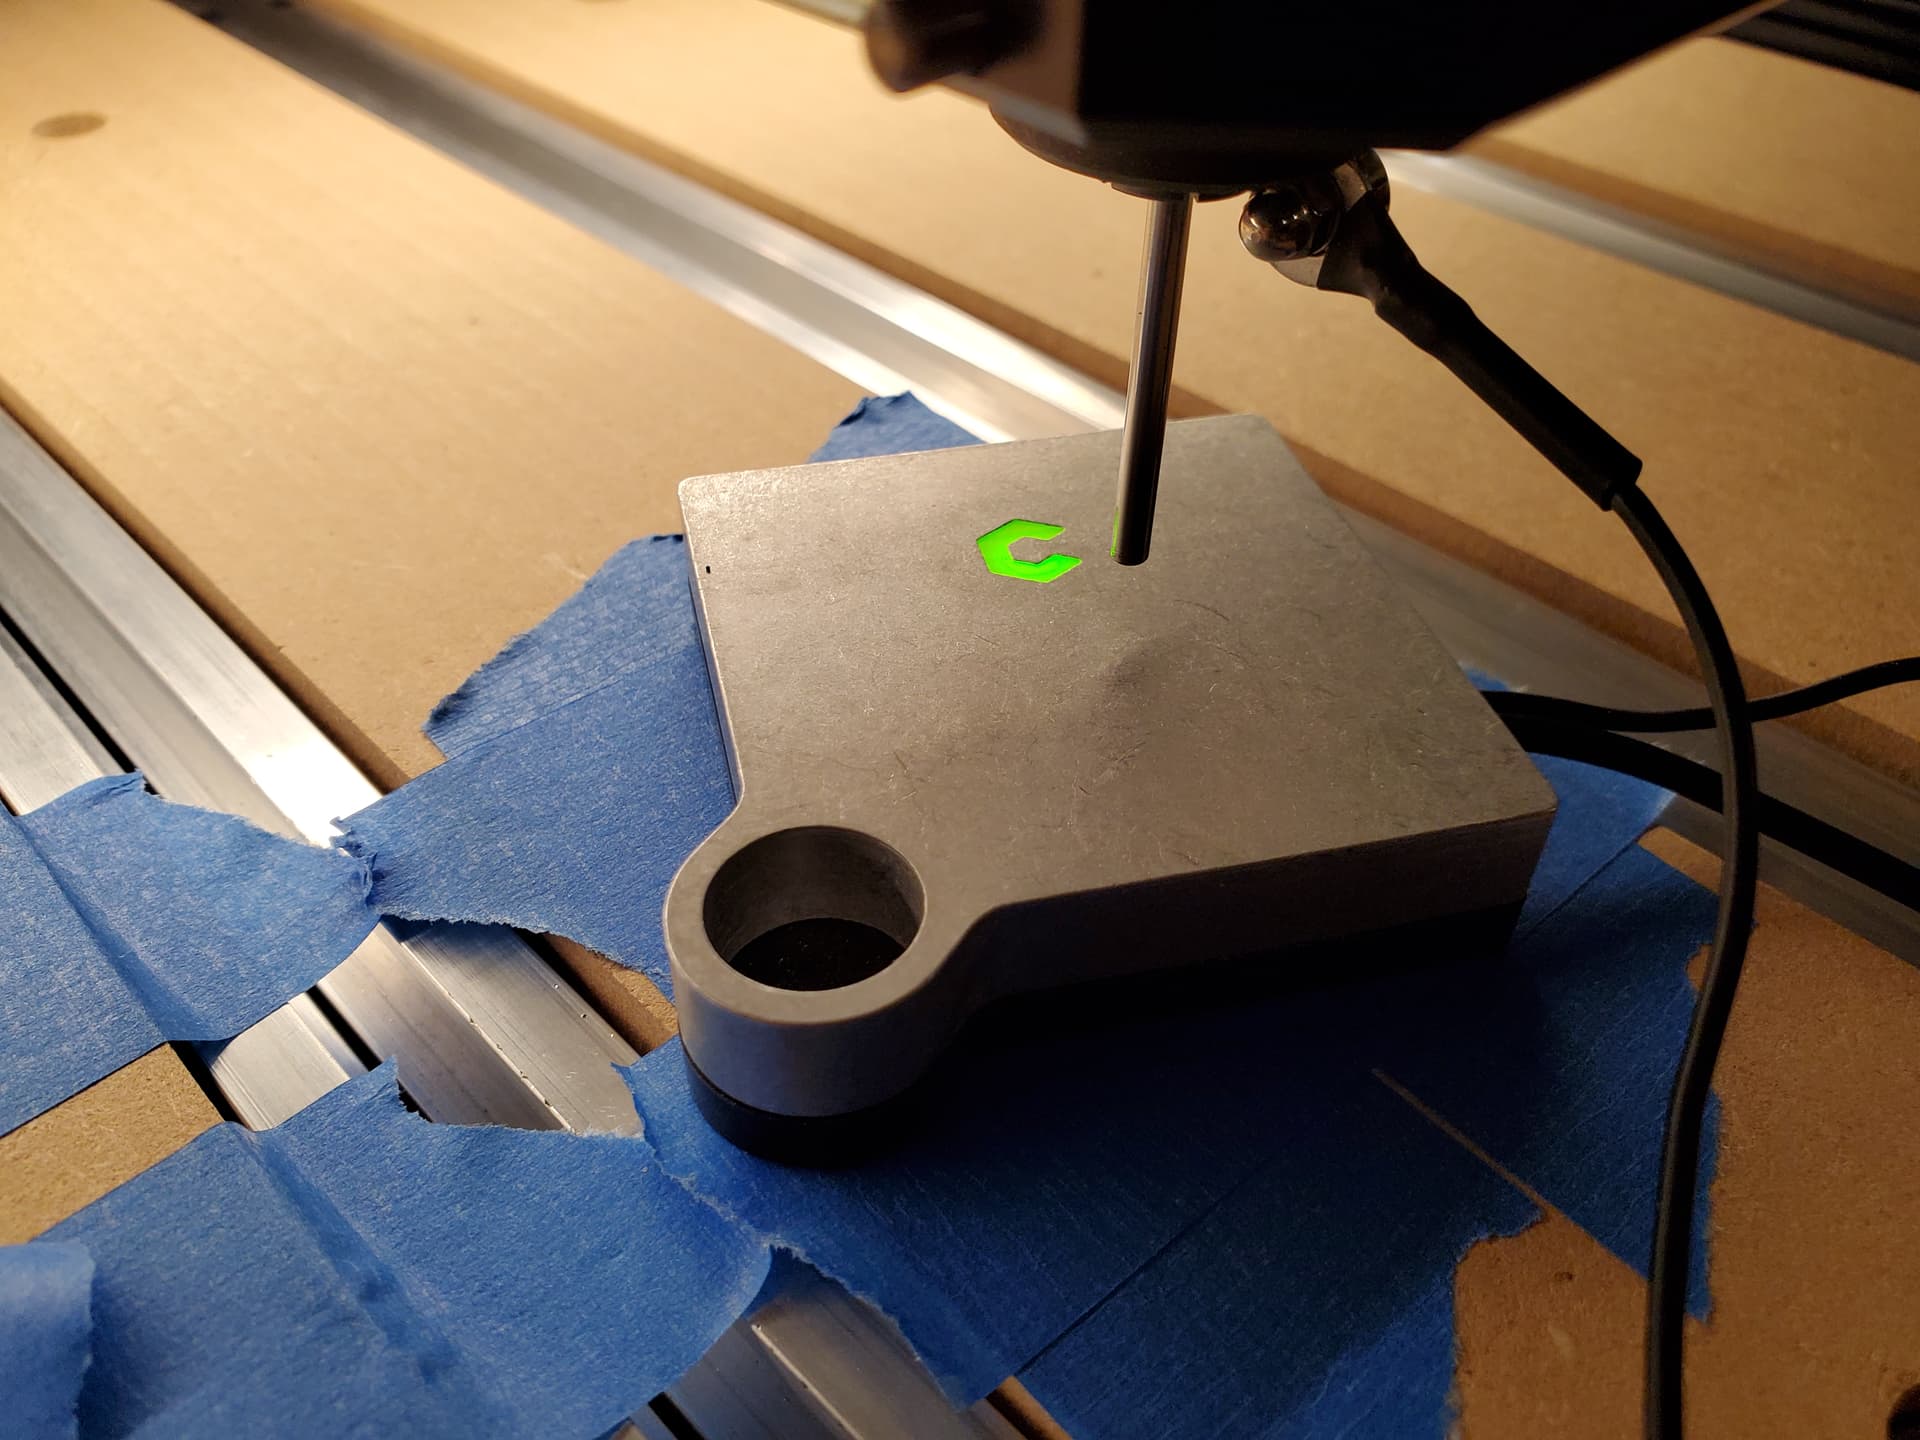
and we see that we will need to use some sort of adhesive option for workholding (I will be using double-sided tape and cyanoacrylate glue like to: Super Hold - Carbide 3D )
We next need to set up toolpaths which will:
- cut out the pockets/interior of the lid
- cut around the lip of the bottom which will hold the lid
- cut out the perimeter of the design
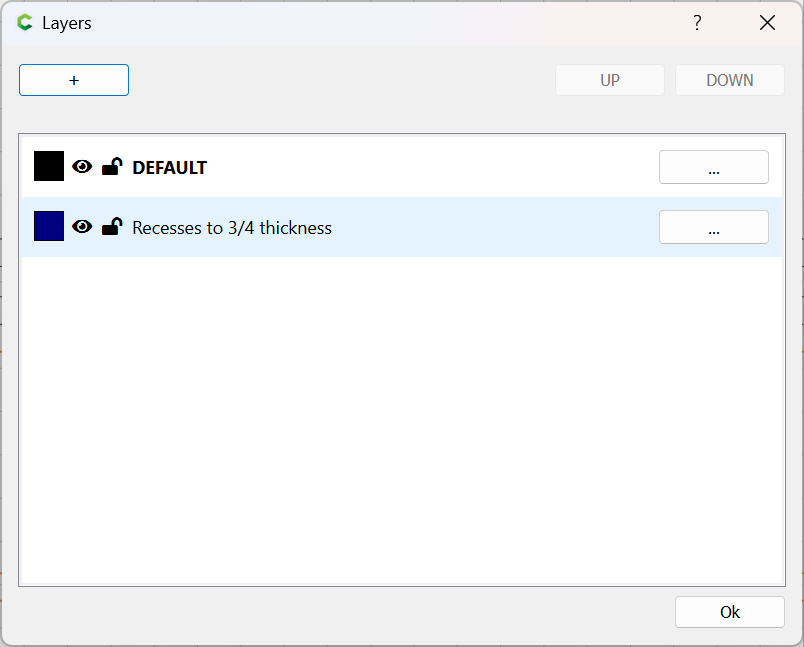
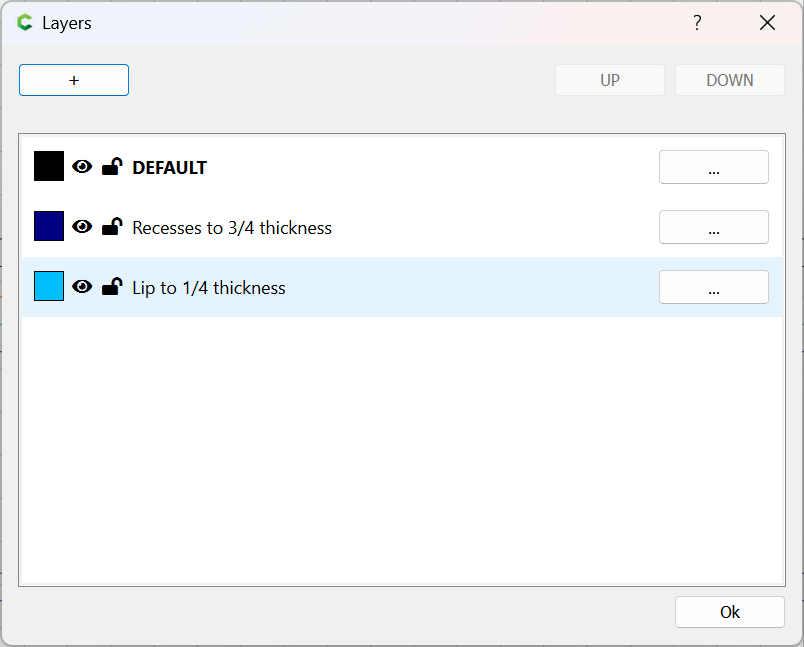
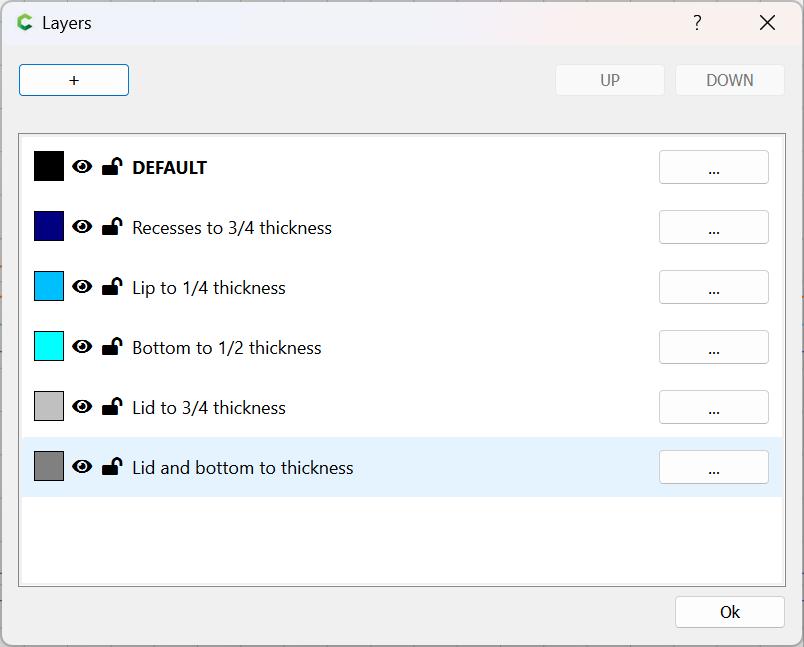
and will be creating layers to help with this organization.
Note that it will be necessary to duplicate some geometry so as to have it associated with multiple toolpaths, since we will be using the facility Carbide Create has for associating toolpaths with layers.
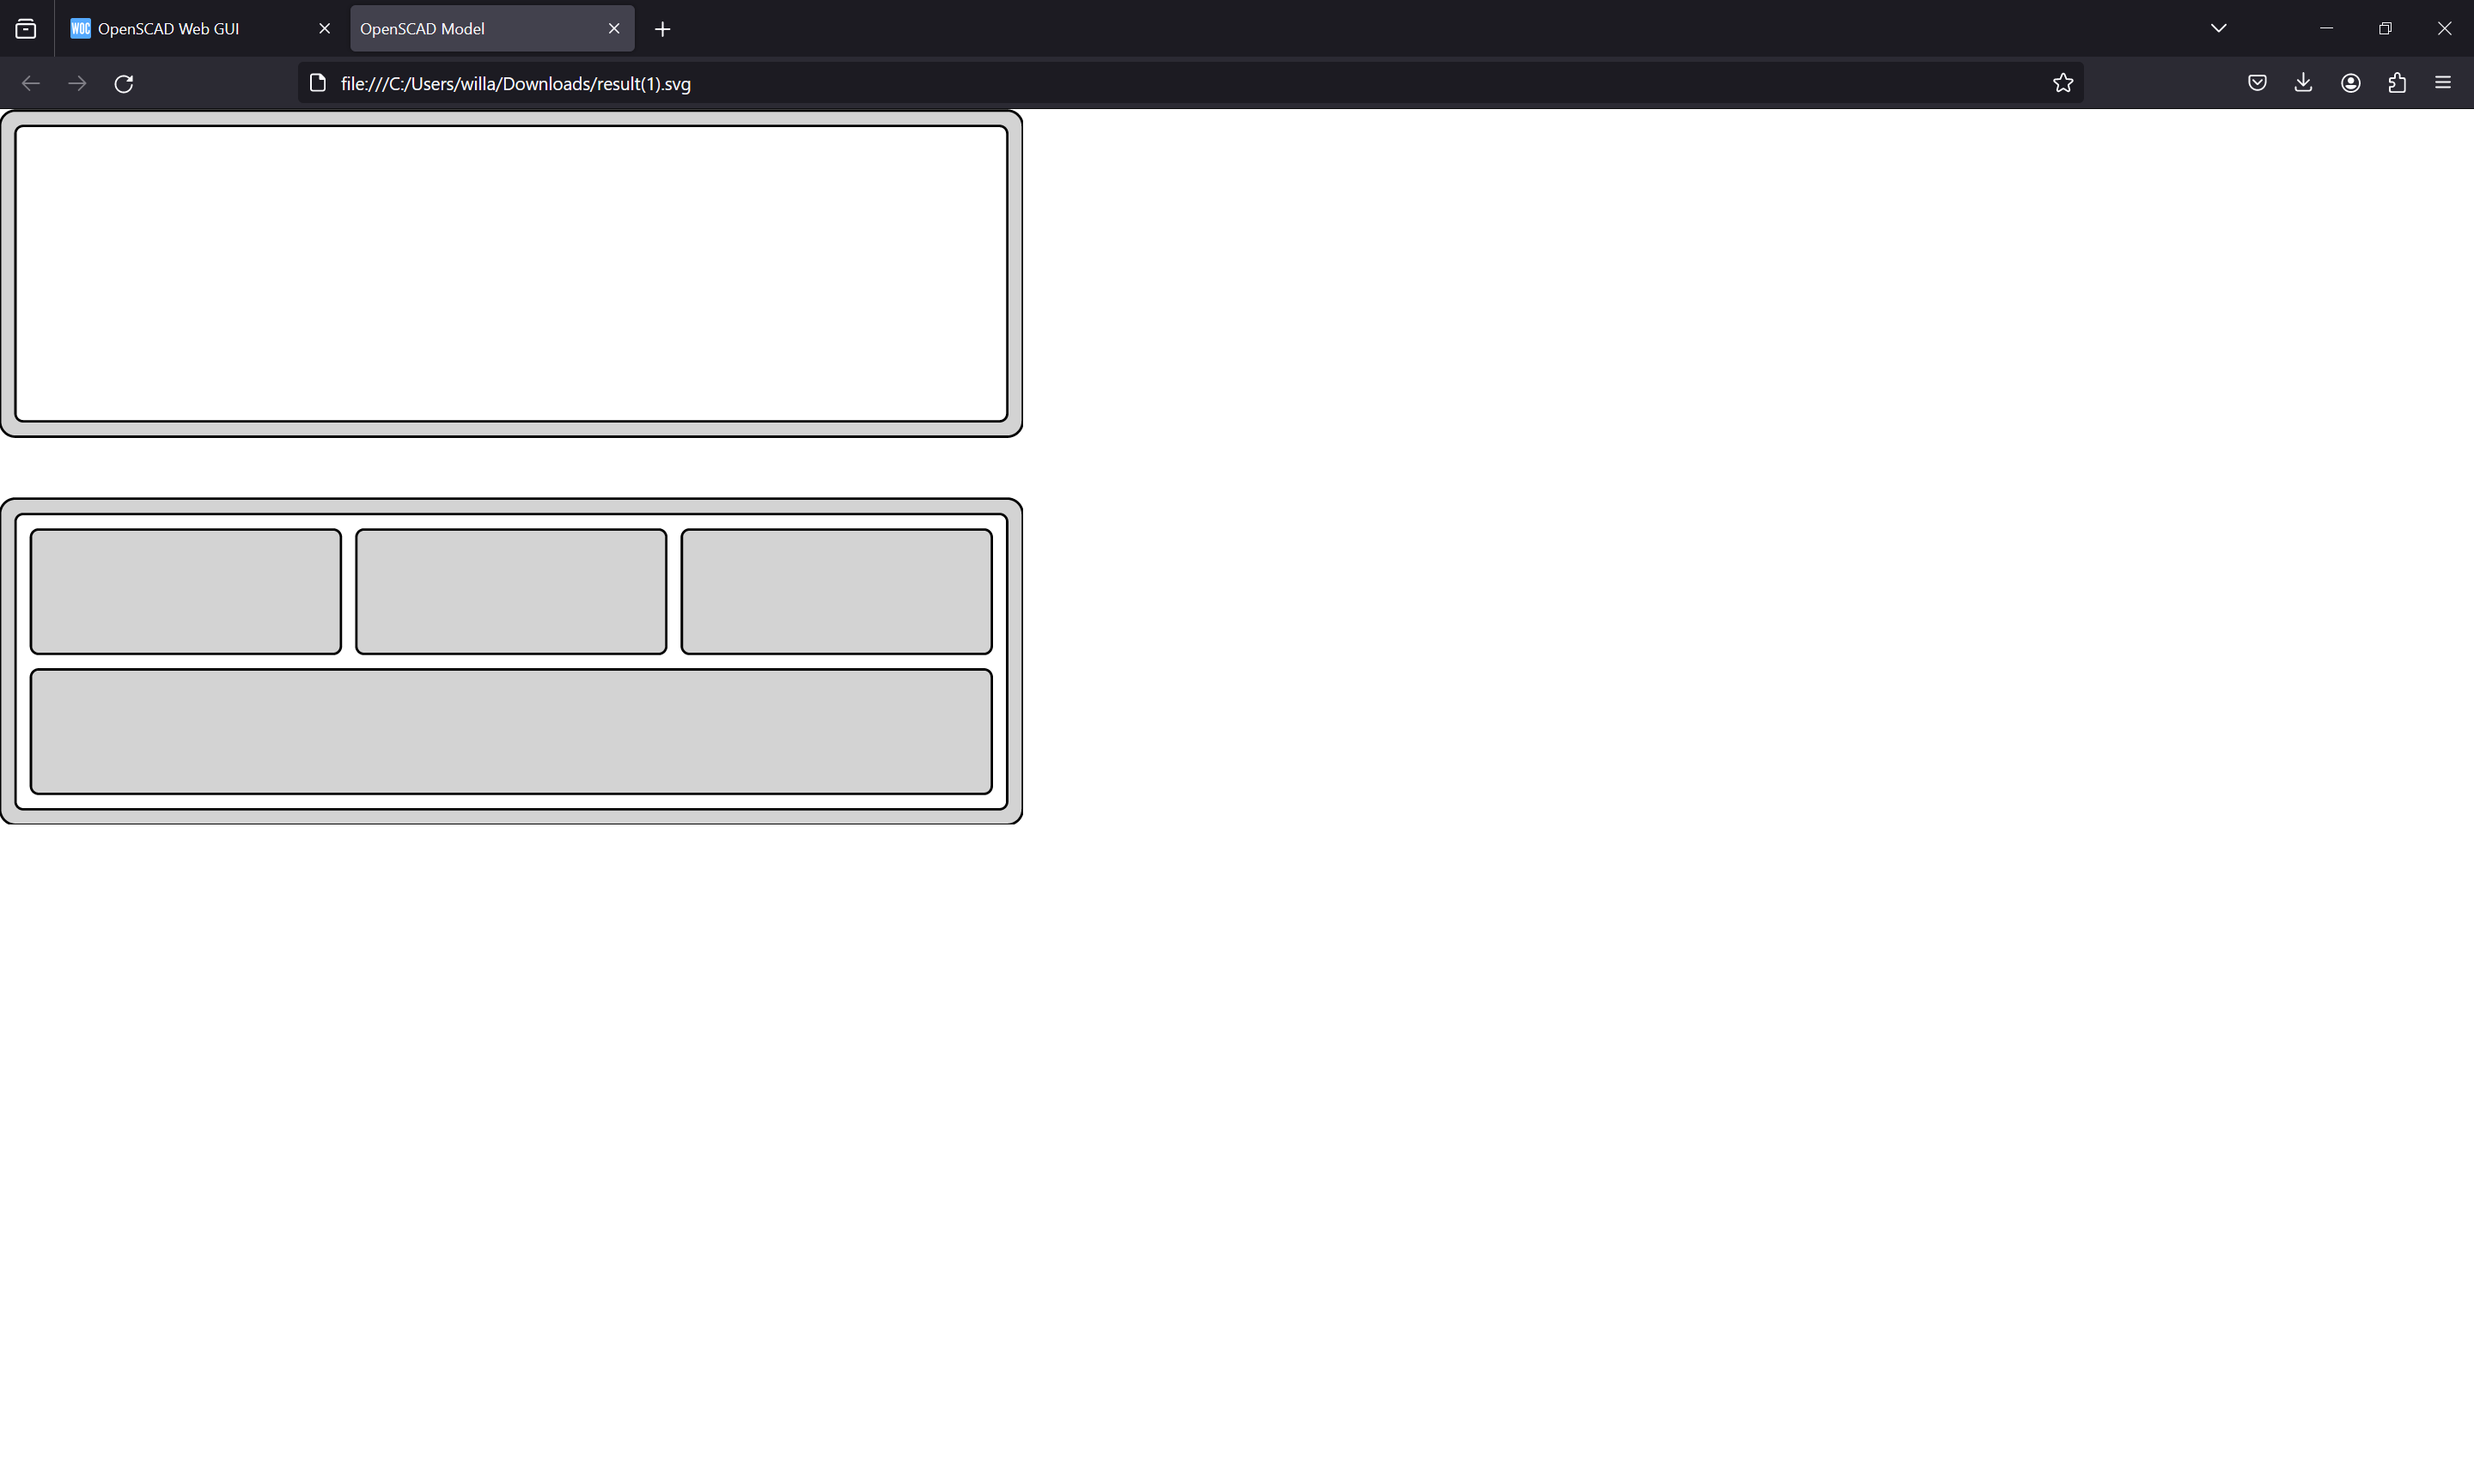
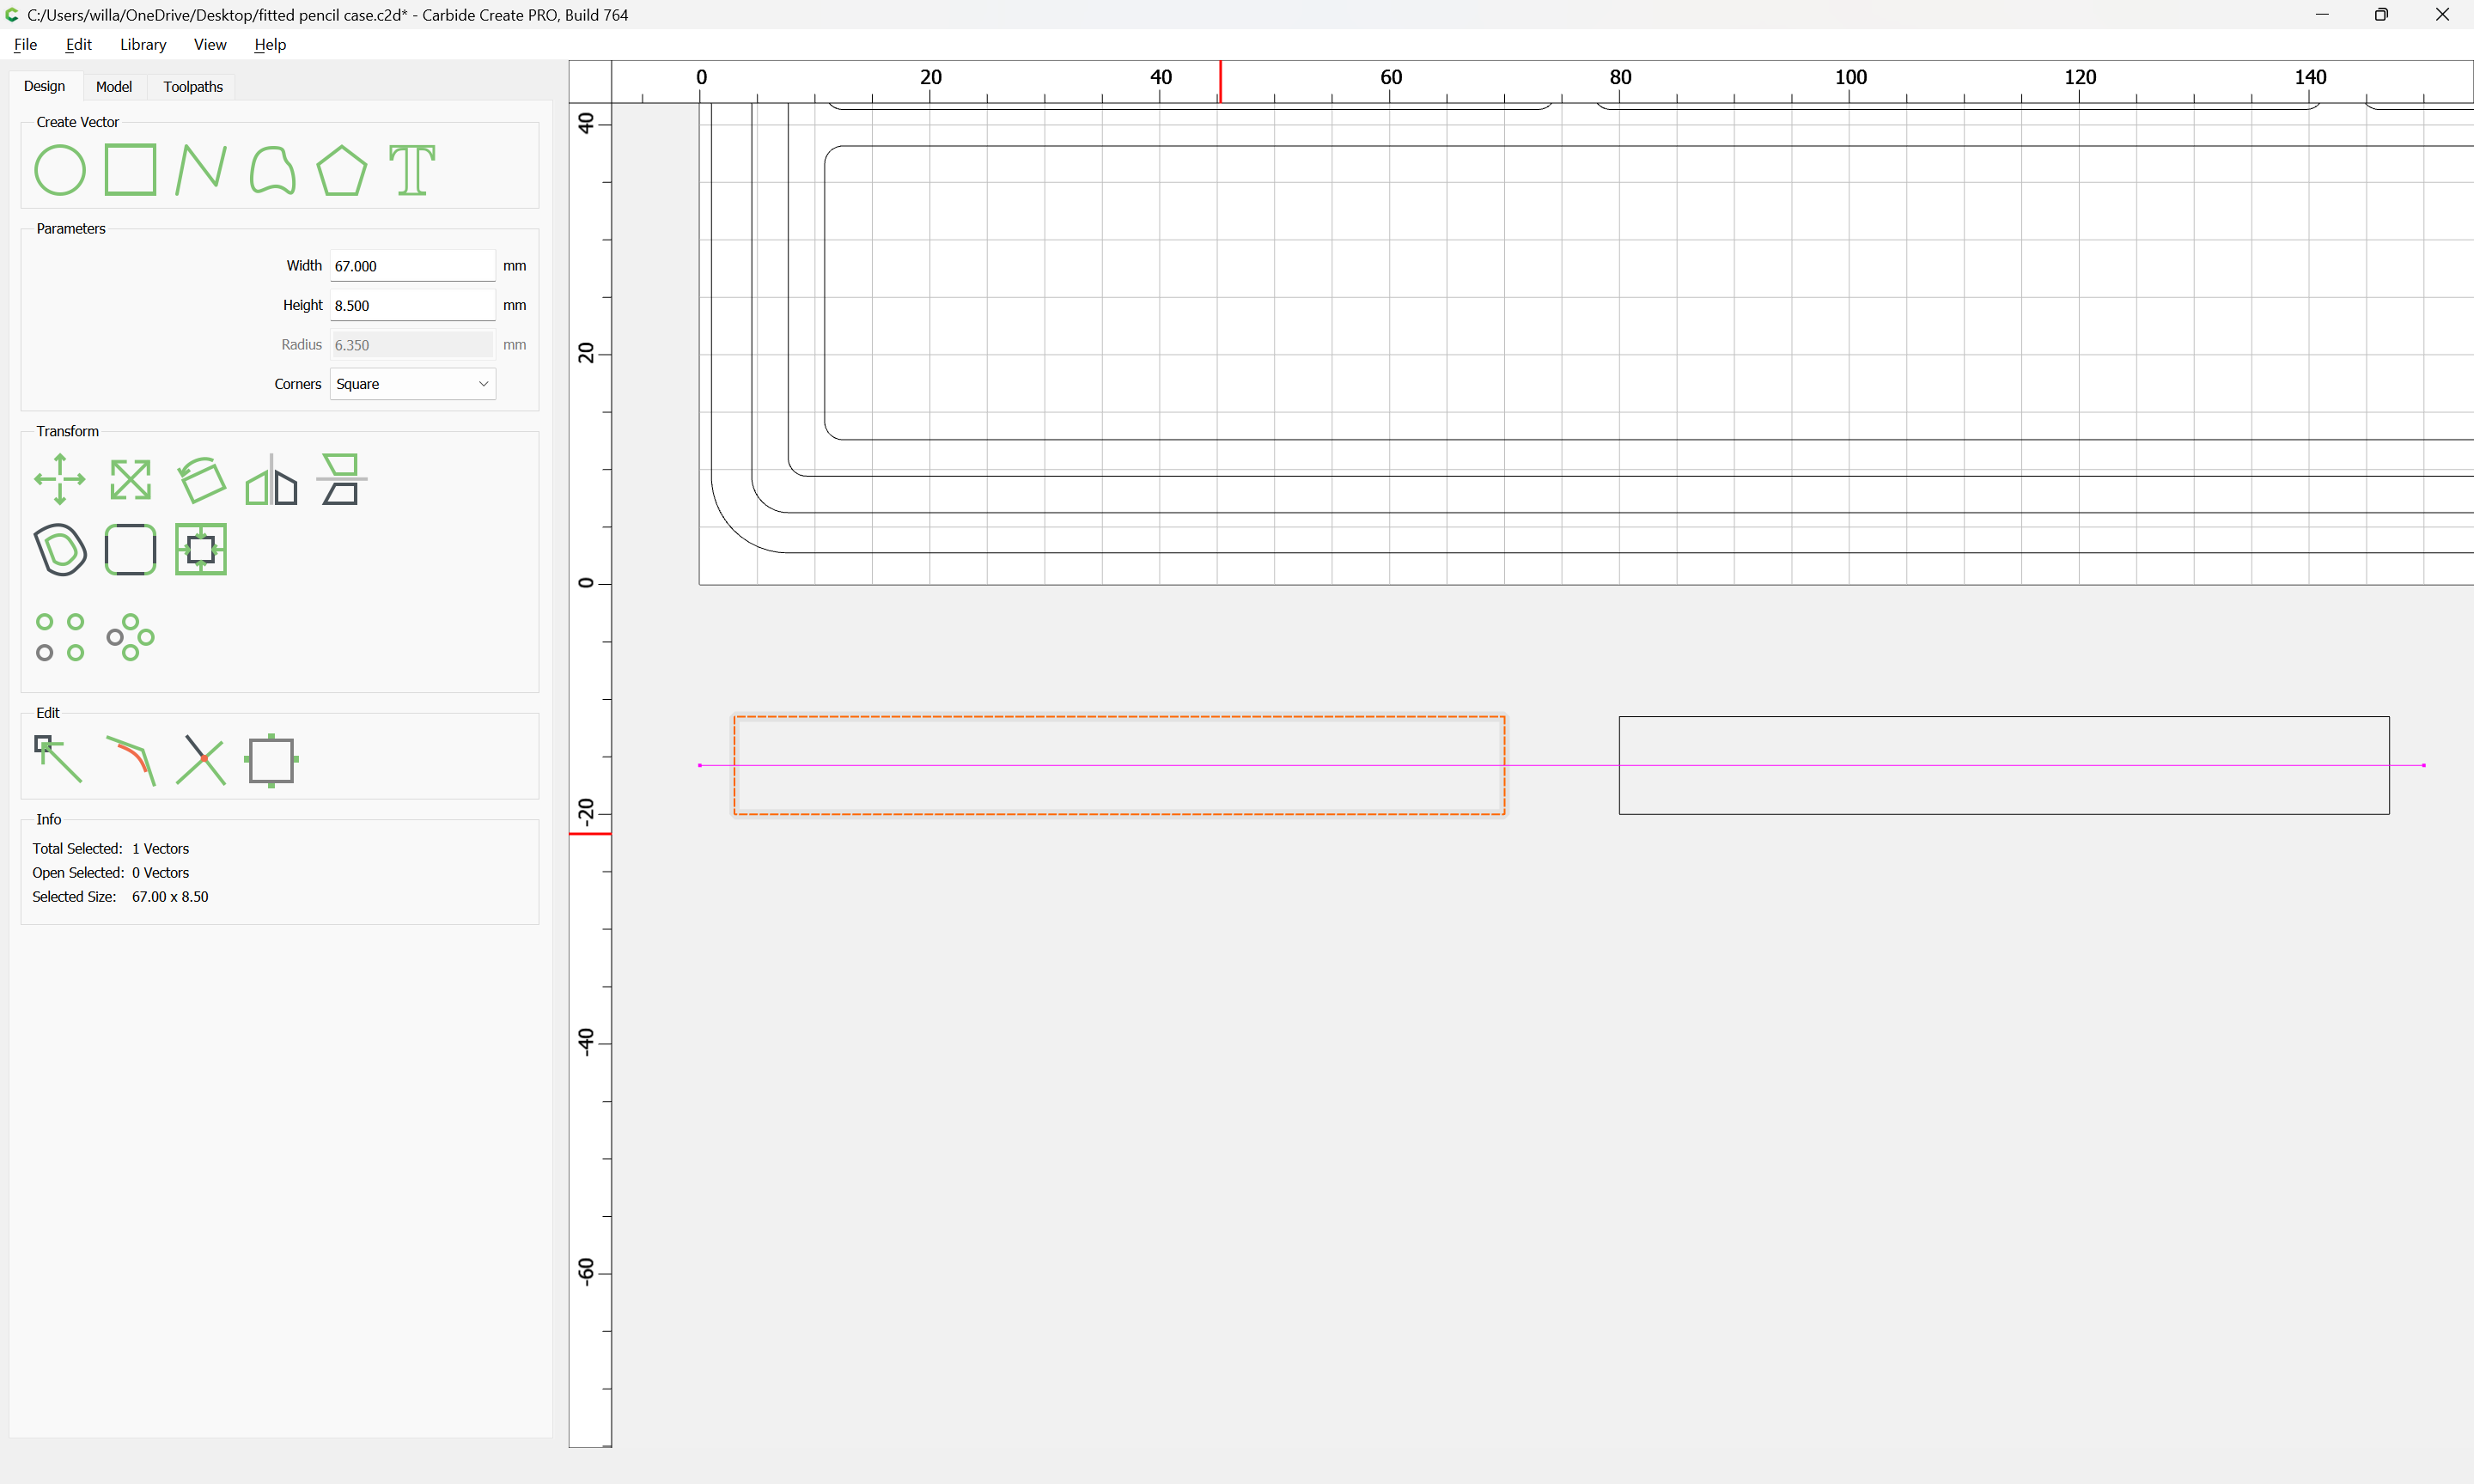
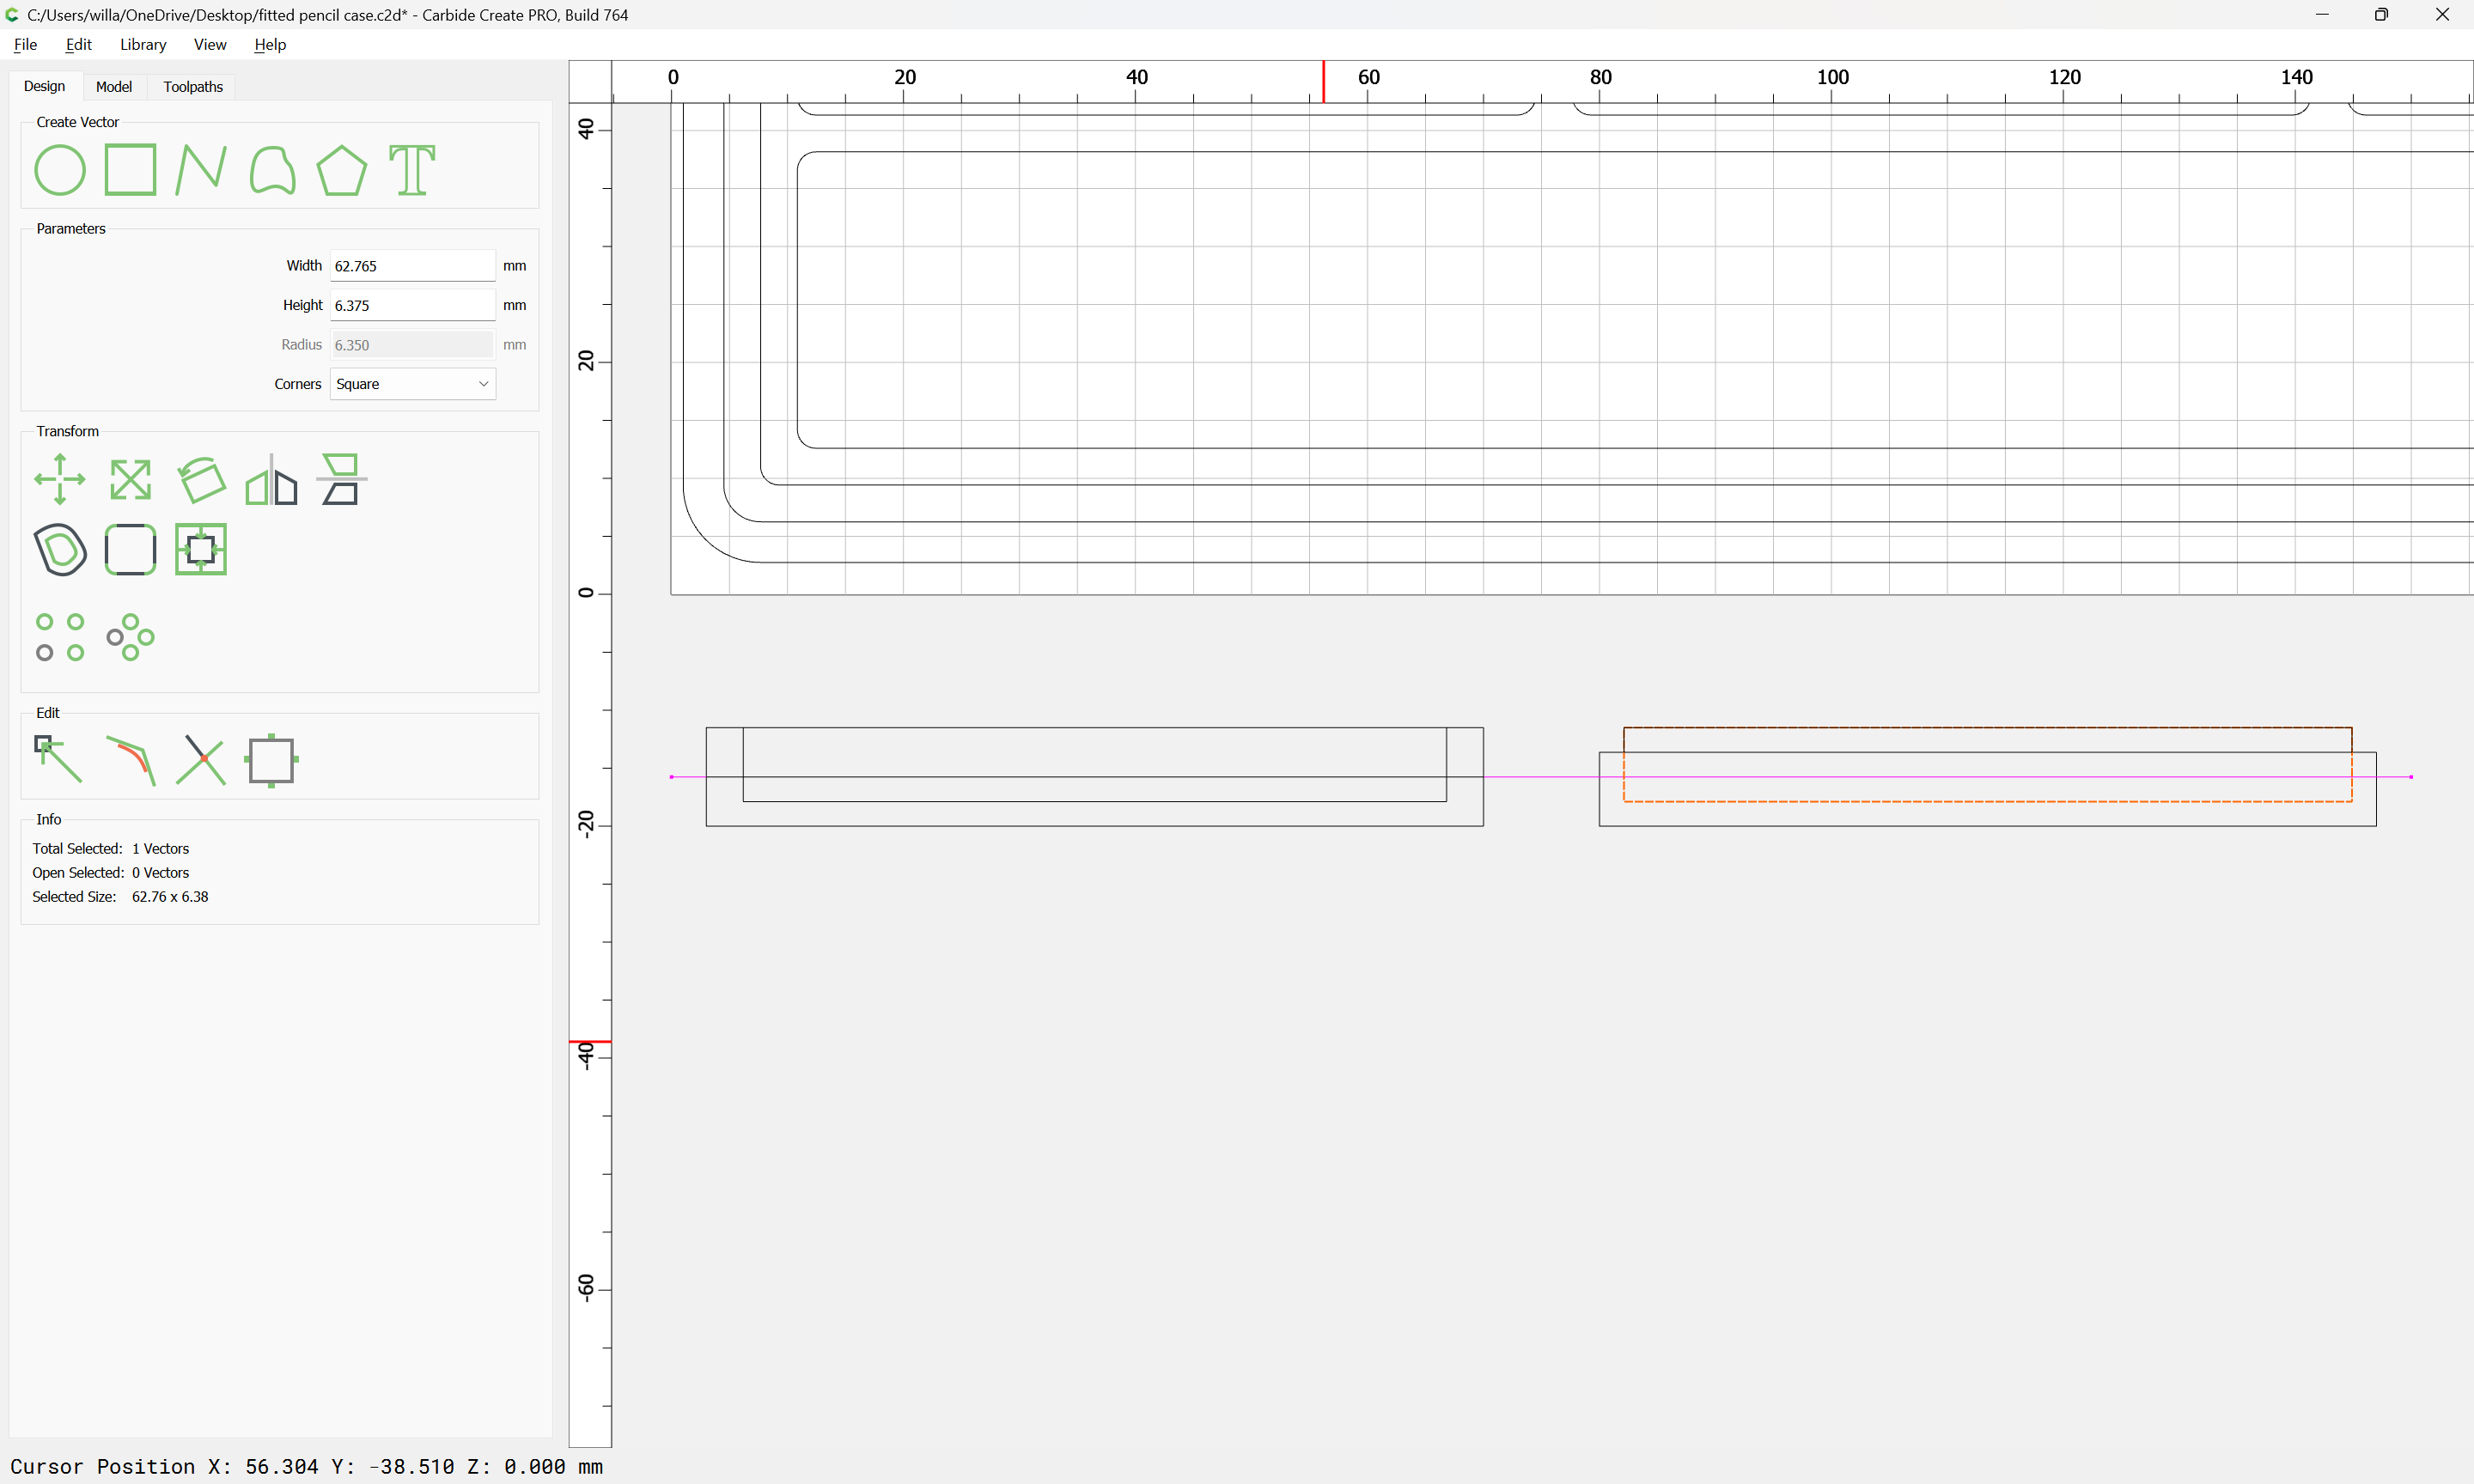
First, we need to know how deeply each feature/pocket needs to be cut — this will be more obvious if we draw the design up in profile:
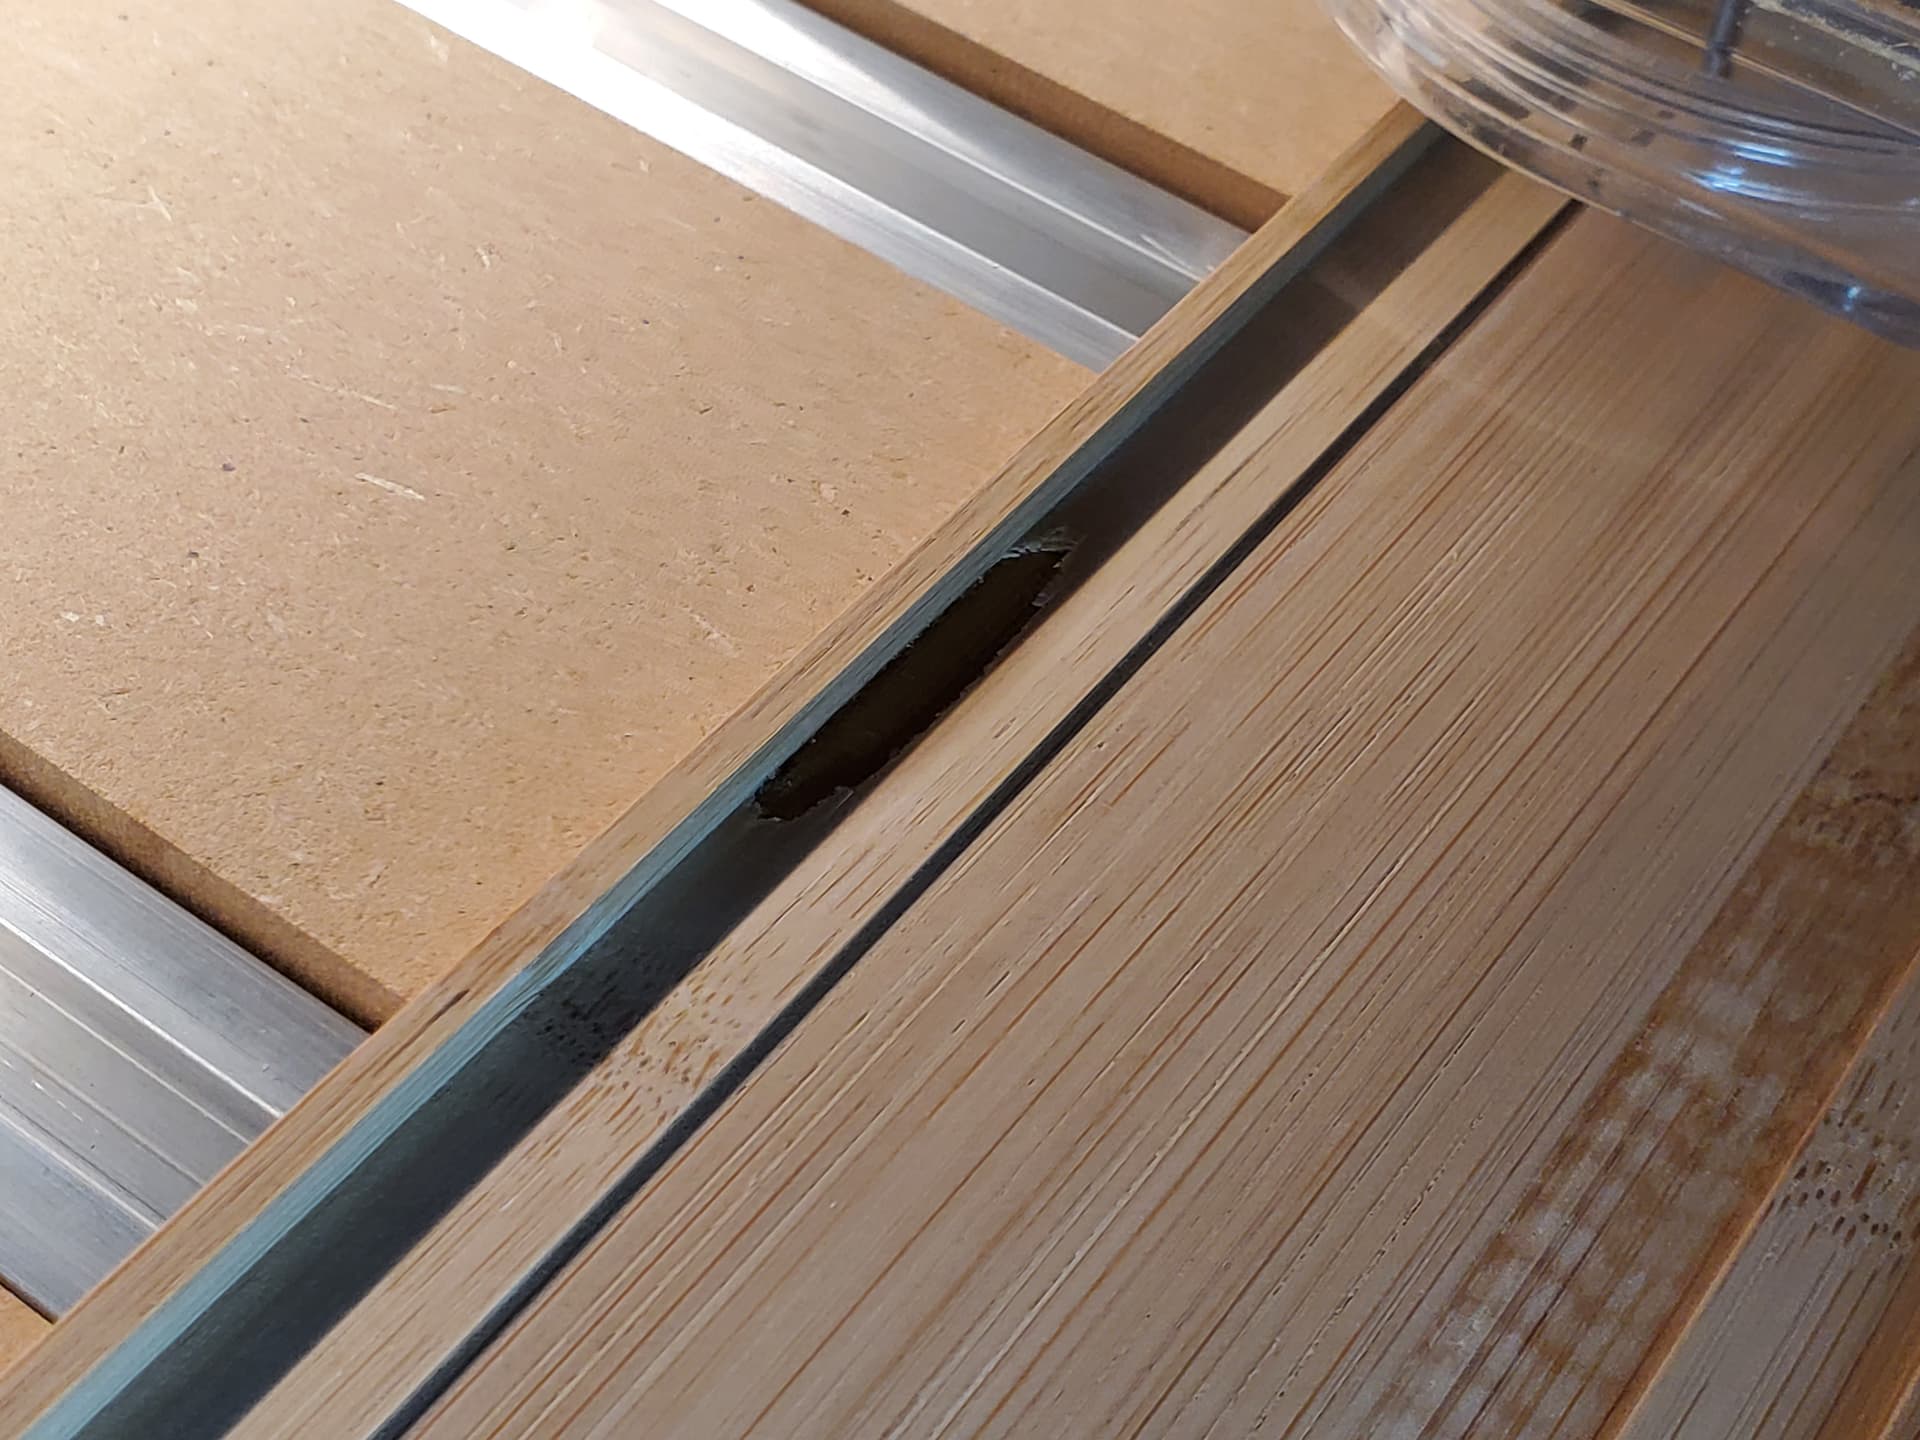
(the magenta line indicates the glue line where the two layers of bamboo are glued together)
For simplicity, we will consider the design as having only a single pocket in the profile view.
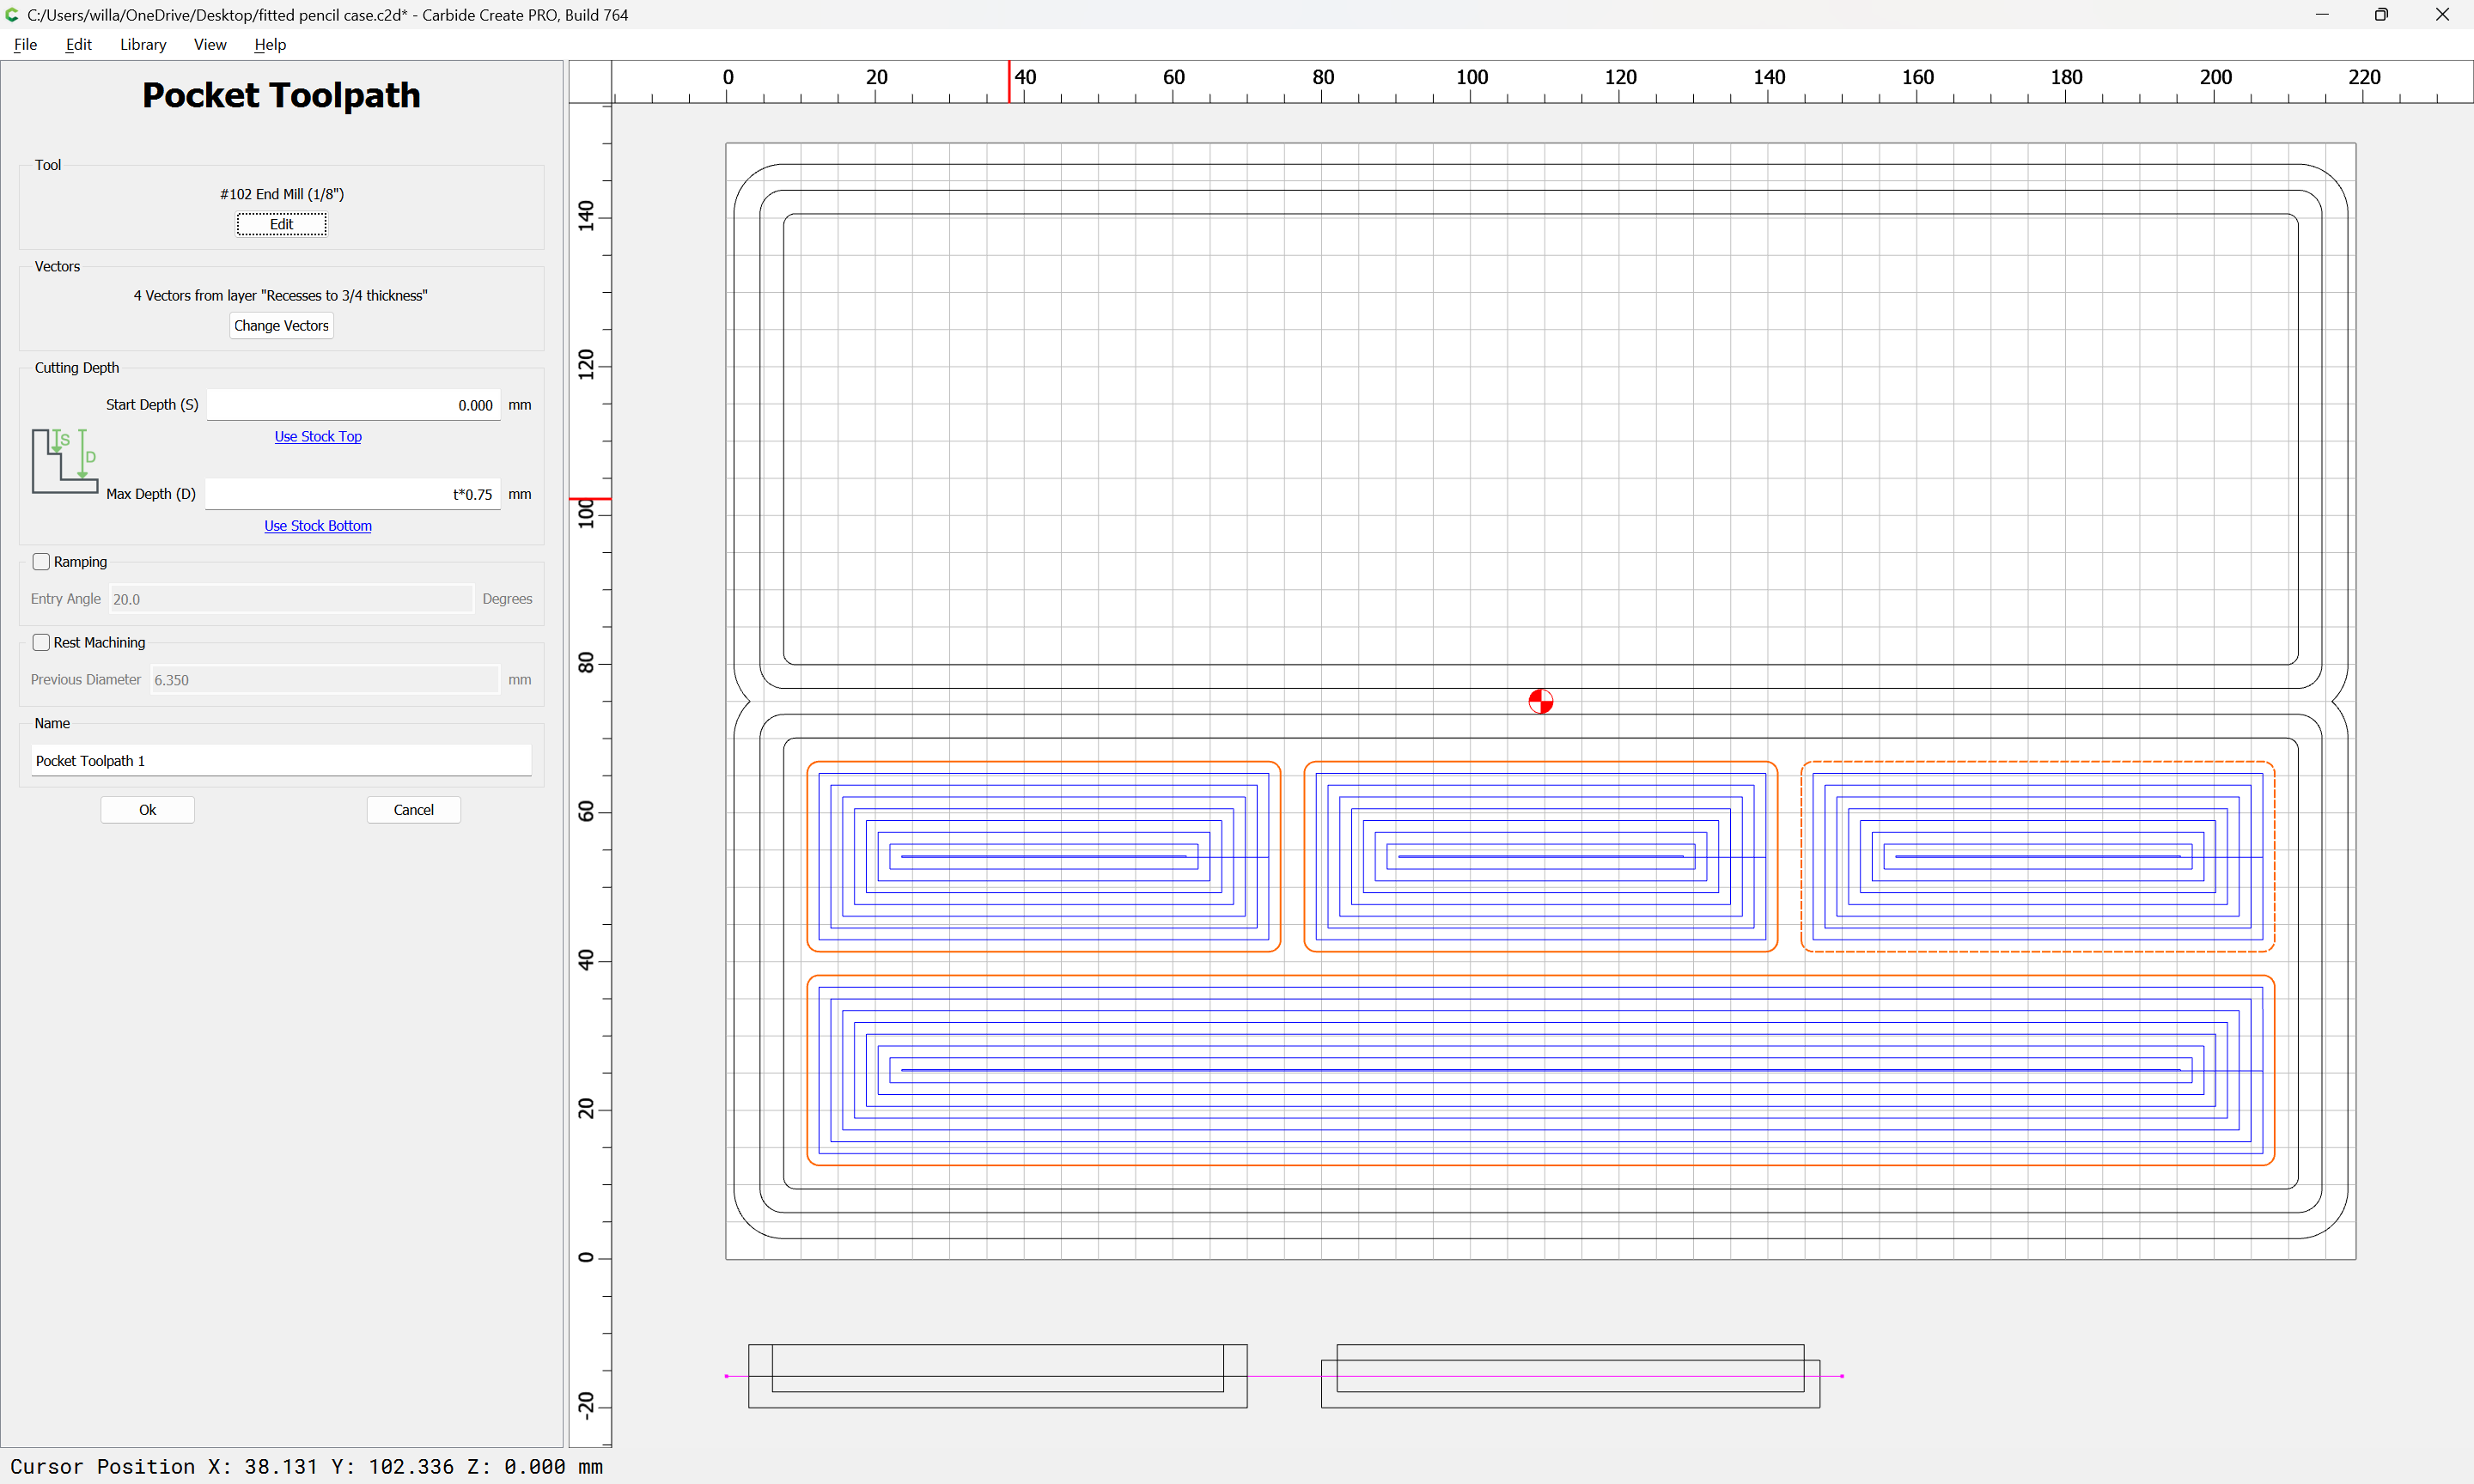
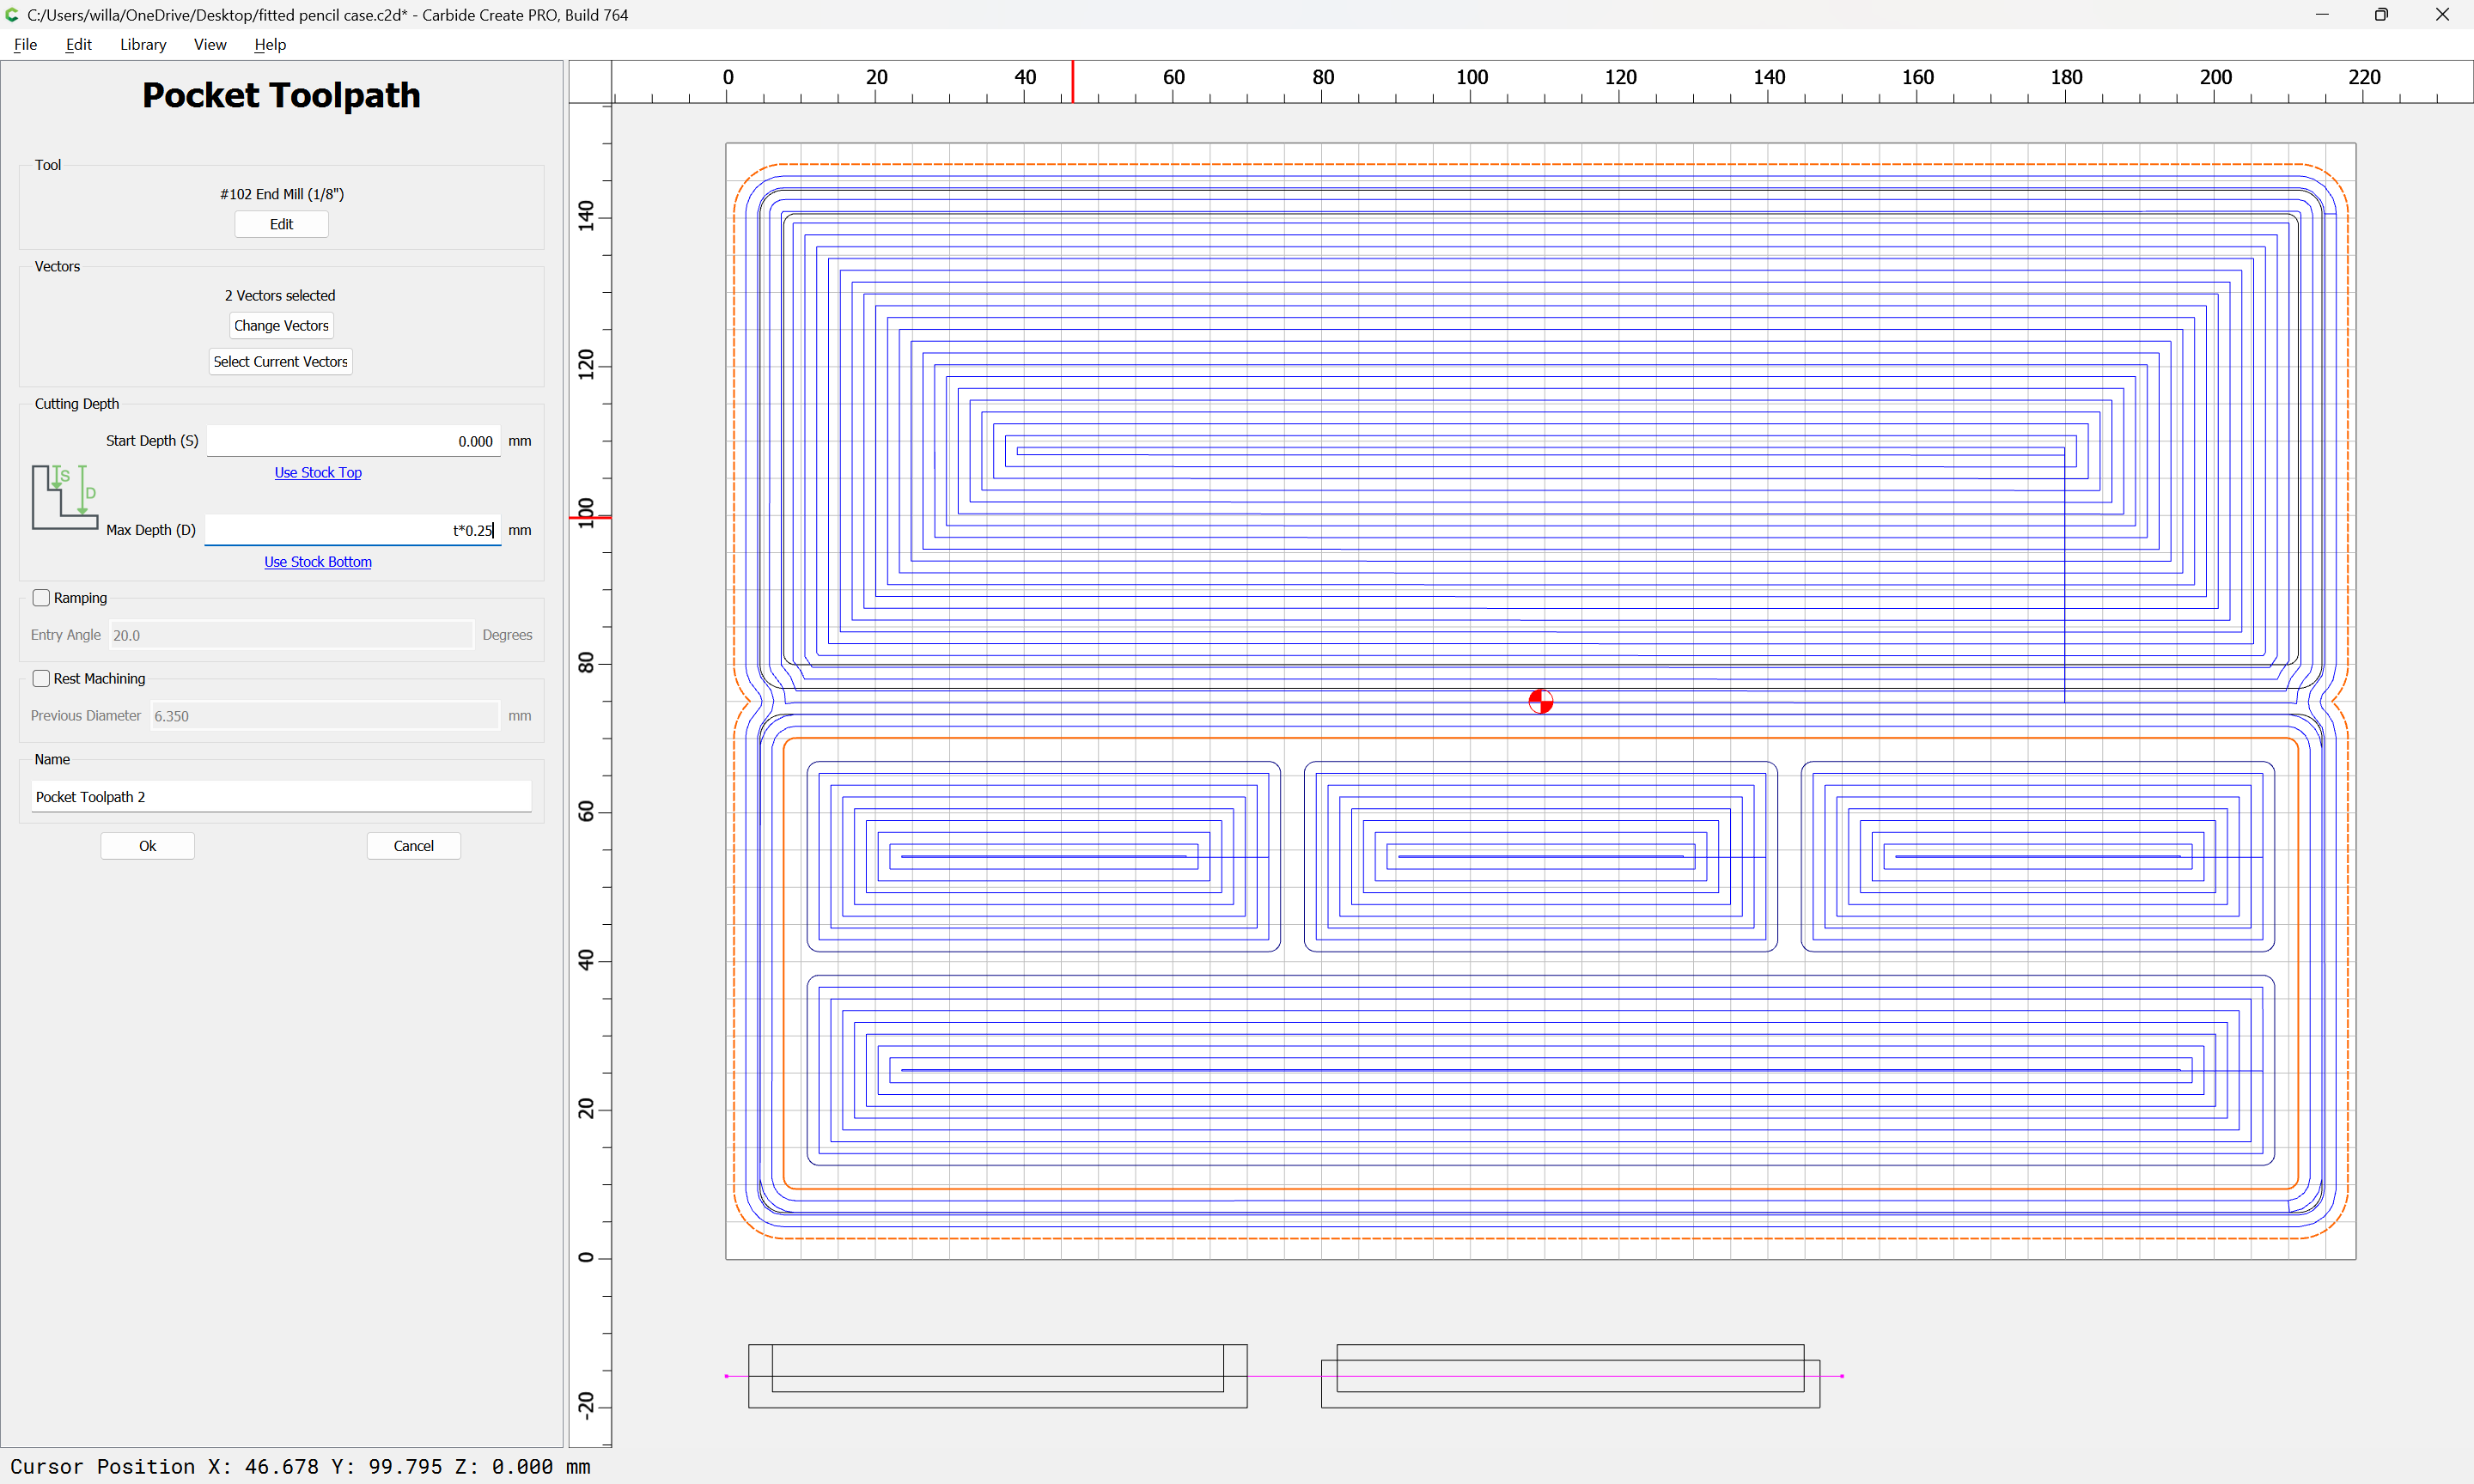
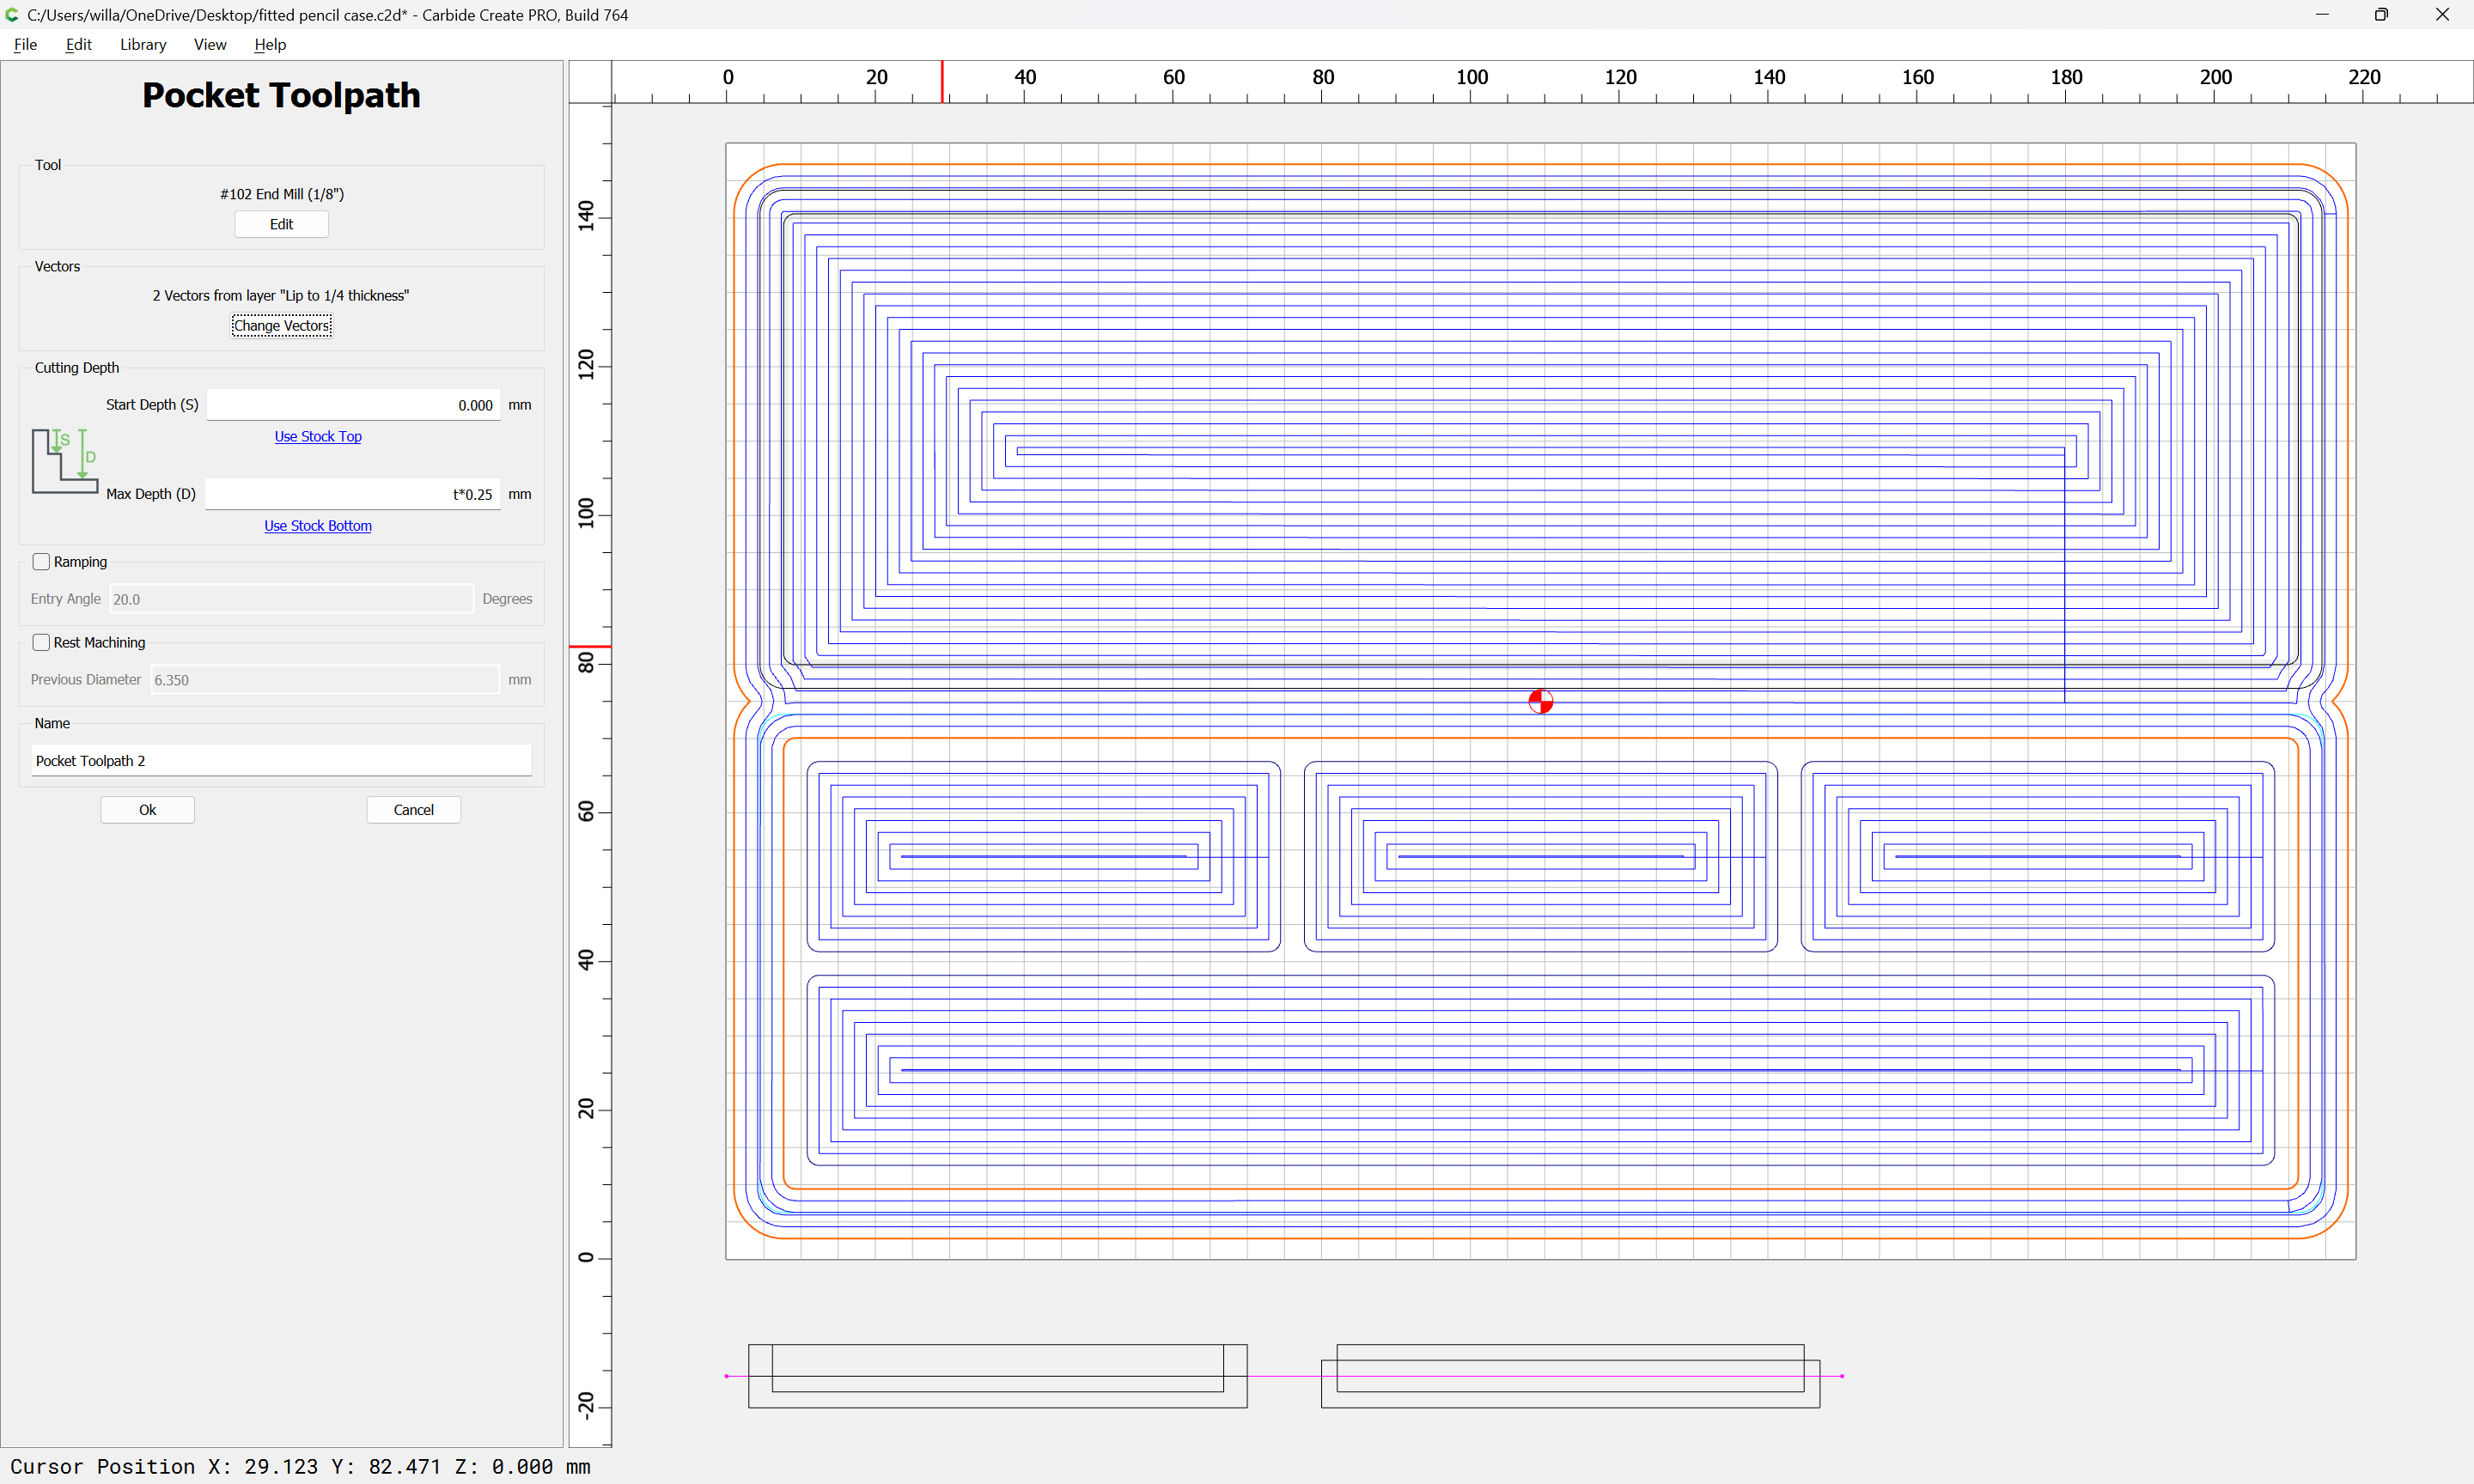
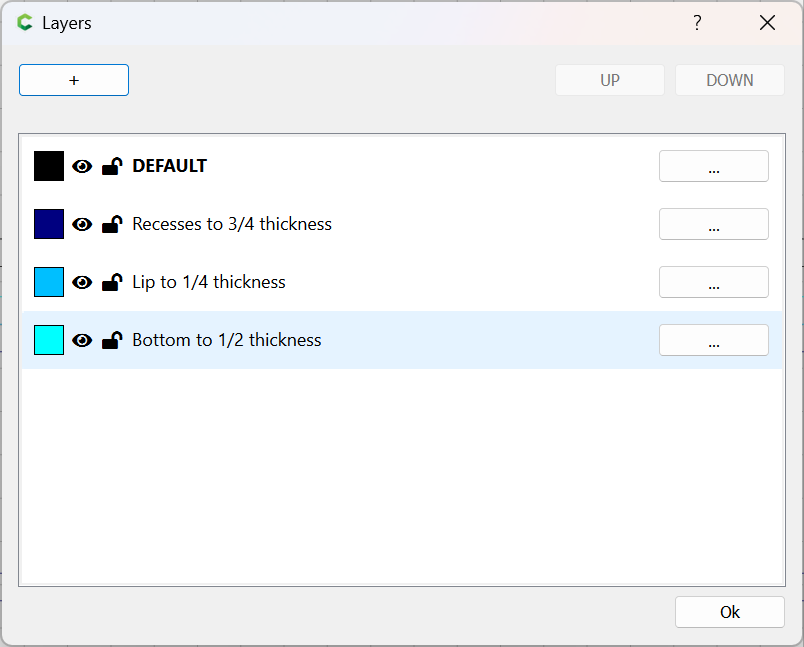
The first toolpath/layer will be for the recesses which will be cut to 3/4 of the thickness of the material:
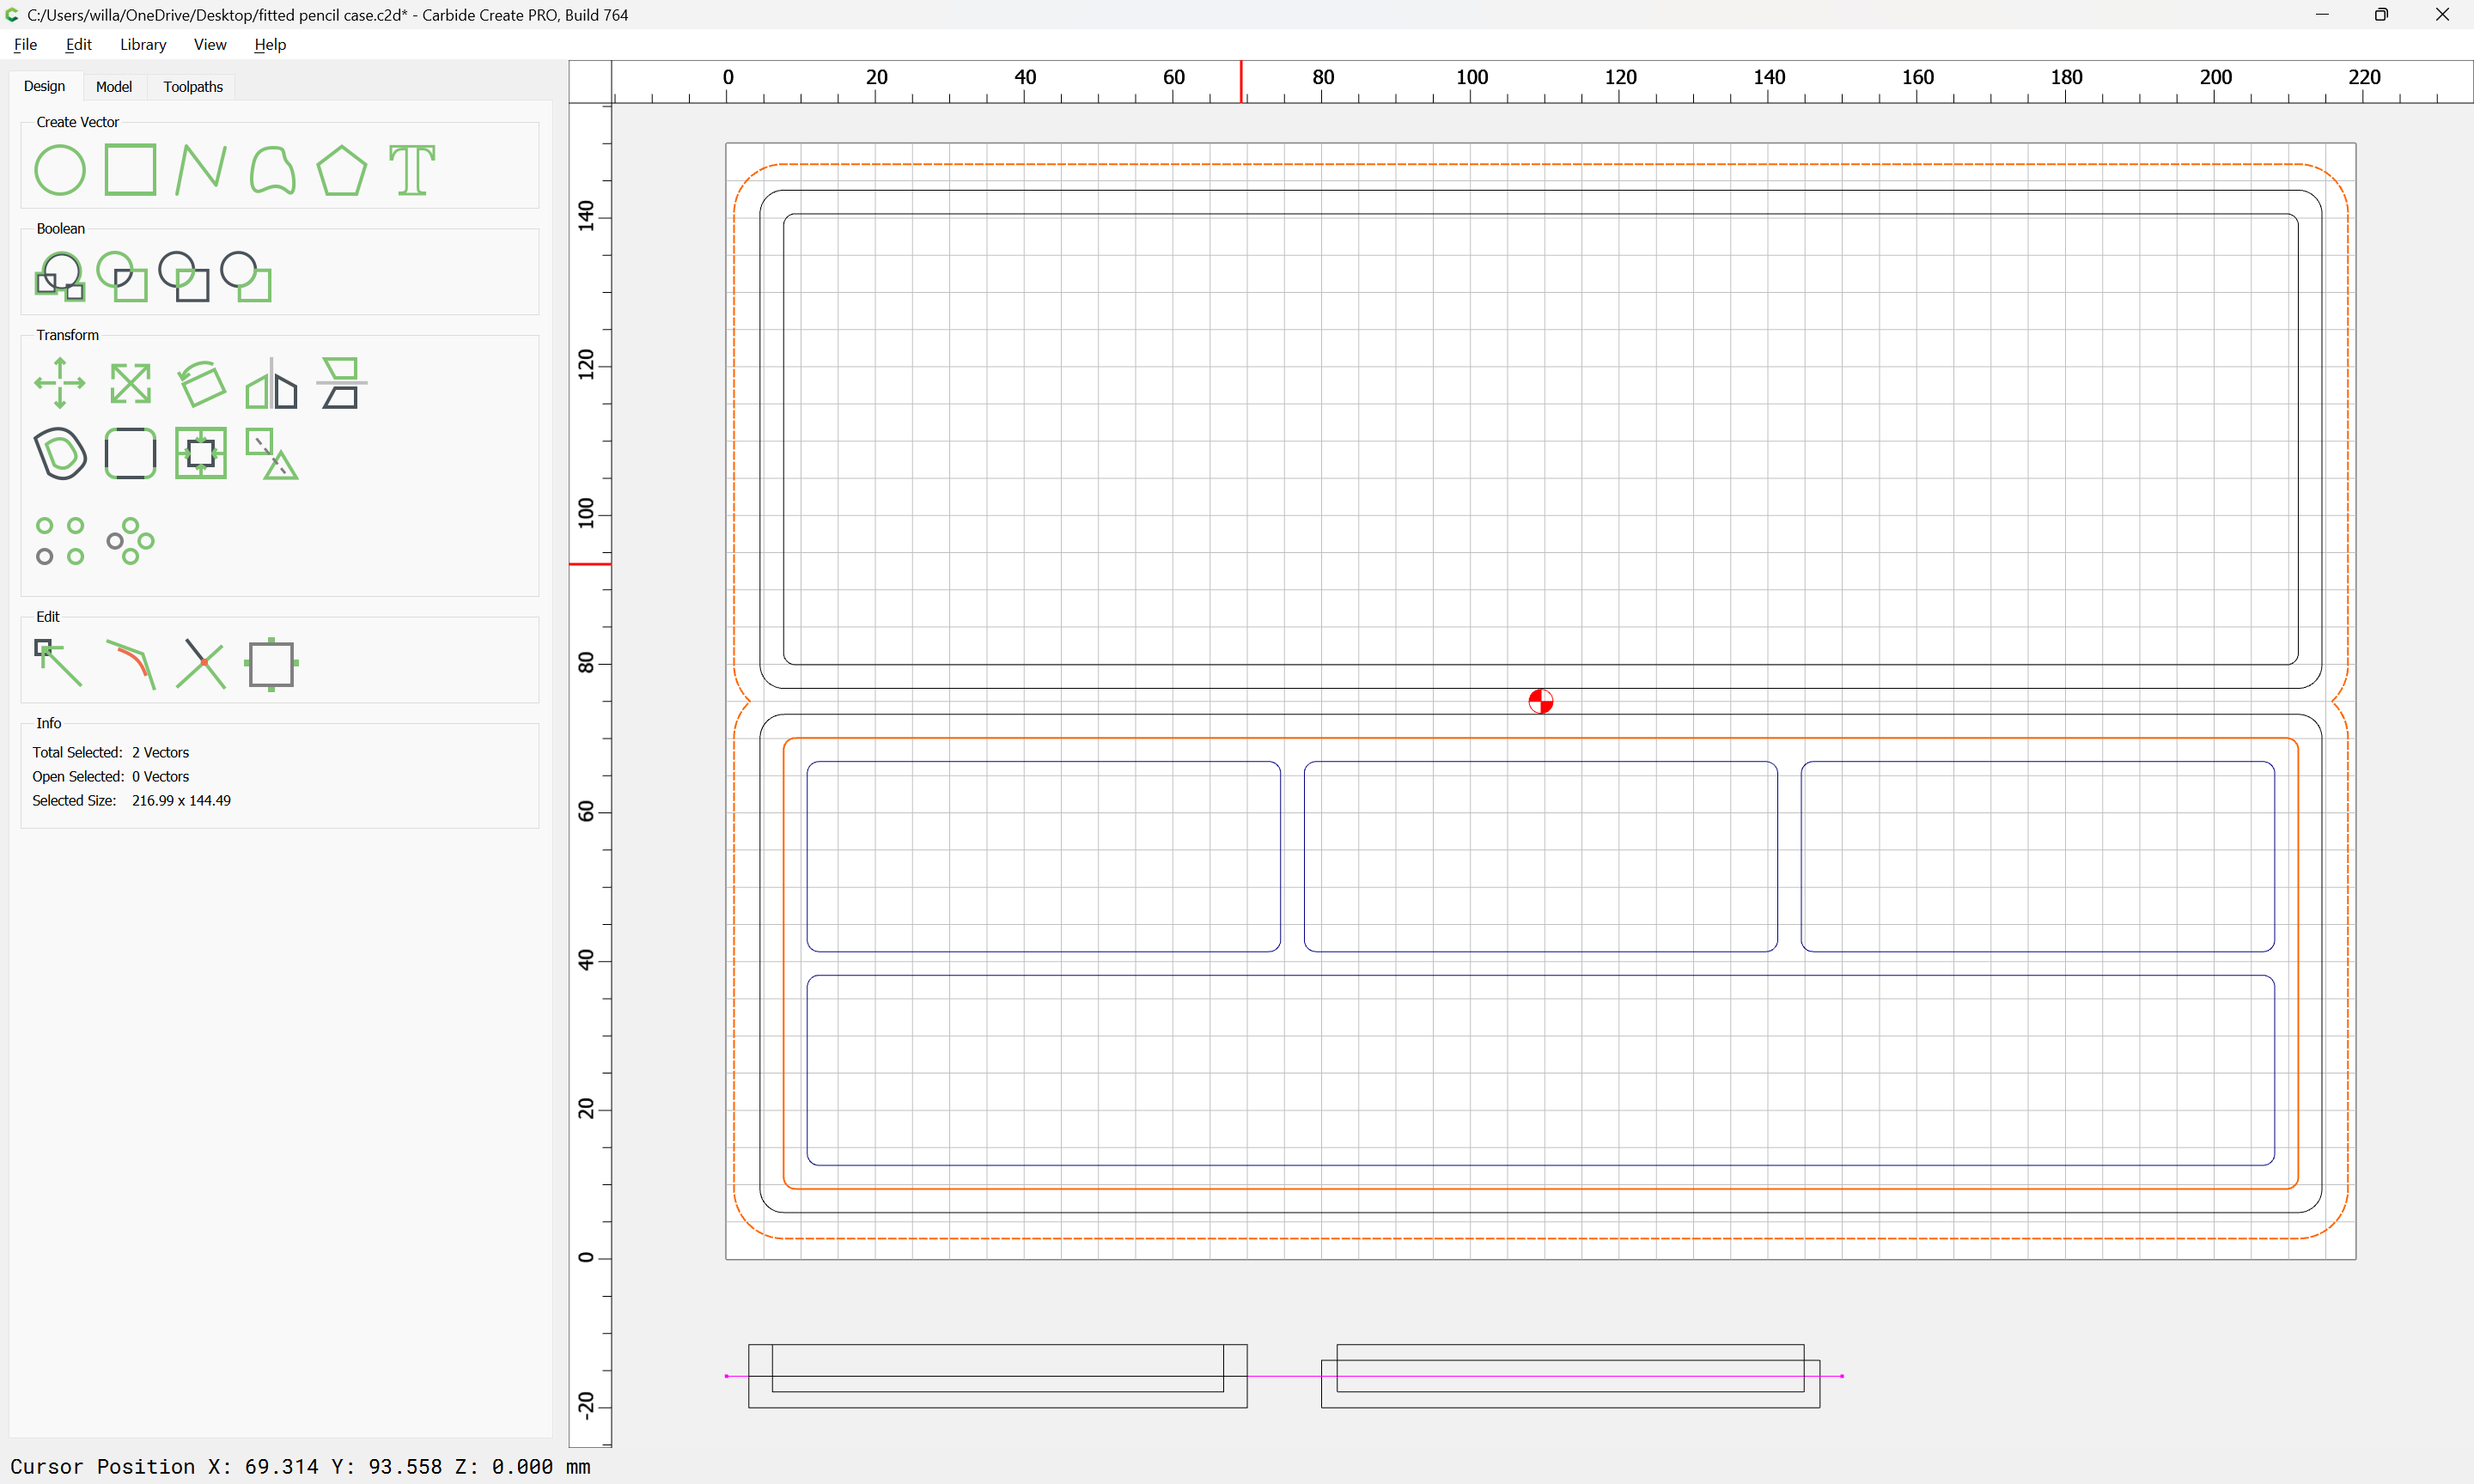
With that bulk of material we can now consider the first depth which this will be cut to, the bottom of the lip around the bottom:
Then we continue, cutting out the profile of the bottom (since it is taller than the lid).
Note that this will require us to duplicate the offset outer perimeter geometry:
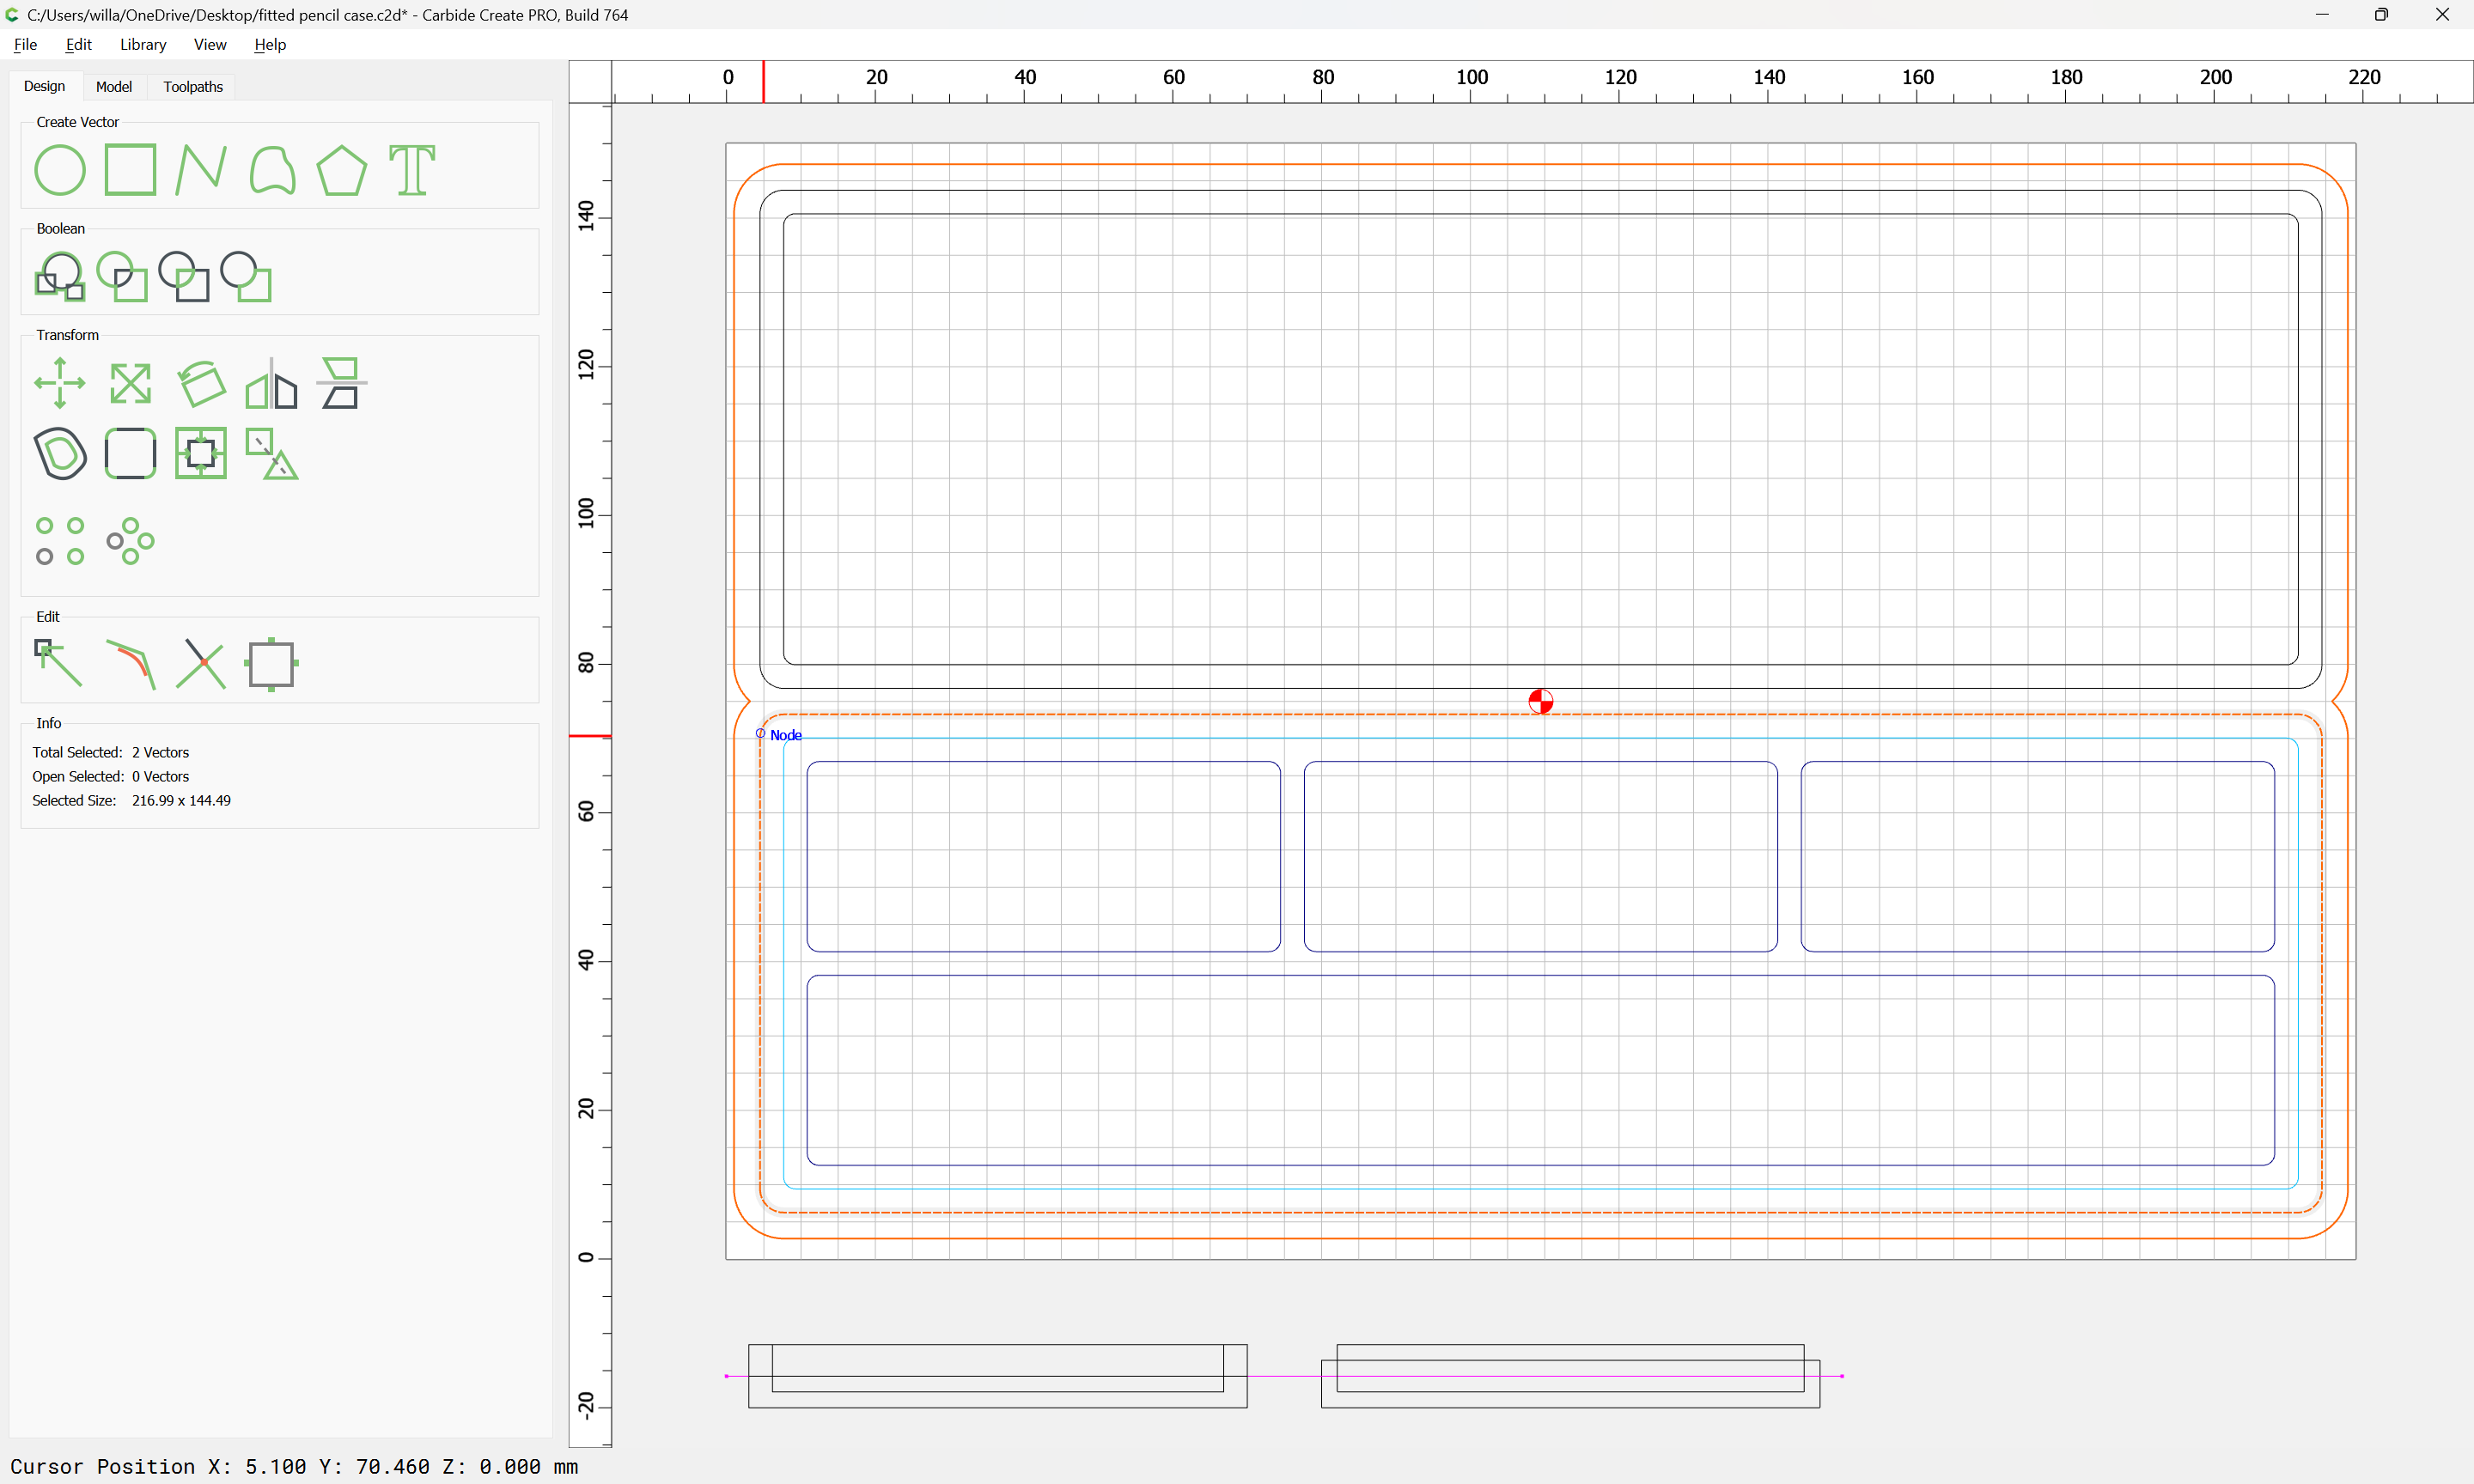
selecting it and the outline of the bottom:
and moving them to a new layer:
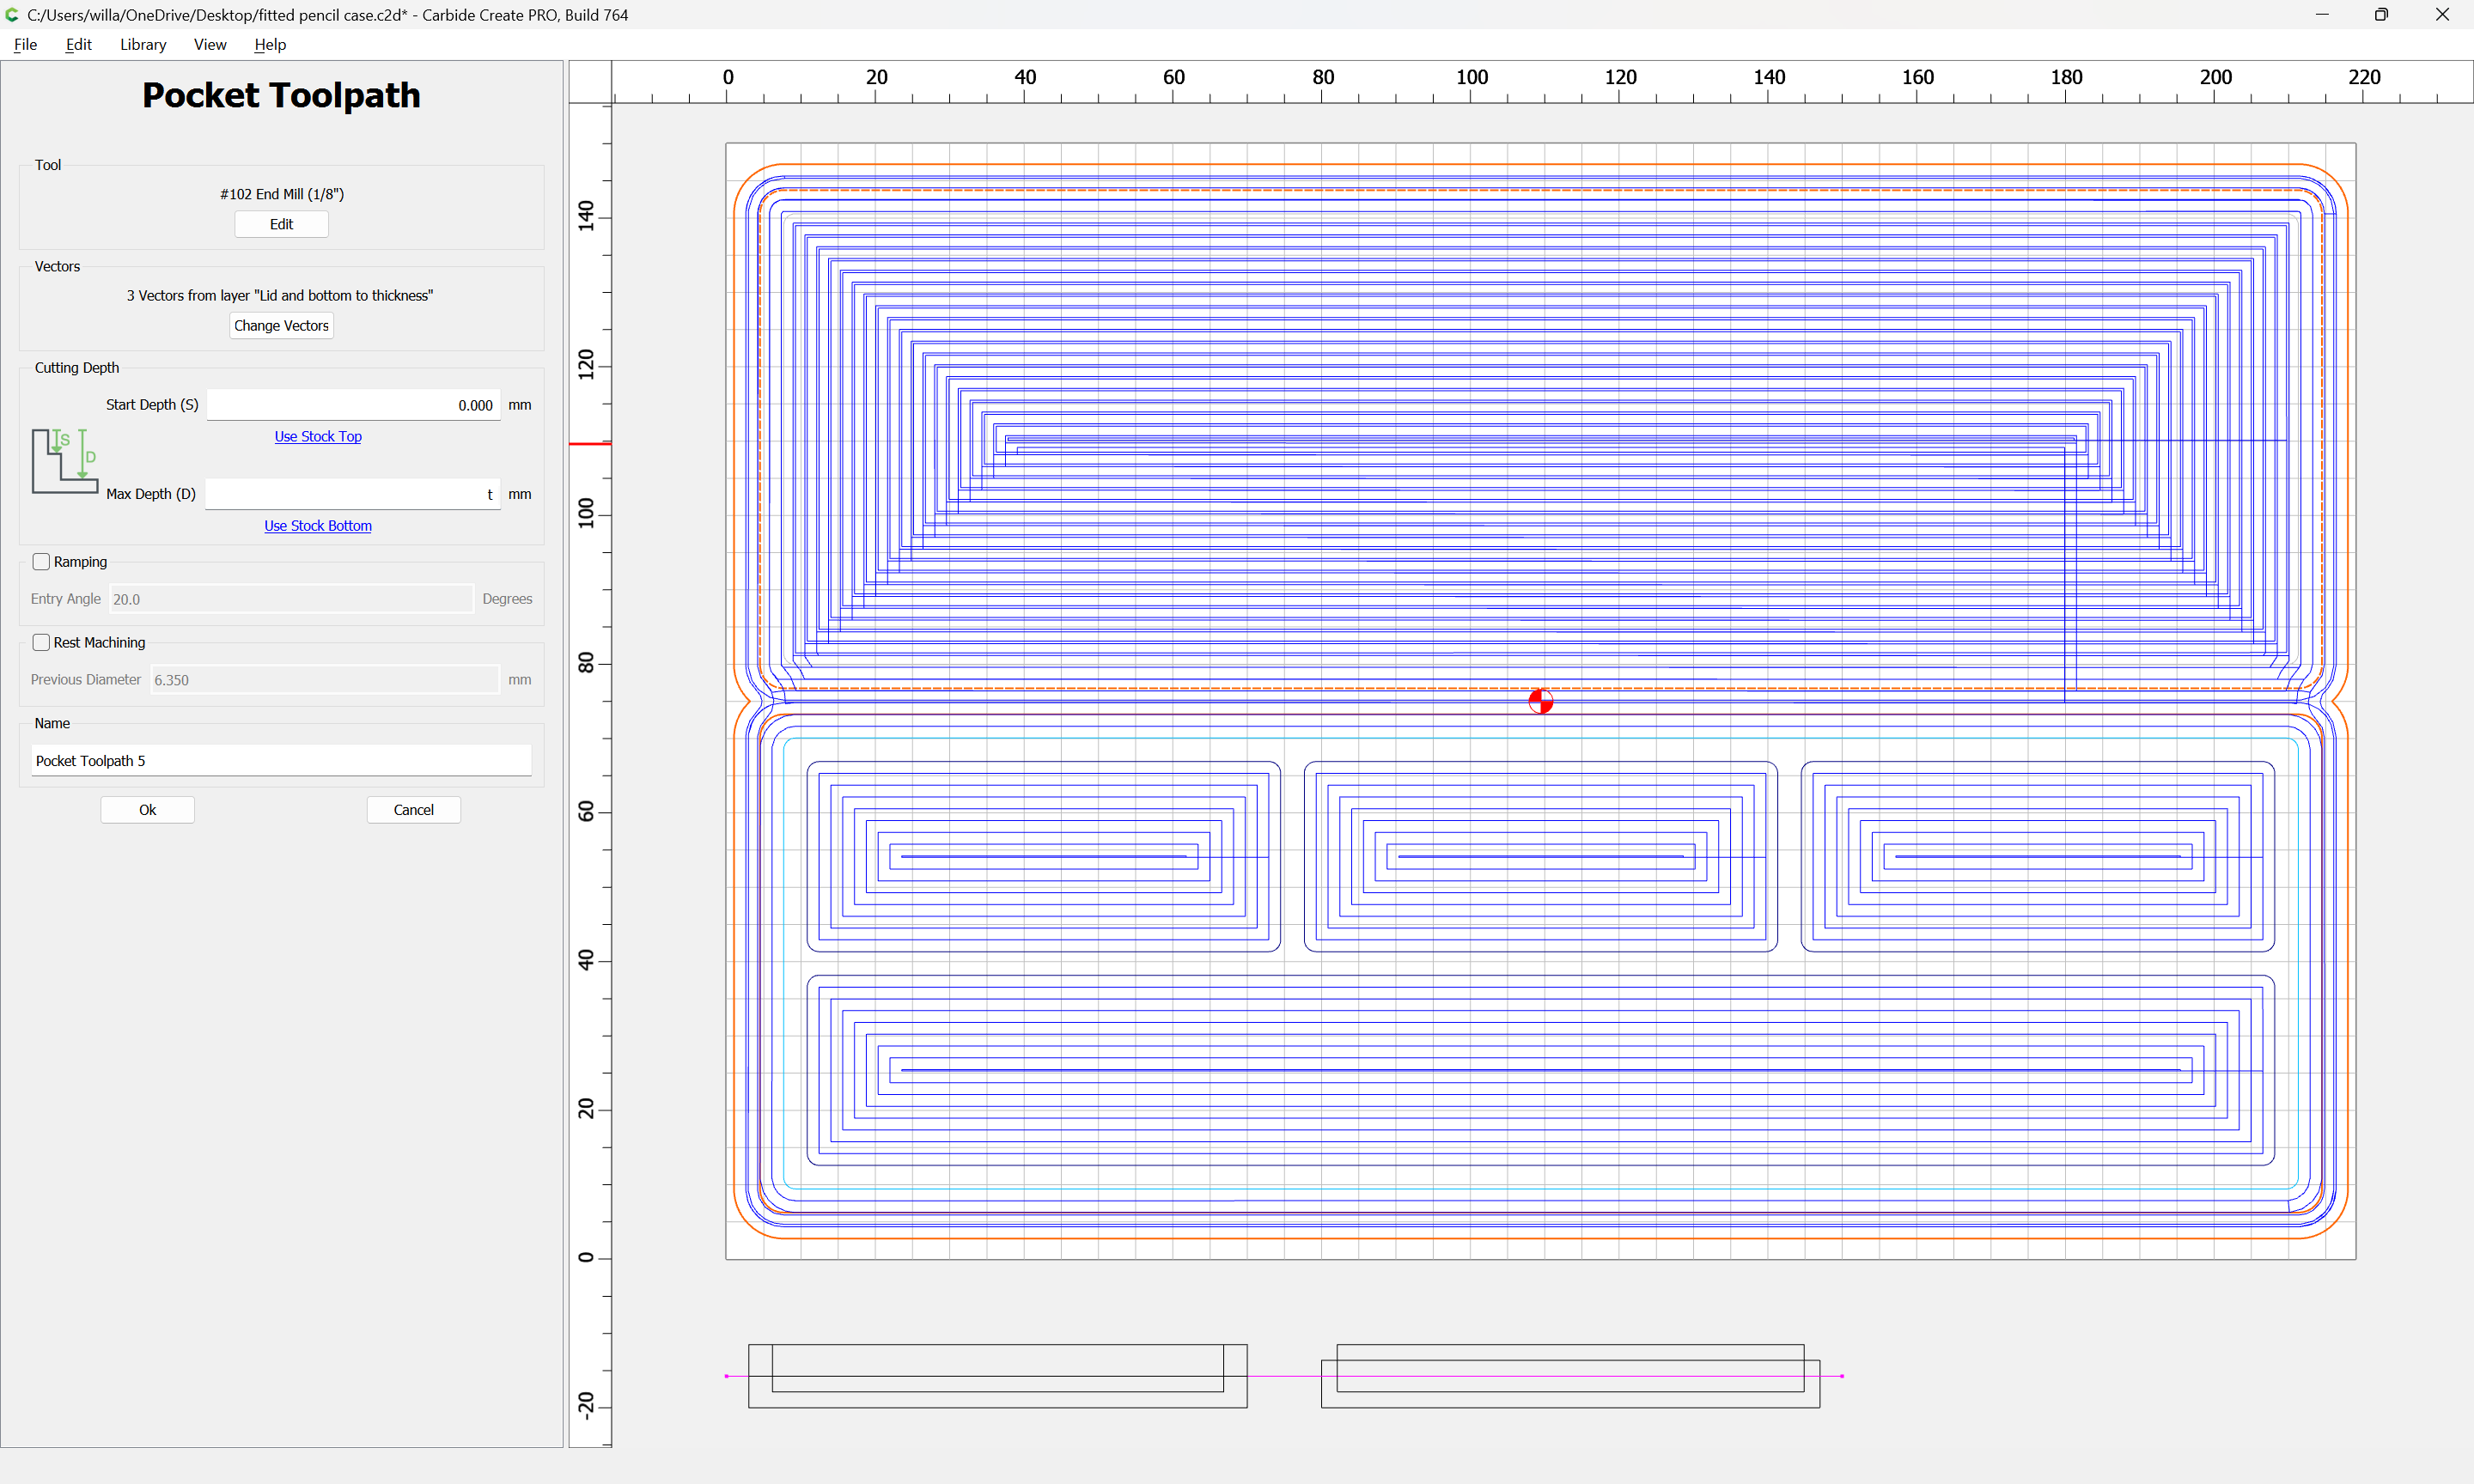
with an associated toolpath:
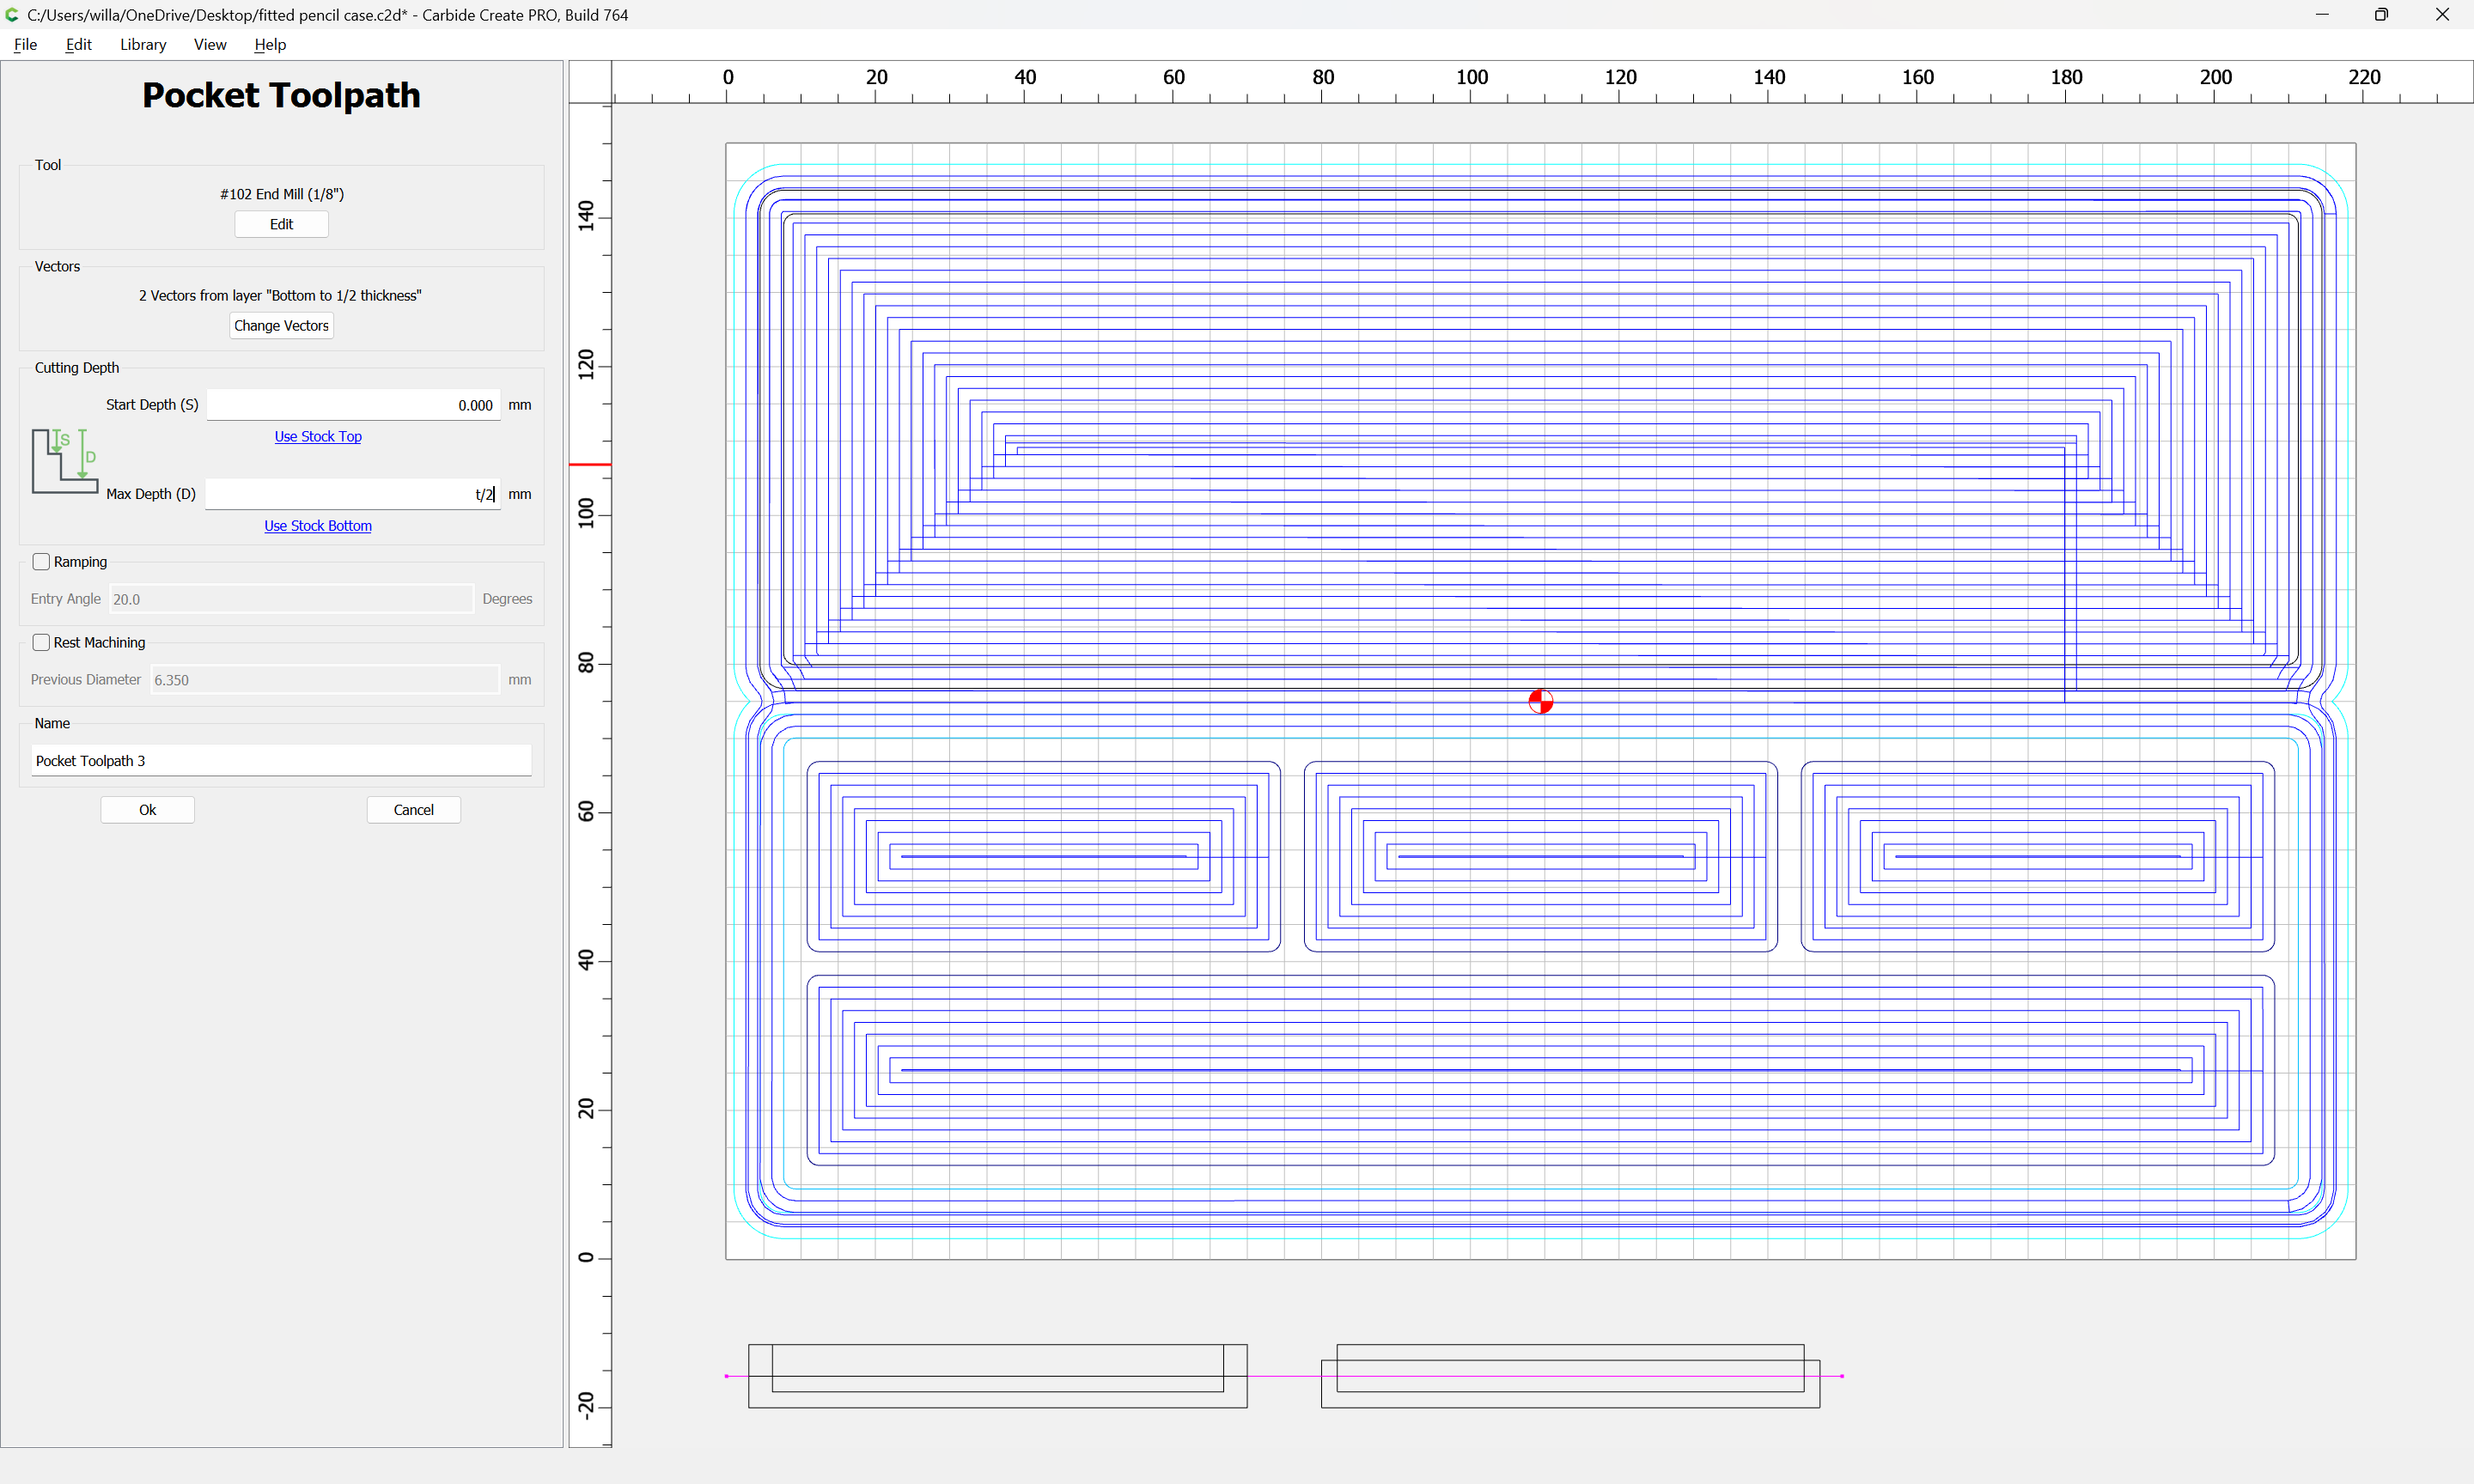
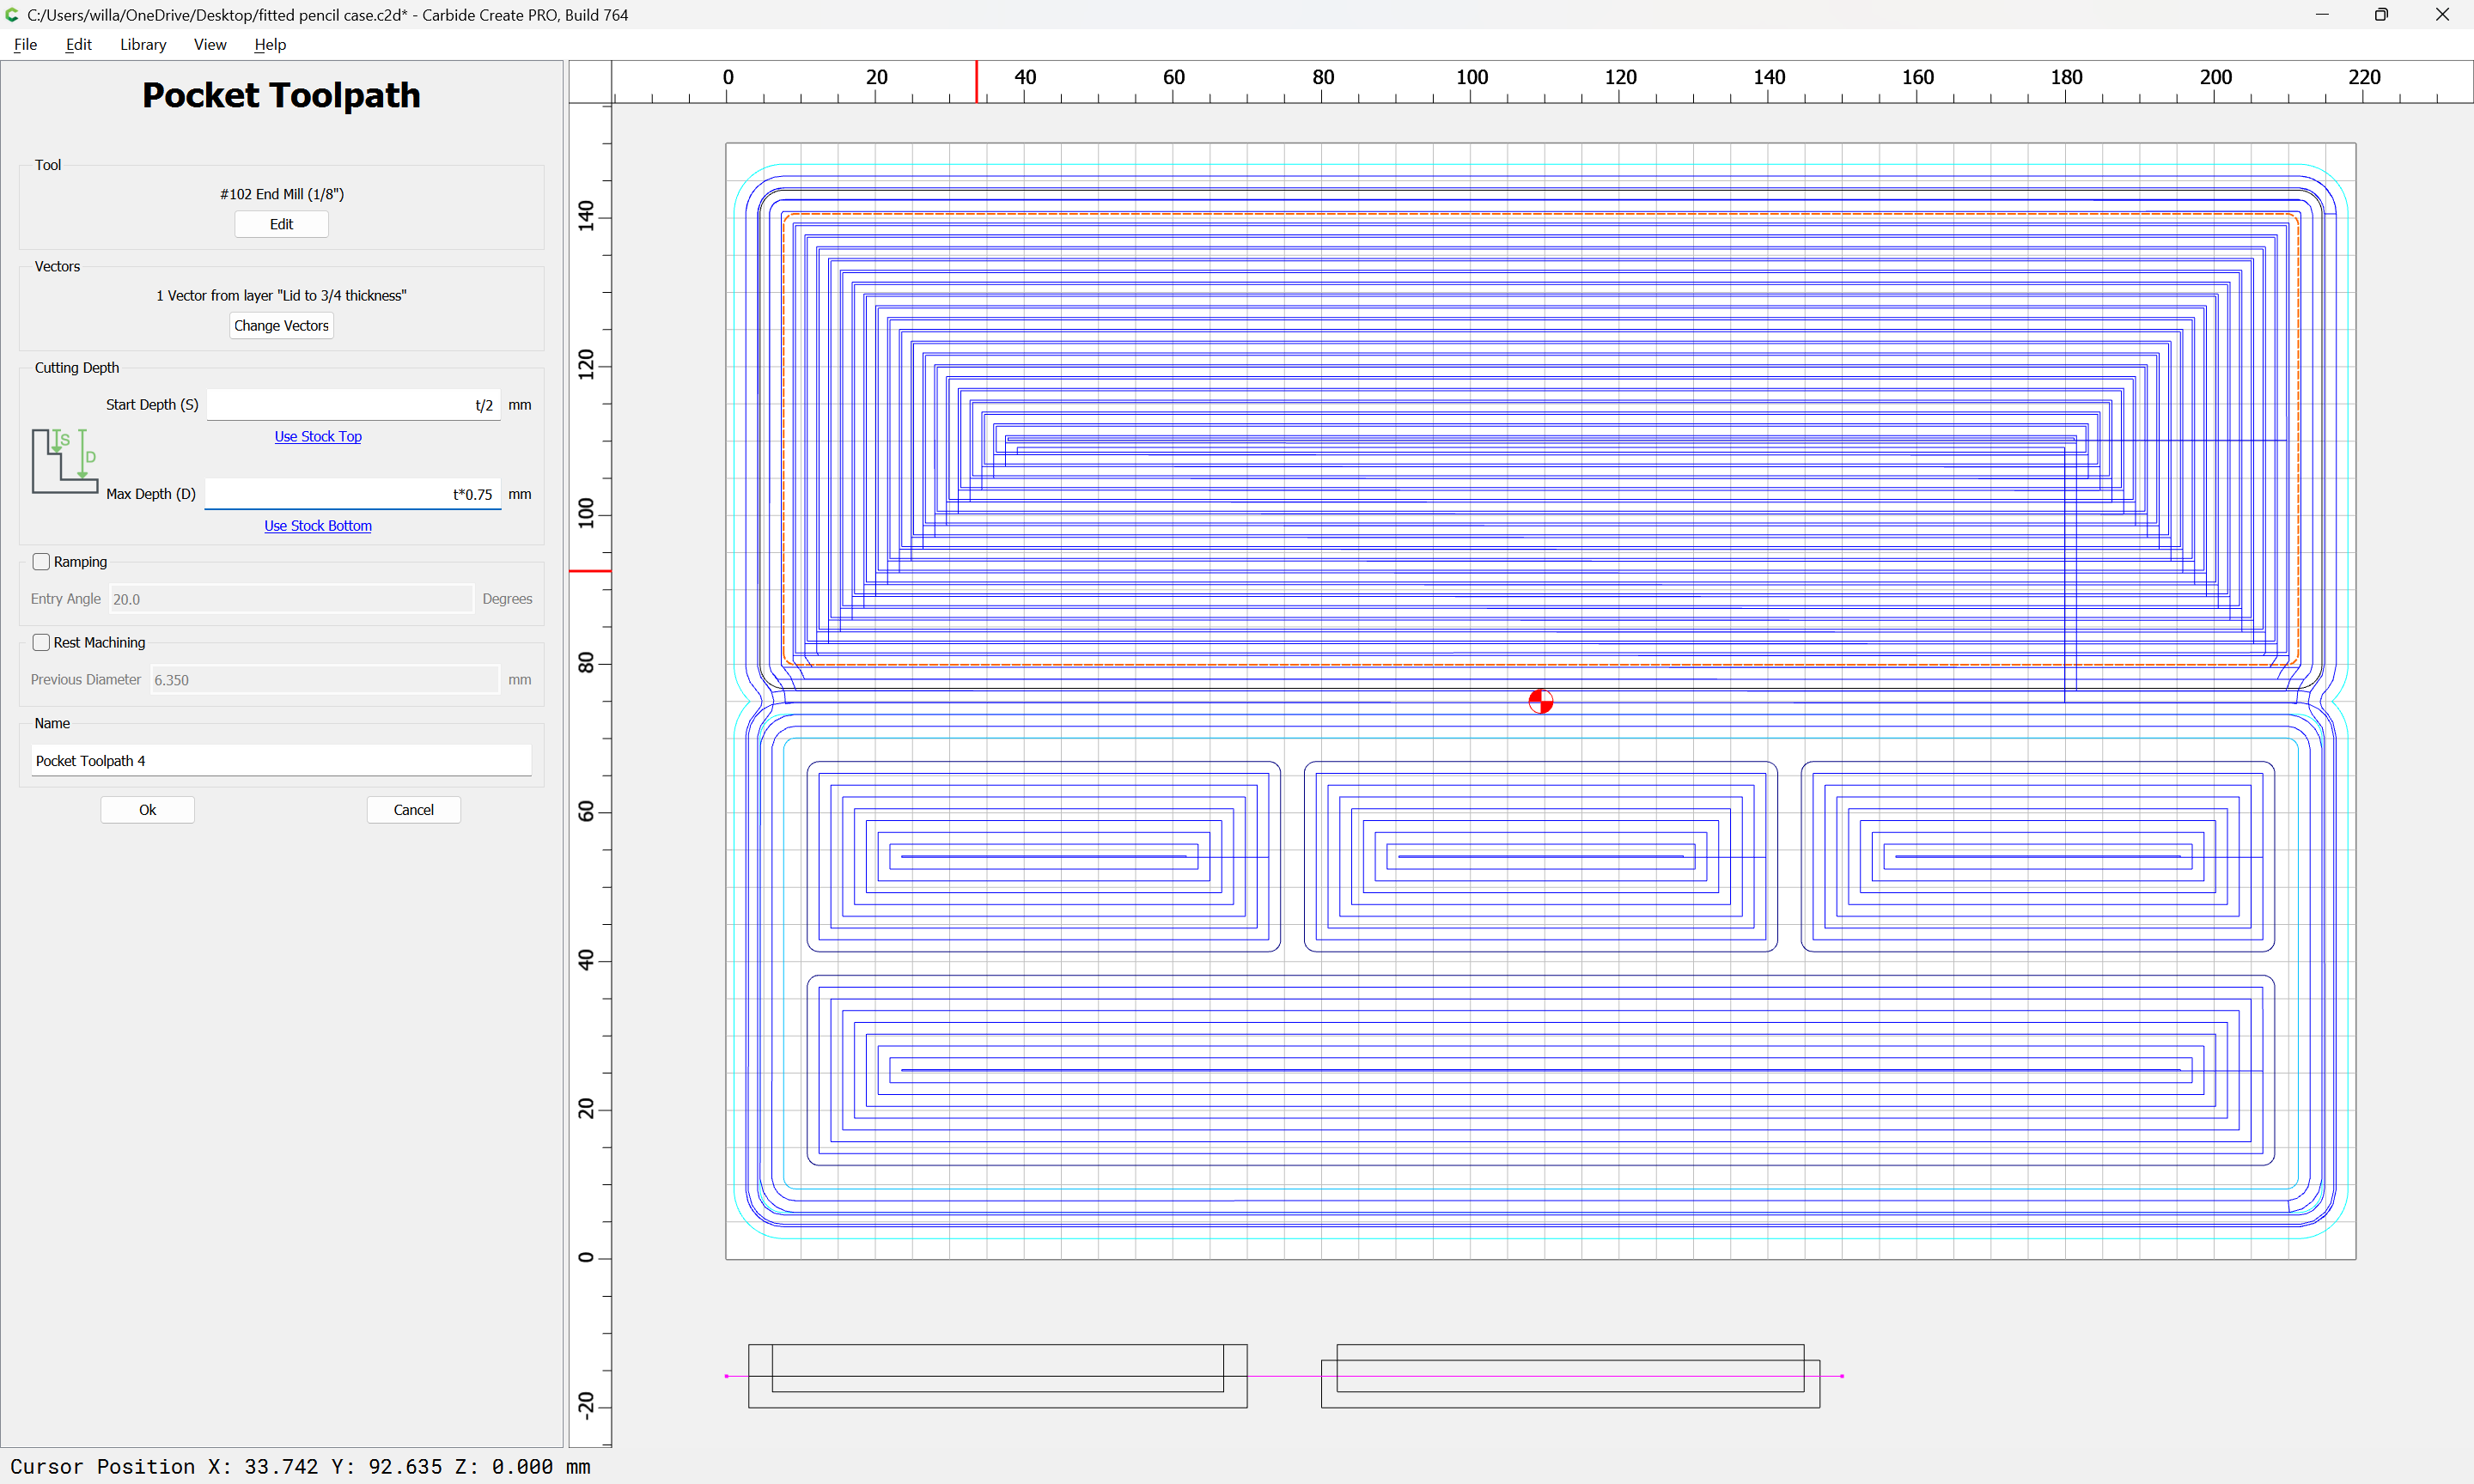
We then cut the interior of the lid:
(note that it could have been included as part of the Recesses to 3/4 thickness layer, but that would have made the duplication more involved)
which will require a toolpath which begins at the bottom of the previous pocket:
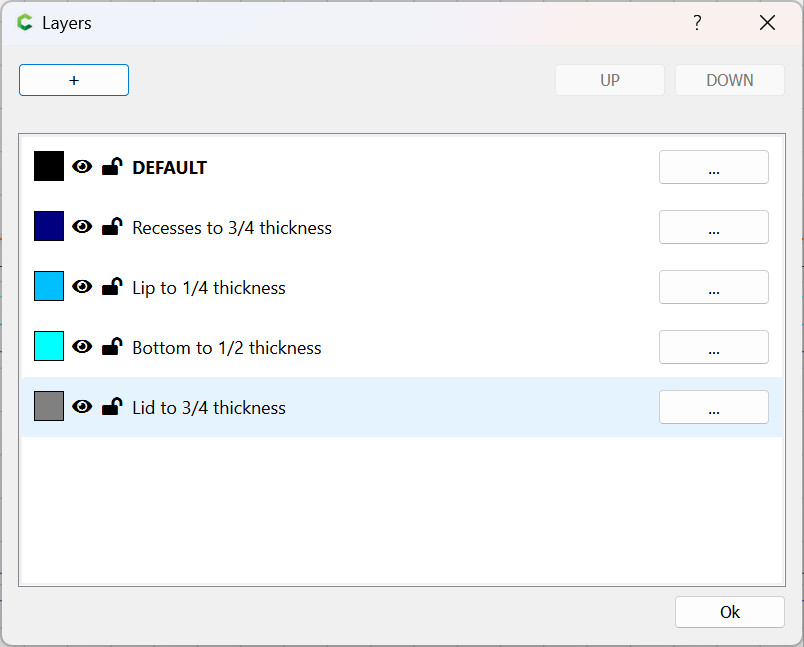
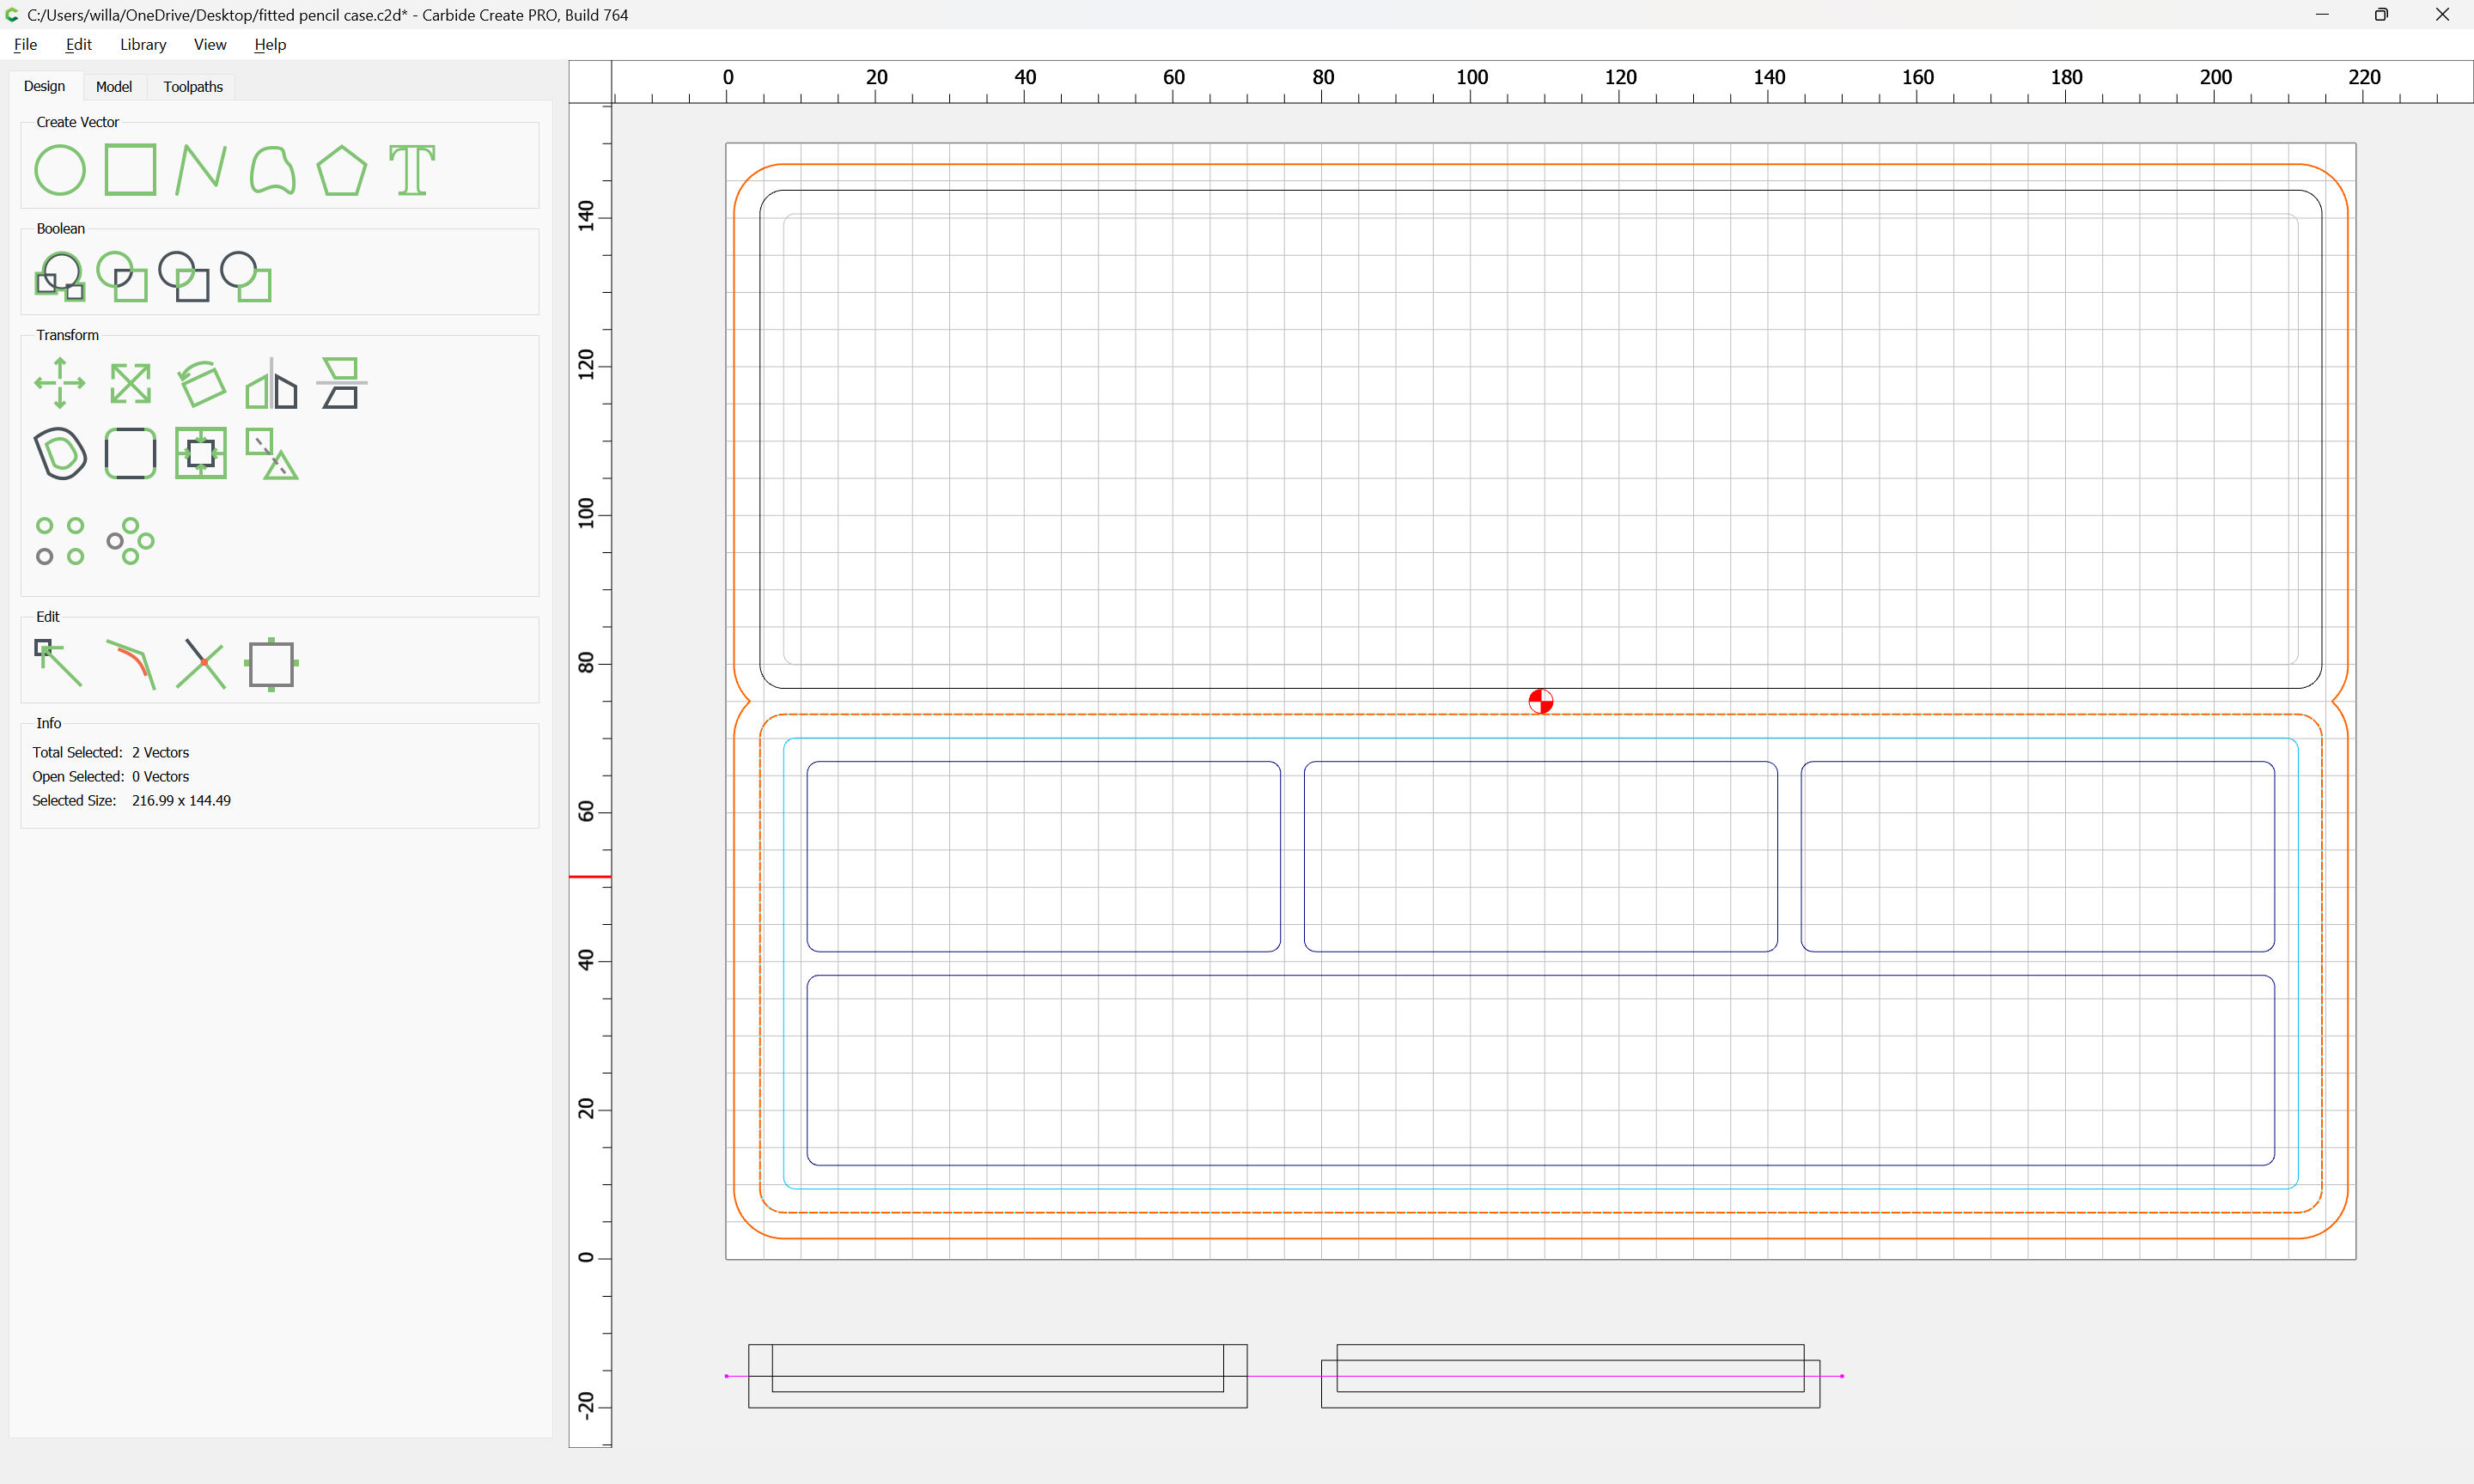
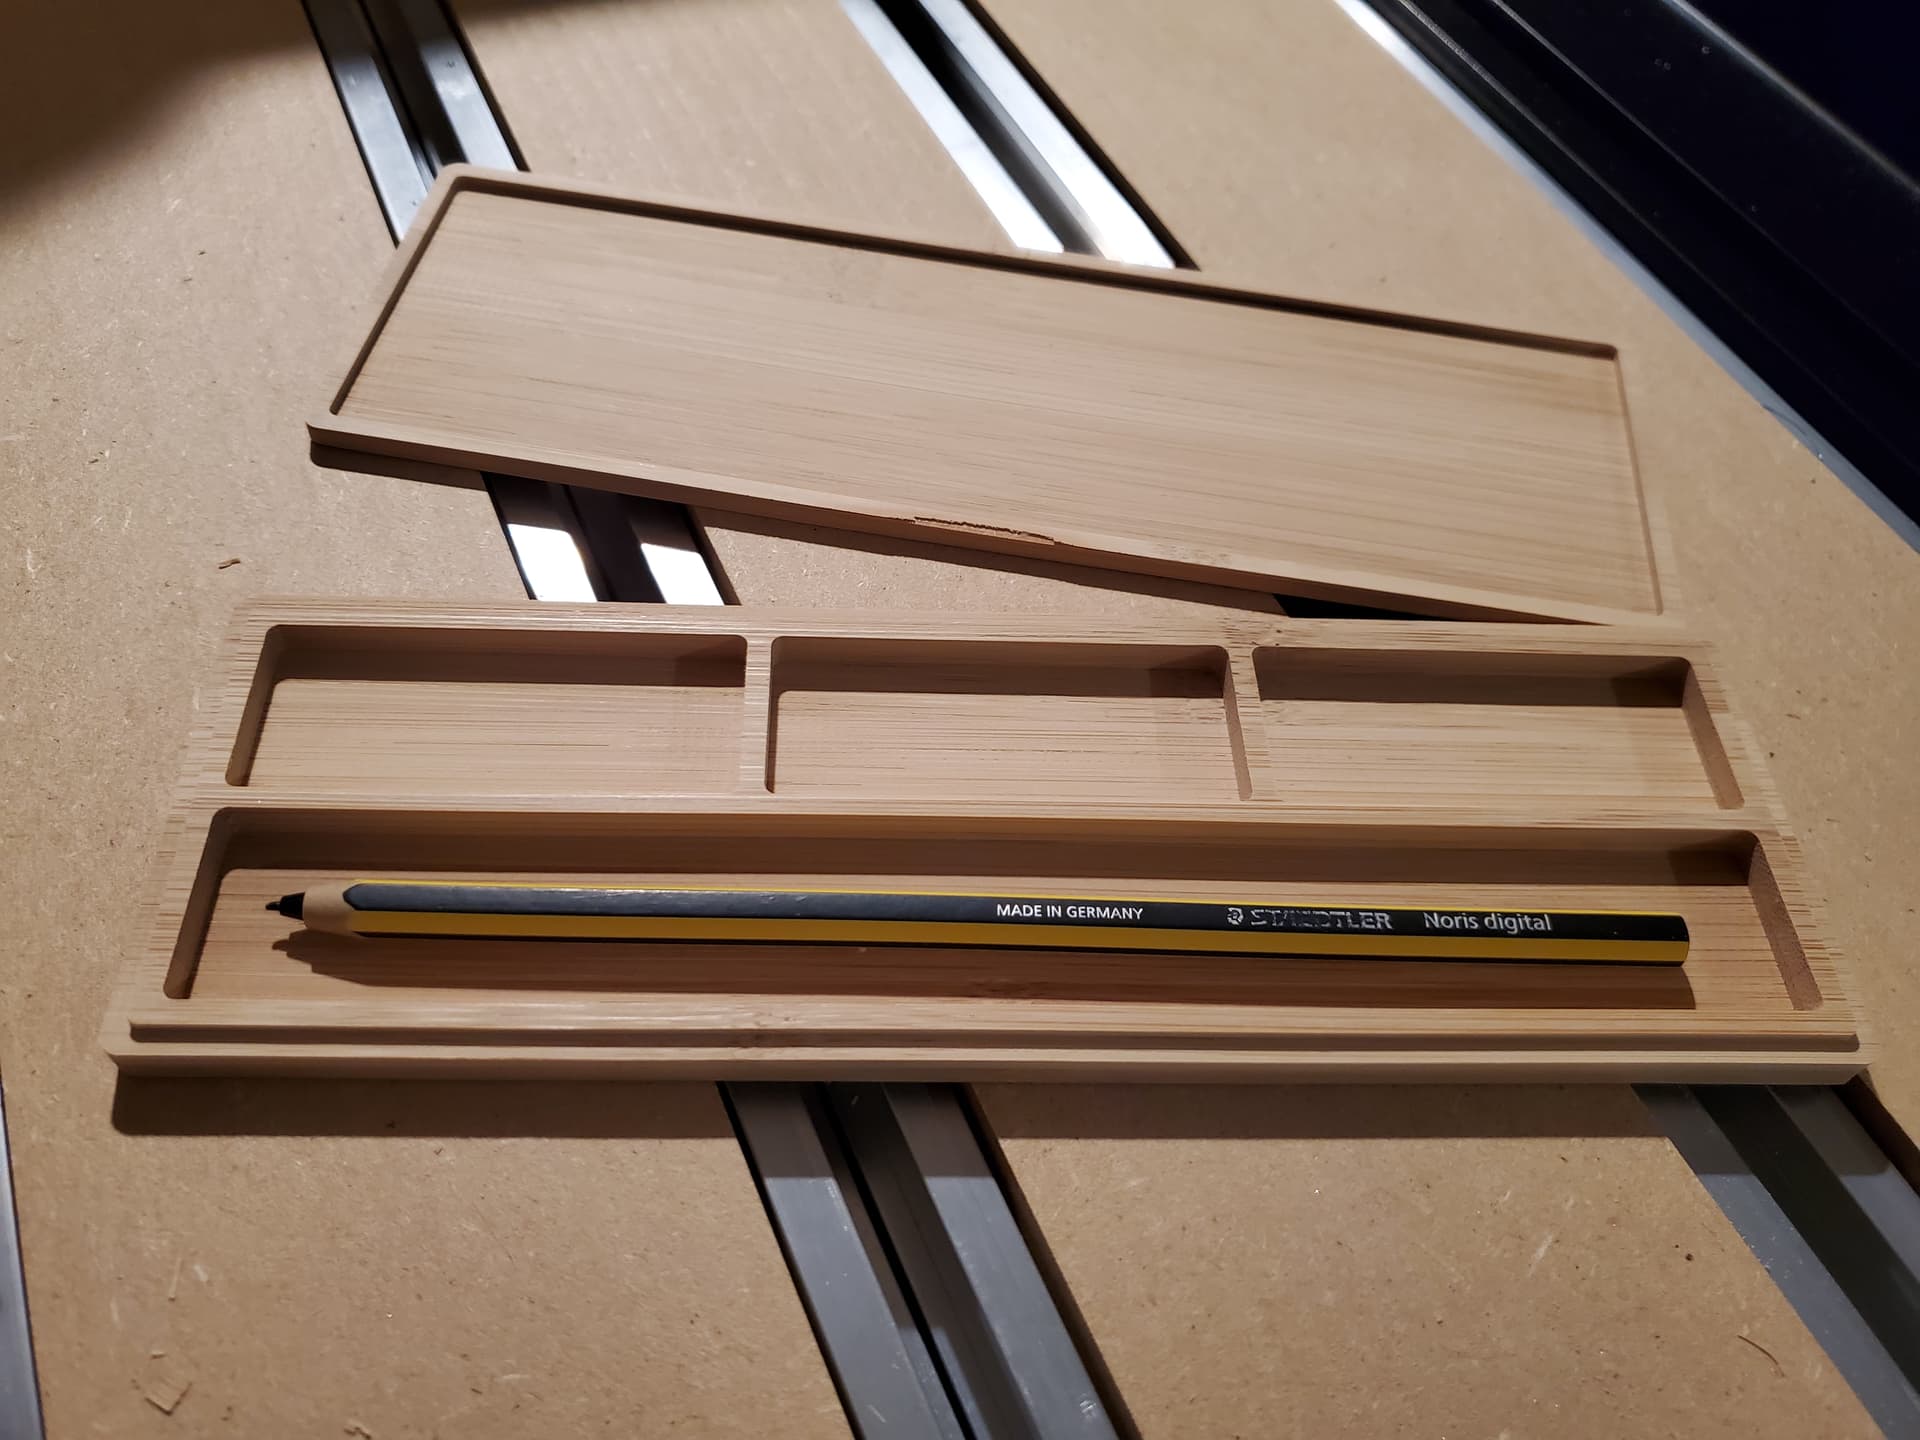
Lastly, we finish cutting the lid and the box bottom out.
Duplicate the perimeter and bottom again:
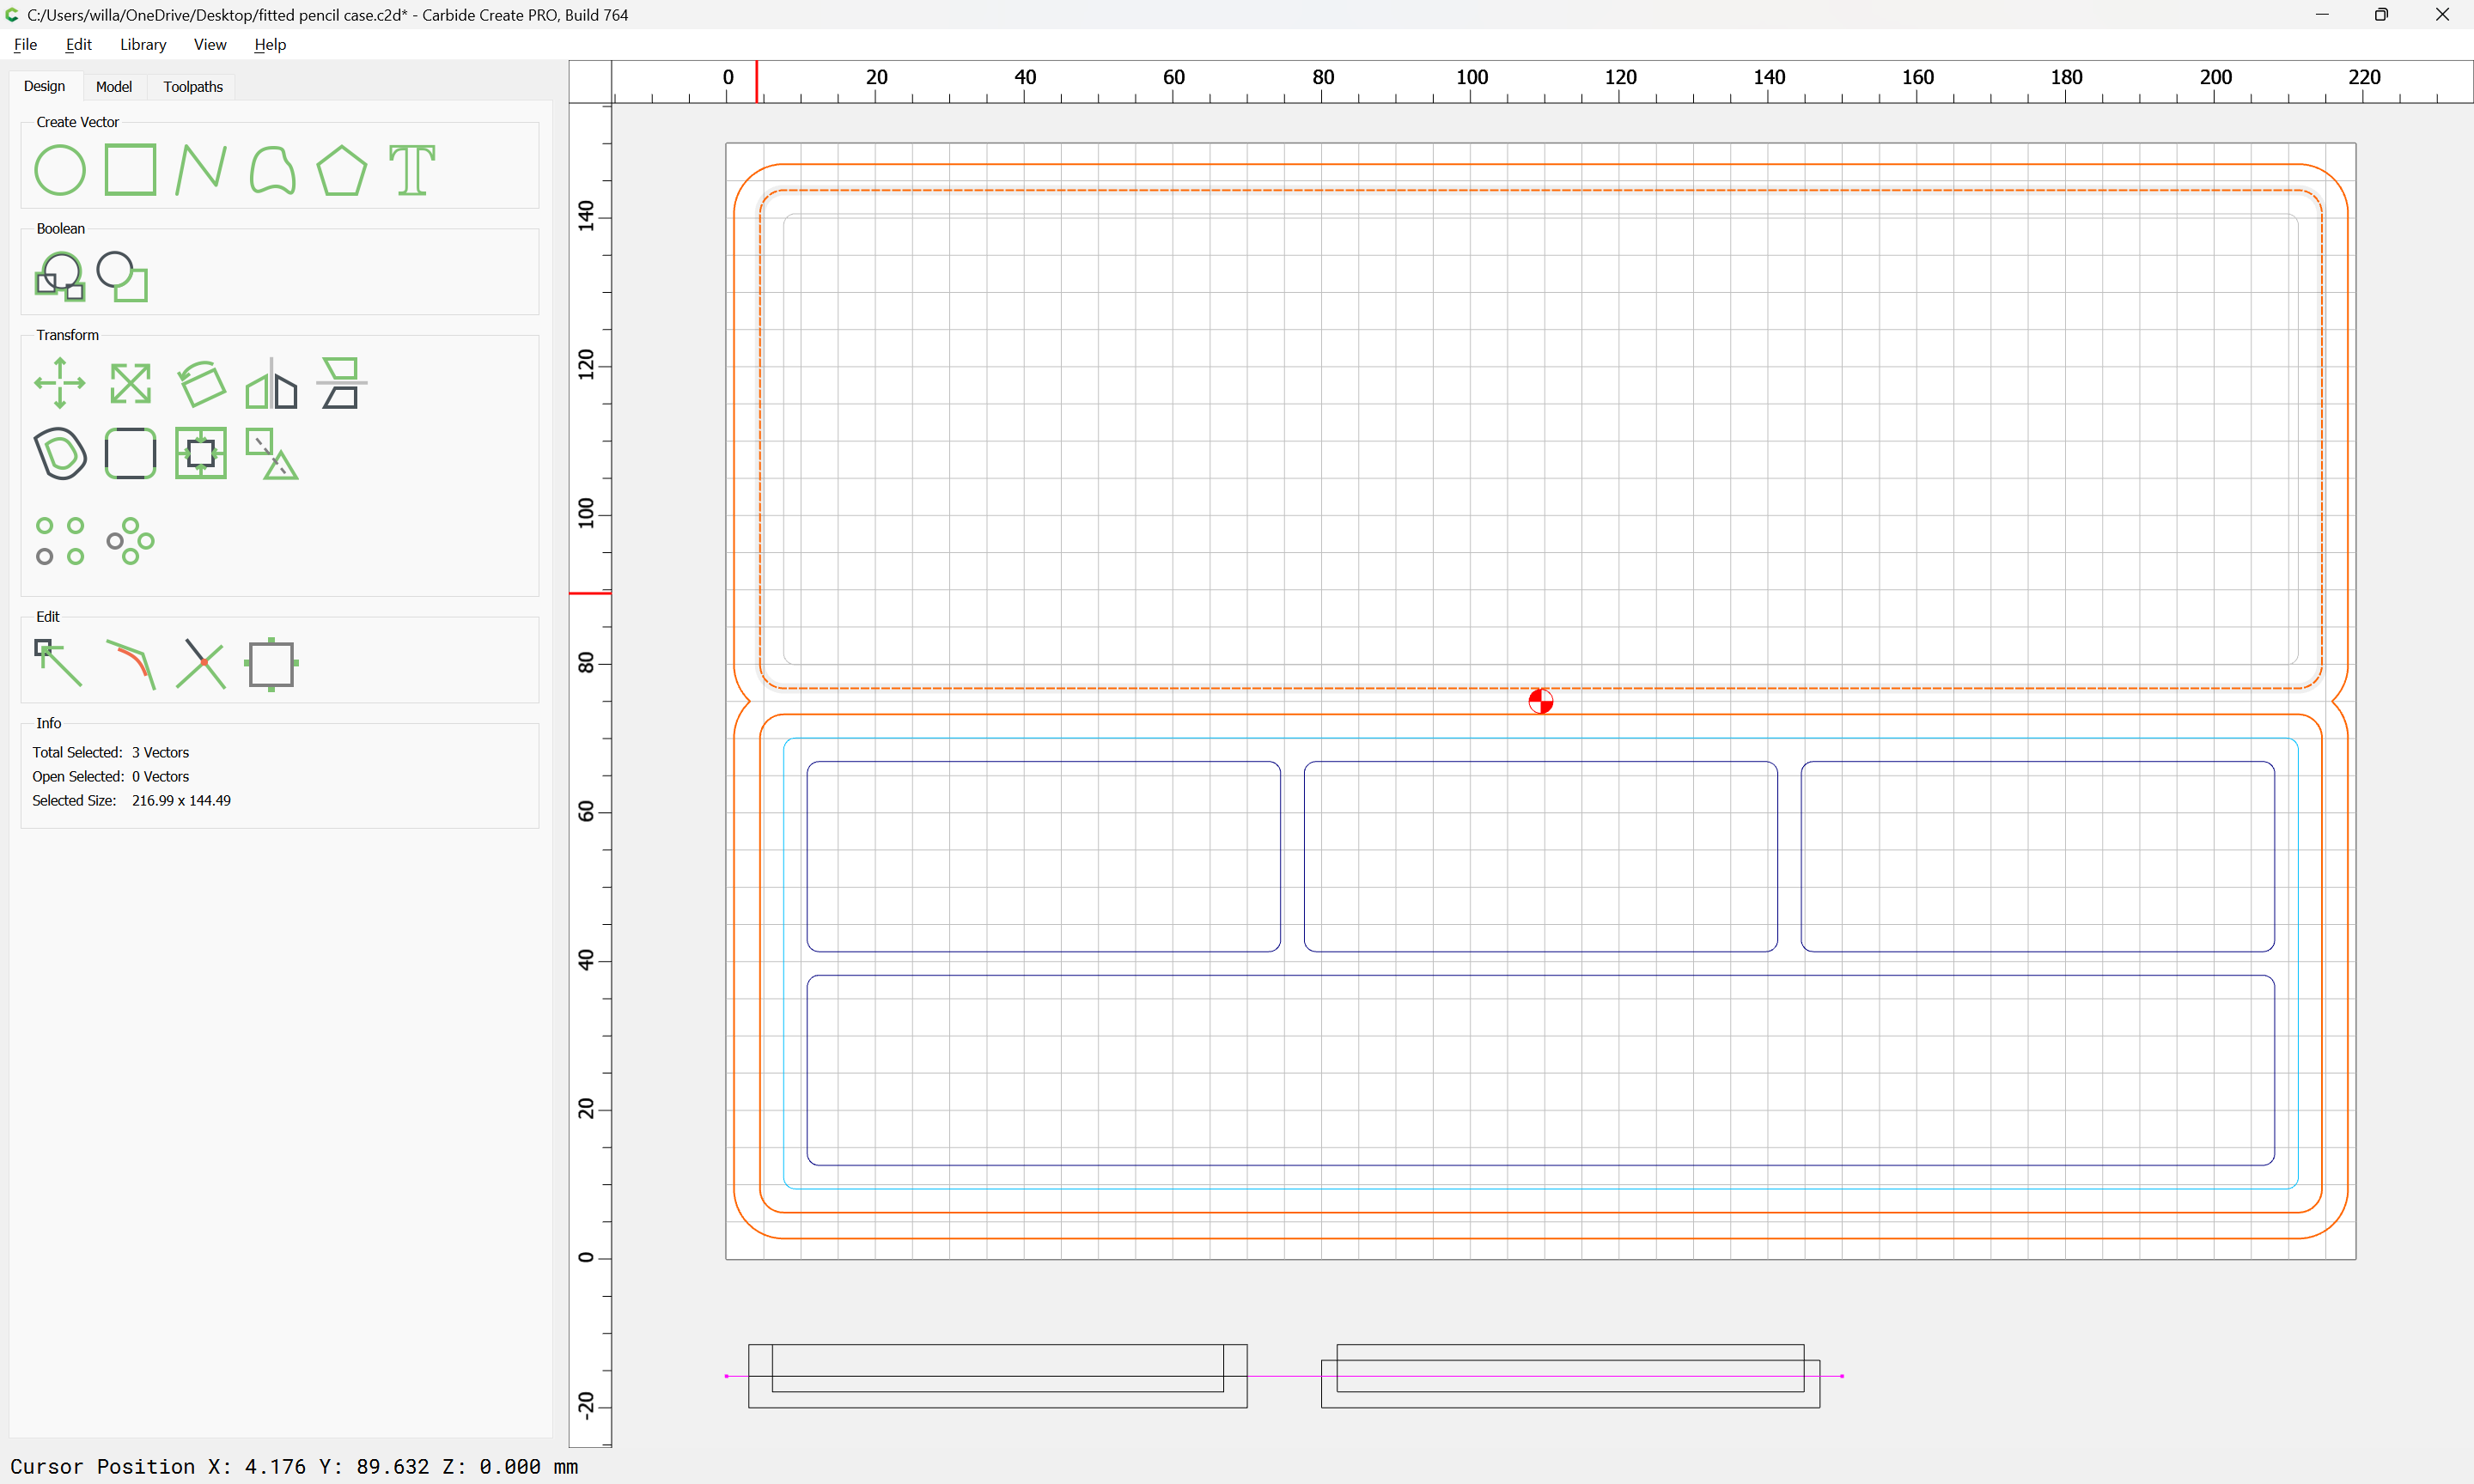
and move the duplicates and the lid outline to a new layer:
Then assign a toolpath to cut things to full thickness:
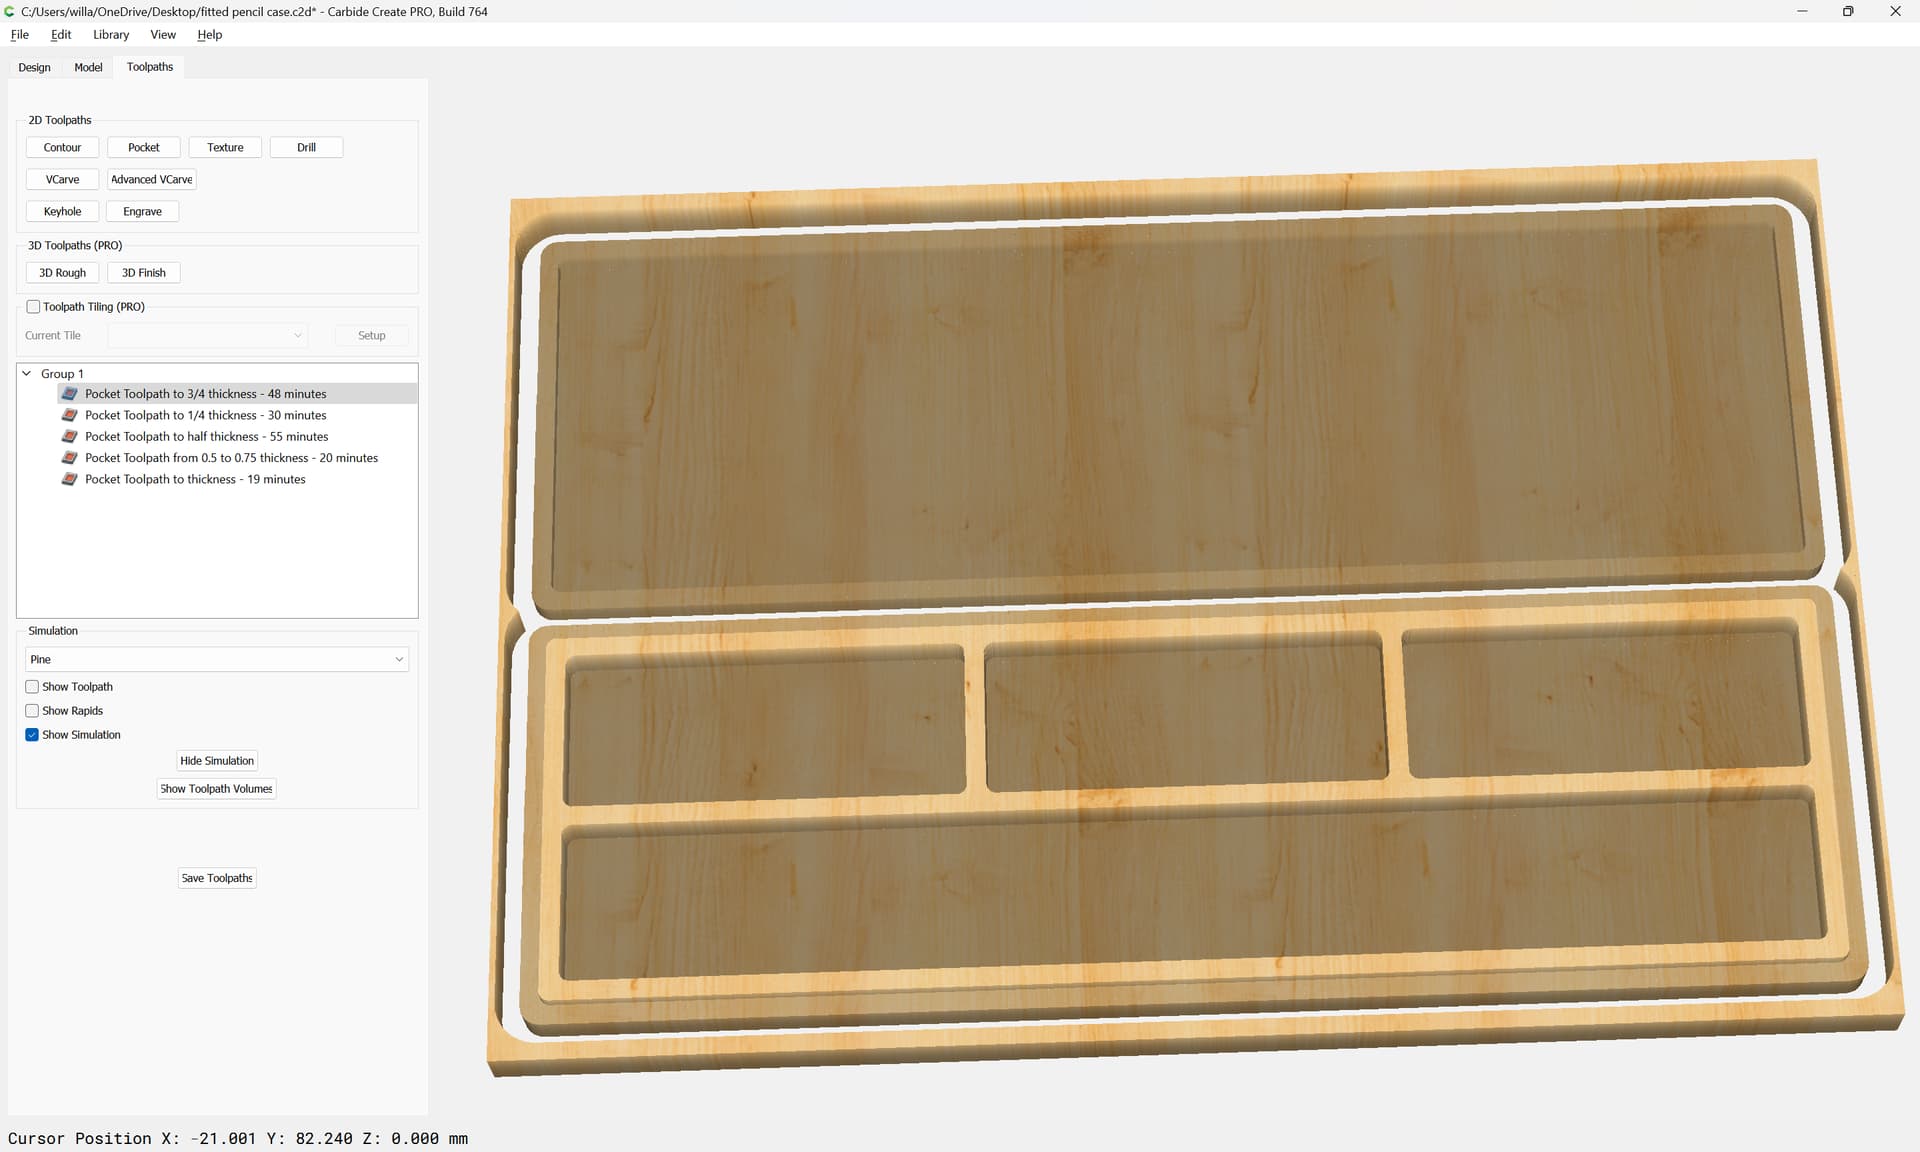
If we re-name the toolpaths to match their depths we get:
Updated version w/ one more efficient toolpath:
fitted pencil case.c2d (132 KB)