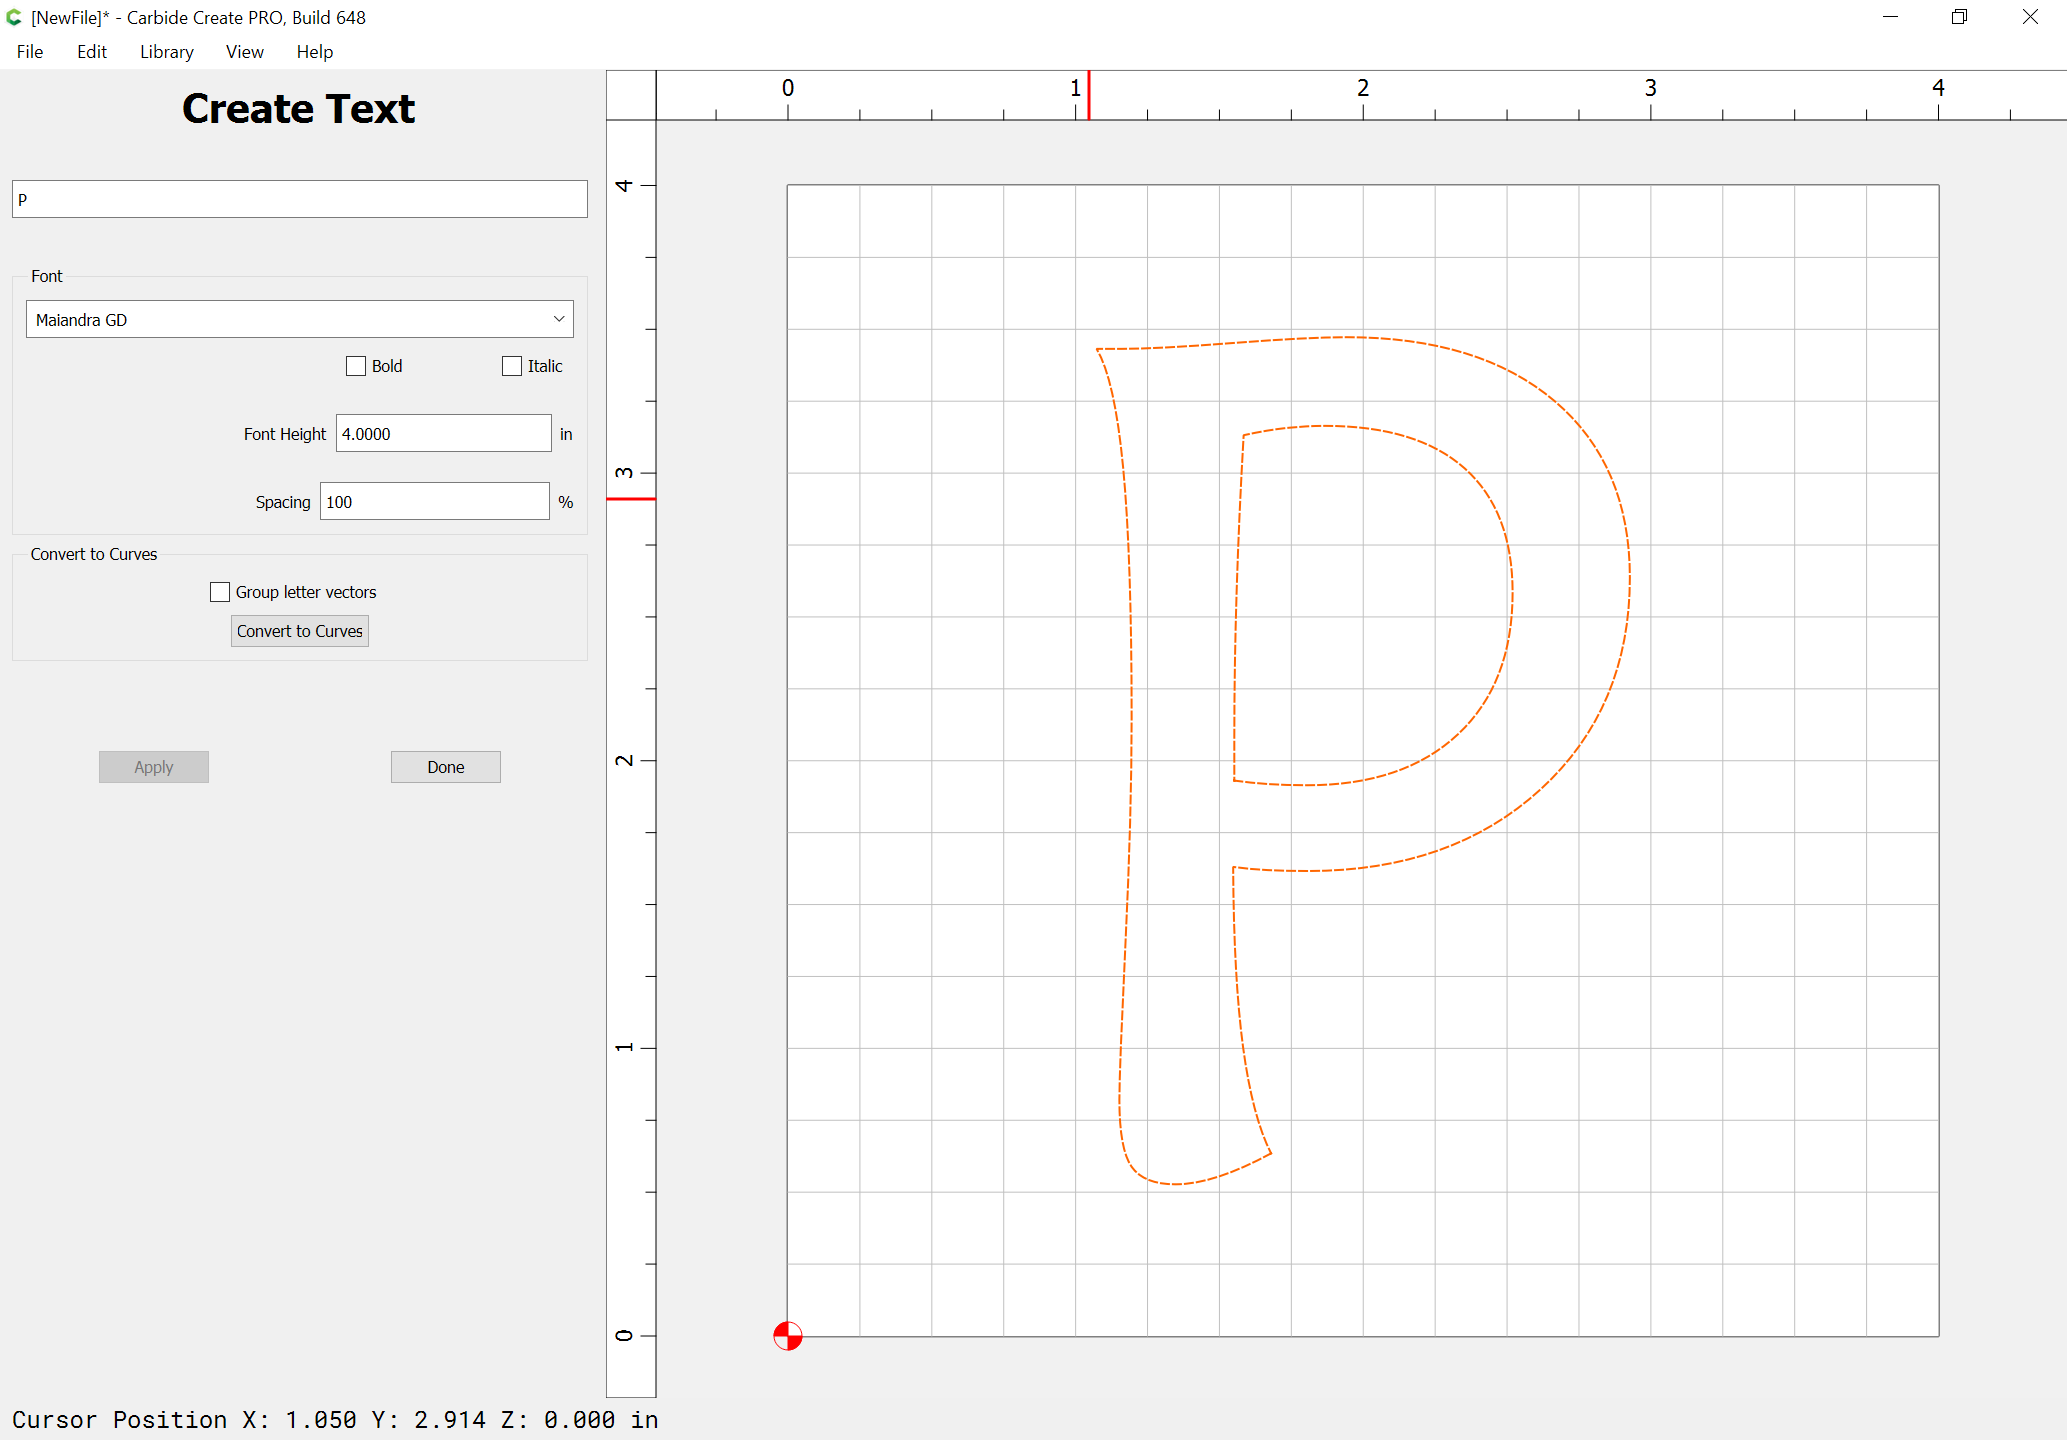
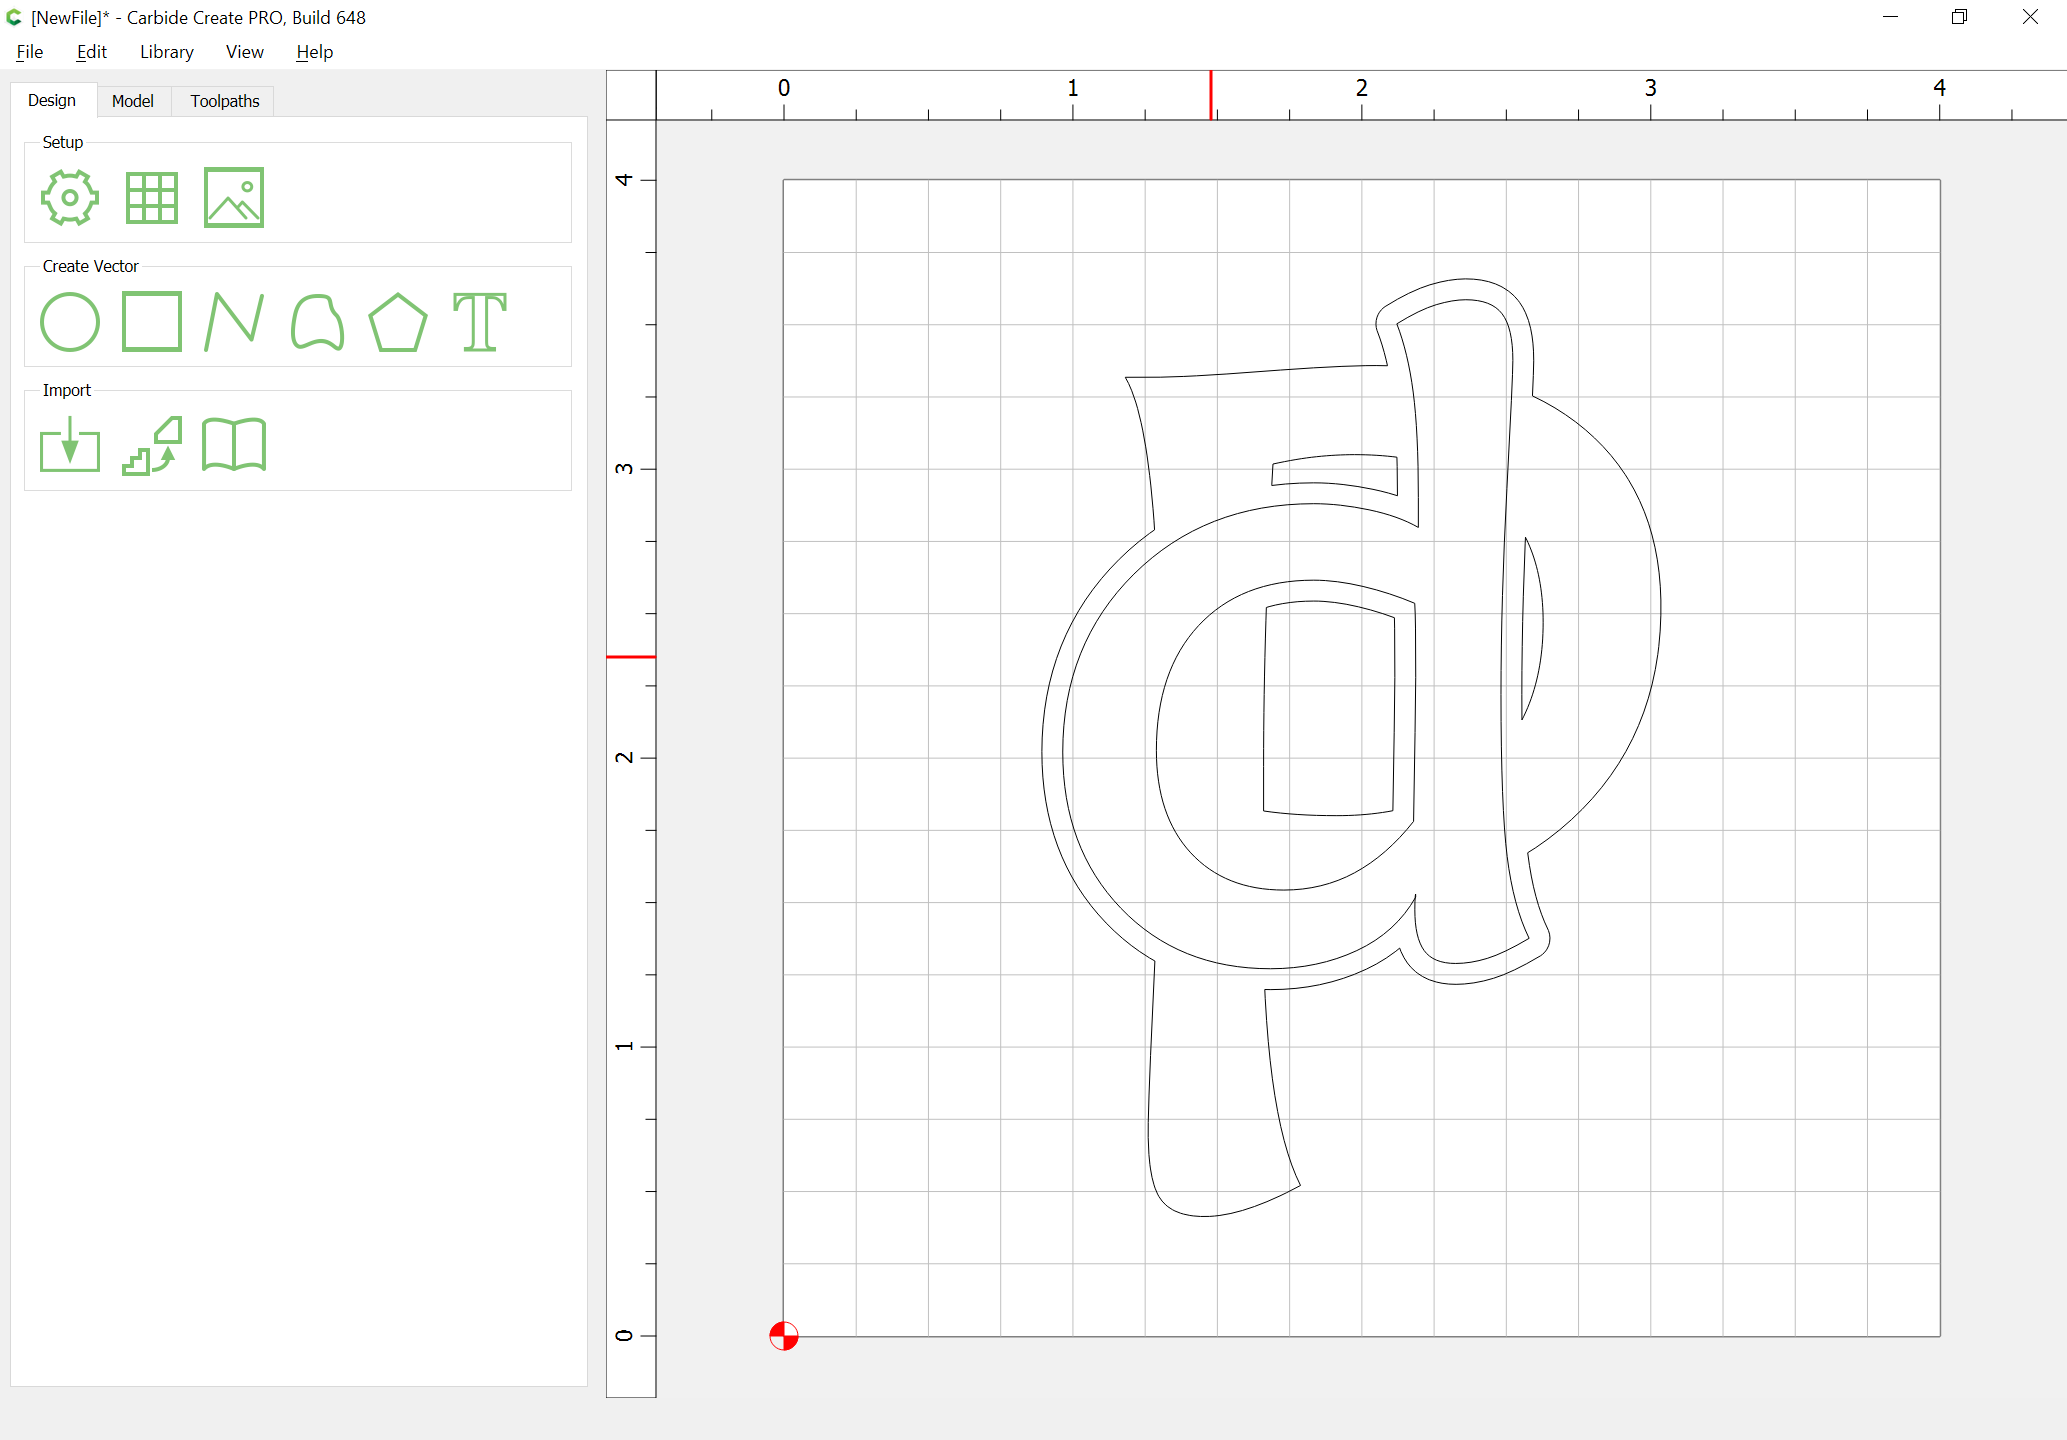
First, set the text:

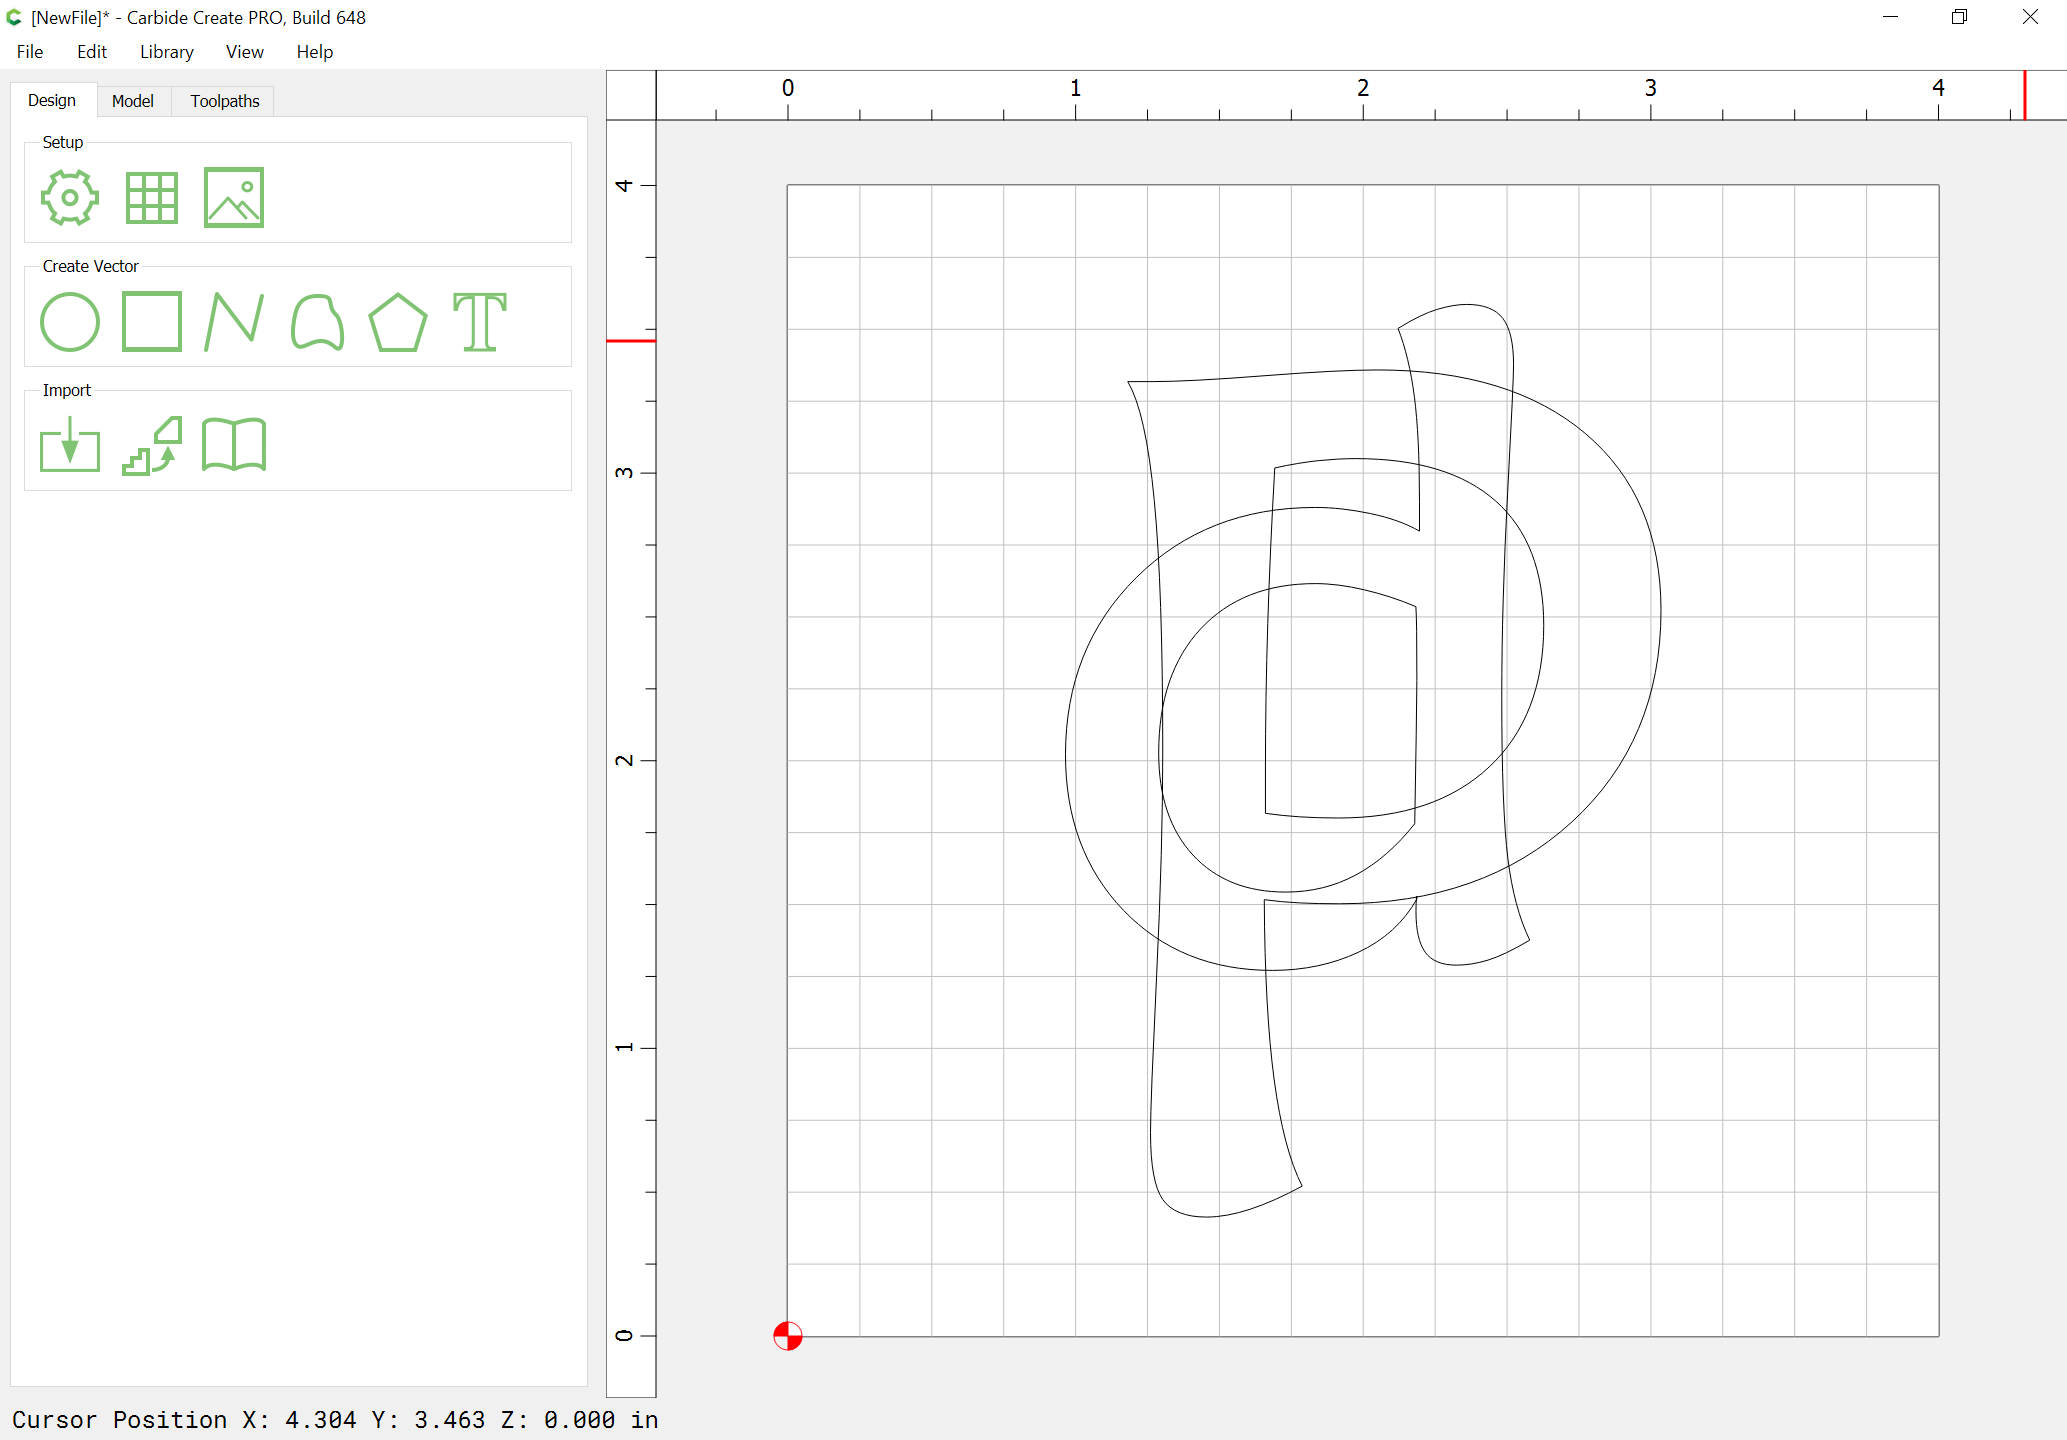
Arrange as desired:
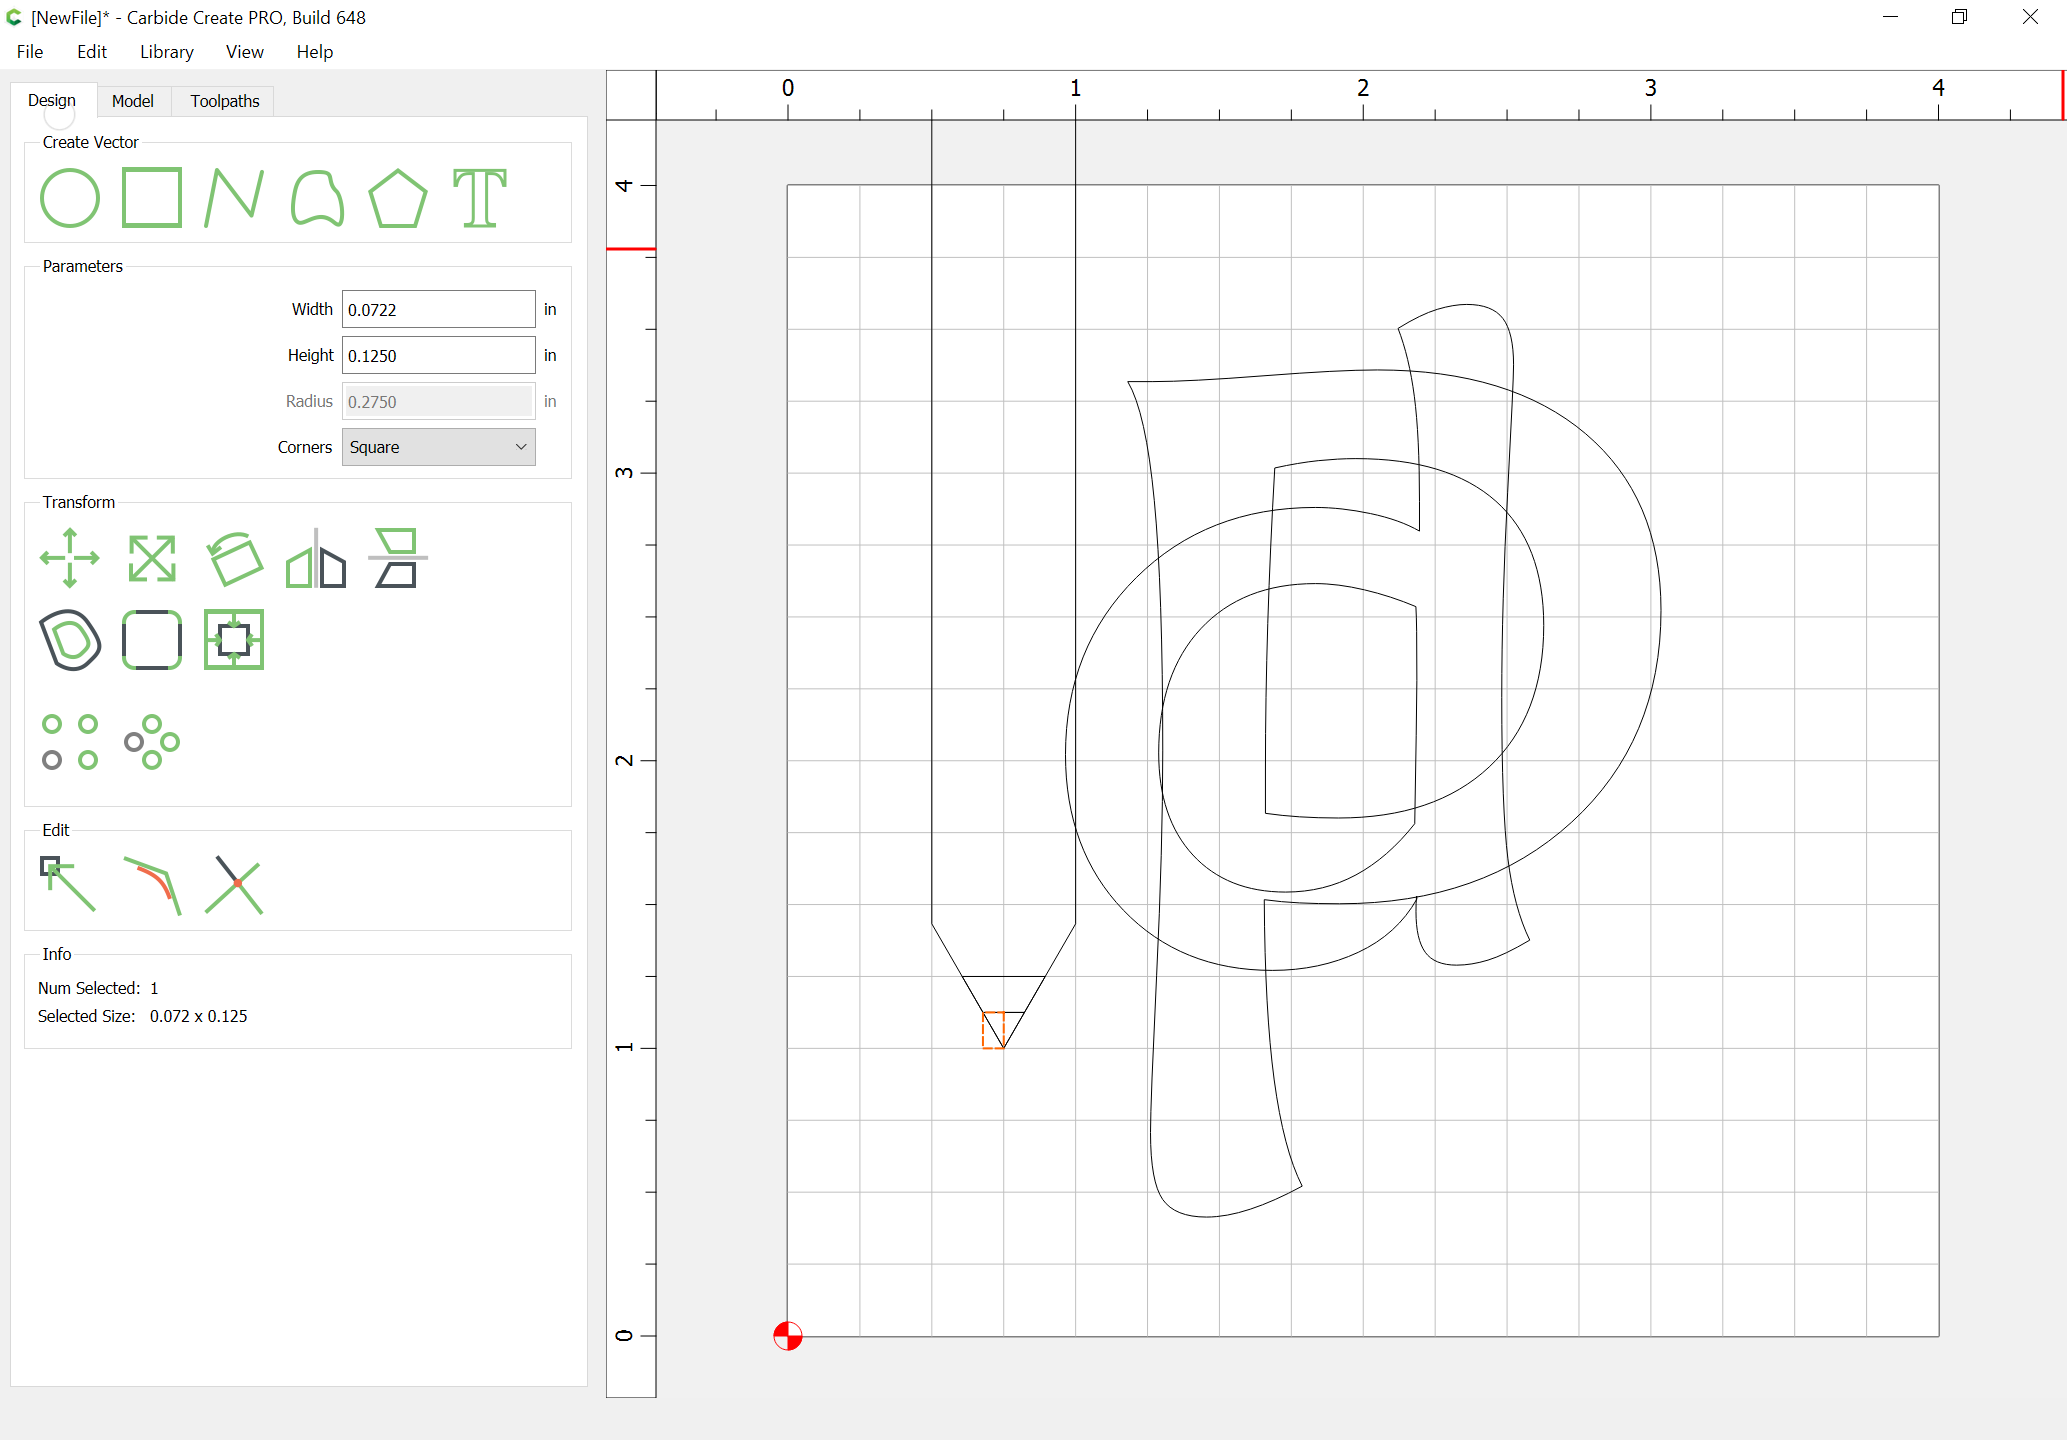
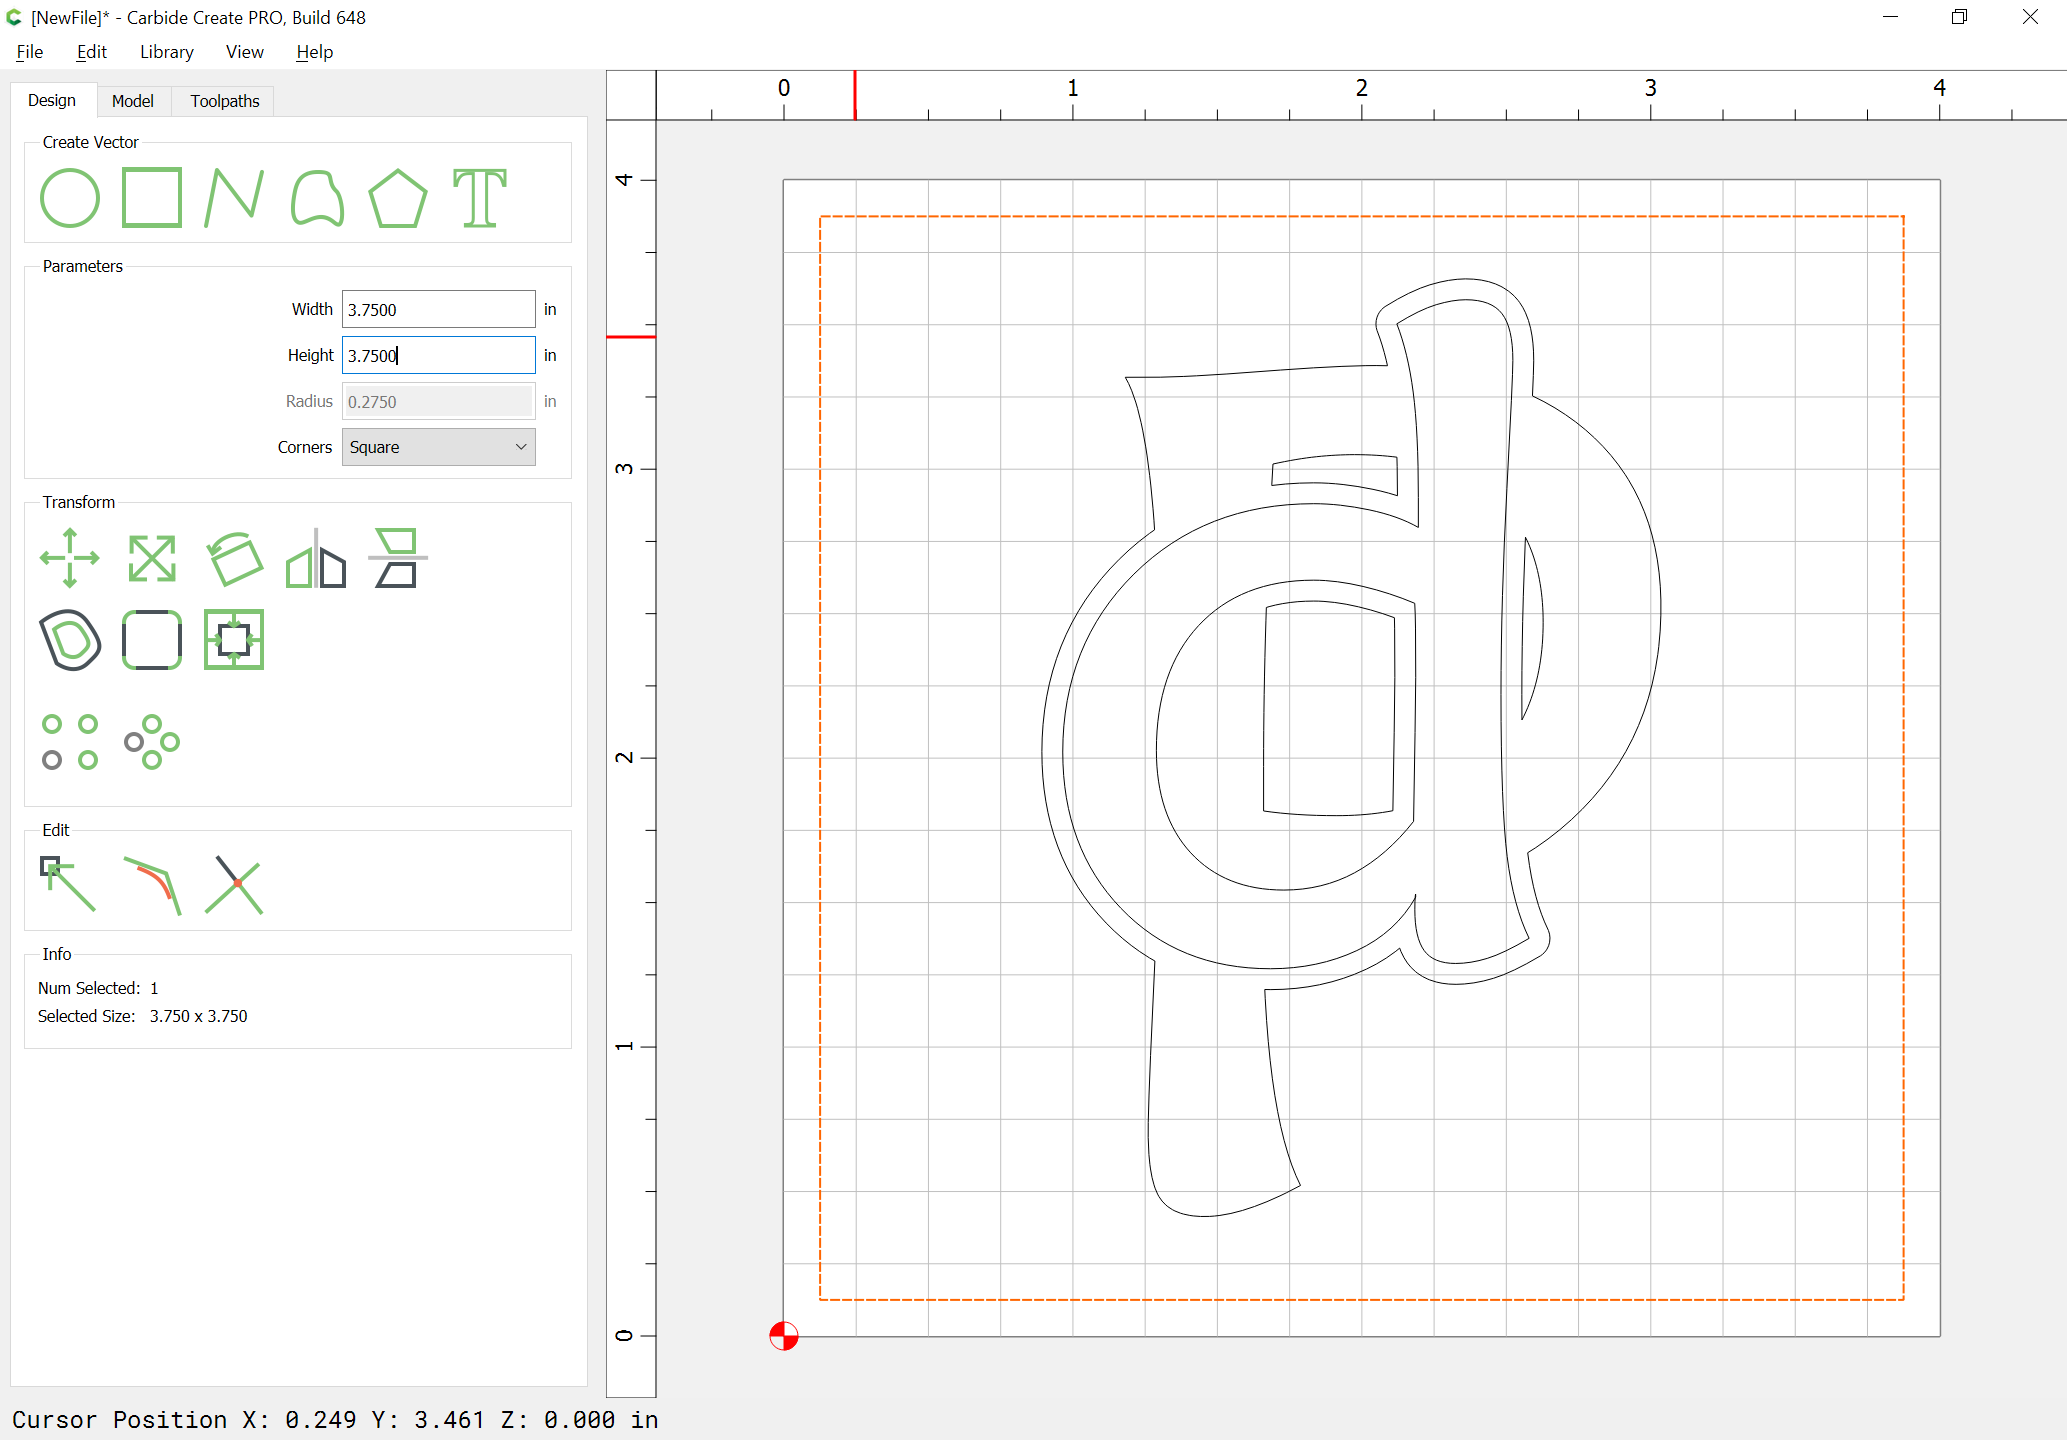
Draw things up in profile to determine how deeply things will be cut, and the necessary offset — assuming a 60 degree V endmill and 0.125" deep for each layer:
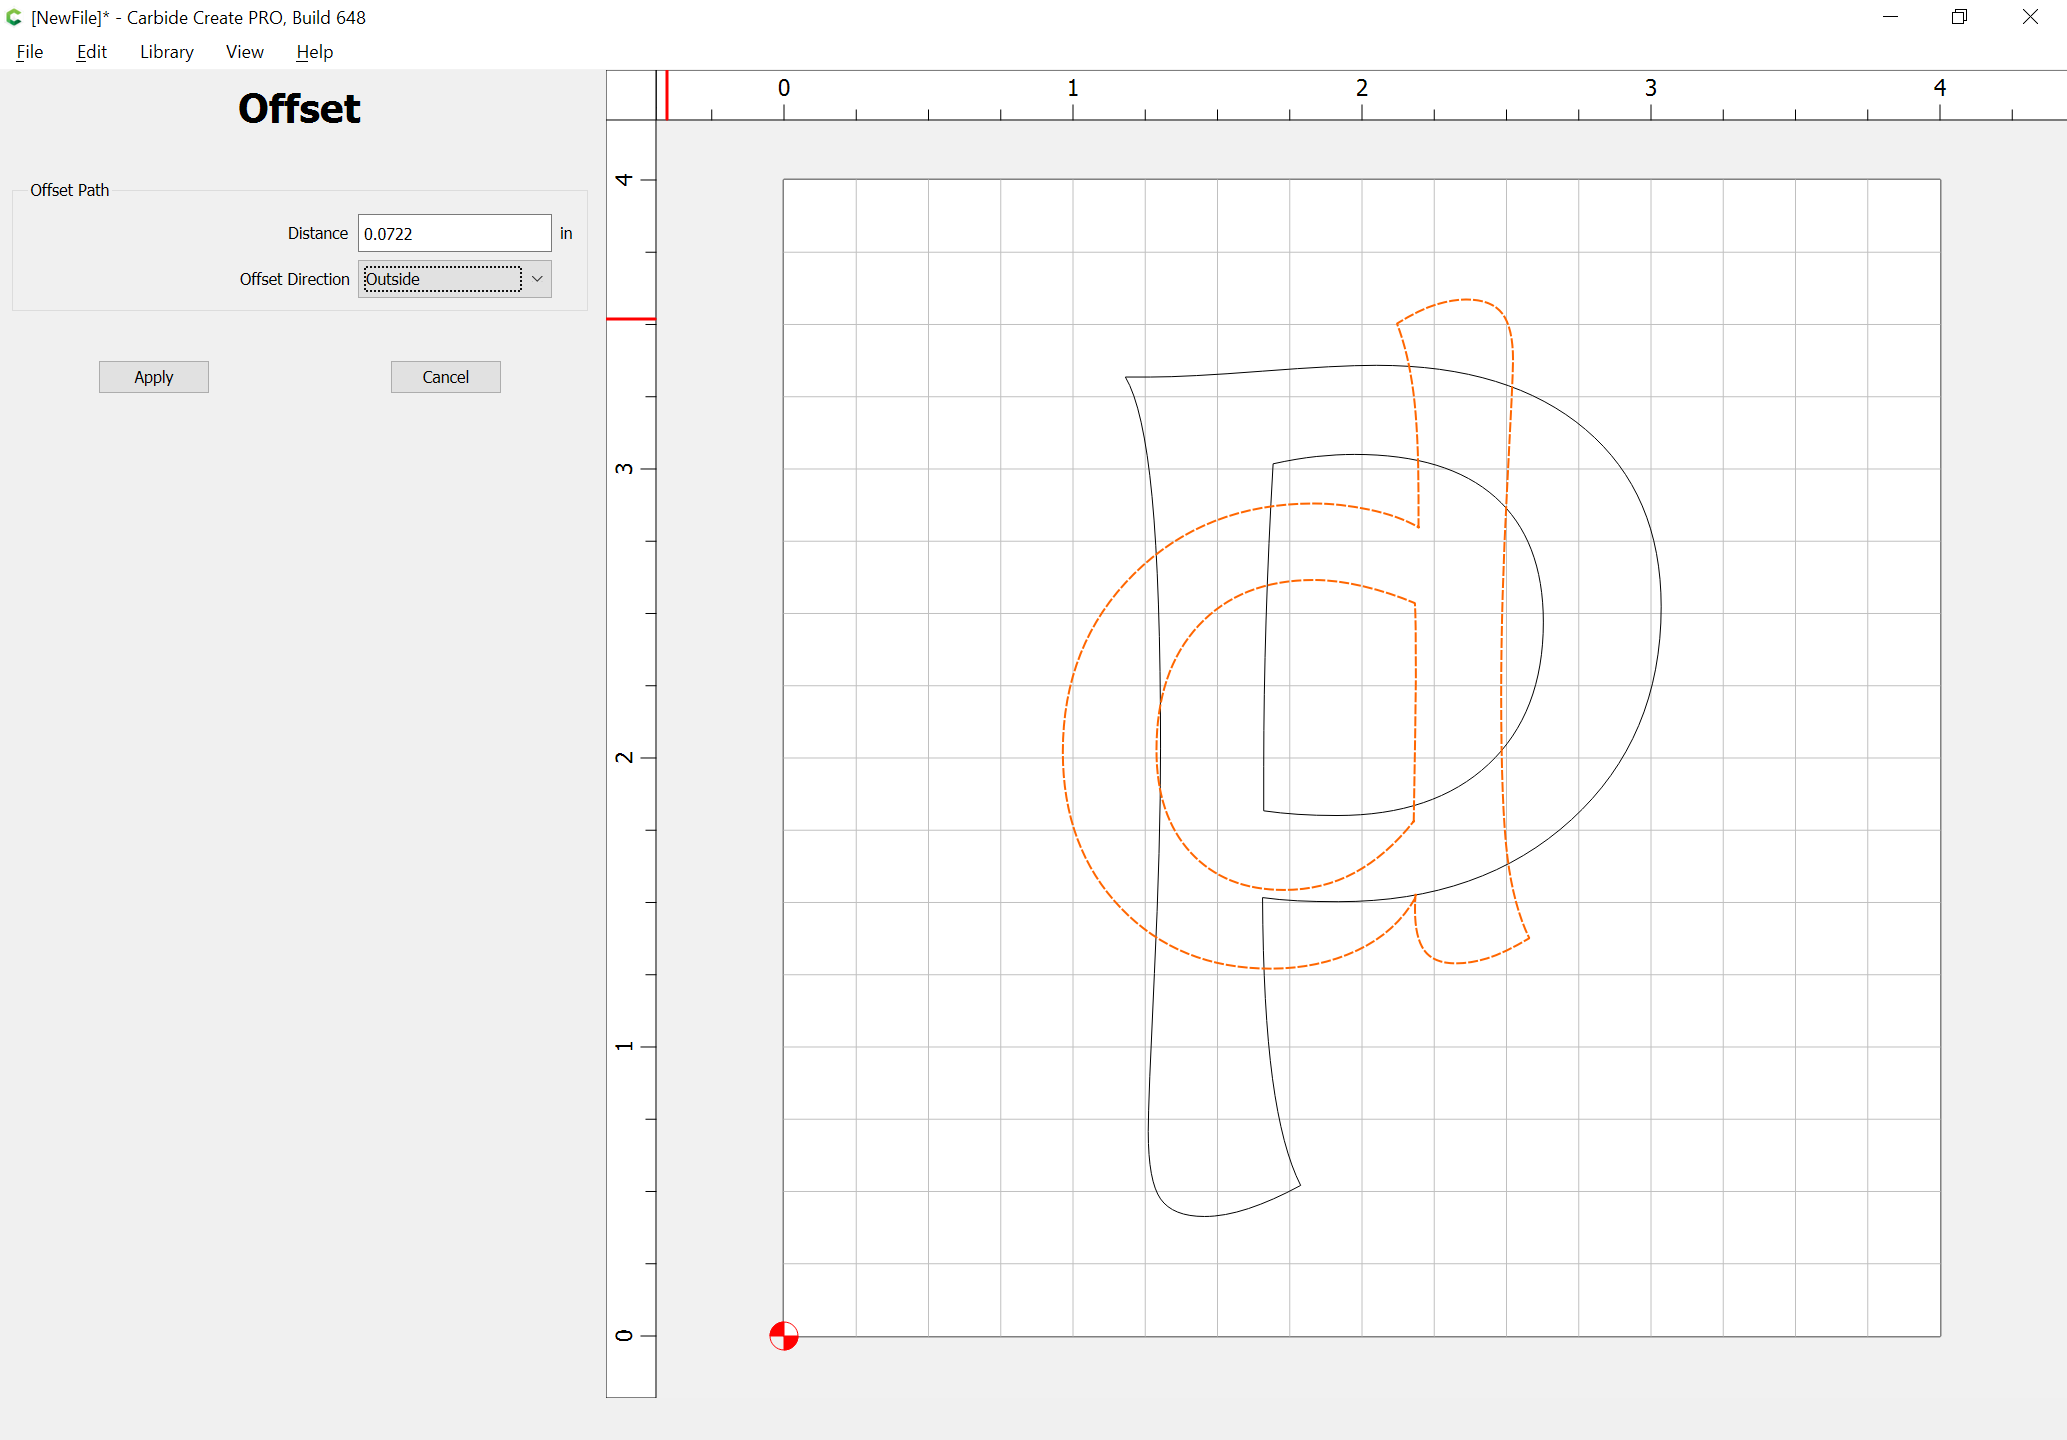
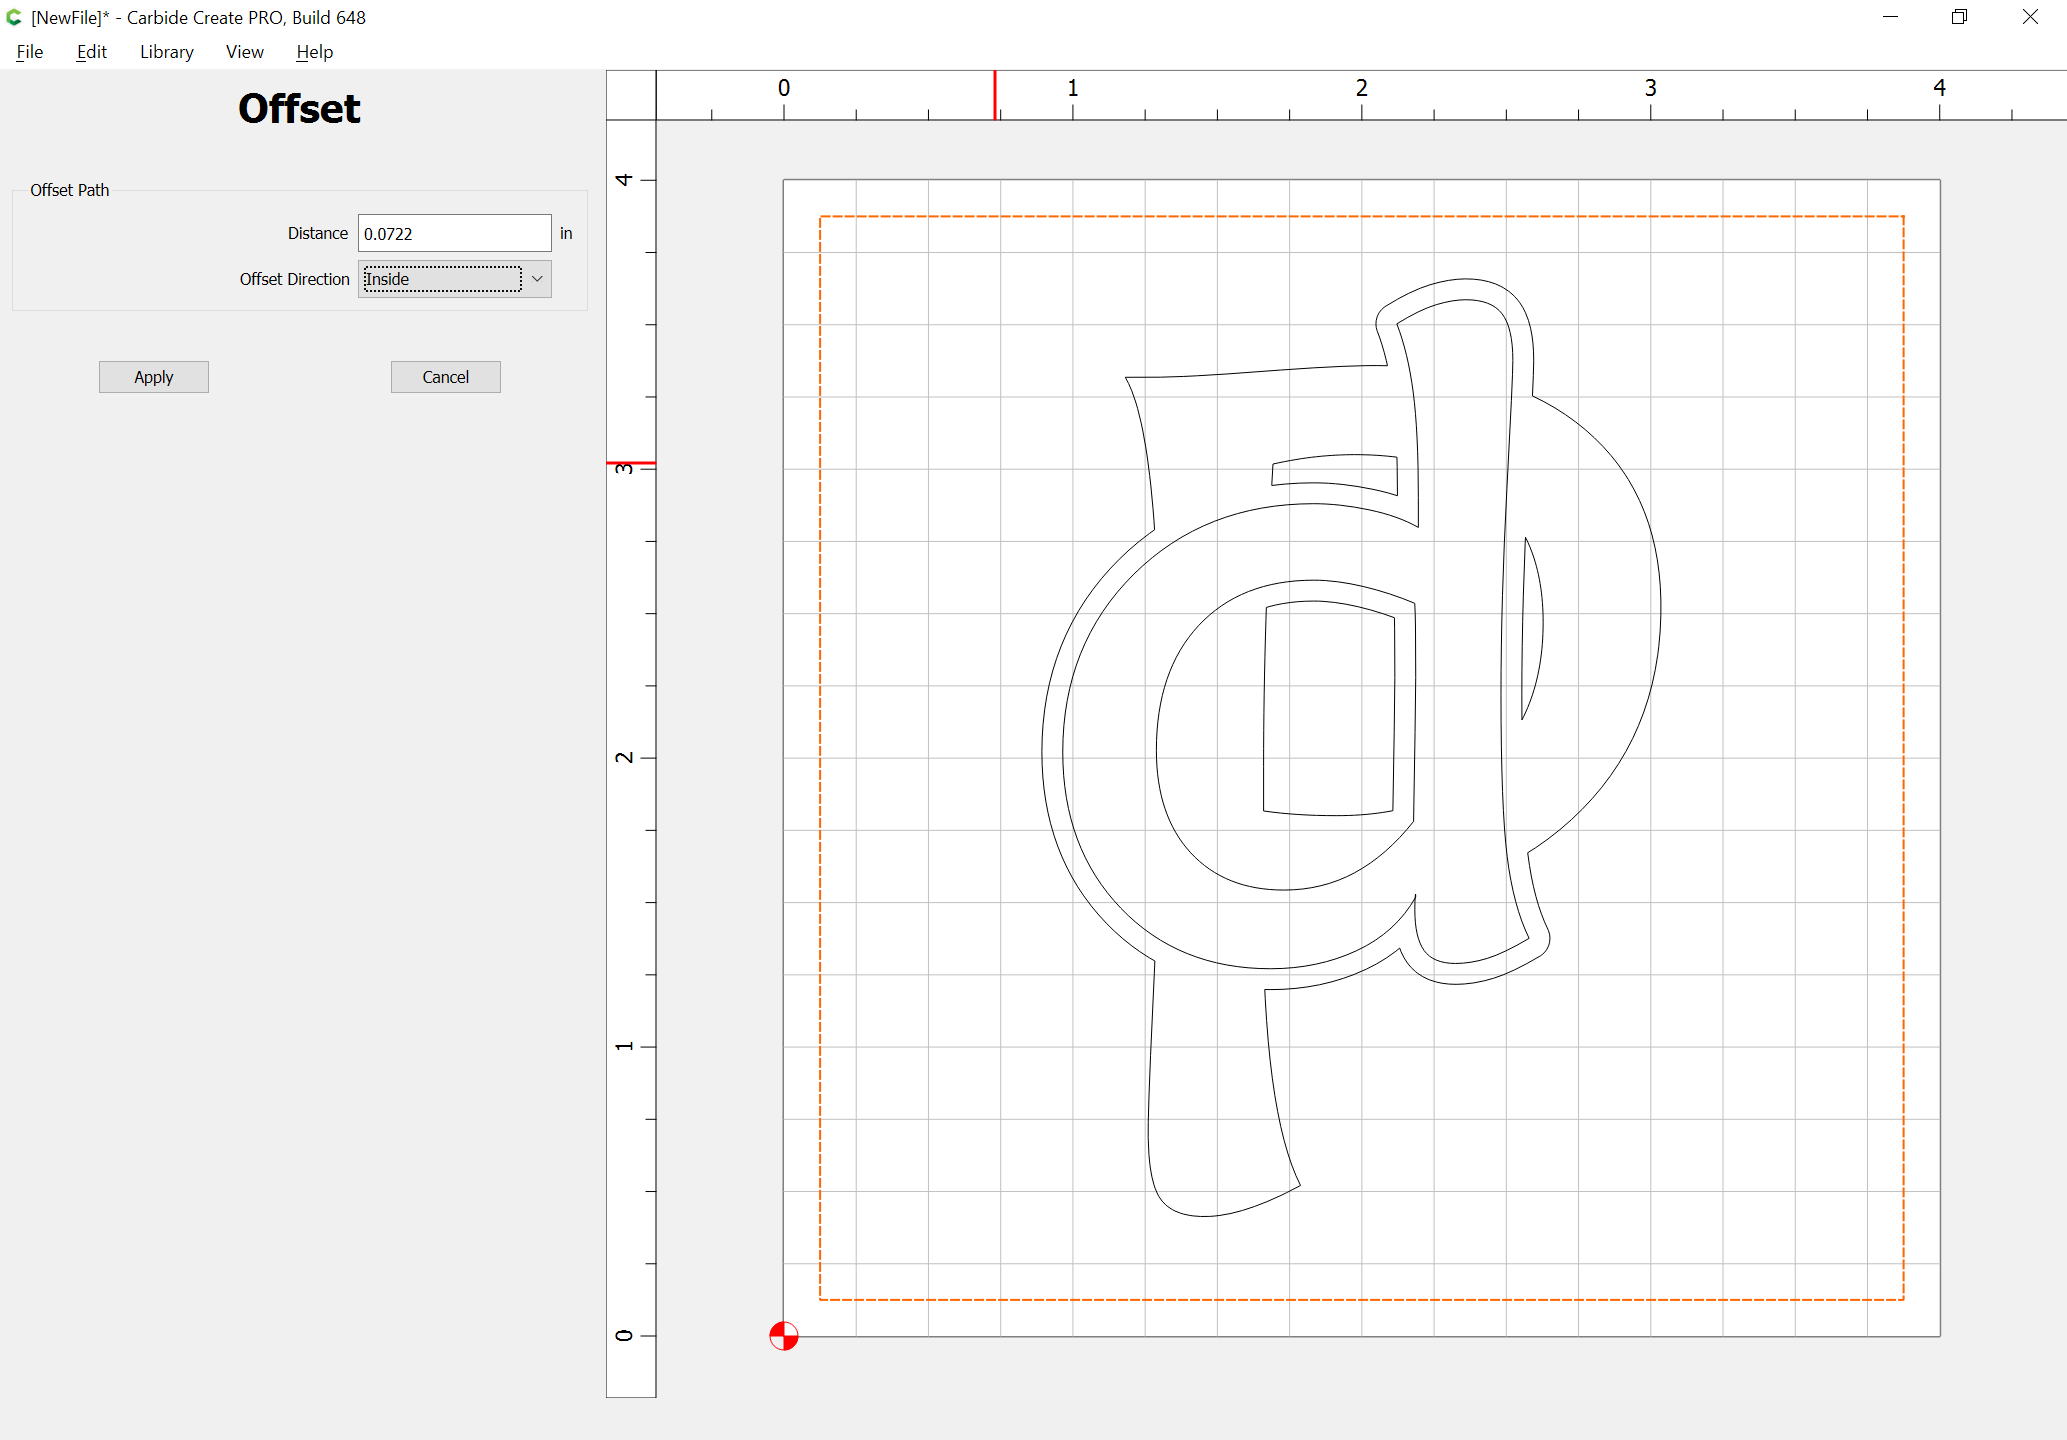
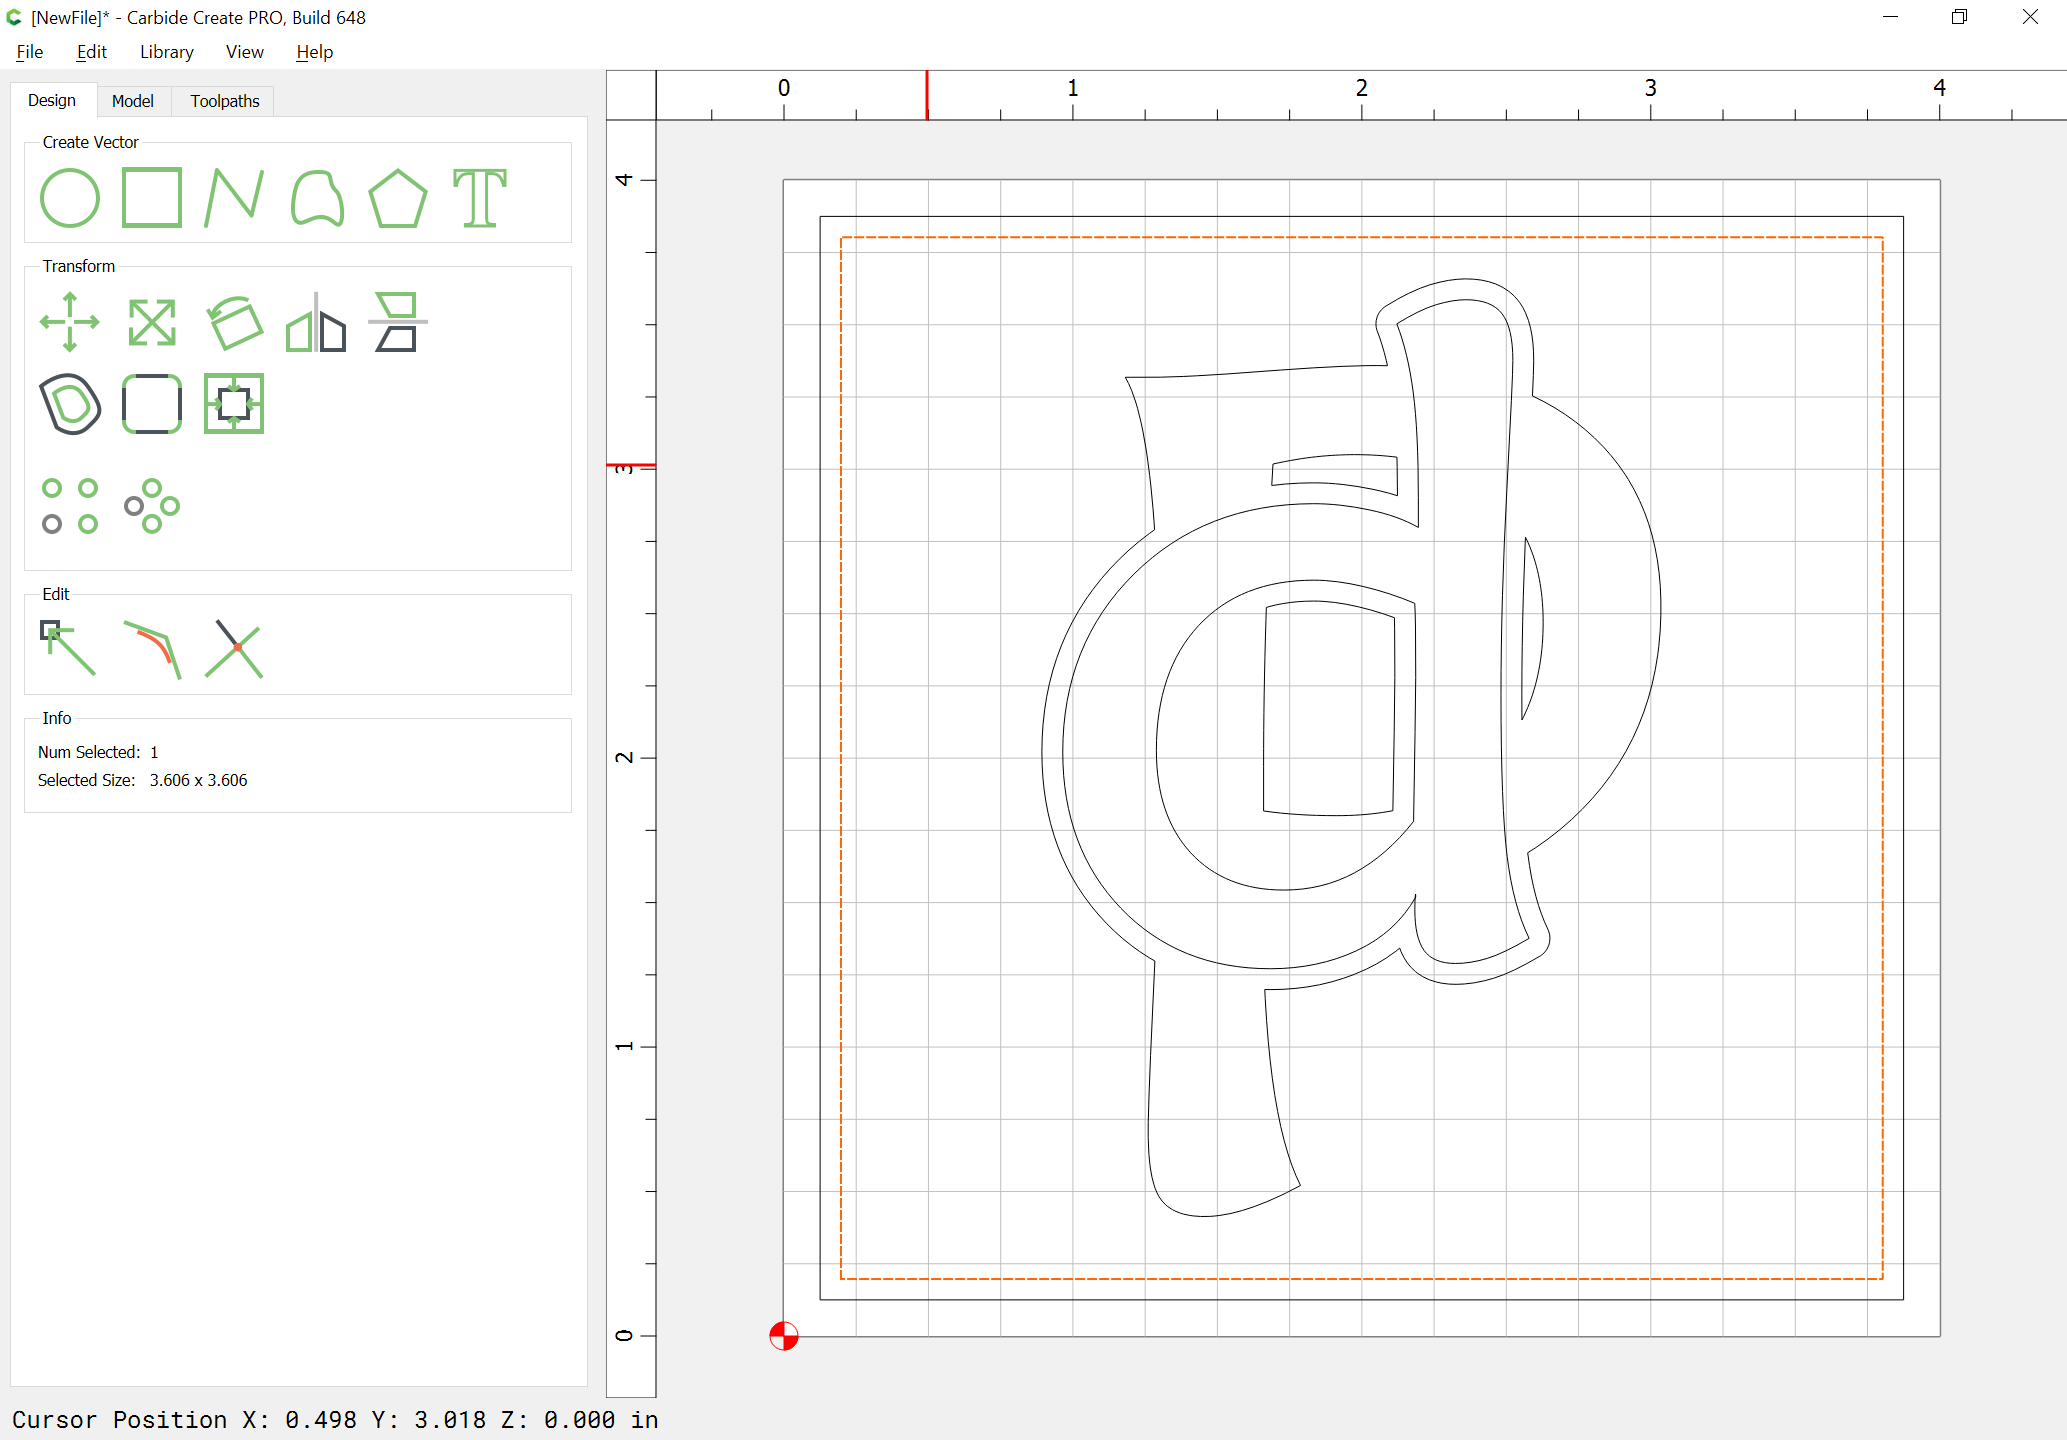
Select the text for the upper layer and offset to the outside by the necessary width:
Duplicate the lower text and set the duplicate aside:
Boolean union the outer offset geometry w/ the lower text:
Convert the duplicate text into paths and drag it into alignment w/ the unioned geometry:
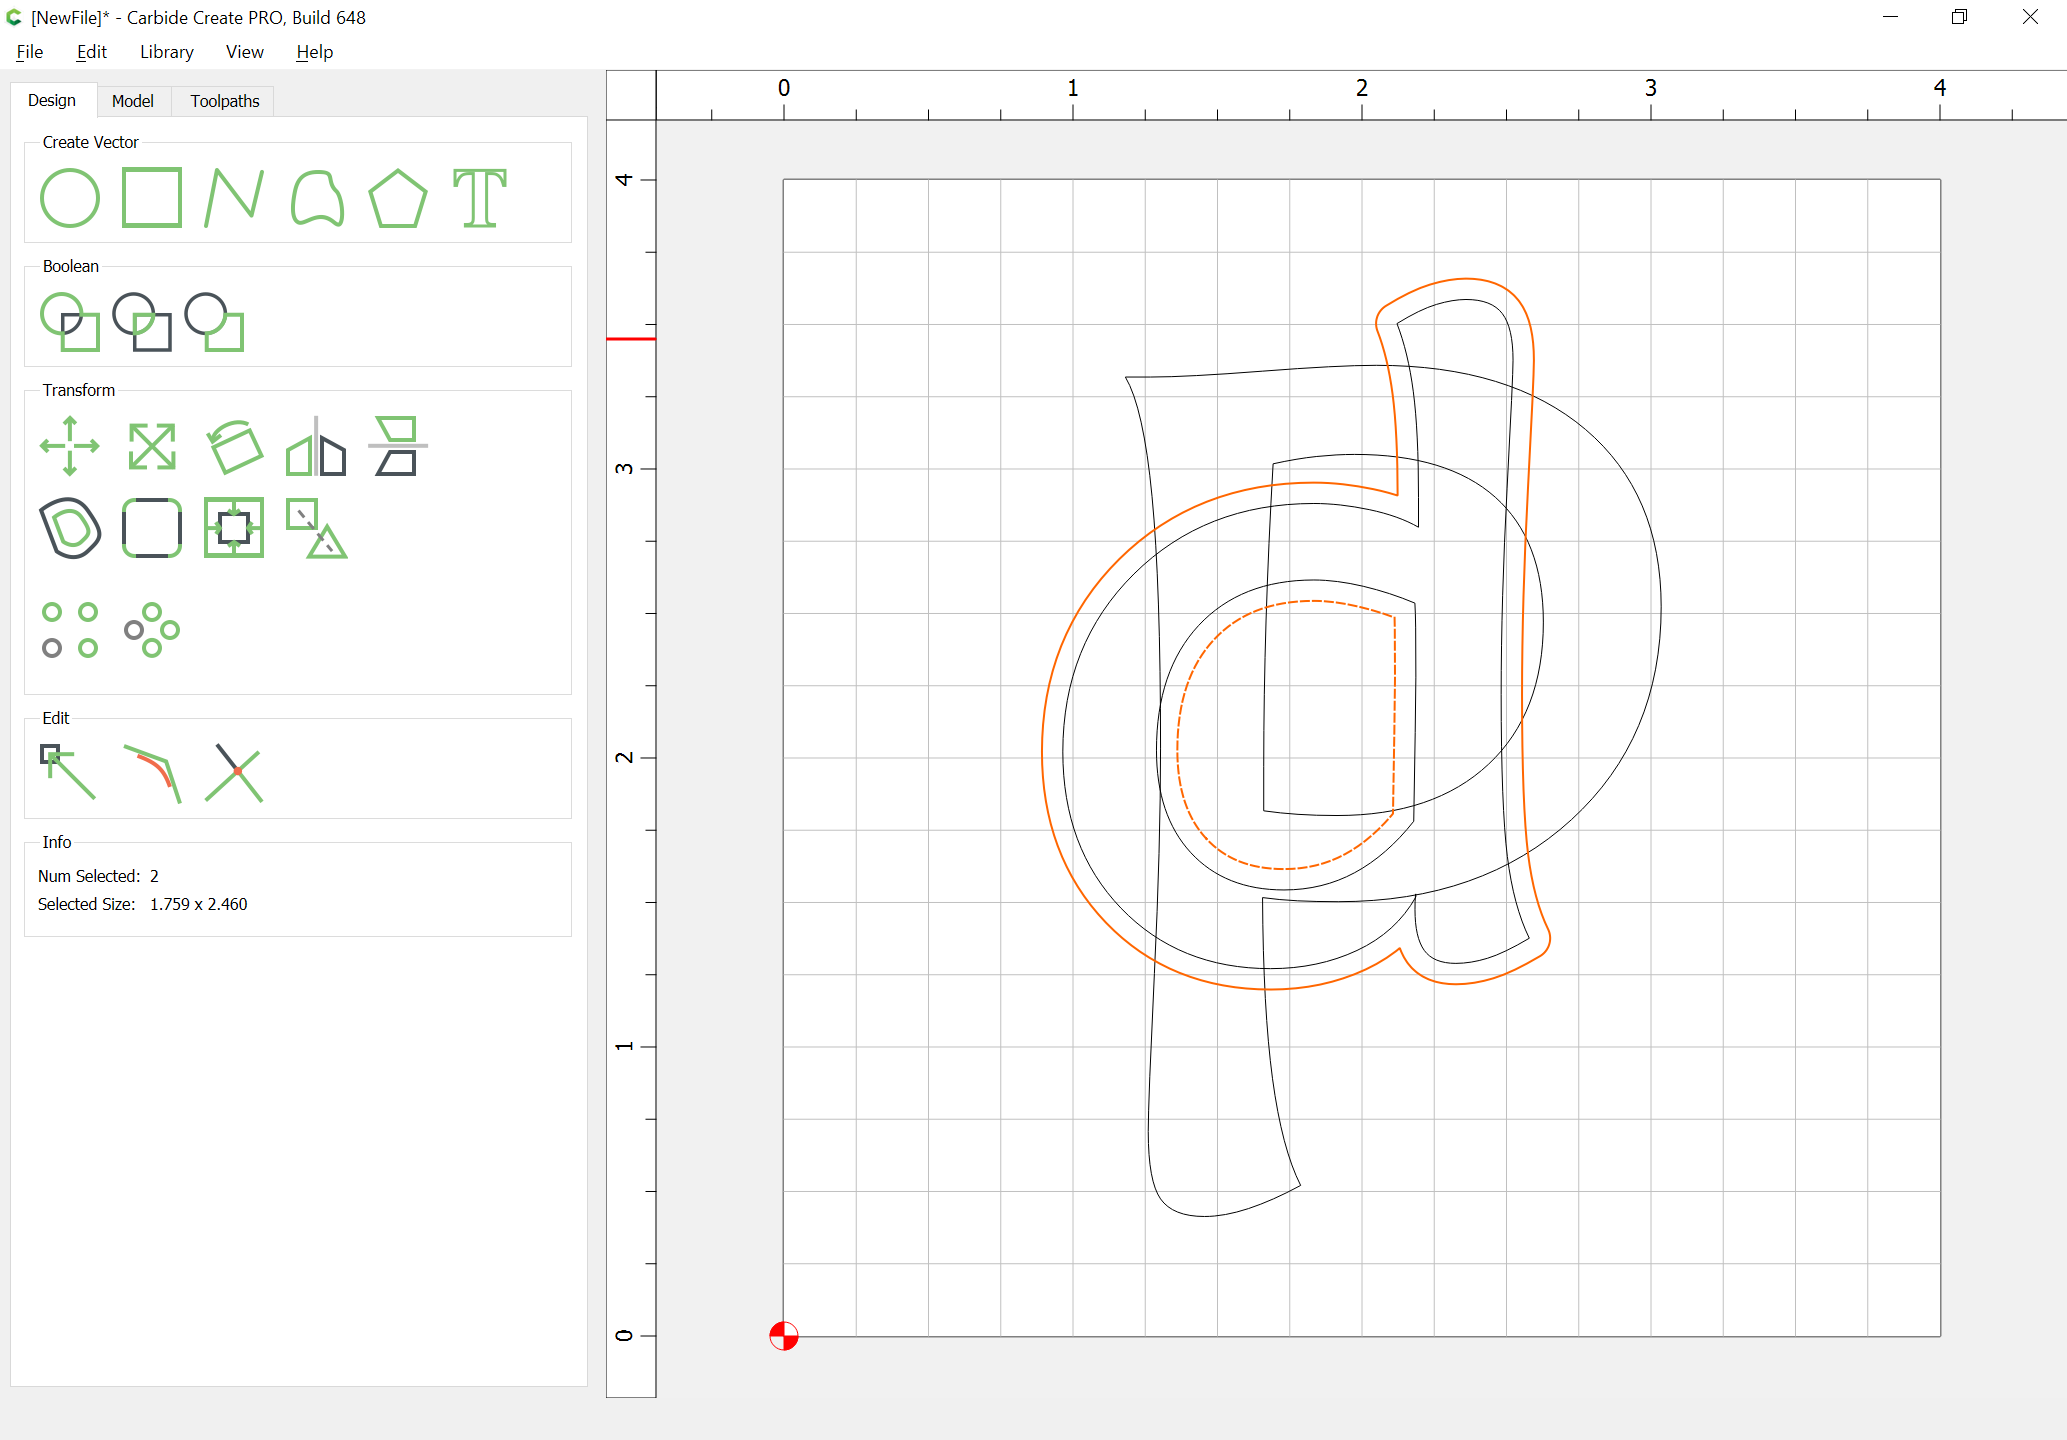
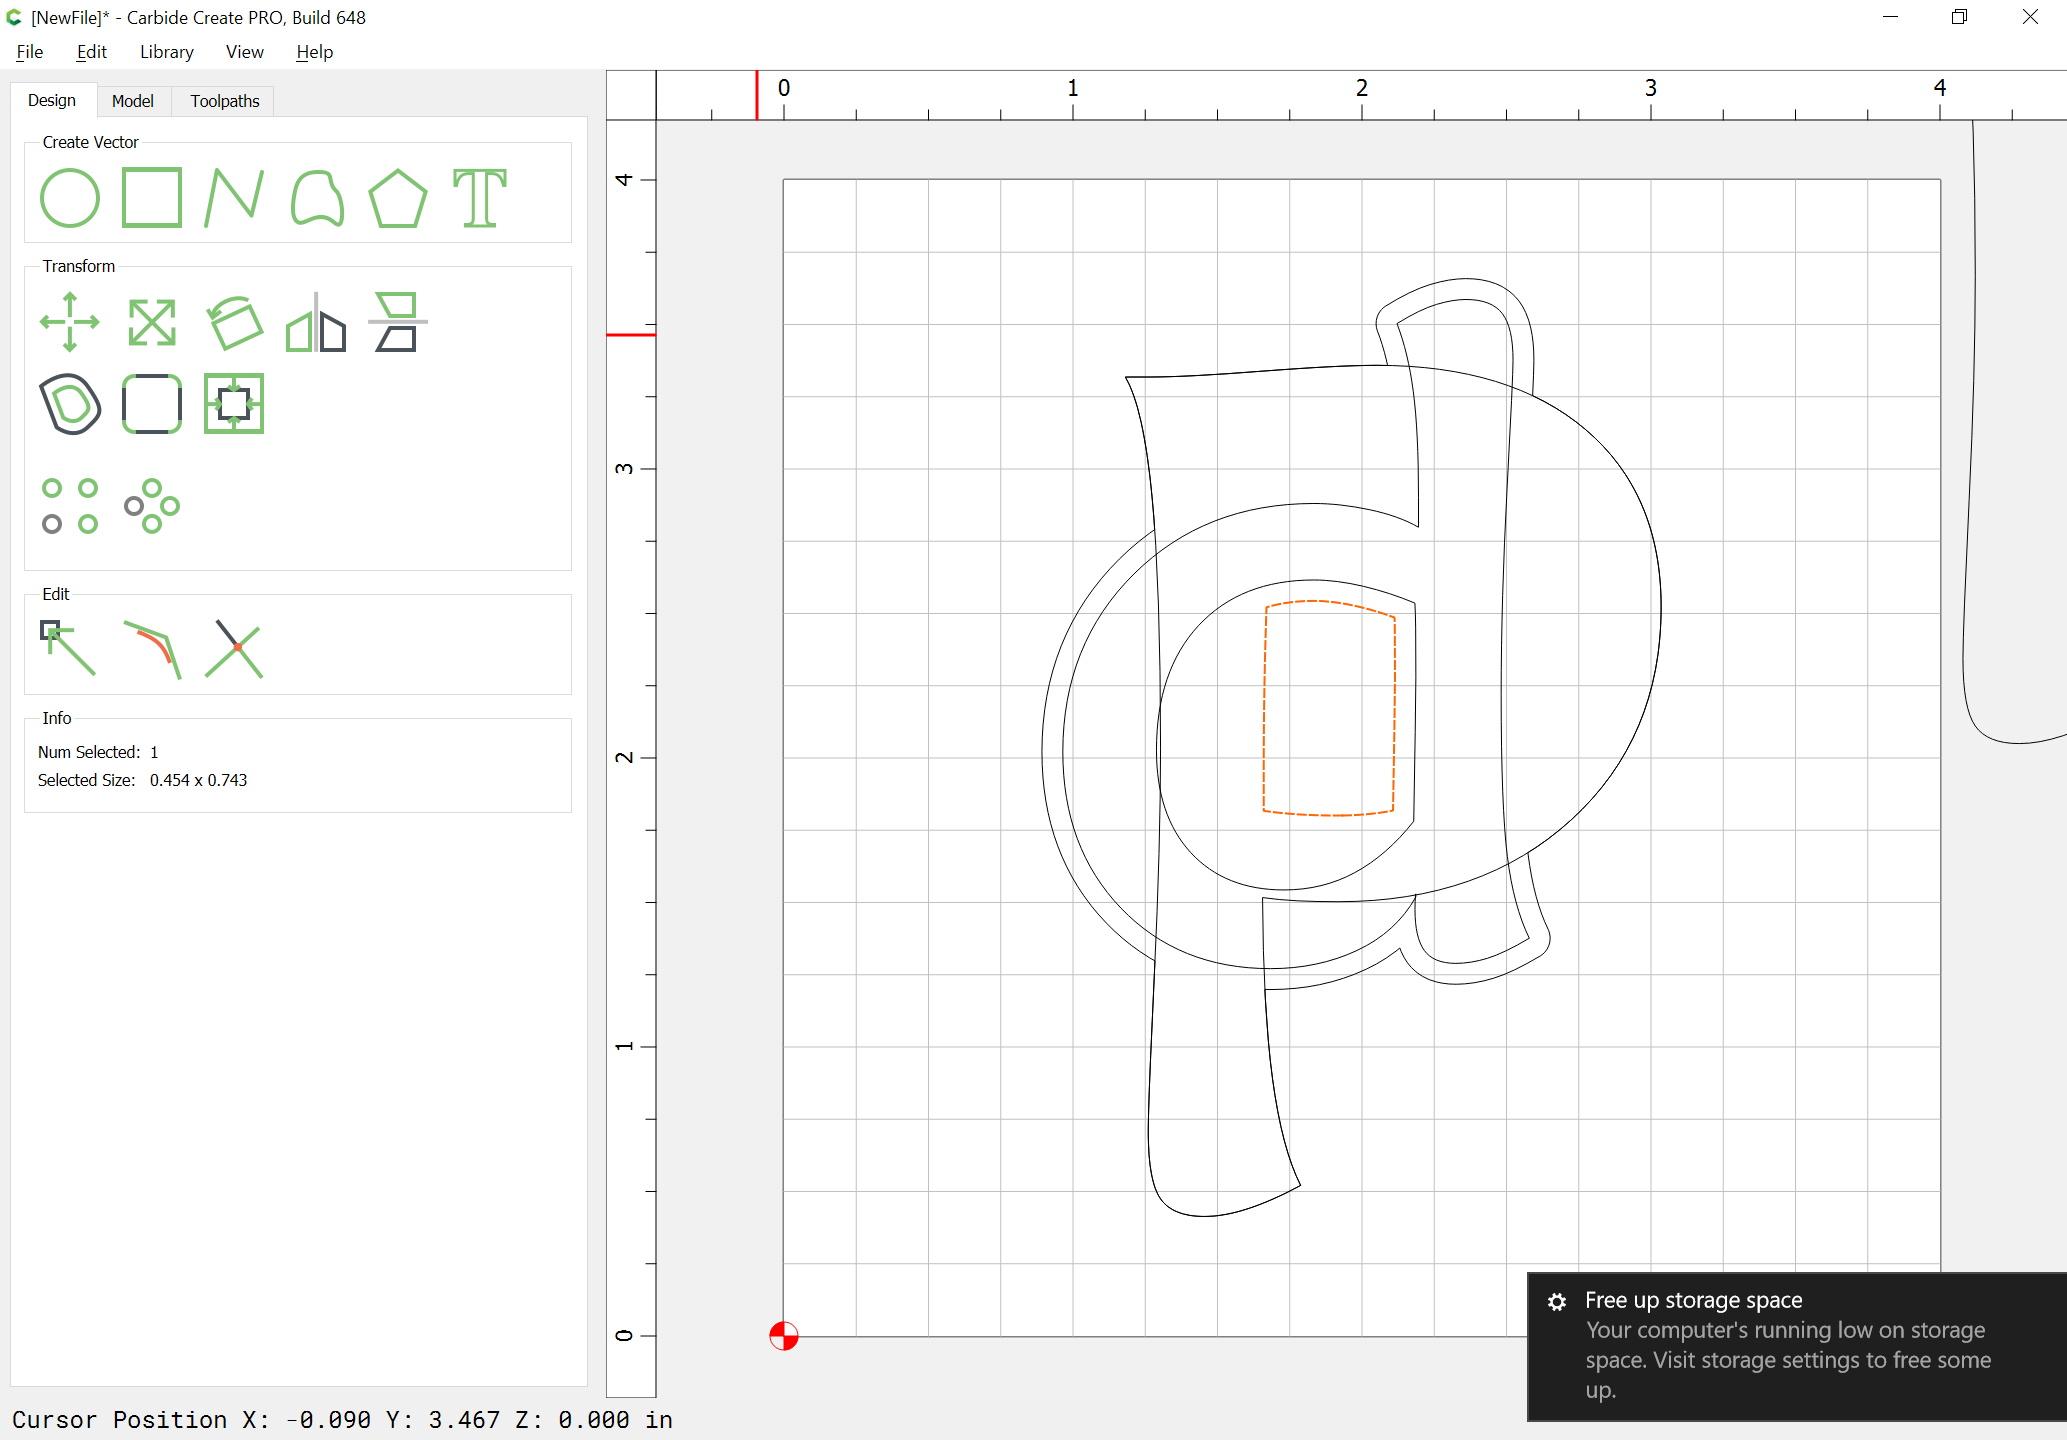
Select the offset geometry for the counter for the upper text and the counter of the lower text and do Boolean intersection:

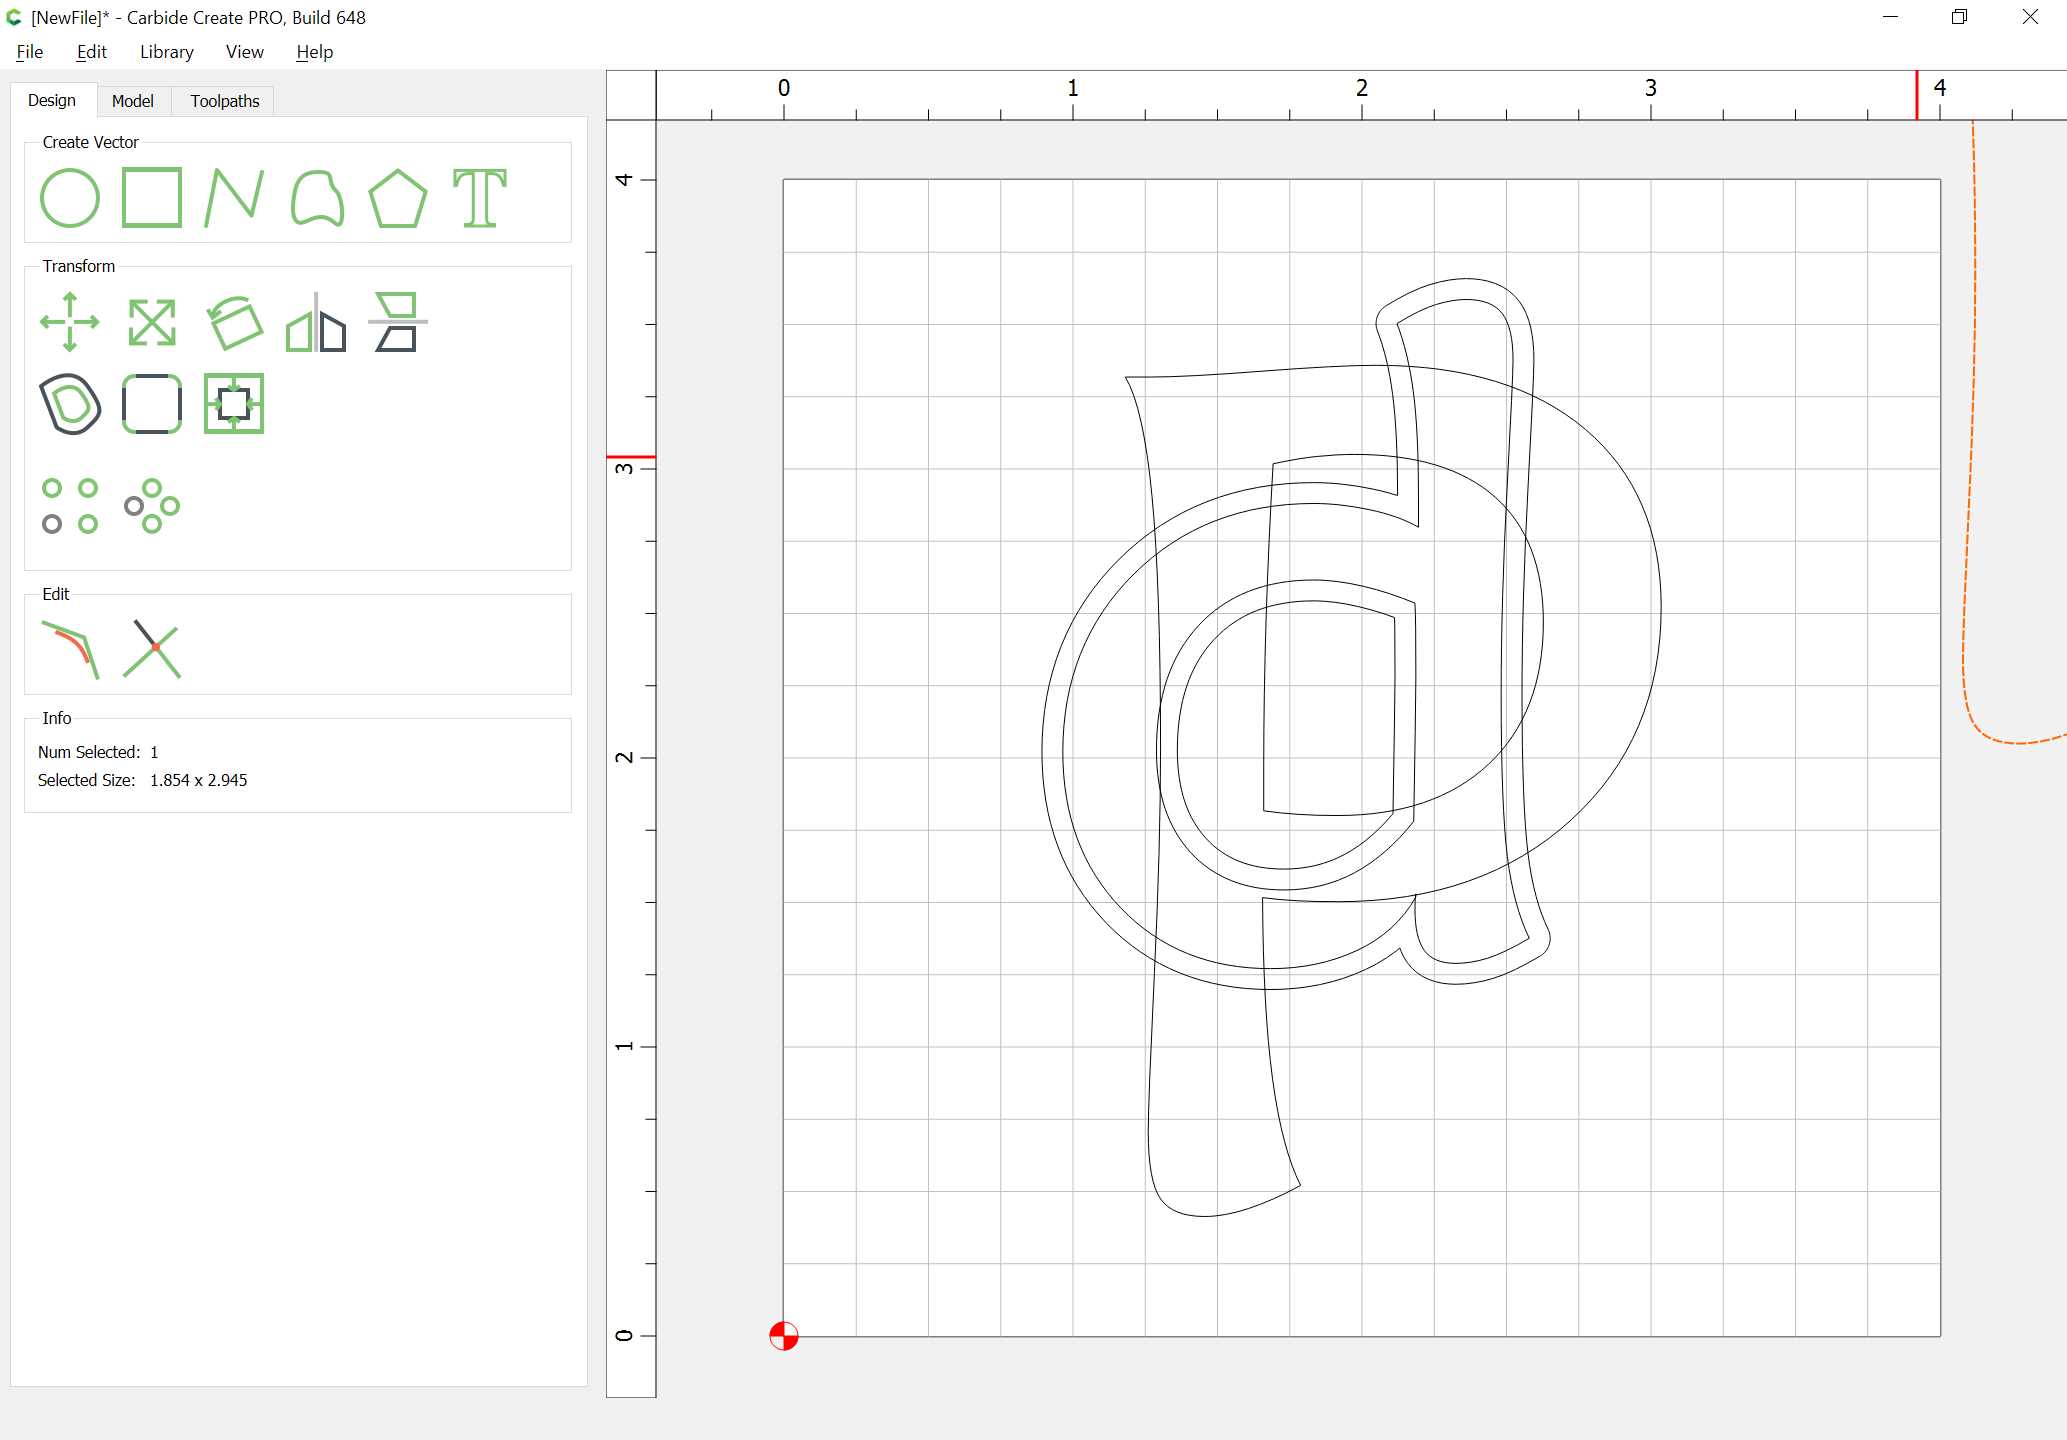
Repeat the offset for the upper text:
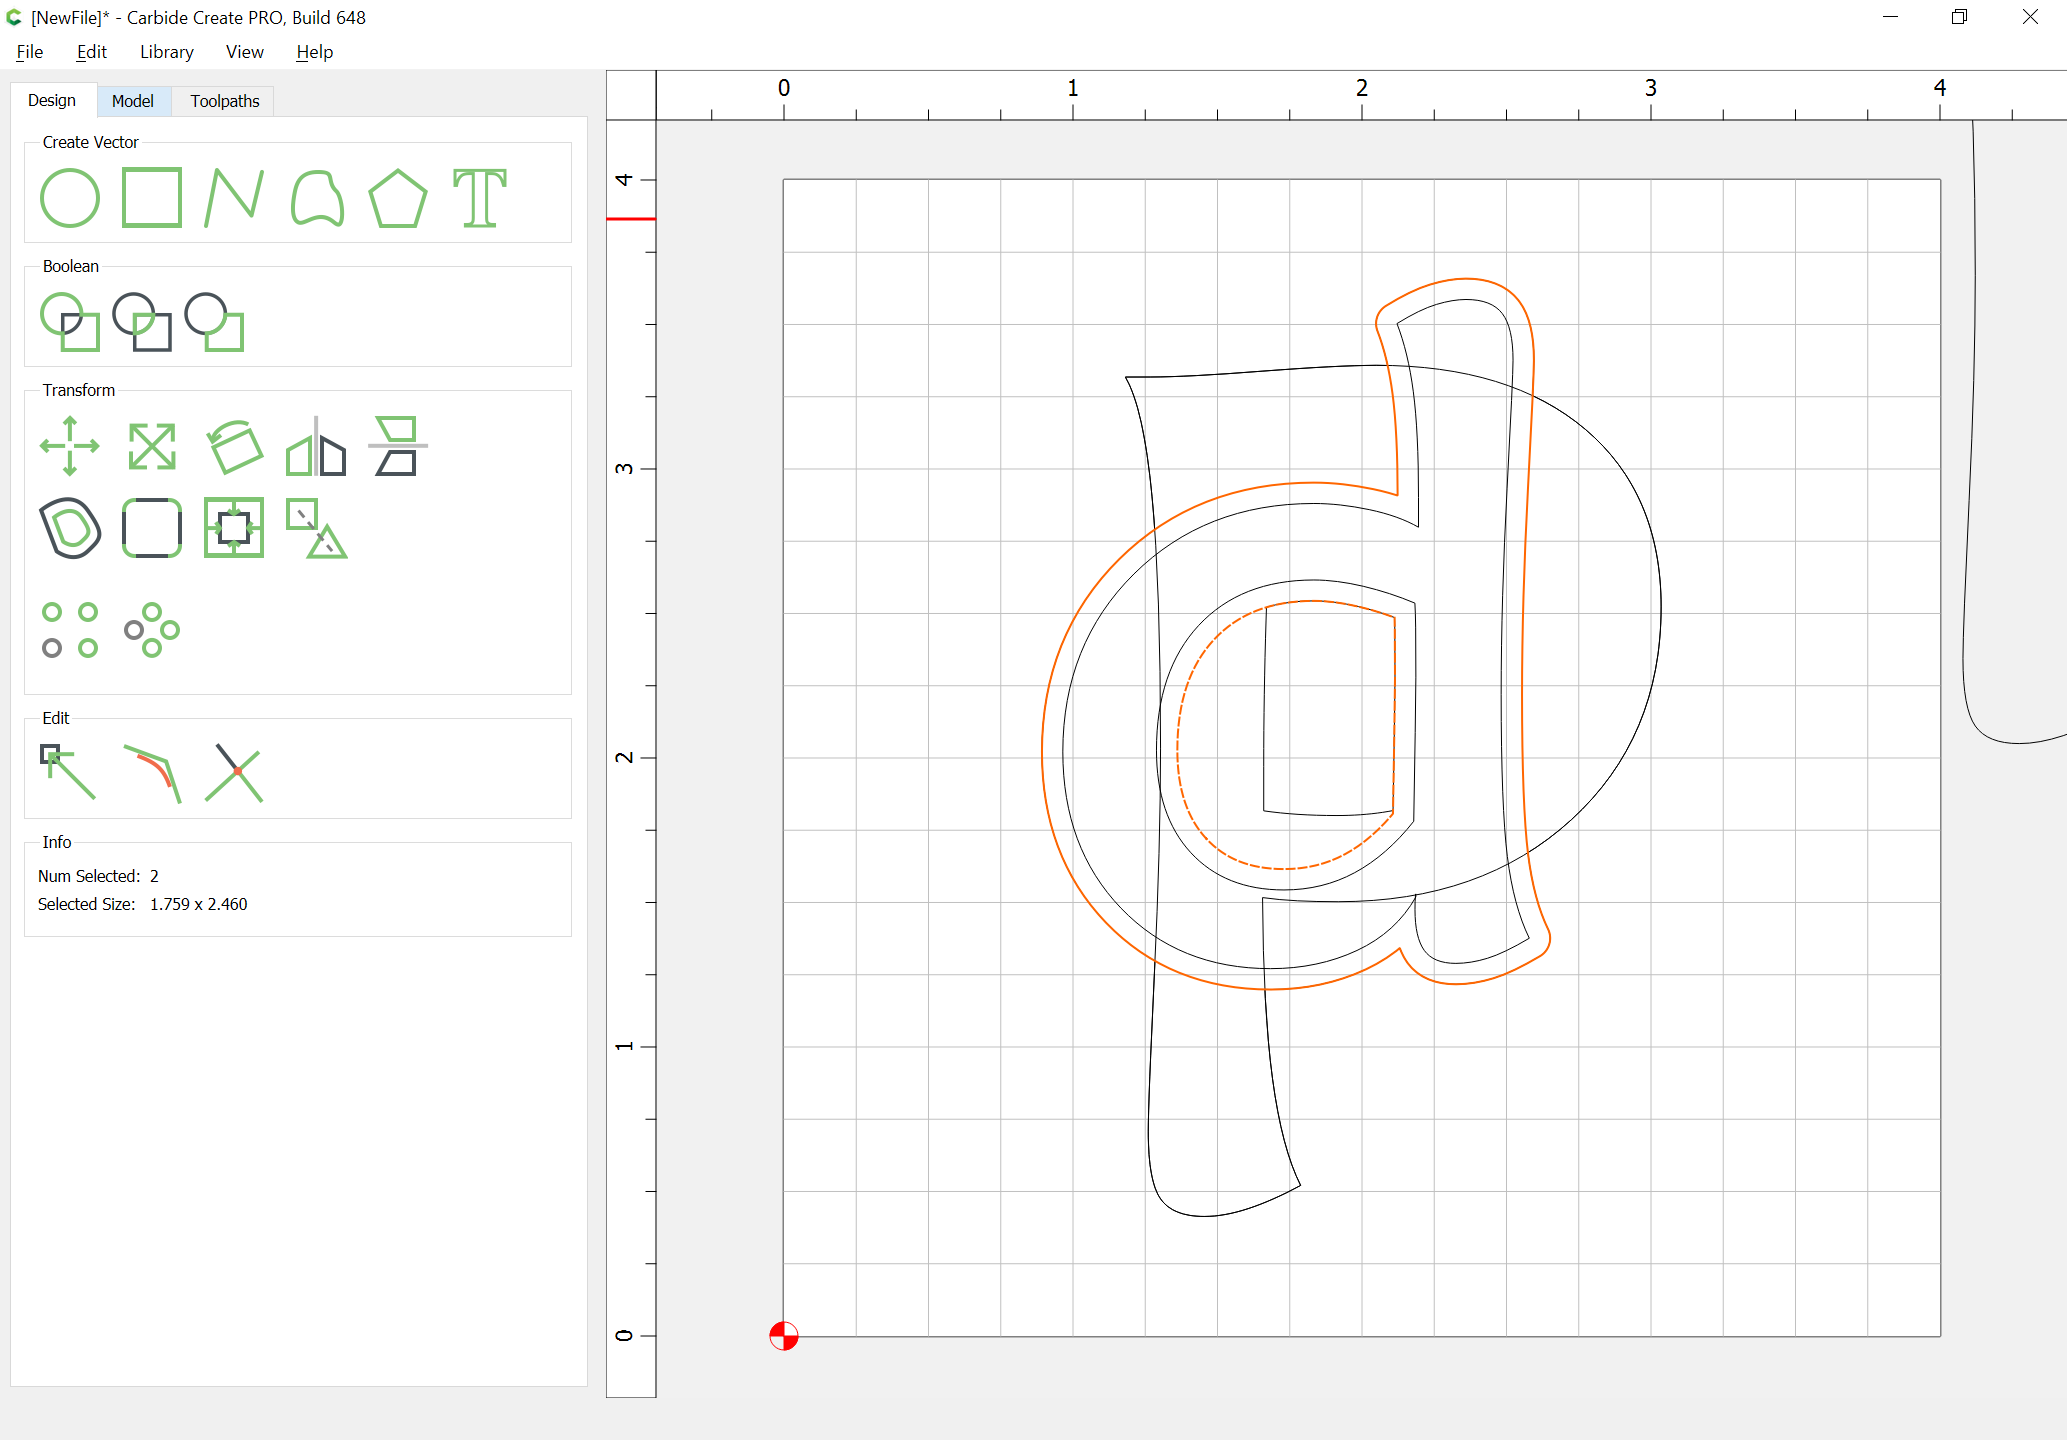
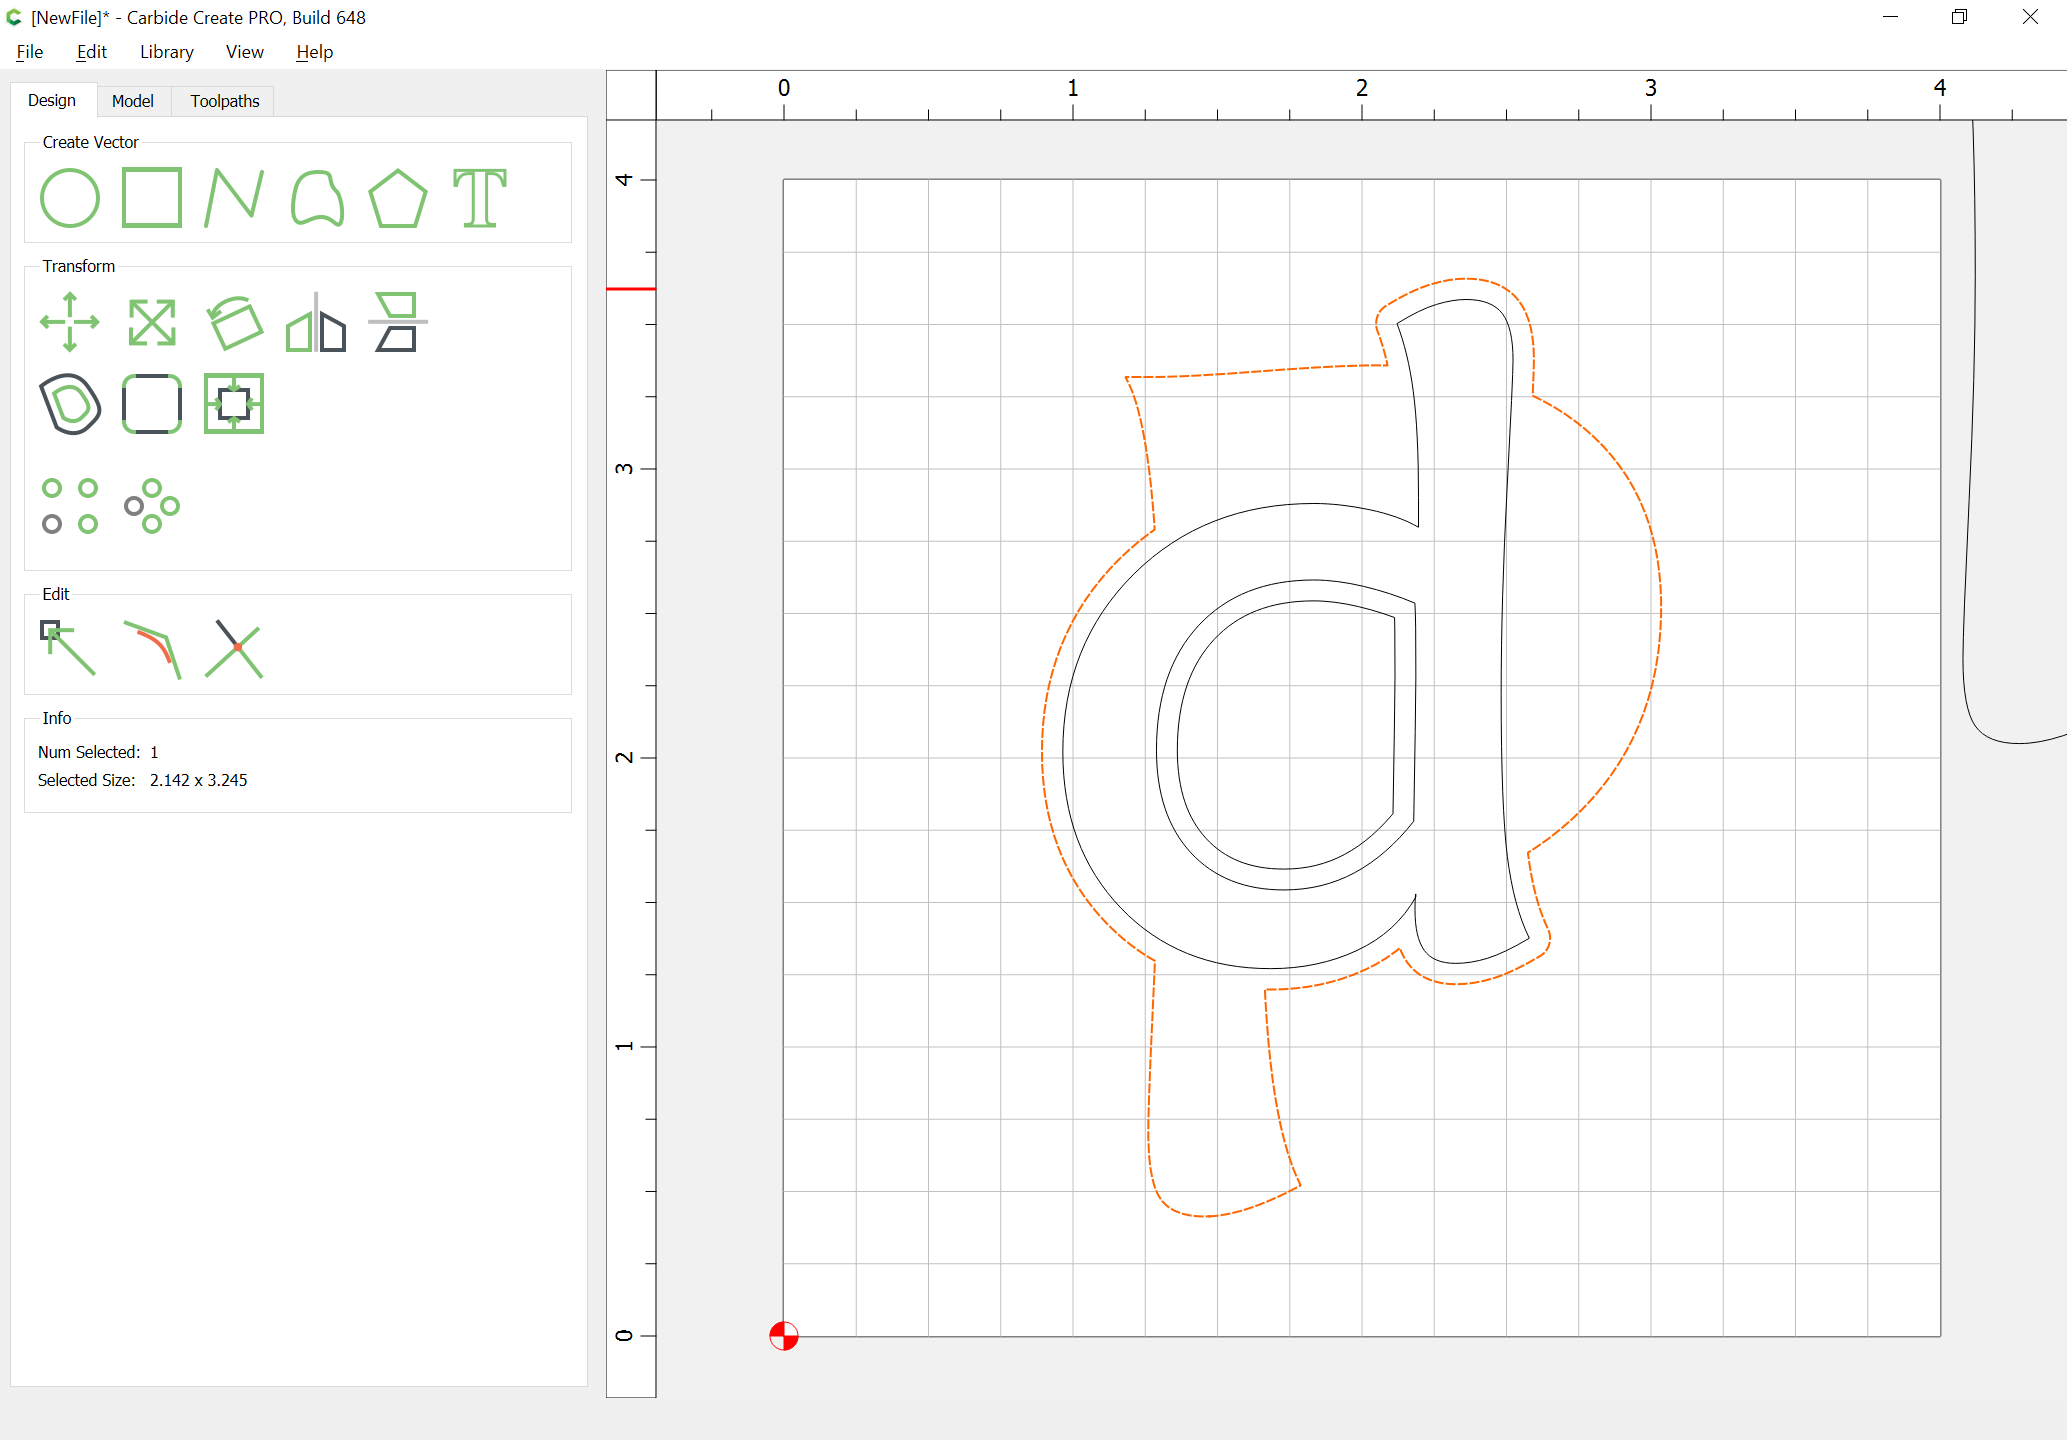
bring the geometry for the counter of the lower text back, select it and then the offset geometry for the outside of the upper text:
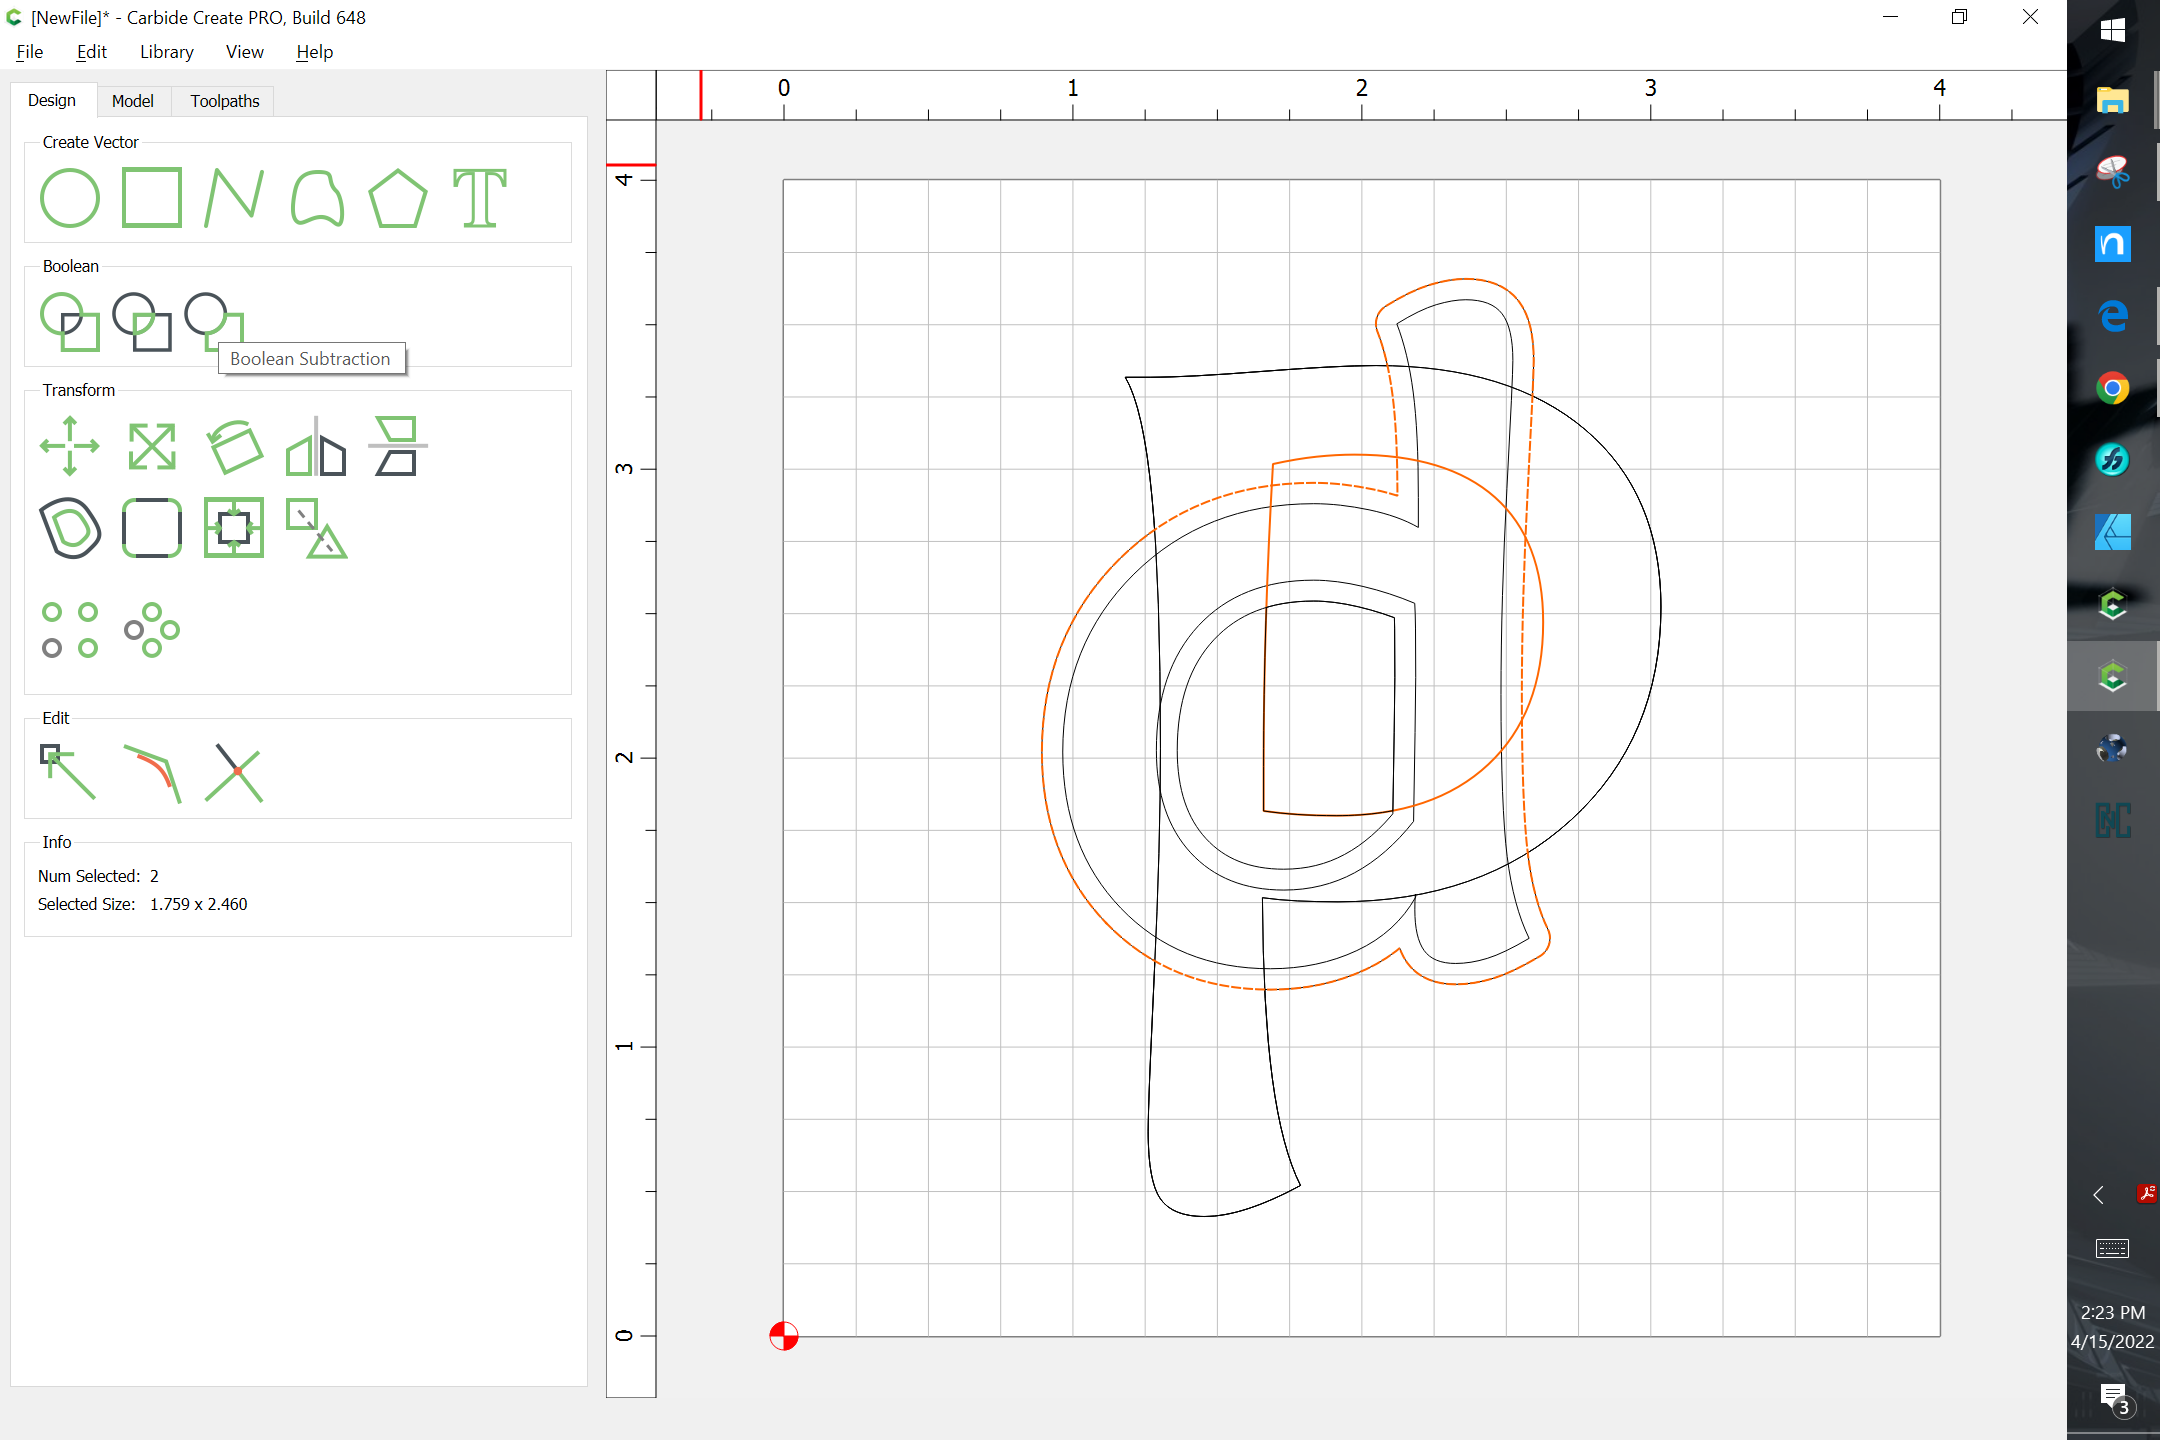
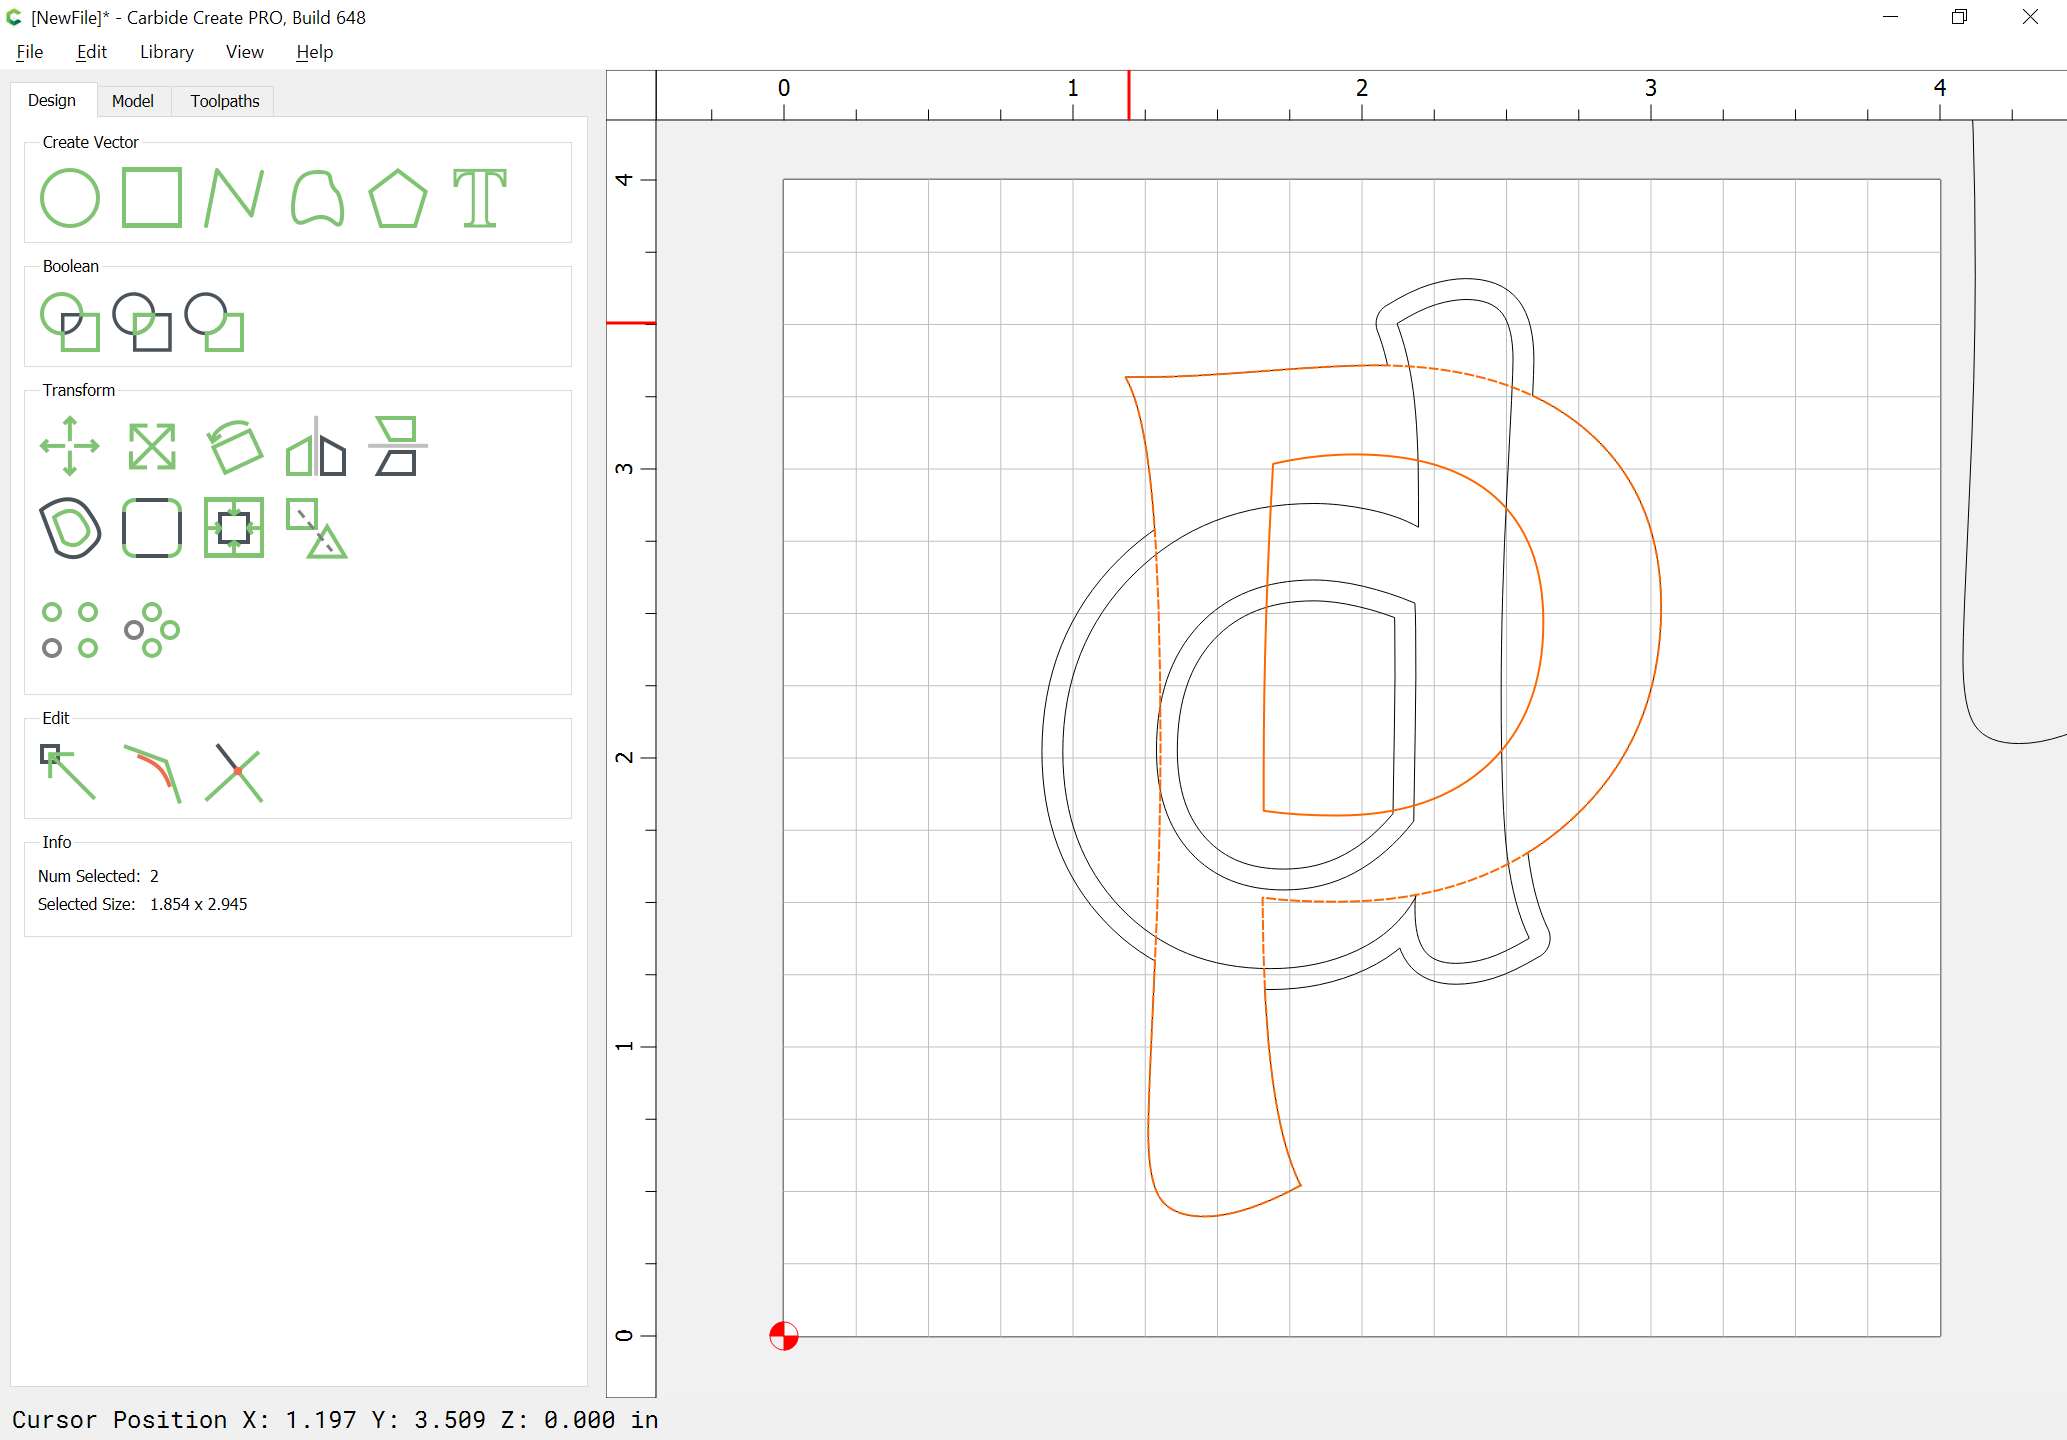
and Boolean subtract:
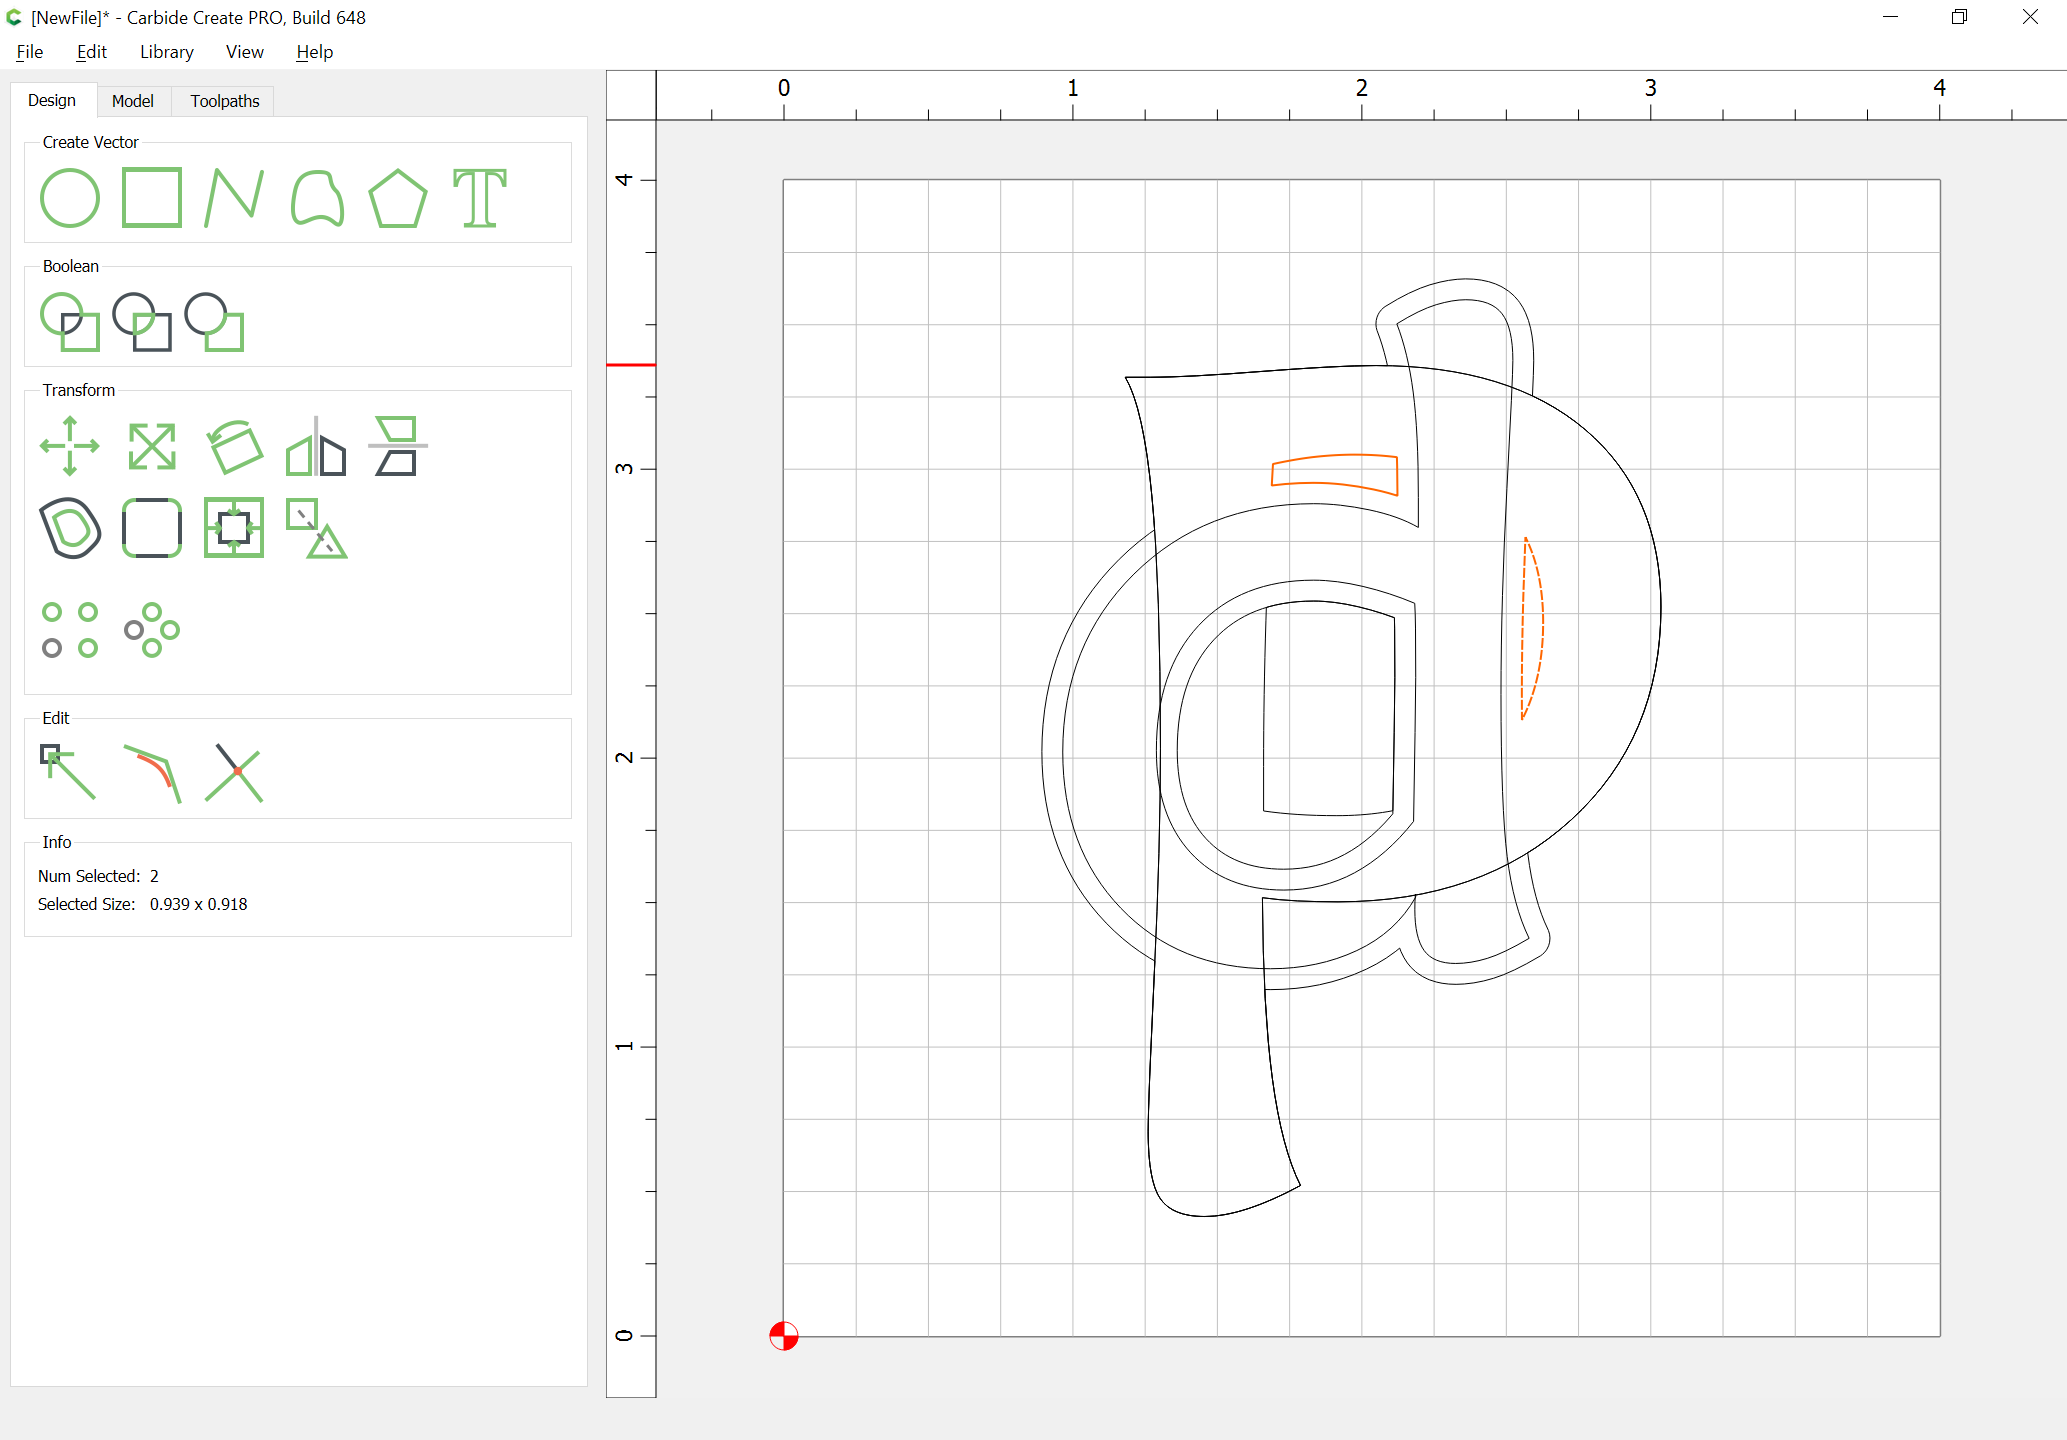
Clean up any unnecessary geometry:
Draw in the outer geometry for the V carving:
Inset it:
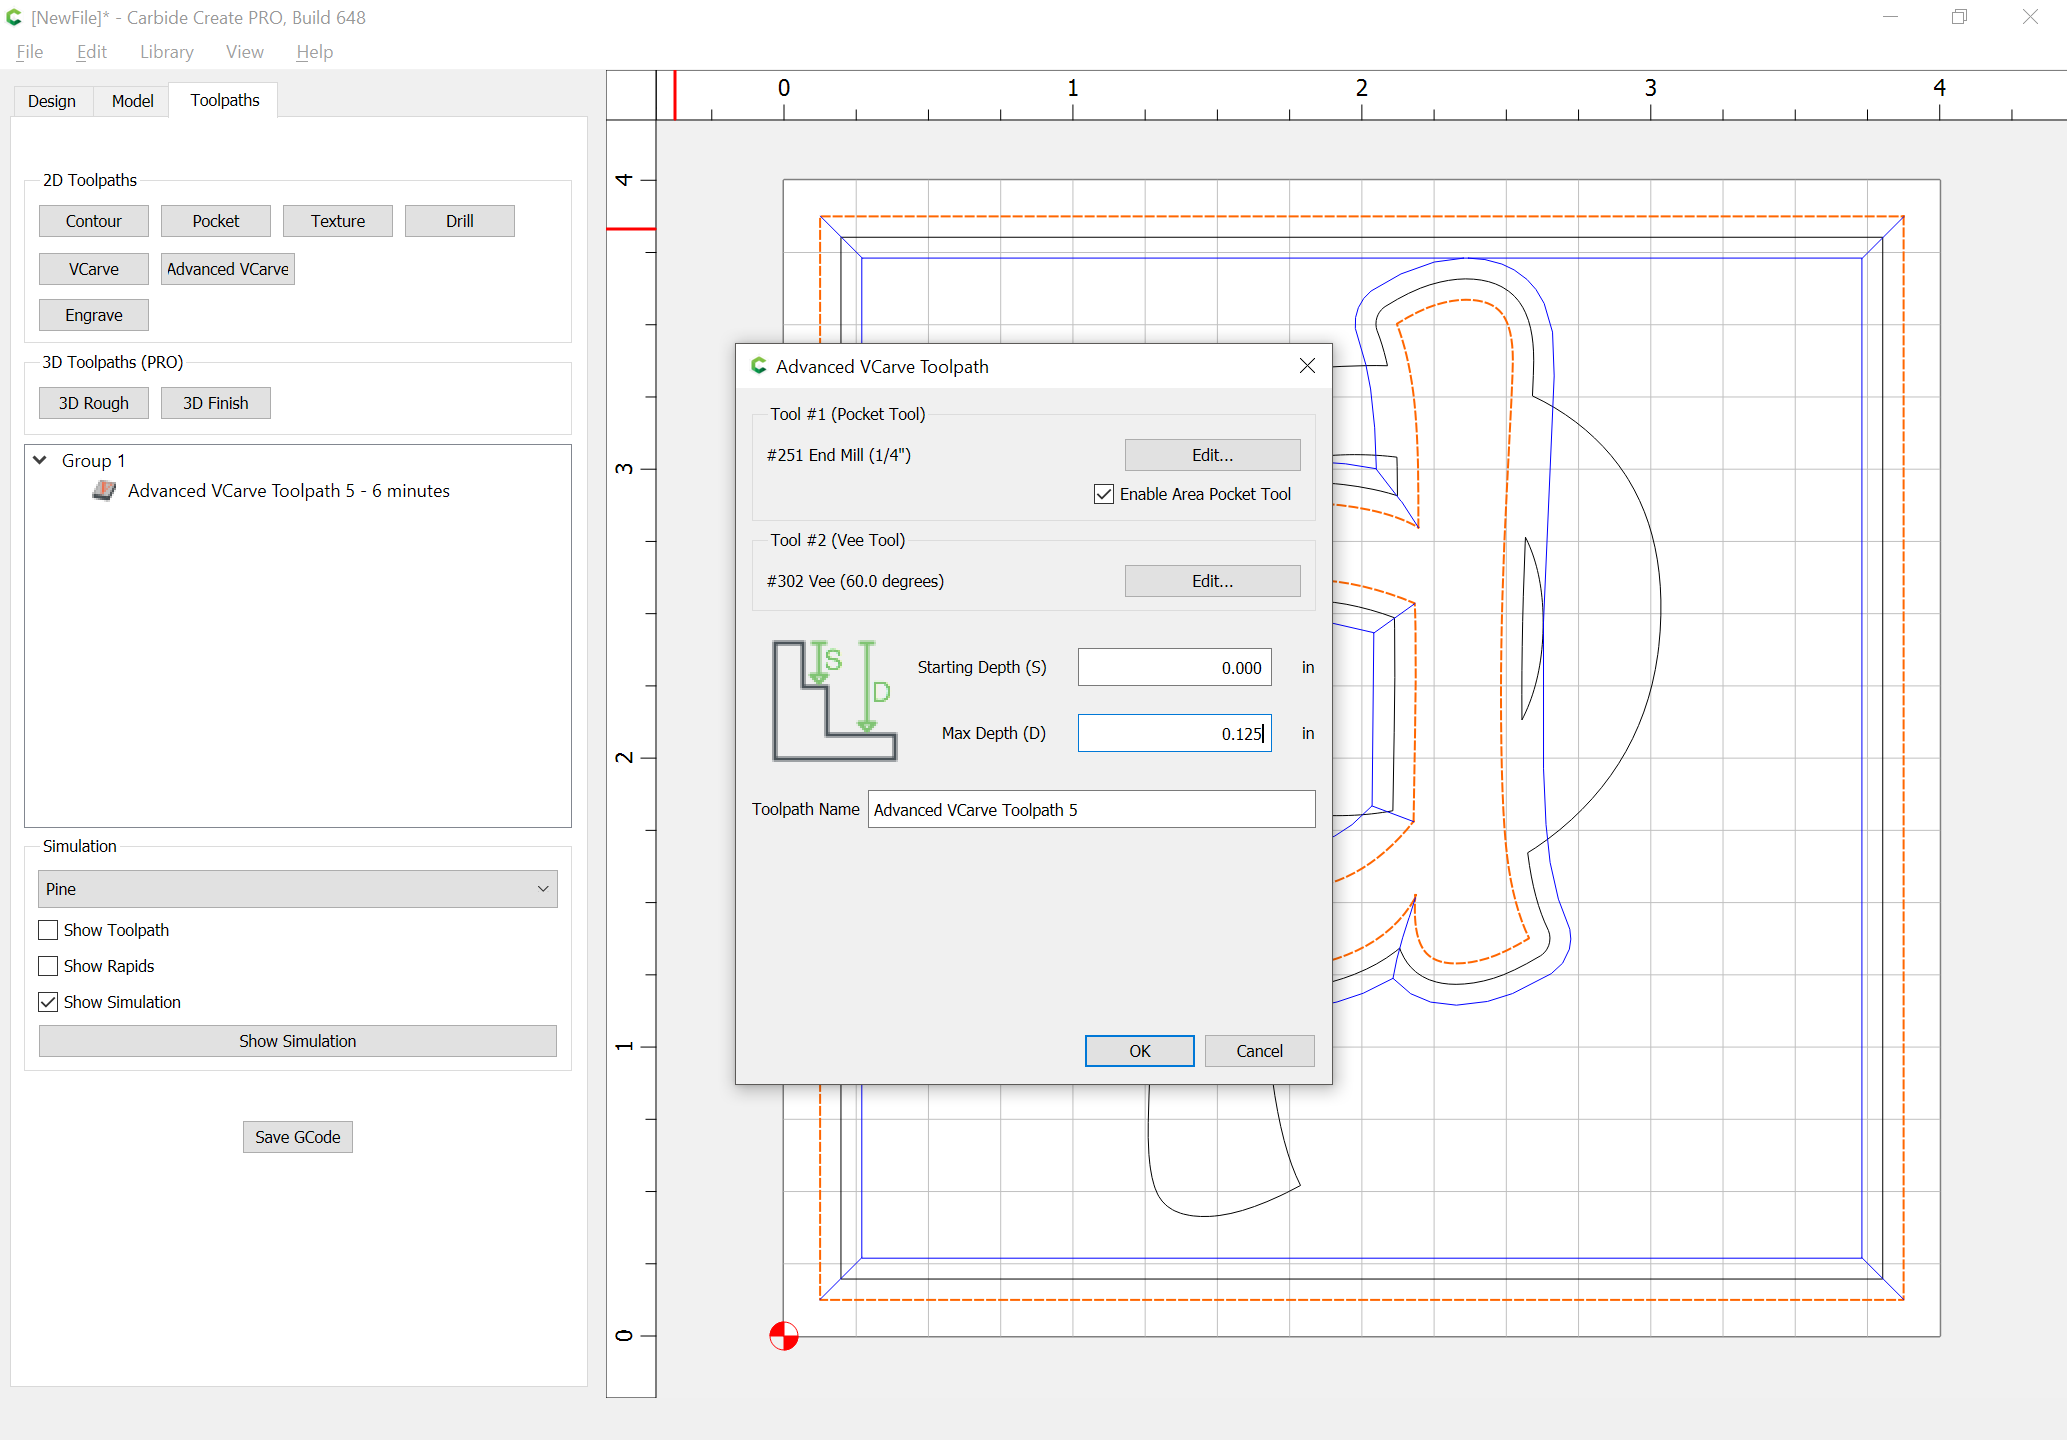
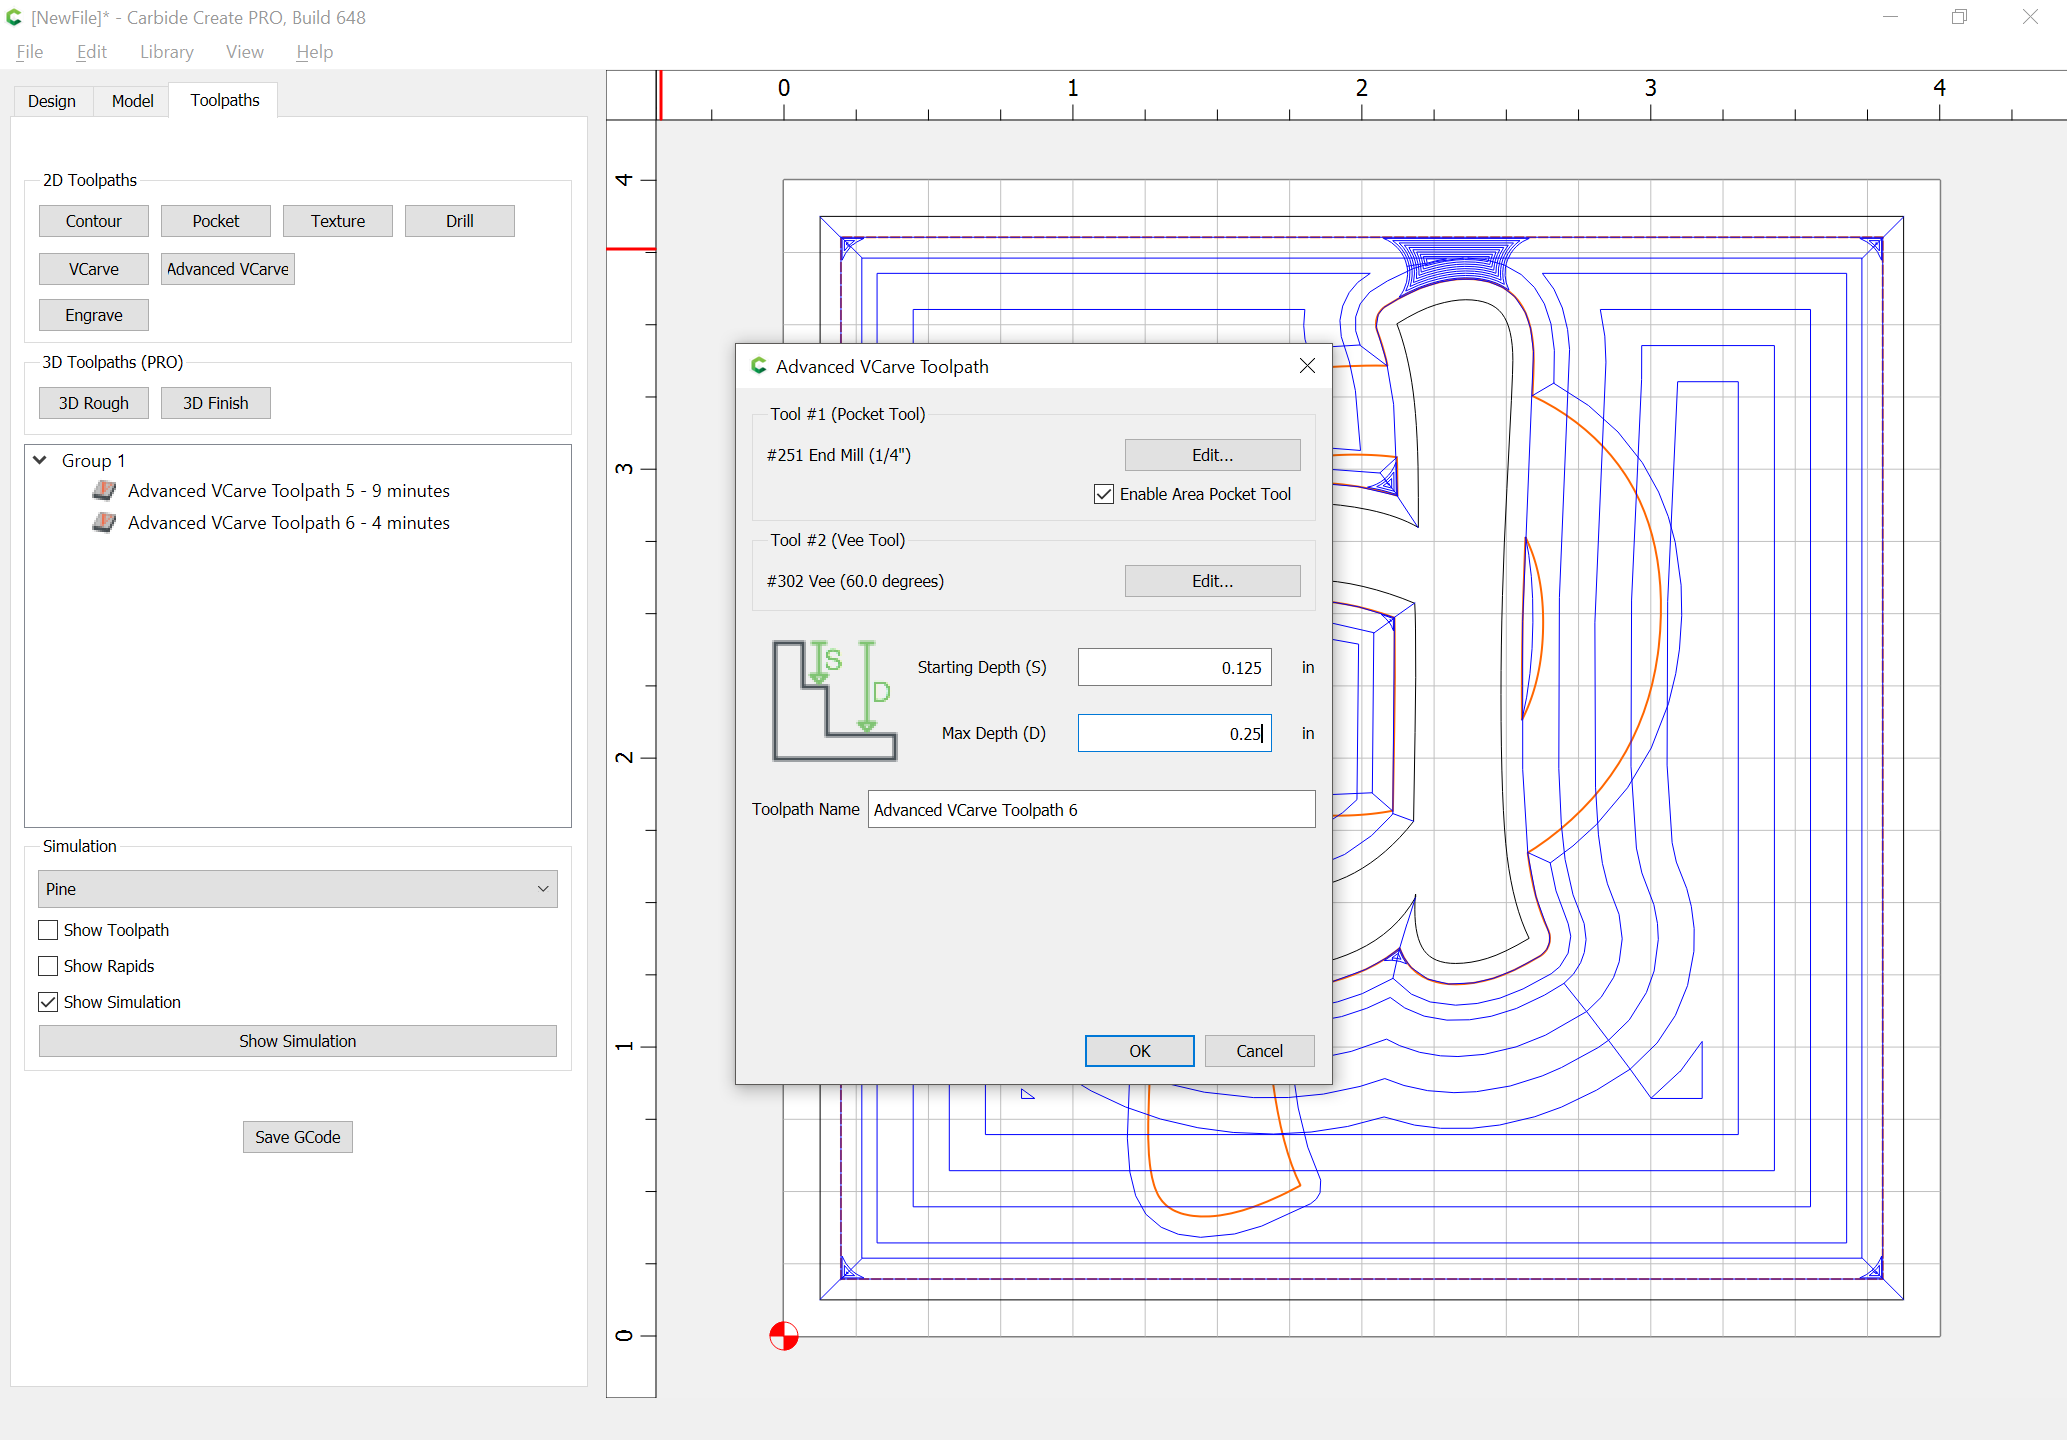
Select the geometry for each layer and assign a V carving at the appropriate depth:
and
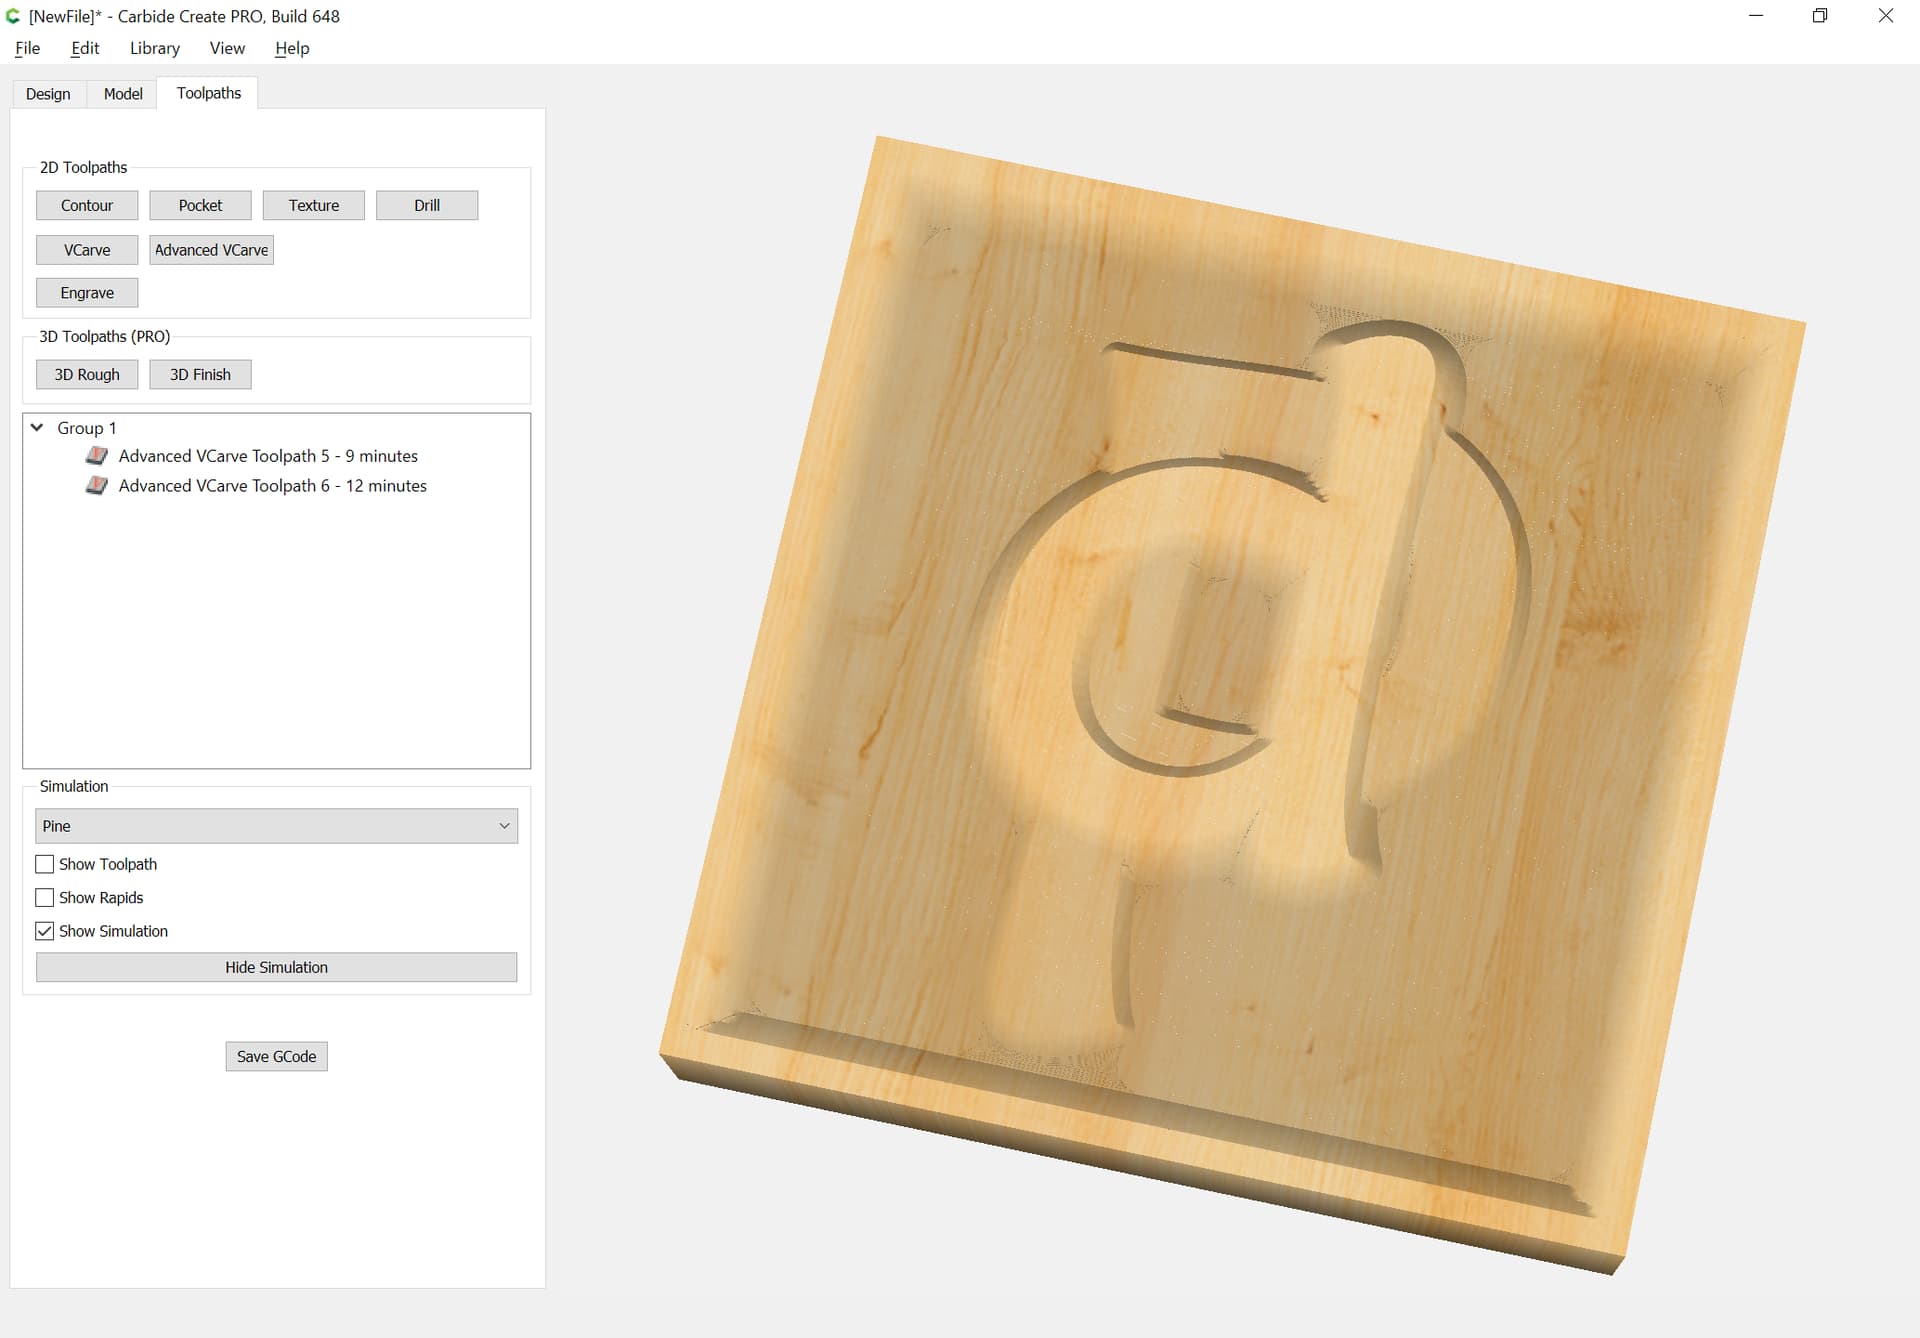
which previews as:
Attached.
Pd.c2d (201.2 KB)