This was a test on my part to see how it worked. I would have played with it more if it were a real project.
I do not really like the fact using the .125 can’t make sharper points where the upper and lower letters connect, that is why I tried Vcarving. Didn’t work well.
Most folks do well w/ V carving such signs, and it allows much more detailed cutting.
With stacked text? It did not look so good when I tried it.
Show me how it’s done please.
Using a design similar to the example you have:
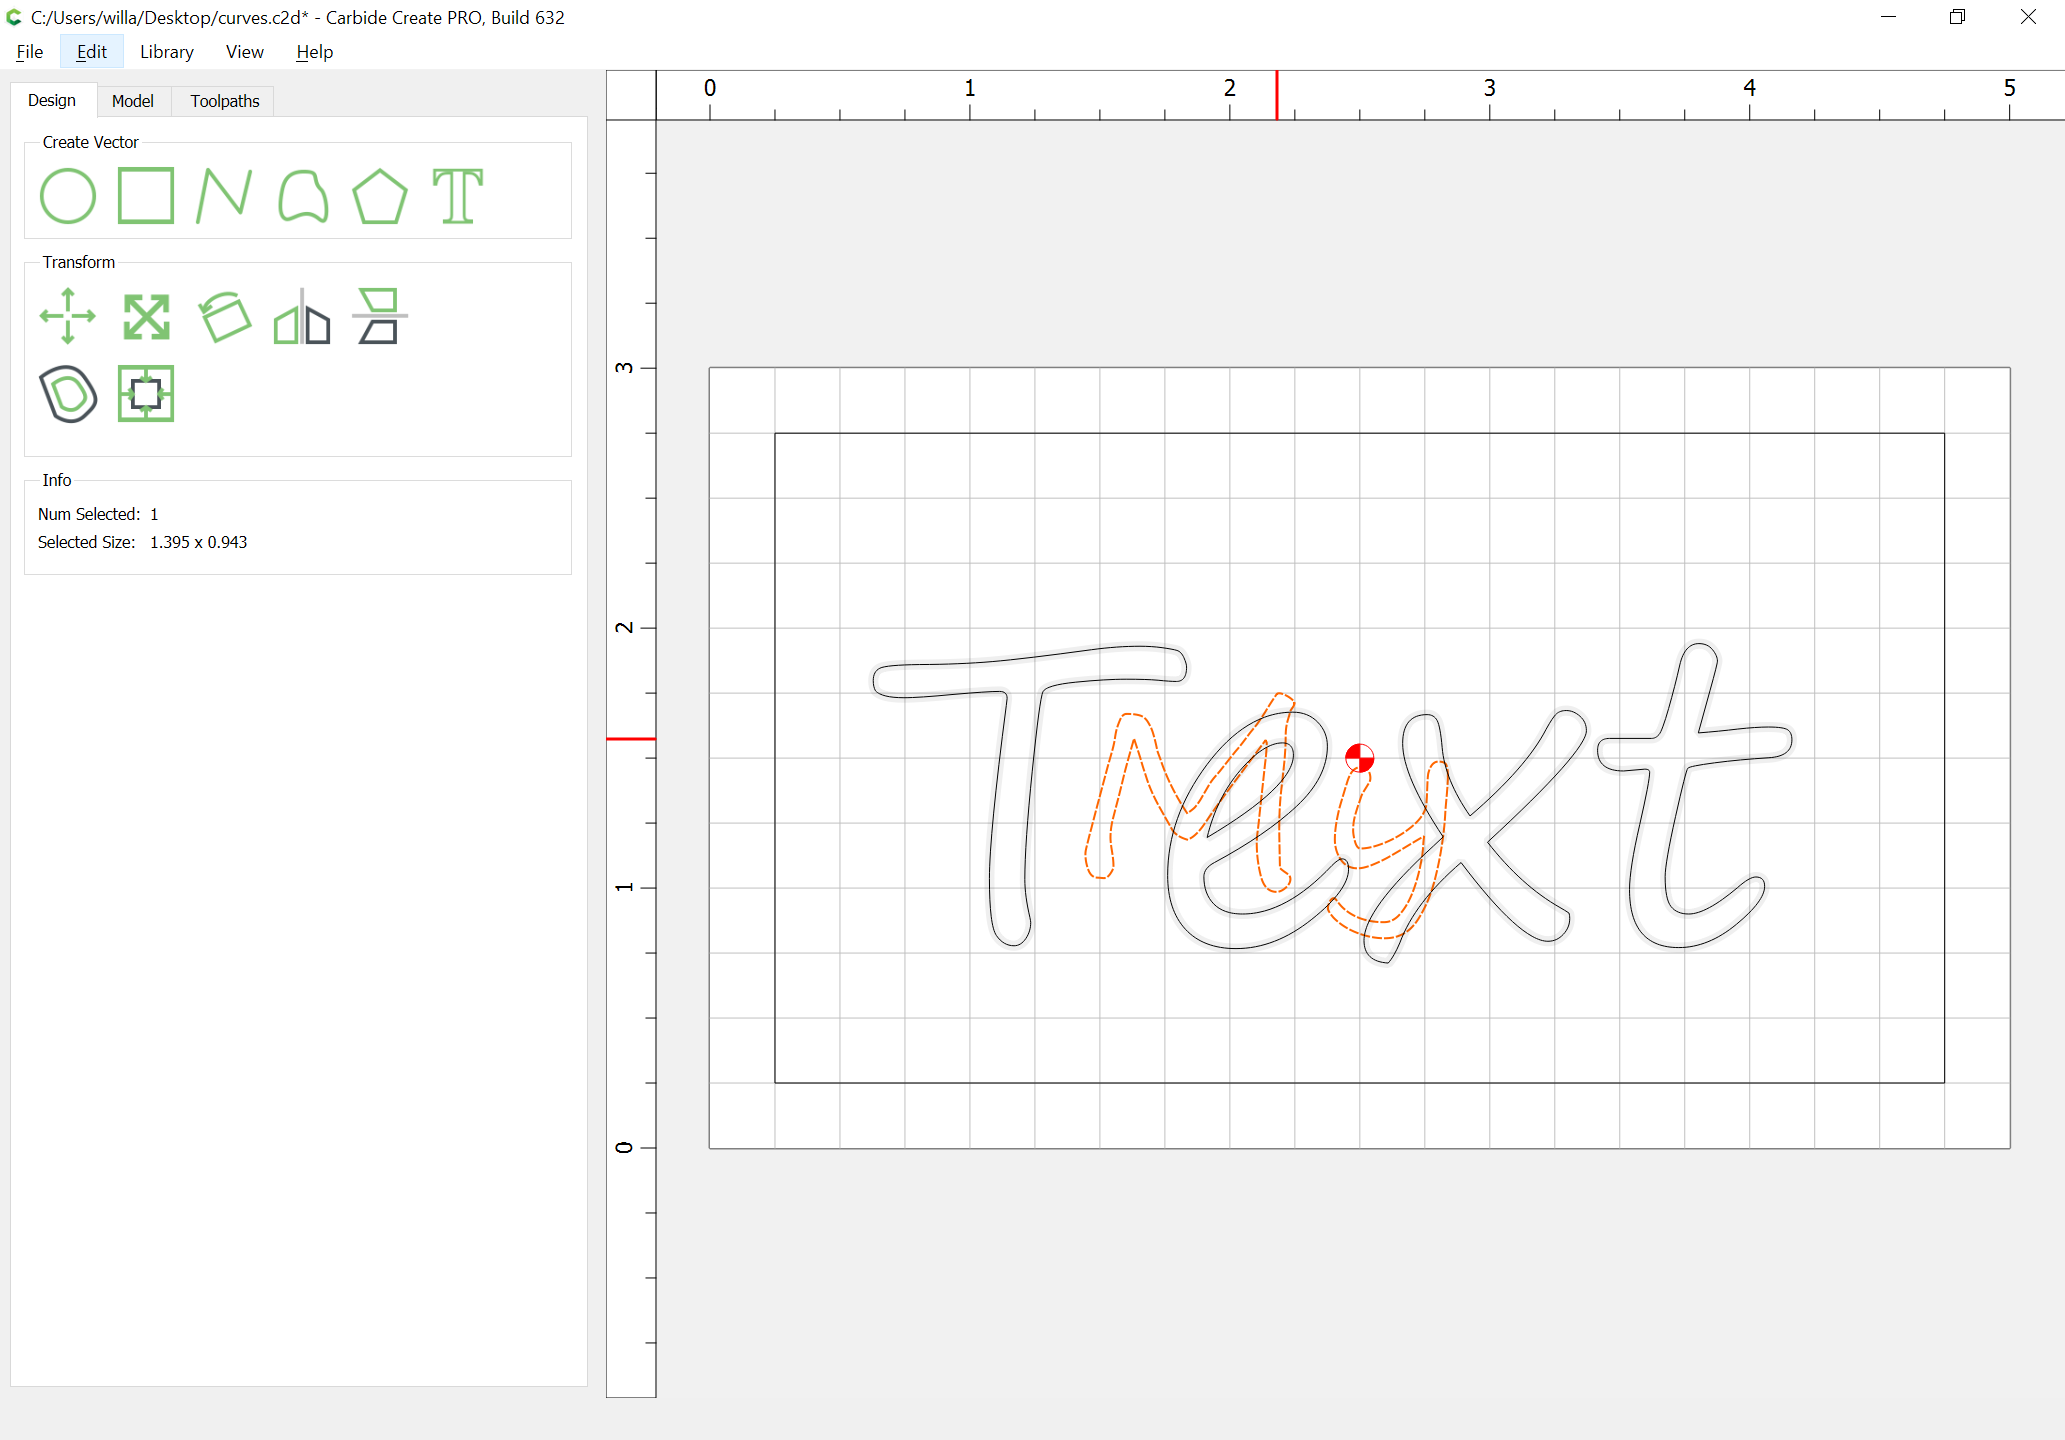
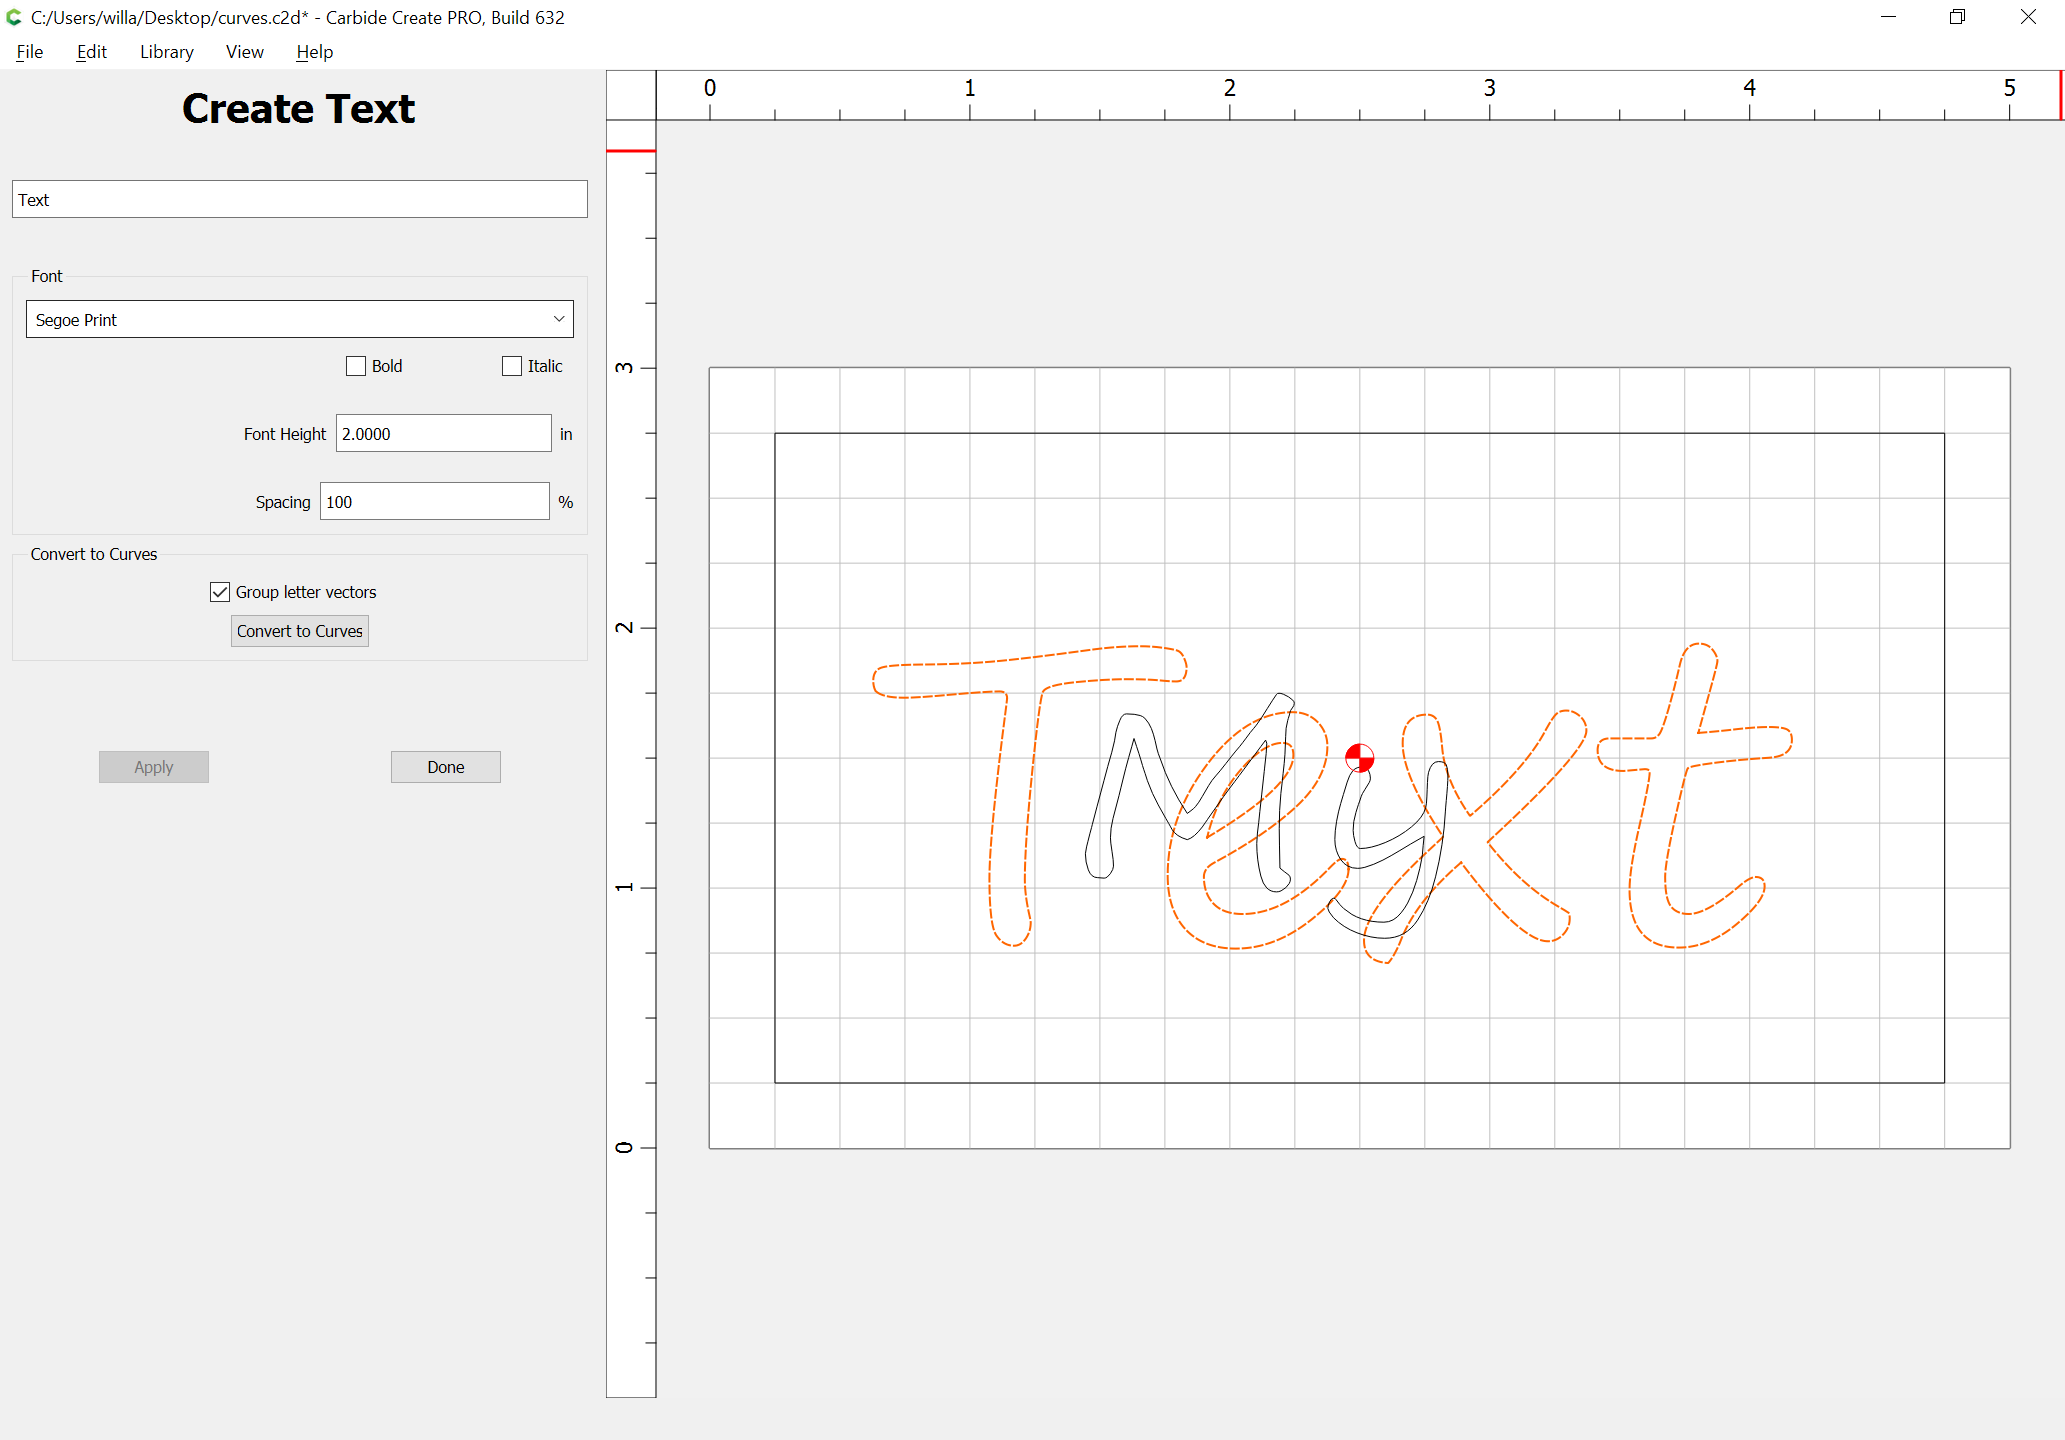
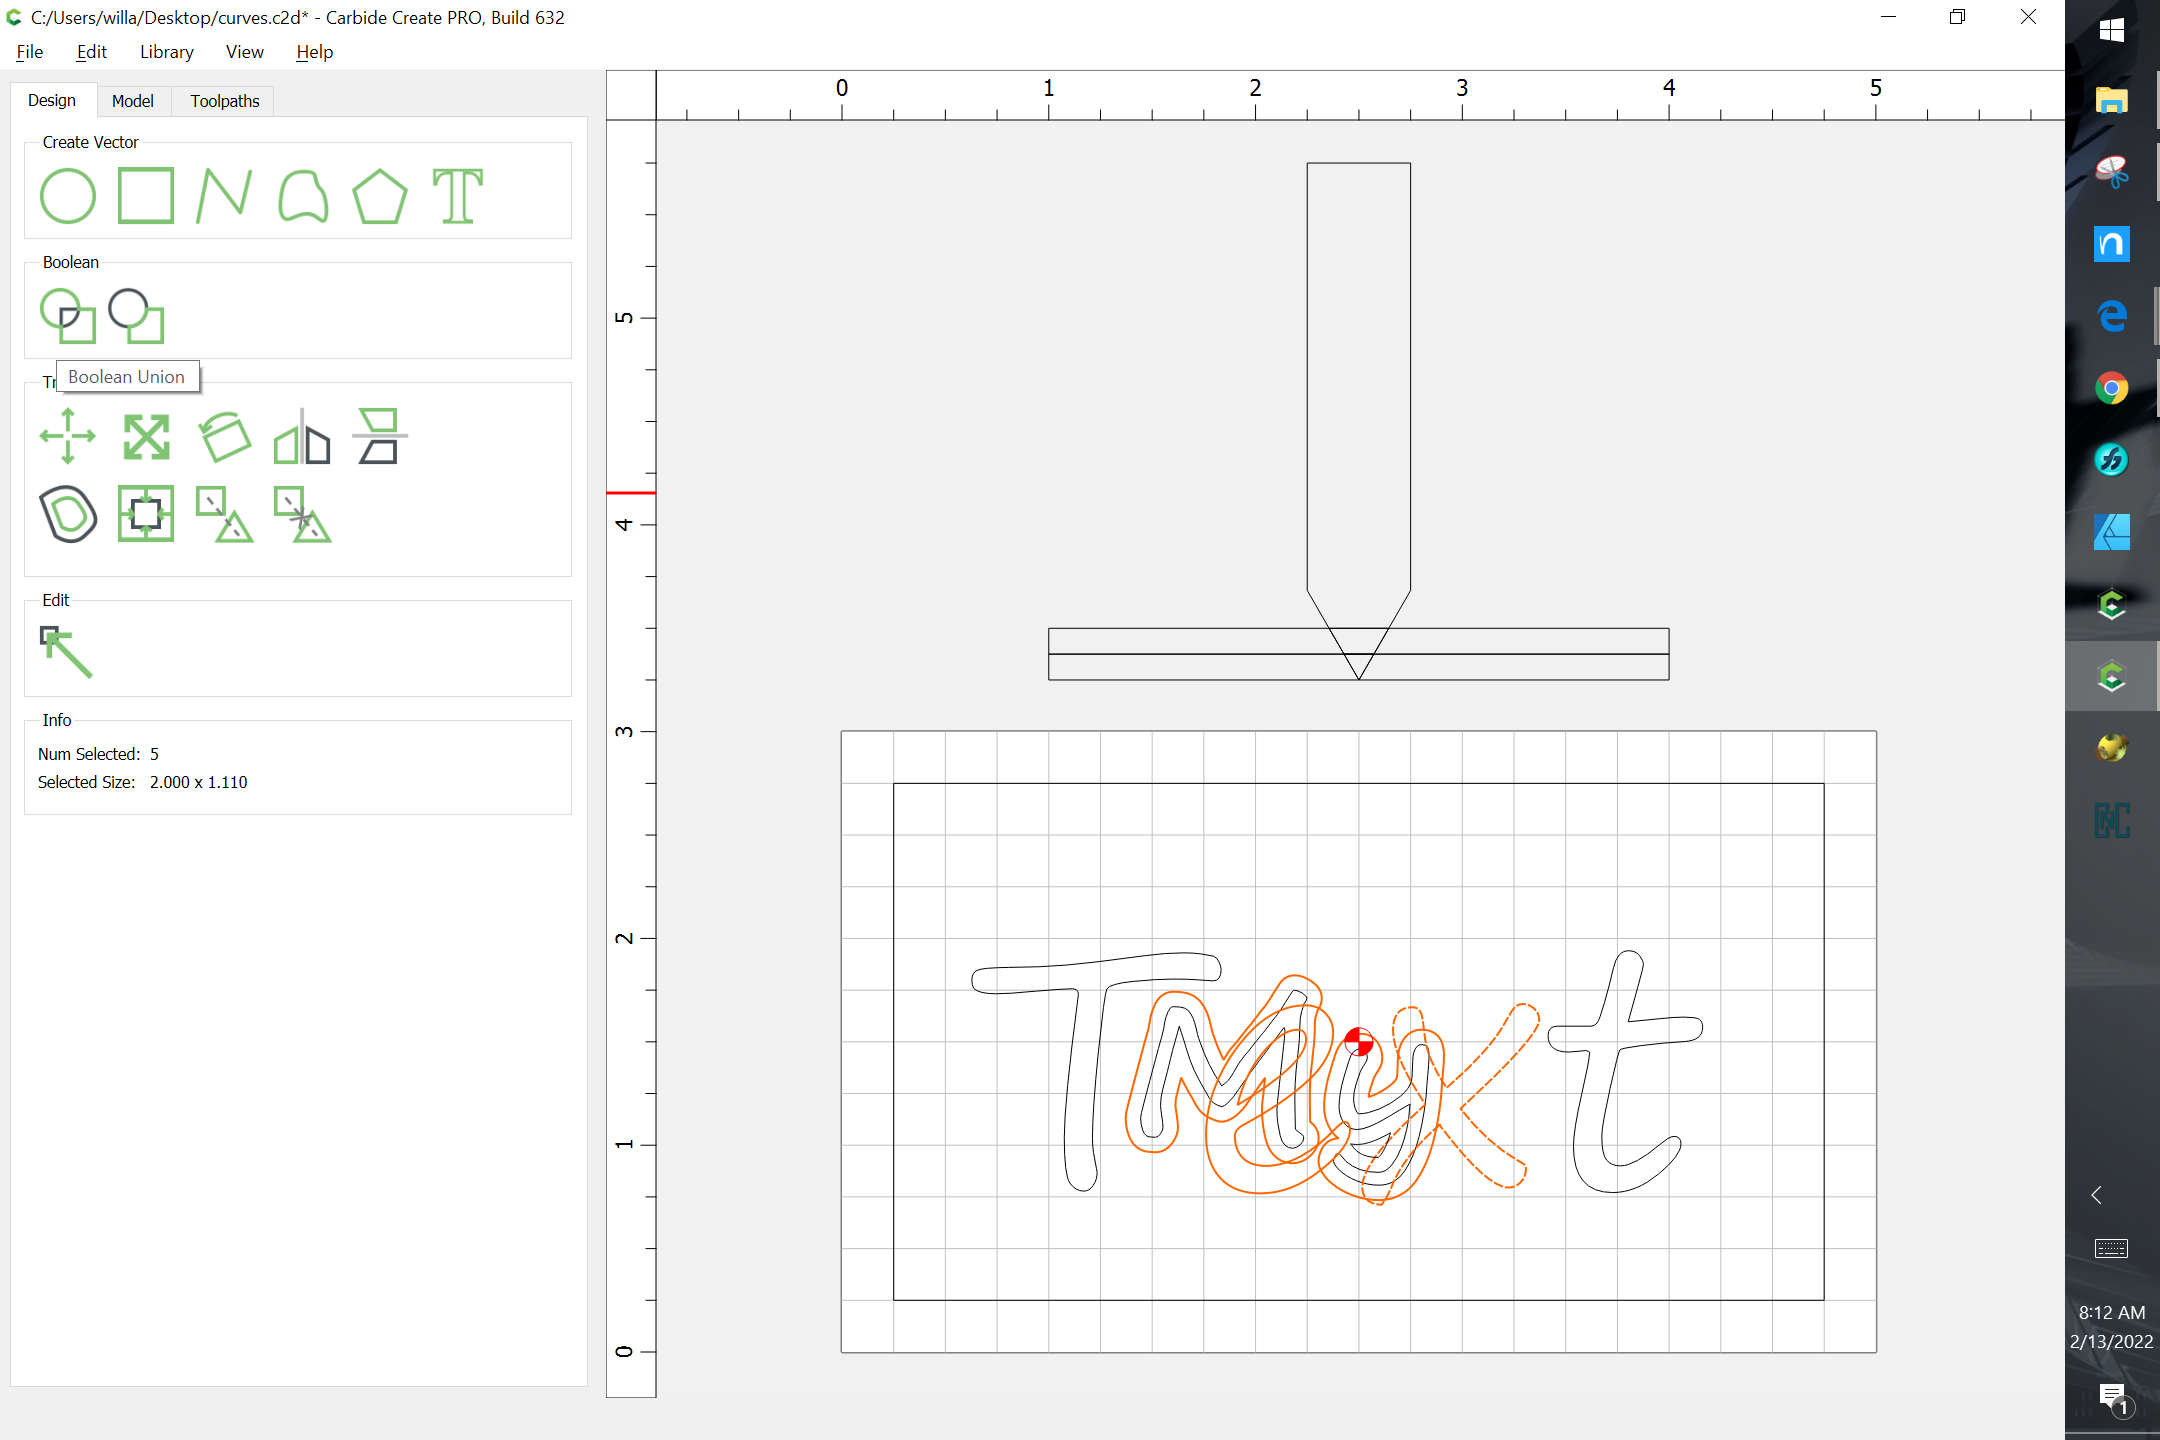
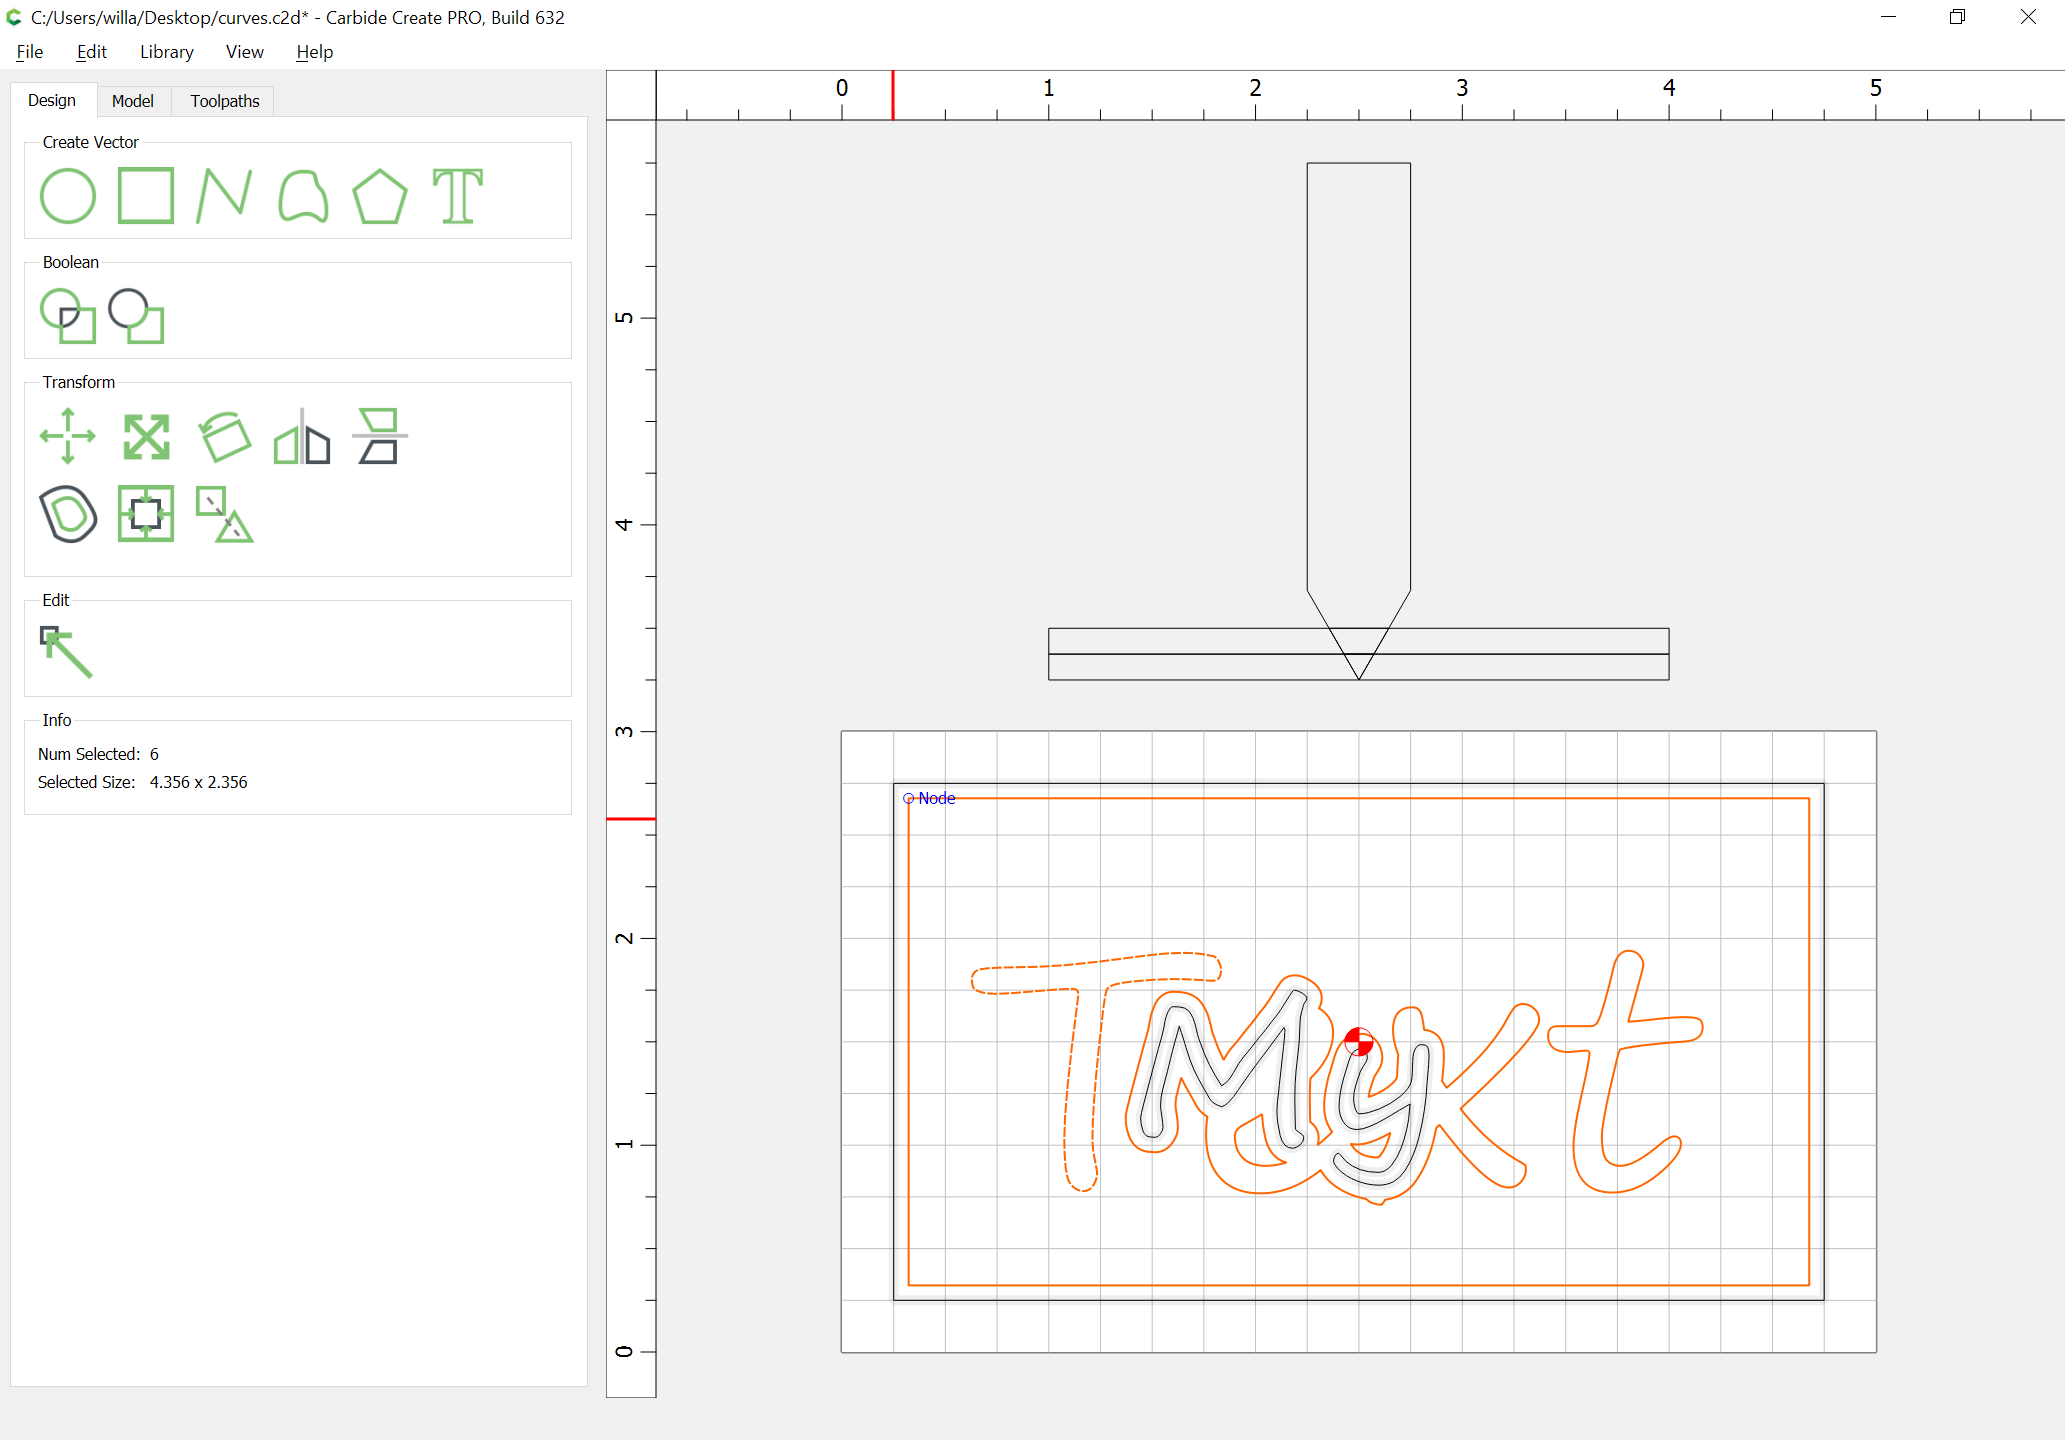
Convert both pieces of text to curves:

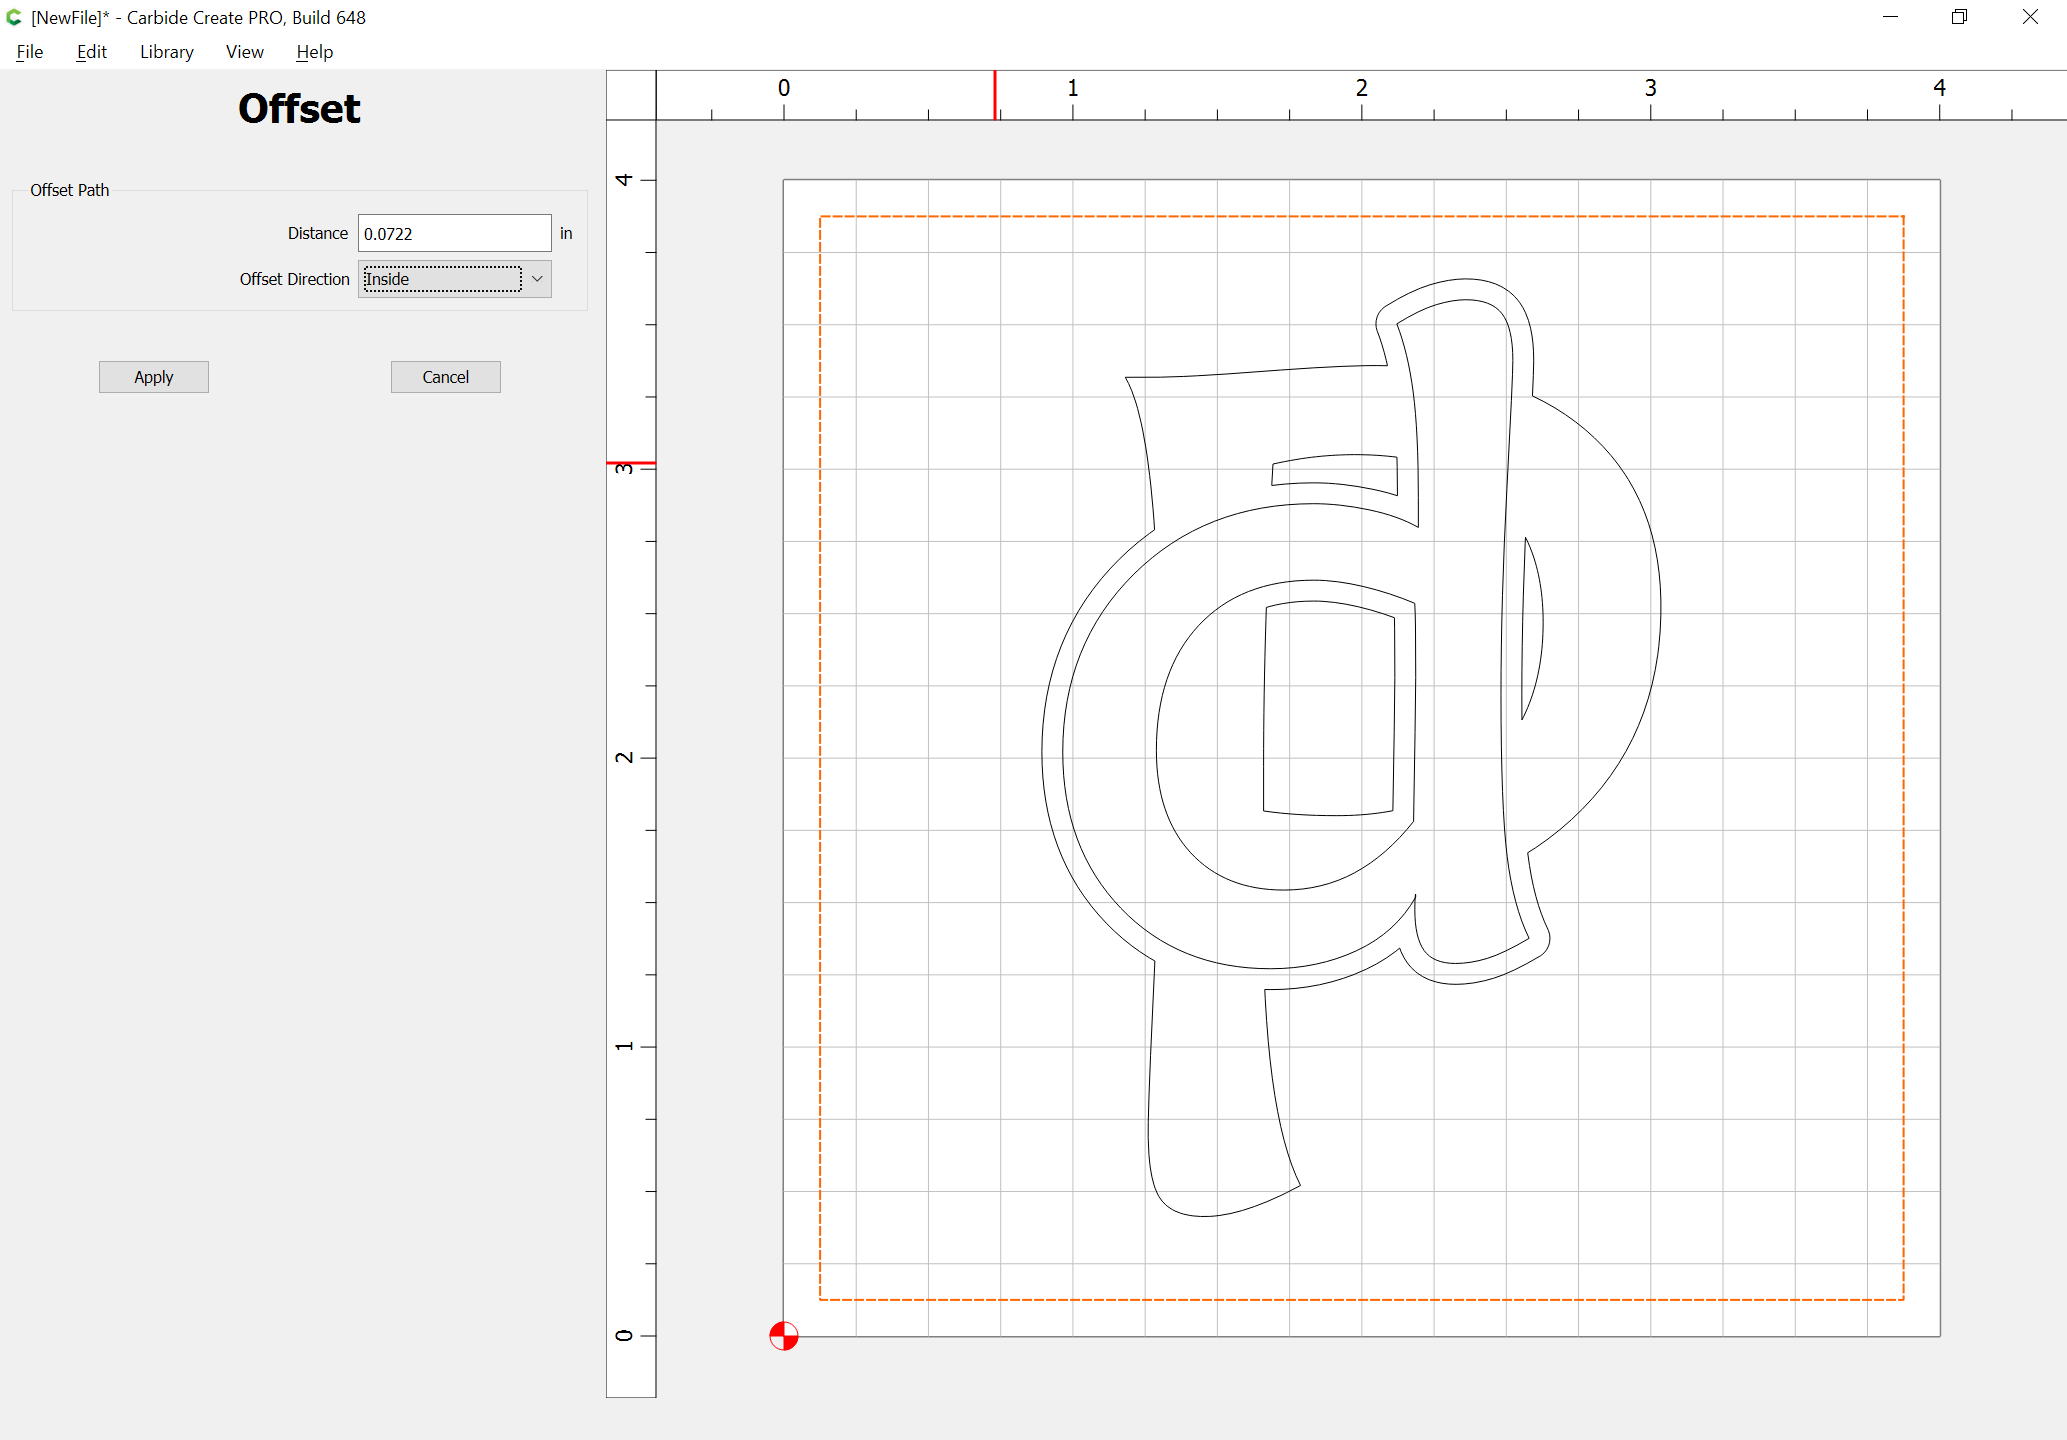
Select the top text and offset it by the displacement of the V endmill when cutting the design to the desired depth (draw things up in profile or do the trigonometry to determine this):
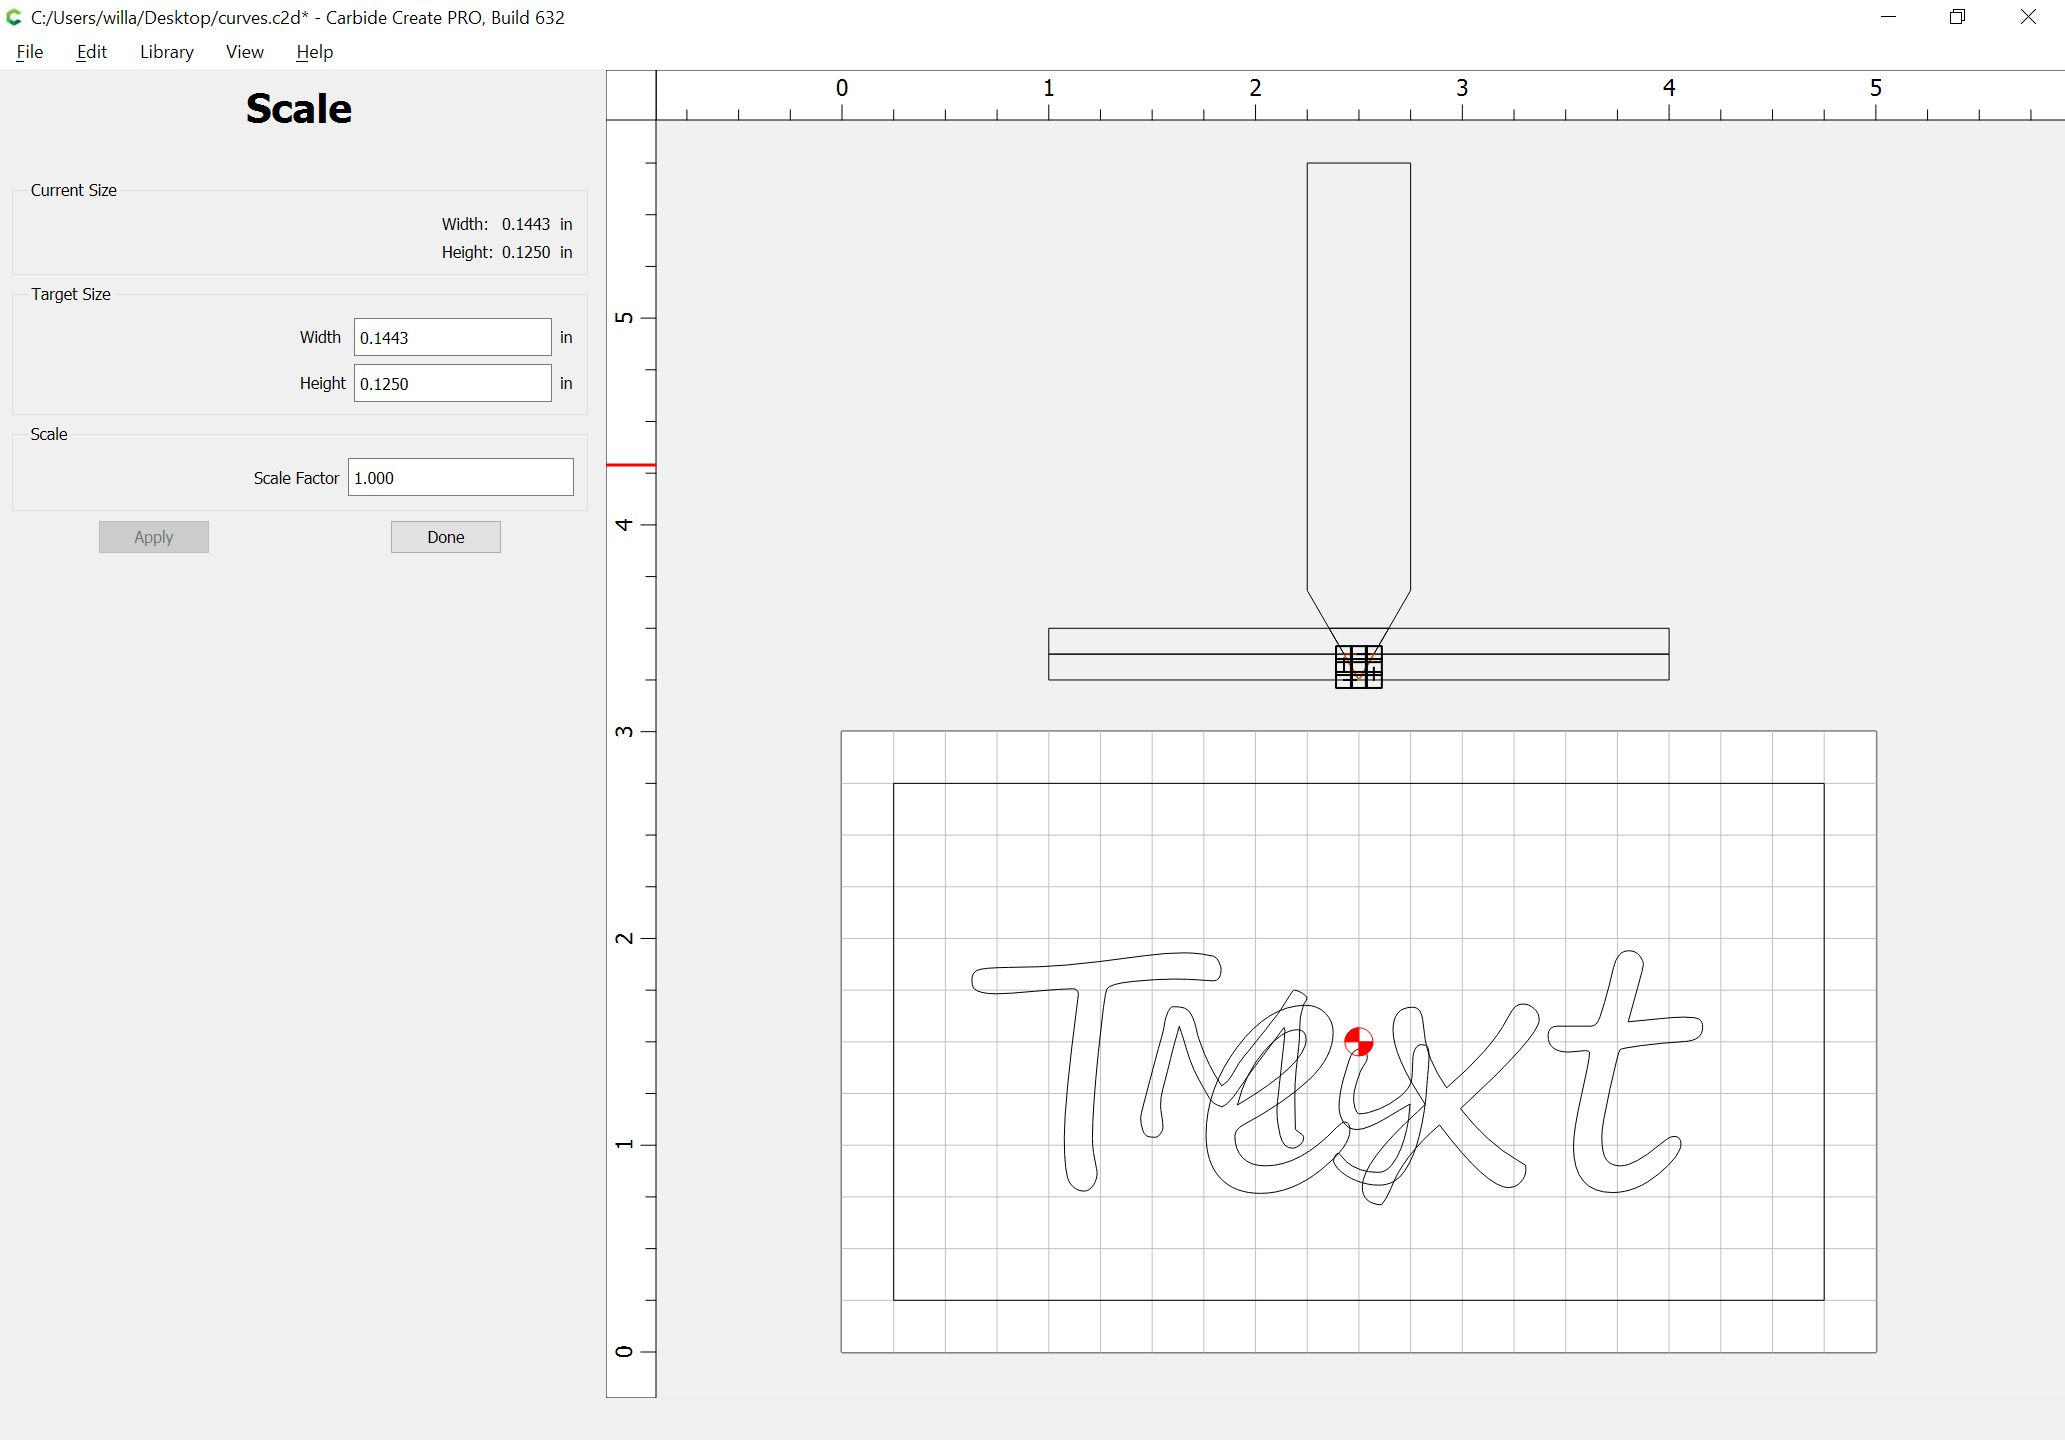
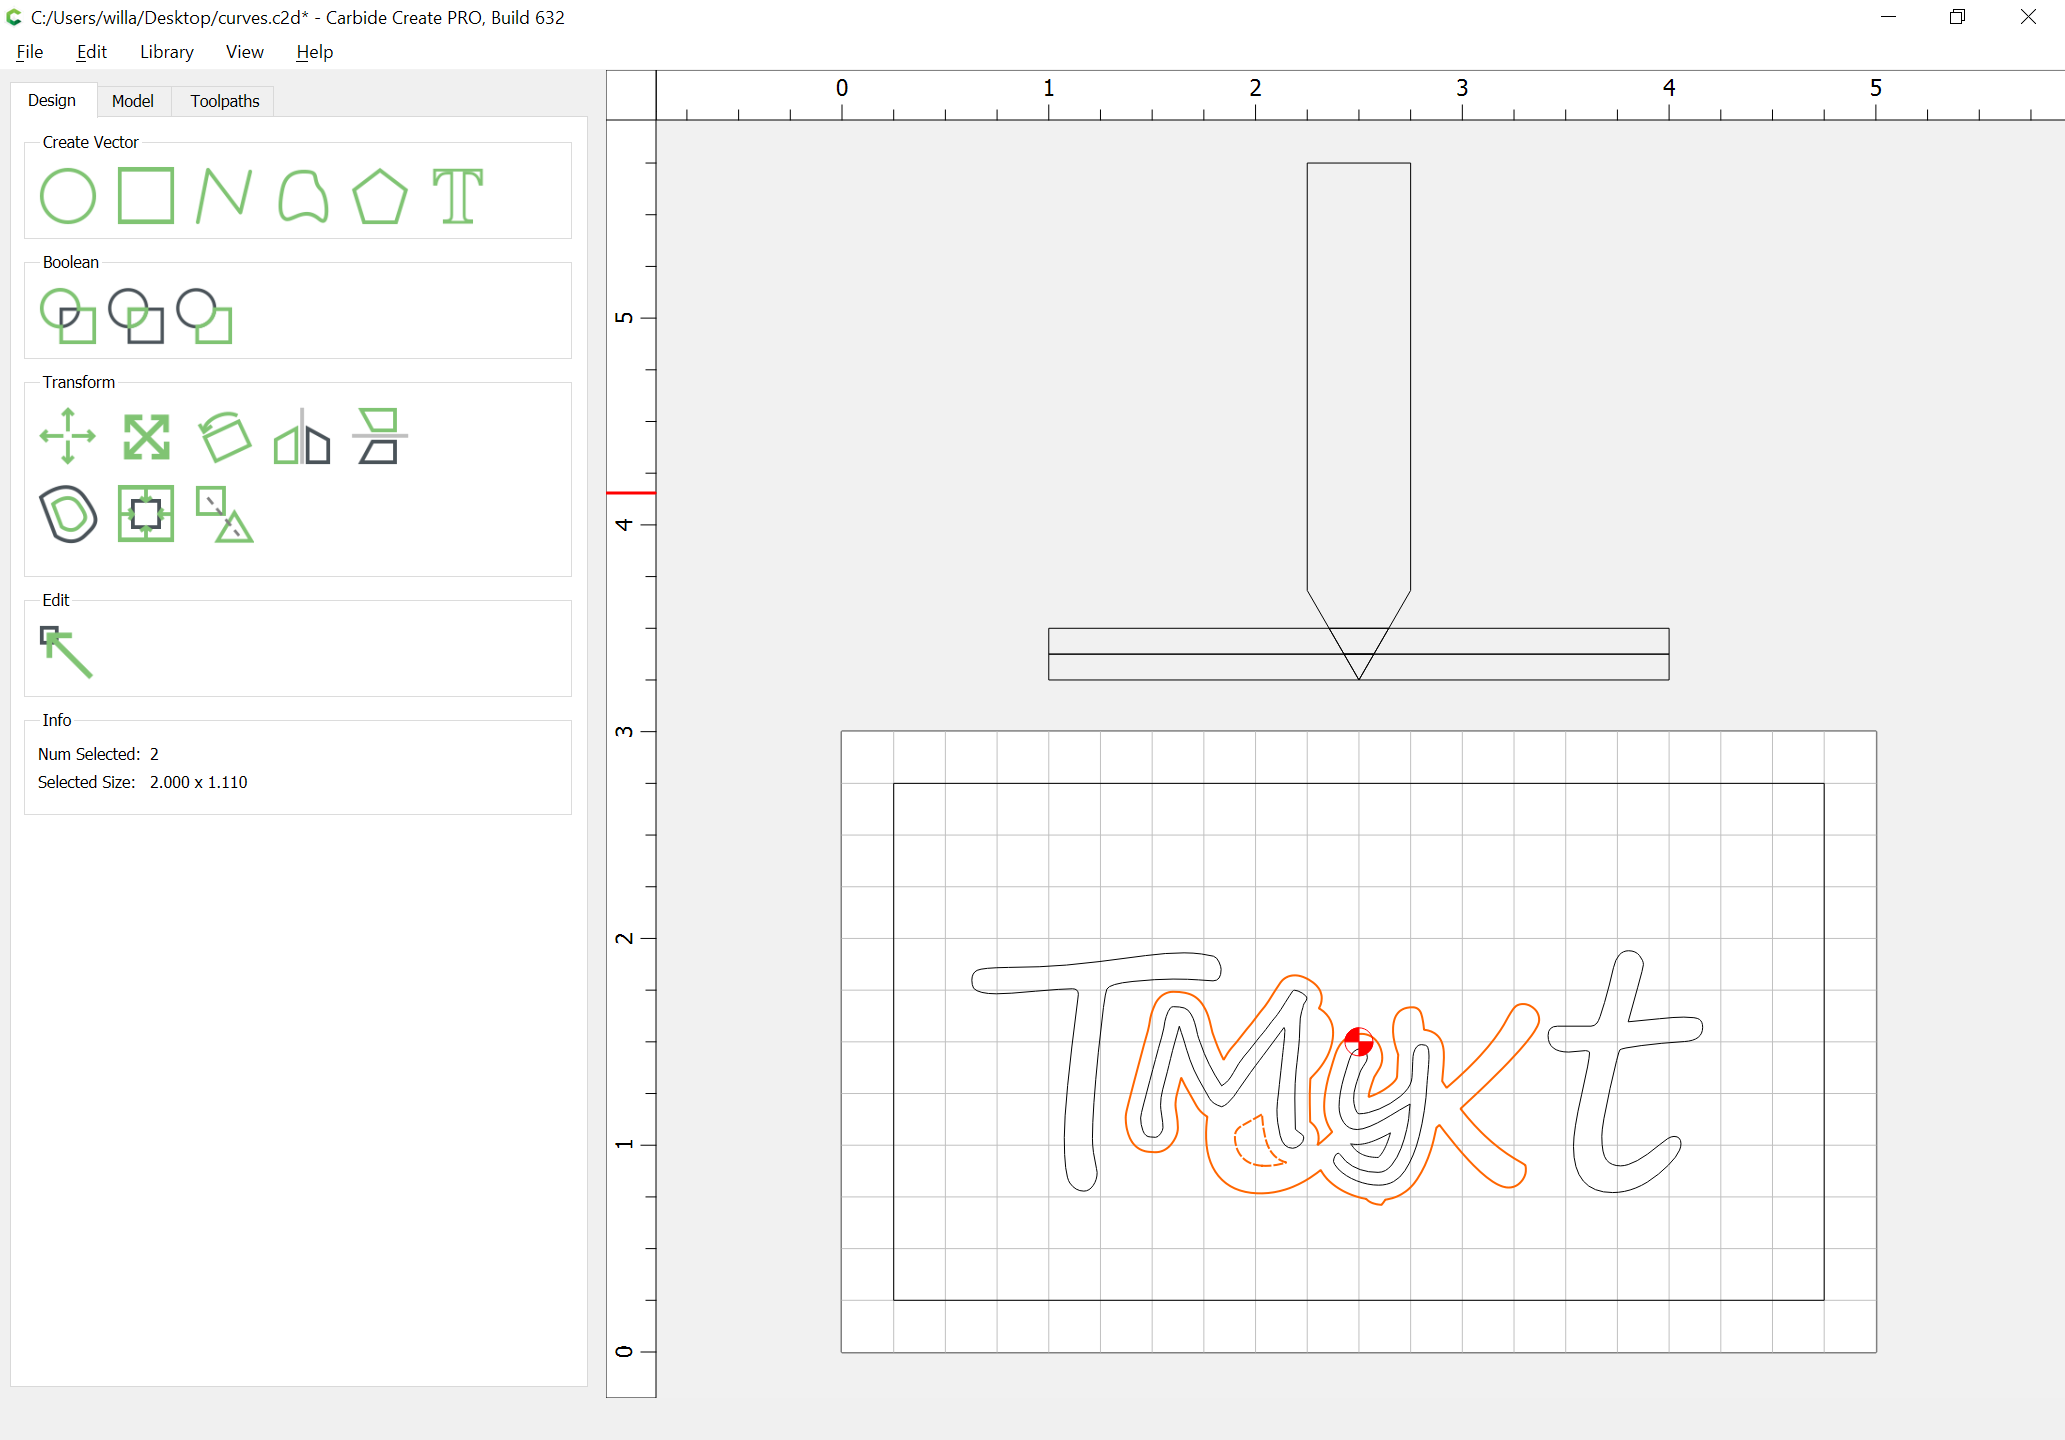
So offset by half that width:

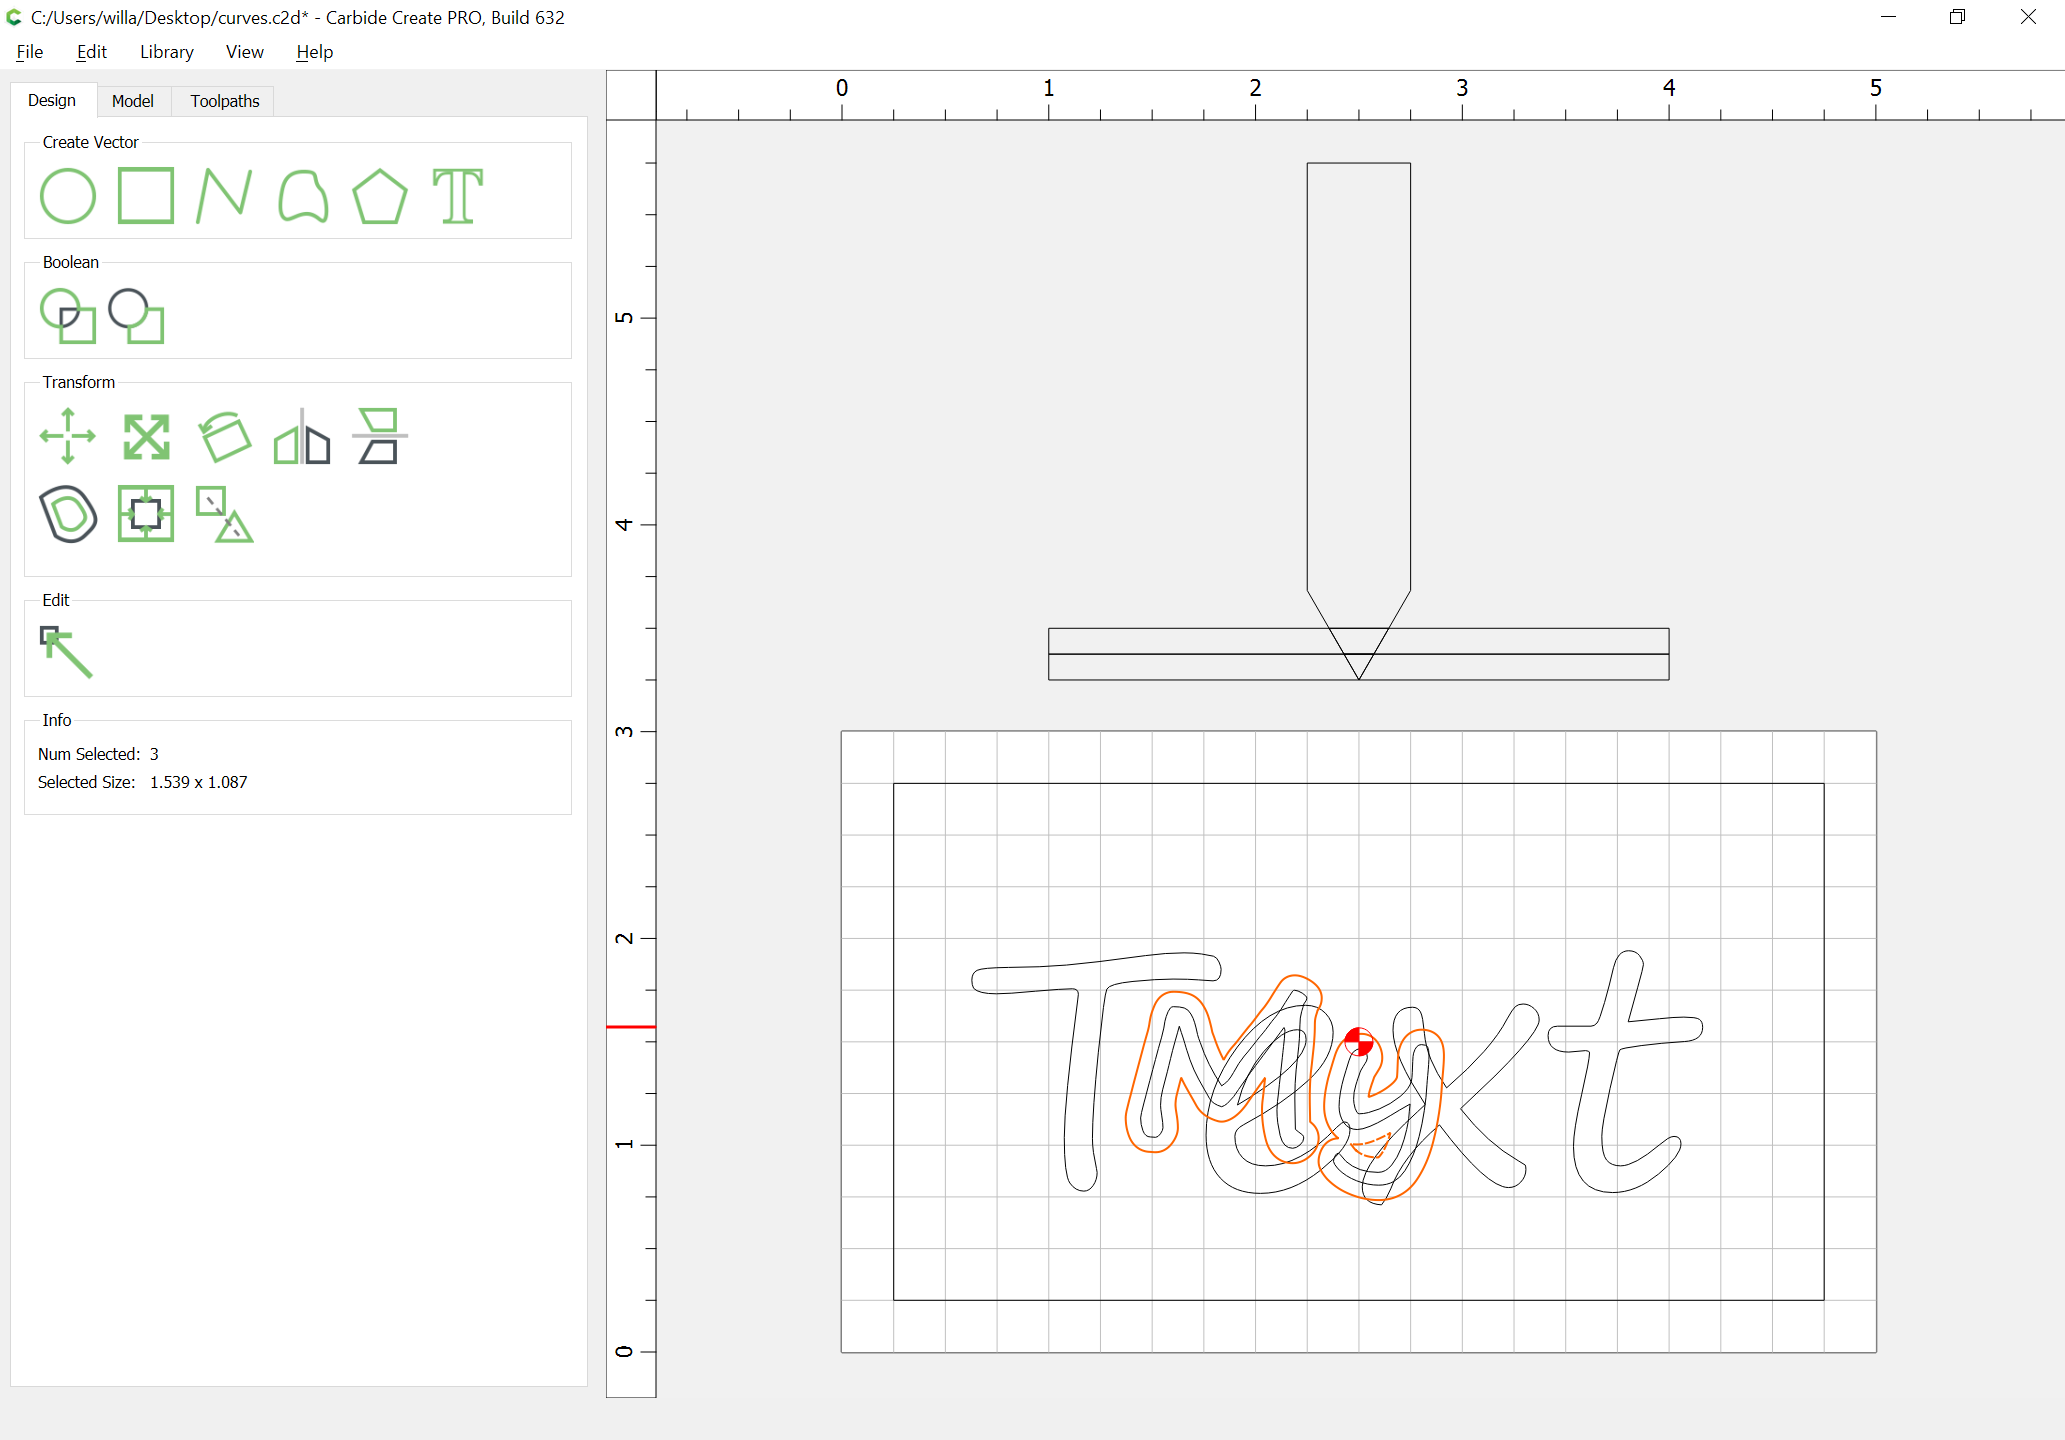
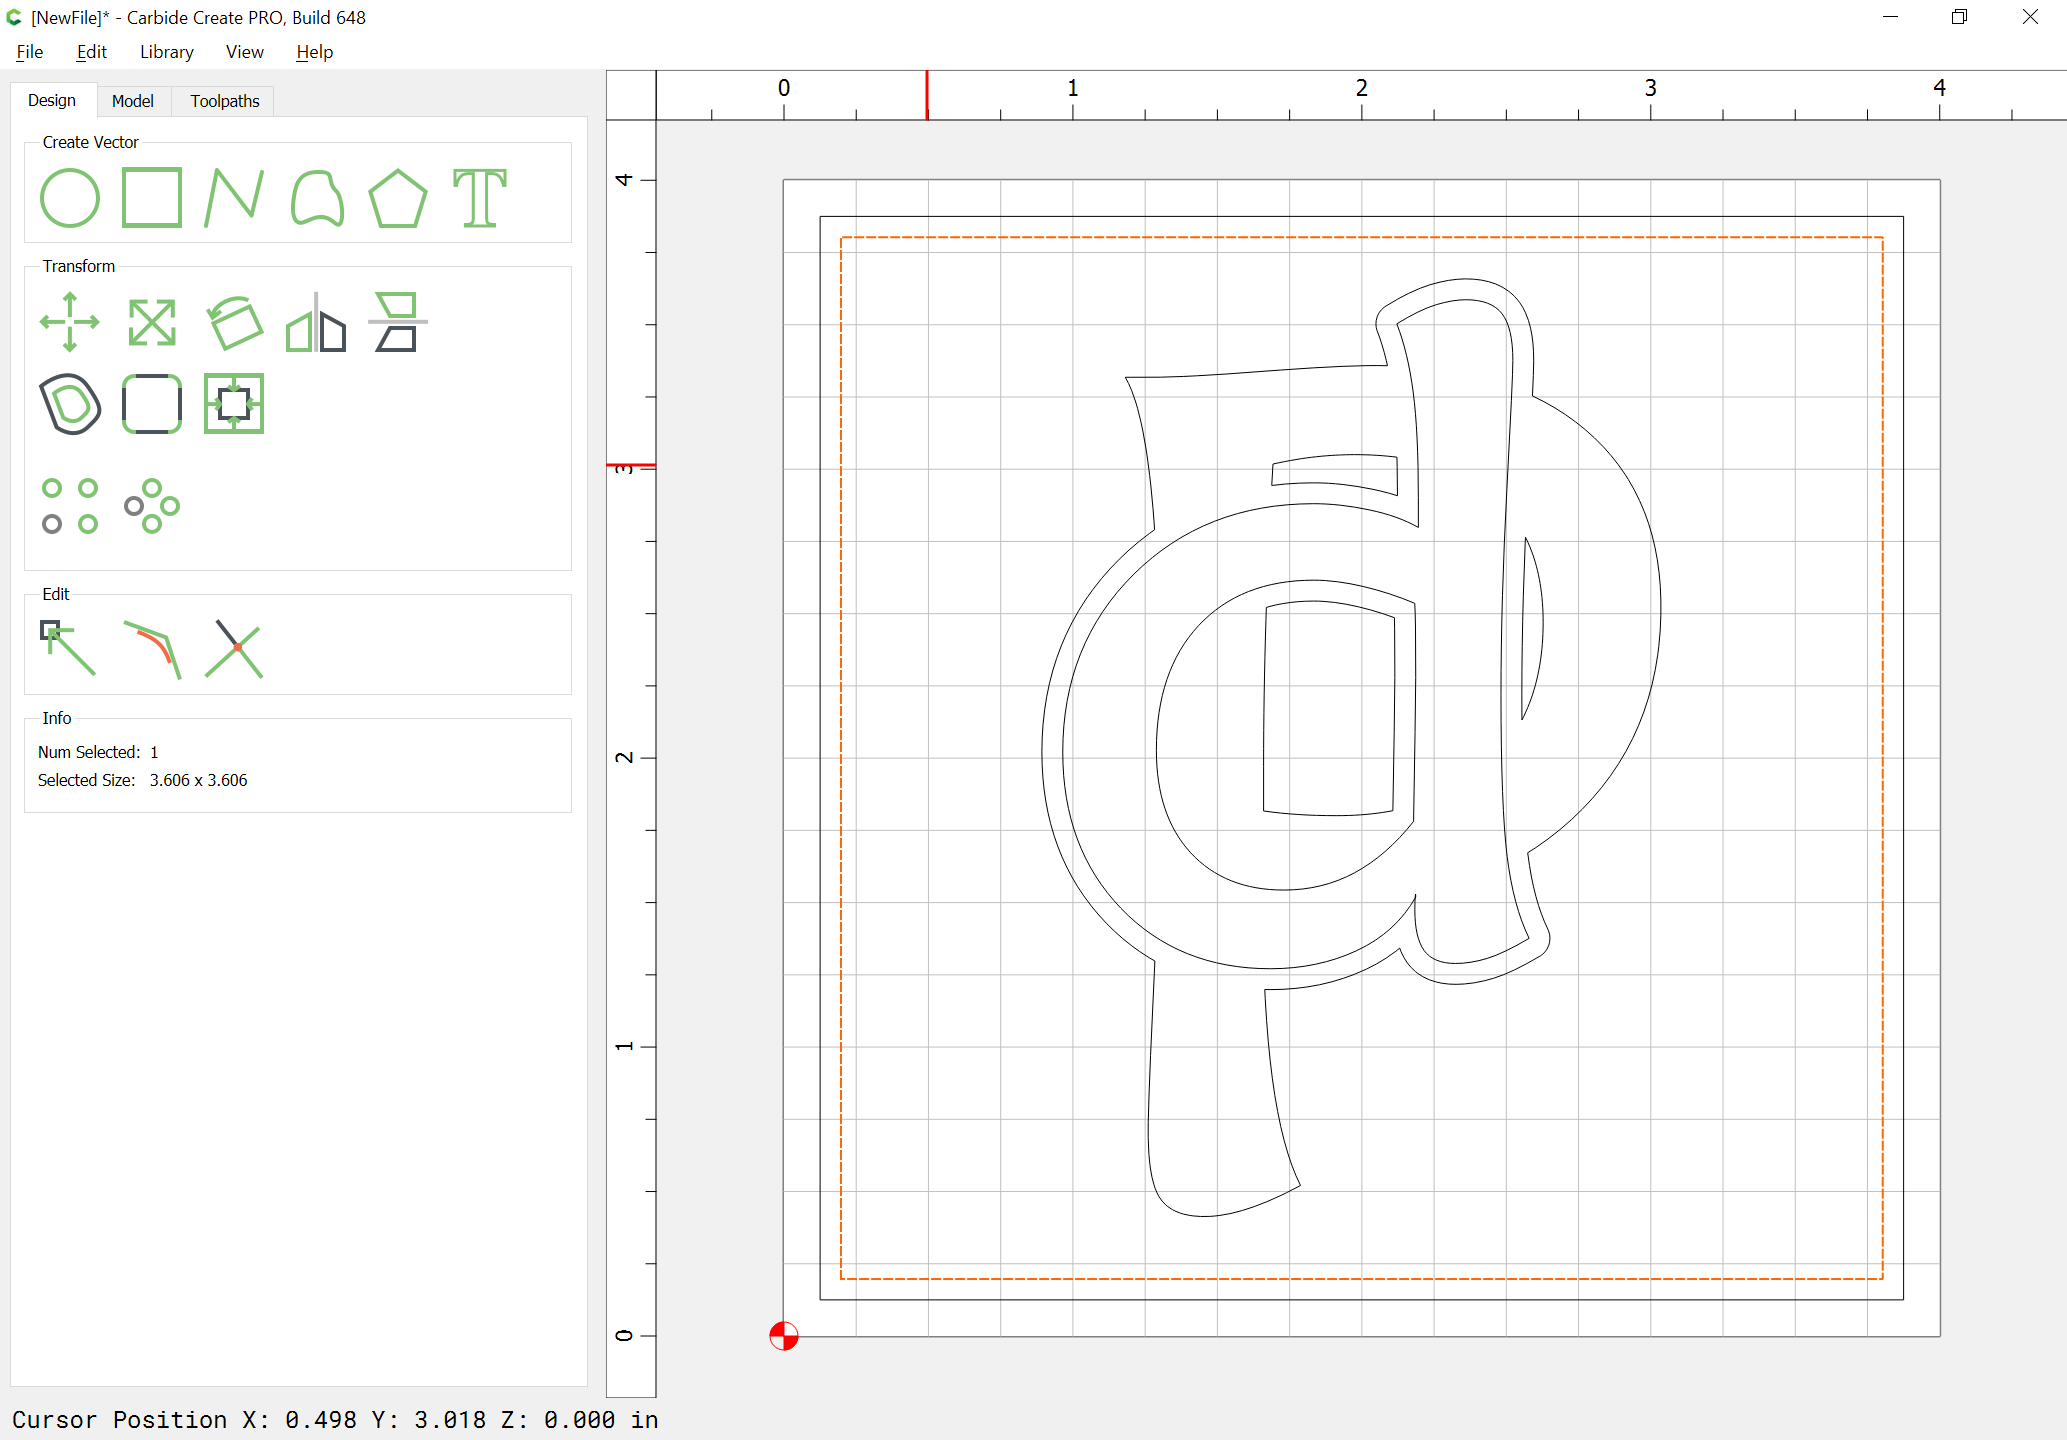
Boolean union w/ the lower text (note that the text was positioned so as to sidestep the issue of the counter for the e by covering it pretty much completely):
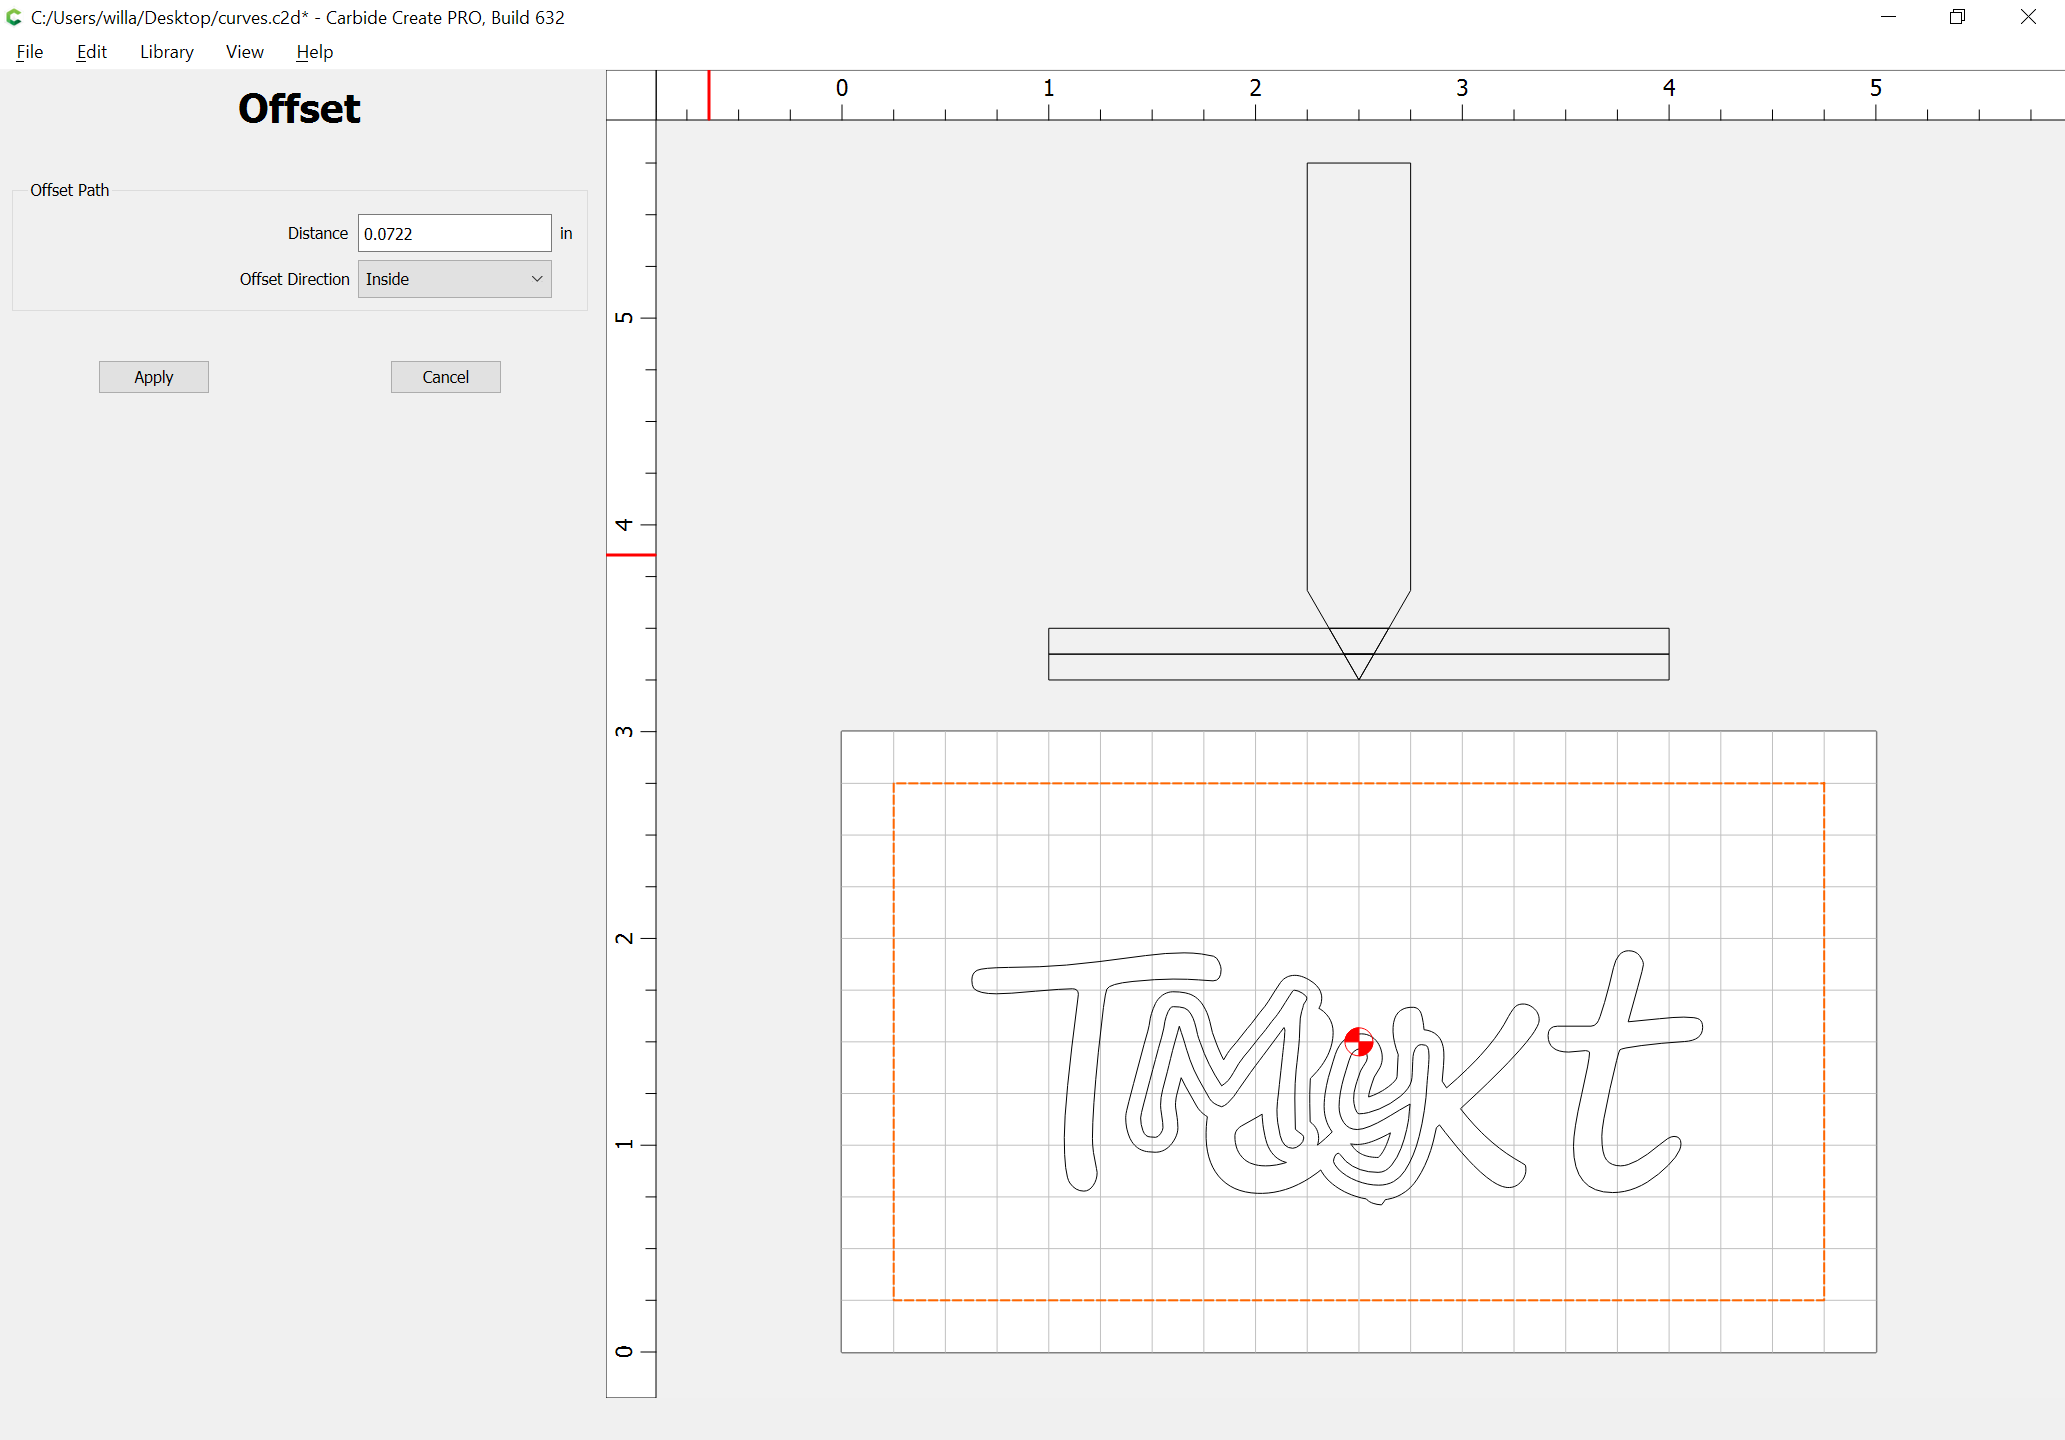
Repeat the inset w/ the outer border, only to the inside:
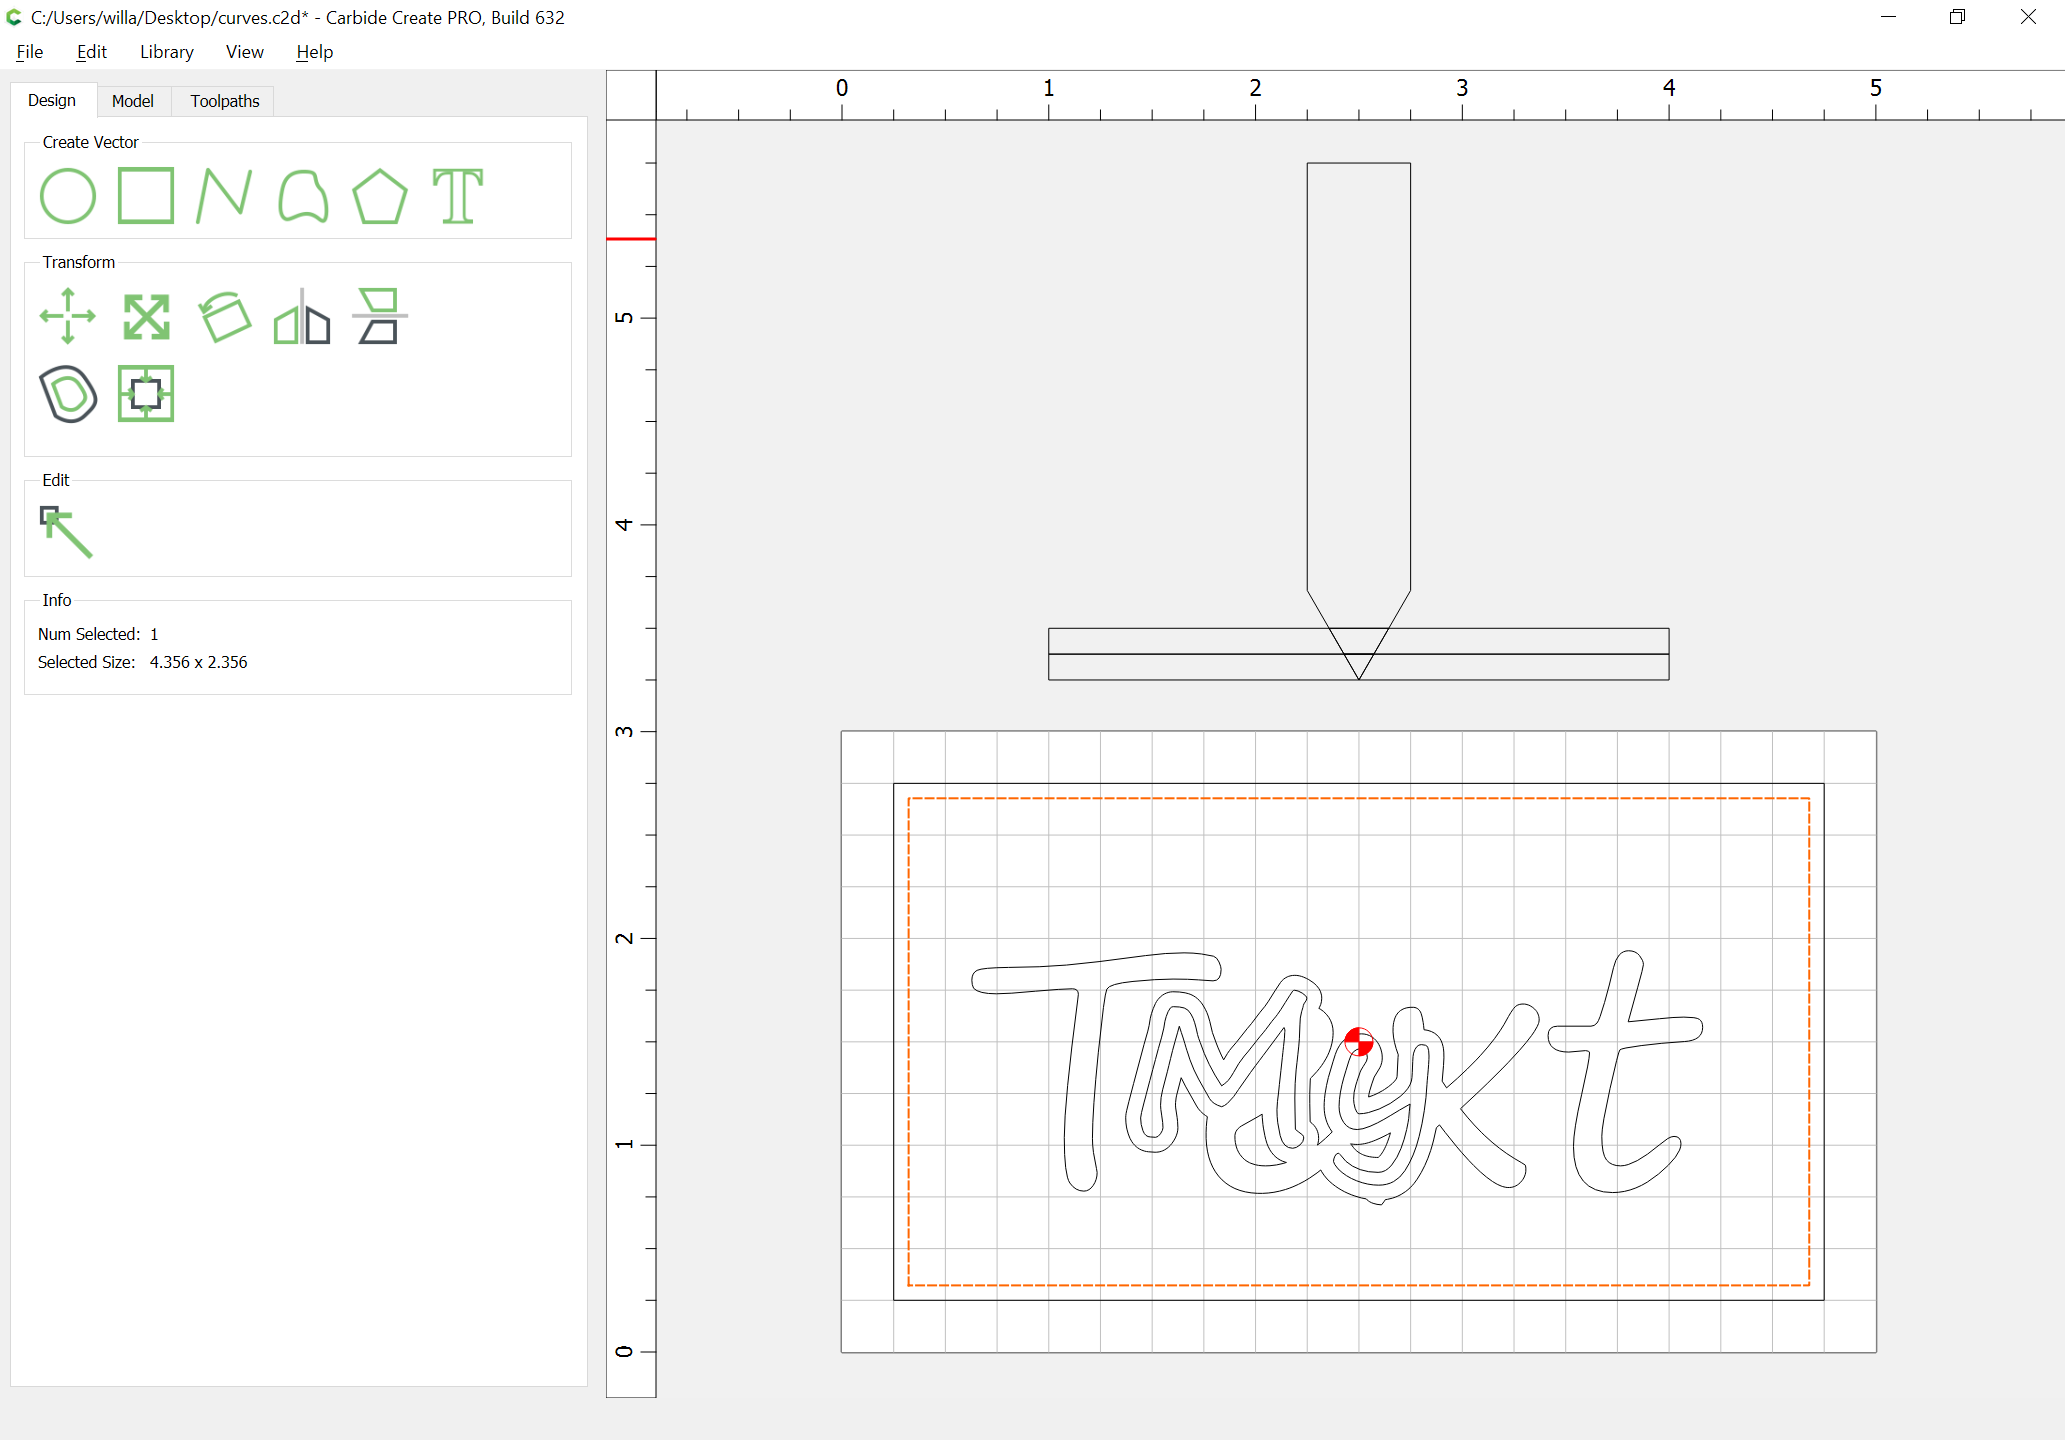
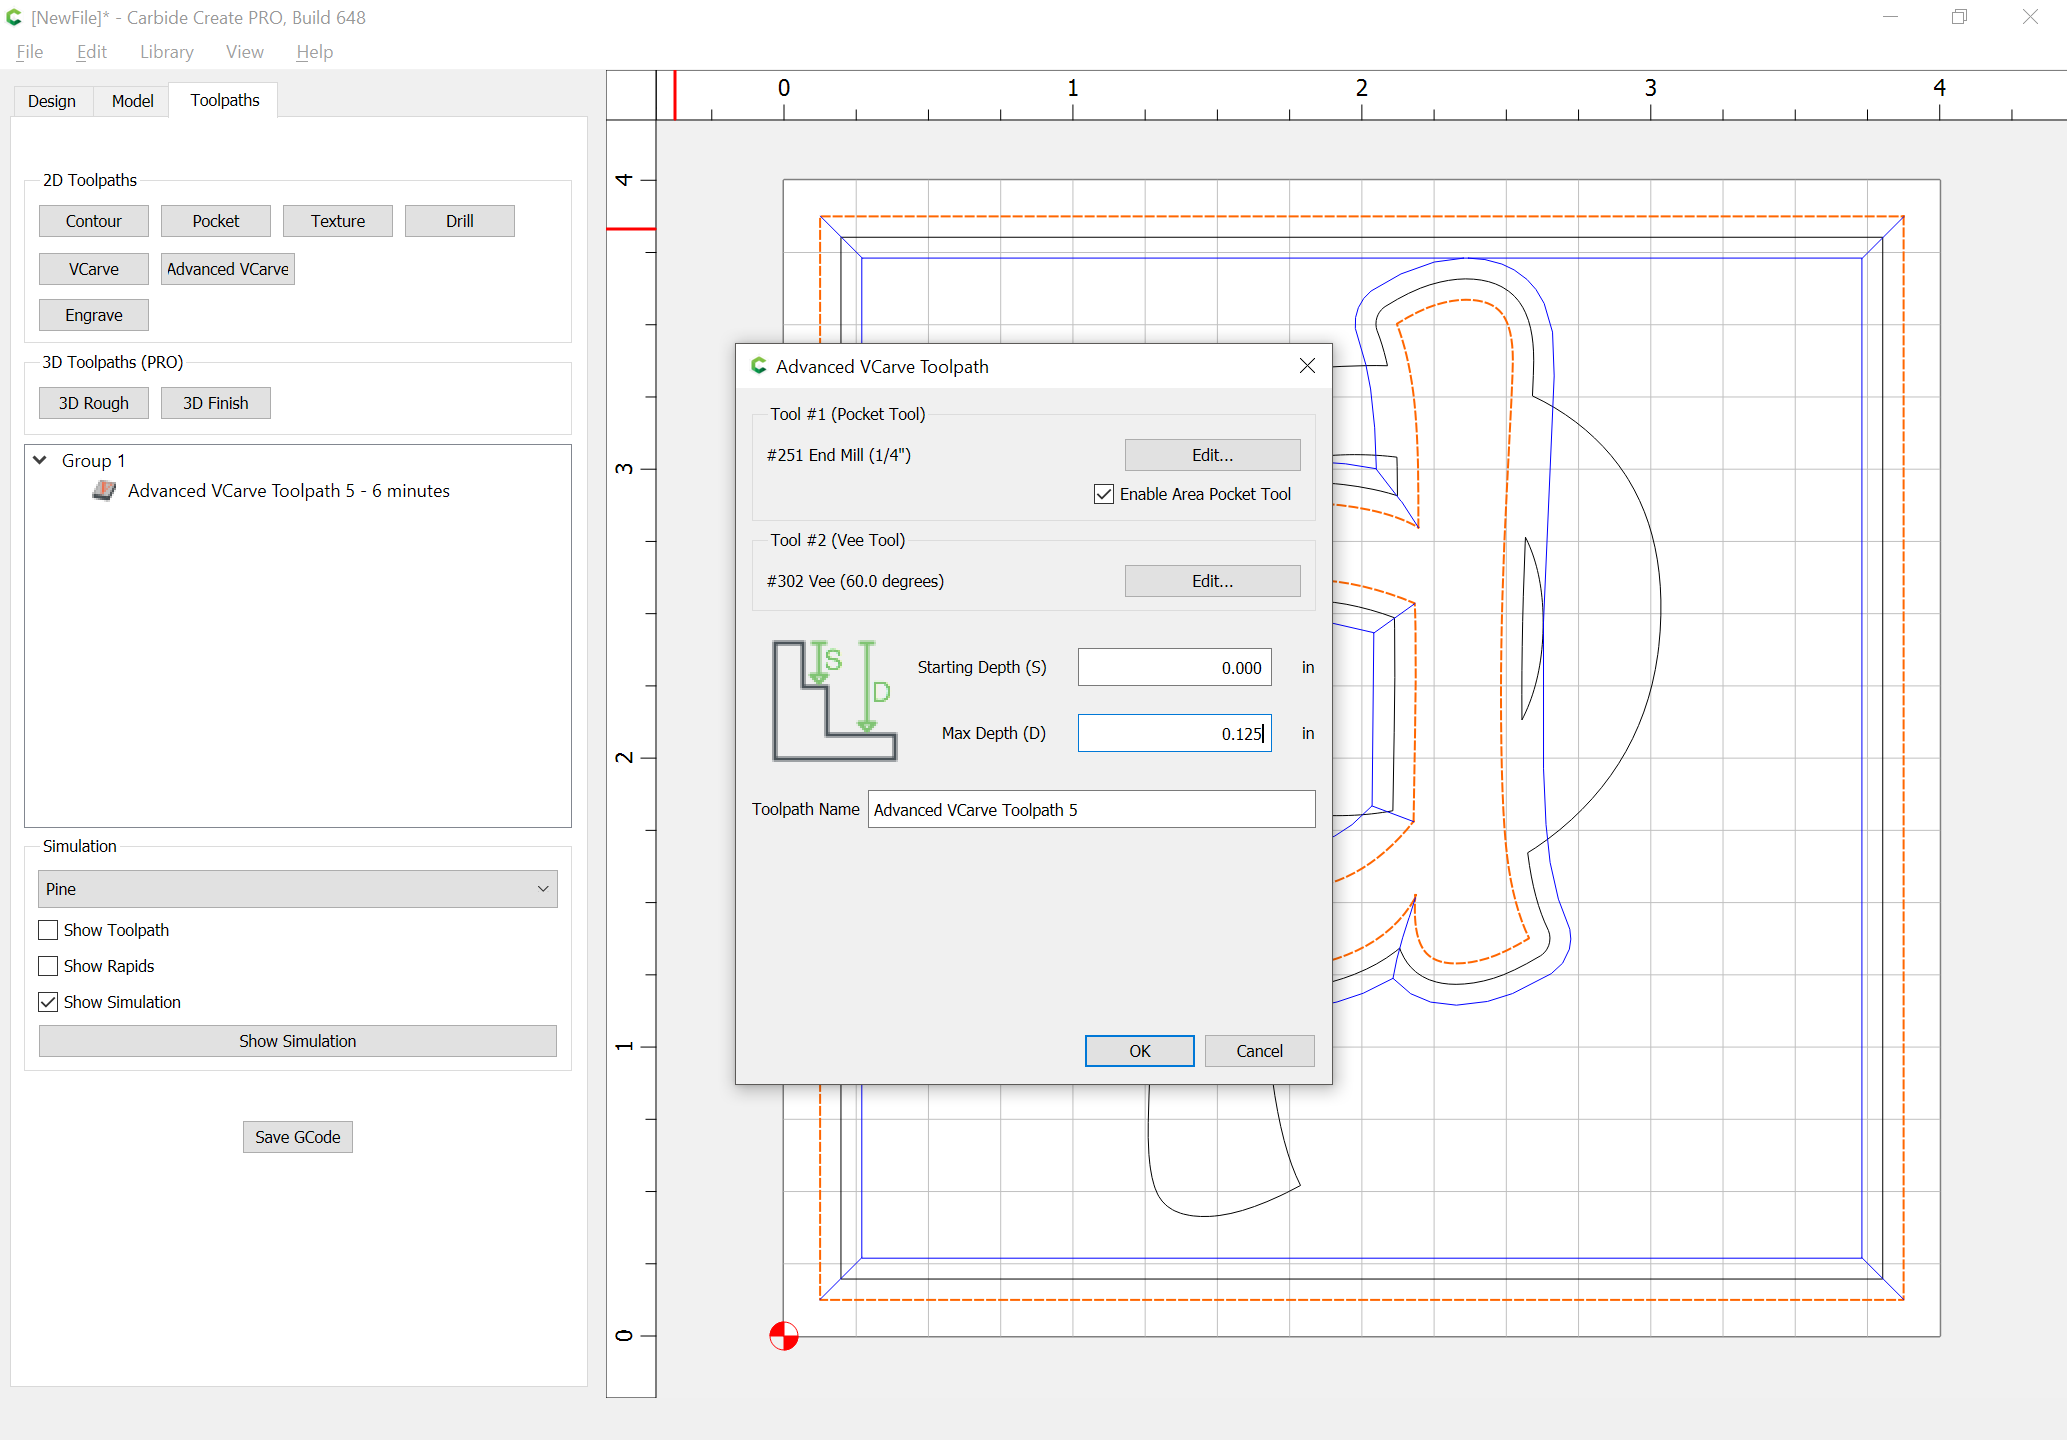
Do an Advanced V carving using the top layer of text and the outer border to the desired depth:
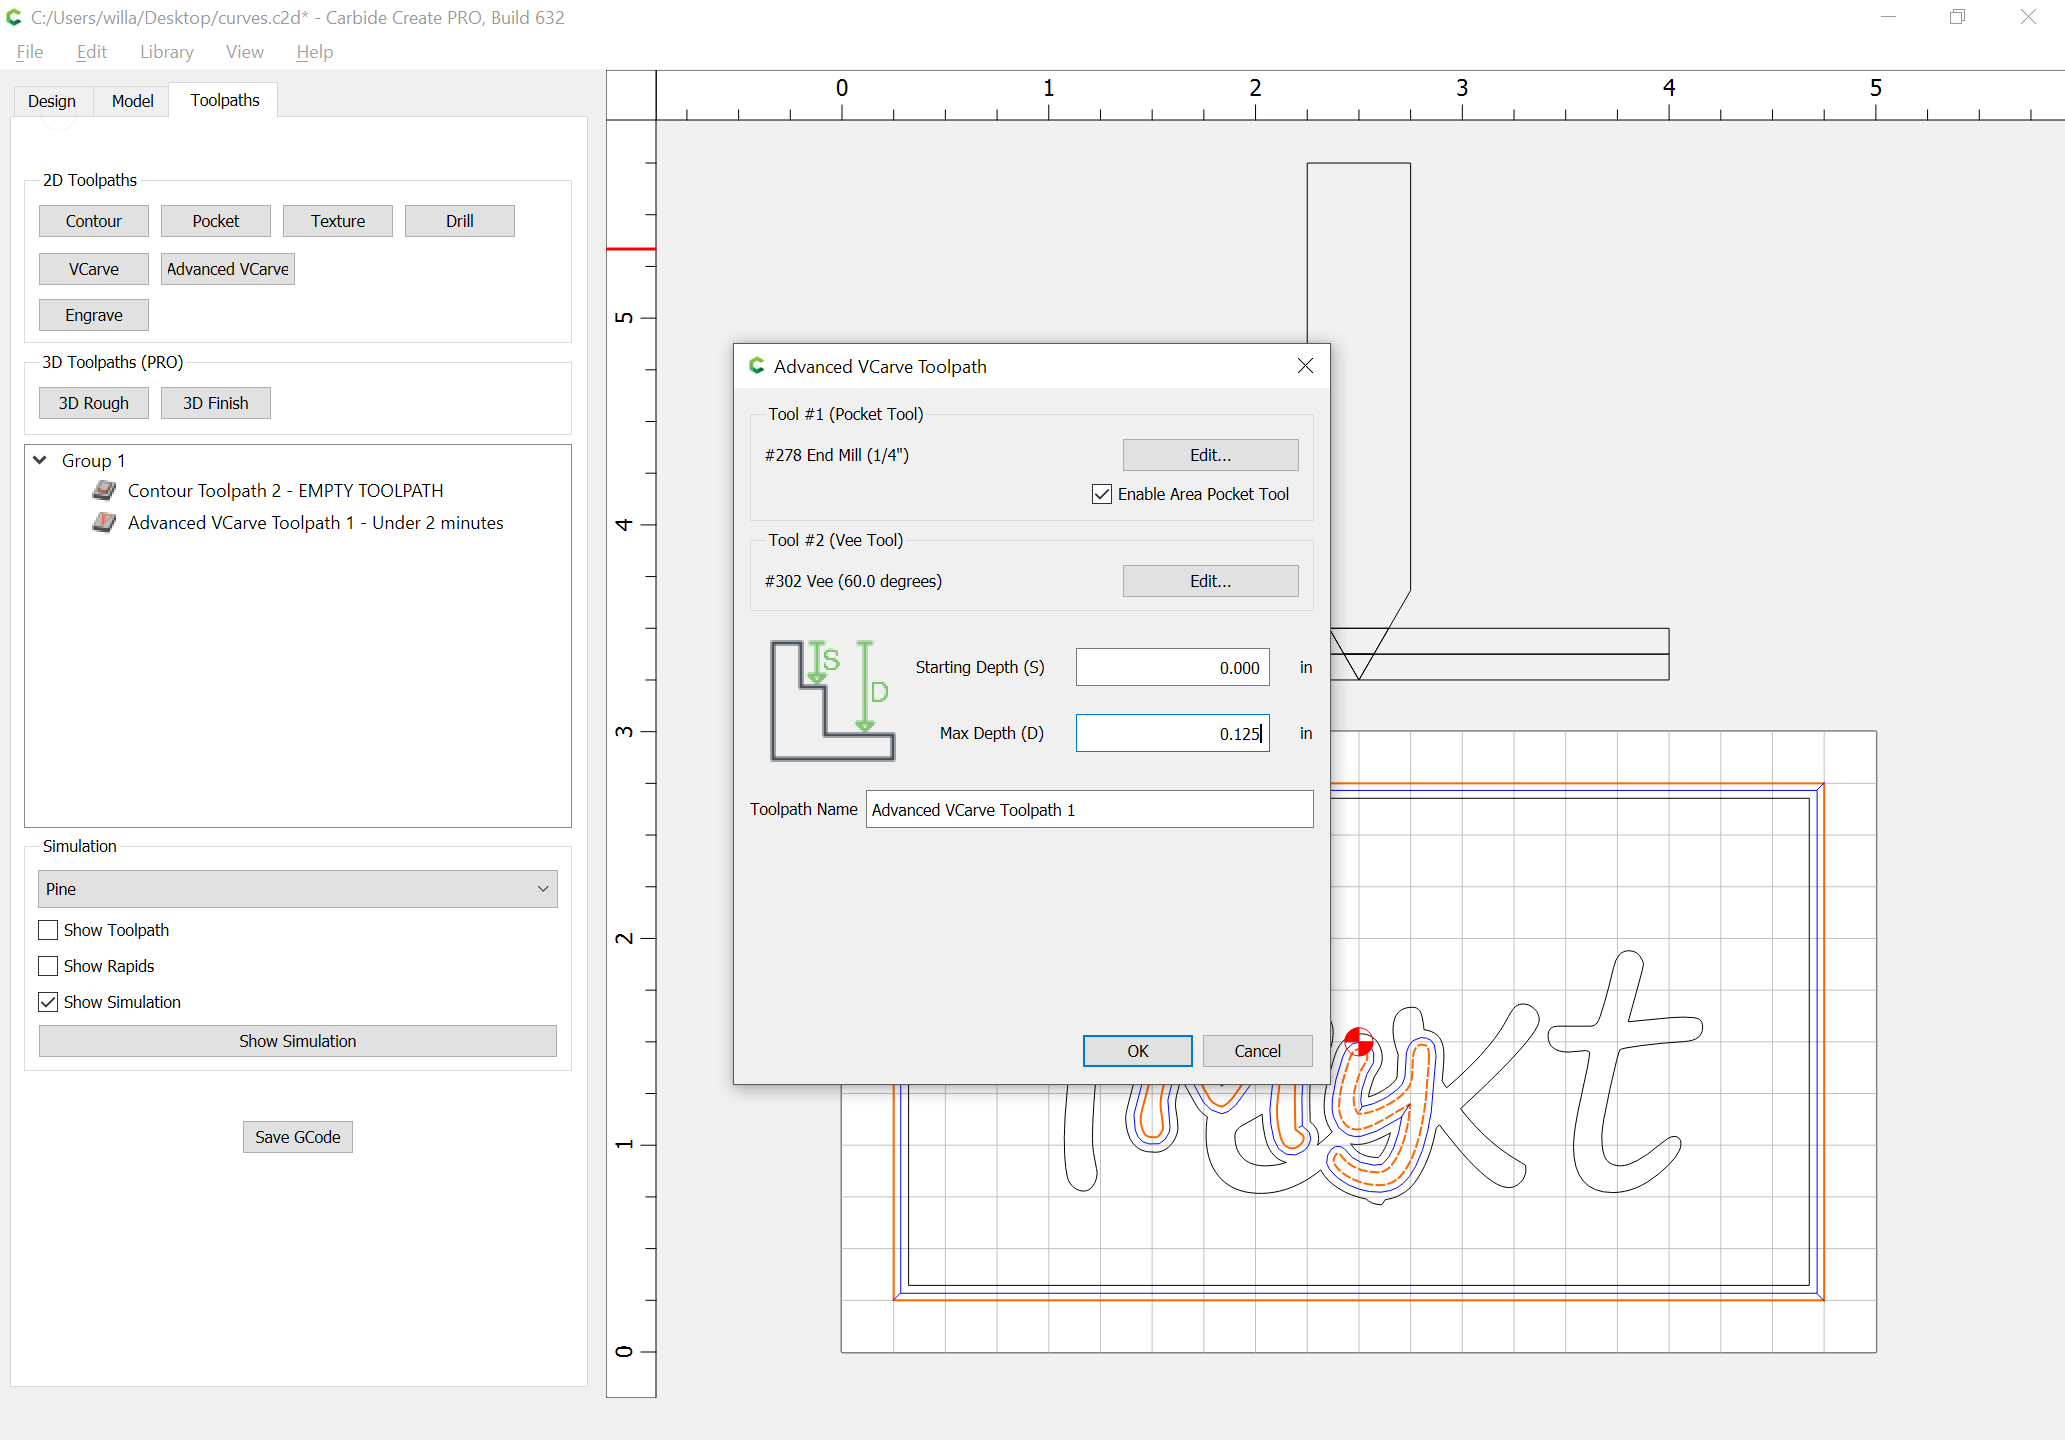
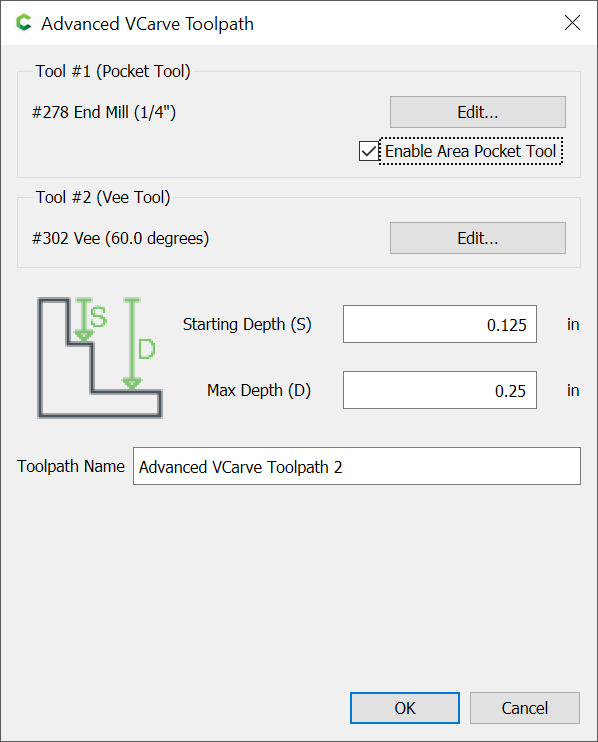
Do a second V carving using the balance of the geometry:
w/ a begin depth at the bottom of the pocket:
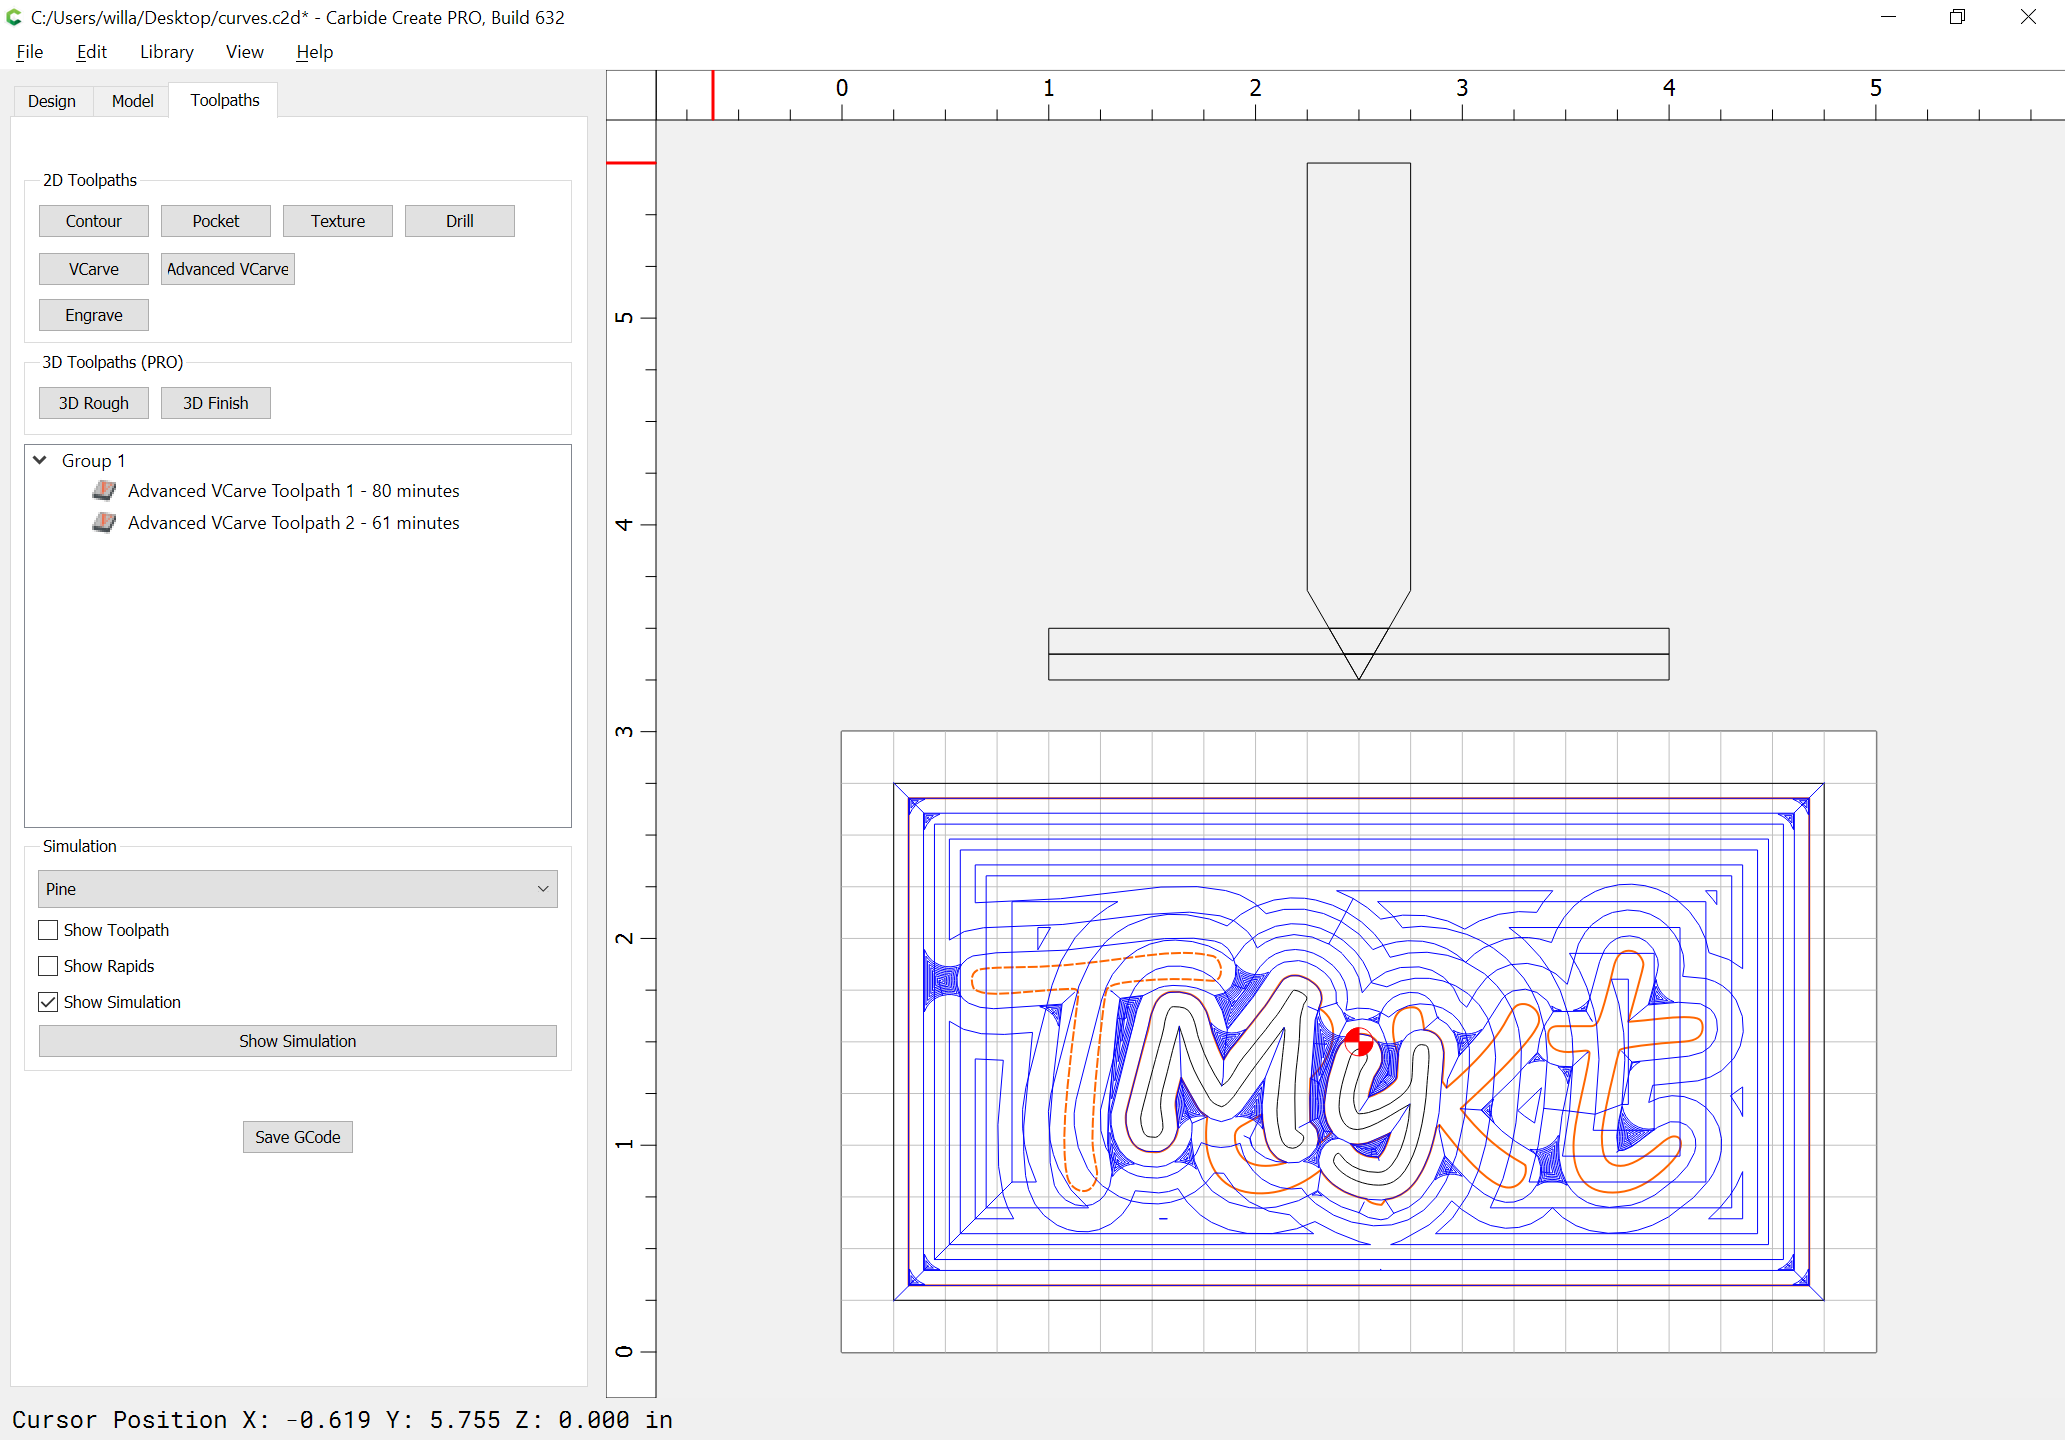
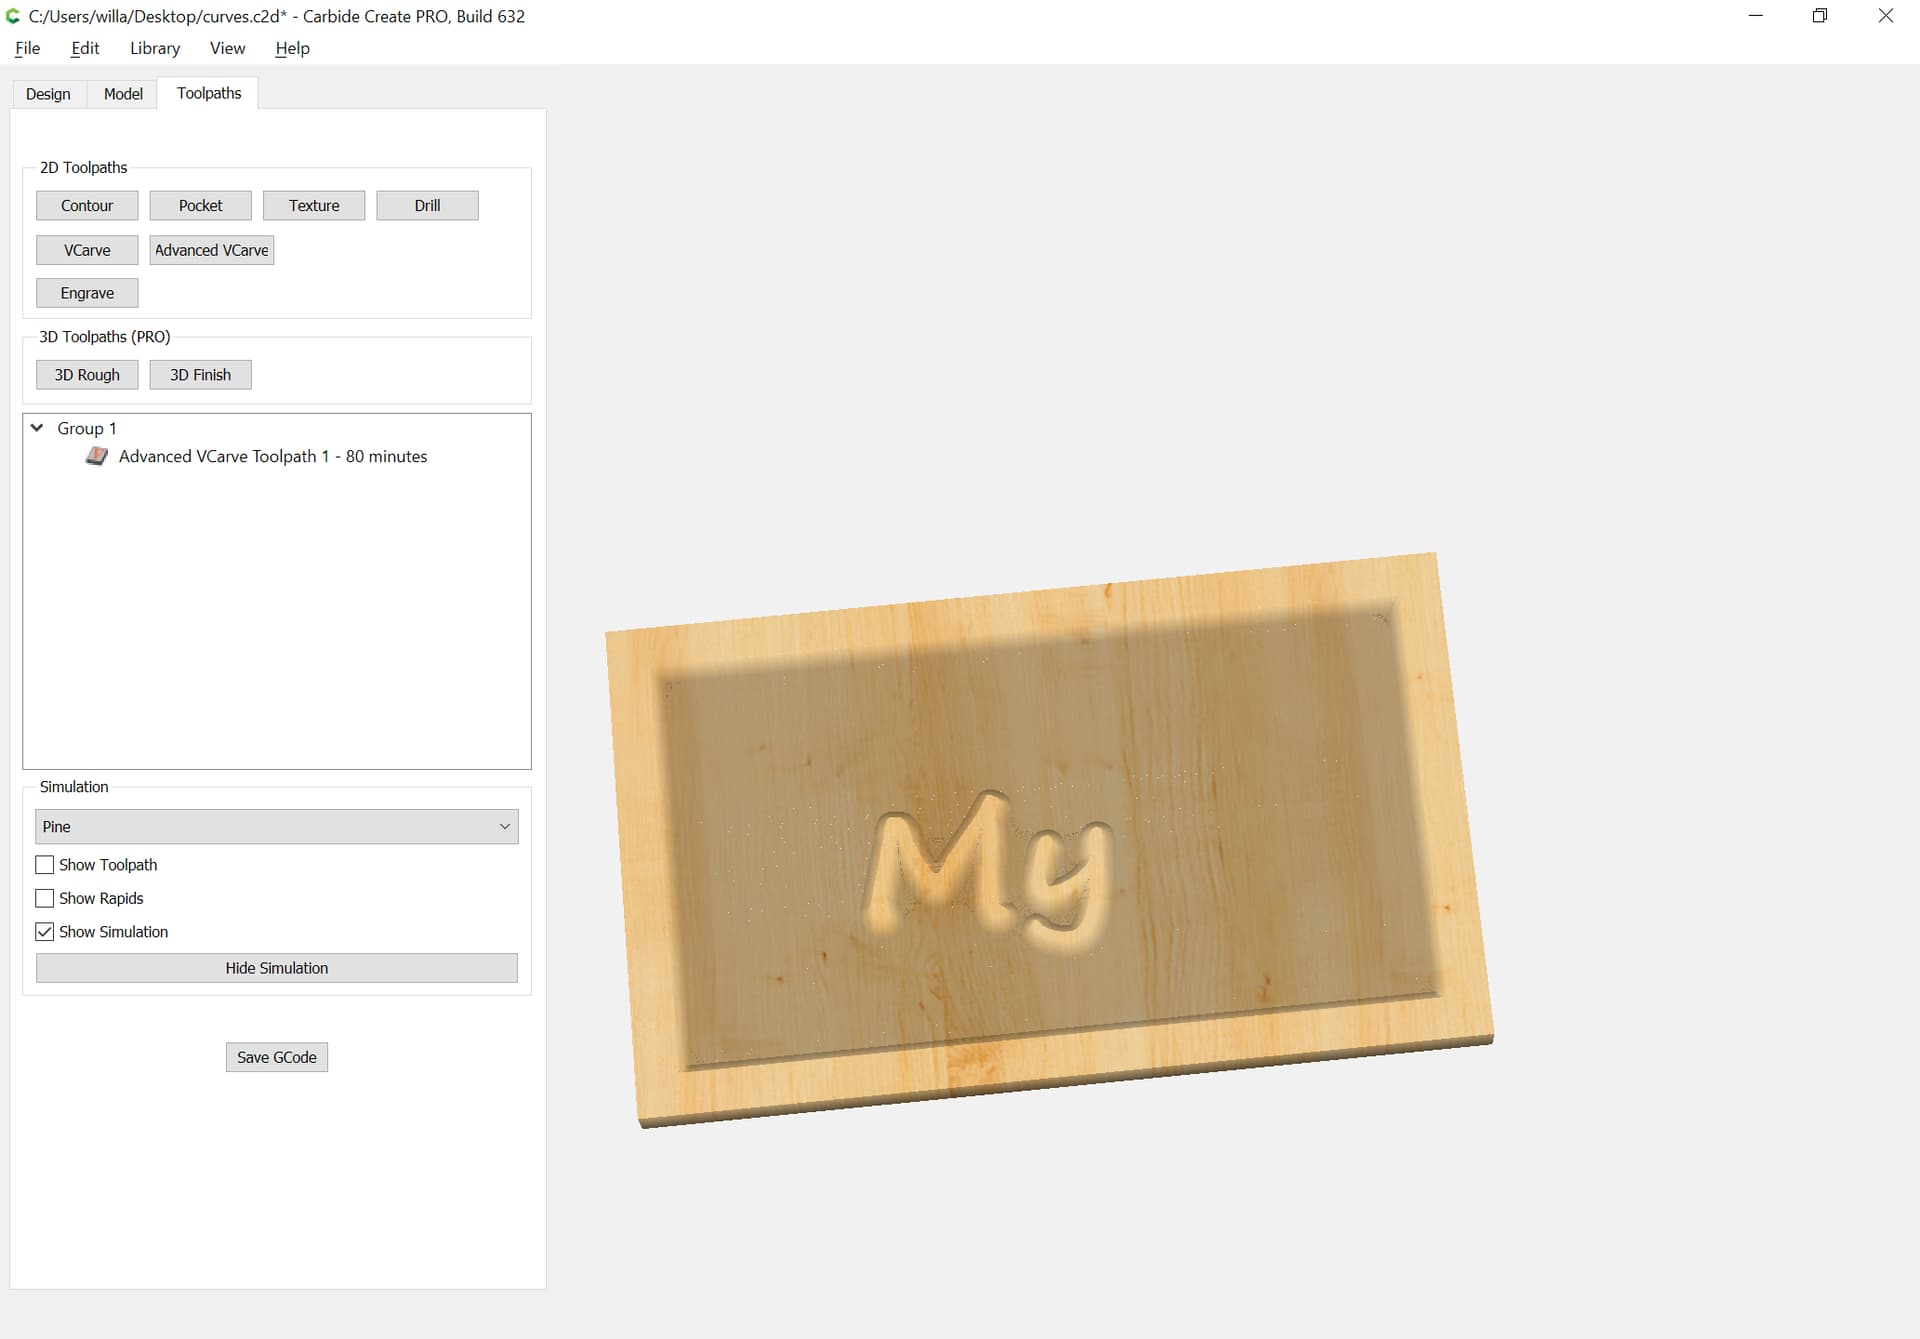
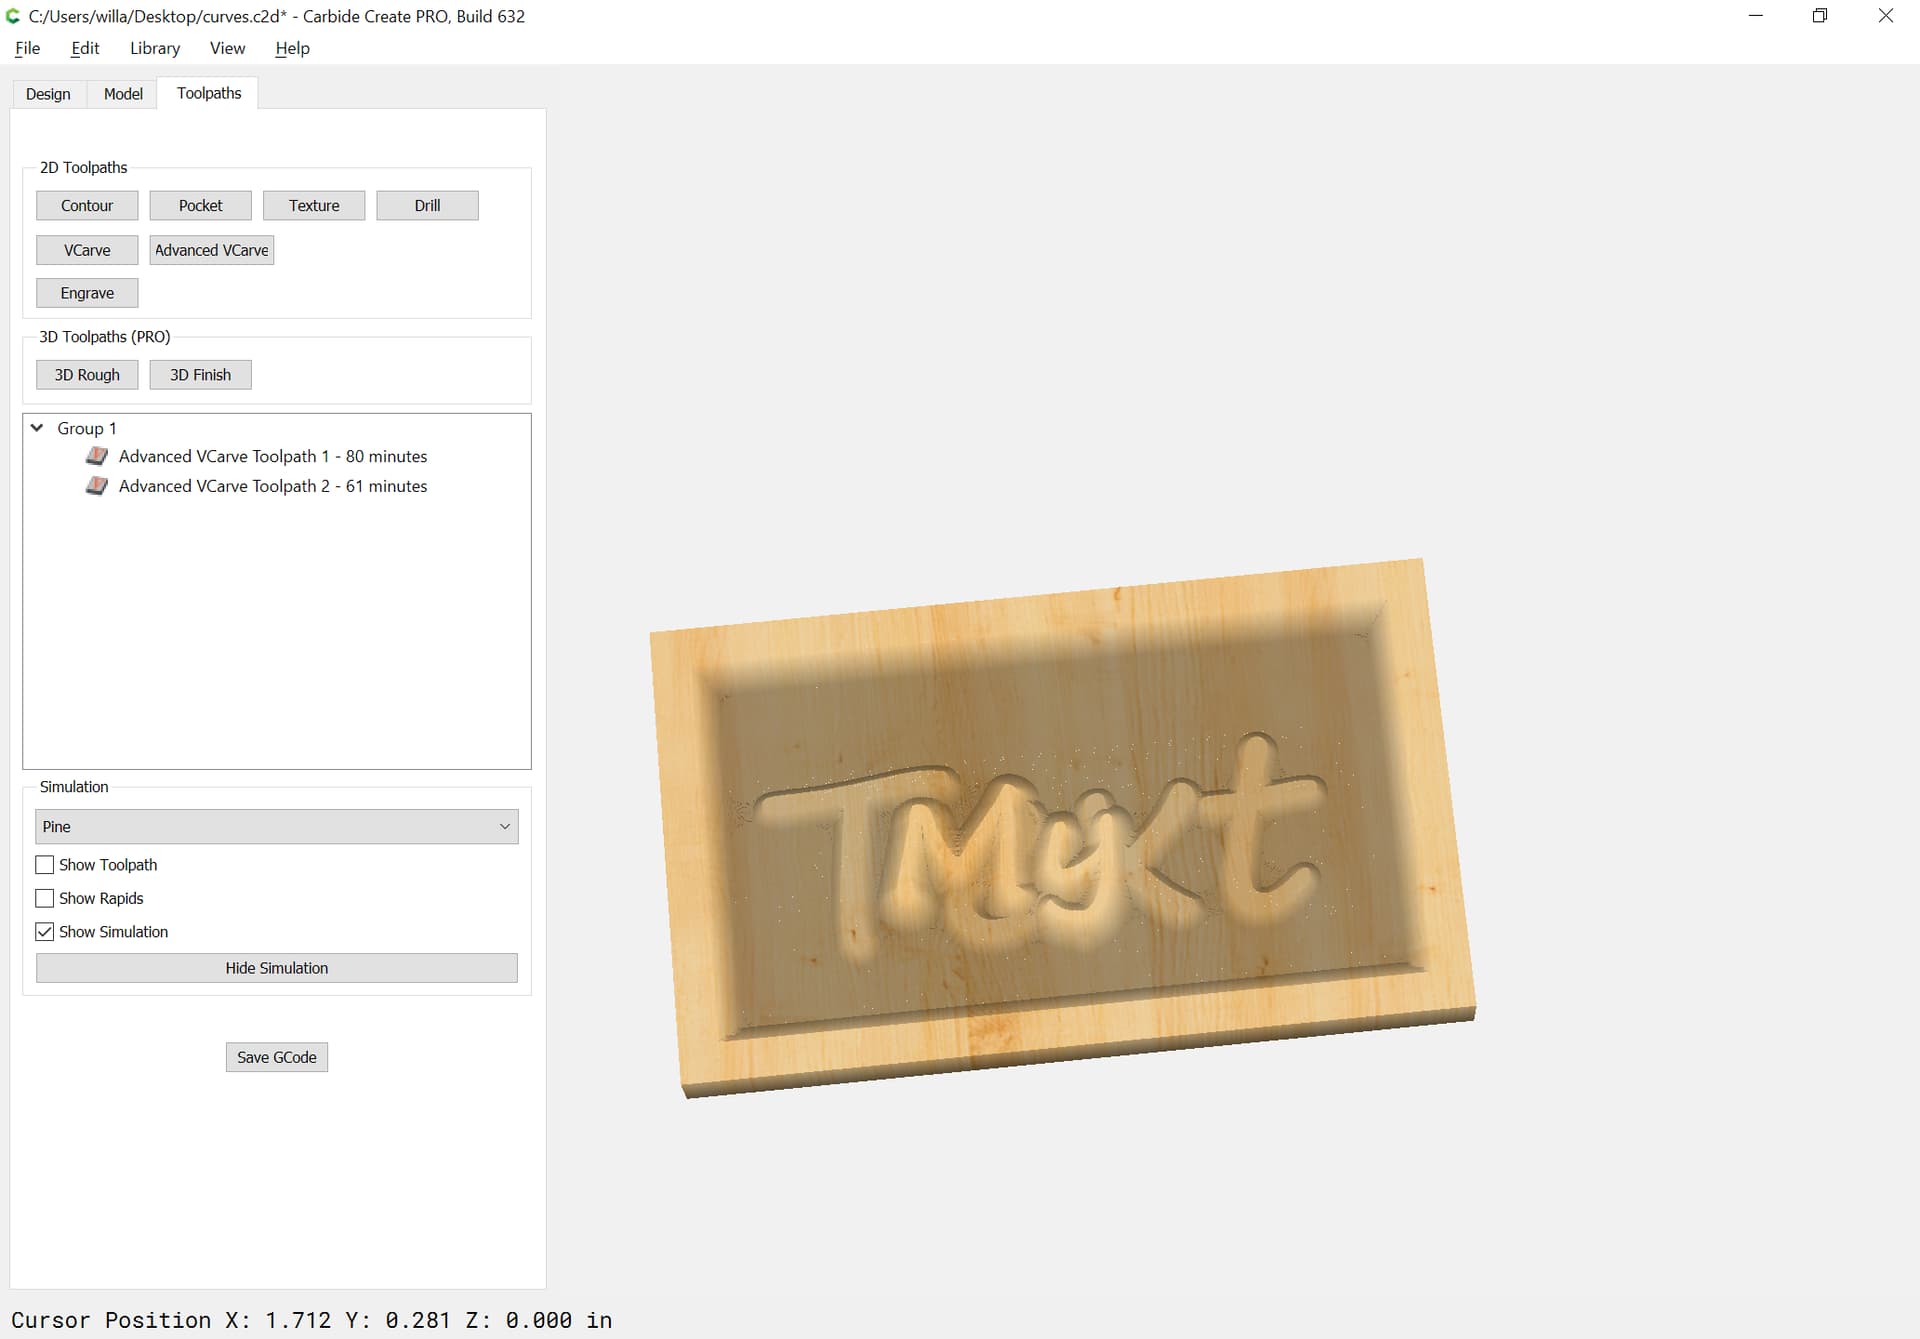
which previews as:
1 Like
I see what I did wrong. I didn’t do an offset on the “MY” to account for the Vcarve.
I have been enlightened yet again by your wisdom.
Thank you, my good man!
Im referring to the Georgiev Oliver step by step… I’m not getting this. I know it seems simple enough, but it’s not flying right for me. Could you please do a capital P with a lowercase d intersecting through both loops. I thought I had Boolean functions sorted in my head, but v6 has fried my wiring.
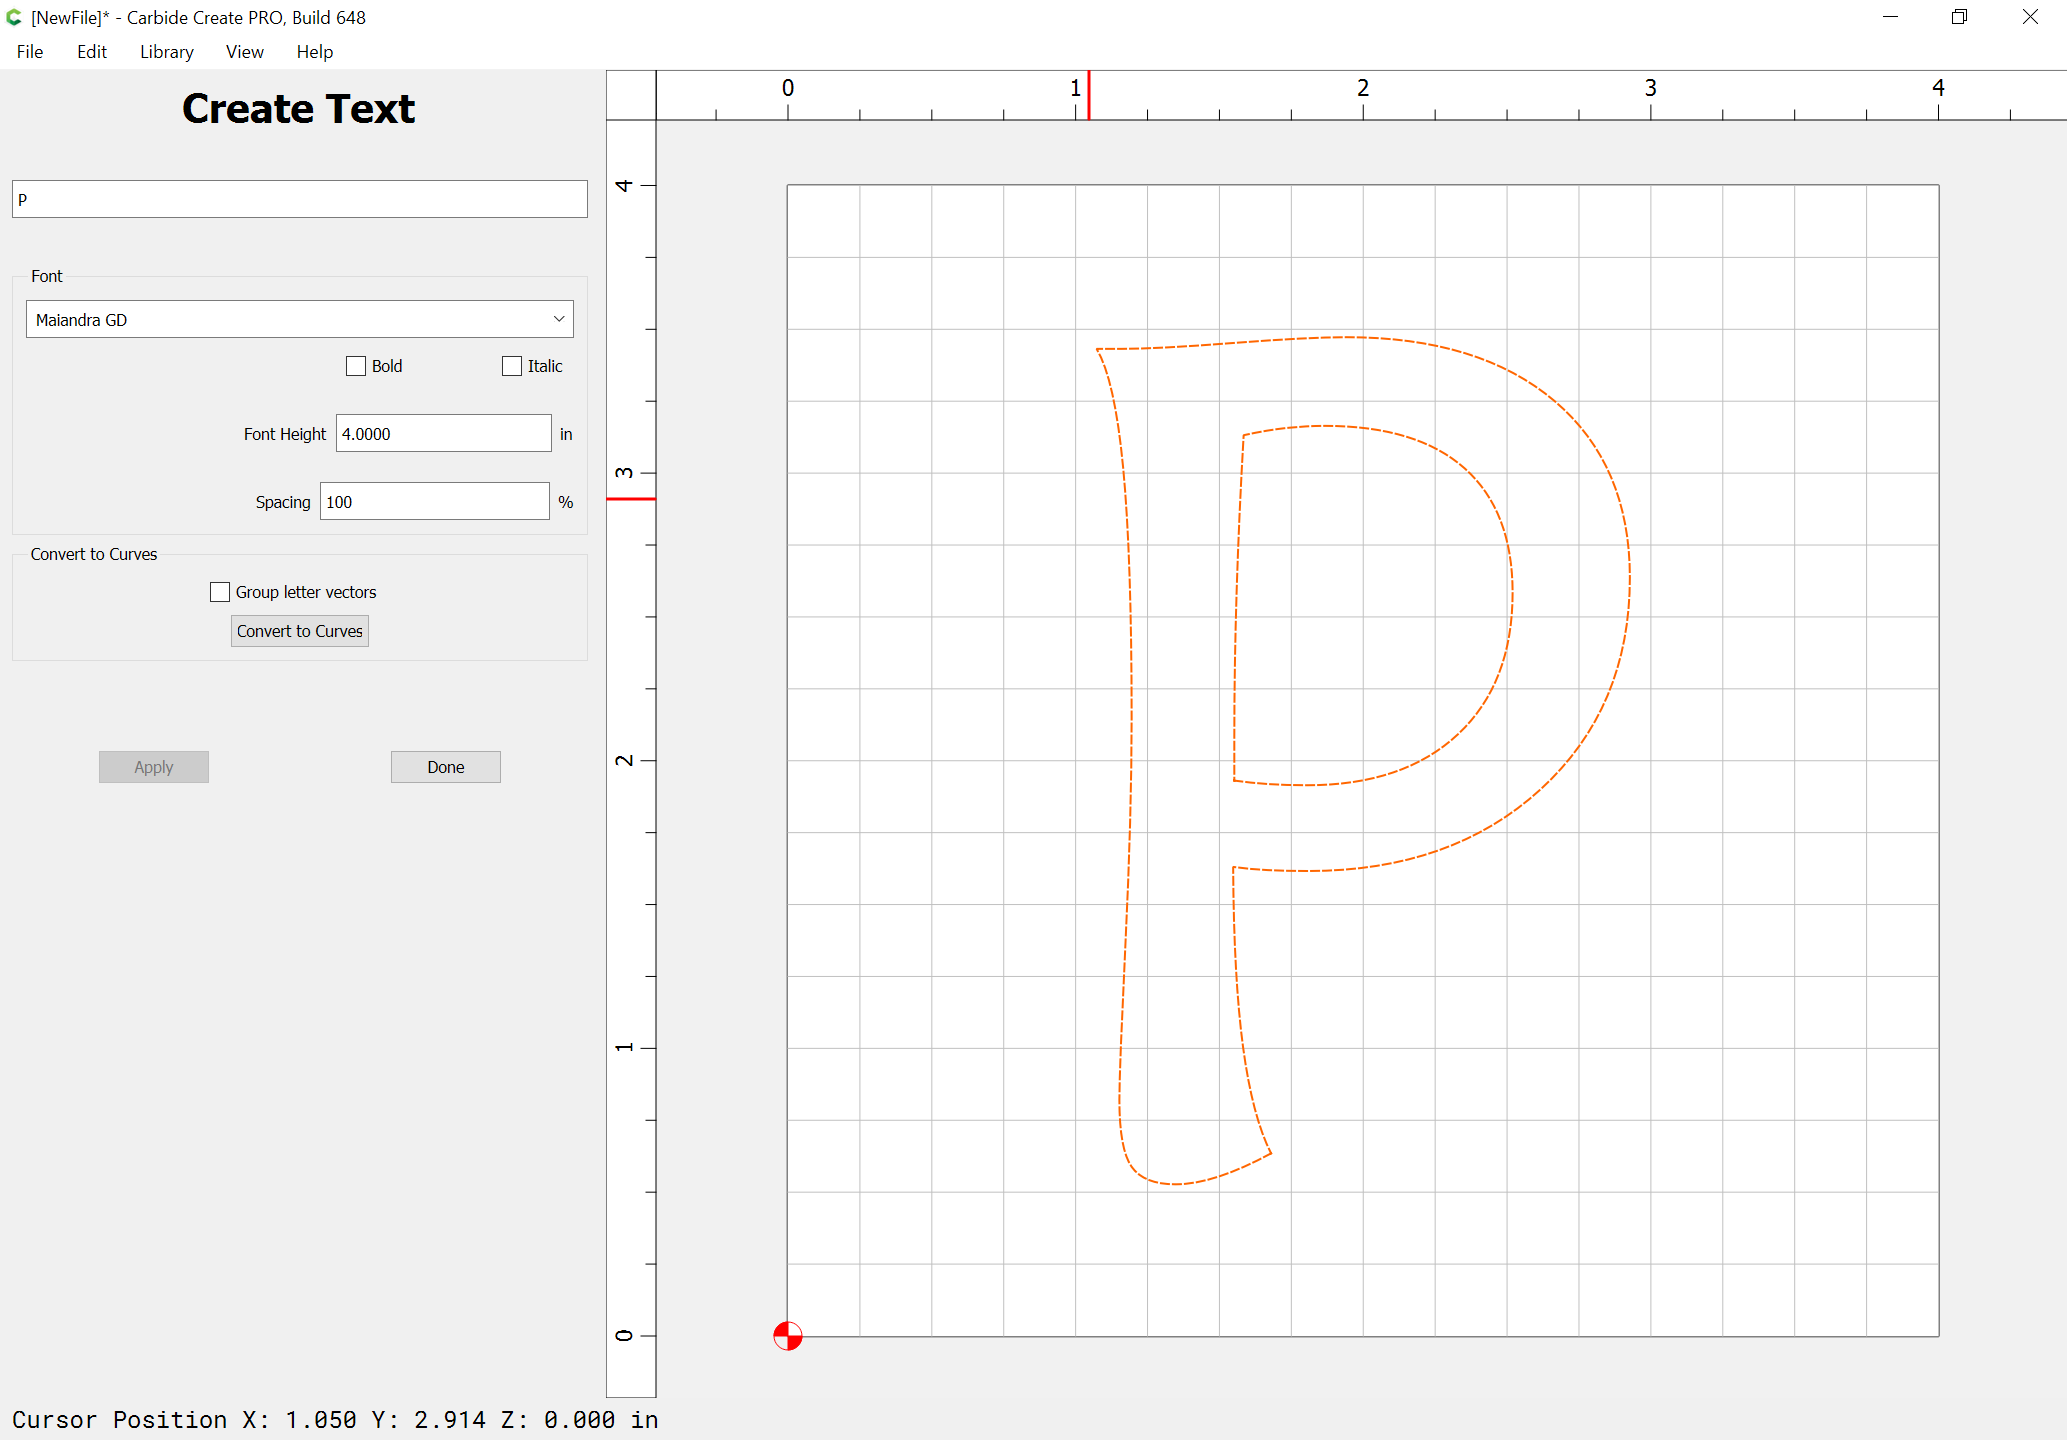
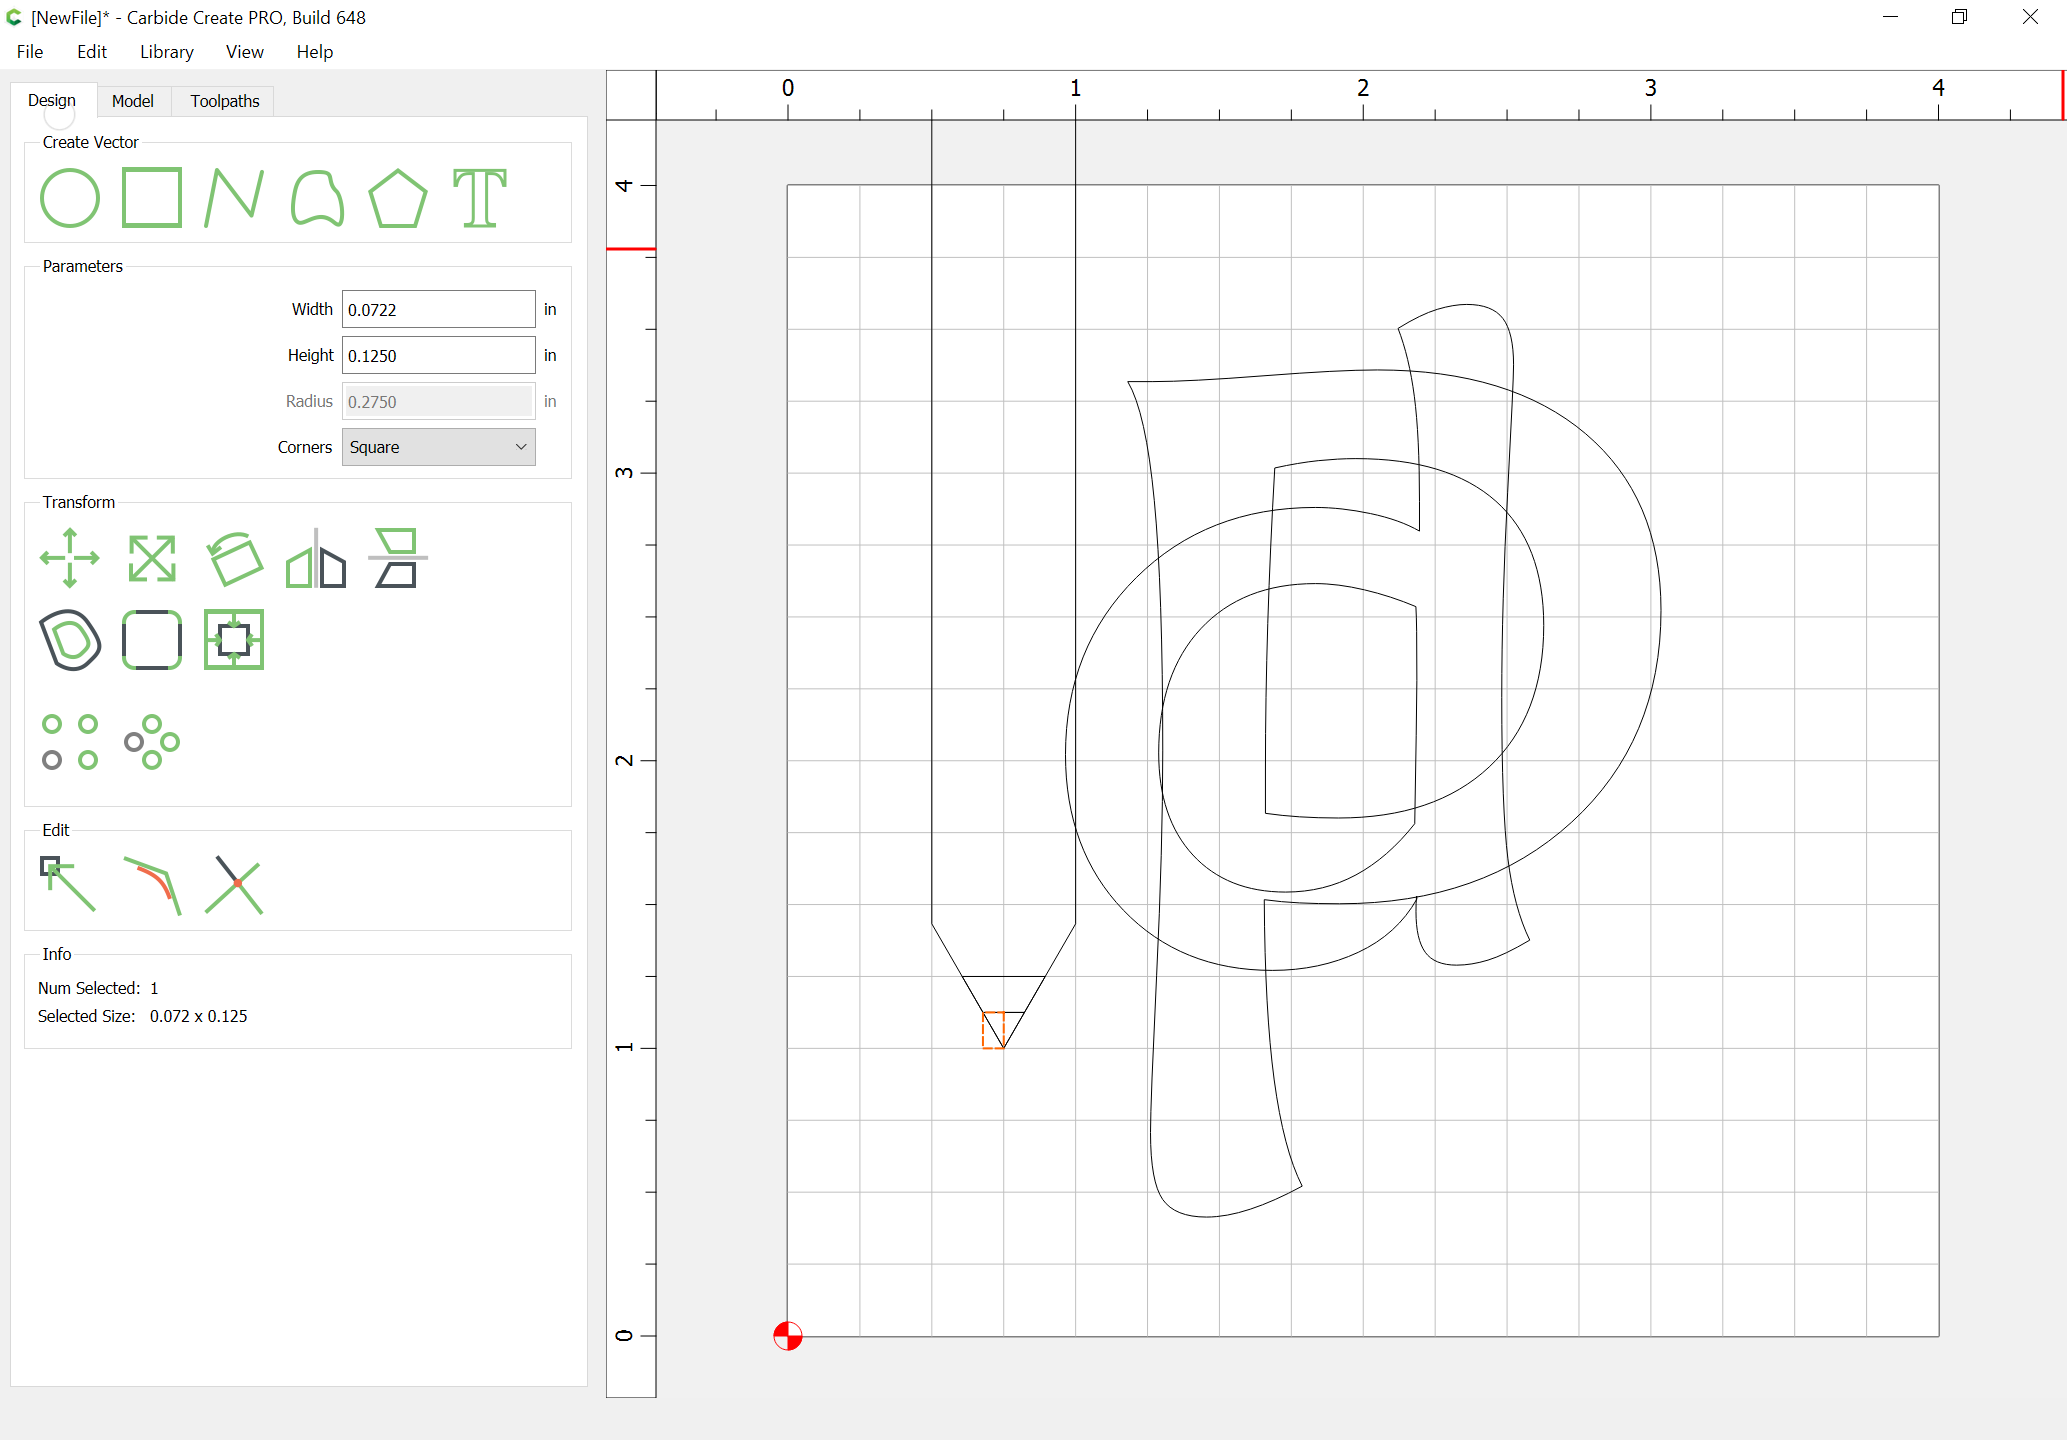
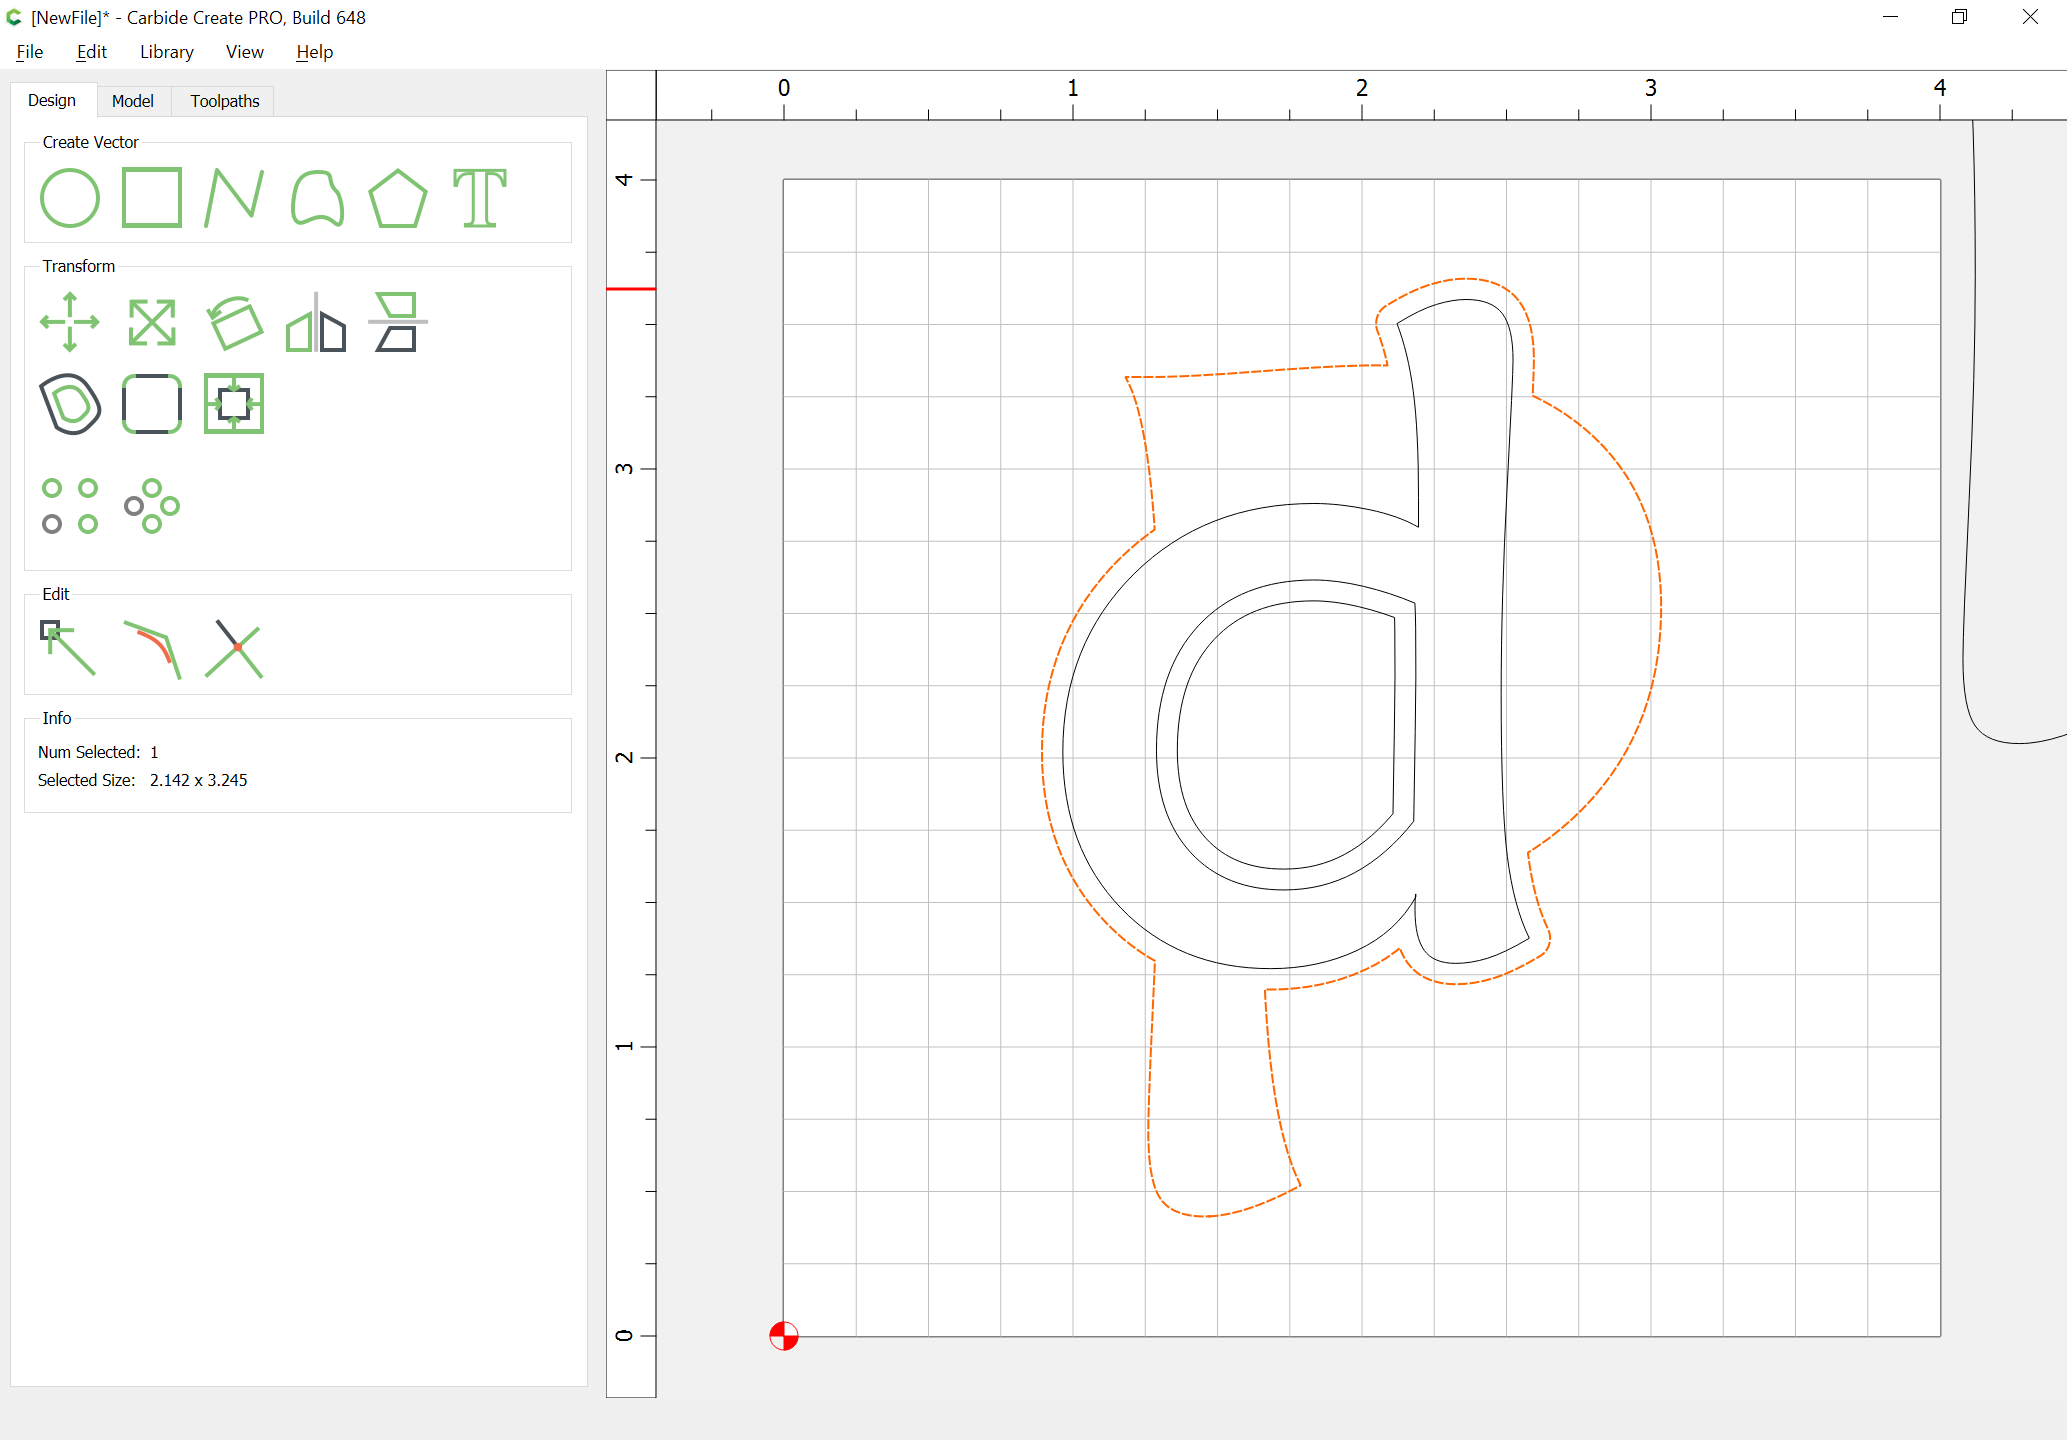
First, set the text:

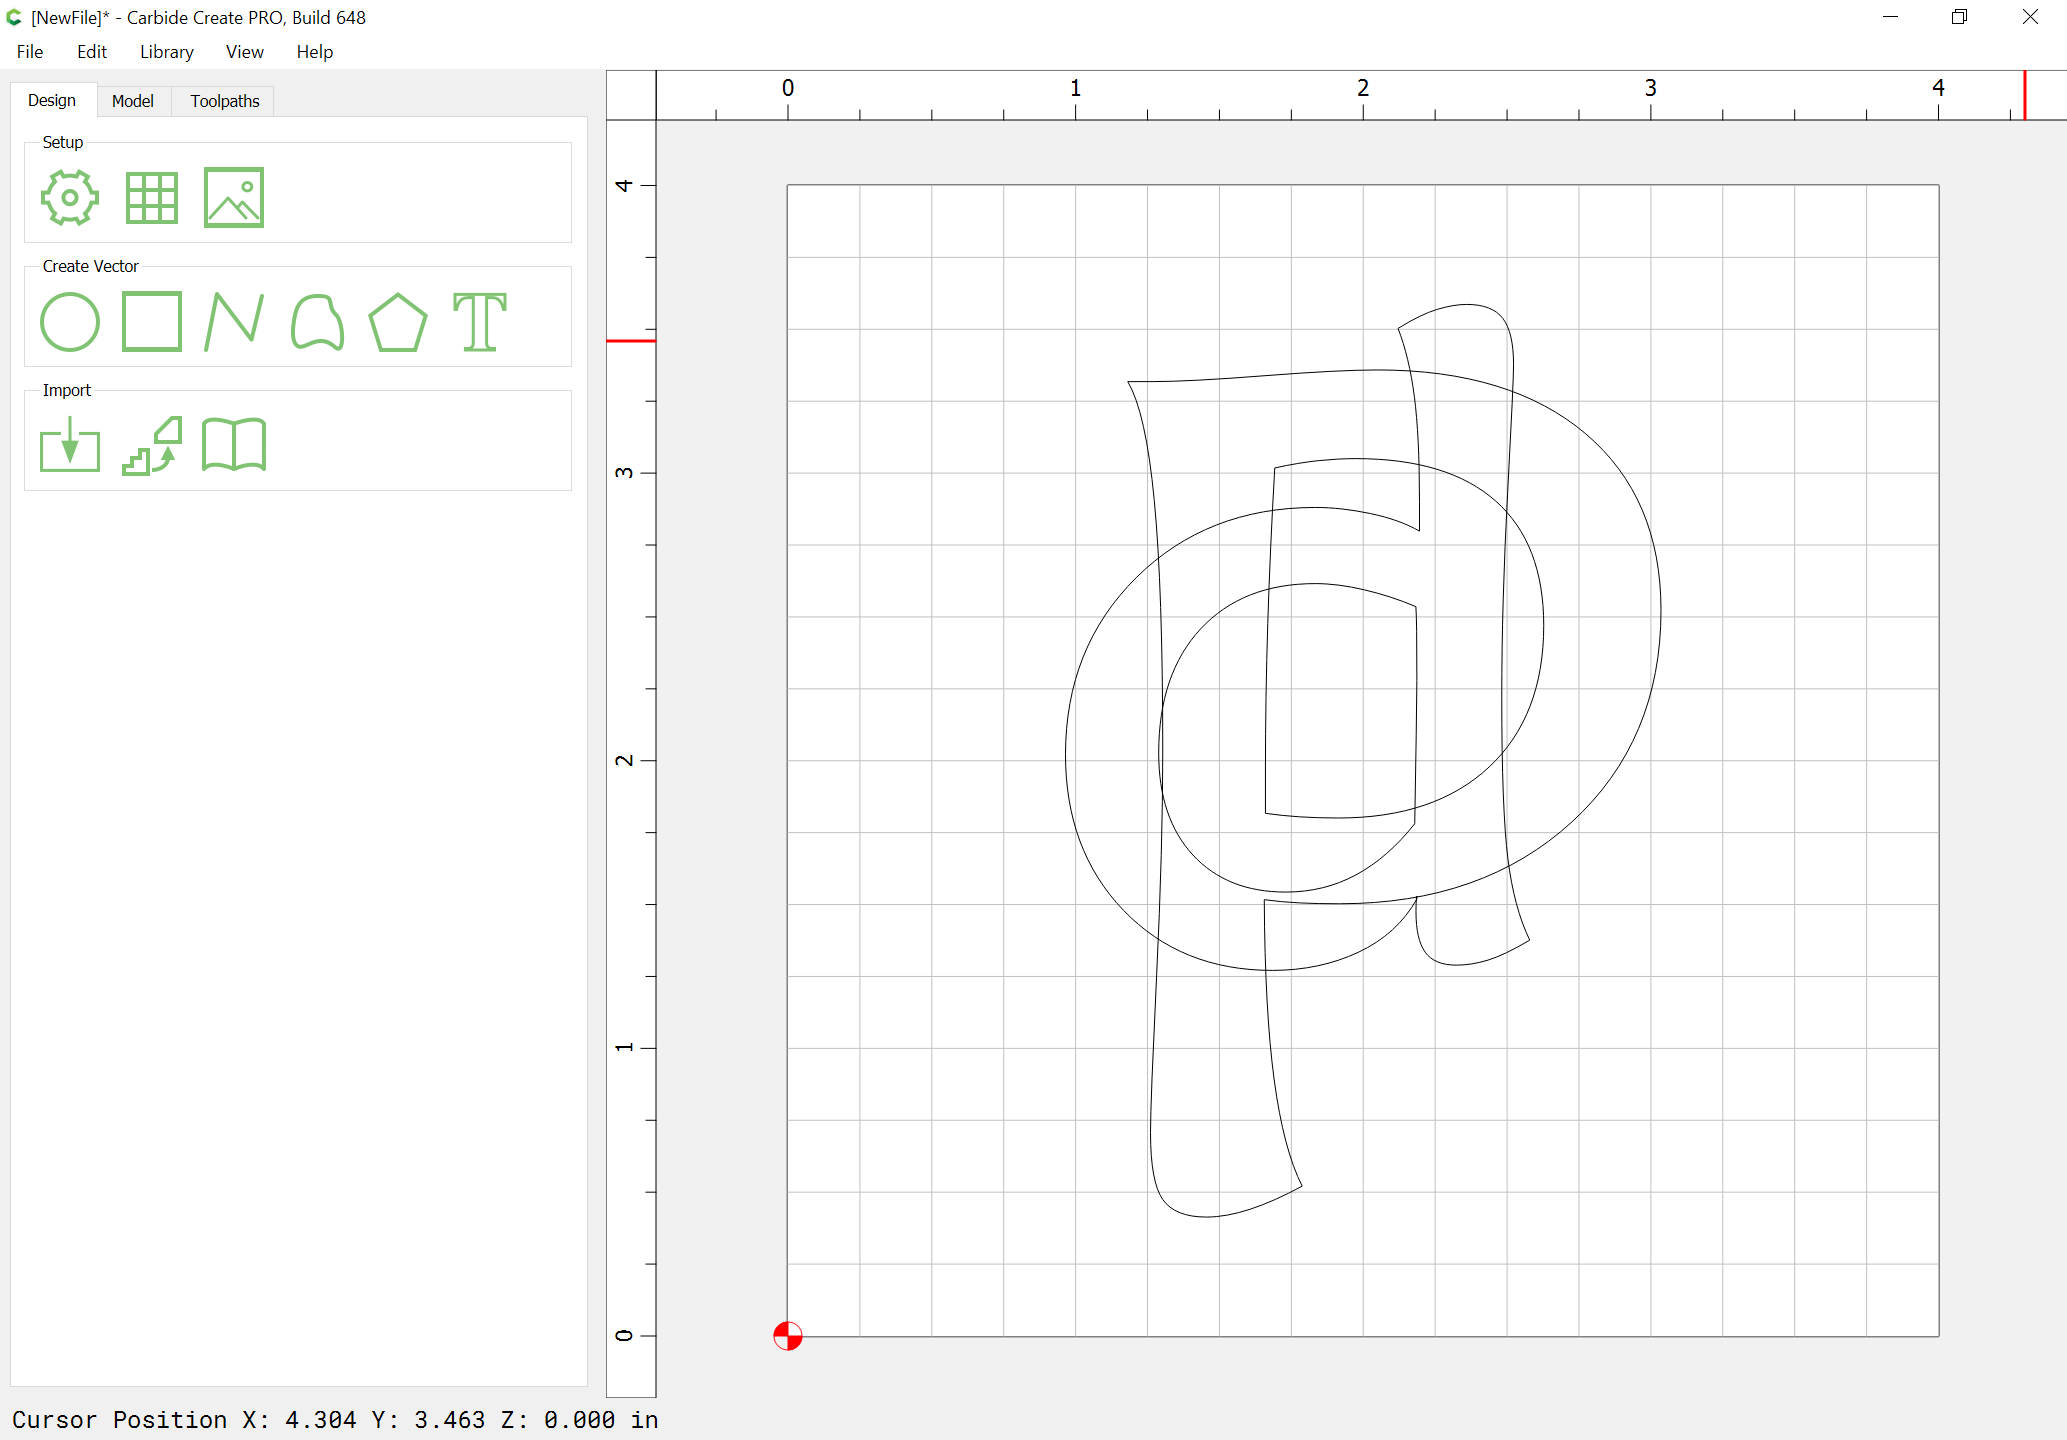
Arrange as desired:
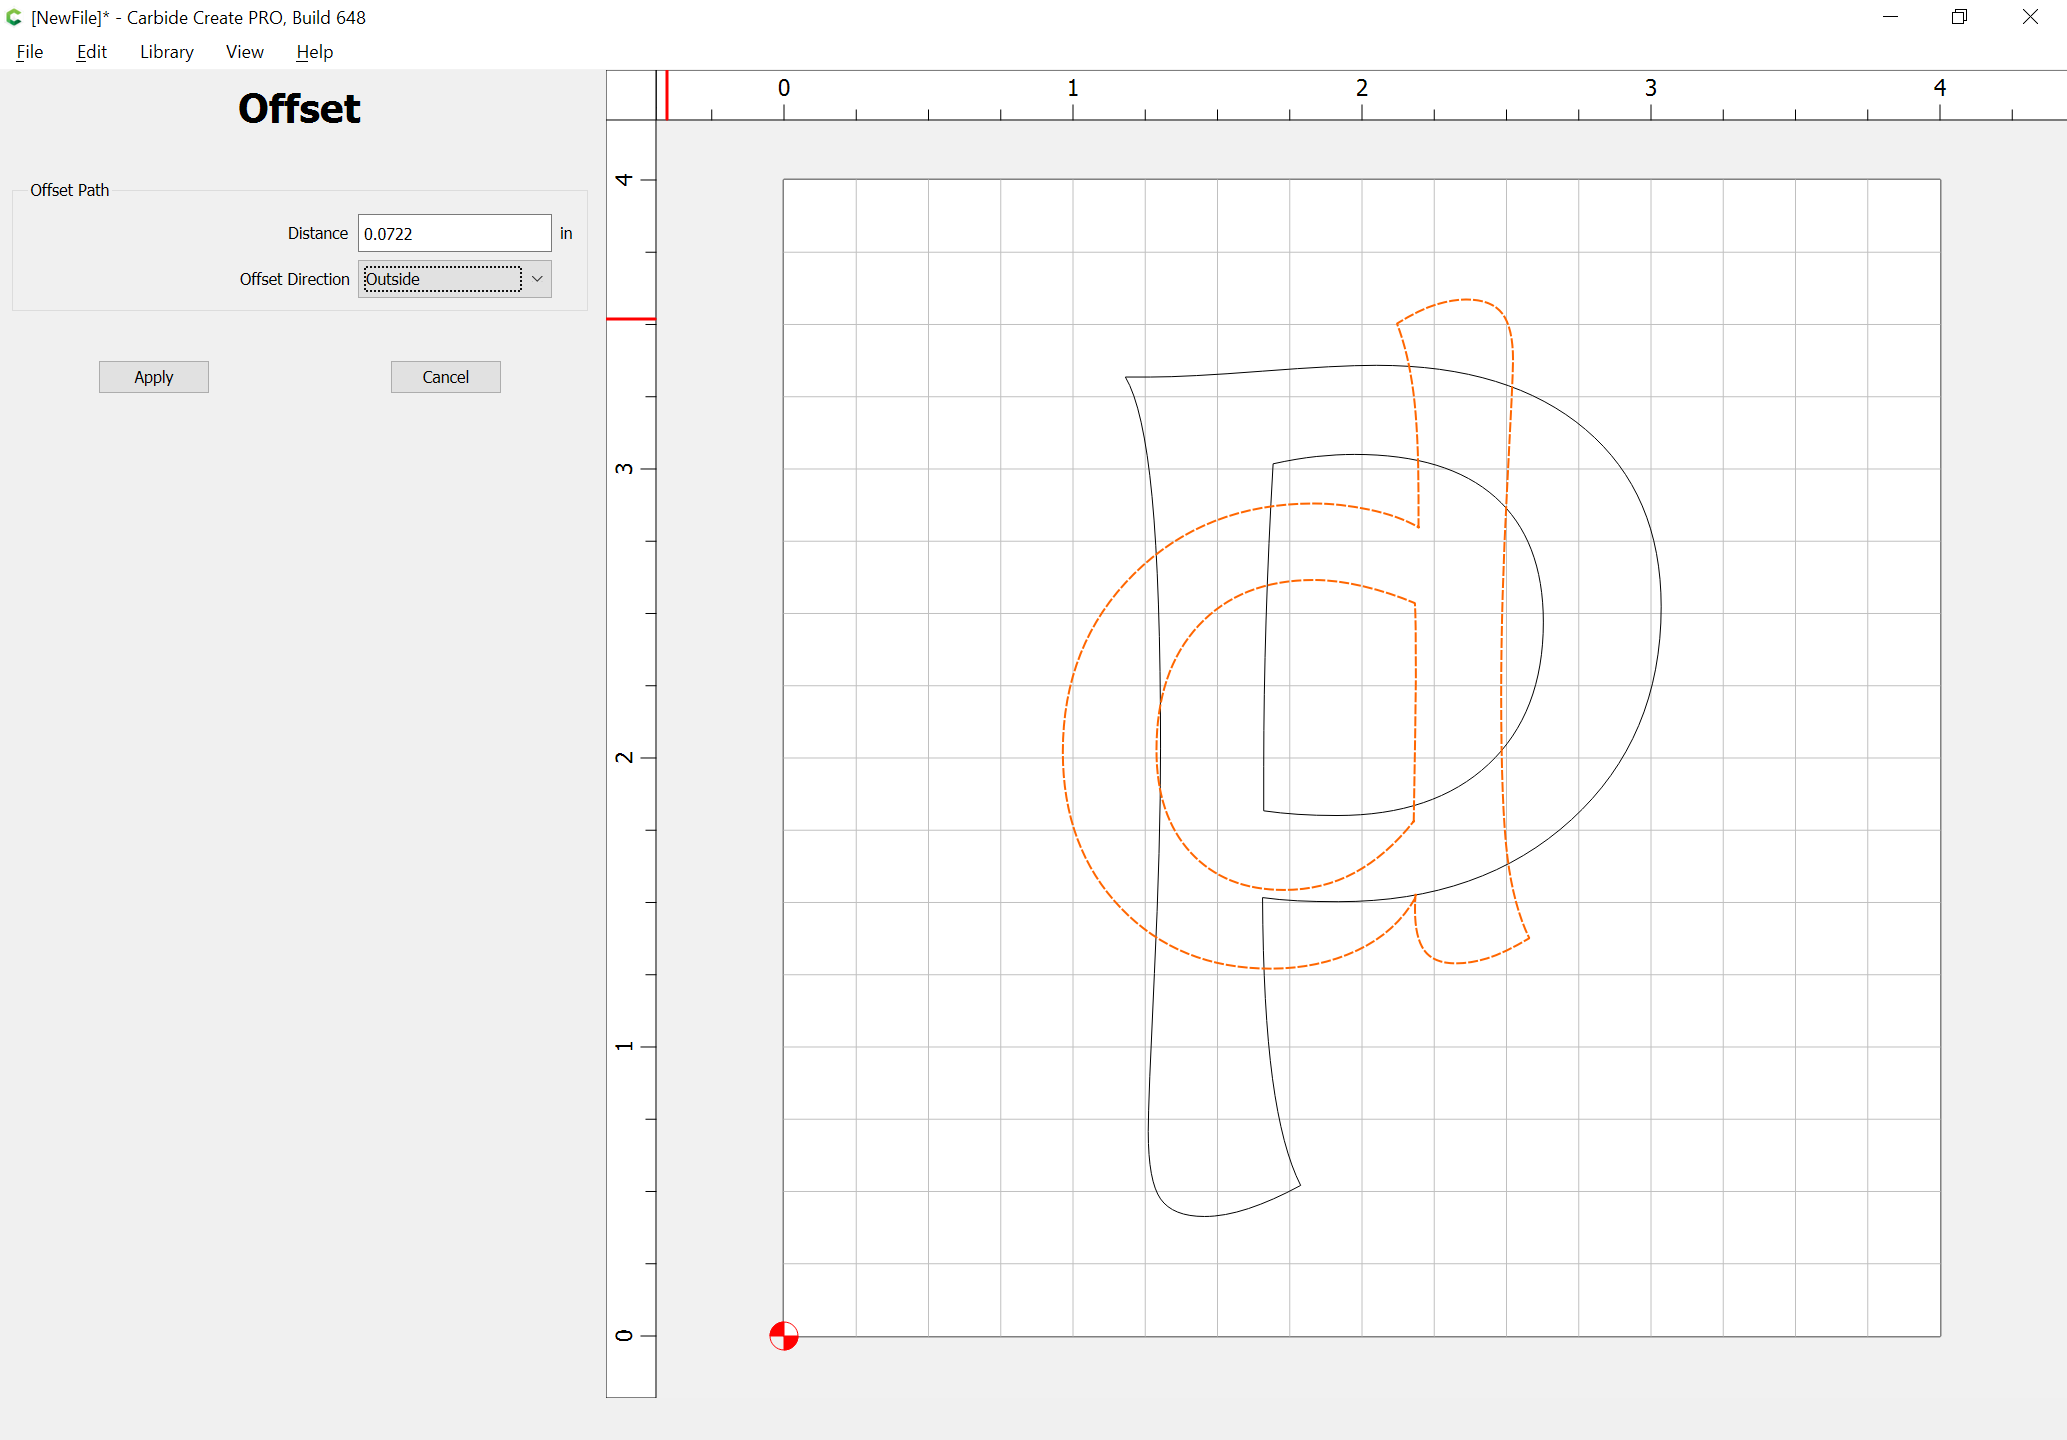
Draw things up in profile to determine how deeply things will be cut, and the necessary offset — assuming a 60 degree V endmill and 0.125" deep for each layer:
Select the text for the upper layer and offset to the outside by the necessary width:
Duplicate the lower text and set the duplicate aside:
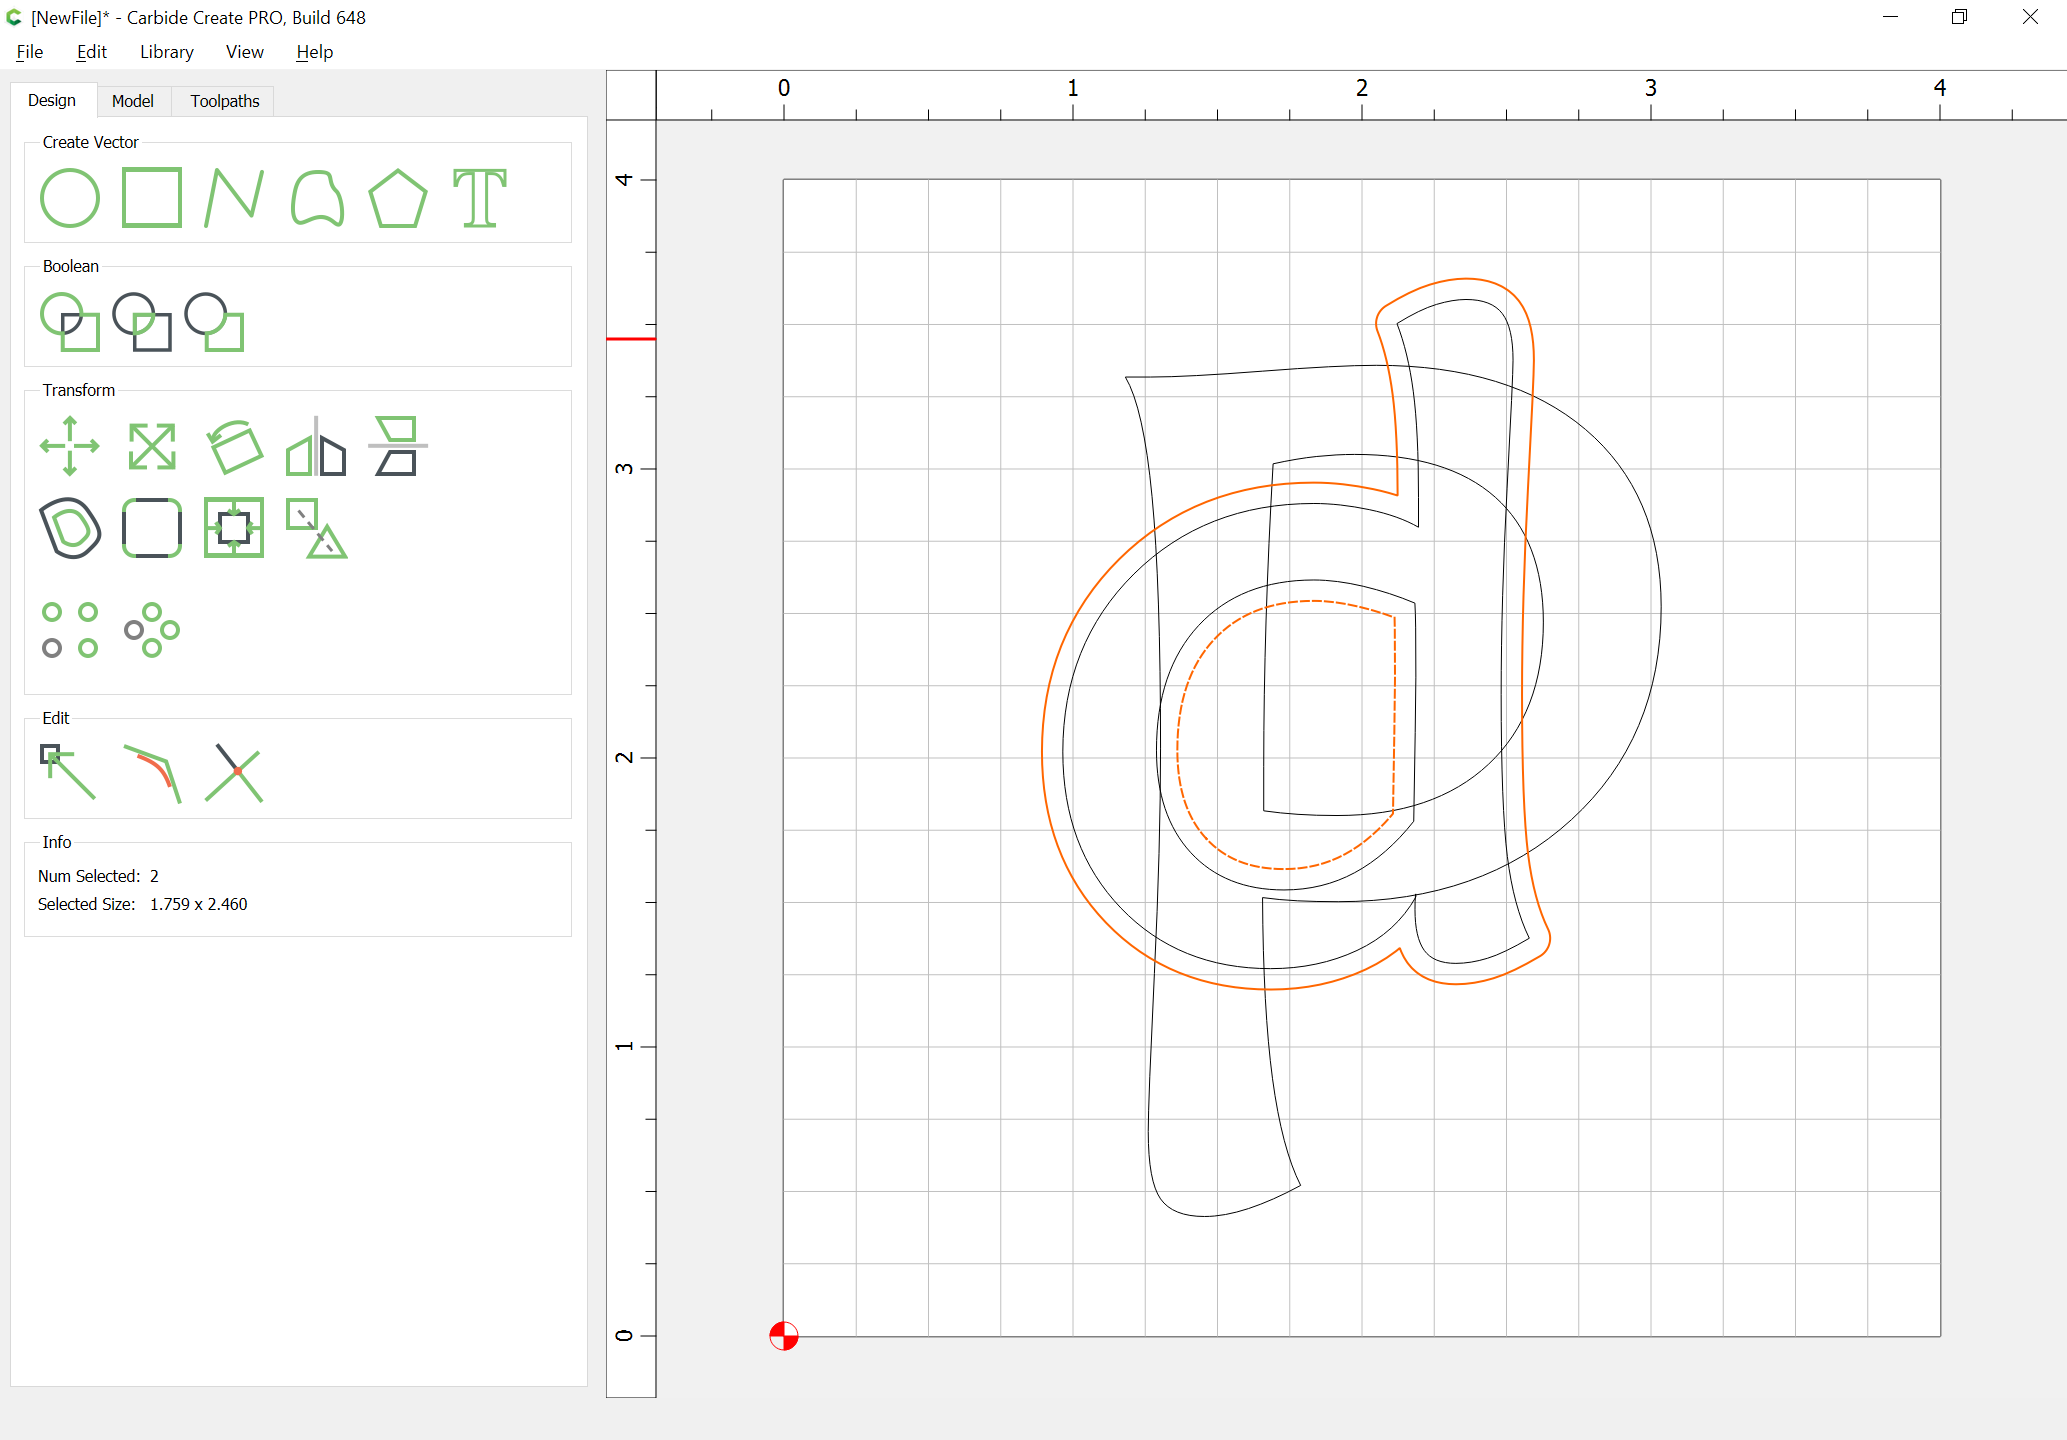
Boolean union the outer offset geometry w/ the lower text:
Convert the duplicate text into paths and drag it into alignment w/ the unioned geometry:
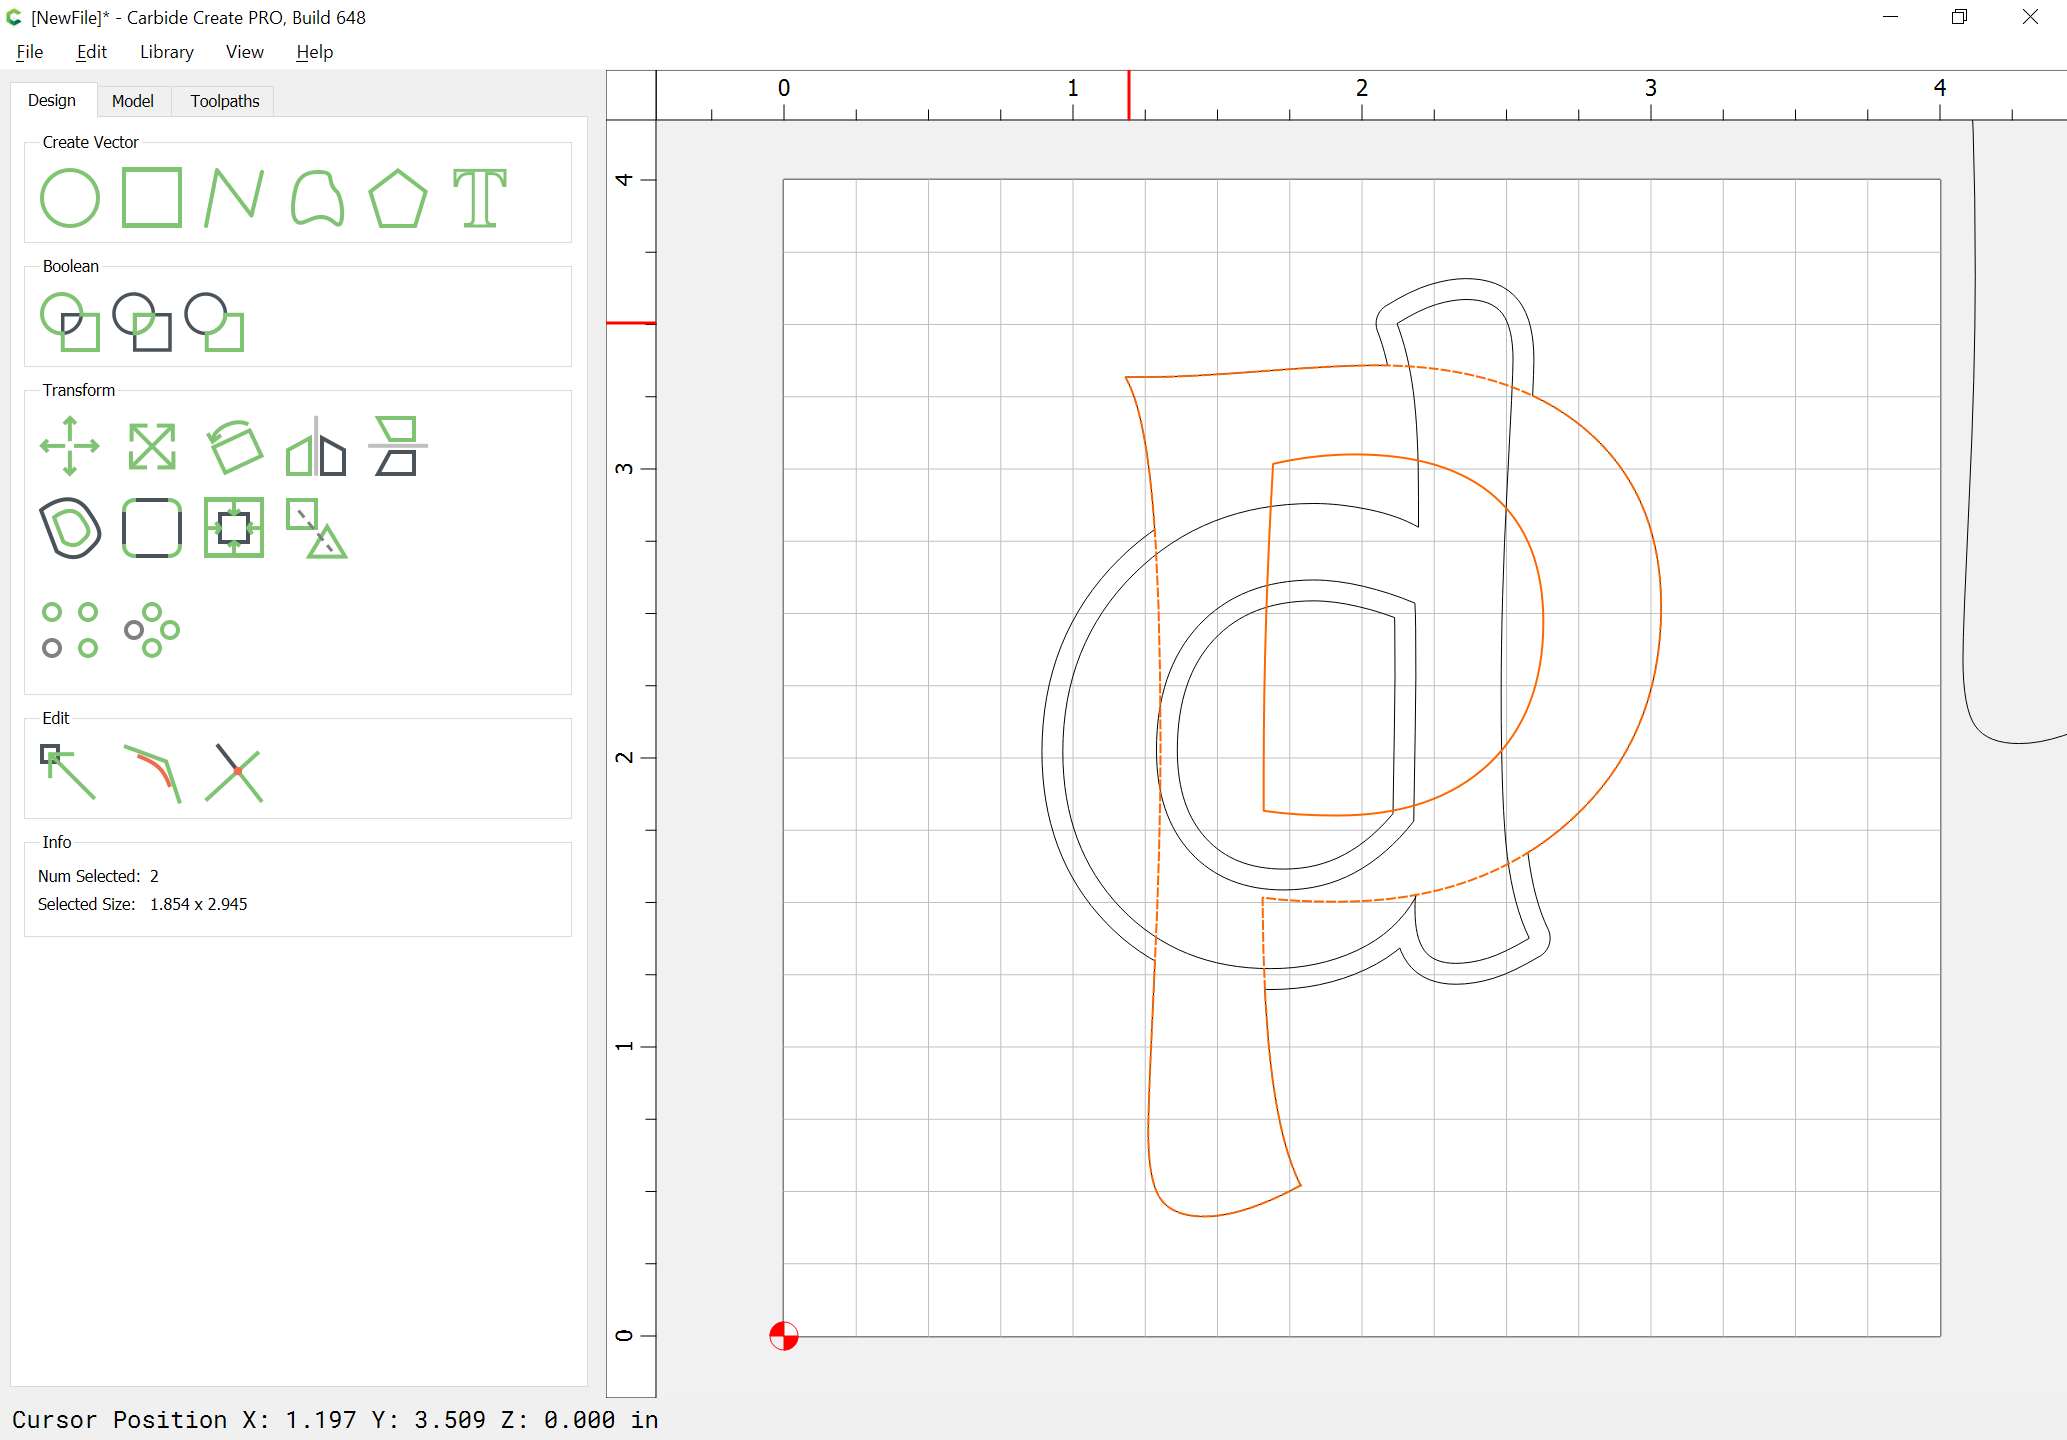
Select the offset geometry for the counter for the upper text and the counter of the lower text and do Boolean intersection:

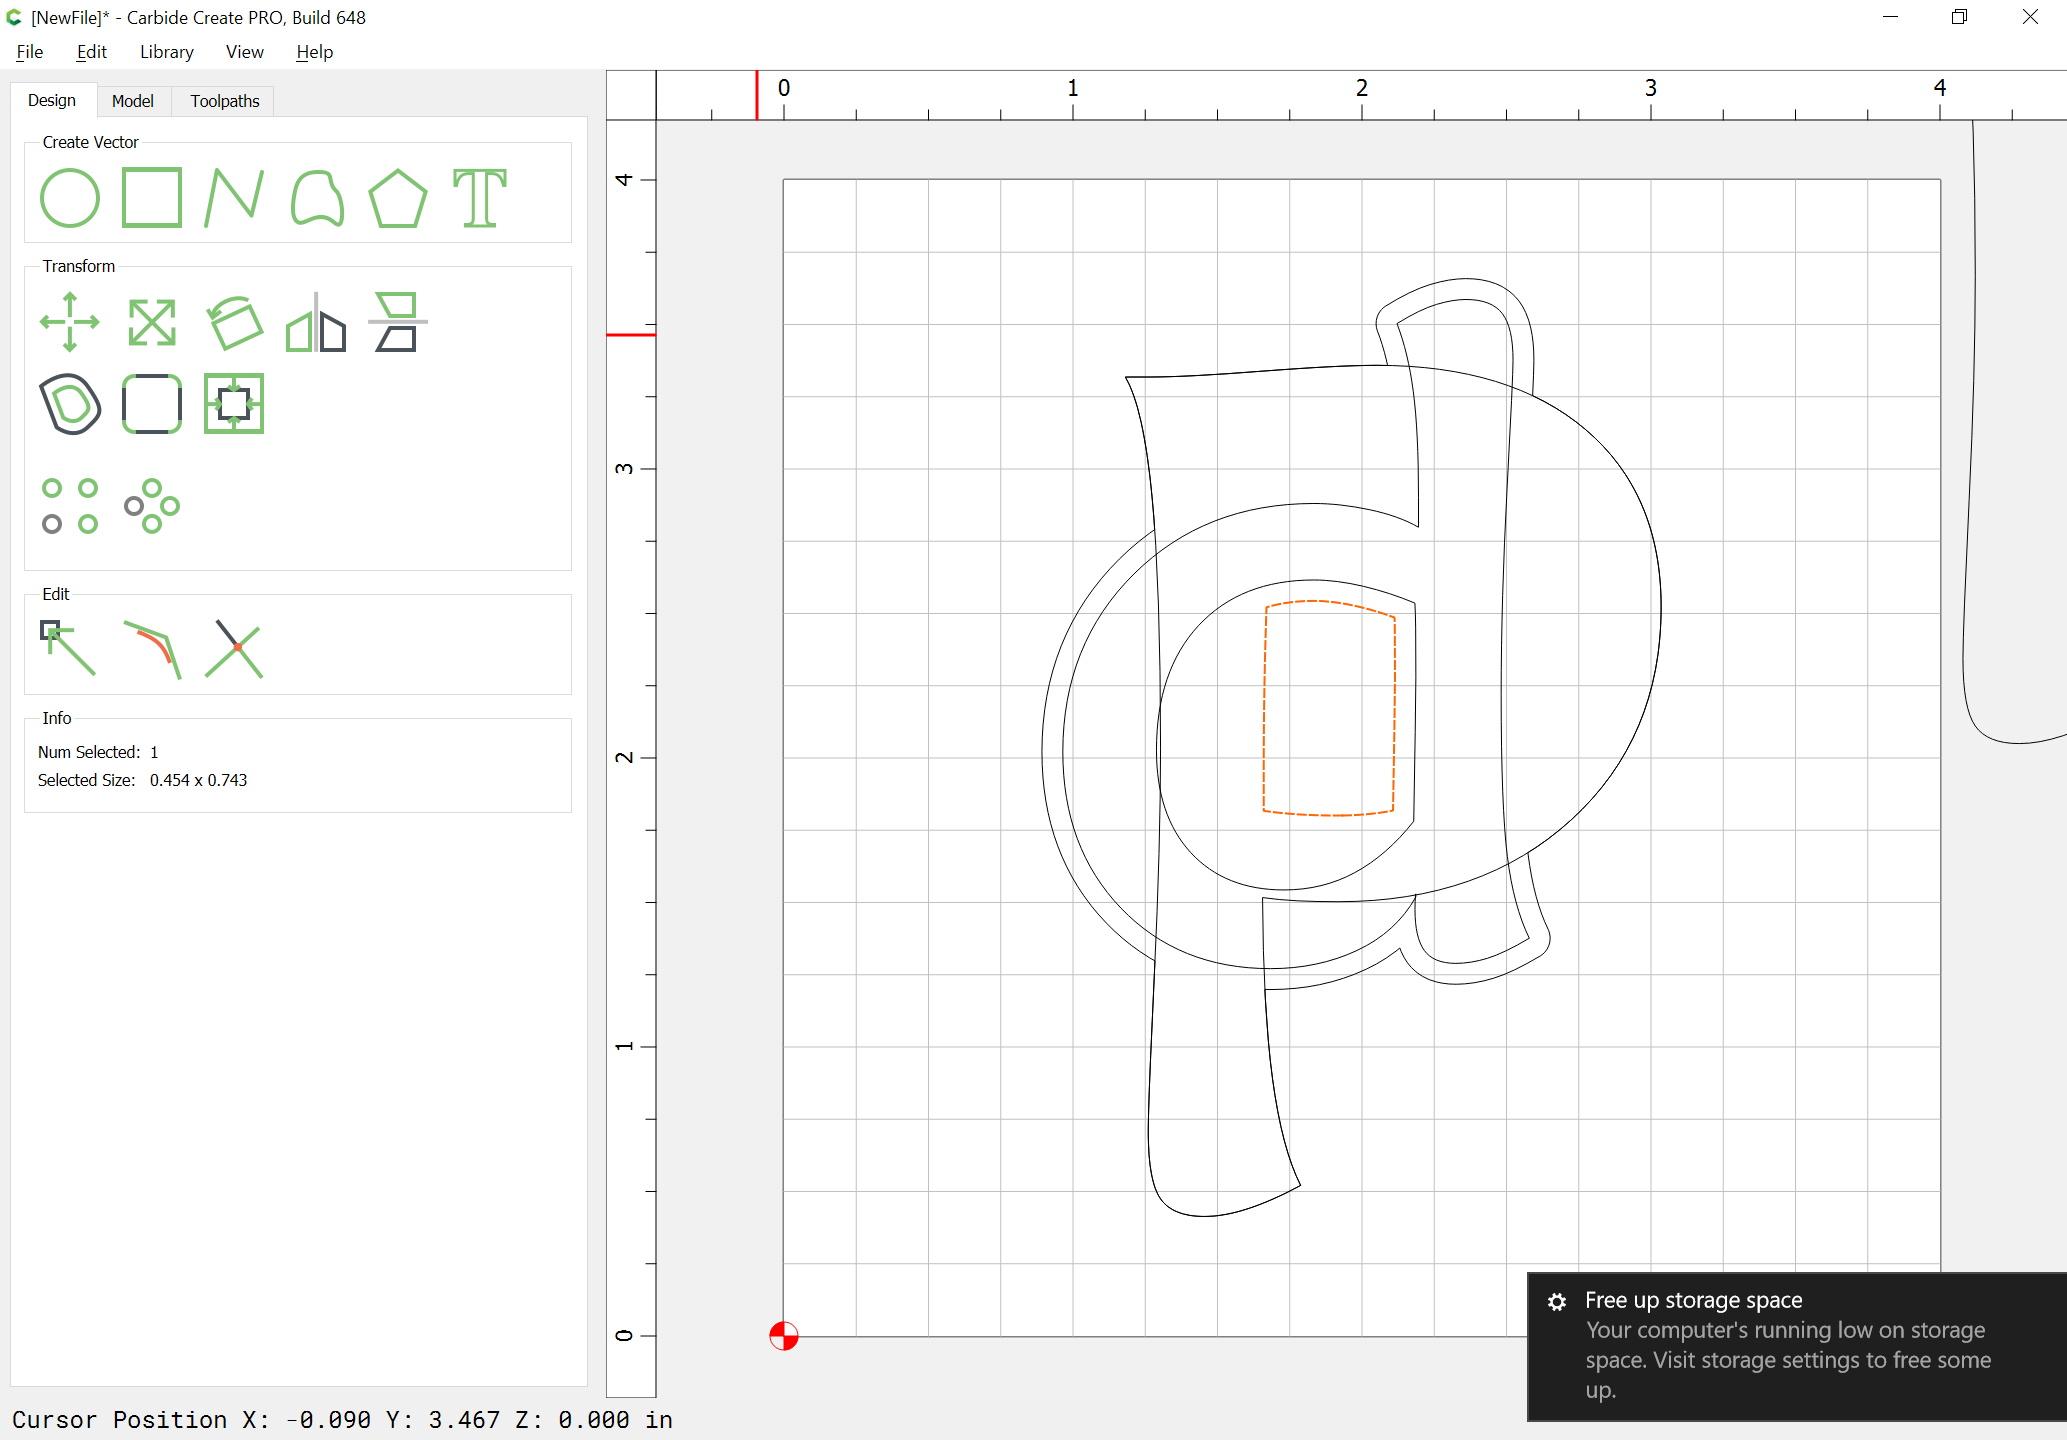
Repeat the offset for the upper text:
bring the geometry for the counter of the lower text back, select it and then the offset geometry for the outside of the upper text:
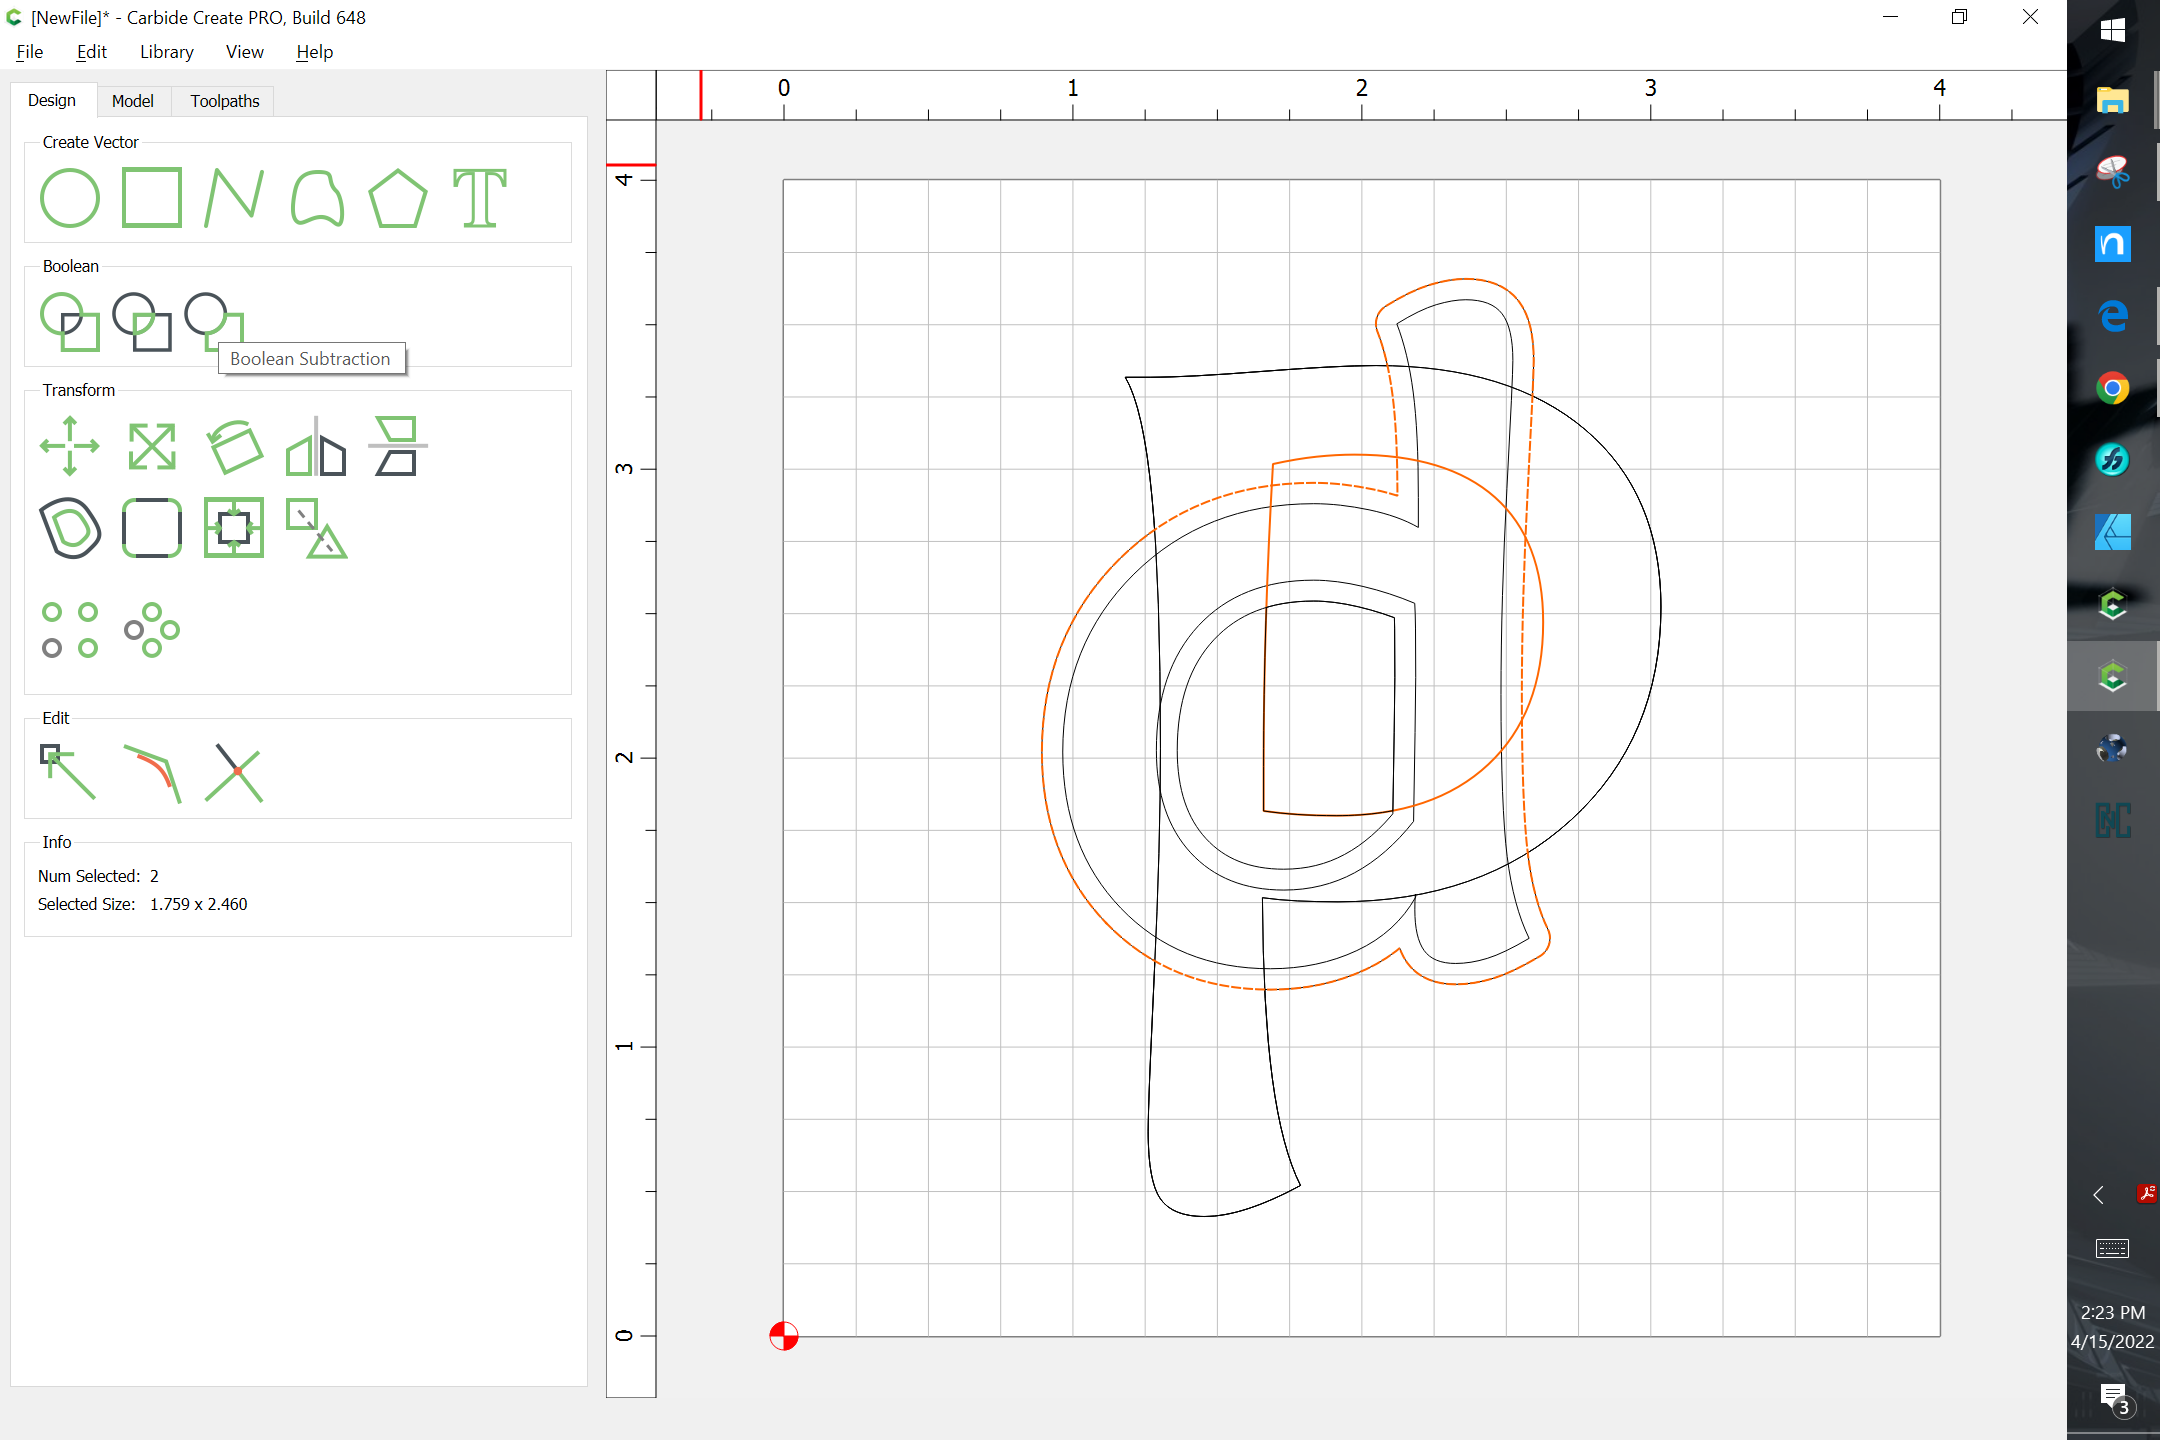
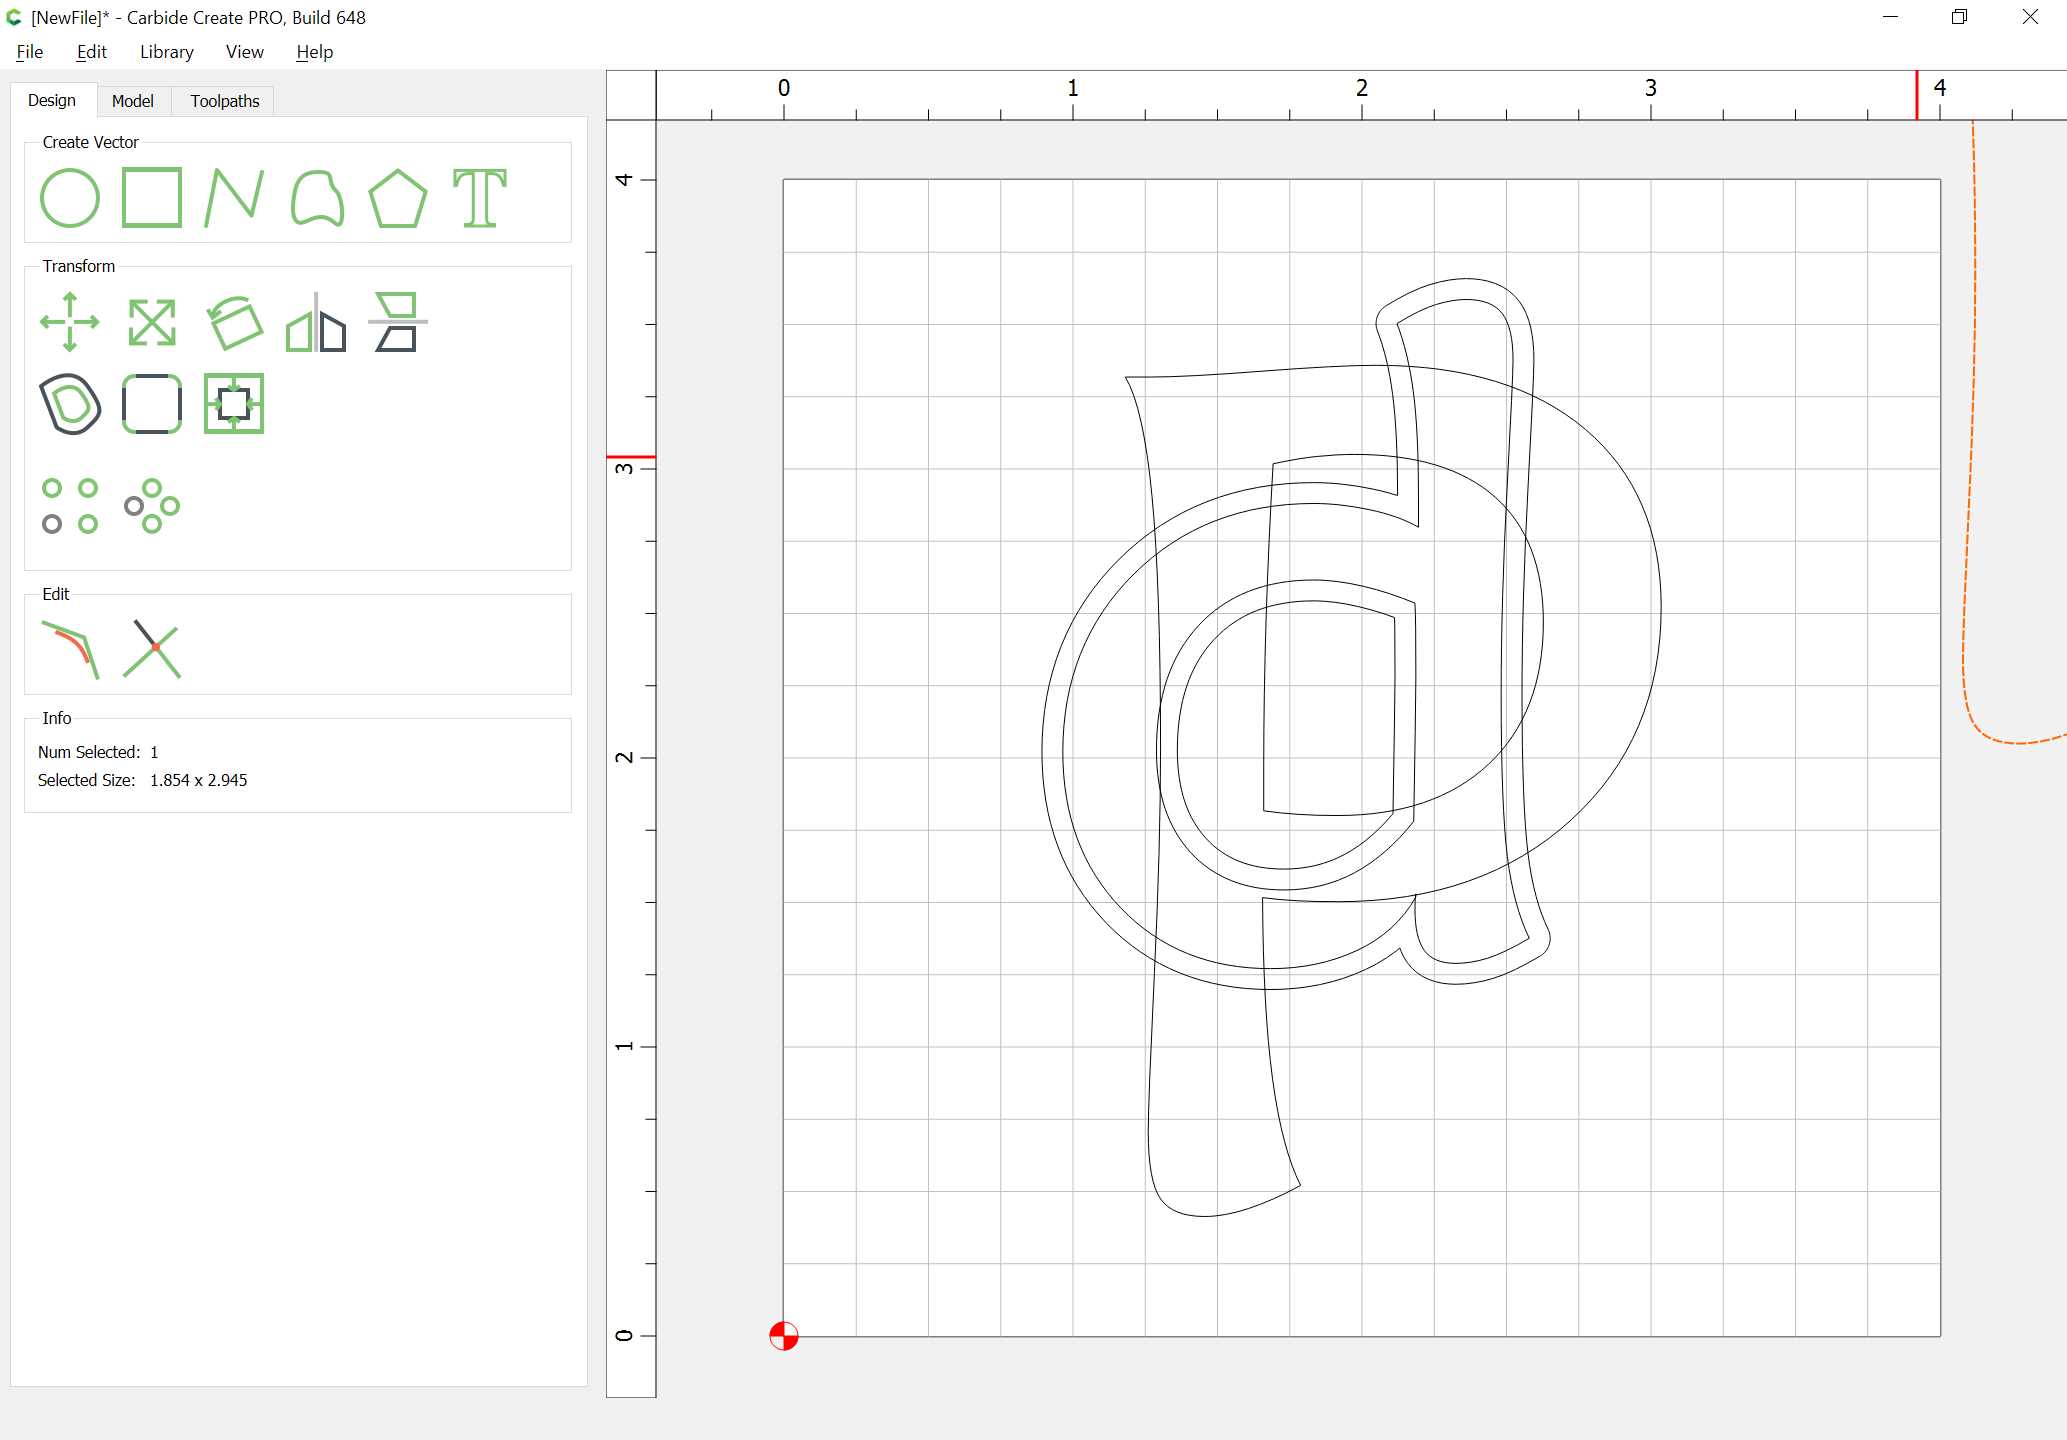
and Boolean subtract:
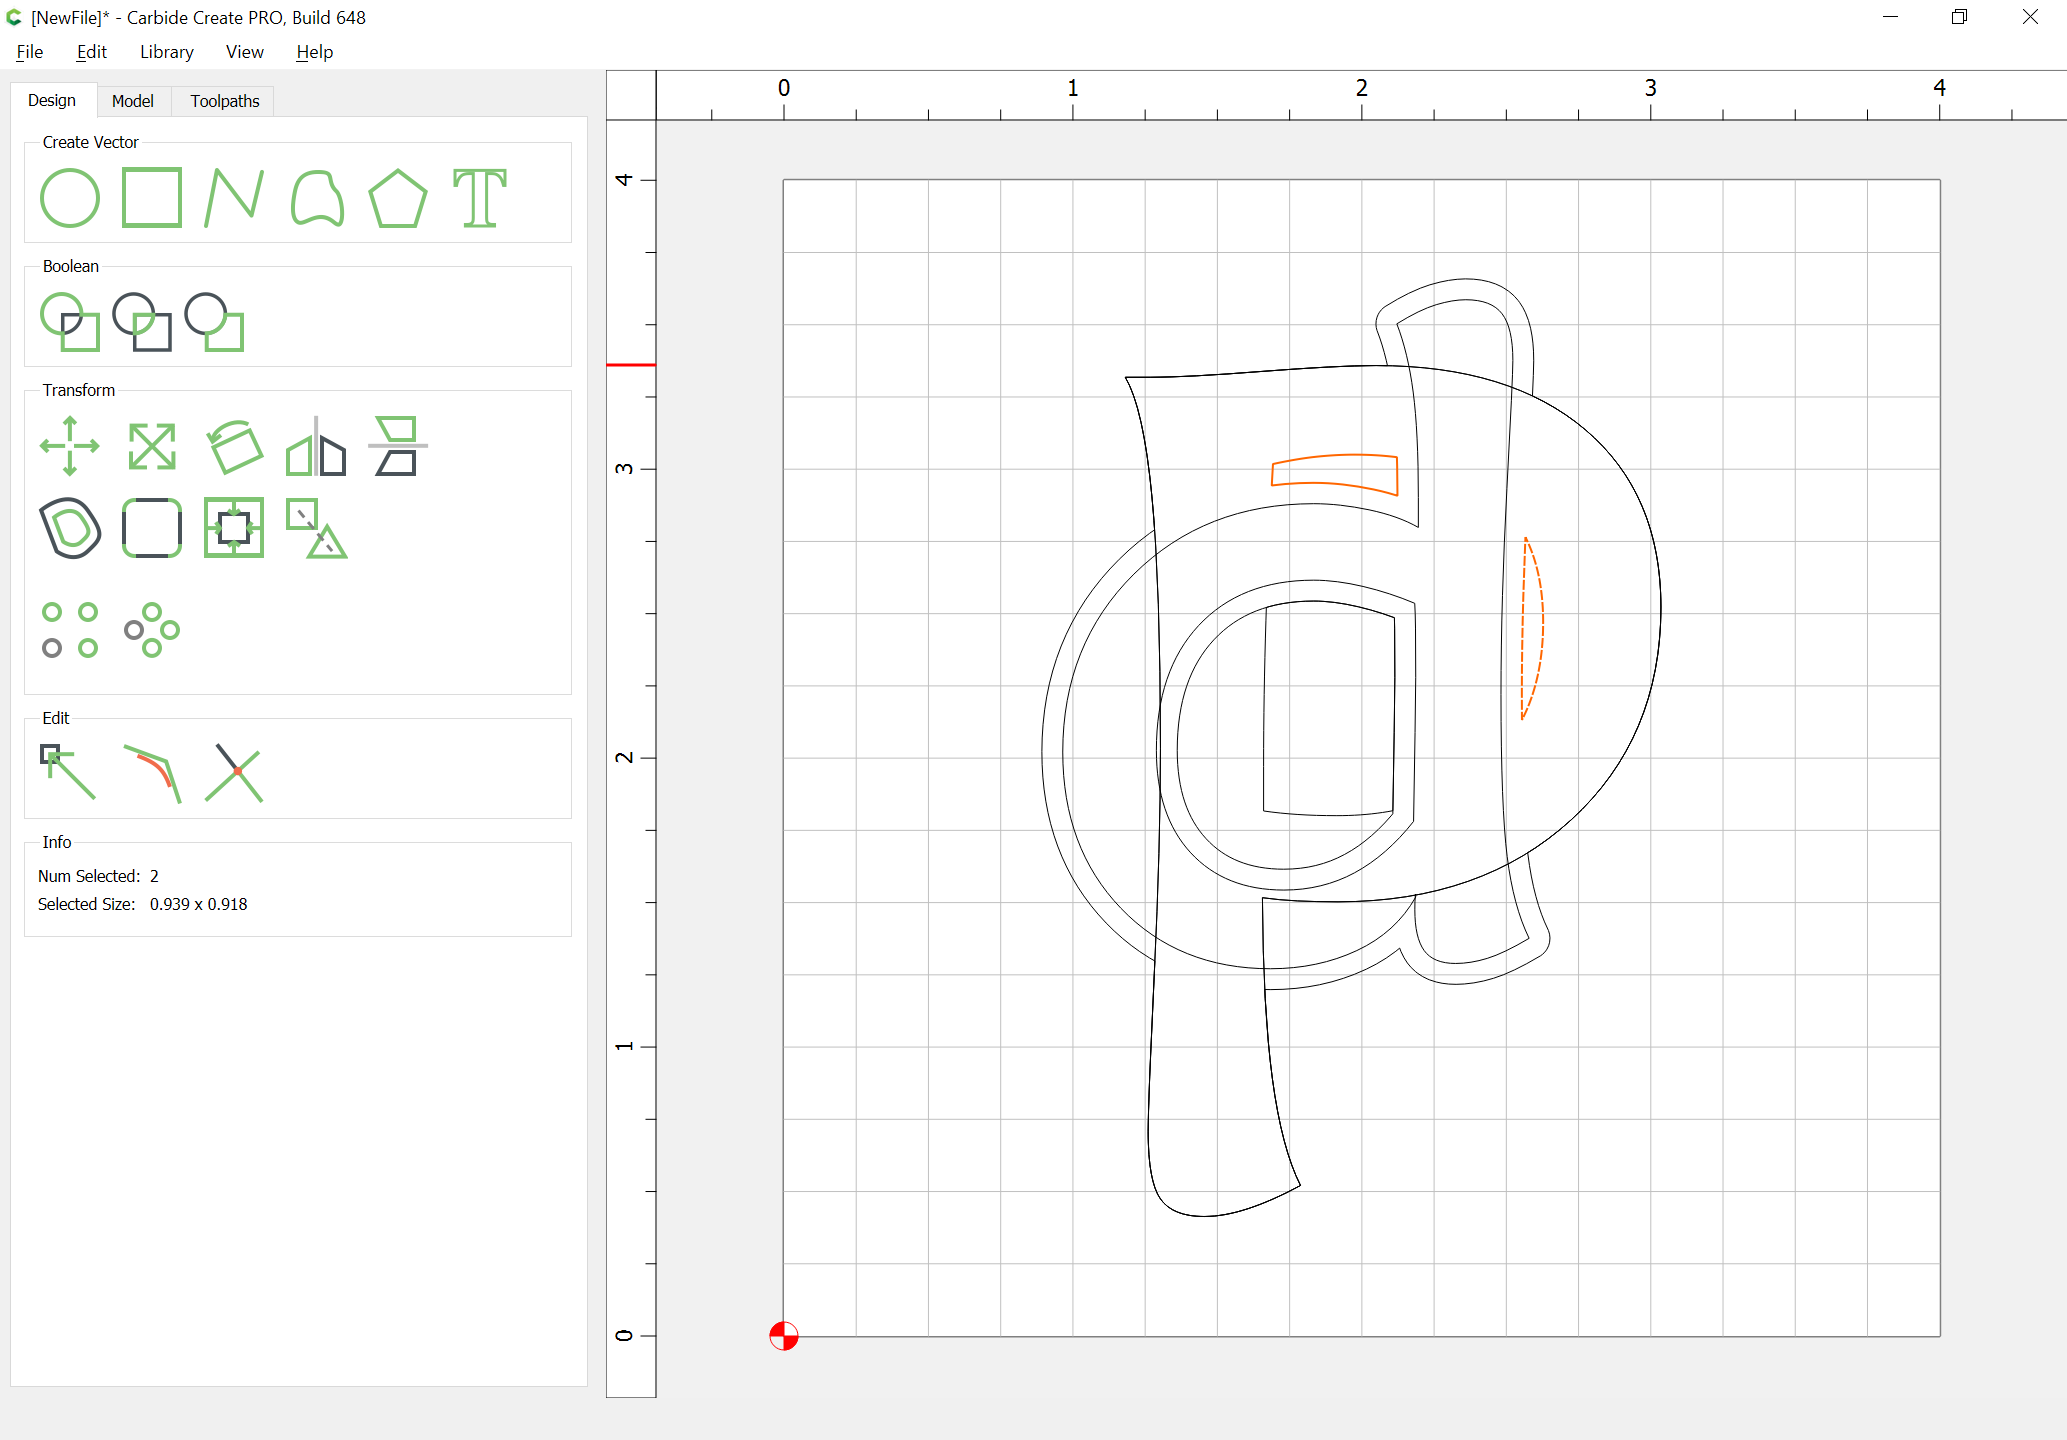
Clean up any unnecessary geometry:
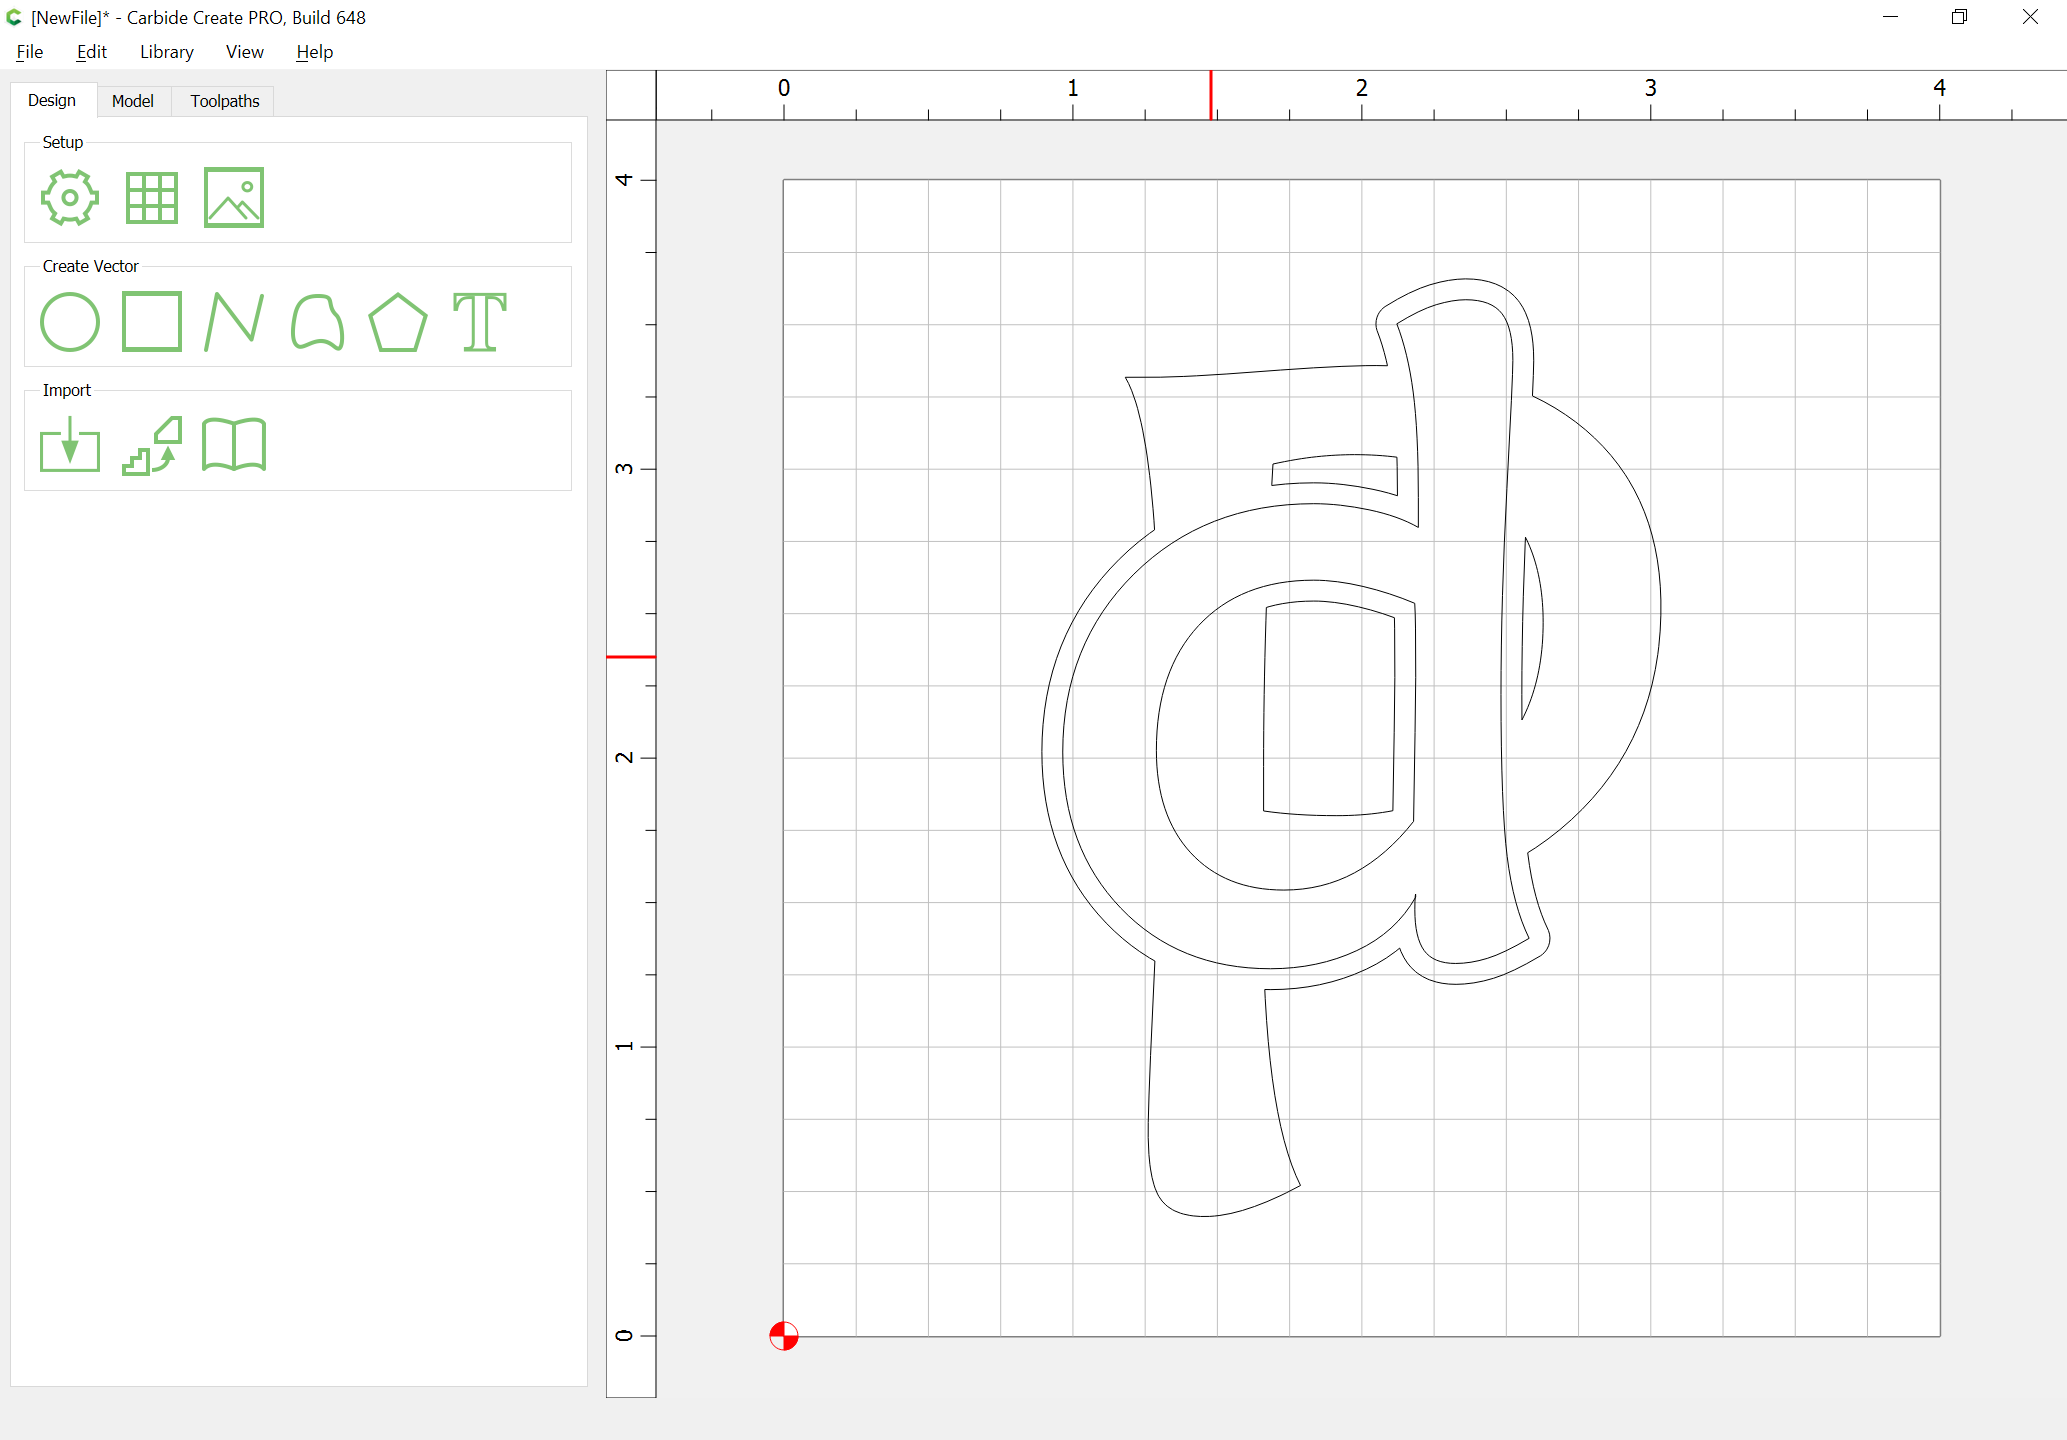
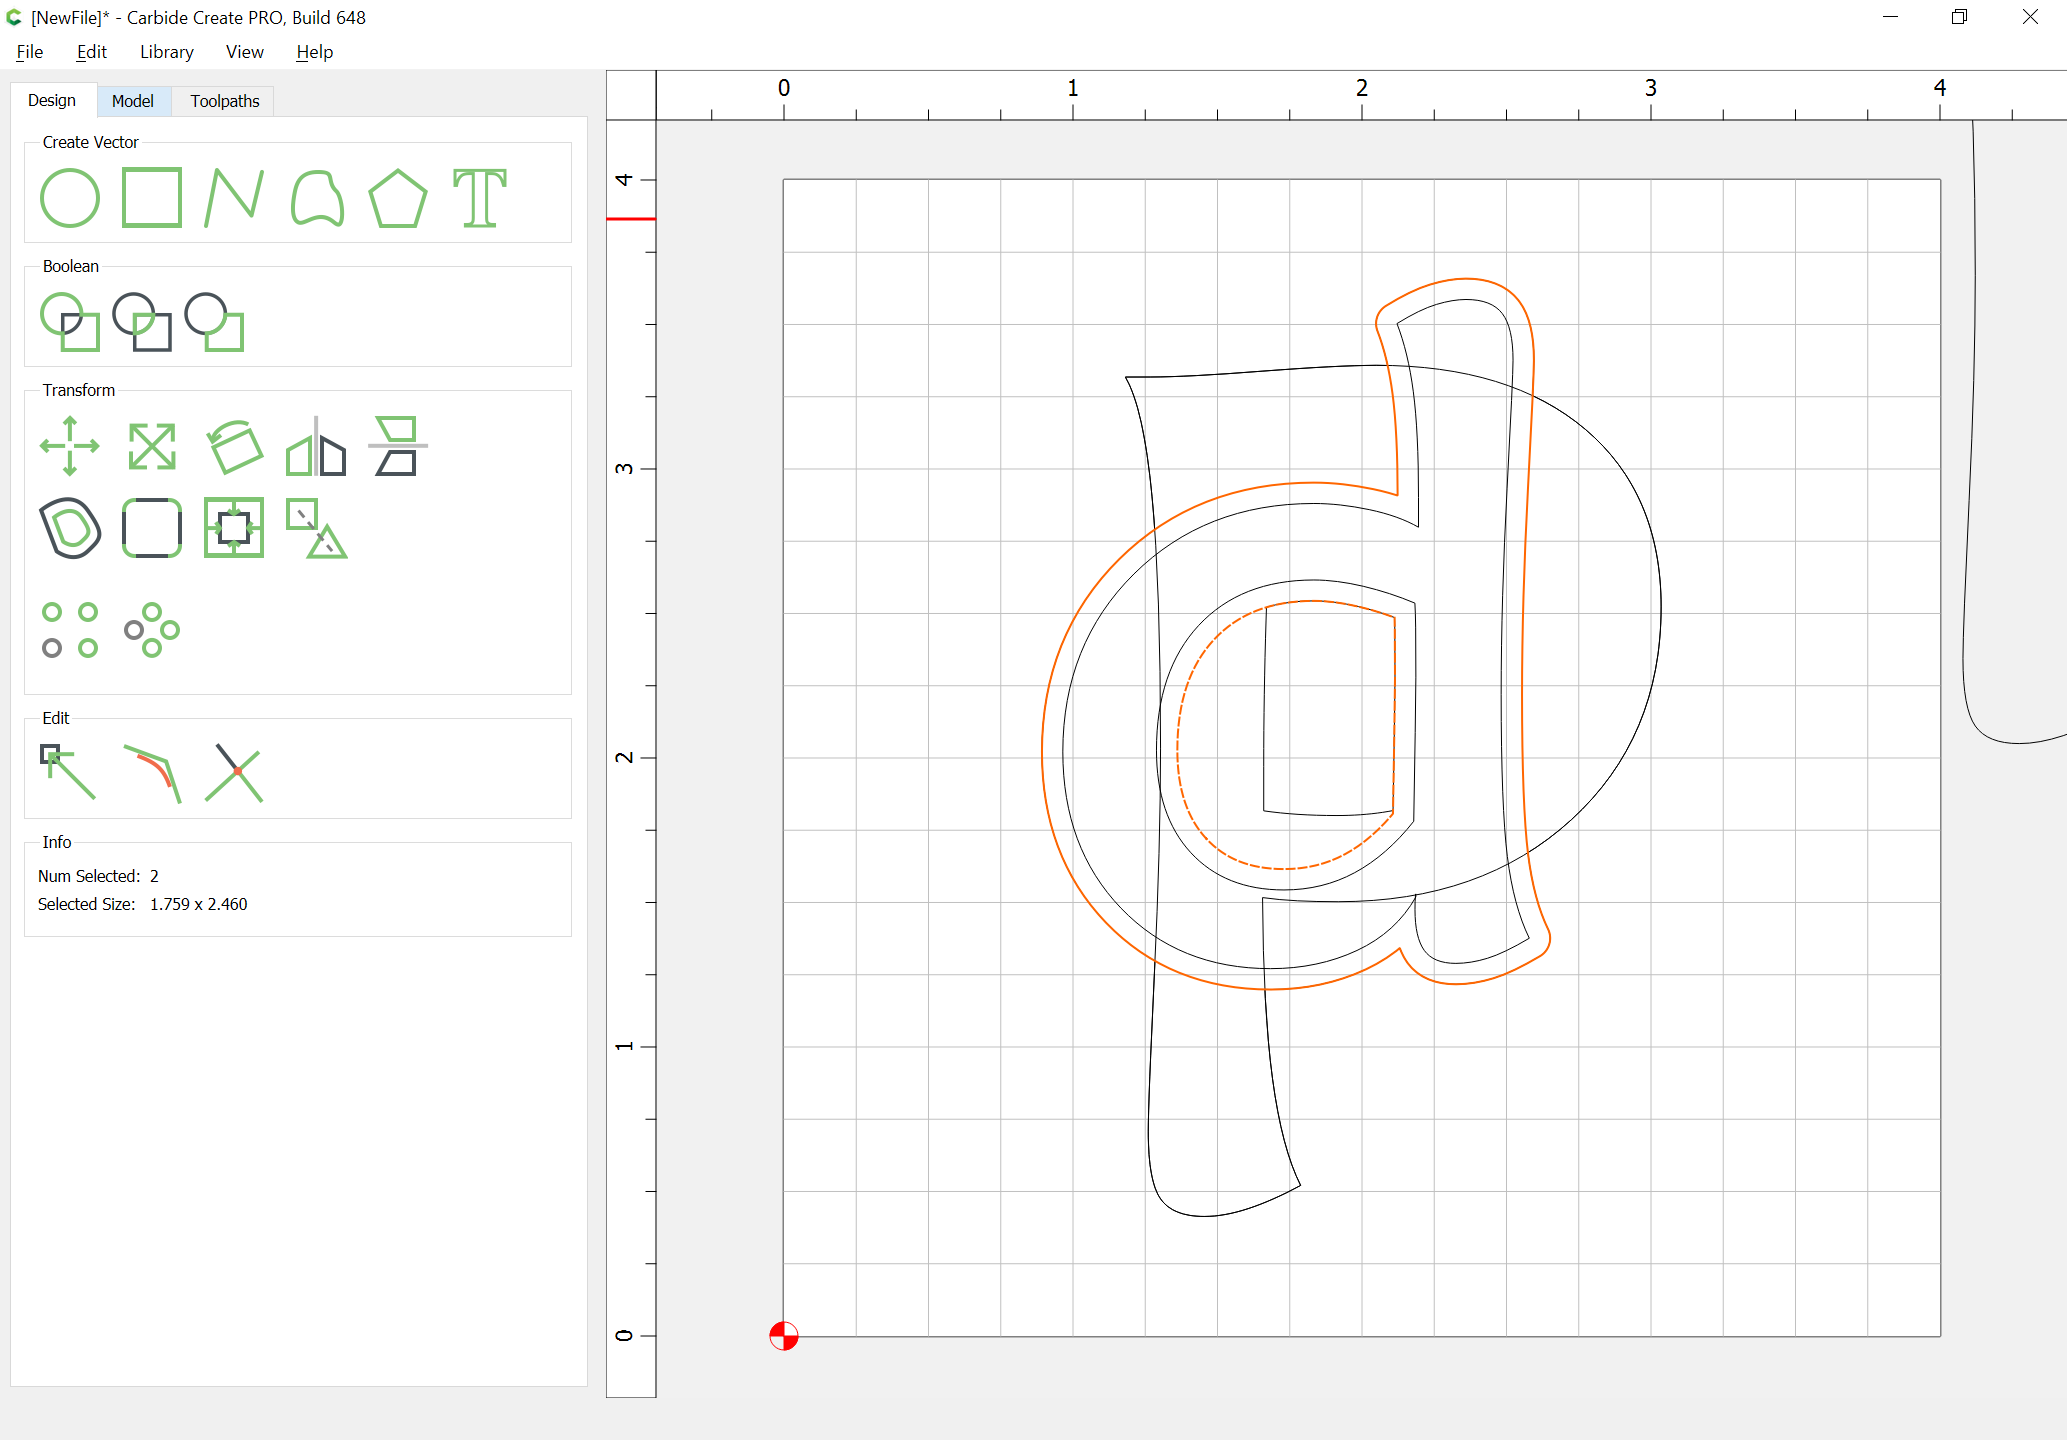
Draw in the outer geometry for the V carving:
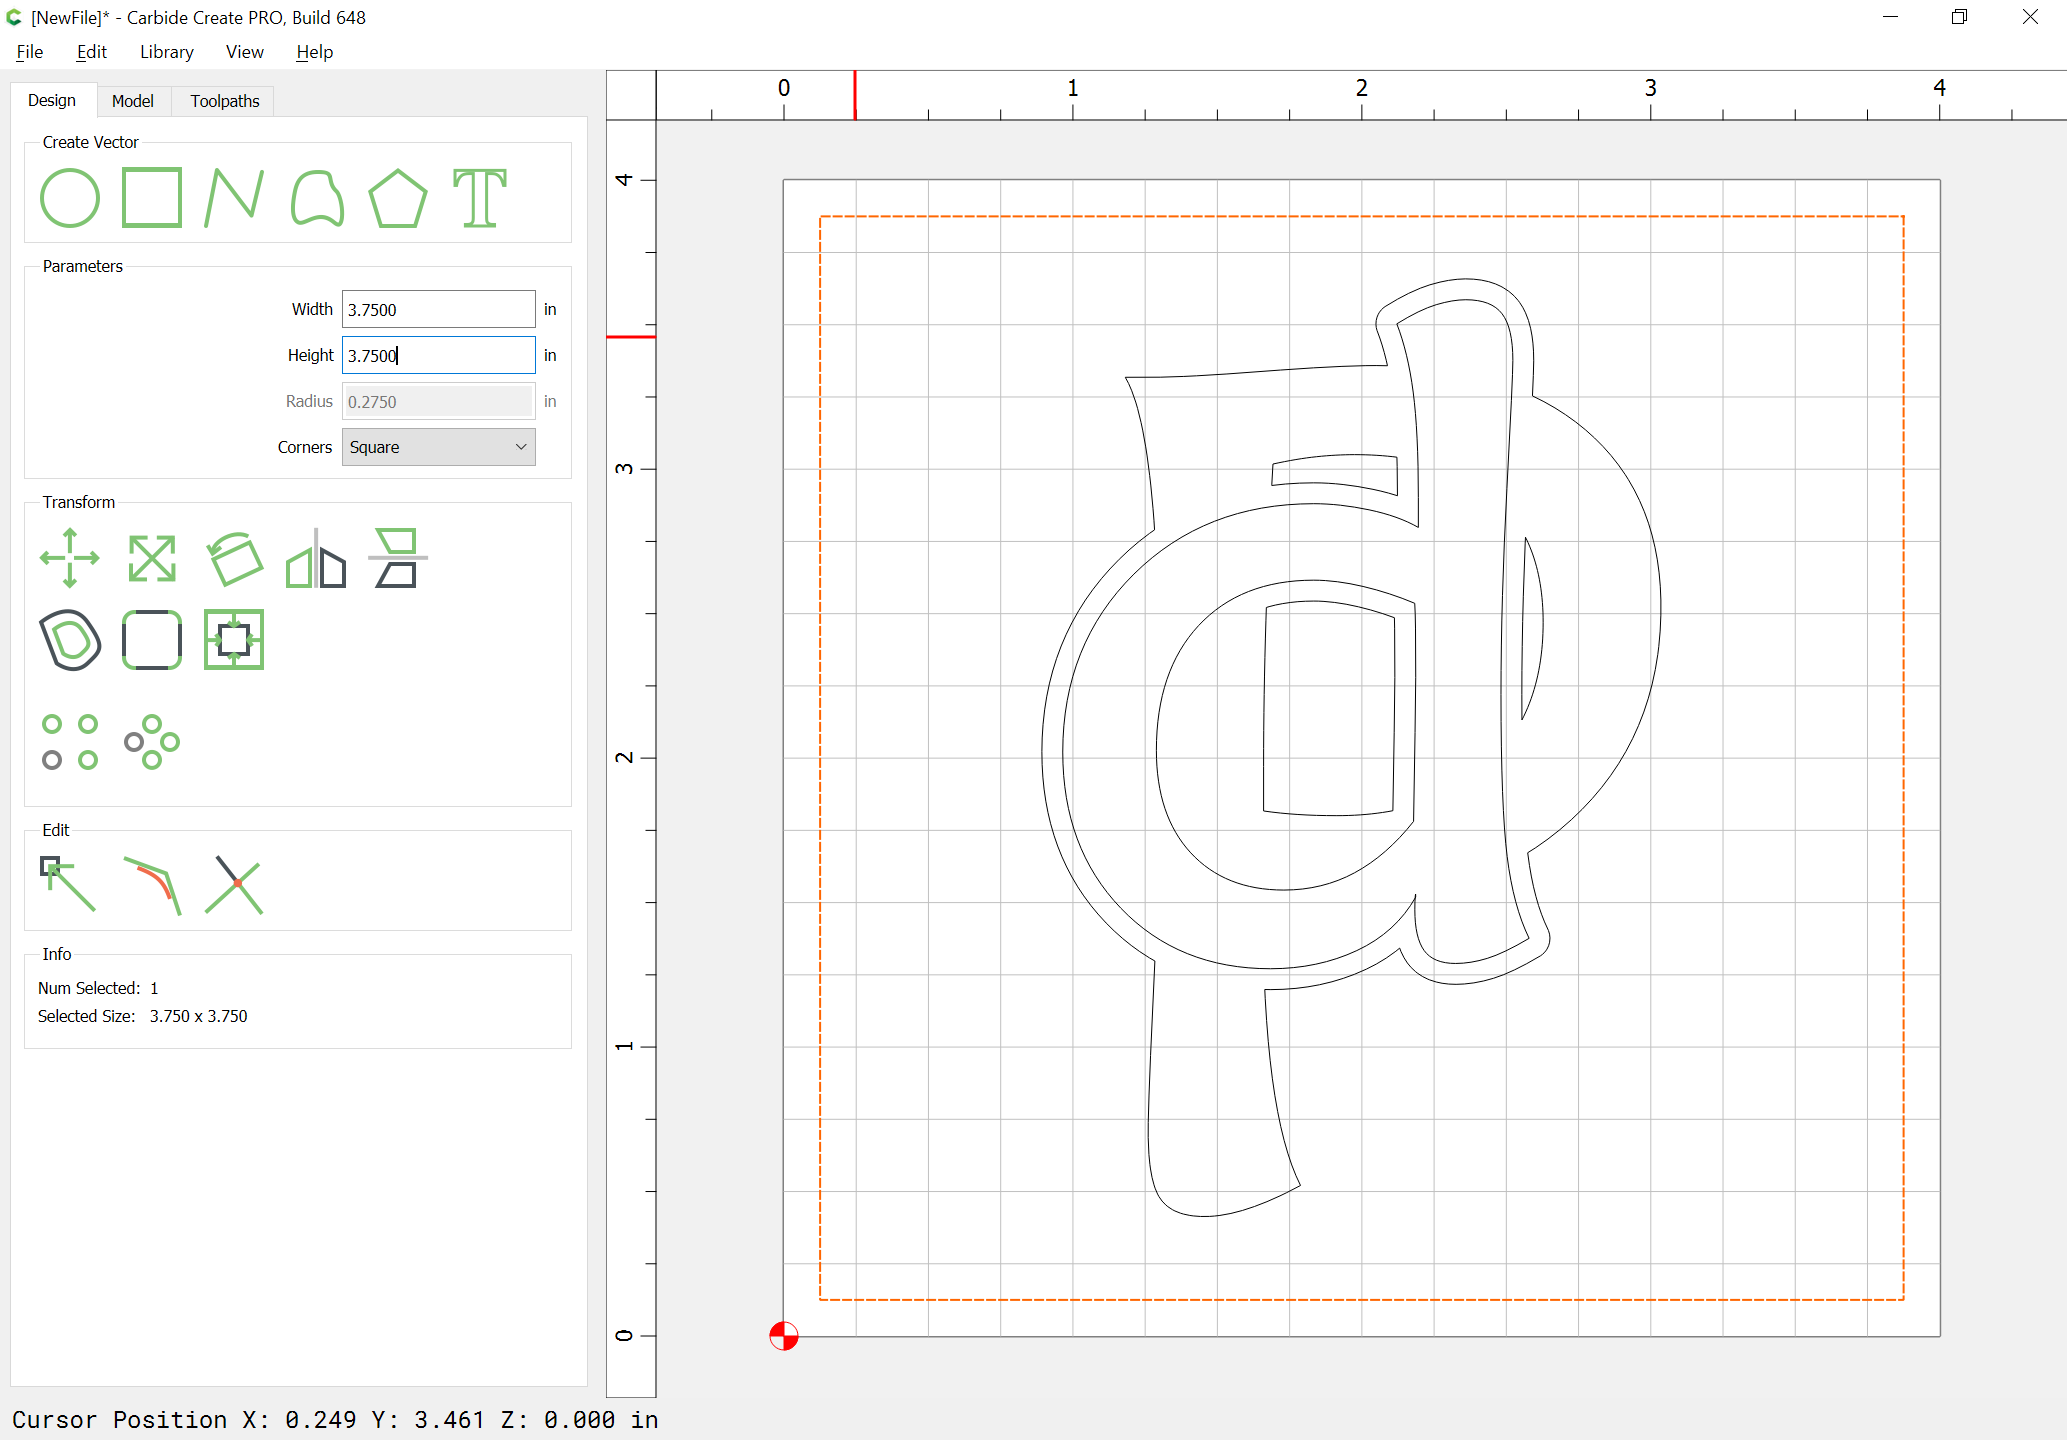
Inset it:
Select the geometry for each layer and assign a V carving at the appropriate depth:
and
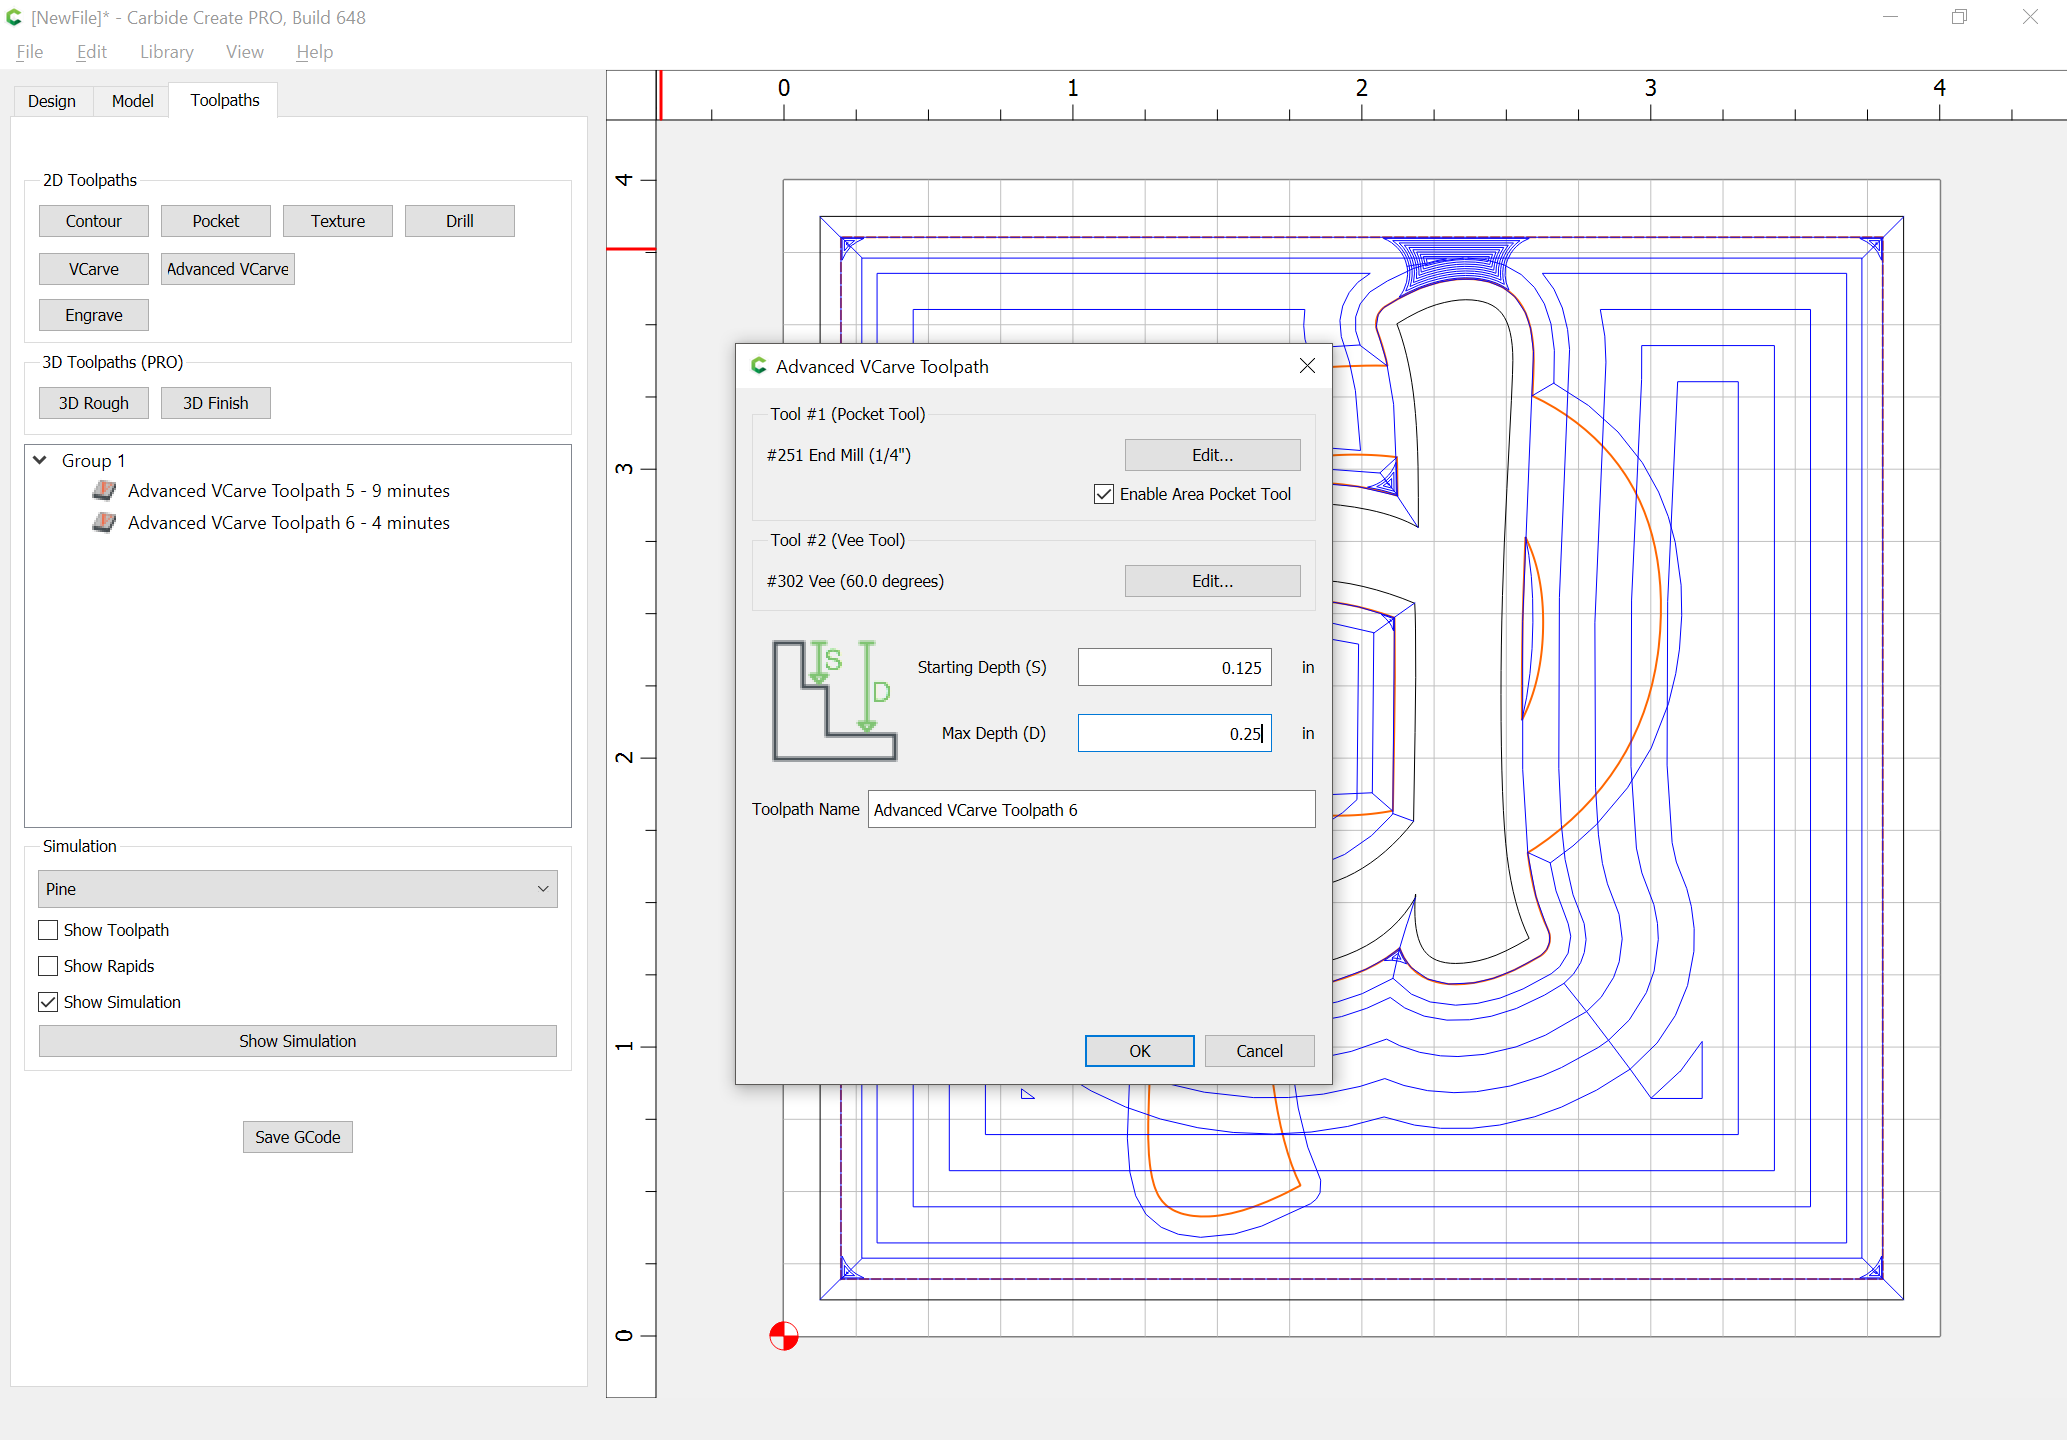
which previews as:
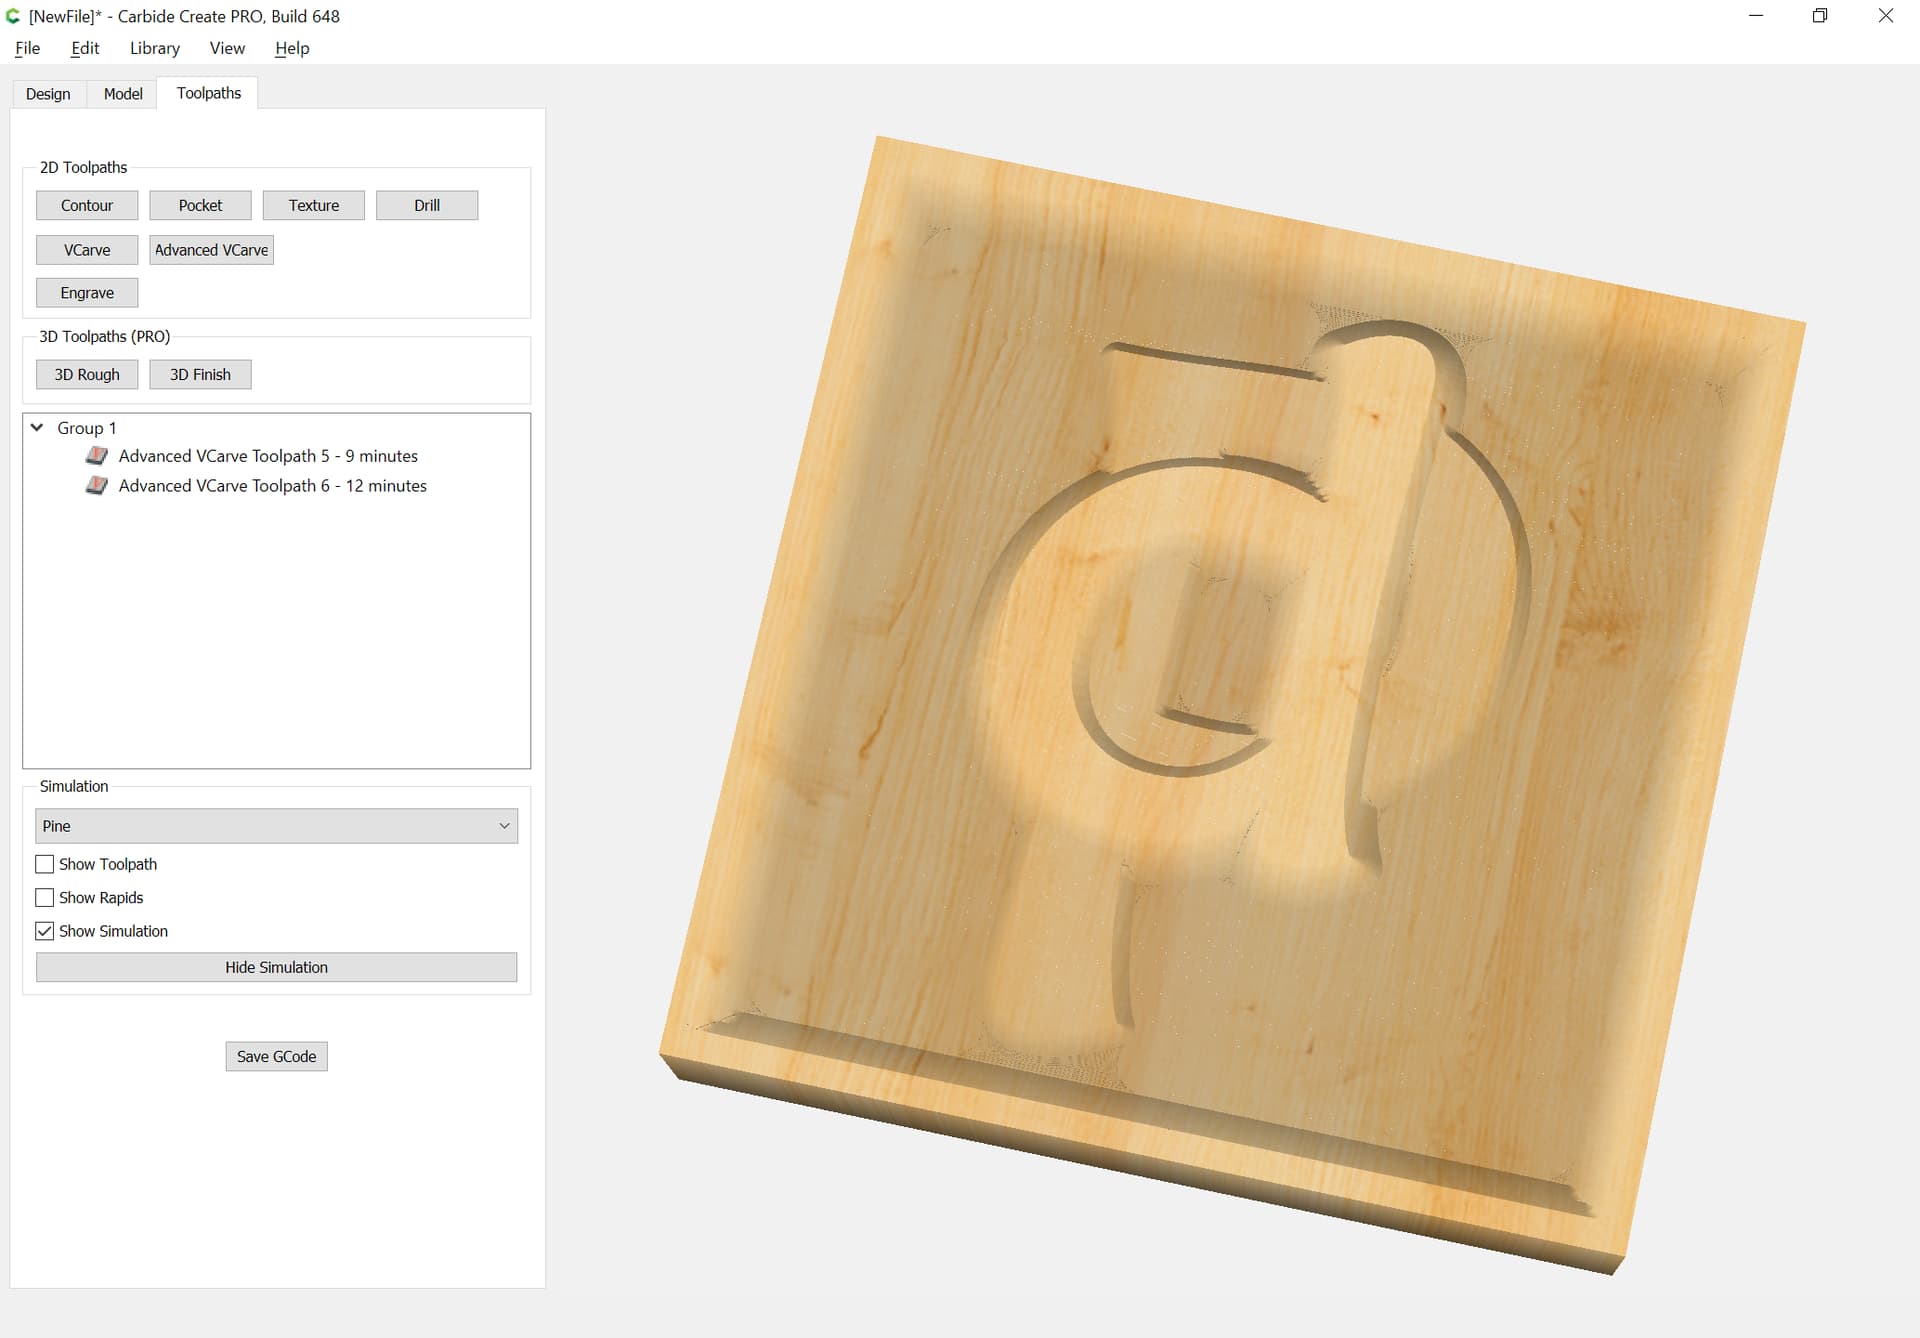
Attached.
Pd.c2d (201.2 KB)
5 Likes
@fenrus
Very well crafted tutorial ![]()
Easy to follow, and I can see this technique being used in my future projects.
I will try this and post it here when I get the chance.
When I do, I will be sure to contour with a small bit possibility 1/8 or 1/16. That way the letters dont end up connected together due to a large bit size.
Thank you, Will. We’ve had guests for the weekend, but I can’t wait to try this!
I have not attempted this yet, so I am asking out of ignorance. But do the steps in this thread, which if I read correctly was based on Carbide Create version 521… and I think I even saw 543 referenced…, also work in Carbide Create 7 build 743? I will be trying this soon and thought it worth asking before I pulled more of my hair out following steps that are no longer valid.
Yes, these steps should still work. There have been some improvements that should make it a bit easier. Booleans have been enhanced, Weld & Smart Weld have been added. Union considers nested vectors (the middles in letter like A P D, etc…). Tool paths can now be set to machine everything on a specific layer, or the currently selected geometry as before. But otherwise, the process is the same. Pocket the top text, then unite & pocket the bottom text with the top text.
1 Like
Thank you for sharing this.
This topic was automatically closed after 2 days. New replies are no longer allowed.