Mini-lathe + shapeoko?

So I did what one should usually not do: ignore @neilferreri’s advice, and proceed with my initial idea :slight_smile: (seriously though, the reason for not going to the Dremel-on-a-custom-jig option is that I want to learn turning small objects anyway, so I invested in something that would be a bit less awkward to use and hopefully more precise)

It’s like this mini-lathe and the SO3 were meant to work together.
I’ll update this thread as I progress towards my custom CNC lathe. And then I can rings to rule them all !

By the way, if anyone has advice on good resources/tutorials on turning, I’m all ears.

8 Likes

Here I am worried about running my Shapeoko into a clamp or two. :smiley:

Are you planning on syncing the rotating axis with the CNC?

1 Like

Nope, I don’t want to get into the “interesting” world of managing a 4th axis just yet, my intent is only to drive the tools in the X/Y plane, while the lathe is turning at constant RPM.

4 Likes

Nice little lathe, I wonder if the motor will have enough power for anything but the smallest and softest material. At the moment, if I wanted to implement a 4th axis, I would consider the roller Y axis method but I would have to find plans or do my own design with all the pitfalls. I never seriously considered implementing a 4th axis since the stock Z of the Shapeoko does not give much clearance but now with the HDZ, it is something I may try at some point.

2 Likes

Would be interesting to do like I do with my laser, disconnect my Y axis and use it to turn the rotary. You would still have the x and the z. (which is what you normally use with 4th axis.) the Y would be center line of the lathe. The only issue is how to control the Y functioning as the rotary. Software allows you to change the steps and the diameter.

1 Like

Hi there,

it’s been a long time, but I have not given up on this project. Minor progress today, which I thought I would share.

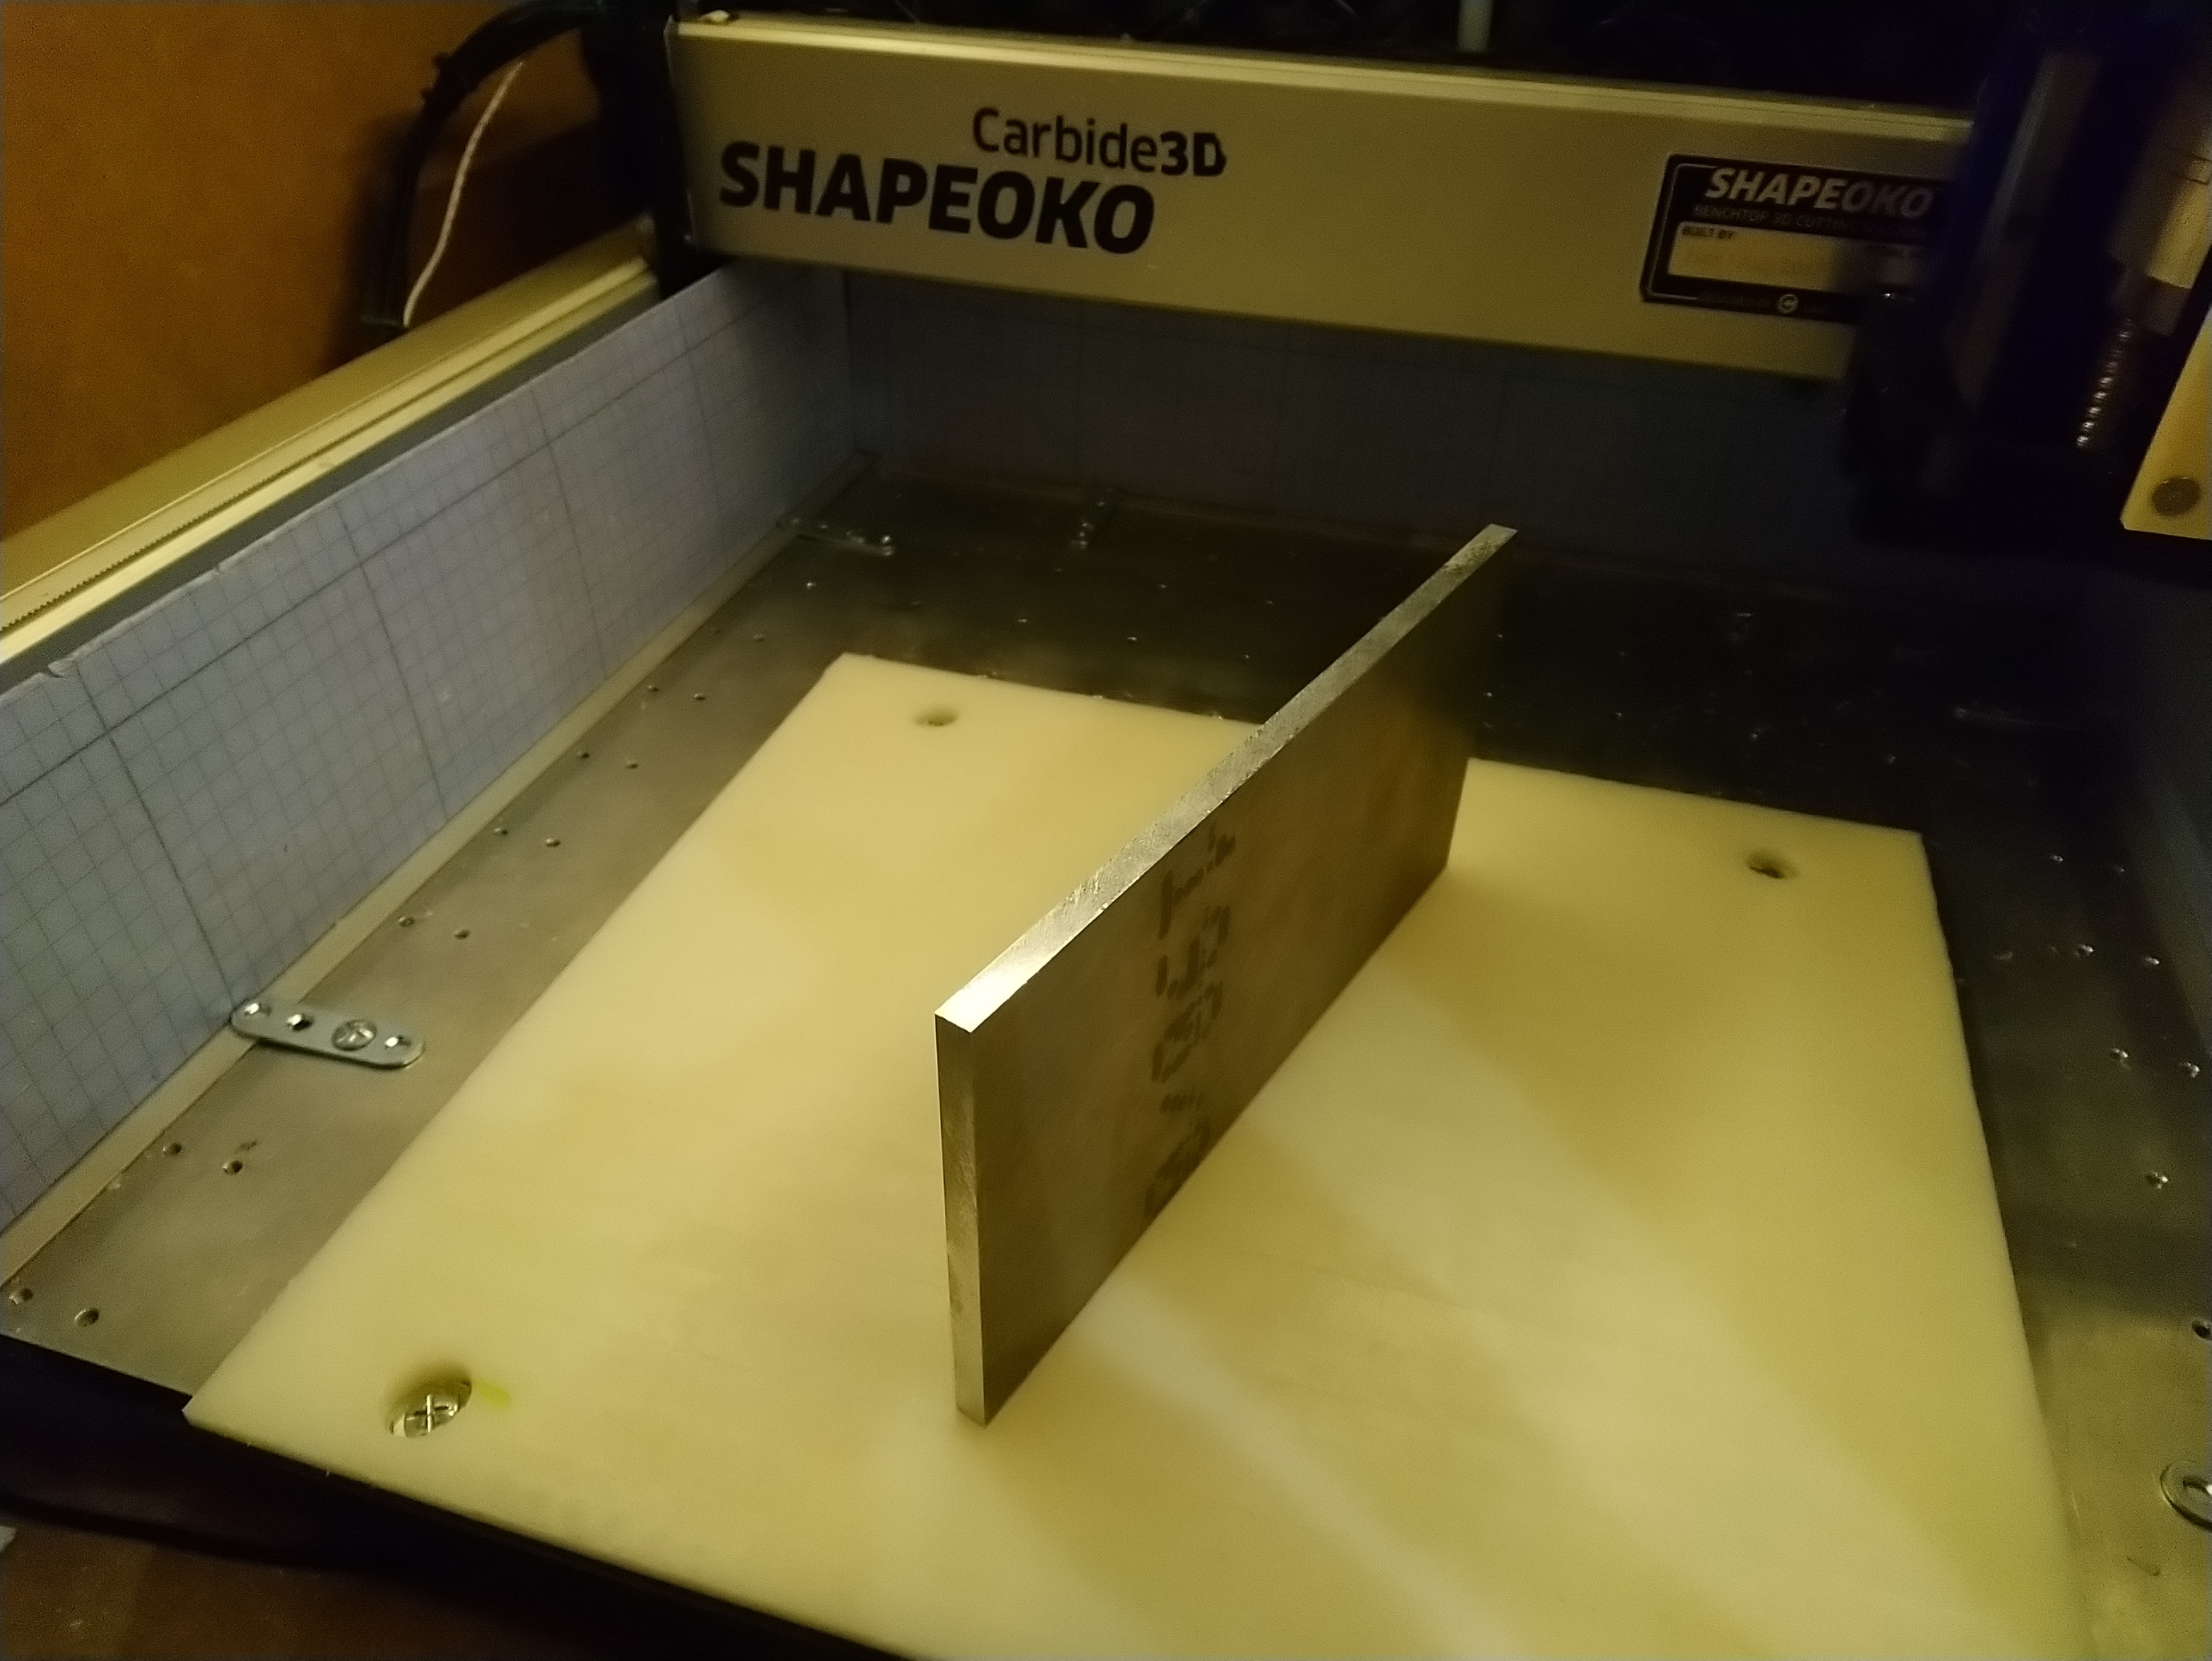
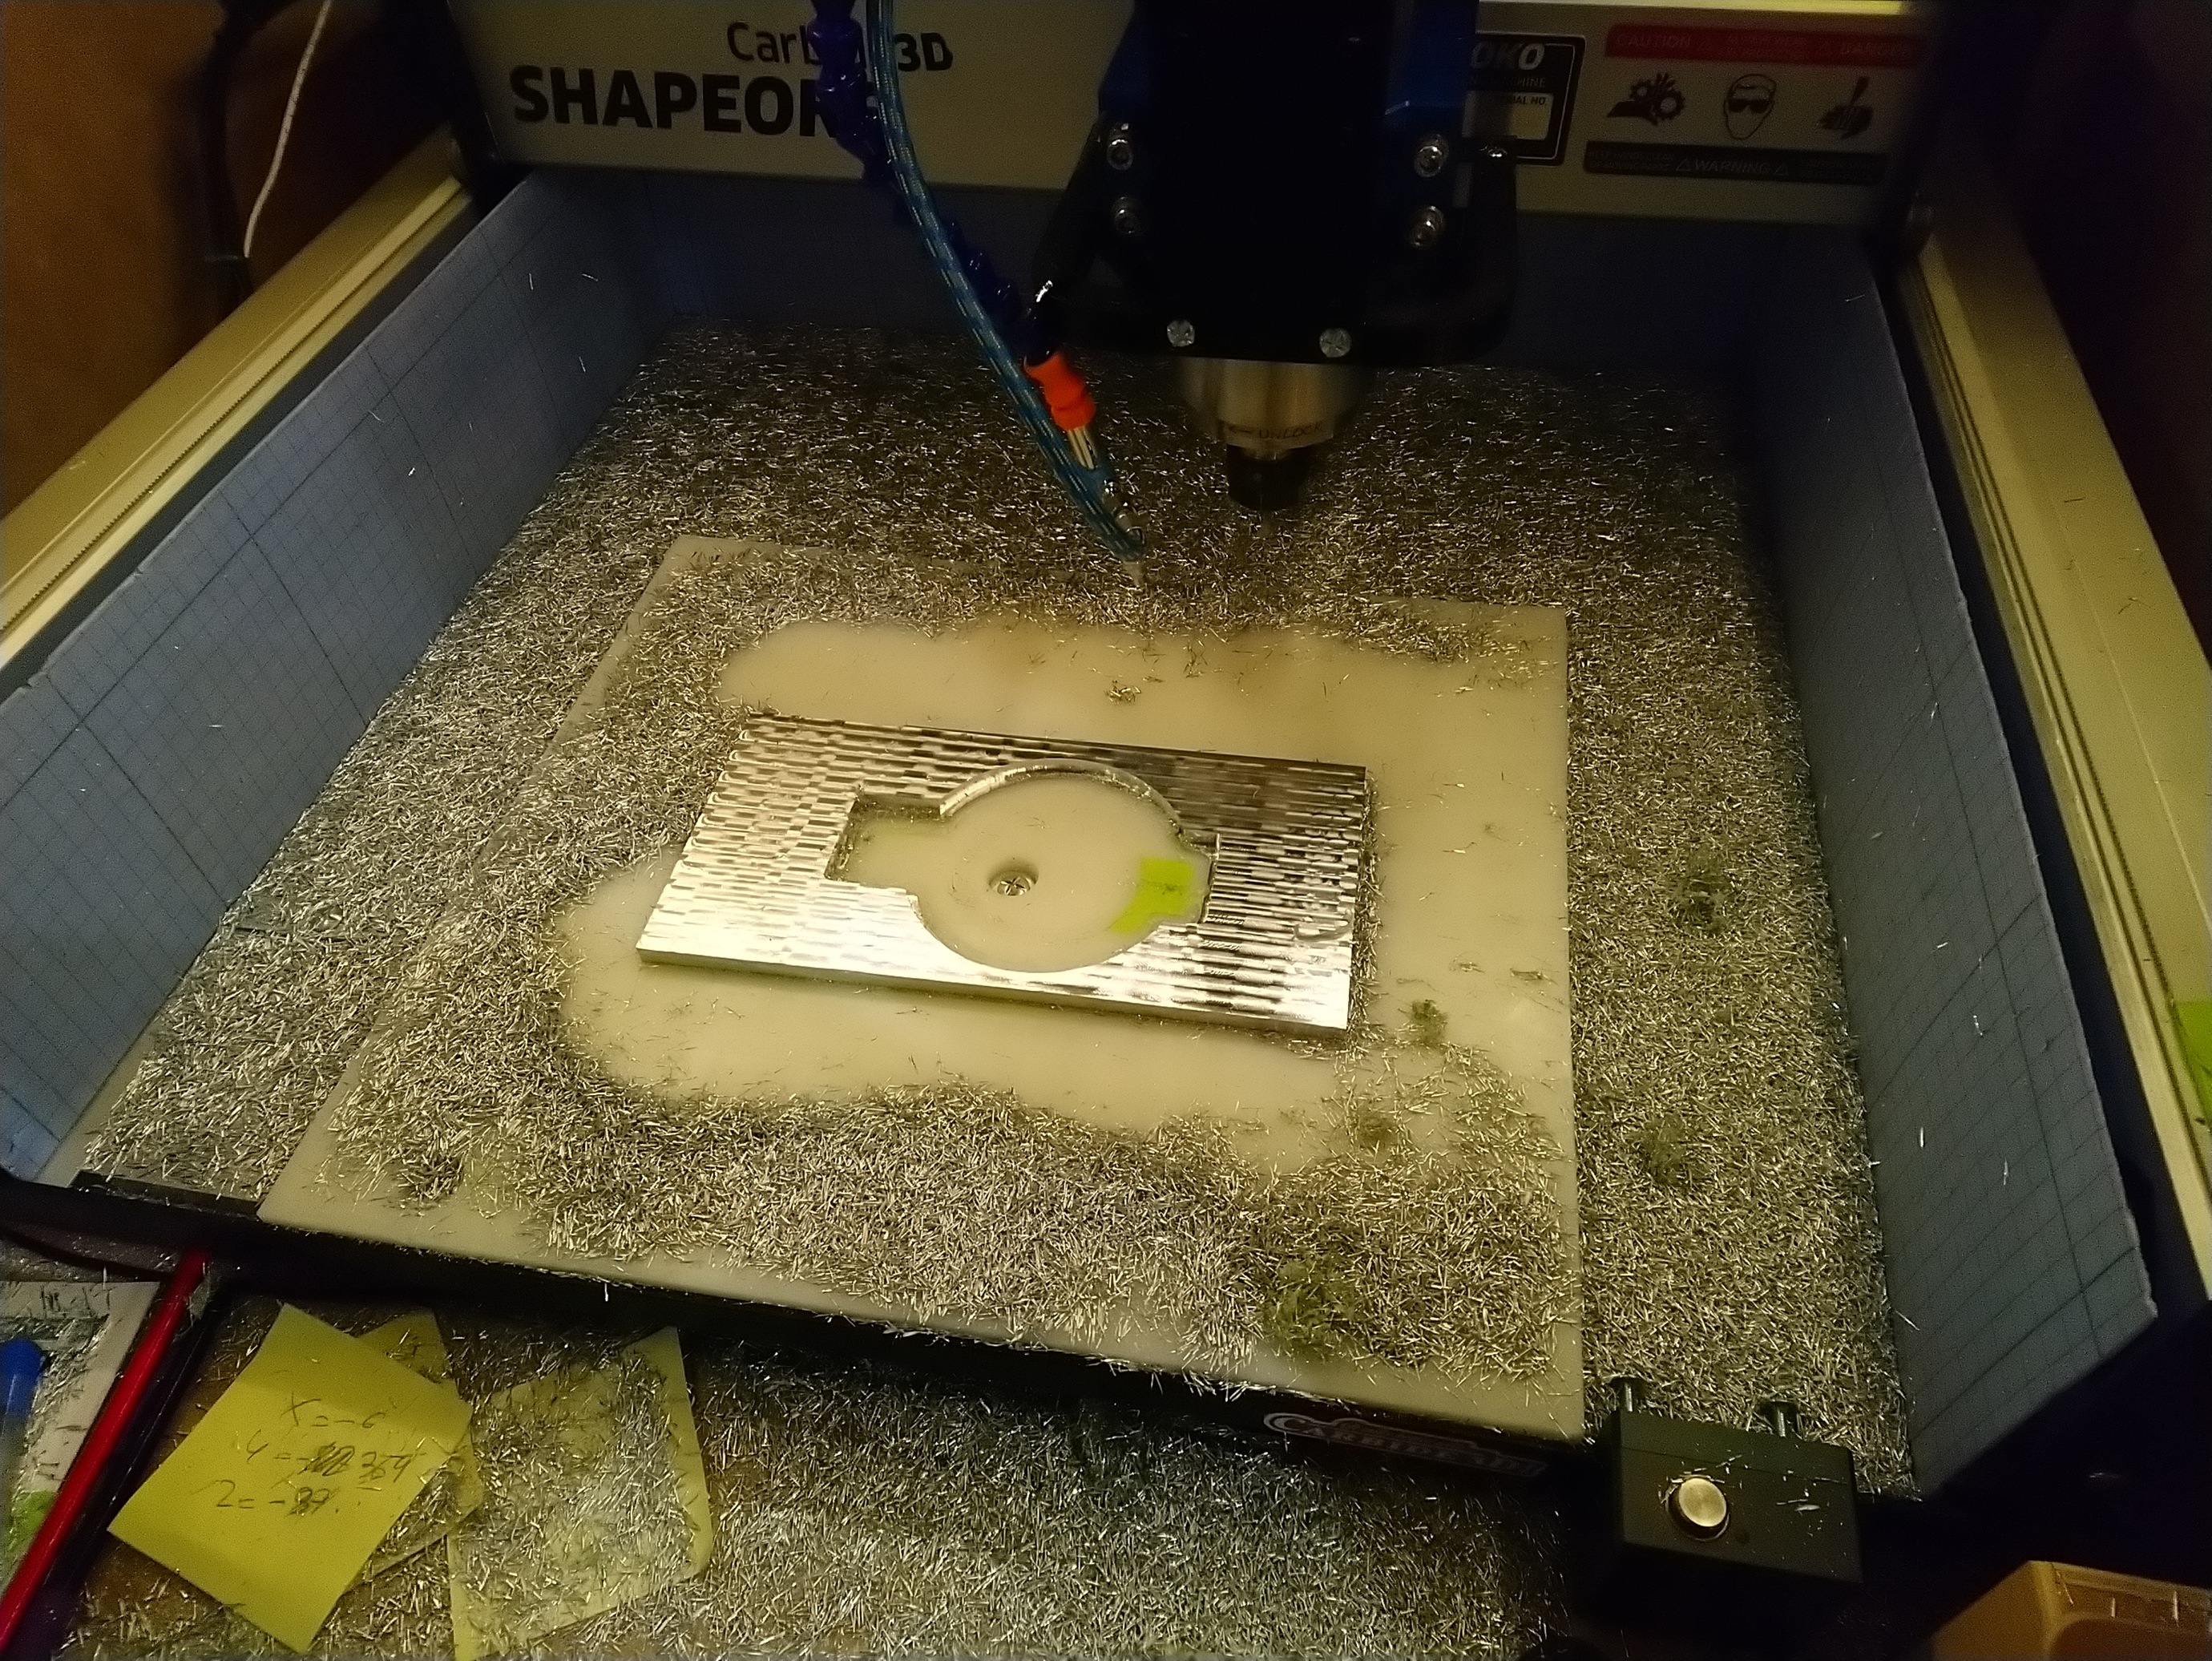
I grabbed this 2017A aluminium plate I had,

run a little surfacing op,

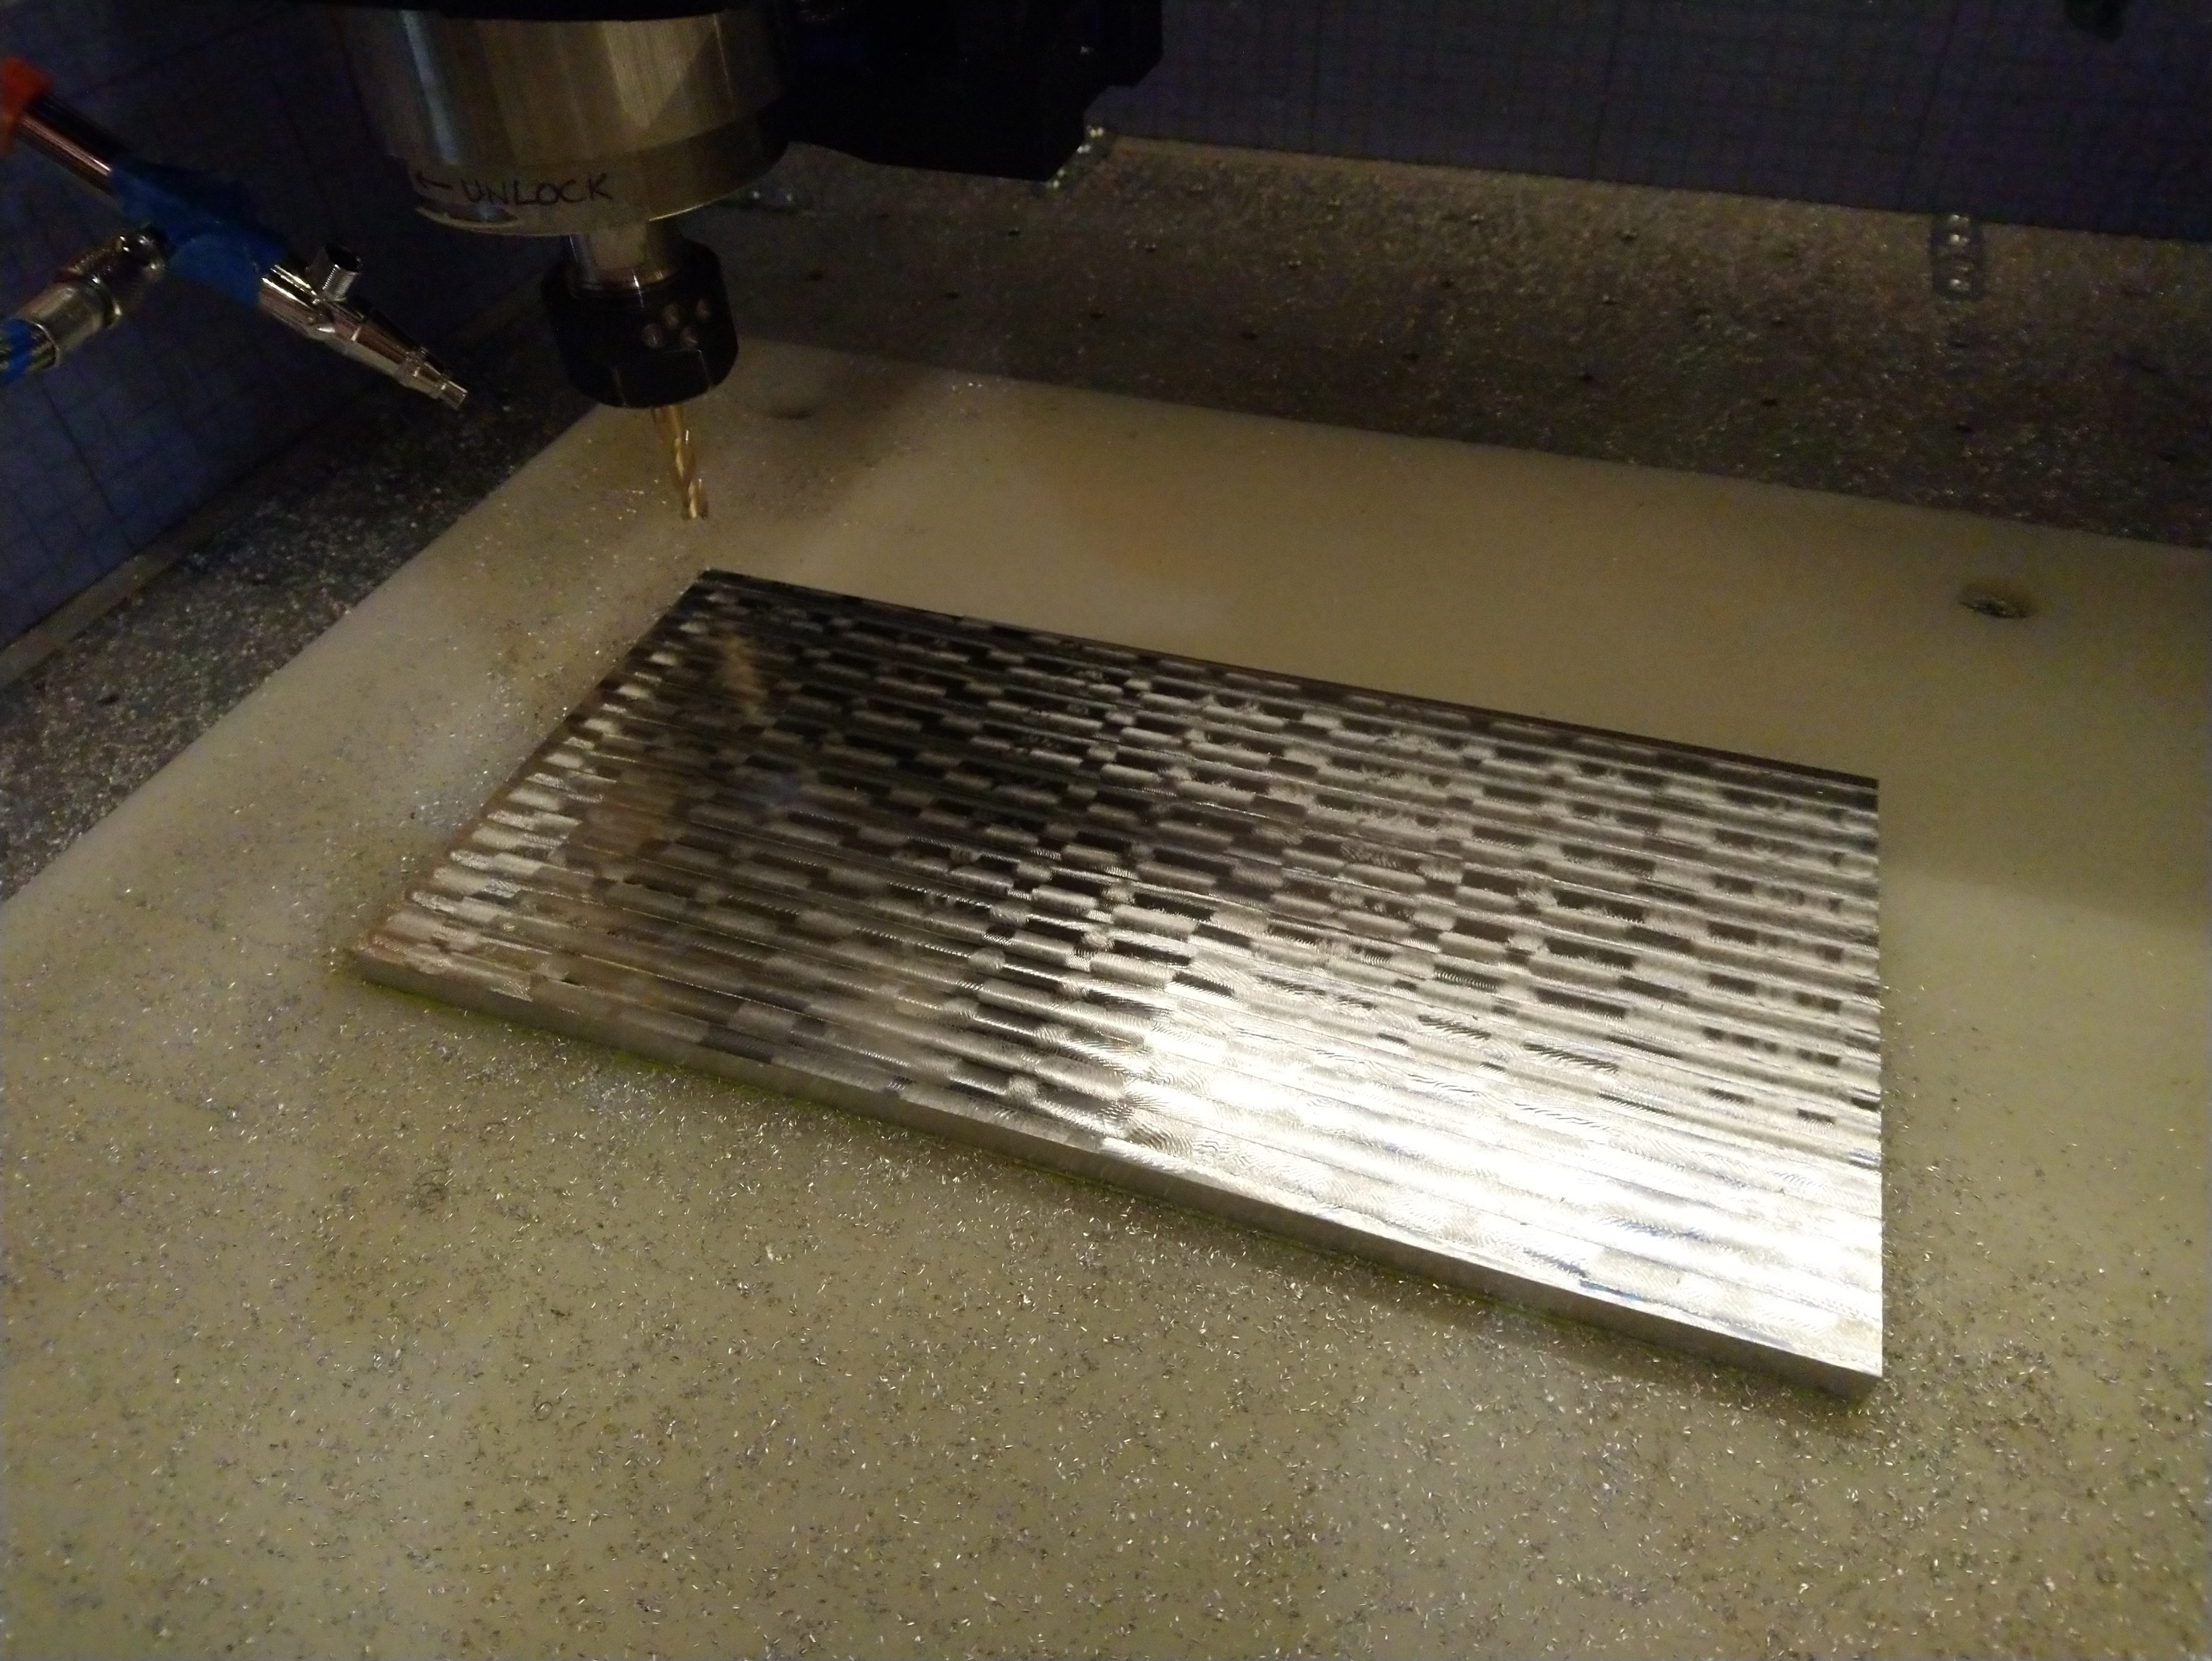
then started cutting,
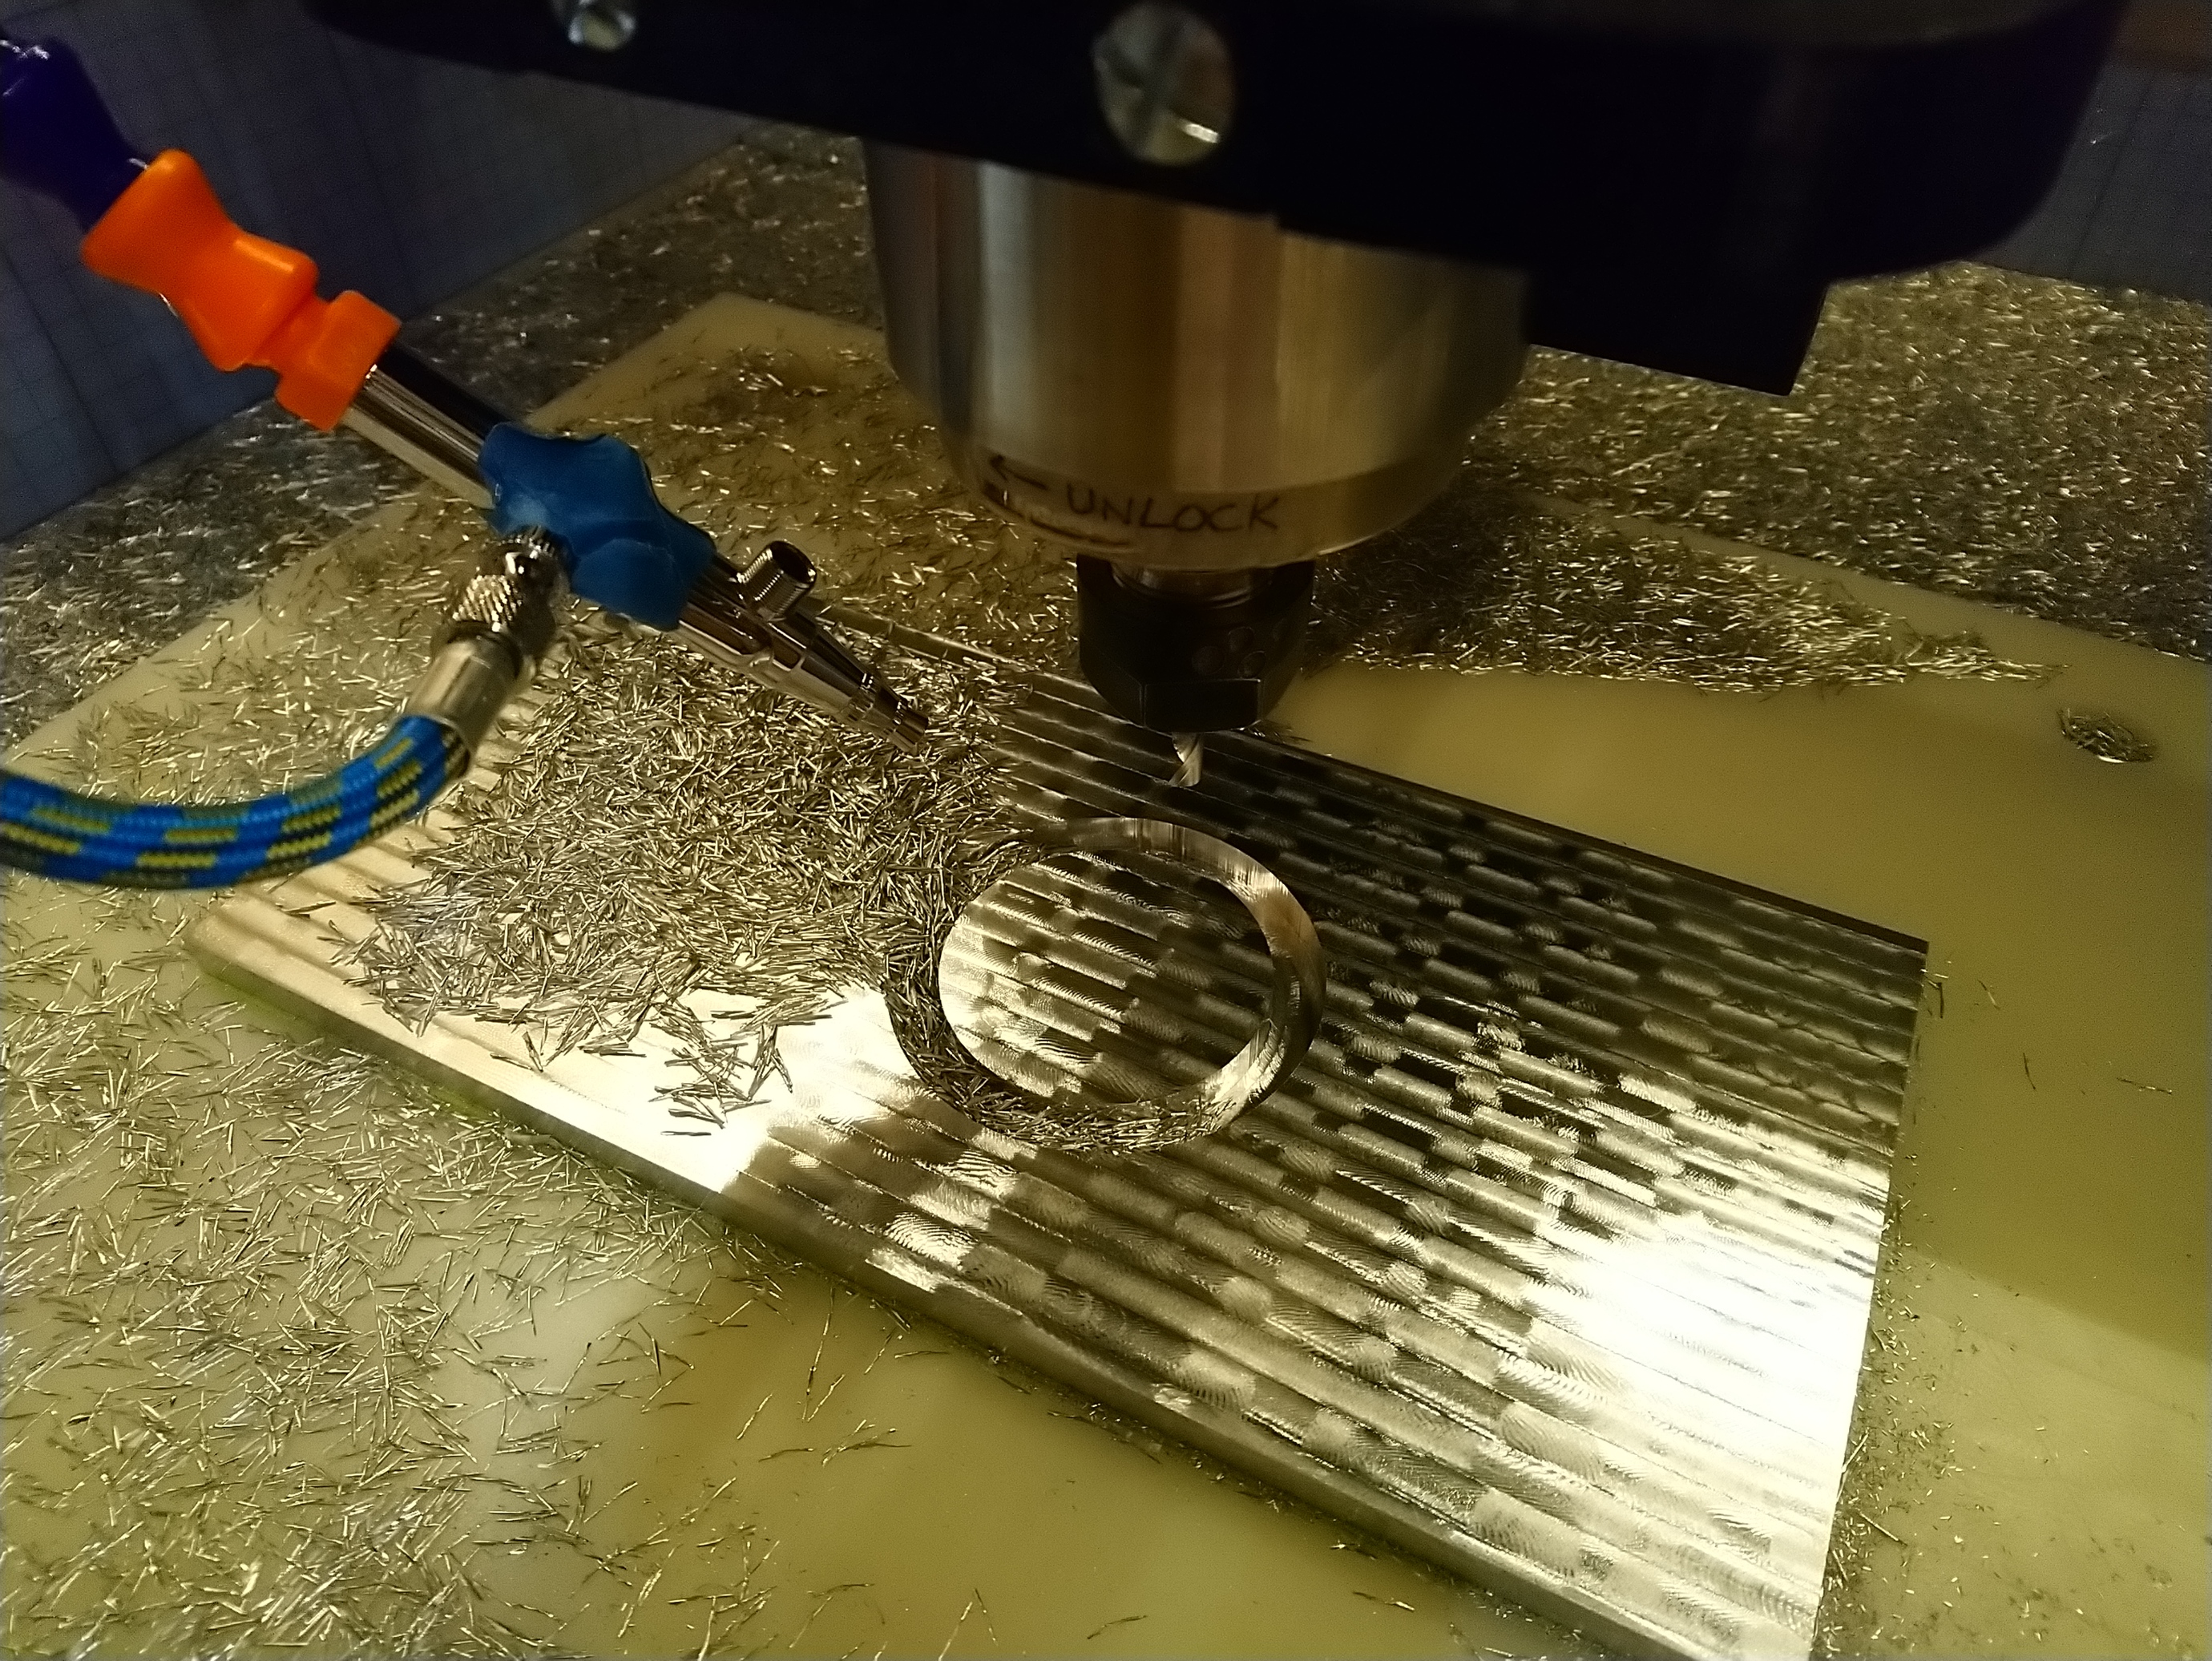
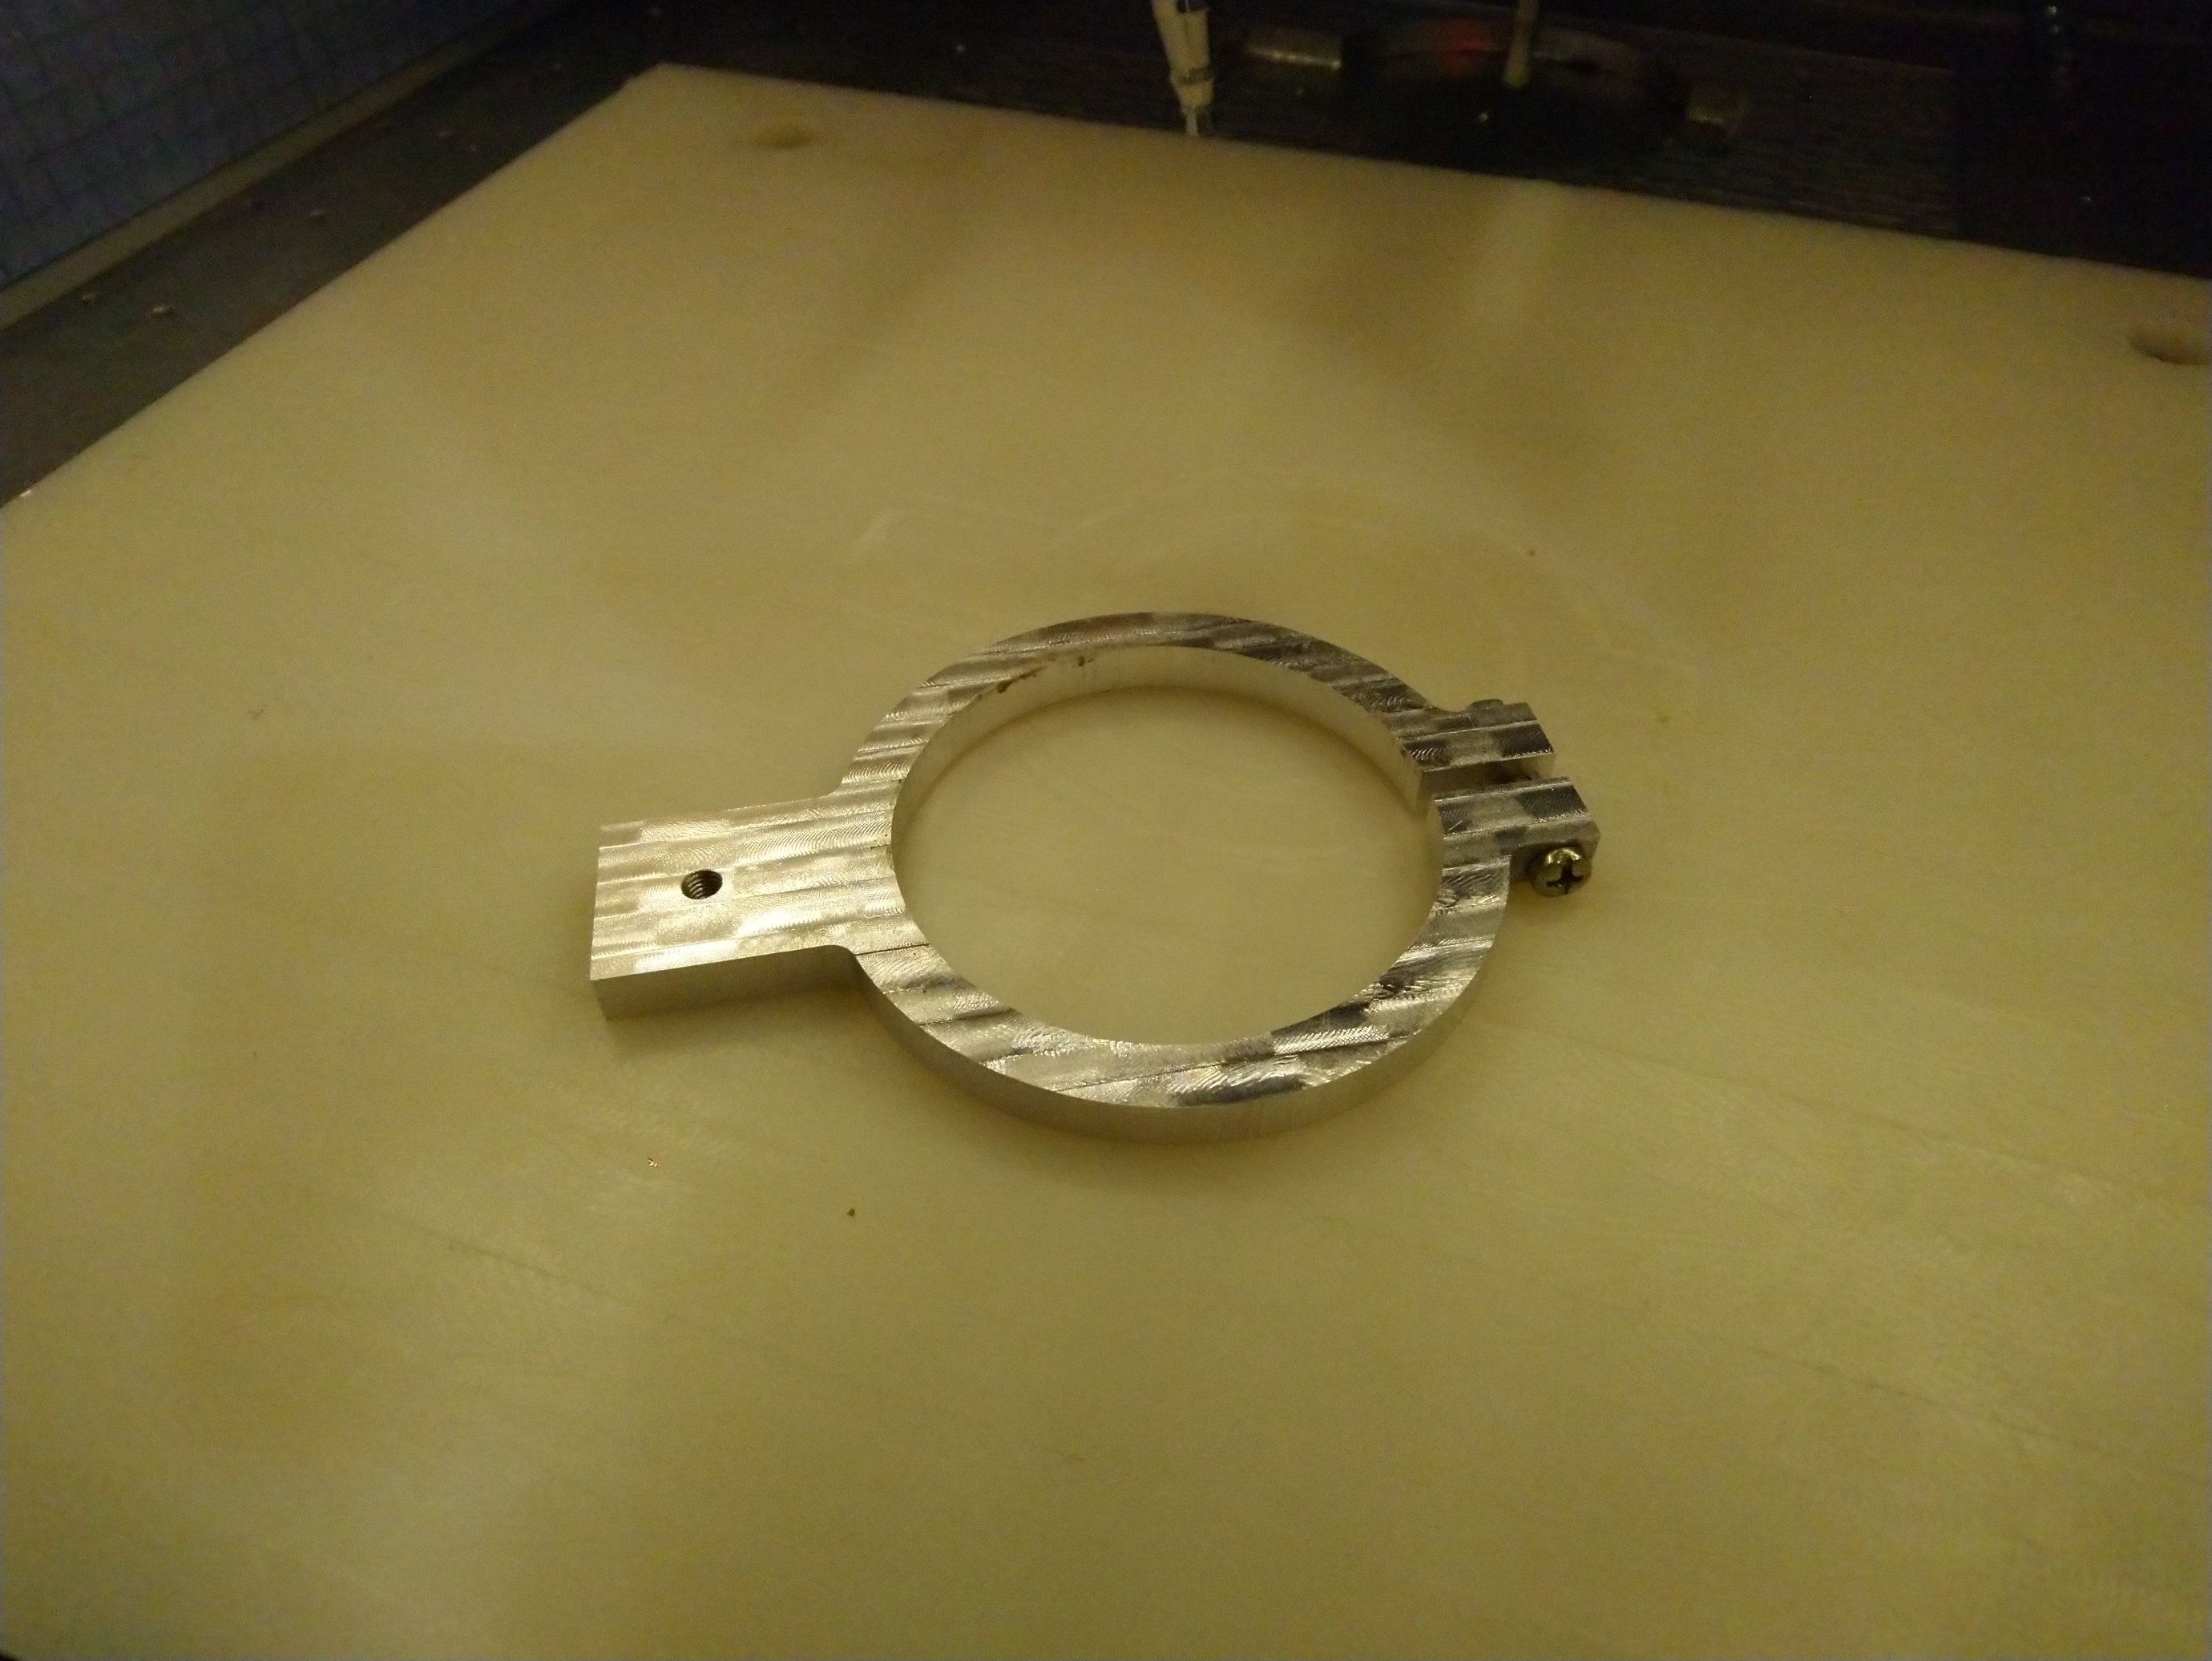
ended up with this,

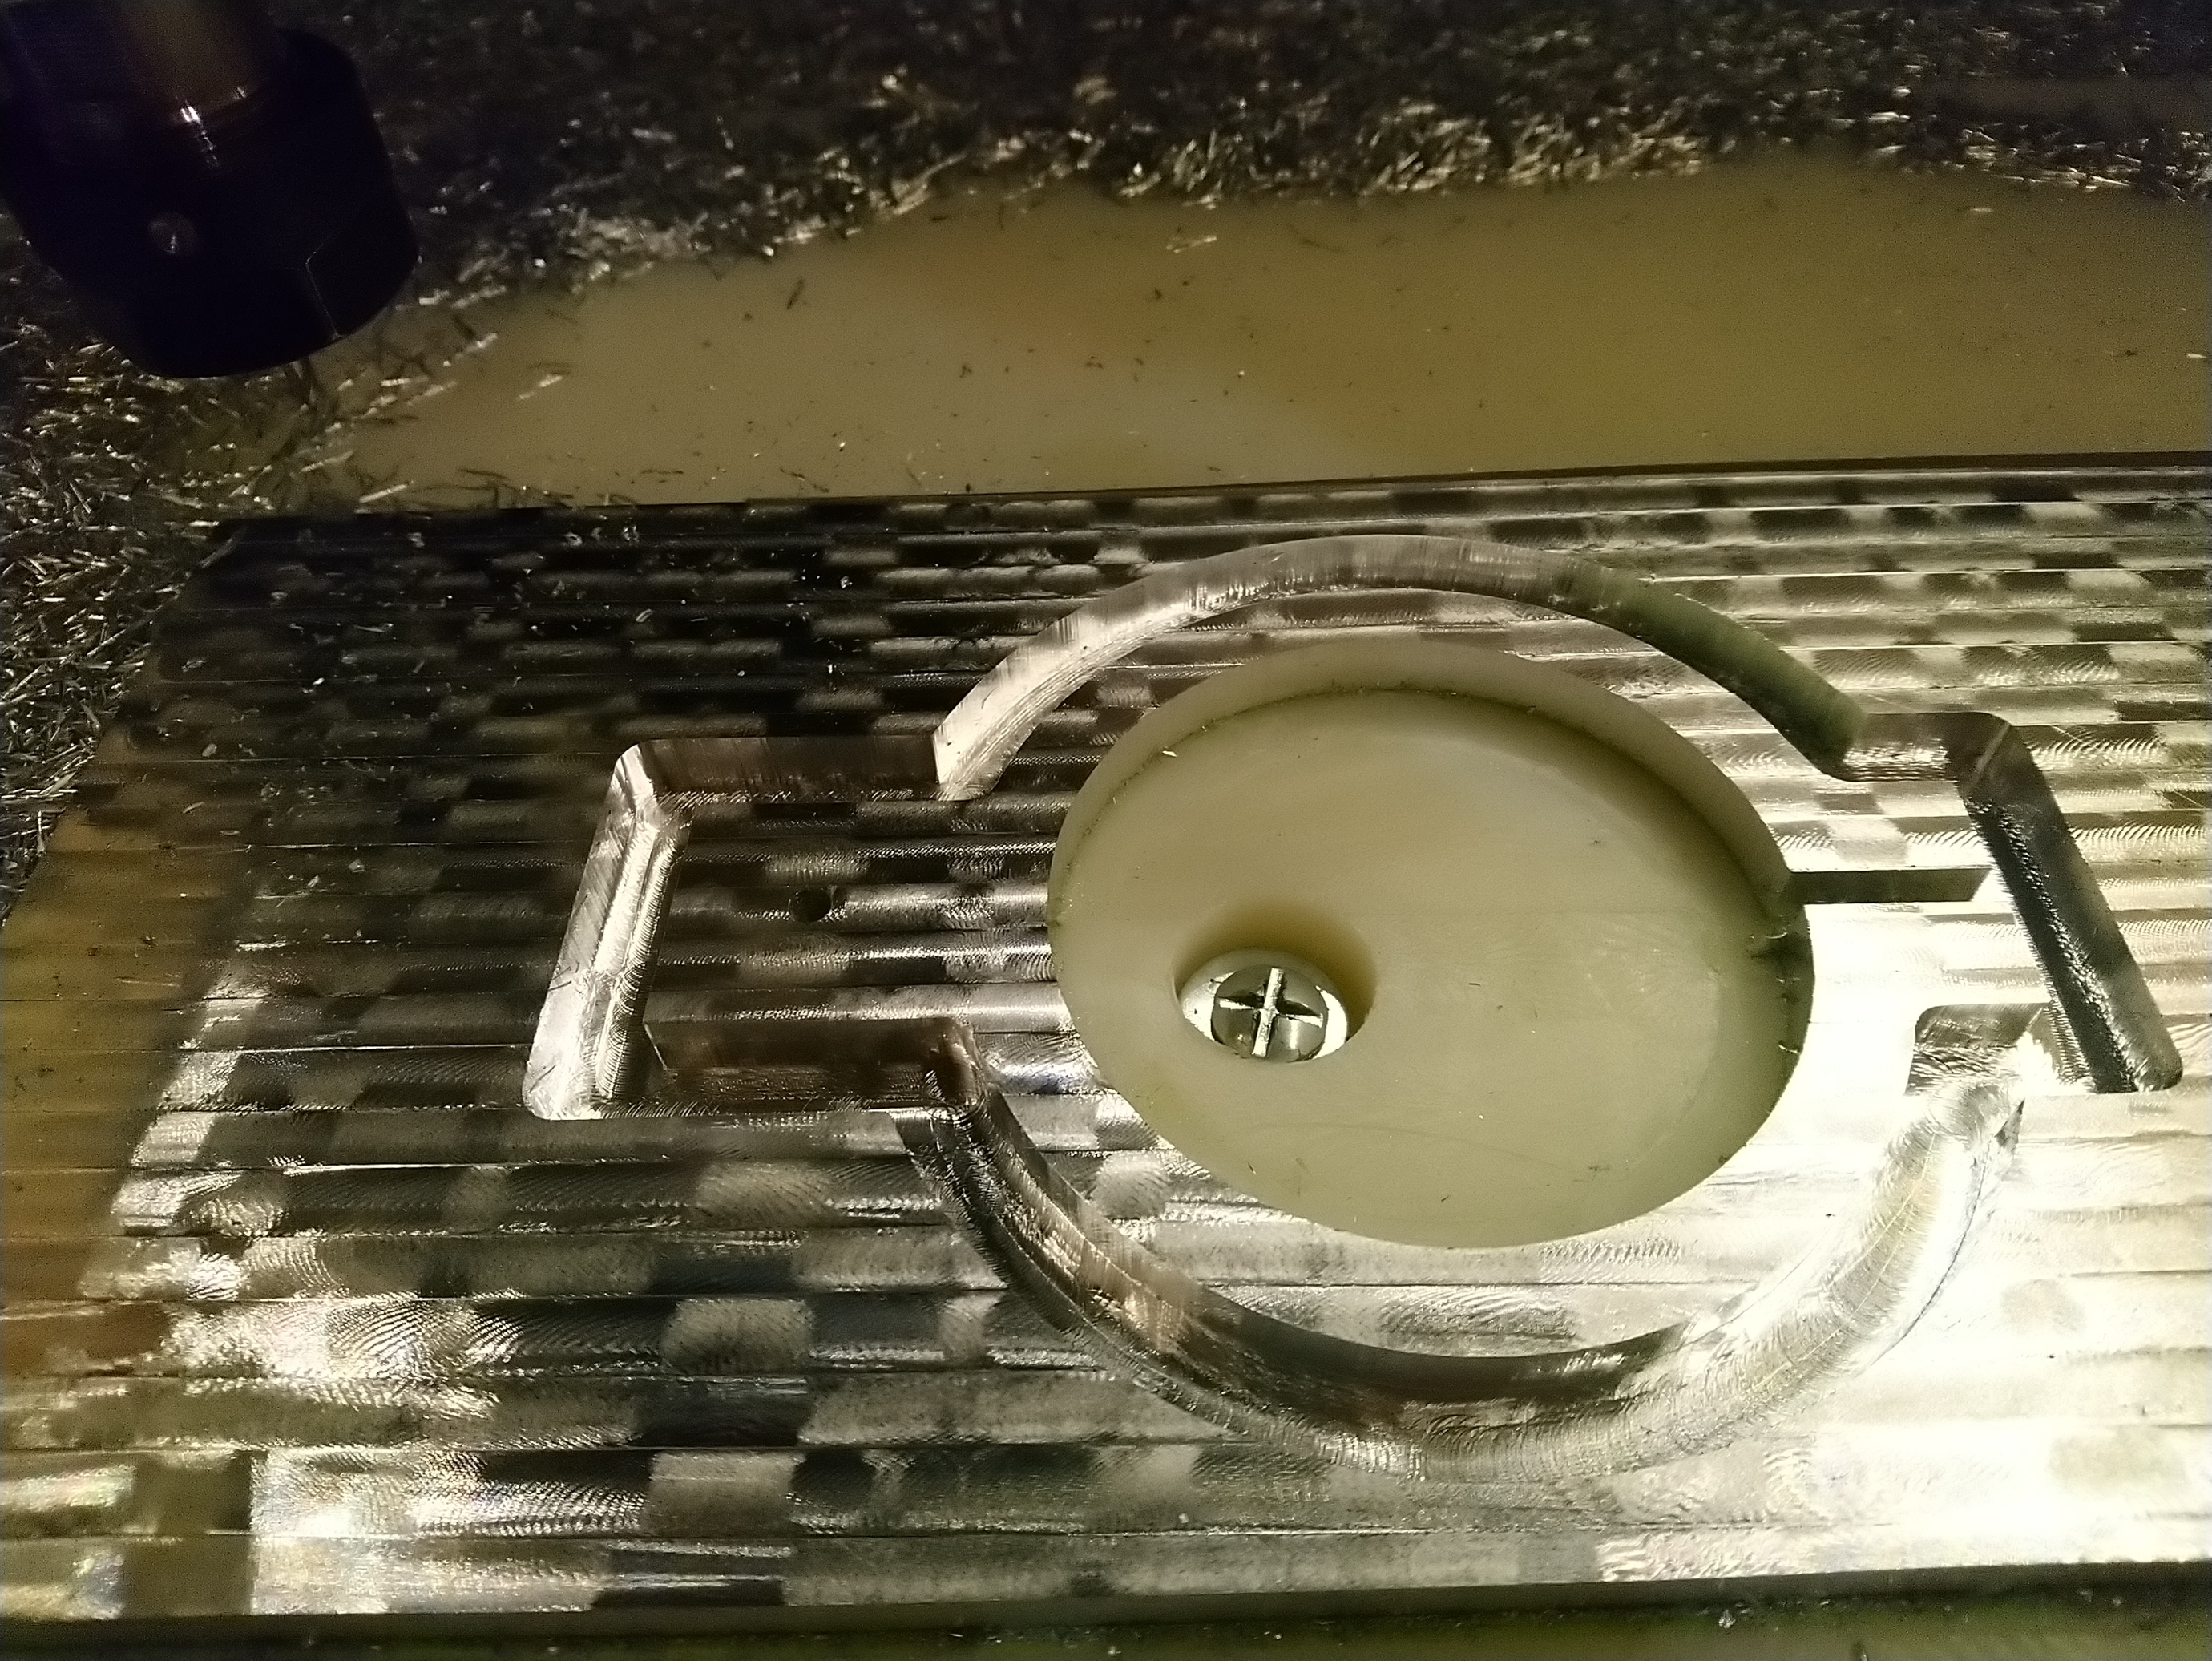
and a whole lot of chips to clean-up,

I tapped the front hole (M5), drilled a hole from the side to insert a bolt+nut for tightening the piece…

… around the lip/recessed part at the bottom of my spindle,

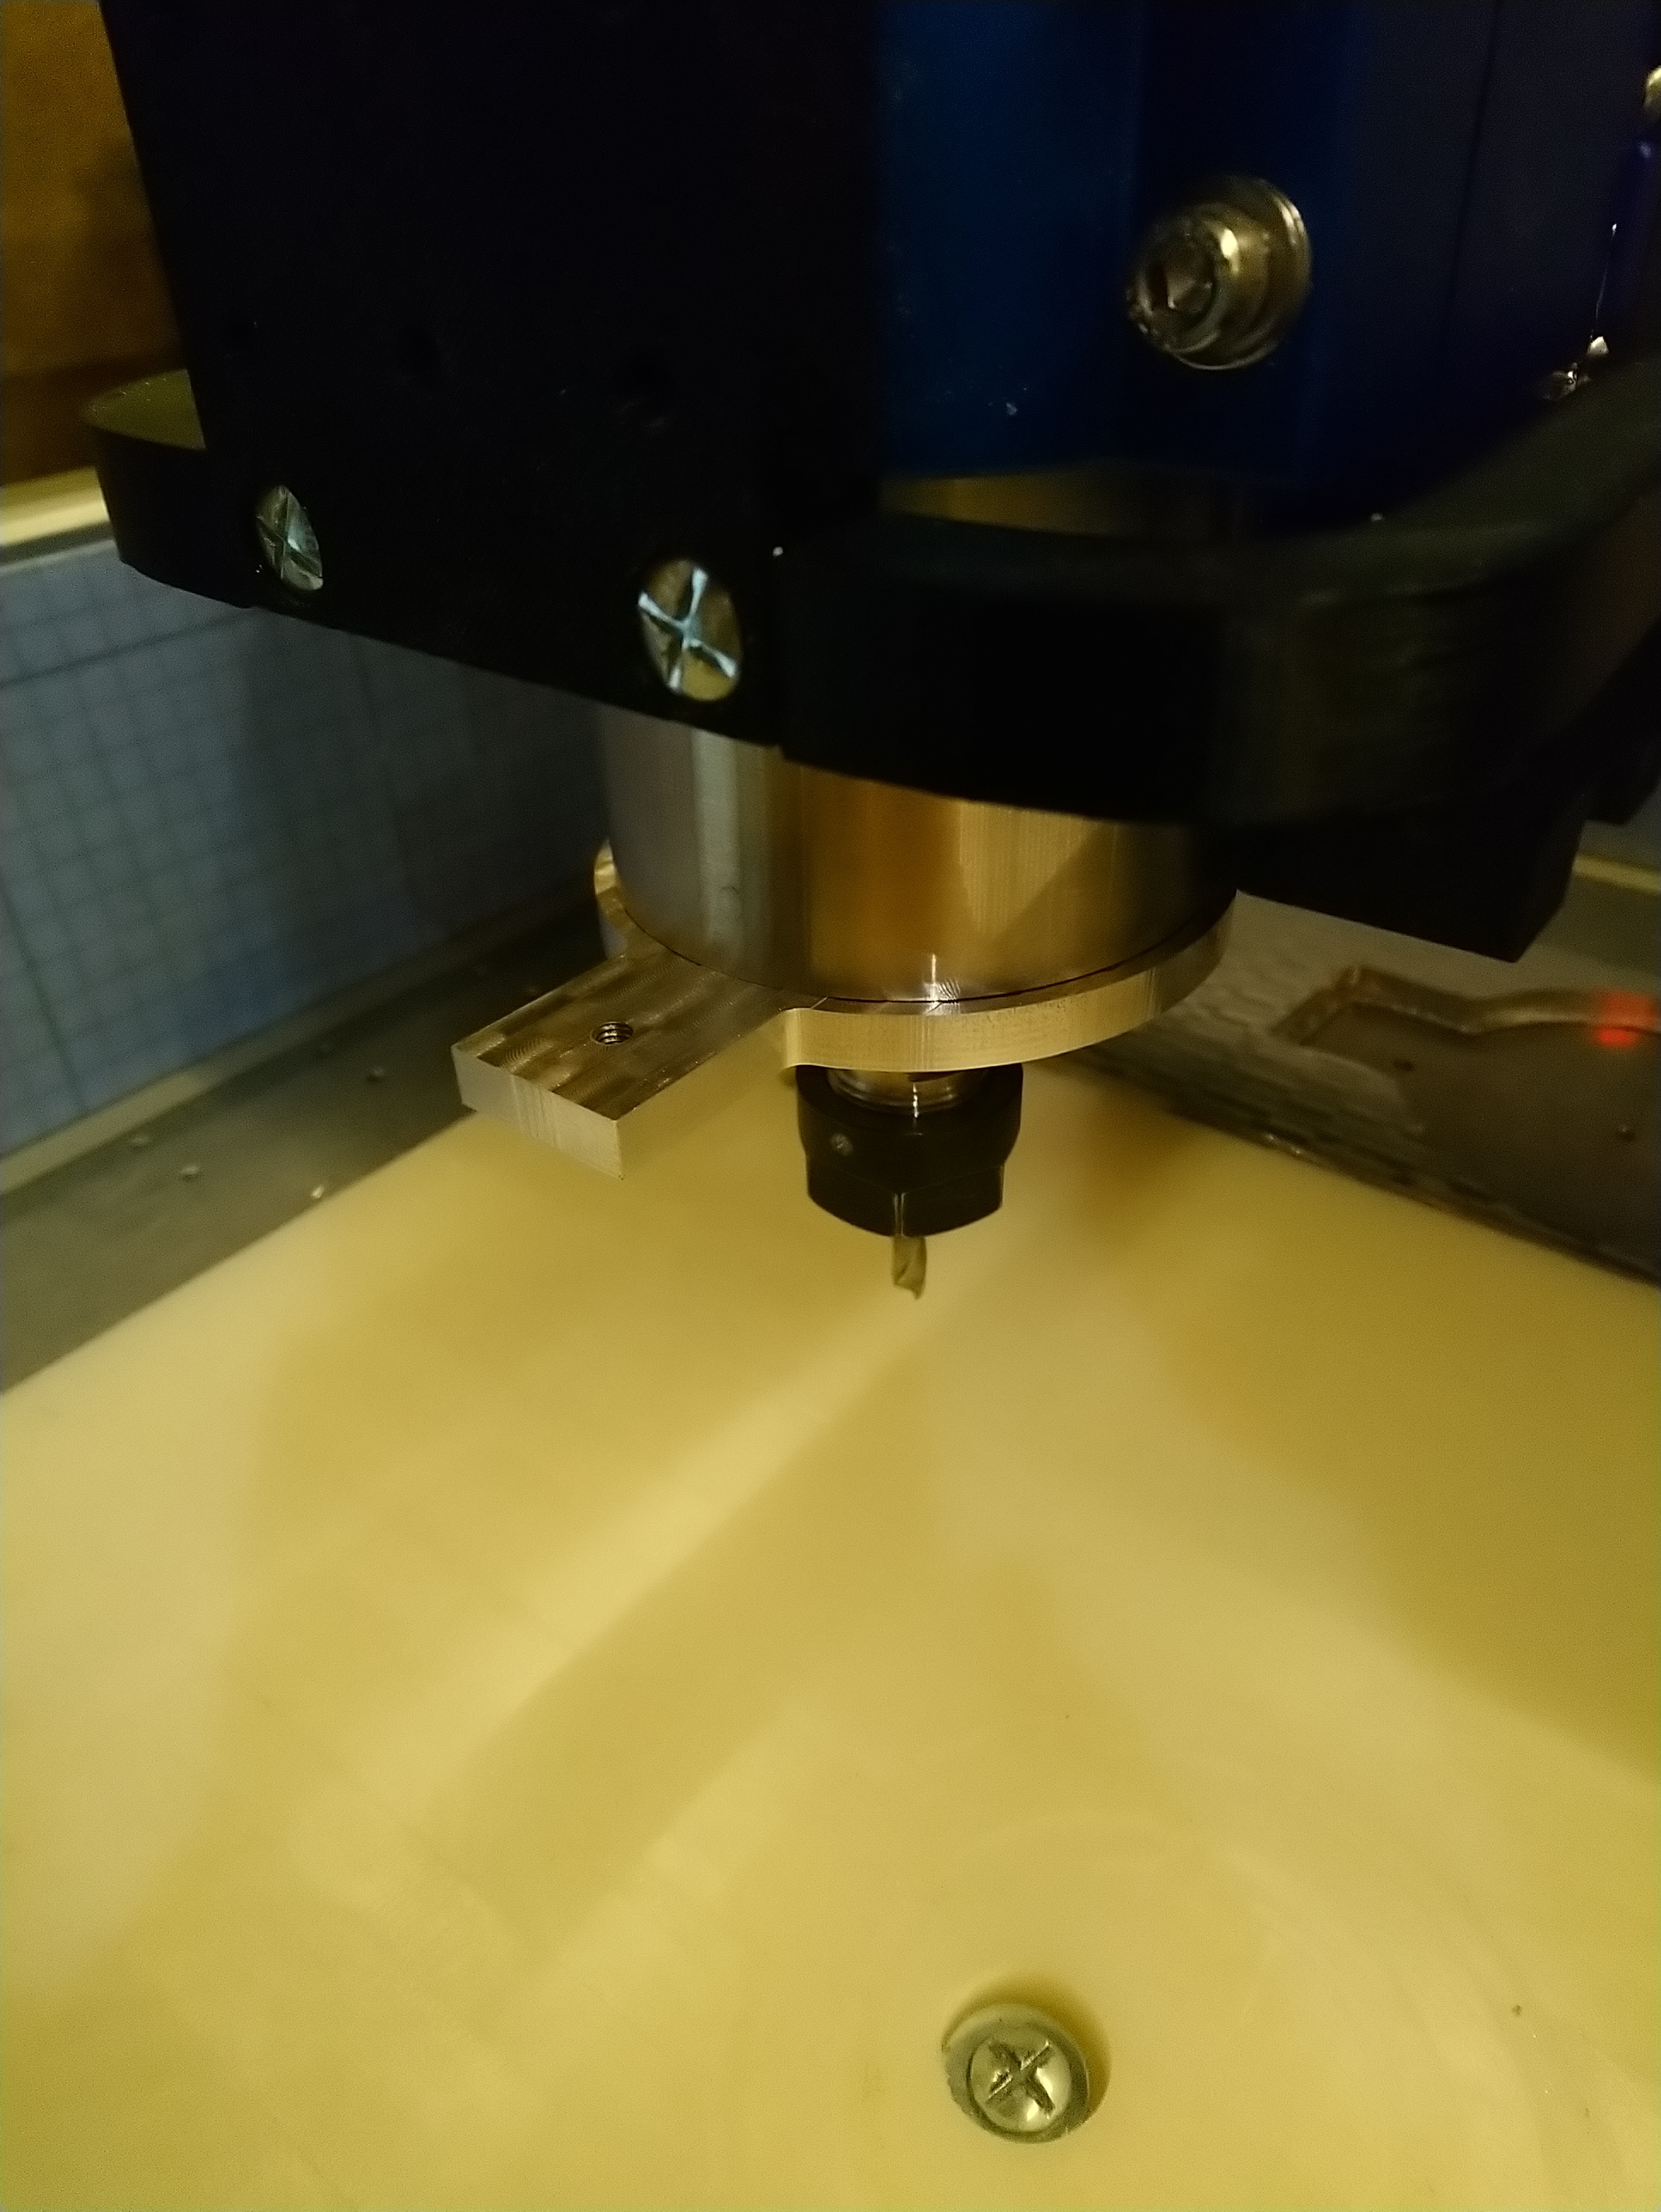
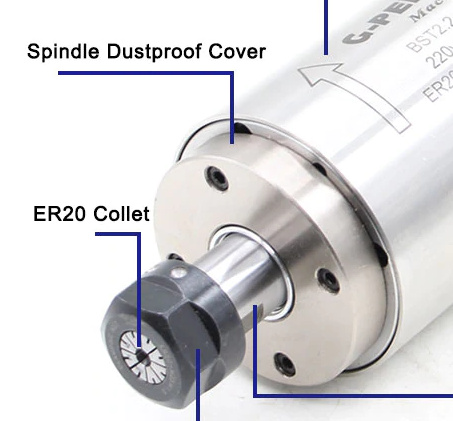
(and by that I mean the “dustproof cover” below)

image

and finally I was able to attach the little turning tool holder that came with my proxxon mini-lathe:

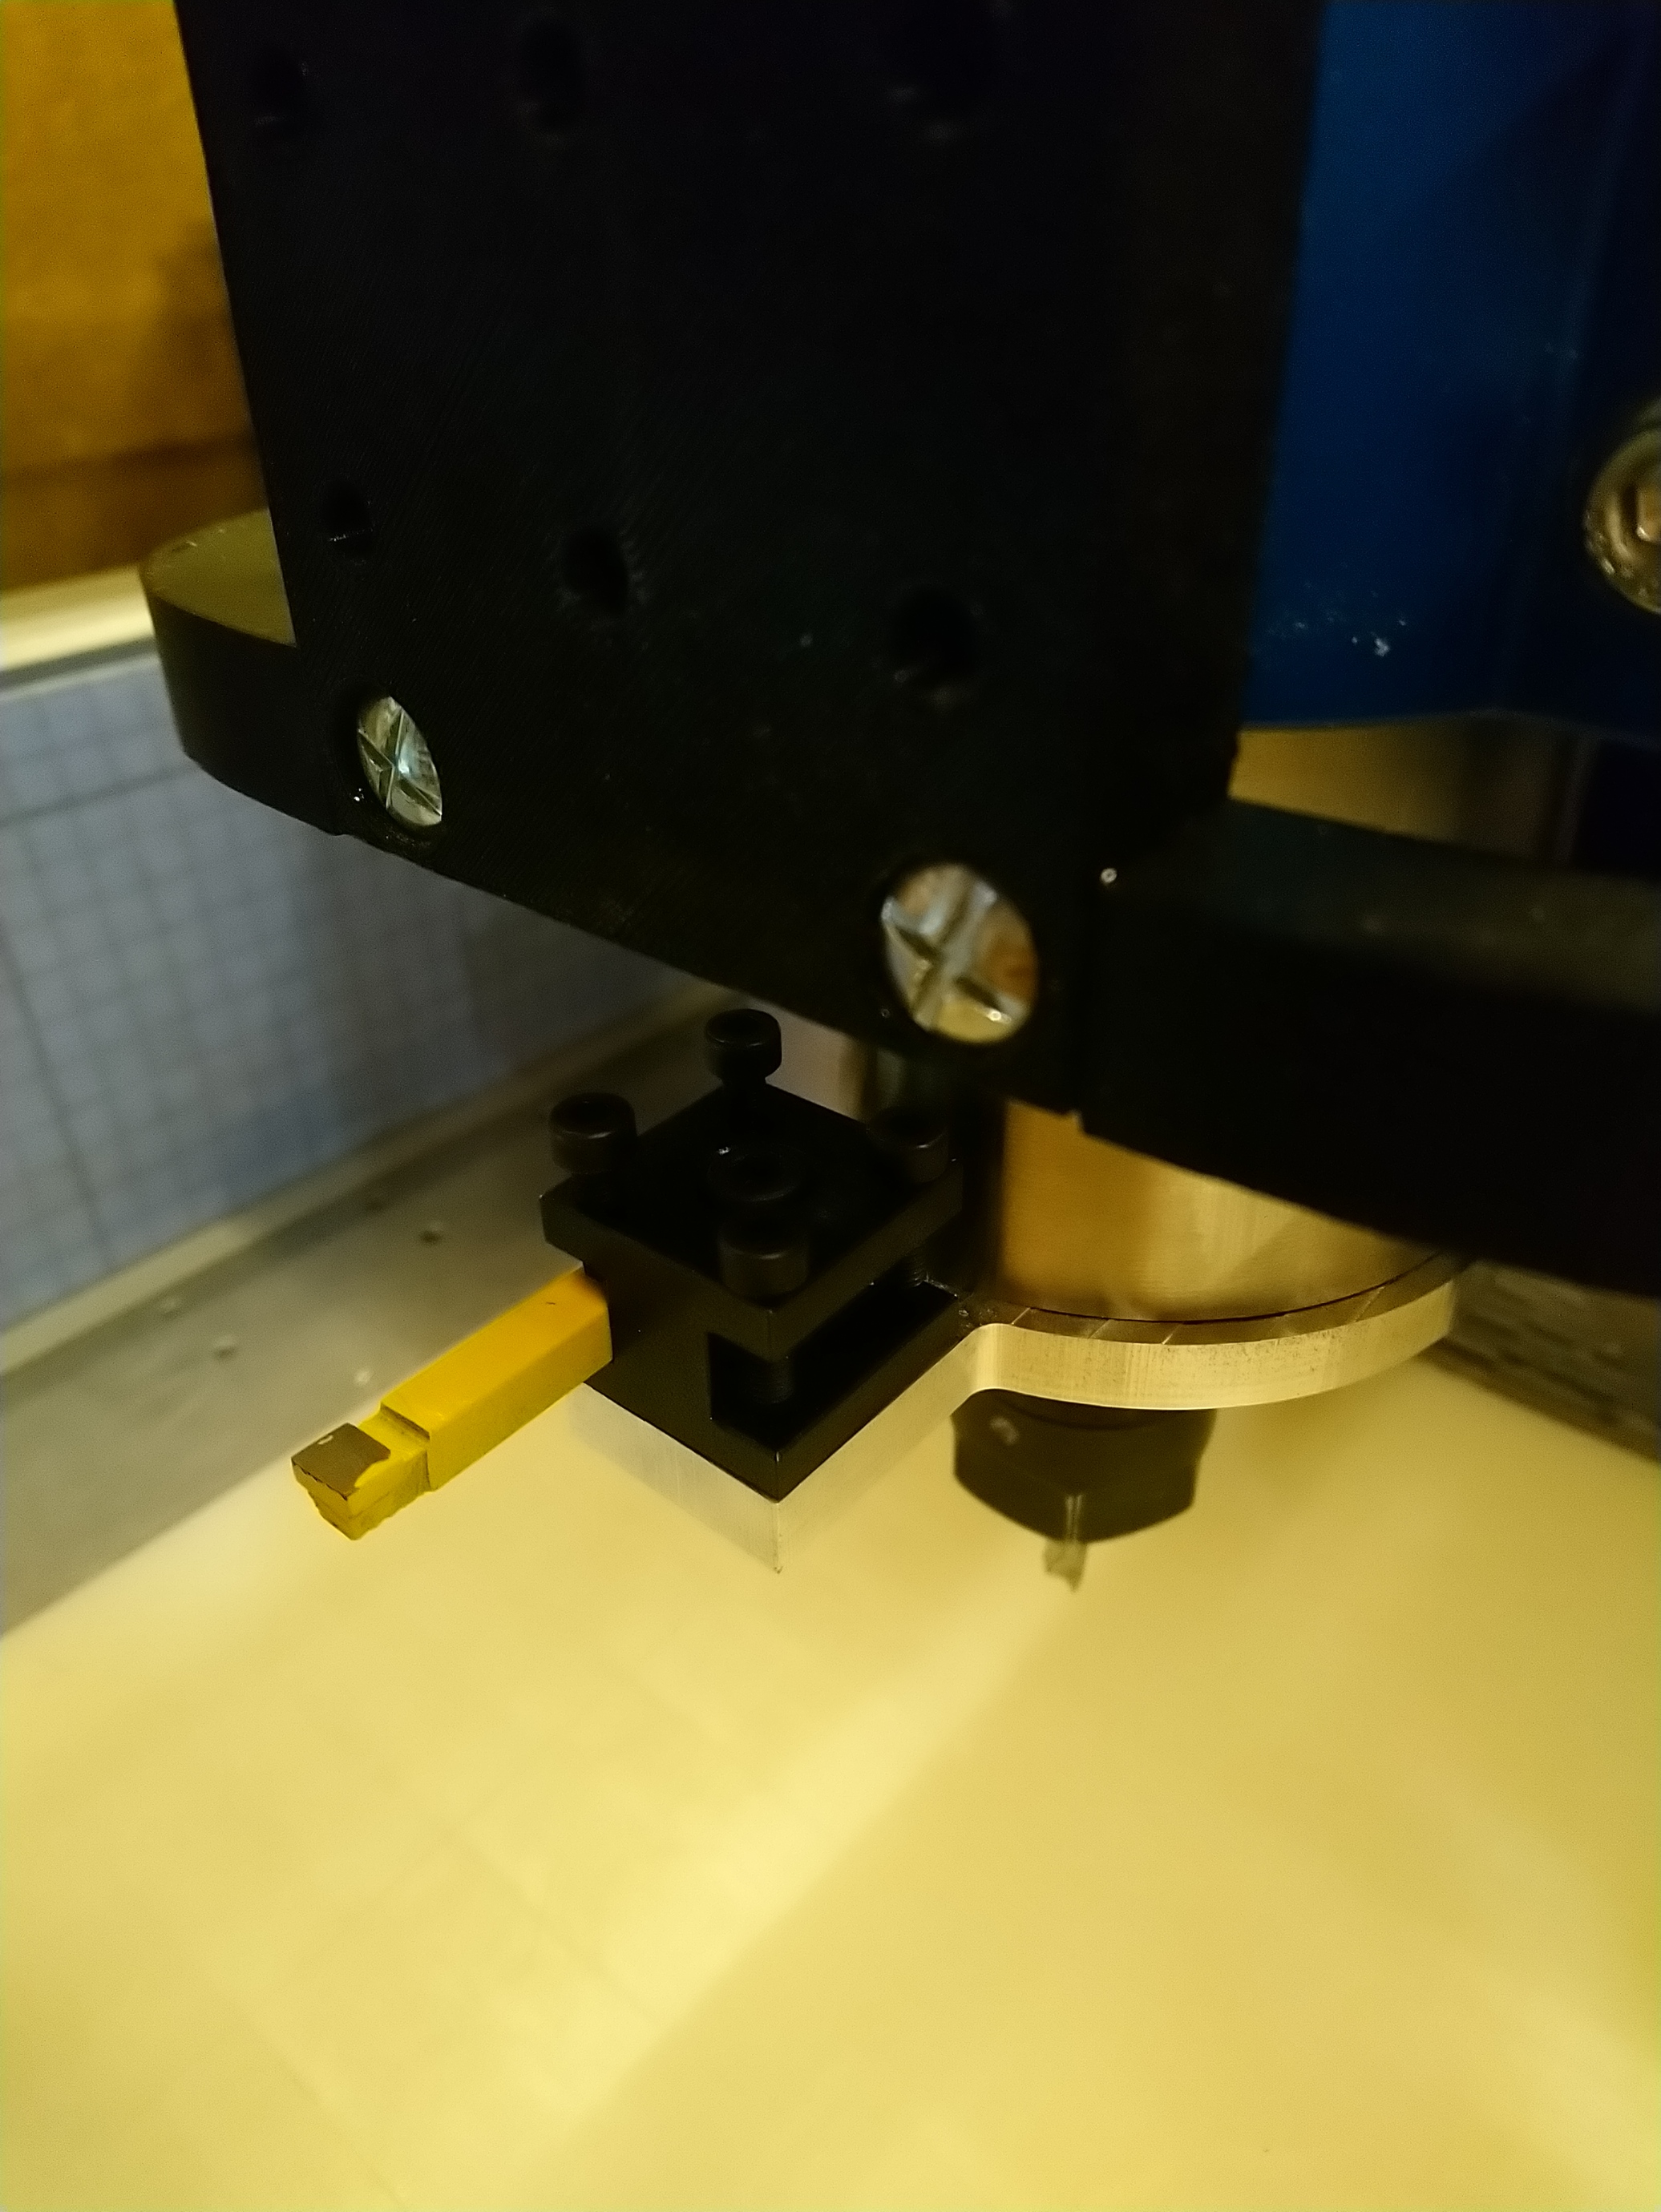
which hopefully should allow me to do this (soon!)

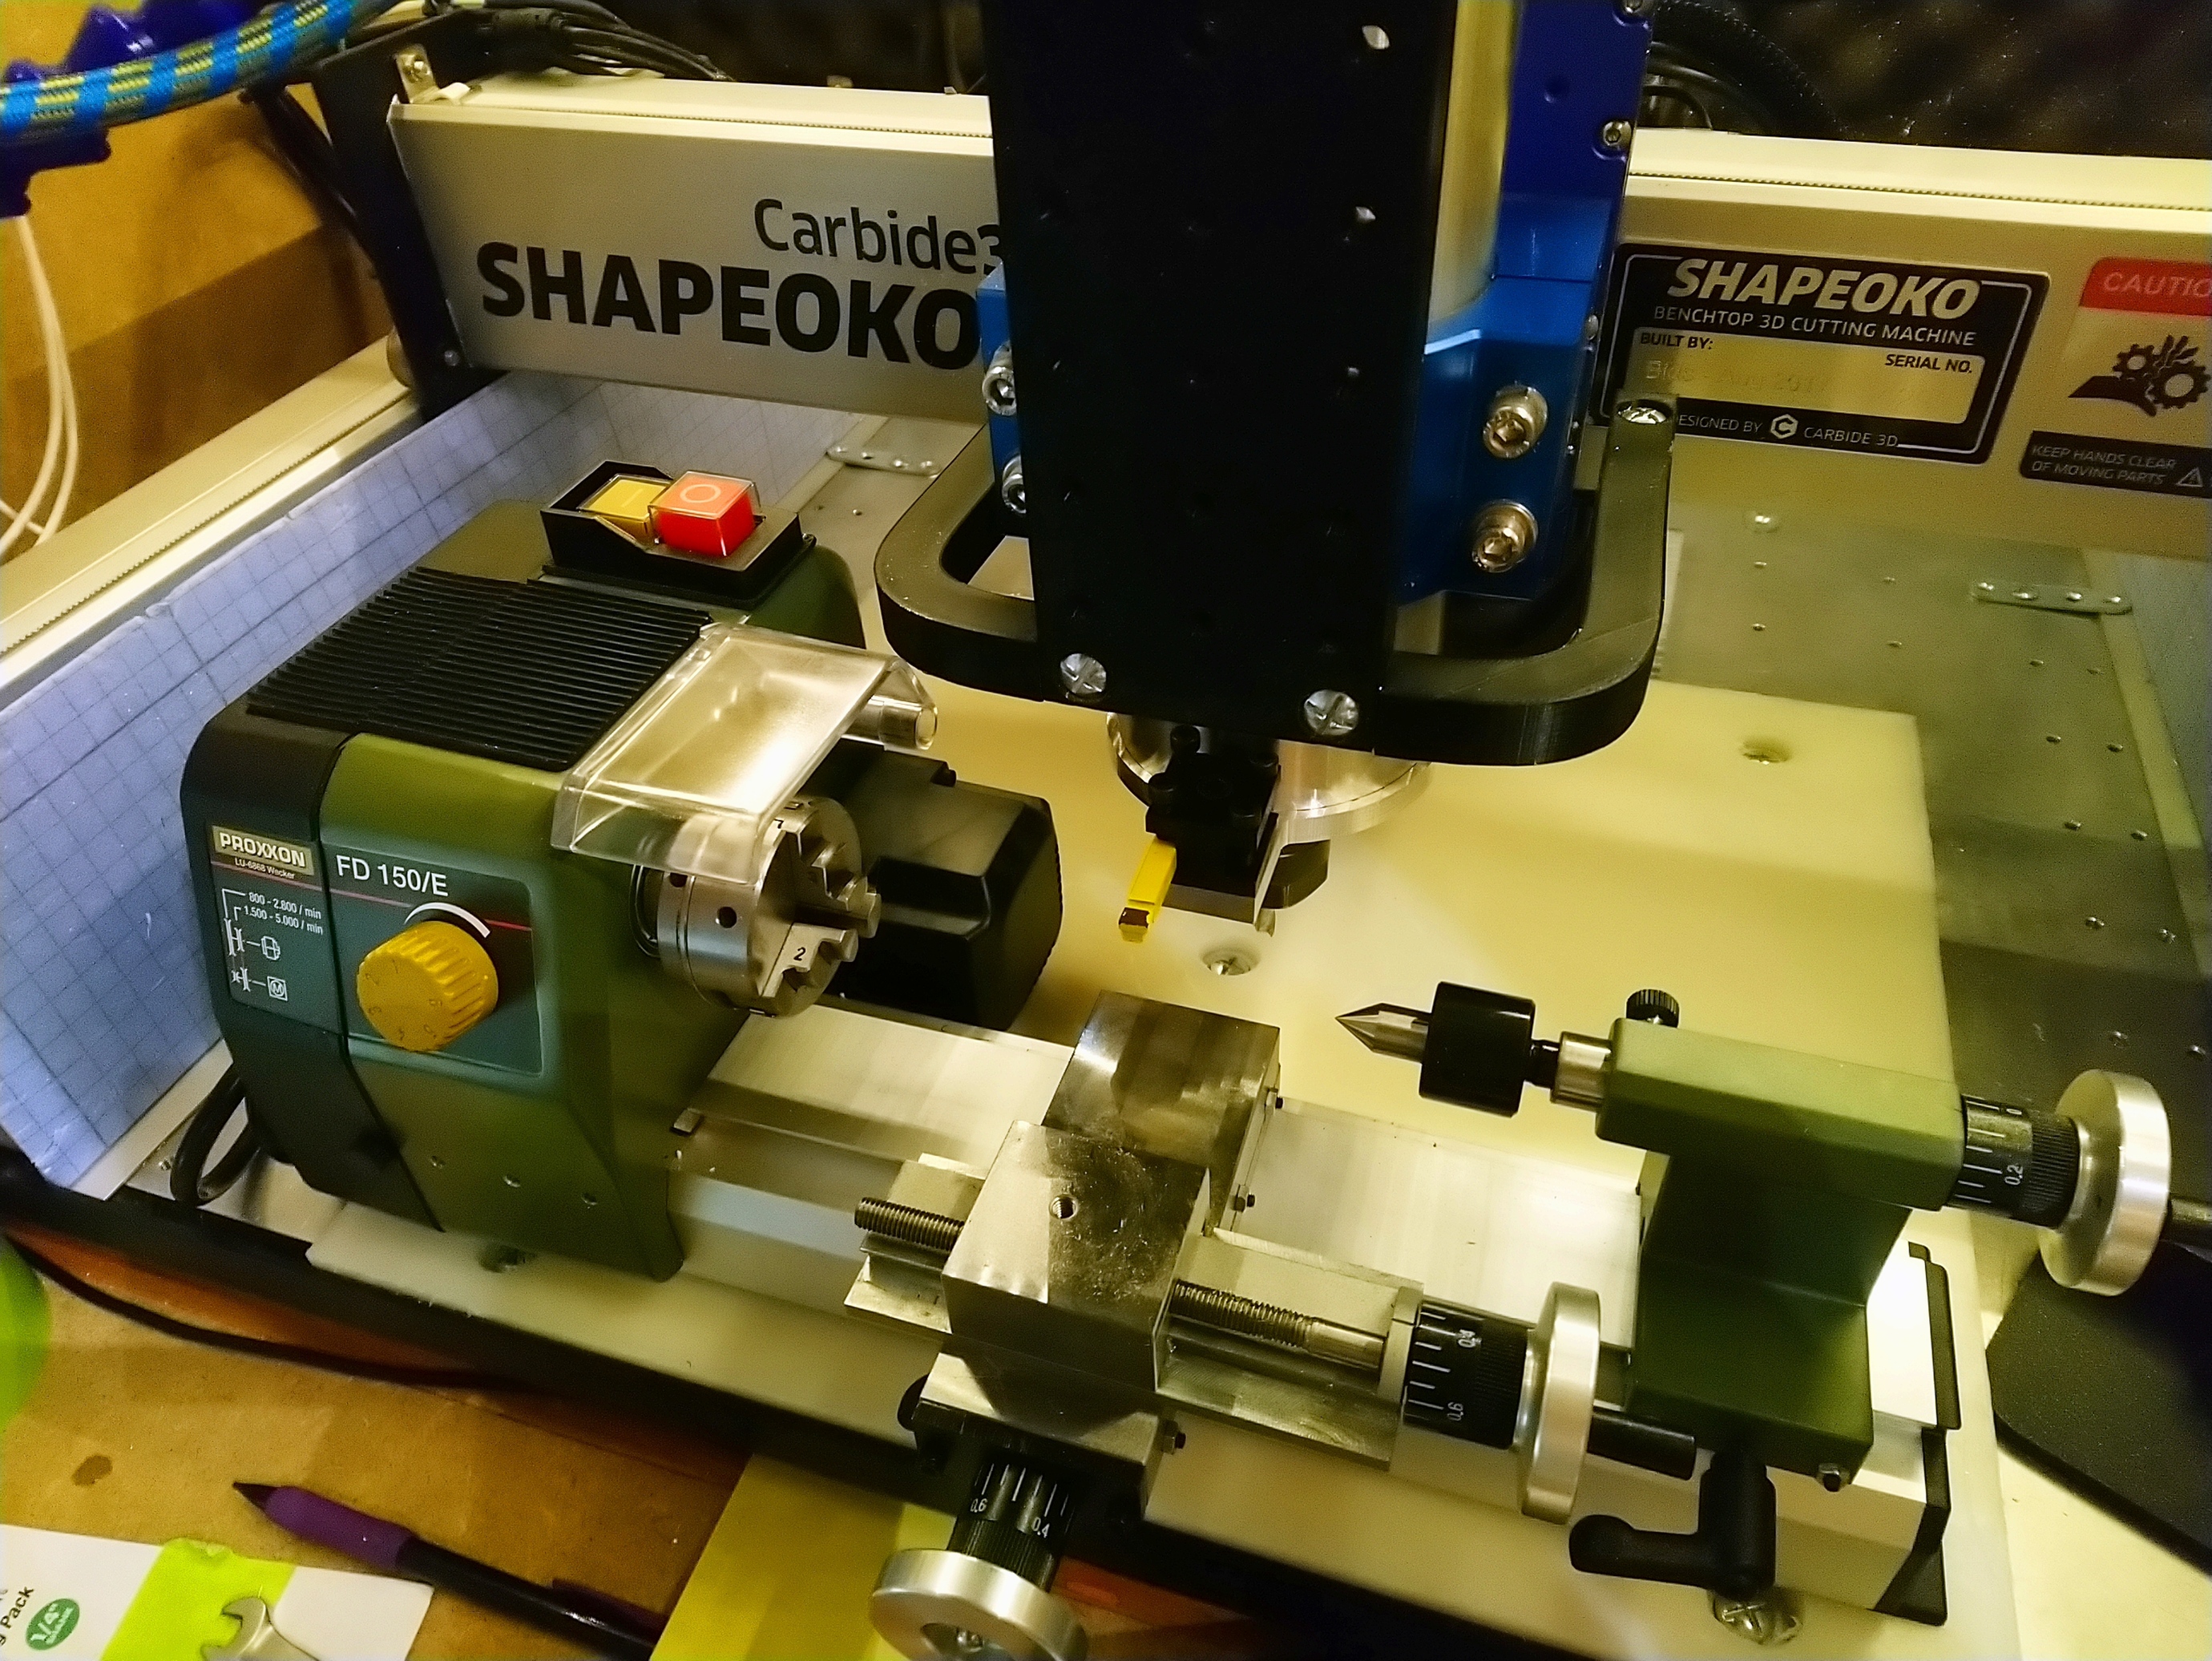
Yes, I have a clearance issue with my 3D-printed frame (usually supports my dust shoe), I’ll have to remove it when turning stuff.

Next on my list: look into attaching the mini-lathe to the aluminium baseboard. And then start looking into generating 2D (XY) toolpath to have the shapeoko move the turning tool. It will either be fun or a total disaster, either way I can’t stop now :slight_smile:

13 Likes

hahaah you wild. i like it.

does the chuck thread on? may want to run it fwd and flip the tool upside down to ensure it won’t back off - if threaded.

looking forward to seeing how well that holds up. i’m working on a solid mount to replace the compound on my lathe.

2 Likes

That’s an excellent point !

Yeah I dug a trench in my garage, to hide there when I hit the “run” button for the first time :man_factory_worker:

2 Likes

so you’re not considering using an endmill to carve patterns?
(sort of a round version of 3D carving)

I need to survive step1 first :slight_smile:
Joking aside, that would be an interesting possiblity, but I would then probably have a significant Z clearance issue to address.

1 Like

So, having cleared up my todo list a bit, I’m restarting this.

Nice surprise, the two fixing points on the mini-lathe are spaced by exactly 350mm, and my aluminium bed has holes every 50mm \o/

I needed short M5 bolts, and the only ones I had on hand were salvaged from my original stock Z axis, so it’s like it was meant to be.

Potential disaster ahead, take cover!..

6 Likes

Well, it’s alive, and I’m still alive too.

(lousy quality because it was captured from behind my acrylic front window, I’m not taking any chances)

It’s a good thing I reread the thread before launching the job, because I had my tool facing up (oops…it must be flipped since I’m coming from “behind” and the rotation is counterclosewise) so @PaulAlfaro literally saved me from a very silly crash on first try with his comment above.

I have no idea what I’m doing yet, so I semi-randomly chose 2000 RPM, 350mm/min feedrate (13ipm), cutting 0.5mm (0.02")

Conclusion for today:

  • I feel like a newbie again, I need to go and learn about CNC turning feeds and speeds and the different kinds of cutters and when to use them, etc…does anybody have a recommendation about a specific site or book to learn turning basics ? (but which would be CNC-friendly, I have gone through a few videos already and the “you have to feel it” comments don’t help me much for a CNC lathe…)
  • I will add a new power switch for the lathe on my control panel outside the enclosure, it feels a lot safer to have the front door closed when I start this thing.
  • I need to look into what my CAM workflow should be. I can probably use CC and X/Y contour profiles with no Z depth as a hack, I think VCarve supports turning toolpaths to so I’ll check that, and there’s always Fusion360.
8 Likes

I haven’t thought about how you were going to hold that milling cutter. I’m surprised that that is stiff enough without giving you a bunch of chatter. I guess that will show when you “overfeed” the cut.

Looks really neat! +1

2 Likes

Ok, Fusion360 it is, for generating turning toolpaths.

Since Fusion insists on the rotary axis being “Z”, for now I’m cheating, opening the G-code file and replacing “X” by “Y” and “Z” by “X”.

which then gives me a nice toolpath in the X/Y plane

image

Now to take a peek inside the turning post-proc and see where to hack to do the X/Y swap

4 Likes

I wonder if this is something where you want to just feed it an STL file and then make a flattened depthmap…

1 Like

I’m not sure I get how that would work? I still need the CAM to generate a toolpath that will remove only [depth per pass] at a time (in the XY plane)

1 Like

if Y is your rotation… then getting a rectangle in, say CC Pro, that you can rough out + finish… will basically wrap around the cylinder in your lathe

1 Like

Scorchworks has a tool which will map a flat XY set of G-Code coordinates around a cylinder.

2 Likes

The lathe isn’t actually an axis being controlled by the machine though. It’s not a CNC router with a rotary axis. He’s got a CNC lathe. Awesome for making precision parts that can be made on a lathe.

4 Likes

I am really excited to see the development on this! Thanks for sharing Julien!

1 Like