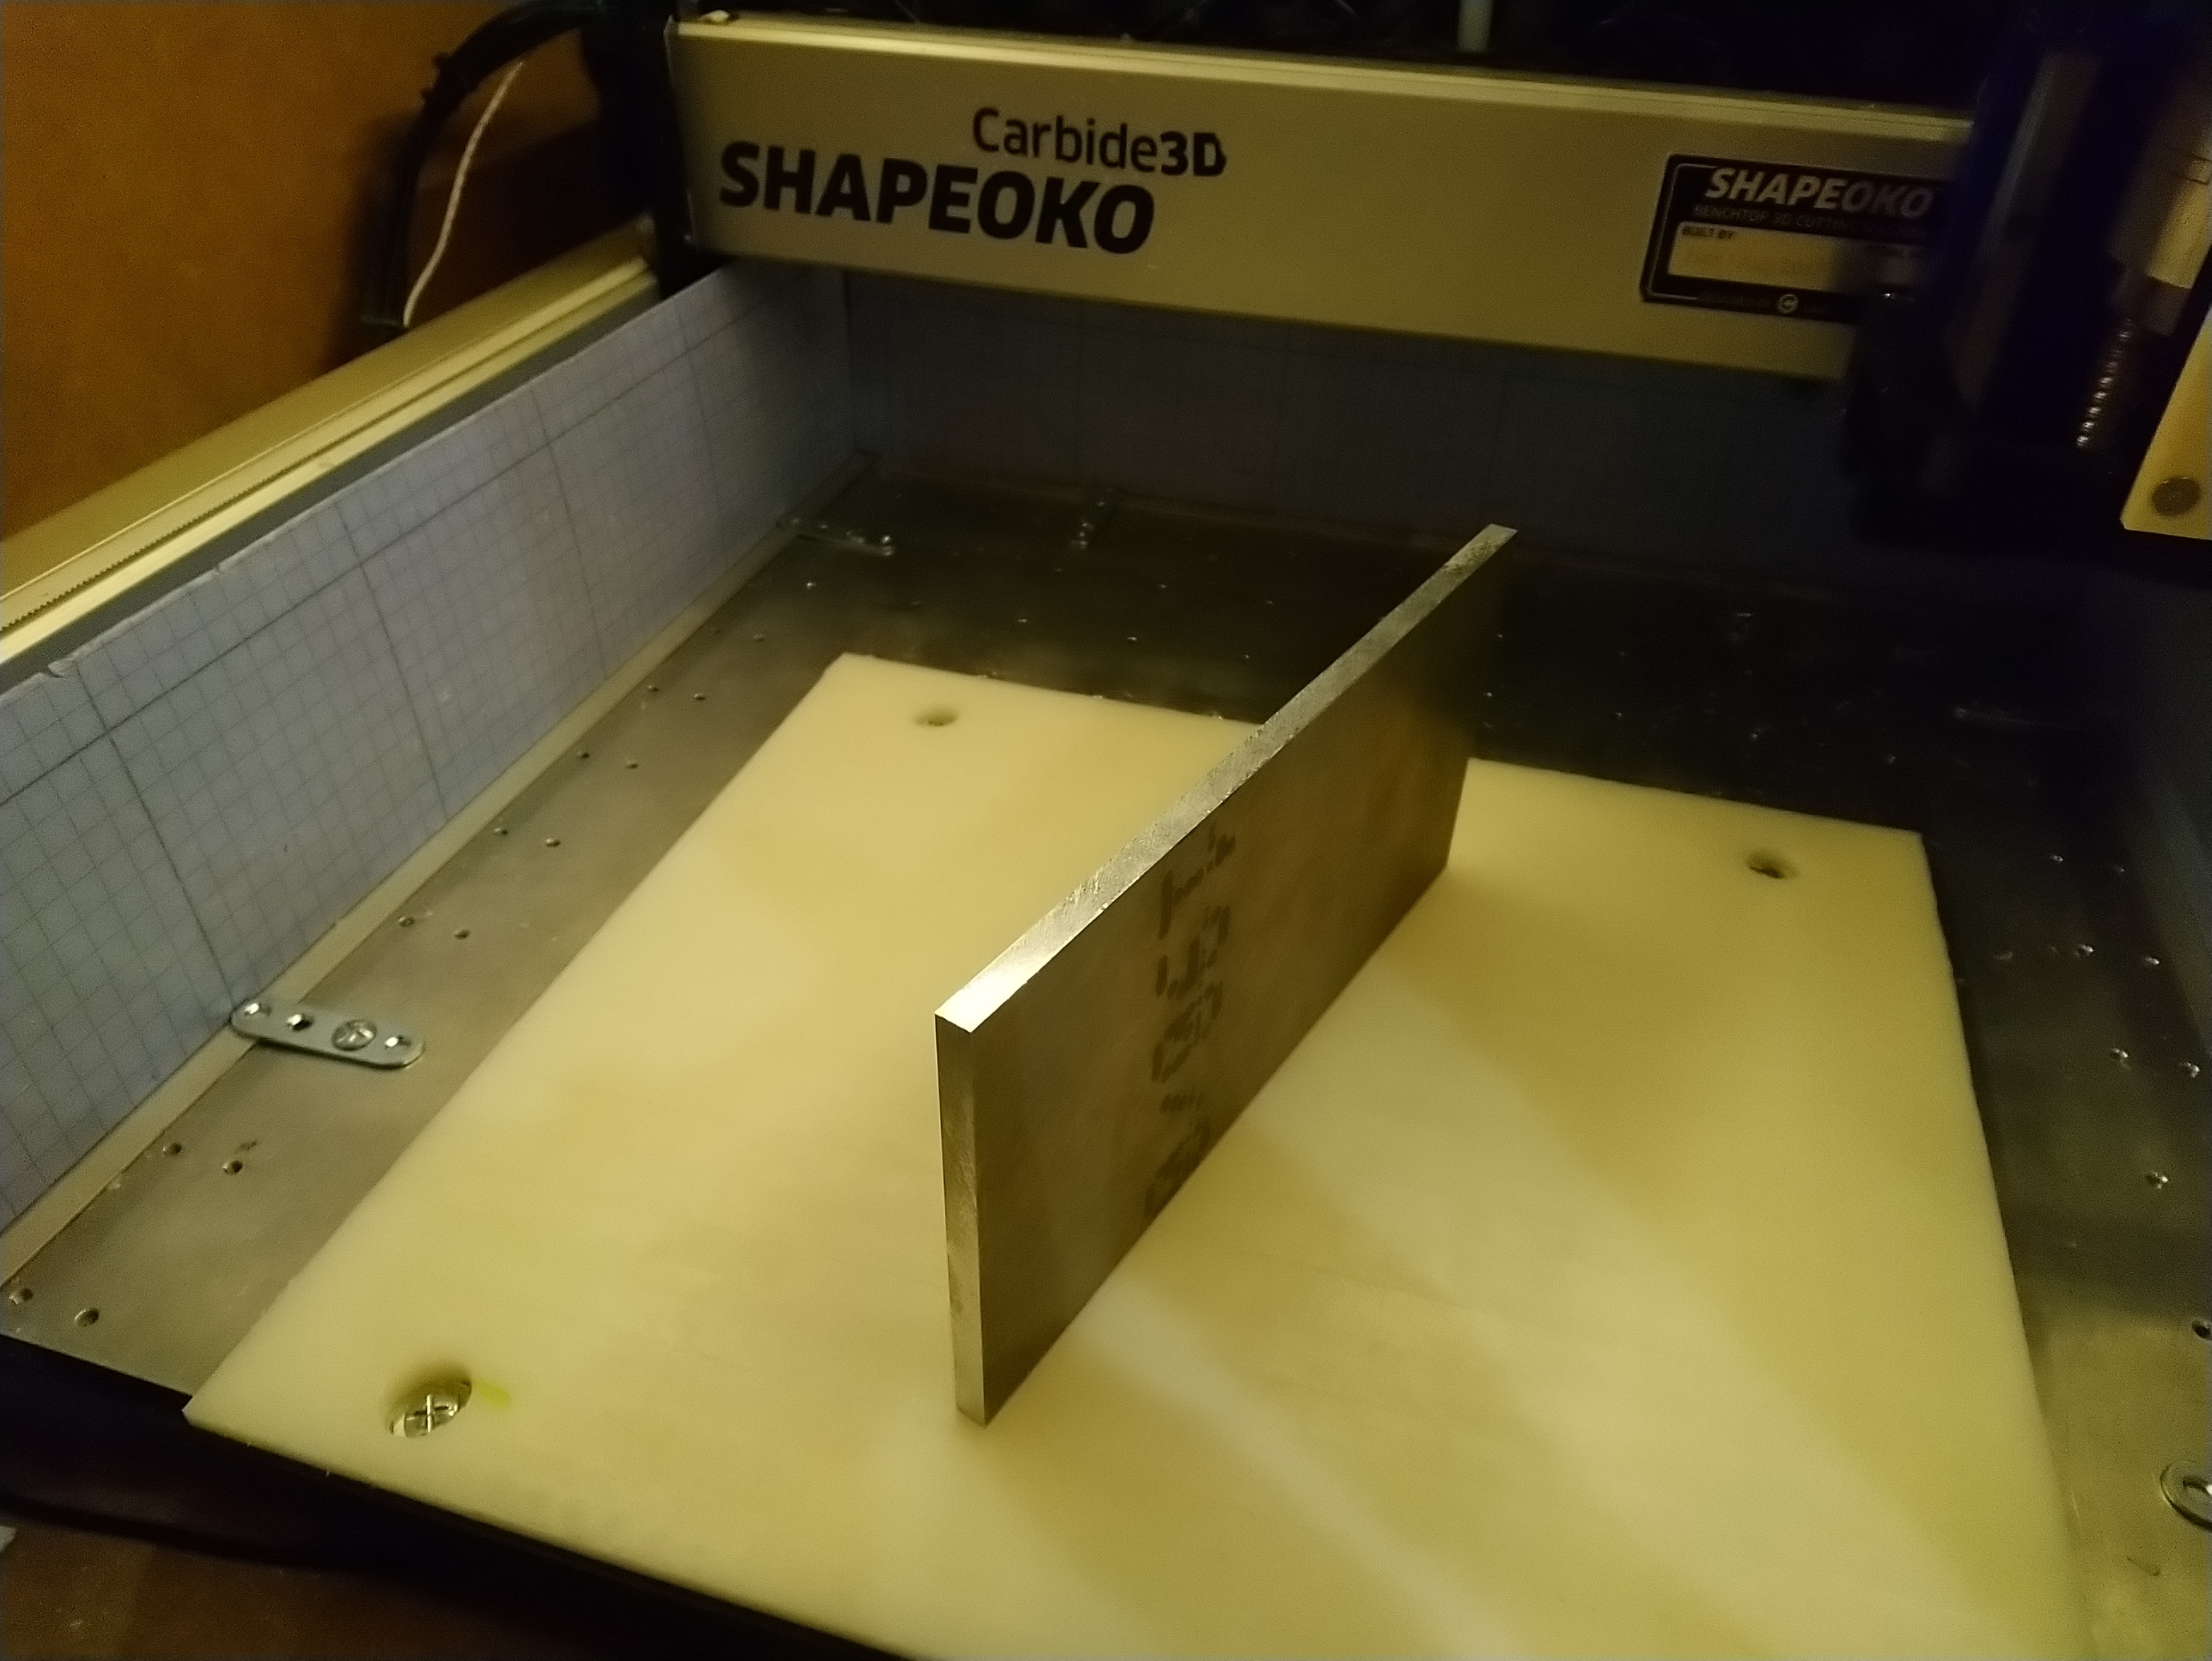
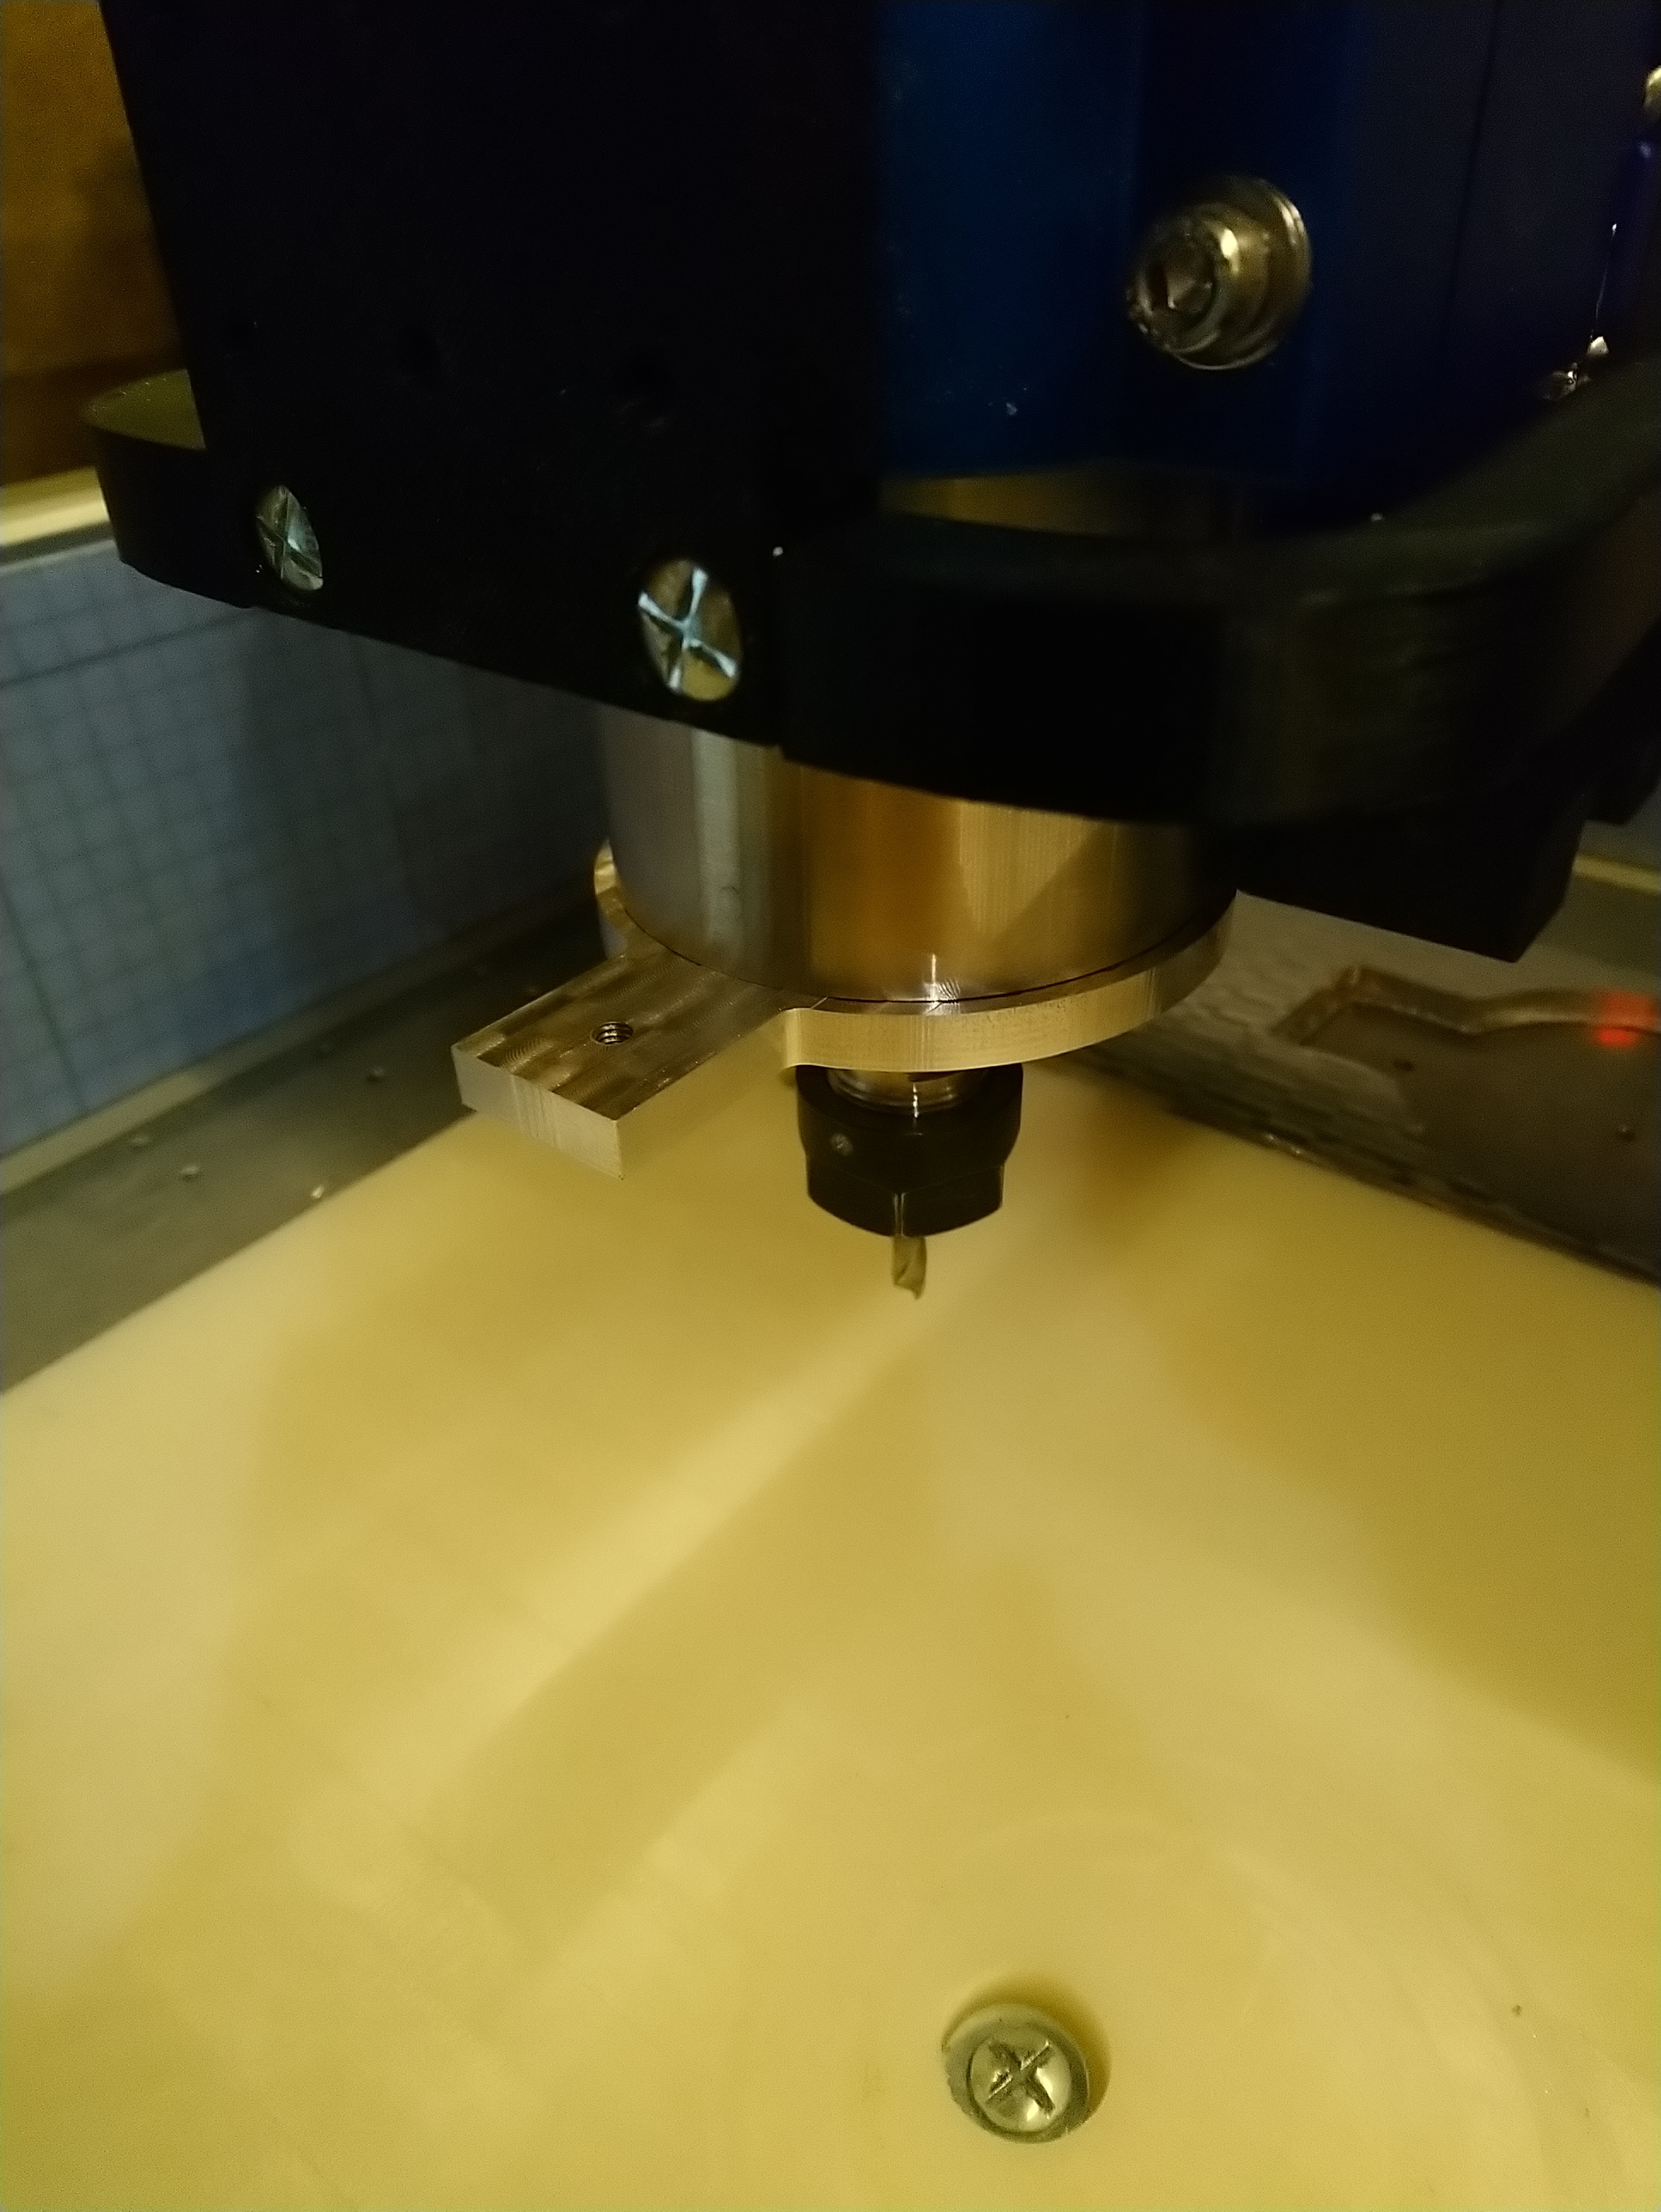
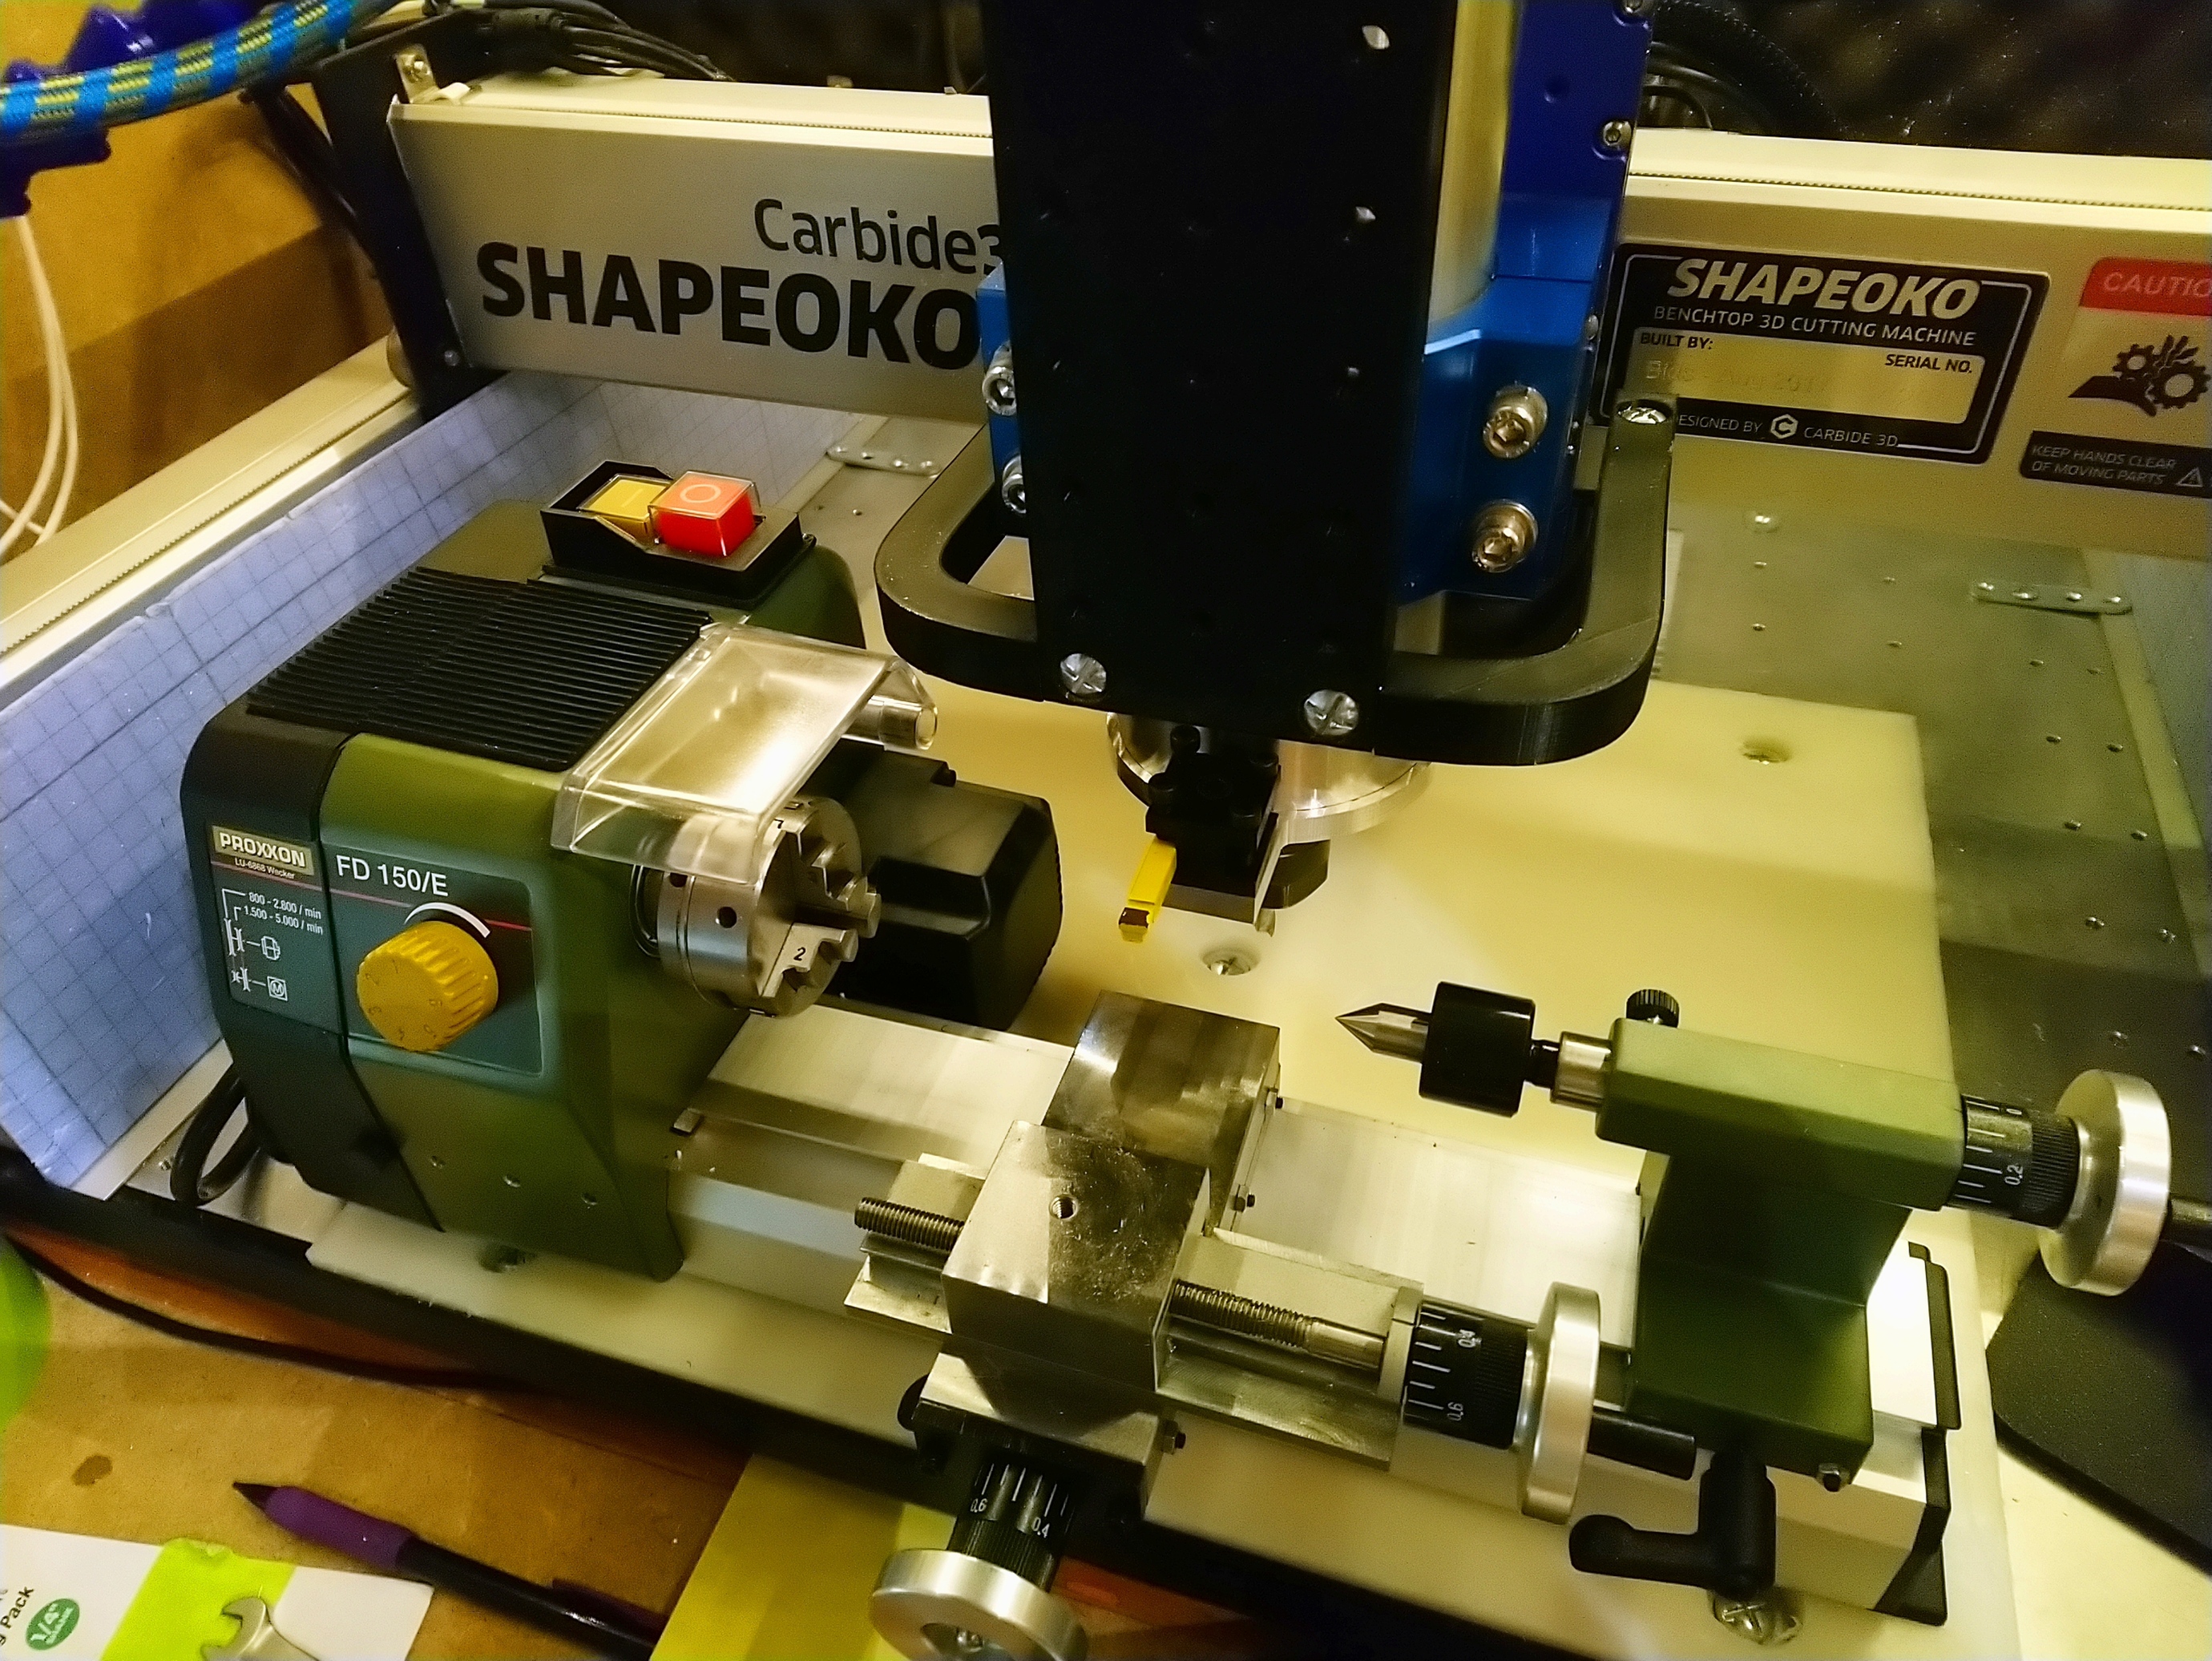
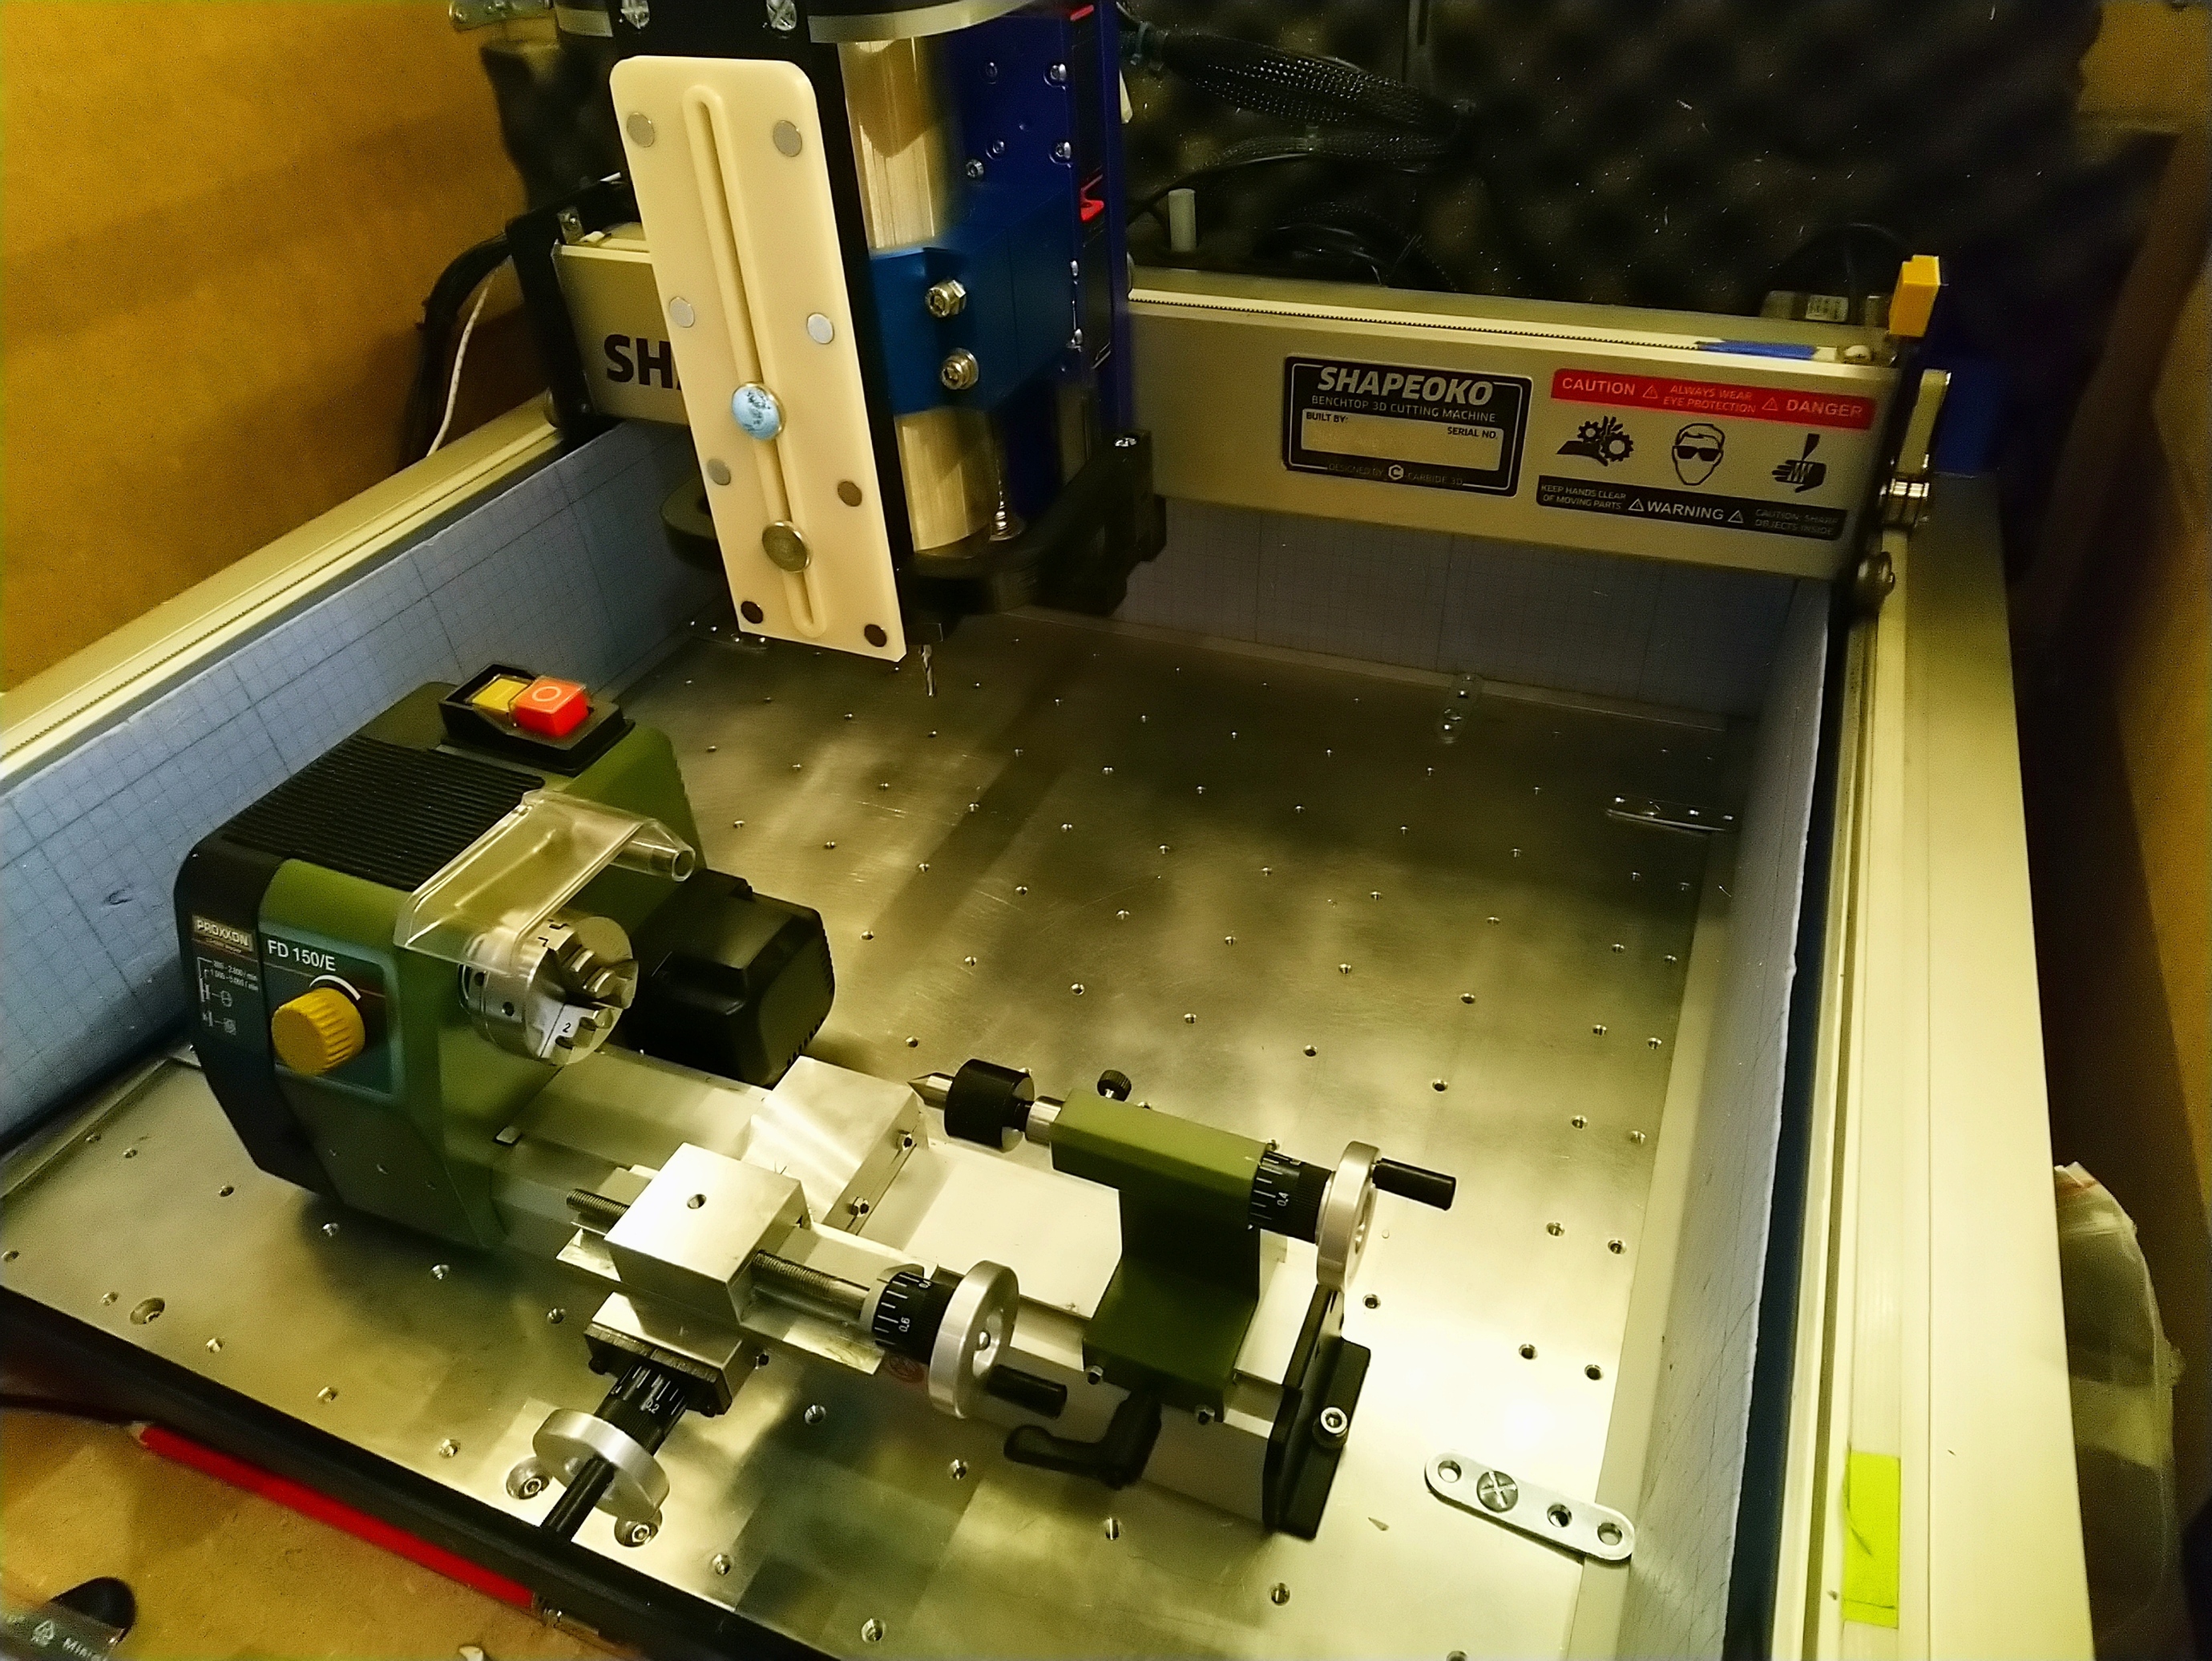
Yes, I have a clearance issue with my 3D-printed frame (usually supports my dust shoe), I’ll have to remove it when turning stuff.
Next on my list: look into attaching the mini-lathe to the aluminium baseboard. And then start looking into generating 2D (XY) toolpath to have the shapeoko move the turning tool. It will either be fun or a total disaster, either way I can’t stop now
I need to survive step1 first
Joking aside, that would be an interesting possiblity, but I would then probably have a significant Z clearance issue to address.
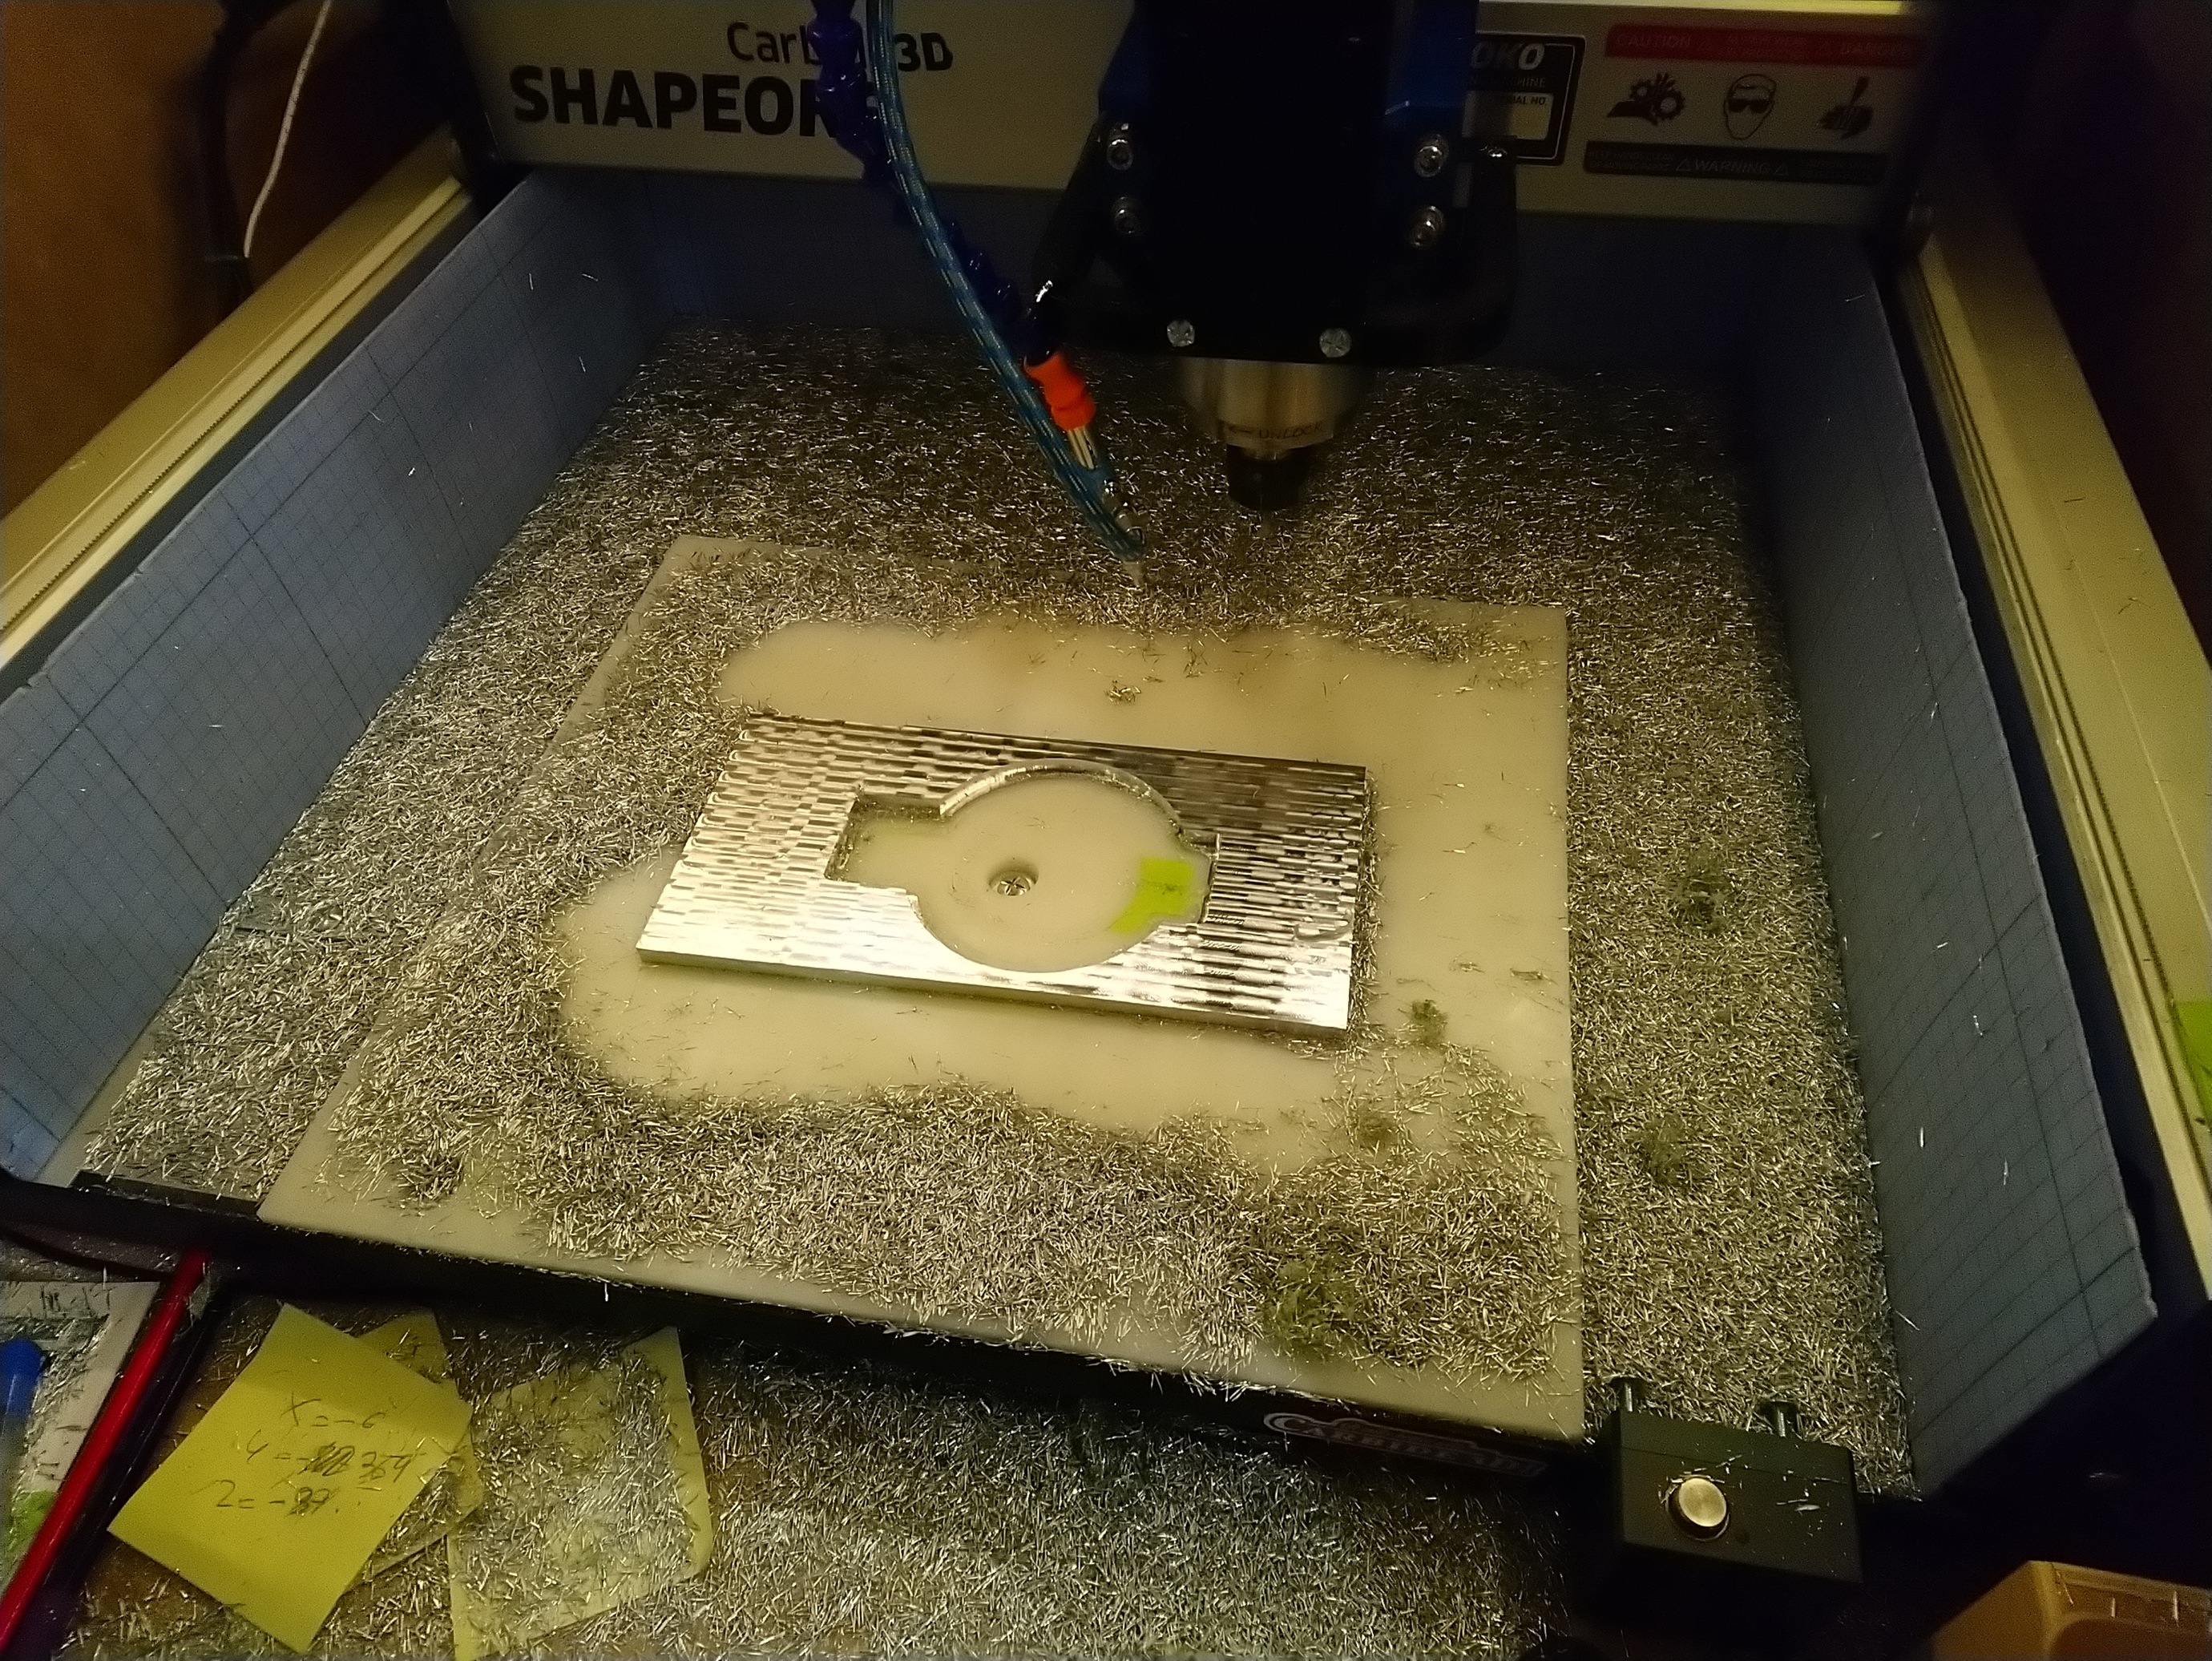
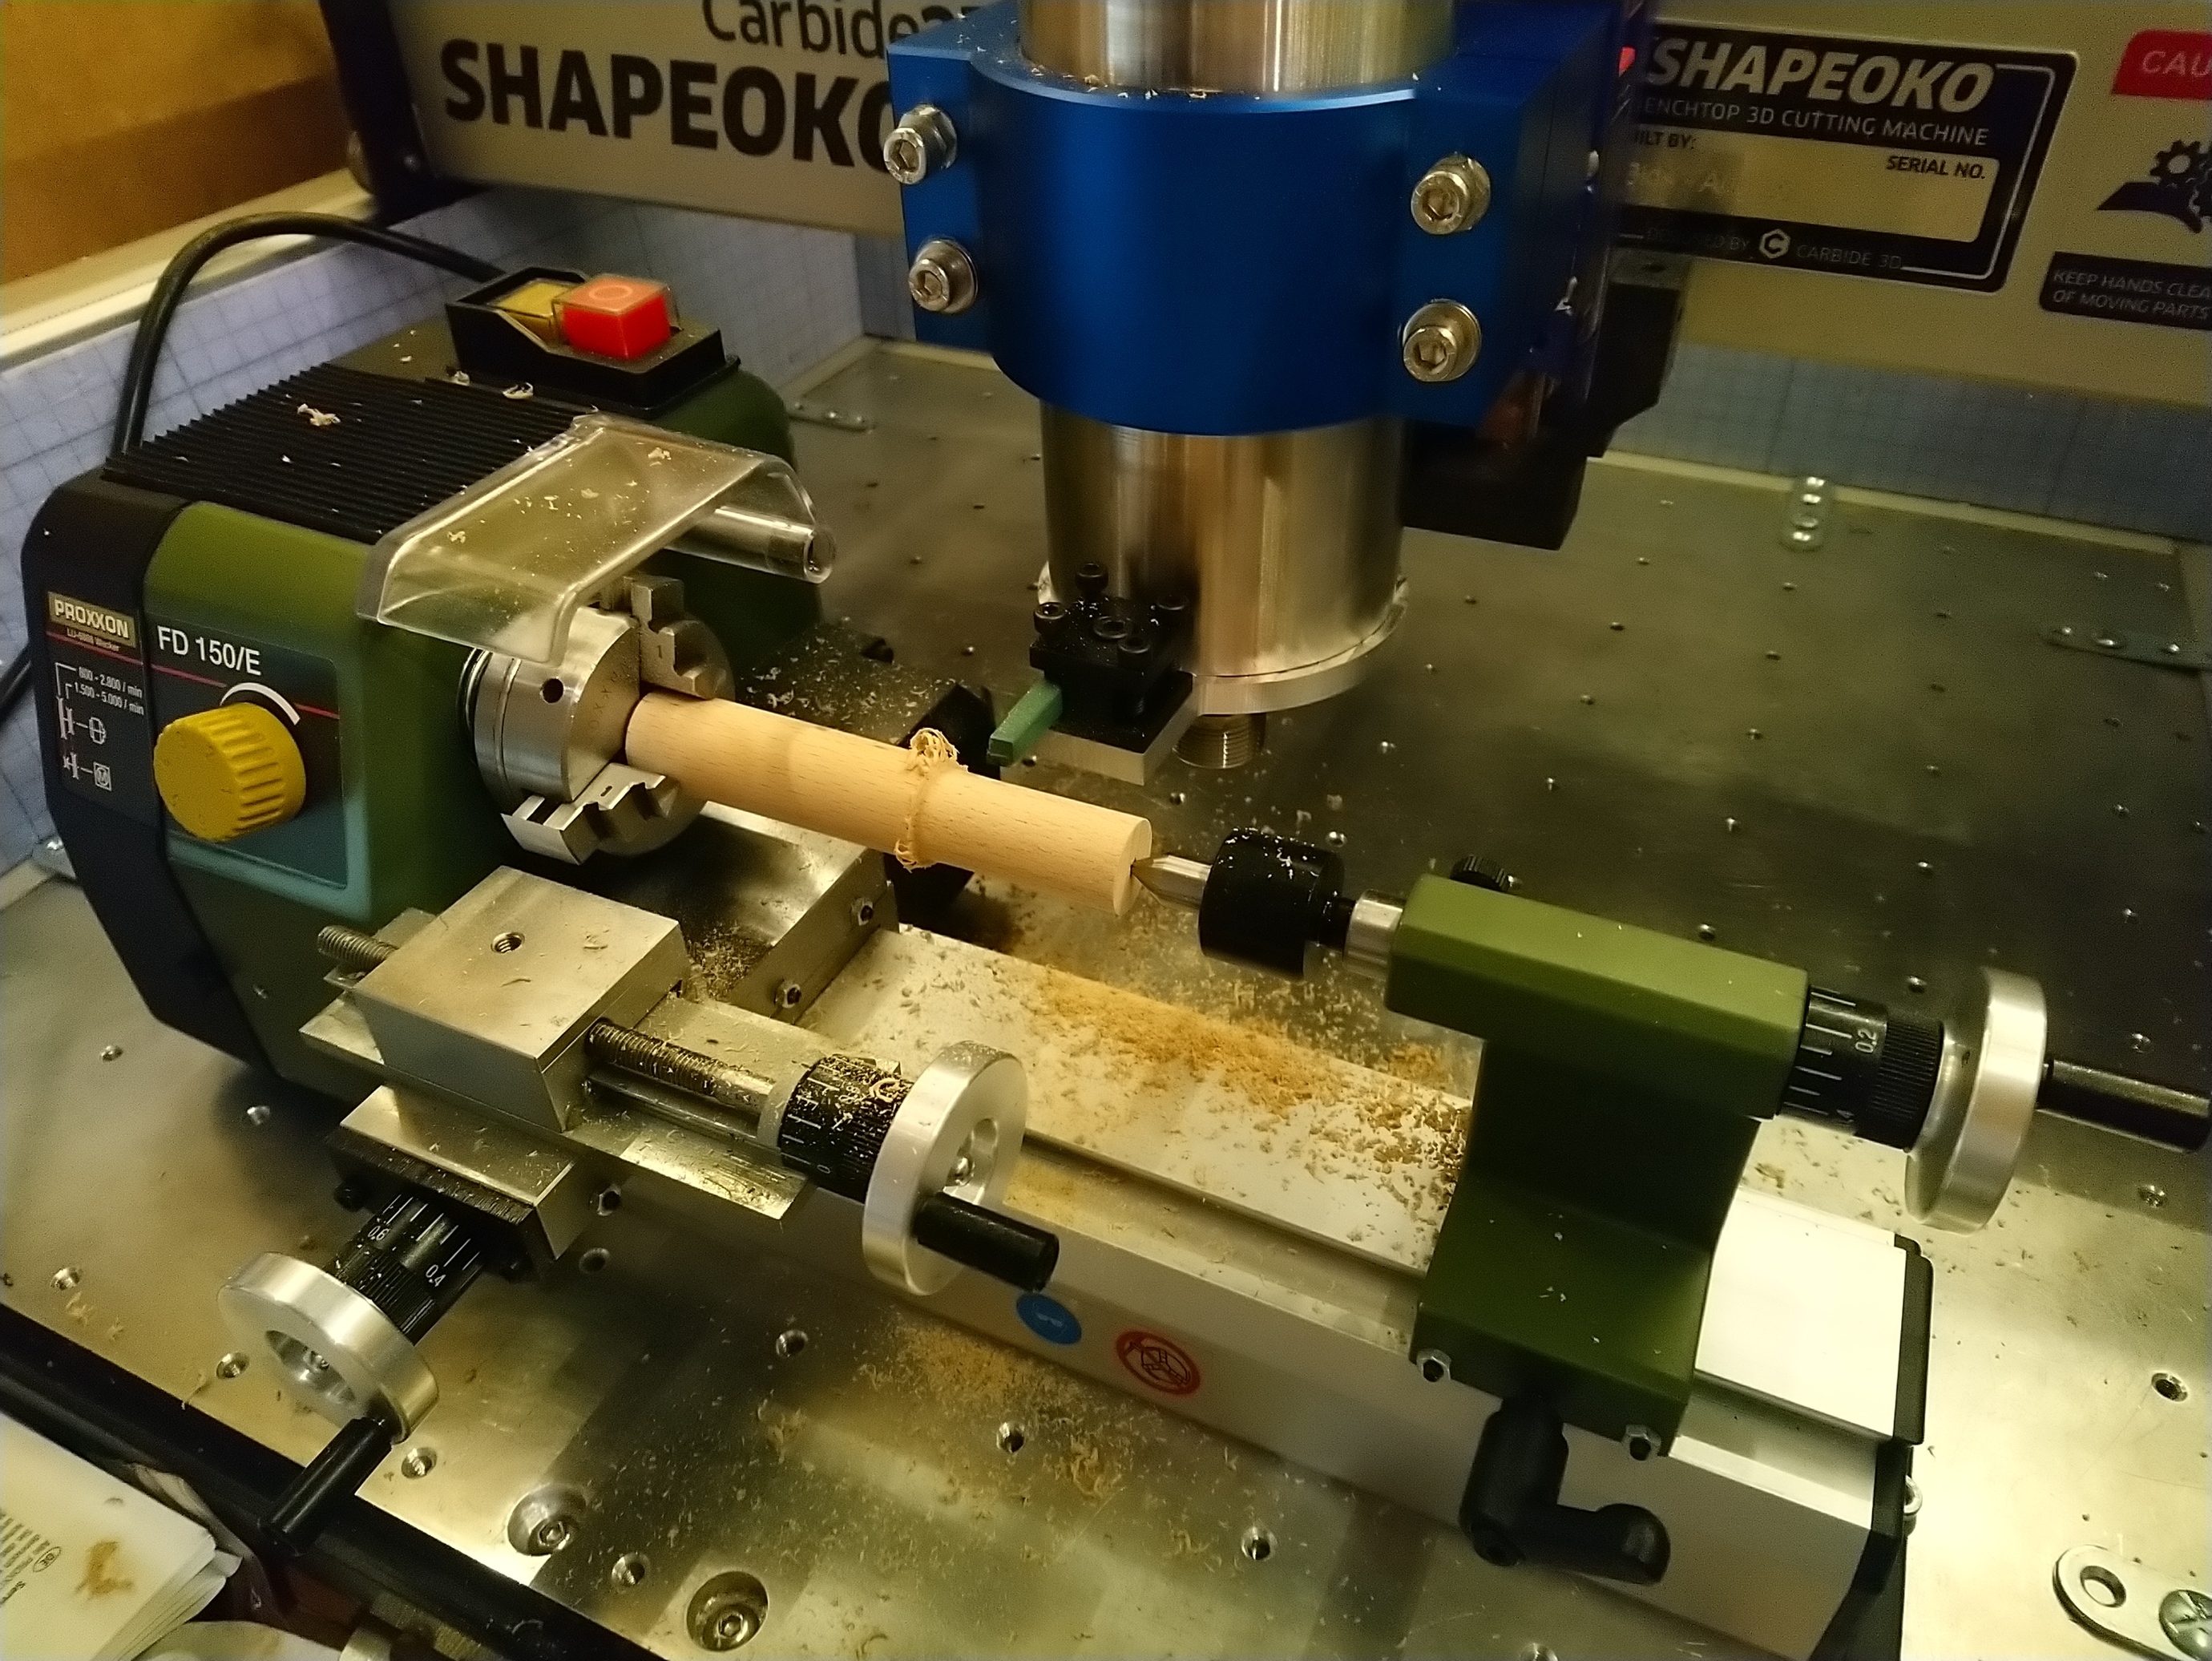
(lousy quality because it was captured from behind my acrylic front window, I’m not taking any chances)
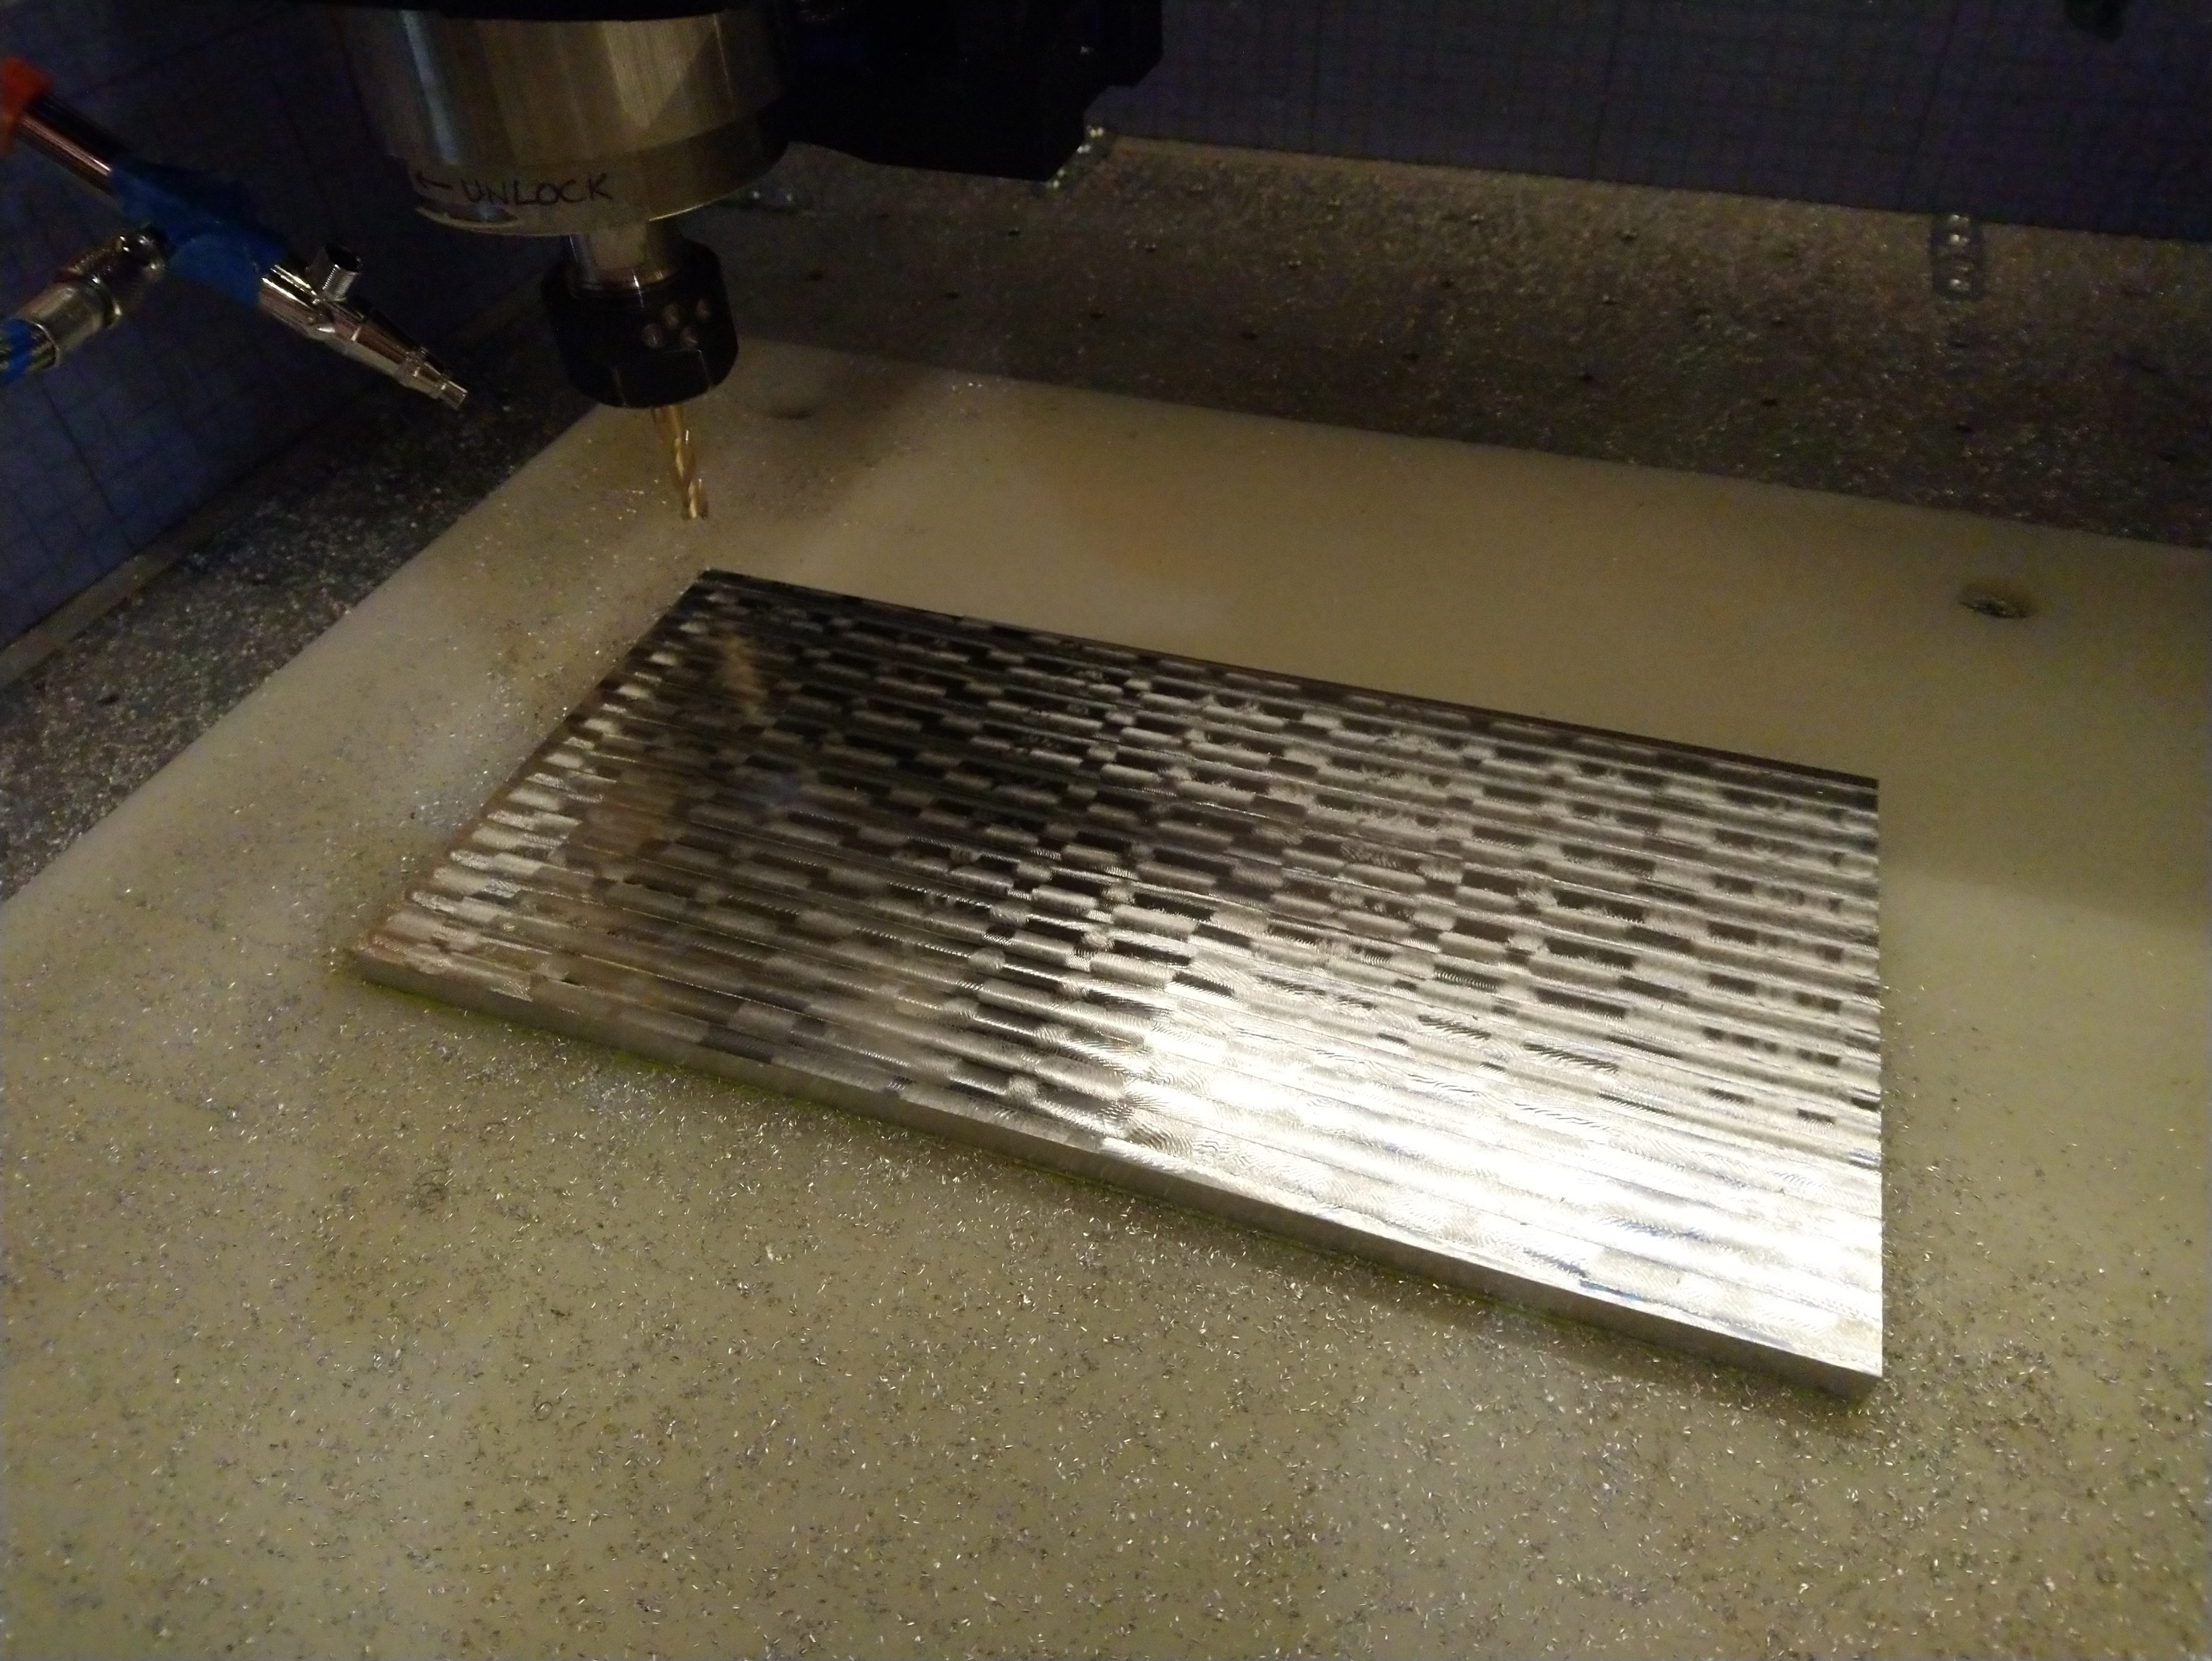
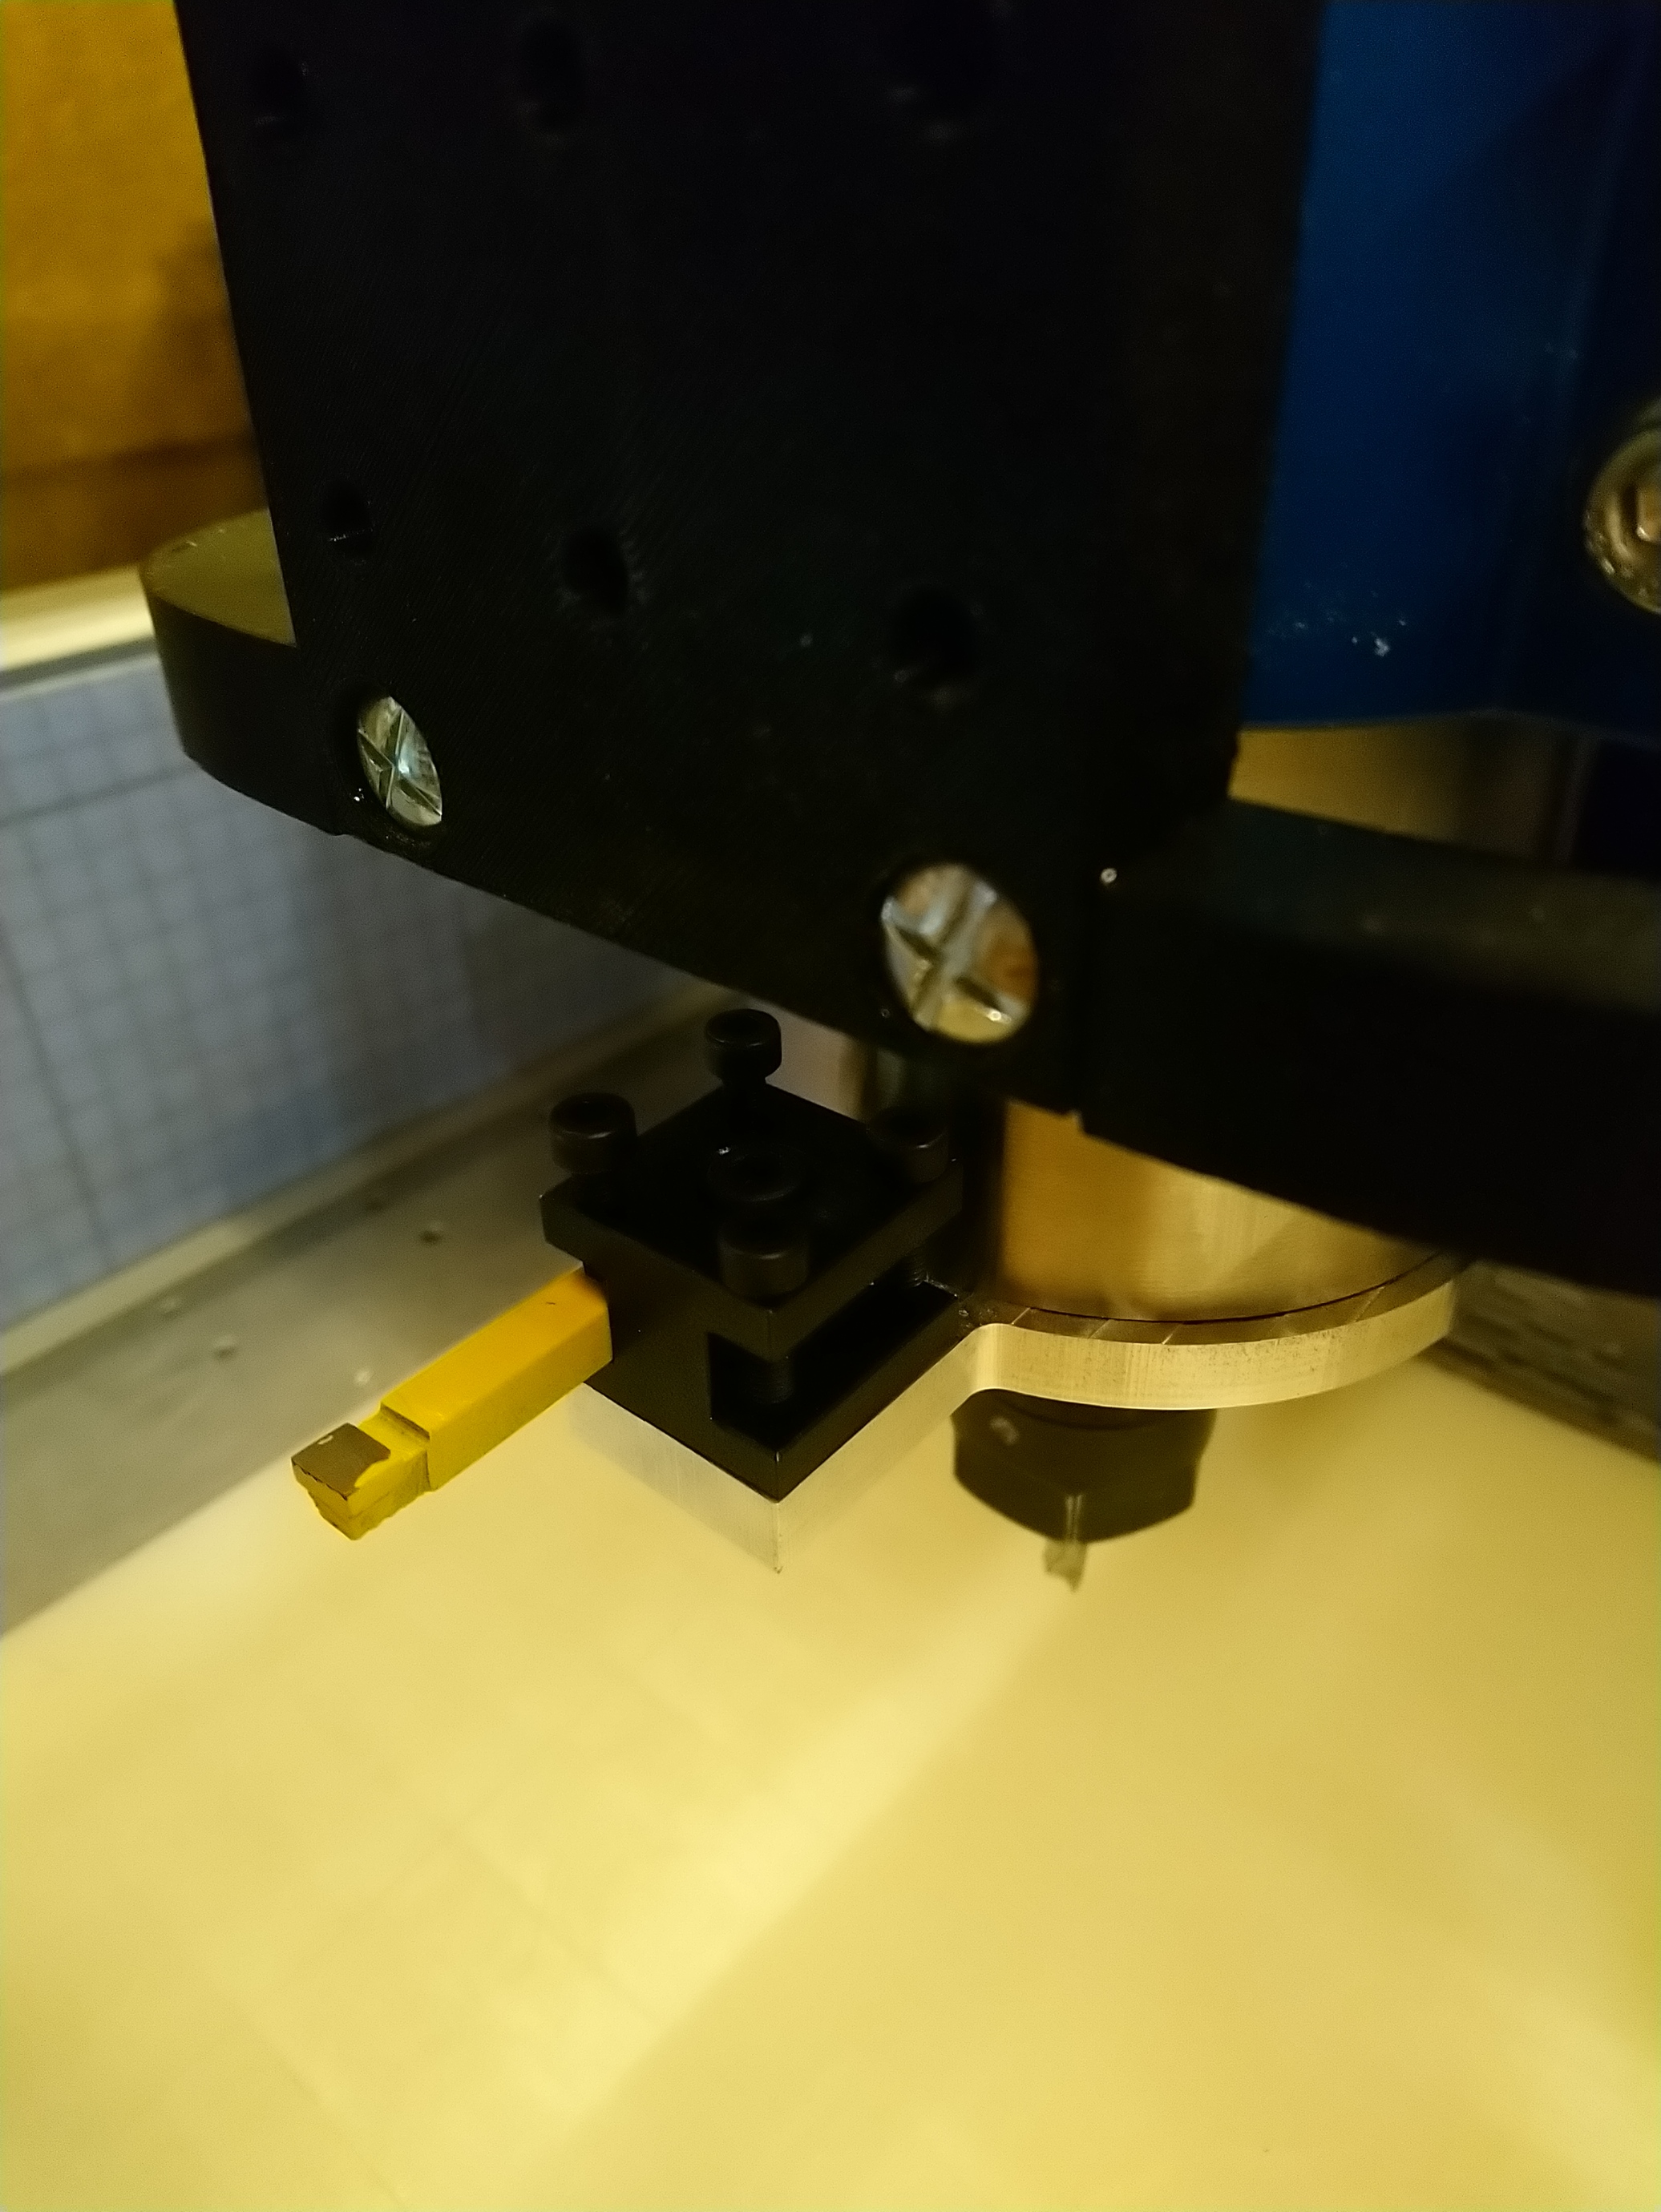
It’s a good thing I reread the thread before launching the job, because I had my tool facing up (oops…it must be flipped since I’m coming from “behind” and the rotation is counterclosewise) so @PaulAlfaro literally saved me from a very silly crash on first try with his comment above.
I have no idea what I’m doing yet, so I semi-randomly chose 2000 RPM, 350mm/min feedrate (13ipm), cutting 0.5mm (0.02")
I feel like a newbie again, I need to go and learn about CNC turning feeds and speeds and the different kinds of cutters and when to use them, etc…does anybody have a recommendation about a specific site or book to learn turning basics ? (but which would be CNC-friendly, I have gone through a few videos already and the “you have to feel it” comments don’t help me much for a CNC lathe…)
I will add a new power switch for the lathe on my control panel outside the enclosure, it feels a lot safer to have the front door closed when I start this thing.
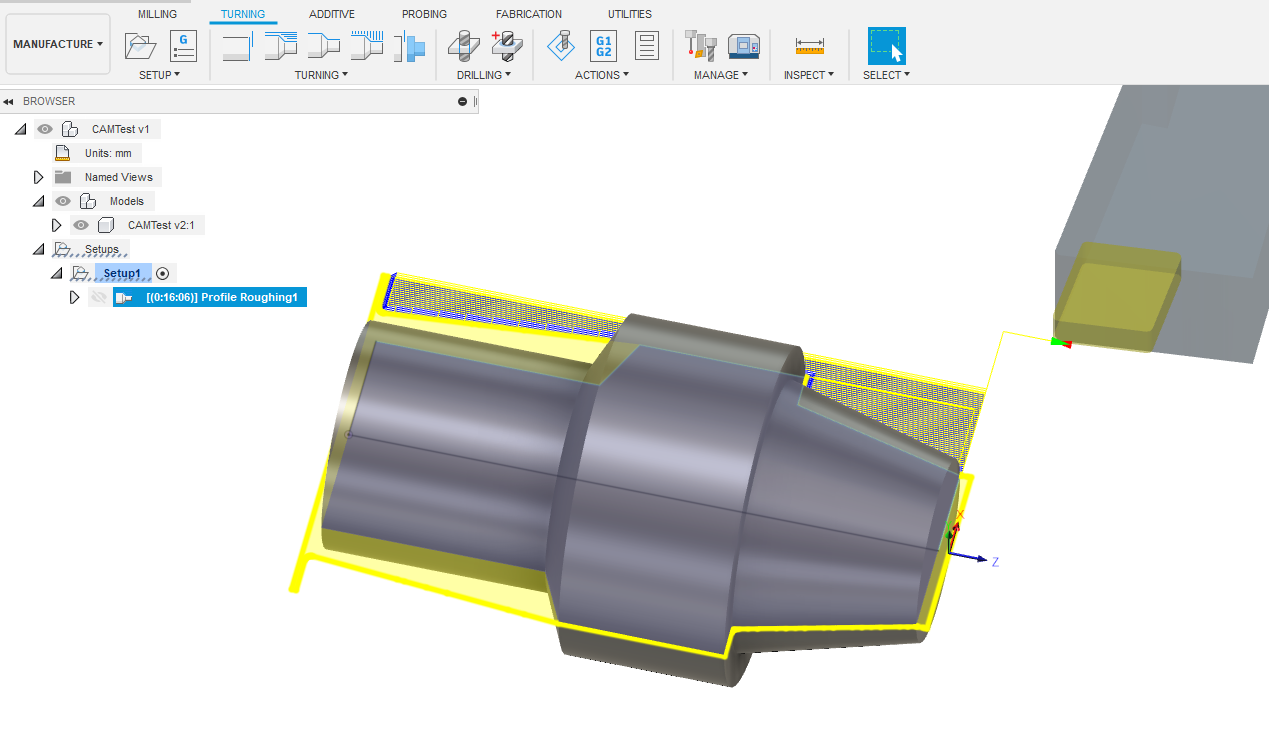
I need to look into what my CAM workflow should be. I can probably use CC and X/Y contour profiles with no Z depth as a hack, I think VCarve supports turning toolpaths to so I’ll check that, and there’s always Fusion360.
I haven’t thought about how you were going to hold that milling cutter. I’m surprised that that is stiff enough without giving you a bunch of chatter. I guess that will show when you “overfeed” the cut.
The lathe isn’t actually an axis being controlled by the machine though. It’s not a CNC router with a rotary axis. He’s got a CNC lathe. Awesome for making precision parts that can be made on a lathe.
Exactly what @neilferreri said: this is not a 4th axis (that’s an adventure for another day), this is “just” a CNC lathe experiment, so I only need to be able to generate 2D toolpaths in the XY plane of the machine.
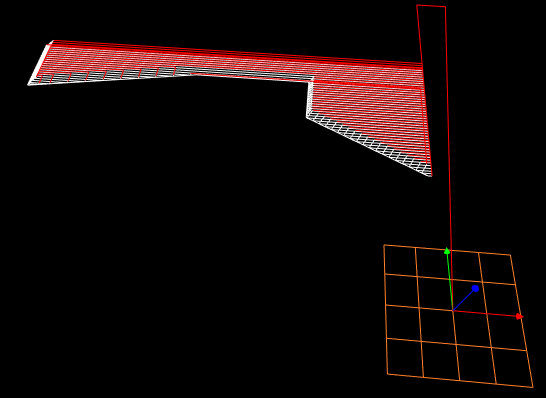
The Fusion360 turning support is great, I had my turning toolpath ready in minutes, I’ll just need to edit the post processor to use X/Y instead of radial/X and axial/Z.
I duplicated the “FANUC Turning” post, I thought it would boil down to modifying those lines:
var xOutput = createVariable({prefix:"Y"}, xFormat);
var yOutput = createVariable({prefix:"!"}, yFormat);
var zOutput = createVariable({prefix:"X"}, zFormat);
but either I’m missing something or Fusion360 ignores my changes and keeps generating X and Z…or maybe it’s just late.
EDIT: well I just closed Fusion and restarted it, and it started using my modified post now…there must be a cache somewhere, or this was a plain bug. Anyway, yay, I have a suitable post to proceed with tests.
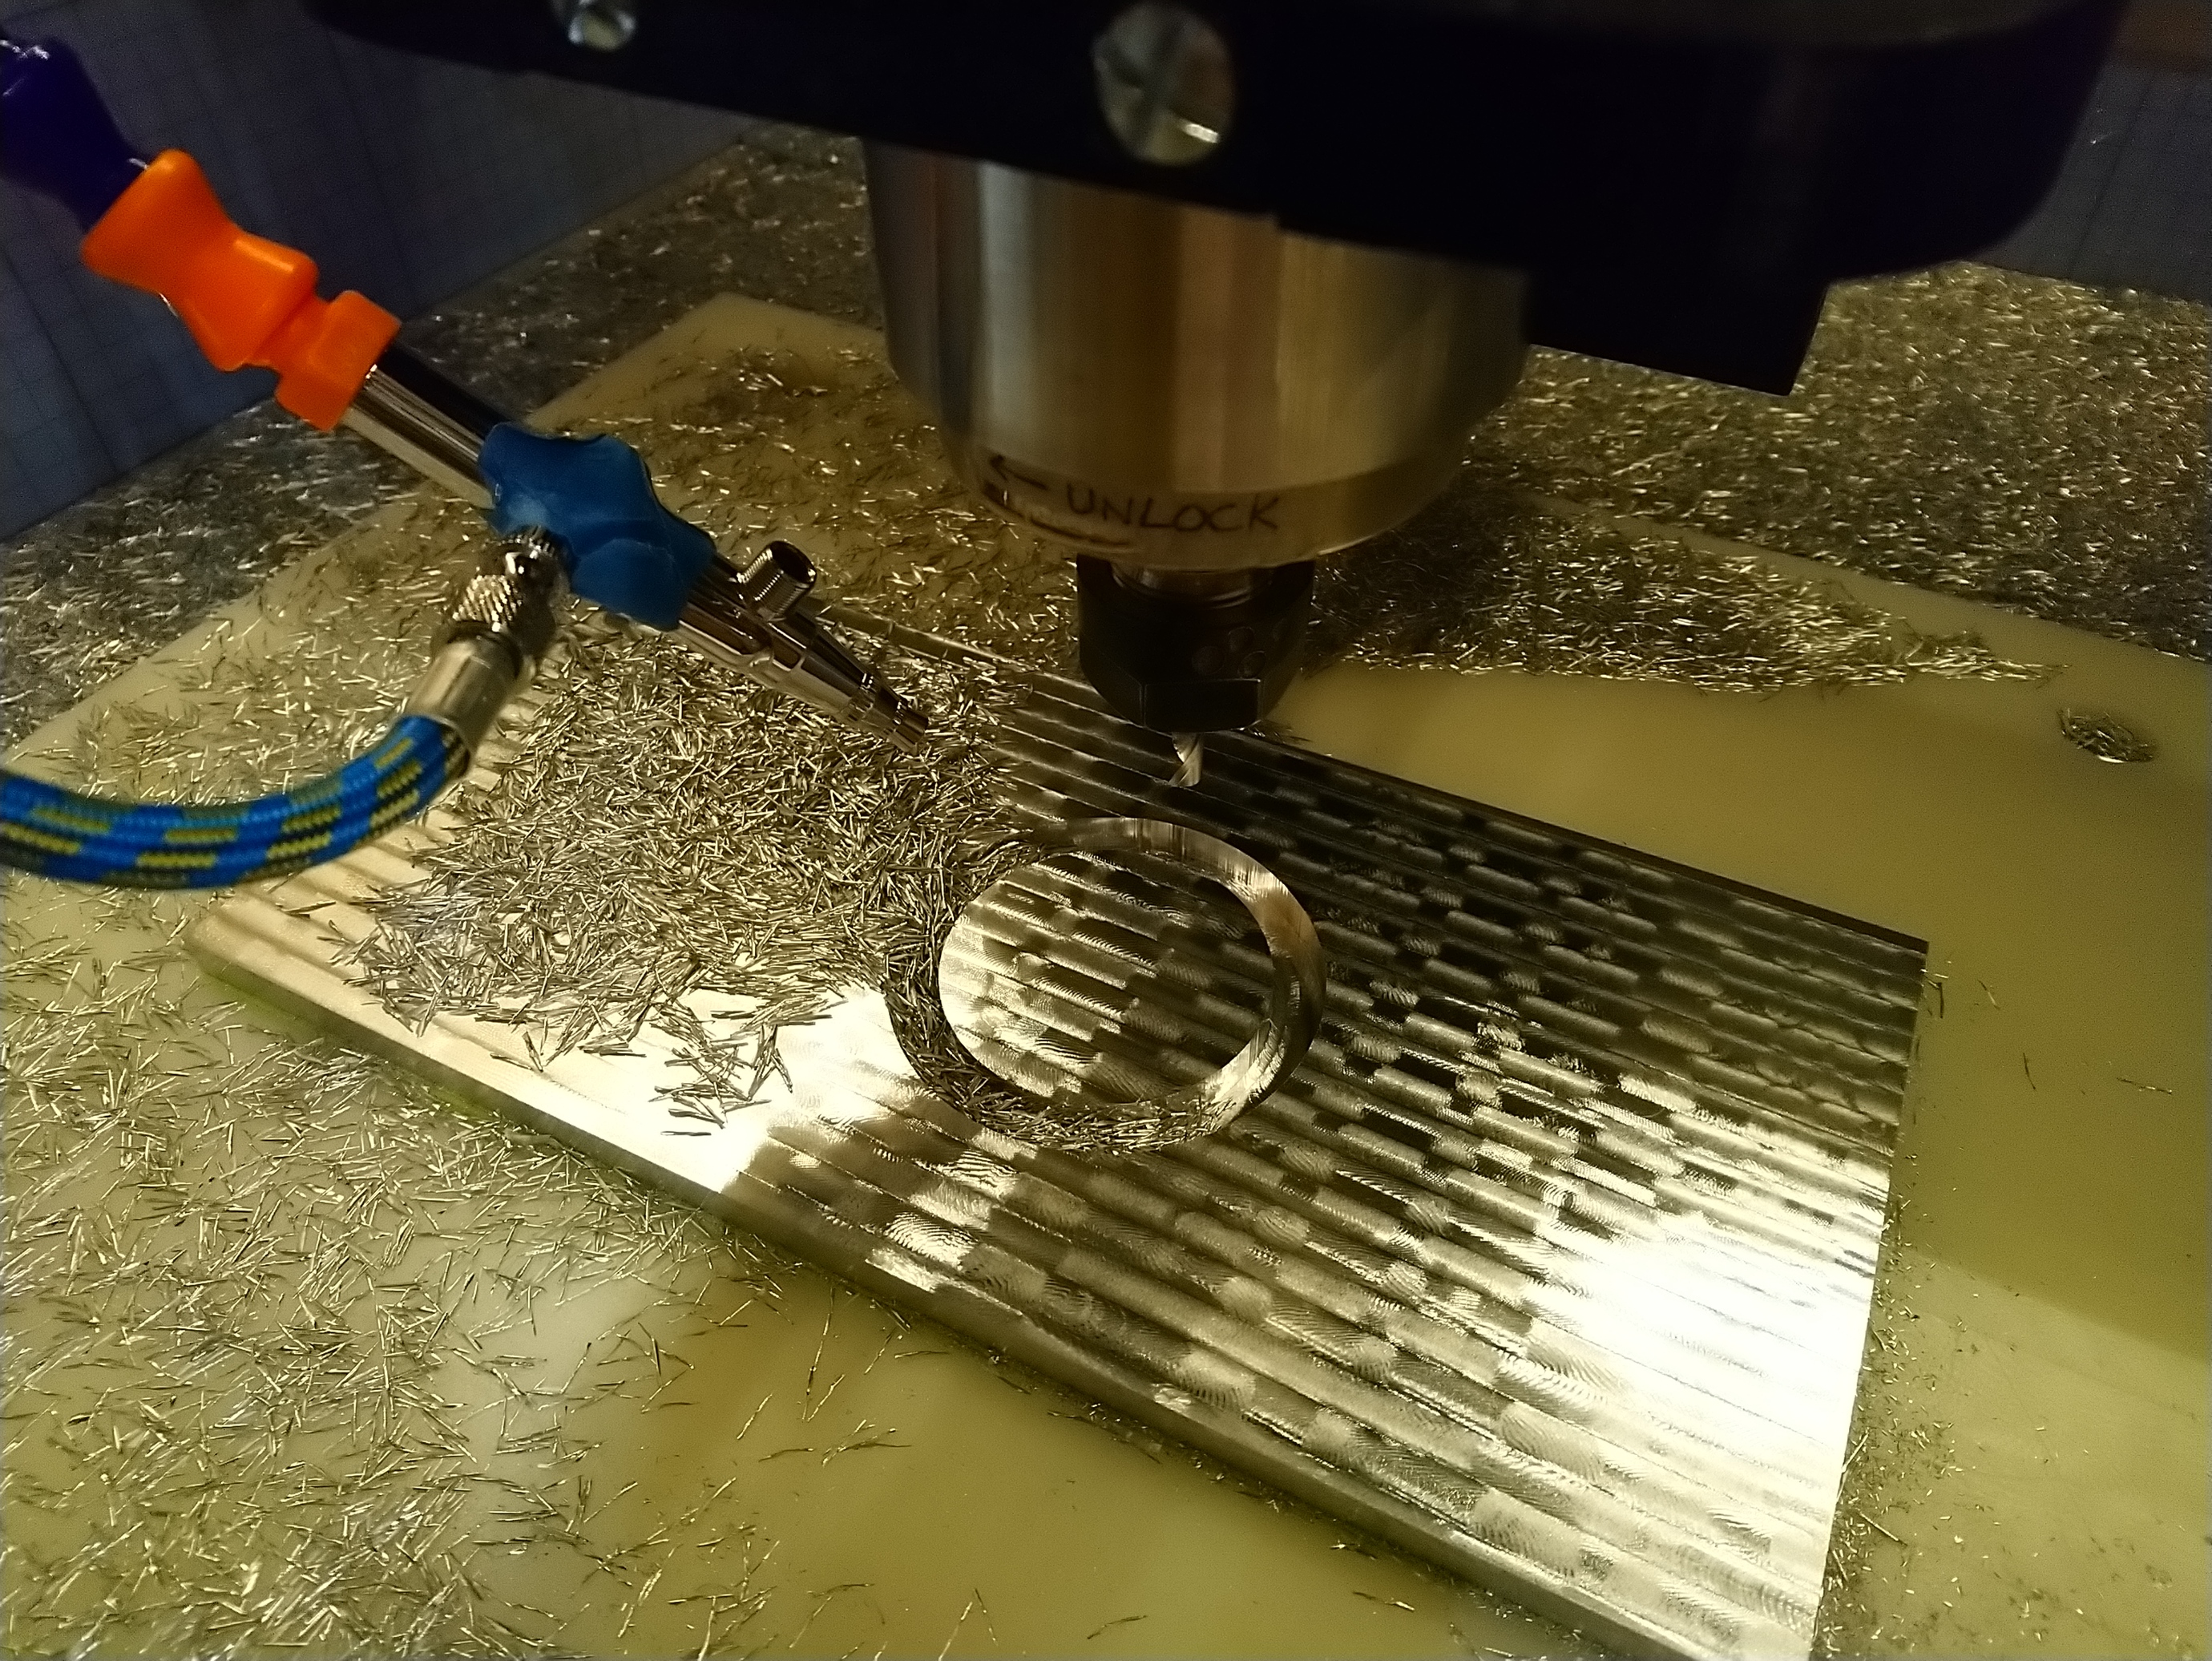
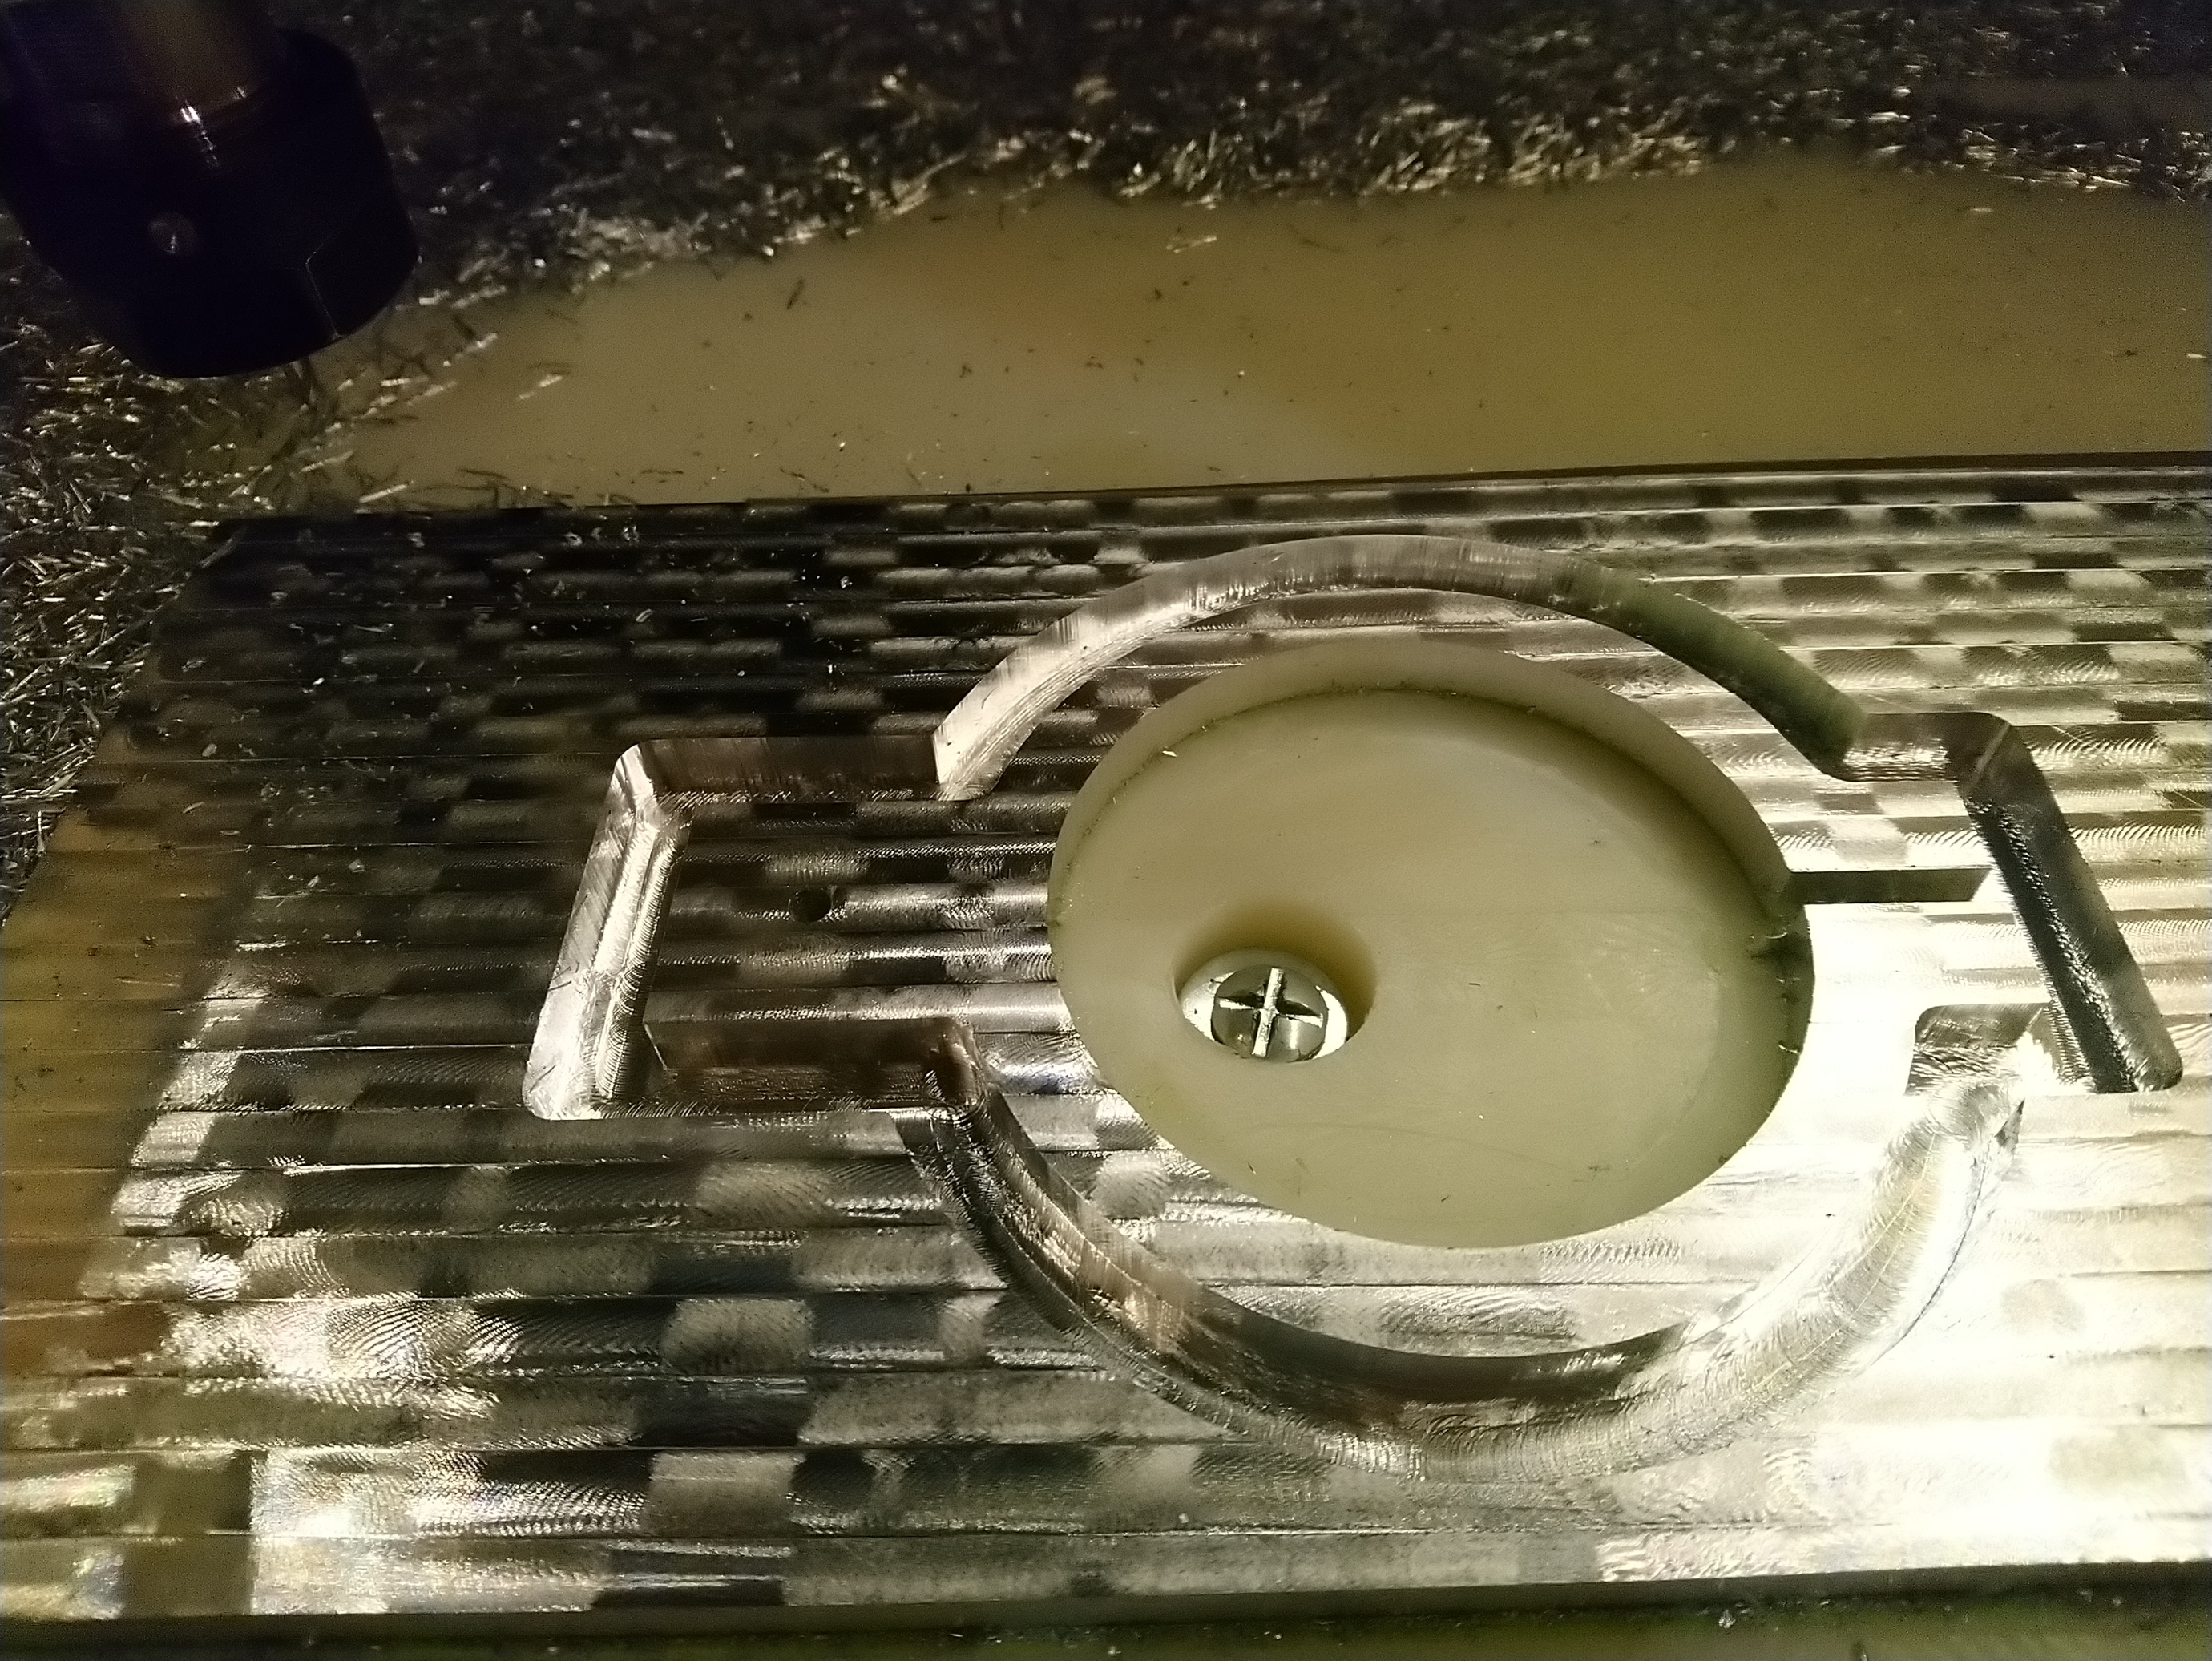
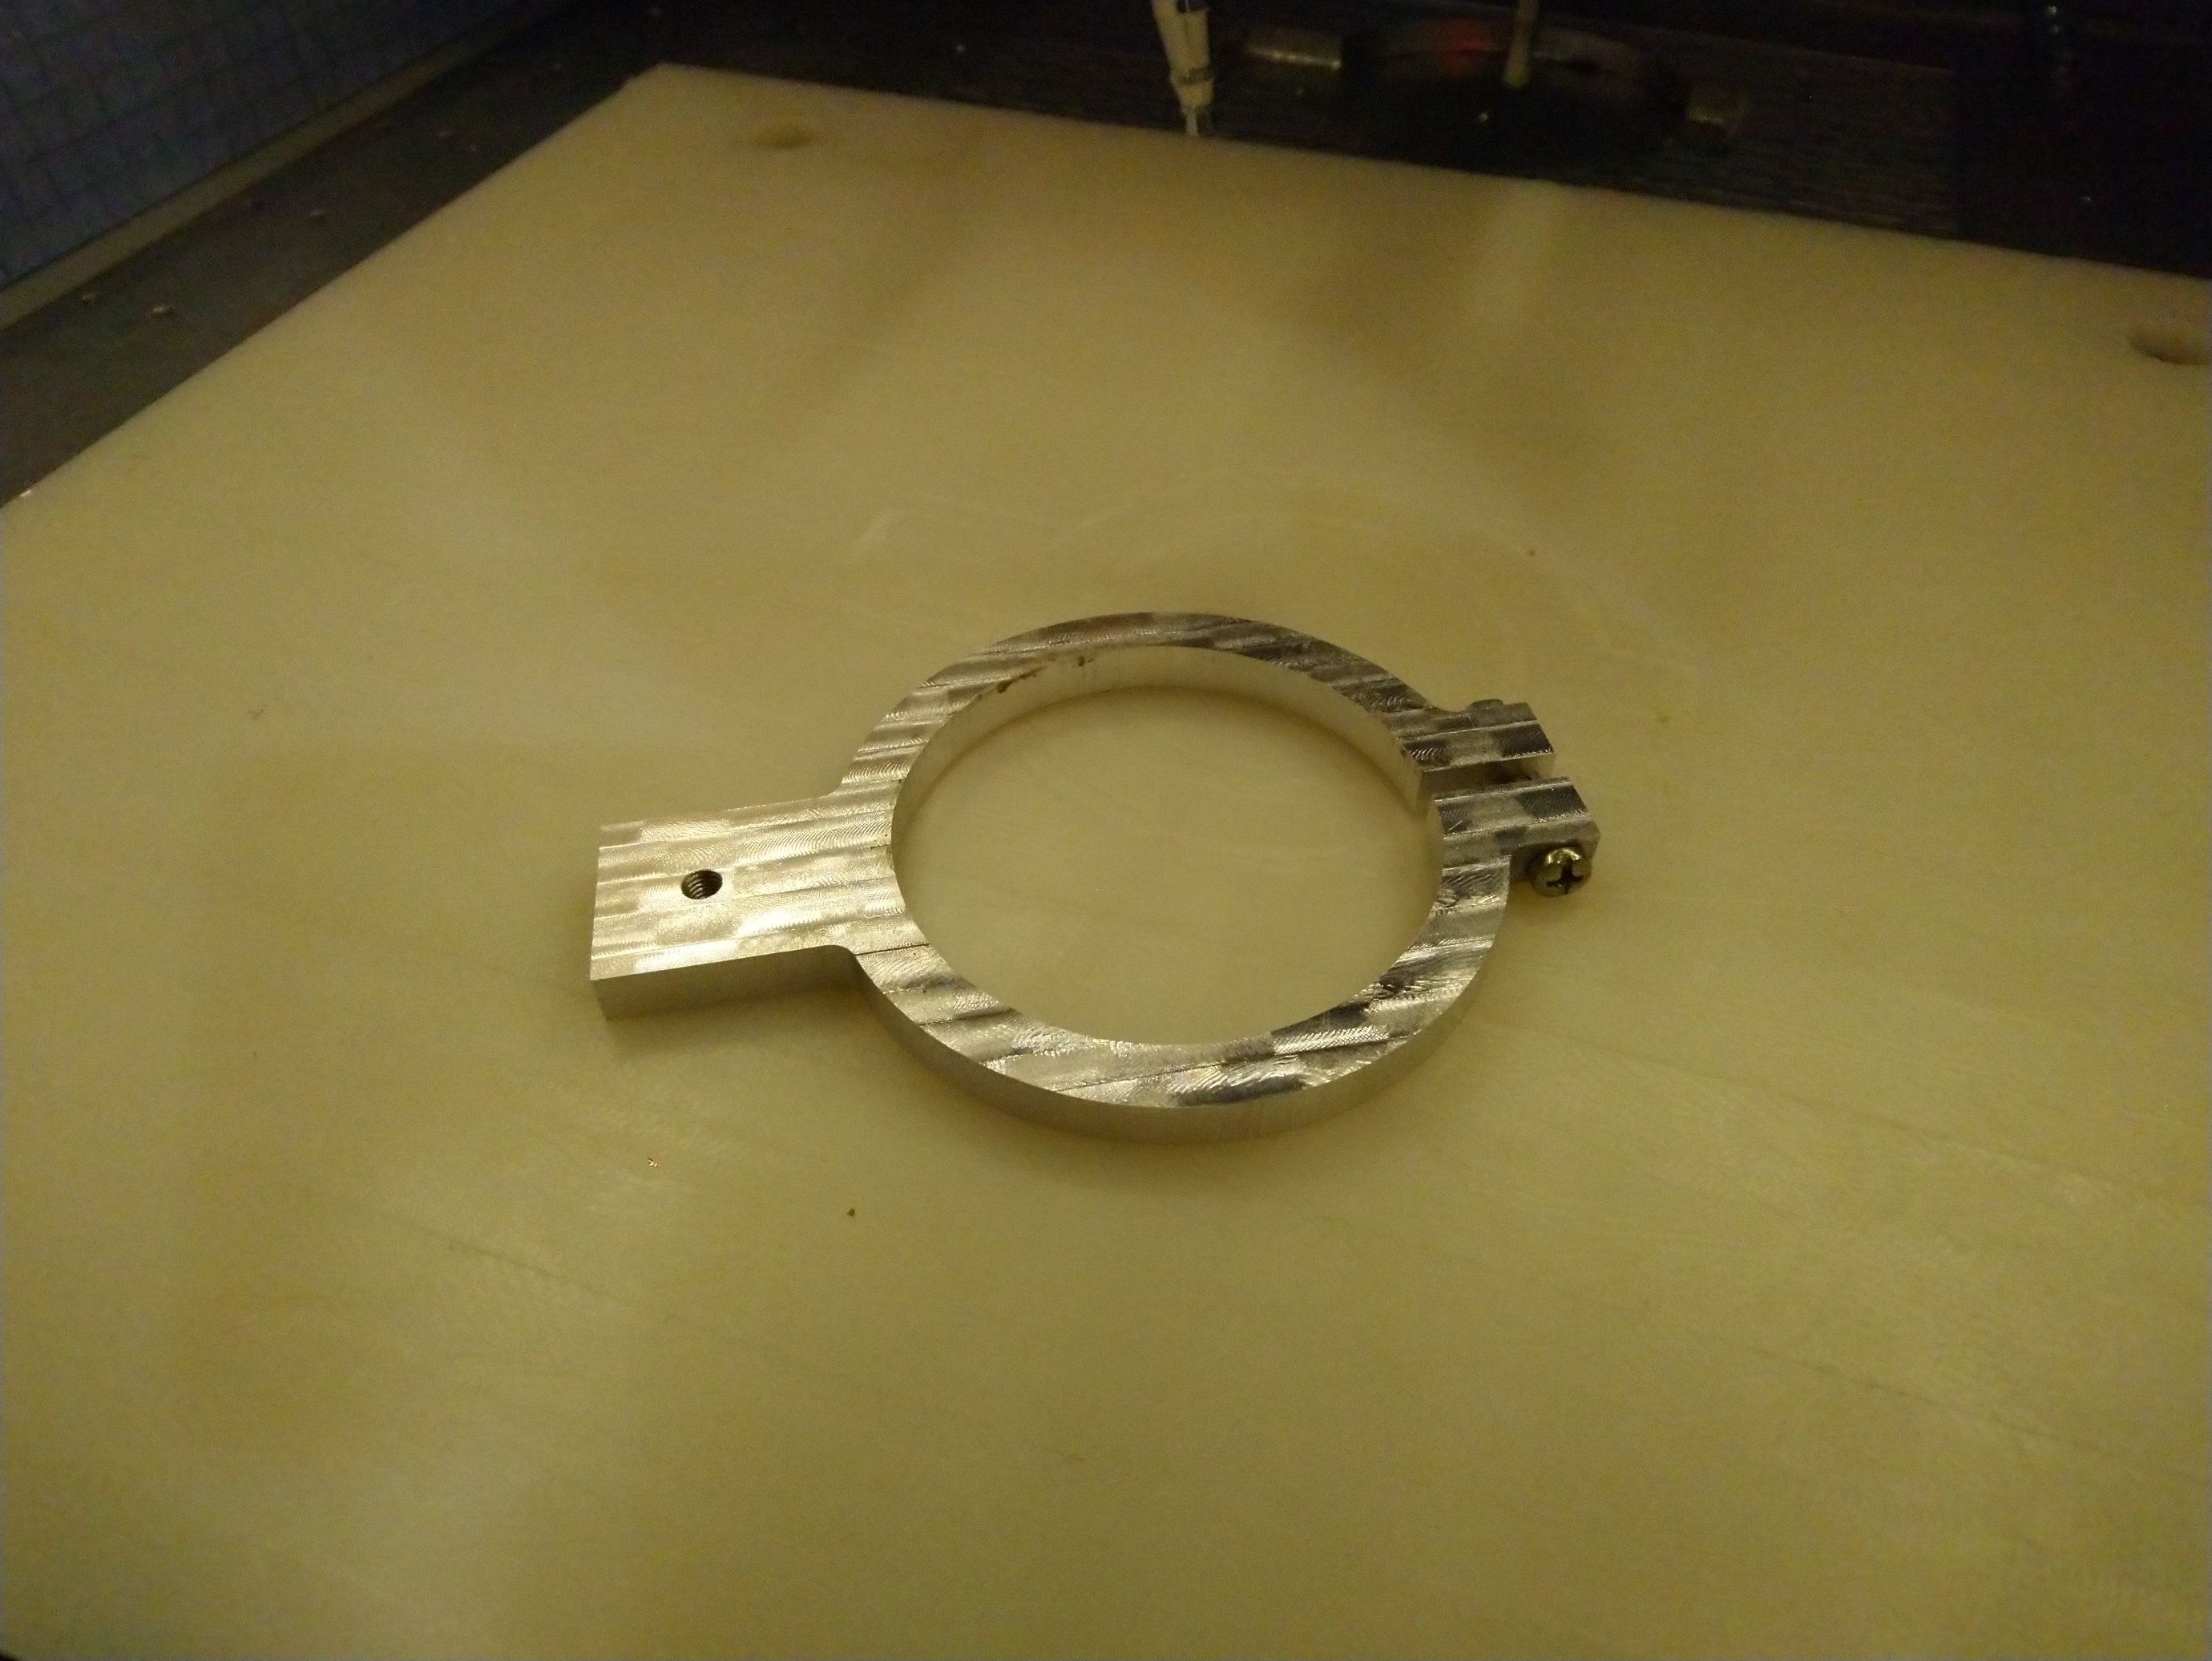
For now this is for me to learn about turning, the long term goal is to make rings to support my wife’s jewelry making hobby. I may make the obligatory pen somewhere along the way.
Julien, I know you are in France but take a look at Craft Supply USA (https://www.woodturnerscatalog.com/). They have turning mandrels and other ring making gear for use on an analog lathe. The Ring core blanks and the mandrels may be useful for your set up.