Miter Fold Box - Wedding Idea

Does anyone have plans for a Miter Fold Box - I use Carbide Create as I am new to the CNC so other software is not something I have tried. I am looking at something that is an 8x12.

Would love to get me hands on a file for this - possibly making a wedding box for cards.

I wrote a bit about this at:

If you’d let us know the specifics of your stock size and thickness we can walk through the specifics for your project with you.

1 Like

I am looking at using 1/2 inch wood

Dimension - 6 height by 8x12 box

Still learning how to create in Carbide Create but loving the tests that I have run.

Thank you for your help,
Roger

Wood that thick will either require multiple offset passes, or a very large 90 degree V endmill.

Why such thick wood for such a small box? Have you considered/tried out these proportions?

Is re-sawing with a bandsaw an option? If so, you could do the sides/ends out of two re-sawn pieces and get a continuous grain box:

1 Like

I might be able to go with a thickness of 1/4 inch if that will work better. I do have a bandsaw that I can resaw with - do you have a suggested thickness?

I am really open to use anything that will work and be fairly stable.

thank you

1/4" (or so) can be a good thickness for smaller boxes — depends on the overall proportions and the desired appearance.

I would suggest sourcing some inexpensive stock and trying a couple of different thicknesses to see how you feel about the proportions.

I am unsure of how to write a program that will allow me to make the desired size.

6 inch Height
12 inch Length
8 inch Width

Not sure of what cutter to use and how to lay out the project so it will all be continuous with a 1/4 inch thick piece of stock.

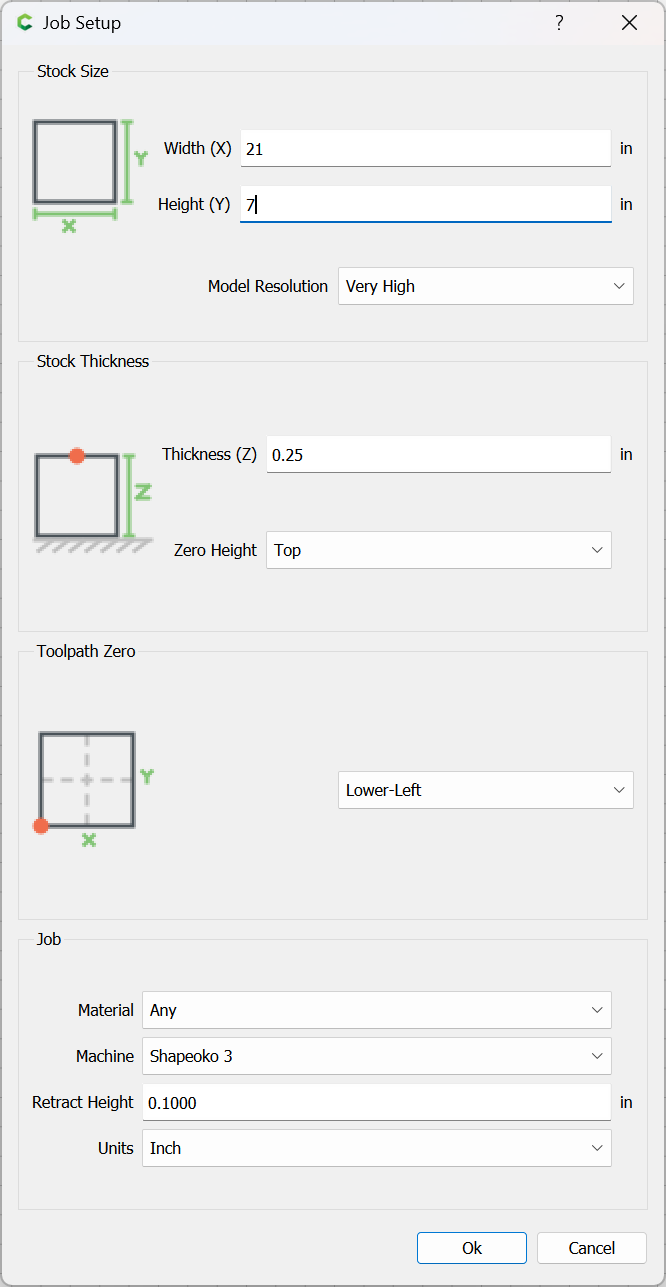
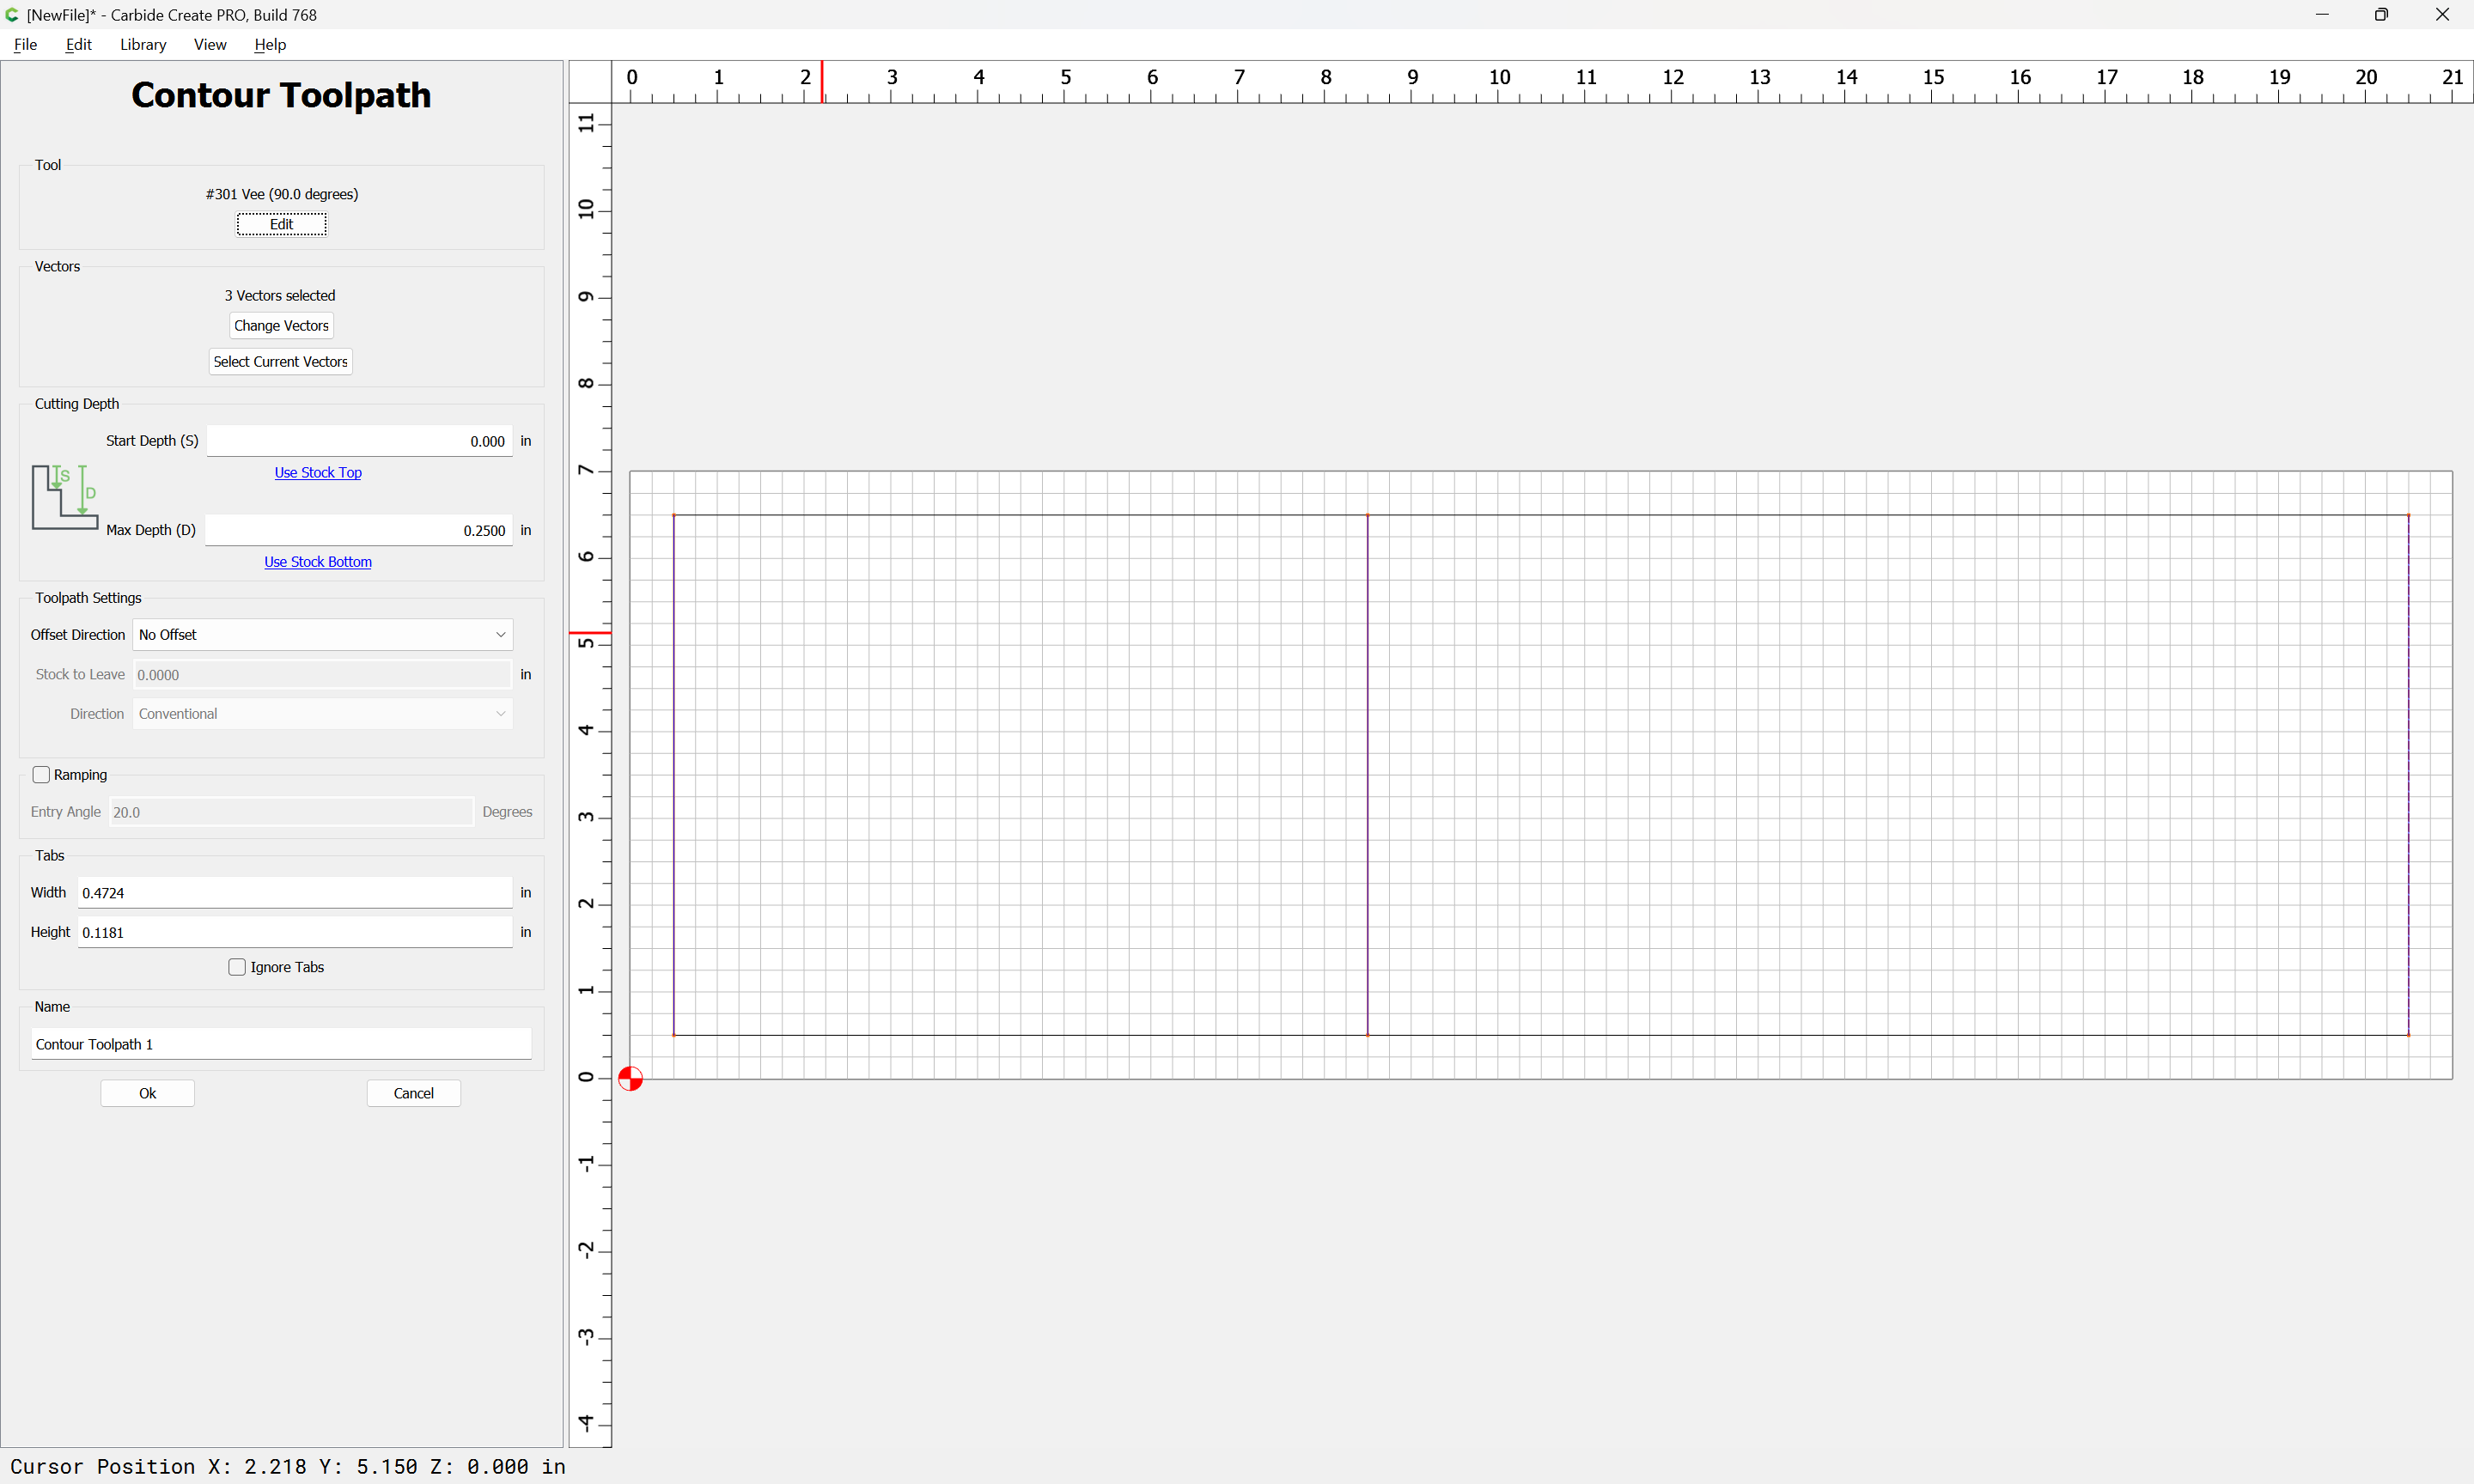
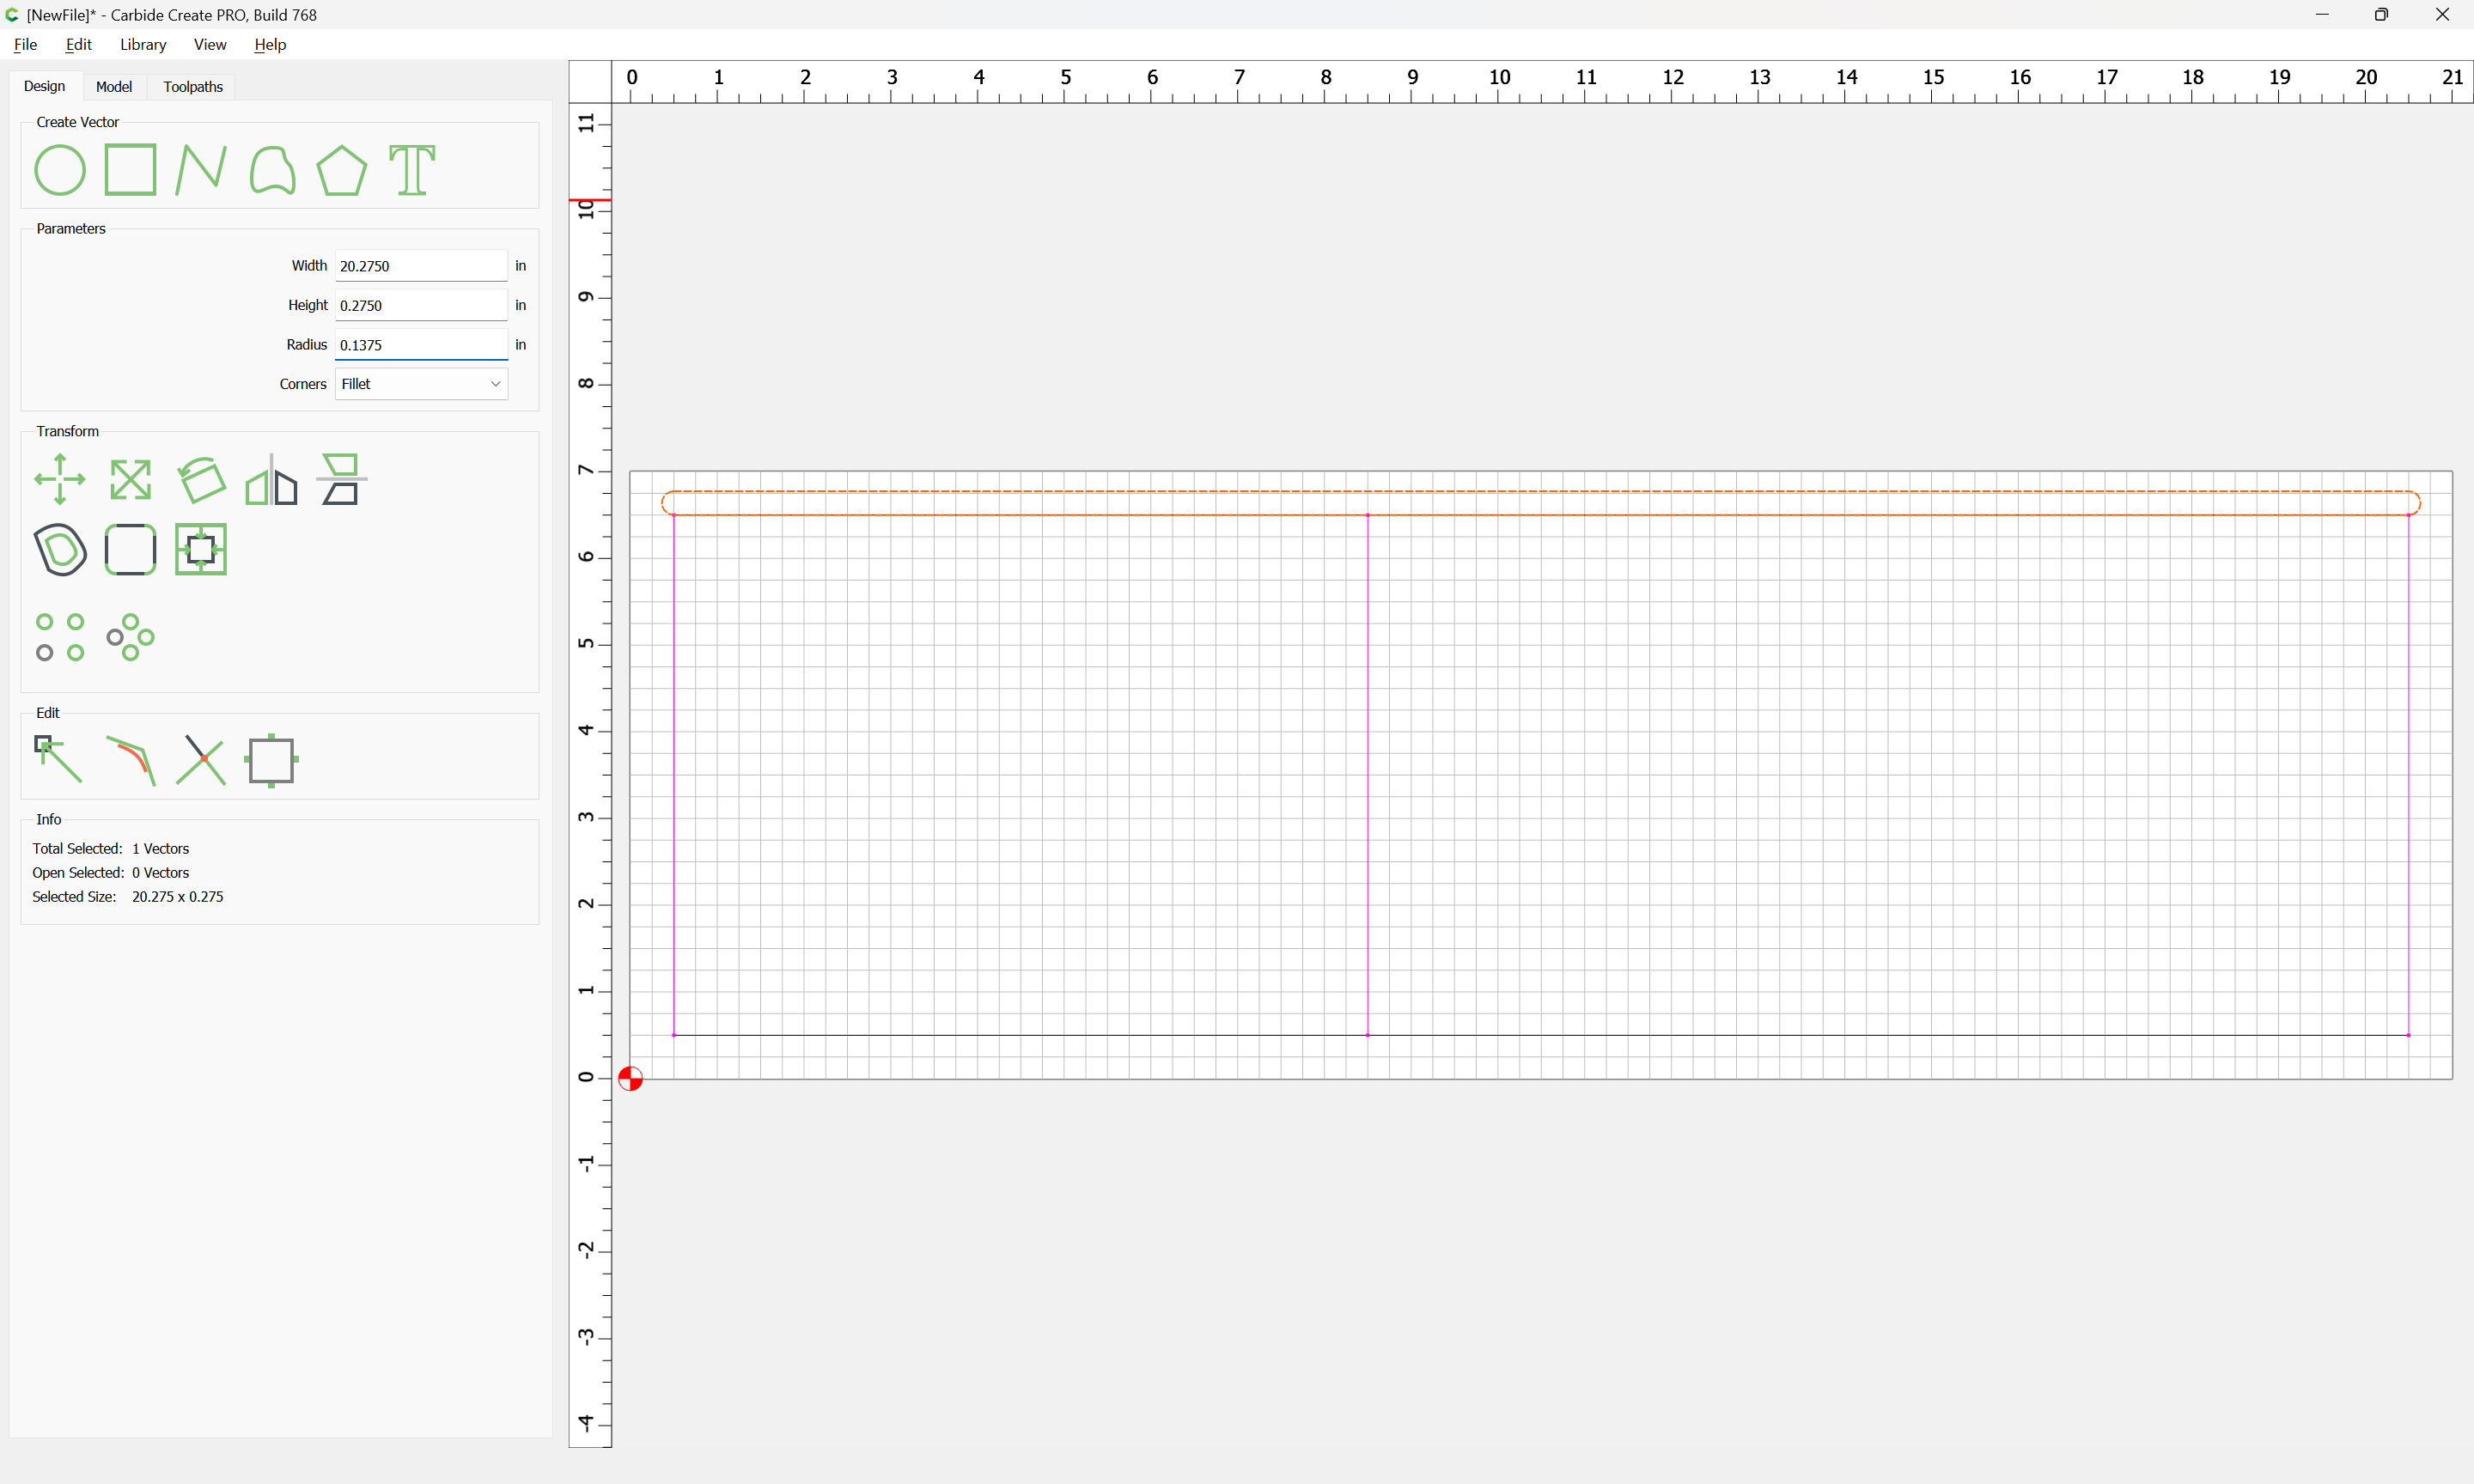
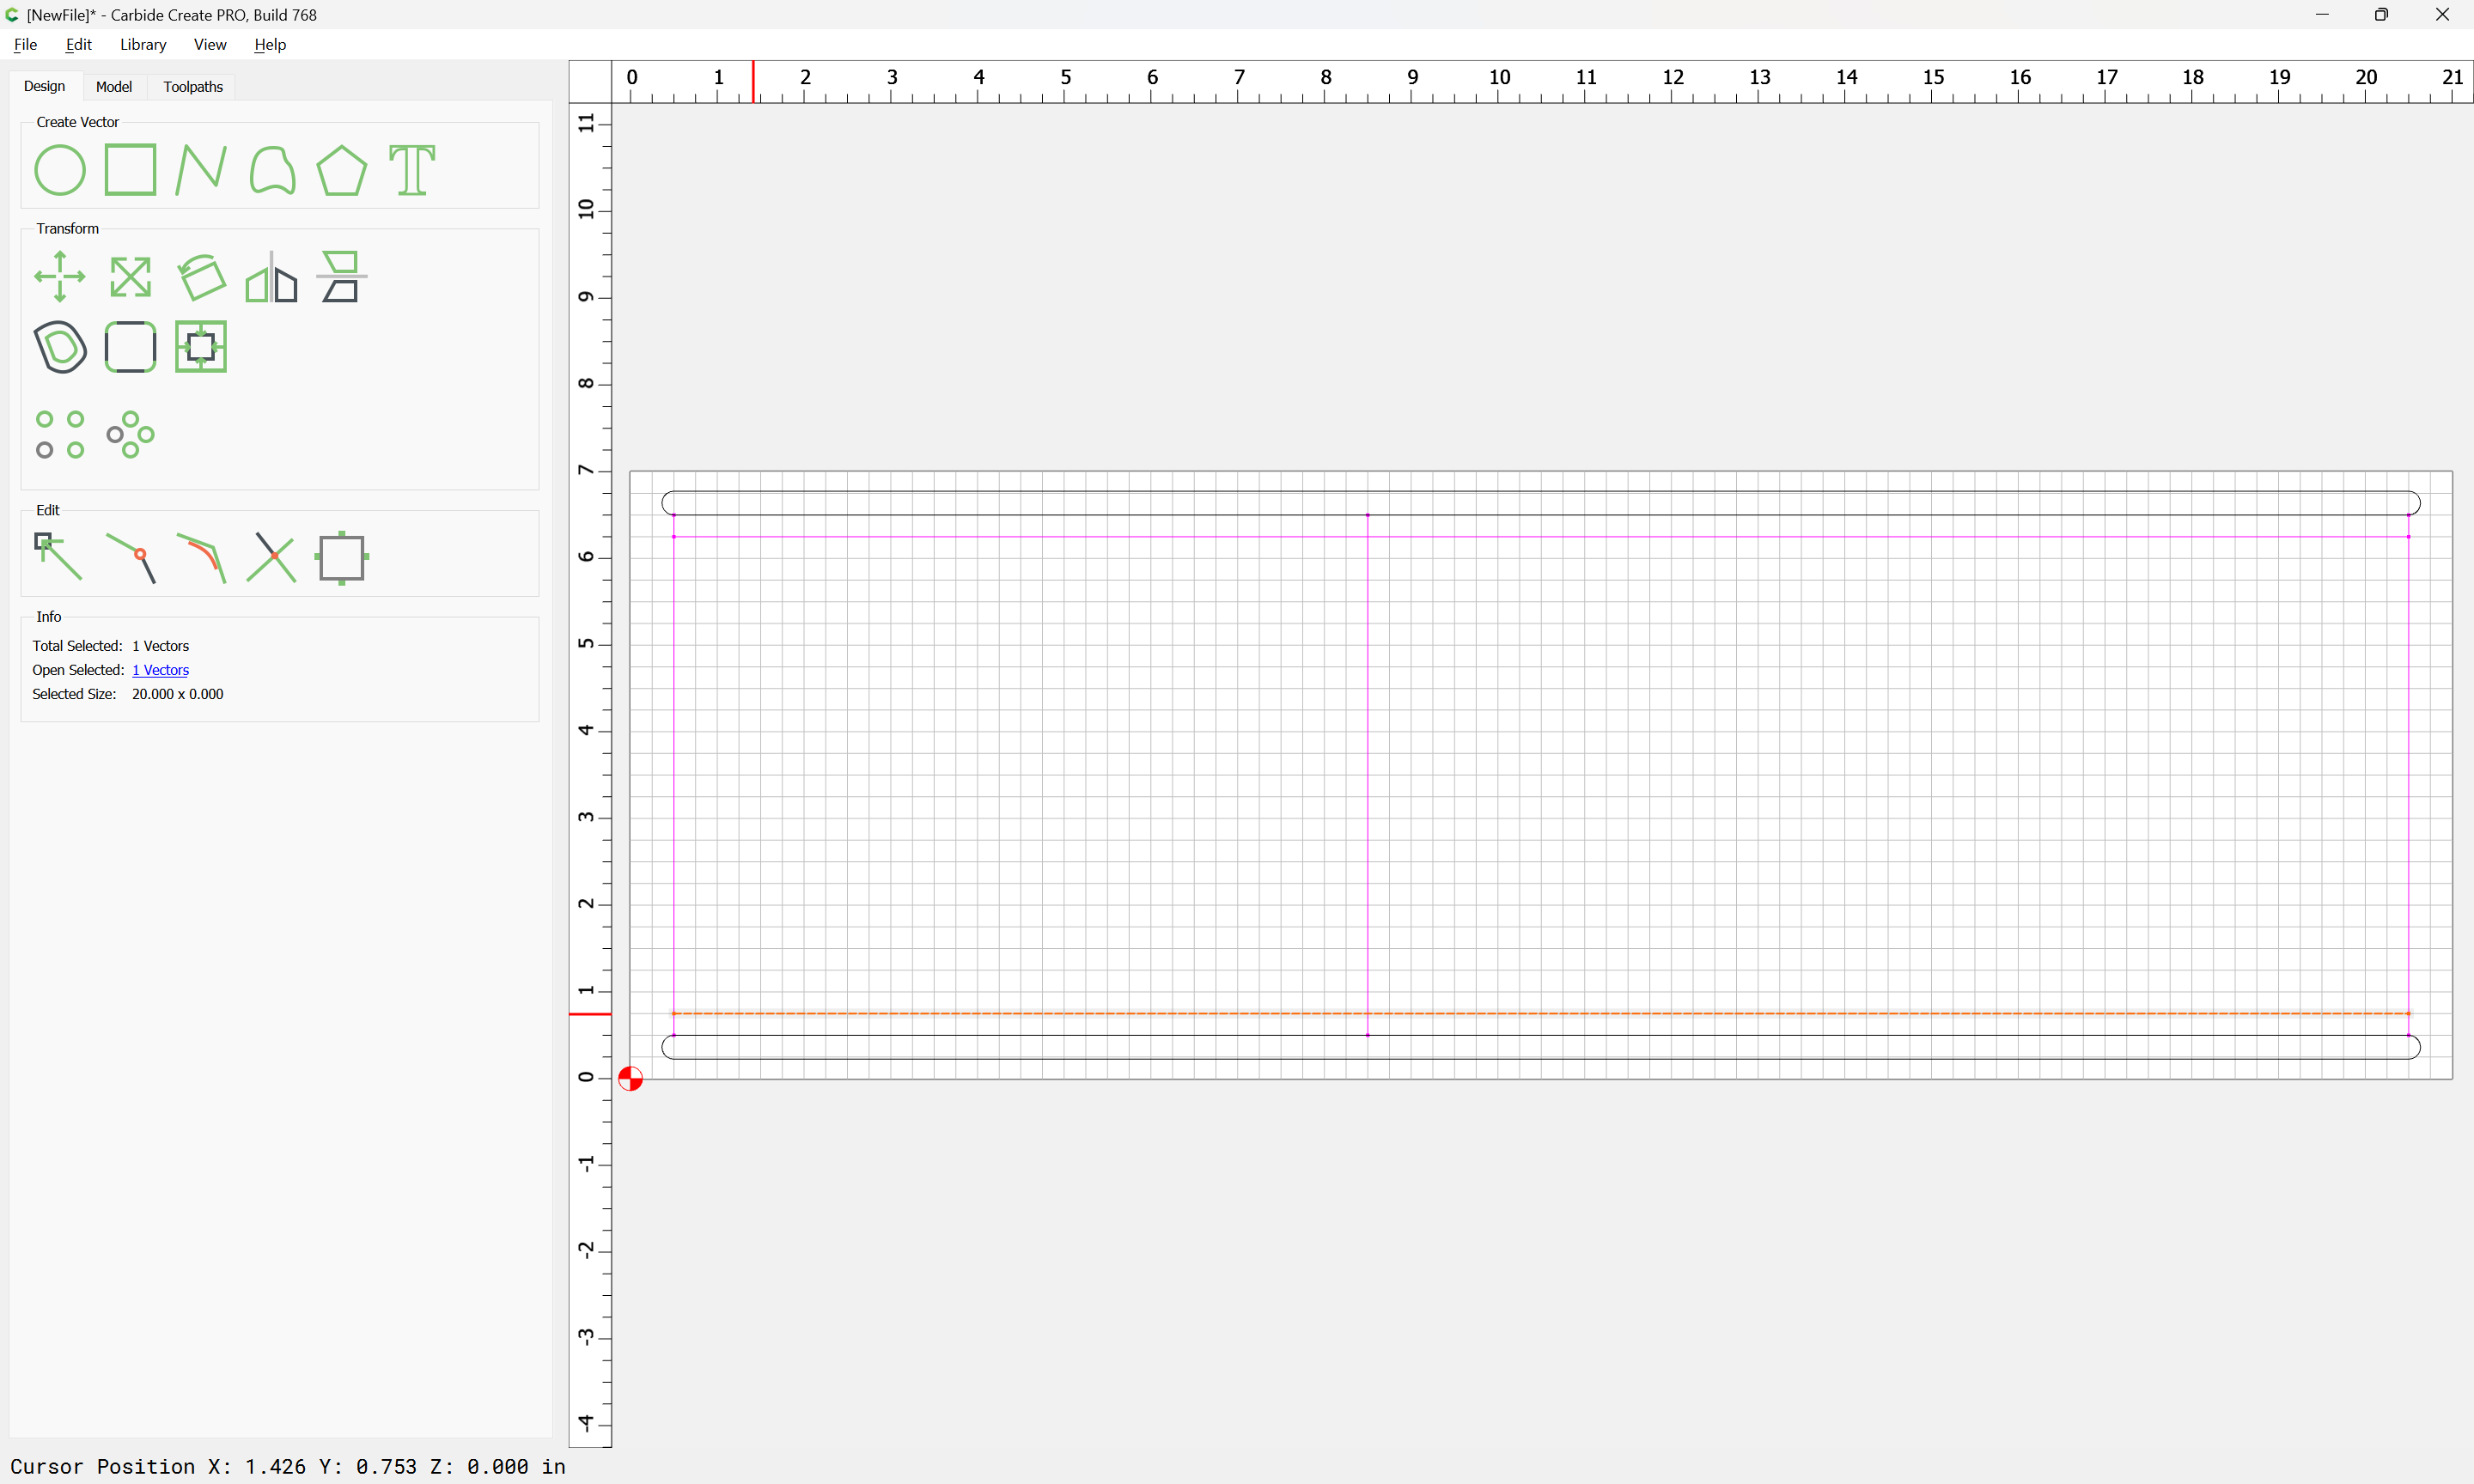
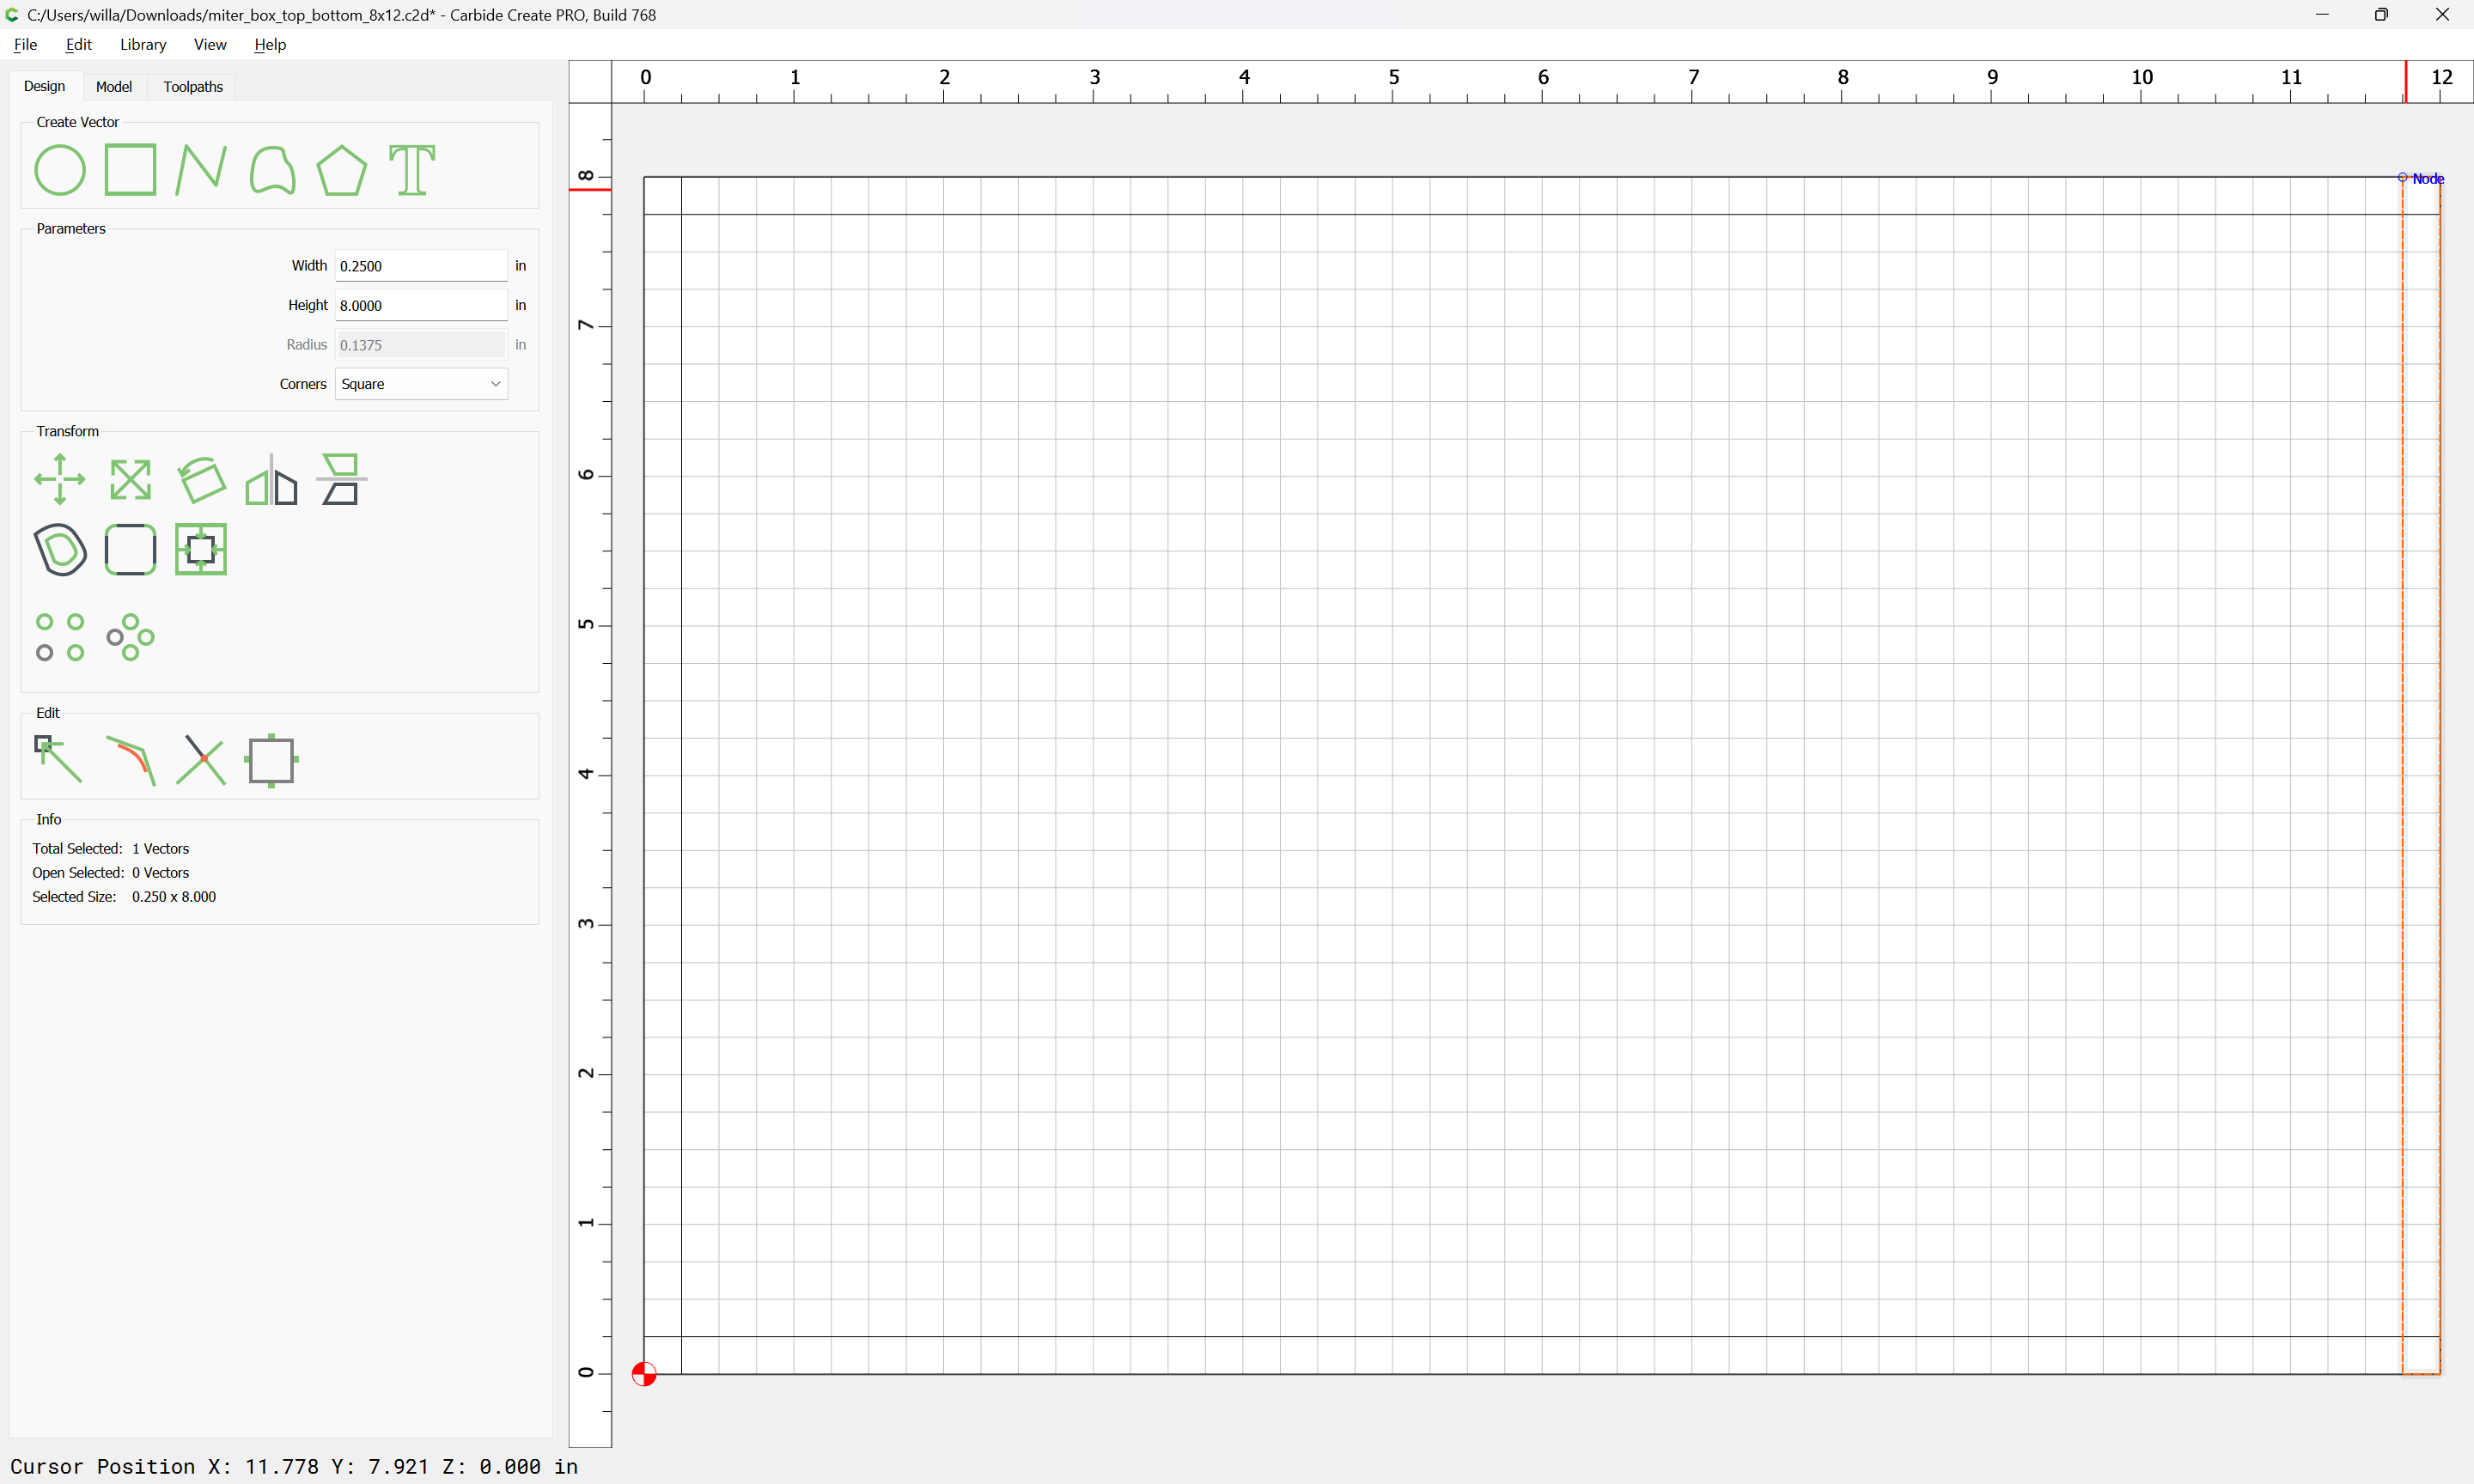
For a continuous 1/4" thick box you would need a >1/2" thick piece of stock >20" in length and >6" wide.

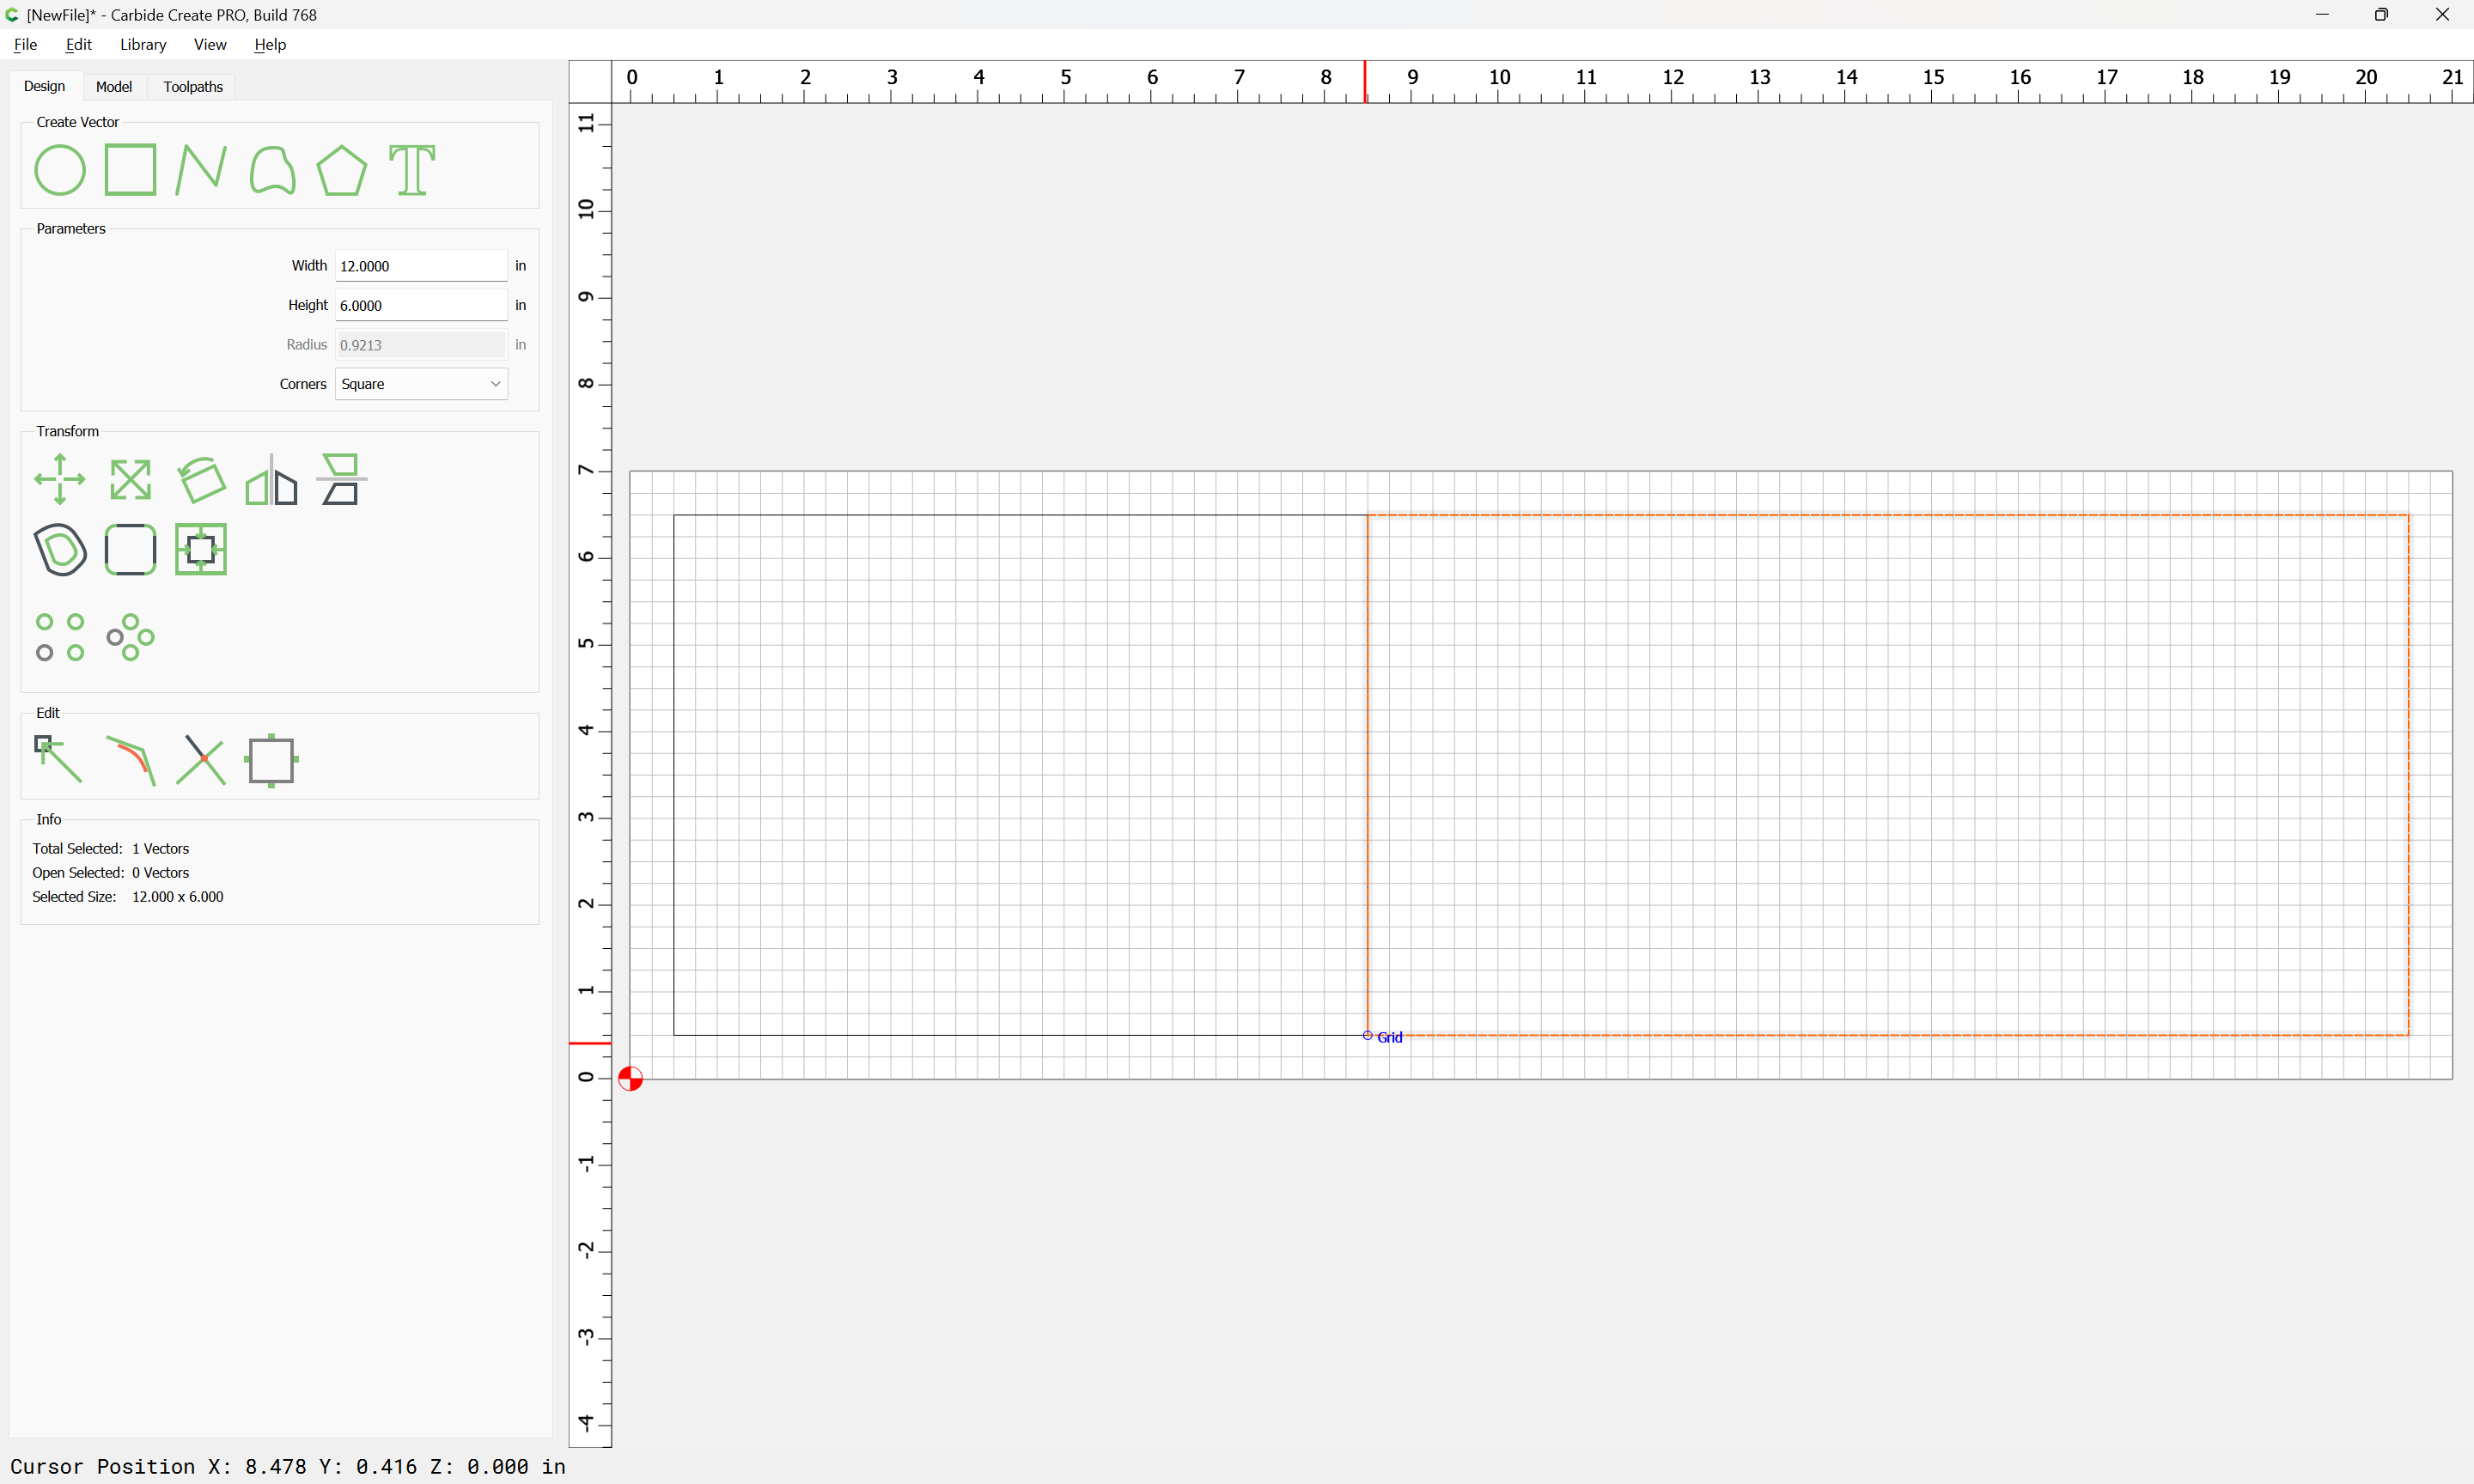
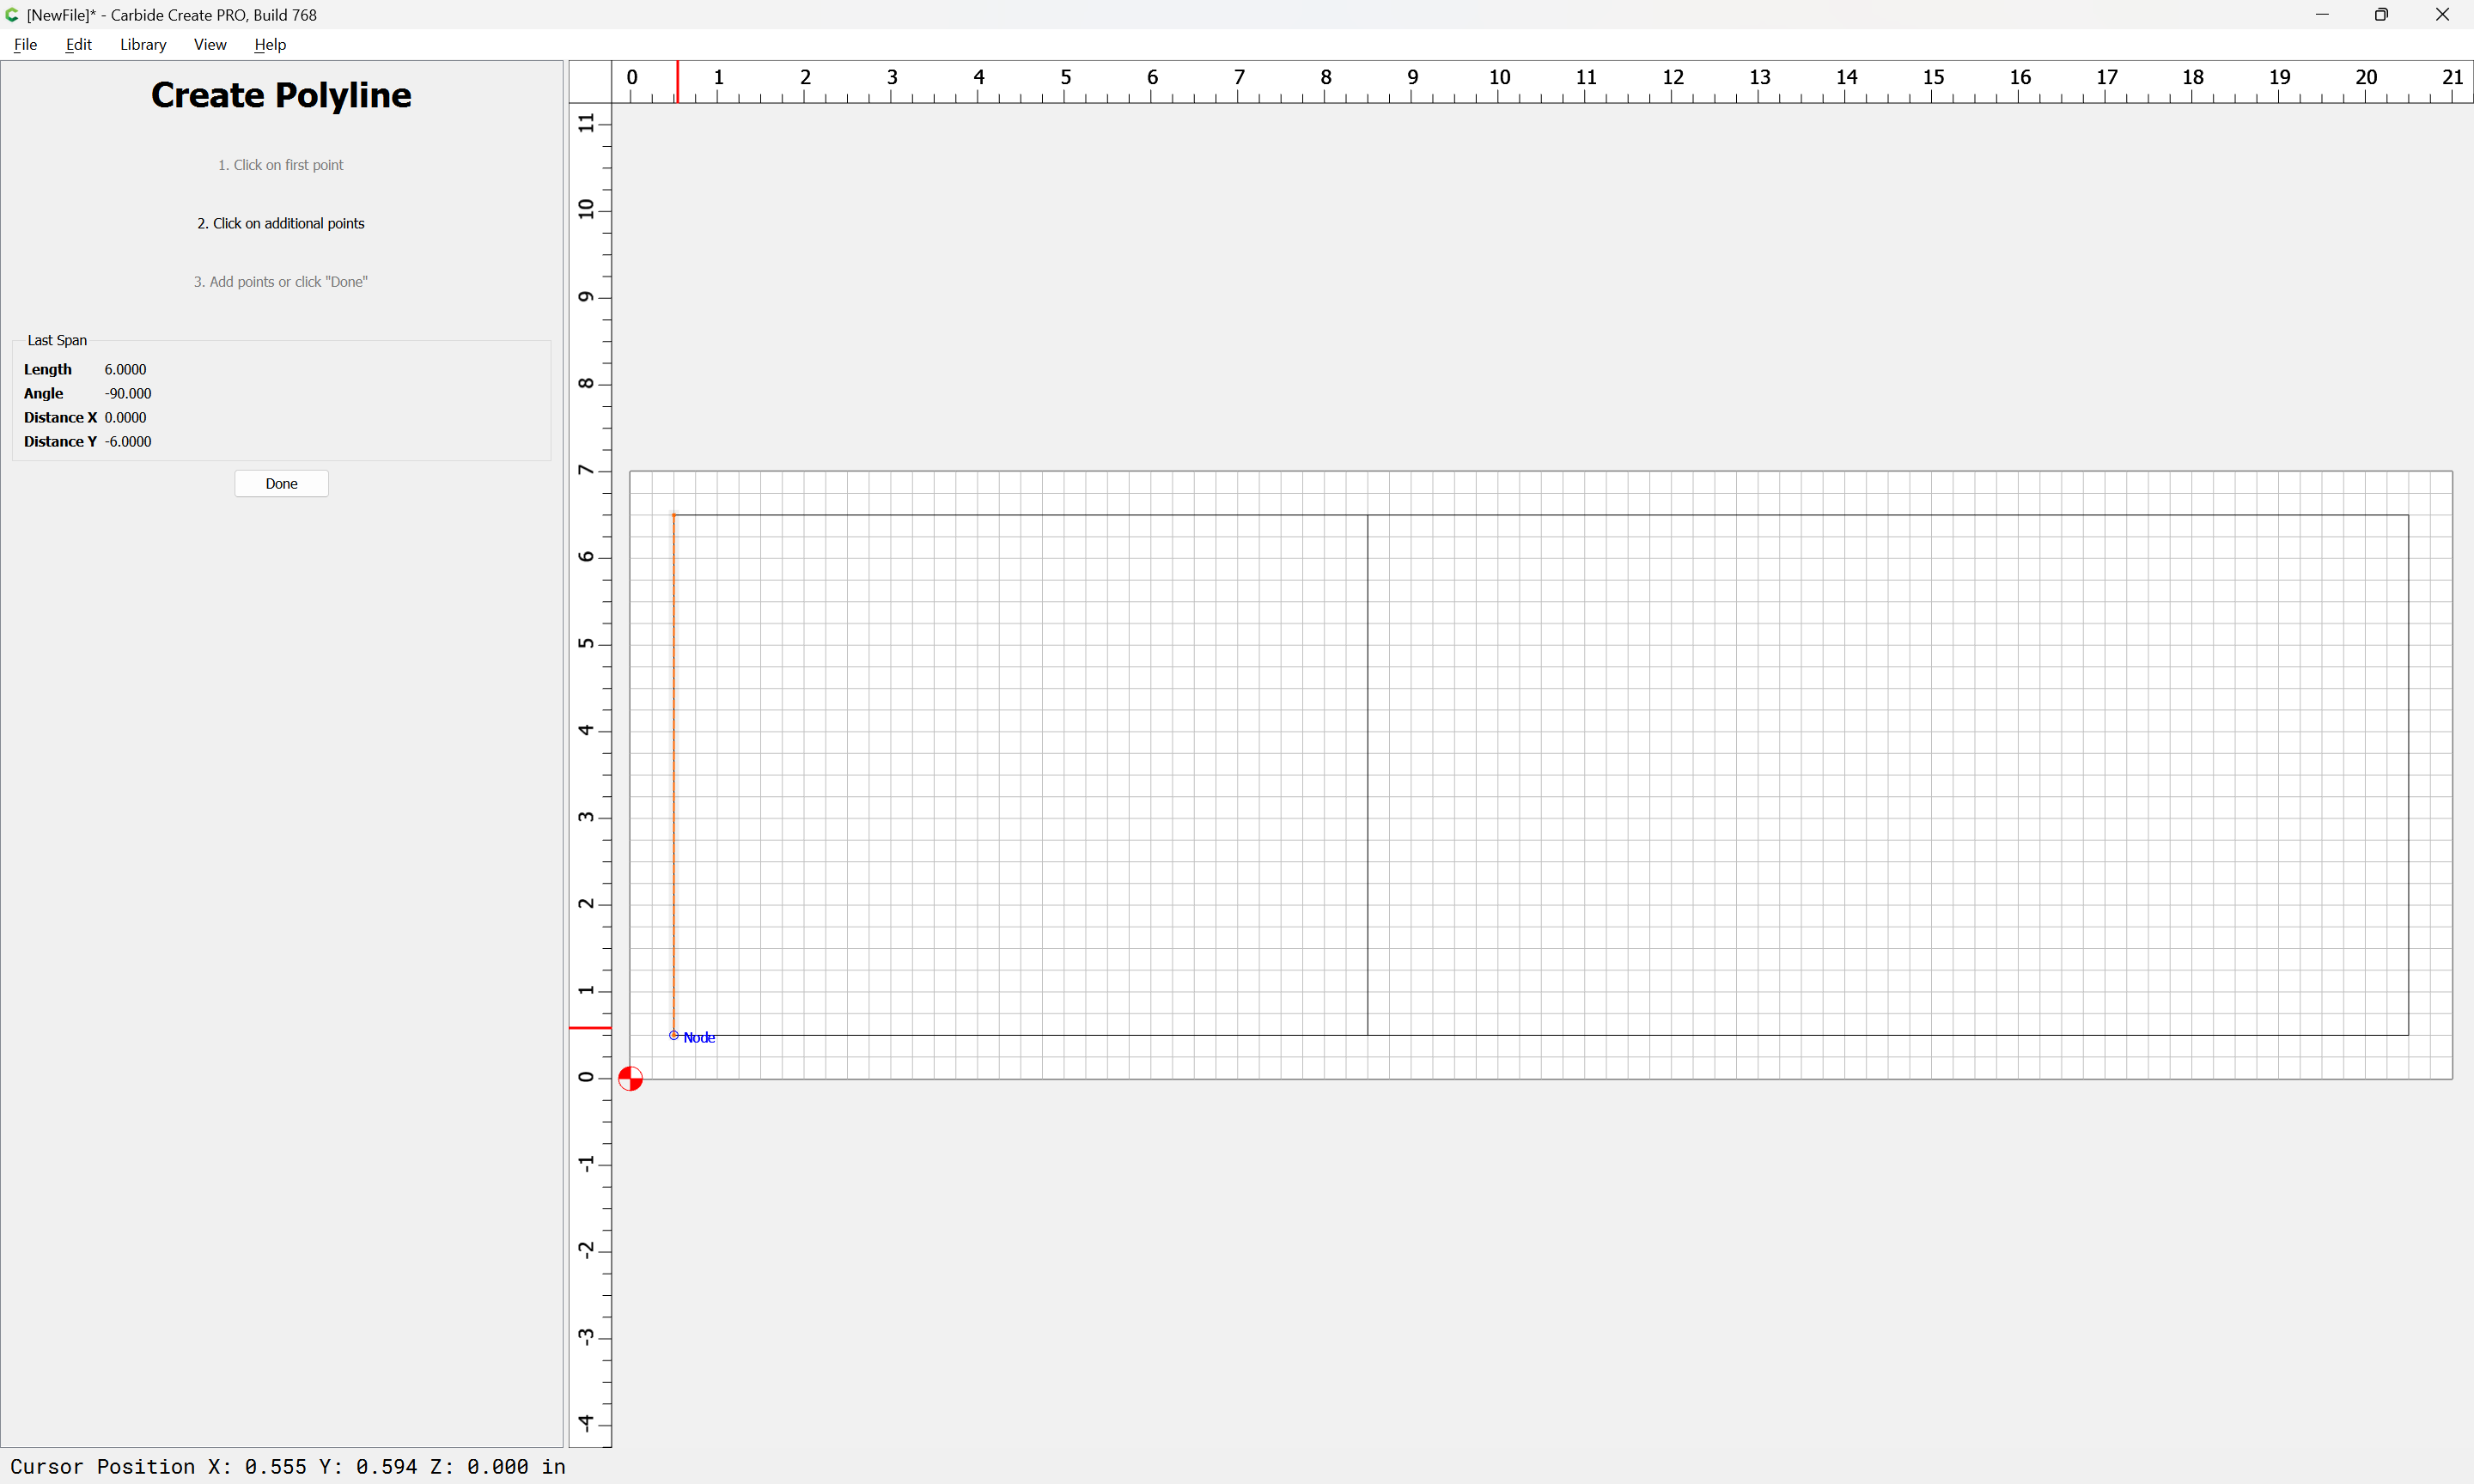
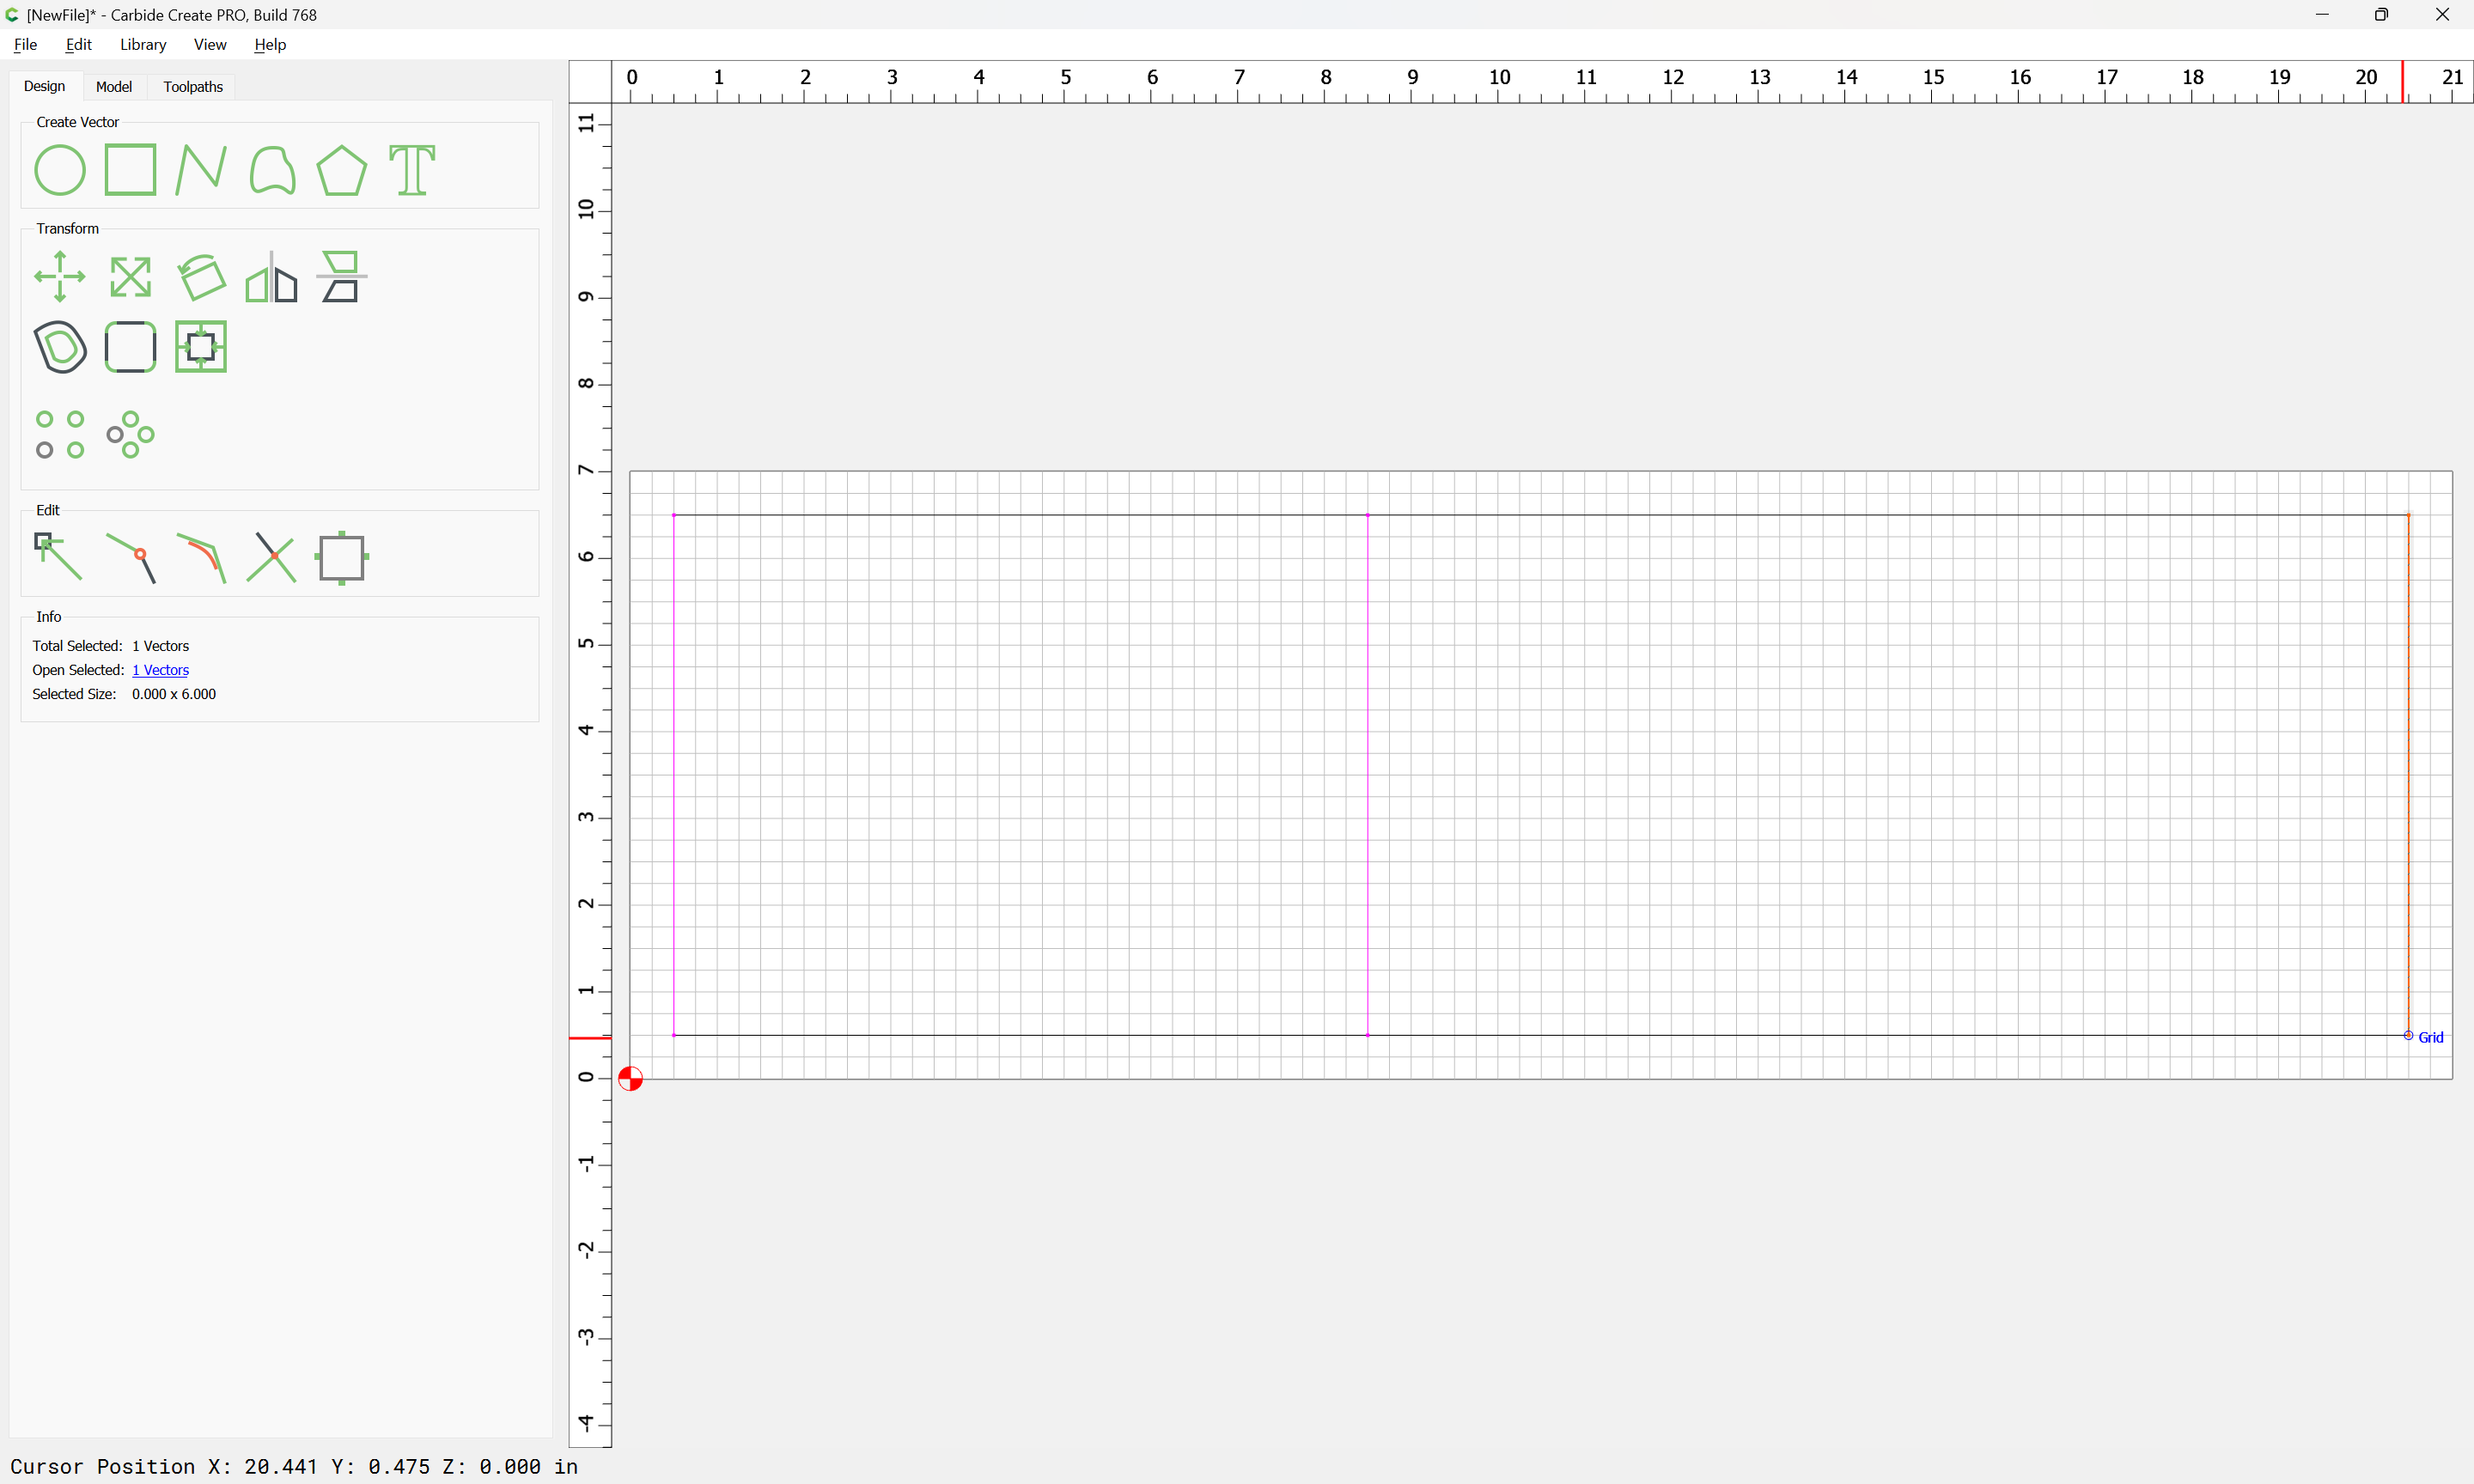
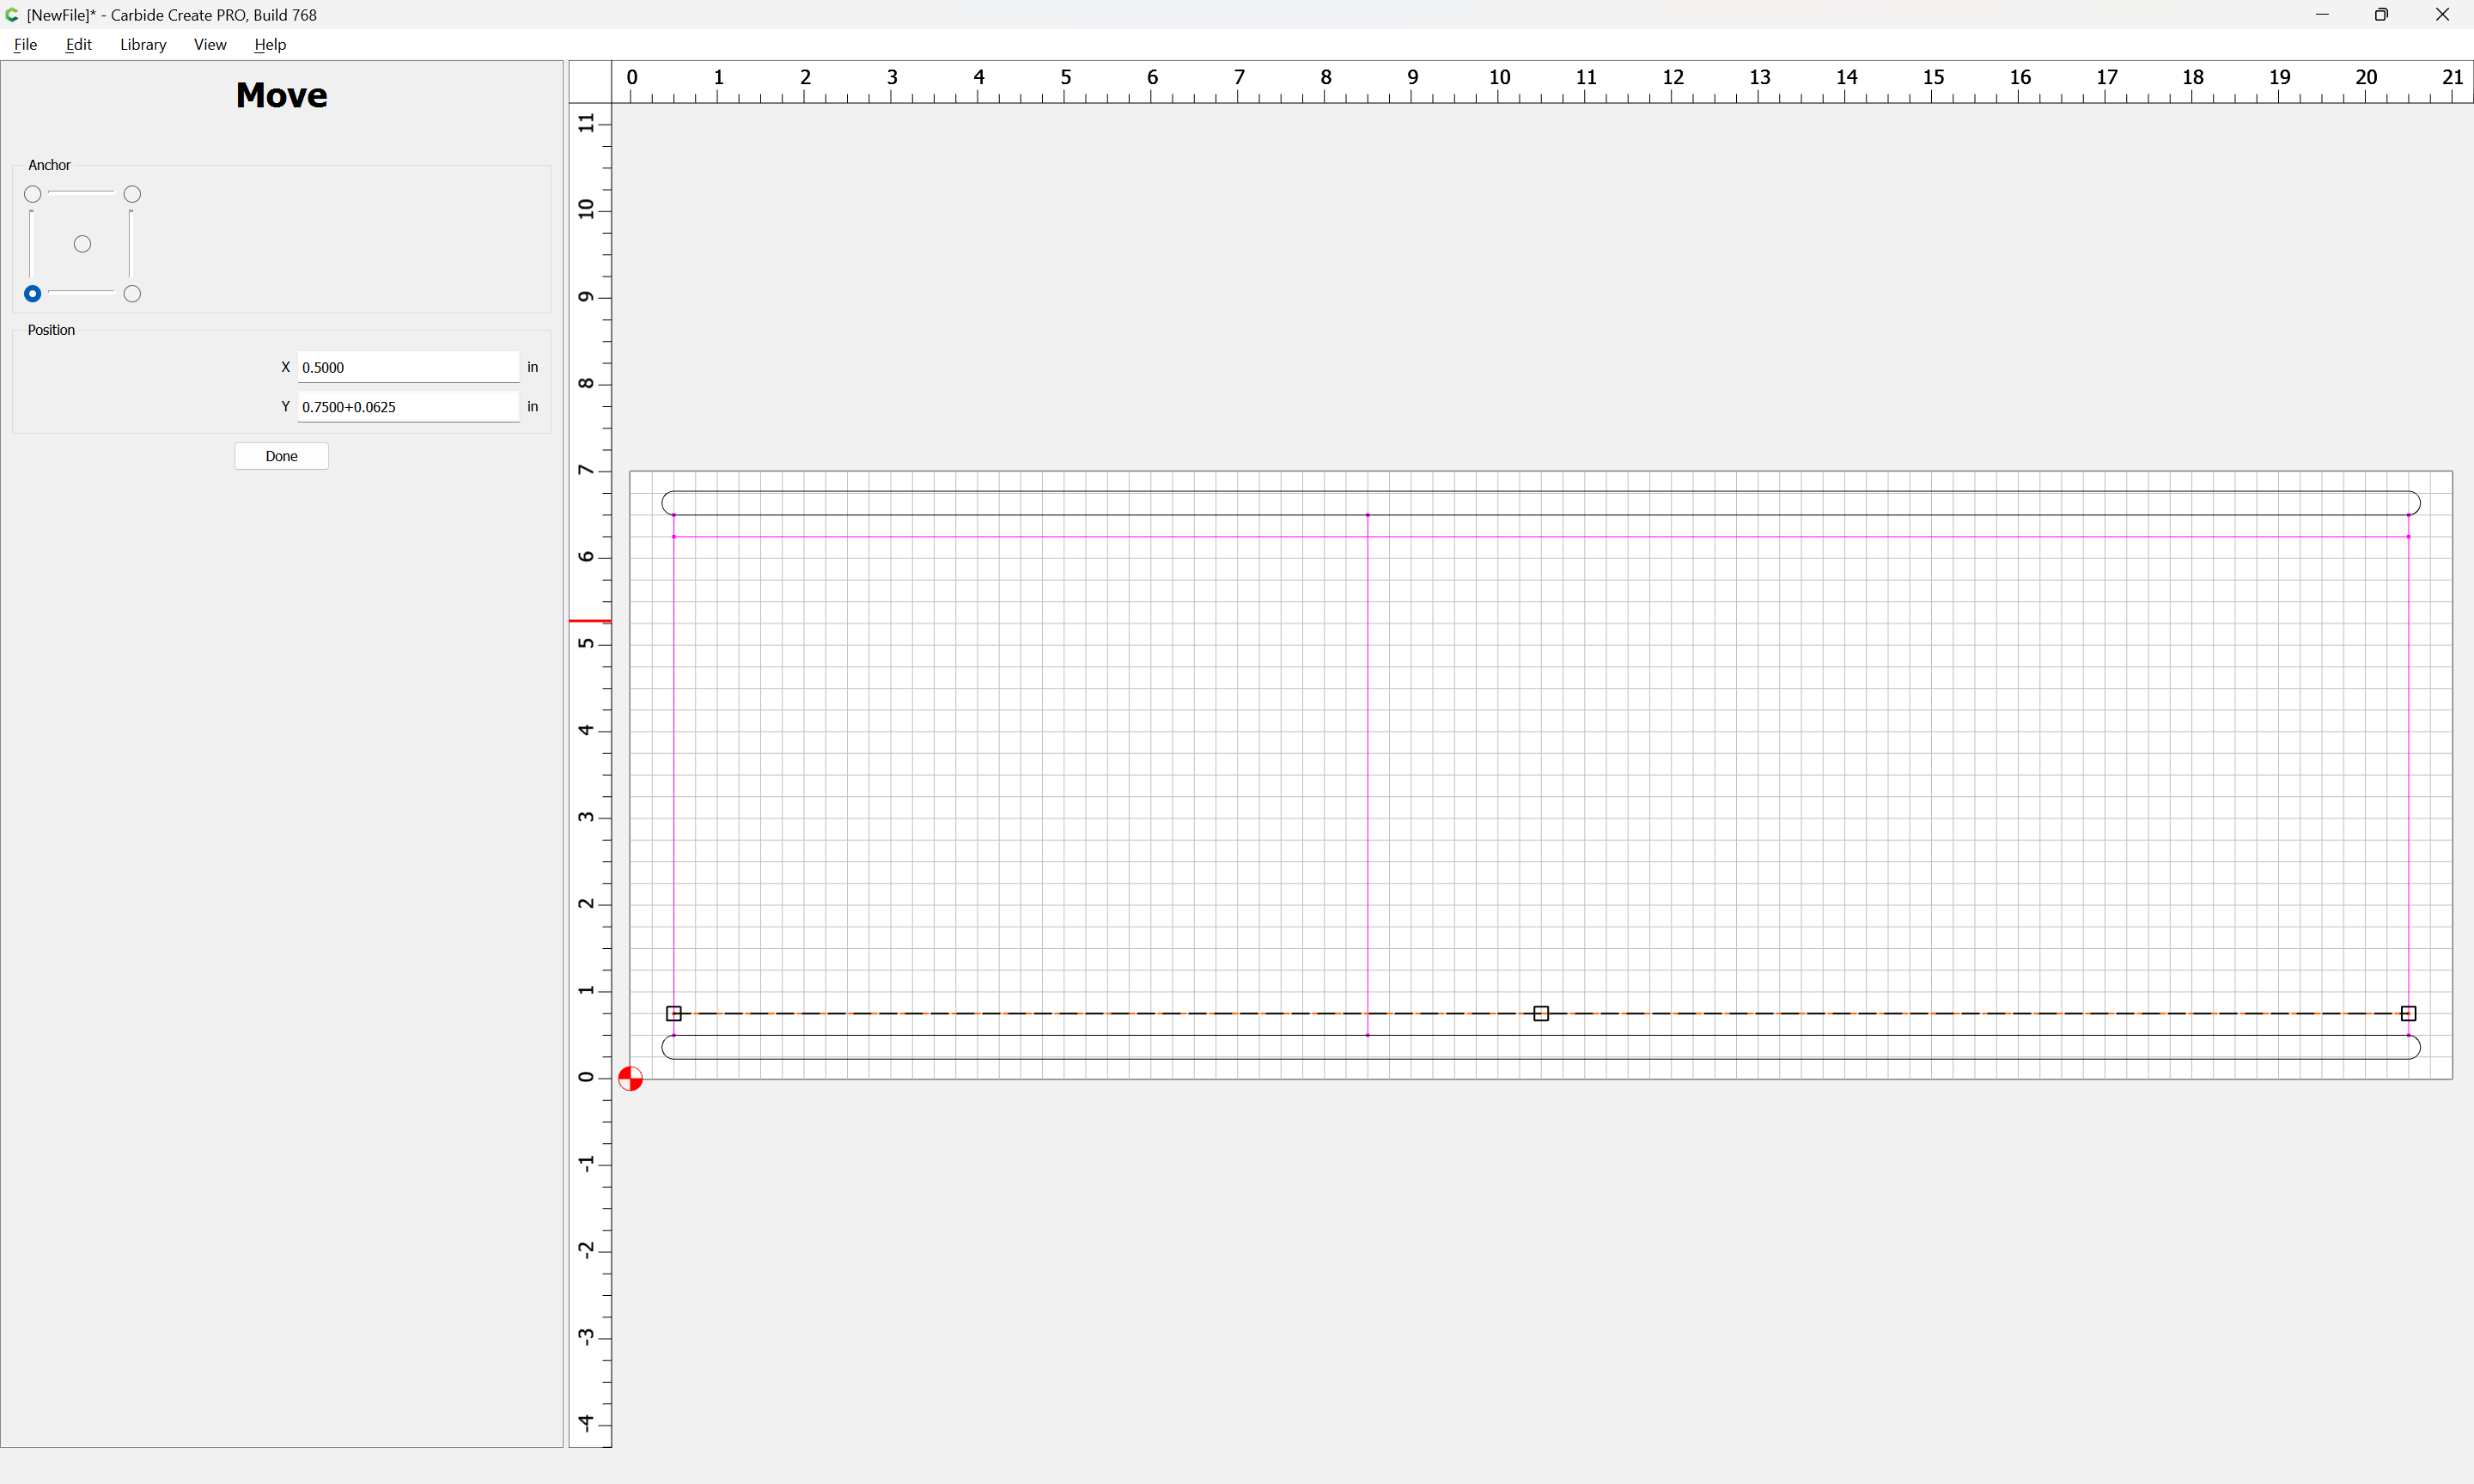
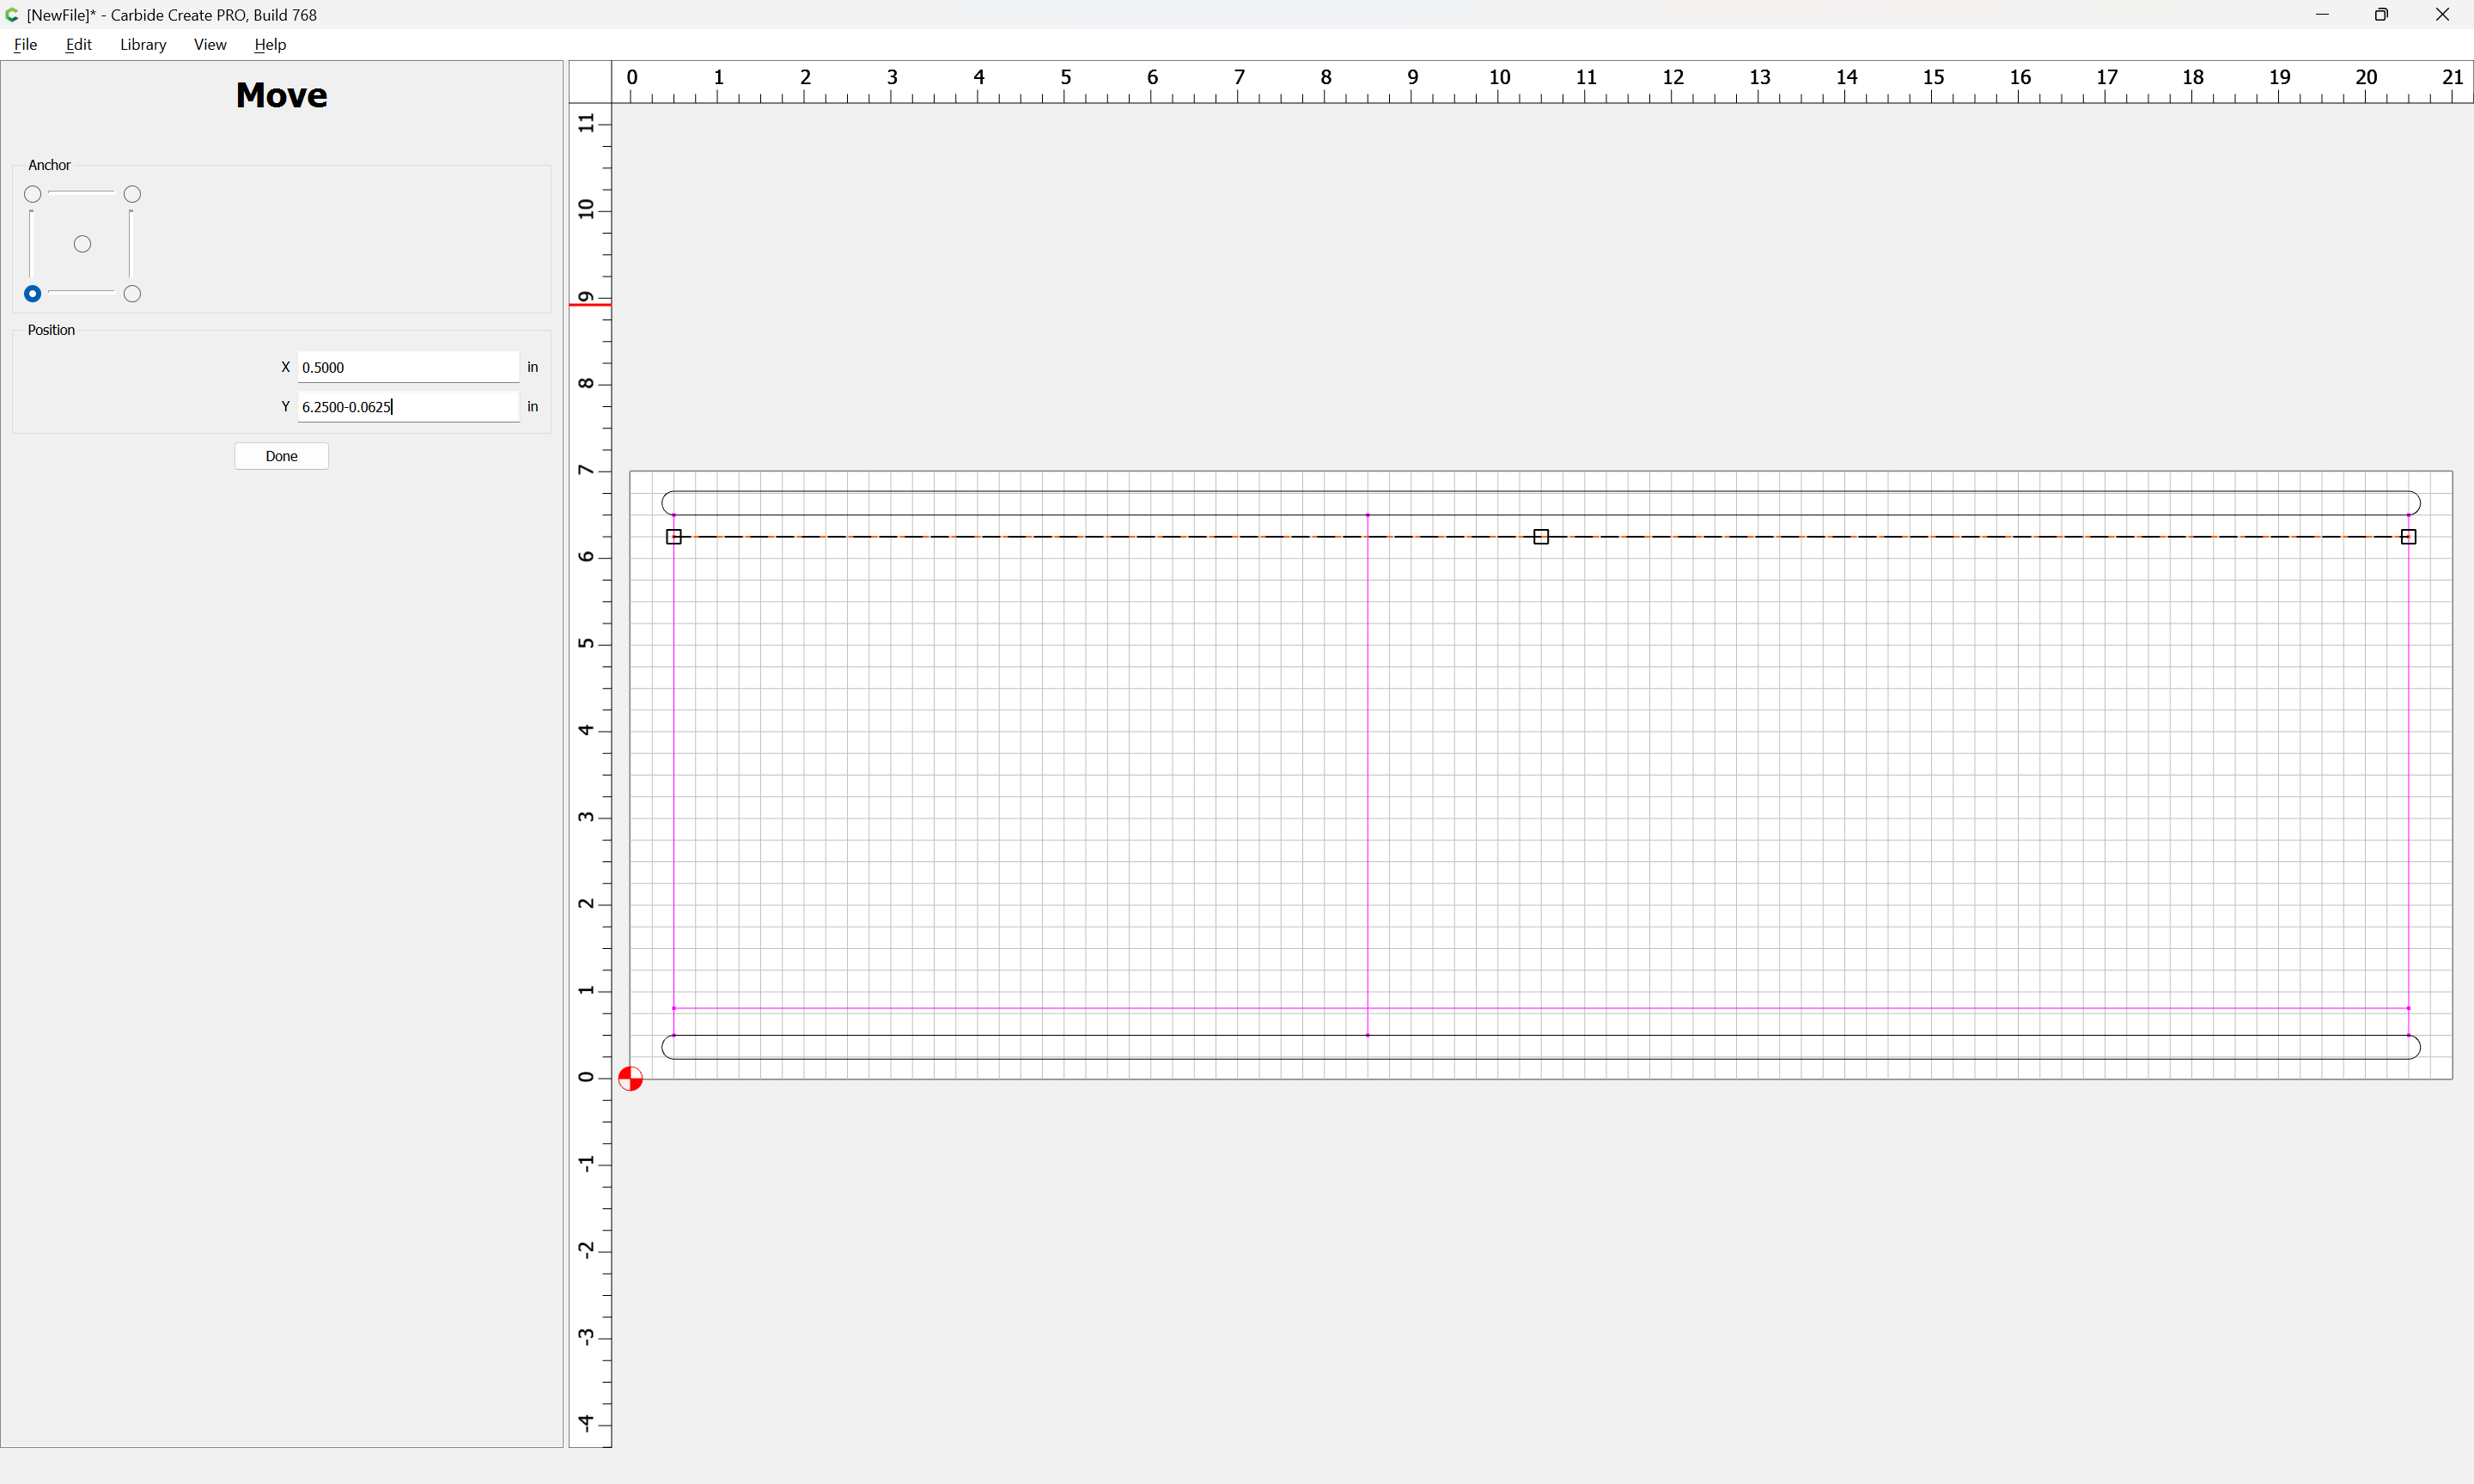
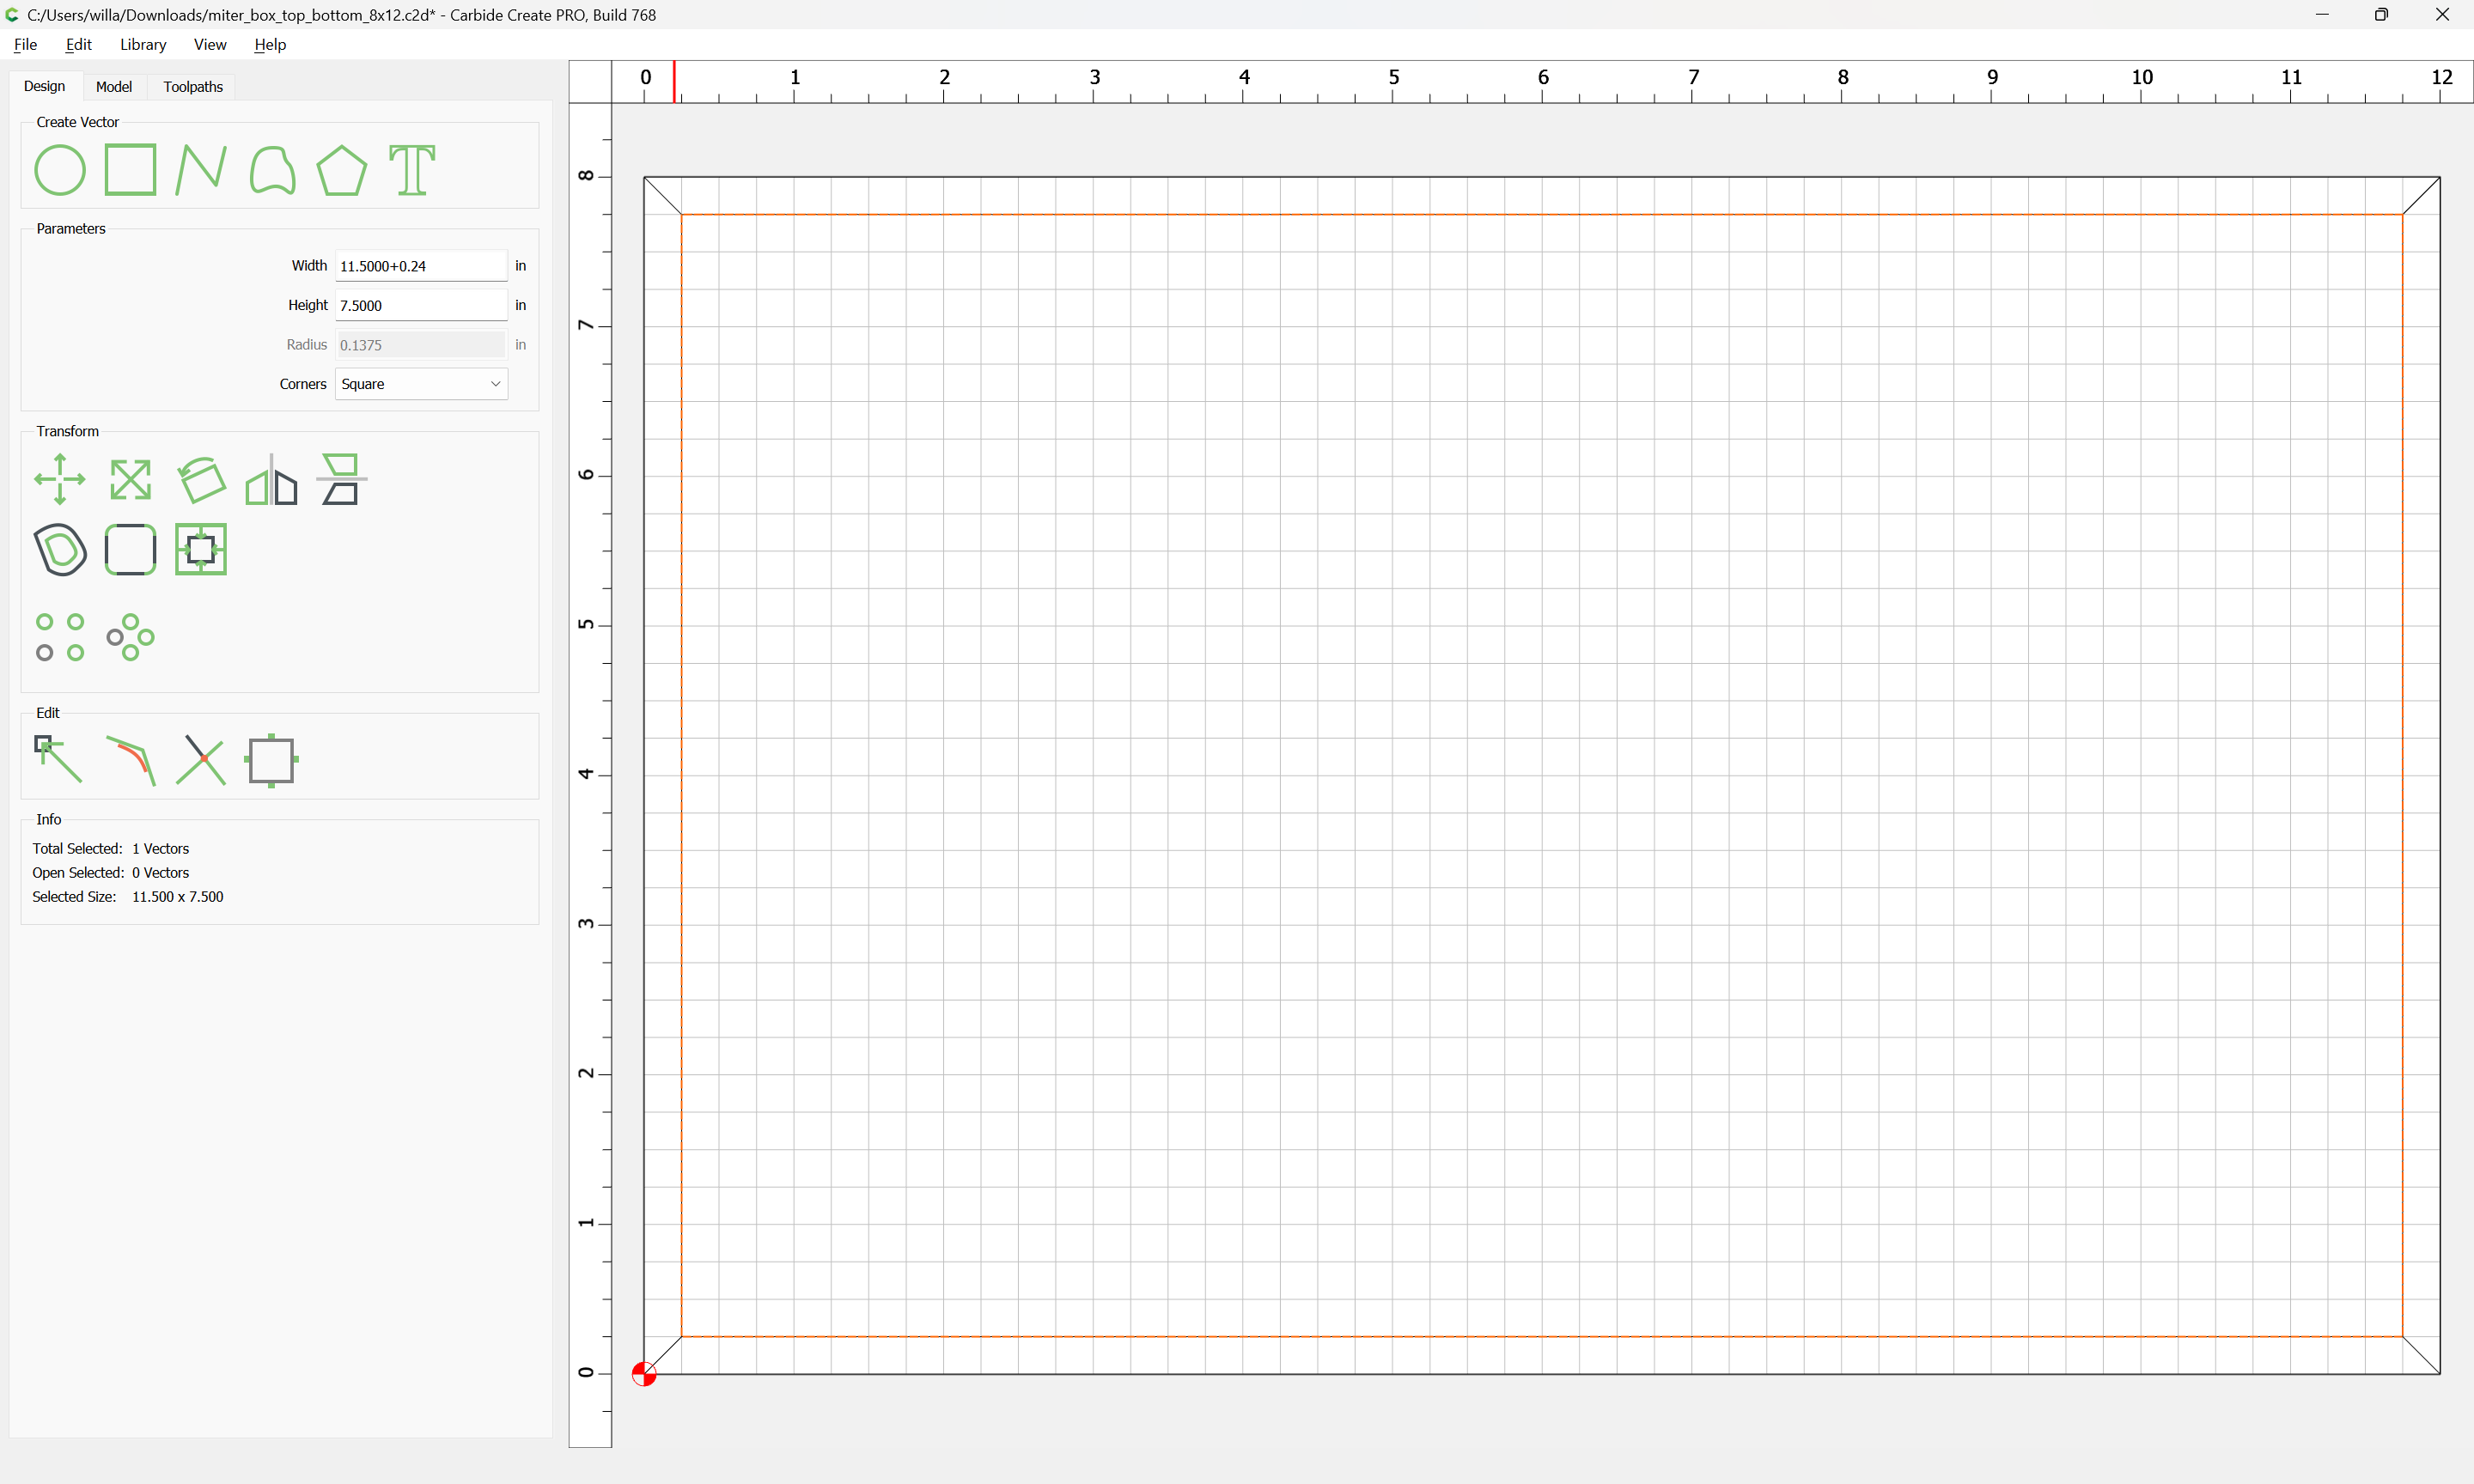
Then, set up a toolpath which will cut a front/back and a side with 3 V cuts, and straight cuts along the other edges (unless the stock is S4S and exactly 6" wide or if you are mitering the top/bottom as well) and you’d also need to decide how the top/bottom will be done — if you’re mitering them as well you’ll need a pair of >12" x 8" pieces of stock — otherwise you would need to rabbet/cut grooves for the top/bottom and decide if they will be floating or no.

Ok thank you. I will have to see if there is a visual on YouTube as I tend to learn through what I see. Not totally following you on how to write the program and figure settings.

Roger Kollmansberger

Here’s one way to set this up:

Then draw in geometry for a side:

and the front/back:

Then draw in geometry for cutting a V for the joinery:

and duplicate it for the other corners:

Then select that geometry and assign a No Offset Contour toolpath:

and then draw in geometry at top/bottom to cut to width:

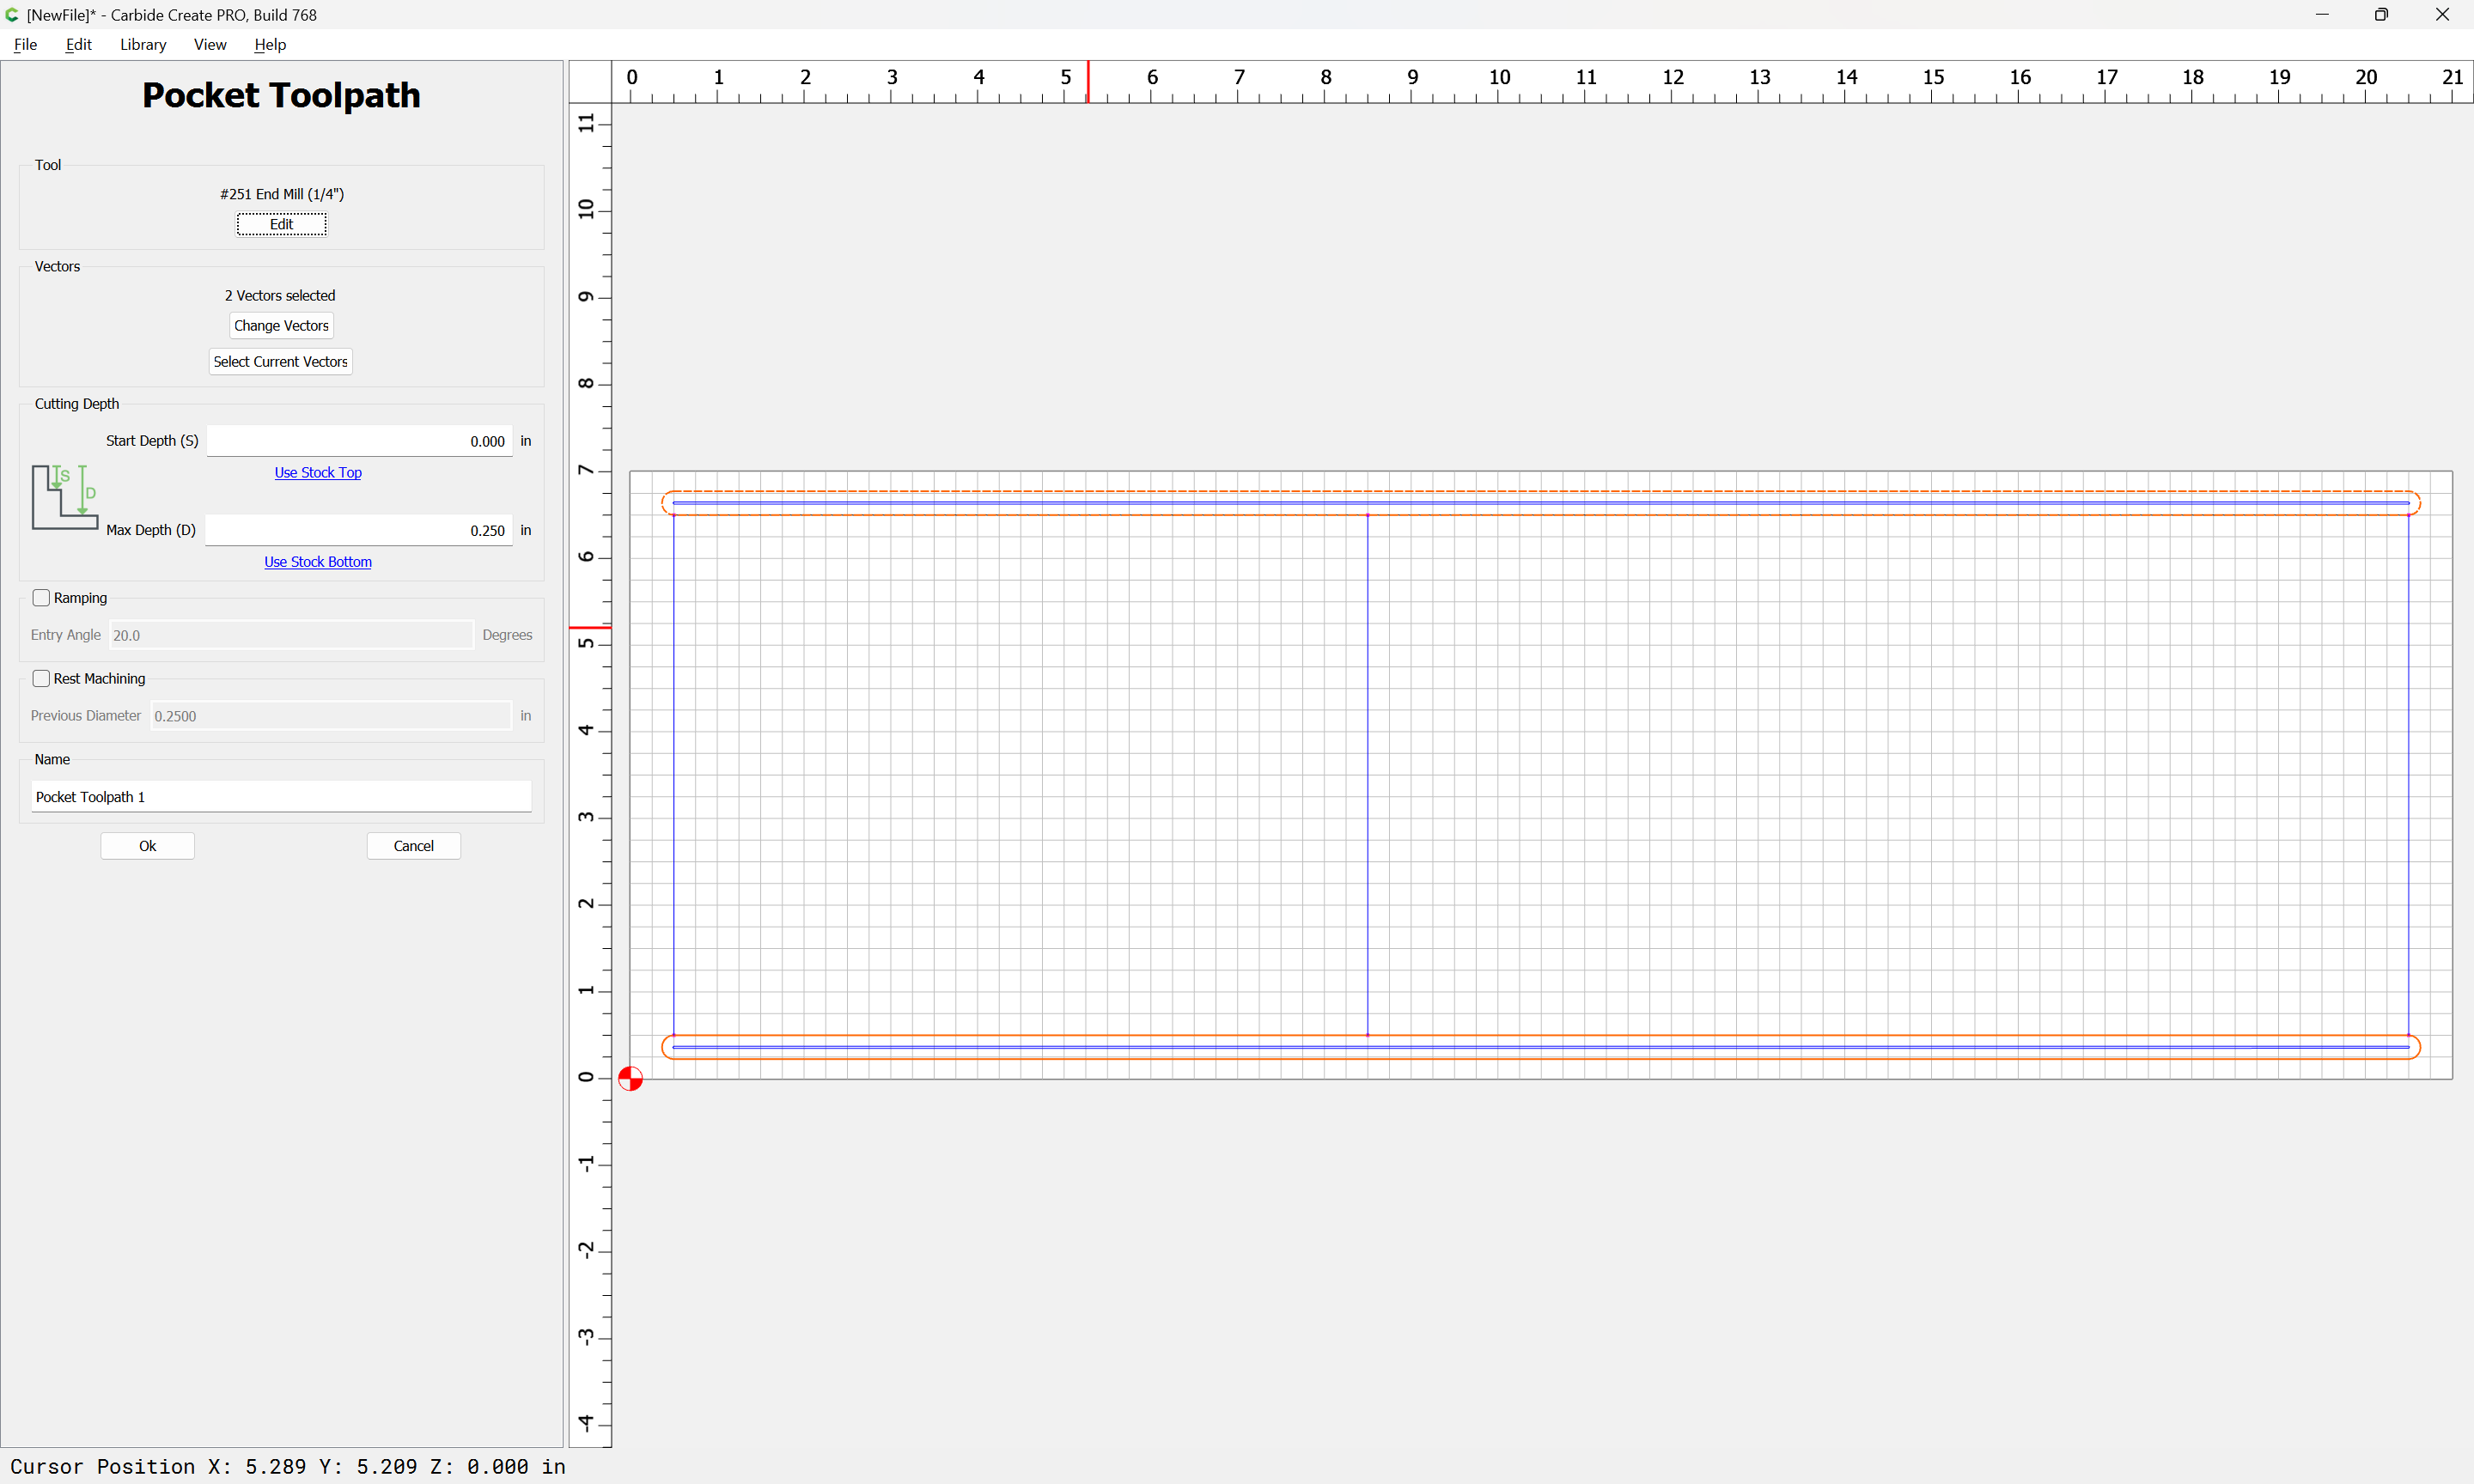
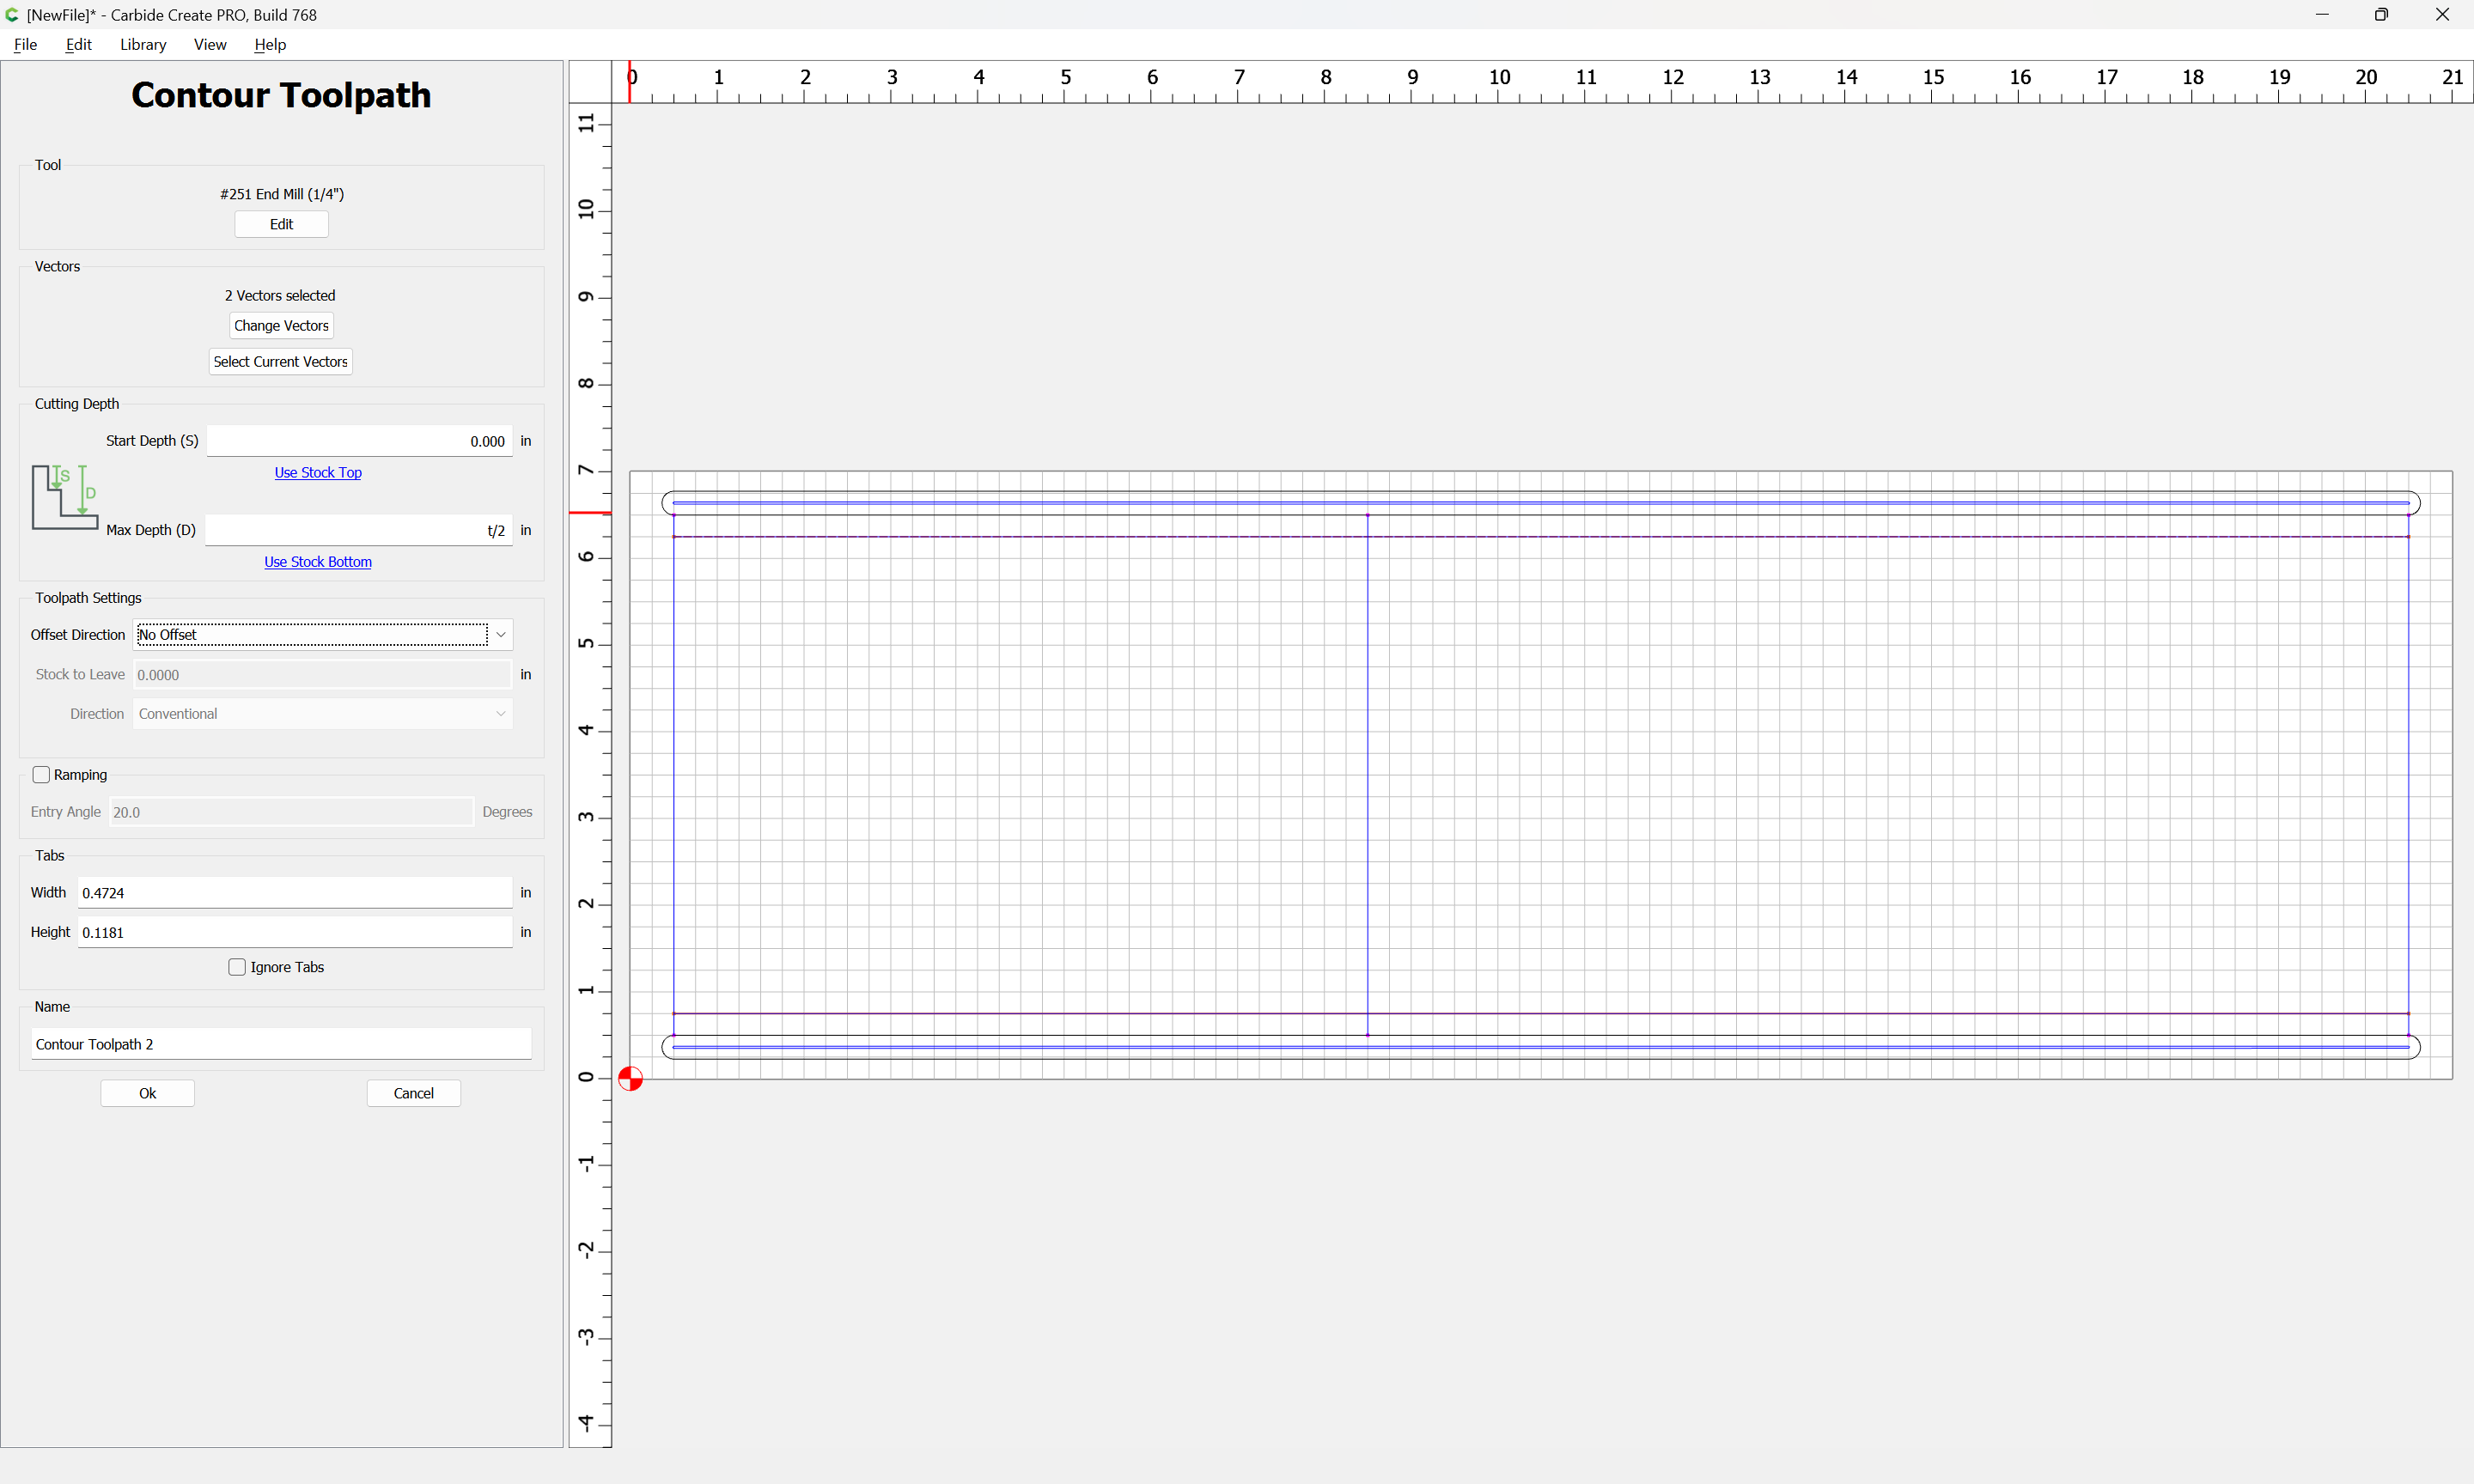
The other consideration is grooves for the top/bottom — if the stock is 1/4" thick, then one can use a tool of that thickness and another No Offset Contour:

Looking at this, more material at top and bottom would seem warranted, so we move things in by 0.0625":

which looks a bit better:

and we make a new Toolpath Group:

and move the V tool toolpath:

and adjust the ordering of the other two toolpaths:

Secure things in such a way that tabs are not necessary and it should work to cut:

miter_box_8x12.c2d (52 KB)

For the top and bottom, draw up things from overhead in a separate file:

Job Setup:

If desired, node edit things to show the mitering:

Done

Draw in the geometry for the top/bottom:

and increase the size leaving a bit of room:

Offset by tool geometry plus 10%:

and cut as a pocket down to the bottom with the original geometry:

and set up the stock with suitable workholding (if need be reduce the Max Depth of the pocket and add an Outside Contour toolpath with tabs).

miter_box_top_bottom_8x12.c2d (60 KB)

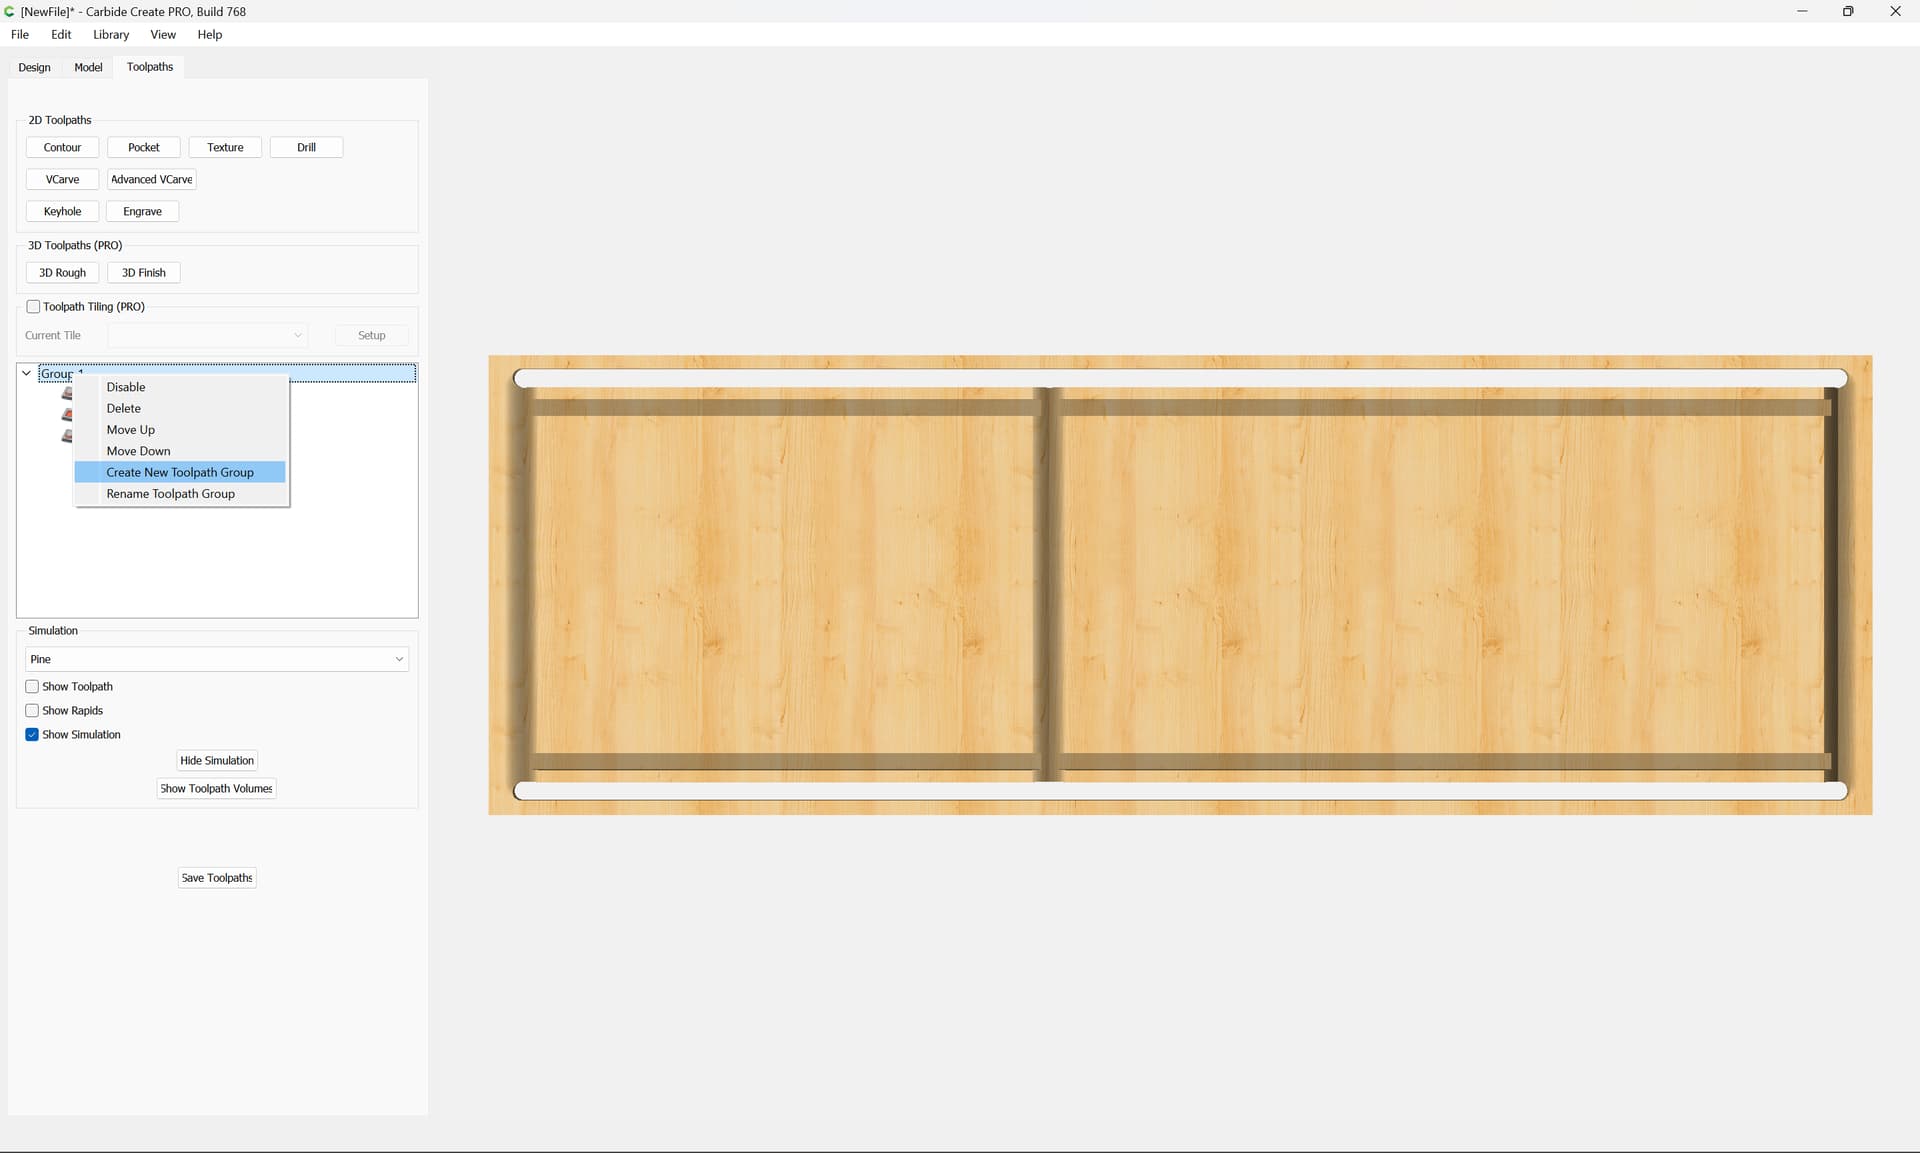
Note that it will be necessary to cut the box apart, the traditional way to do this is with a bandsaw or frame saw, or the new-fangled way is a tablesaw, see: