as requested on support…
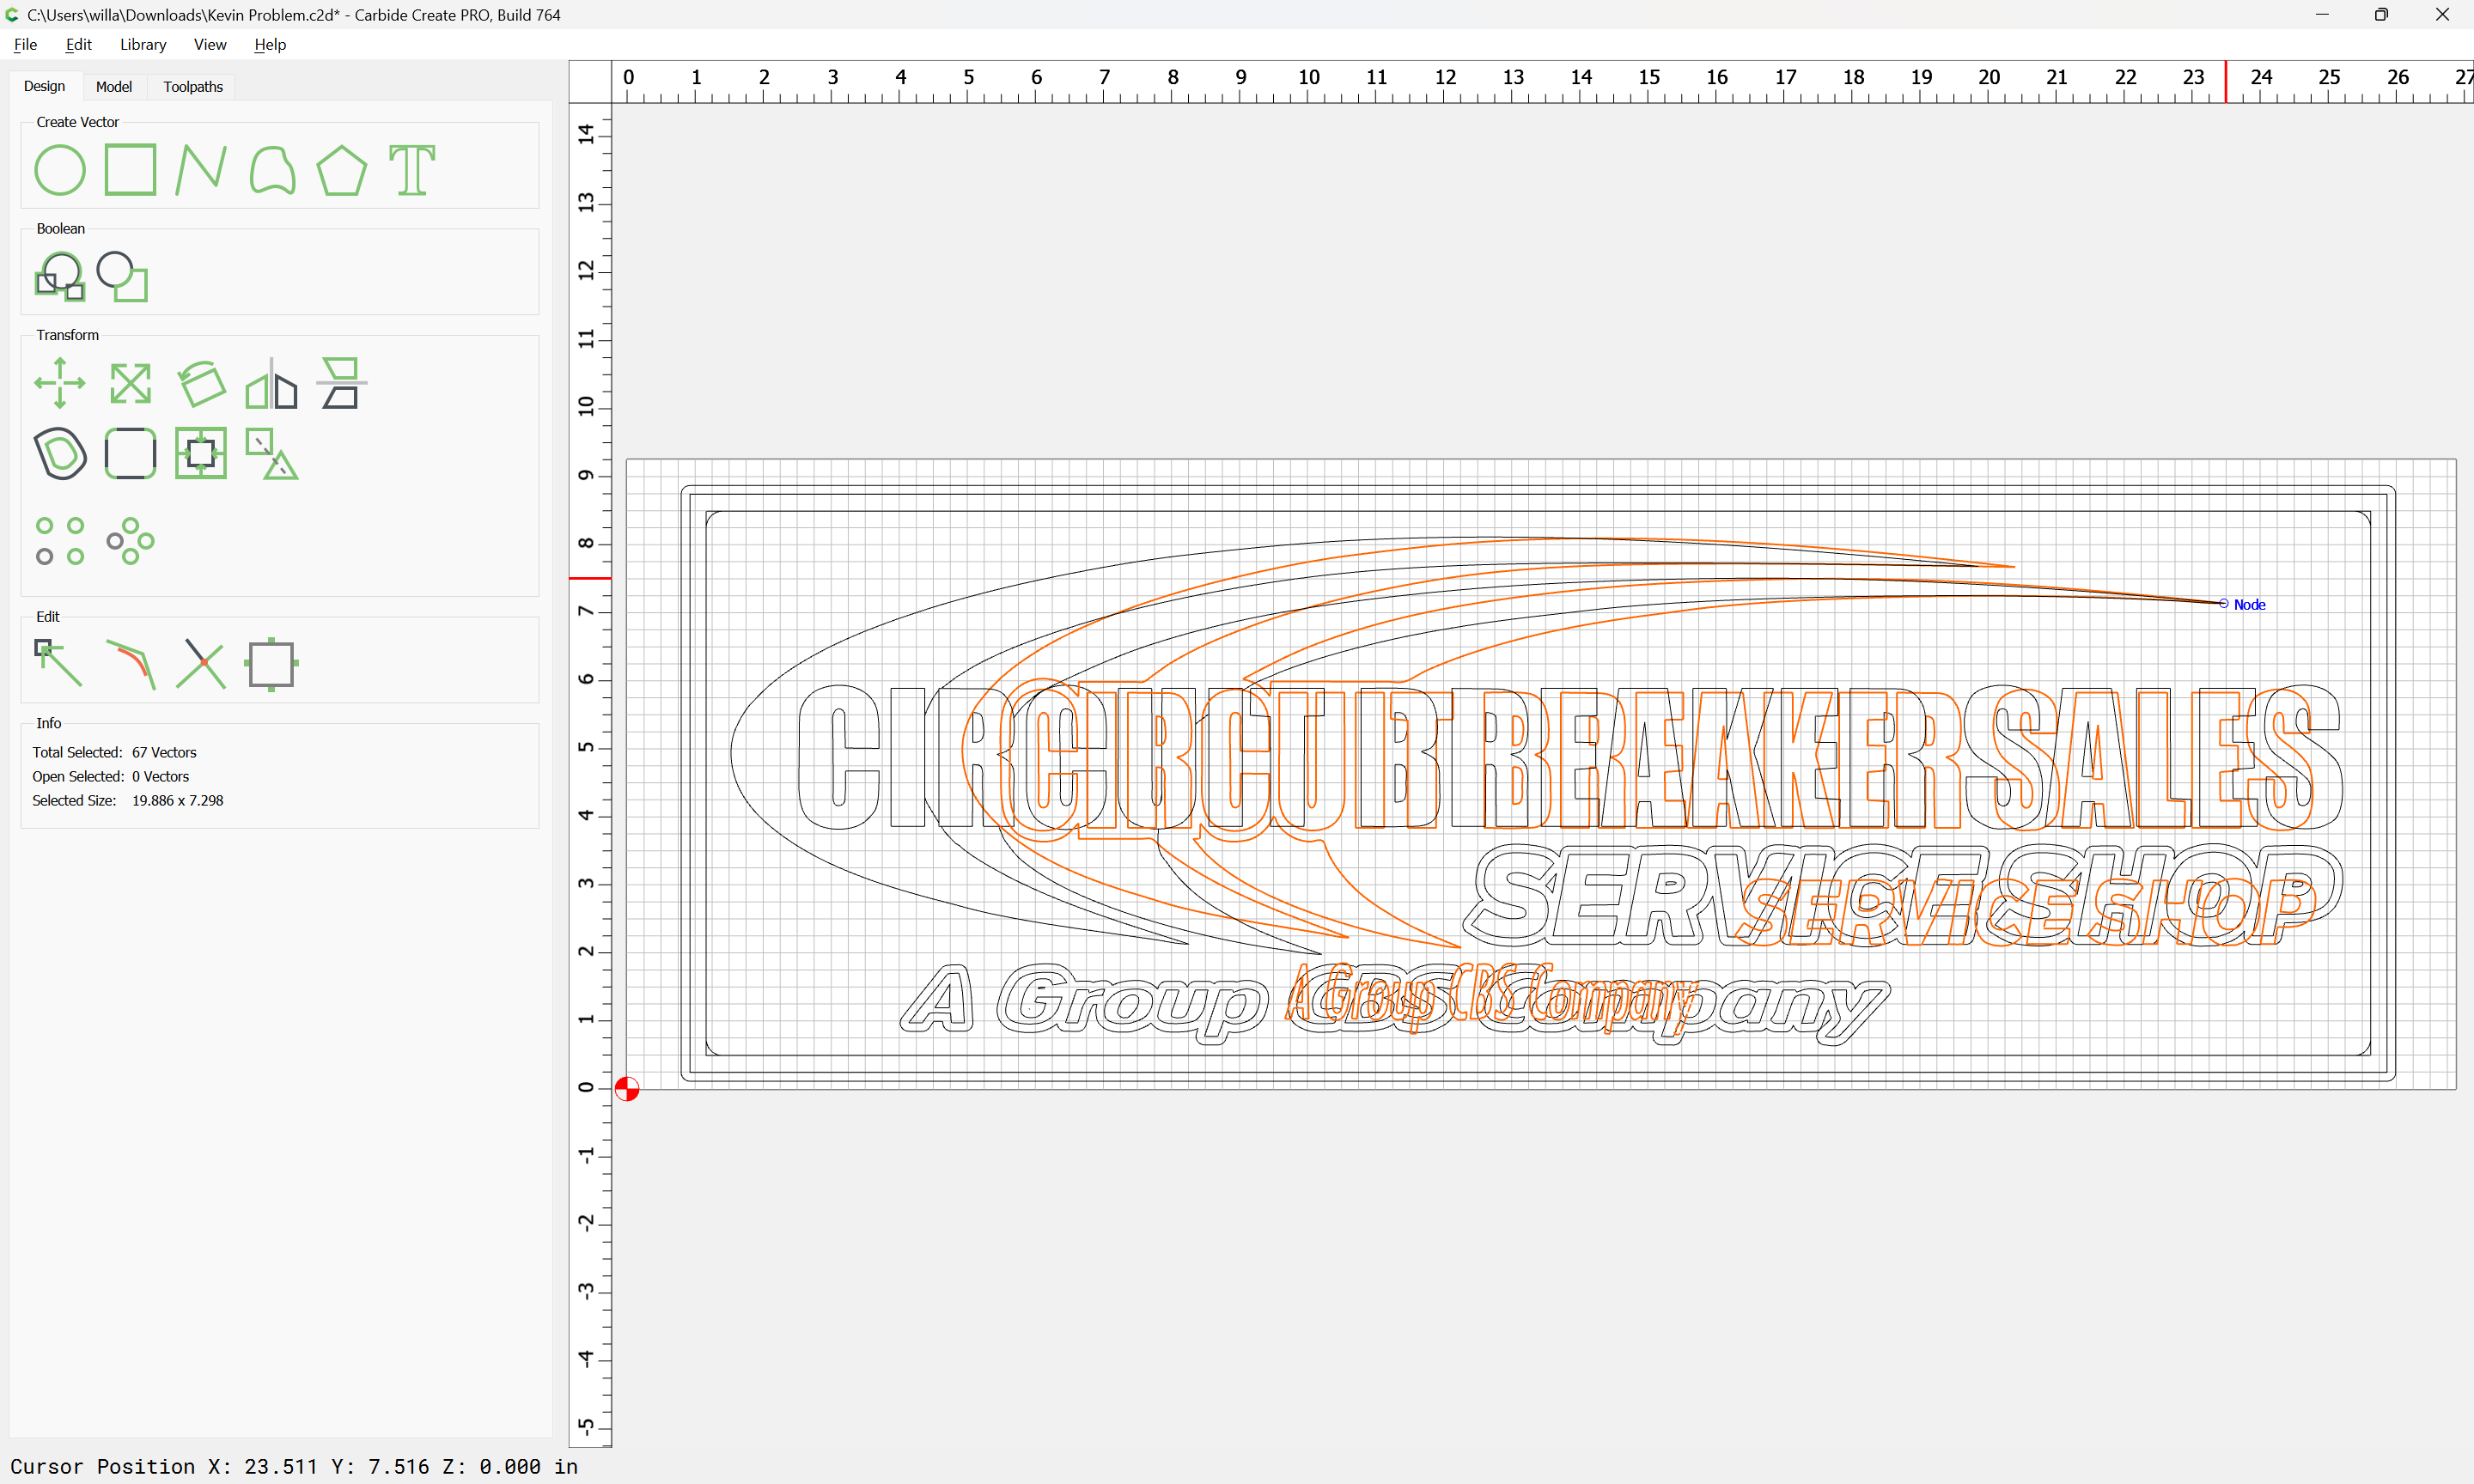
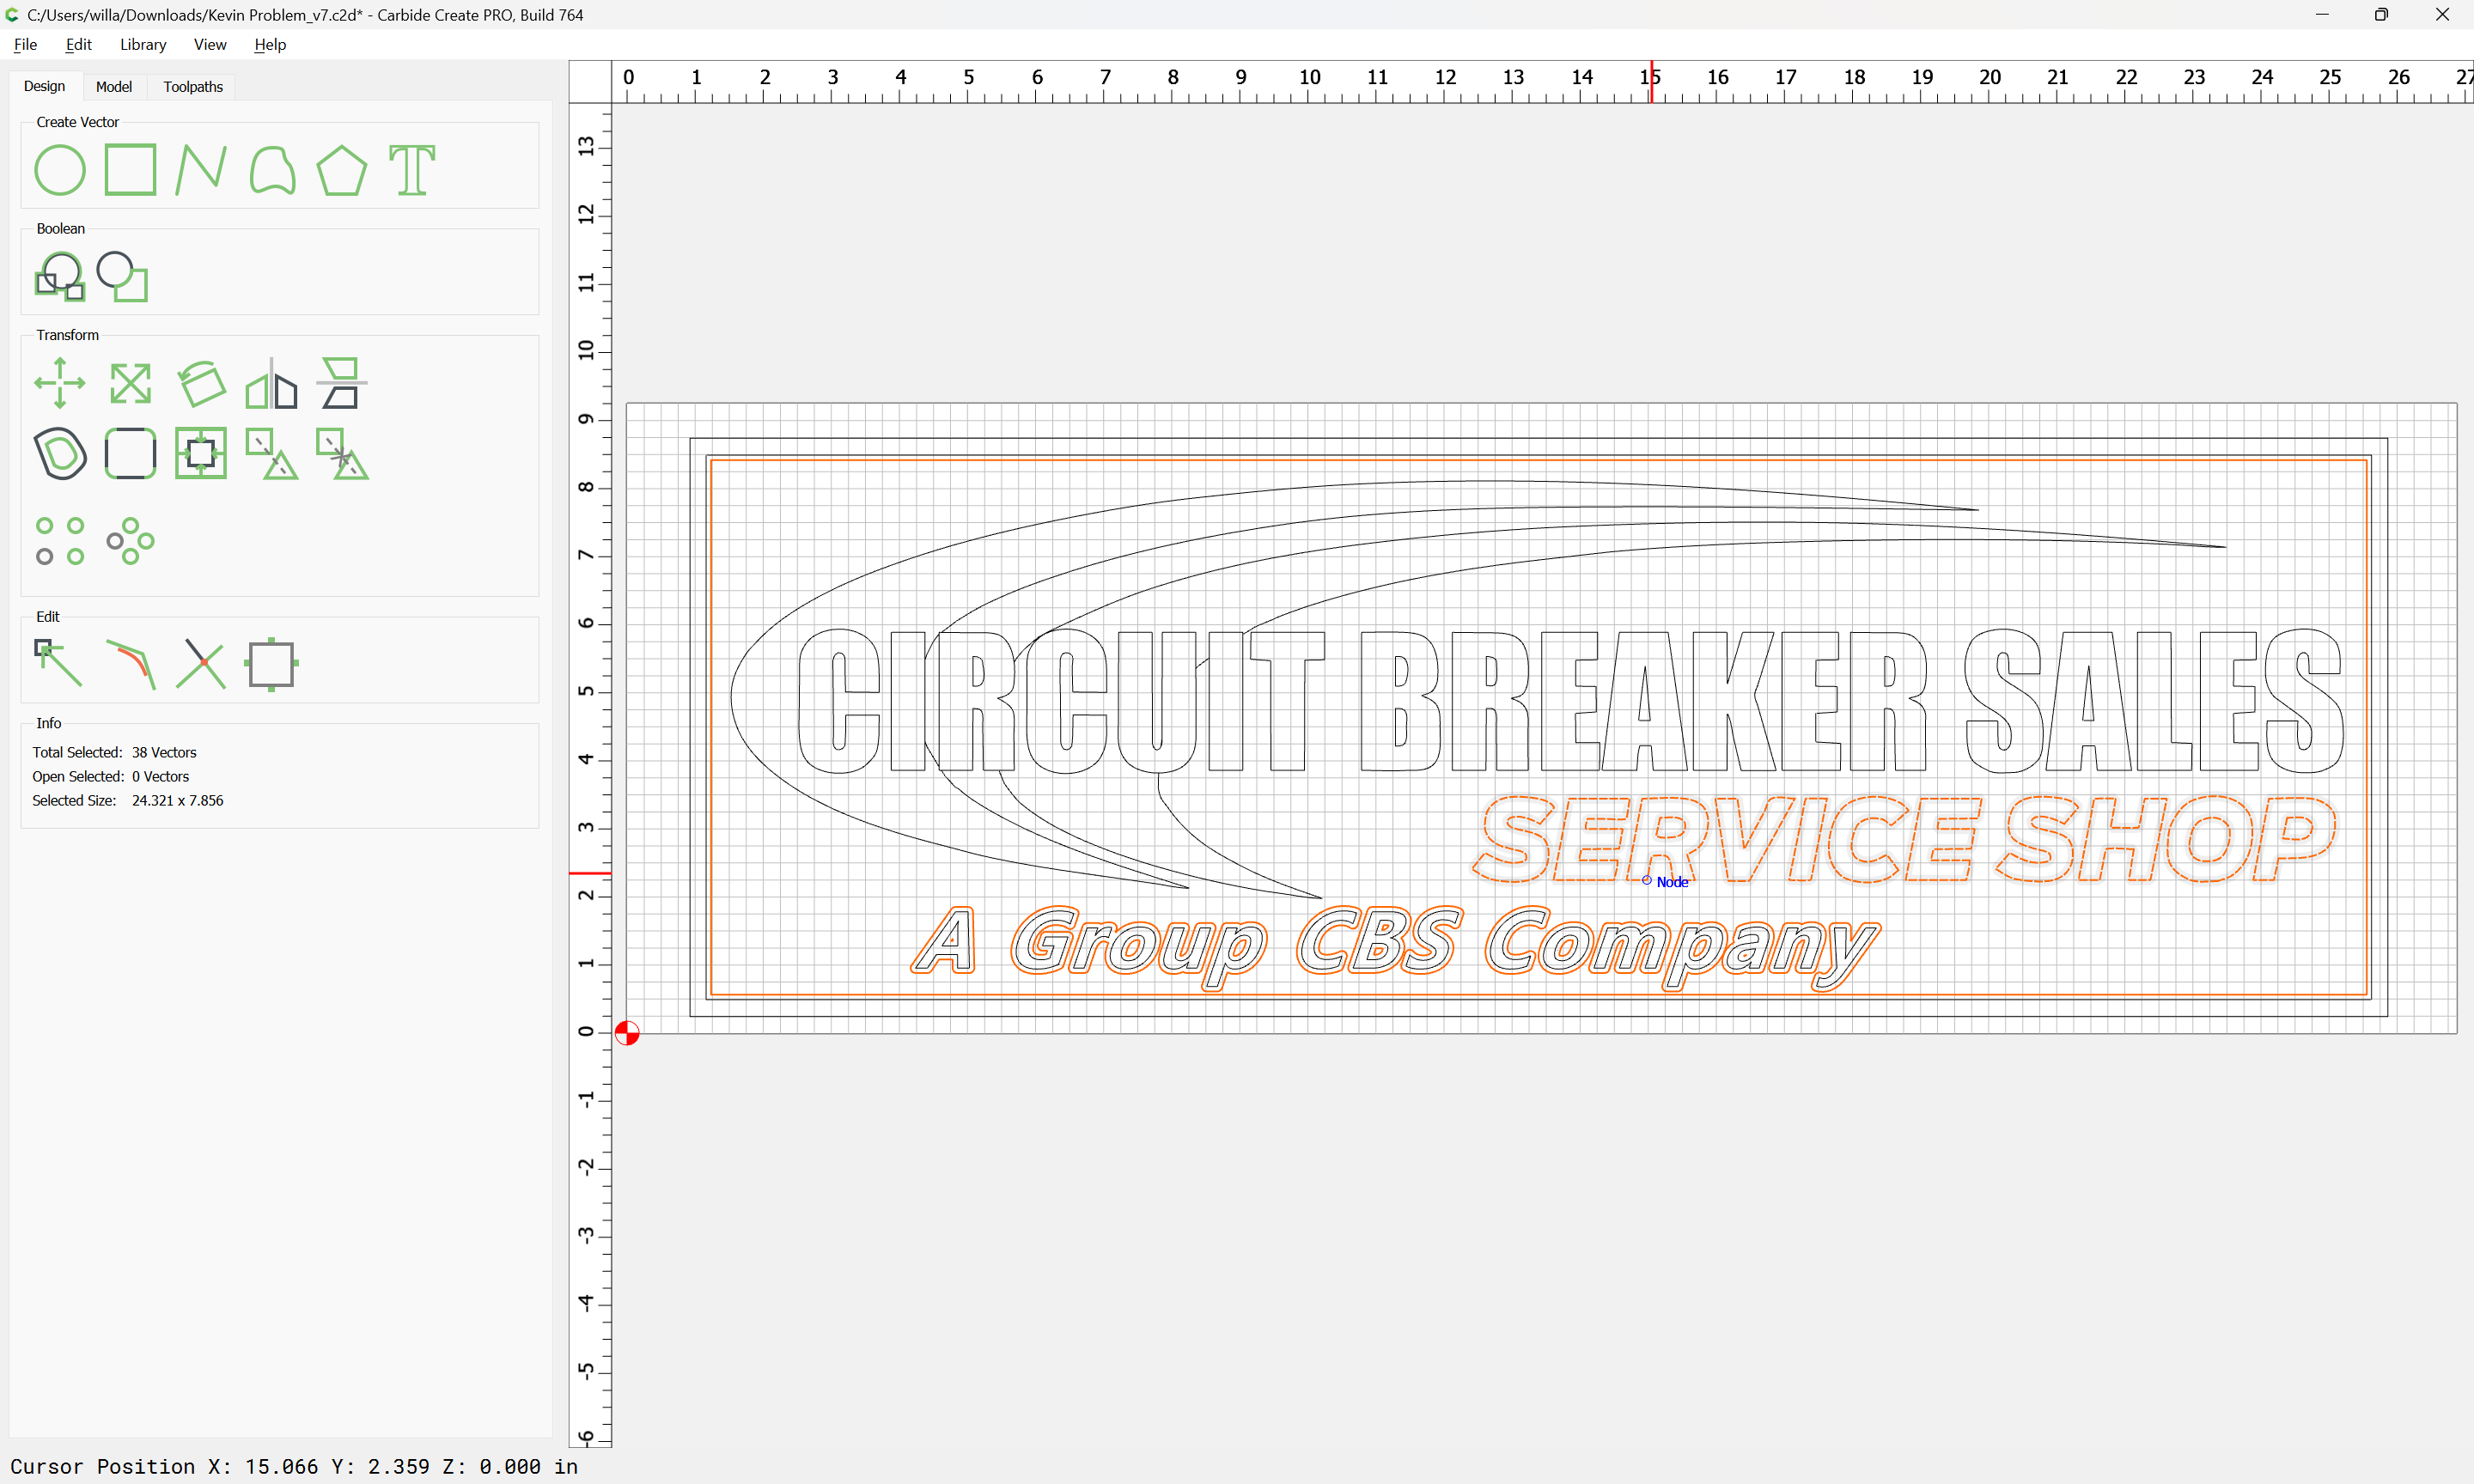
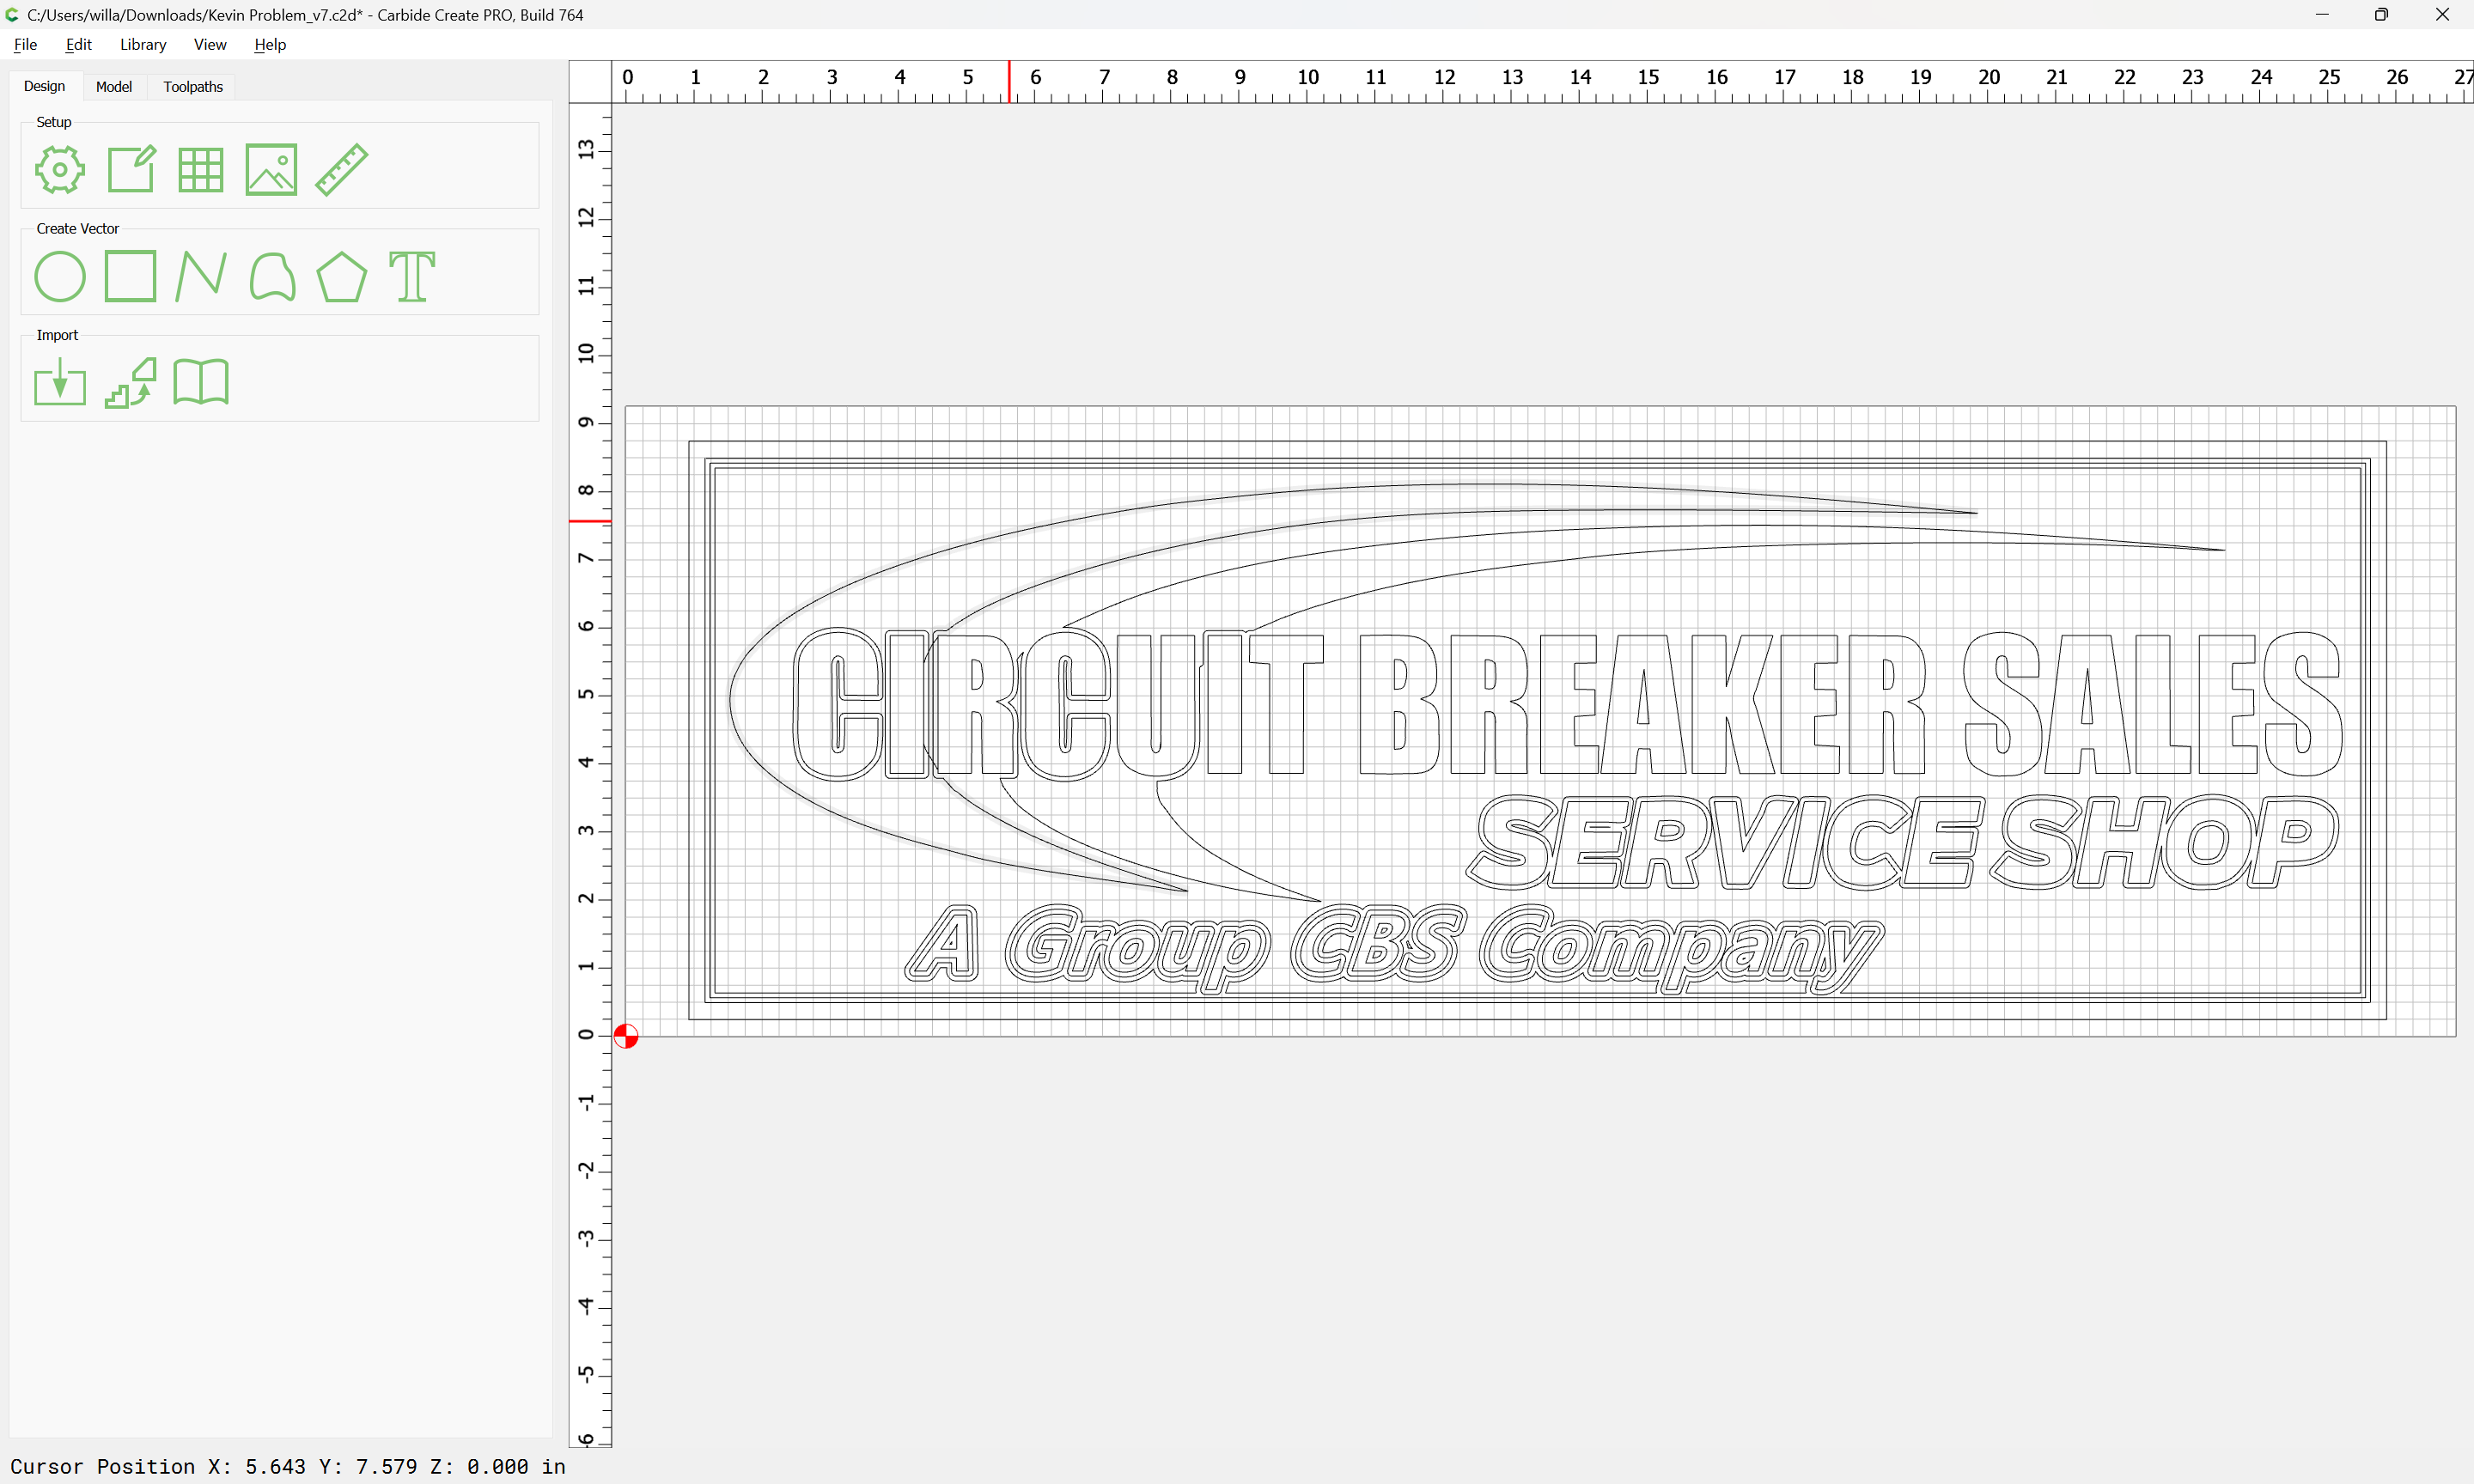
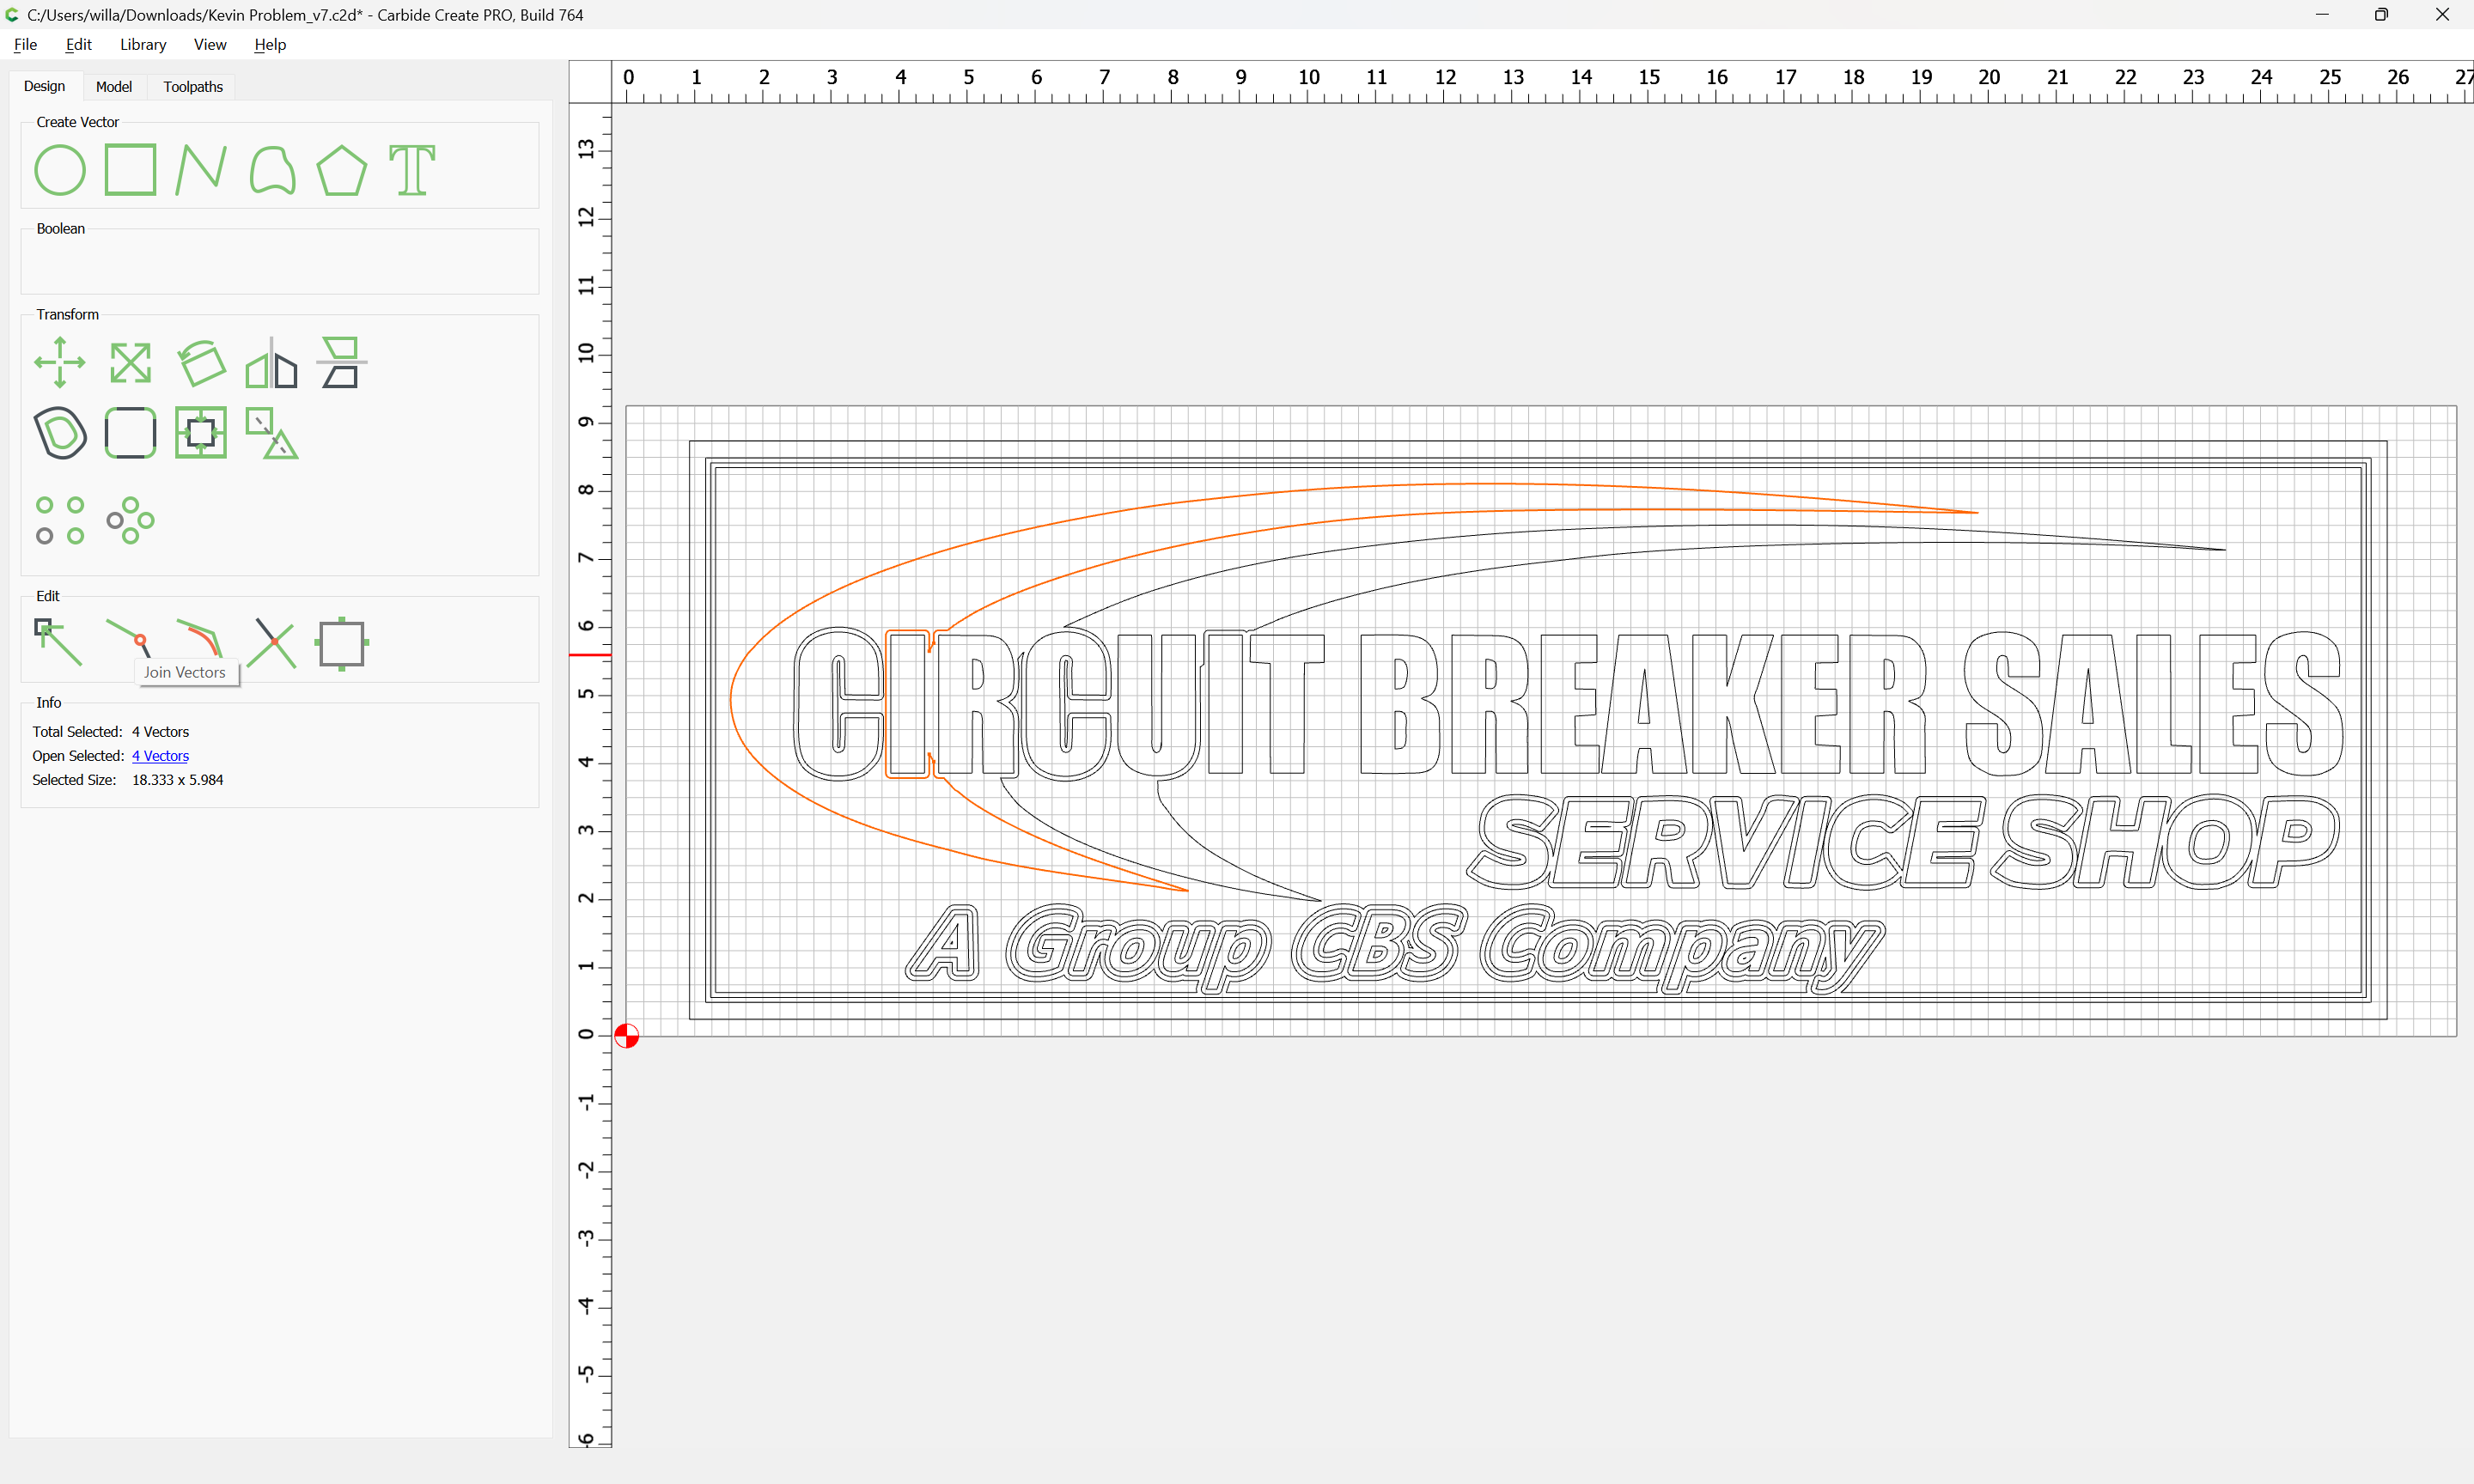
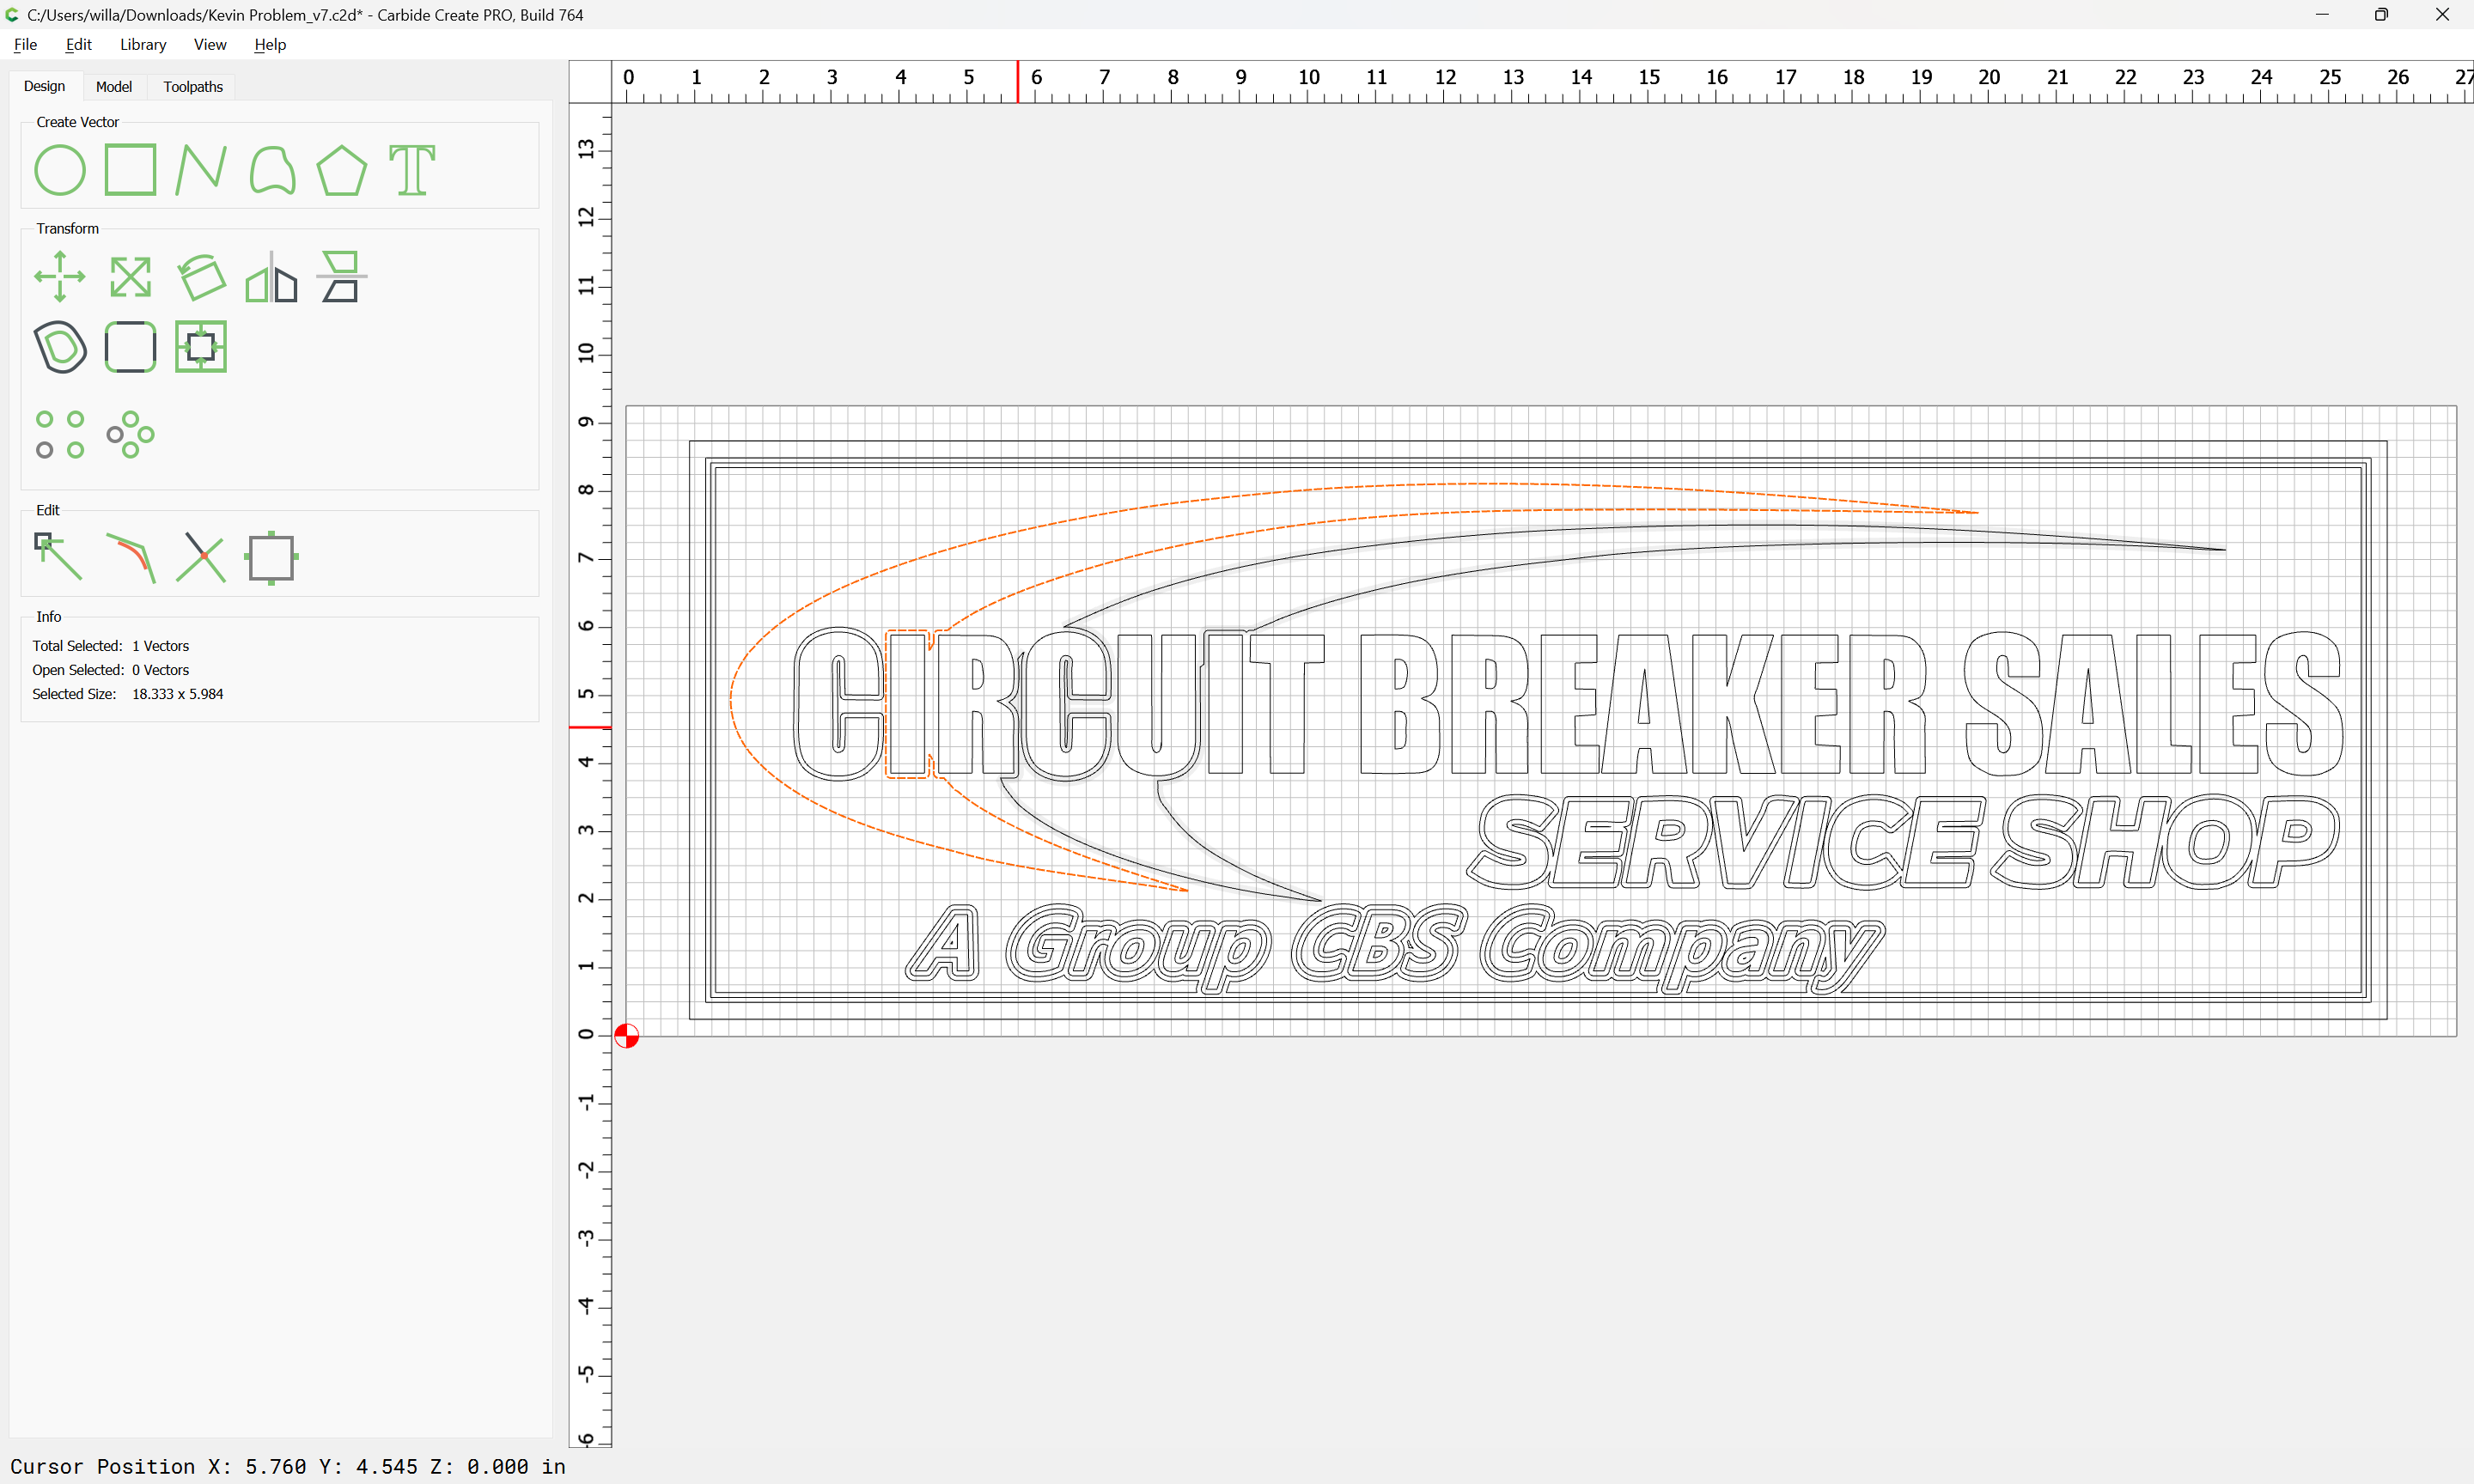
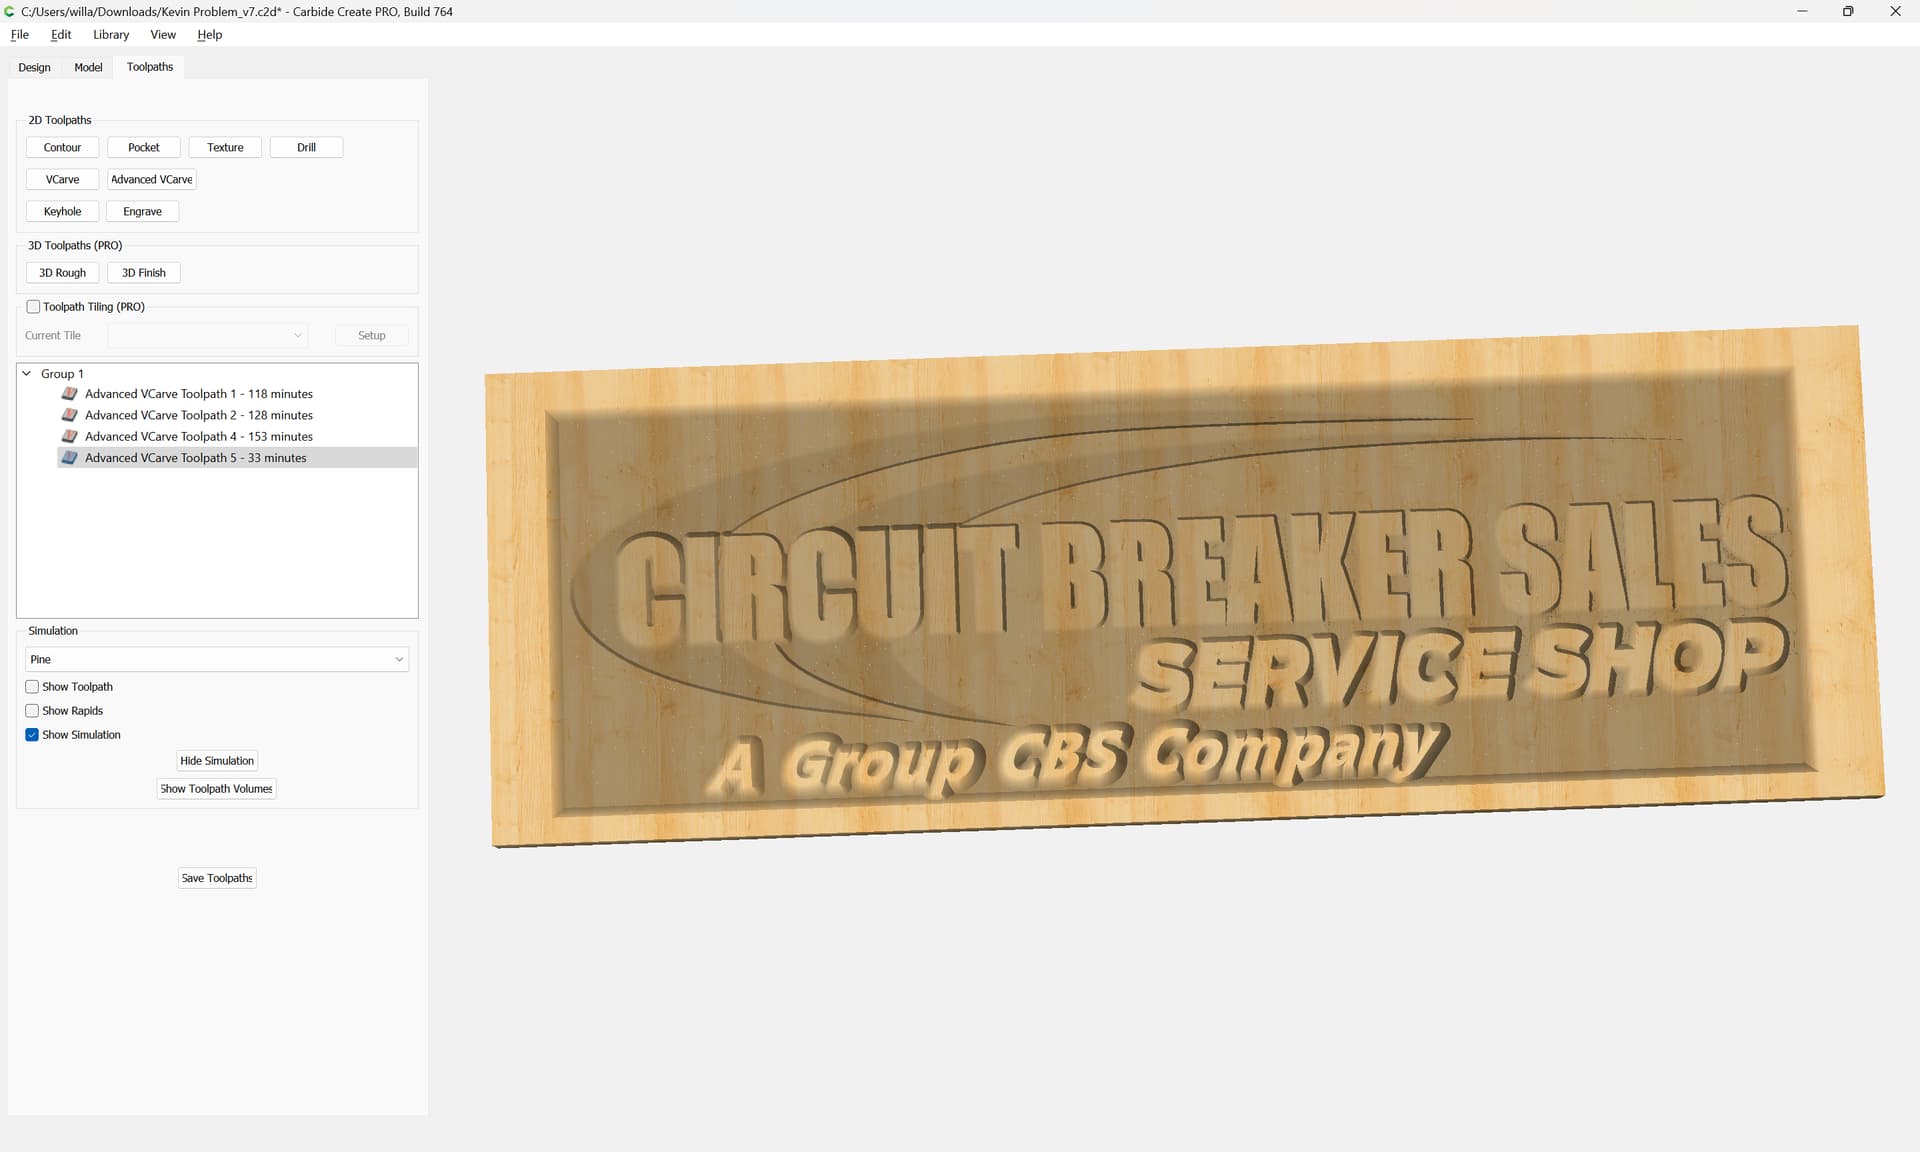
names carved at different levels with the swoosh being a pocket.
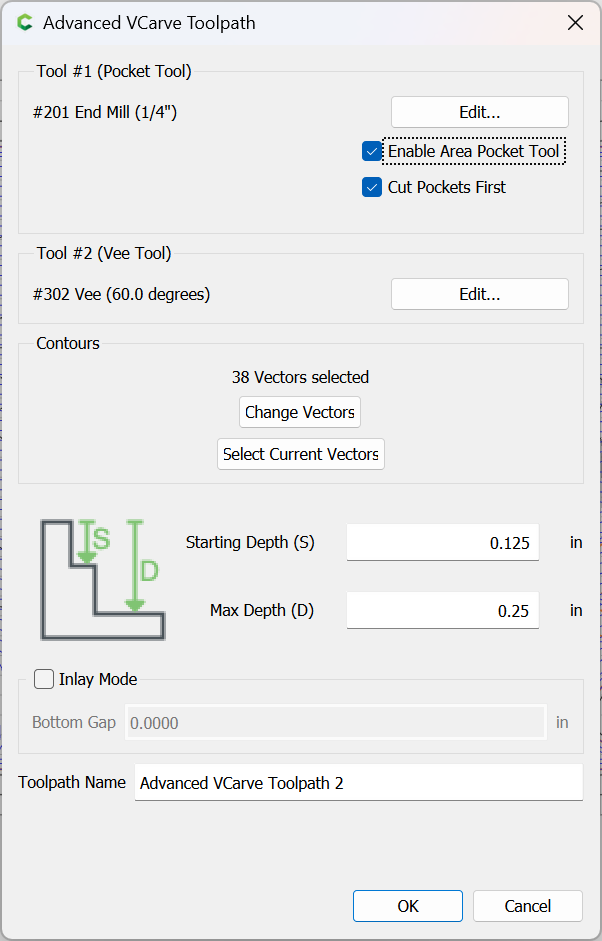
The first consideration is what is on each layer and to what depths each will be cut. Extant toolpaths indicate:
Top – 0.2 == Surround and Circuit Breaker Sales
0.2 – 0.239 == + Service Shop
0.239 – 0.26 == + CBS
0.26–0.28 == + Swoosh
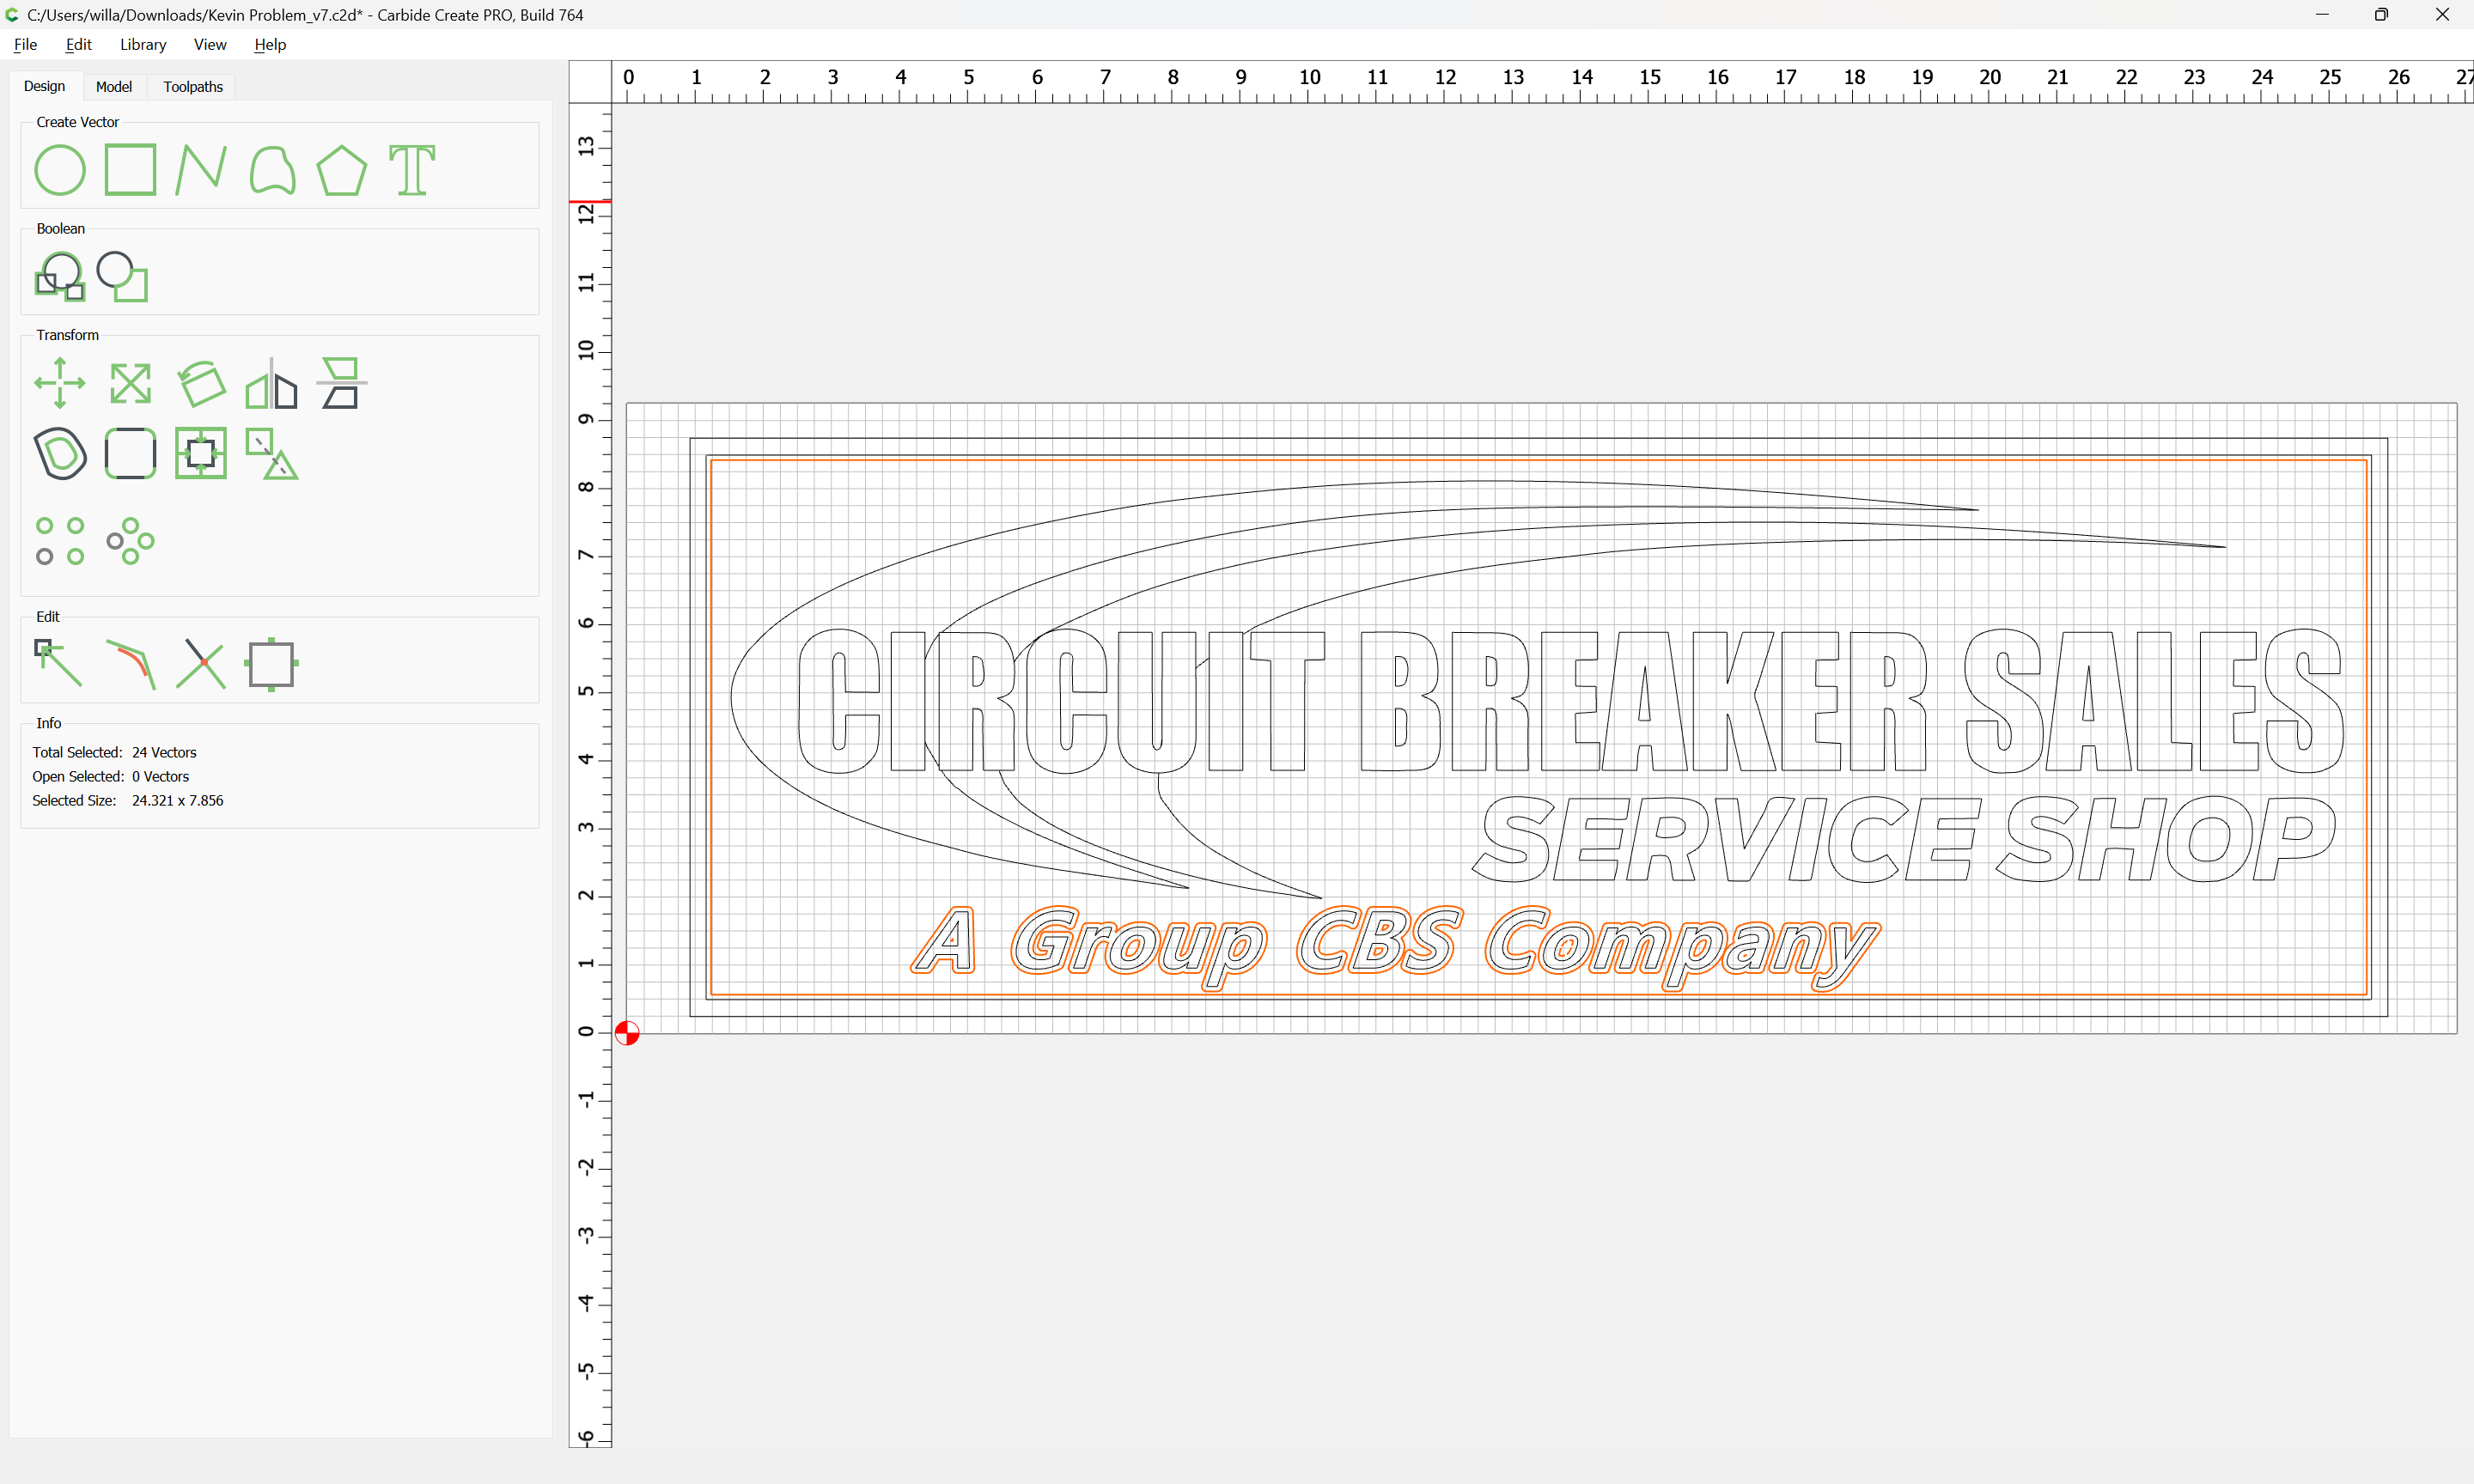
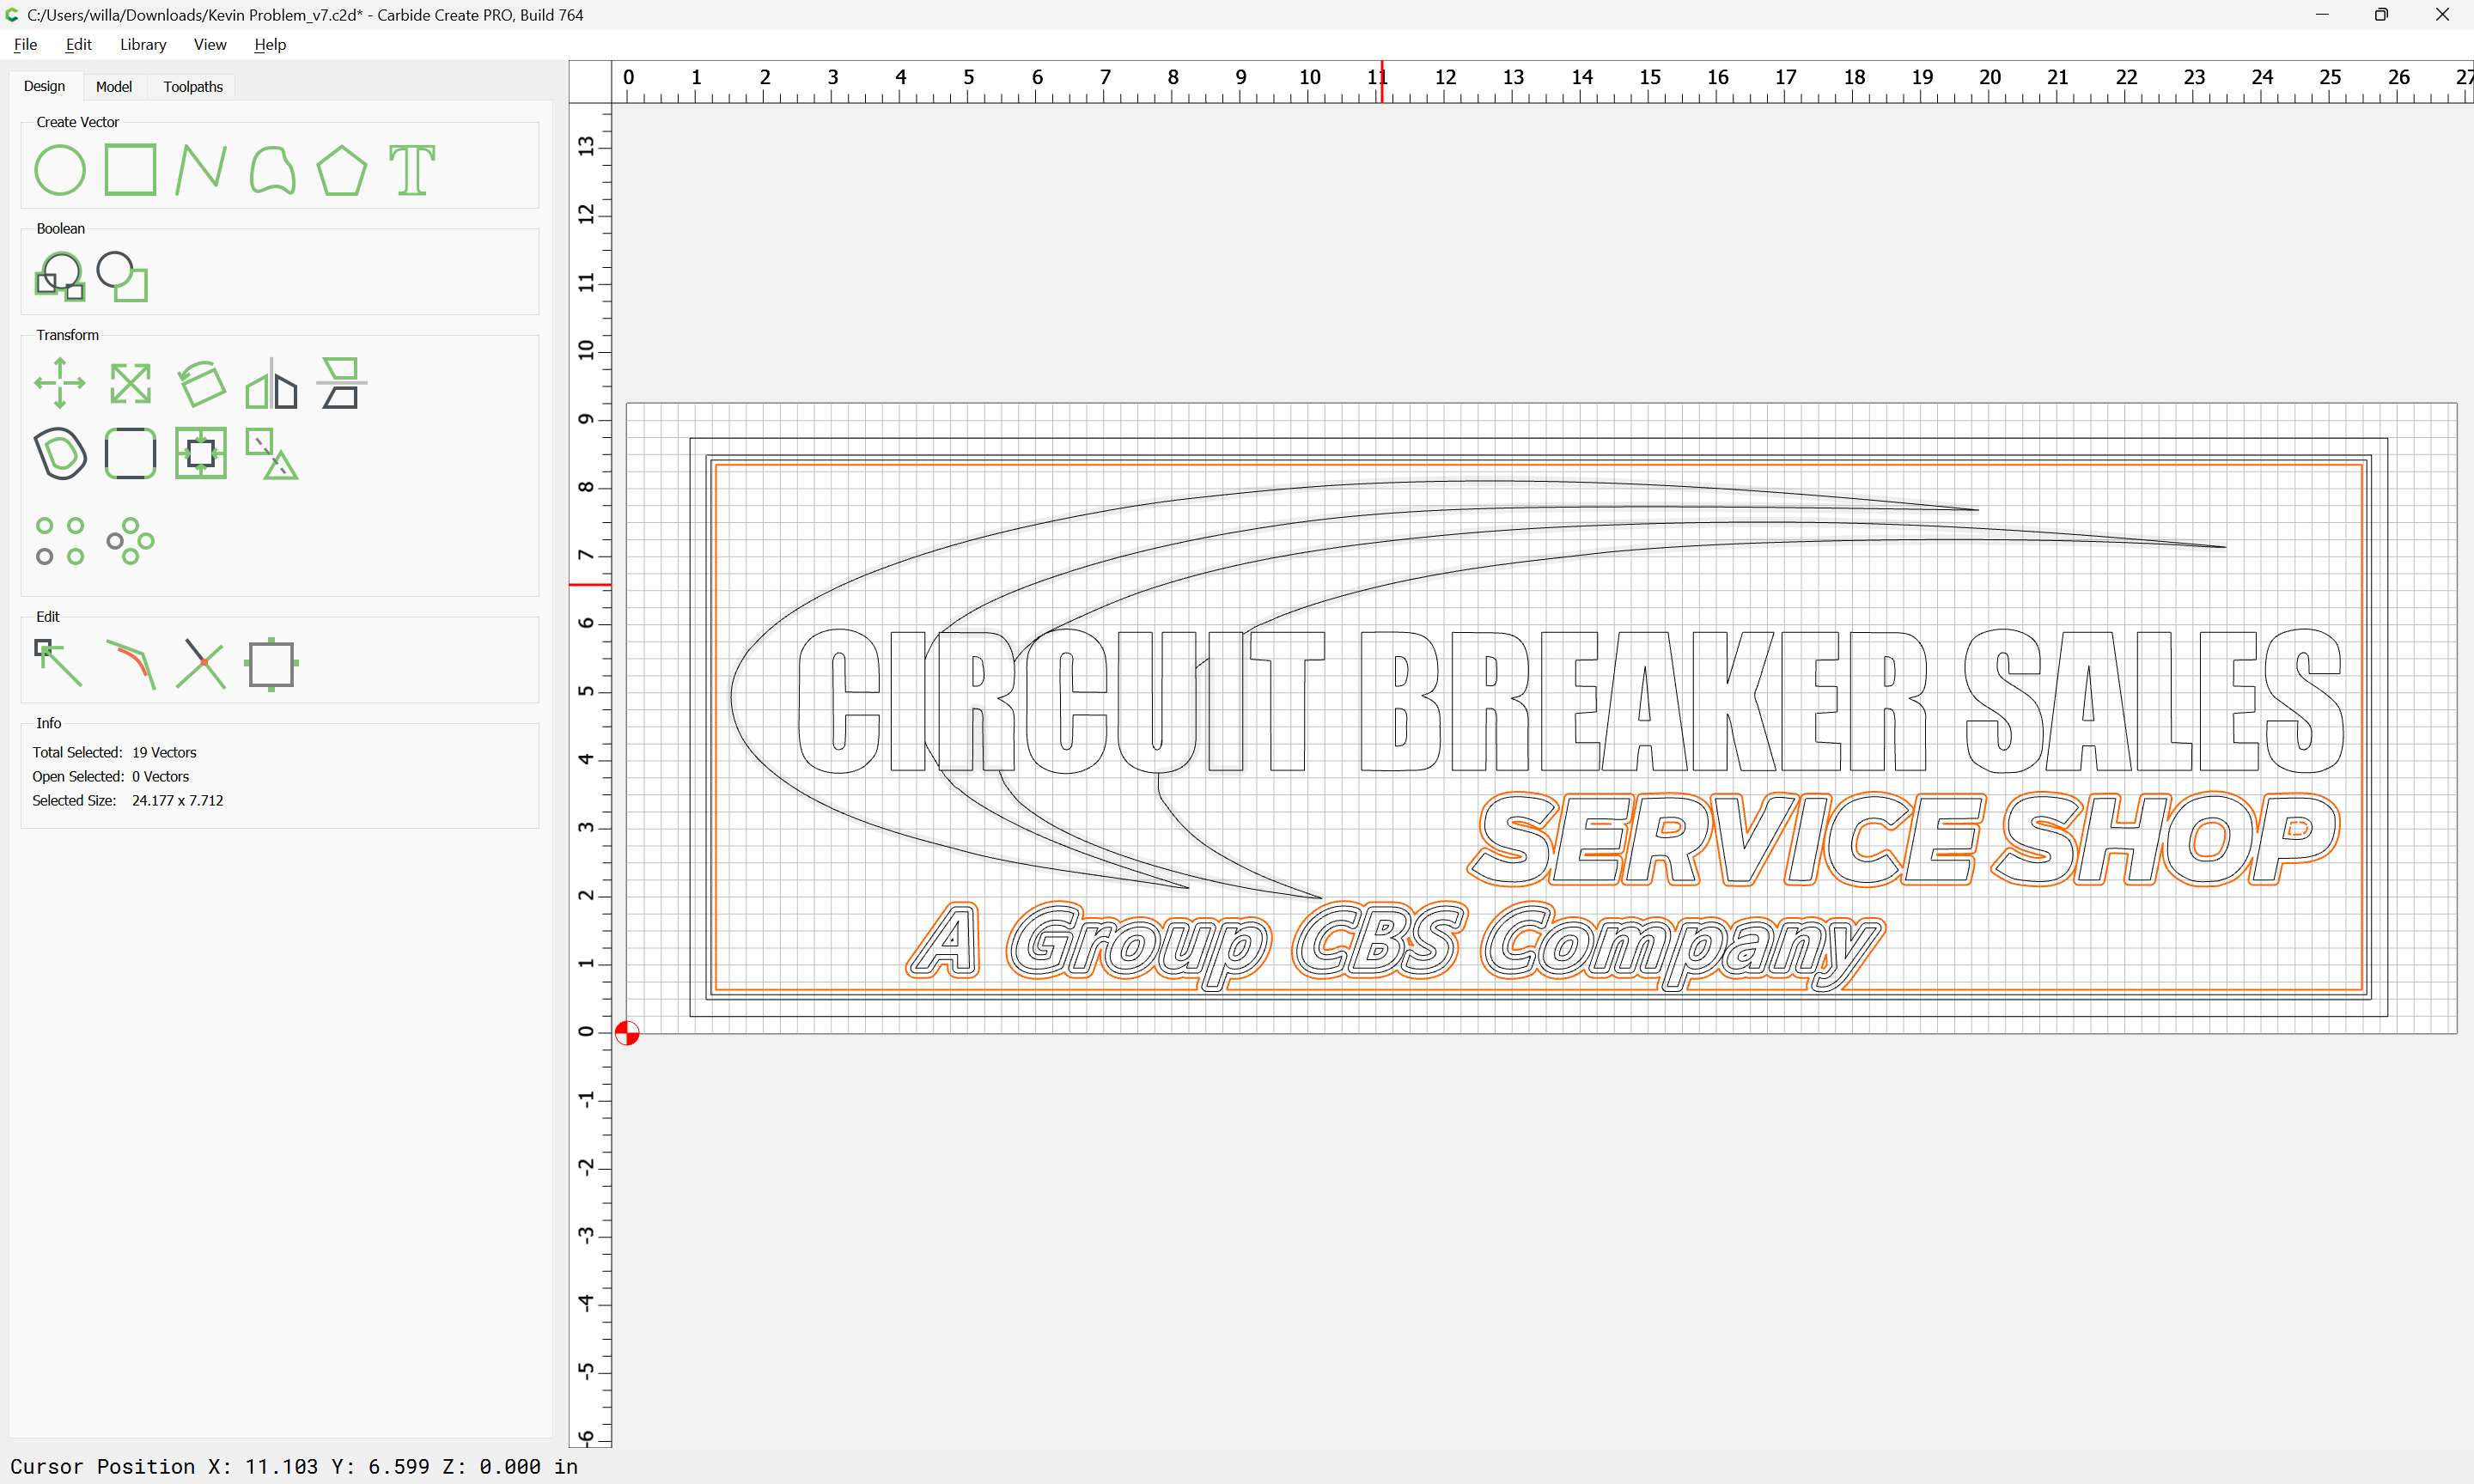
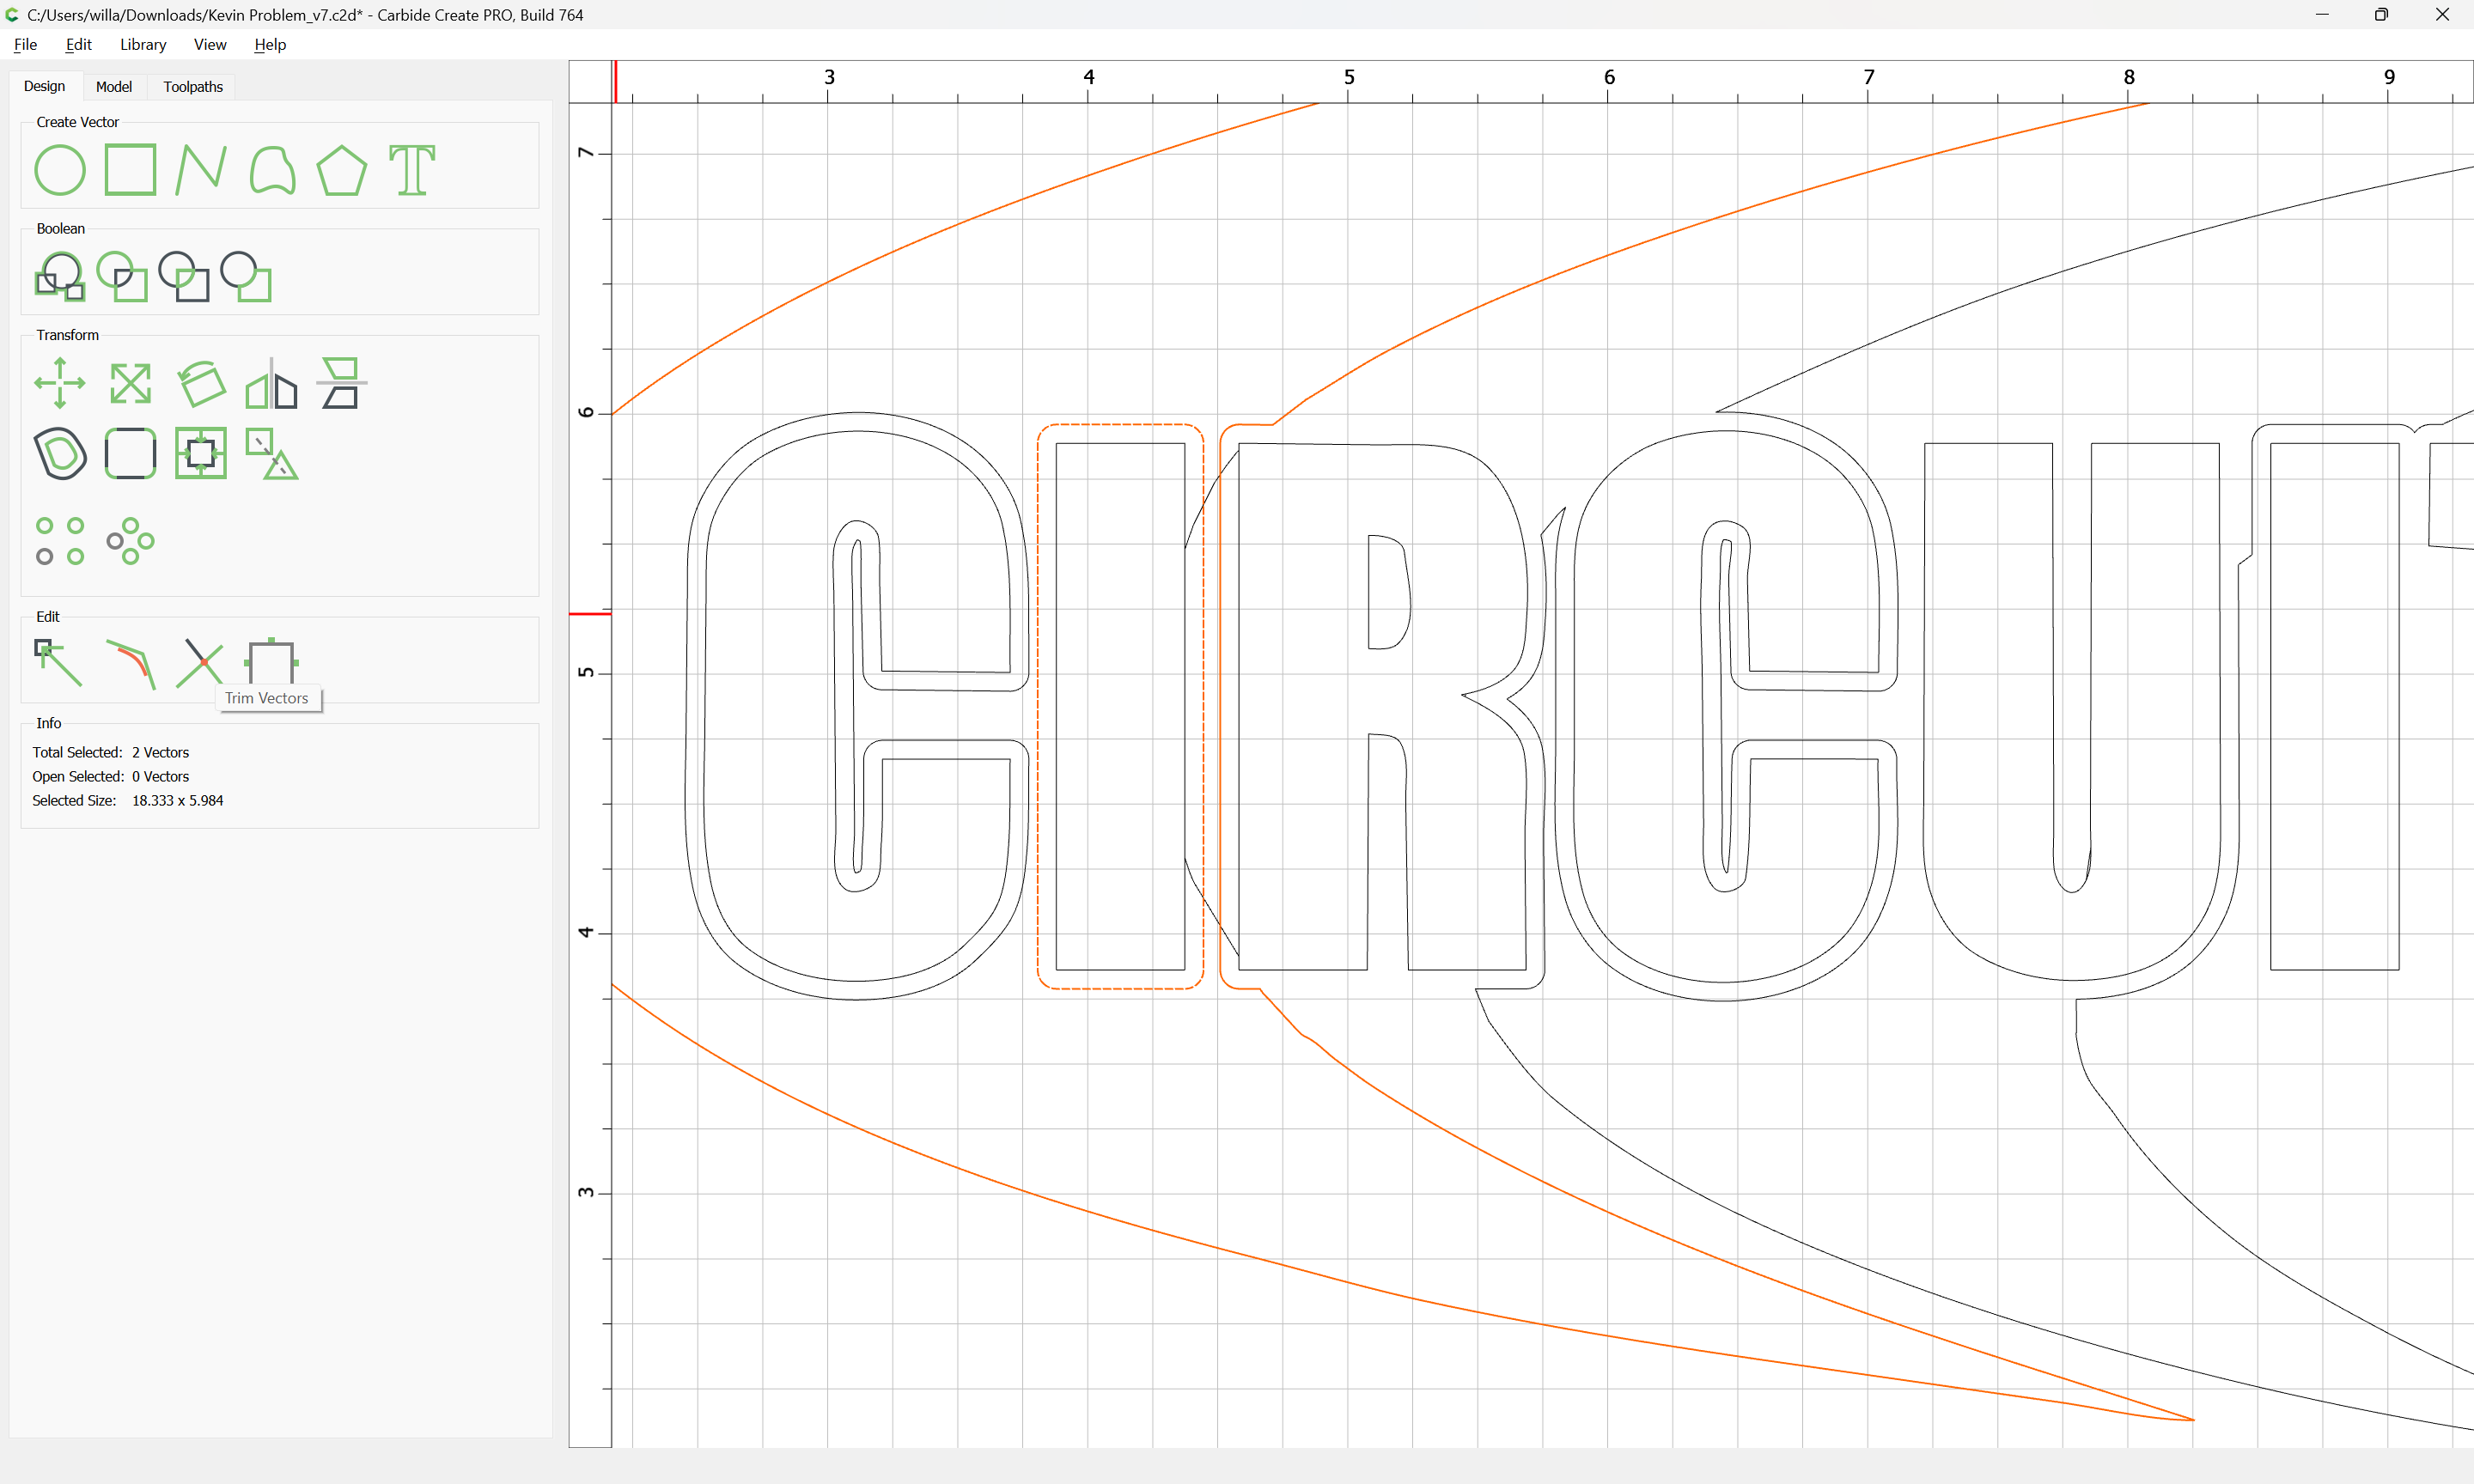
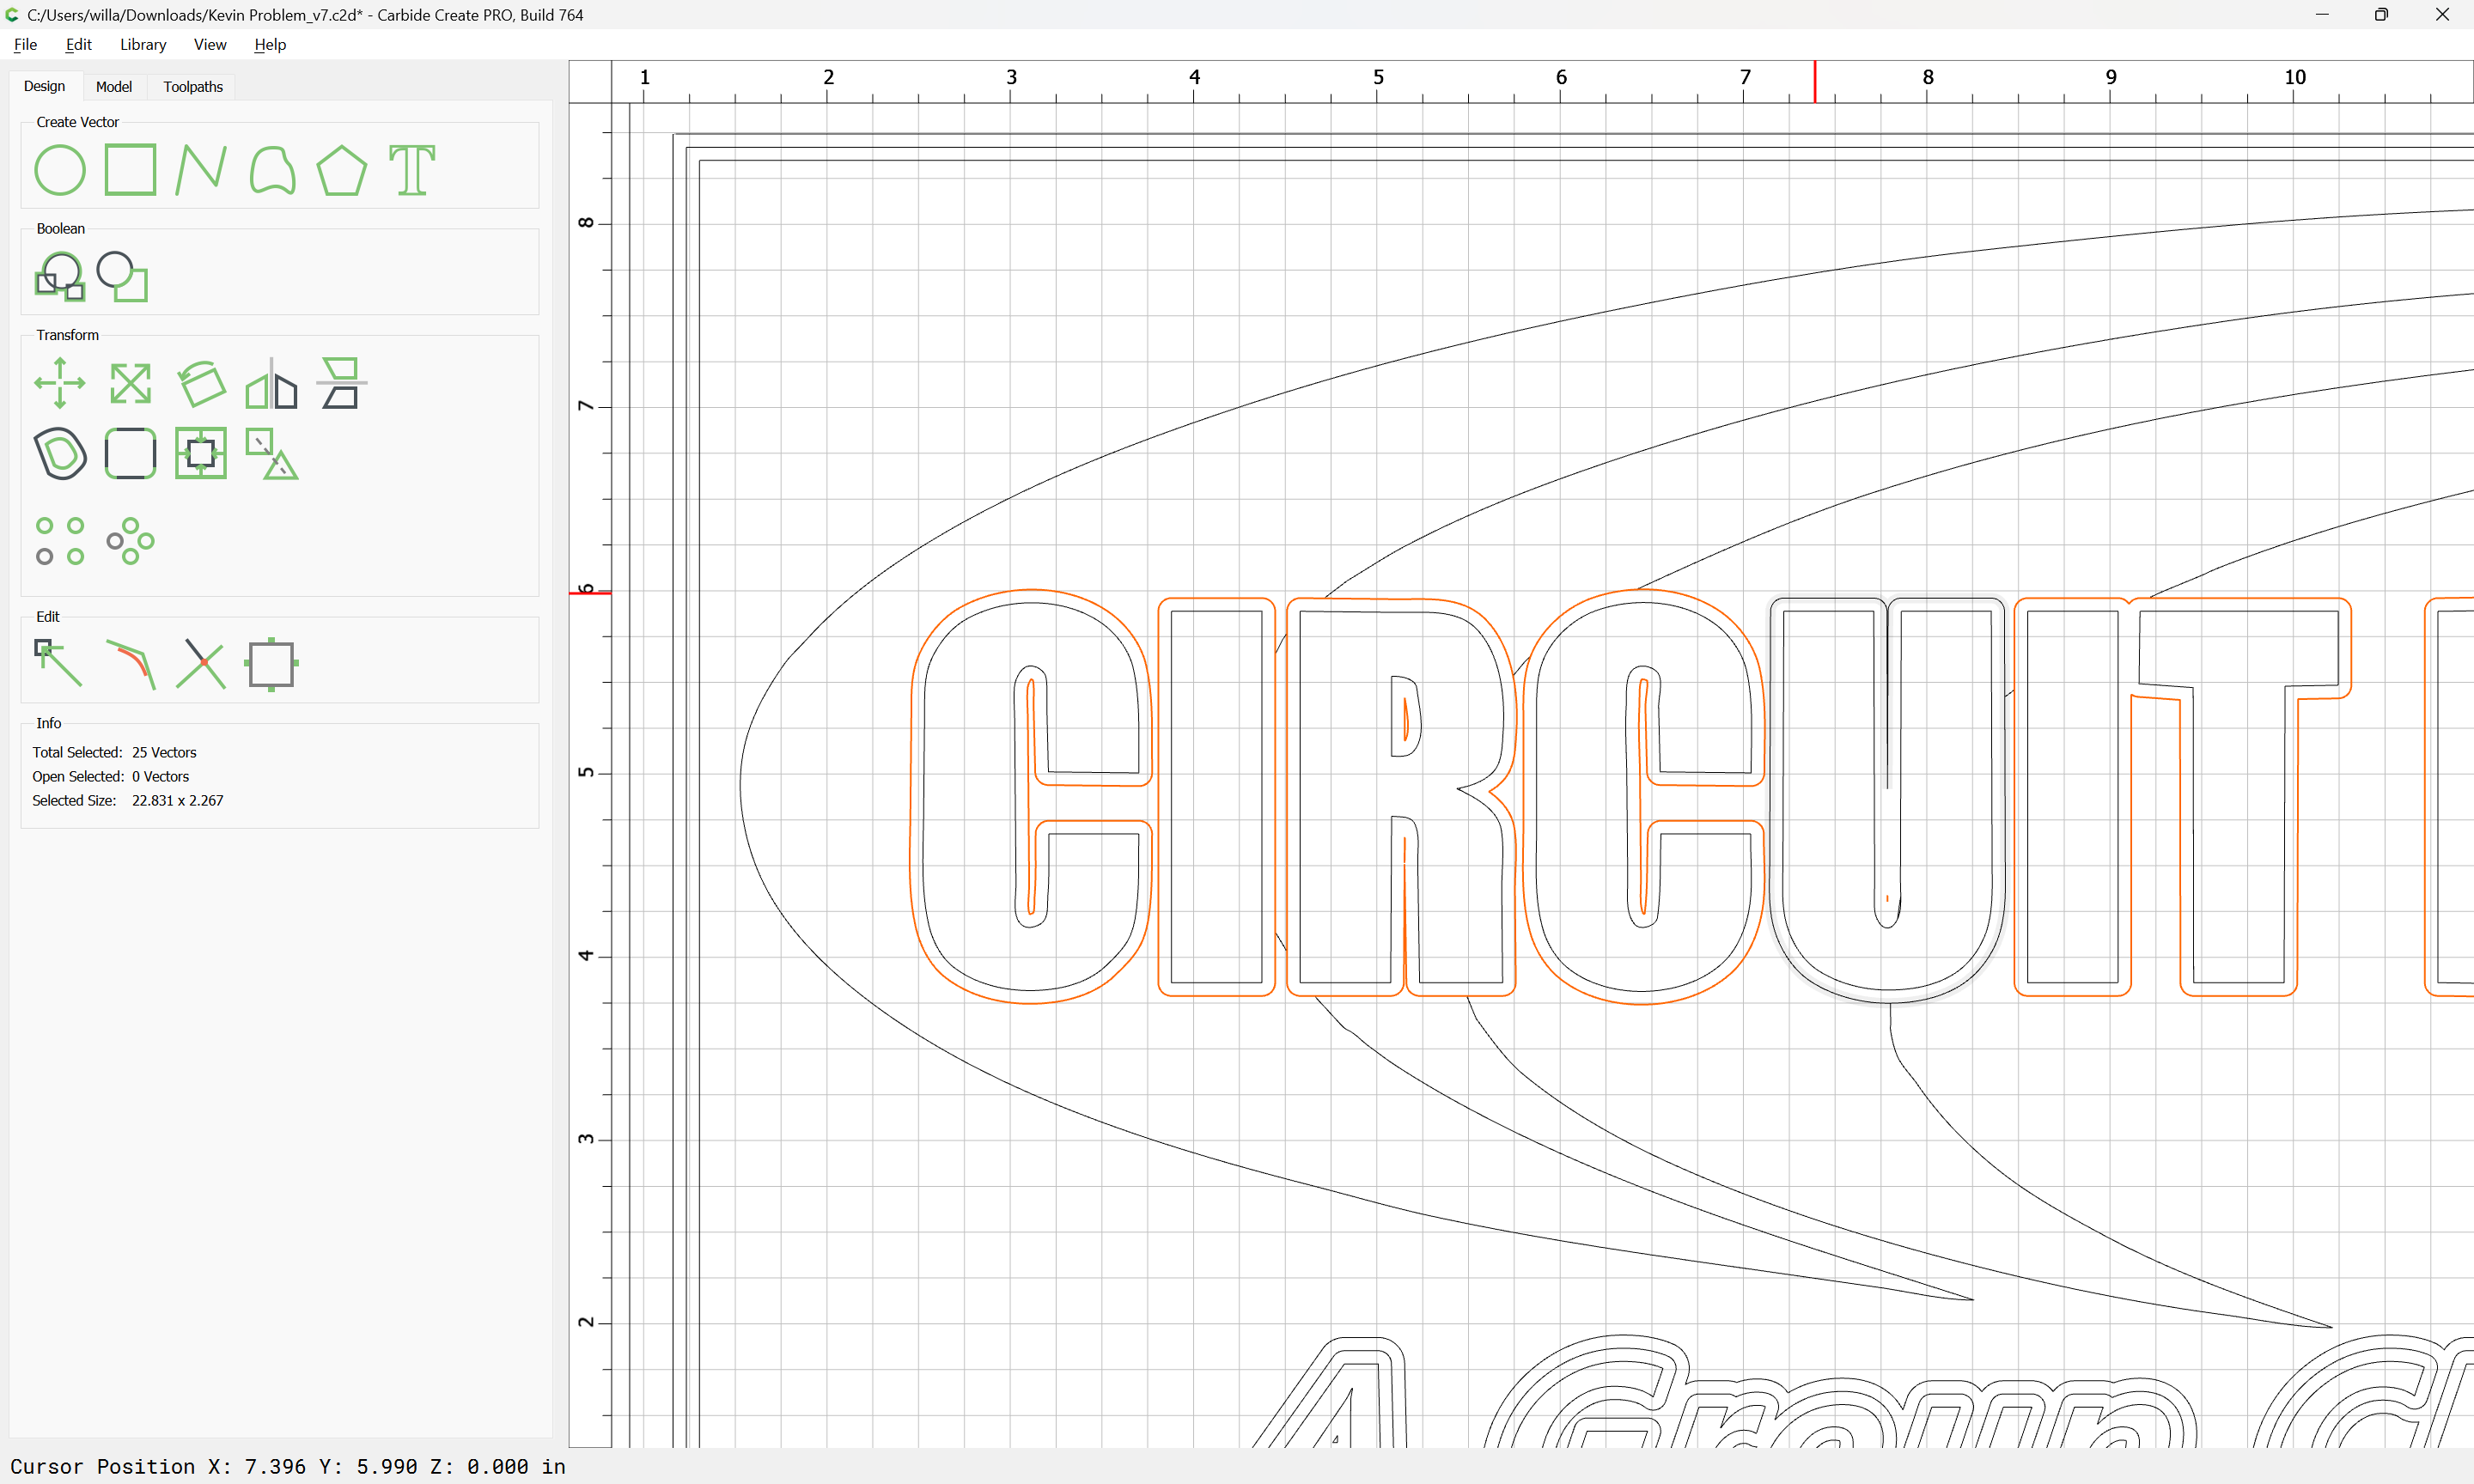
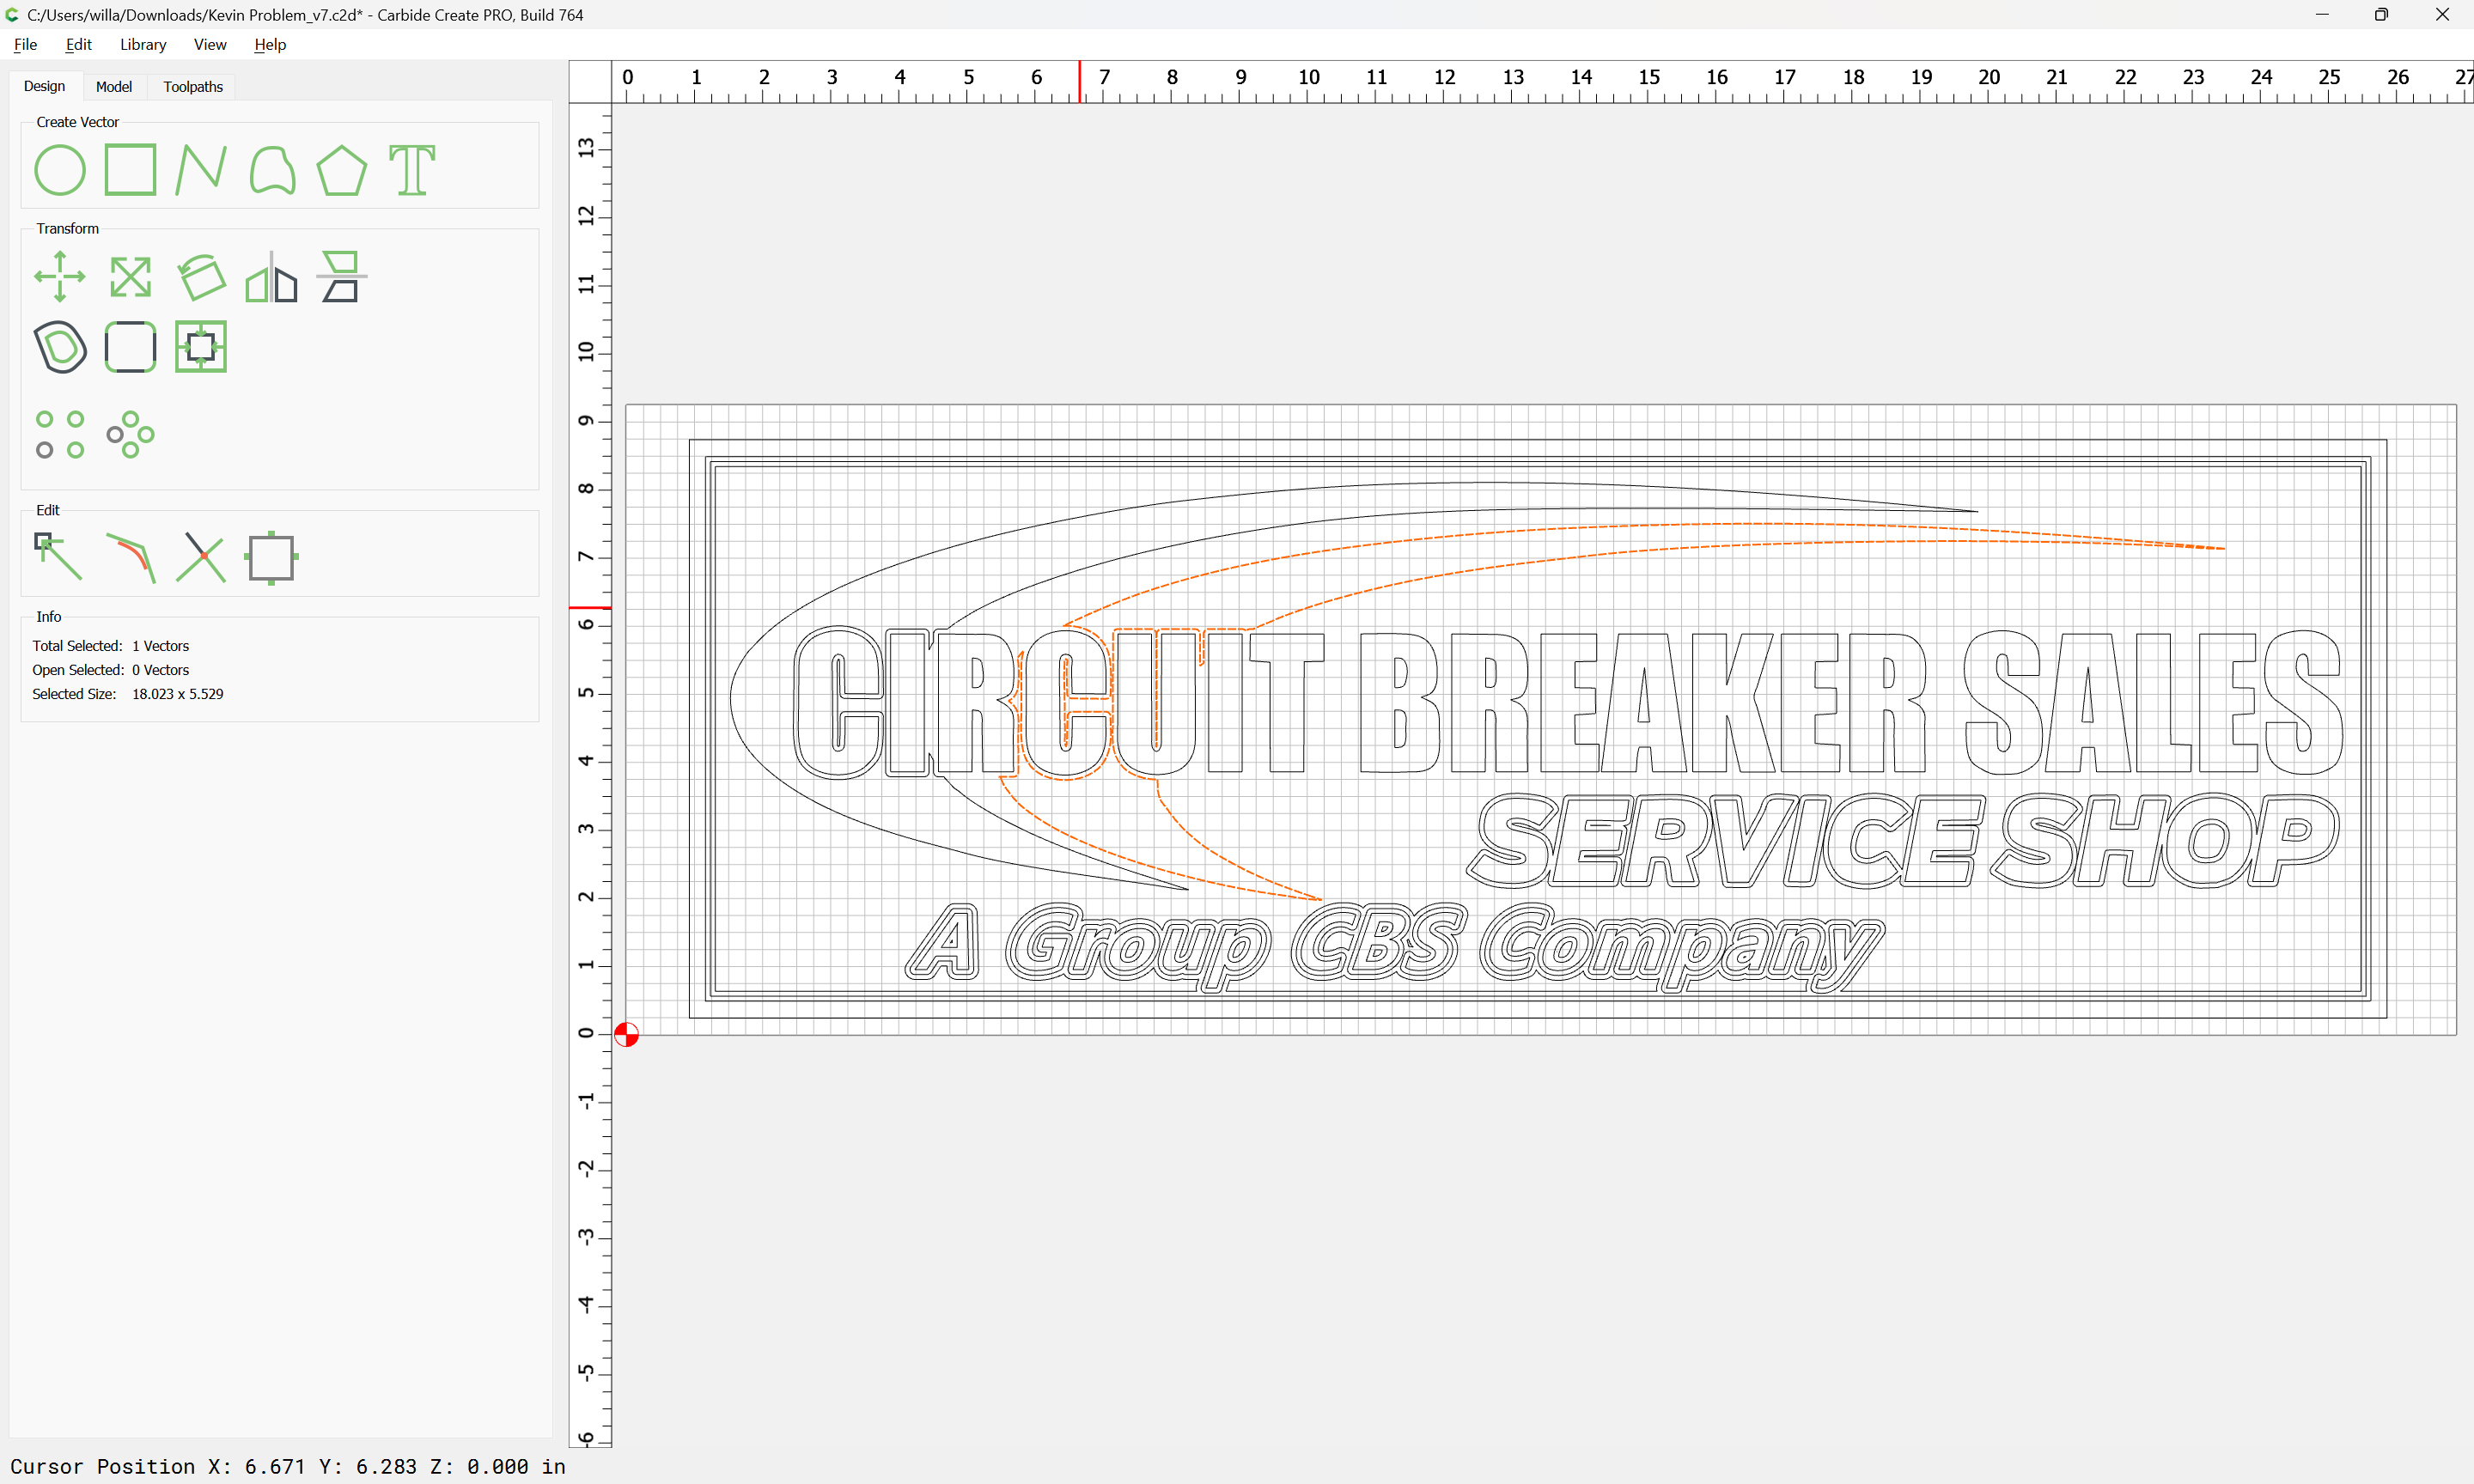
Apparently the original (selected, so orange) was stretched to fill the space:
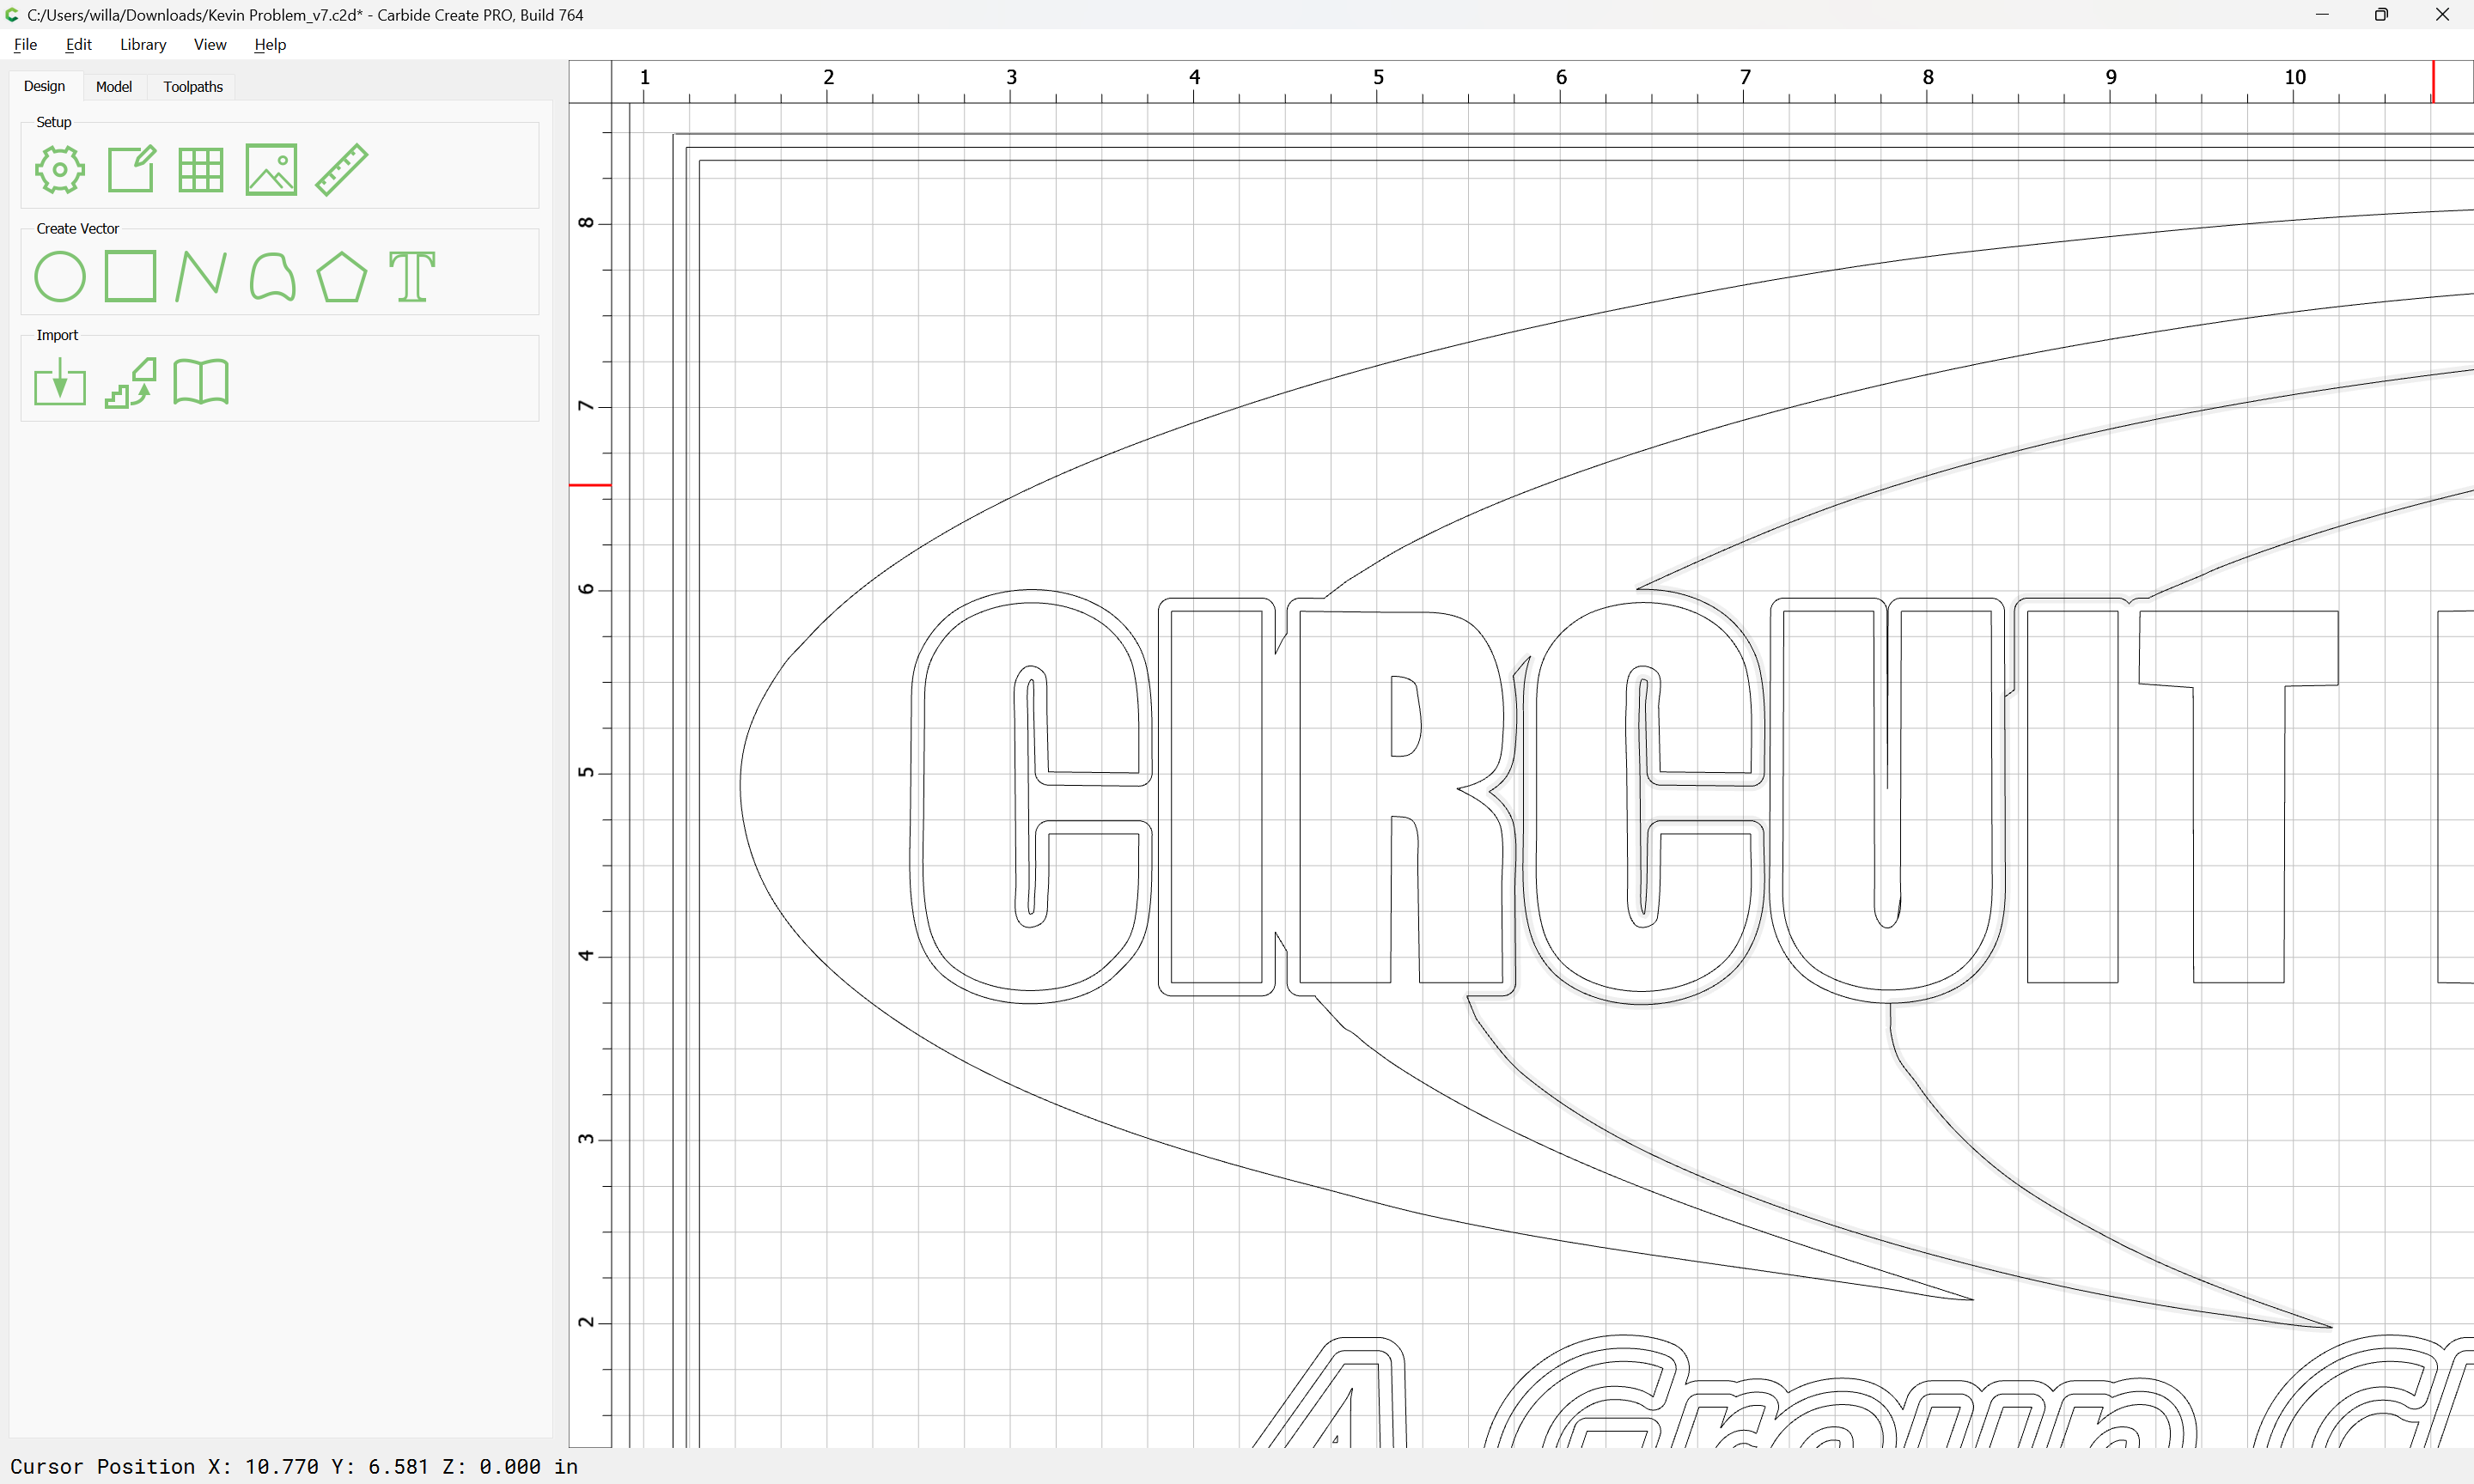
We clean up by removing the offset geometry (it will be replaced):
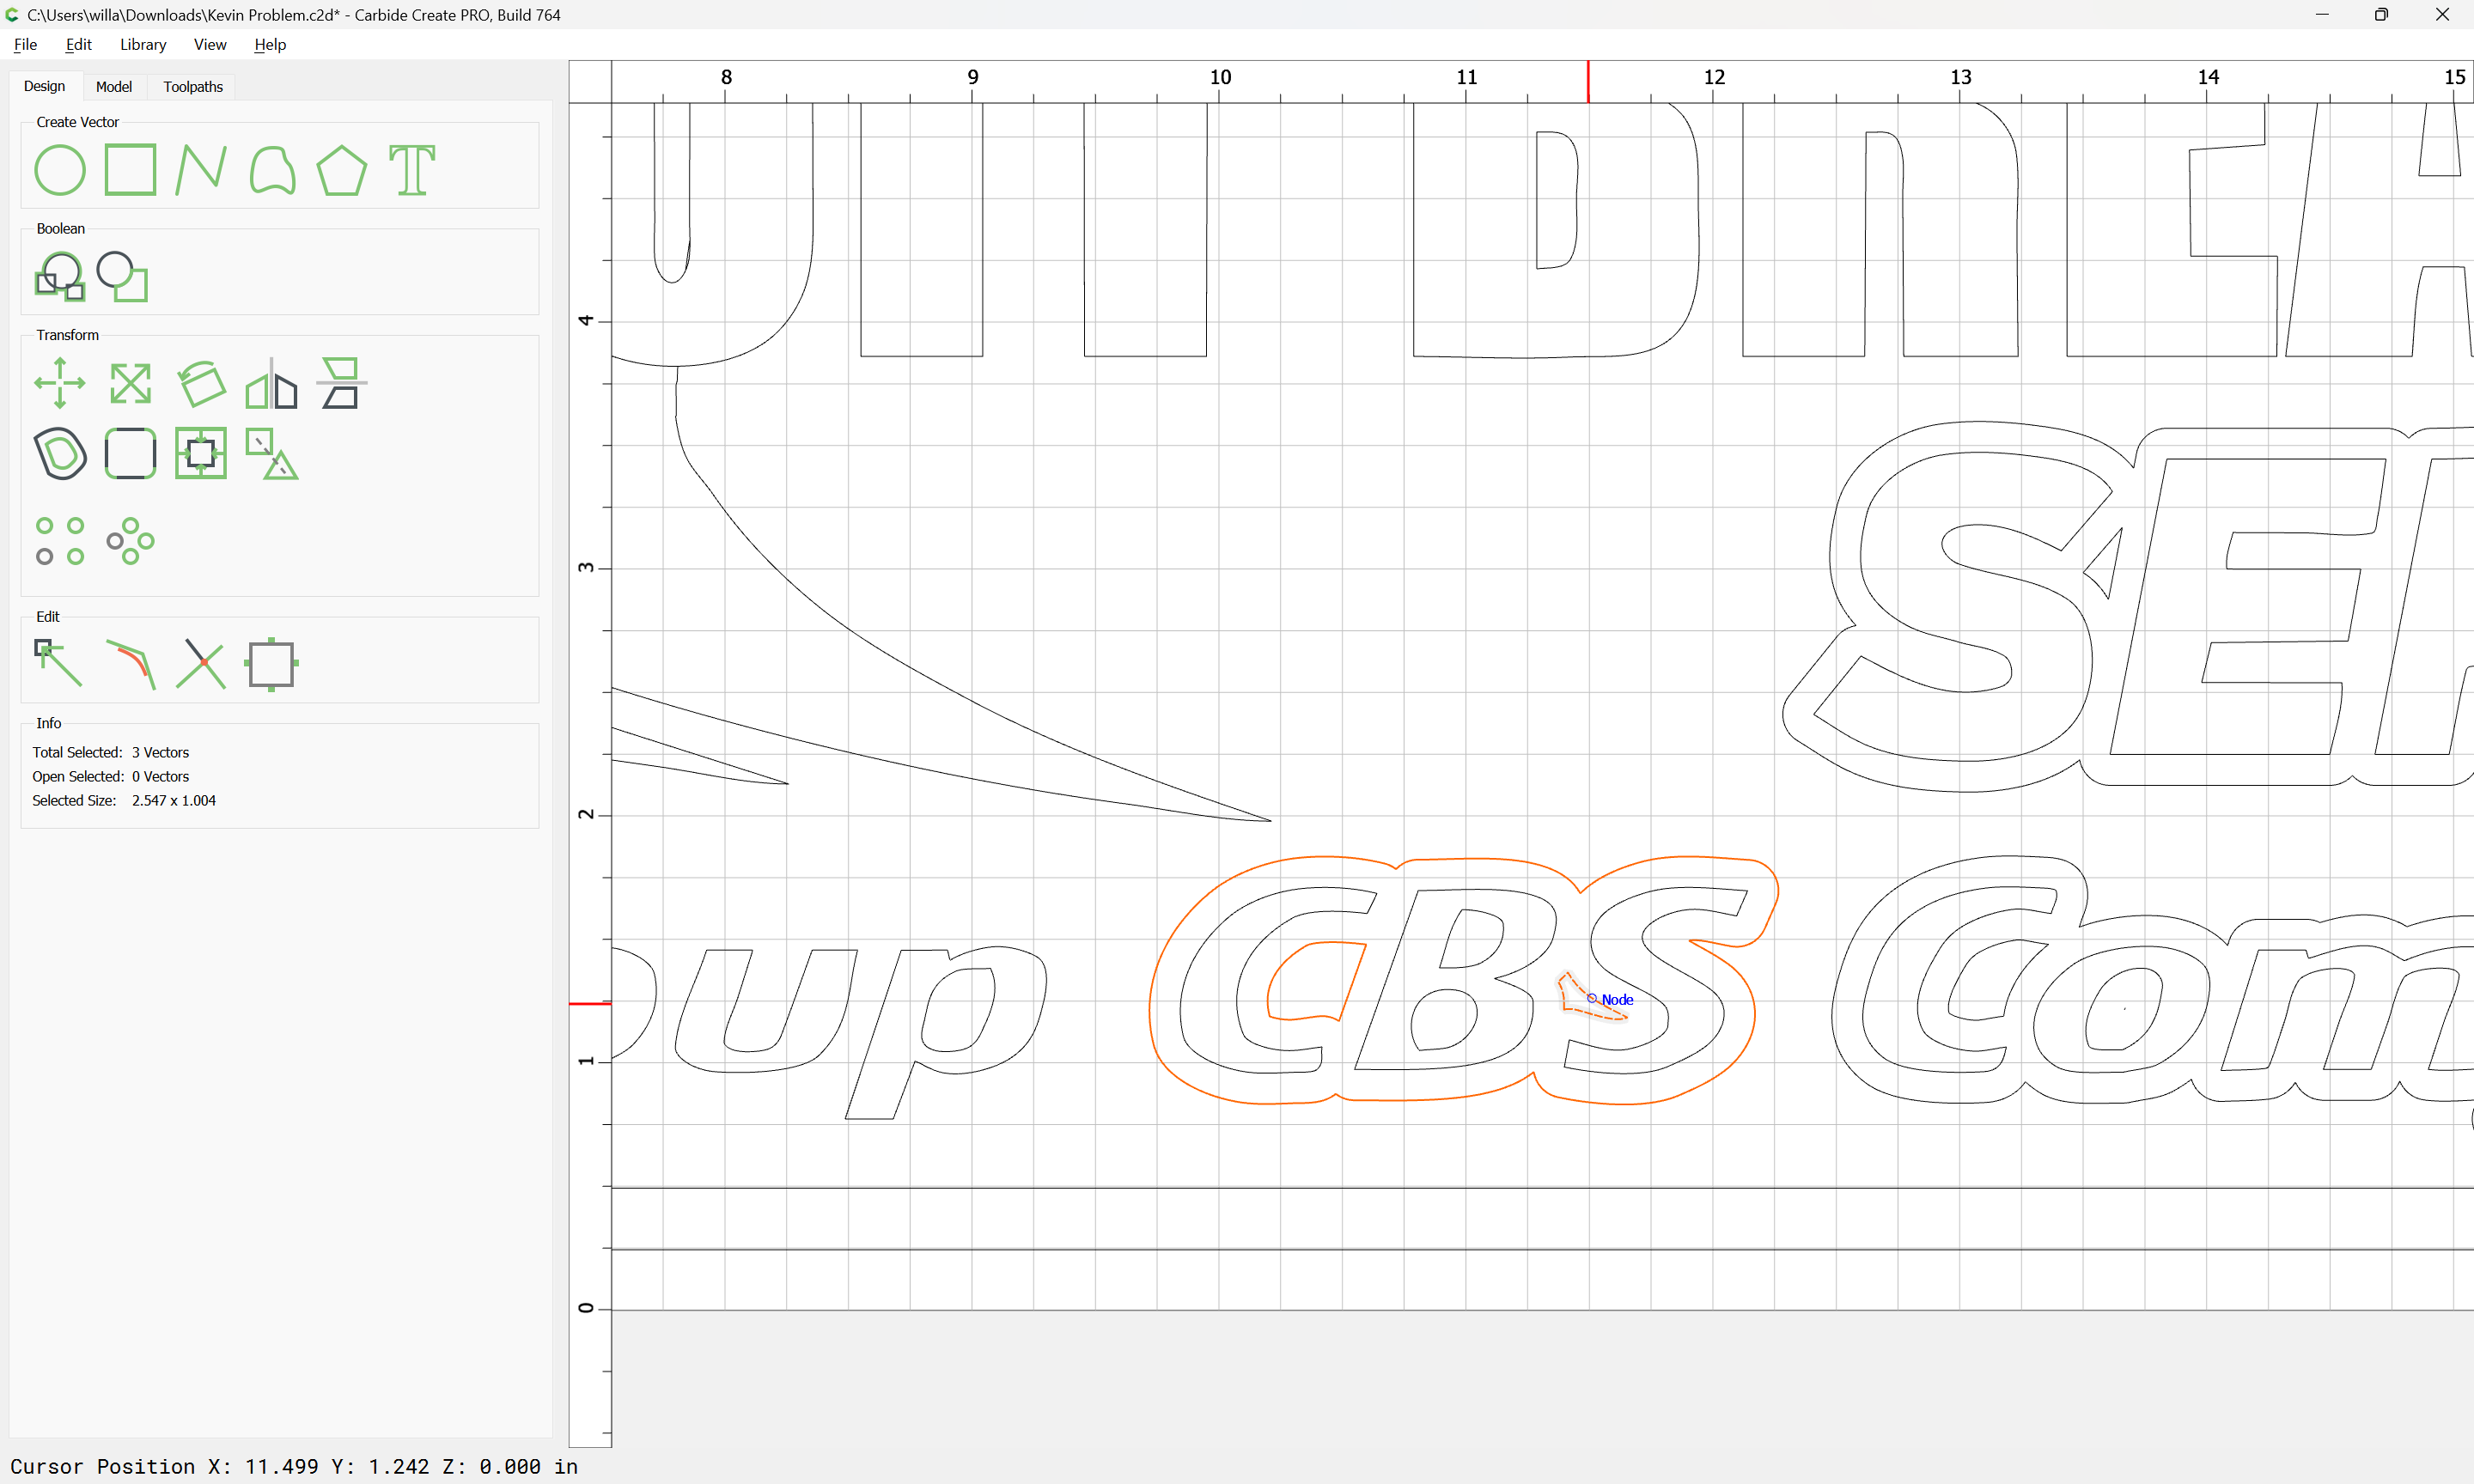
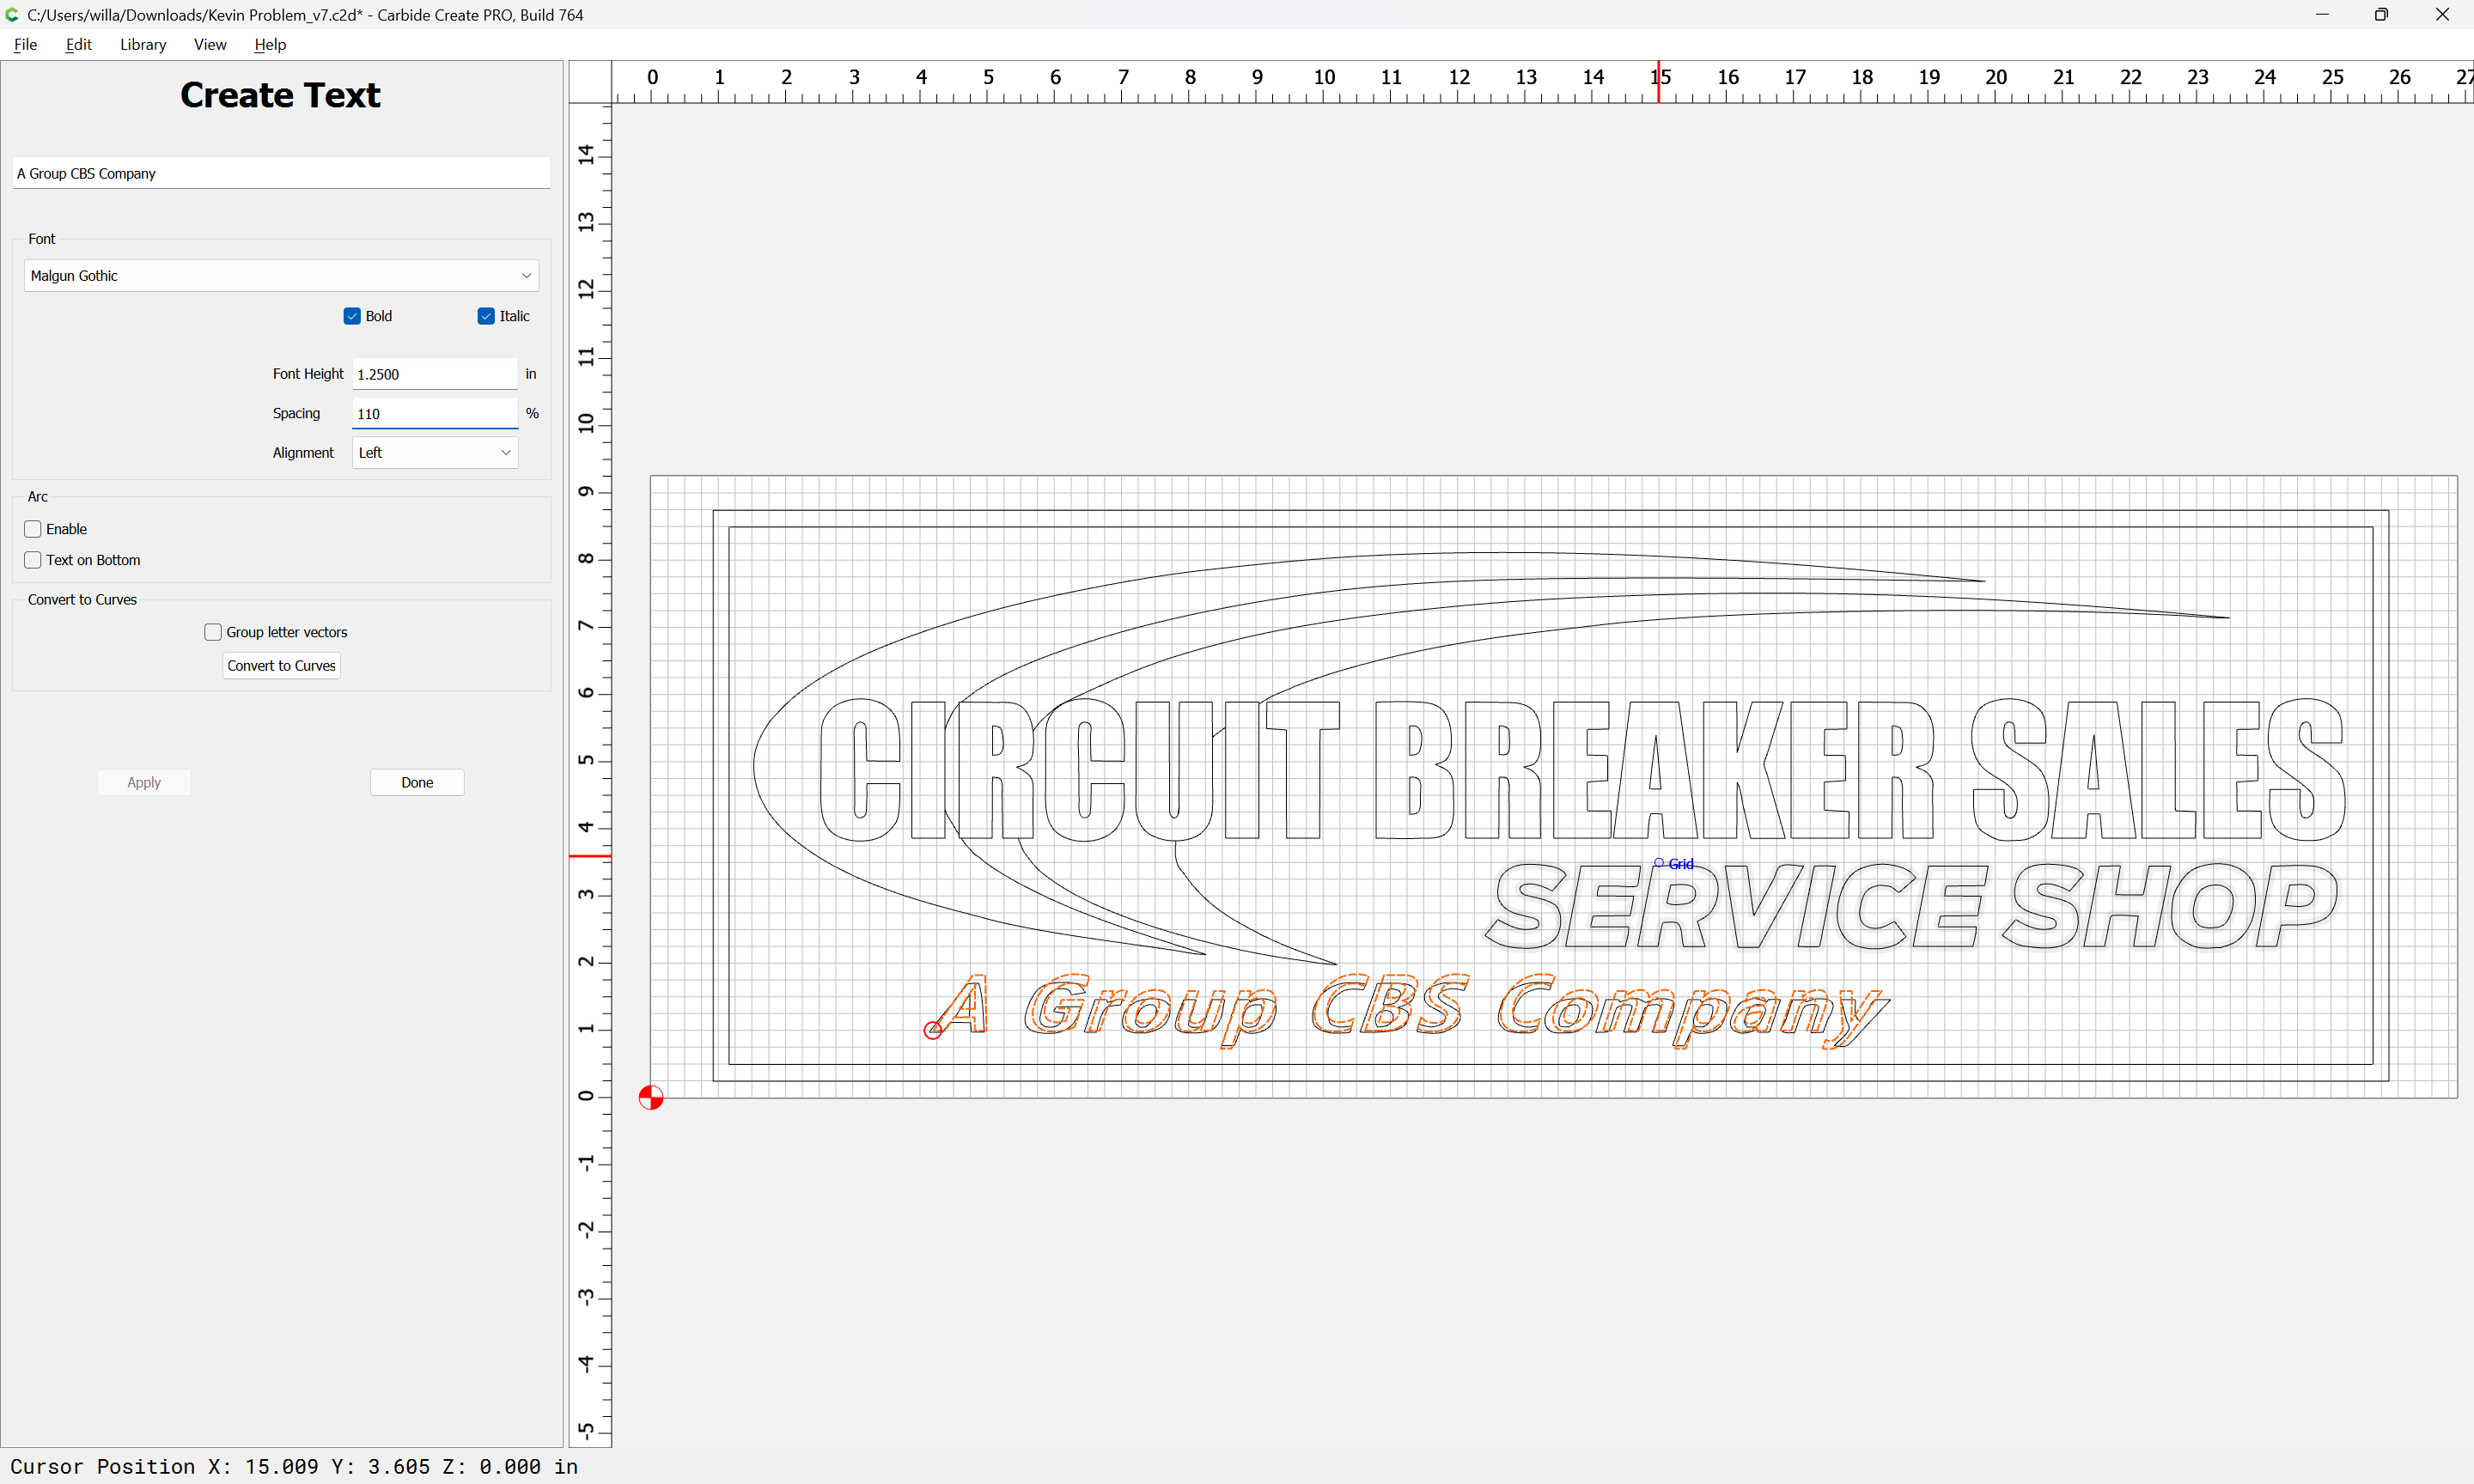
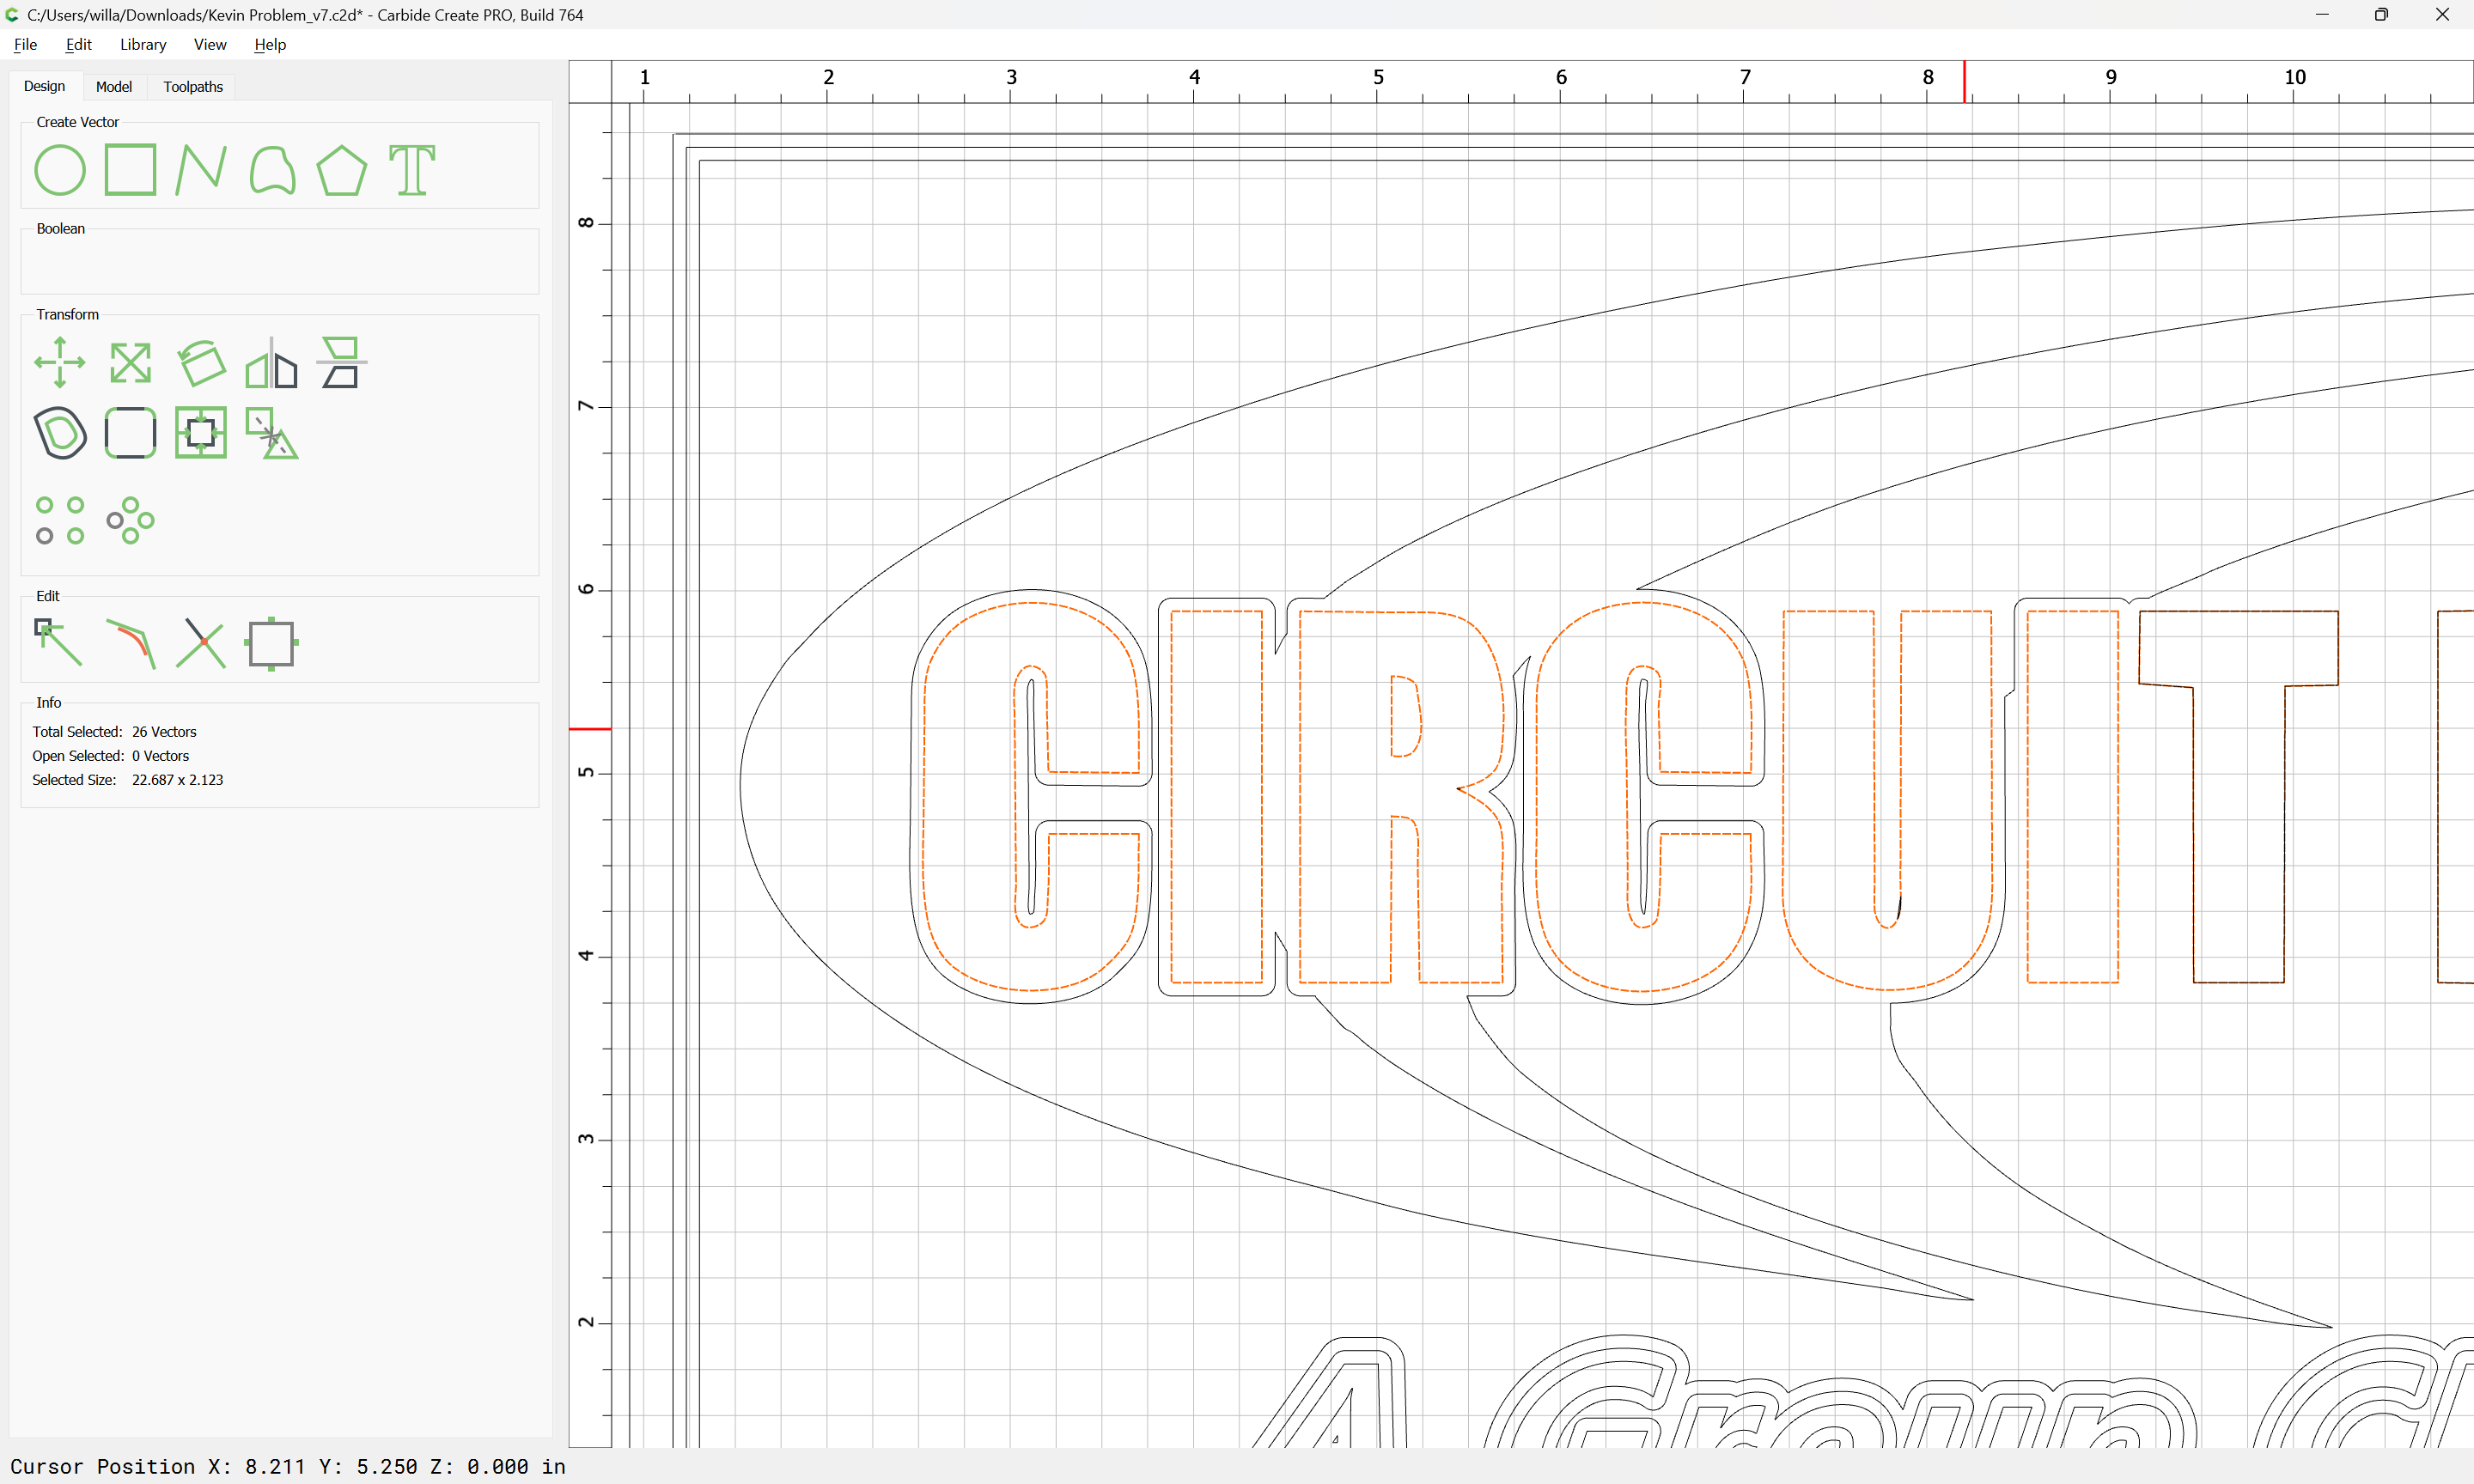
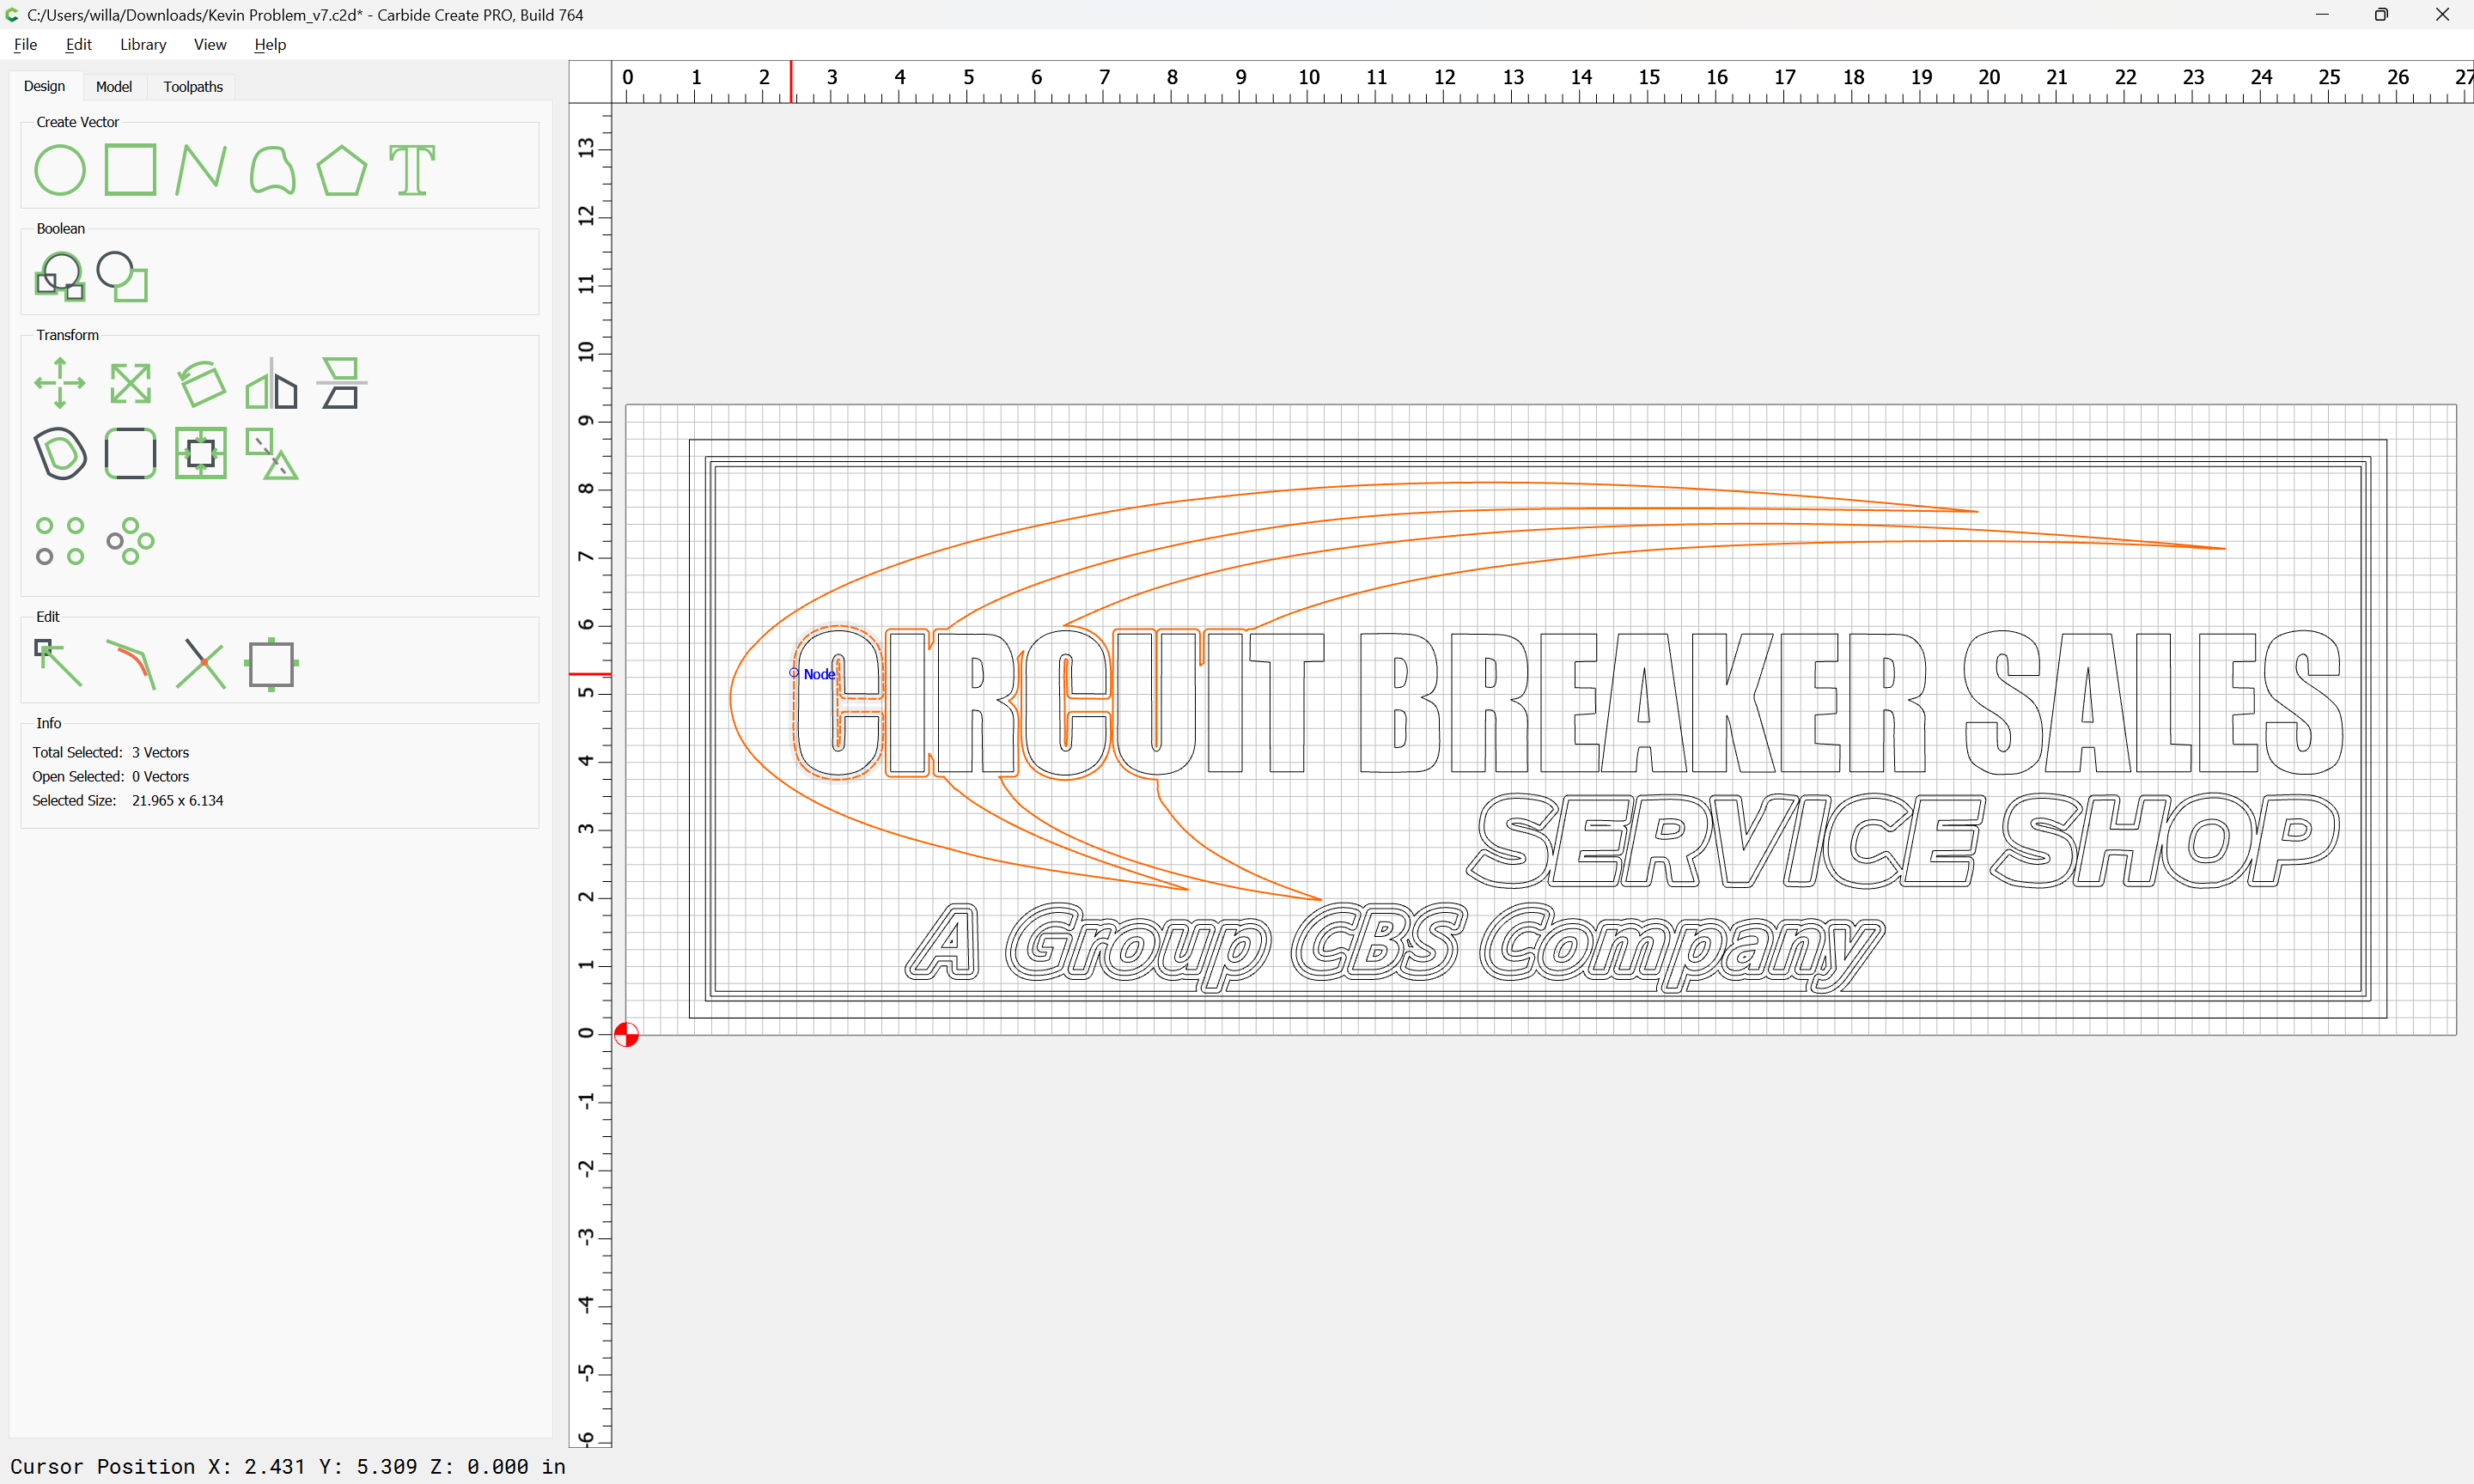
A concern here is that the text was apparently traced and this has revealed oddities in the tracing, so we reset with something reasonable:
and adjust accordingly.
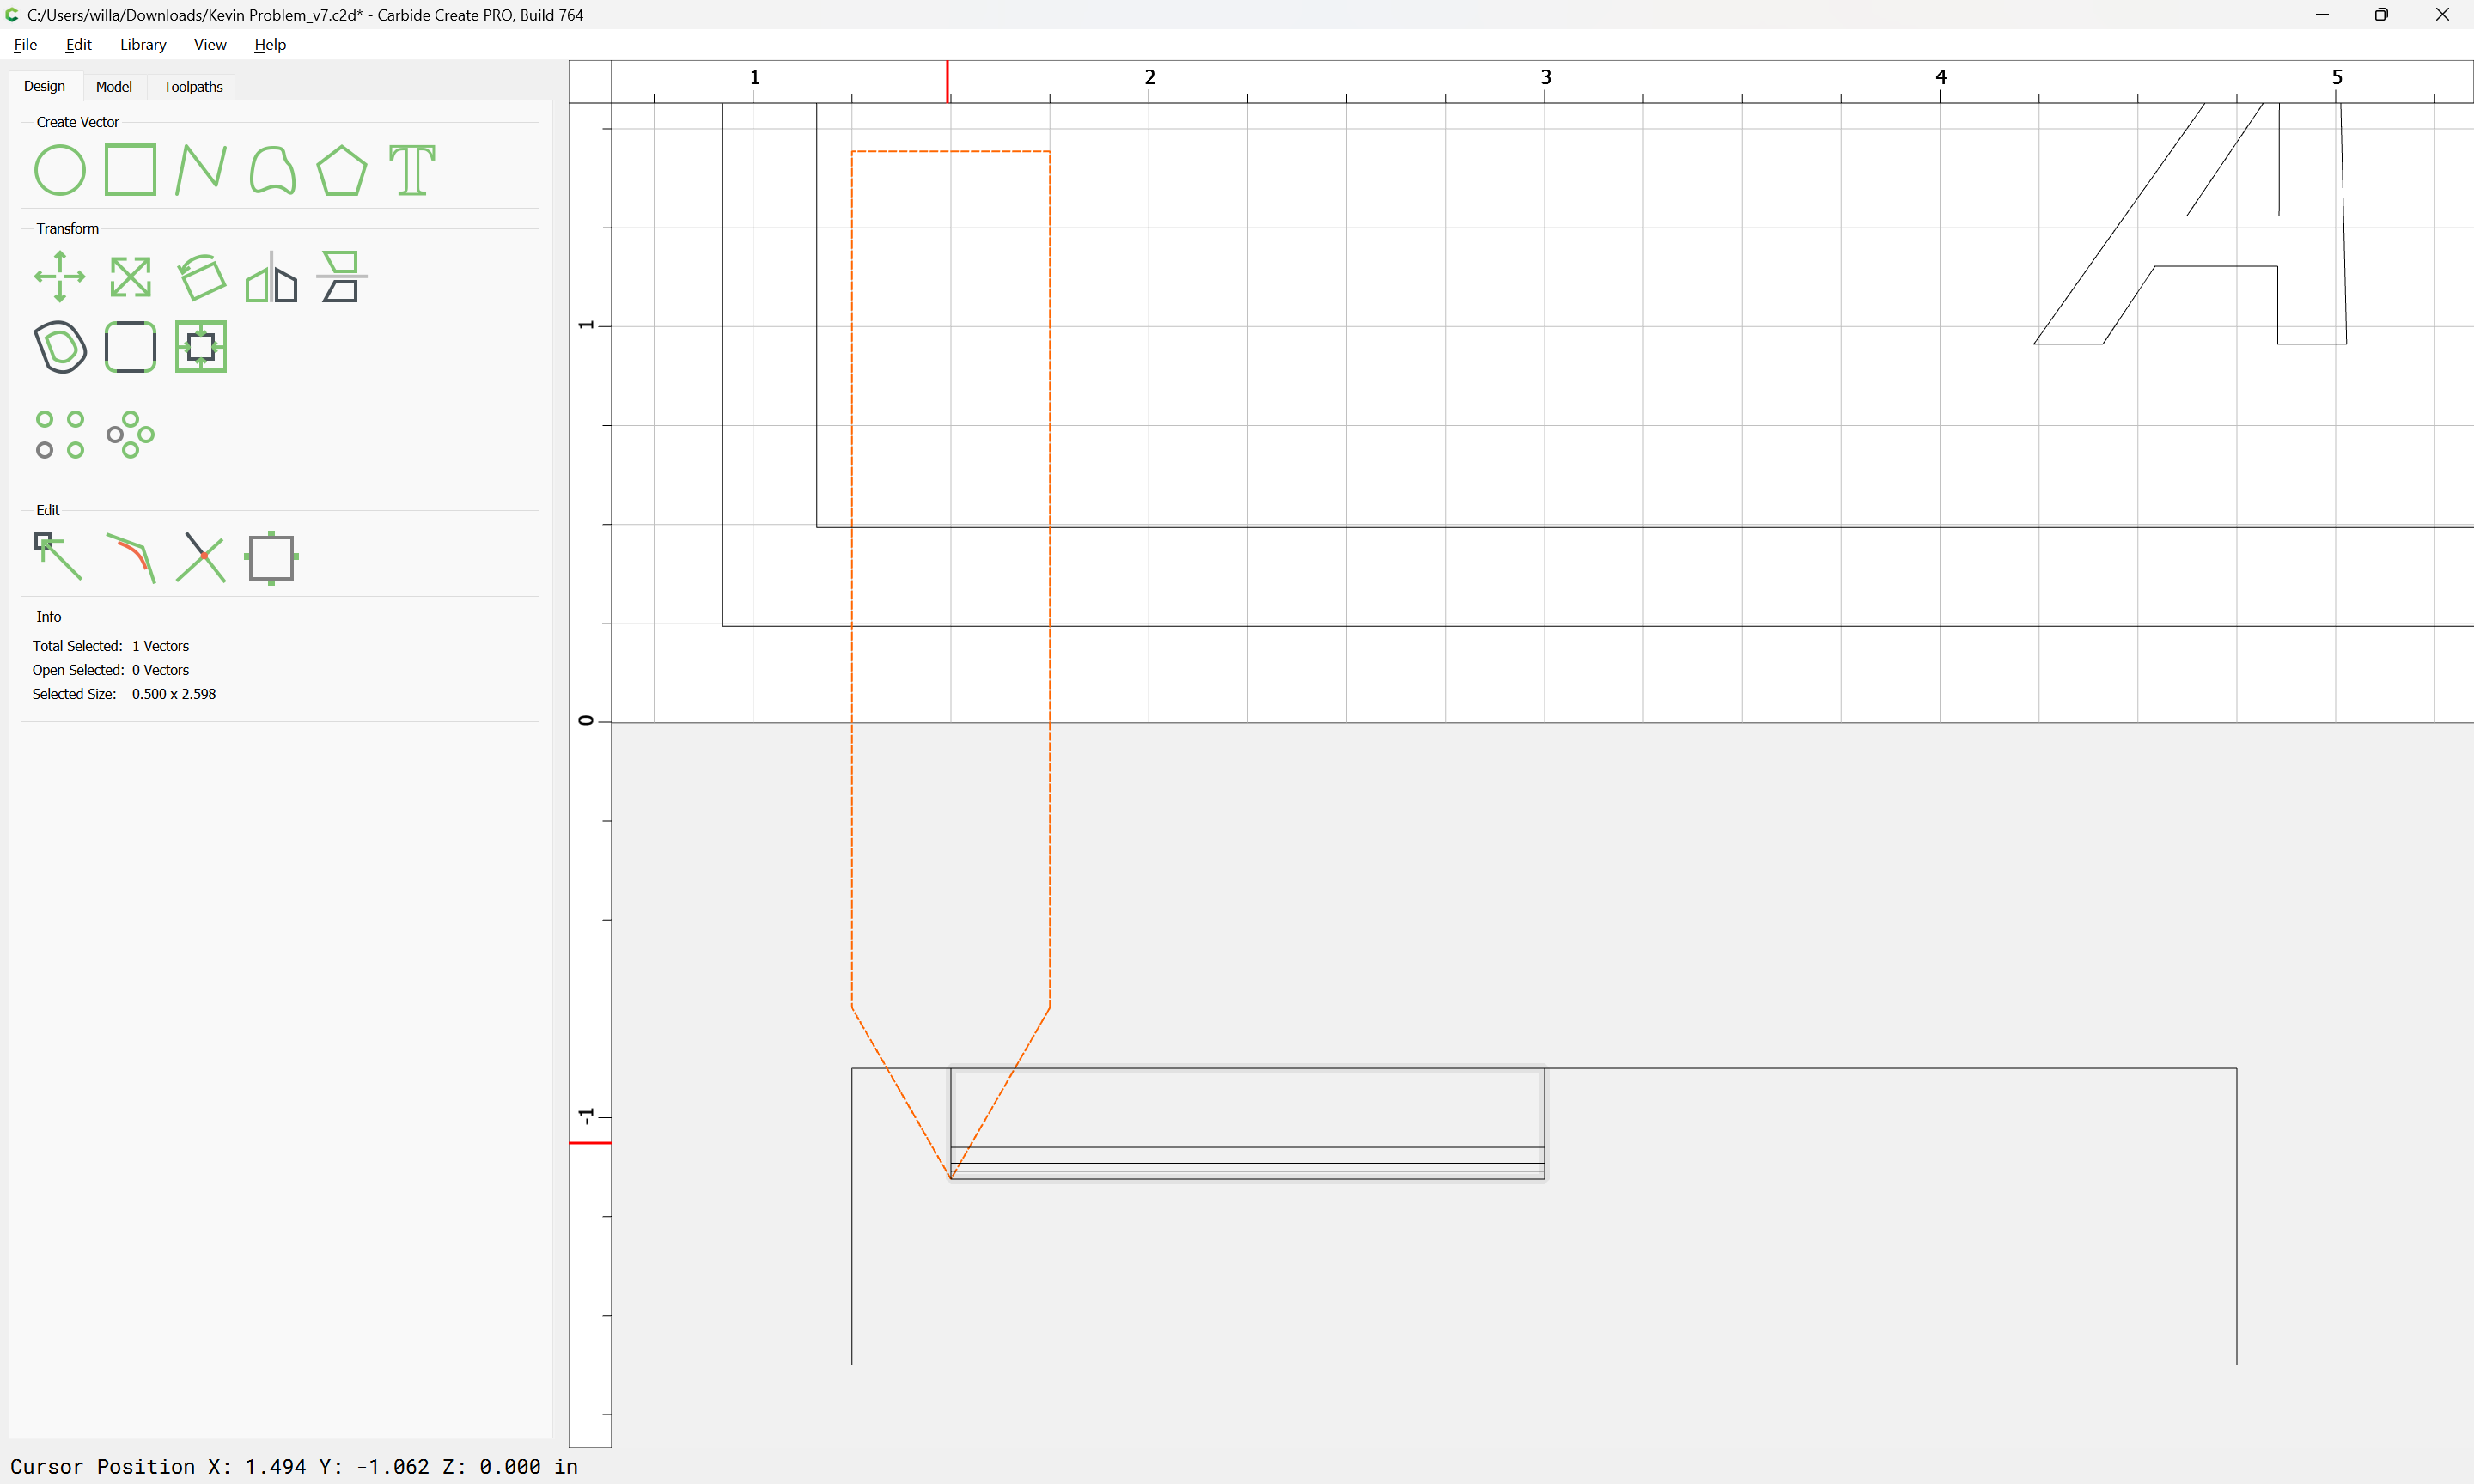
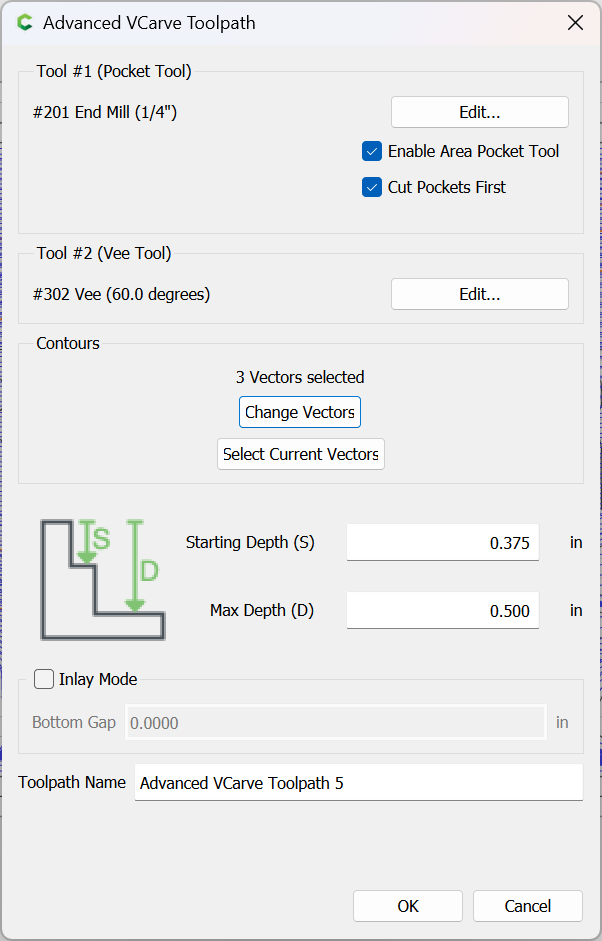
A further concern is the depths and the tooling which will be used, so we draw this up in profile:
which immediately becomes a concern — the very thin depth differences will be quite hard to see — it is better for distinct elements to have evenly layered height differences, and it is better for shadow lines to have a greater depth which will make them easier to discern.
The tool profile drawn is a #302 60 degree V endmill, so we should be able to make up to that height of cut for a given layer, so at least we aren’t limited in tooling.
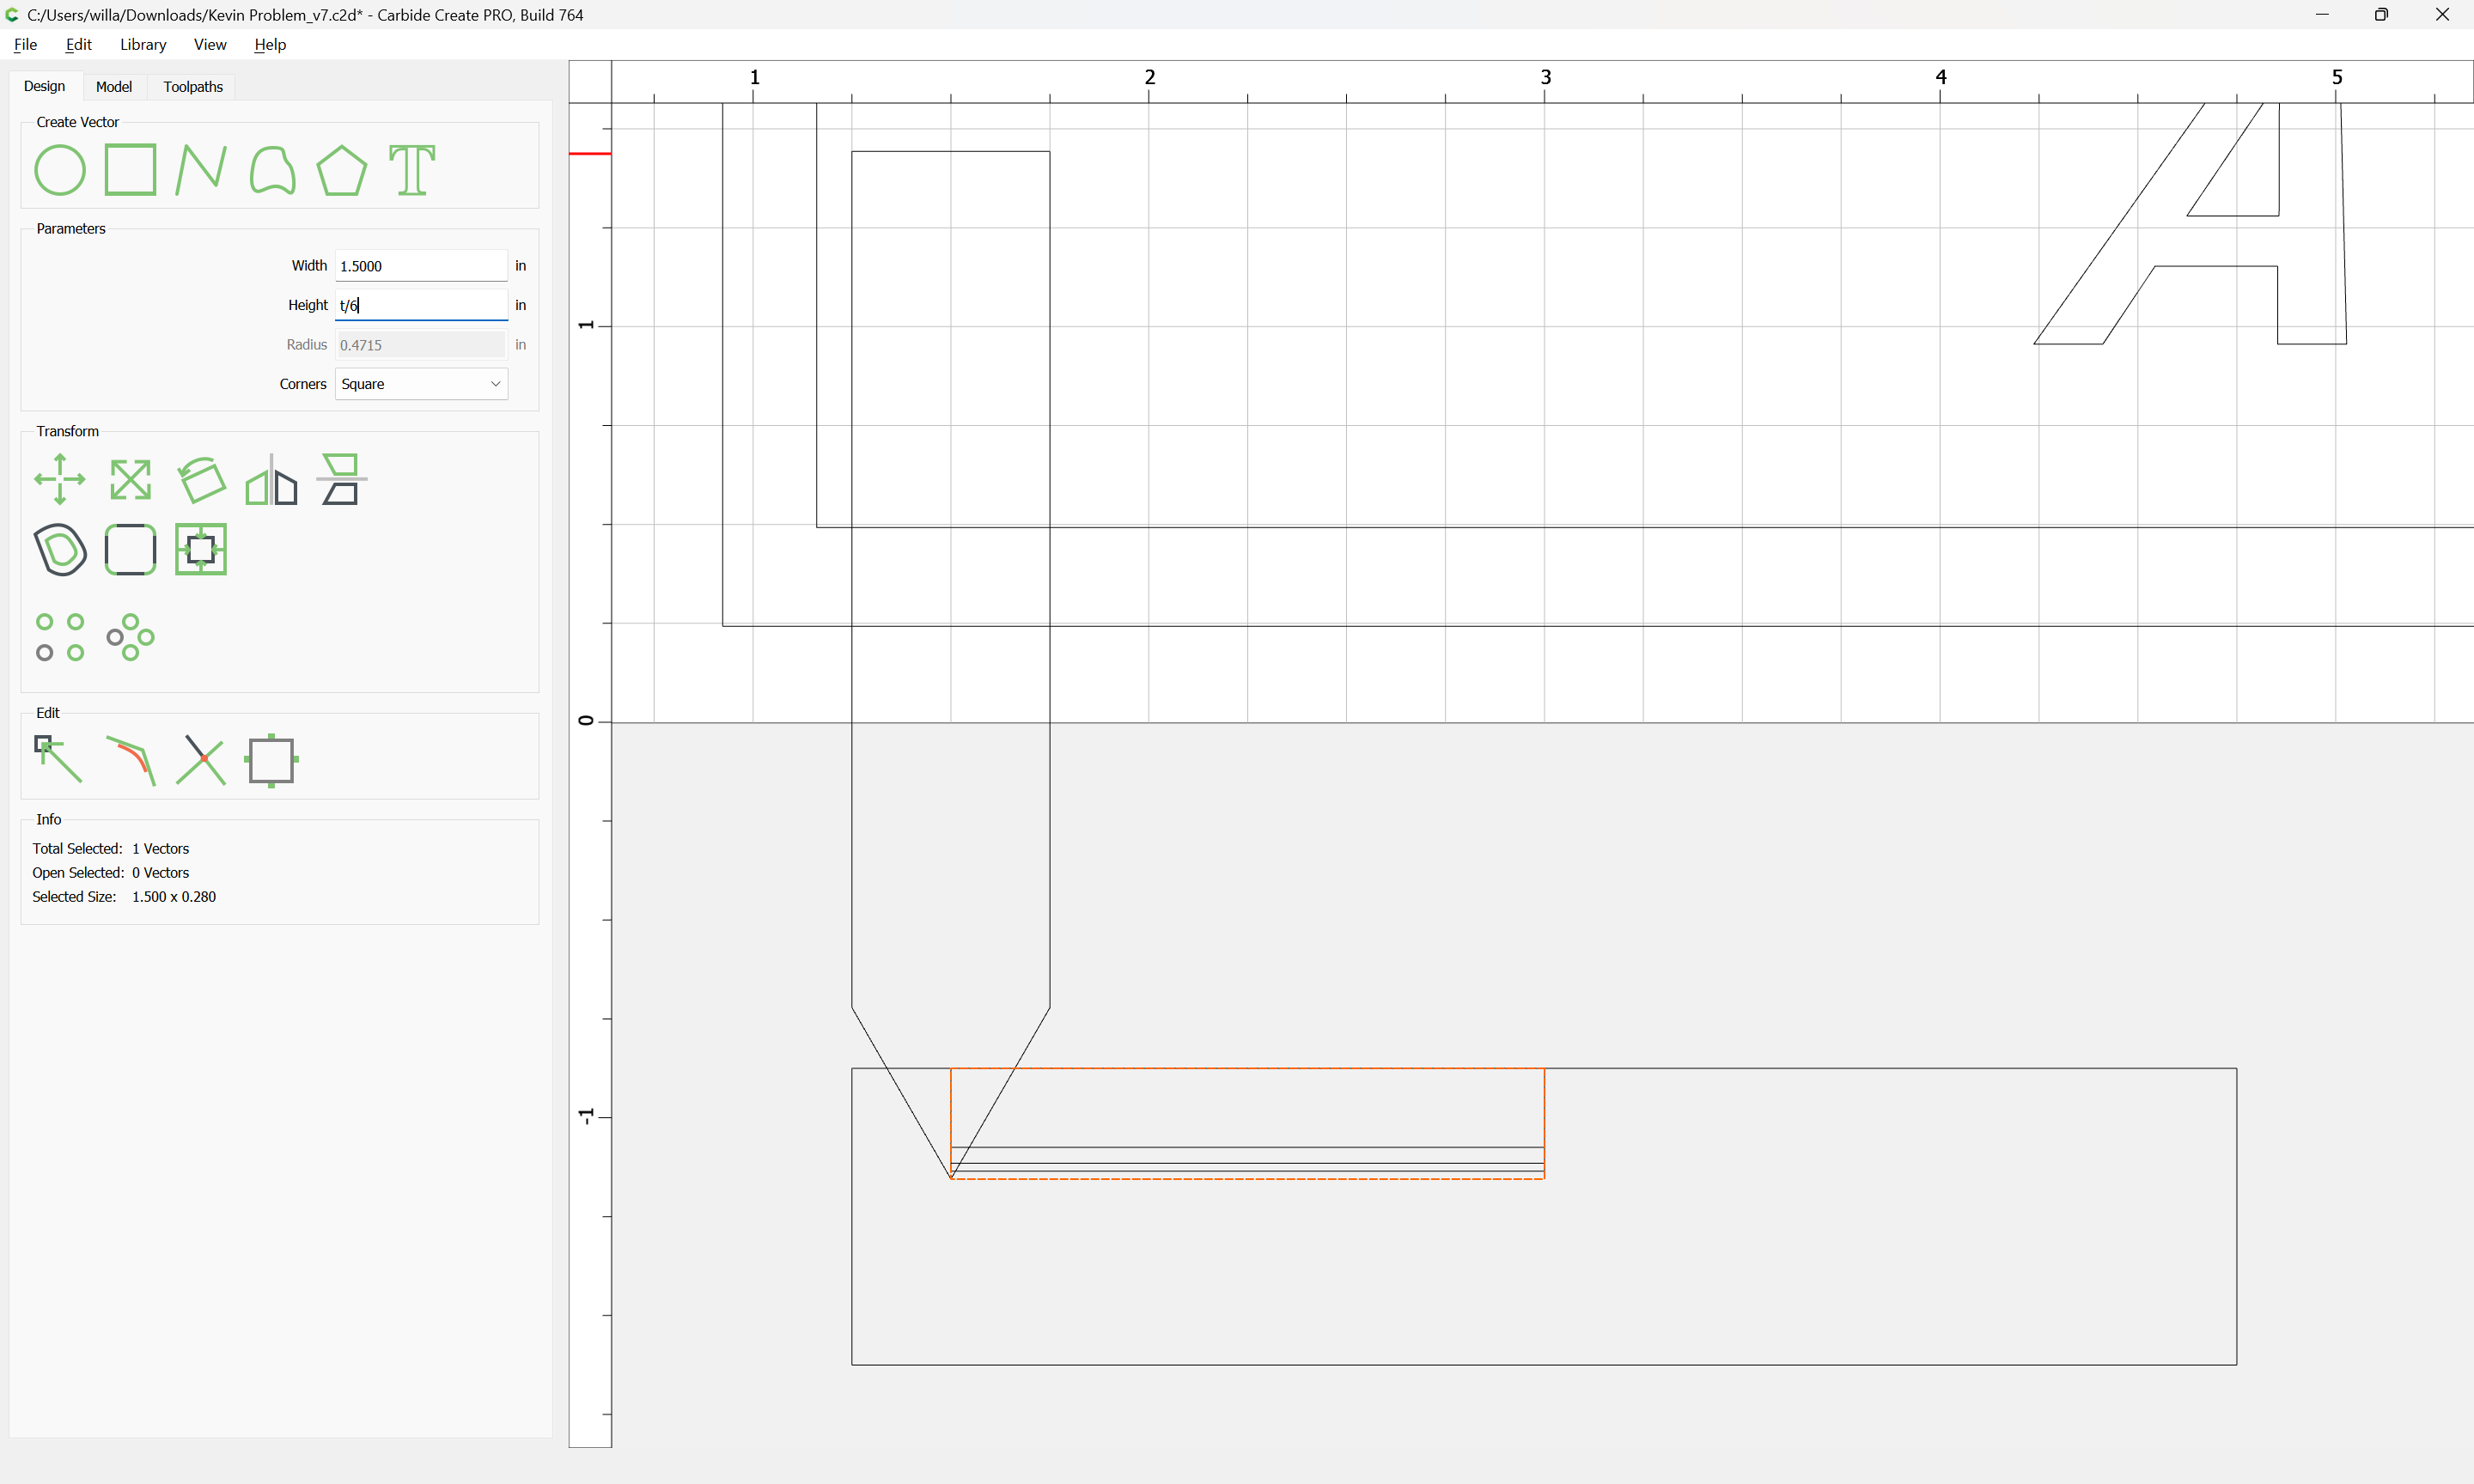
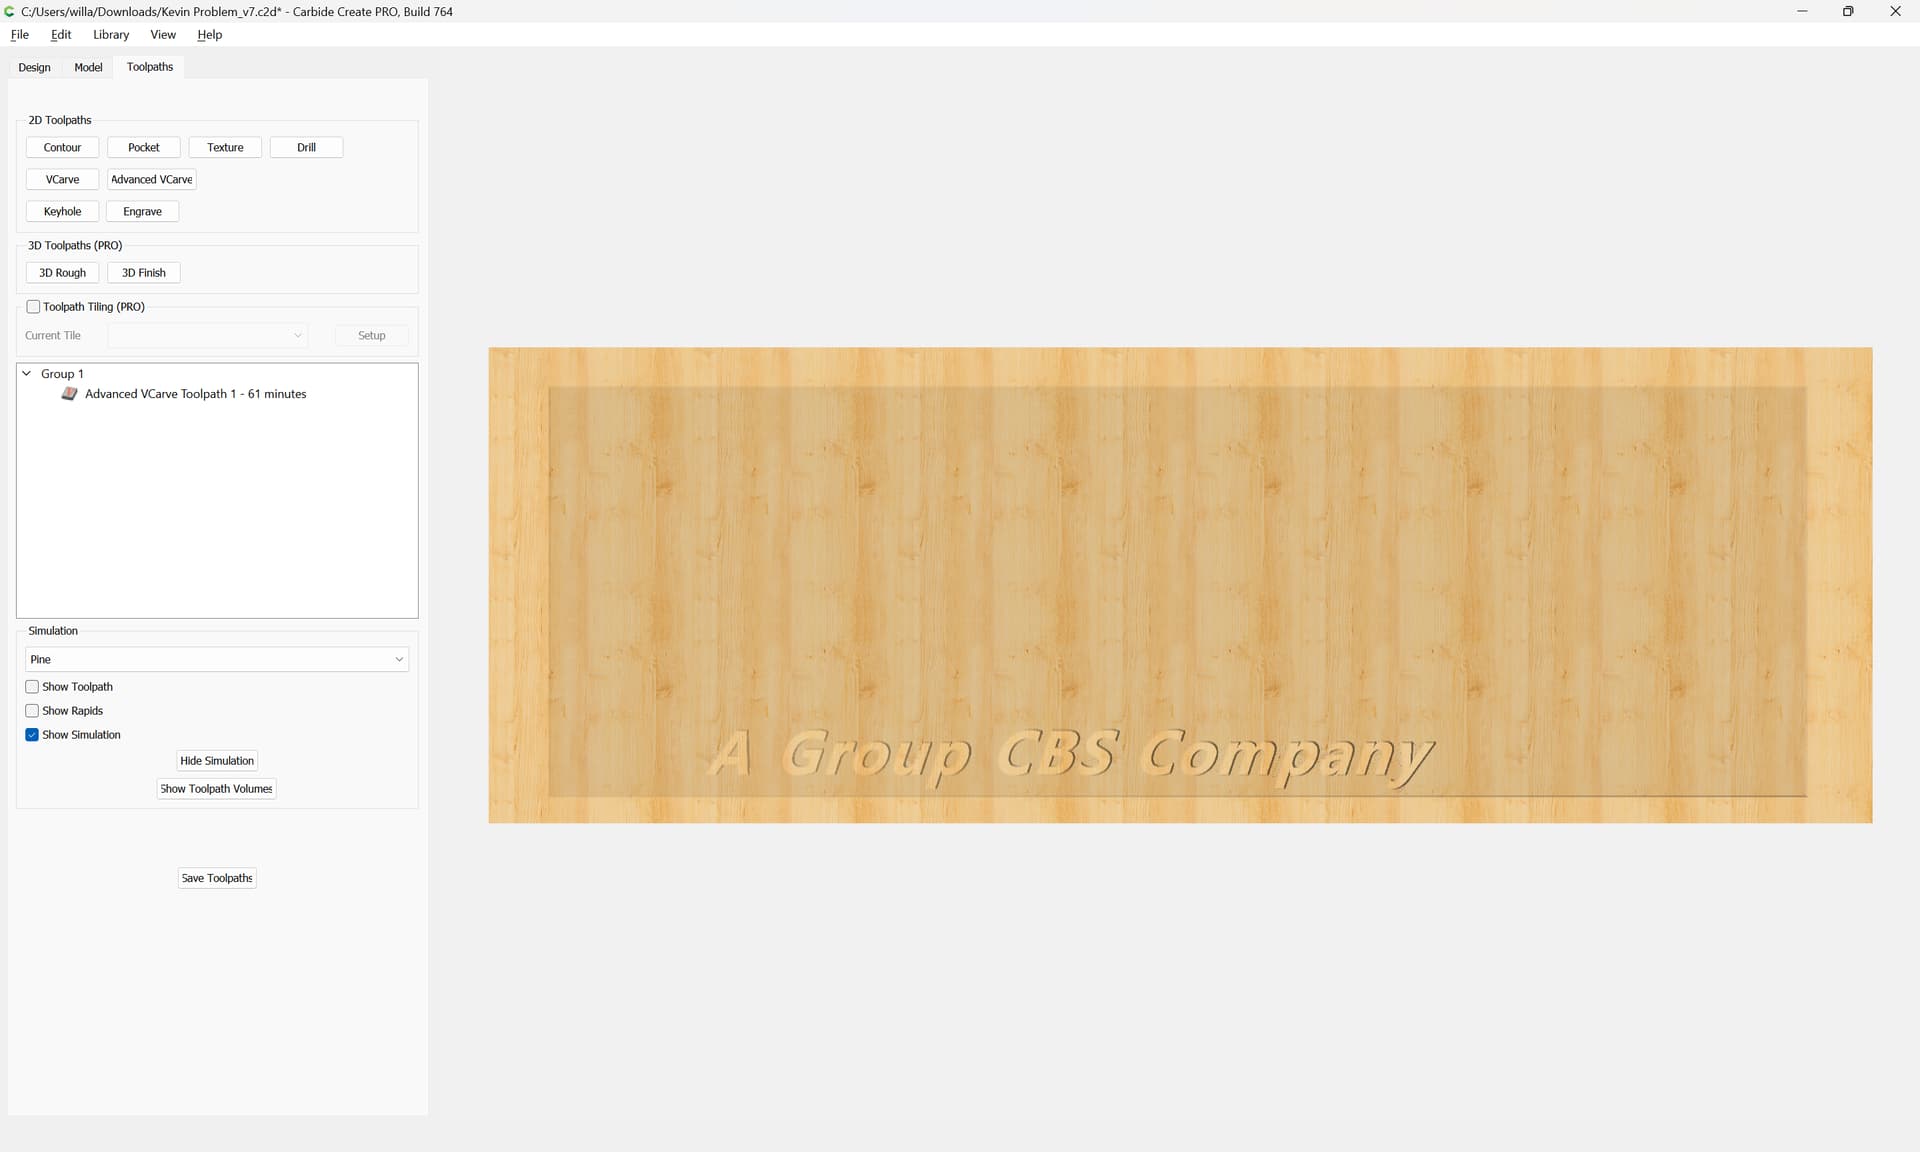
4 distinct layers are needed, and we need to not cut all the way through, so we instead divide the stock thickness by 6:
which fortuitously is a nice even 1/8"
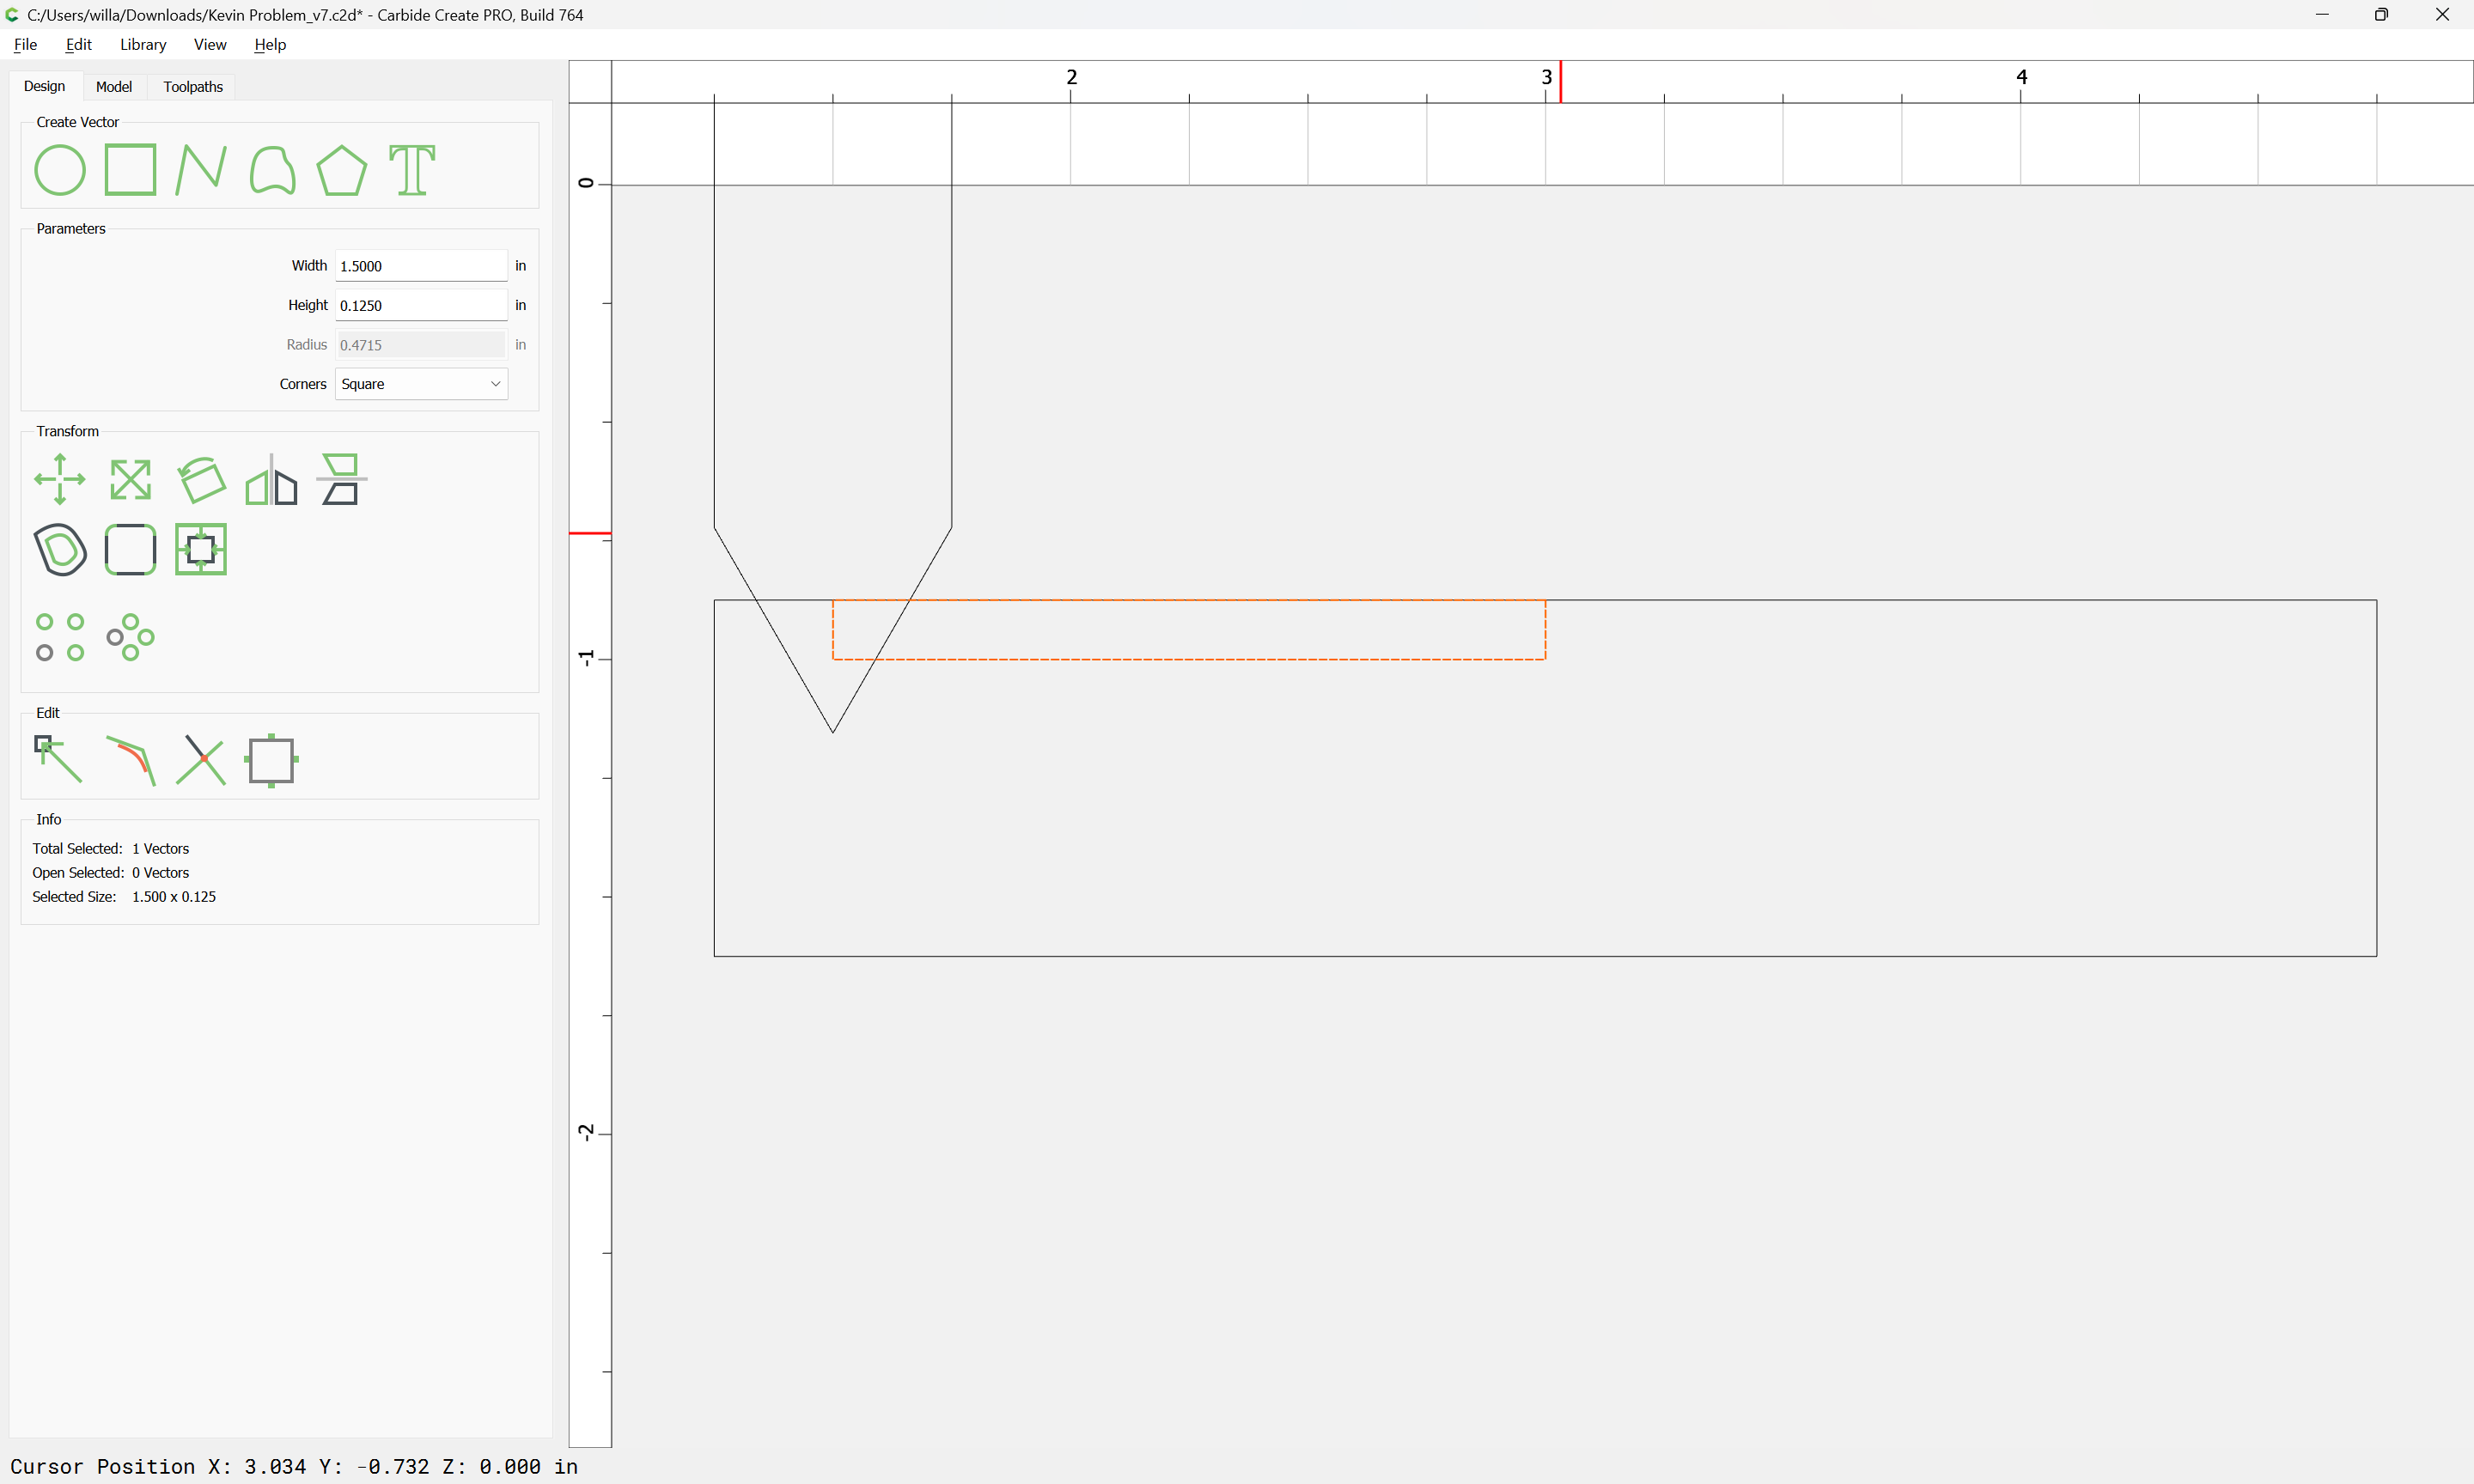
adding three more layers we arrive at:
which leaves a double layer, 1/3rd of the material to function as a base, so it should be stable.
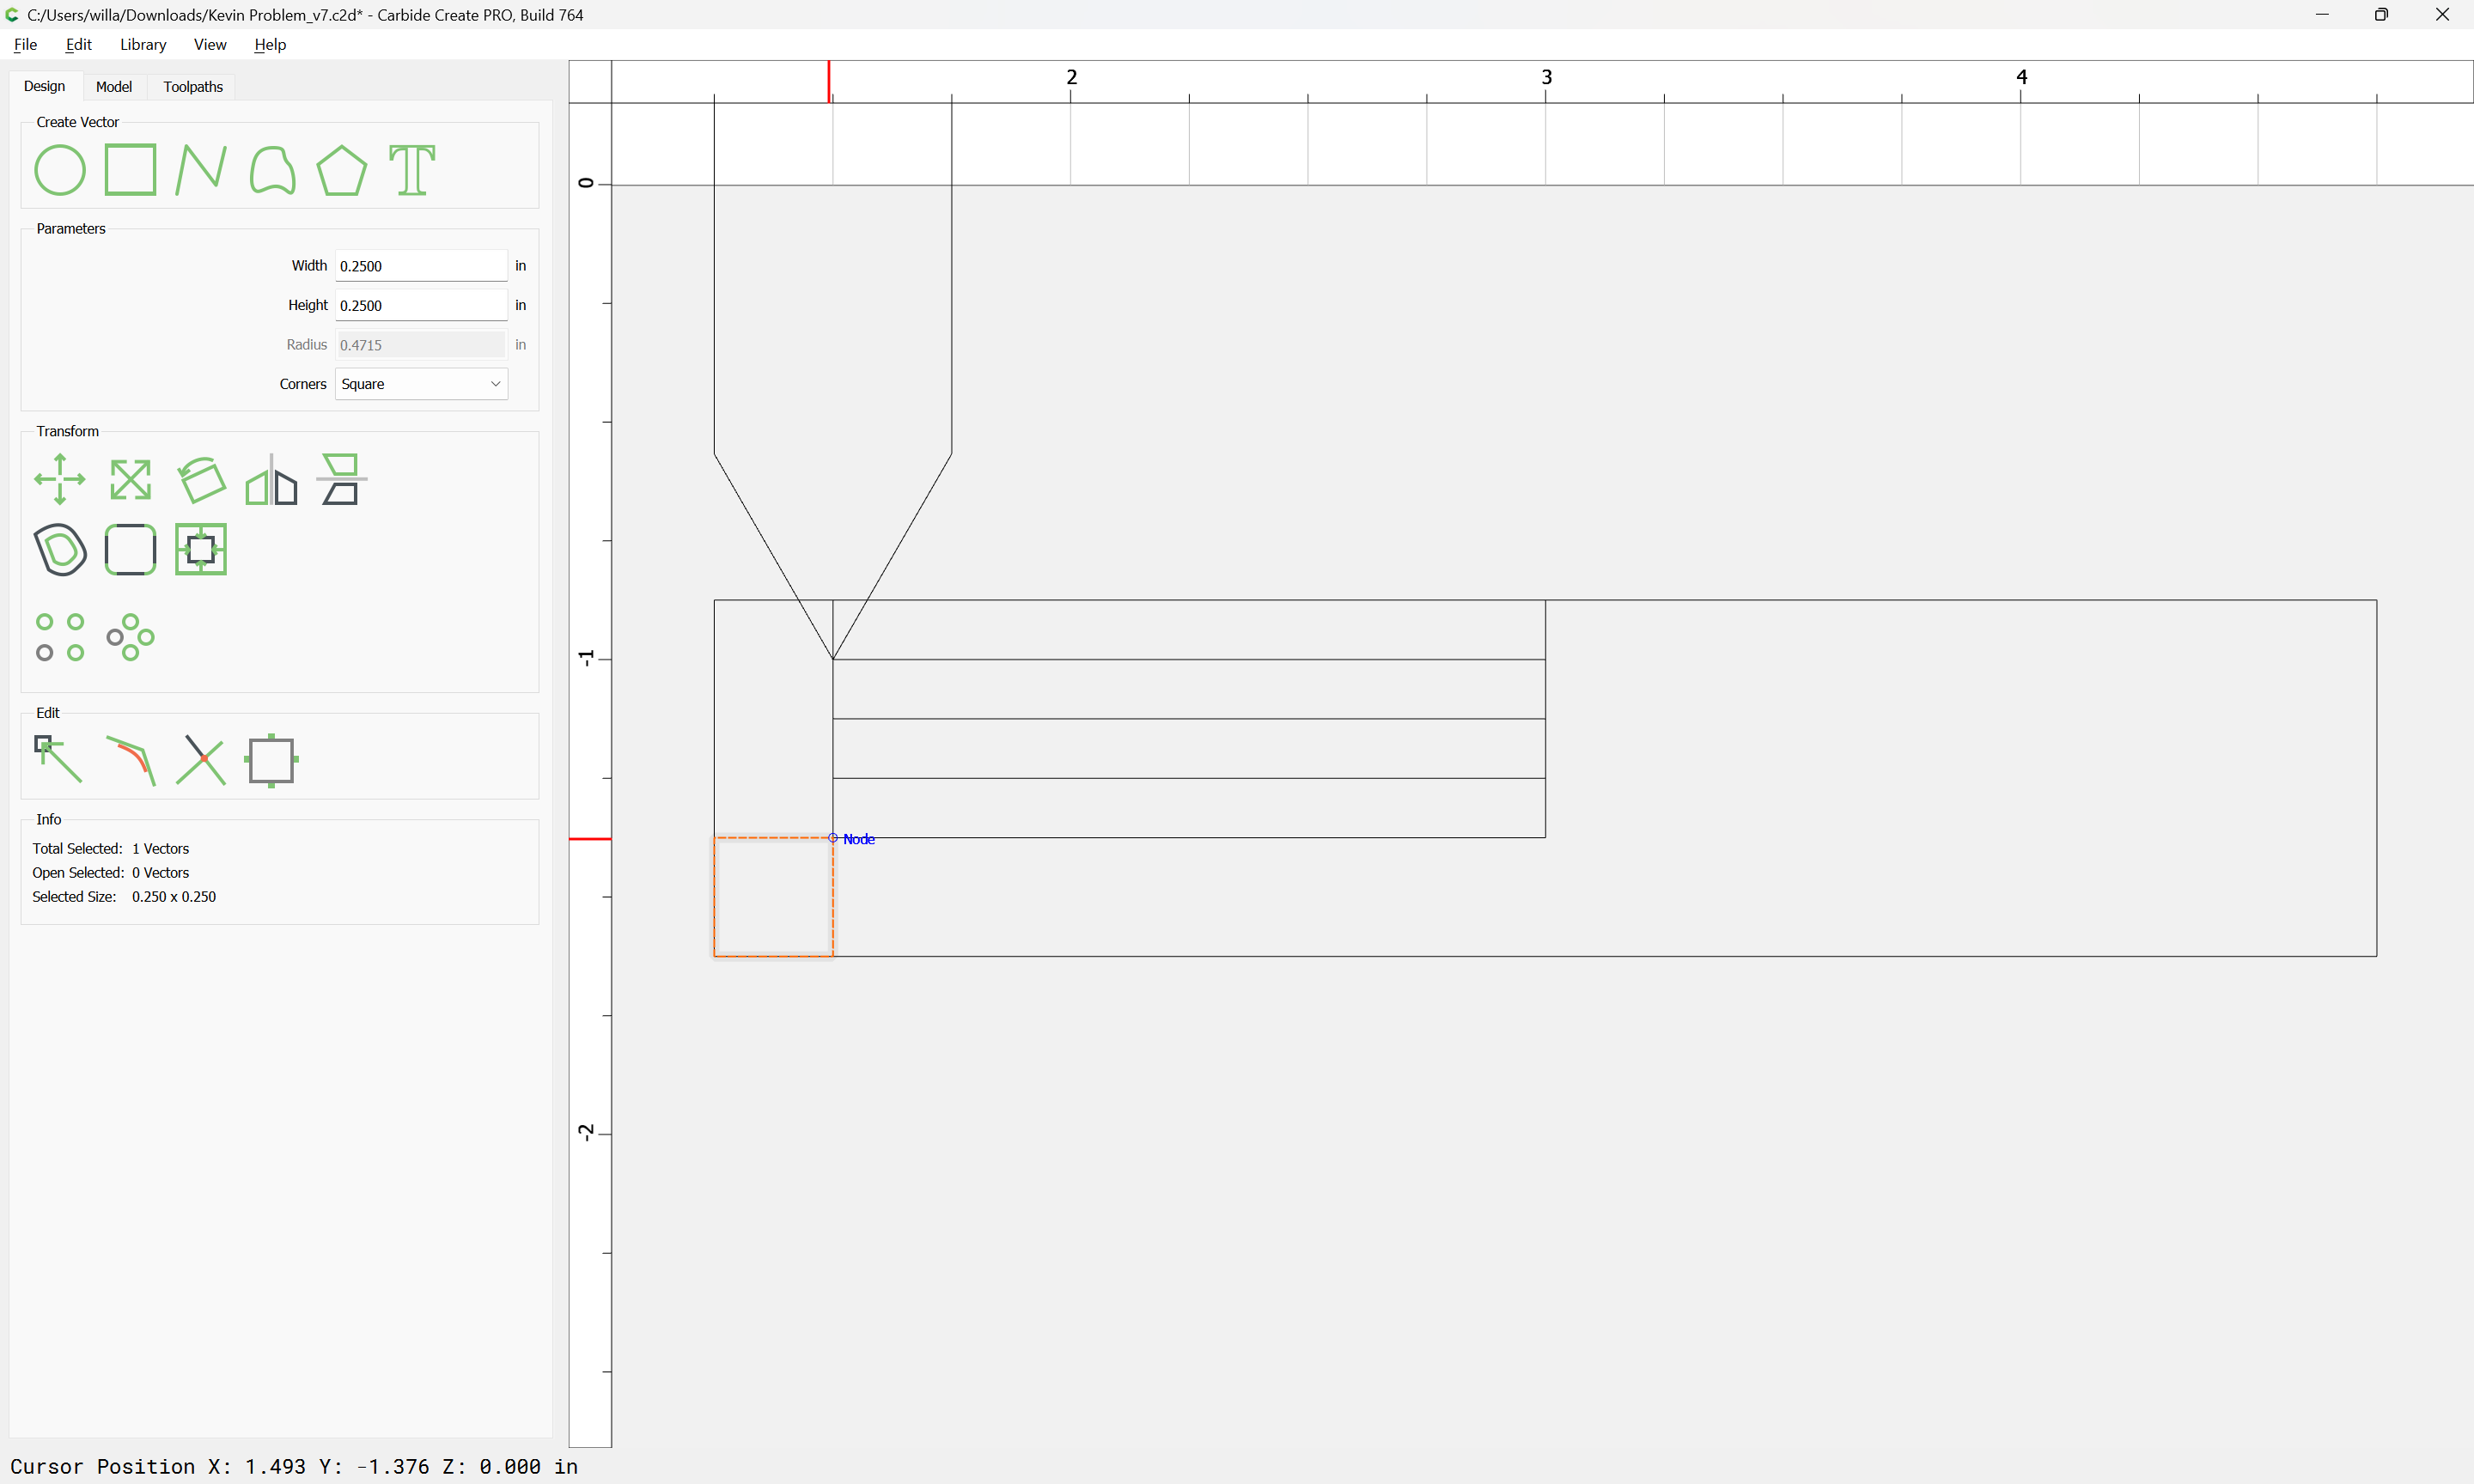
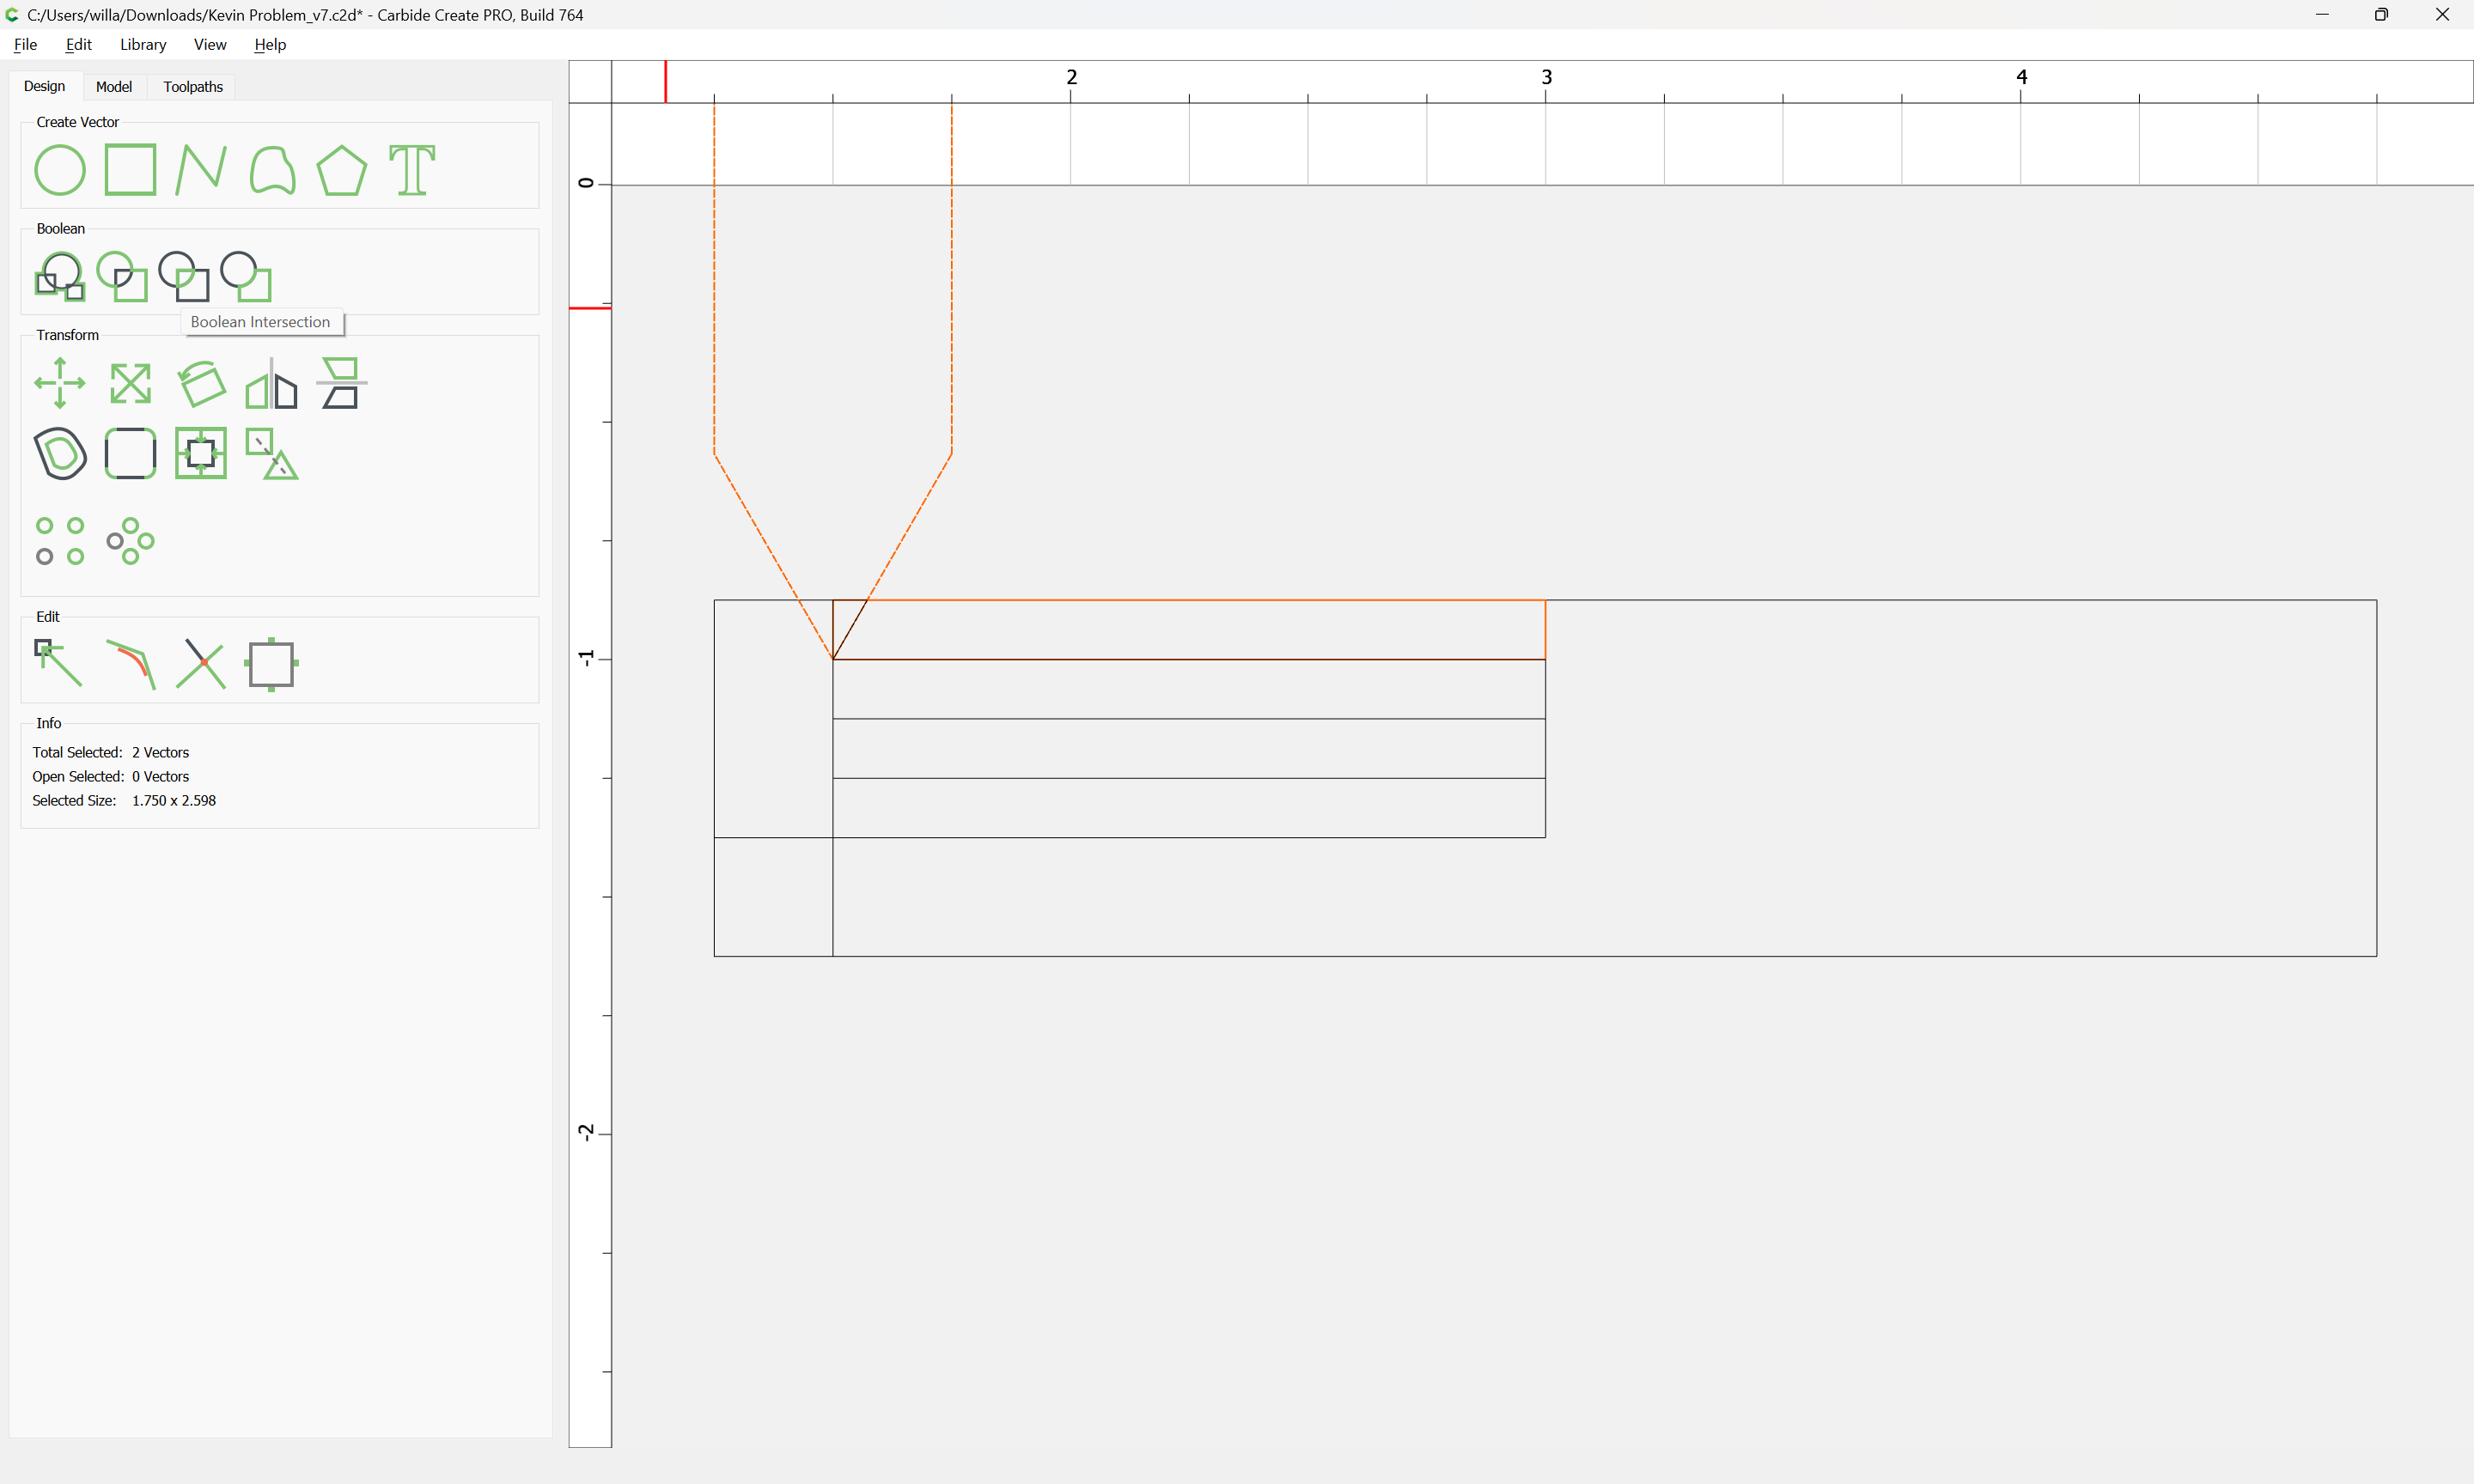
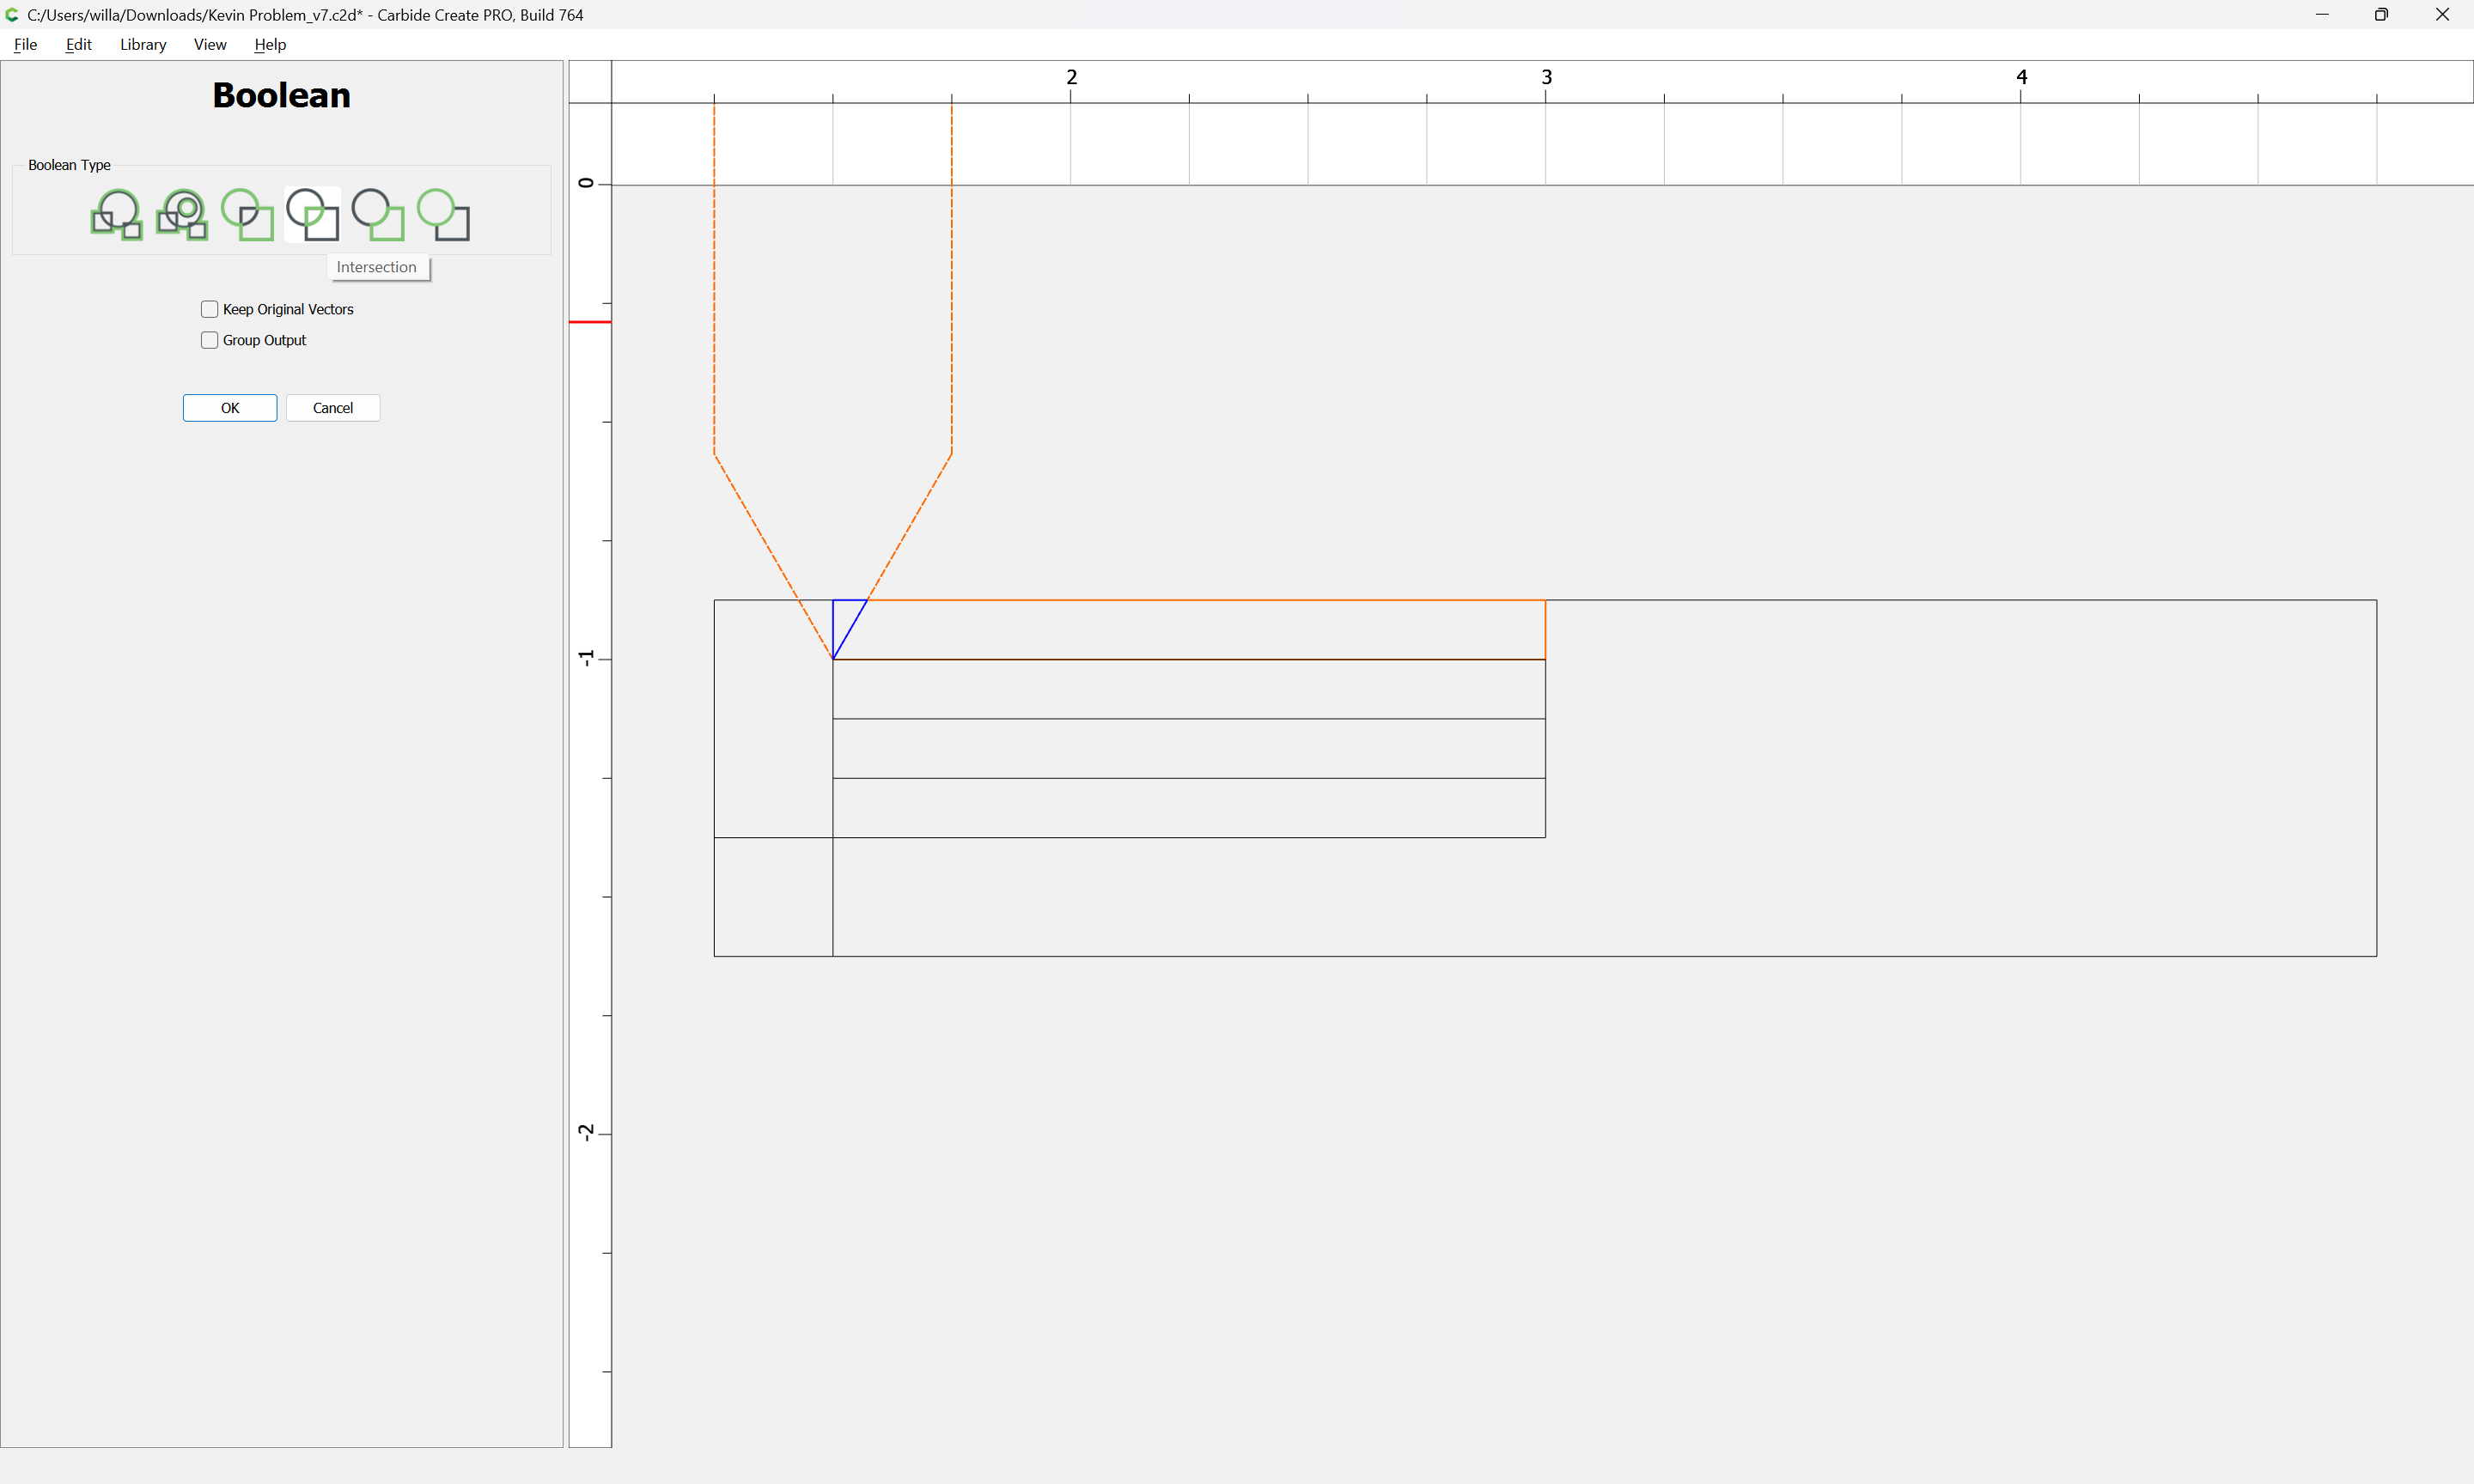
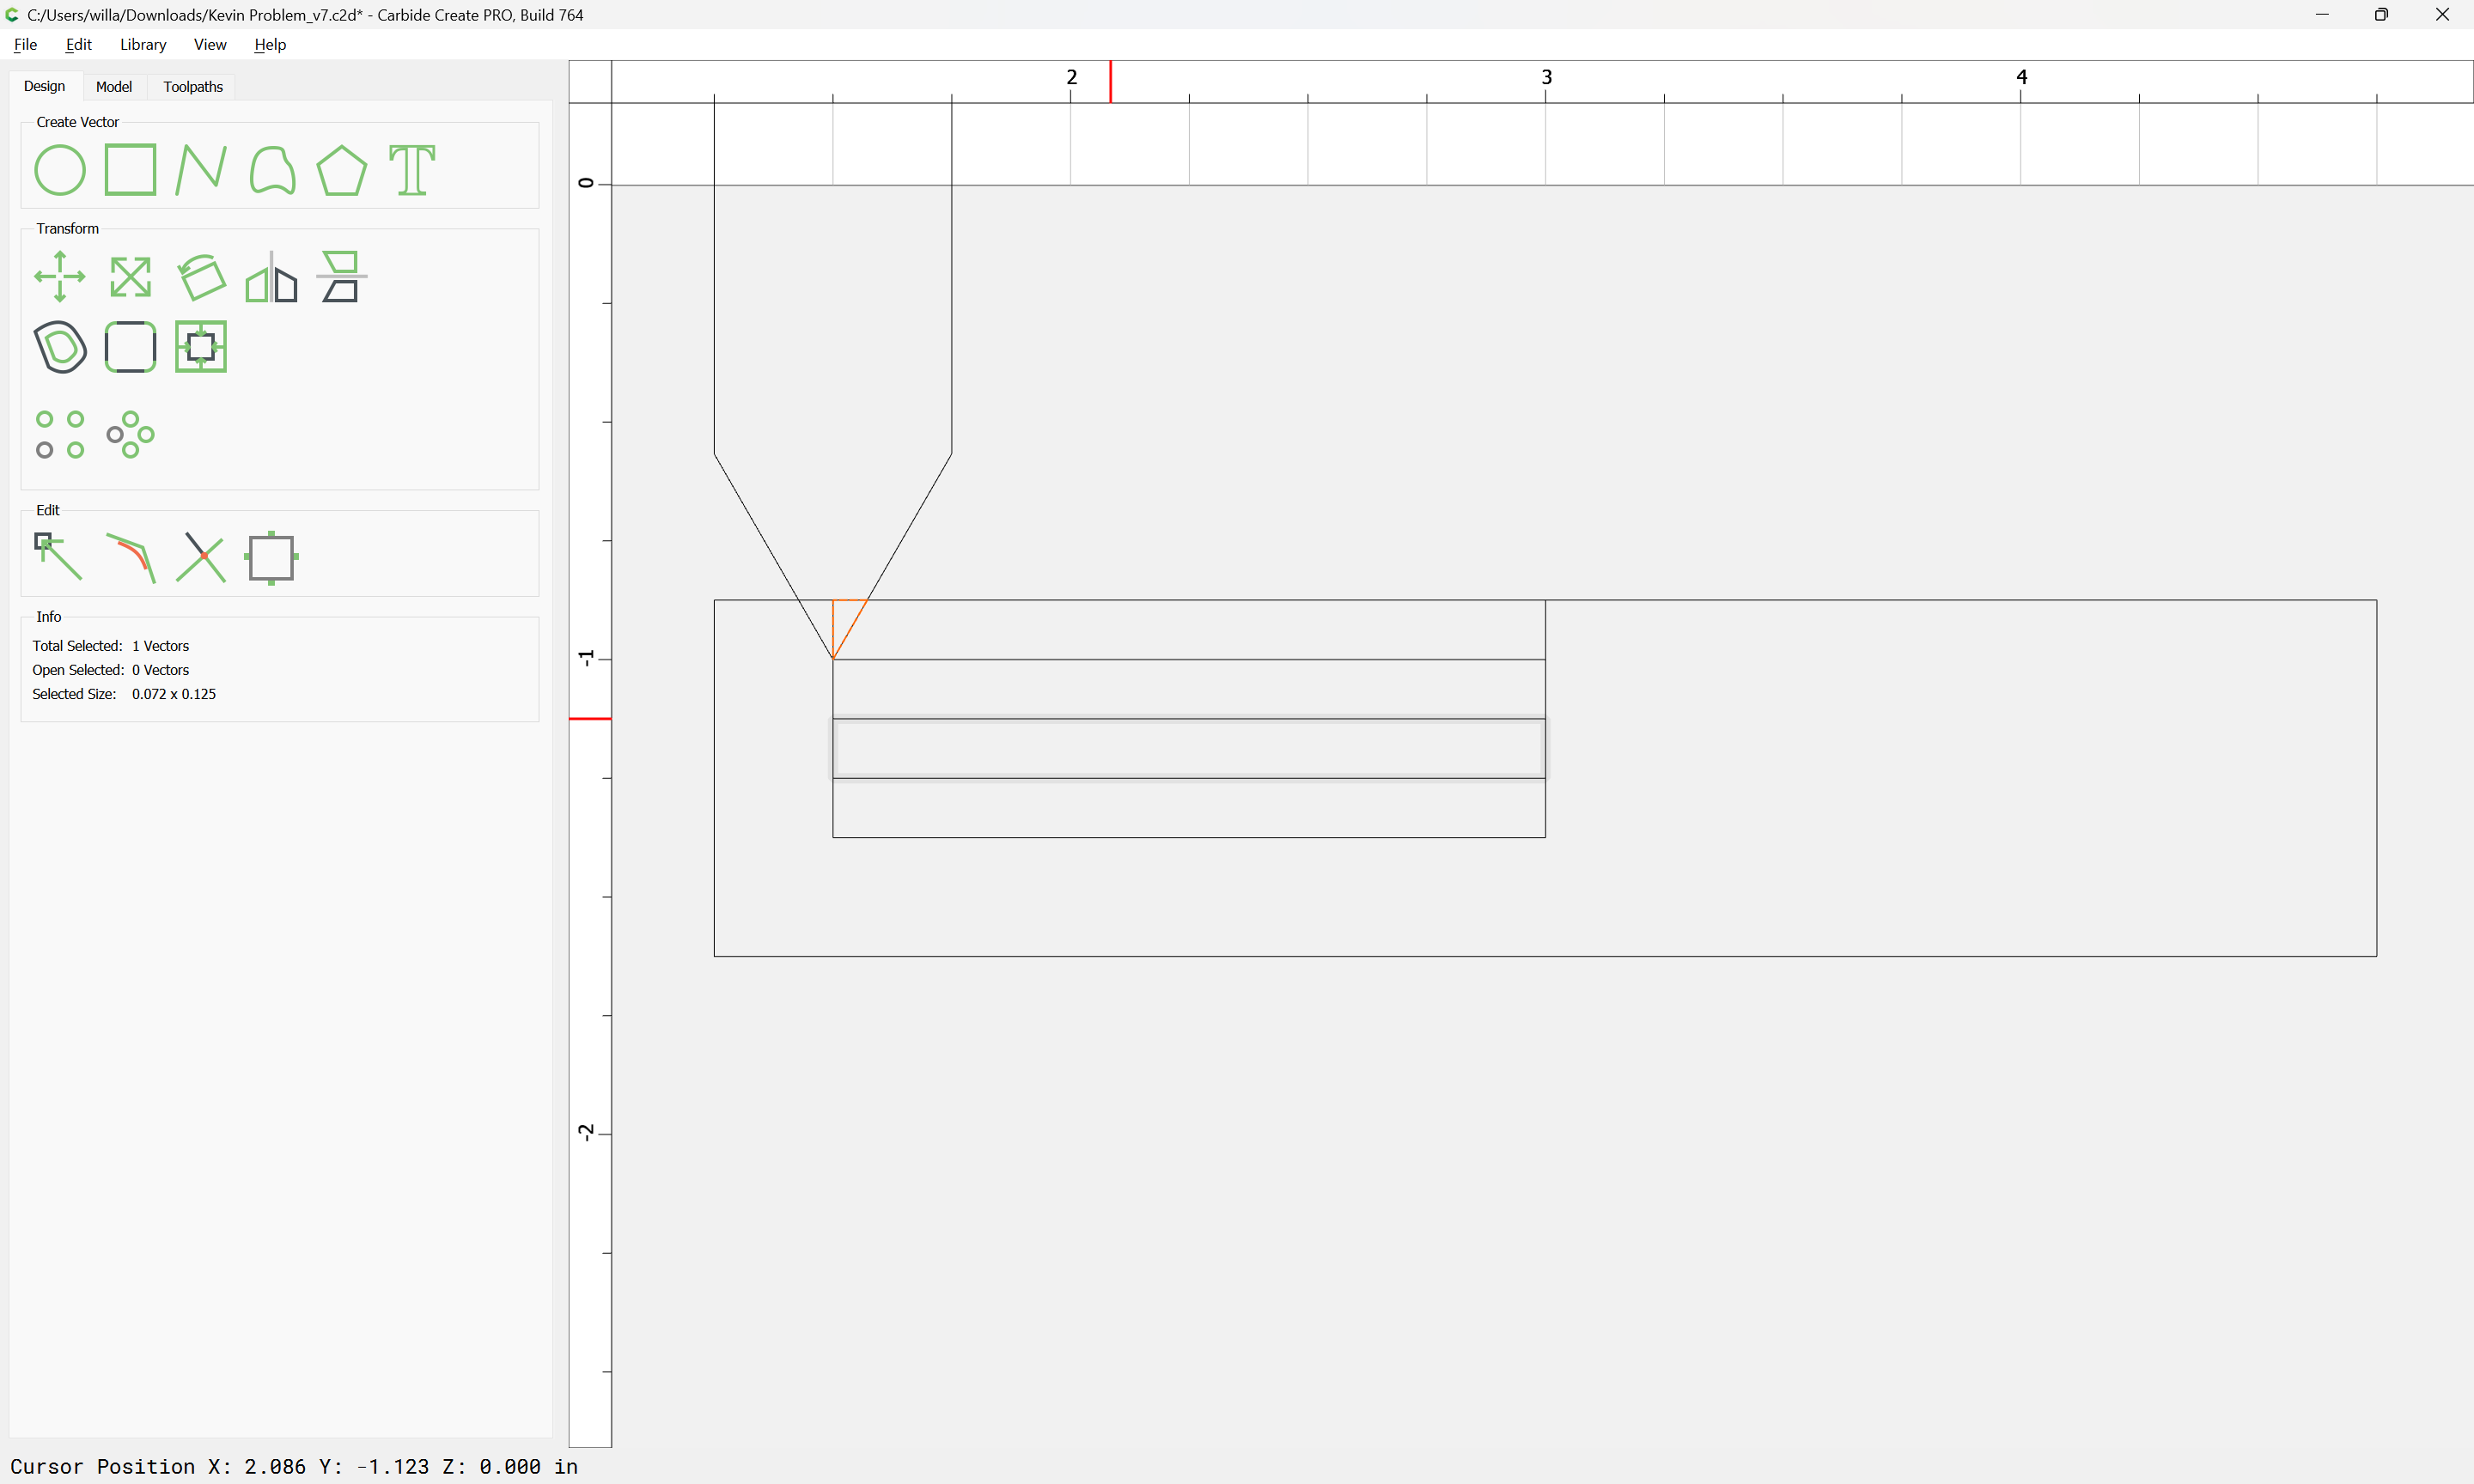
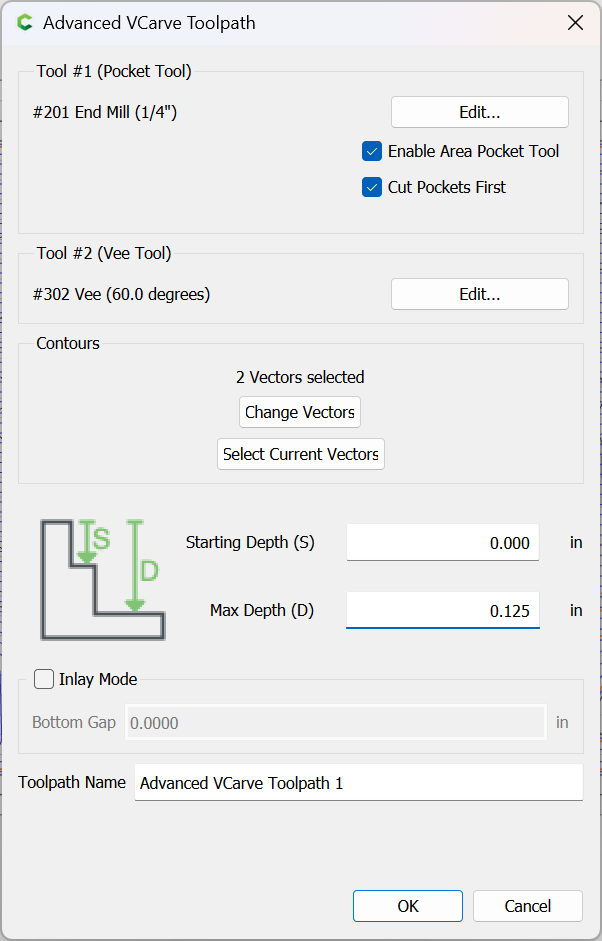
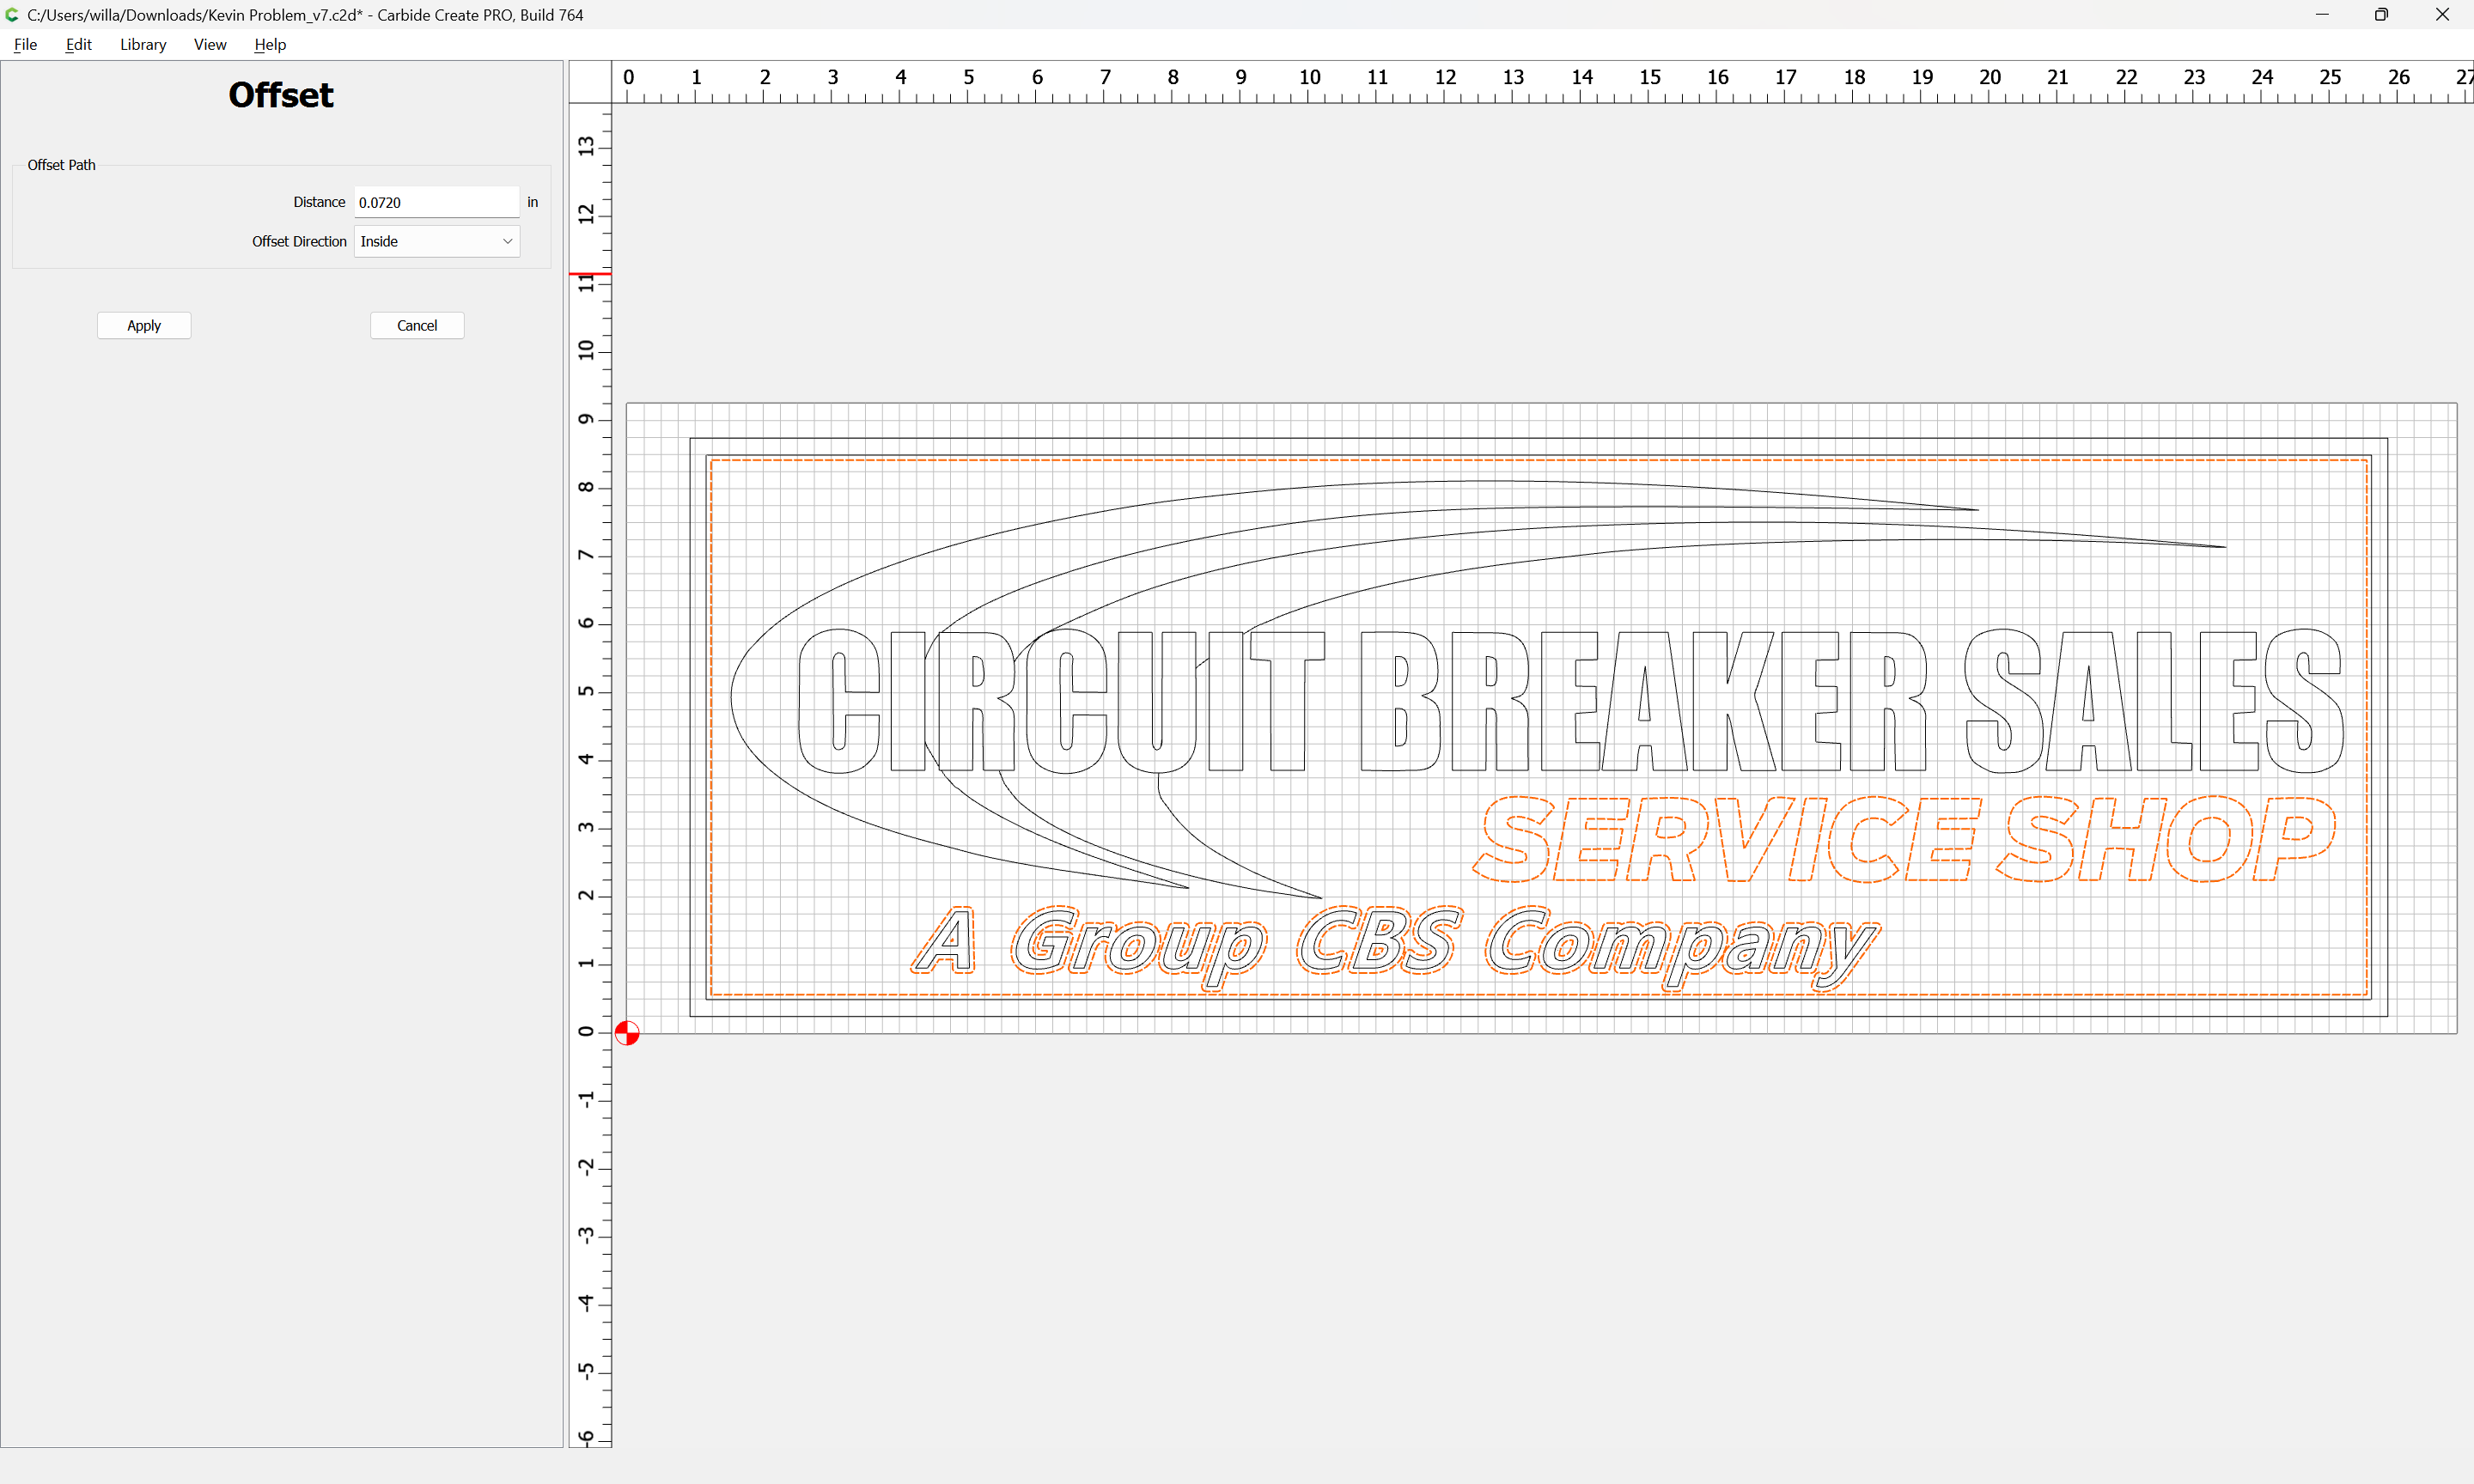
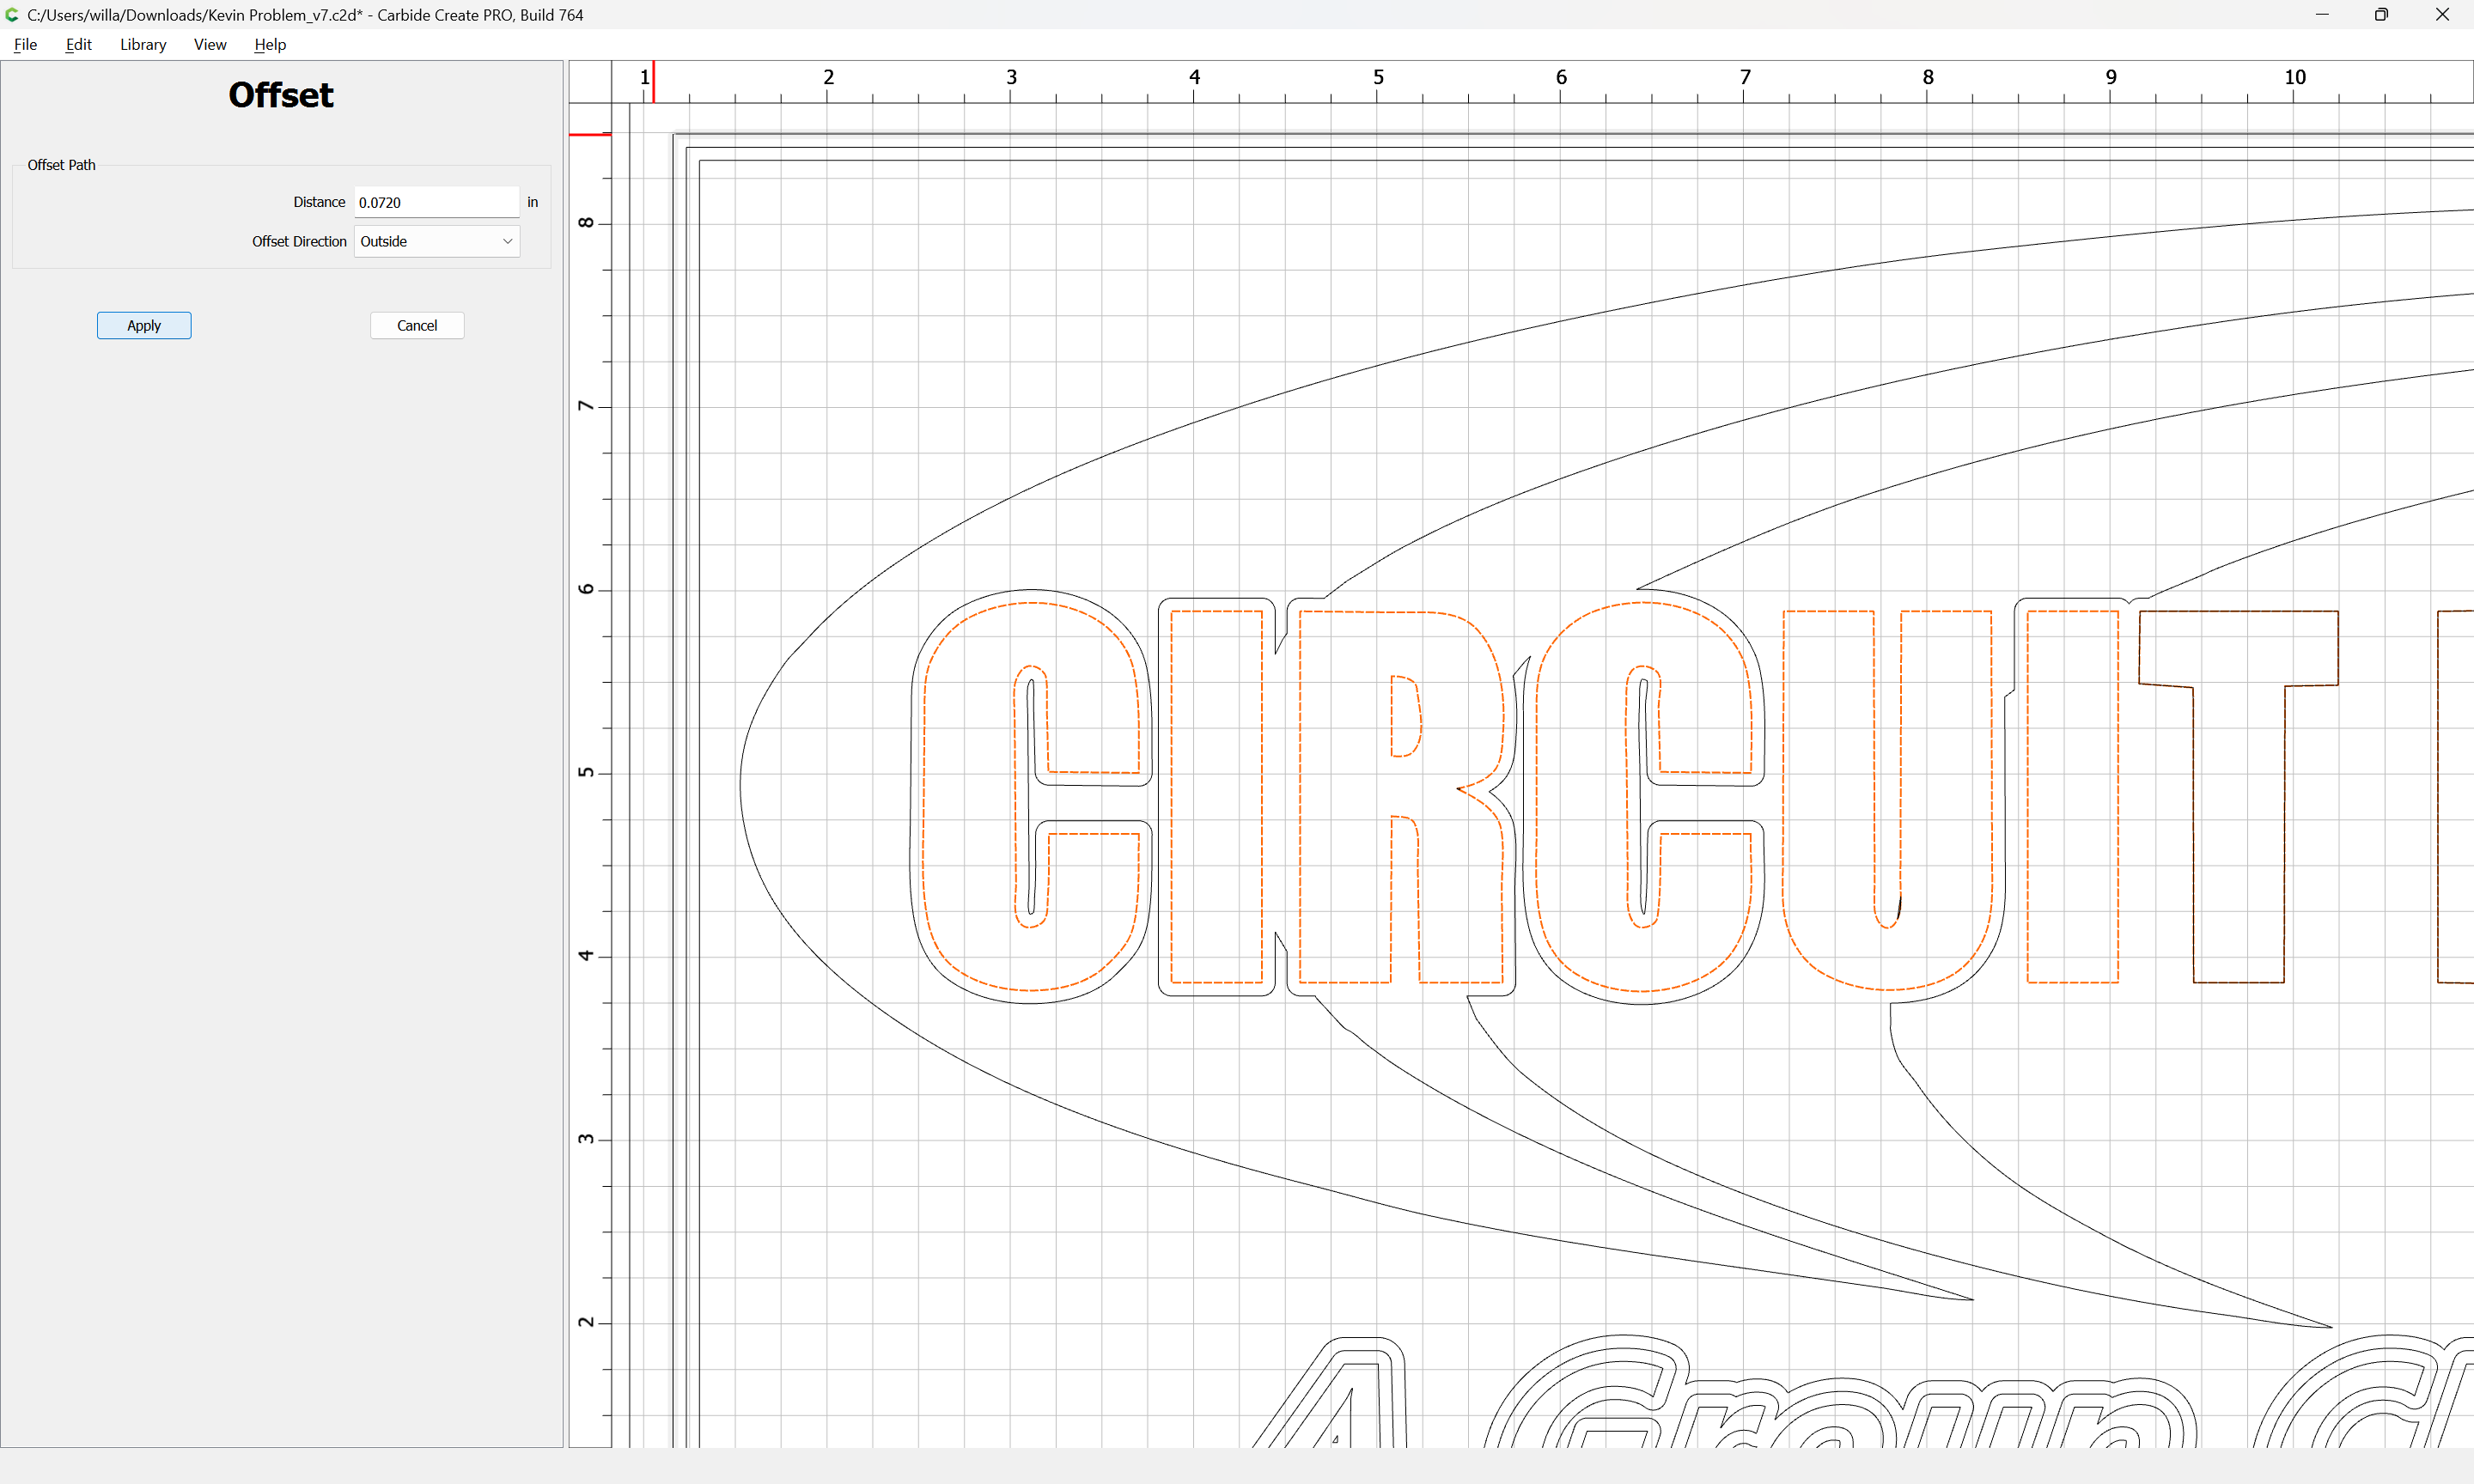
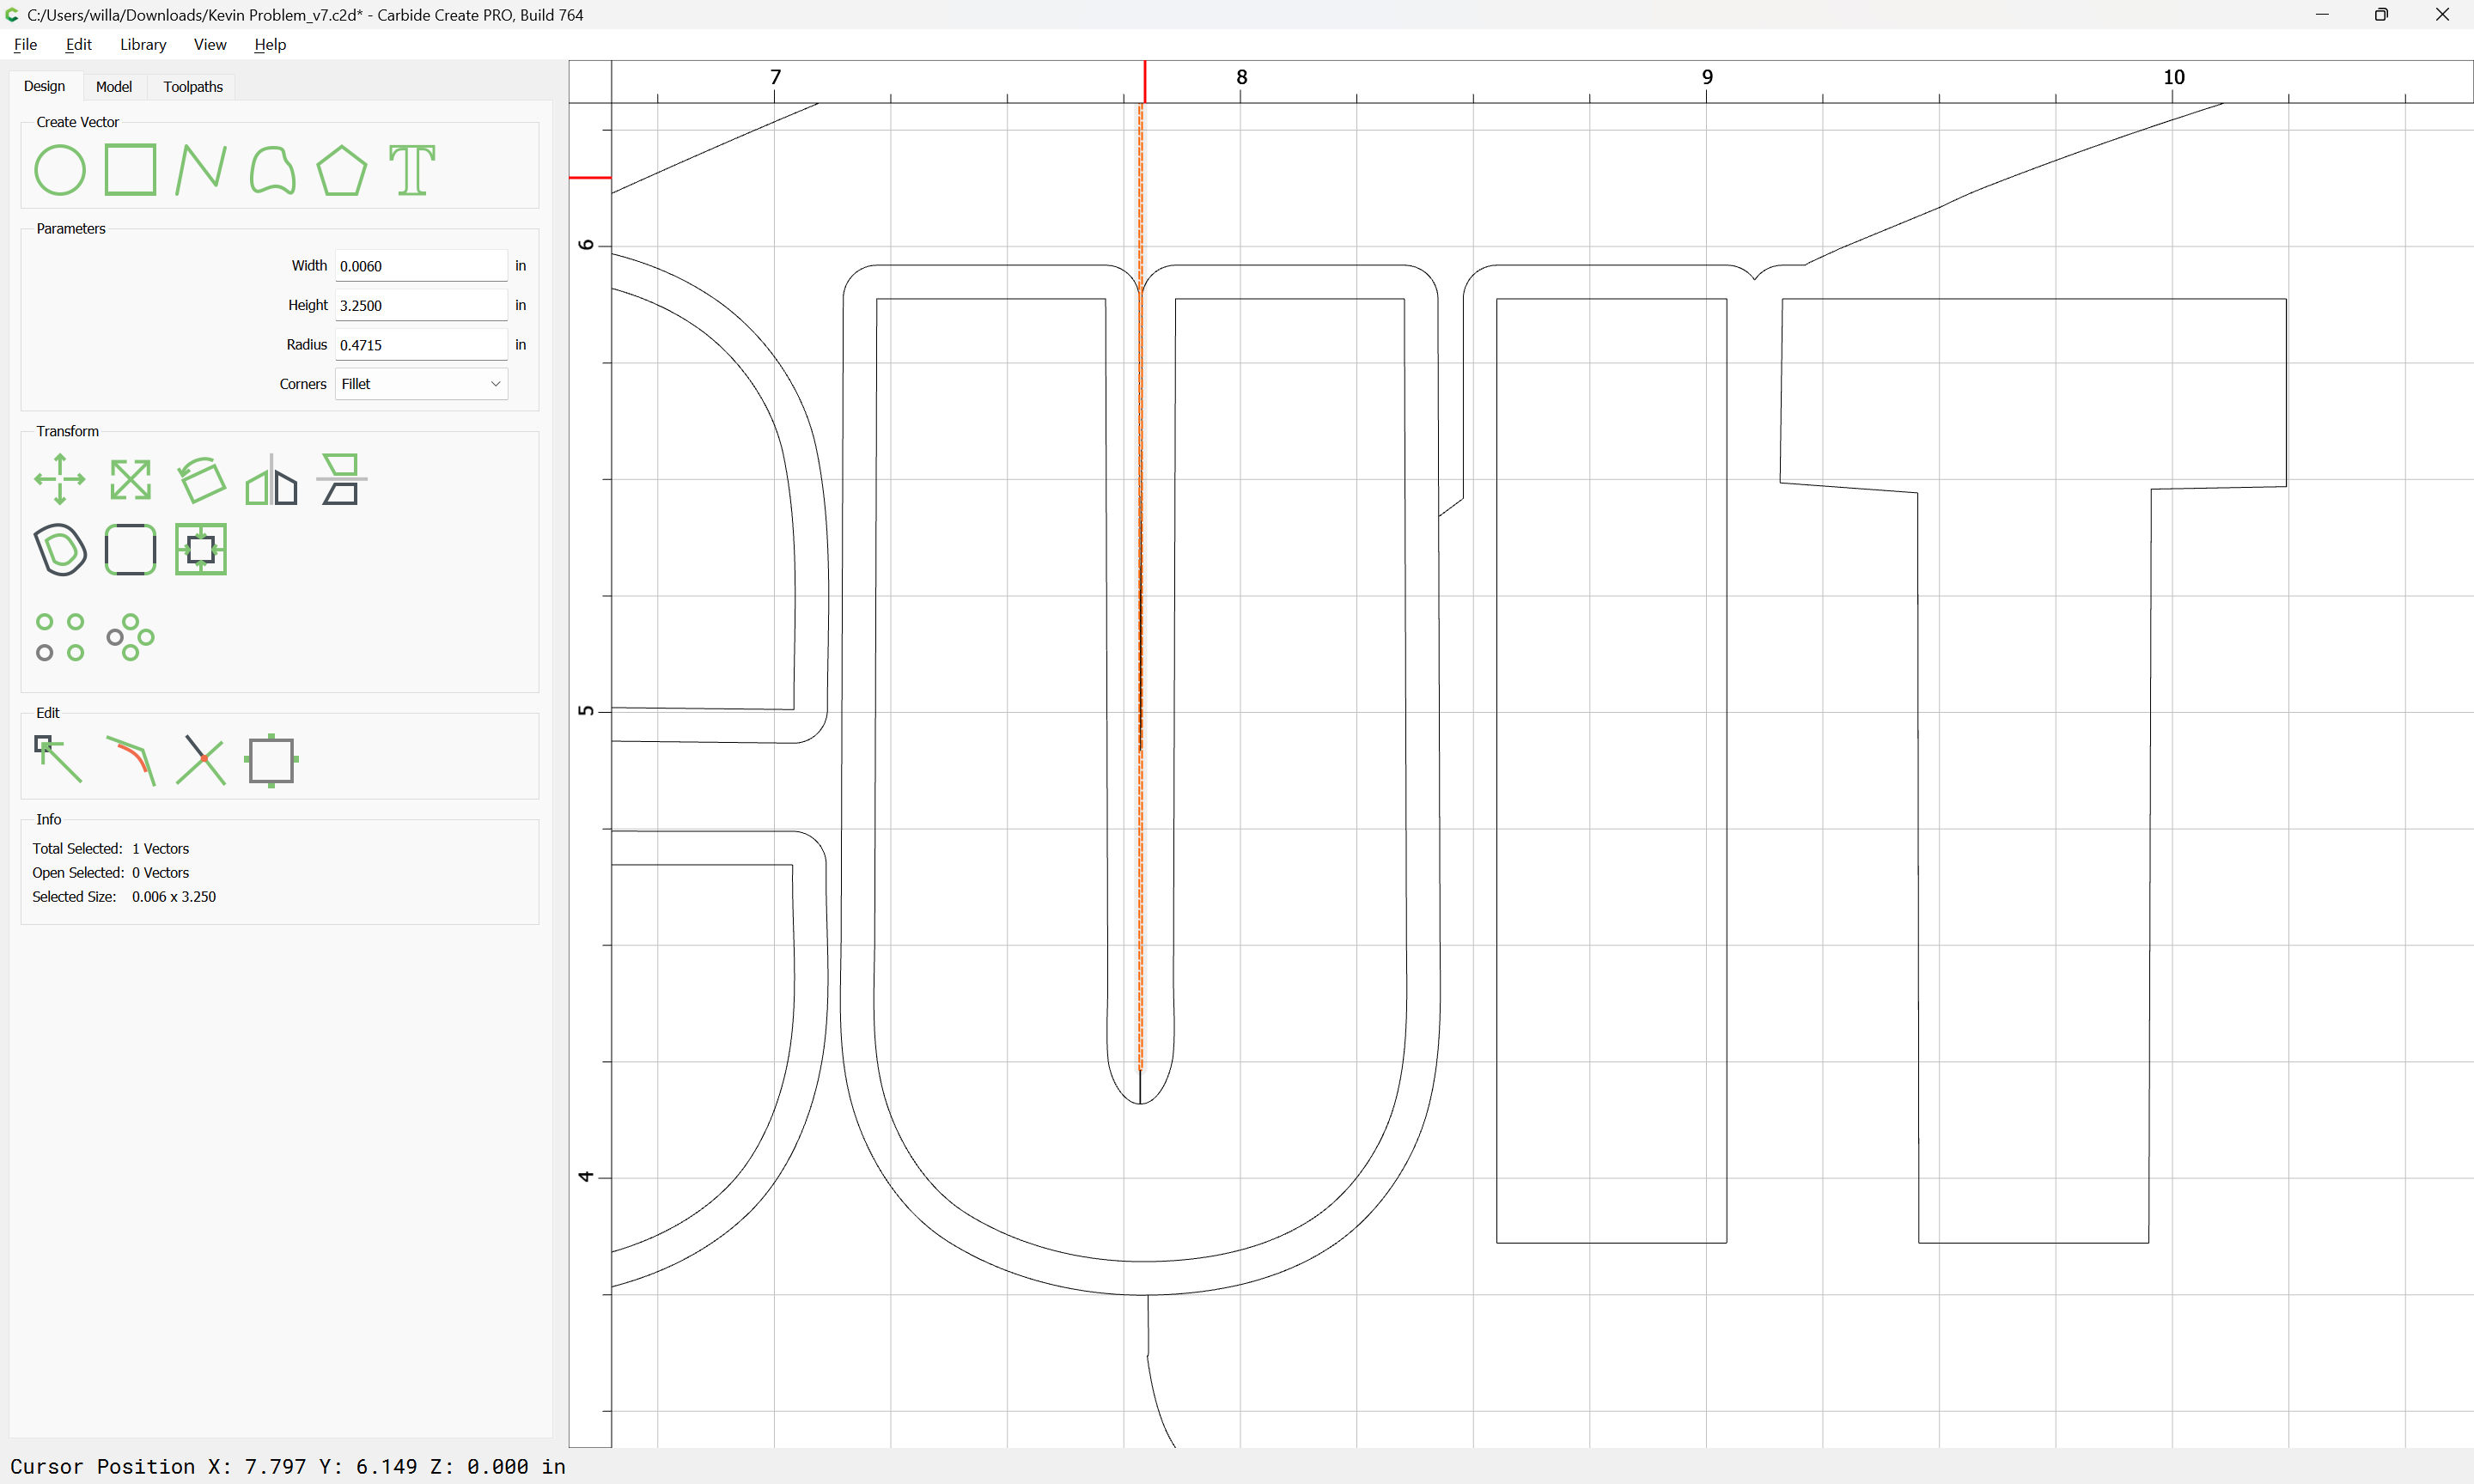
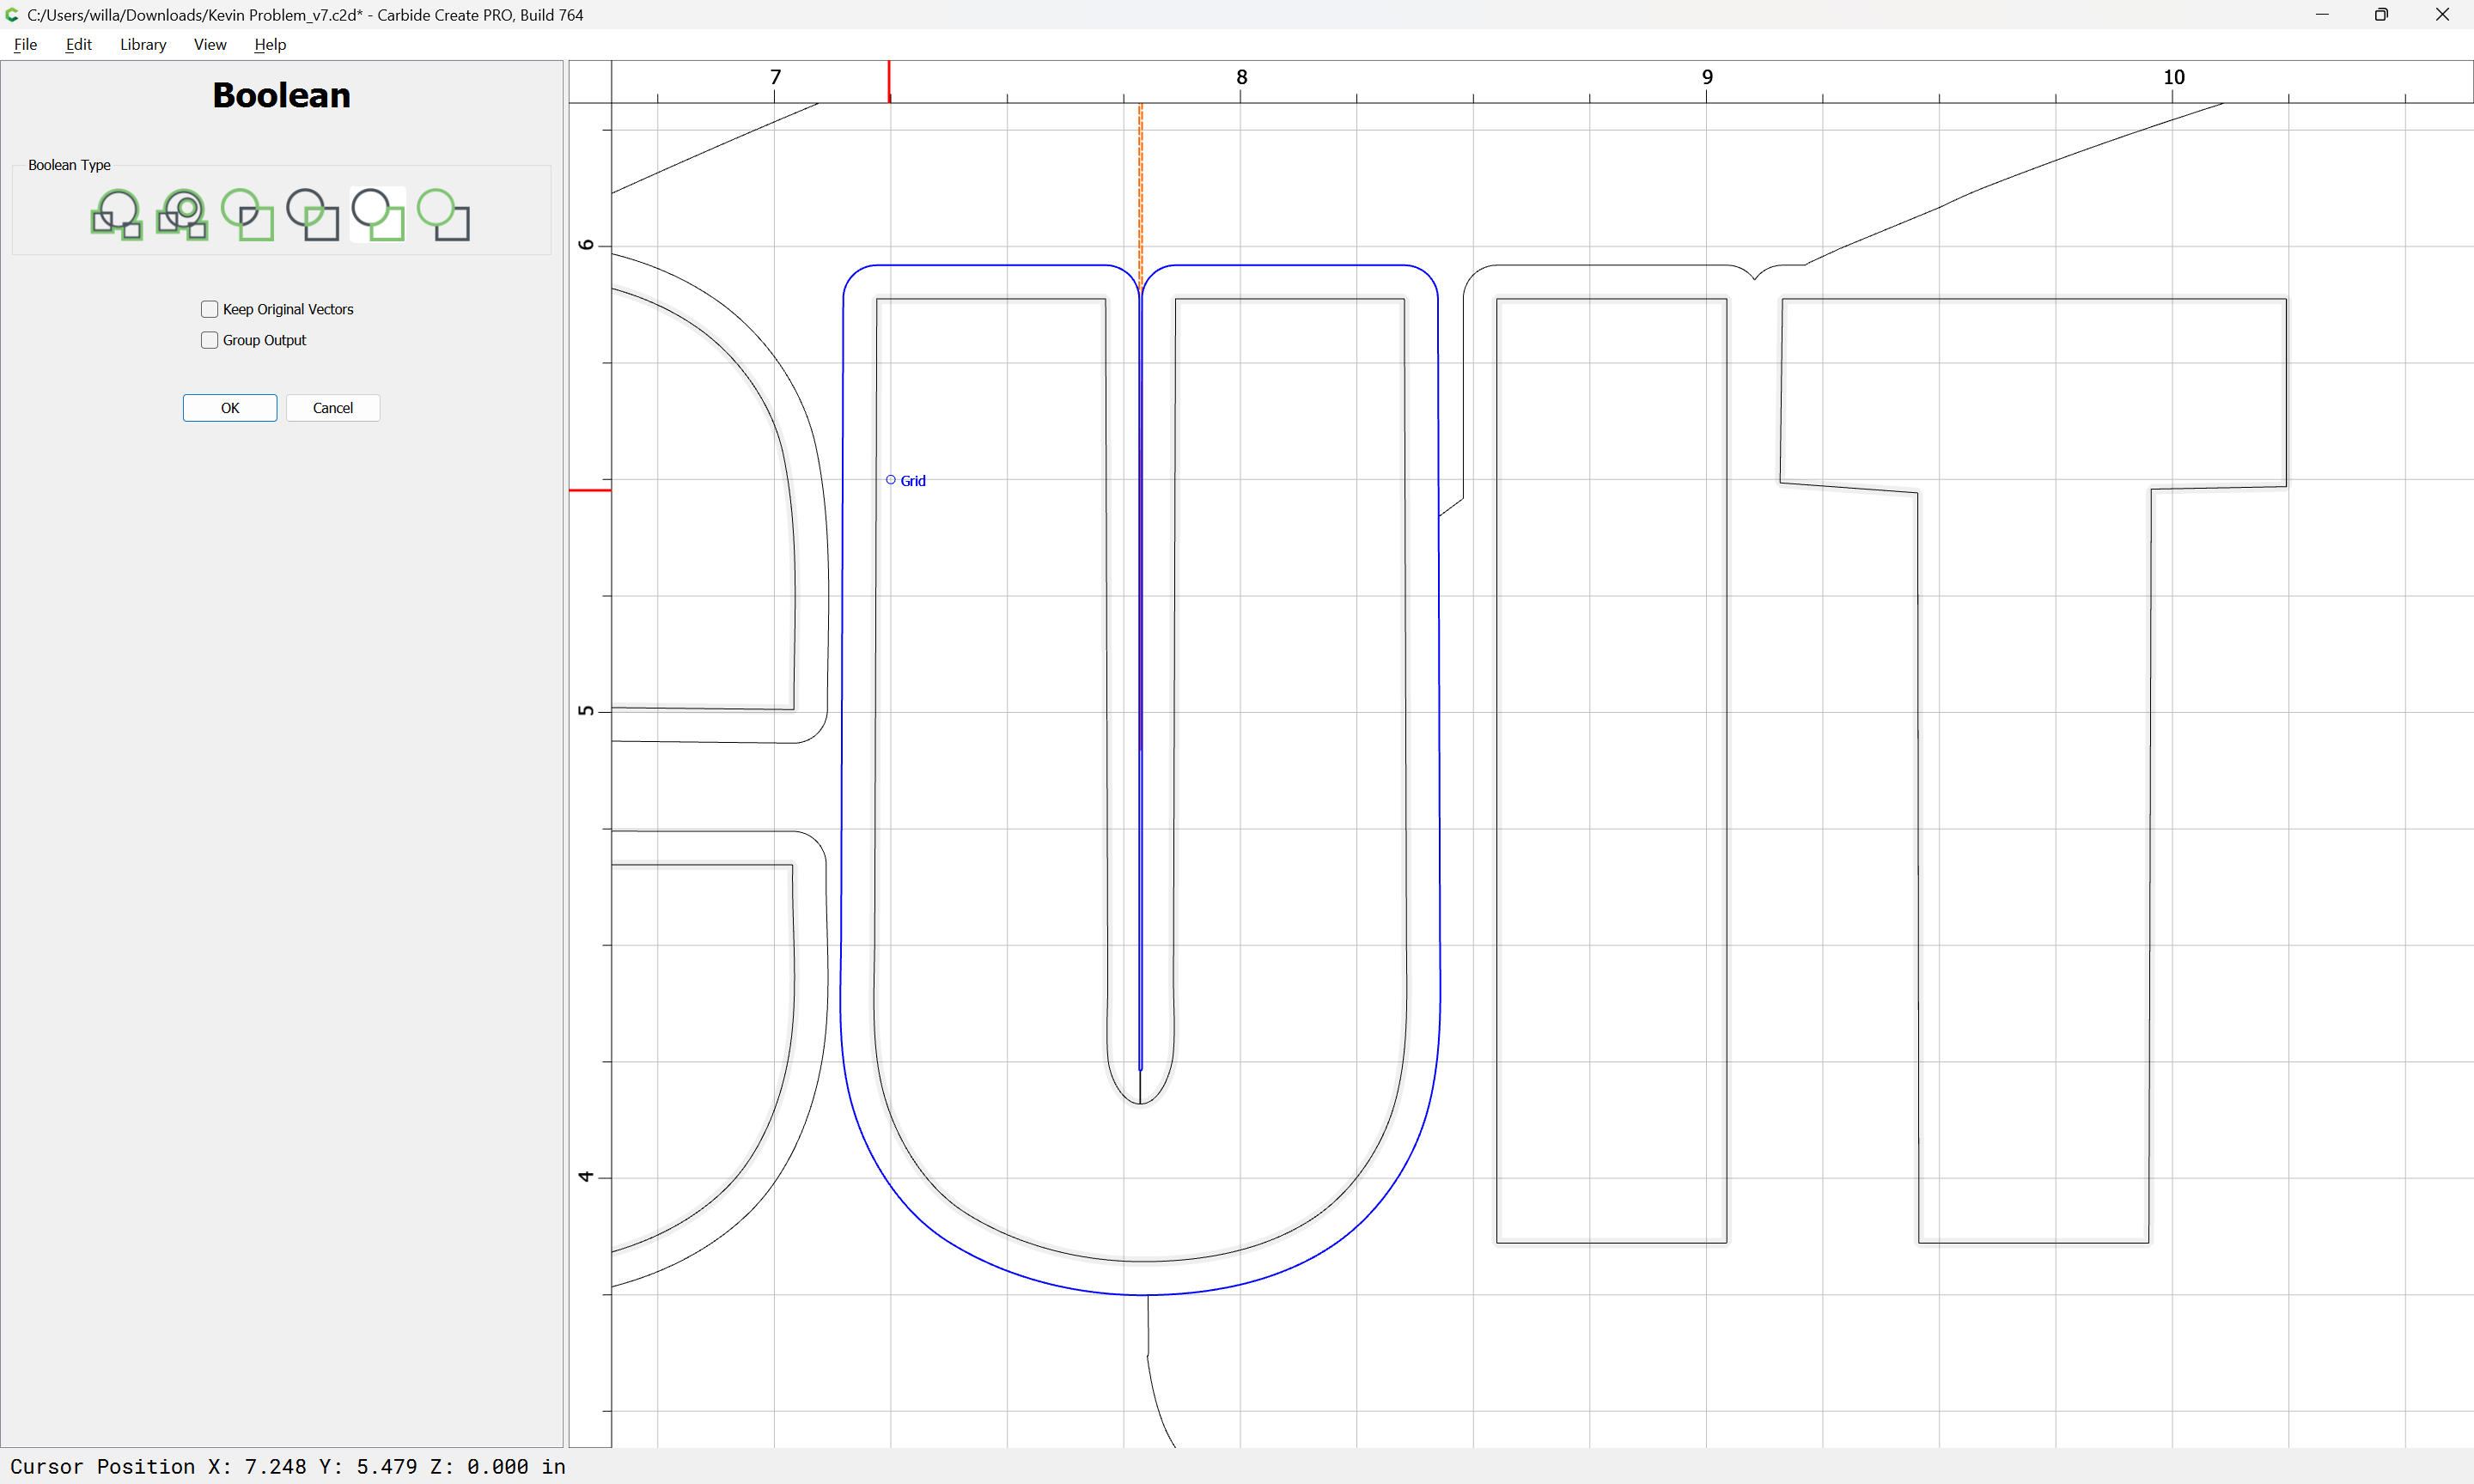
Next, we determine how much each layer will need to be inset by. Select the tool and a layer when both are aligned:
and do Boolean Intersection:
to arrive at 0.072" (the intersection of the radius of the tool and one layer thickness)
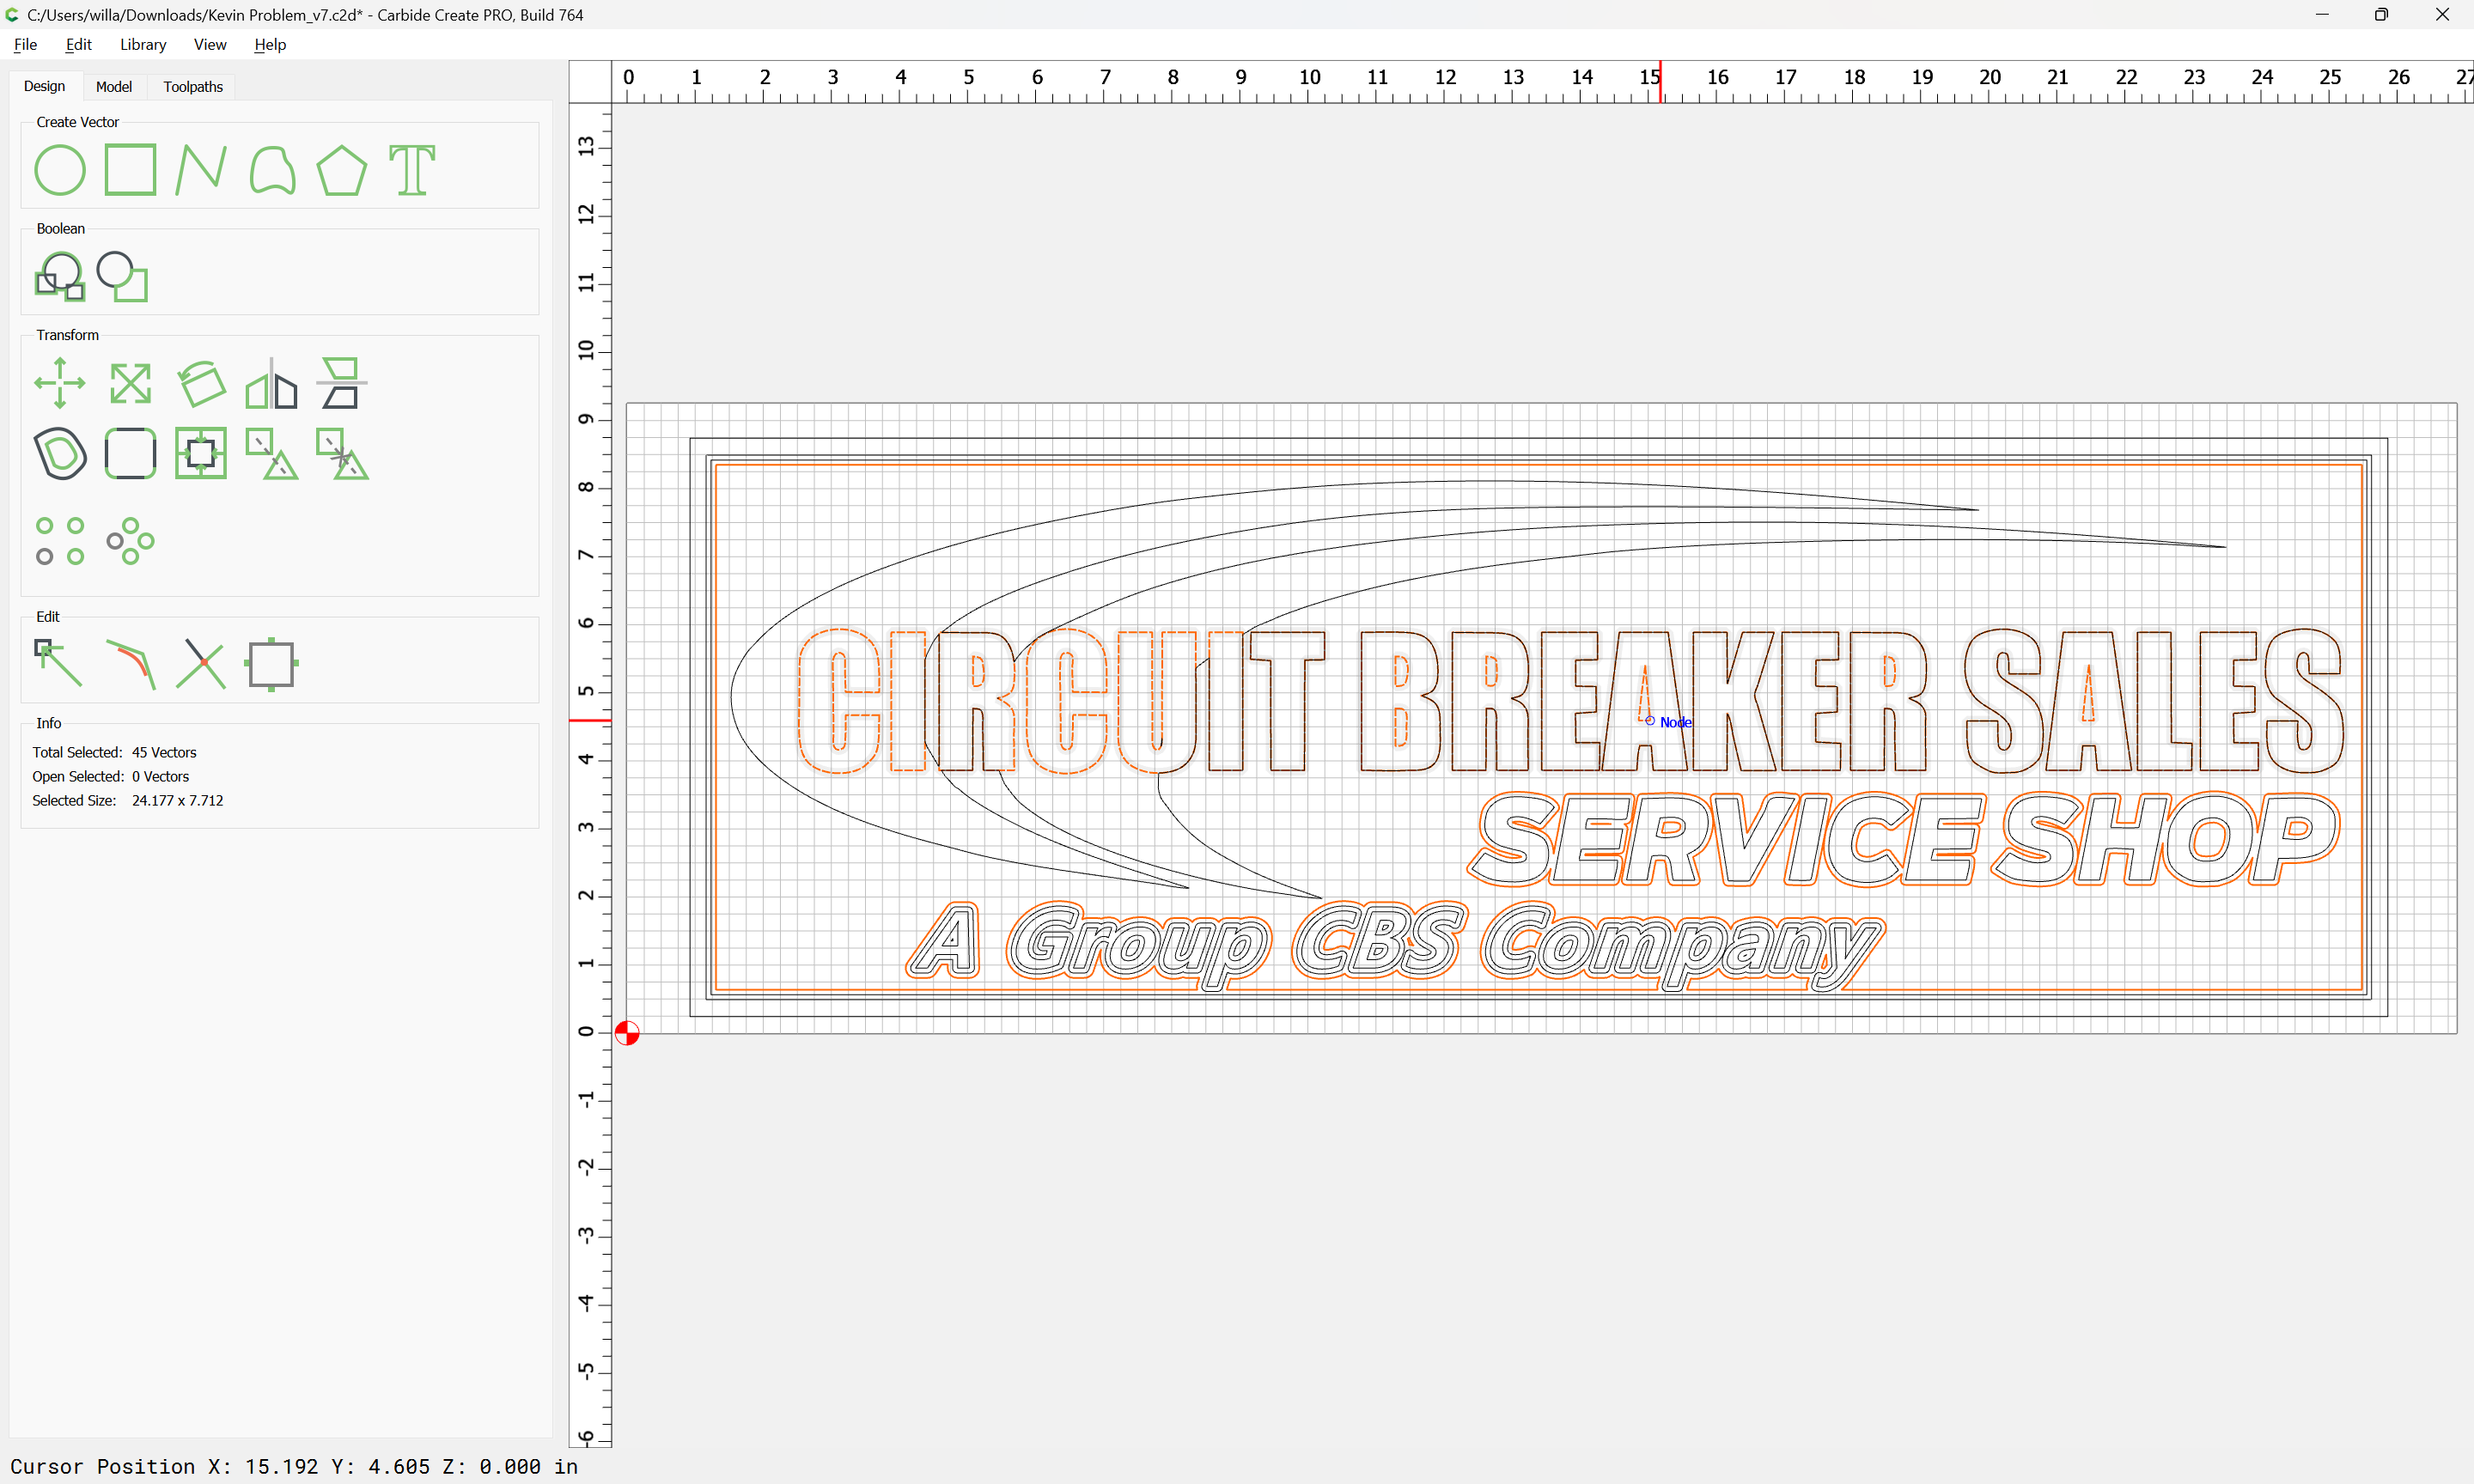
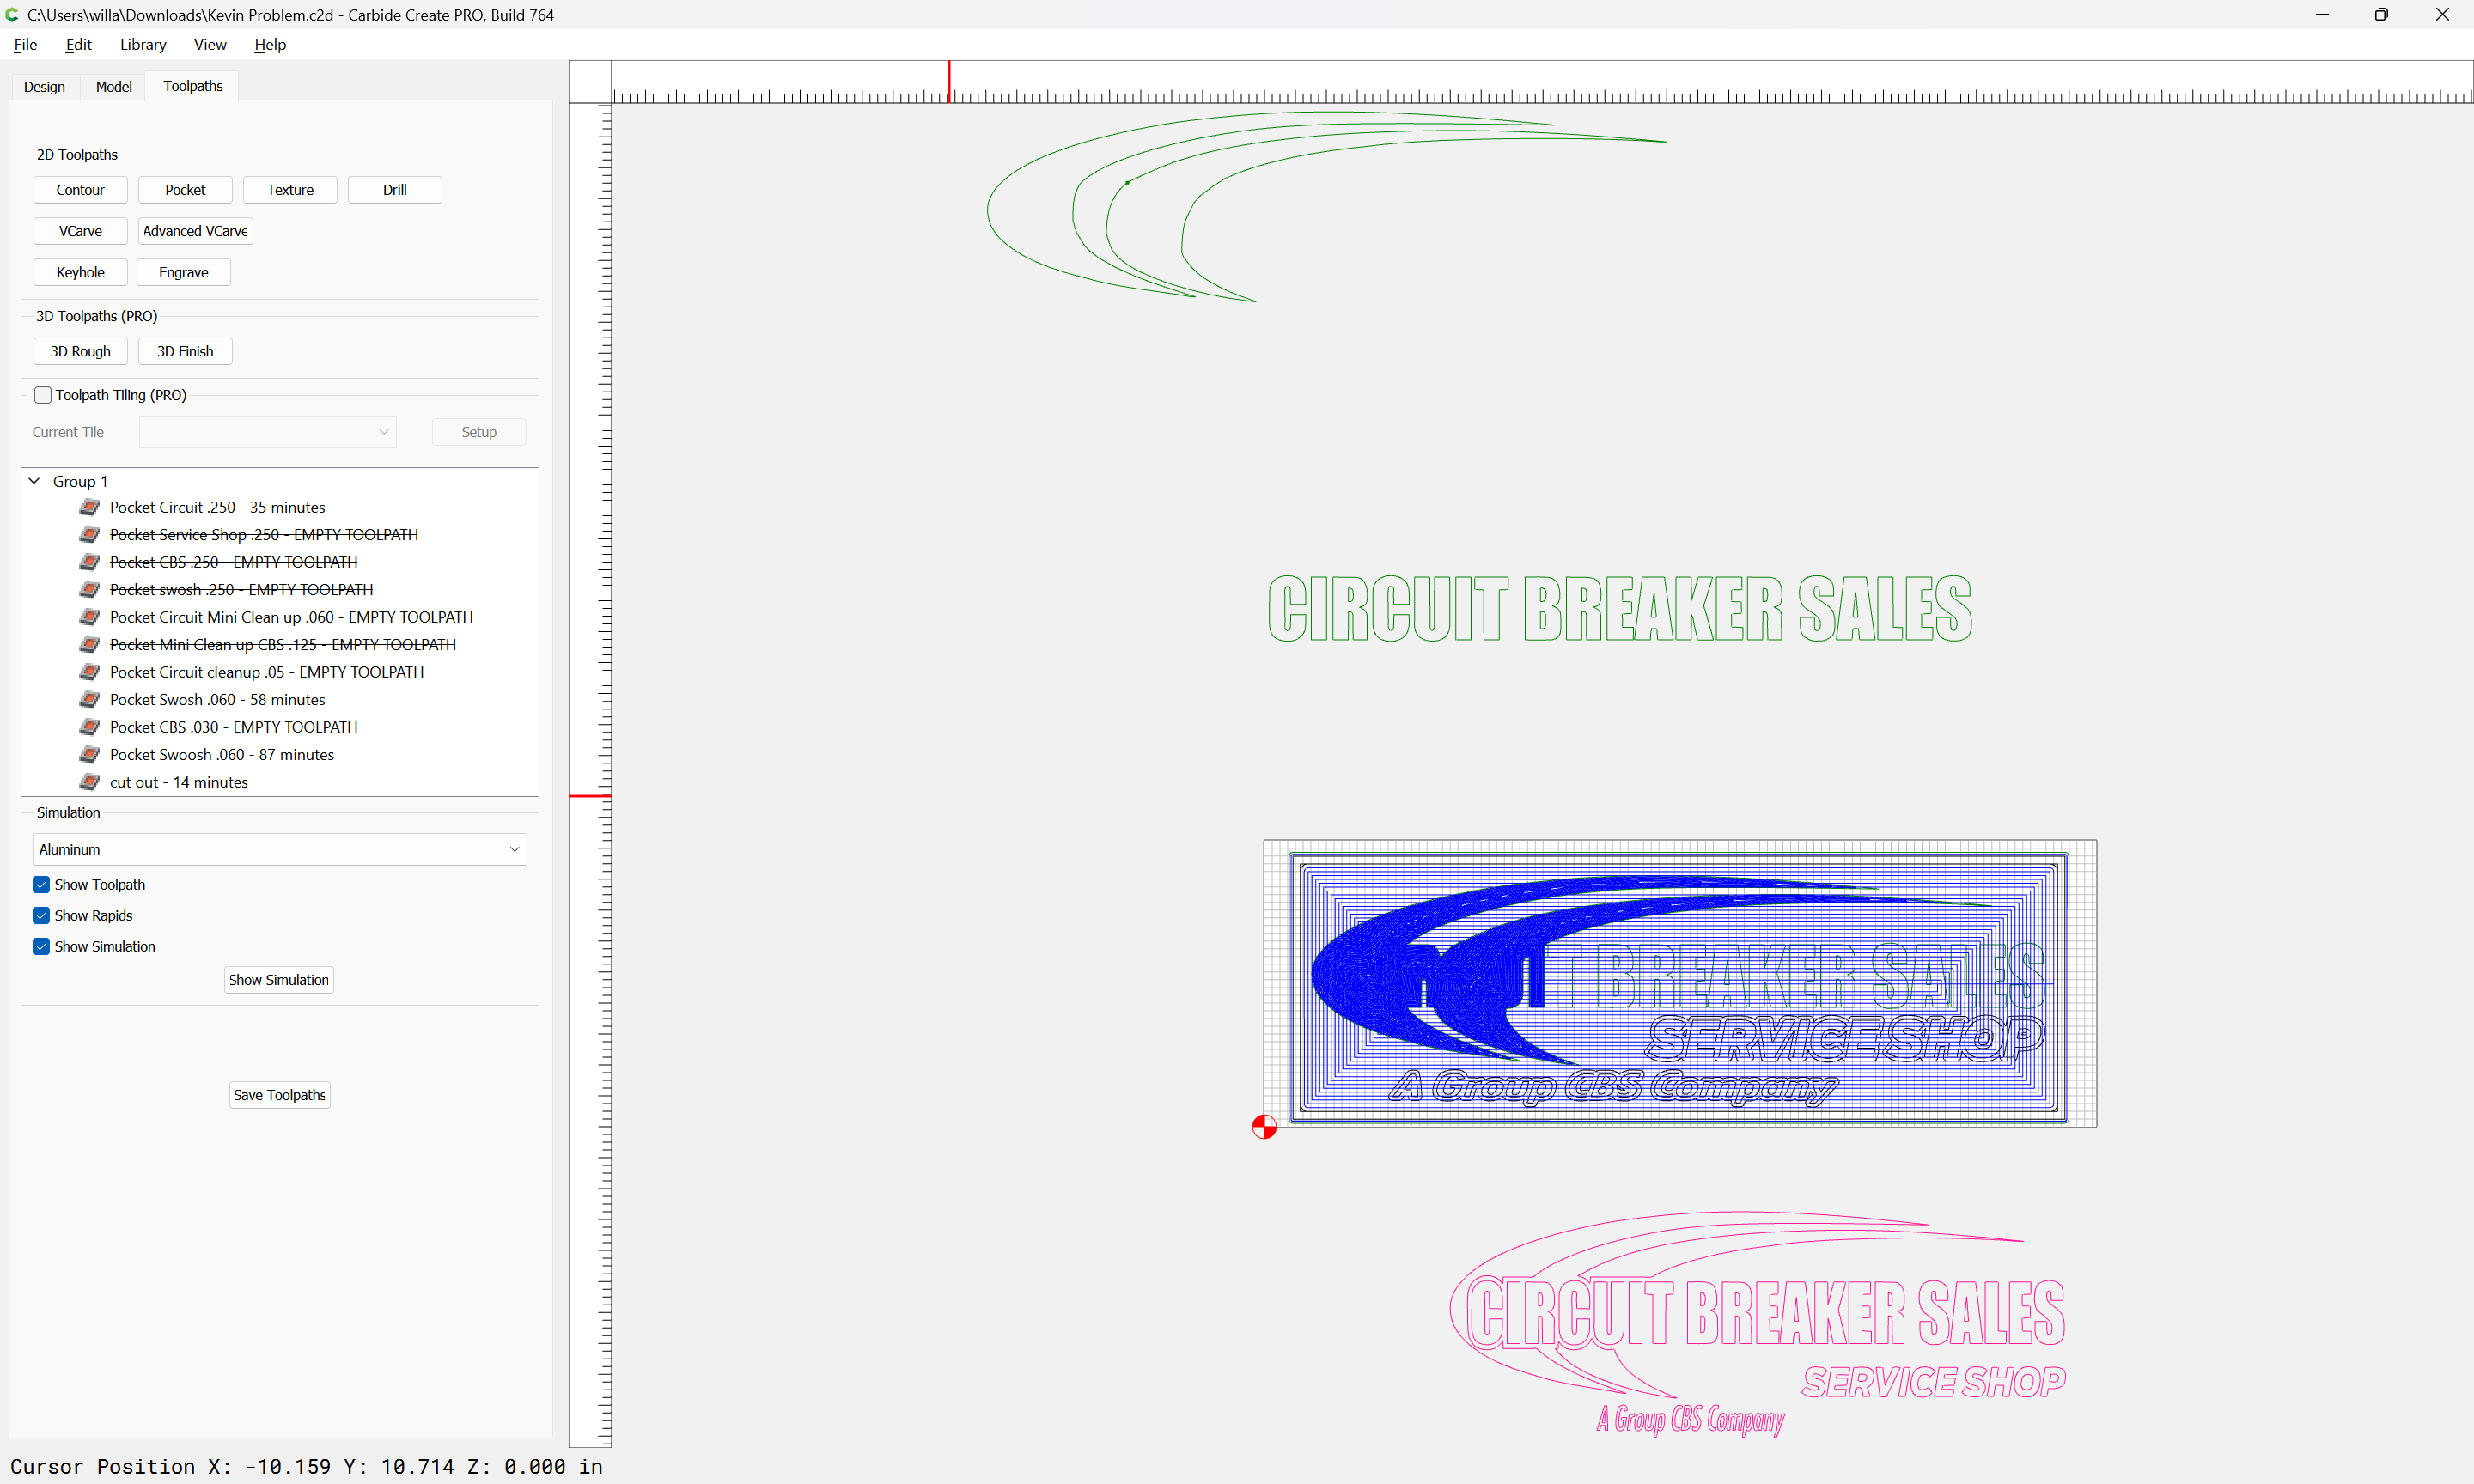
Next, each layer has to be offset.
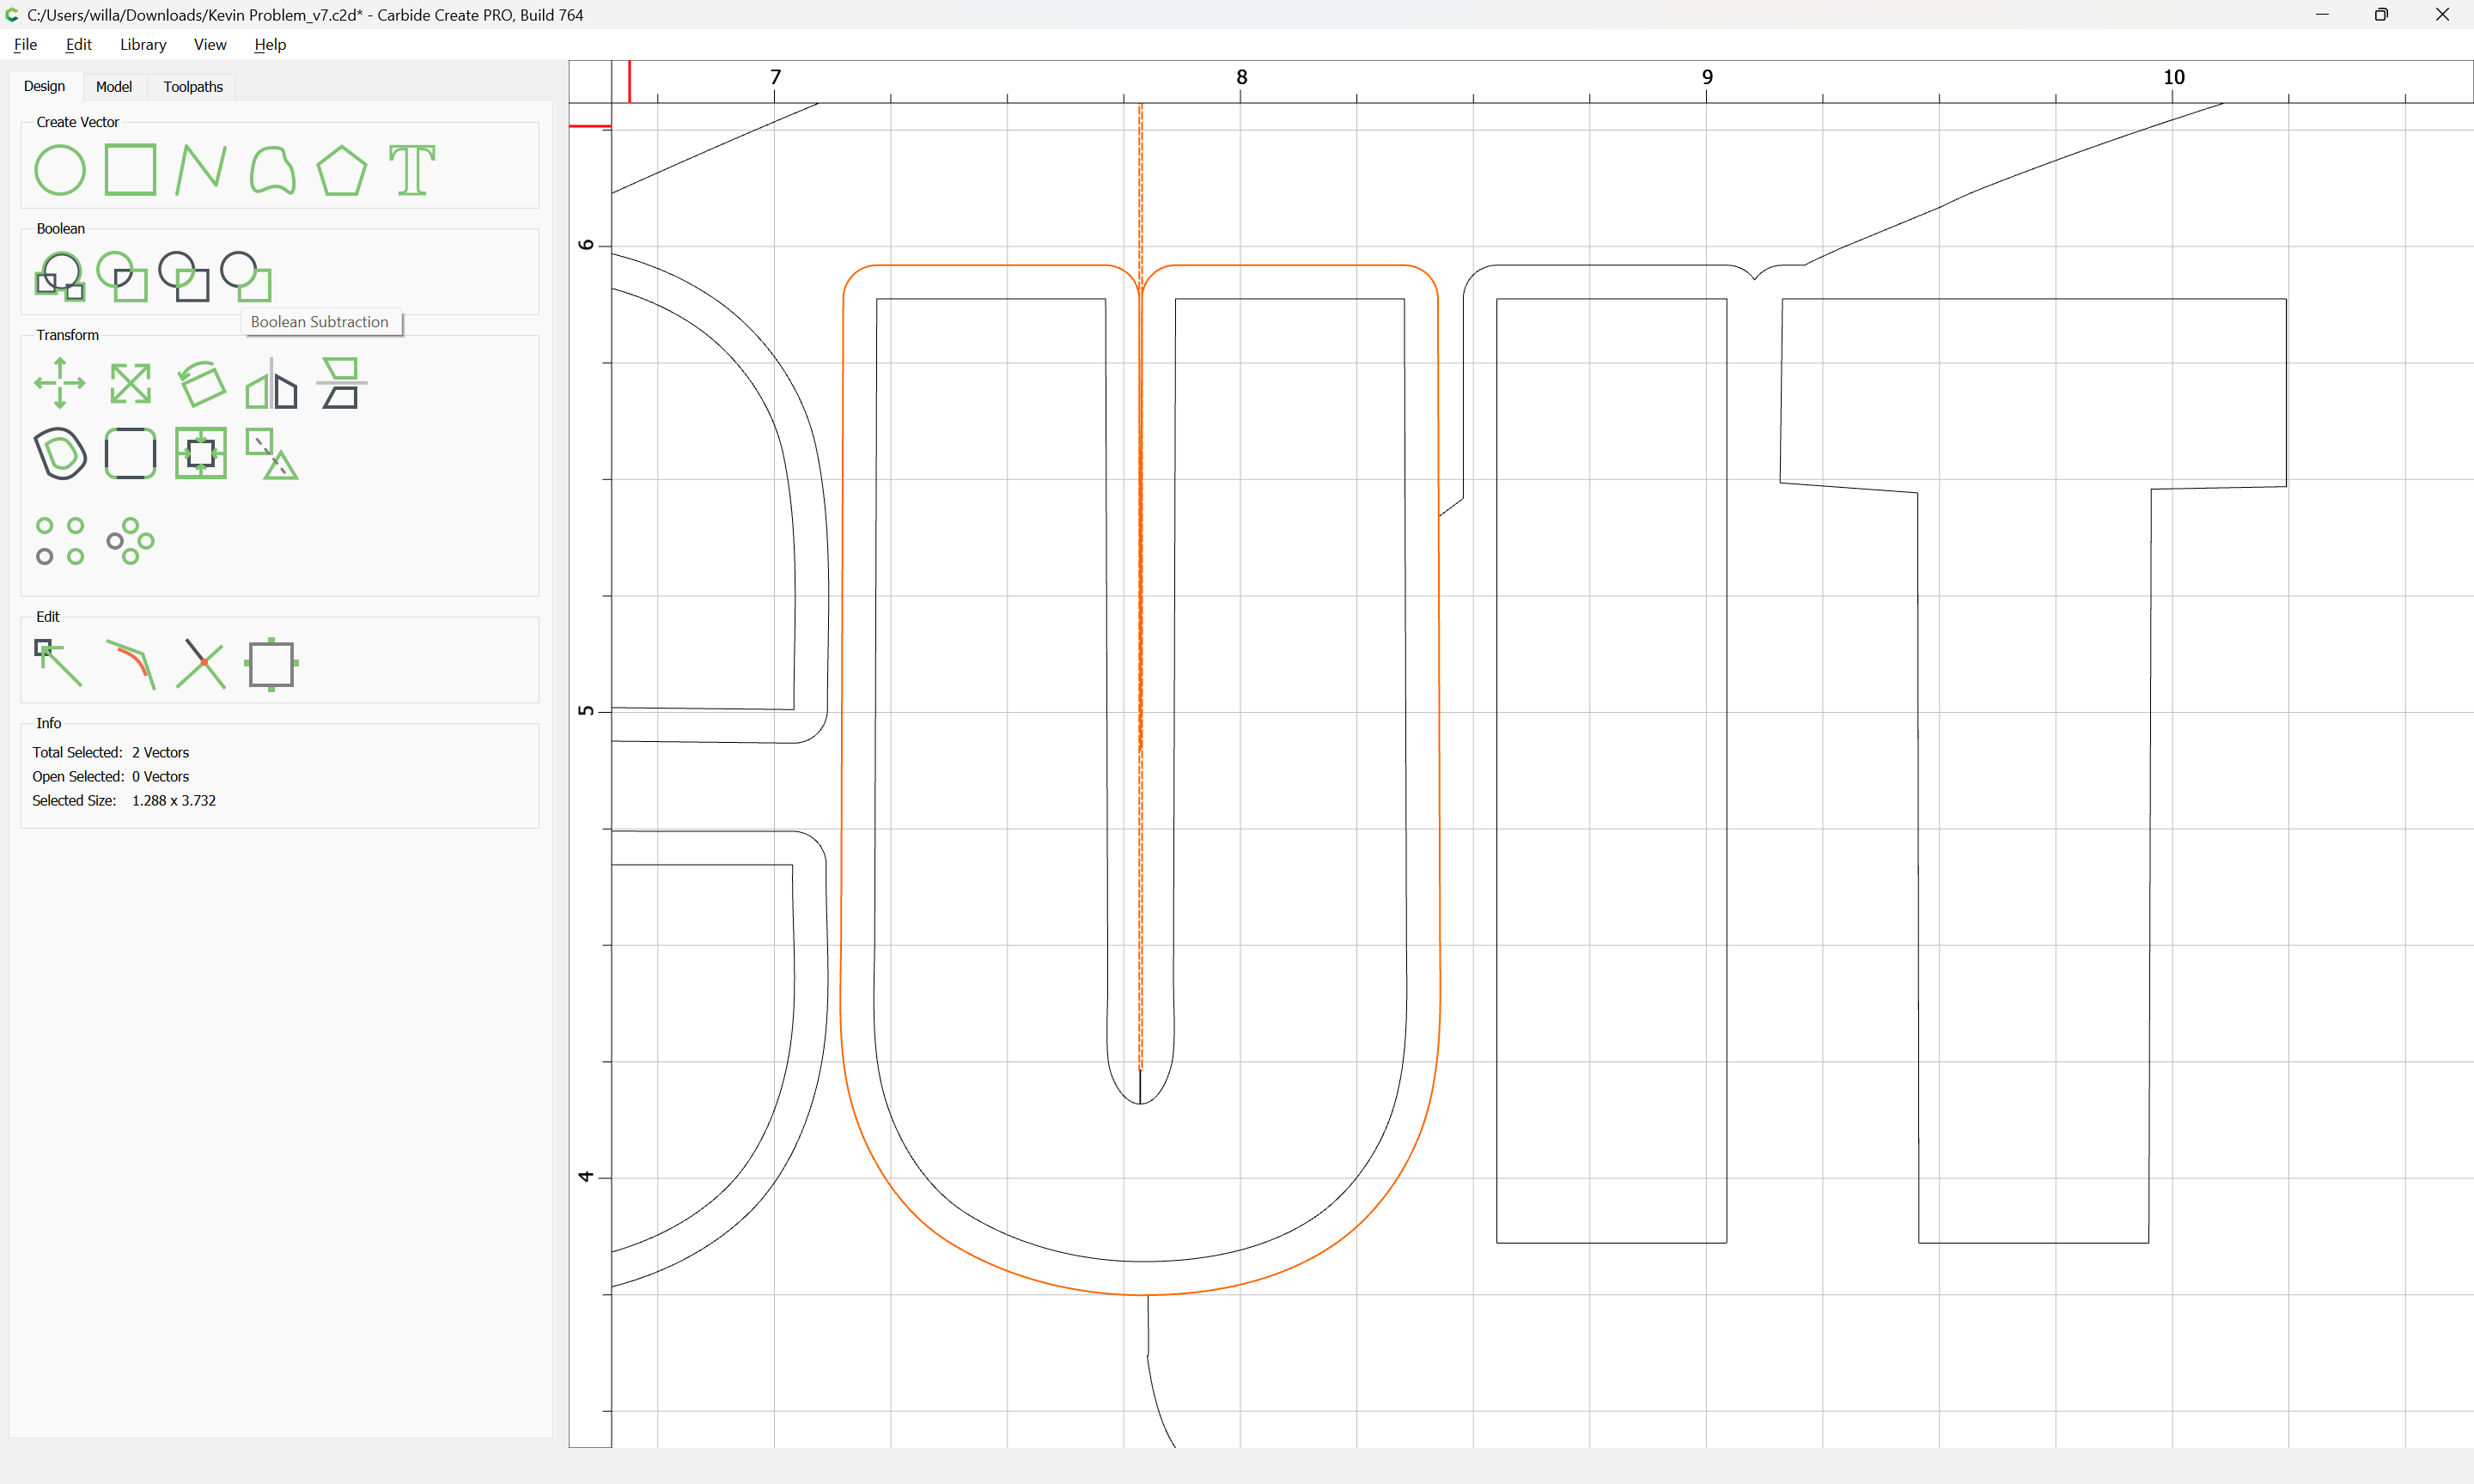
Select each layer:
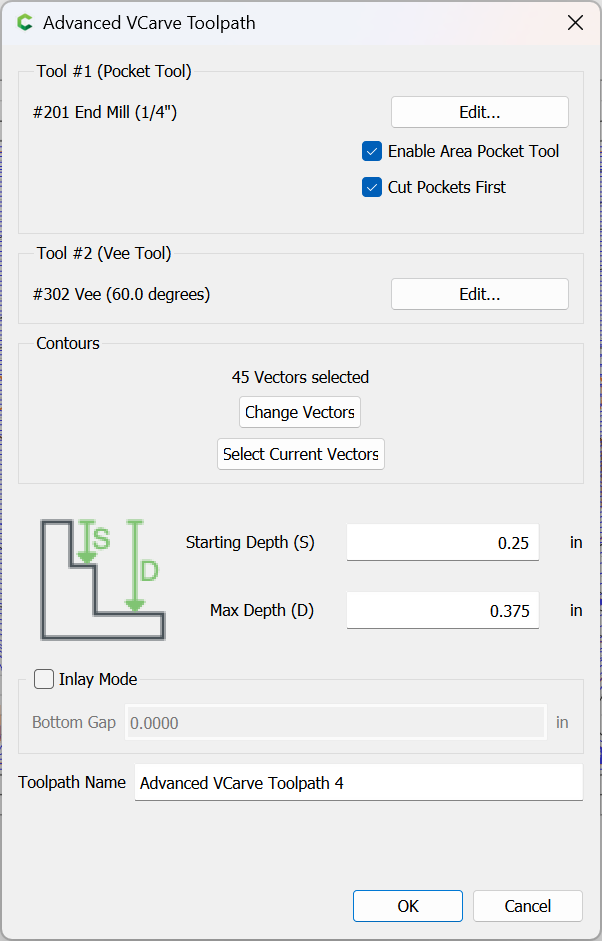
Assign the toolpath:
and verify the preview:
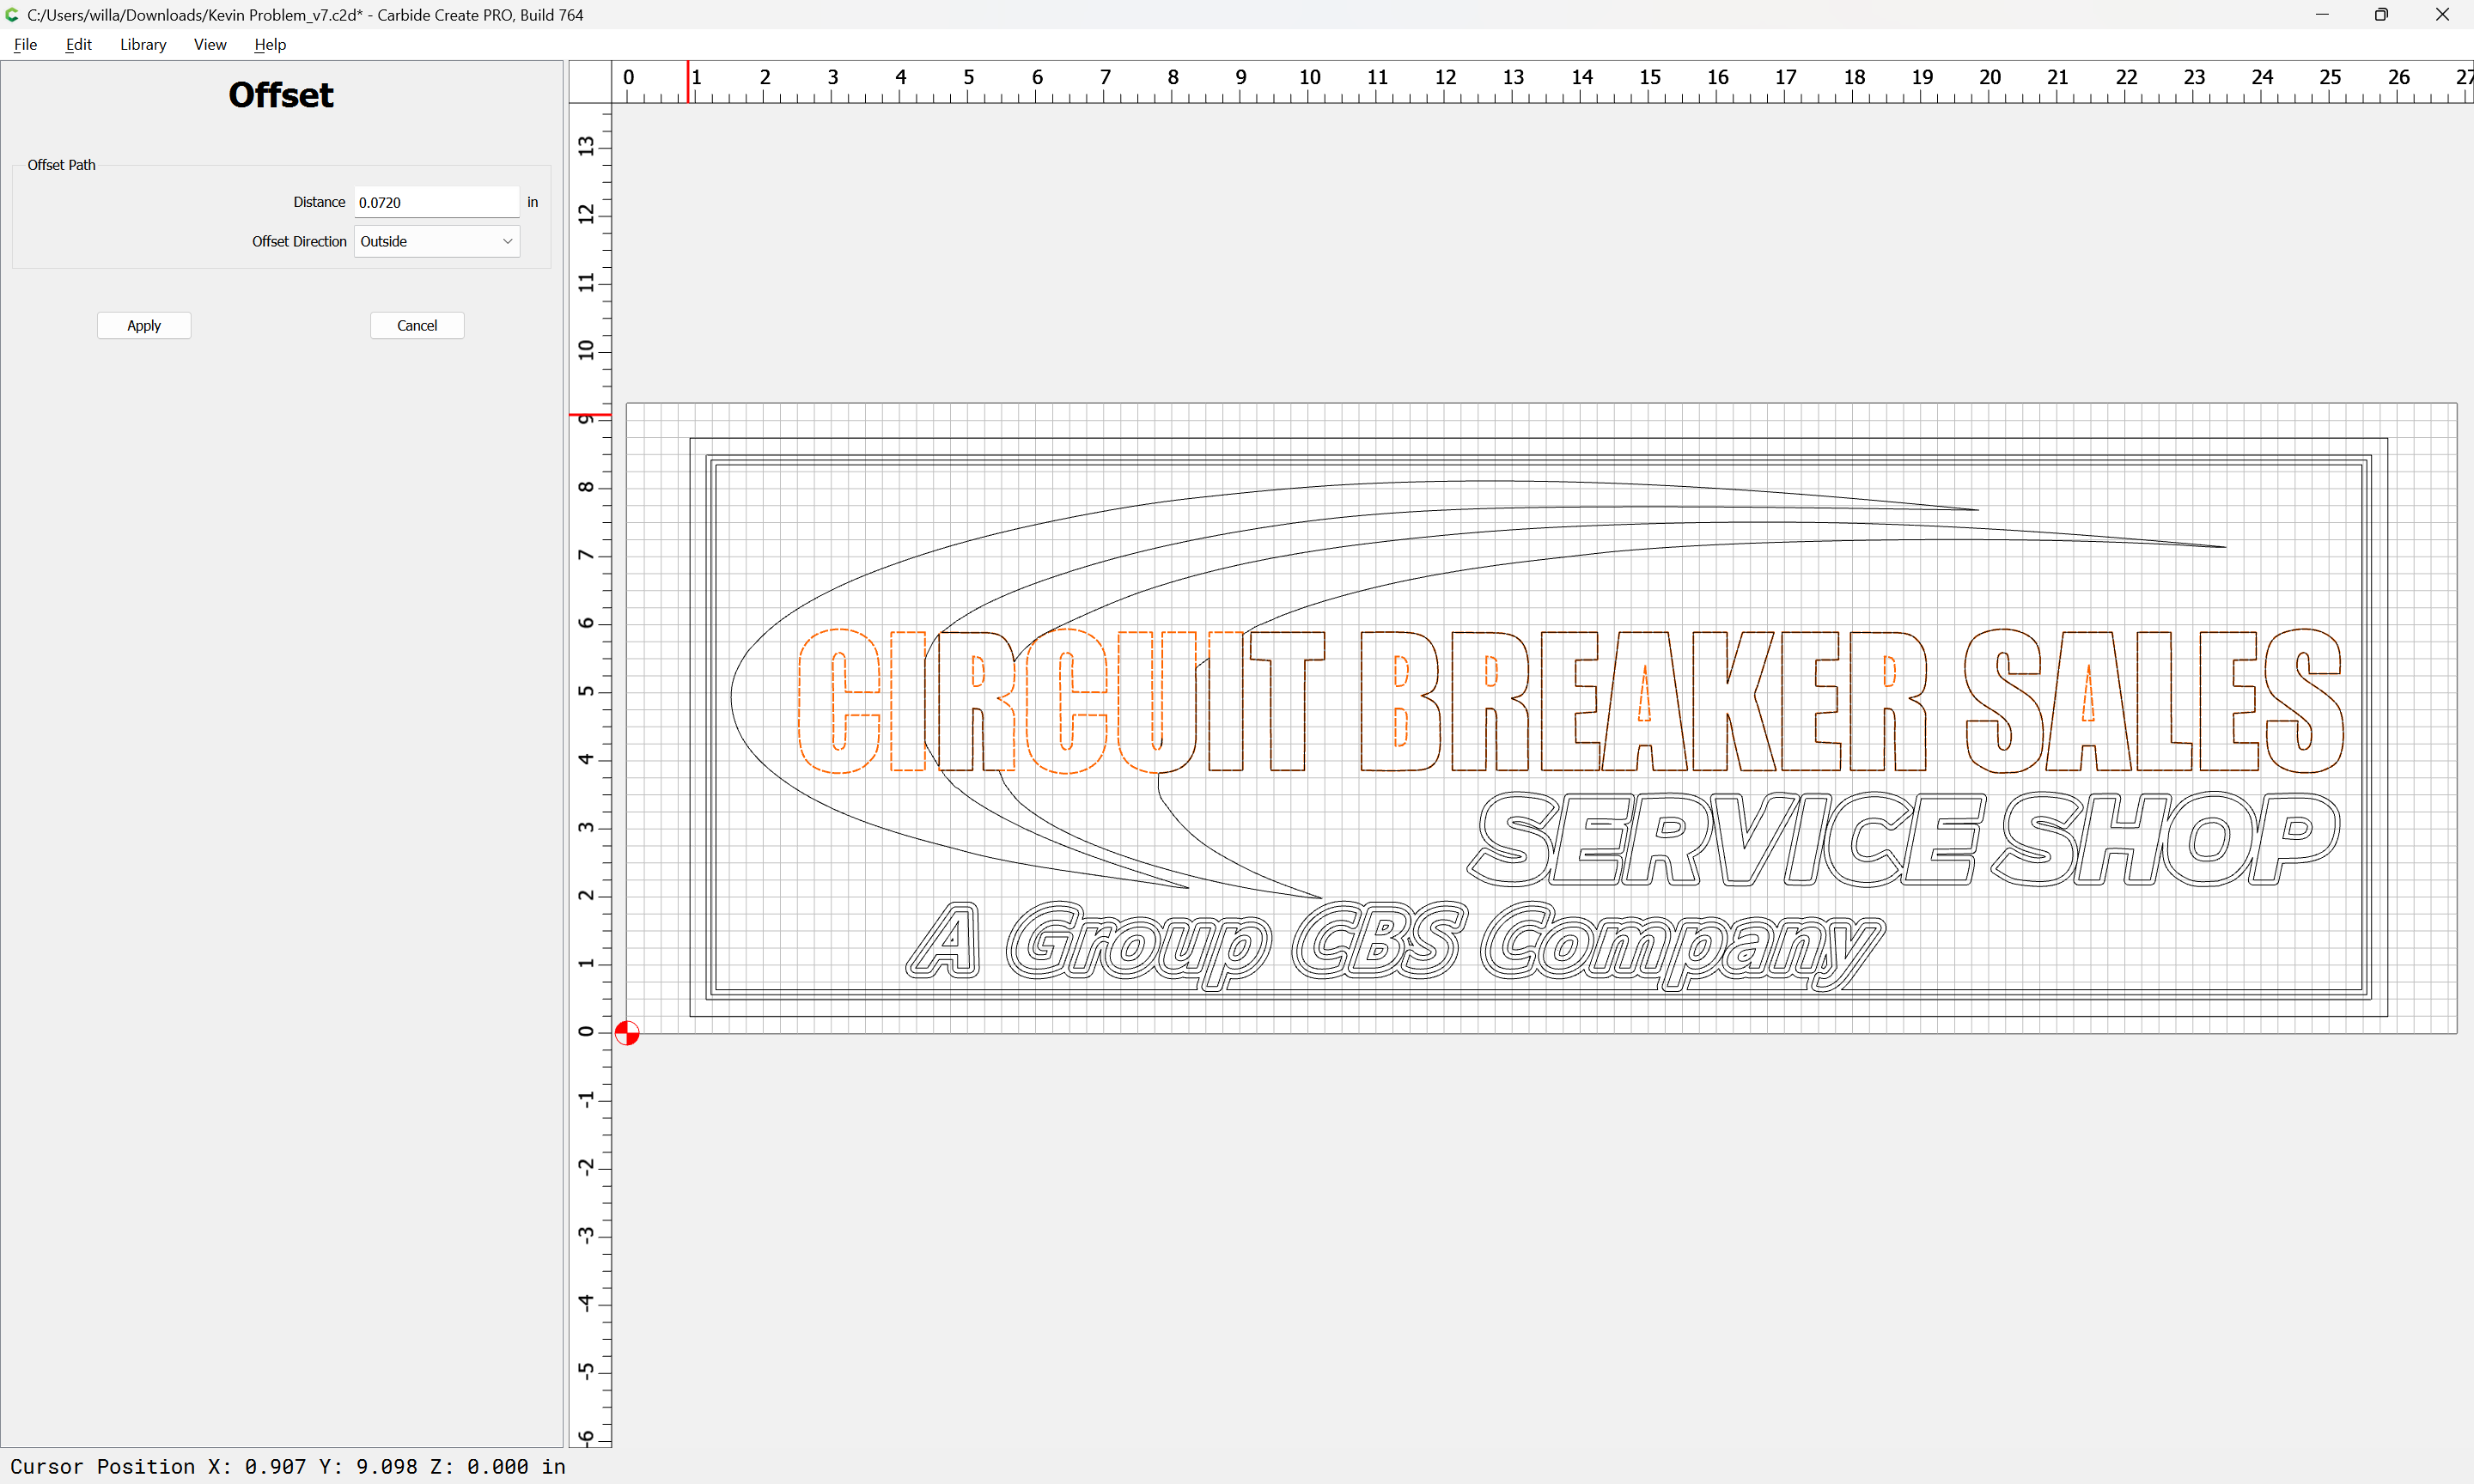
Then Boolean Offset by 0.072":
If need be, group the vectors.
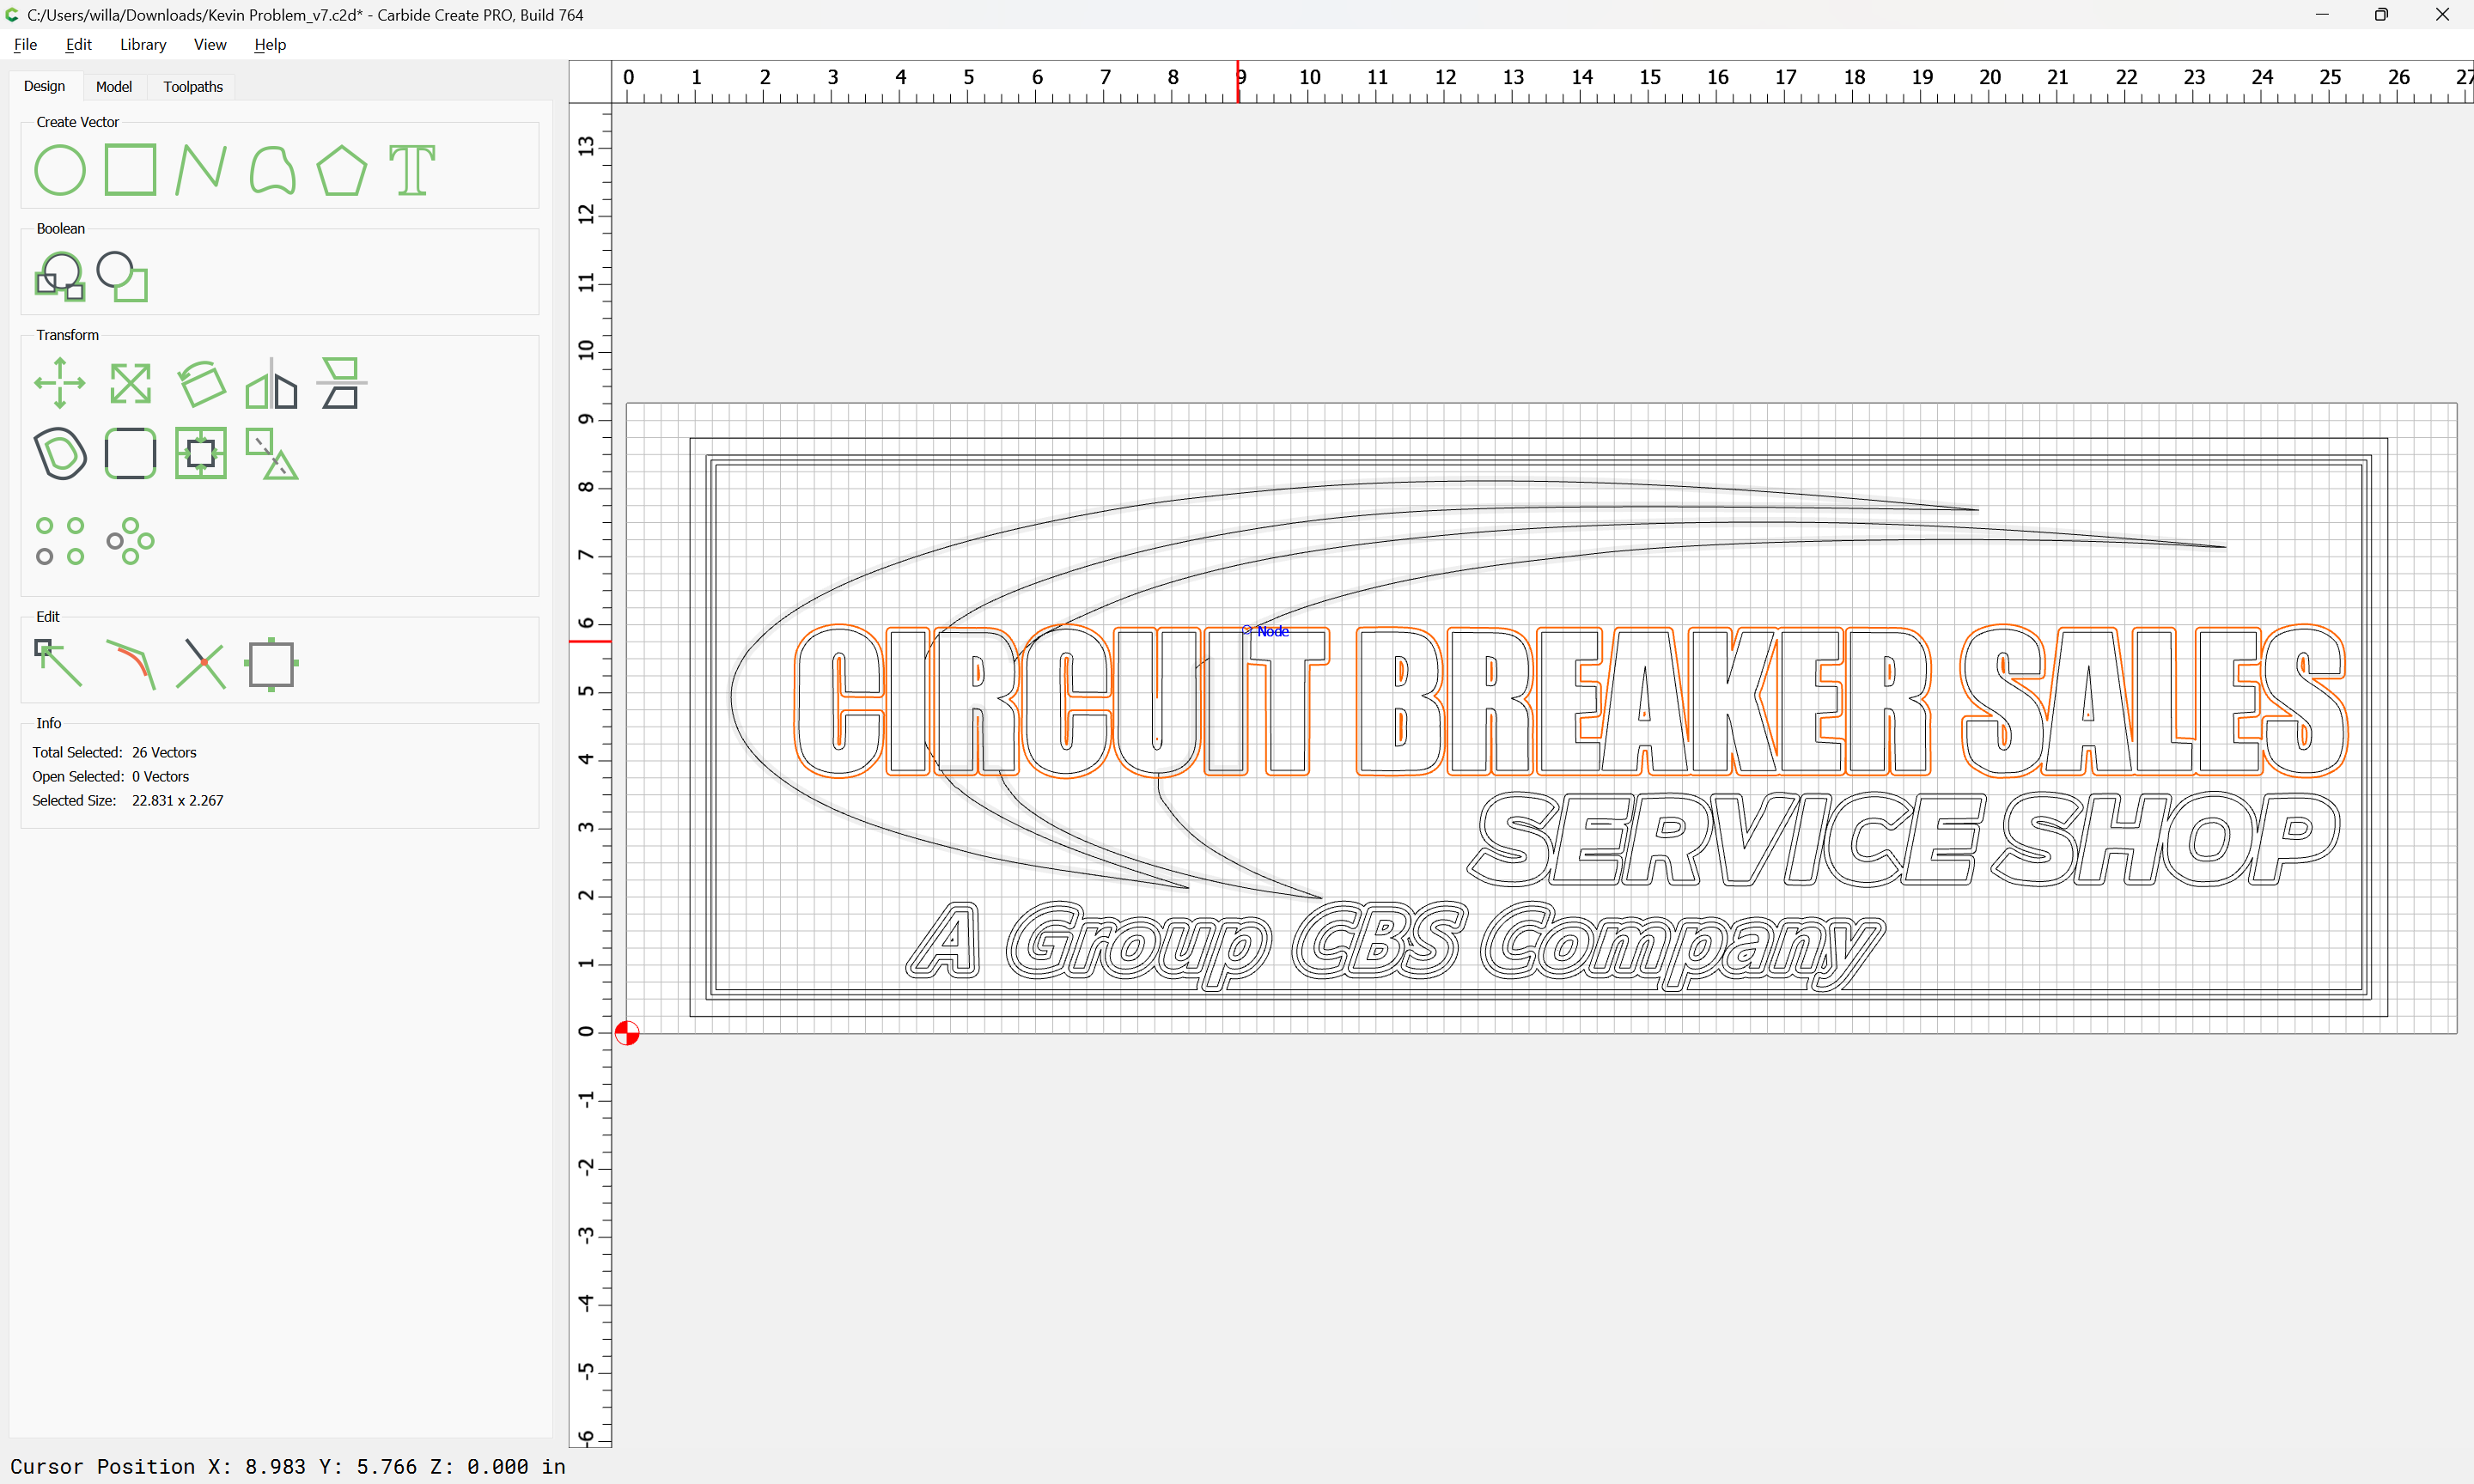
Add the next layer to the selection:
and add a new Advanced V carving toolpath which starts at the bottom of the previous one:
Offset again:
add the next item to the selection:
and assign another toolpath:
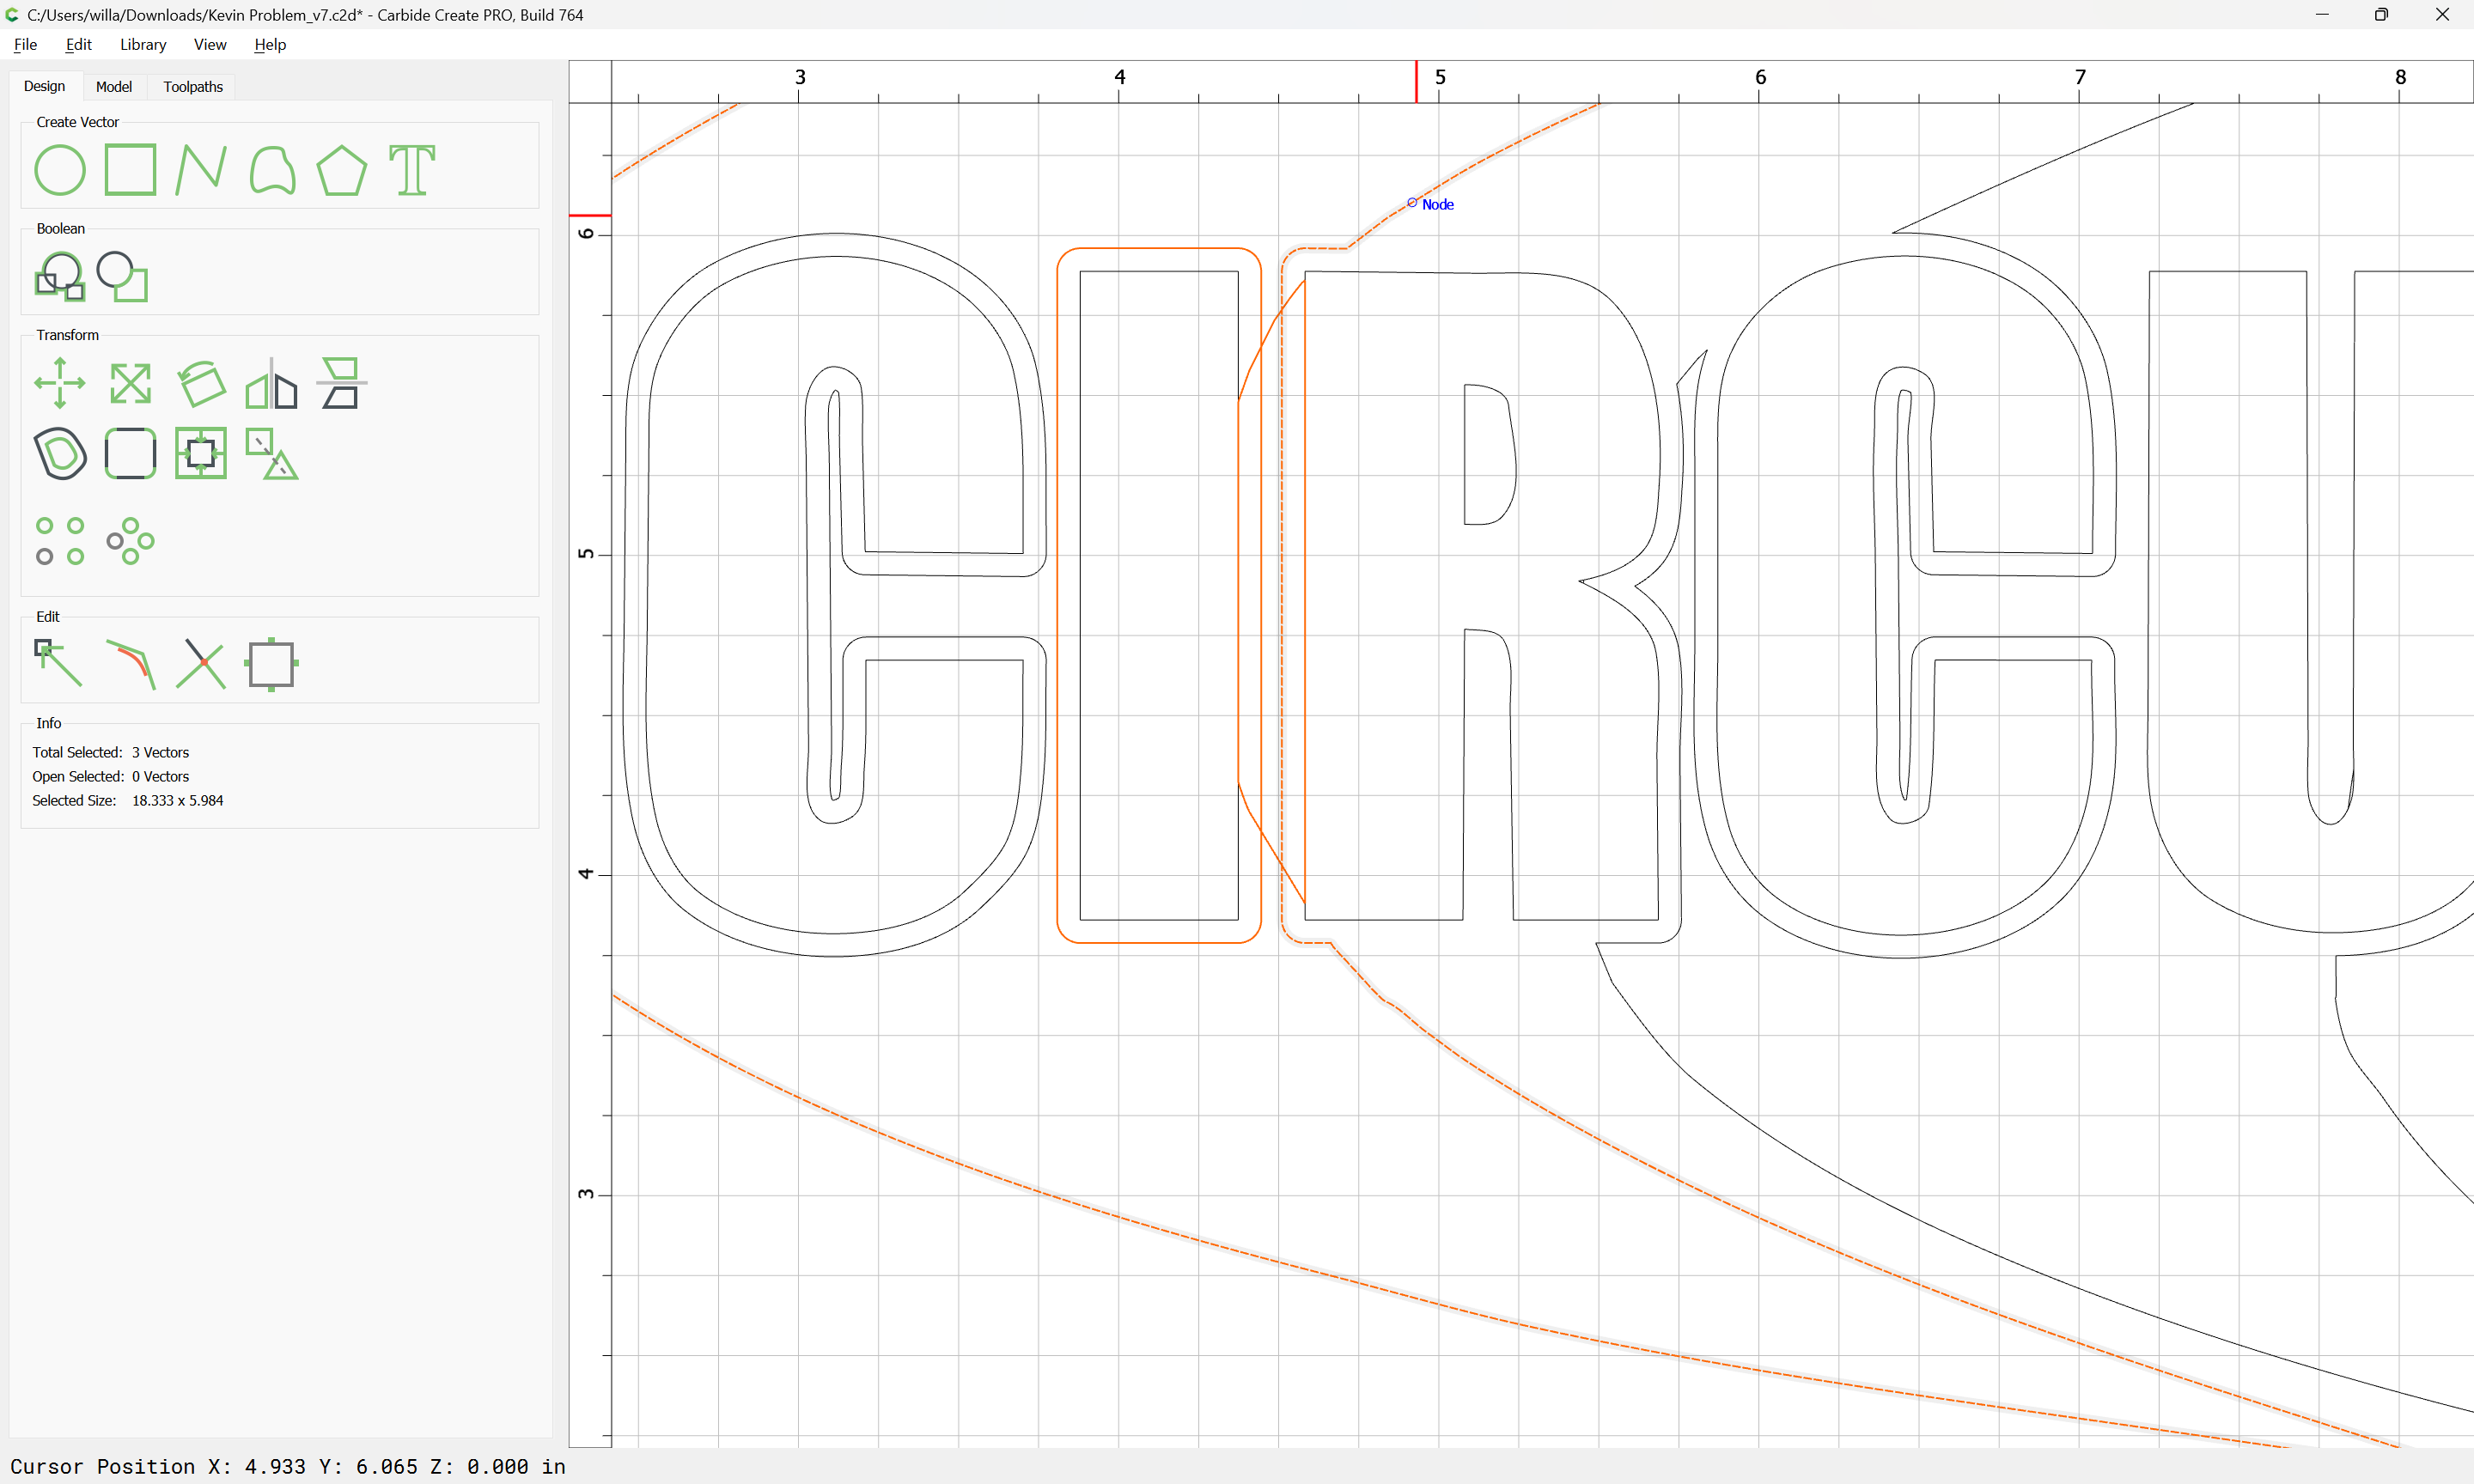
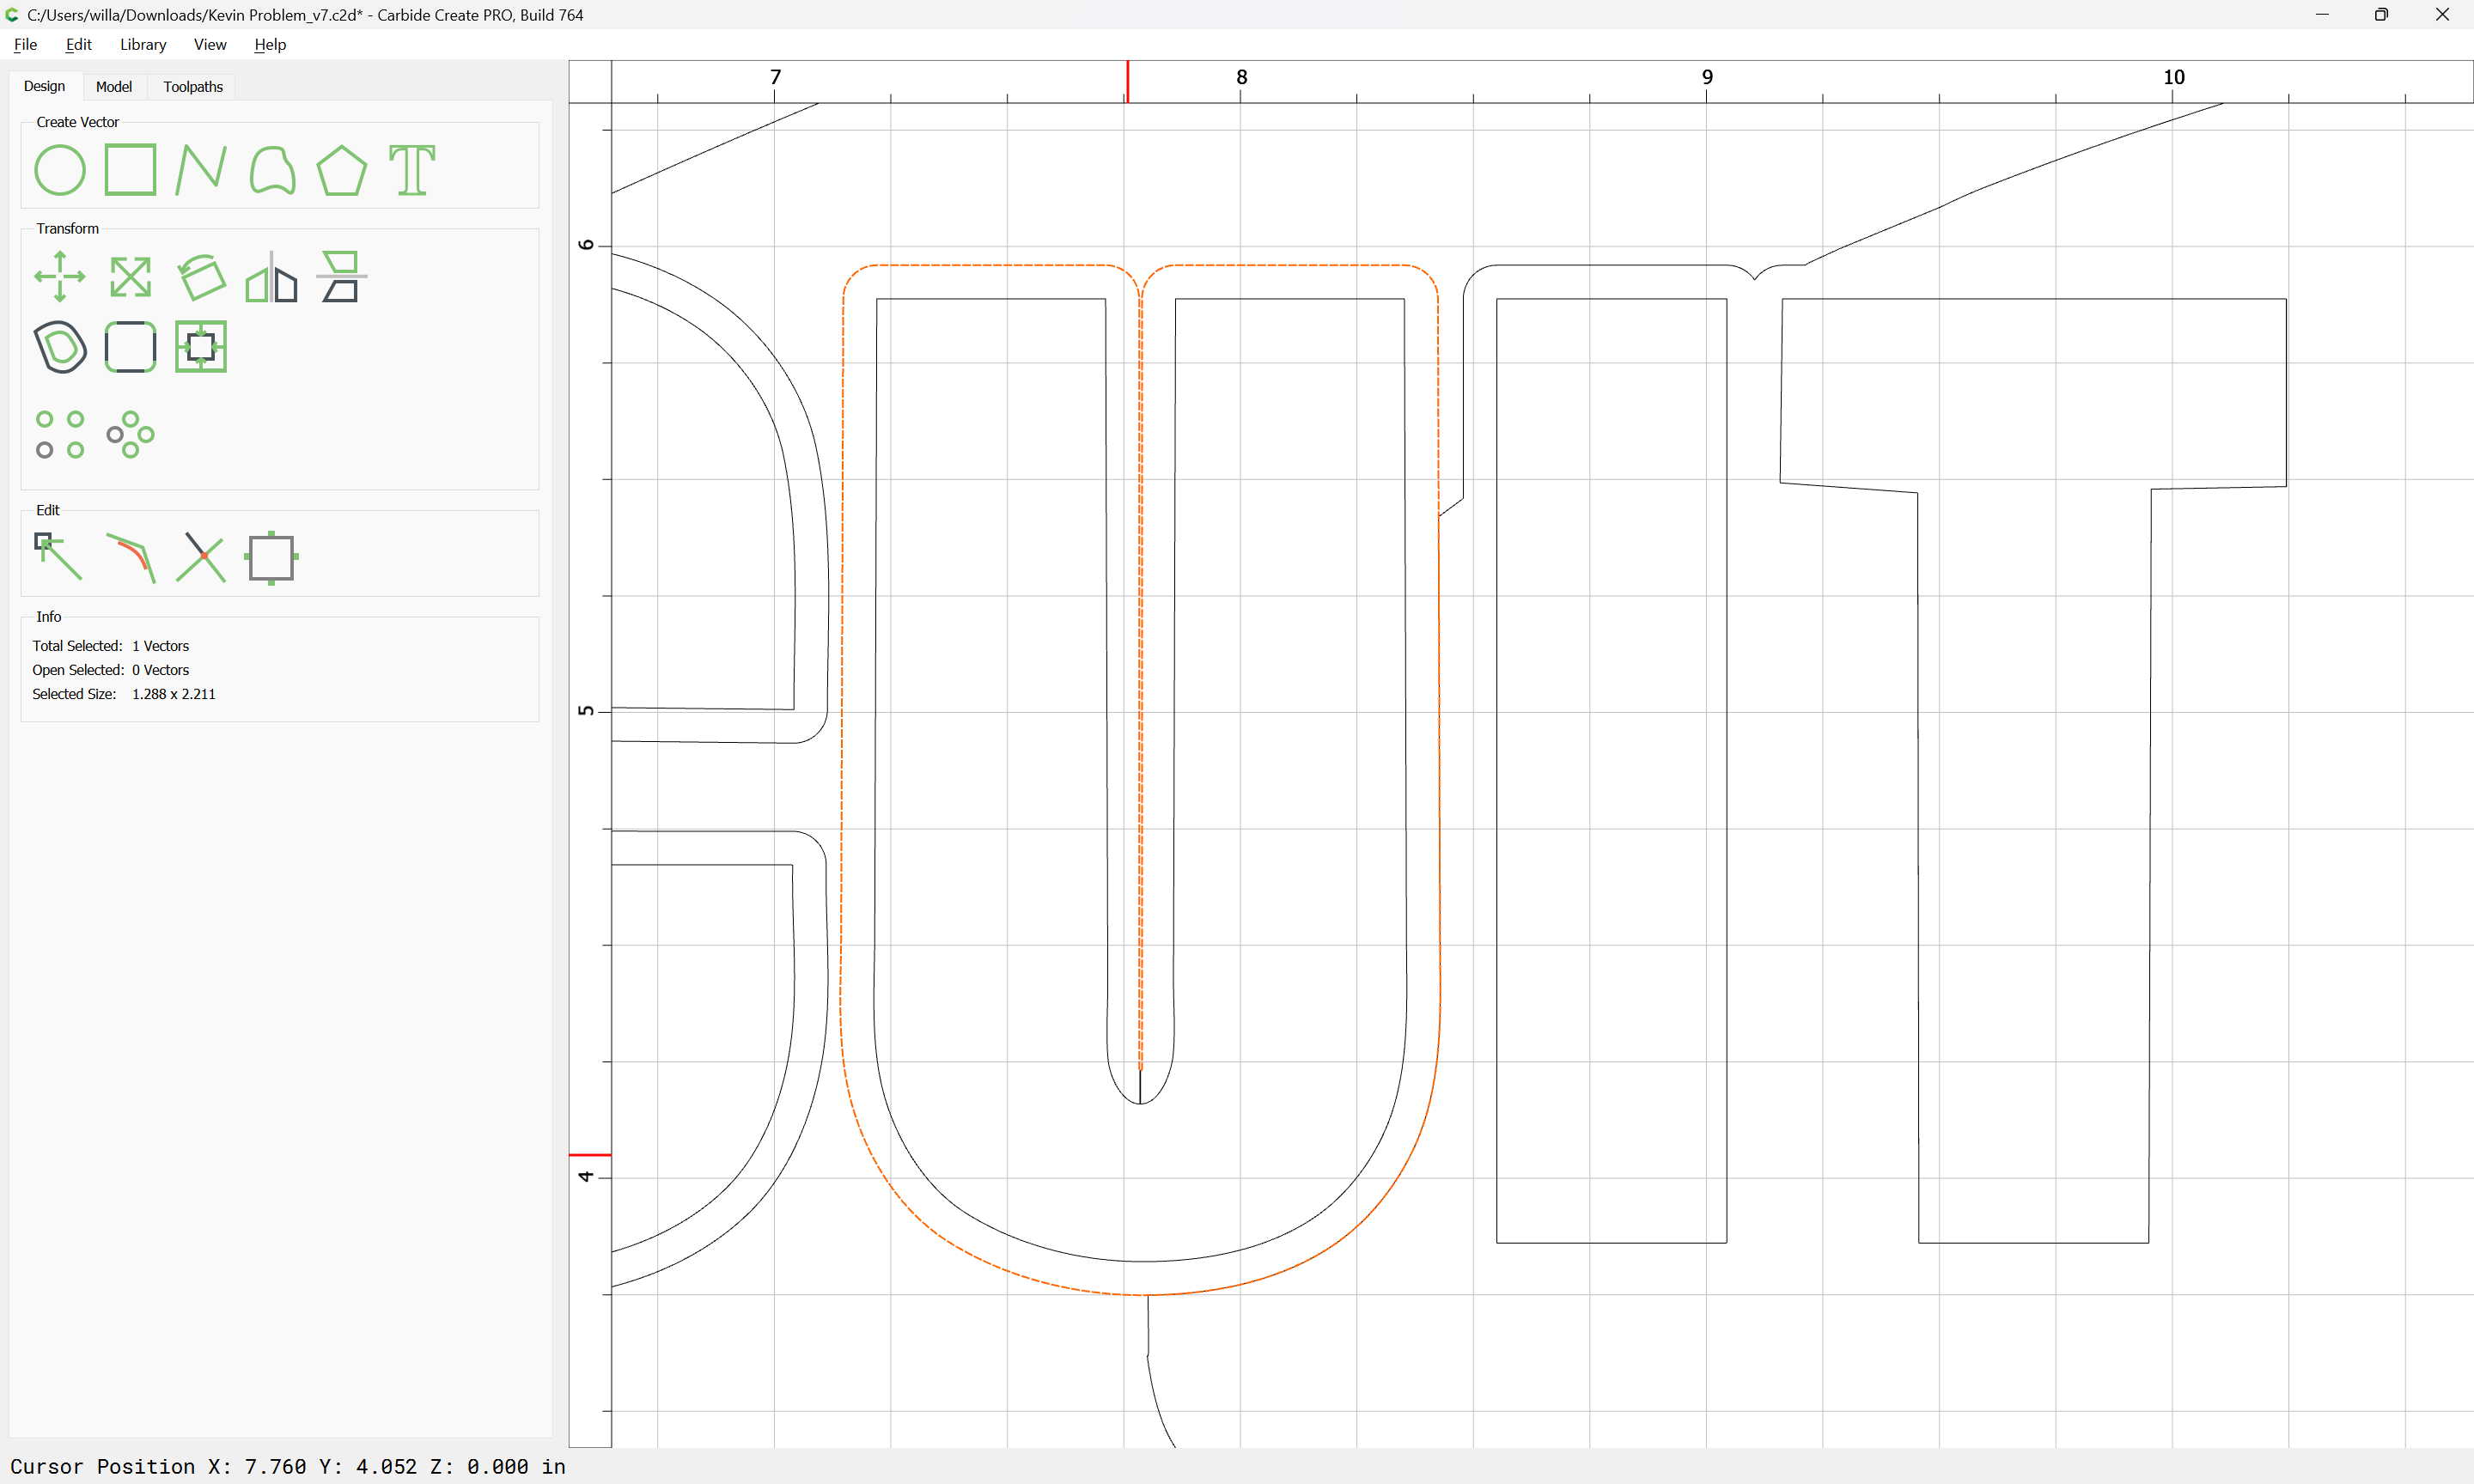
The final geometry/selection is a bit odd since we want to increase the depth of the Swoosh only.
Select the text only and offset it by the 0.072" distance, this time to the outside:
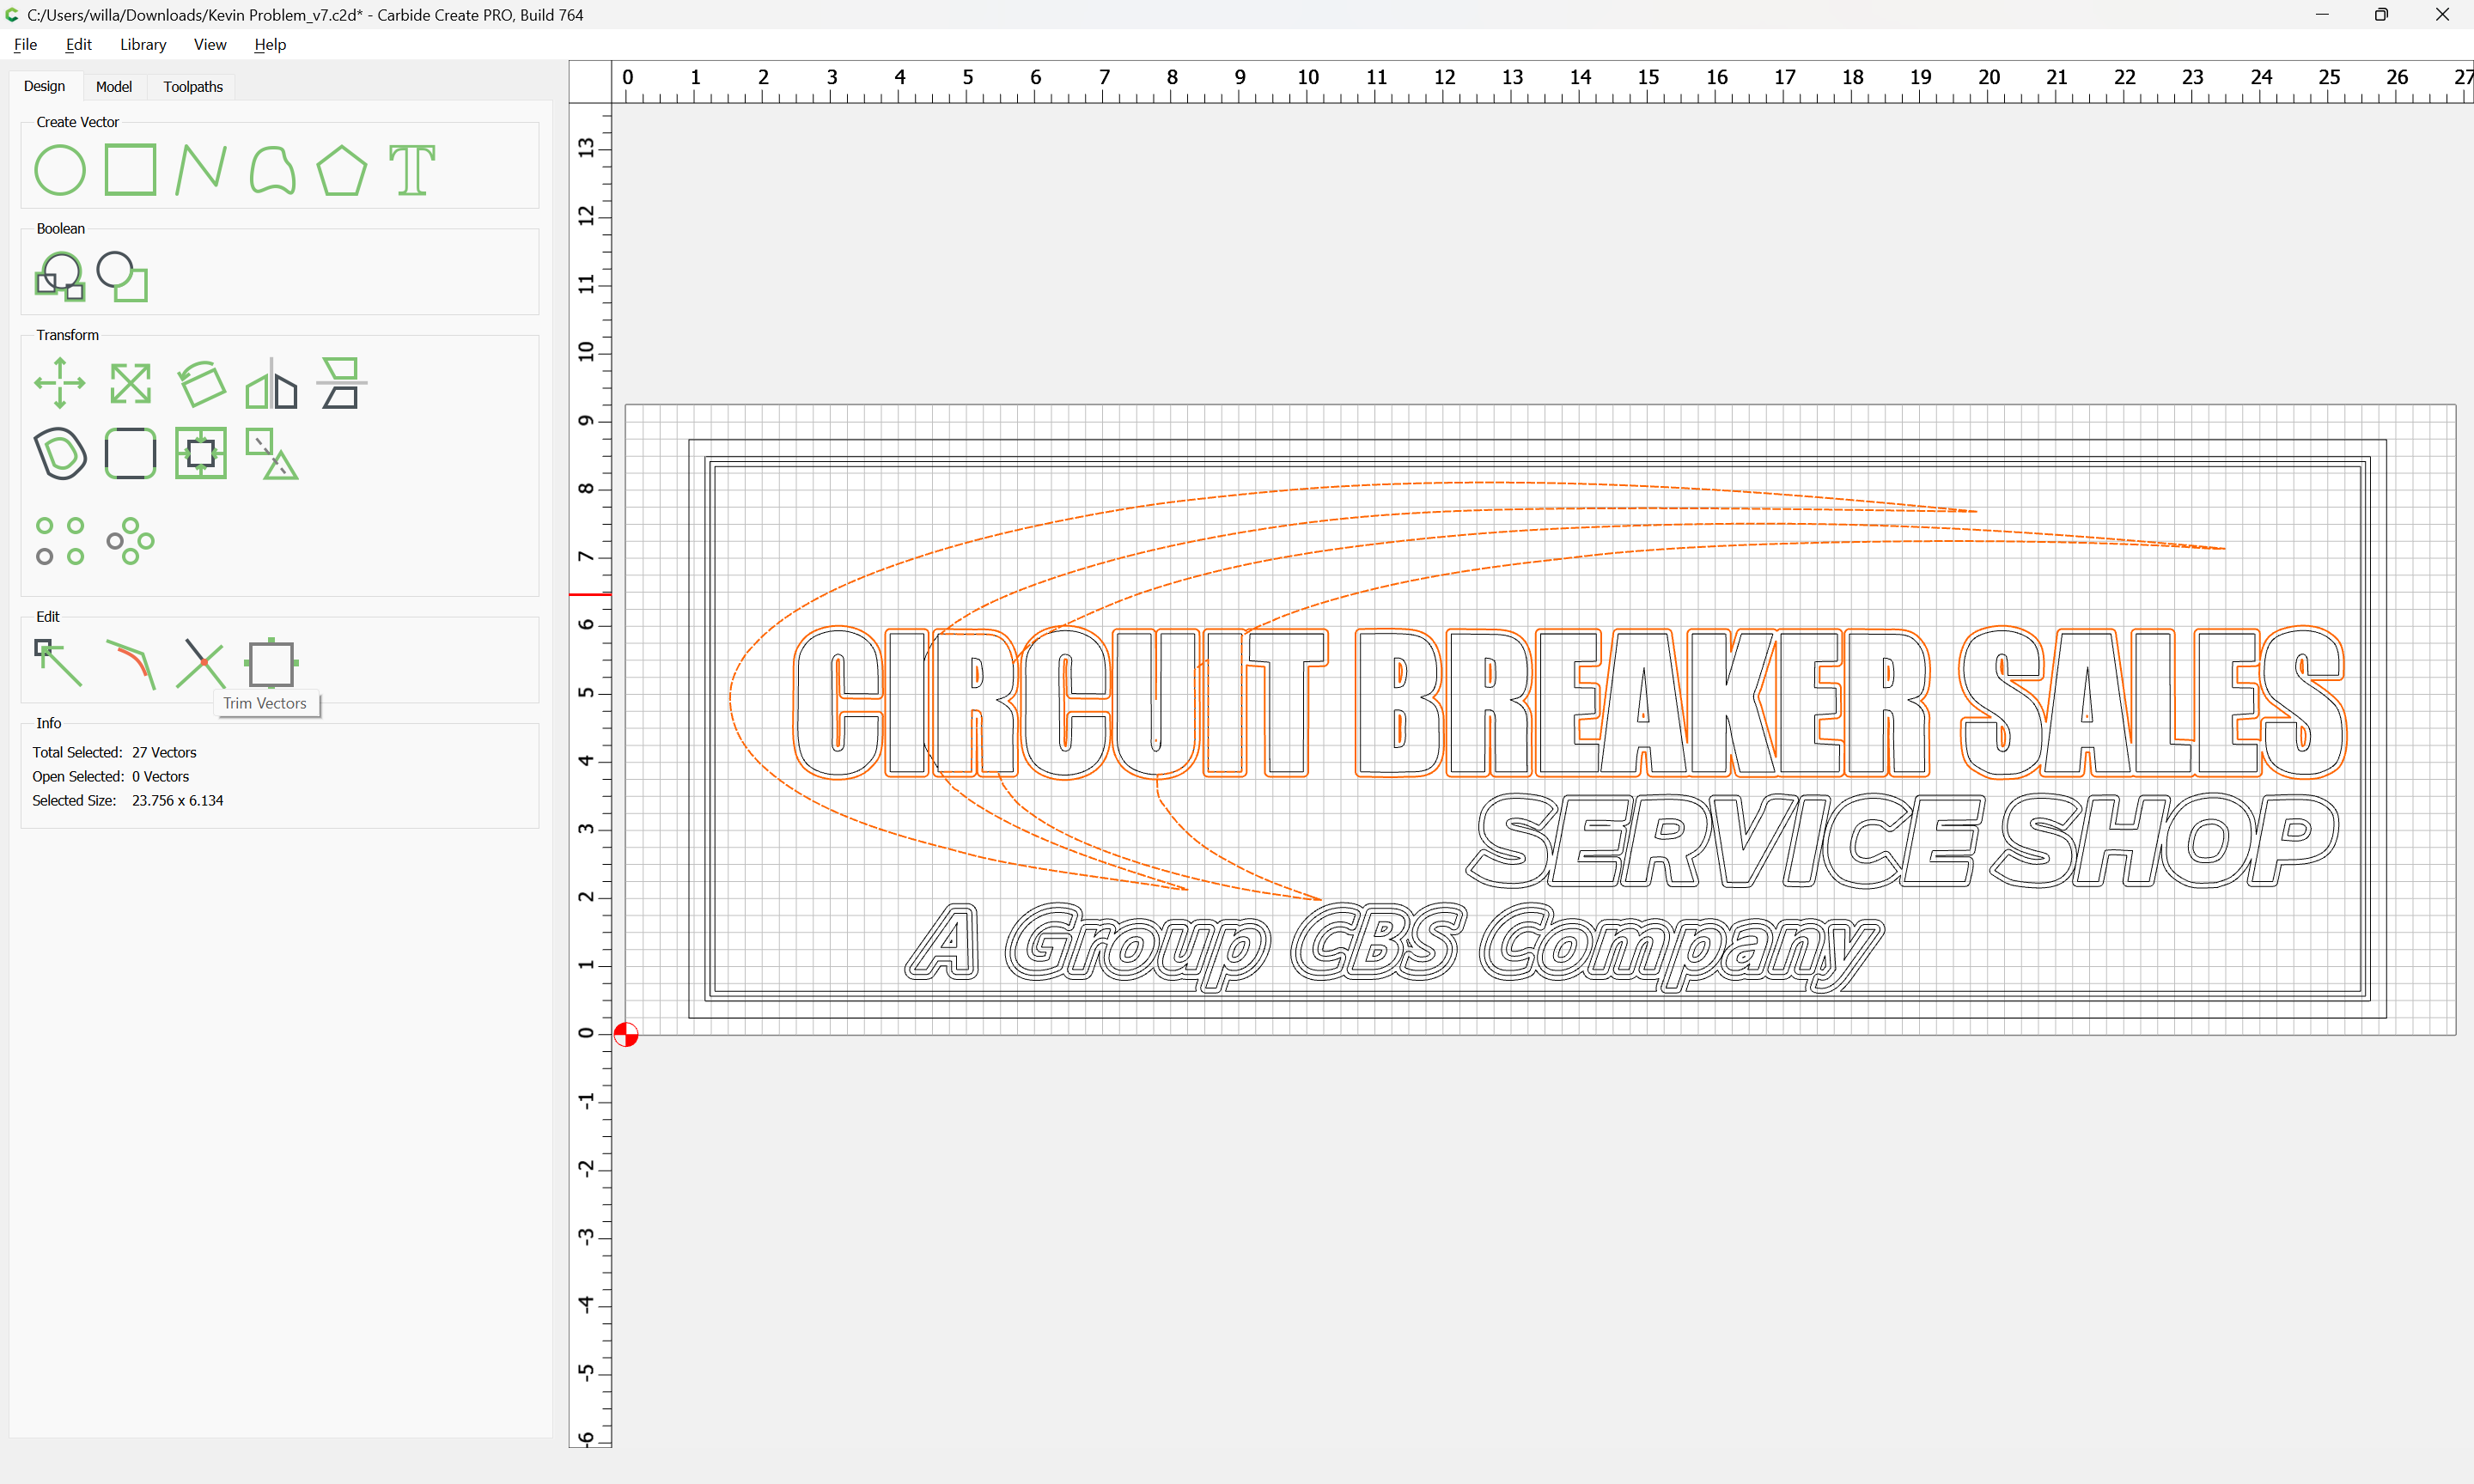
Add the Swooshes to the selection:
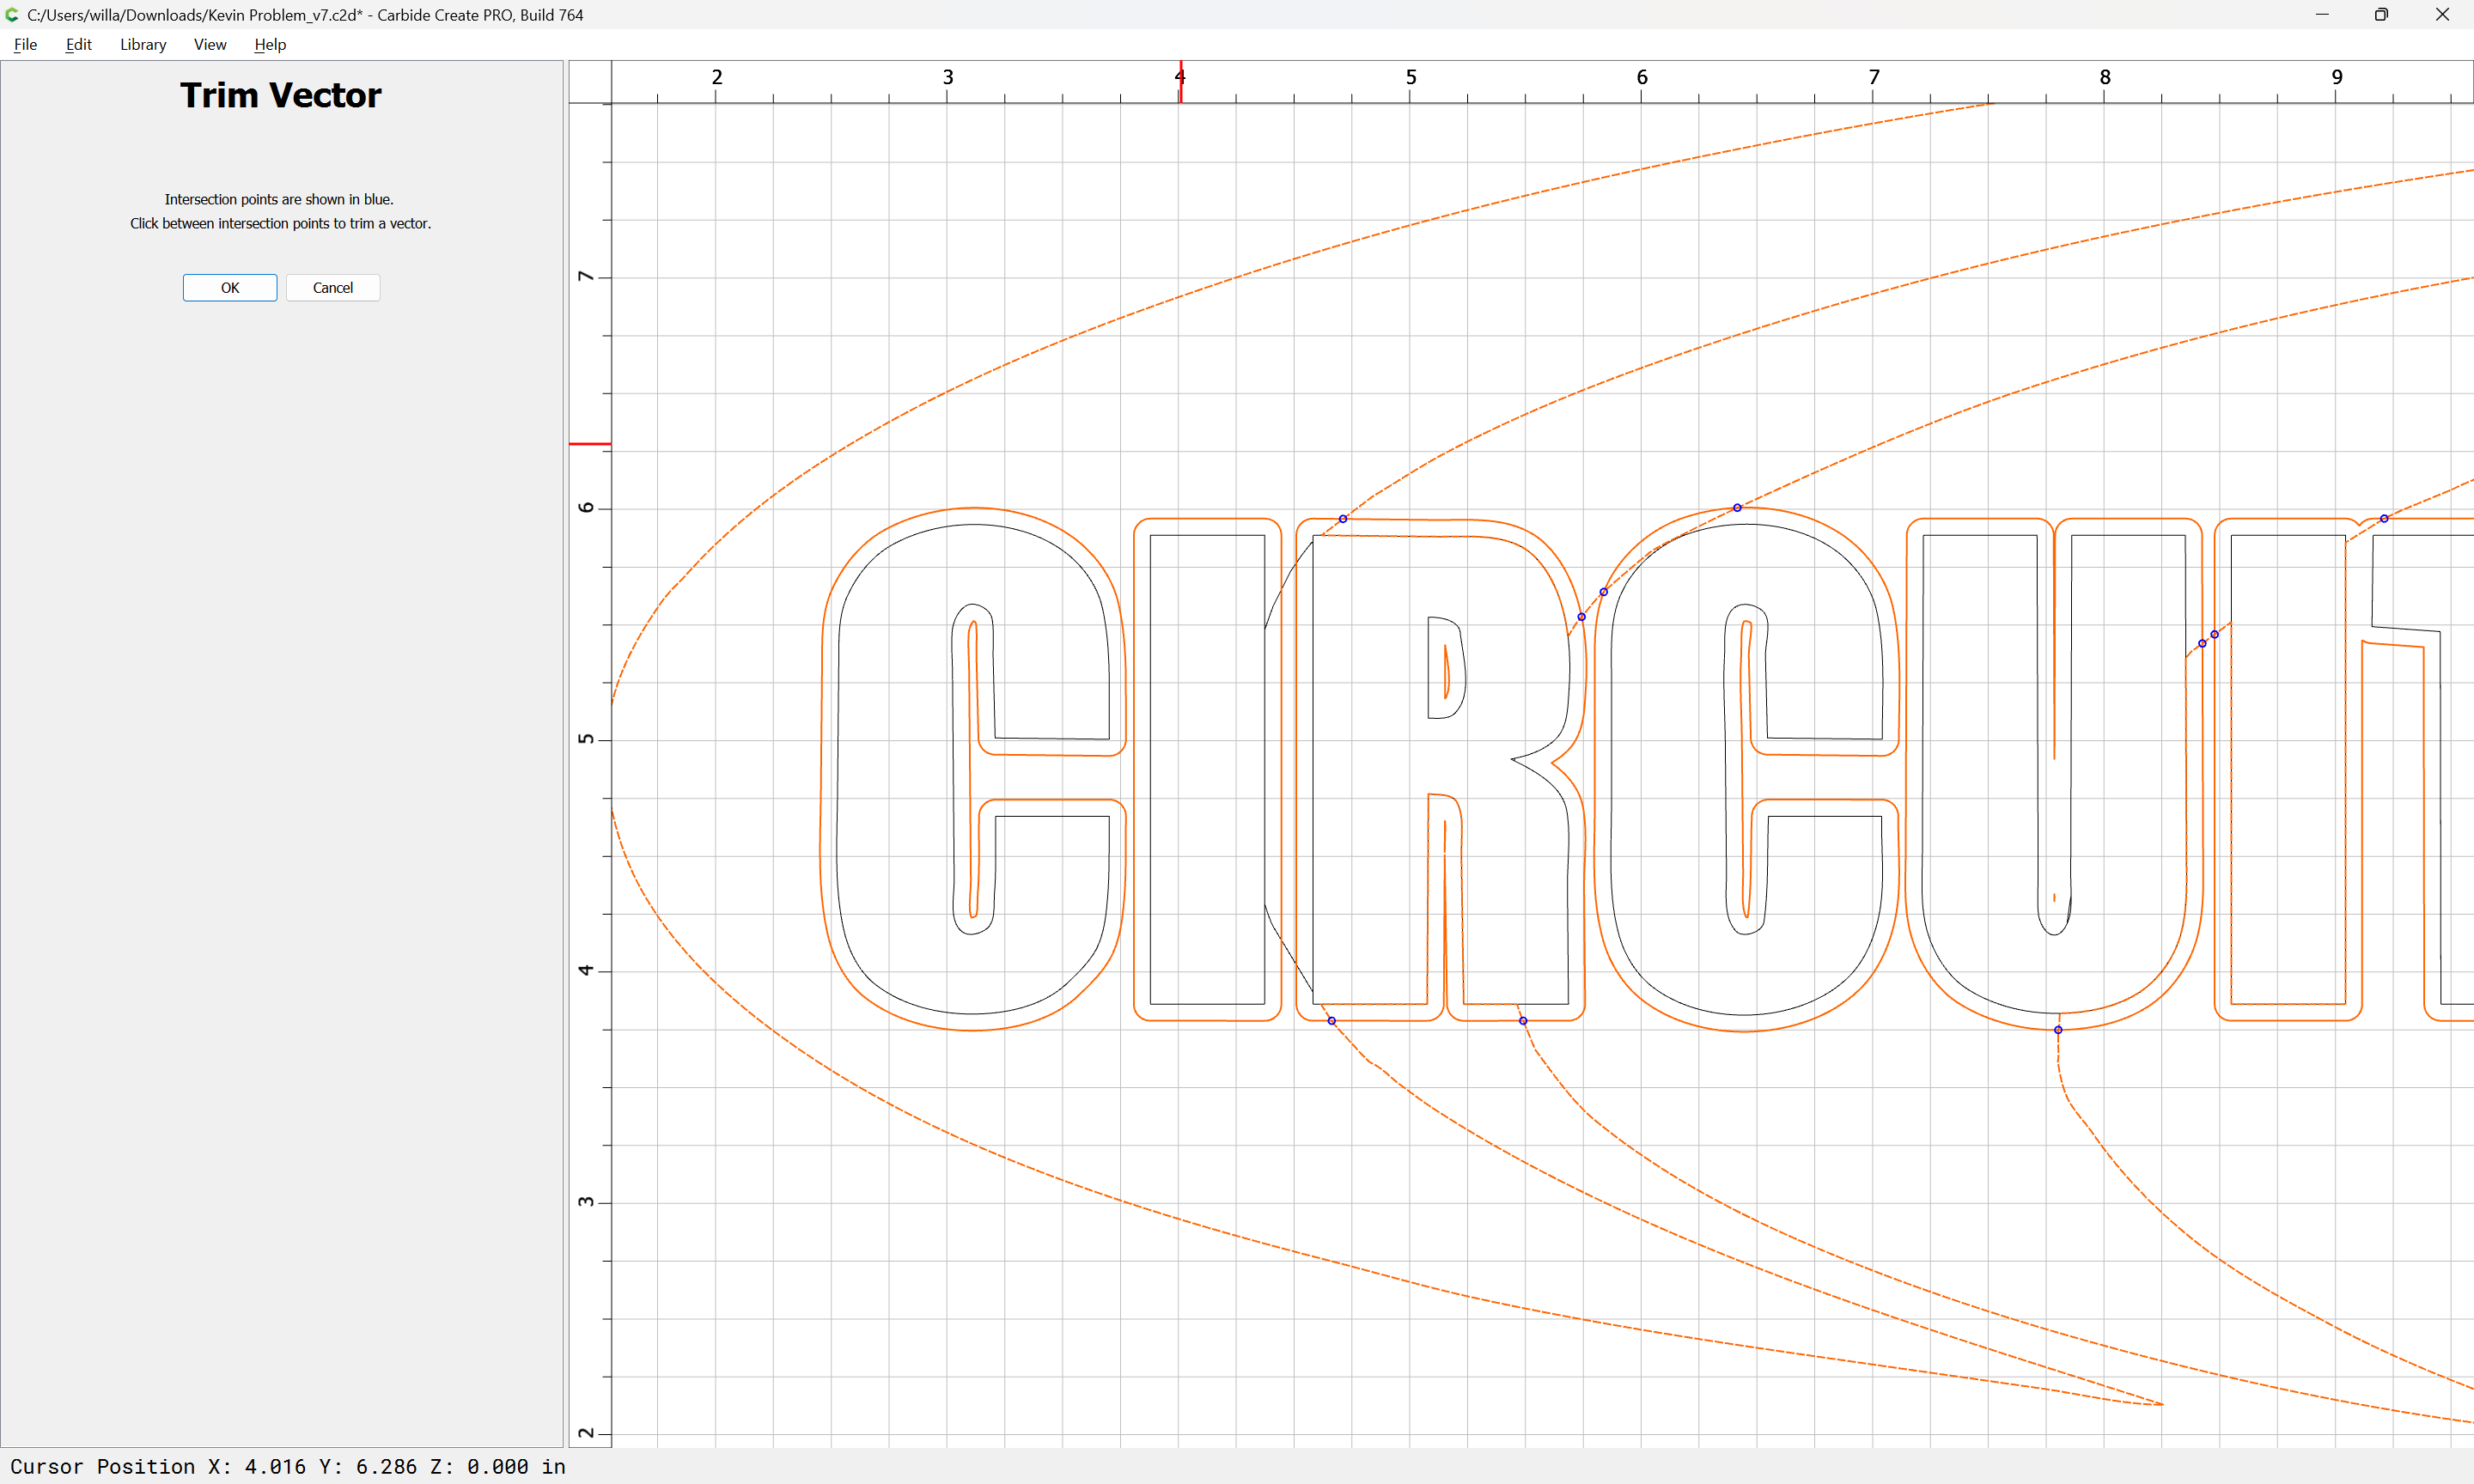
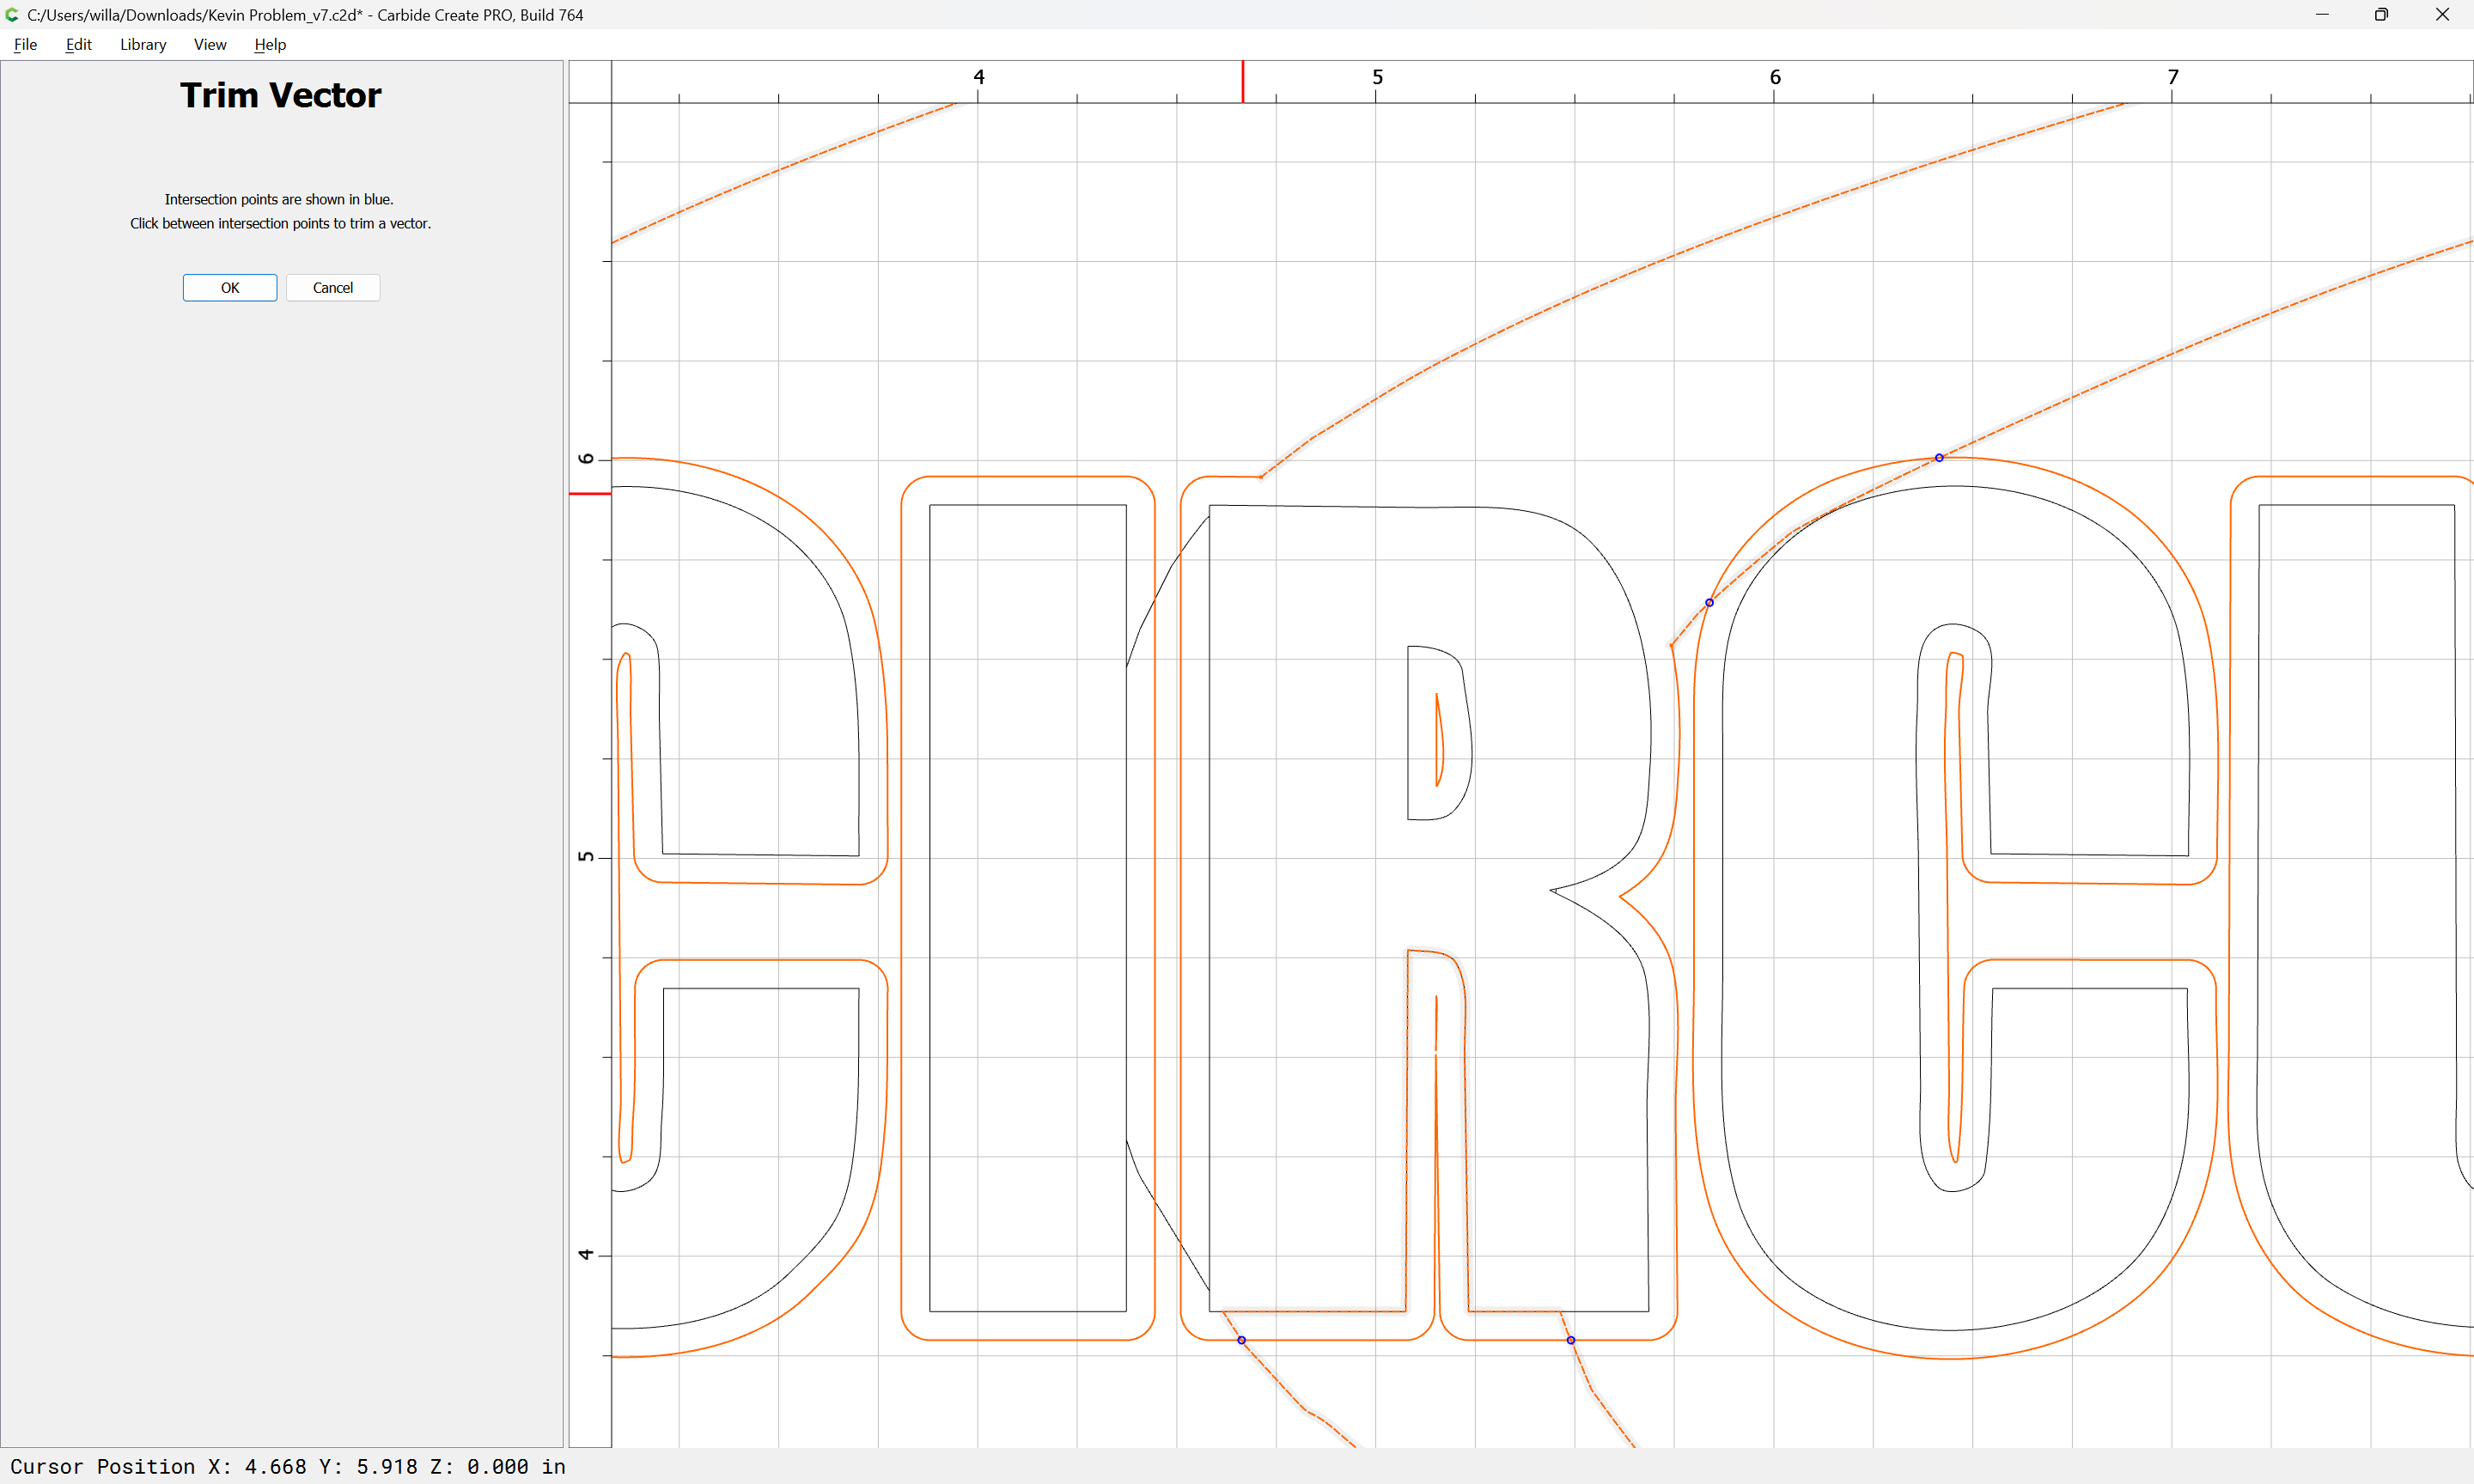
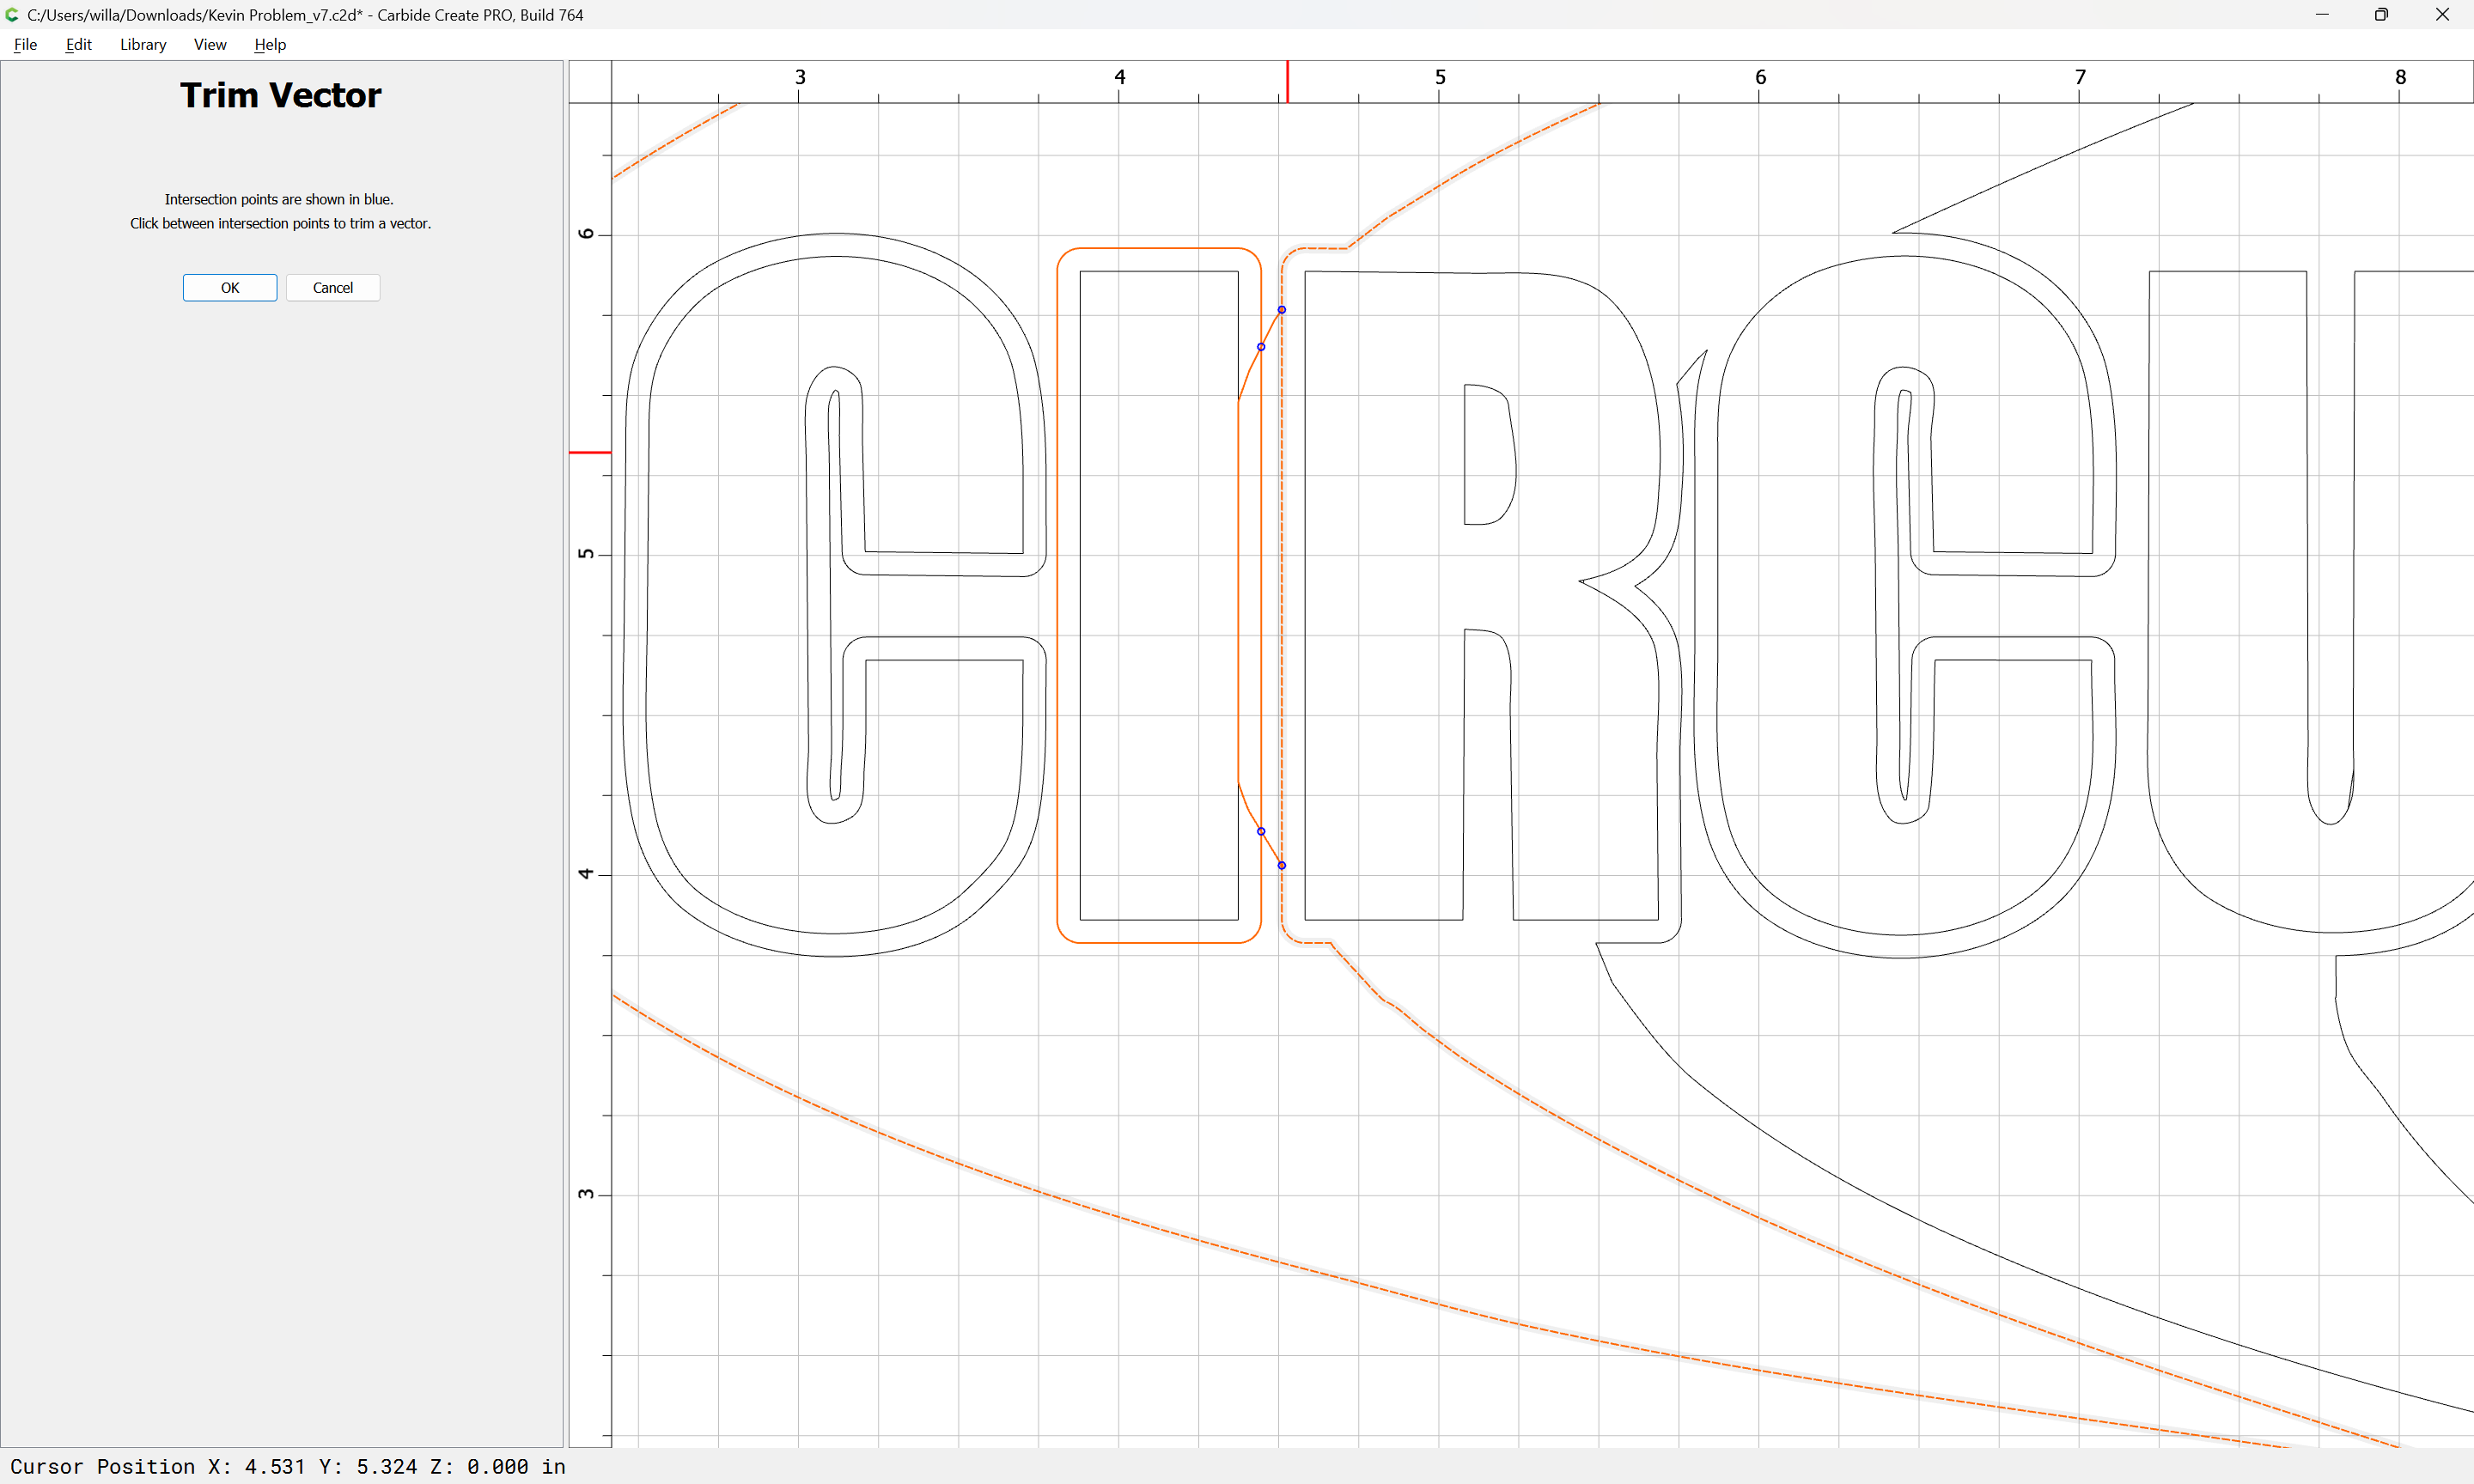
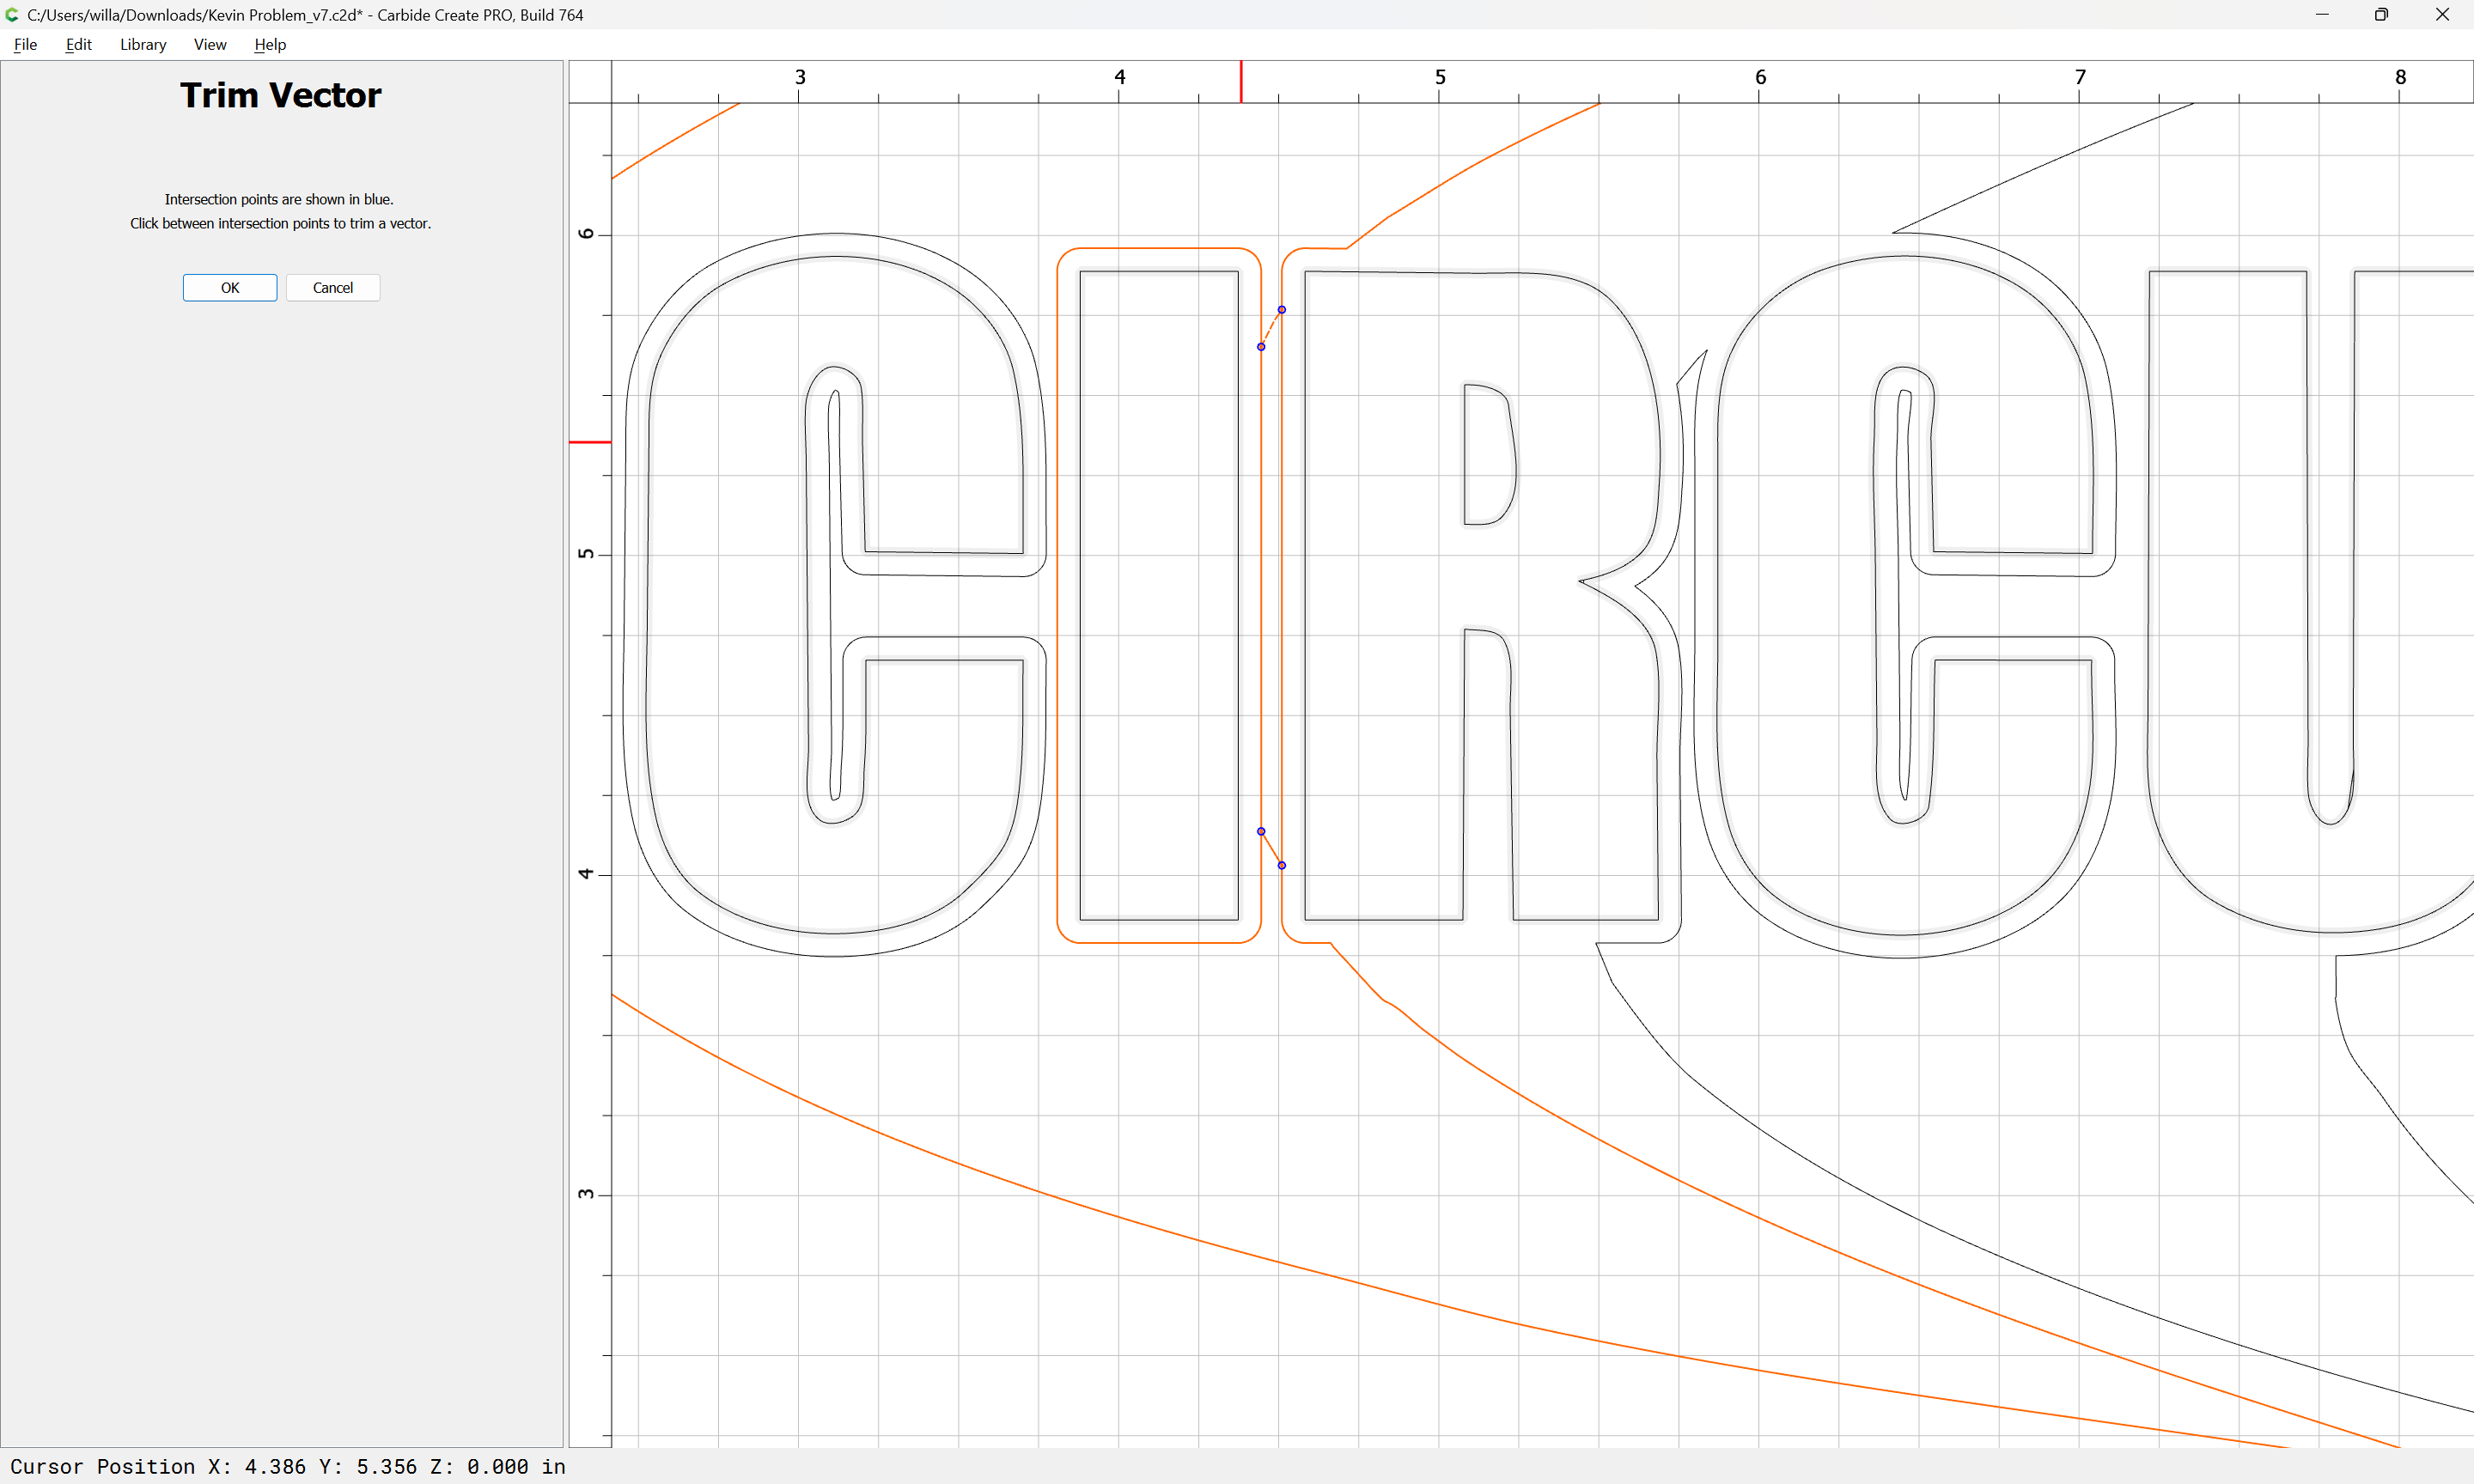
and use Trim Vectors to remove what is not needed and isolate down to the outline of what must be cut away (the Swooshes):
Until one arrives at:
OK
OK
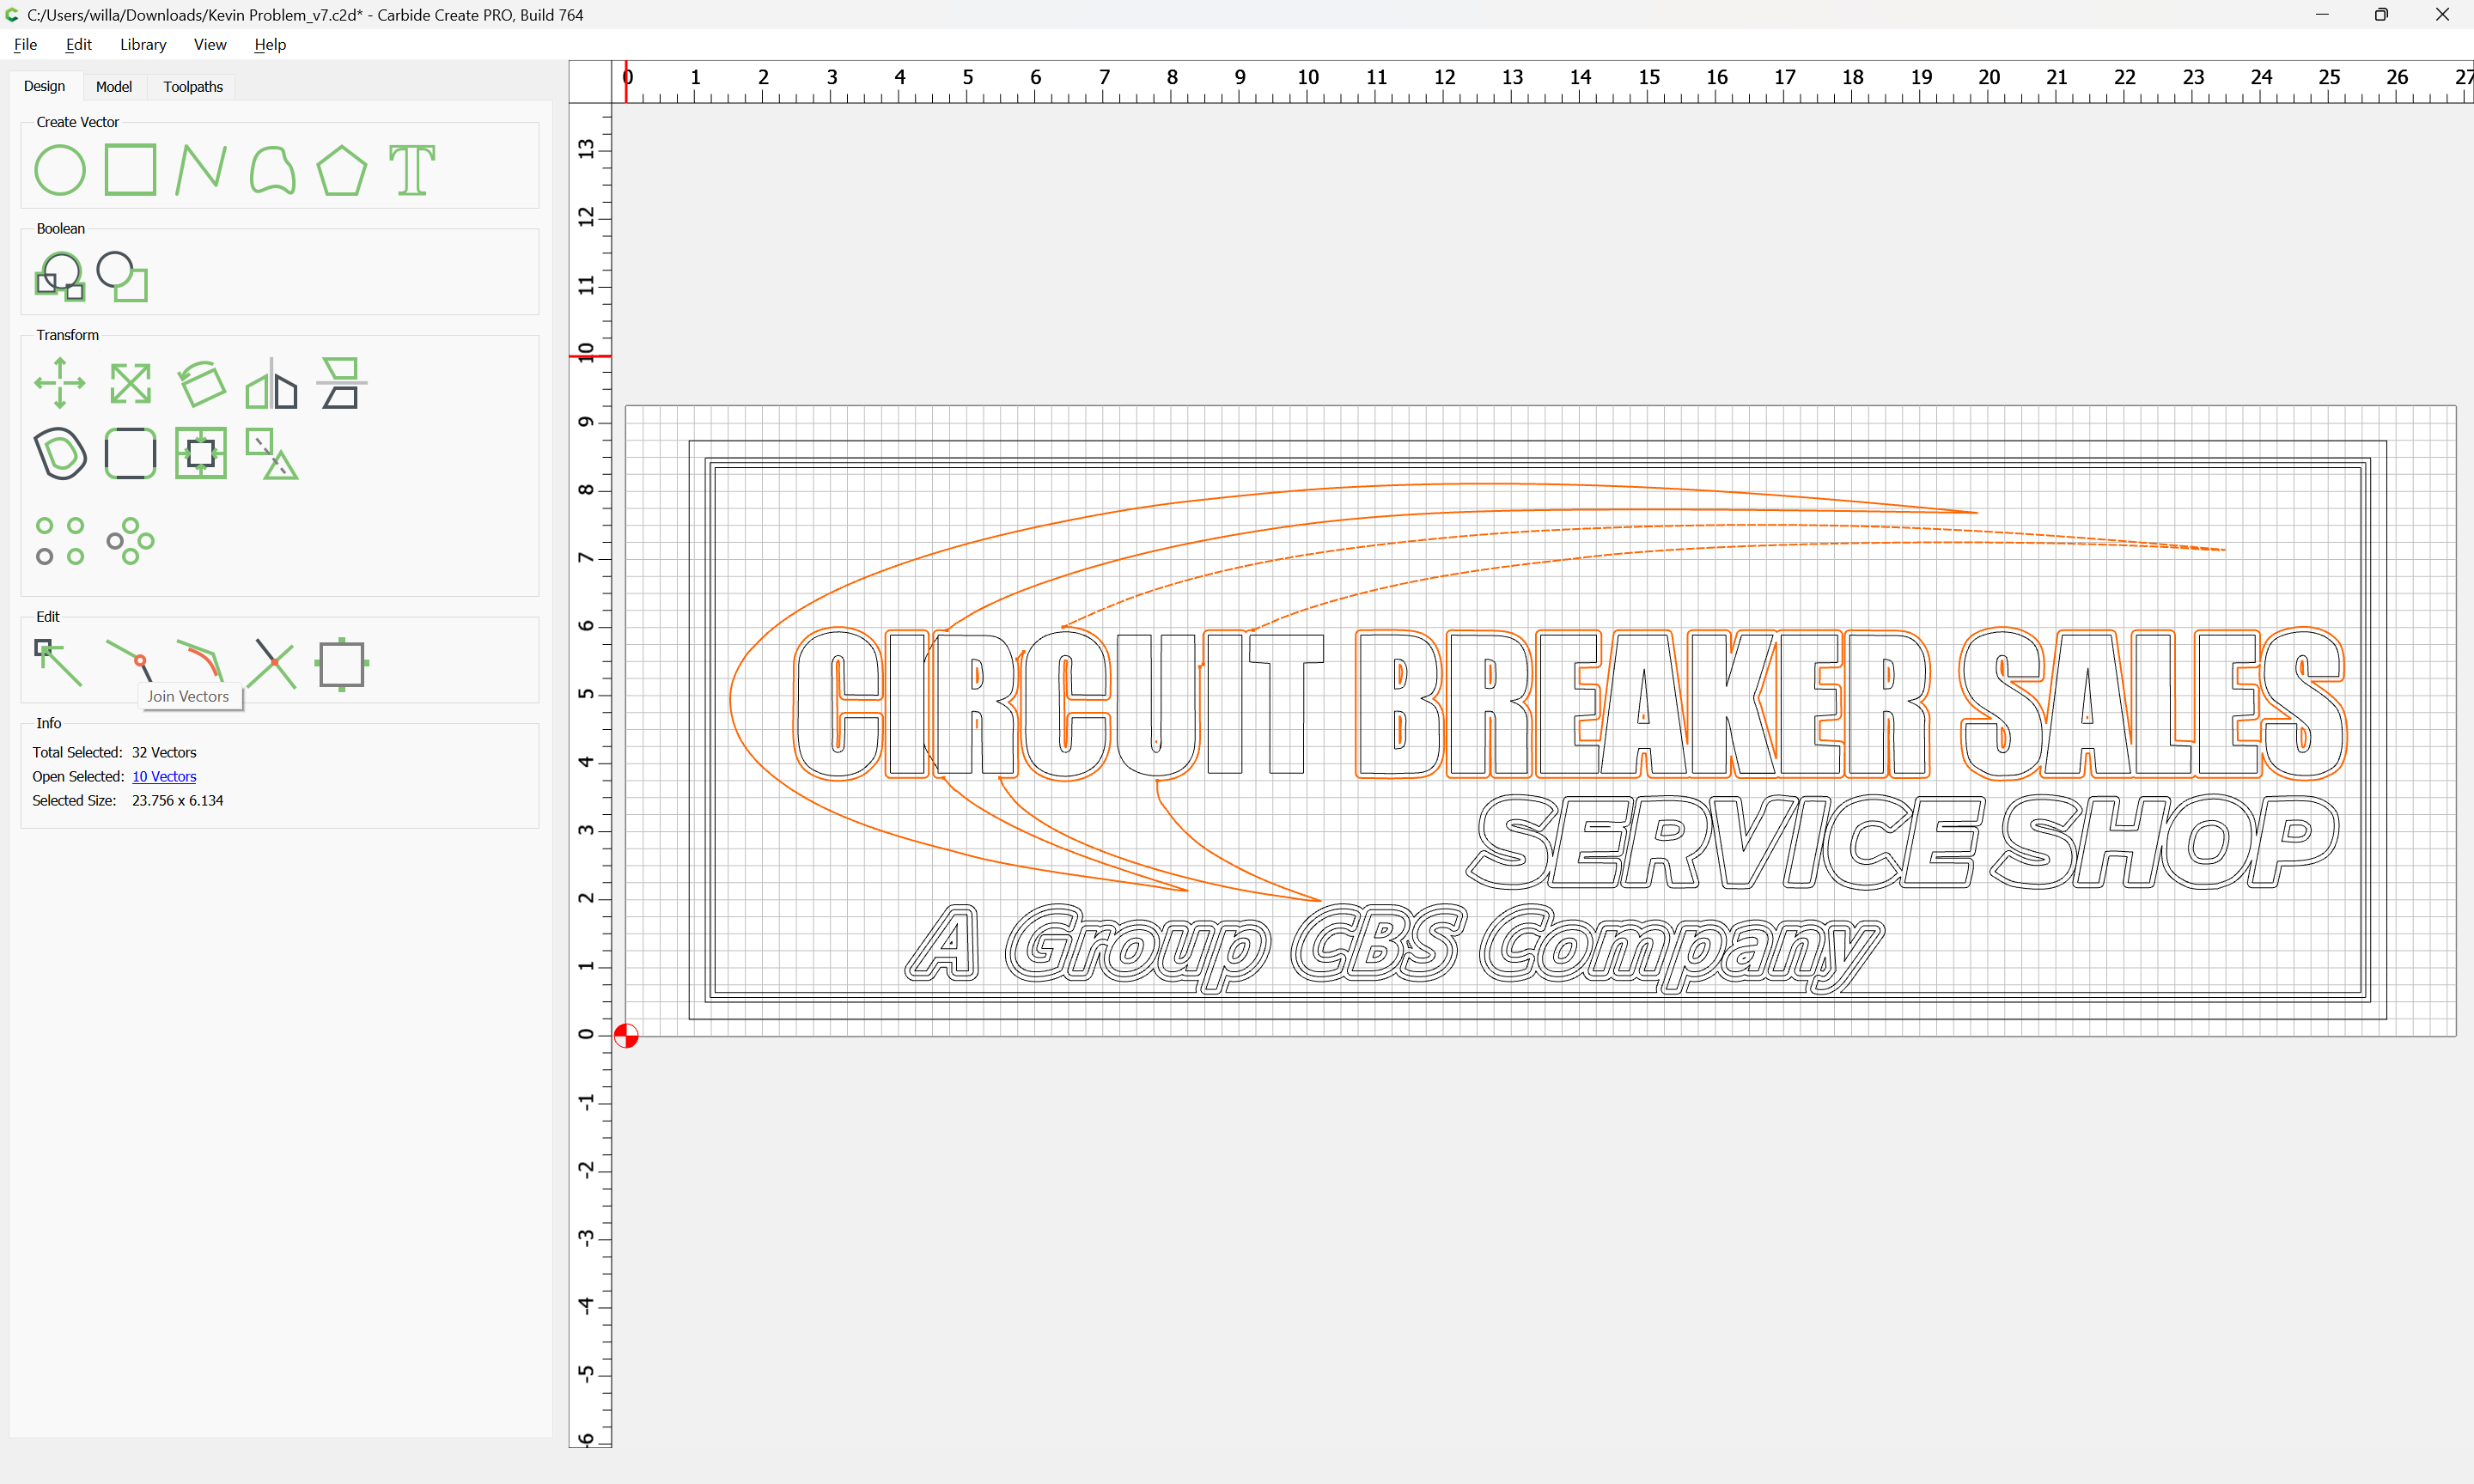
Join Vectors:
Yes
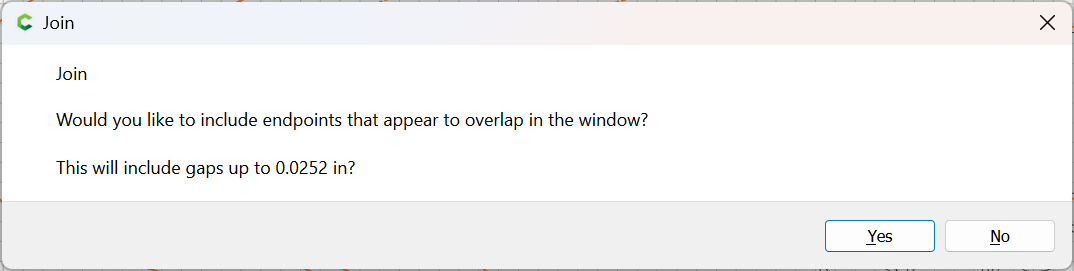
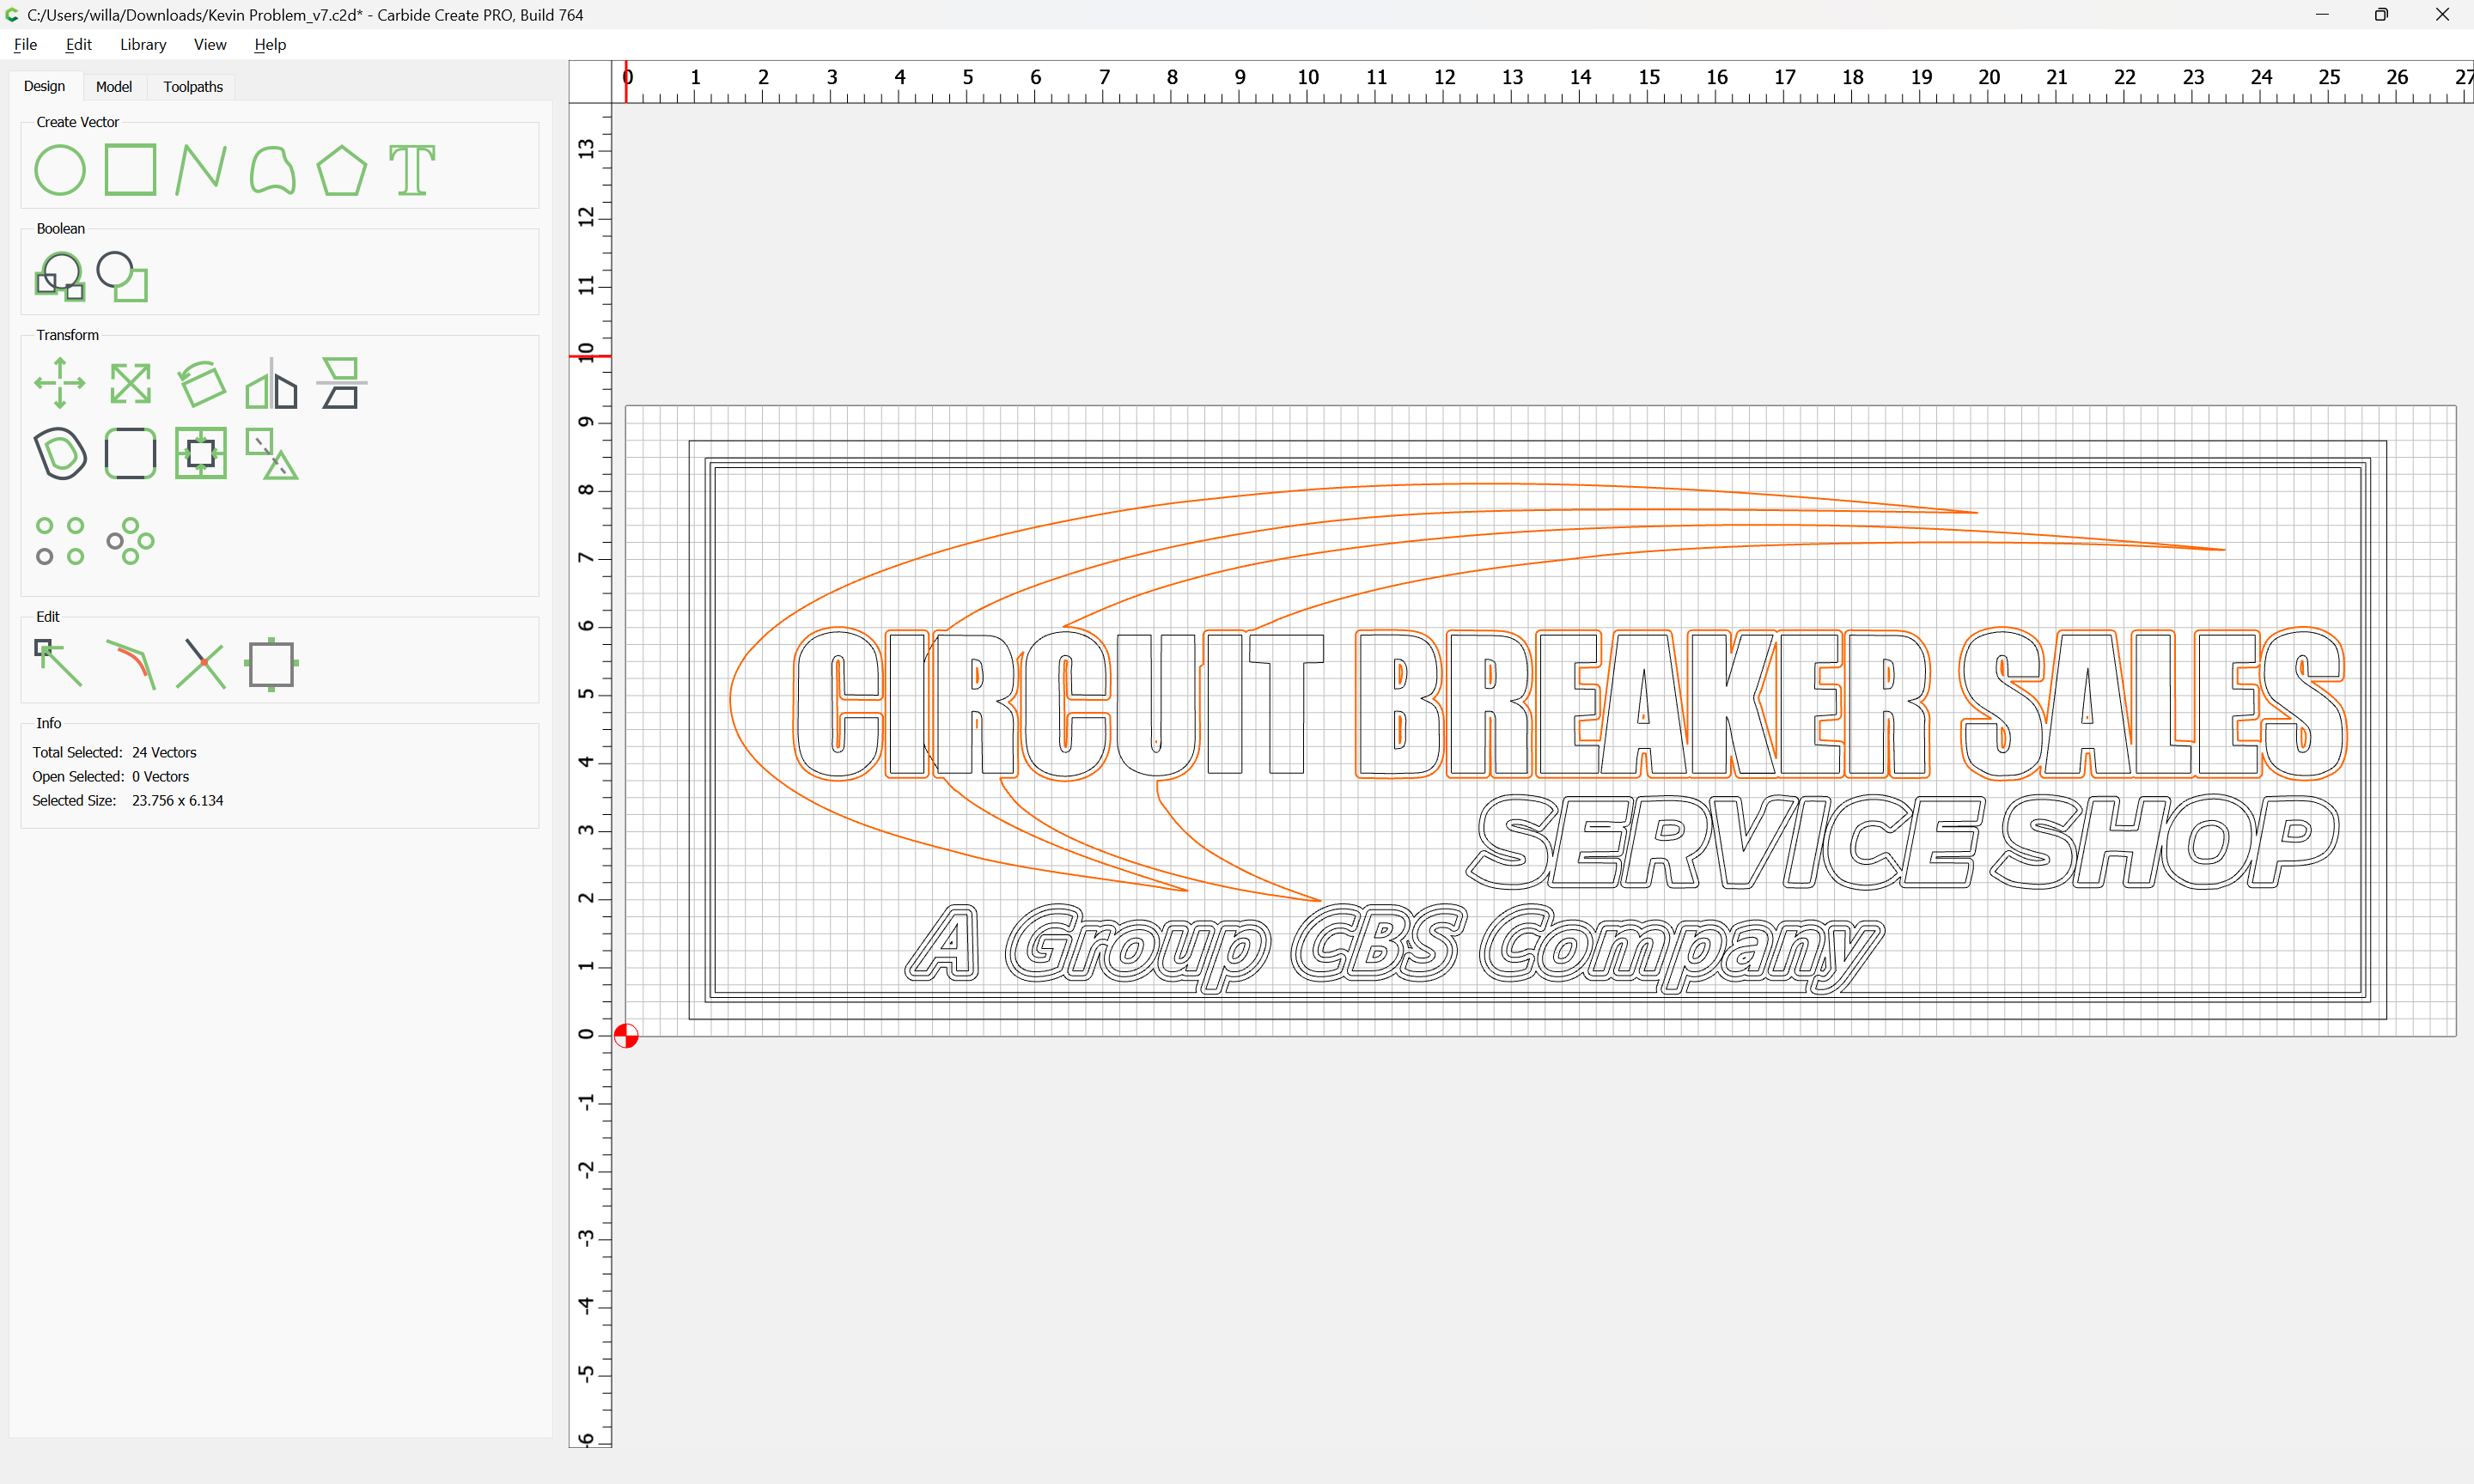
Deselect what is wanted:
and delete the balance:
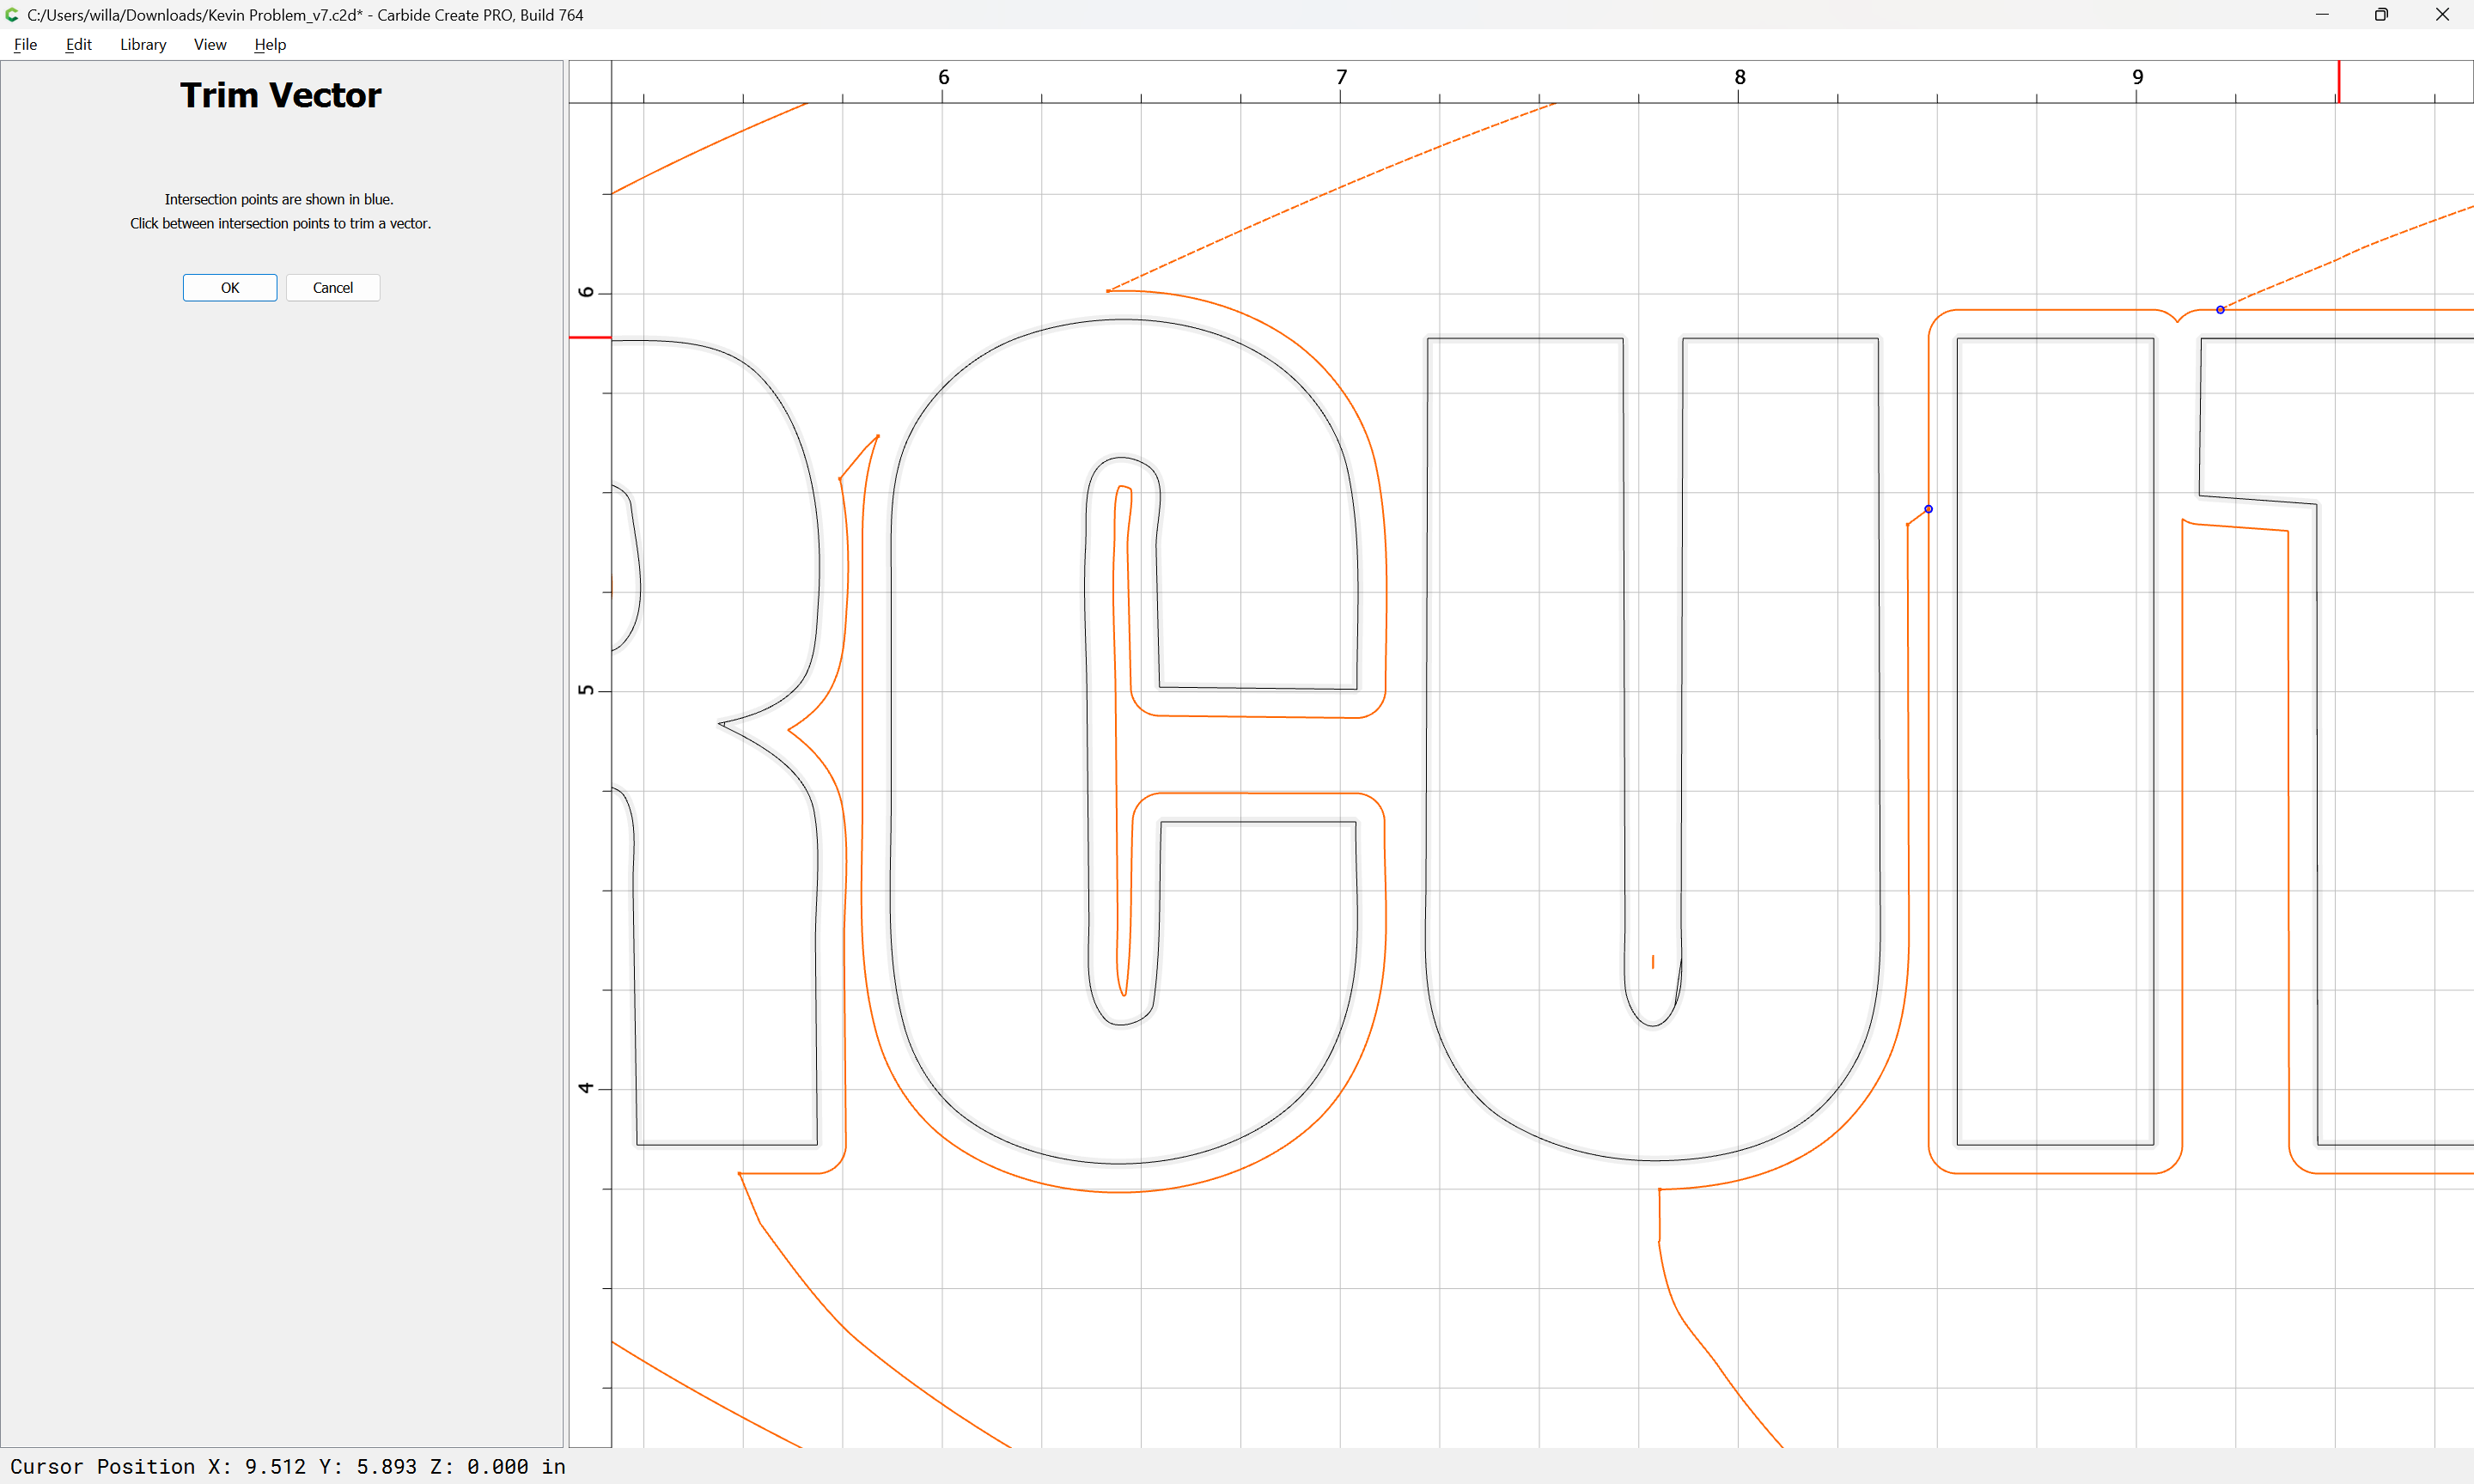
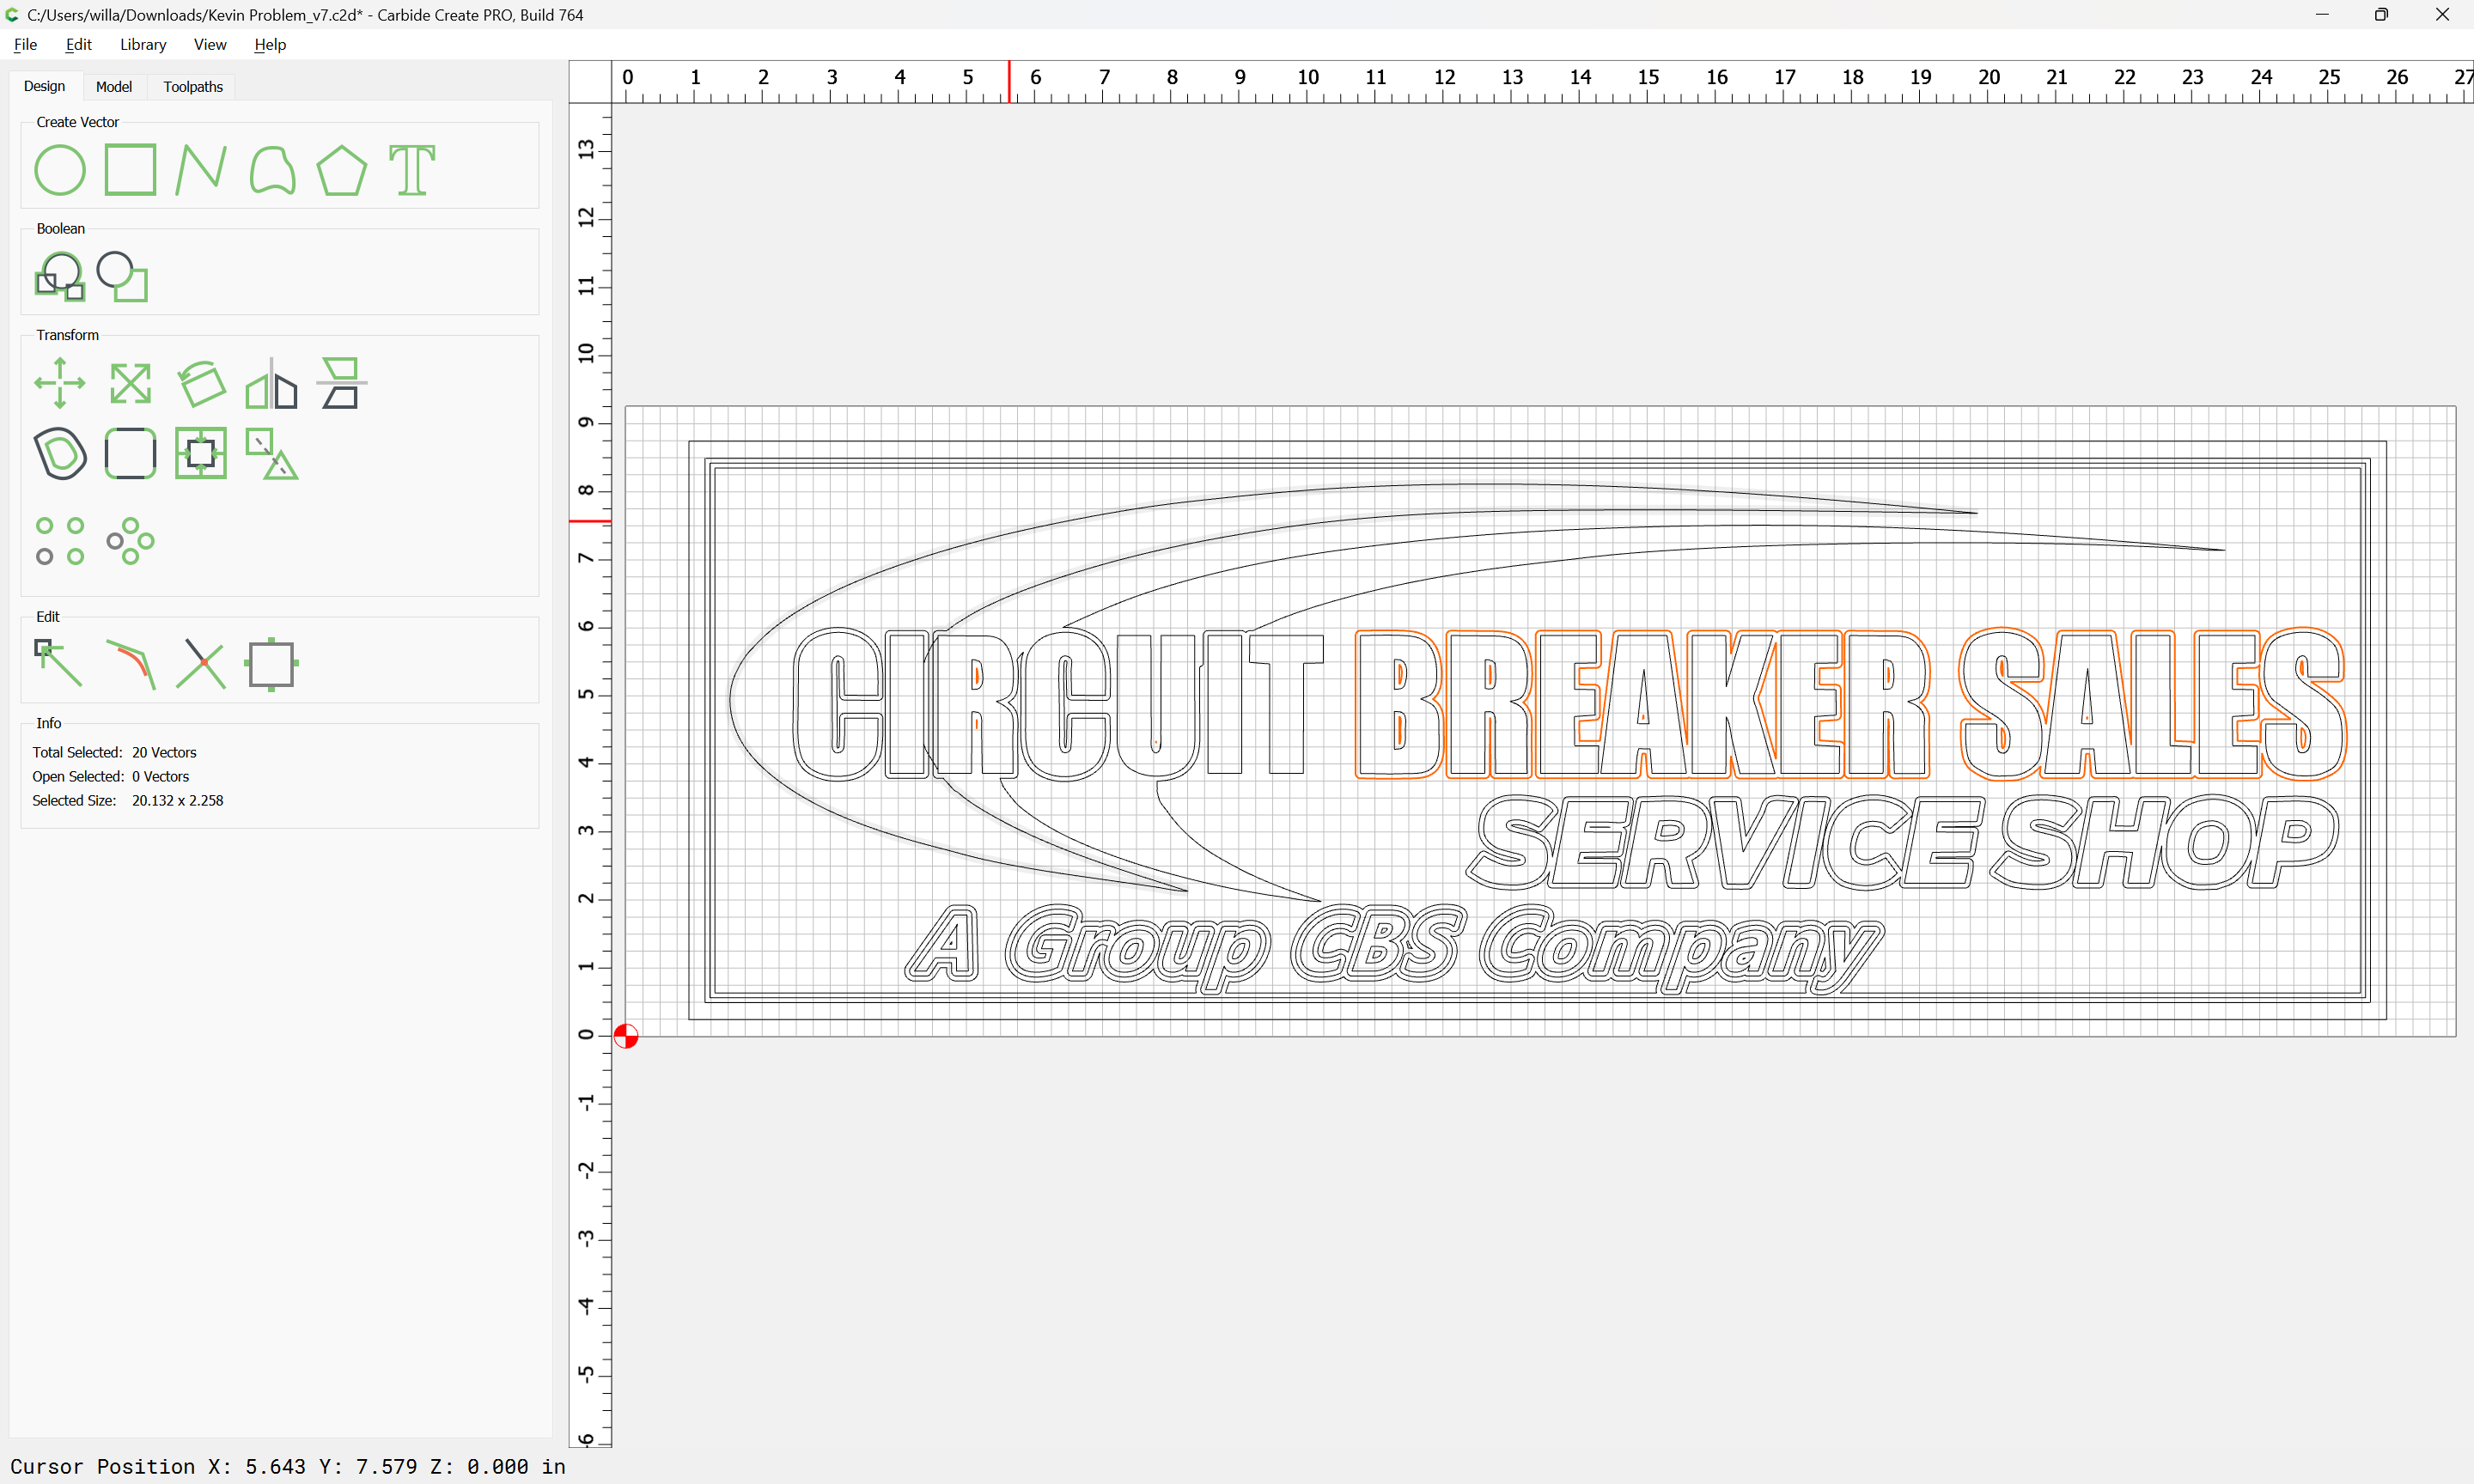
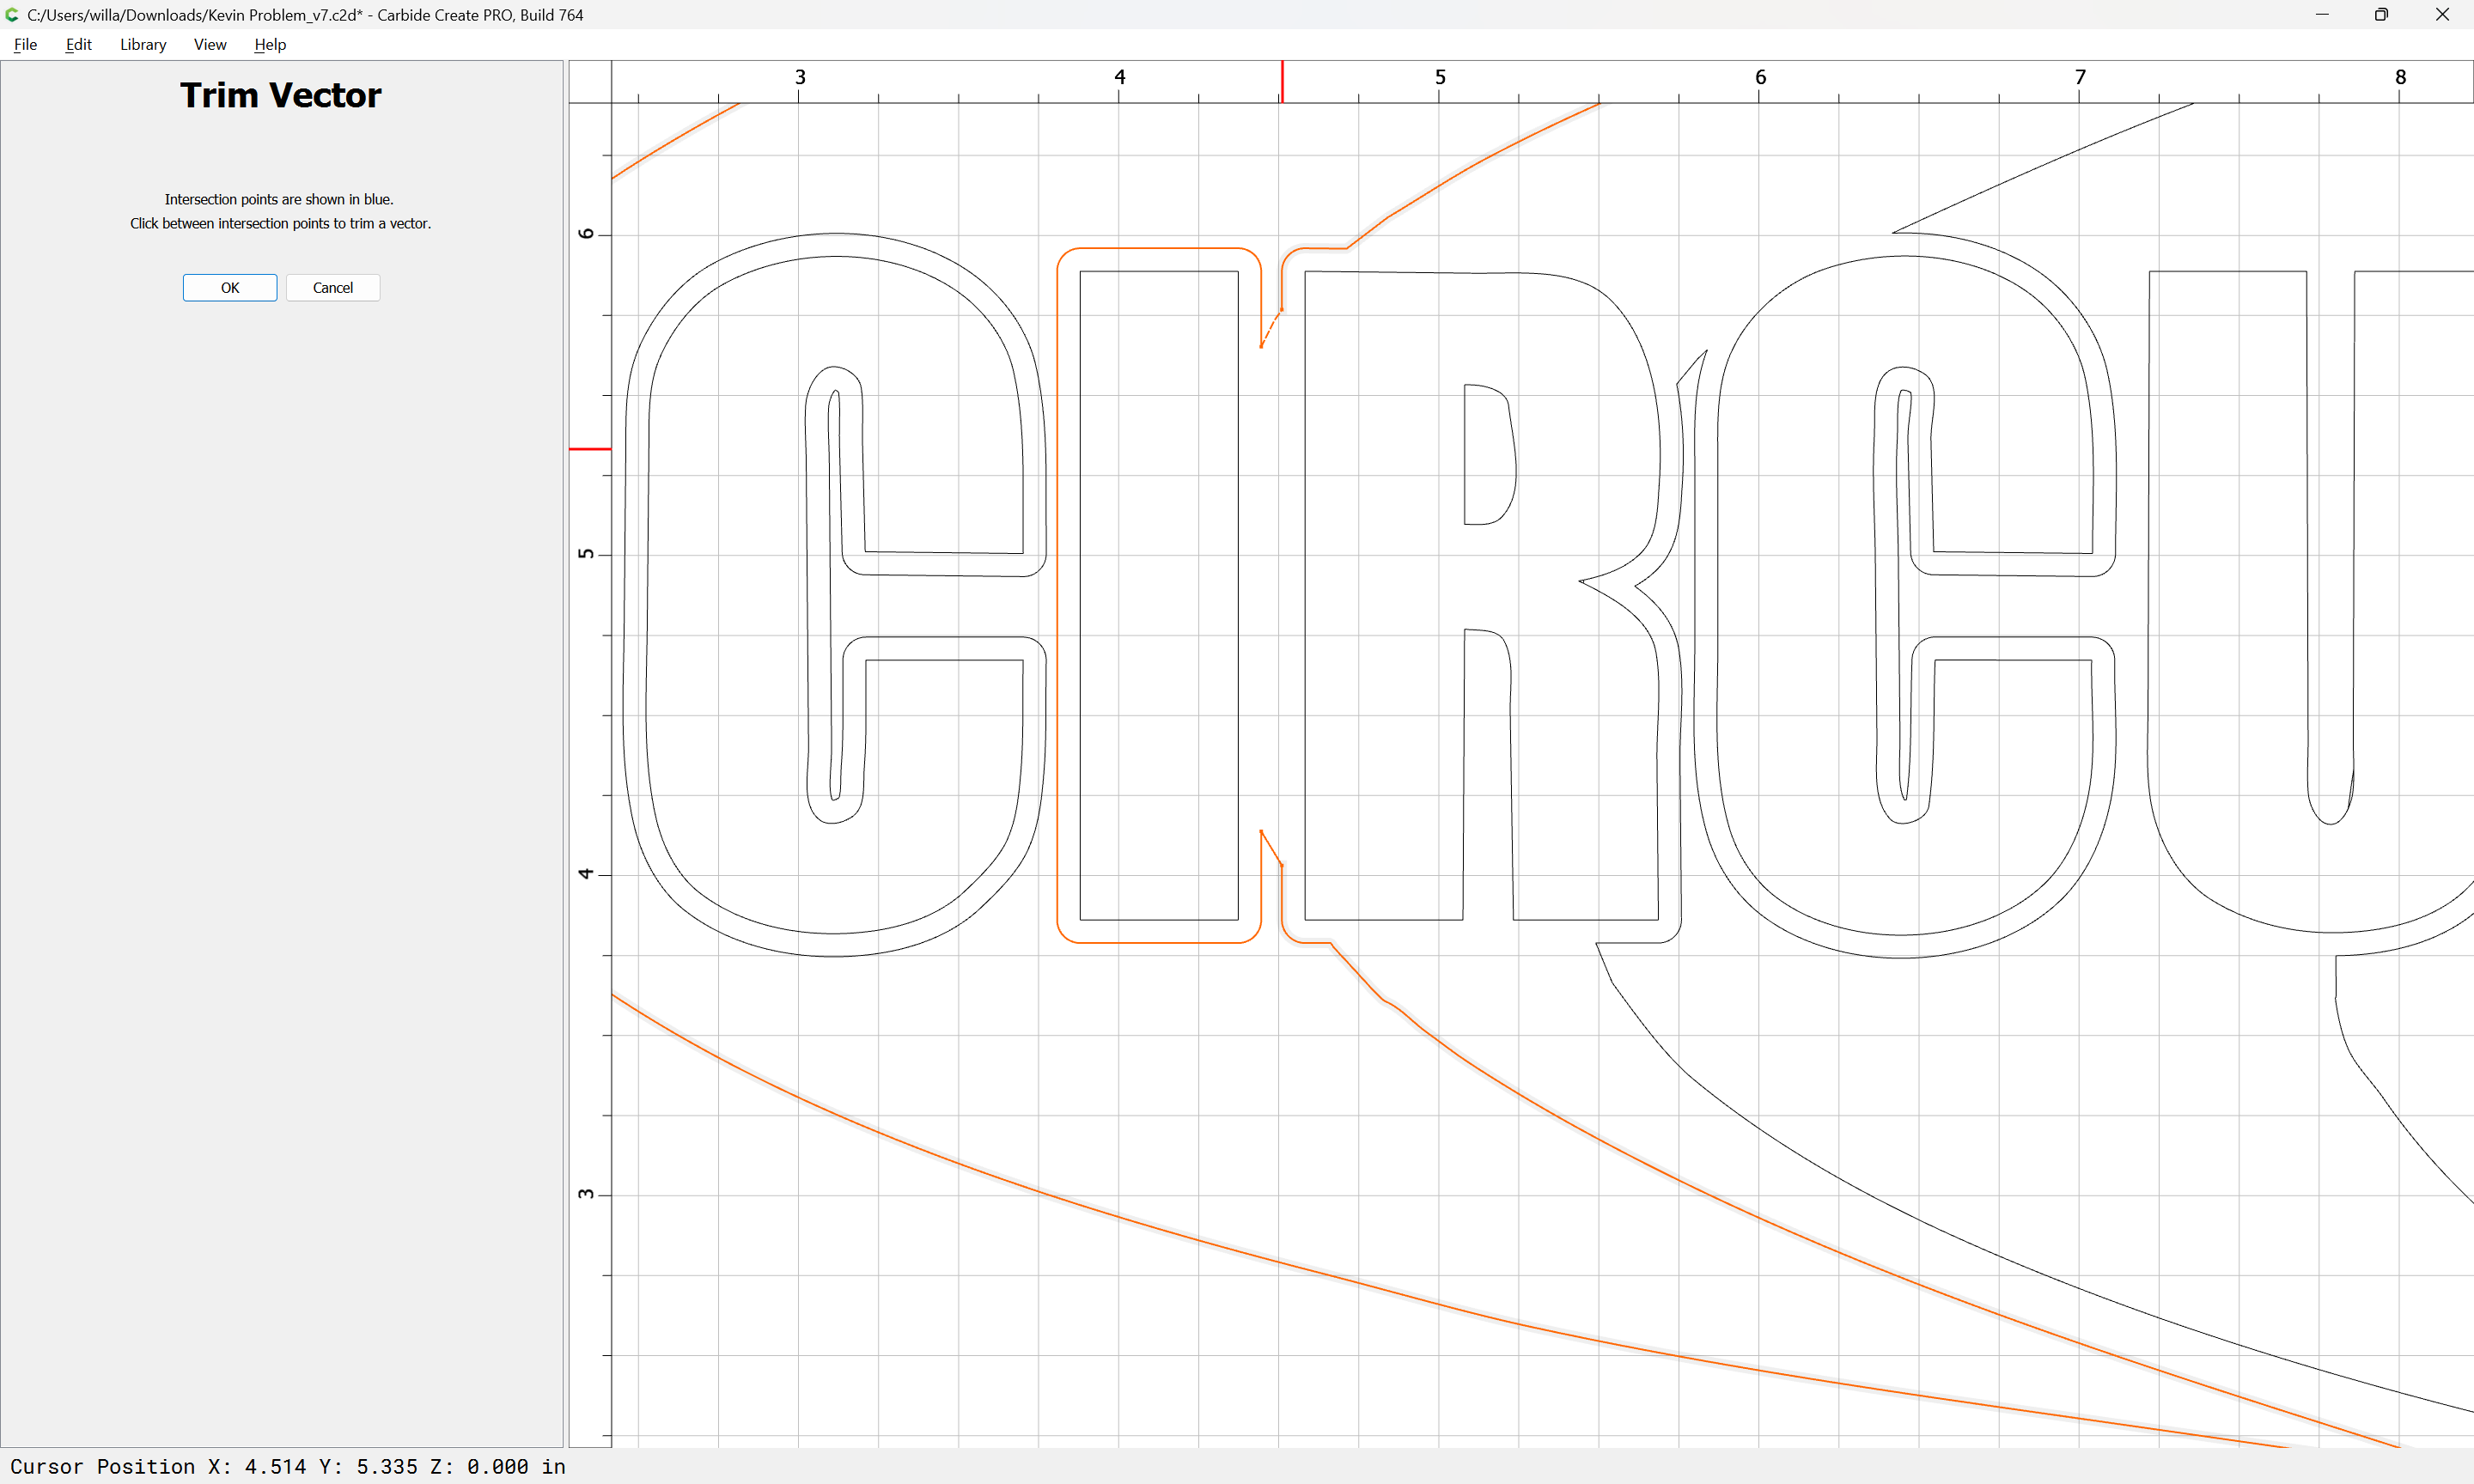
Note that we missed a section:
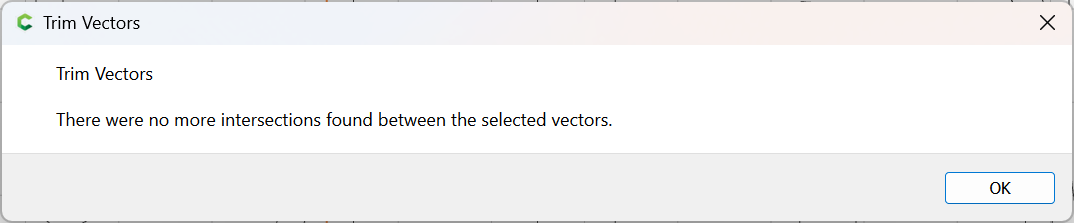
So we use Trim Vectors again:
OK
OK
Join Vectors
Yes
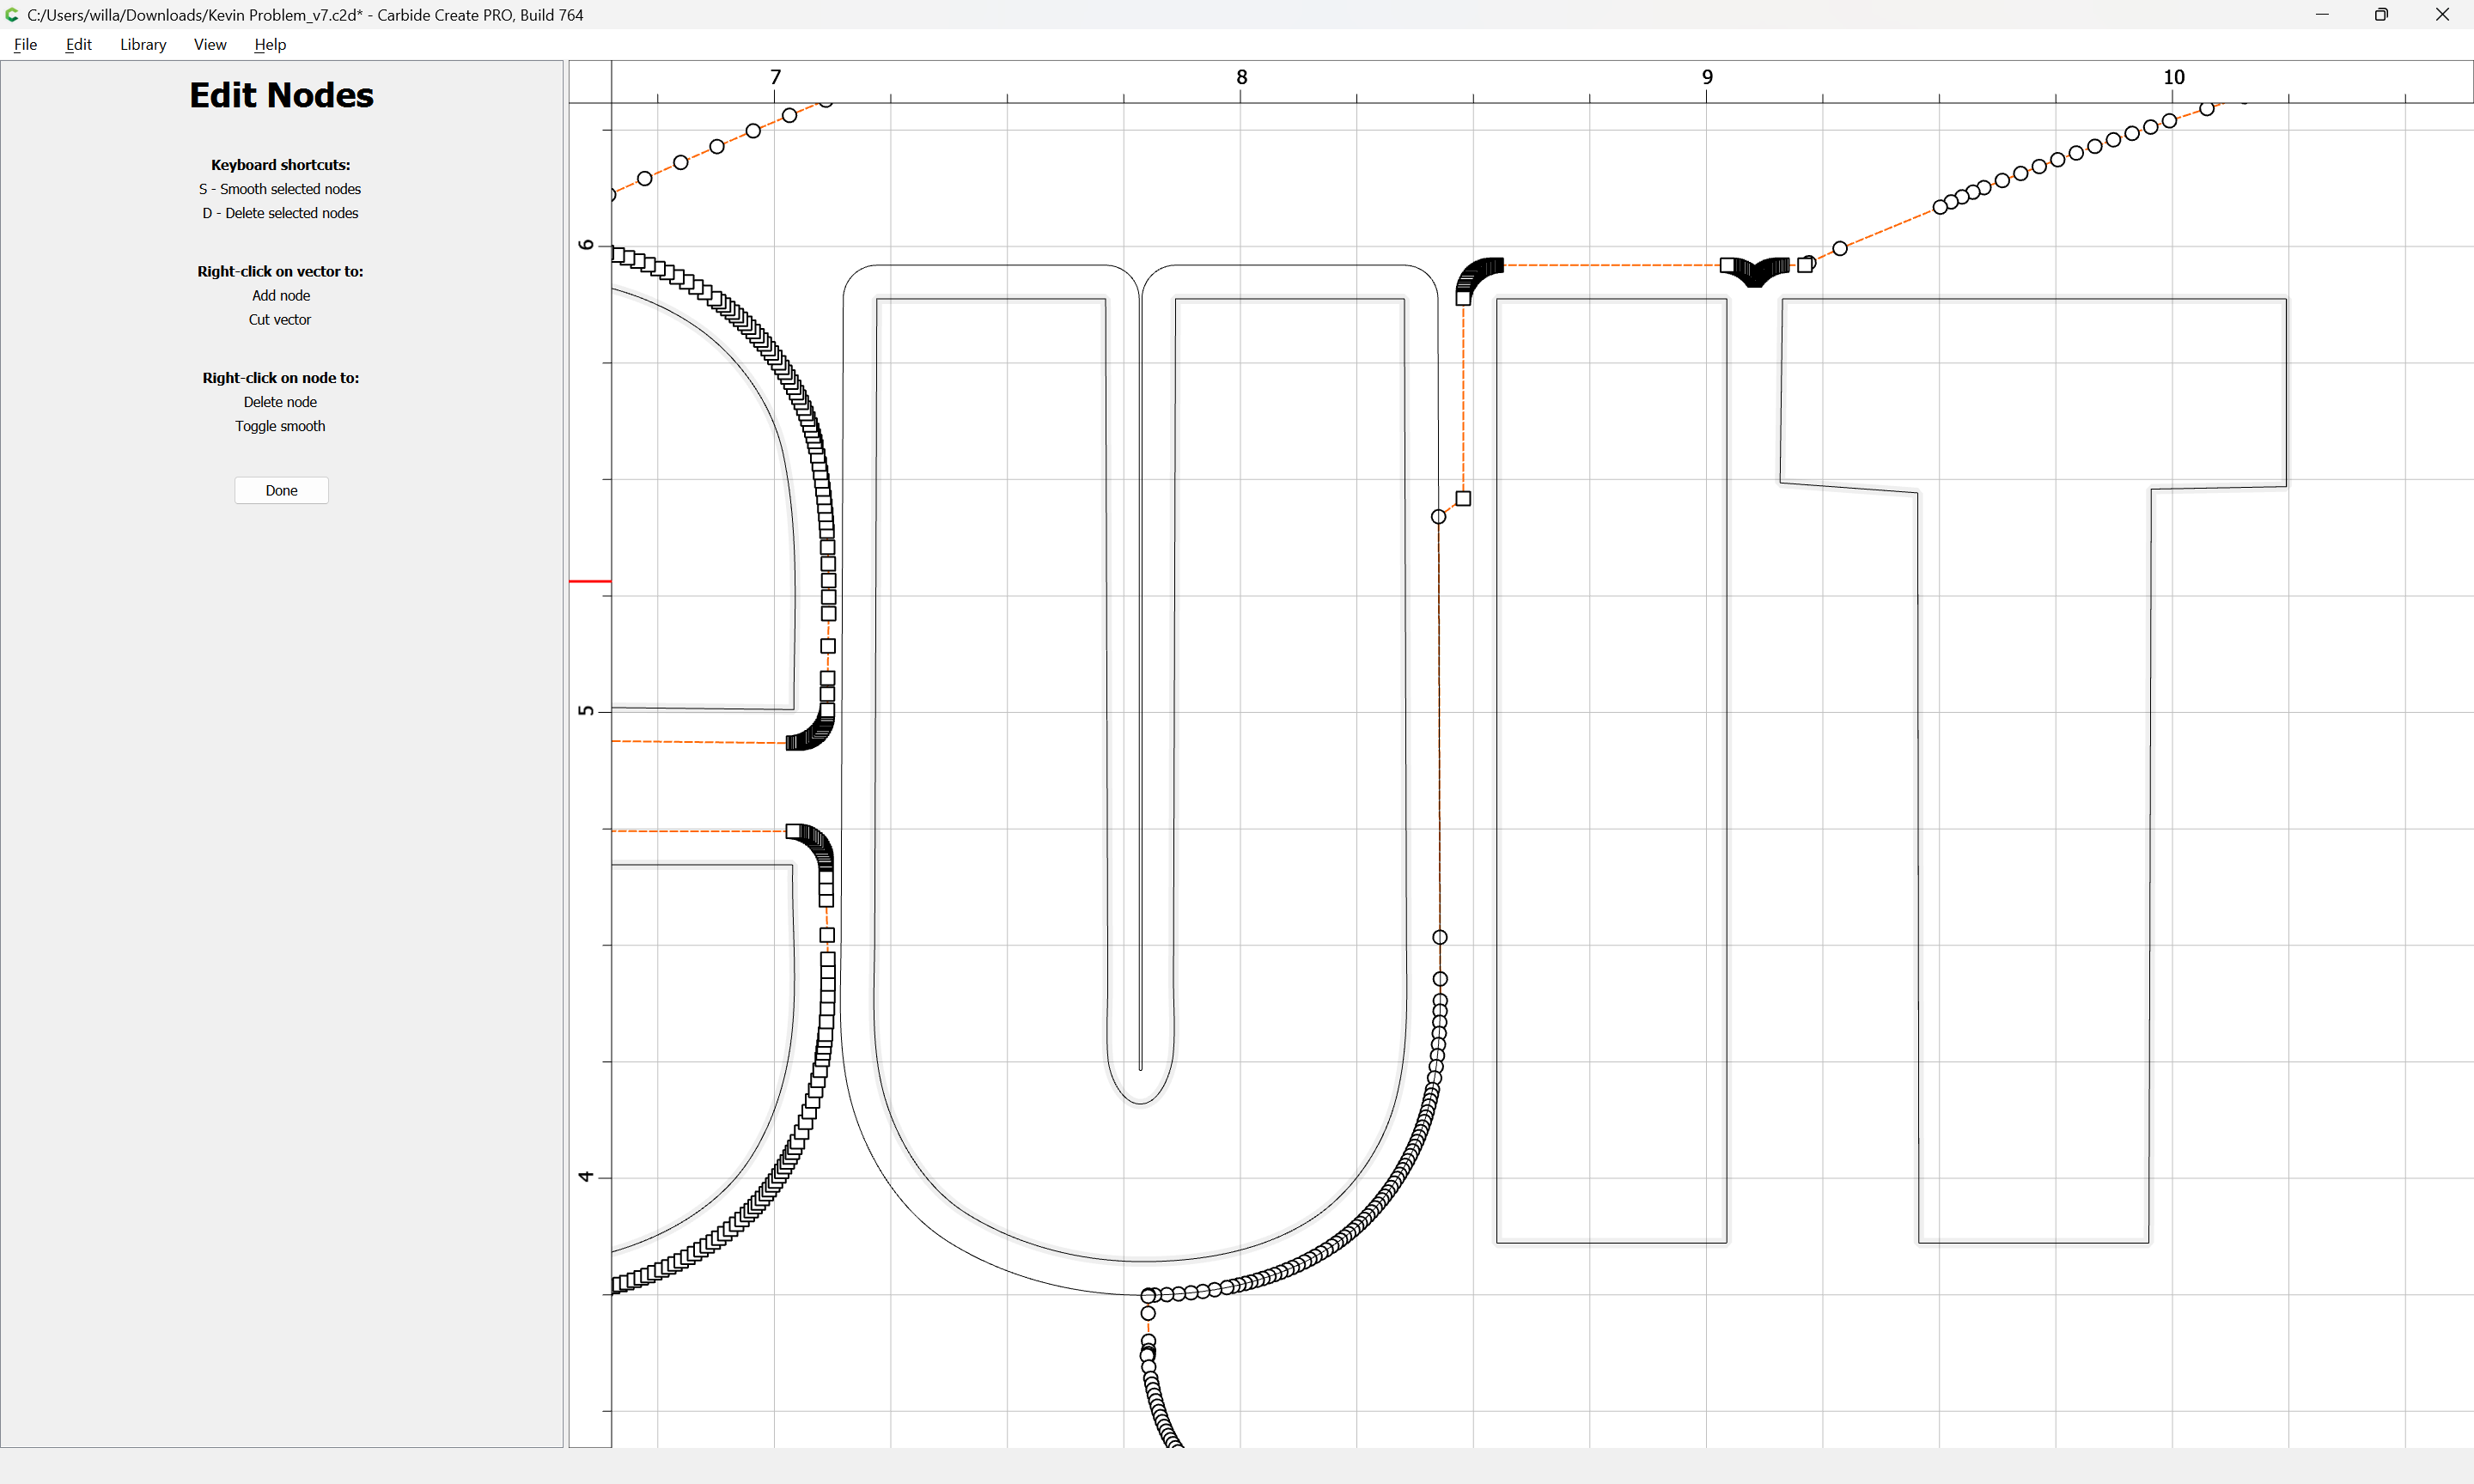
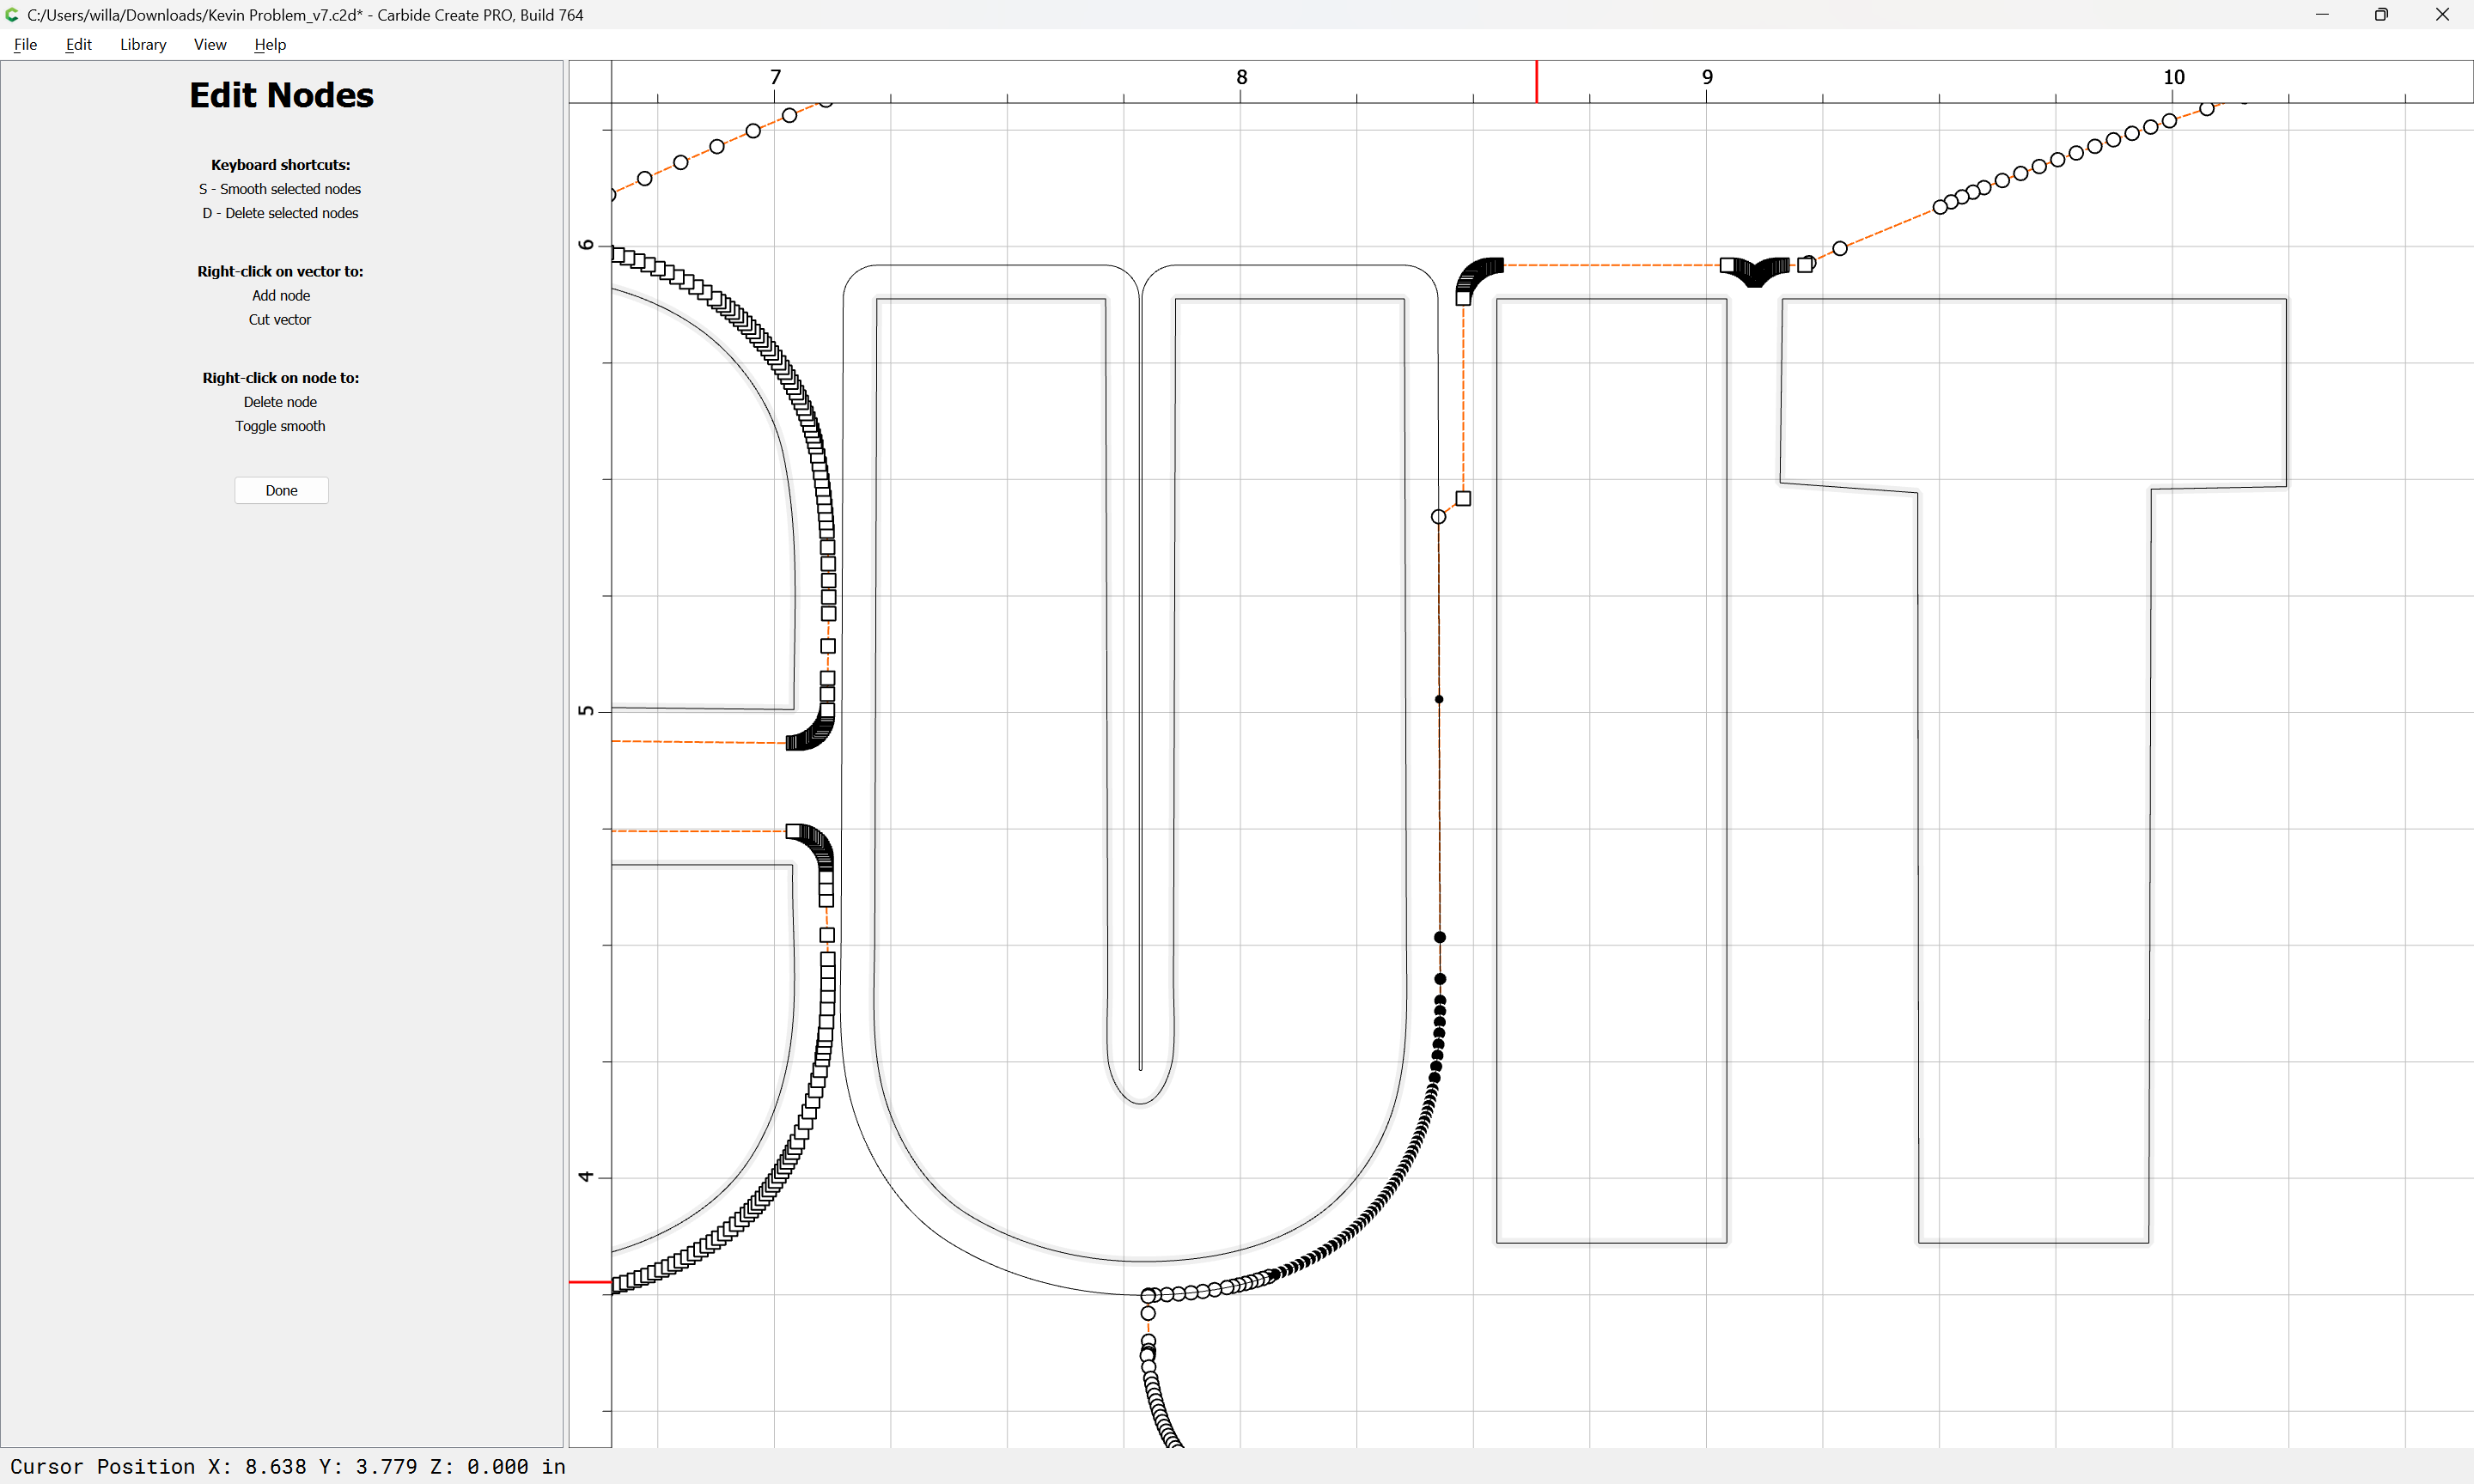
But a mistake was made with the “U”:
Repeat the offset:
Deselect the U
Delete everything else:
and fix the offset geometry to cut consistently:
OK
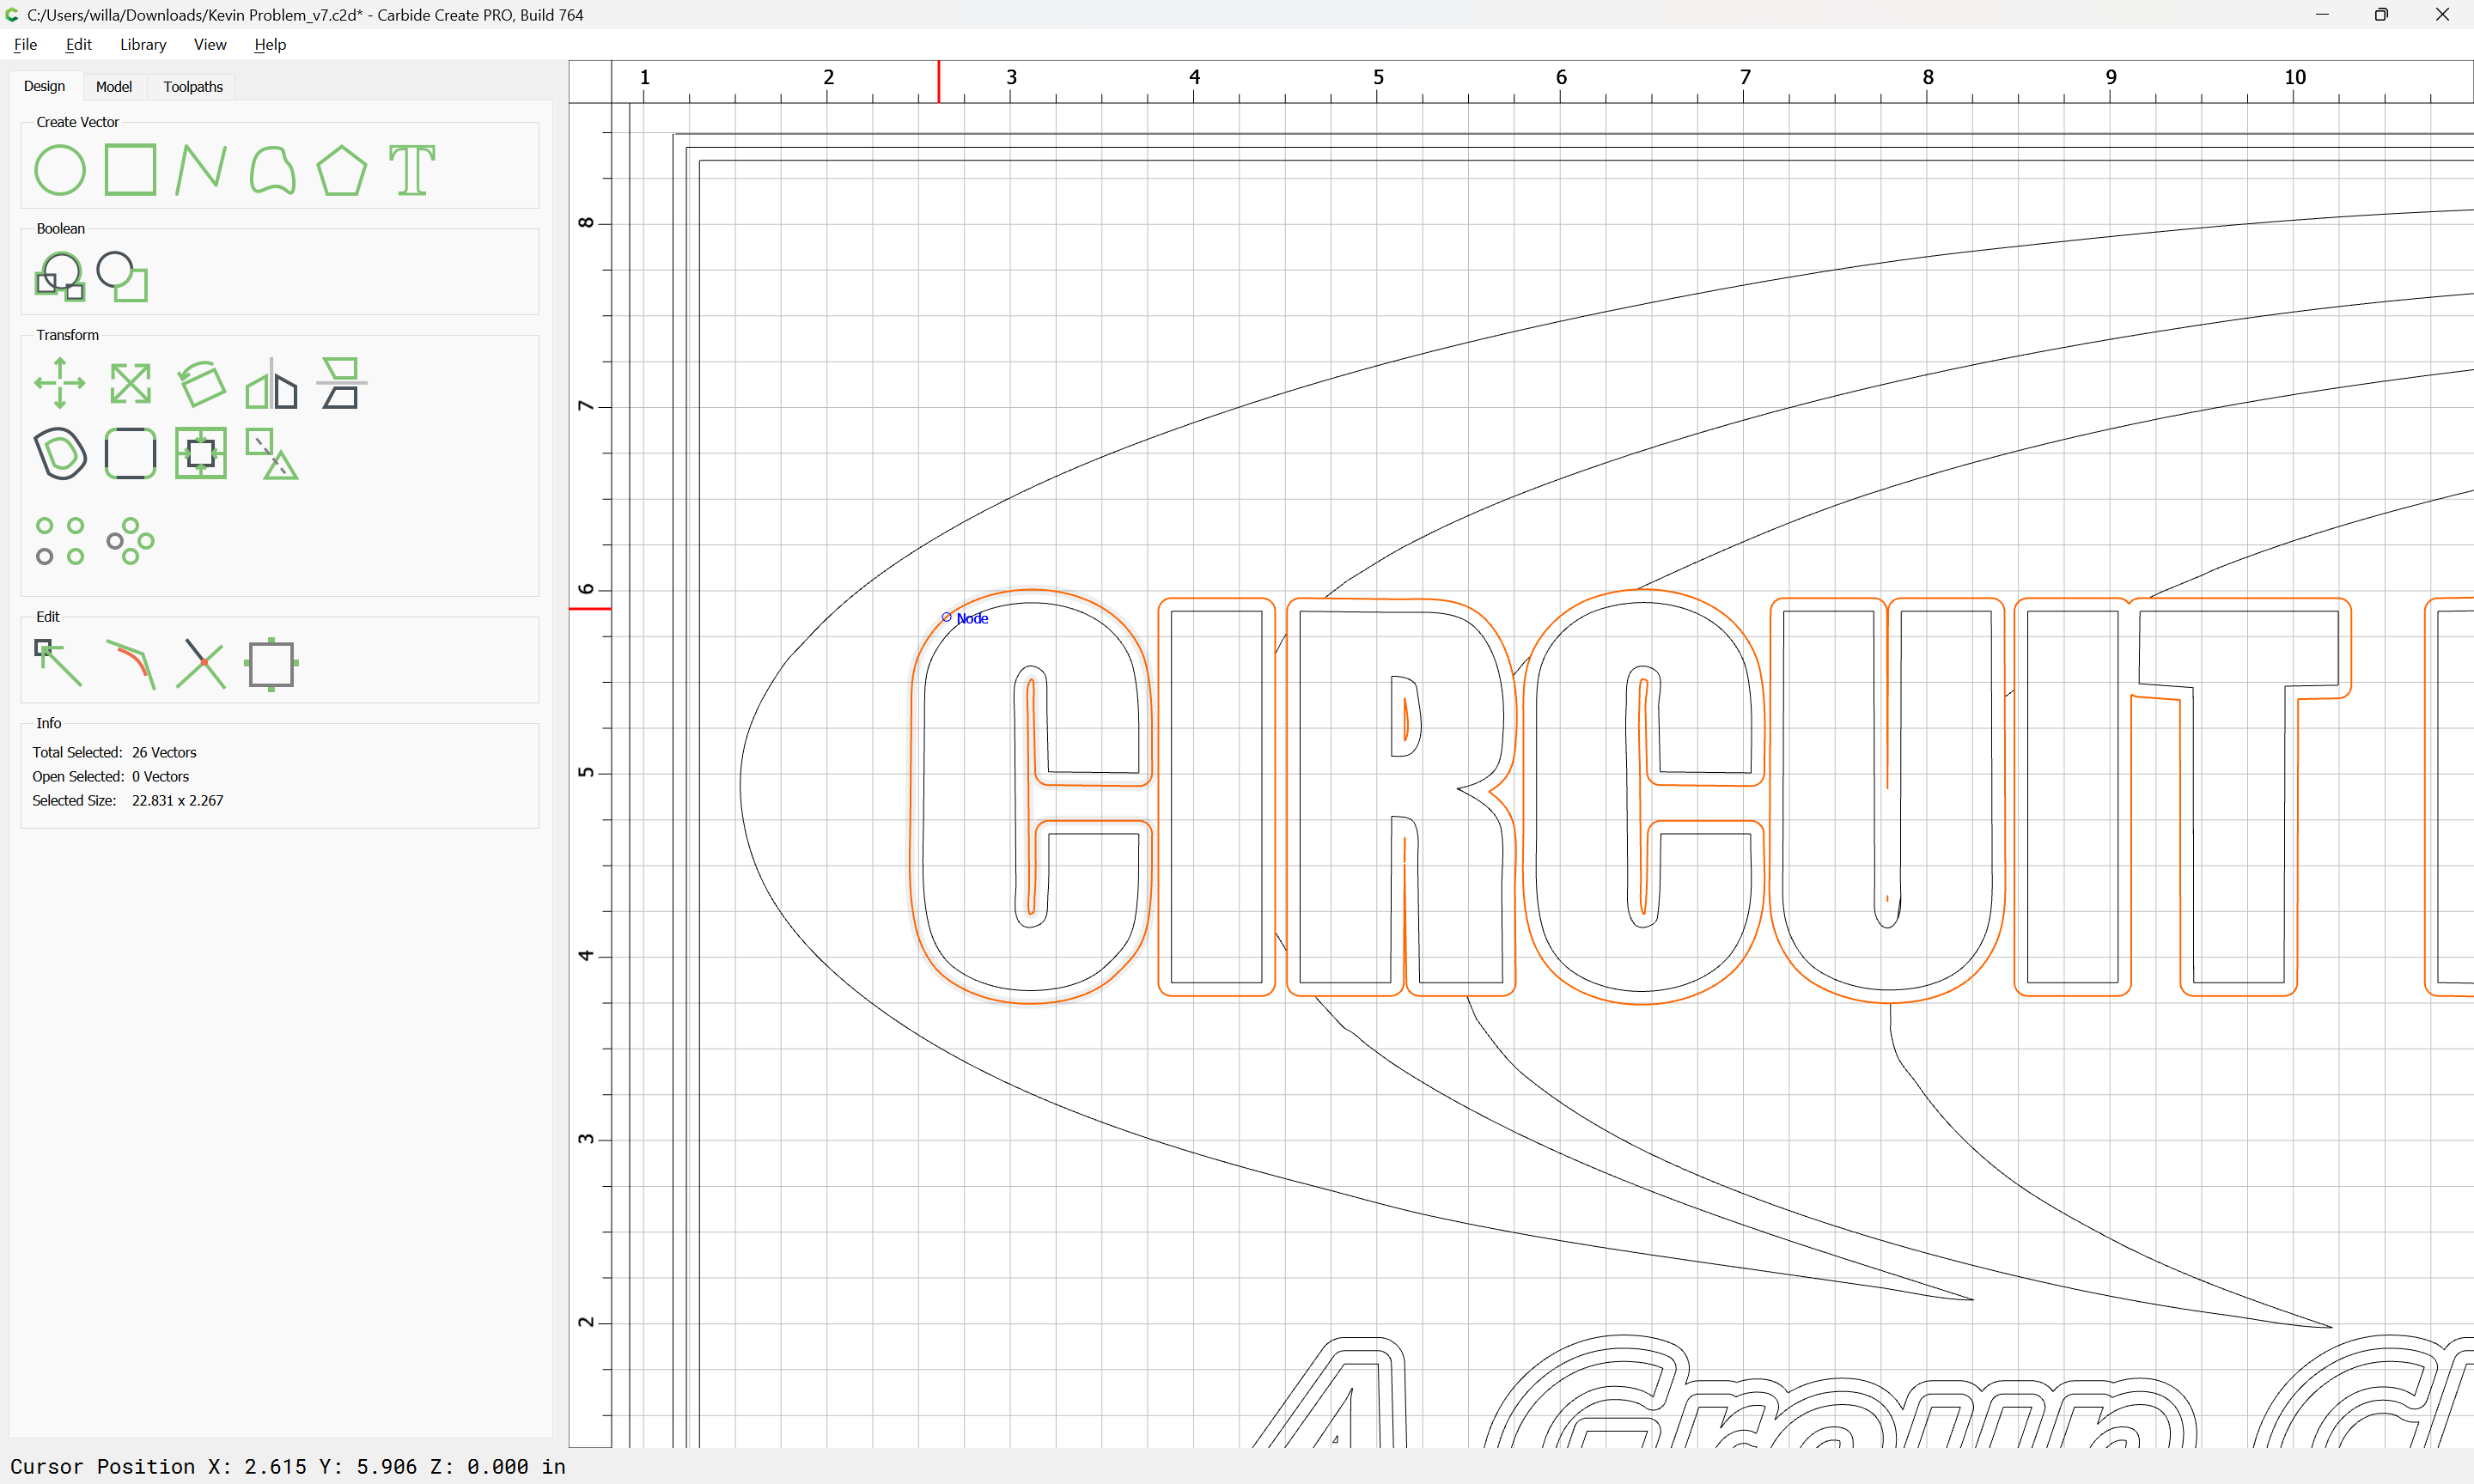
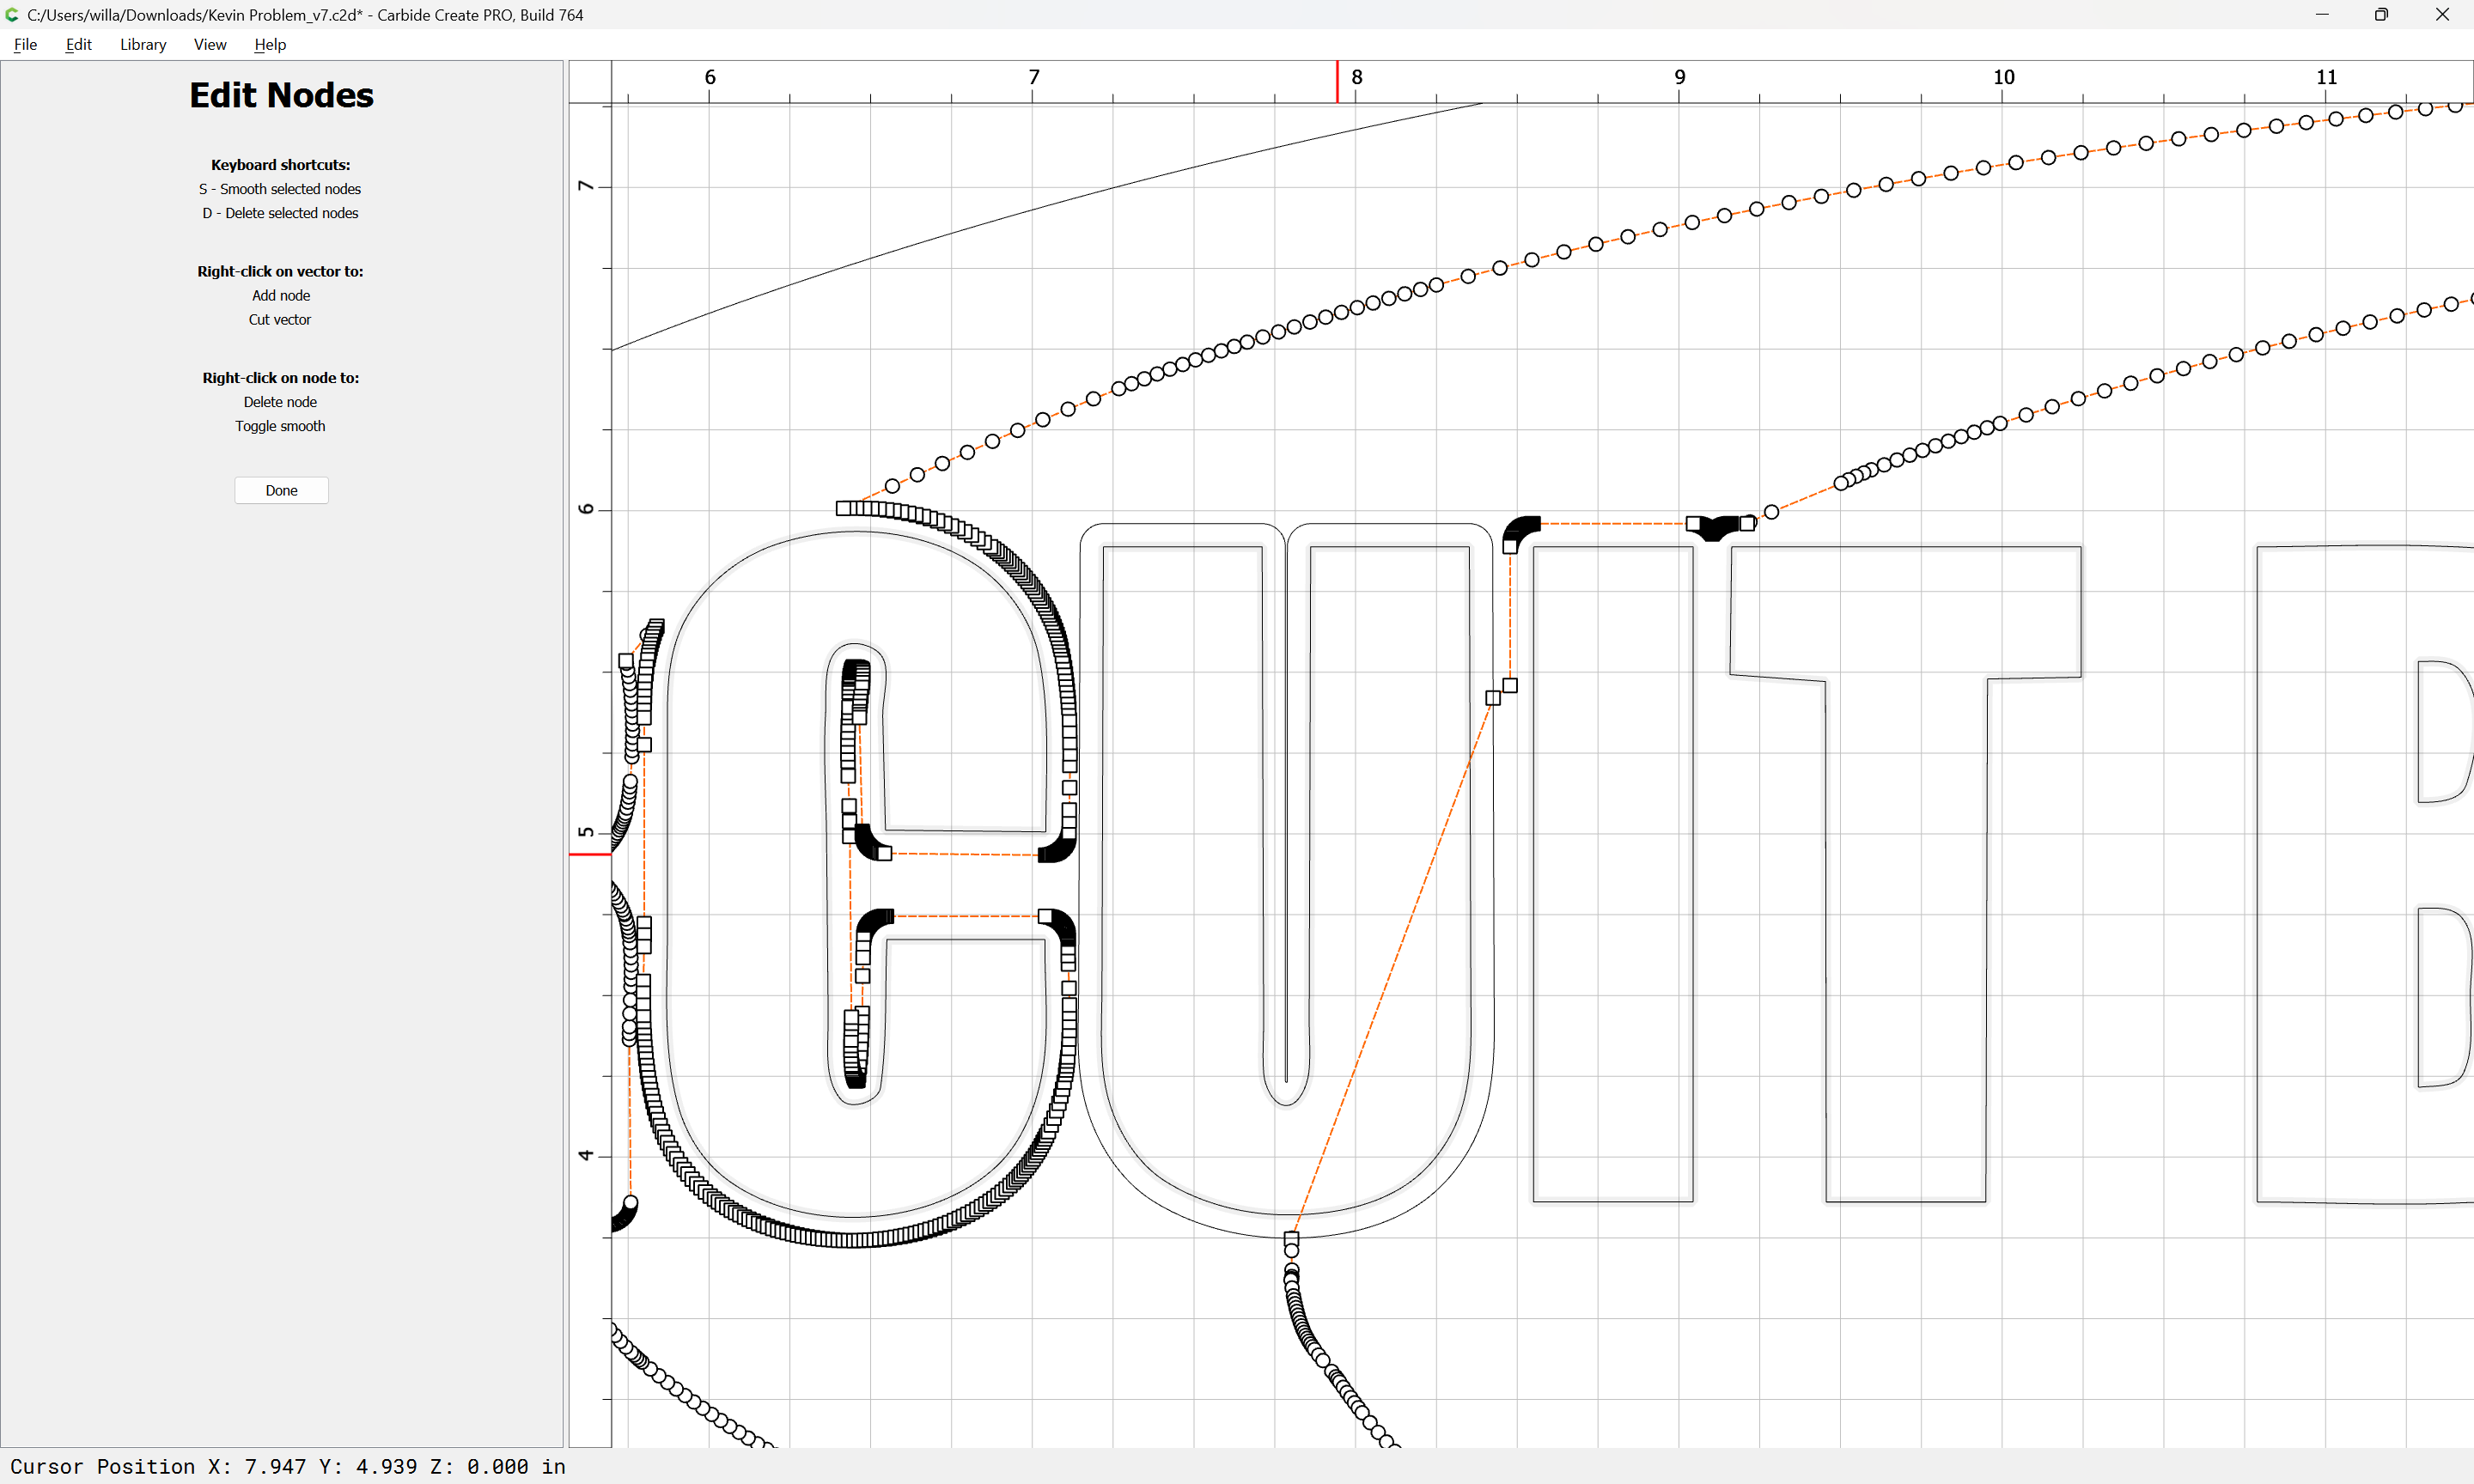
We want to cut the offset U out of the swoosh, so the easiest way to do this is to ensure that they overlap by Node Editing the swoosh:
Done
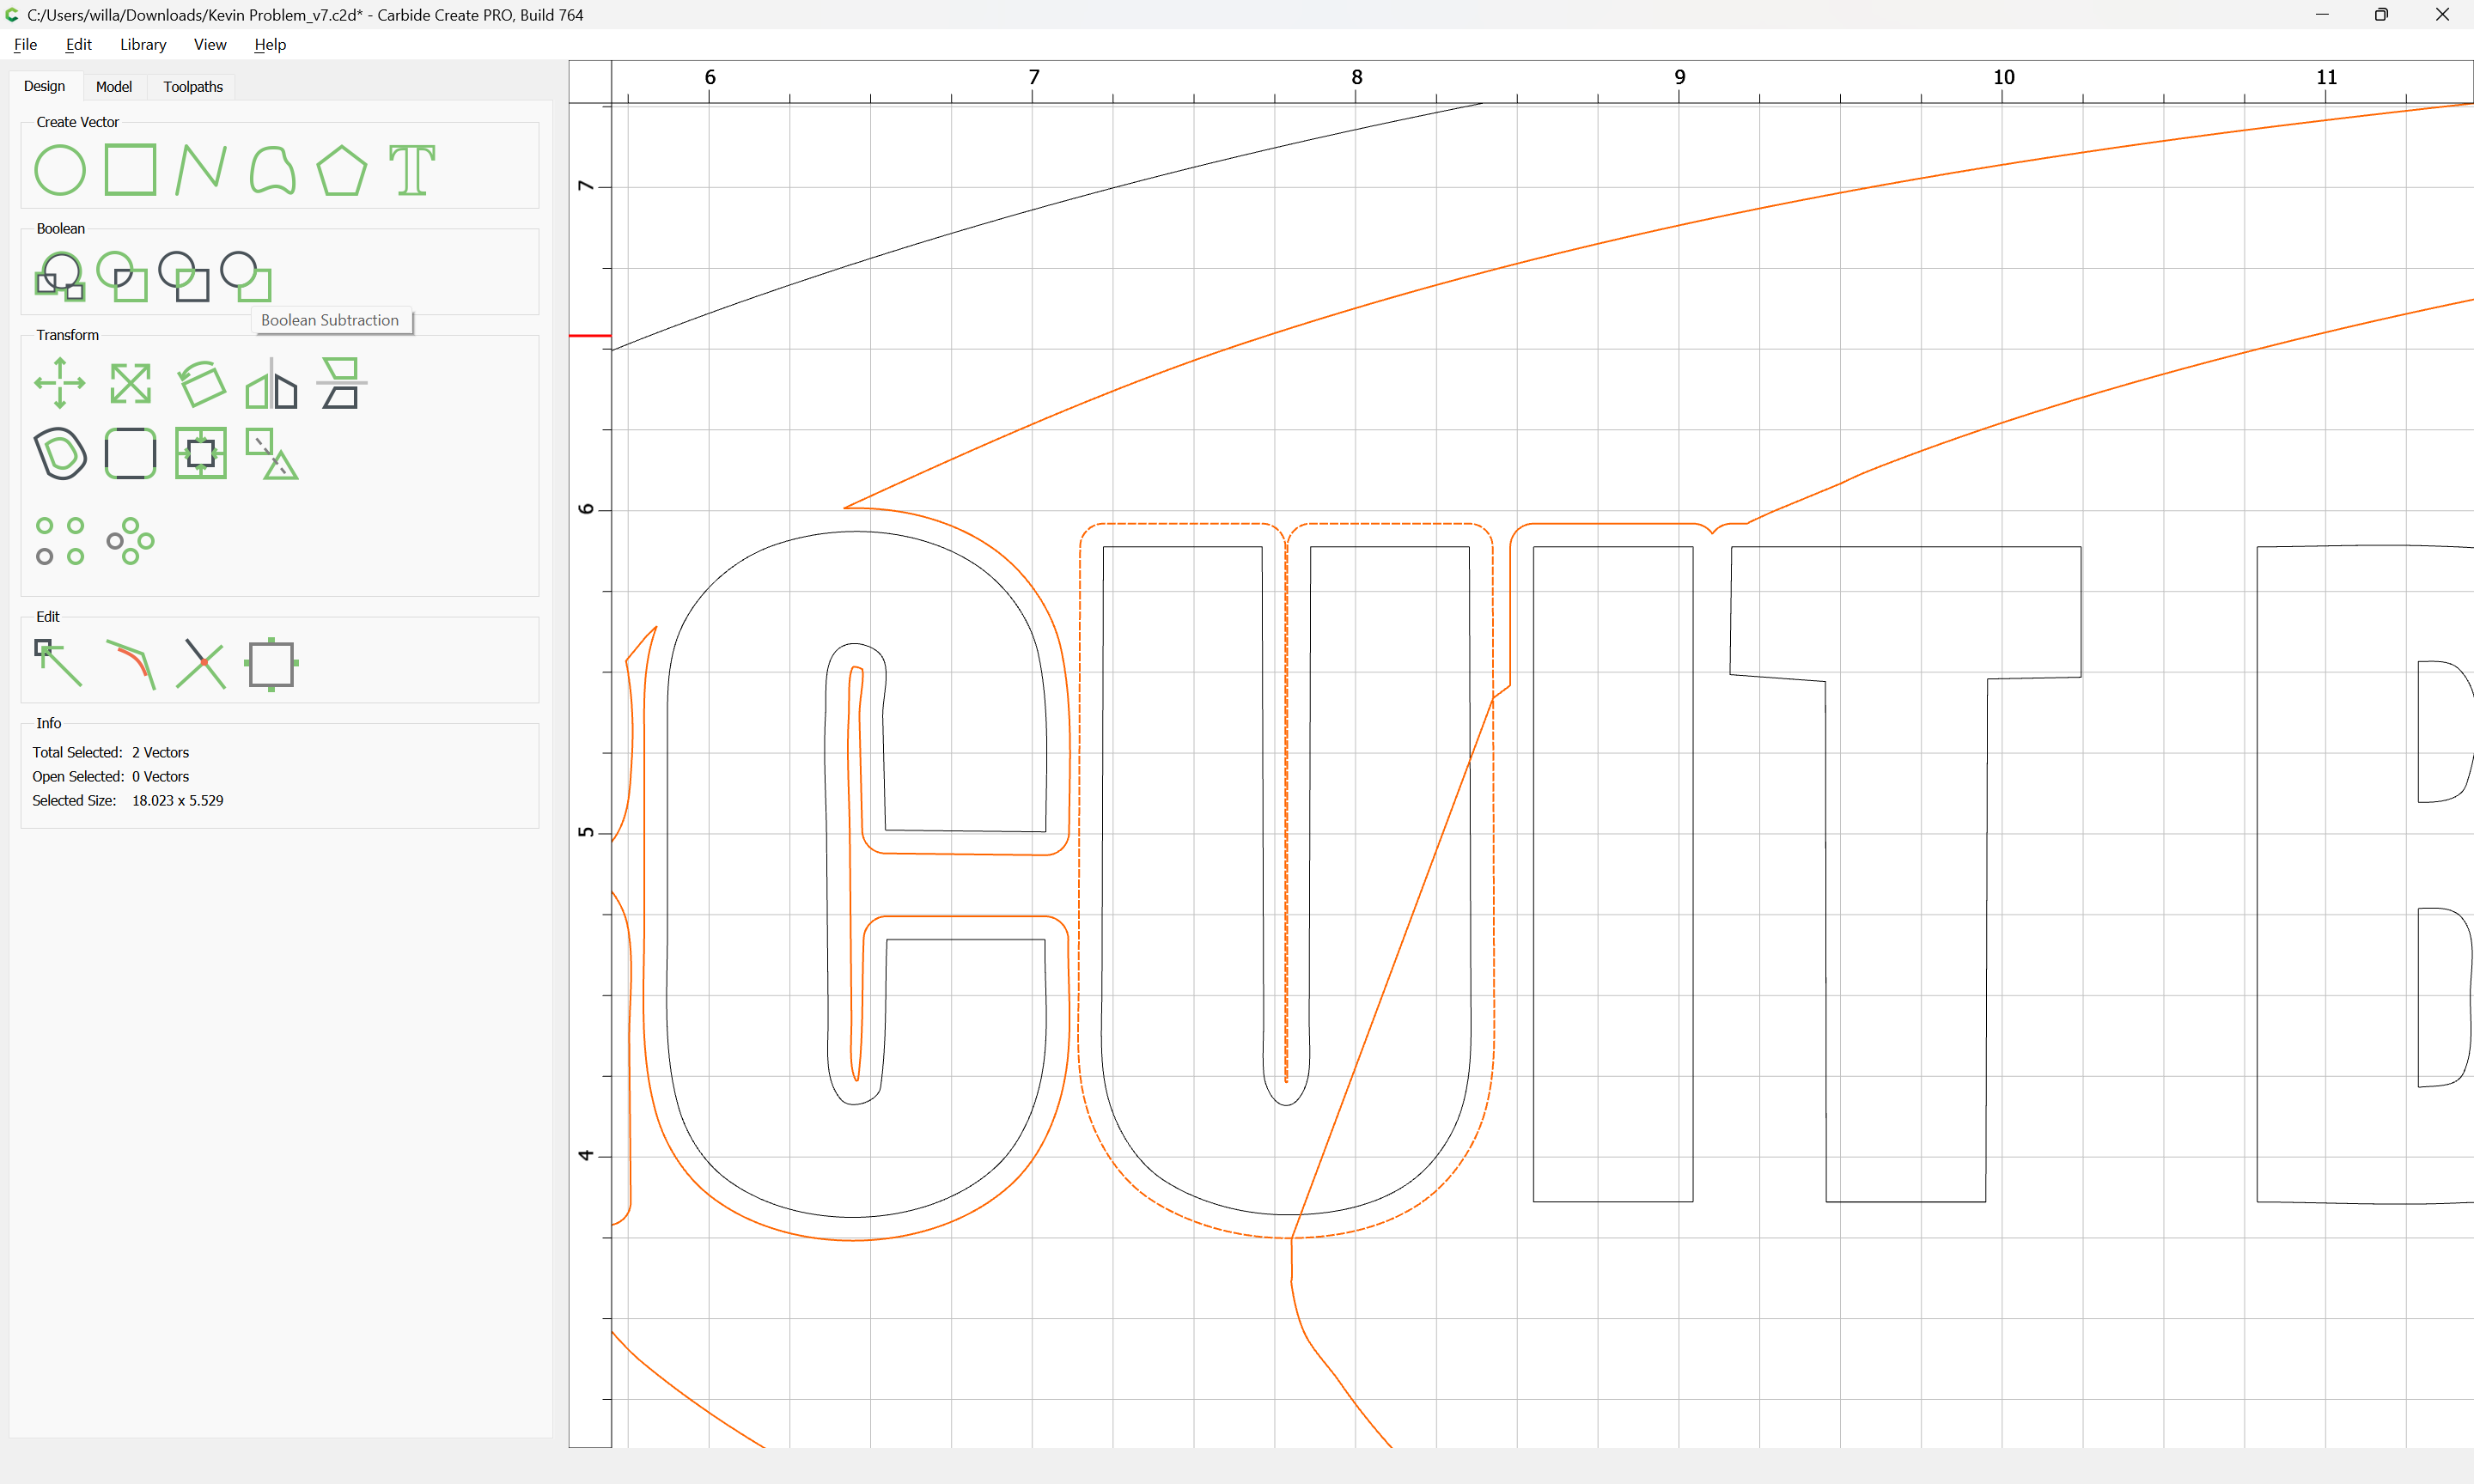
Then Boolean Subtract or use Trim Vectors:
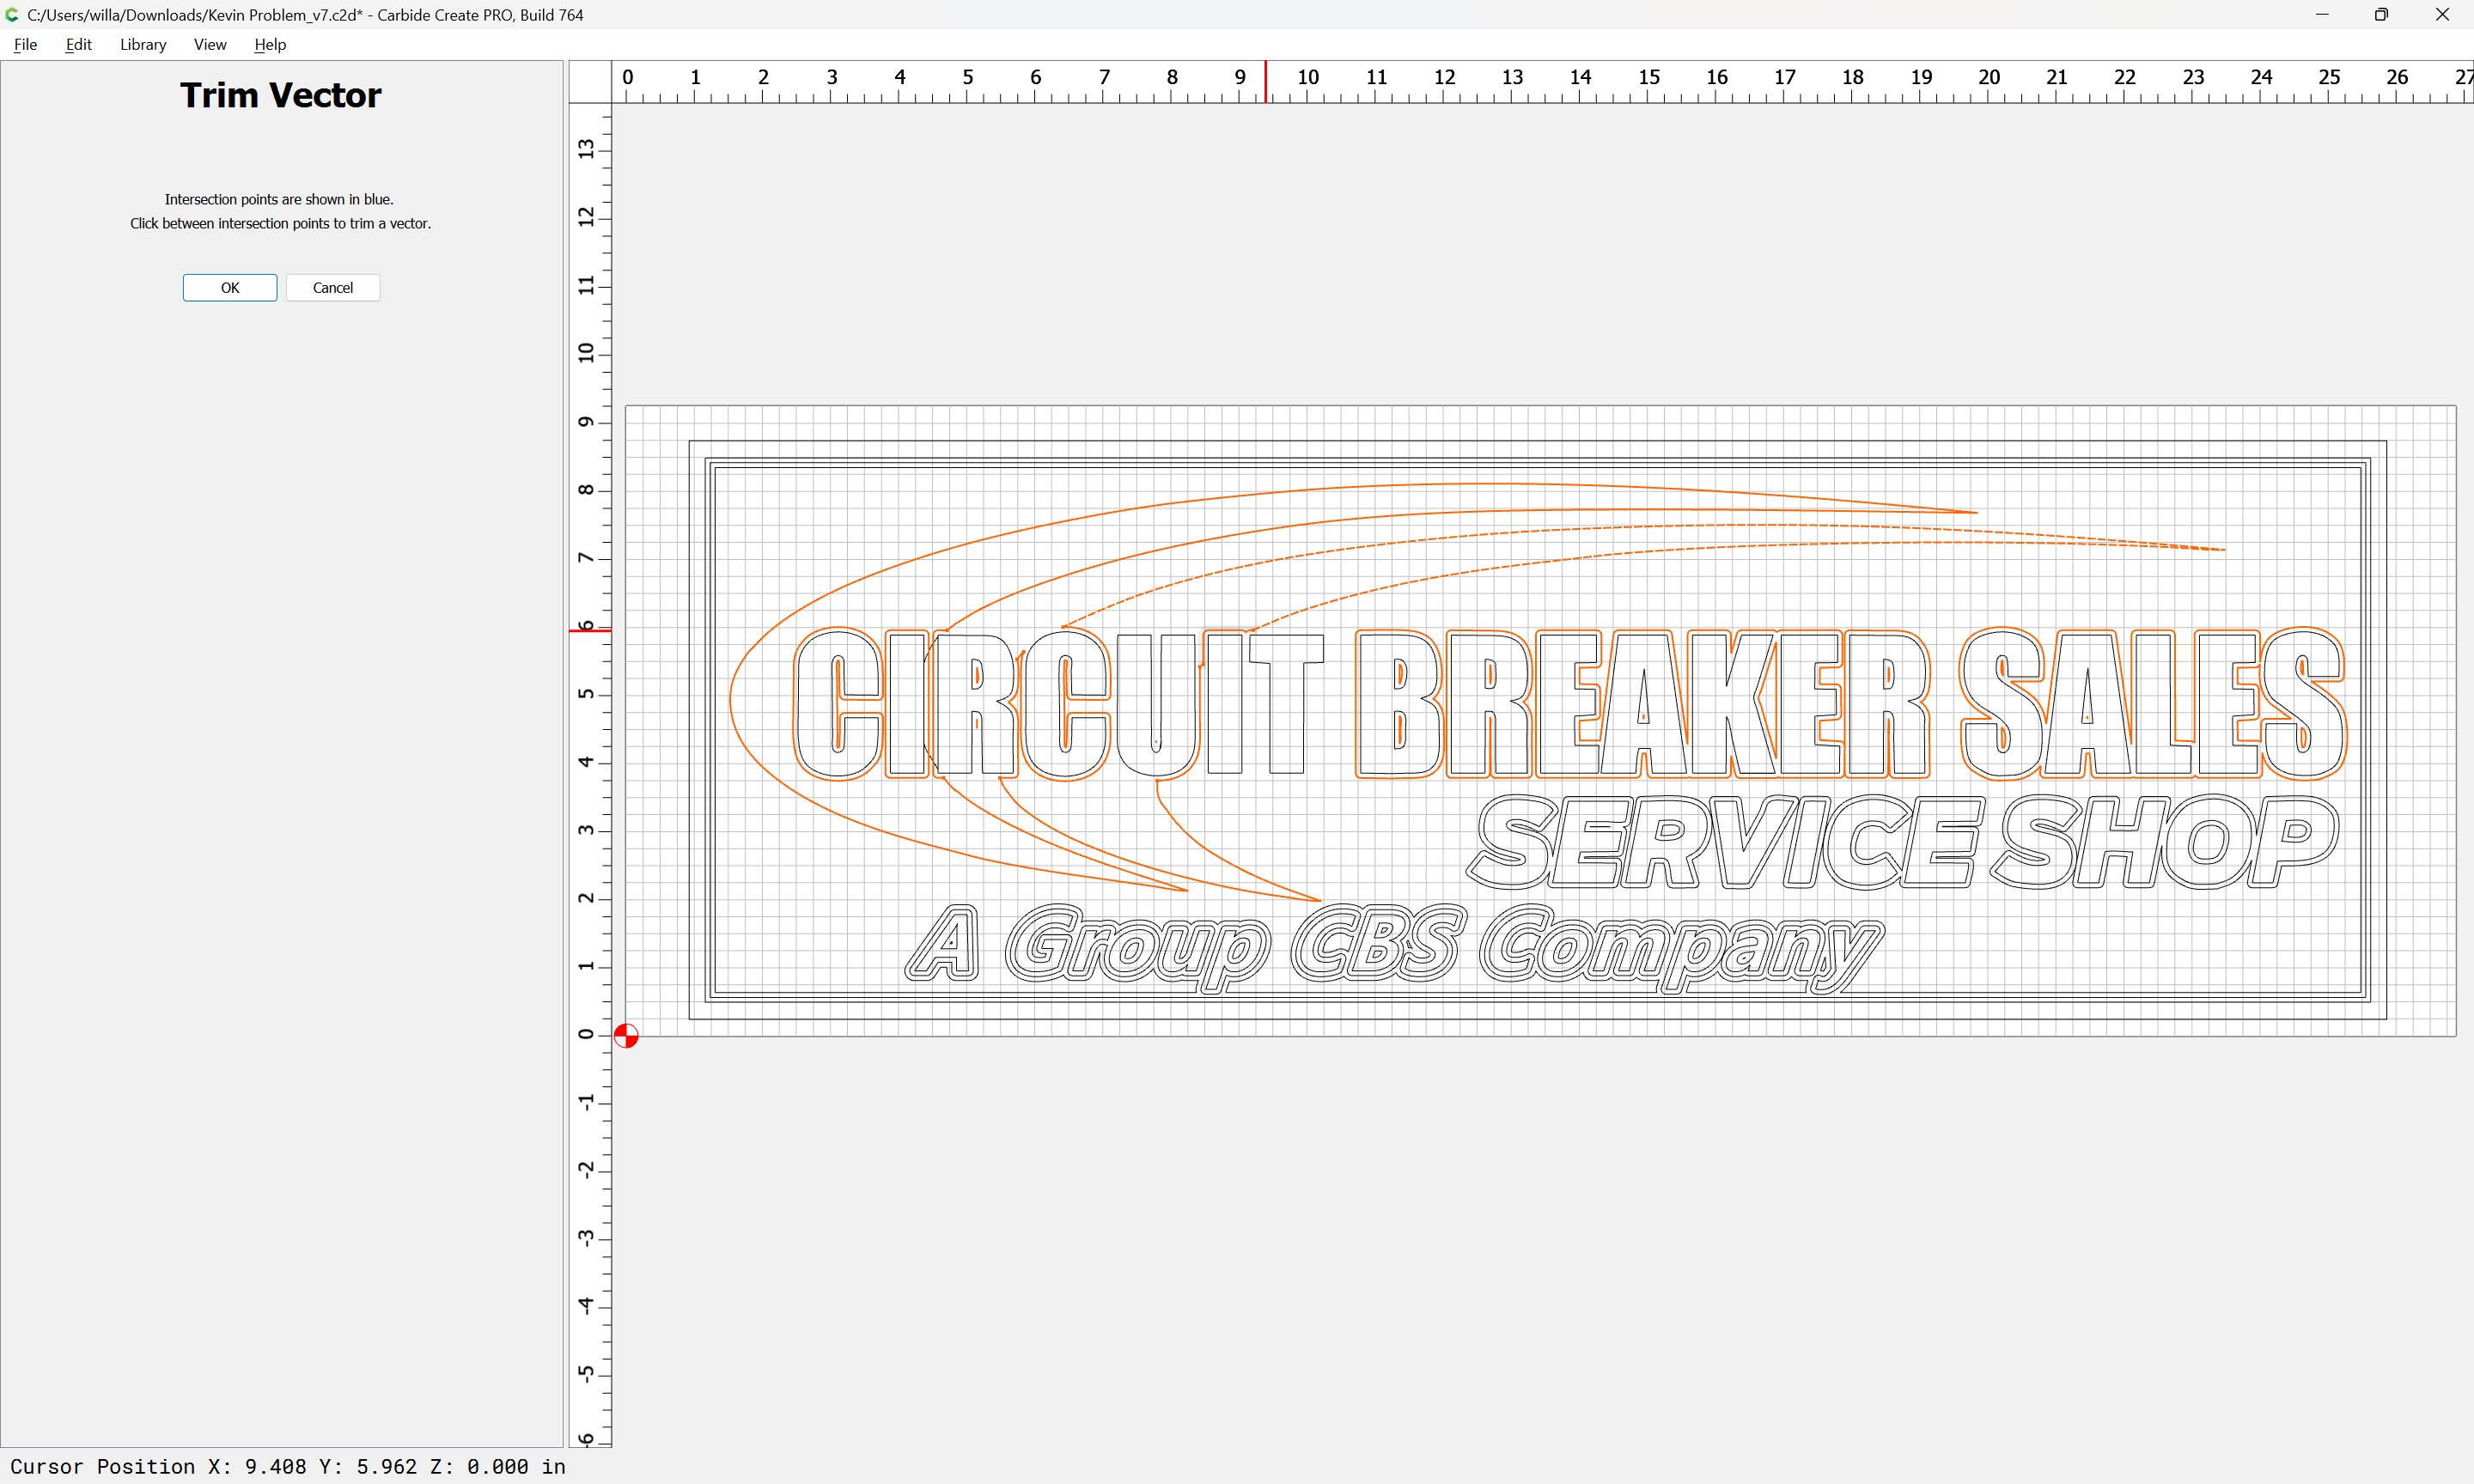
Select the two swooshes (and the offset around the unconnected “C”):
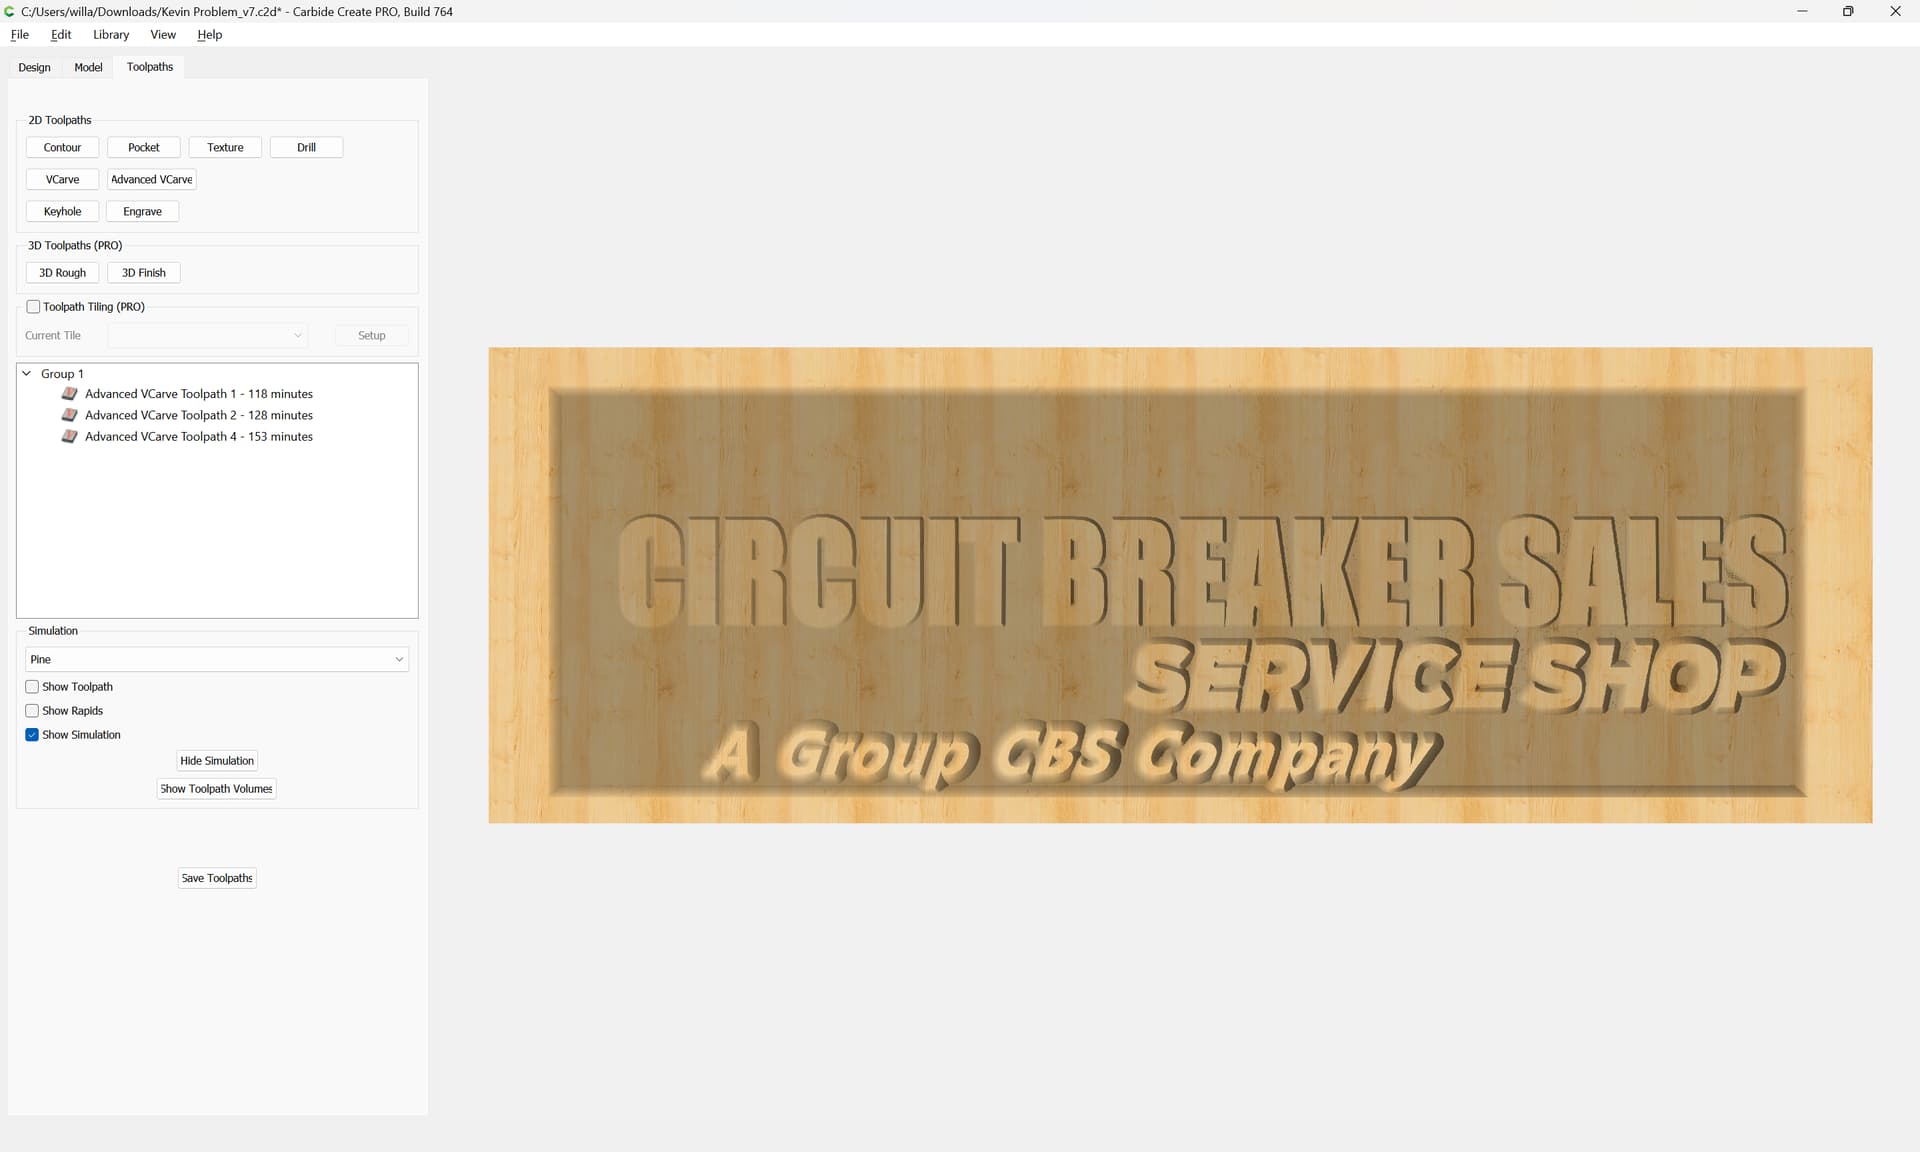
and create a toolpath:
Thank you Will,
I changed the order of height for the text a bit. Came out great.
Thank you again
Kevin William Try.c2d (1.3 MB)
Great tutorial. Would like to see this in a video tutorial.
Sorry, that’s not in my wheelhouse — you’d have to get @KevBarn14 or @wmoy to do a video.
This topic was automatically closed 30 days after the last reply. New replies are no longer allowed.