My Shapeoko is still new, I started few weeks ago working small steps on it.
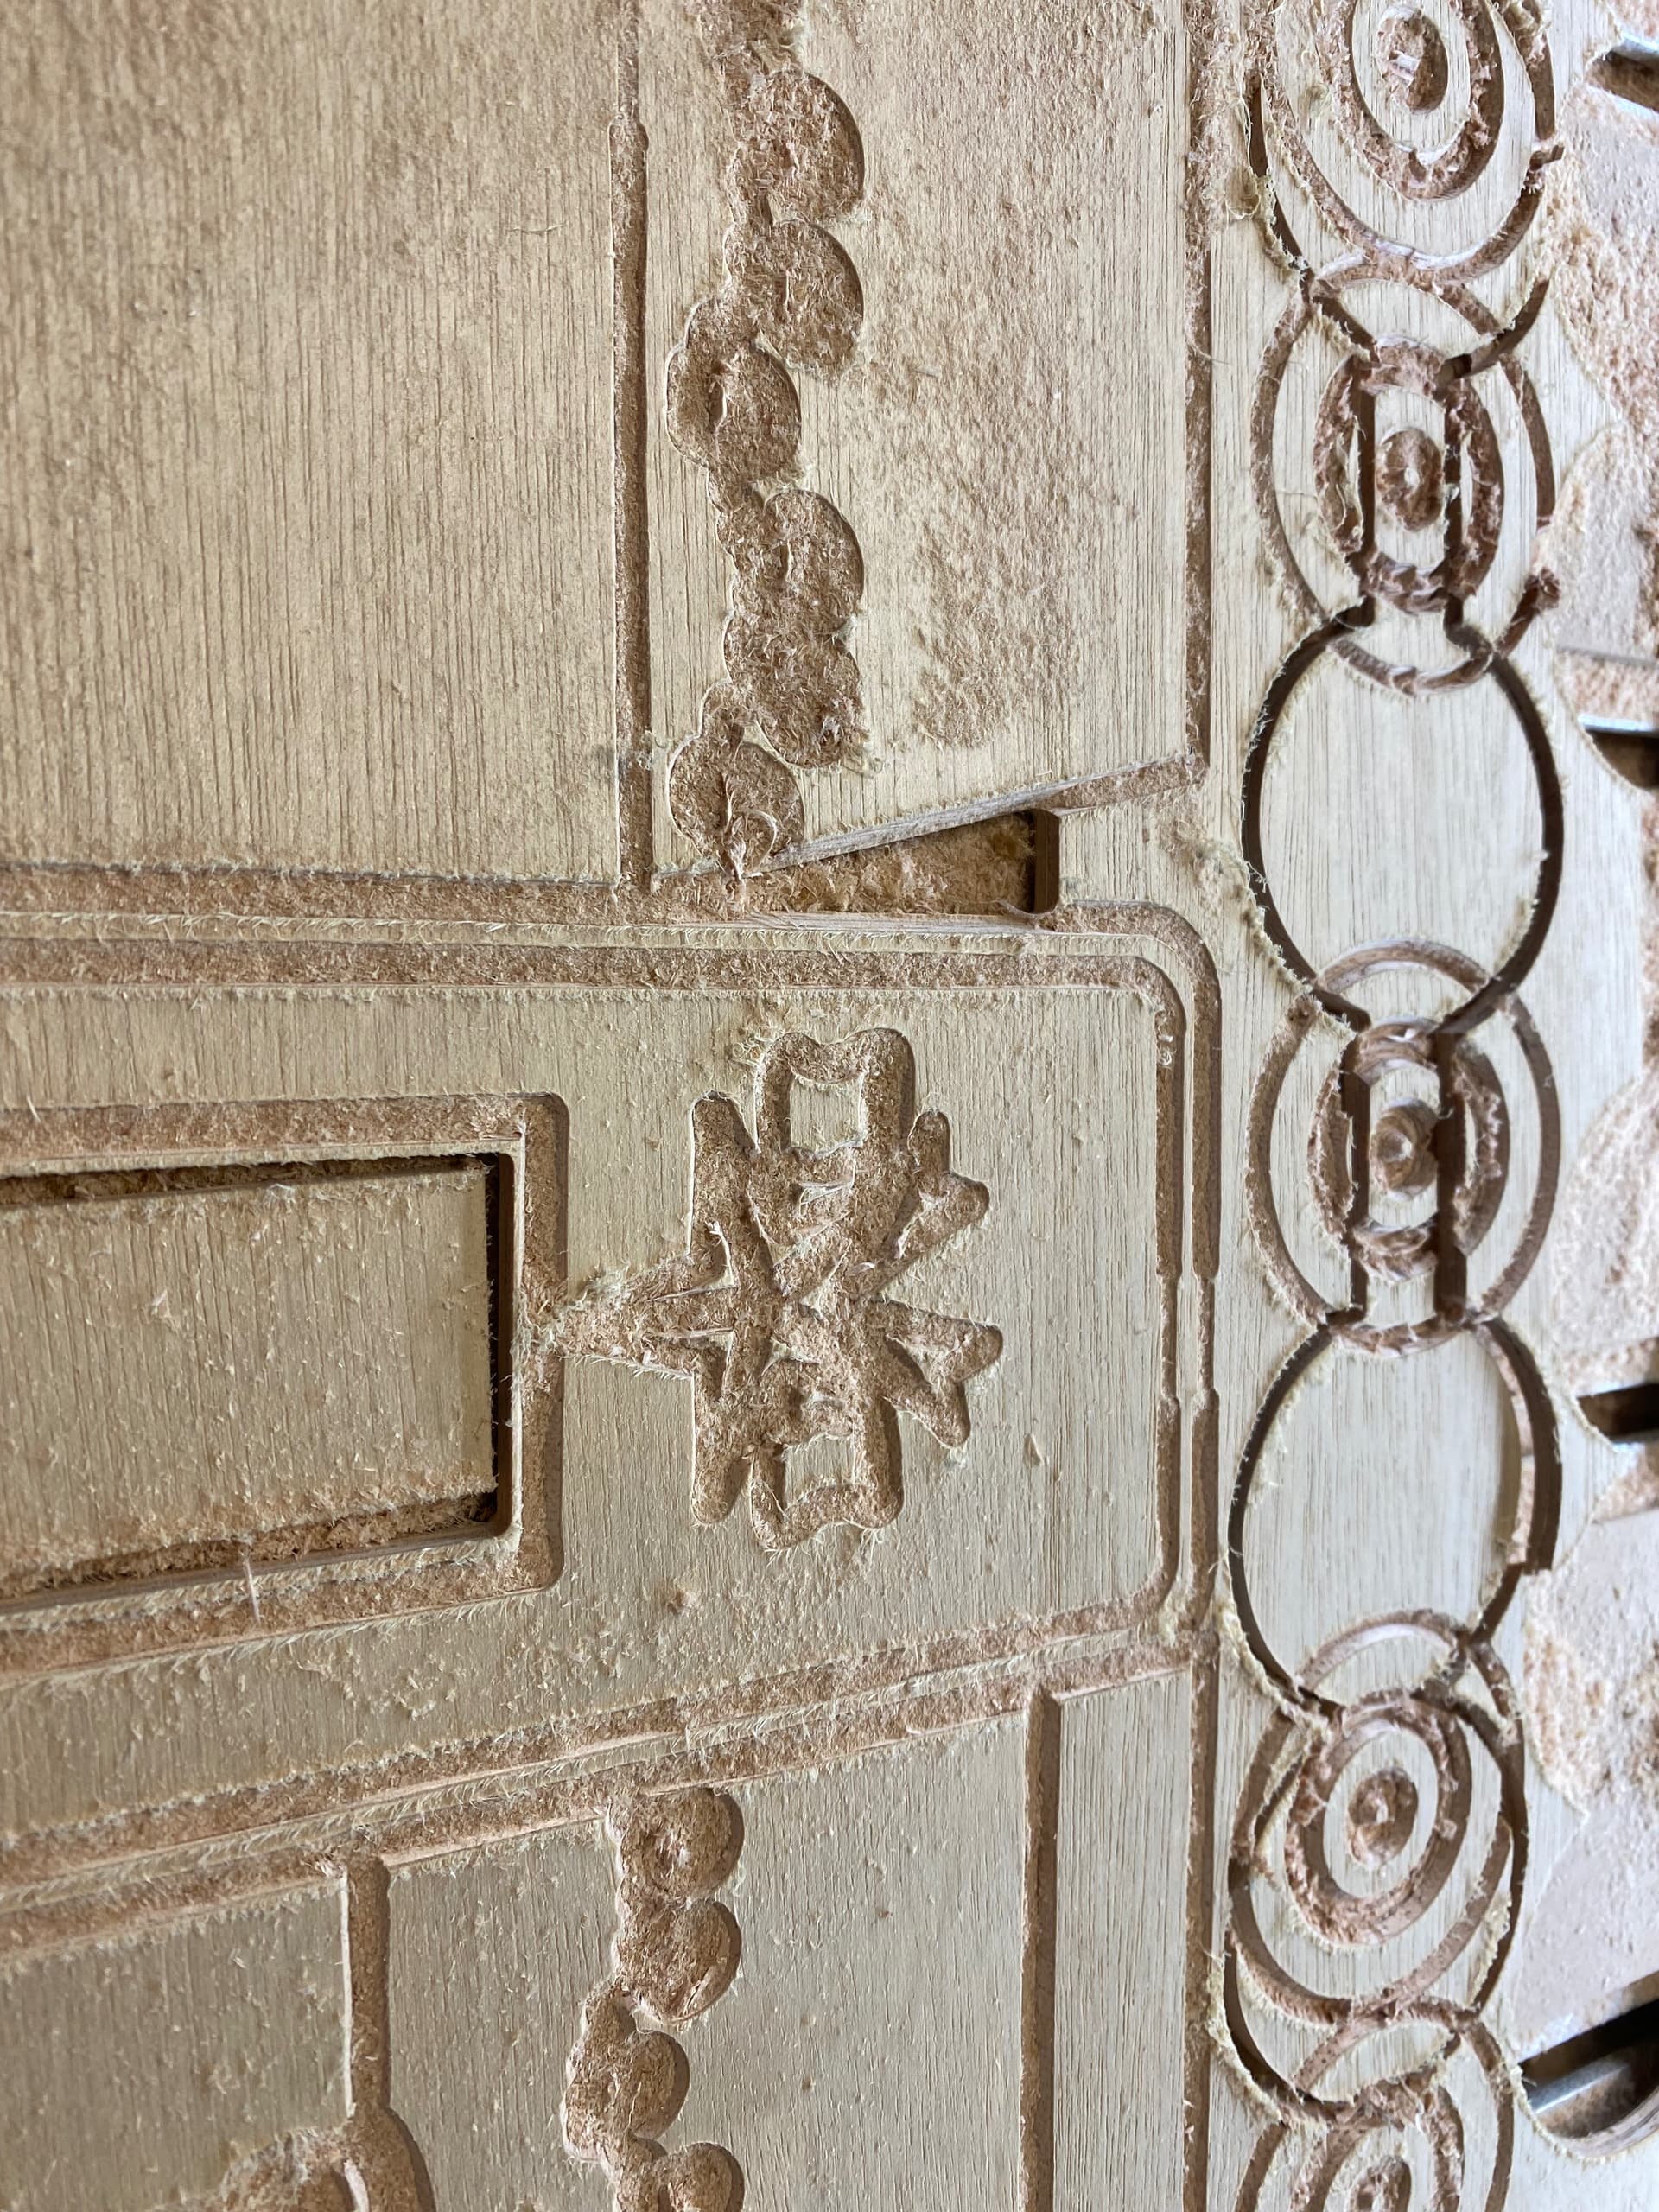
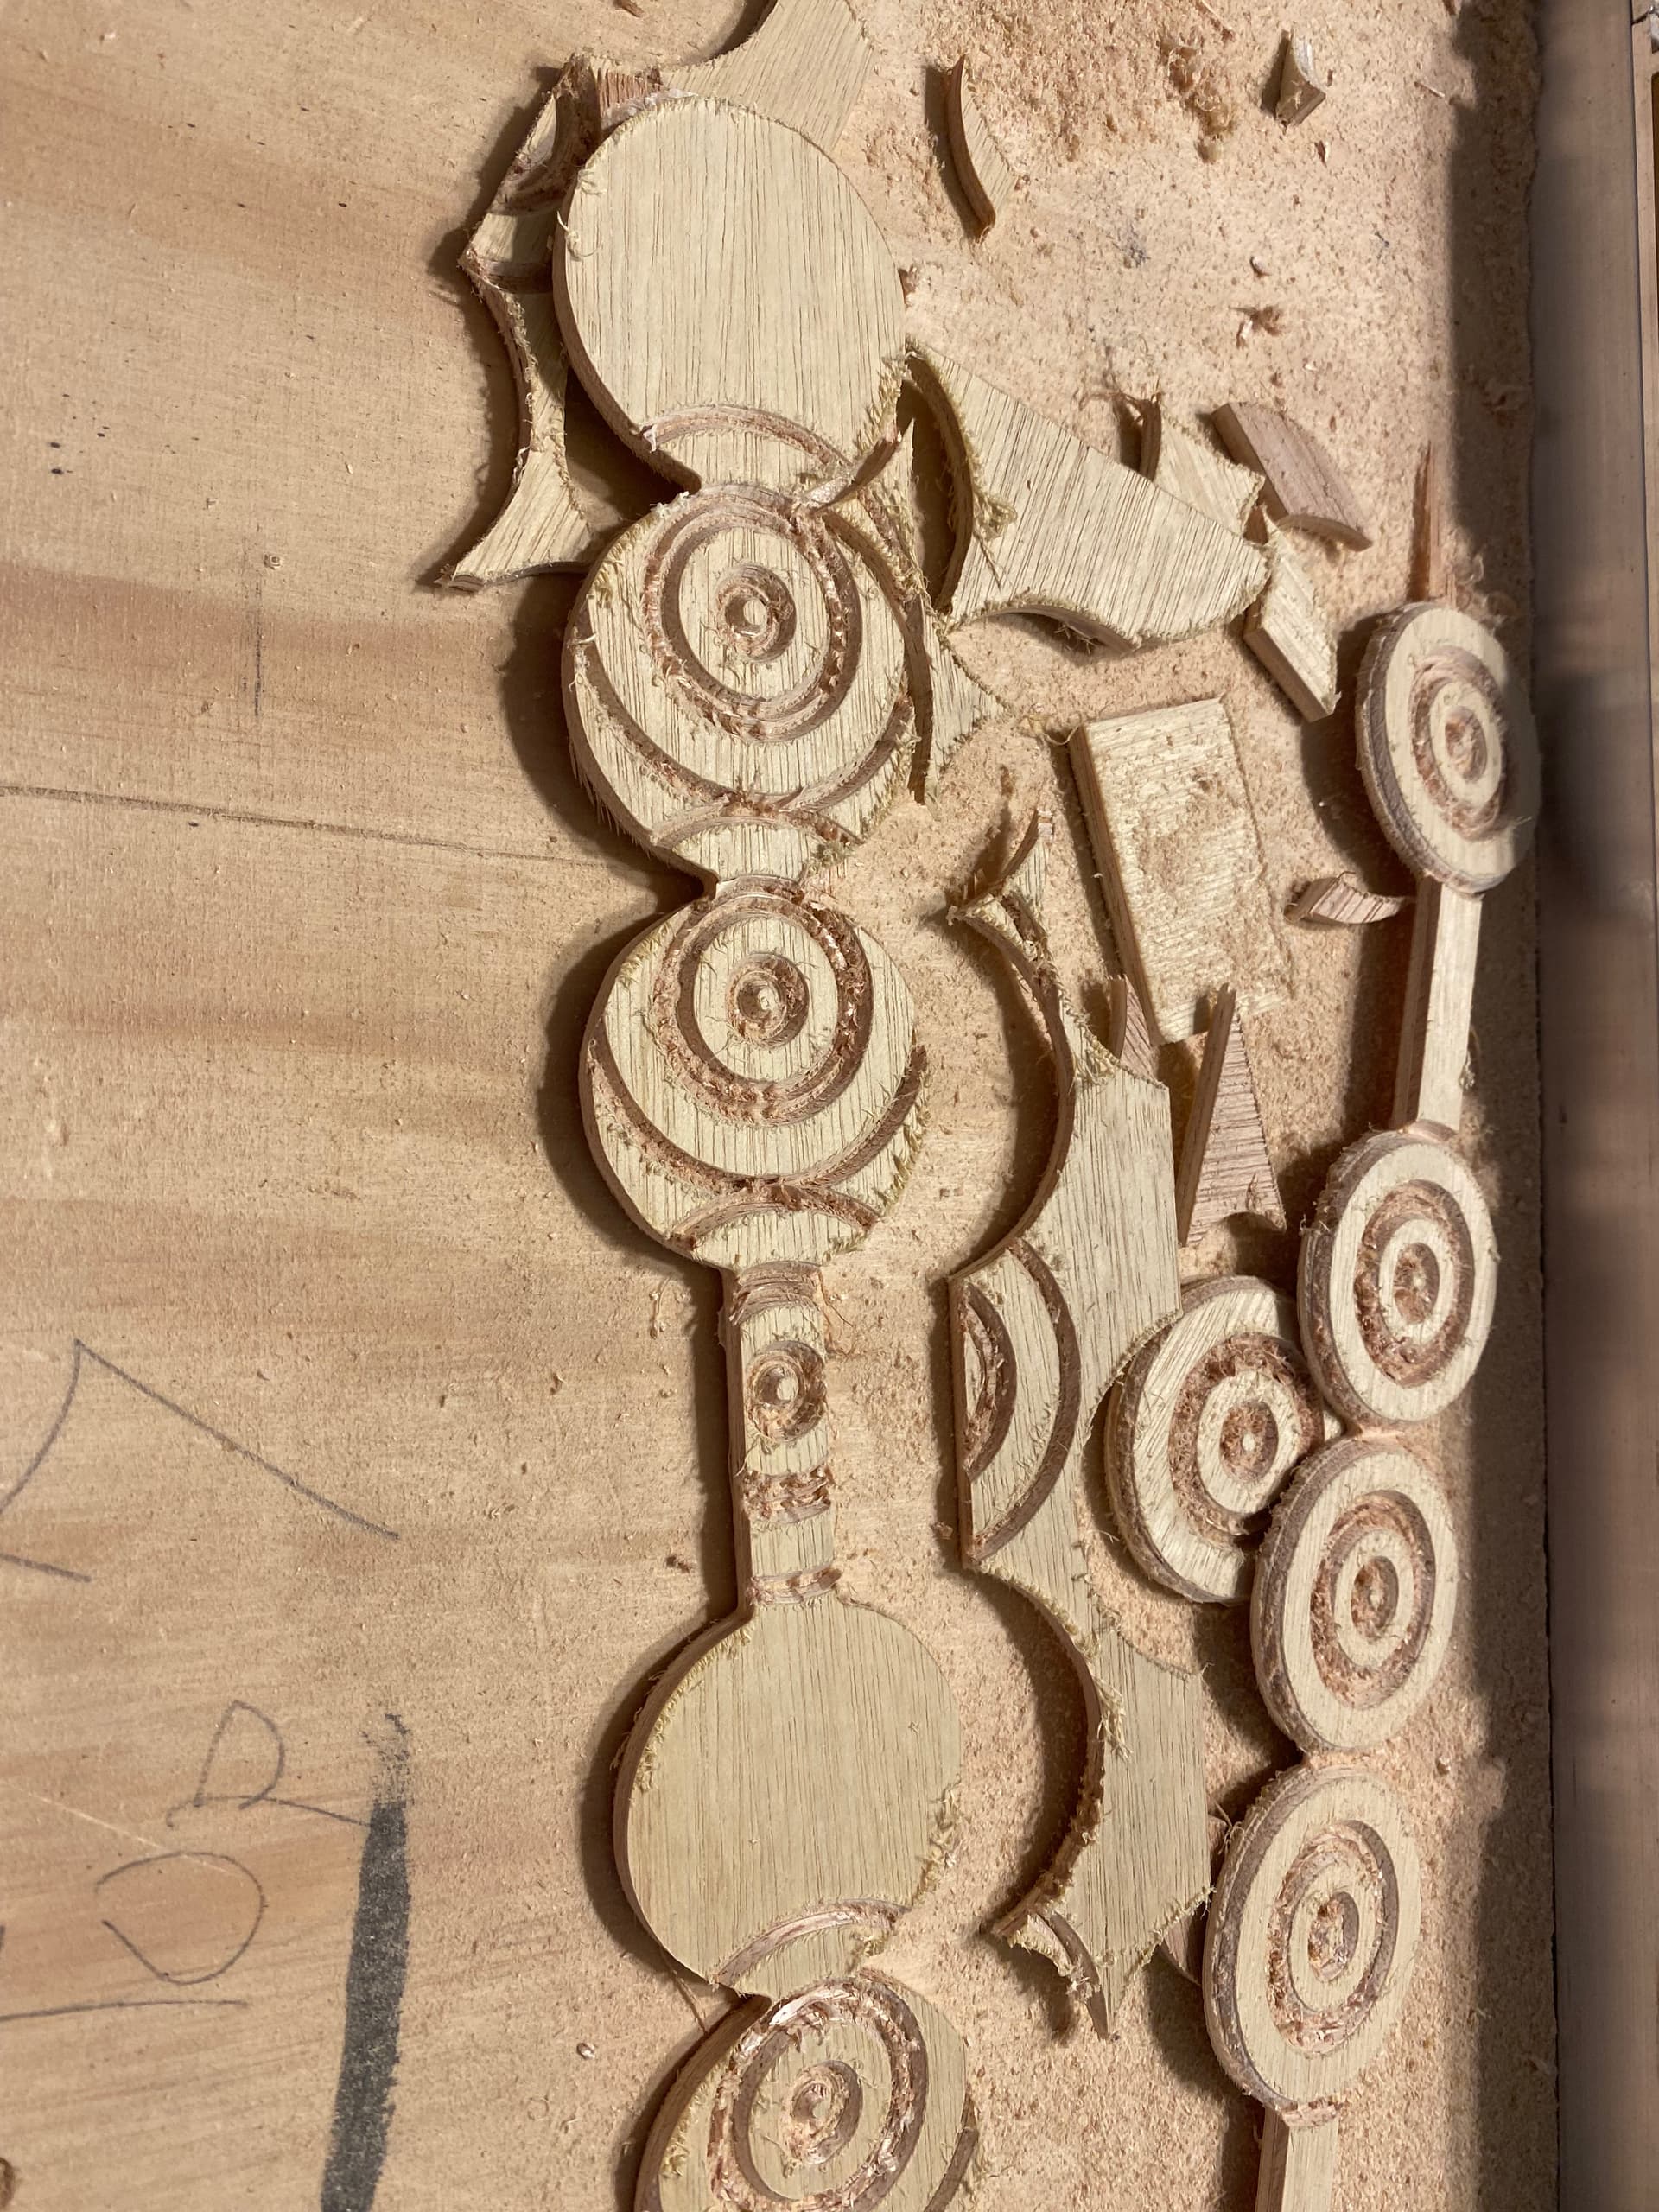
Yesterday after finishing the engraving with V-90, changed the bit, hit ok, but the machine started cutting the wrong place, it’s like something shifted the orders around an inch to the right, then it did again the same thing till it destroyed the design completely, I grabbed them pieces.
I don’t know what to do, ![]() , all this is very new to me
, all this is very new to me ![]() .
.
Can anyone advise me how to fix this issue please?
Saw your ticket and it had the file, so am responding here.

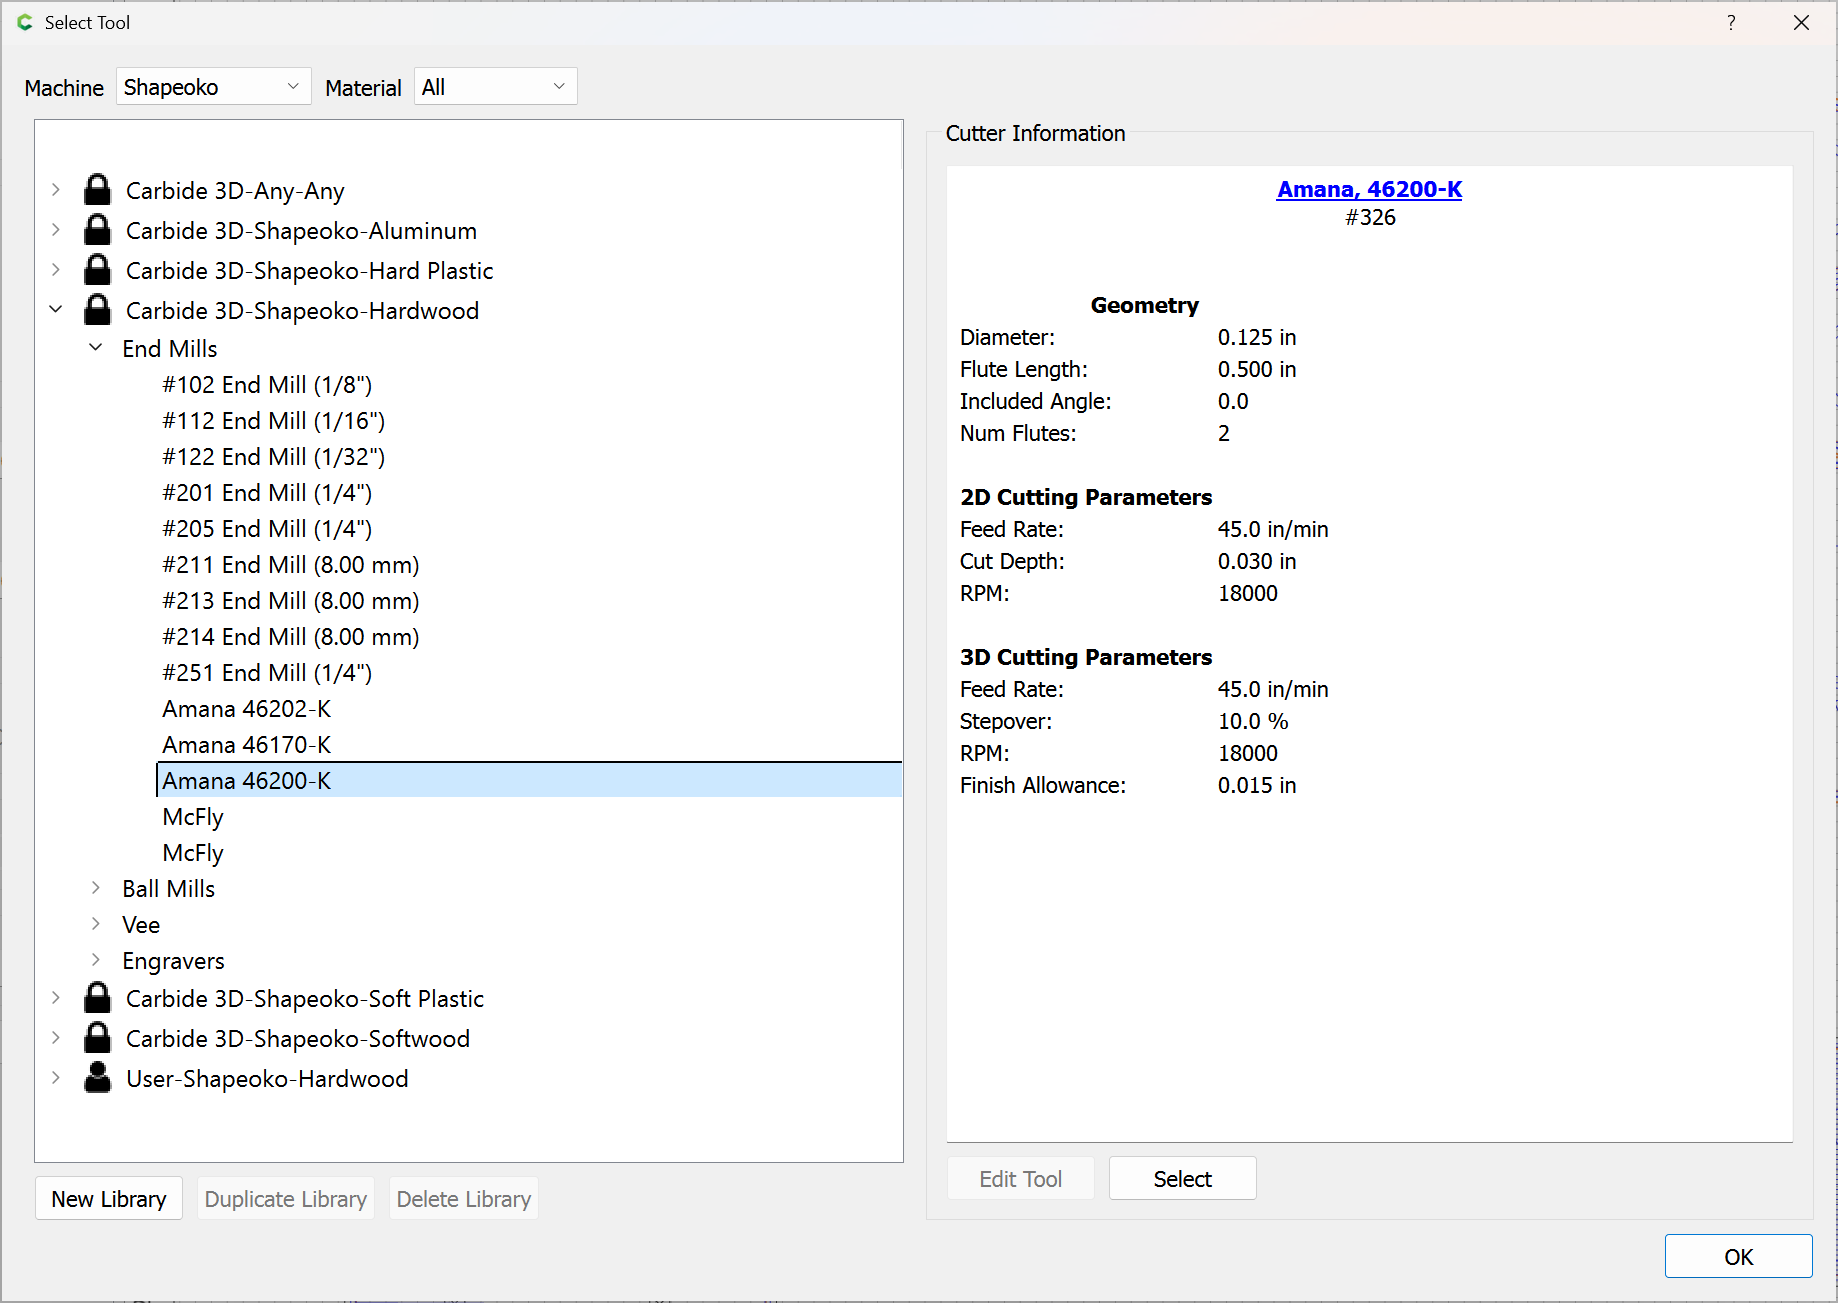
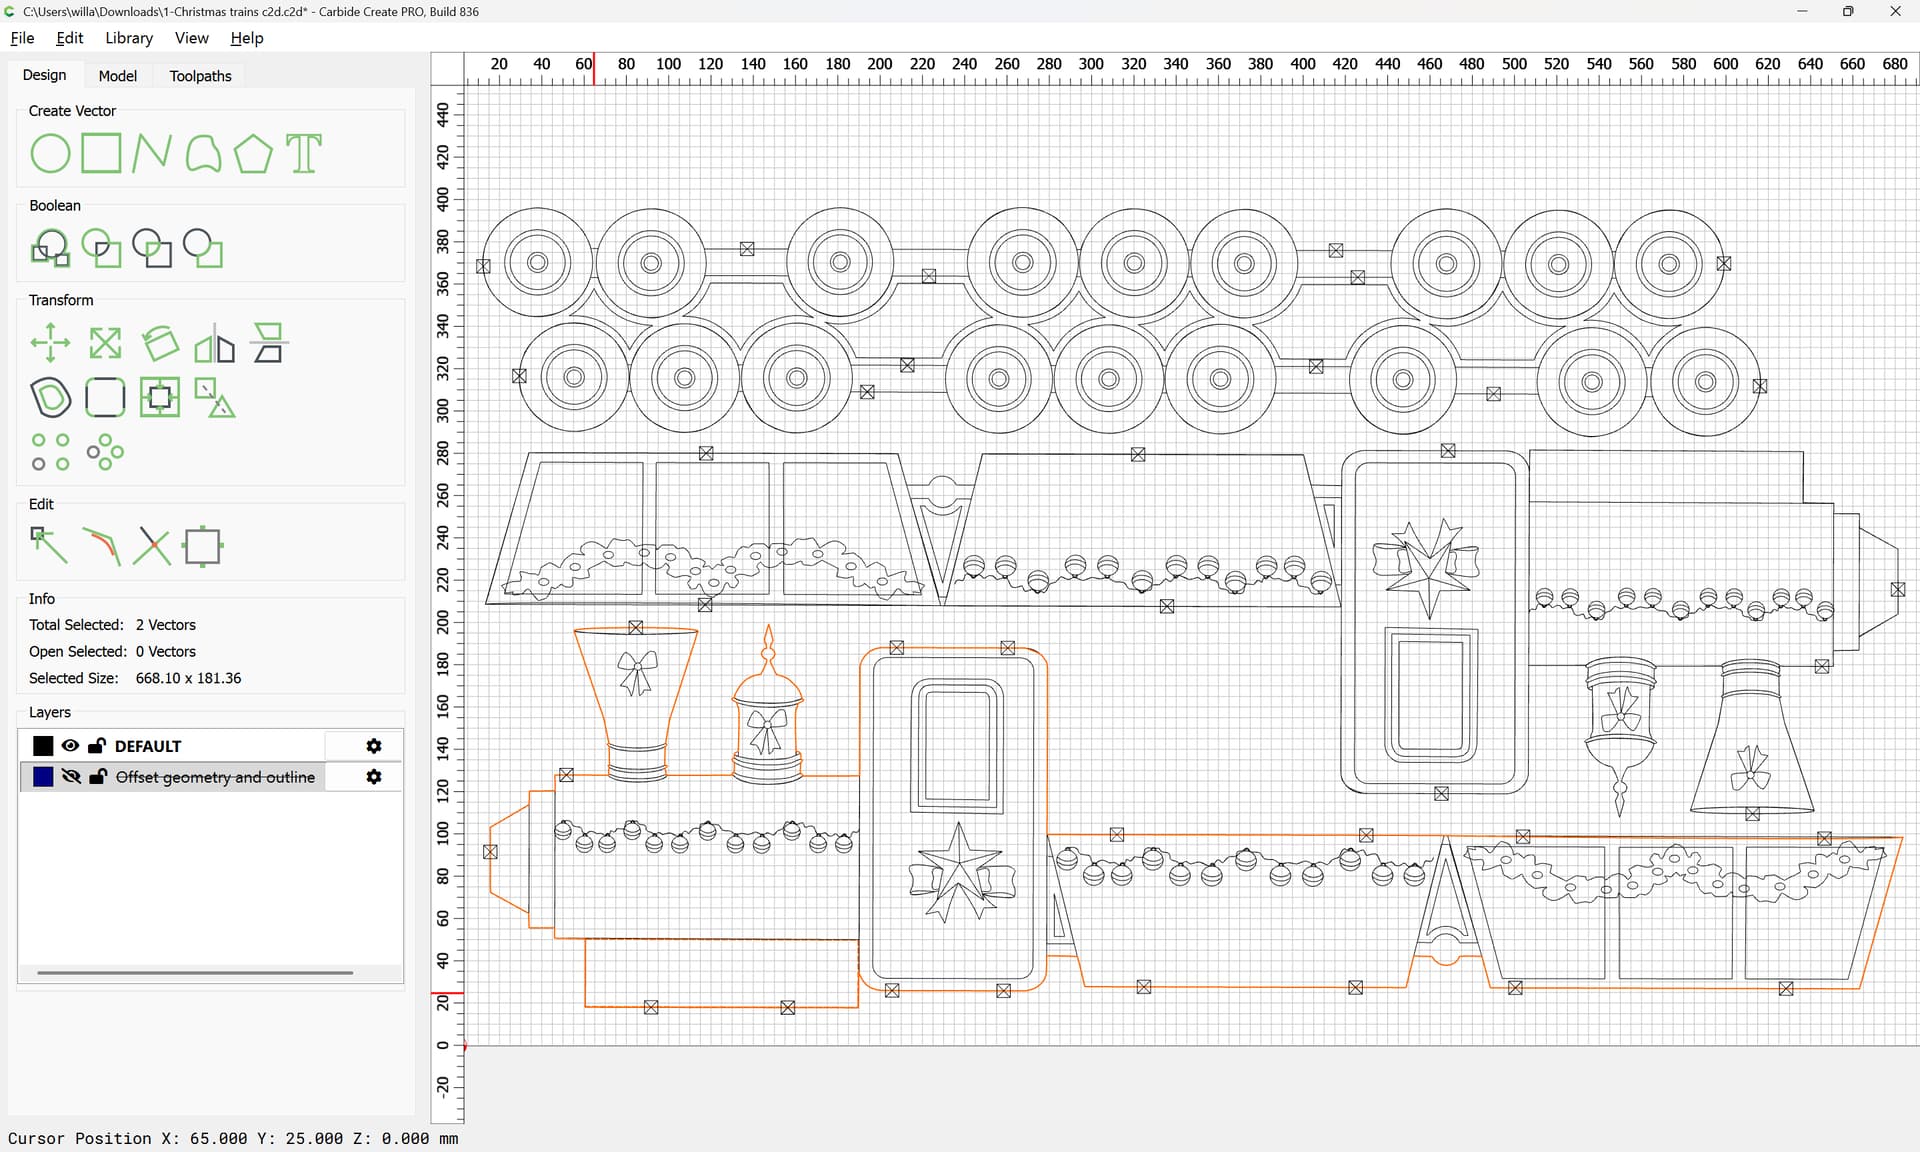
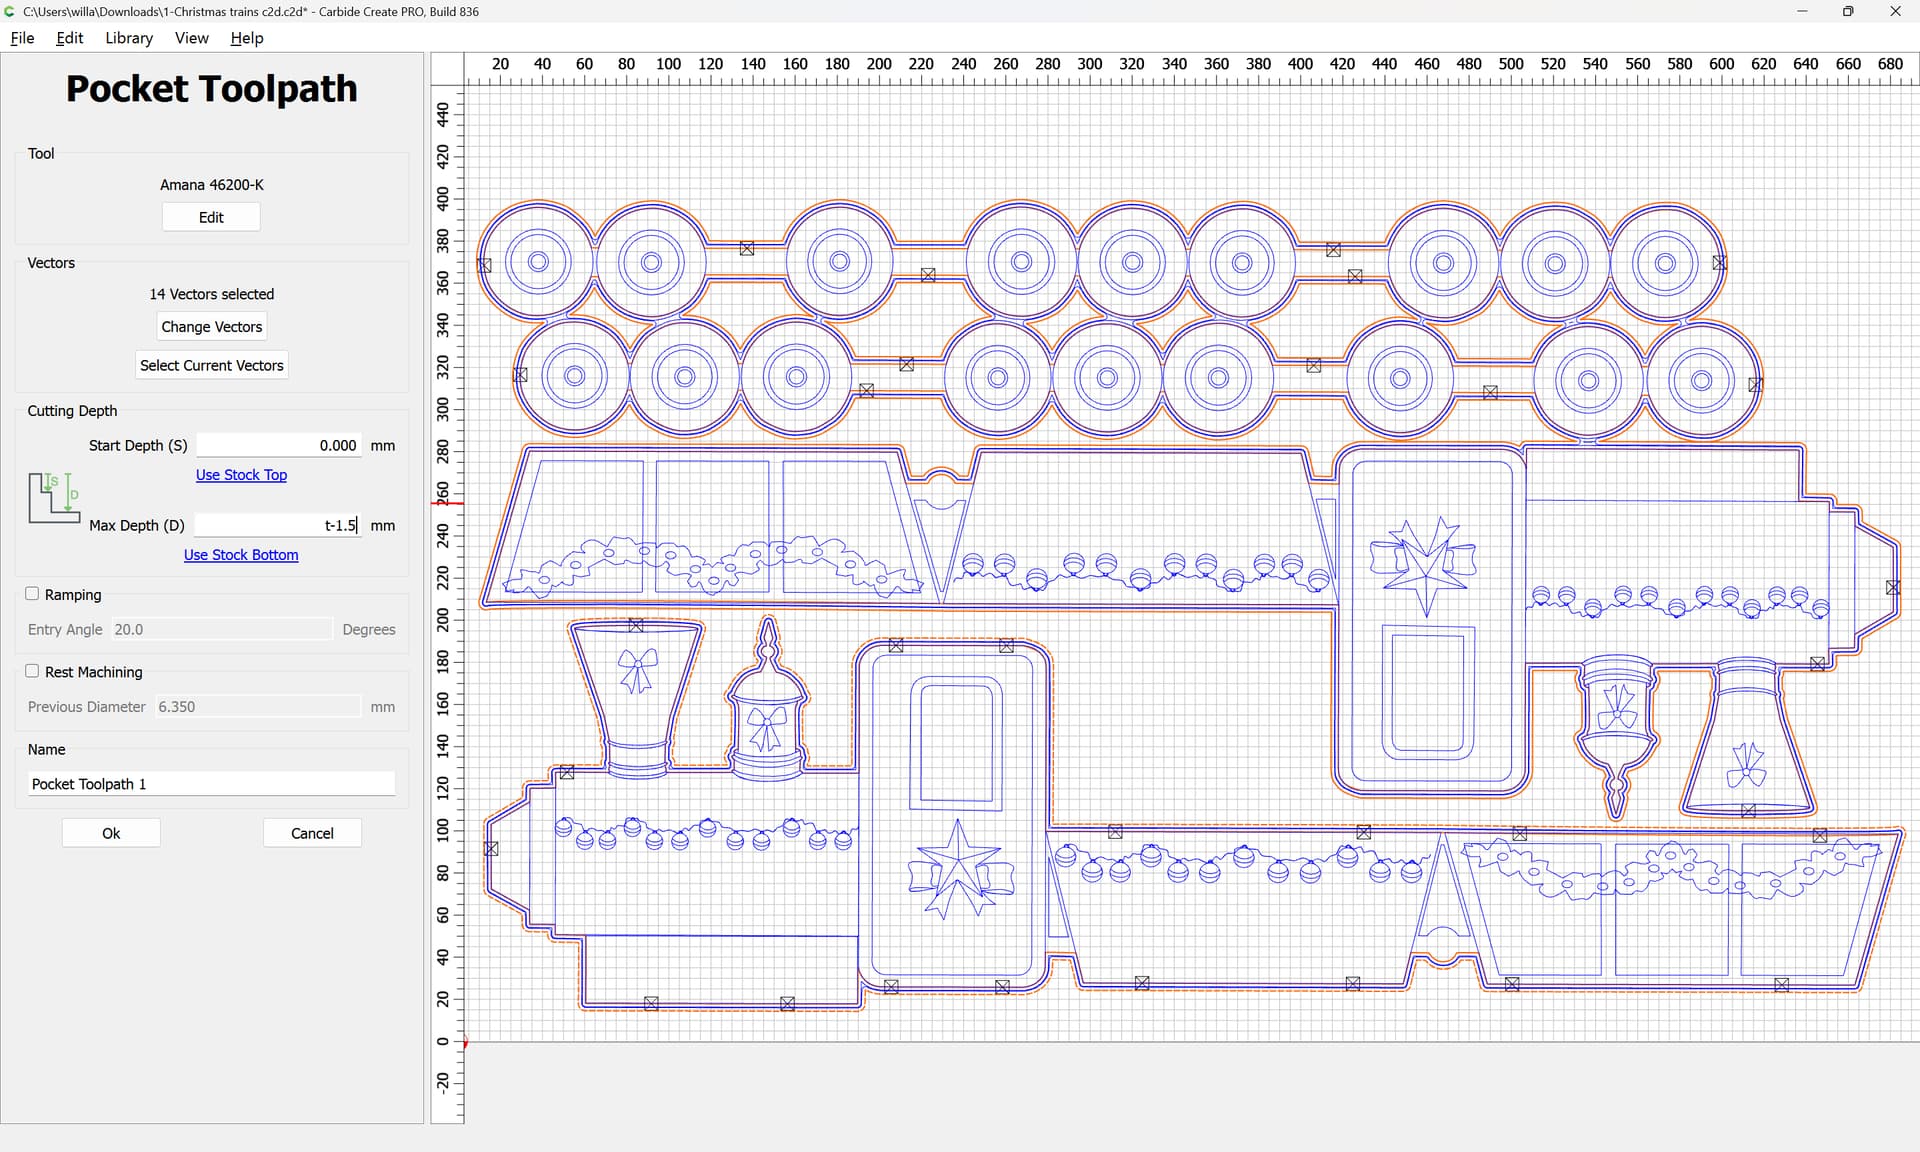
One issue is that you are using the #102 DEFAULT tool to cut a slot 5.5mm deep:
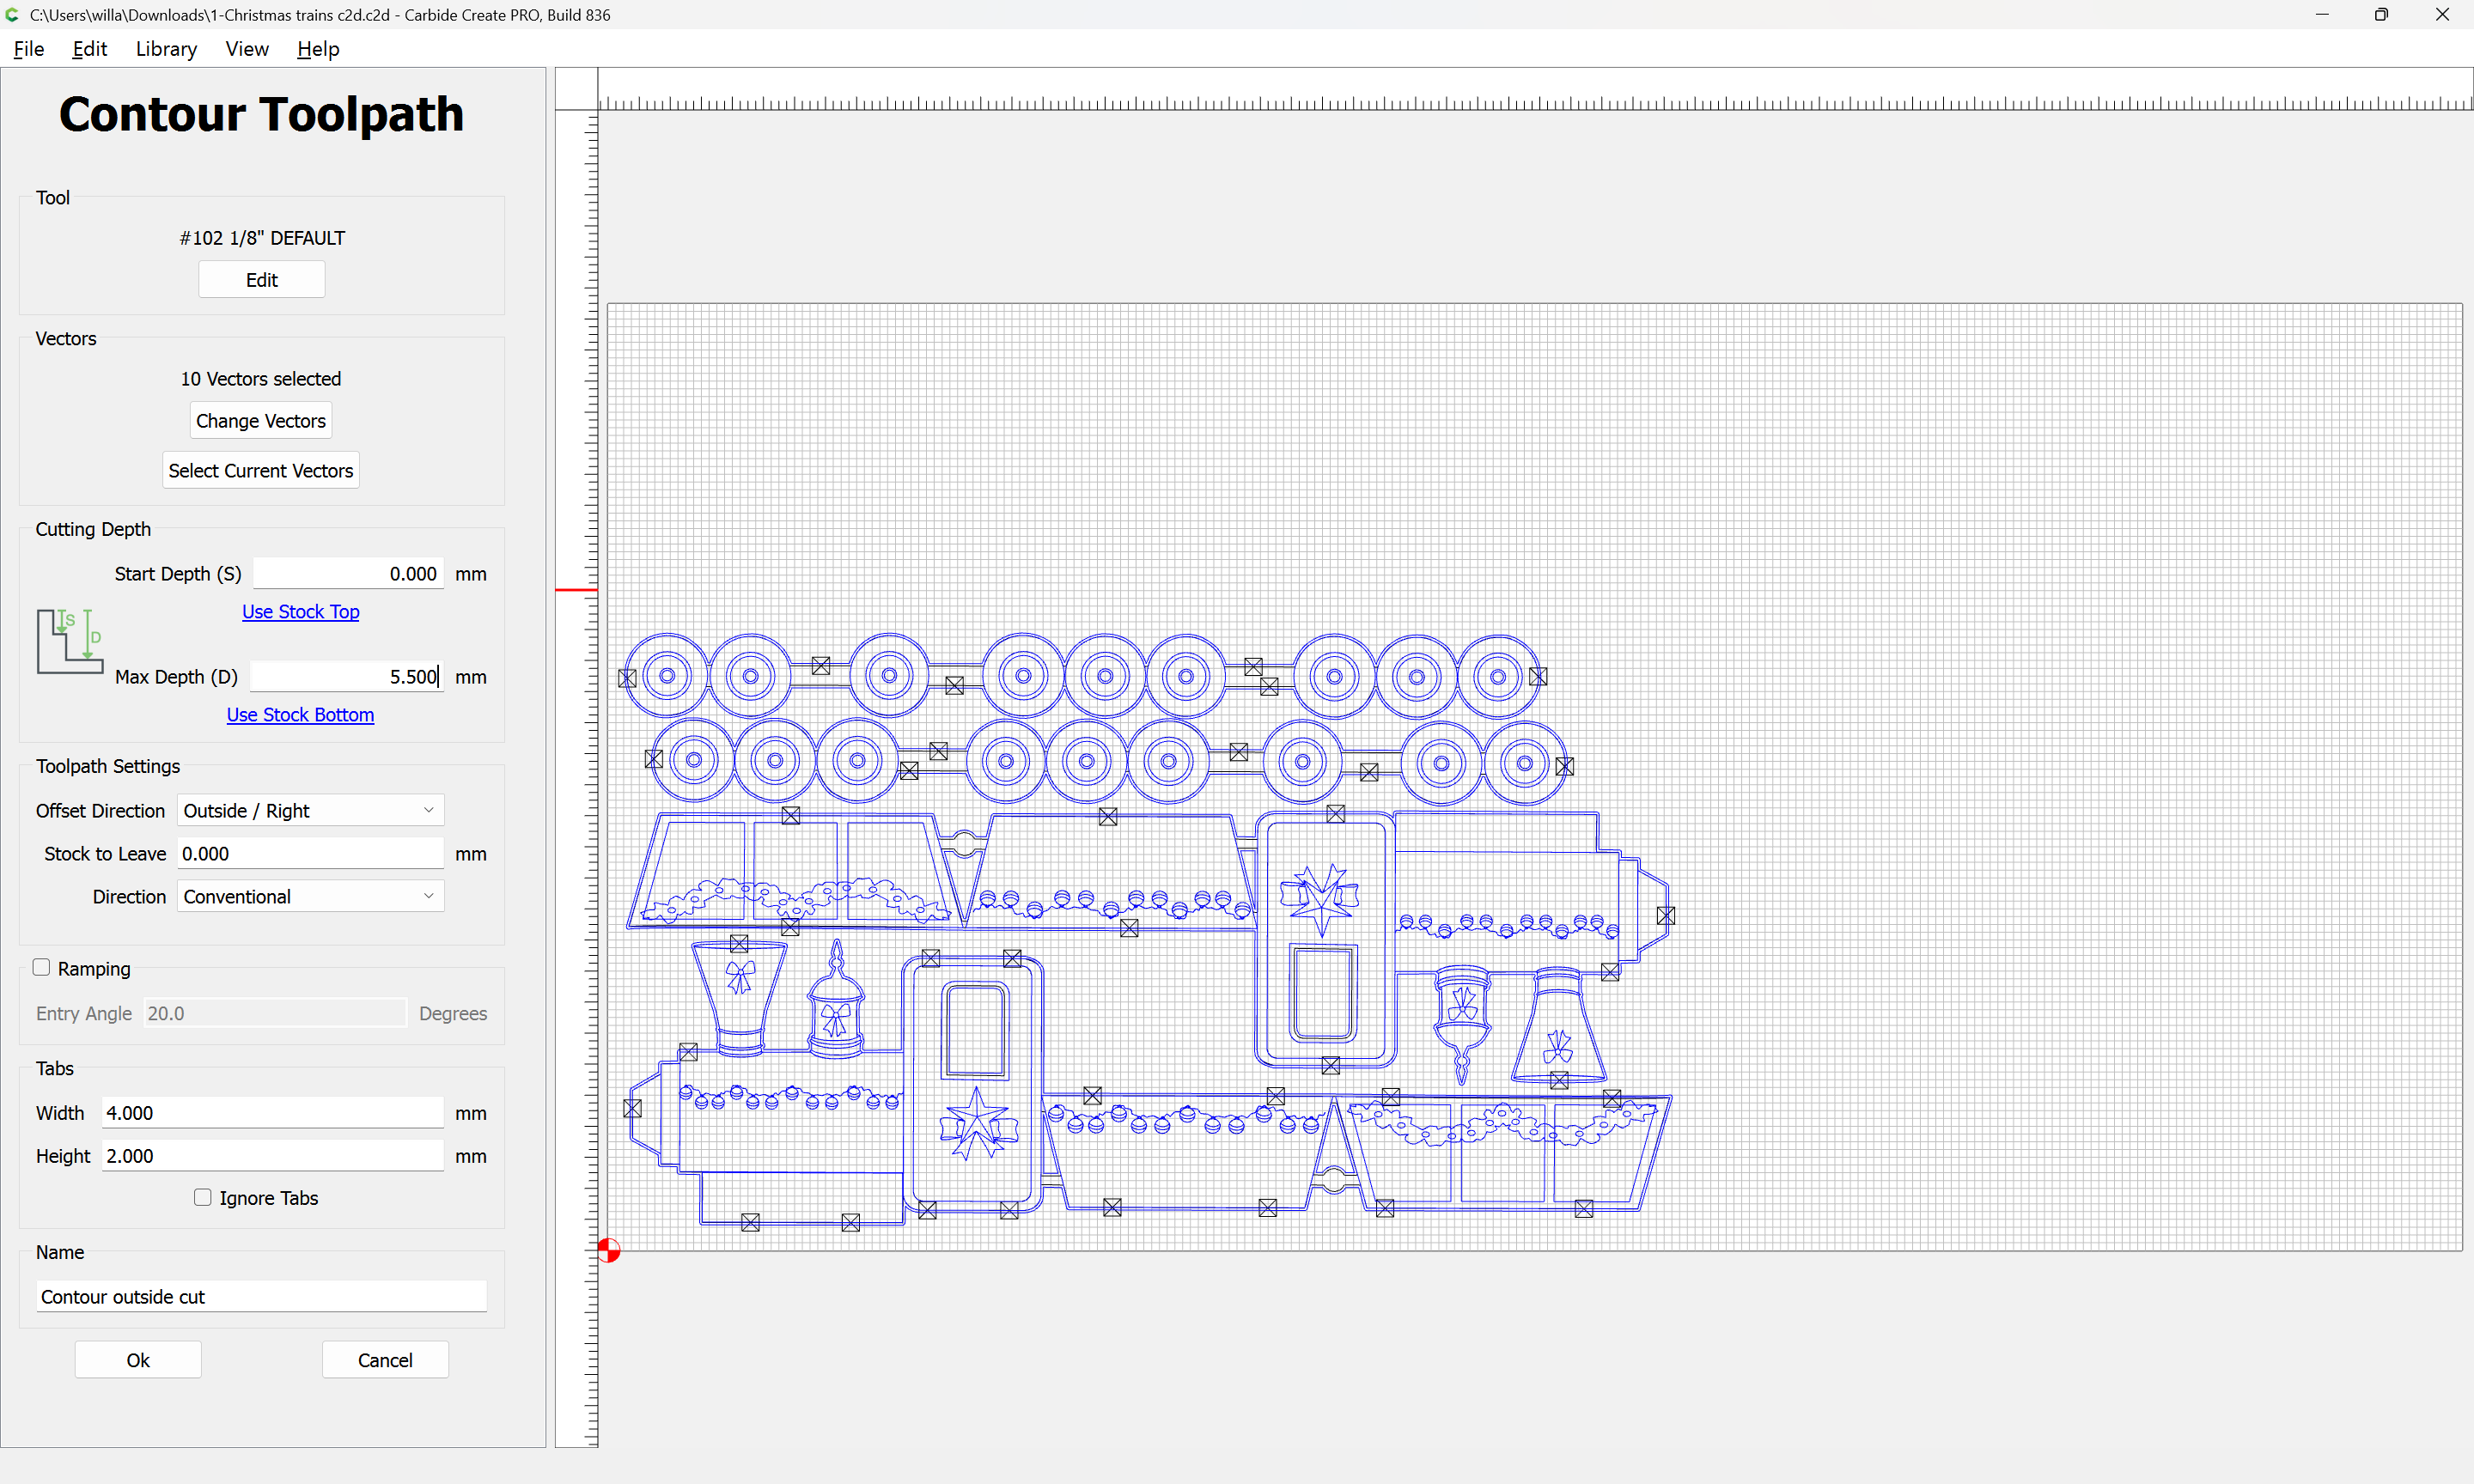
this is almost the diameter of the tool, resulting in high tooling engagement.
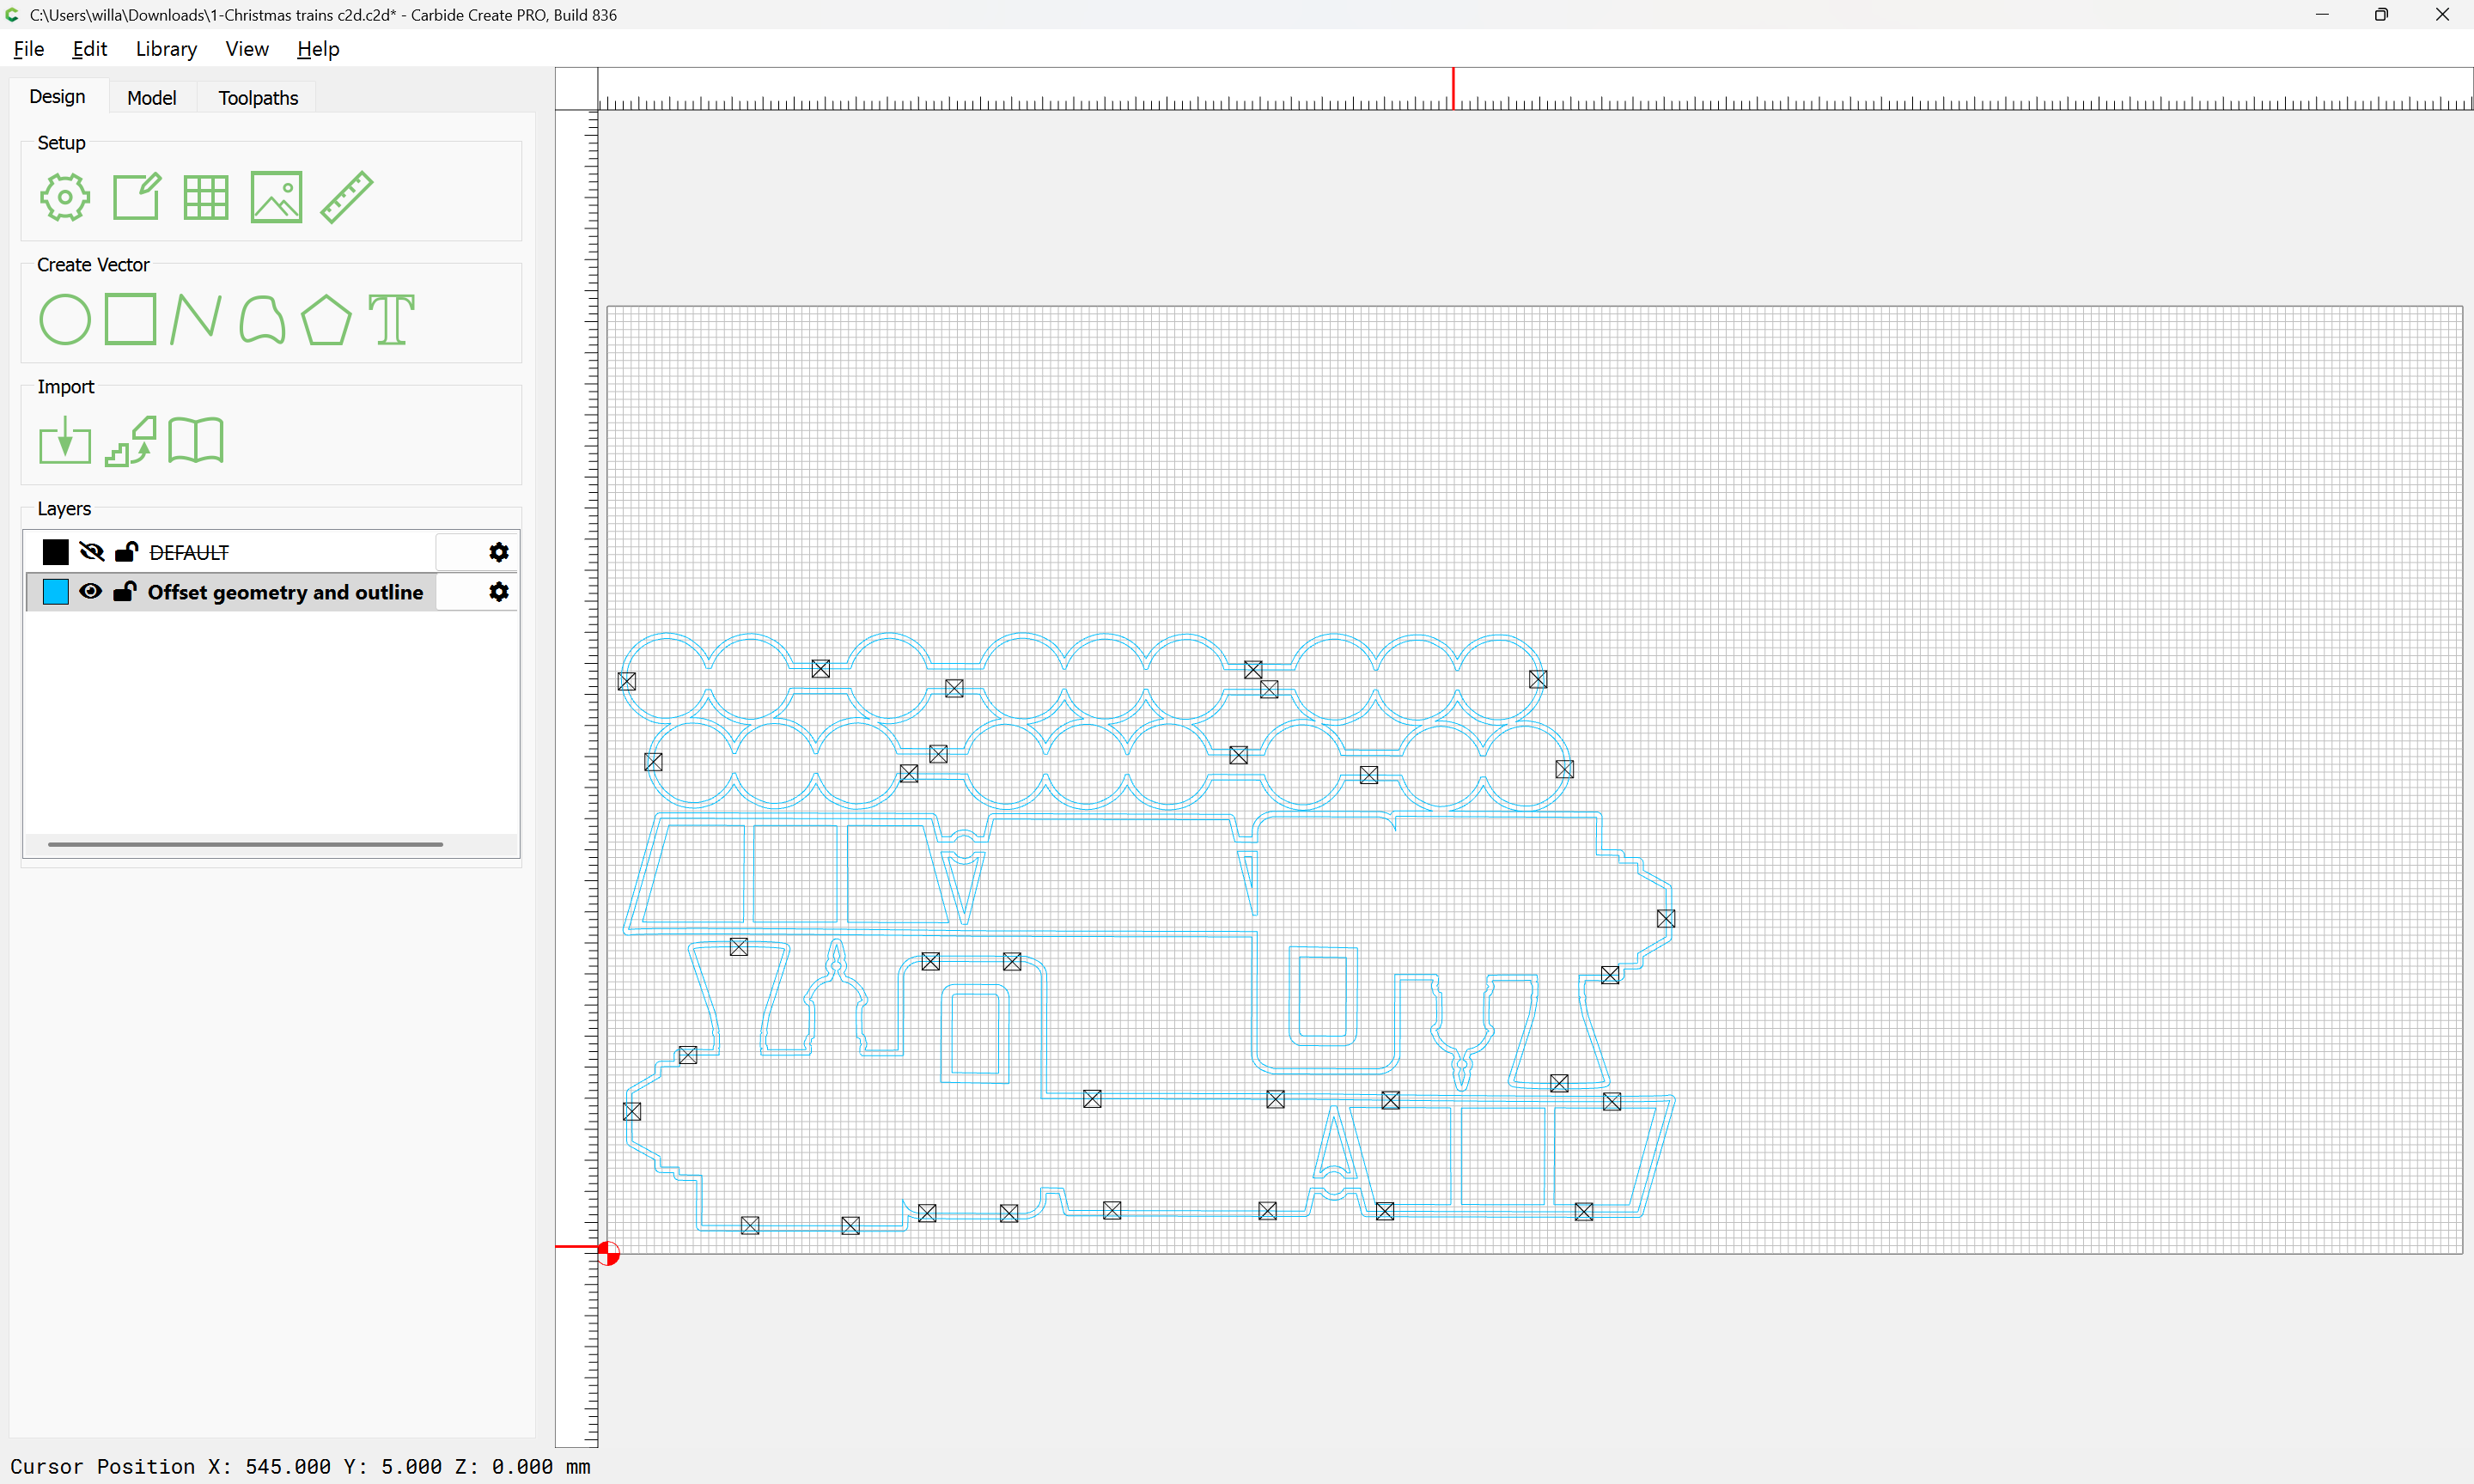
It would be better to offset the outside geometry:


by tool diameter plus 10% or so
Apply

Then, use that, grouping it:

and the original geometry:
to cut as a pocket down to tab height:
using a suitable tool:
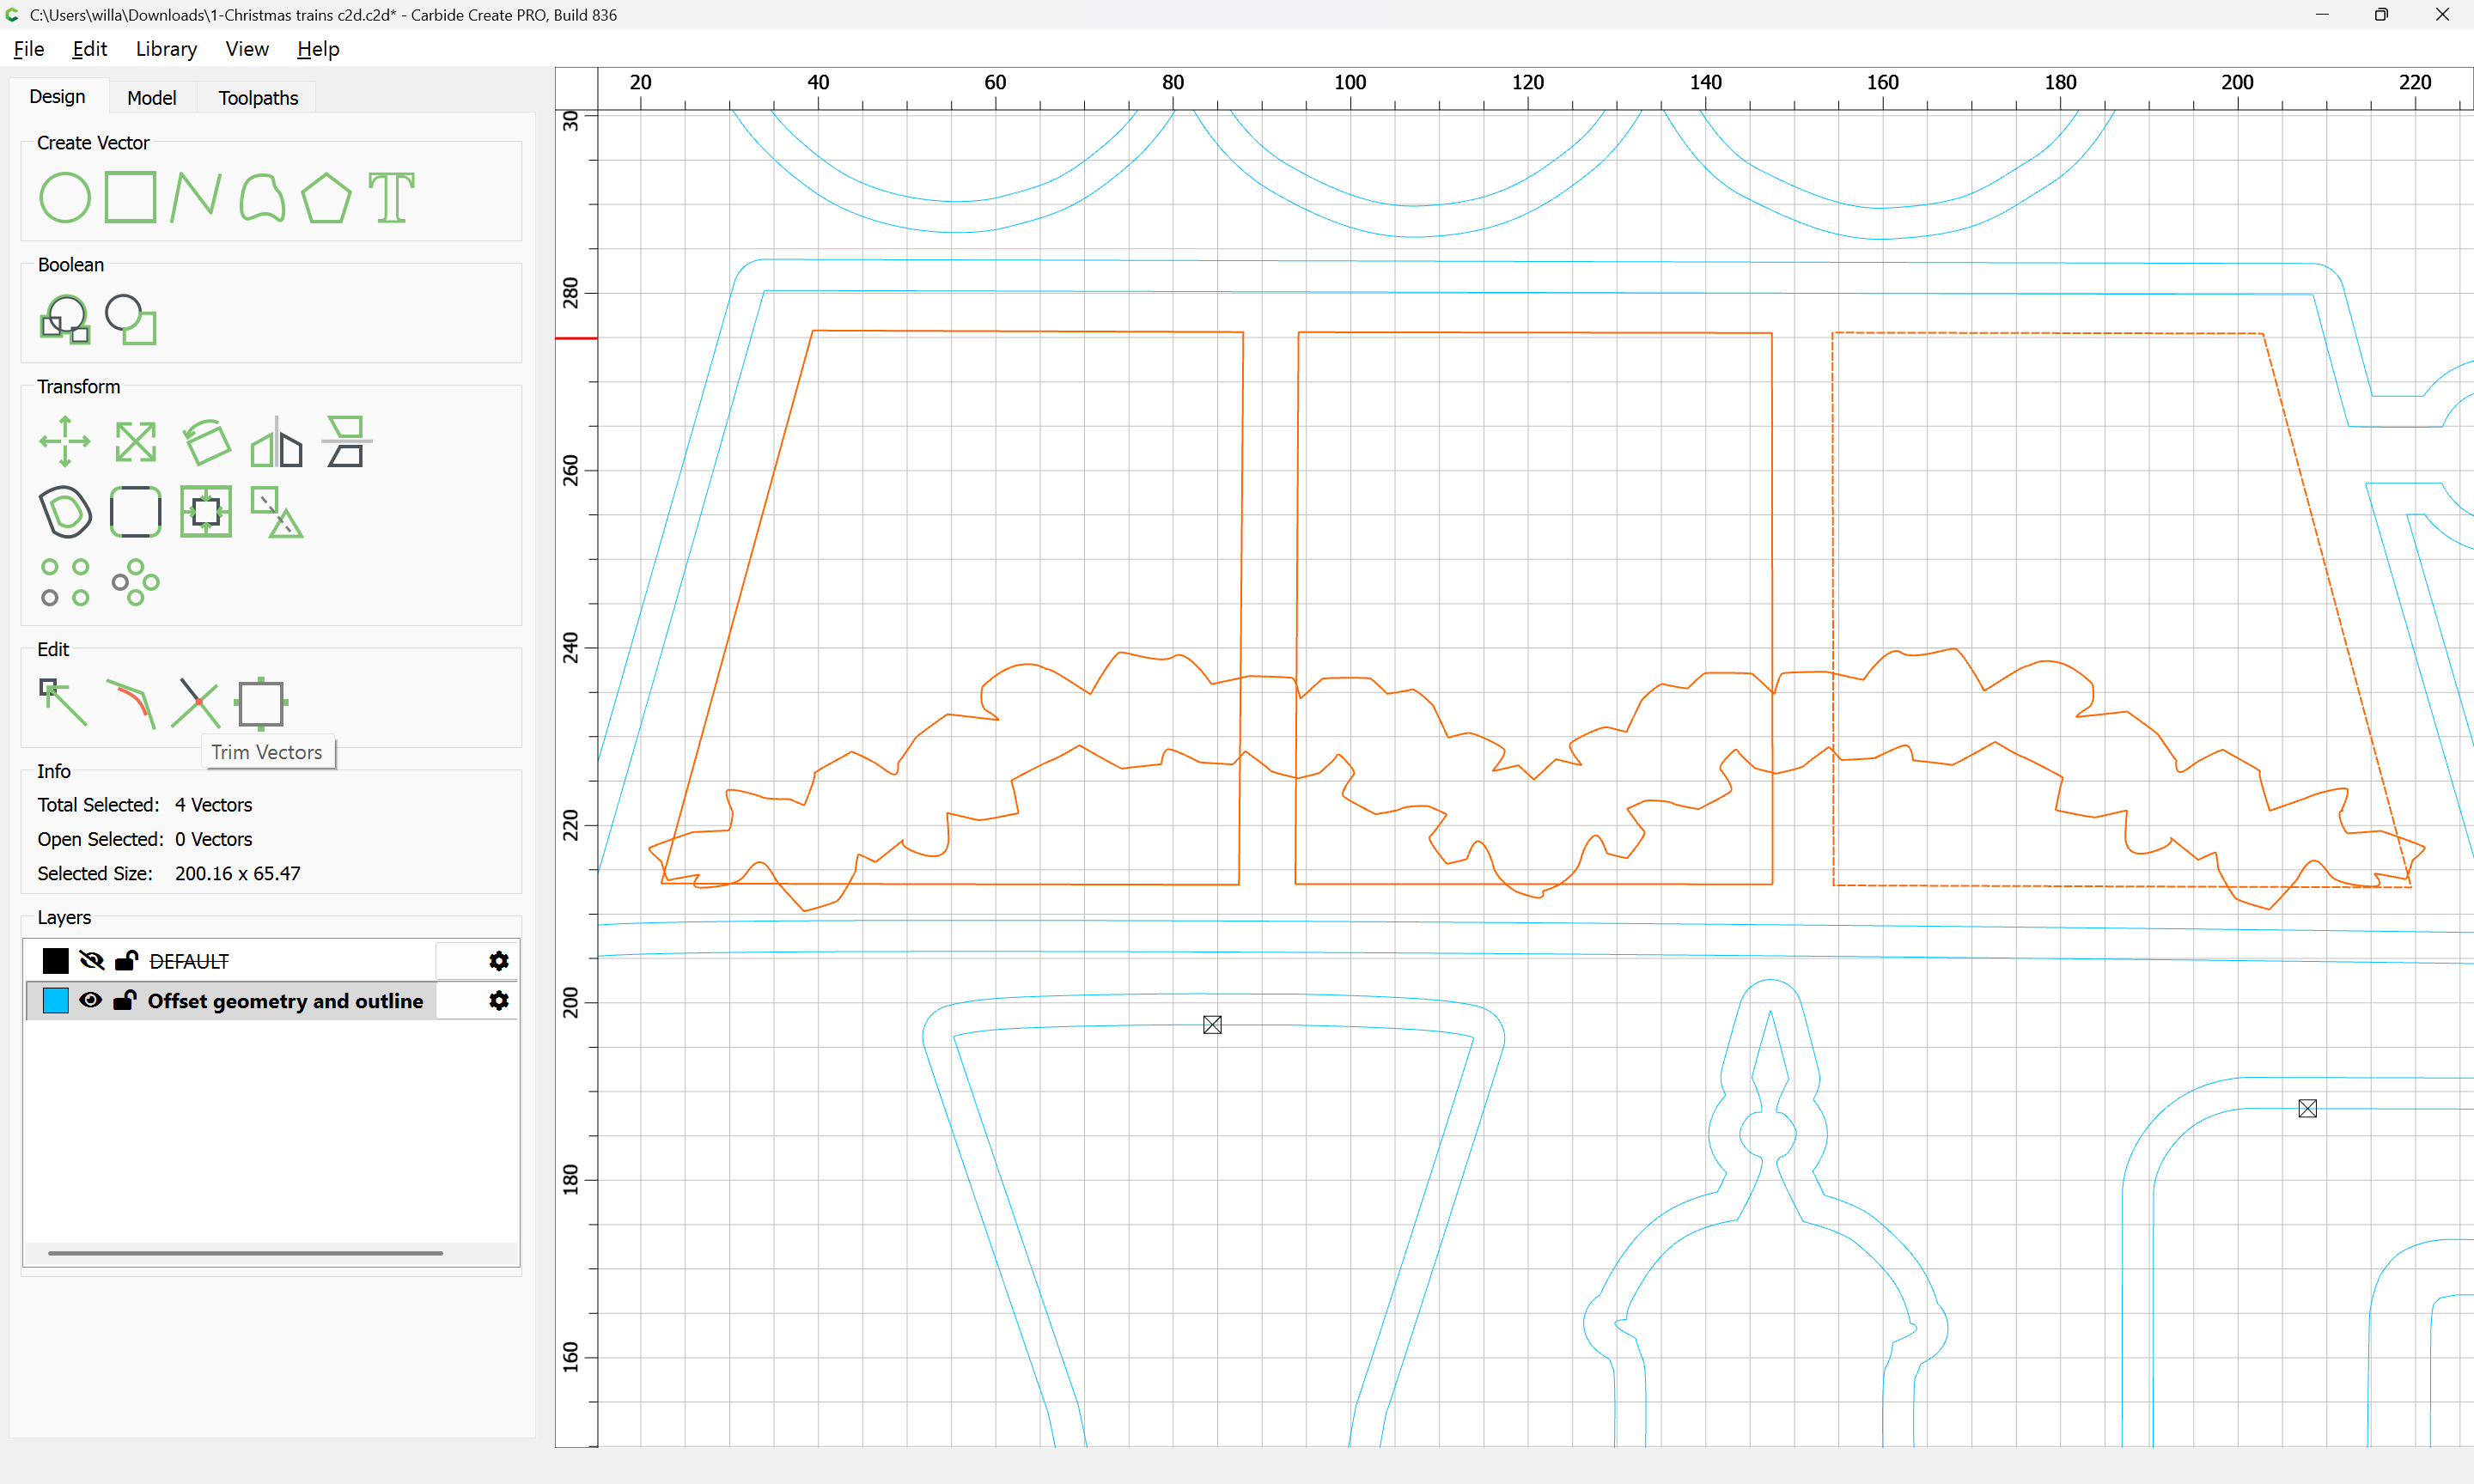
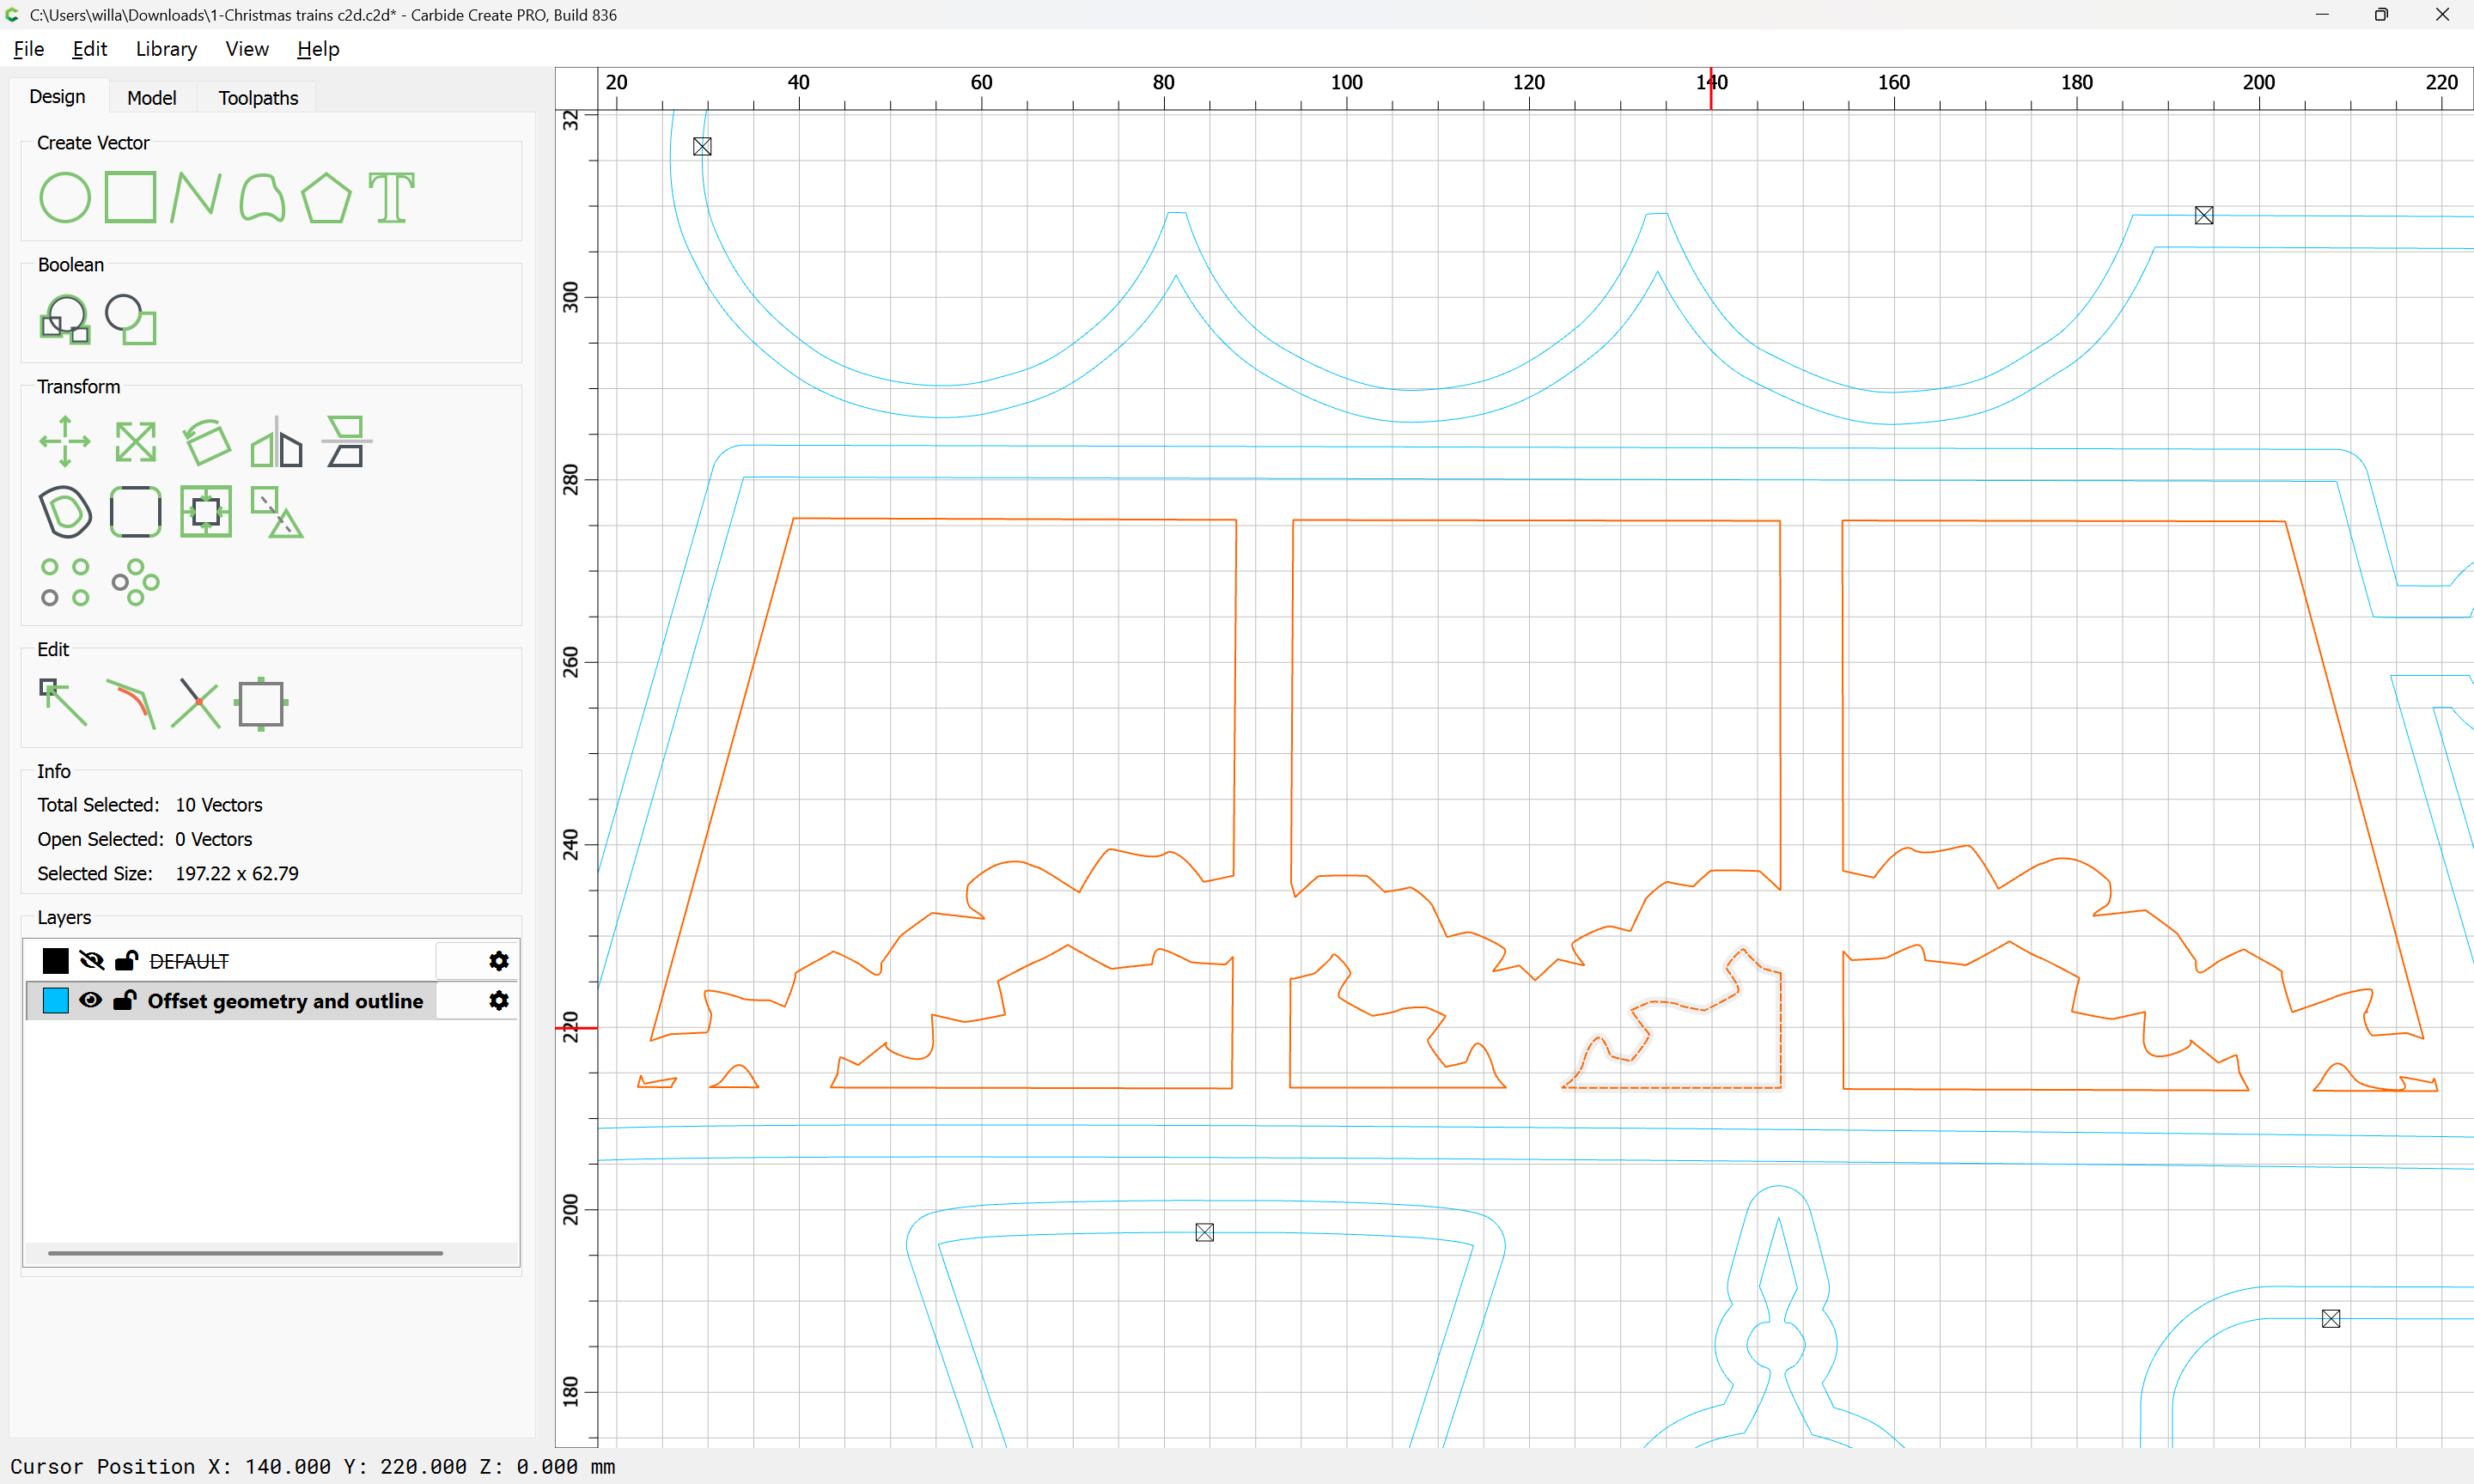
One issue is that there seems to be doubled up geometry which is confusing the toolpath generation…
1 Like
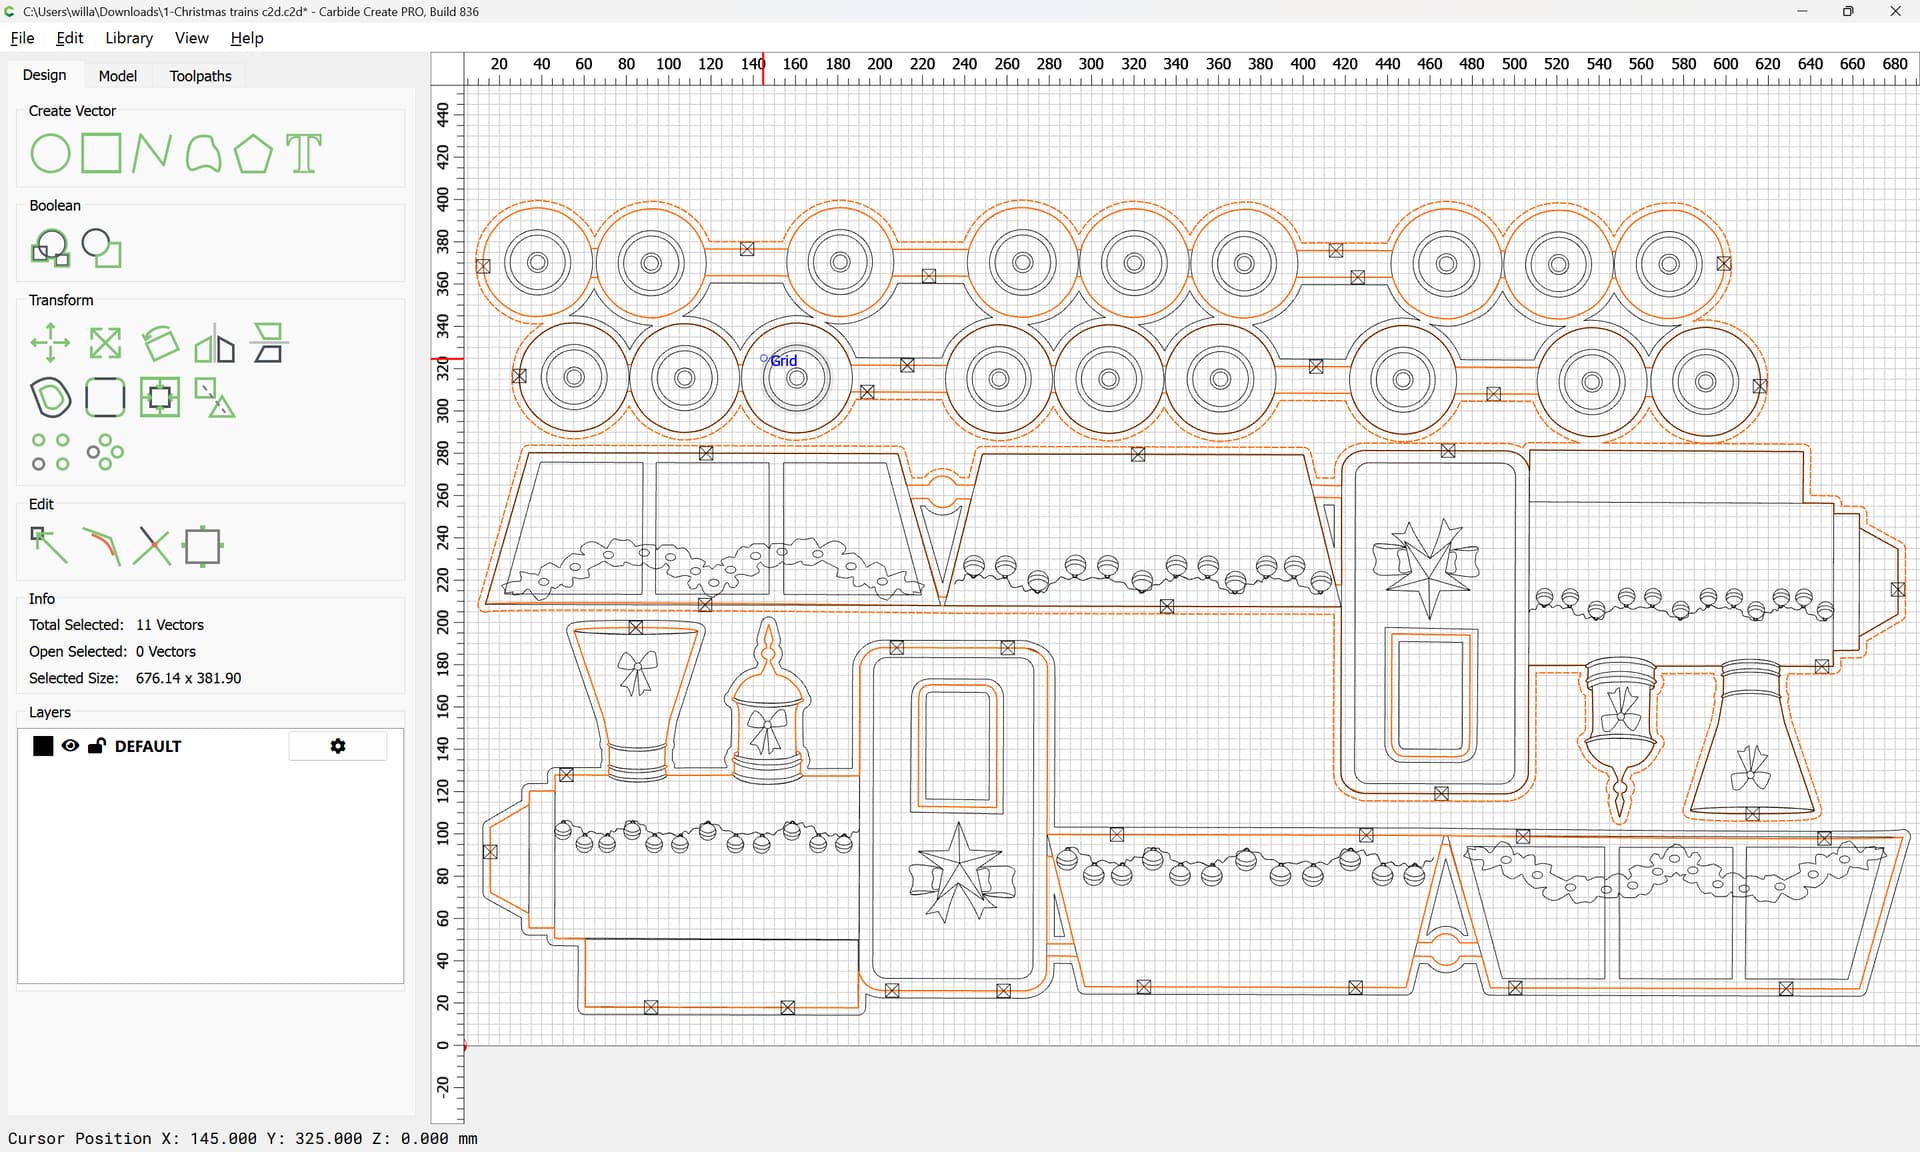
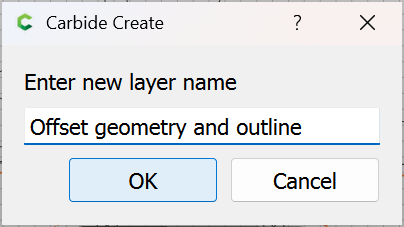
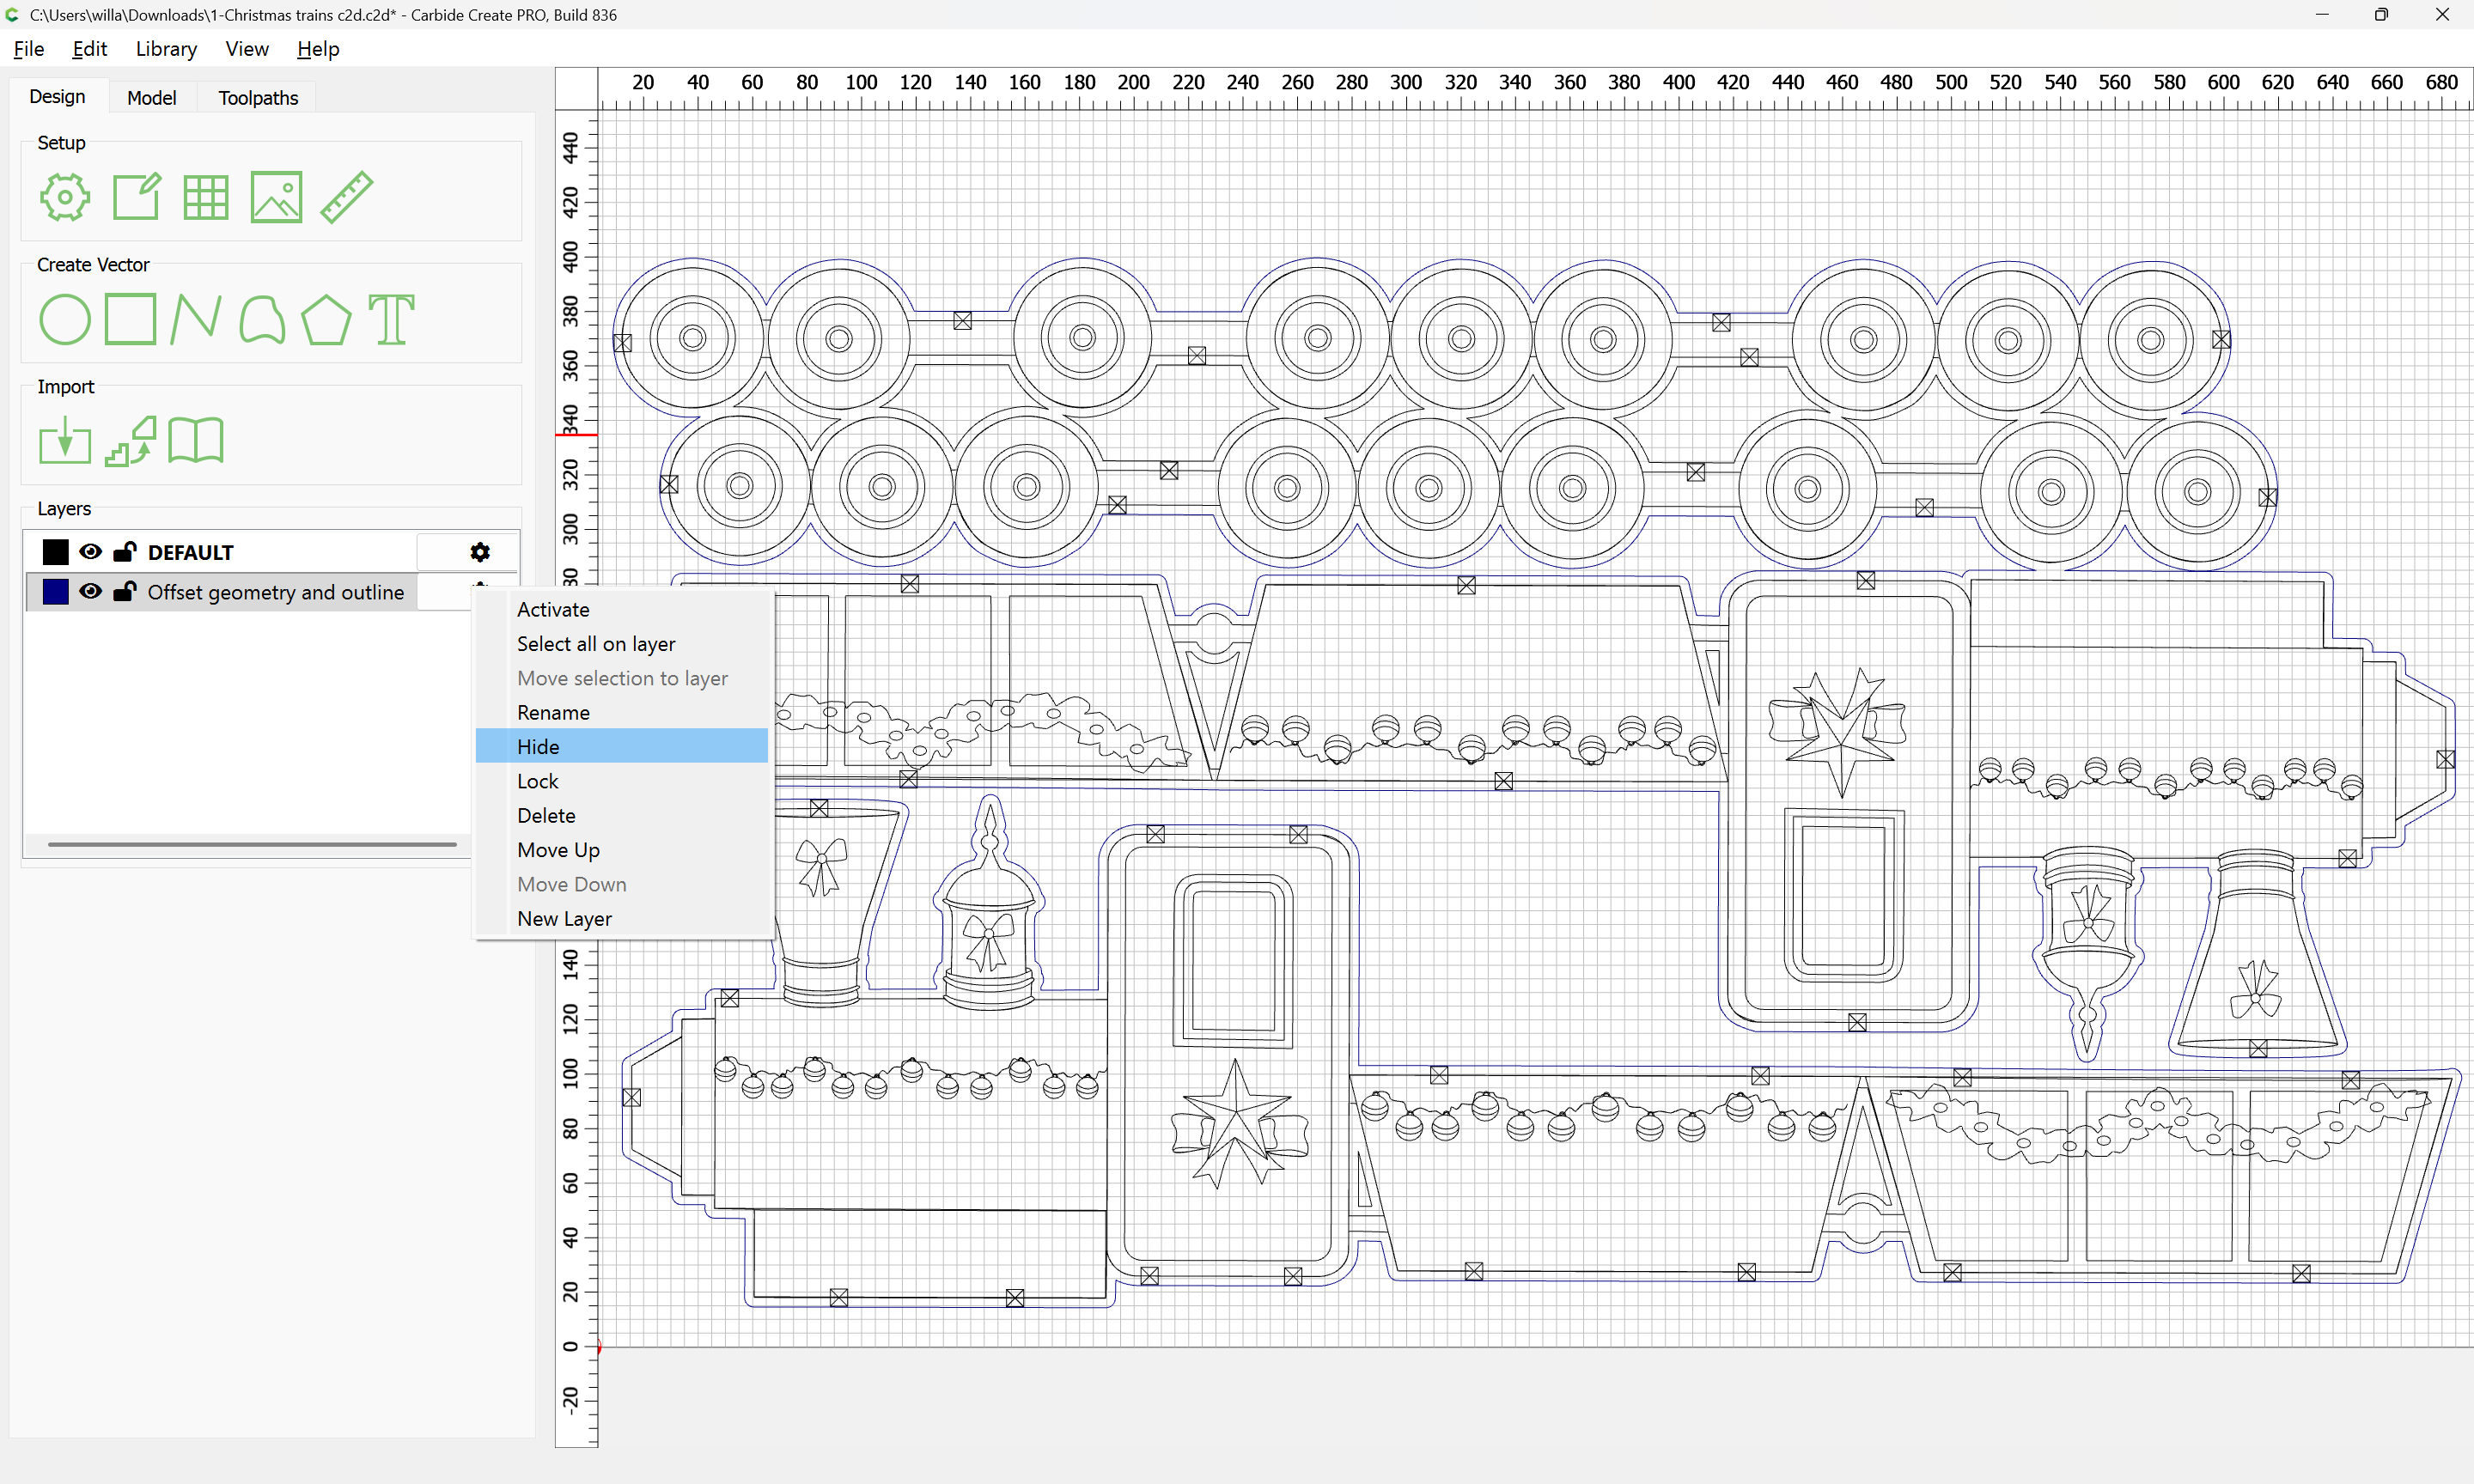
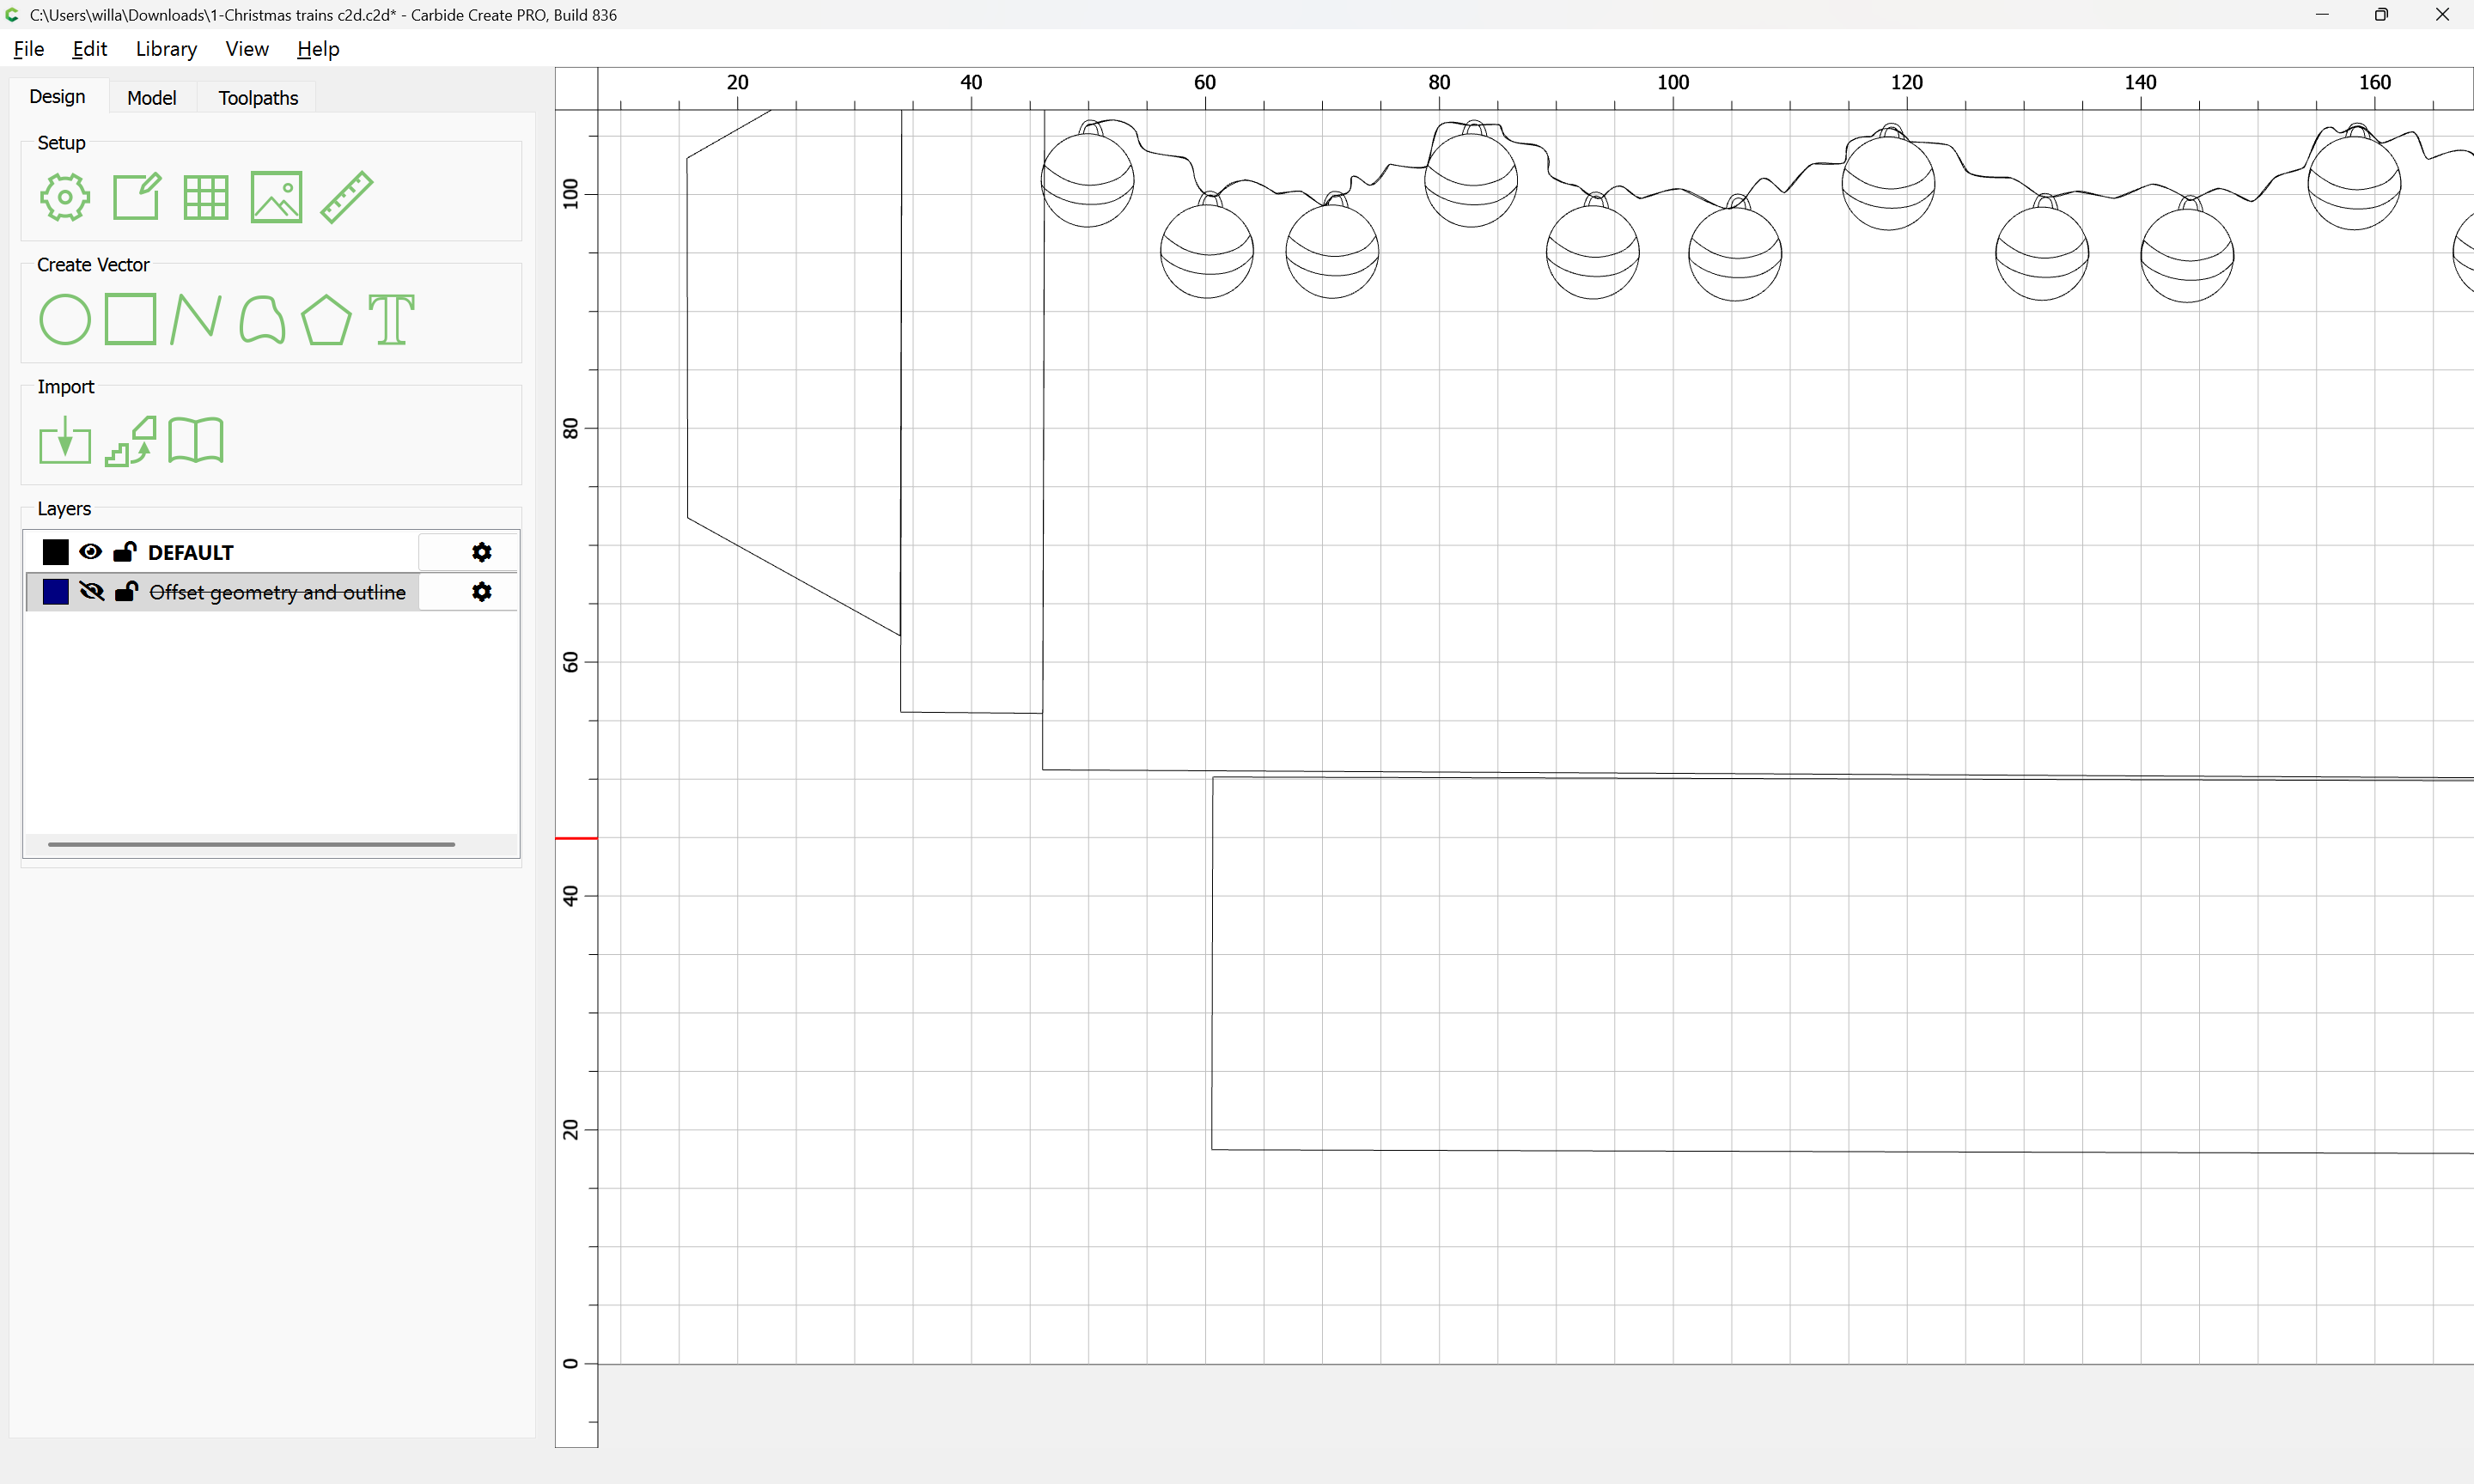
The best way to work with complex projects is to divide and conquer using layers, so we start by creating a new layer and putting the offset geometry on it:

OK
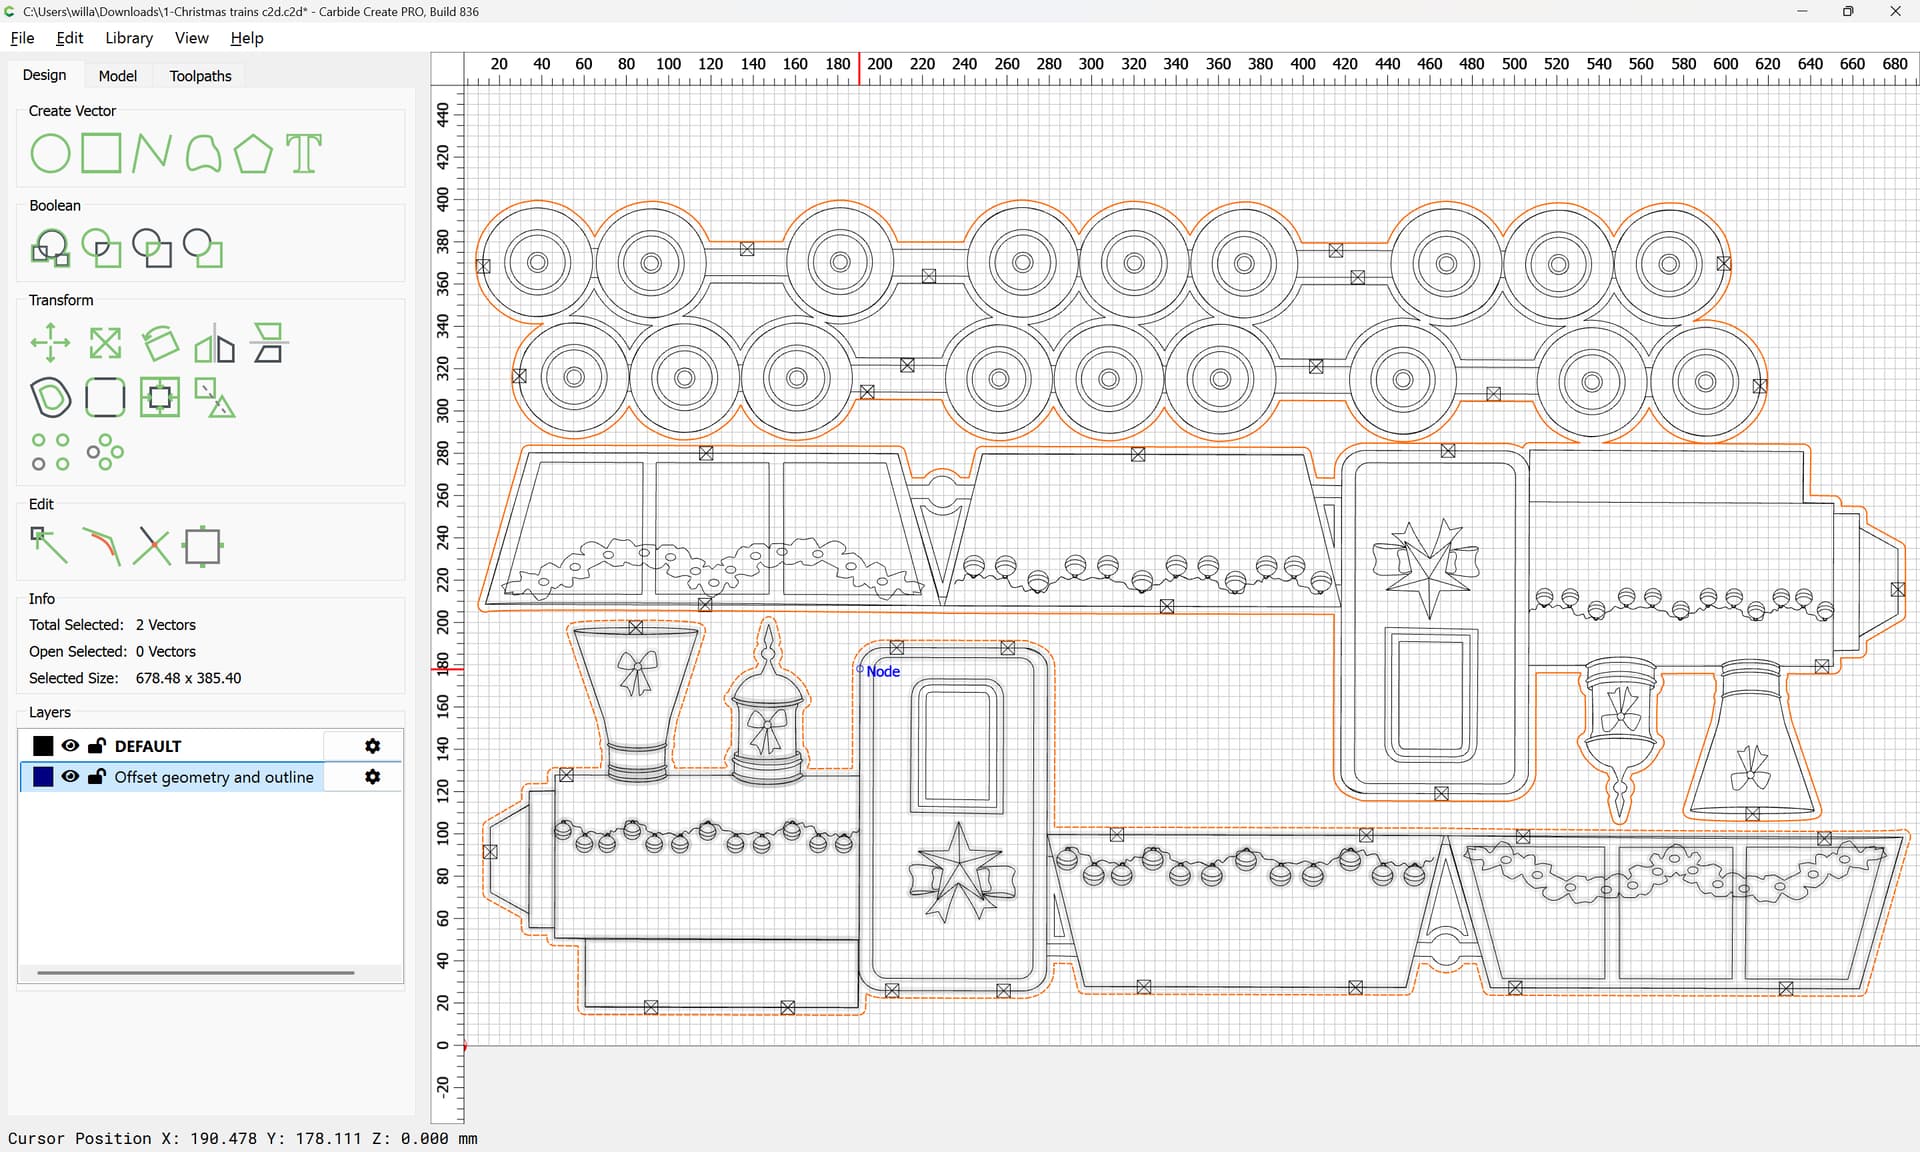
then move the selected geometry to the new layer:
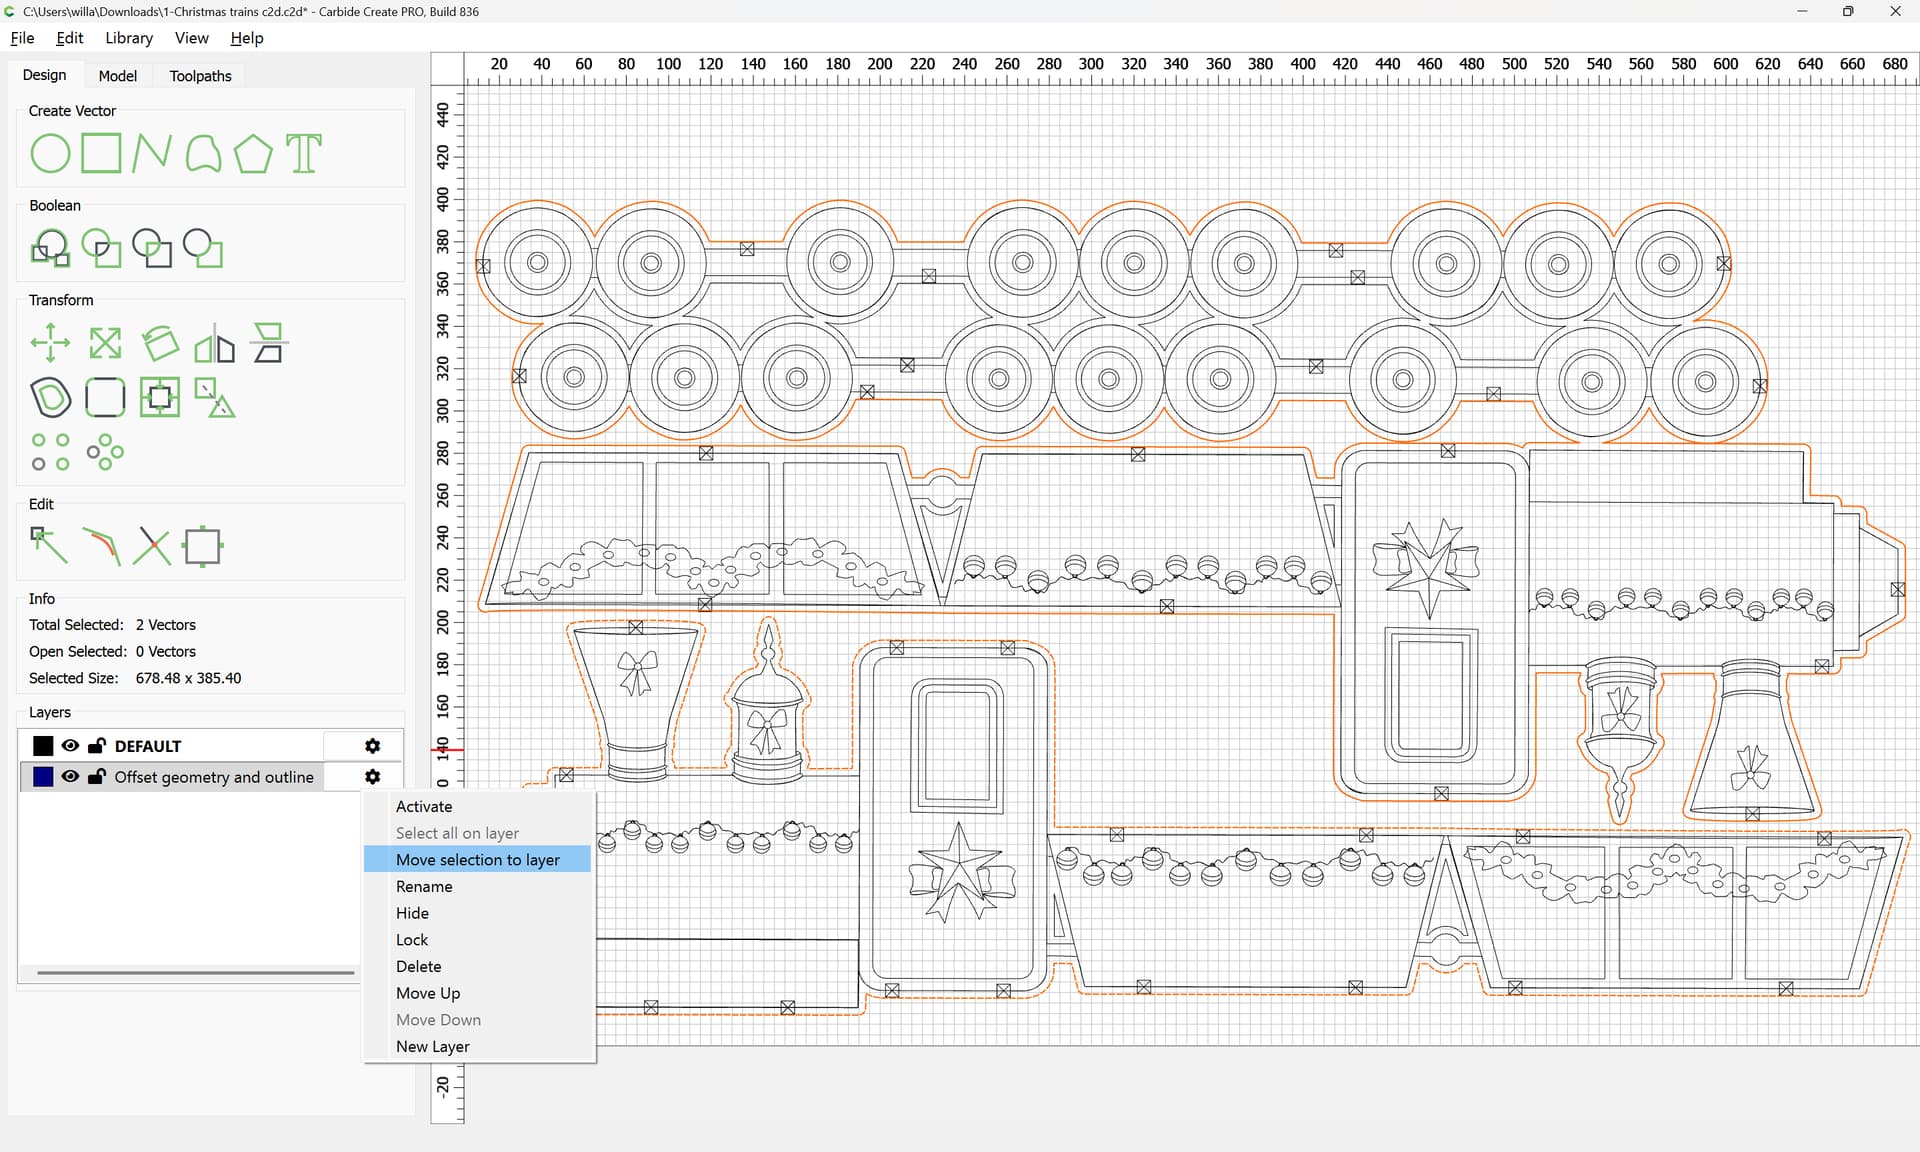
and hide that layer:
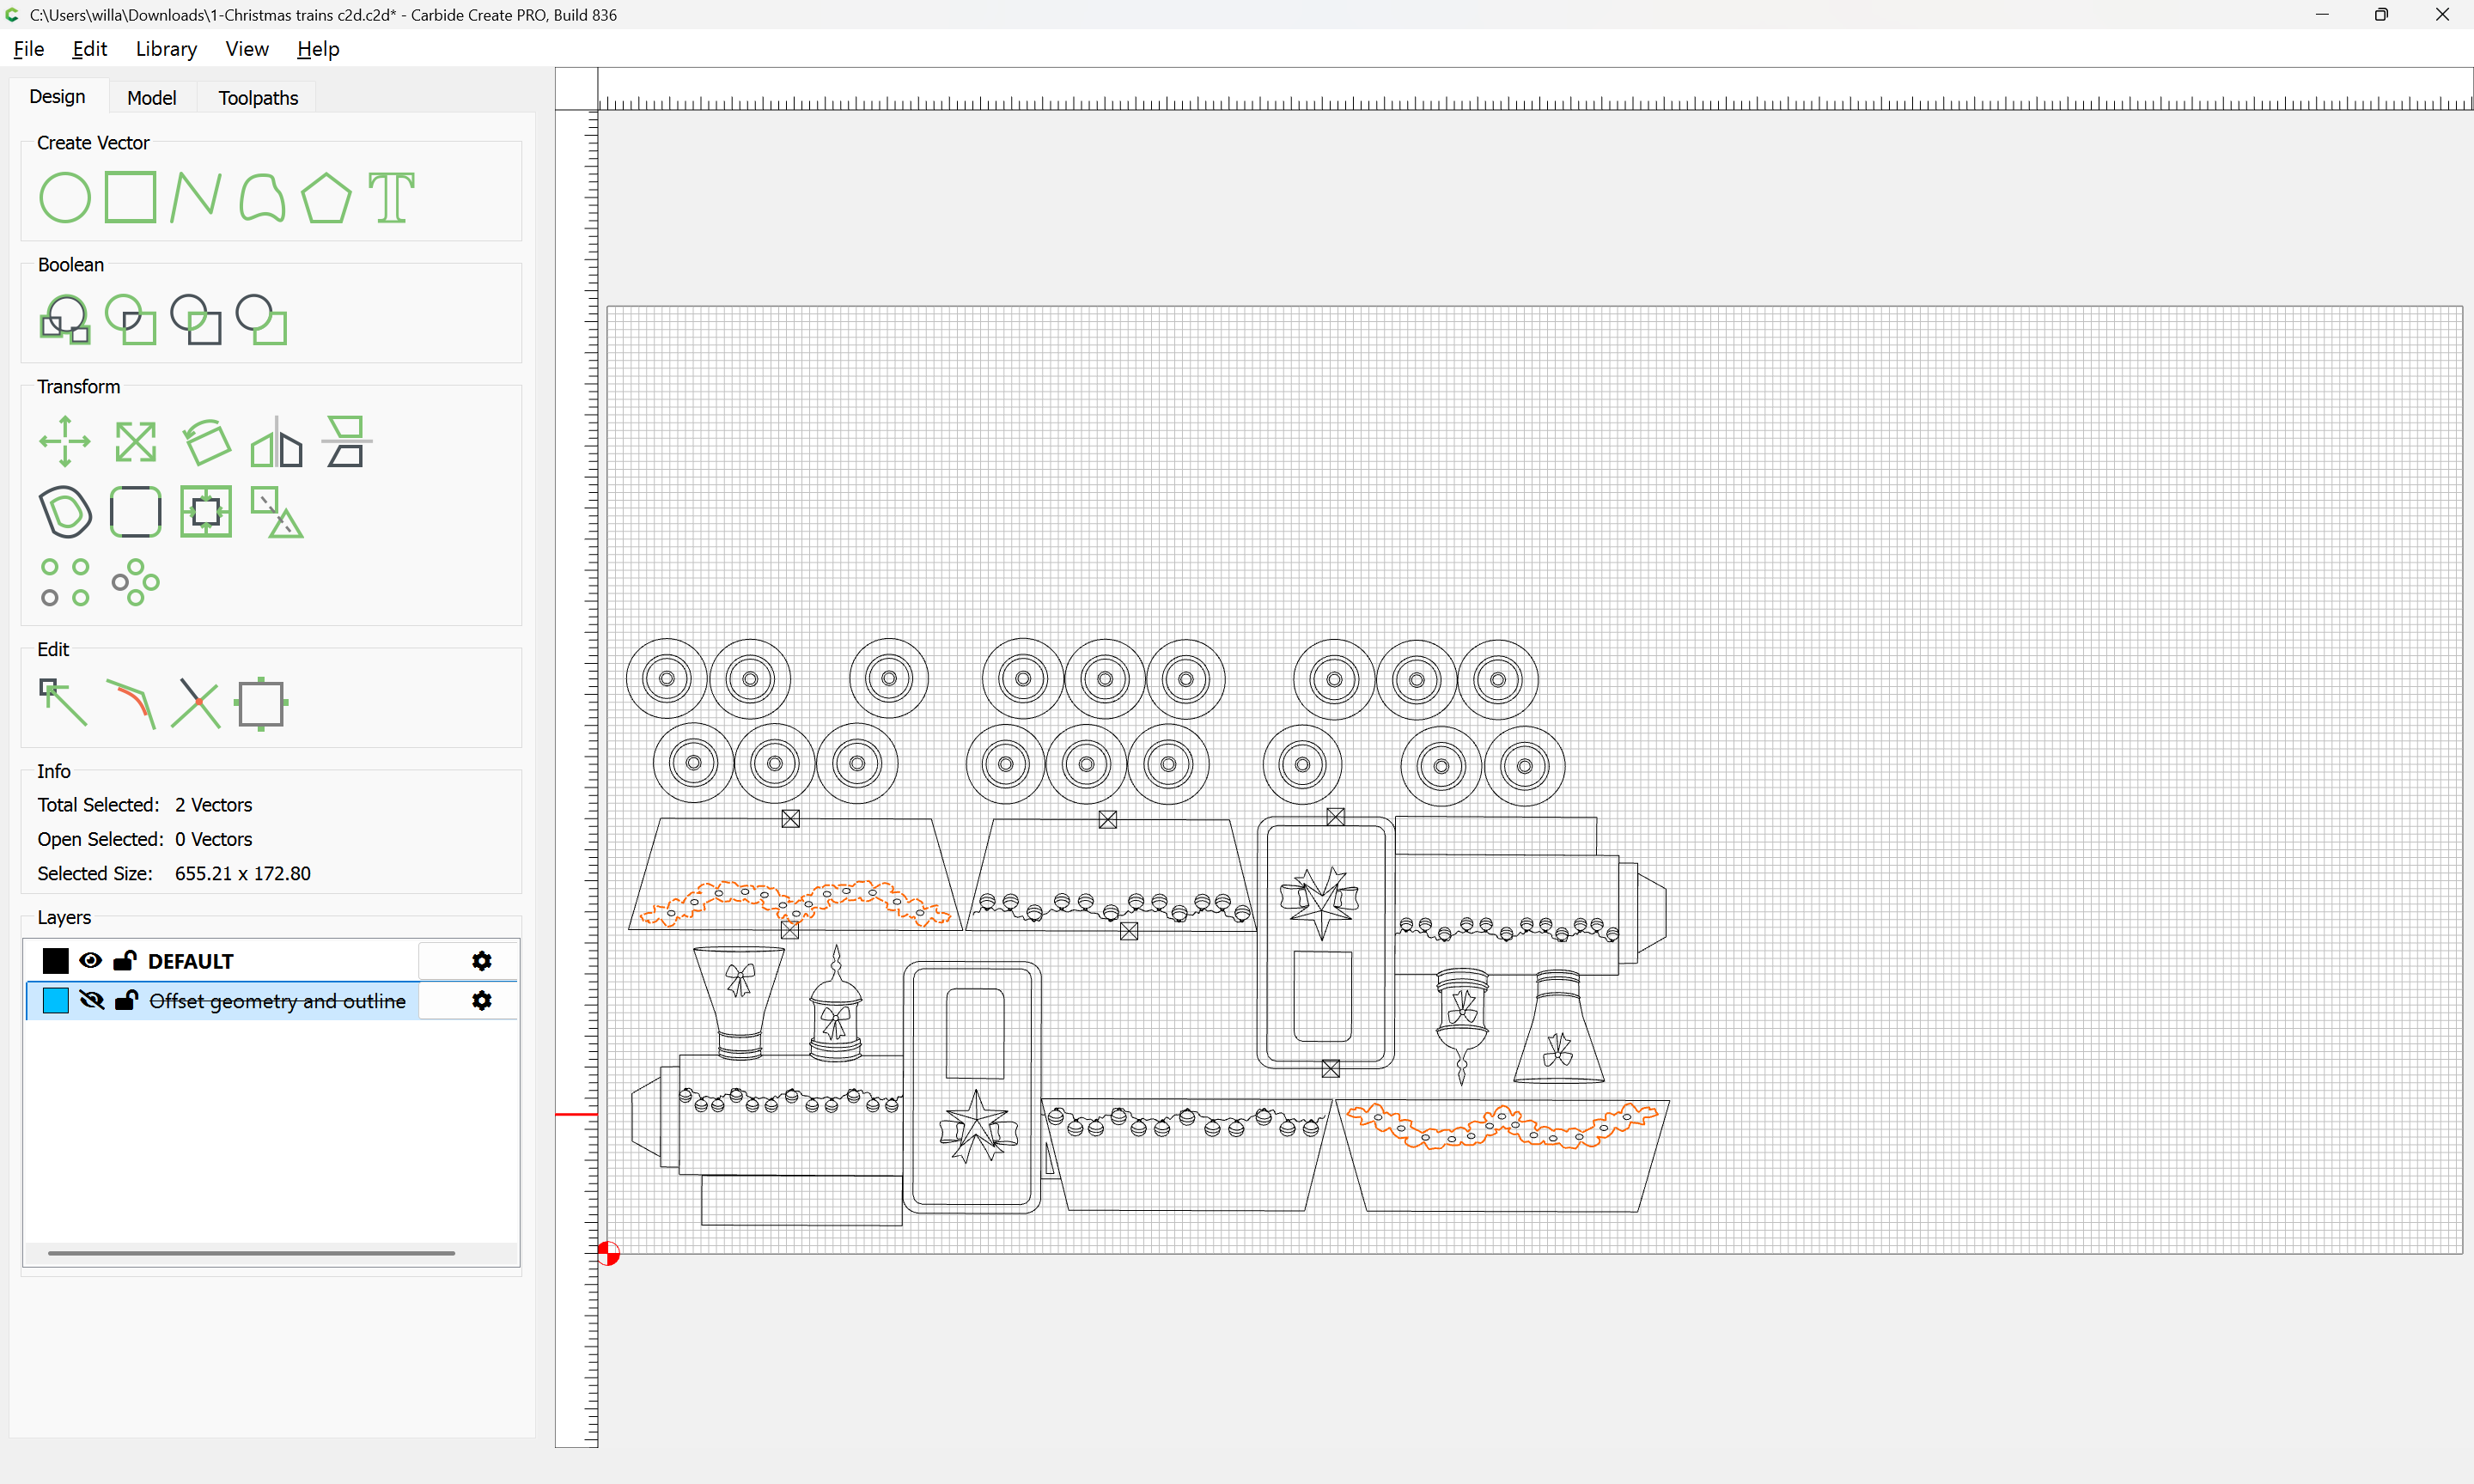
Then drag-select regions of geometry so as to select only the outline:
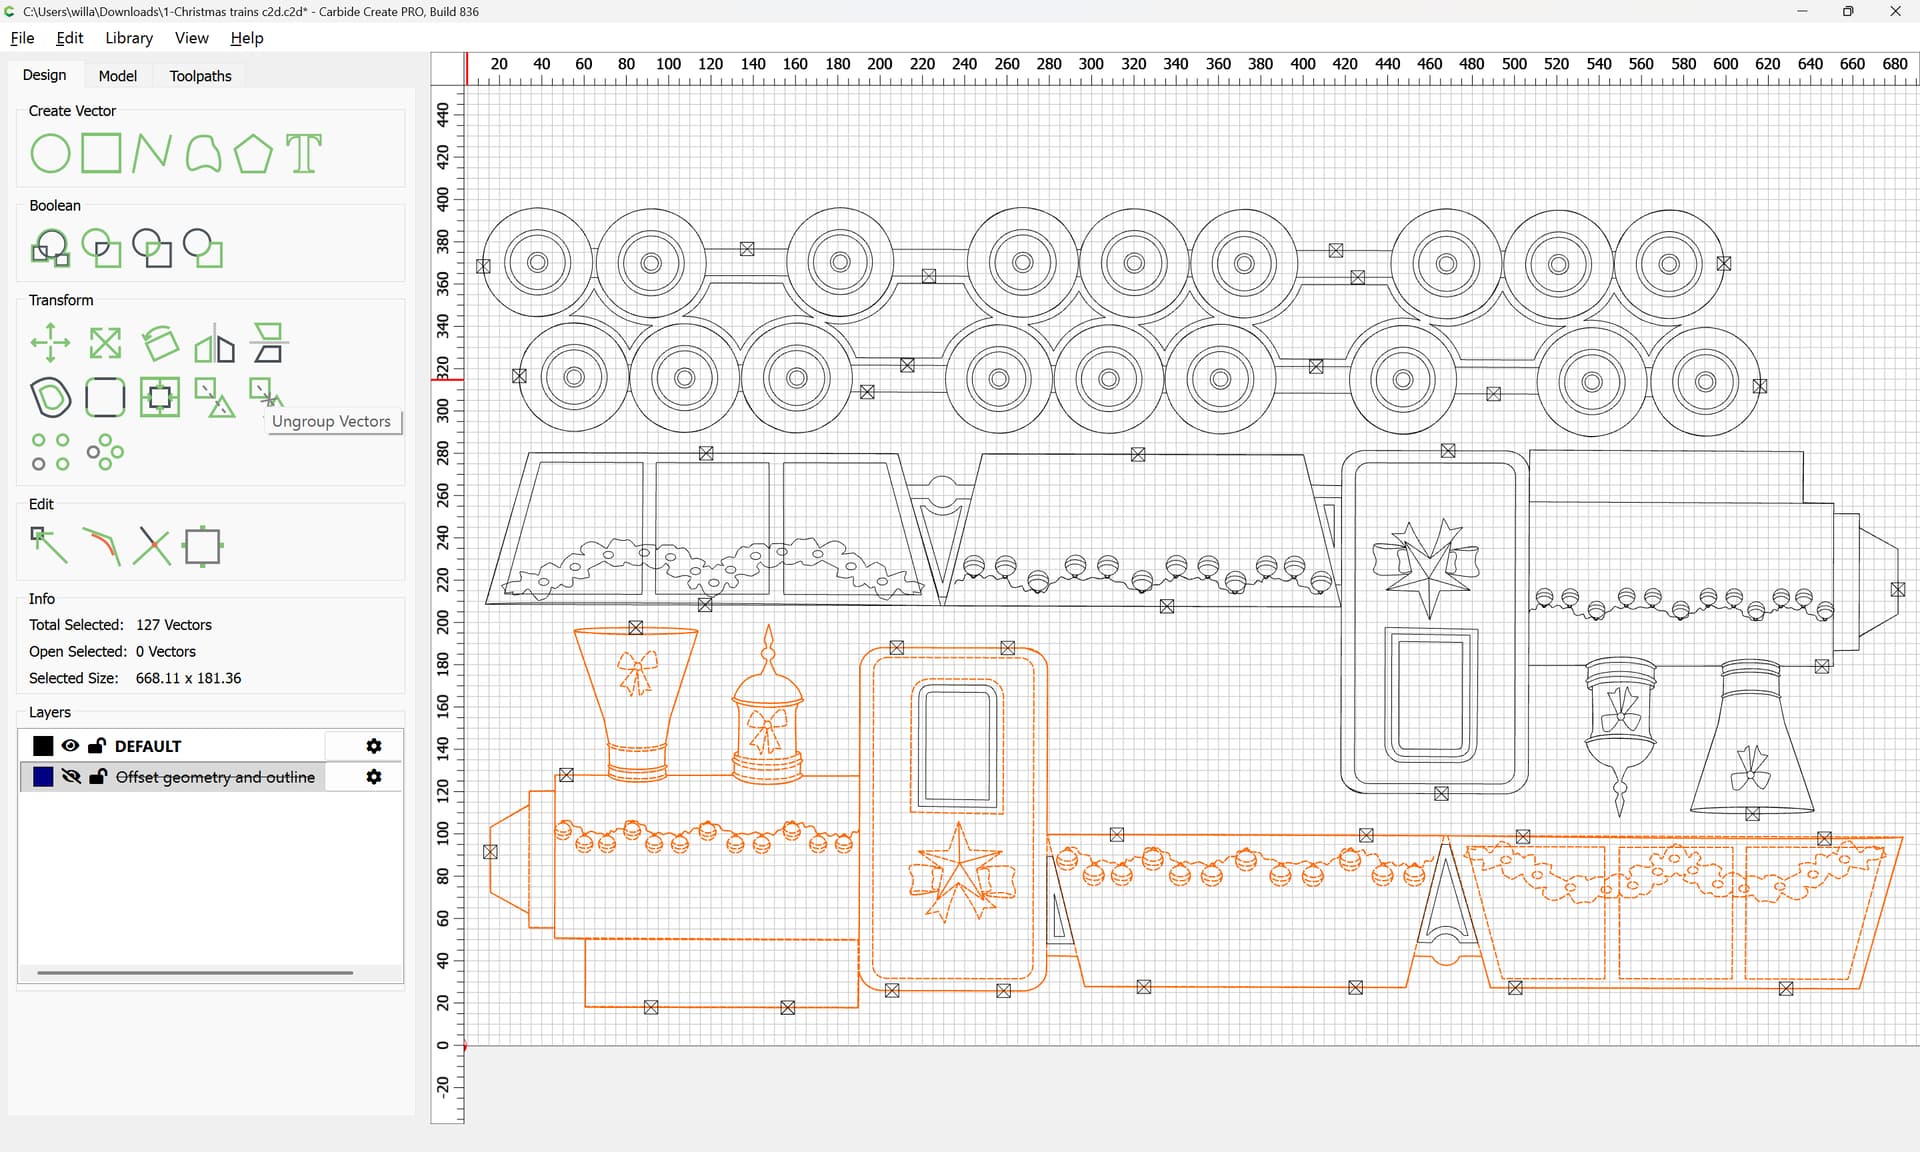
and where necessary ungroup:
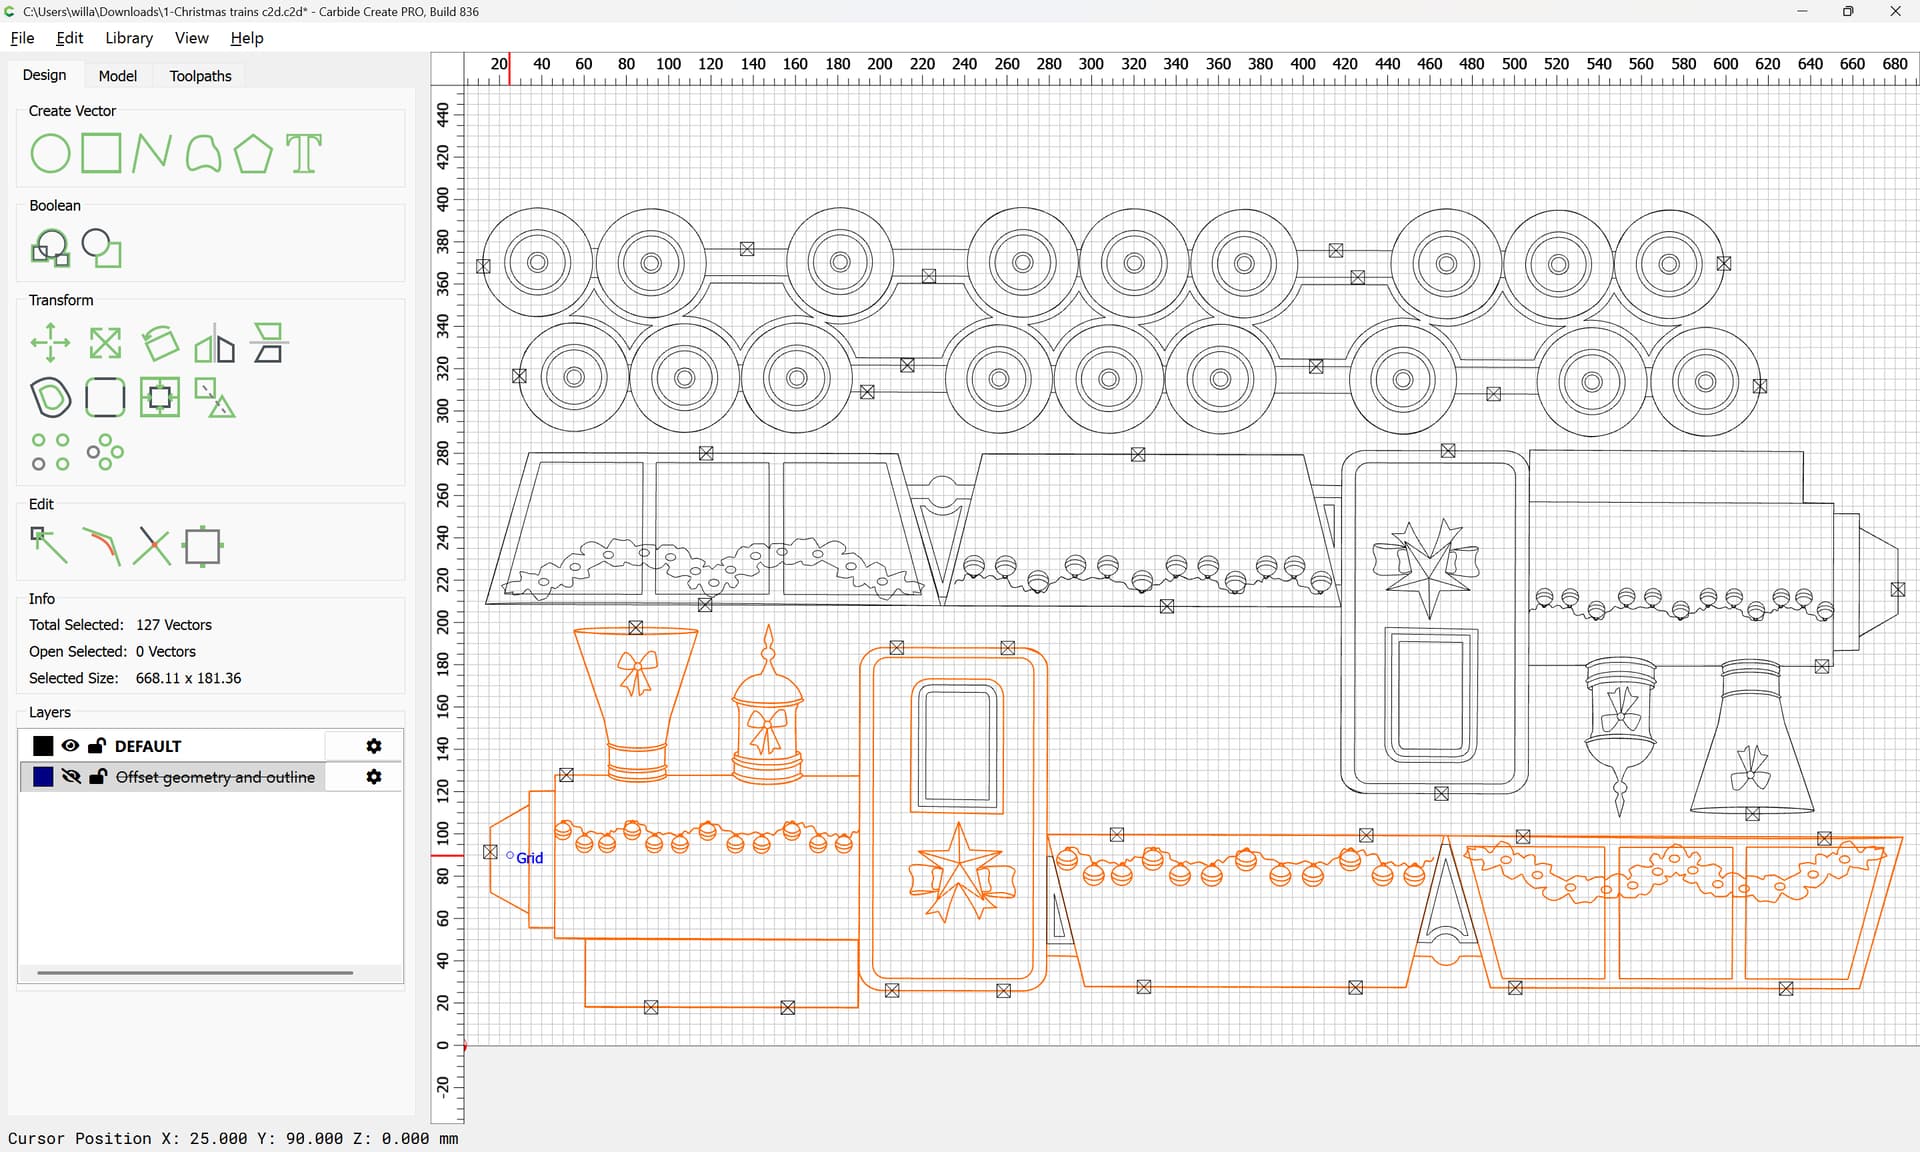
Select only the outline:
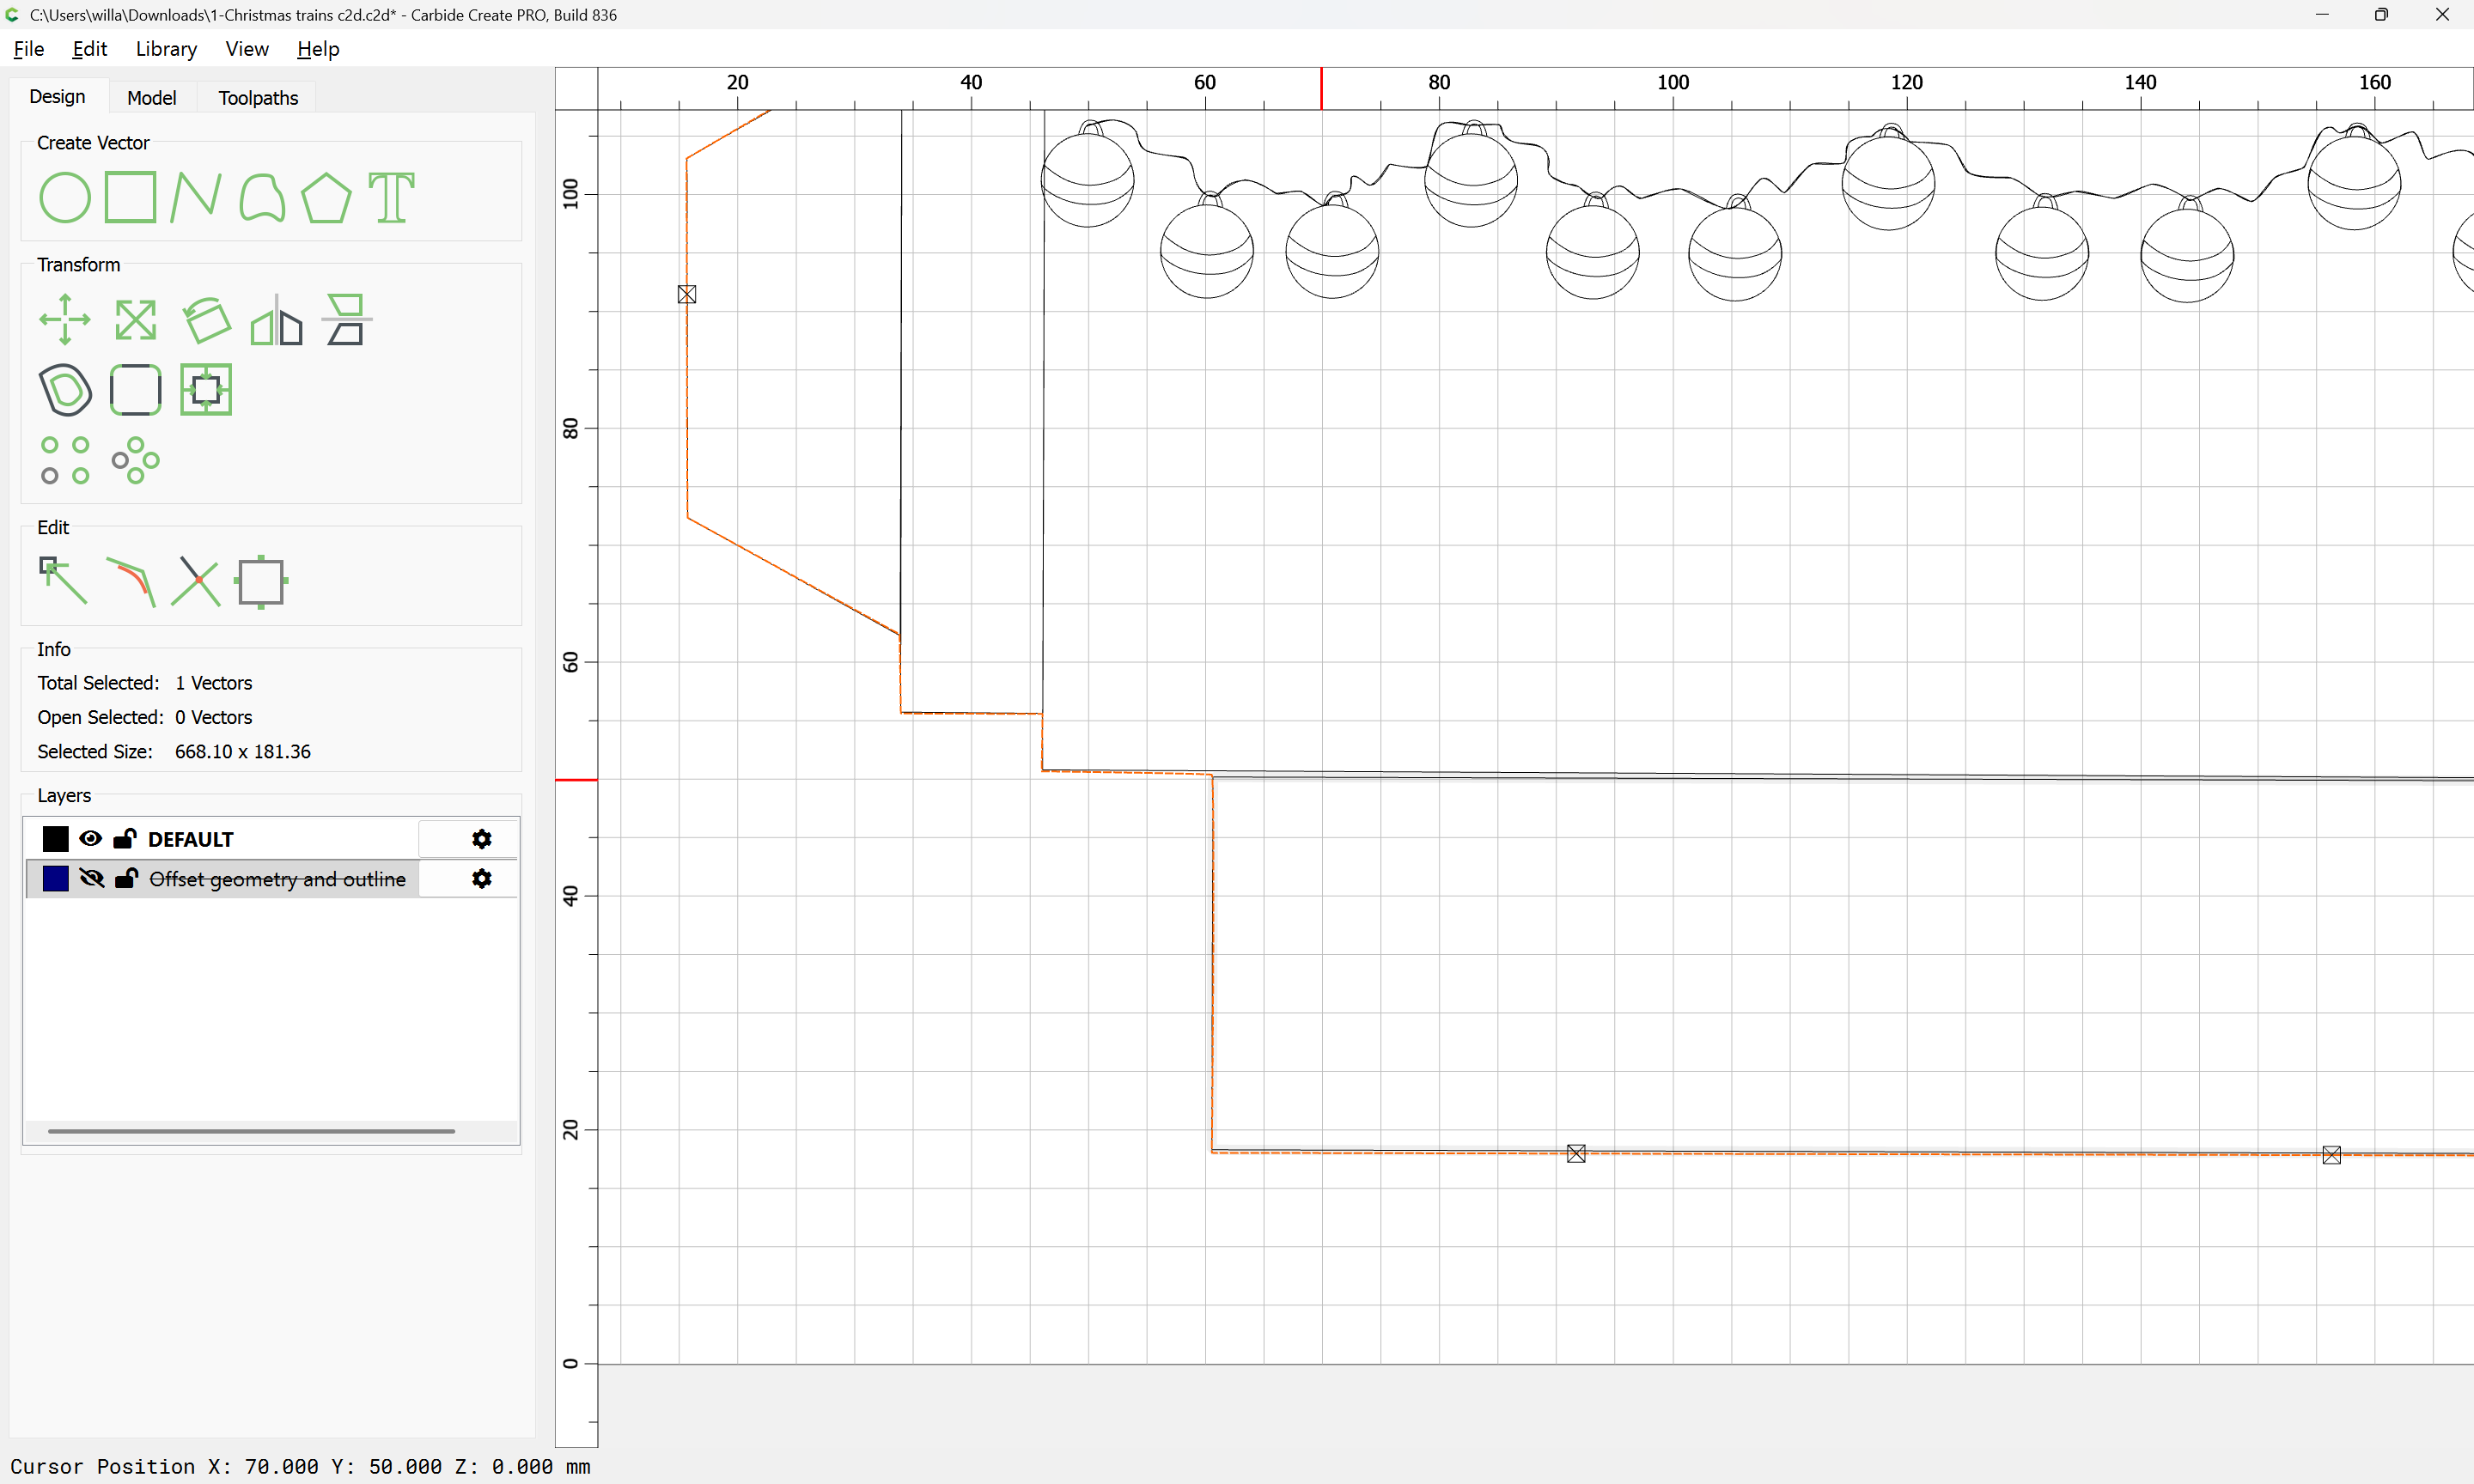
and put it on the hidden layer:
Repeat this for each other outline
1 Like
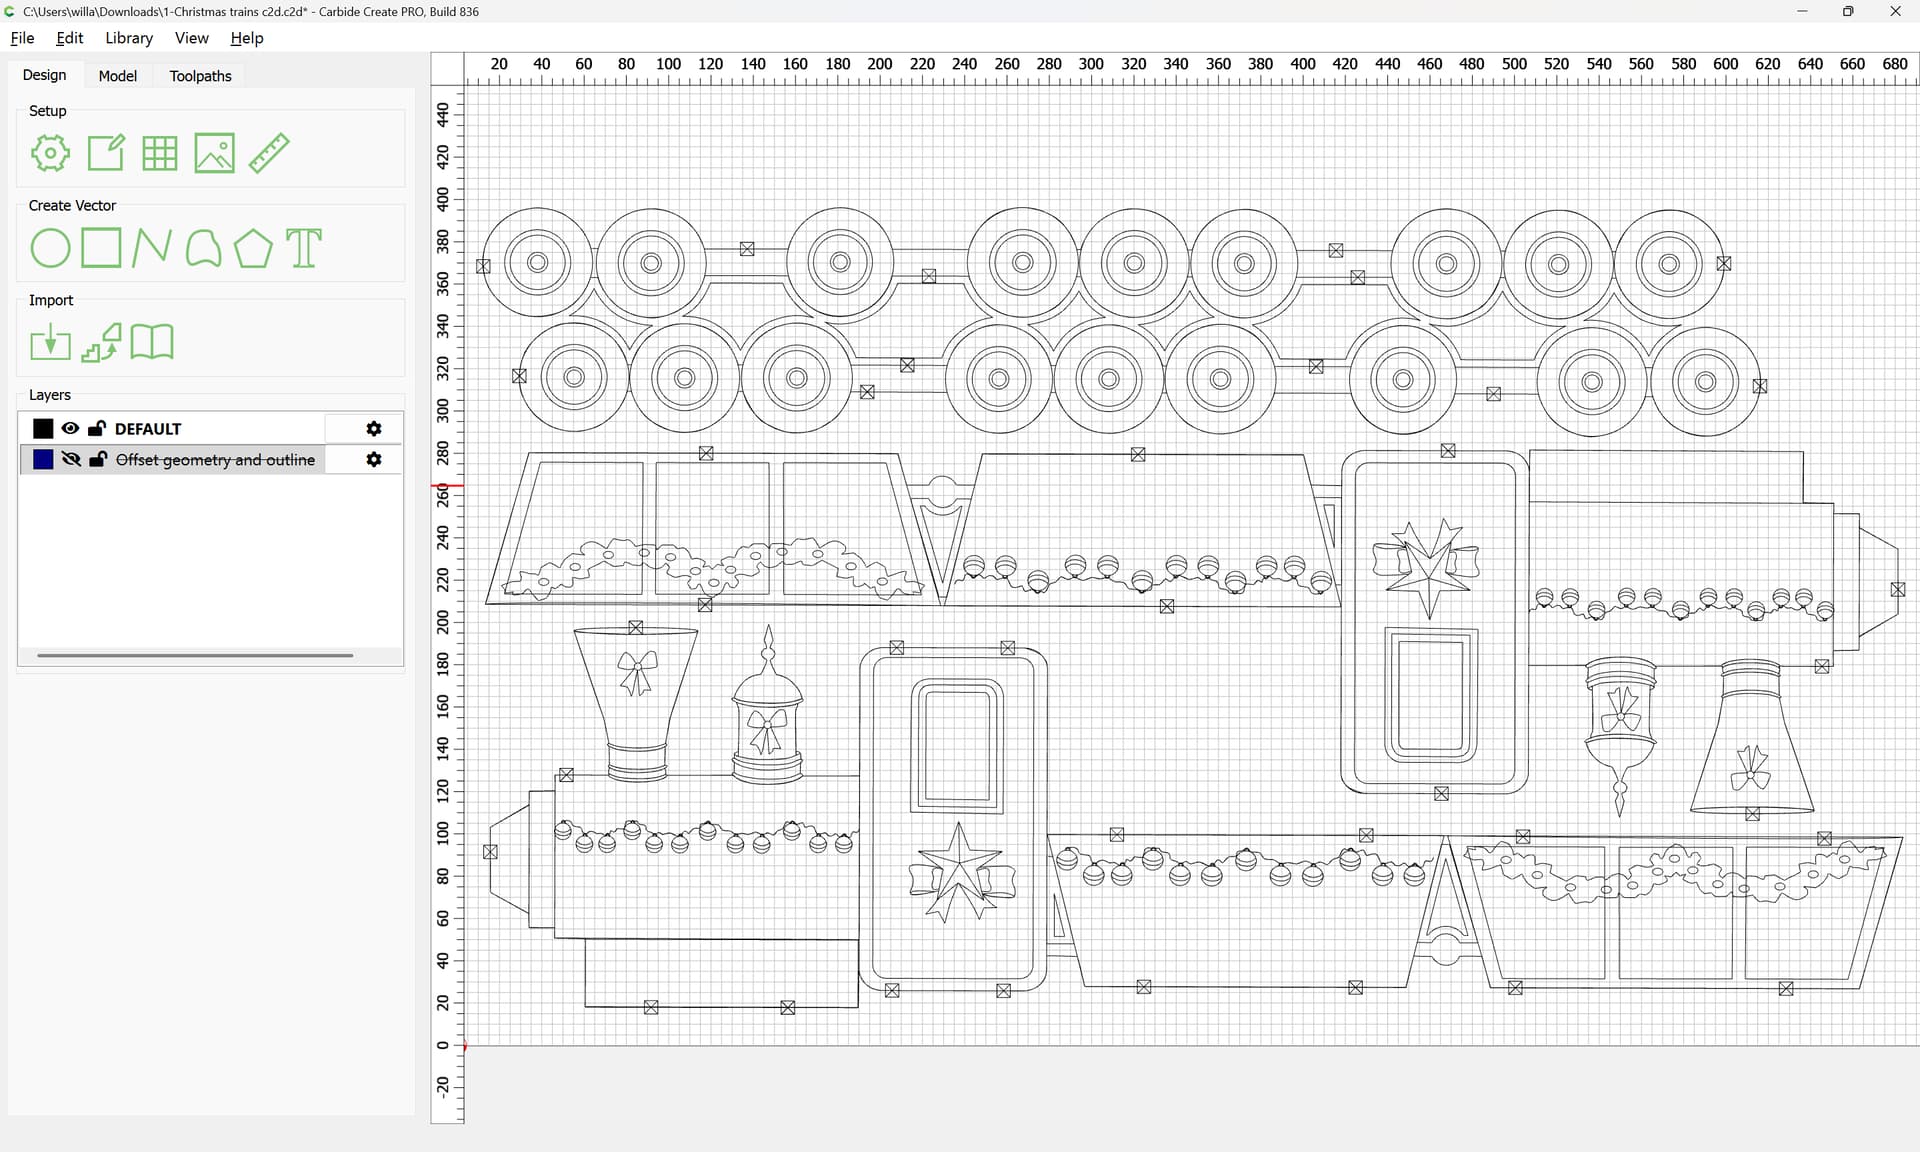
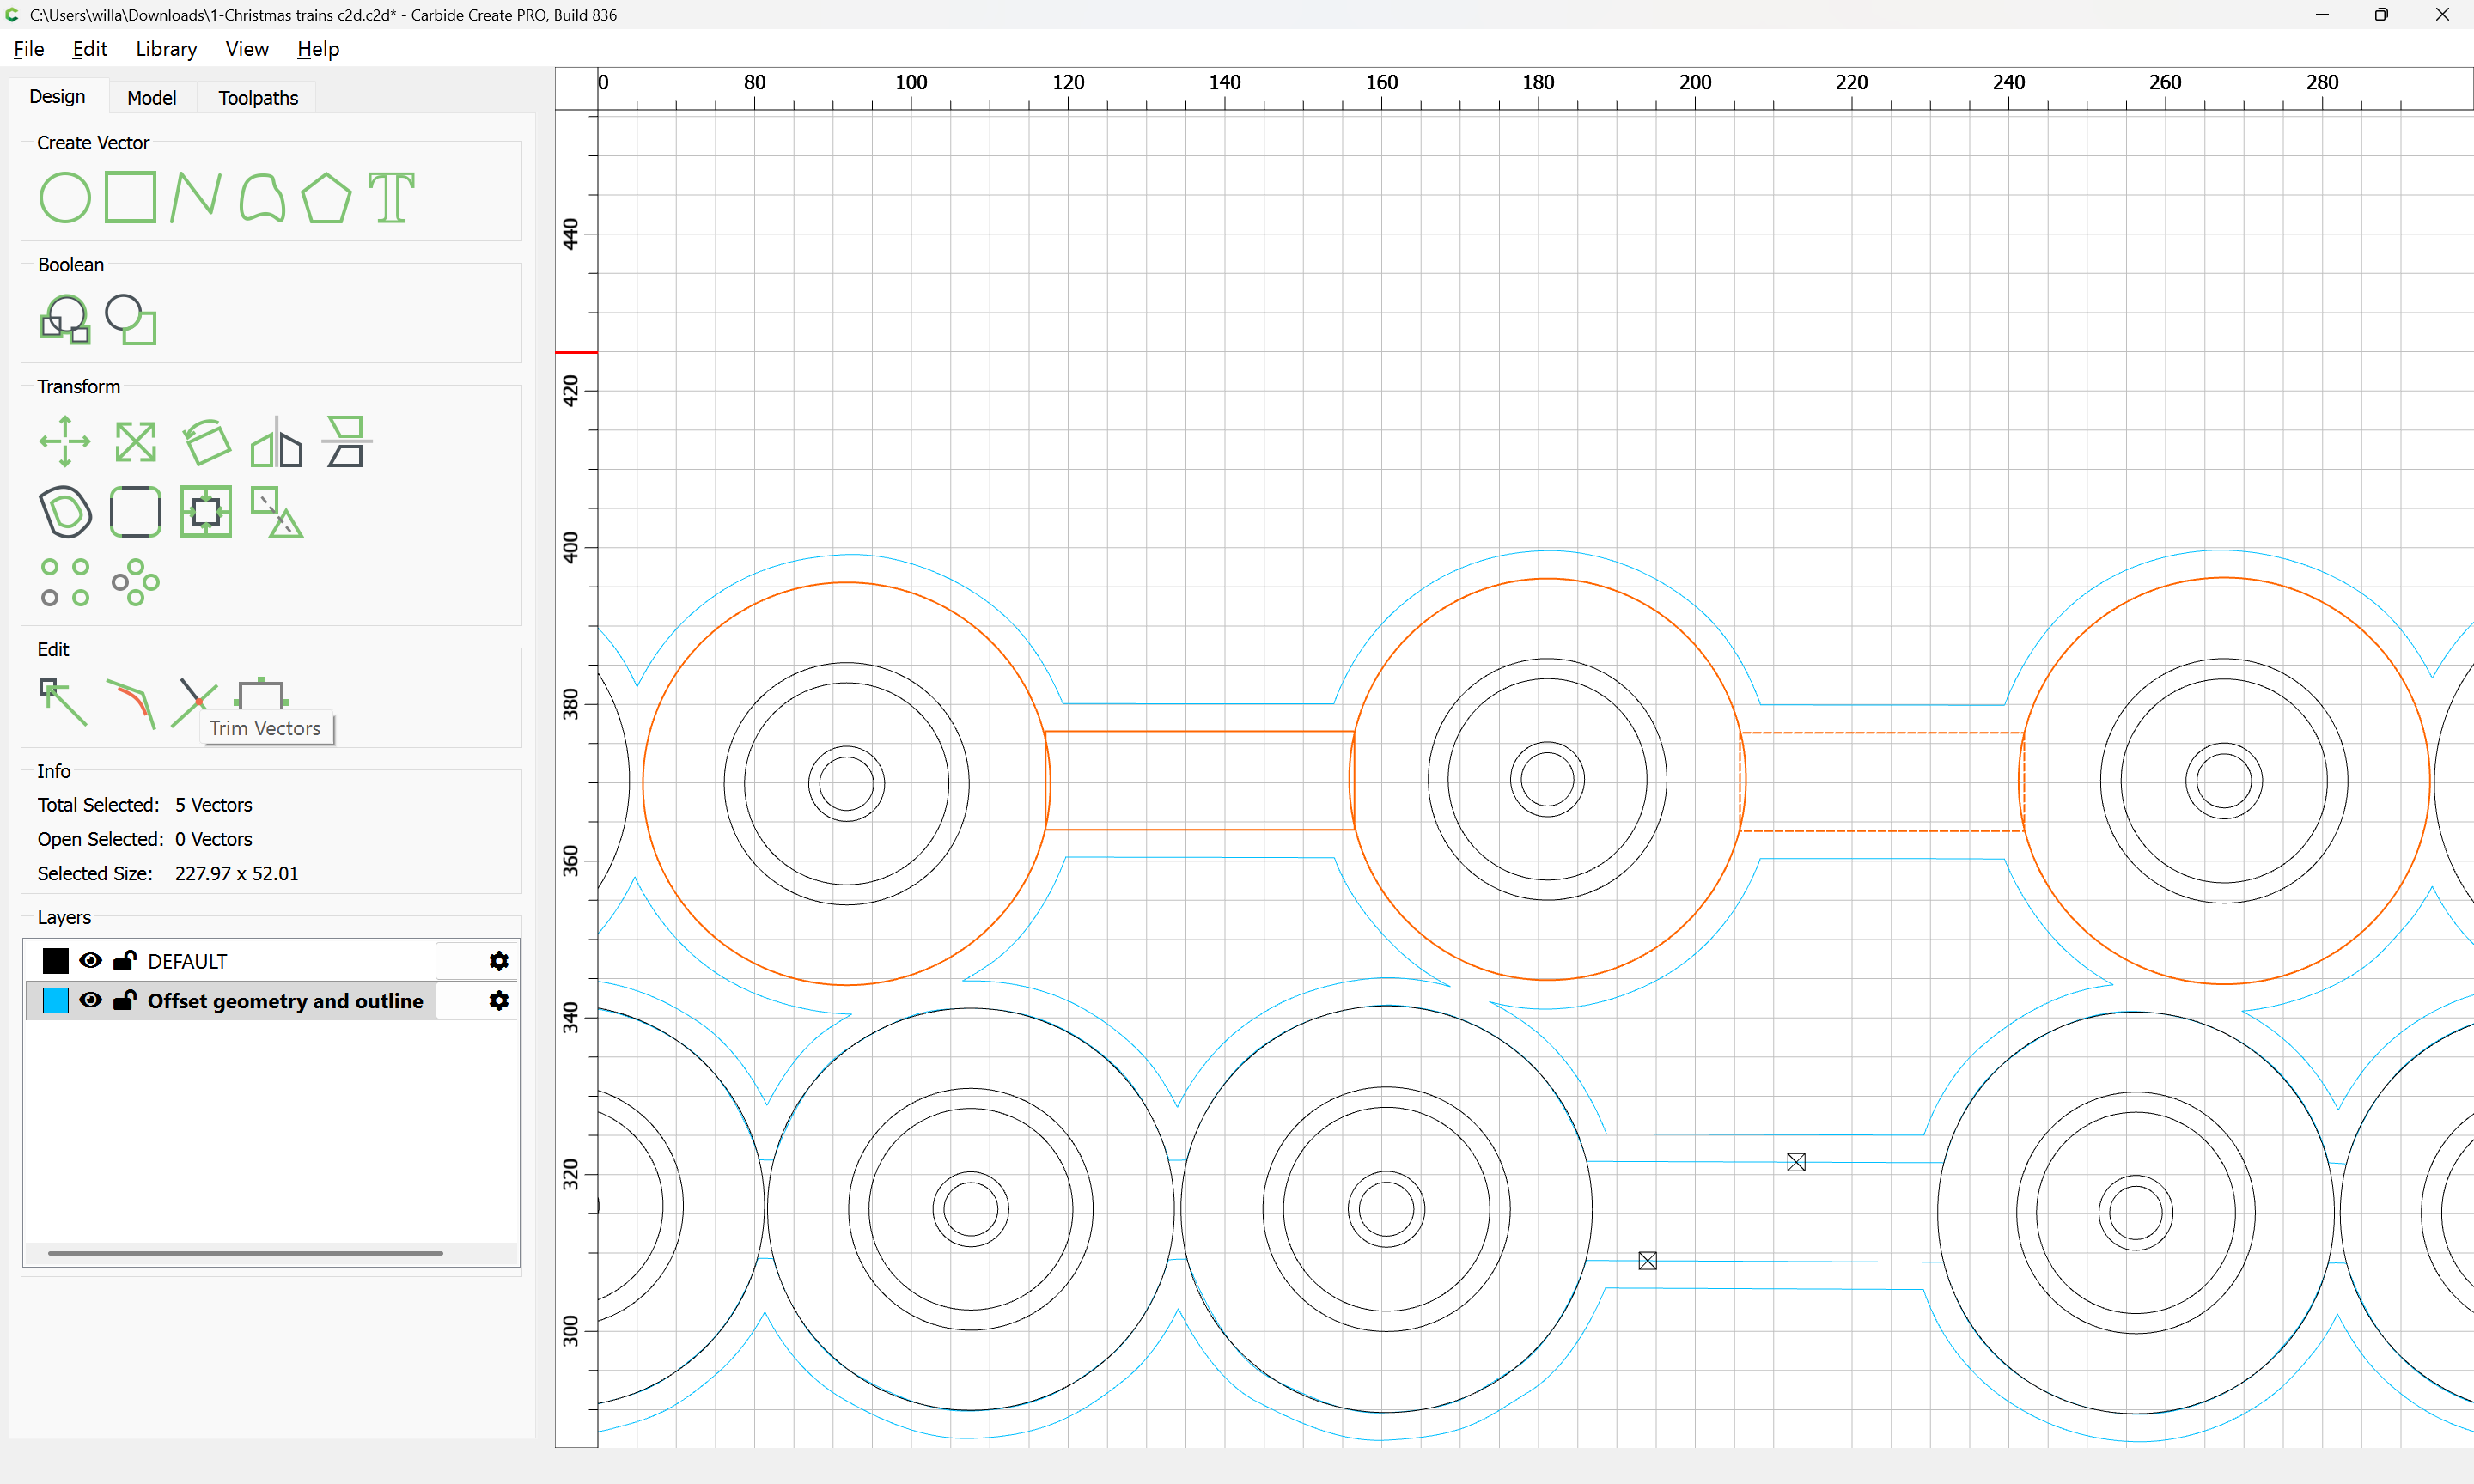
Eventually one has:
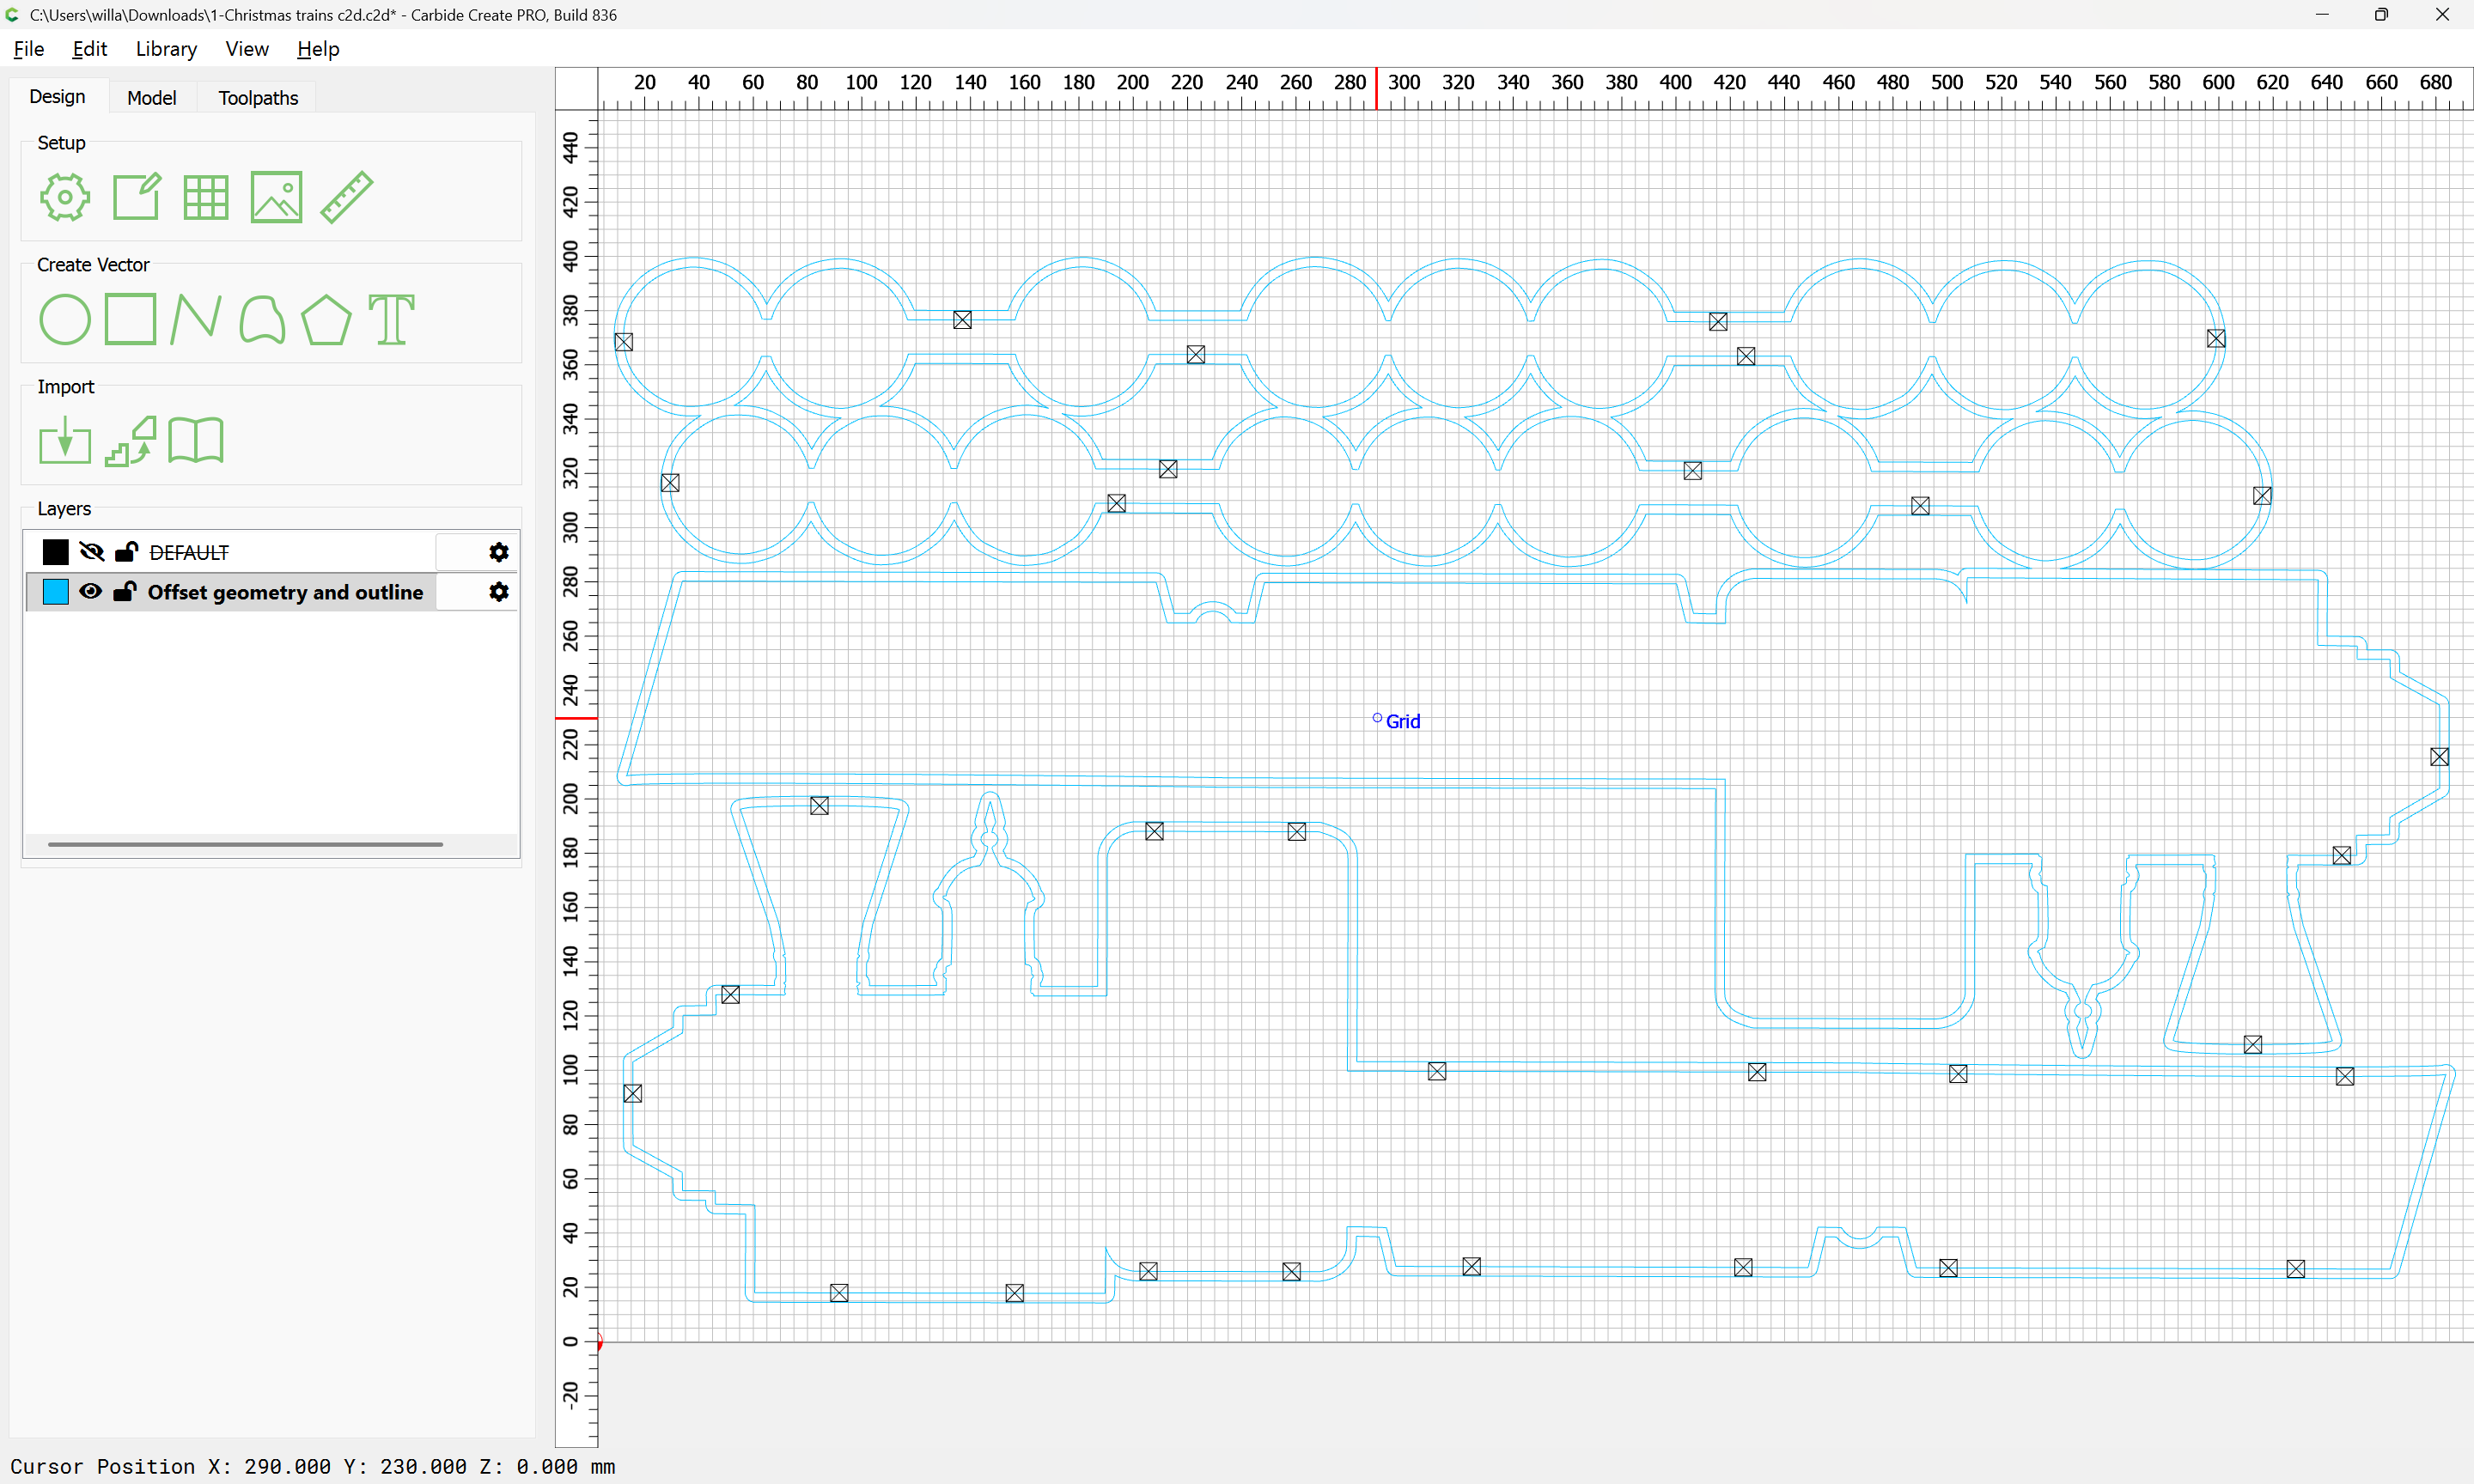
which may be used for the pocket:
Adjusting a bit we arrive at:
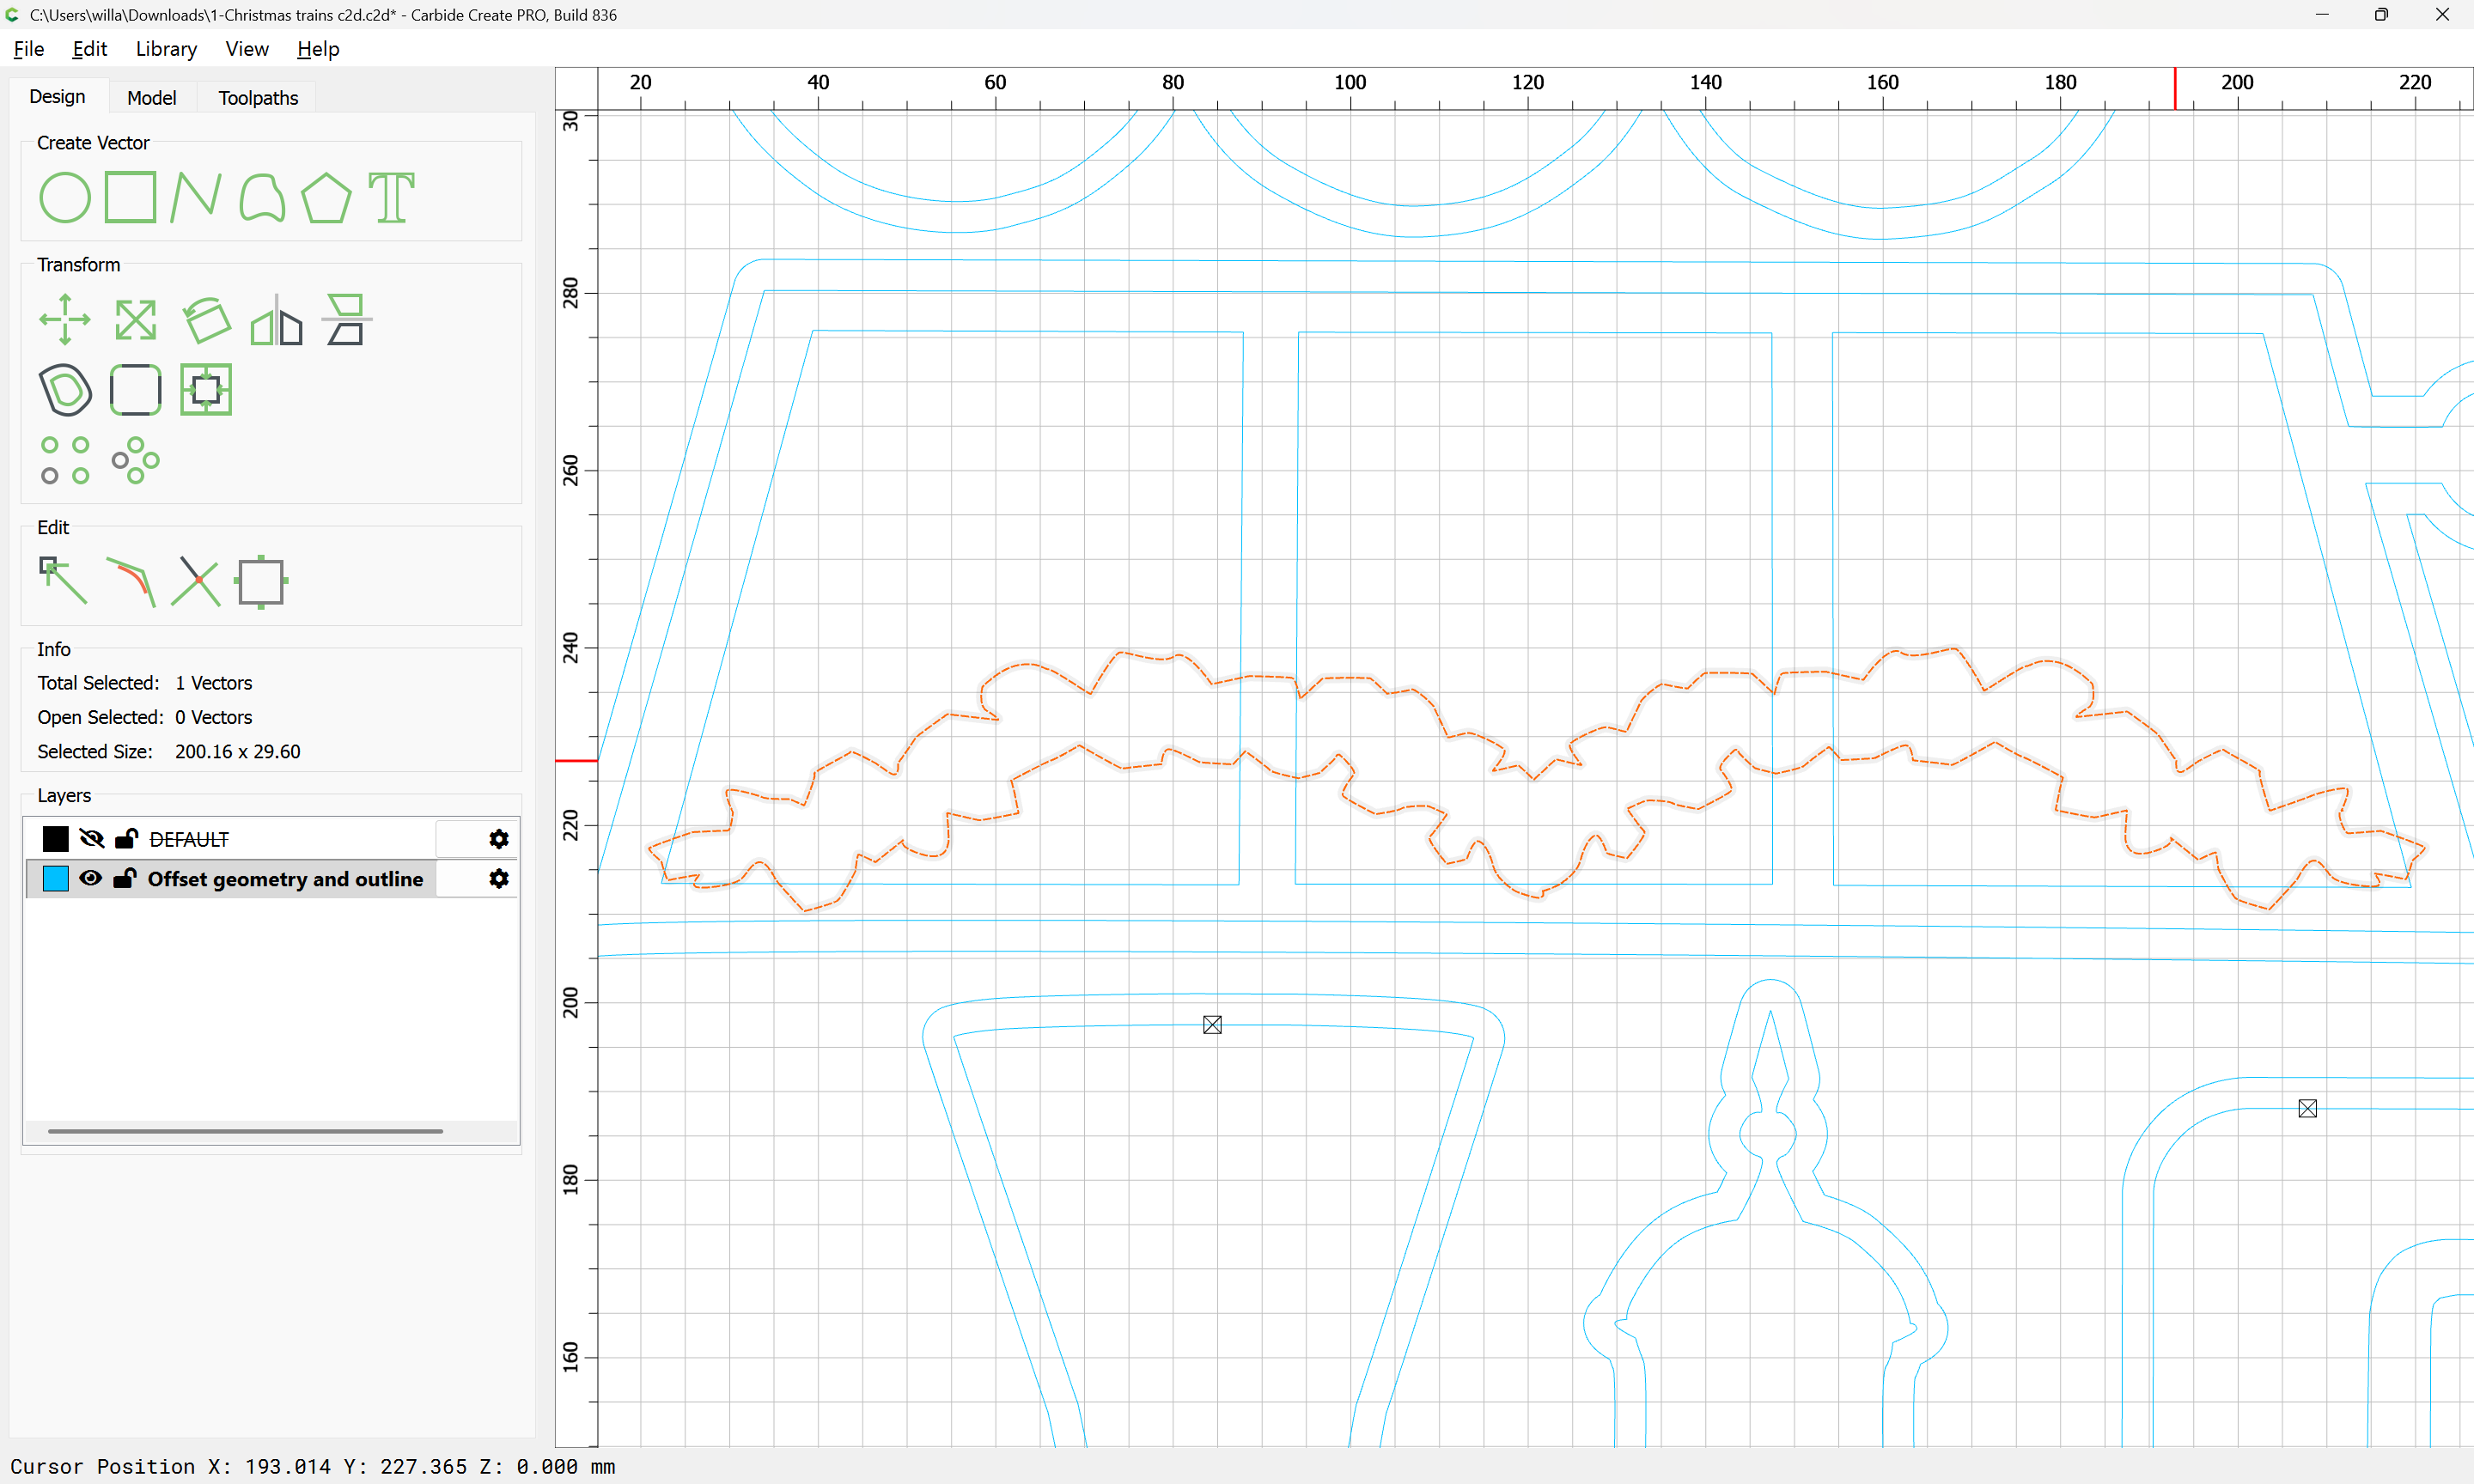
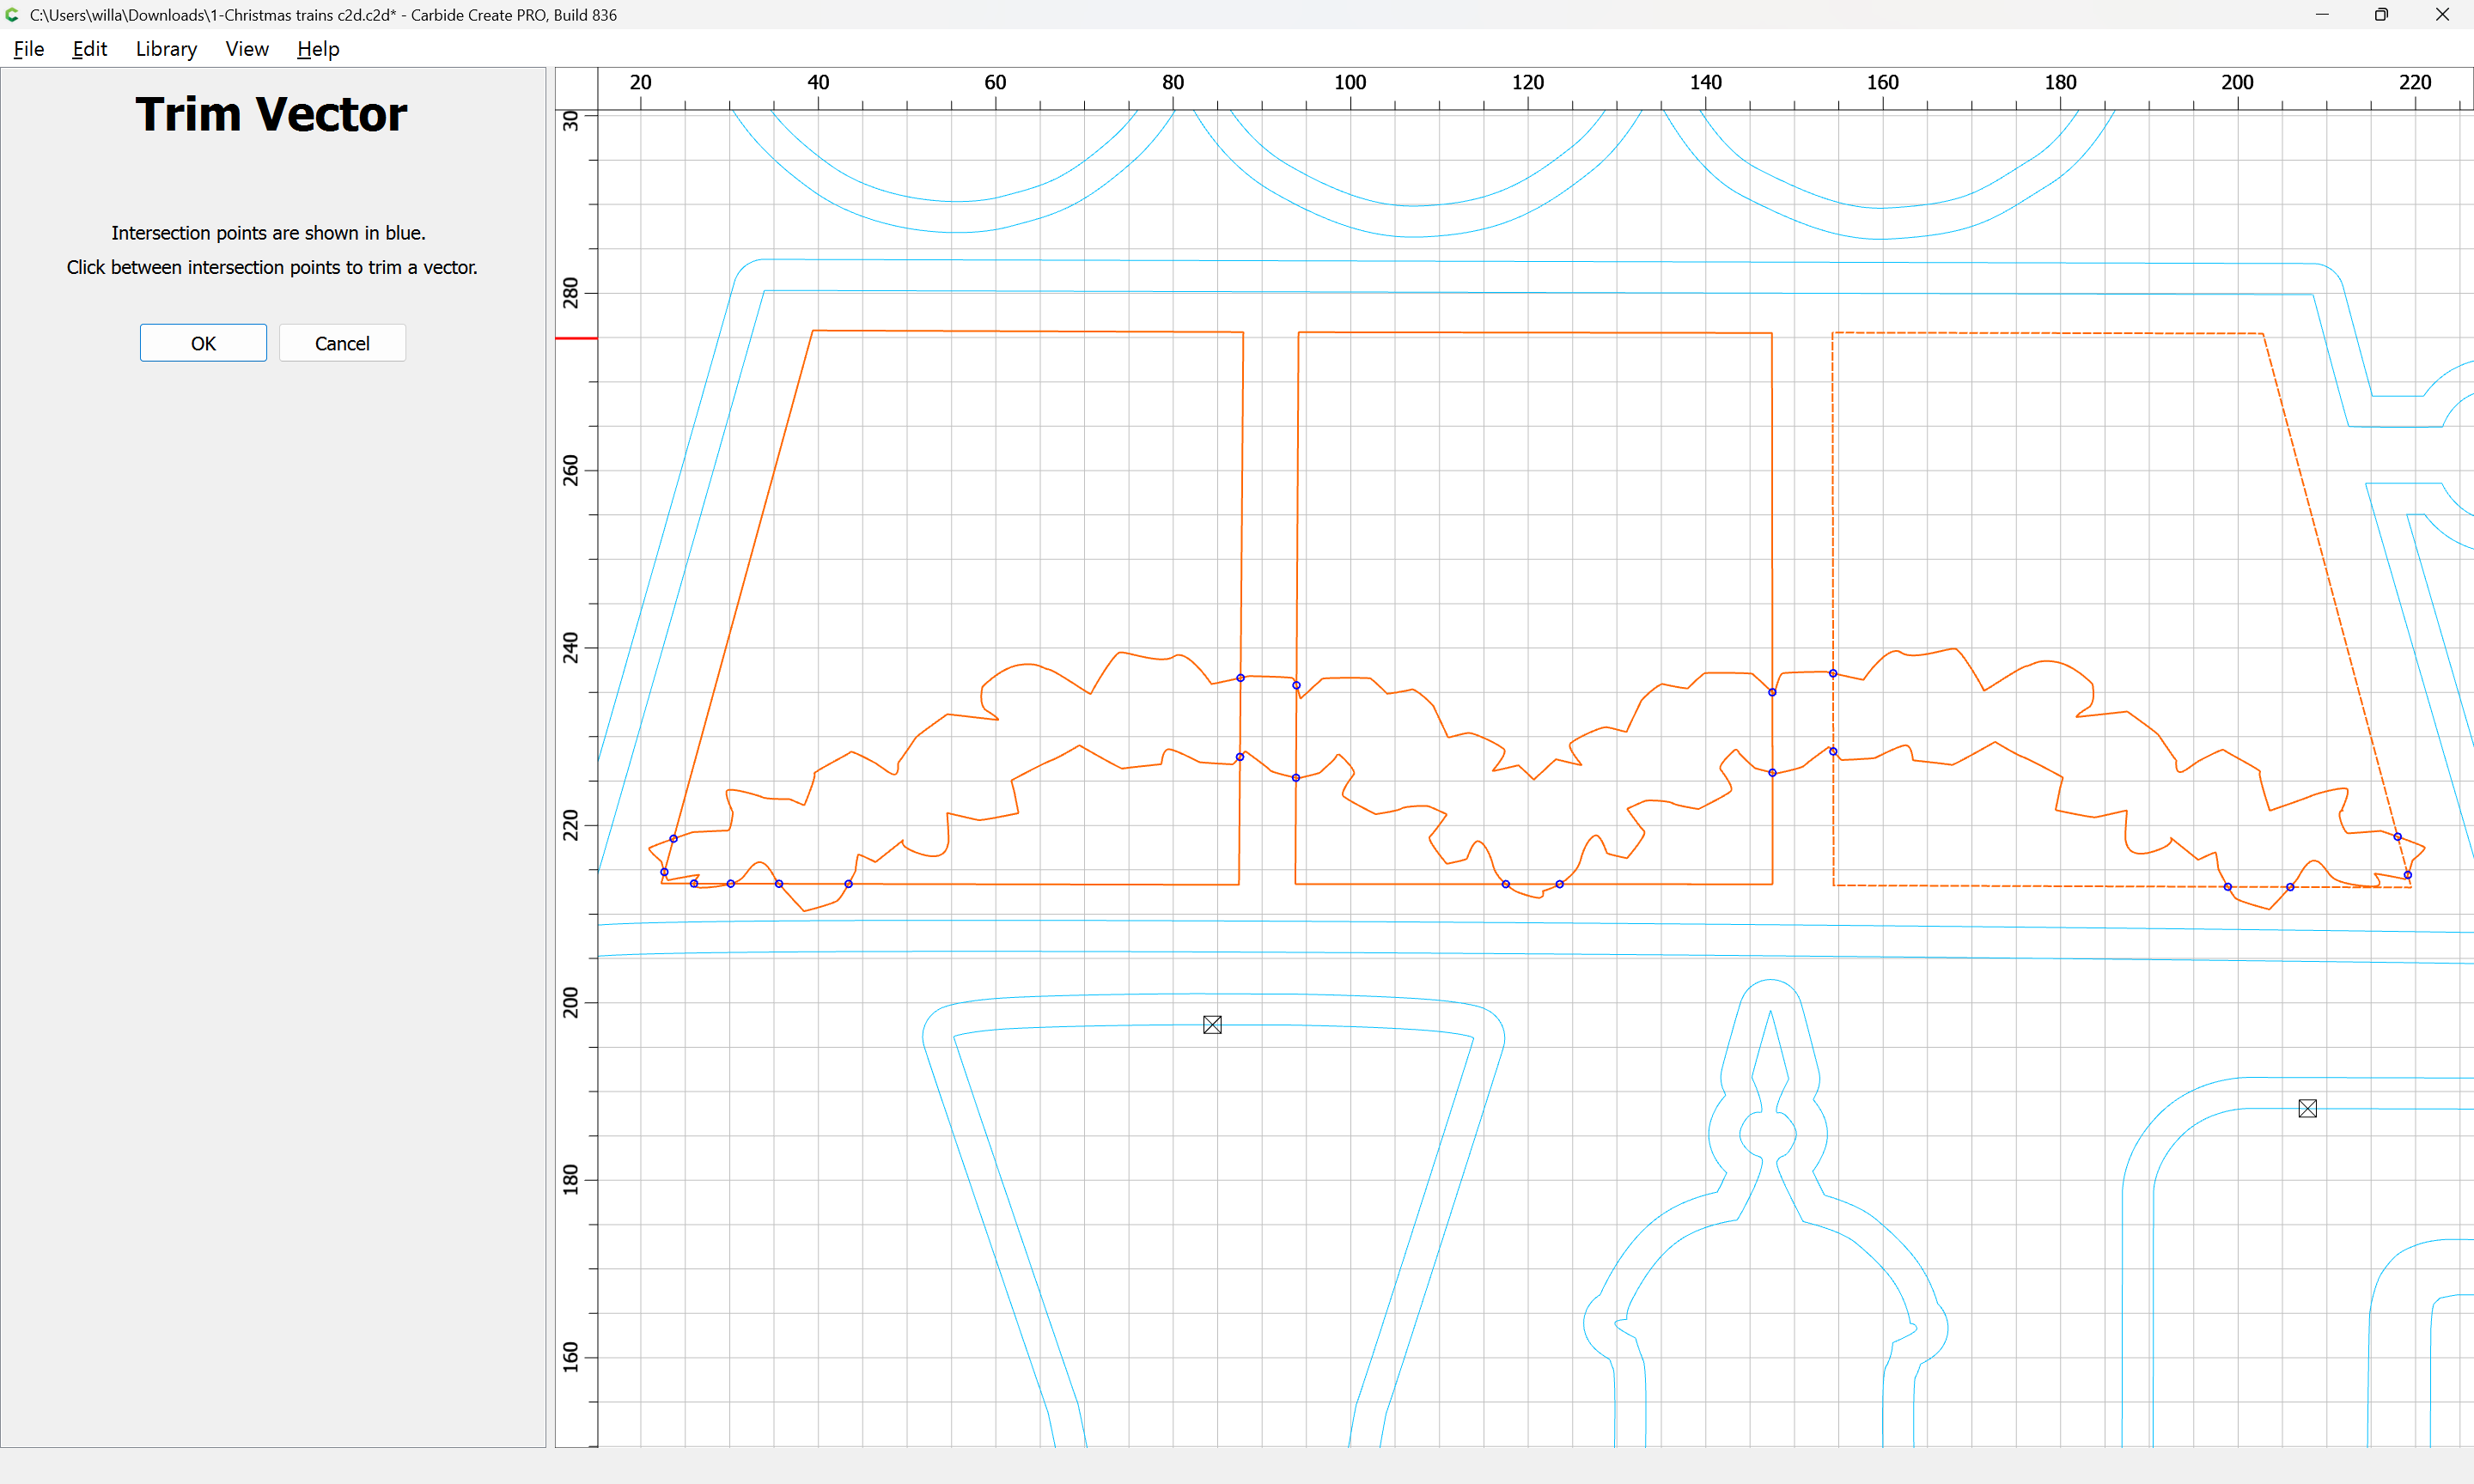
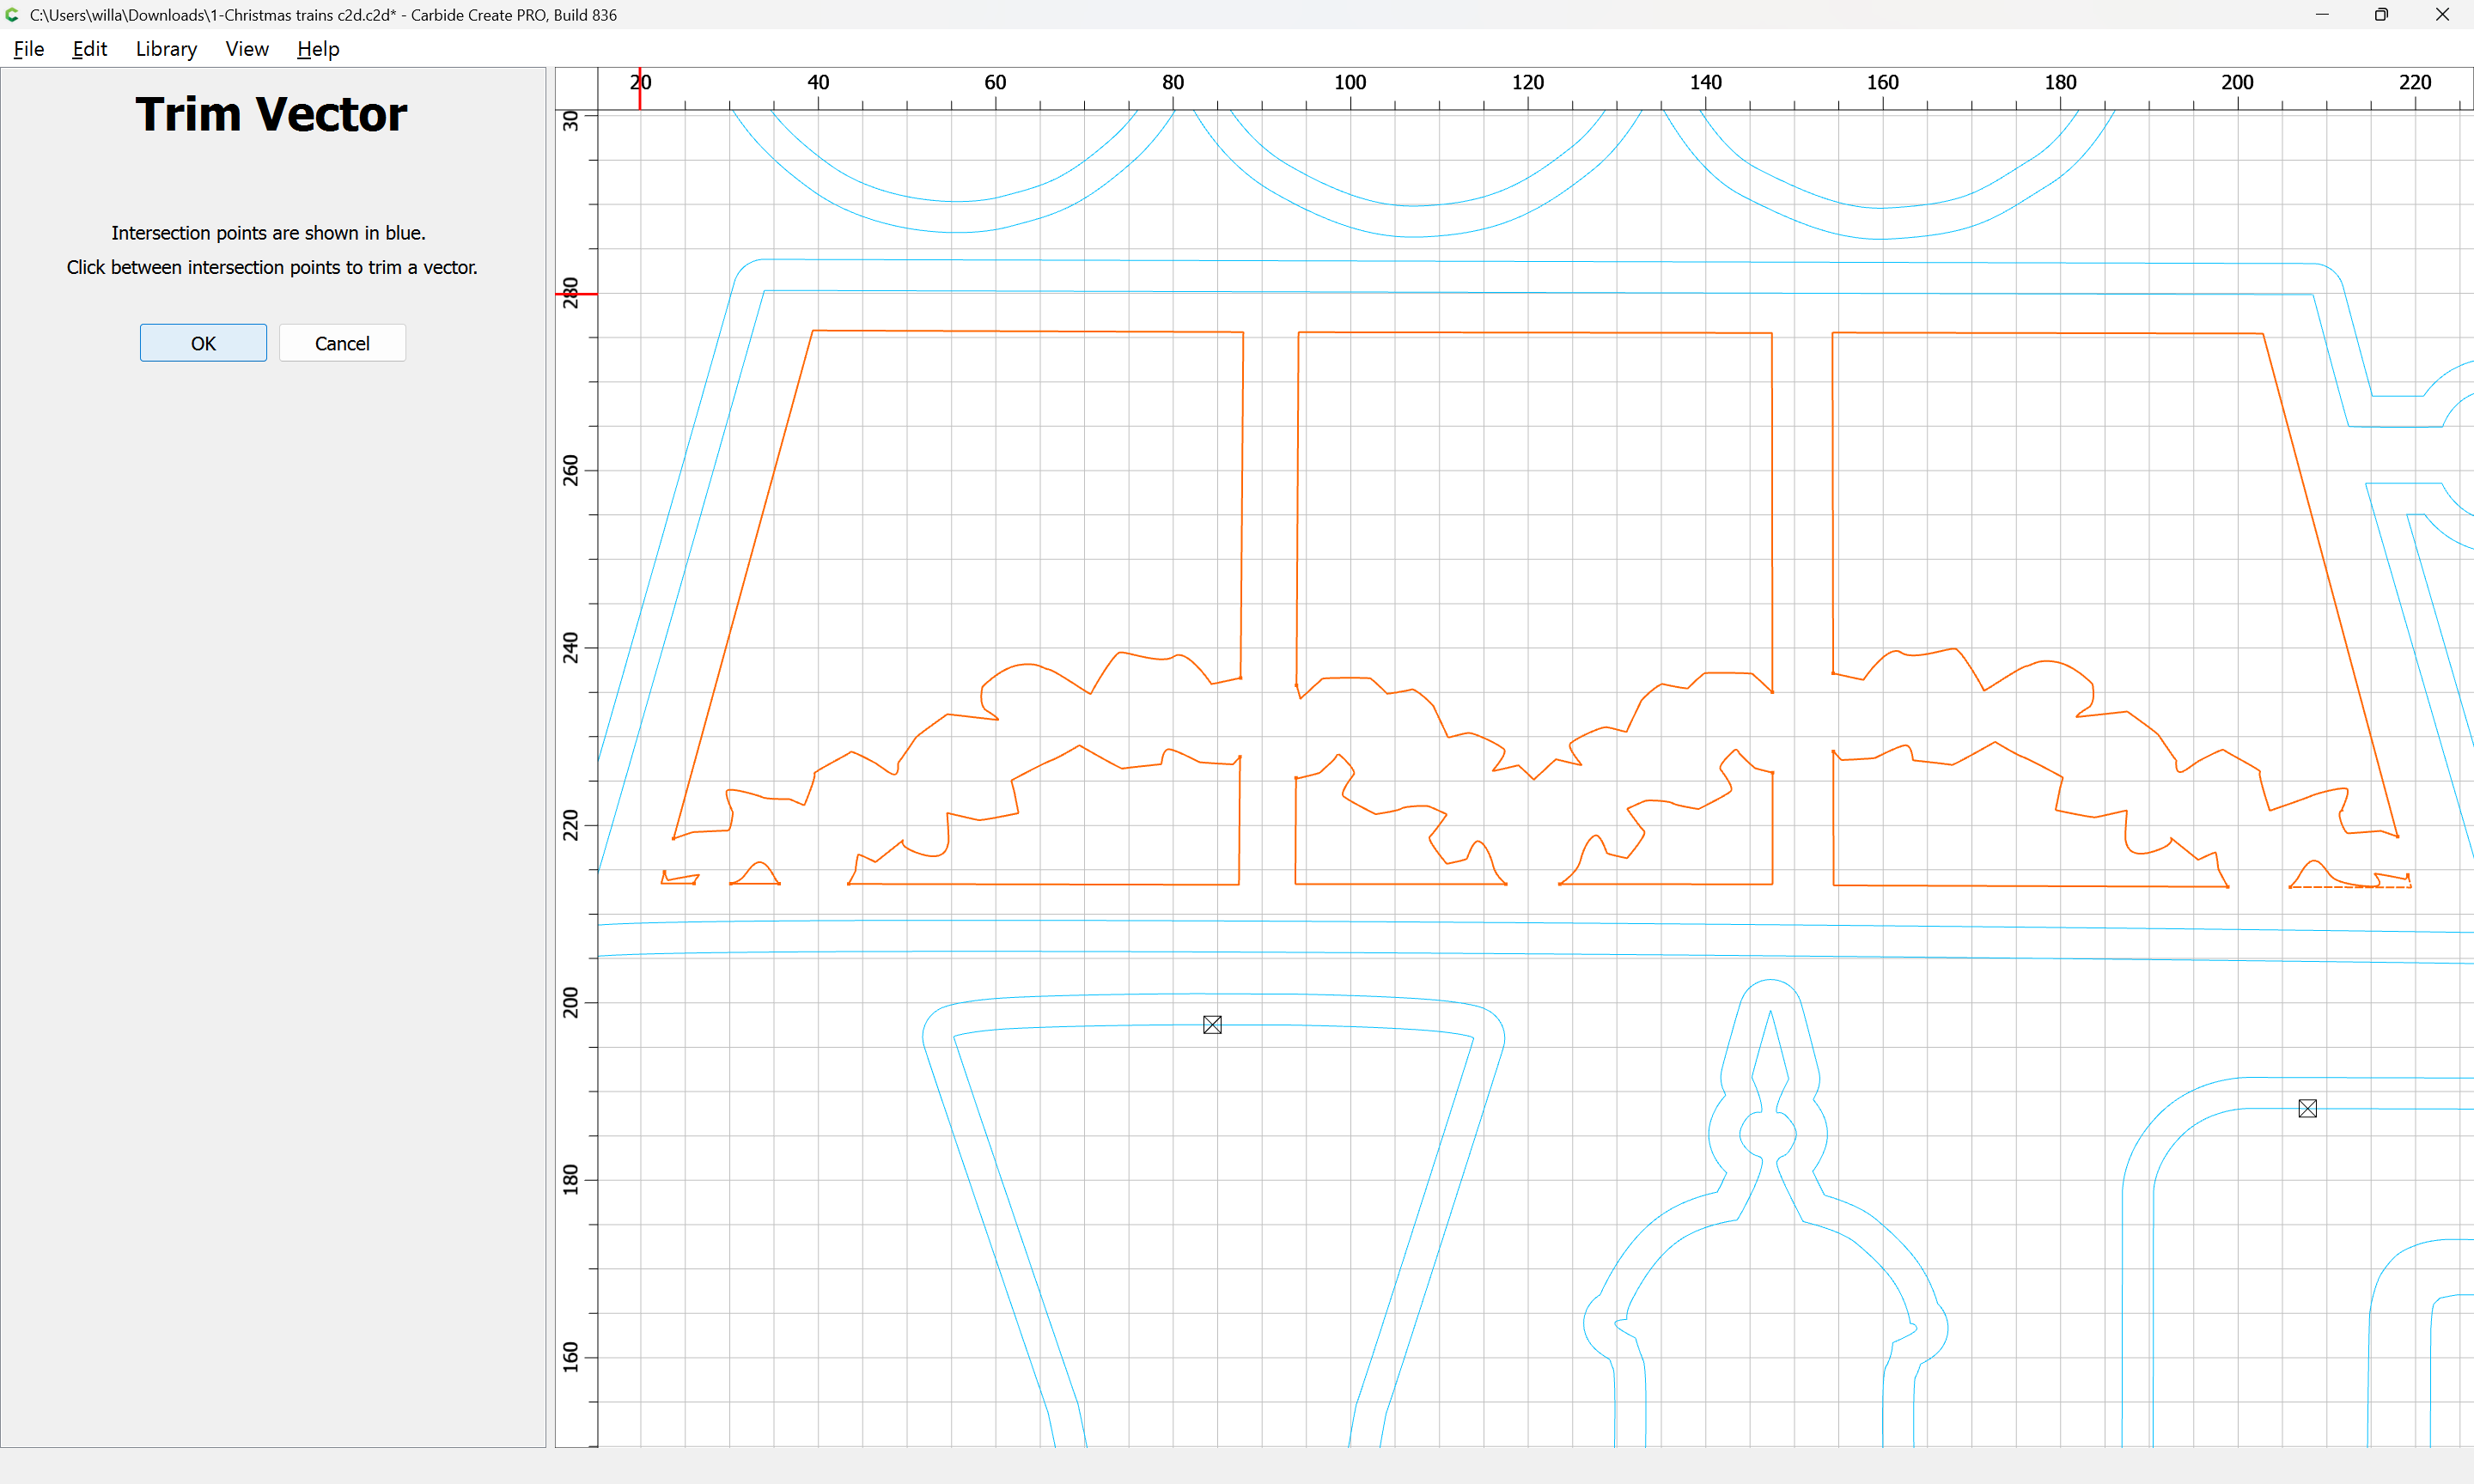
However, there is a decorative element across the windows and so forth:
which needs to be added to the region being cut away for the windows:
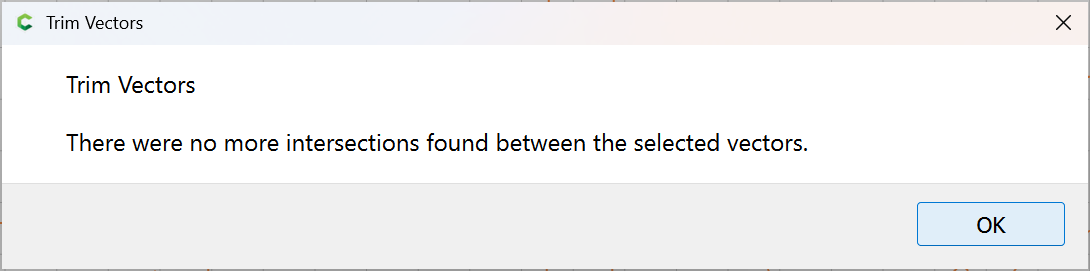
Trim Vectors
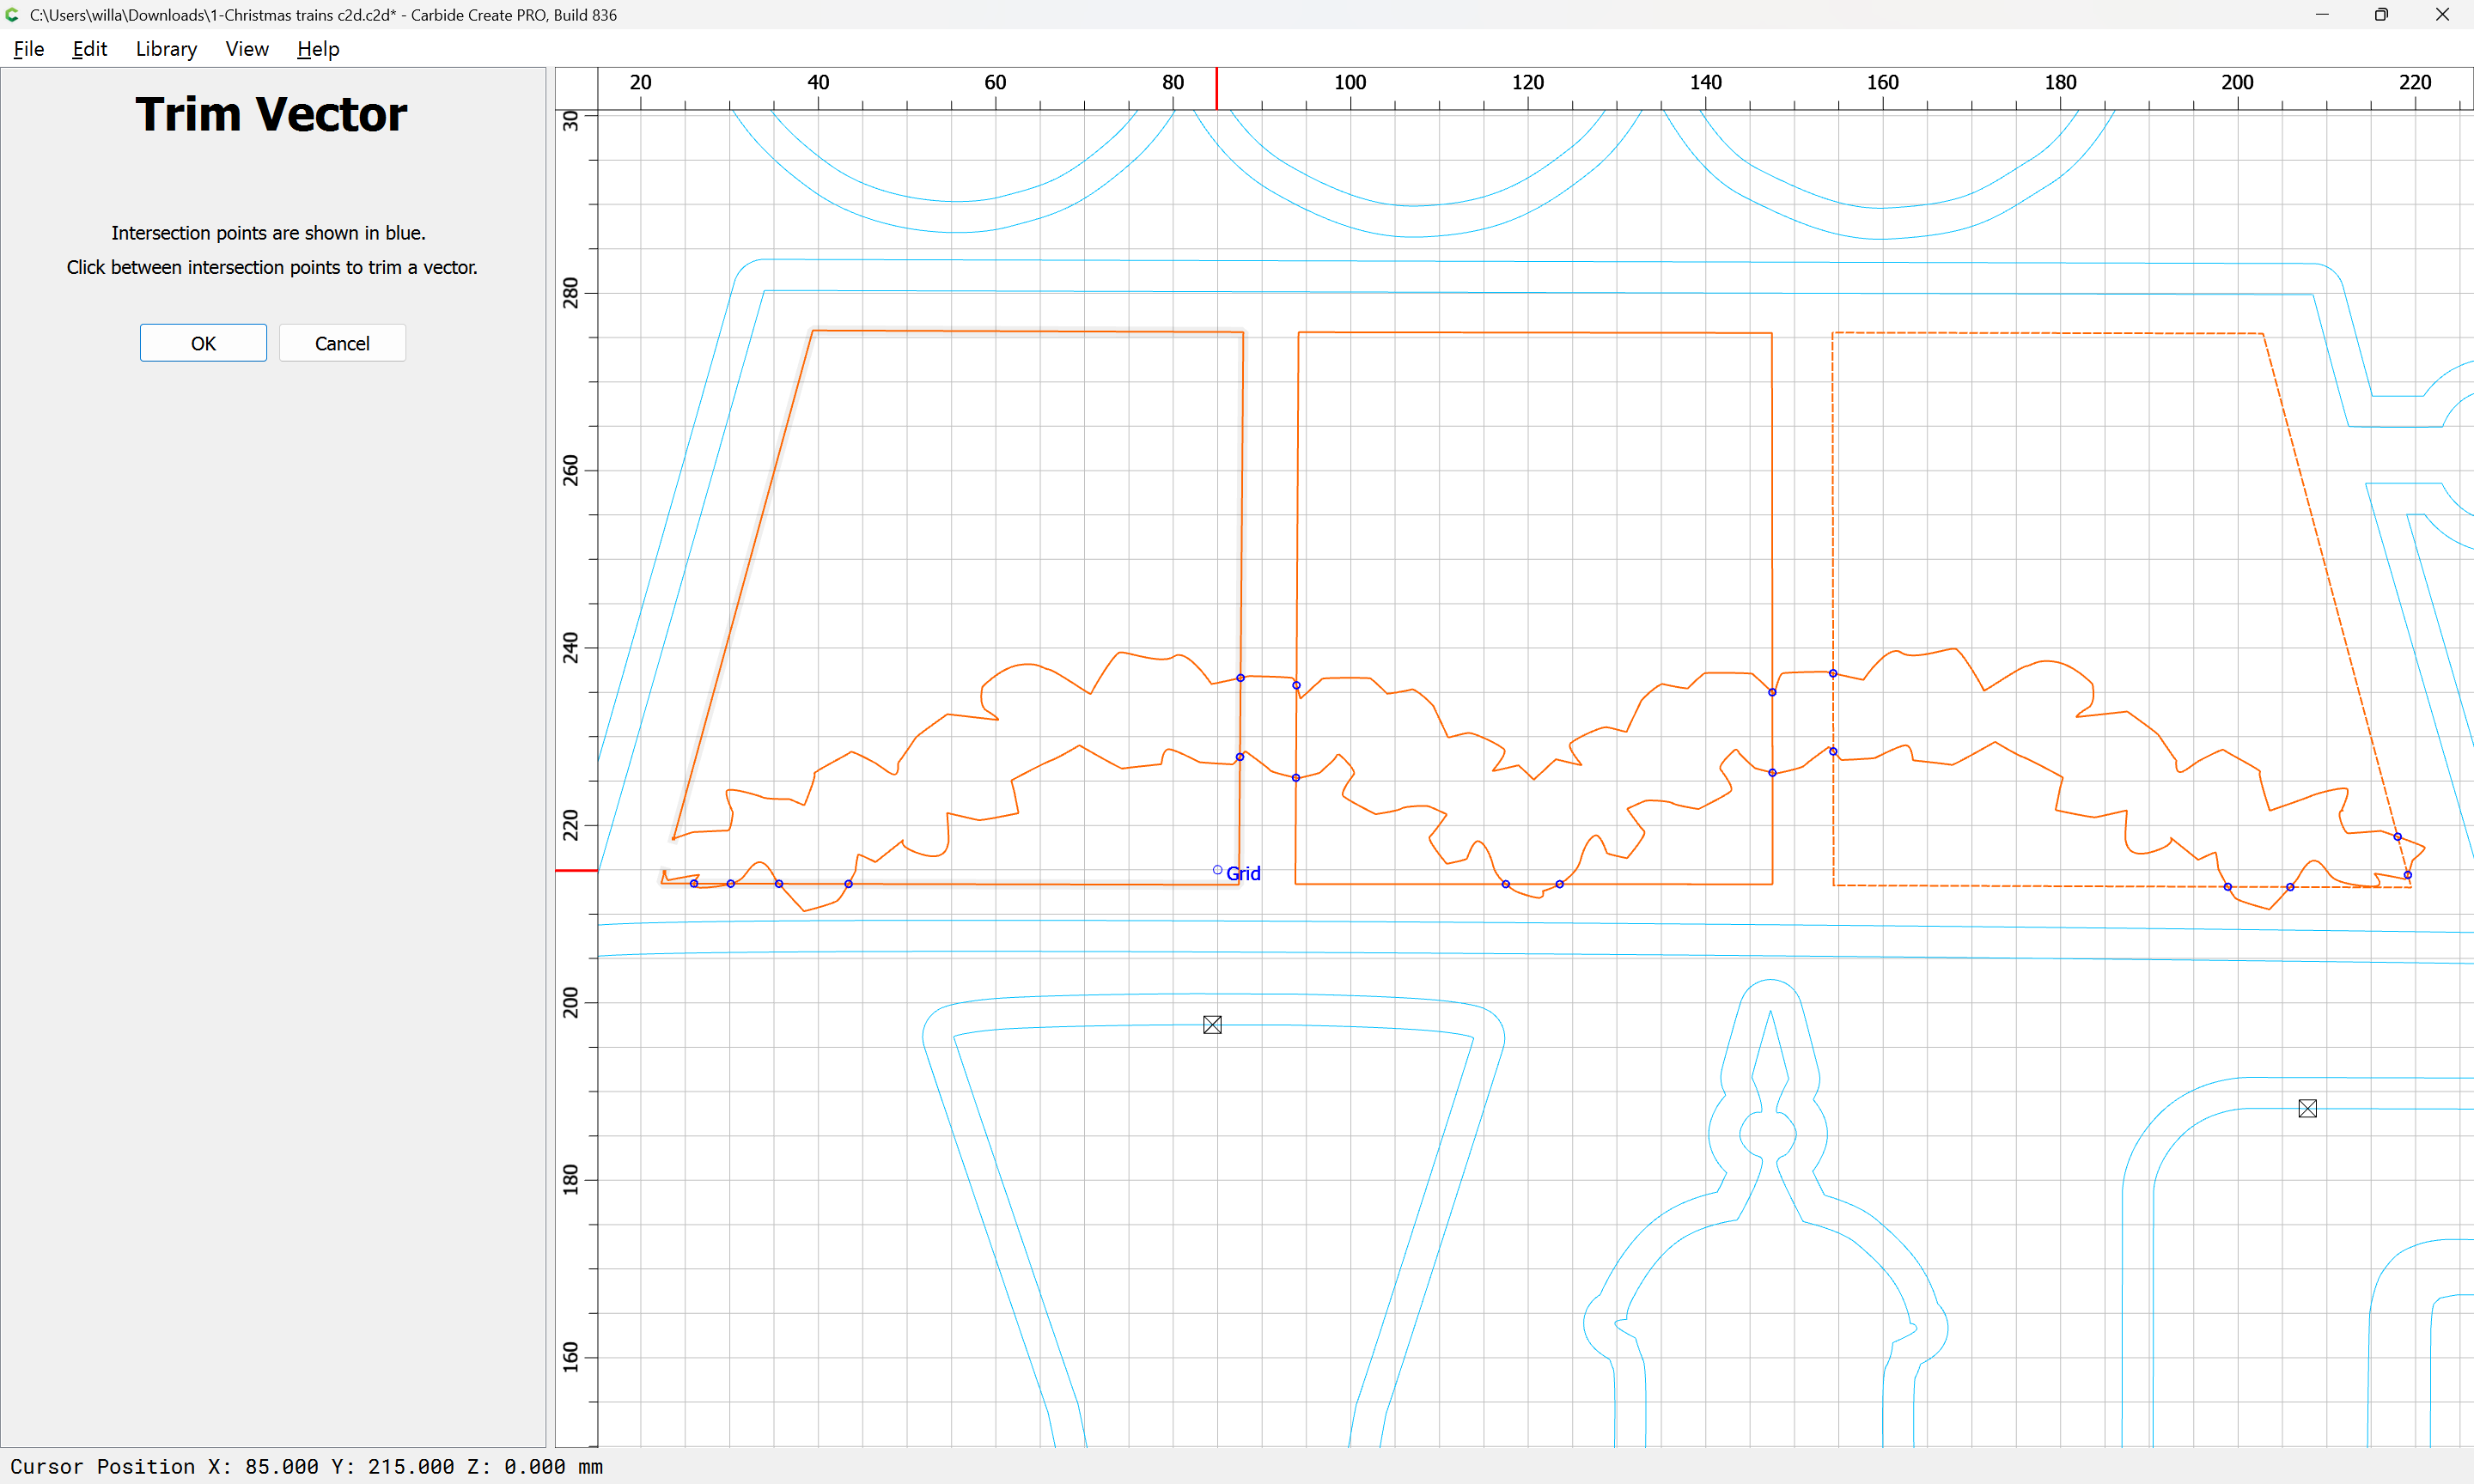
repeating
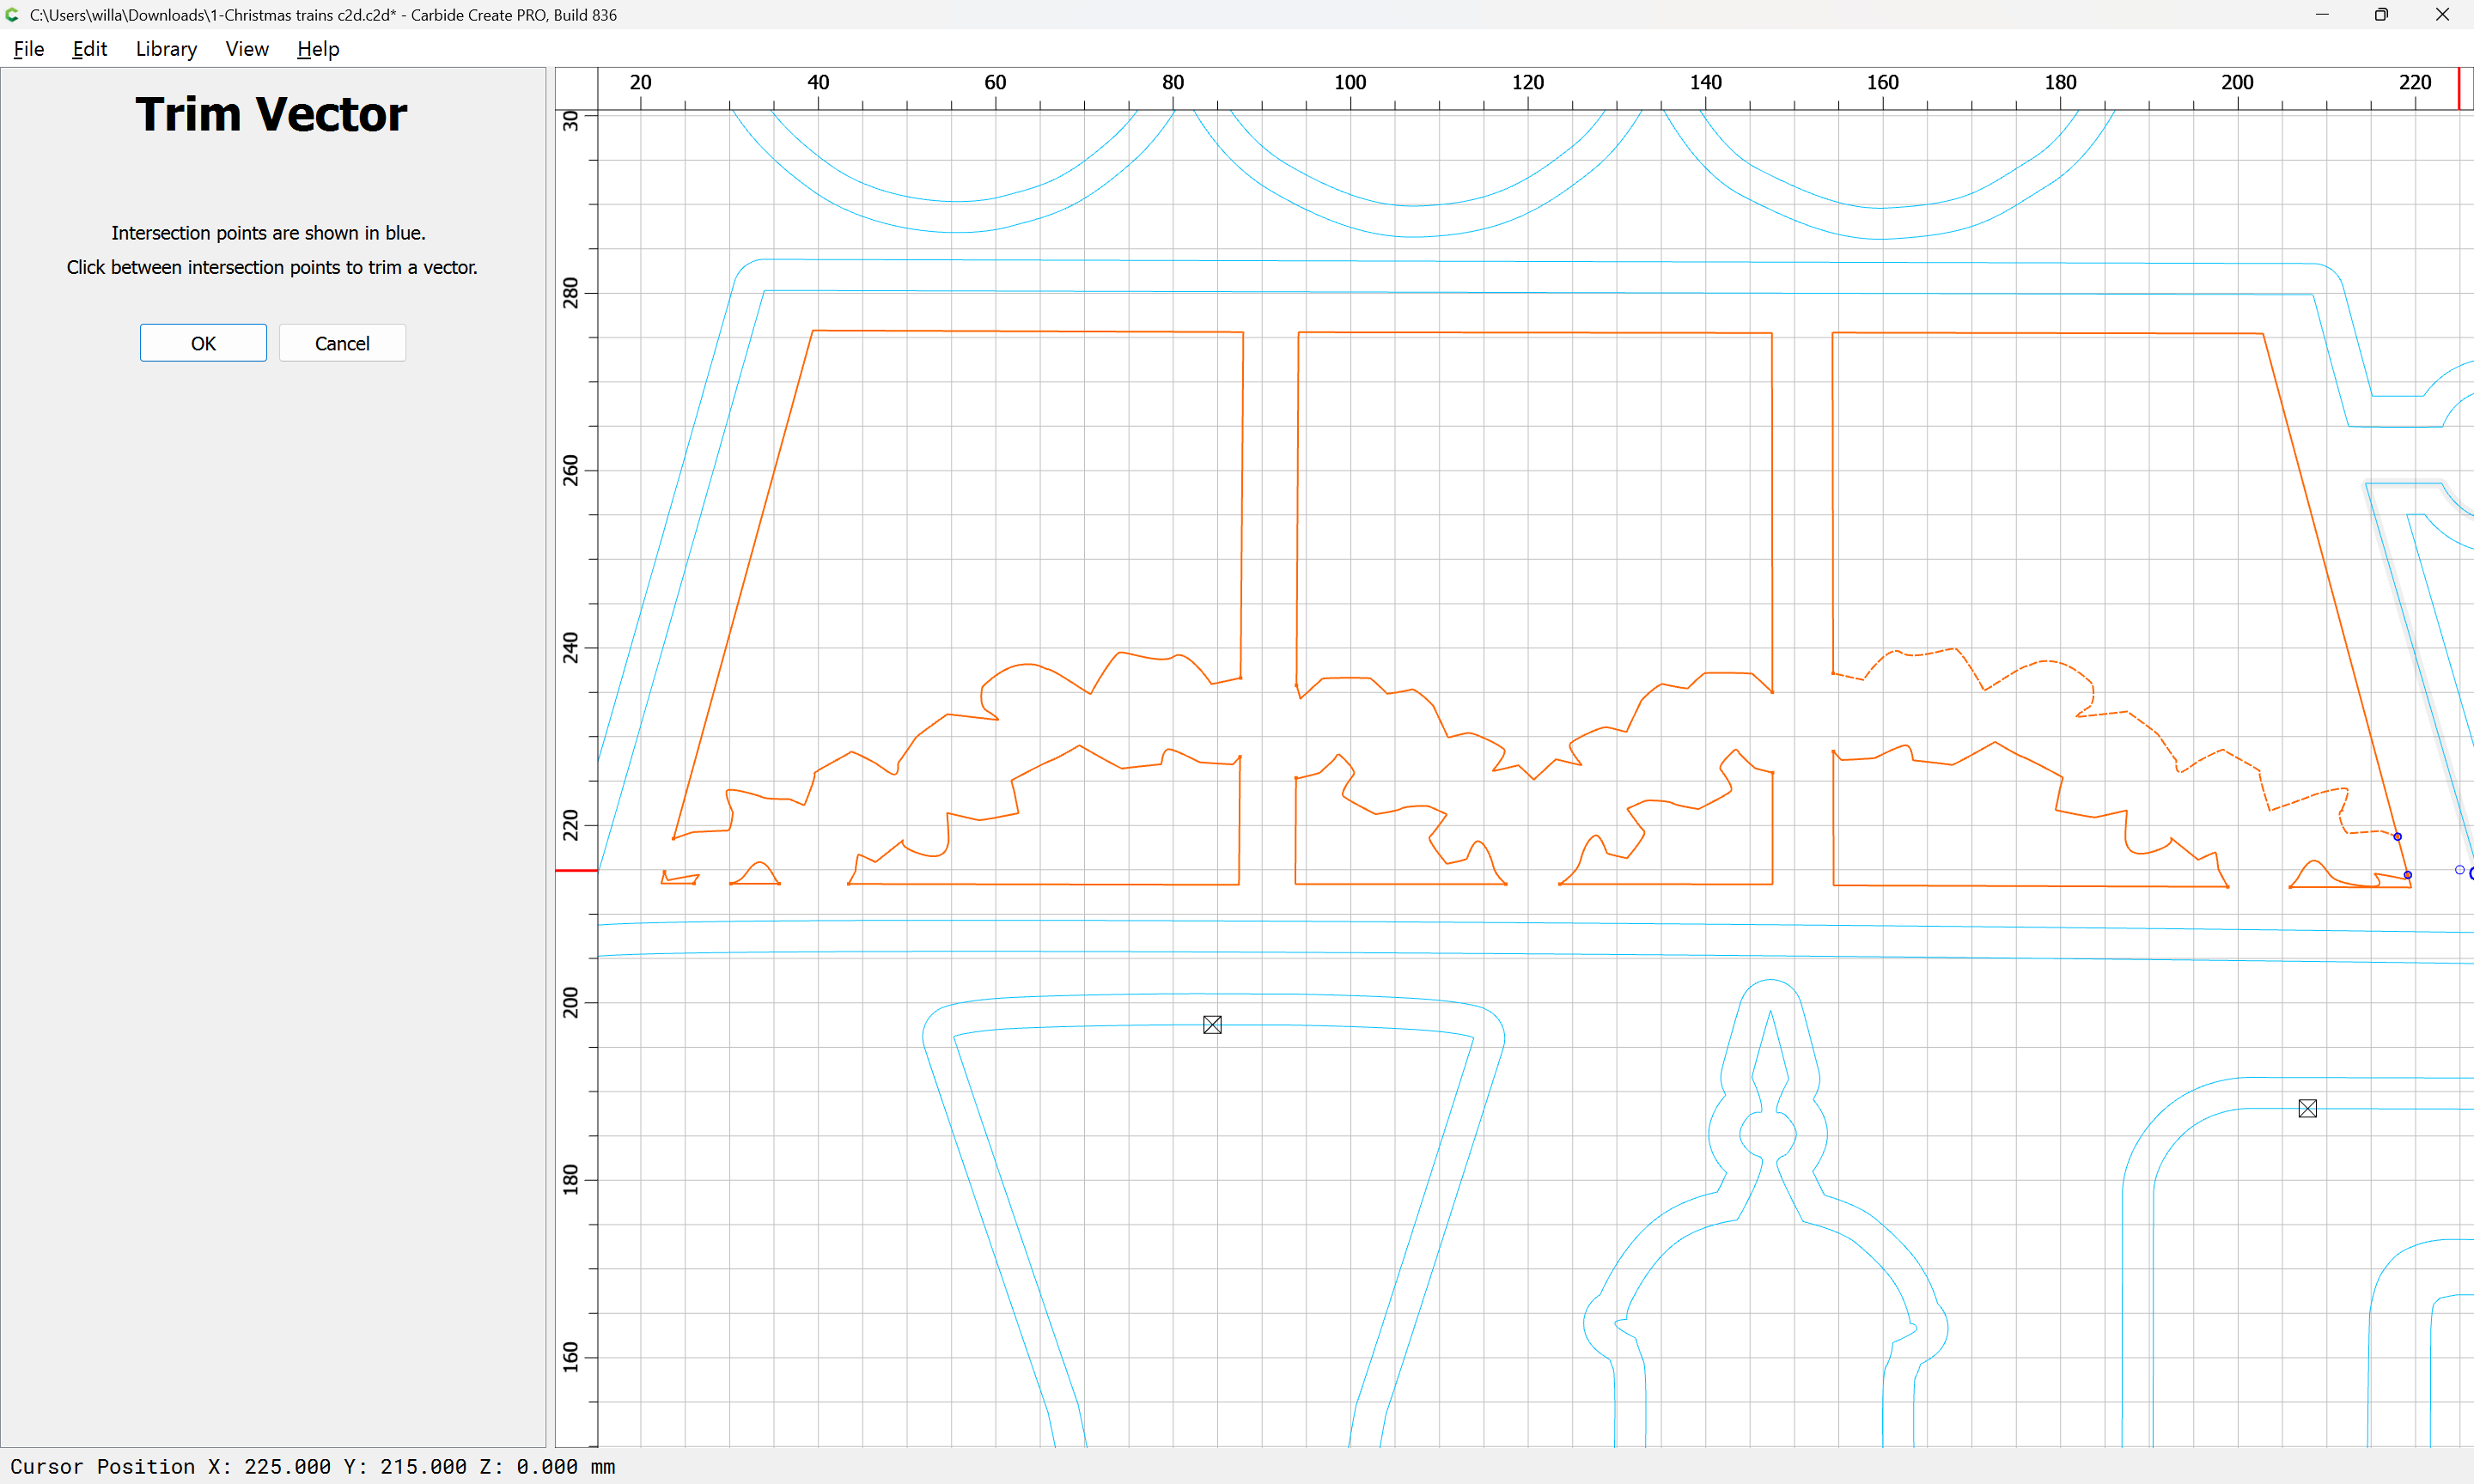
until one arrives at:
OK
OK
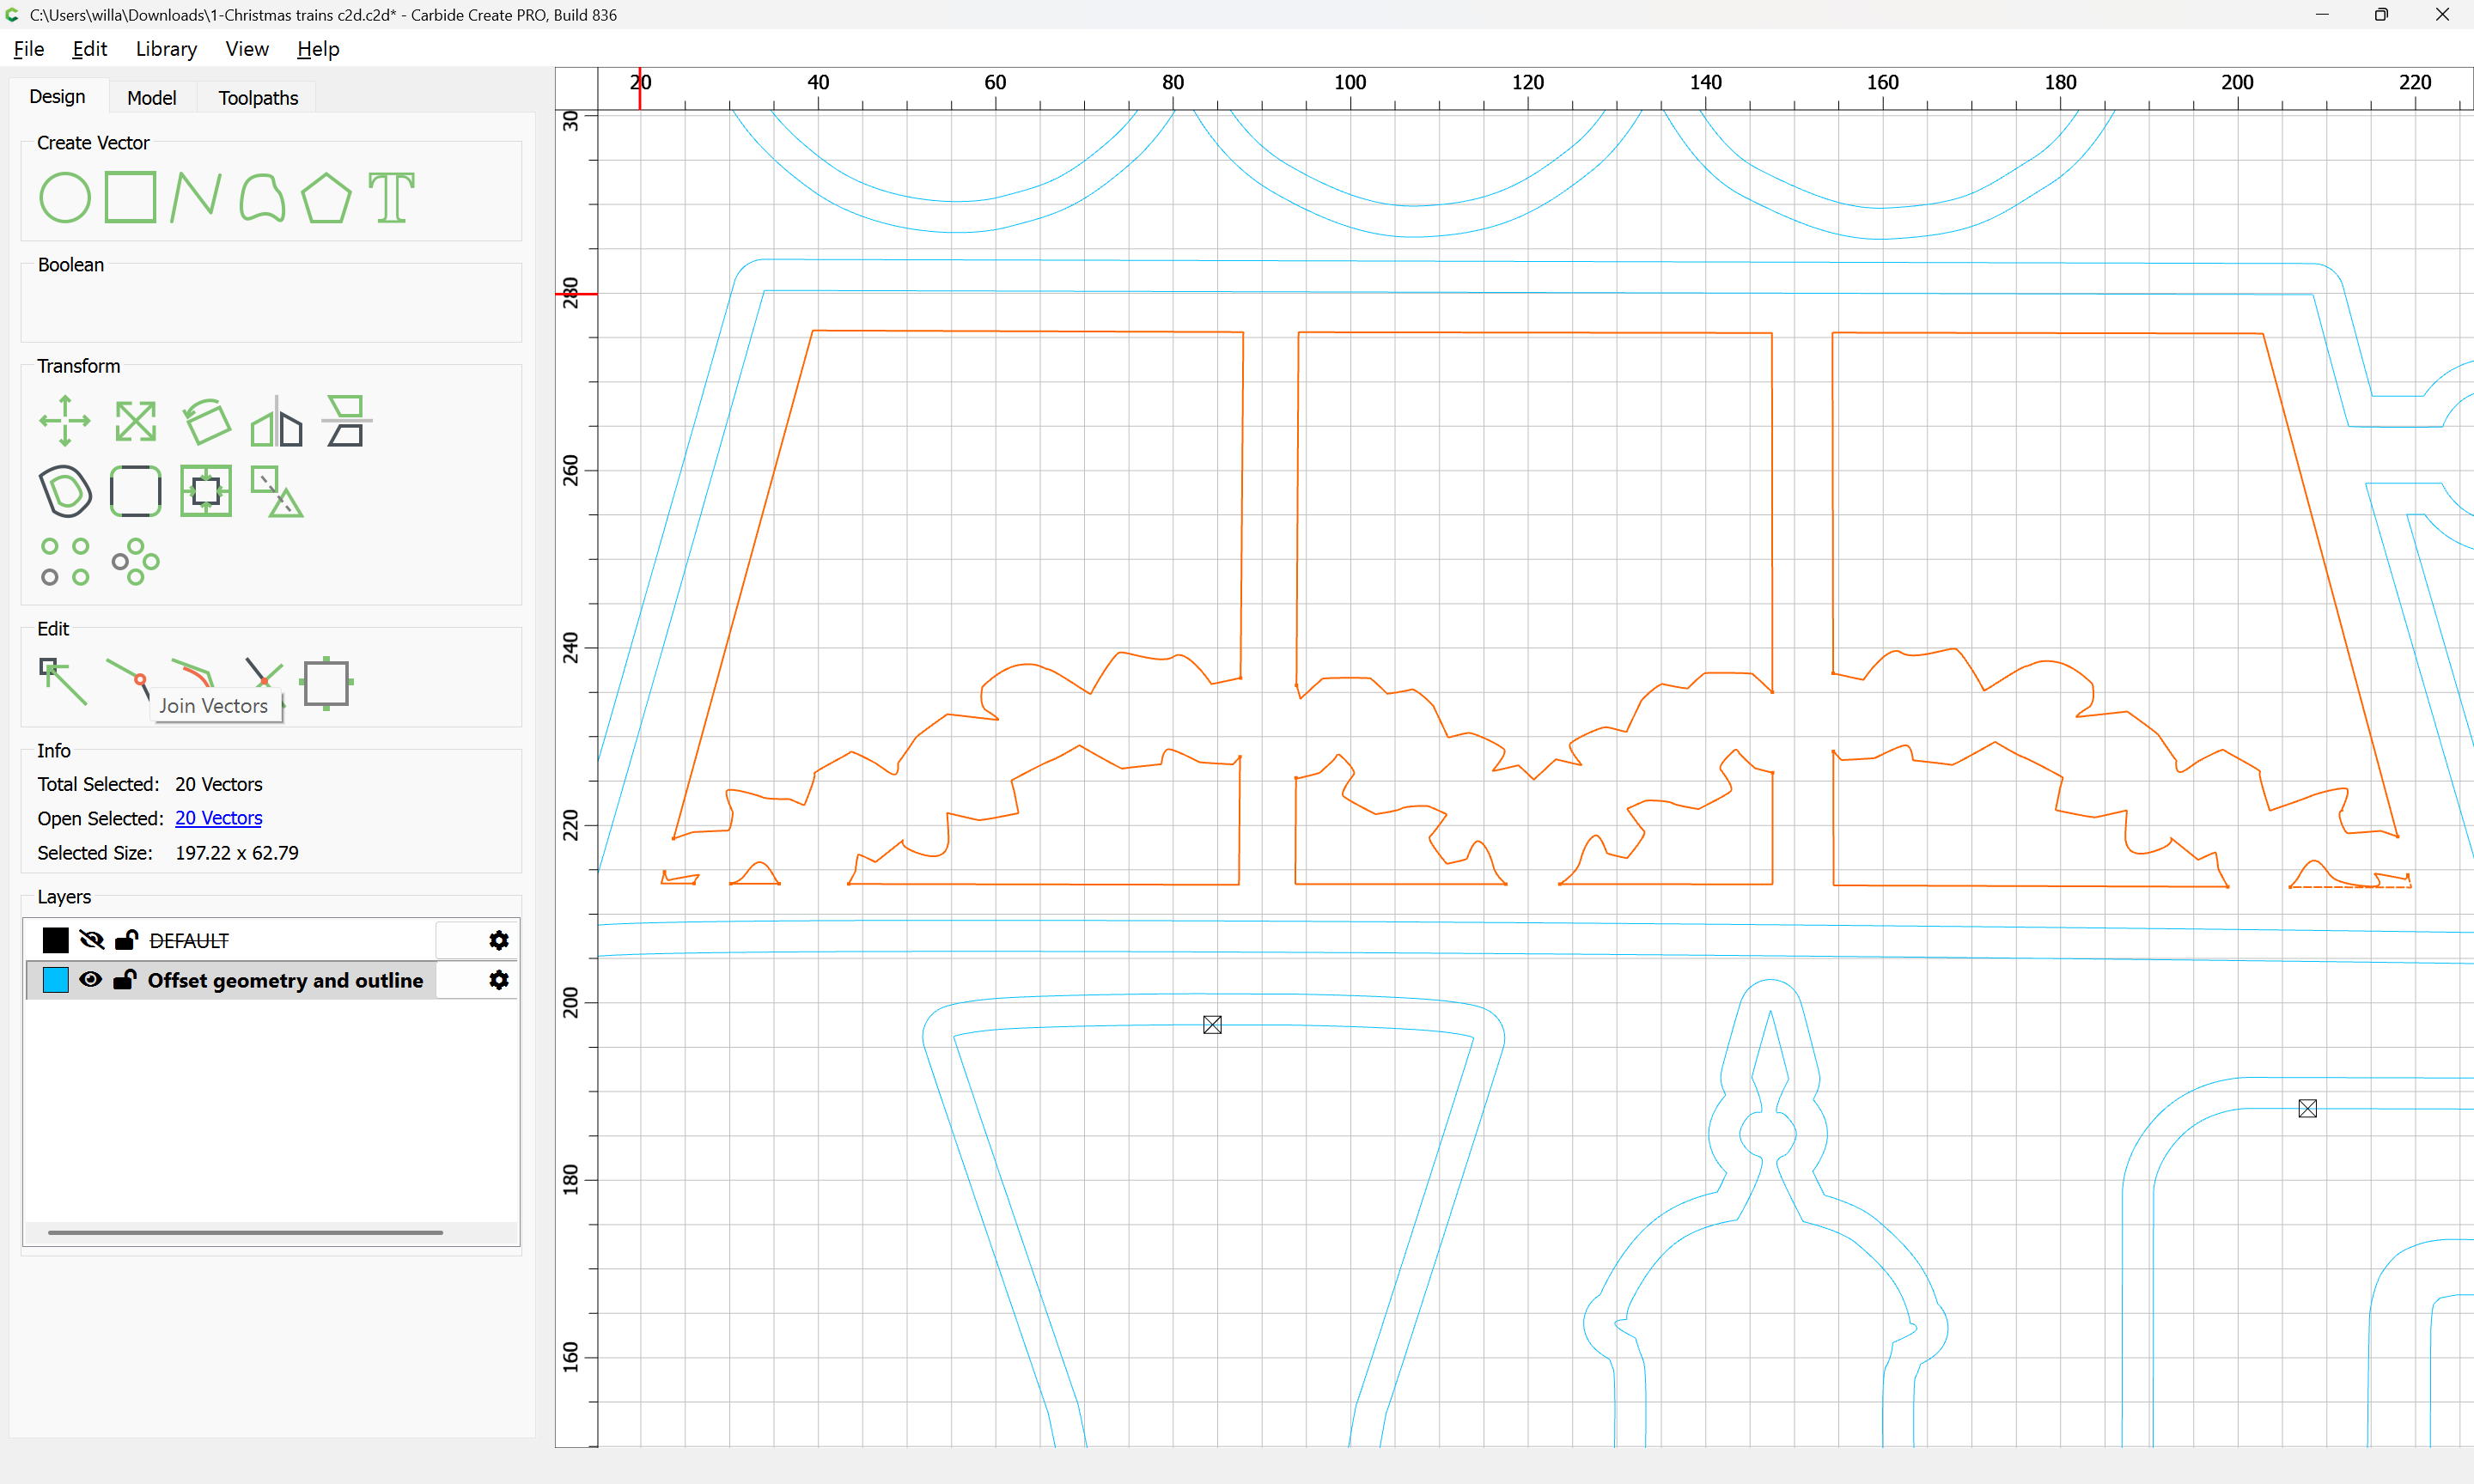
Join Vectors
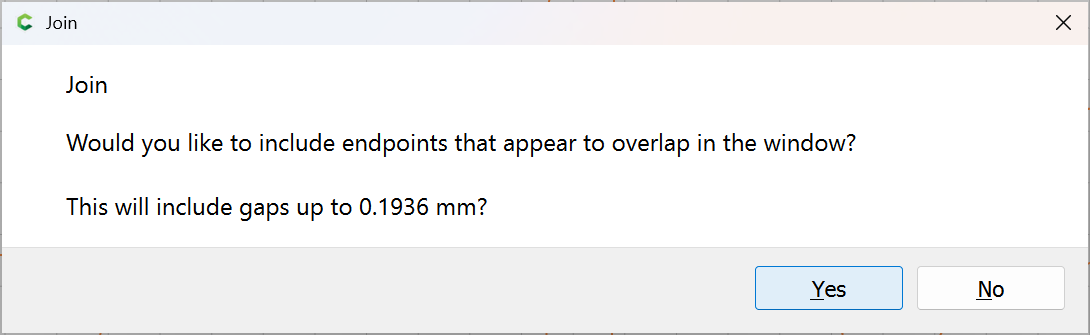
Yes
1 Like
It will be necessary to pretty much restructure the entire file to arrive at something which can be easily cut — the ideal would be a file which can be V carved first, then the perimeter cut out.
2 Likes
For fixing clipart see:
After re-working the geometry we have:
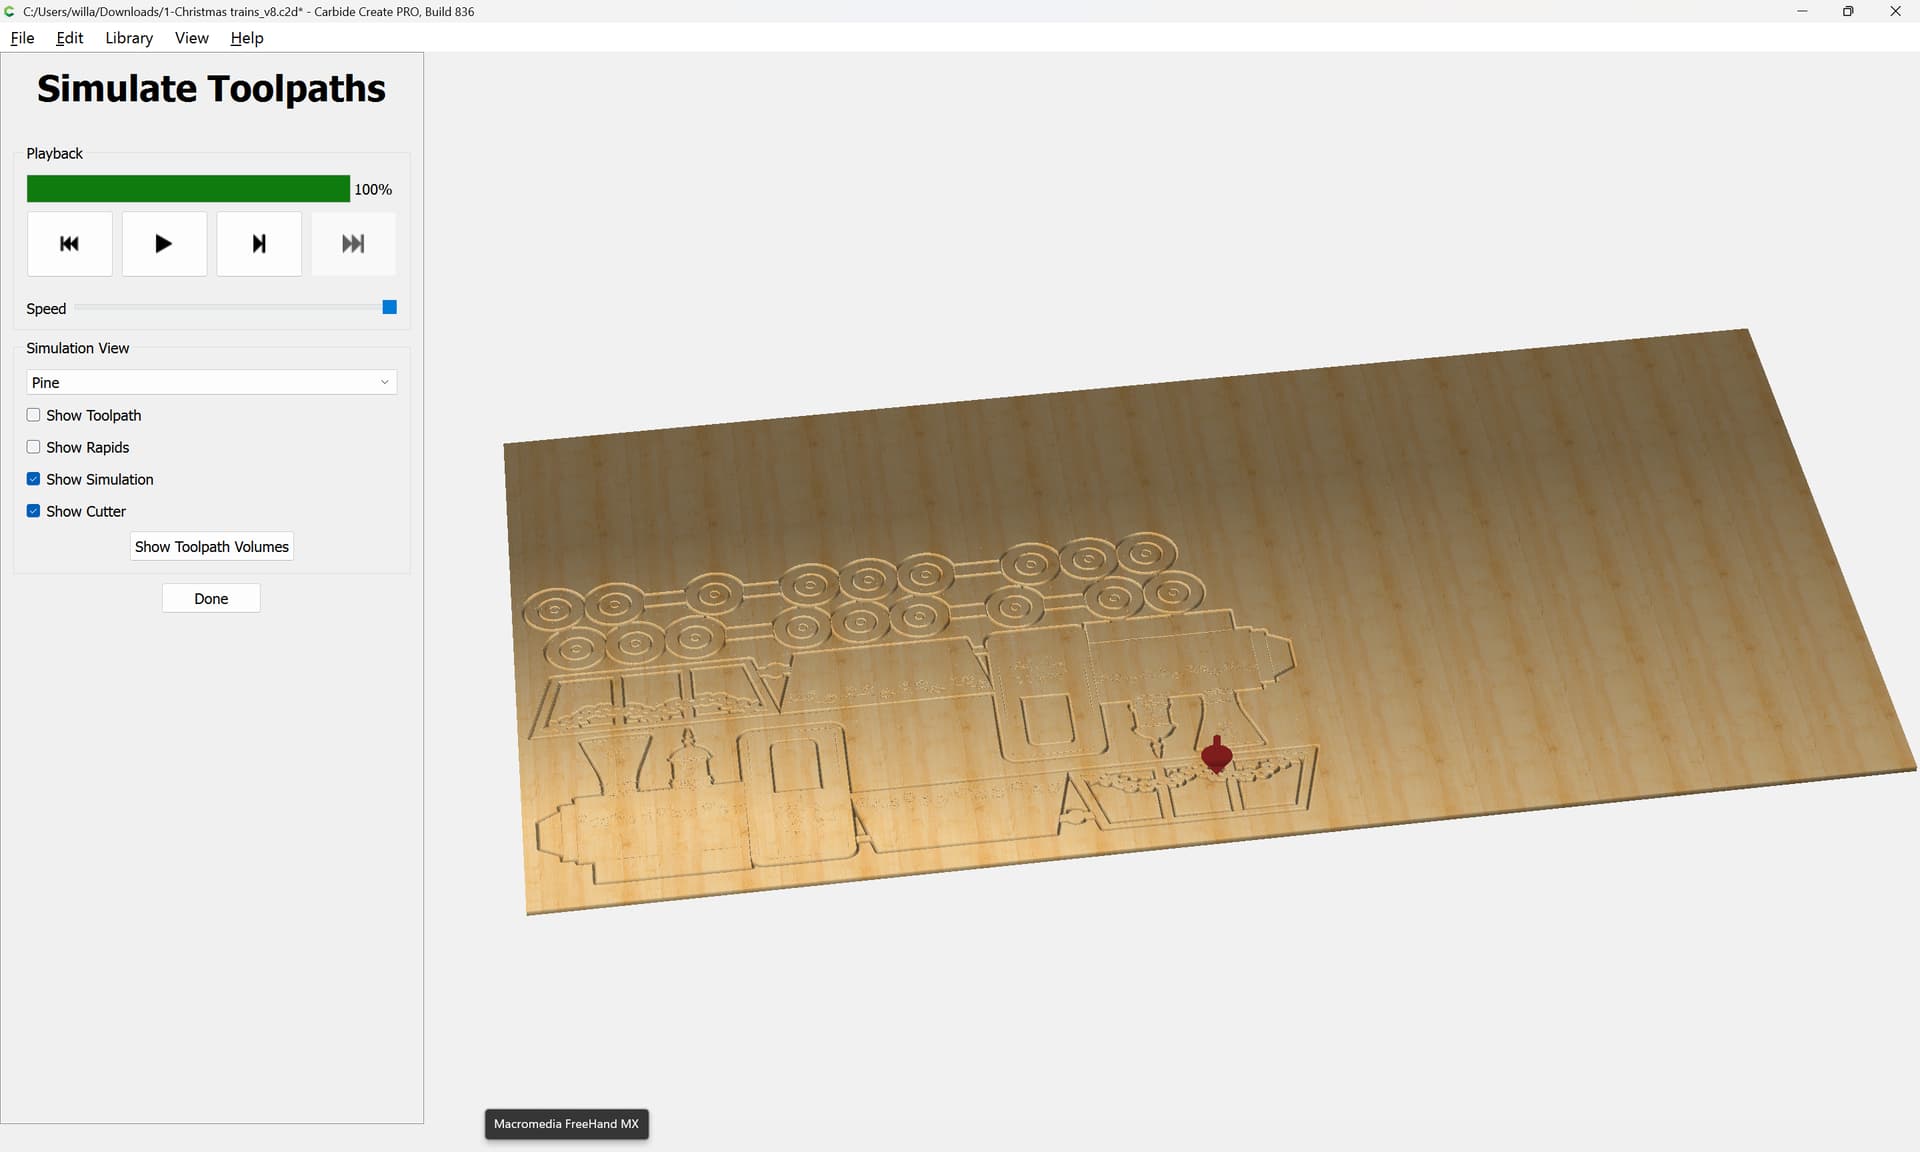
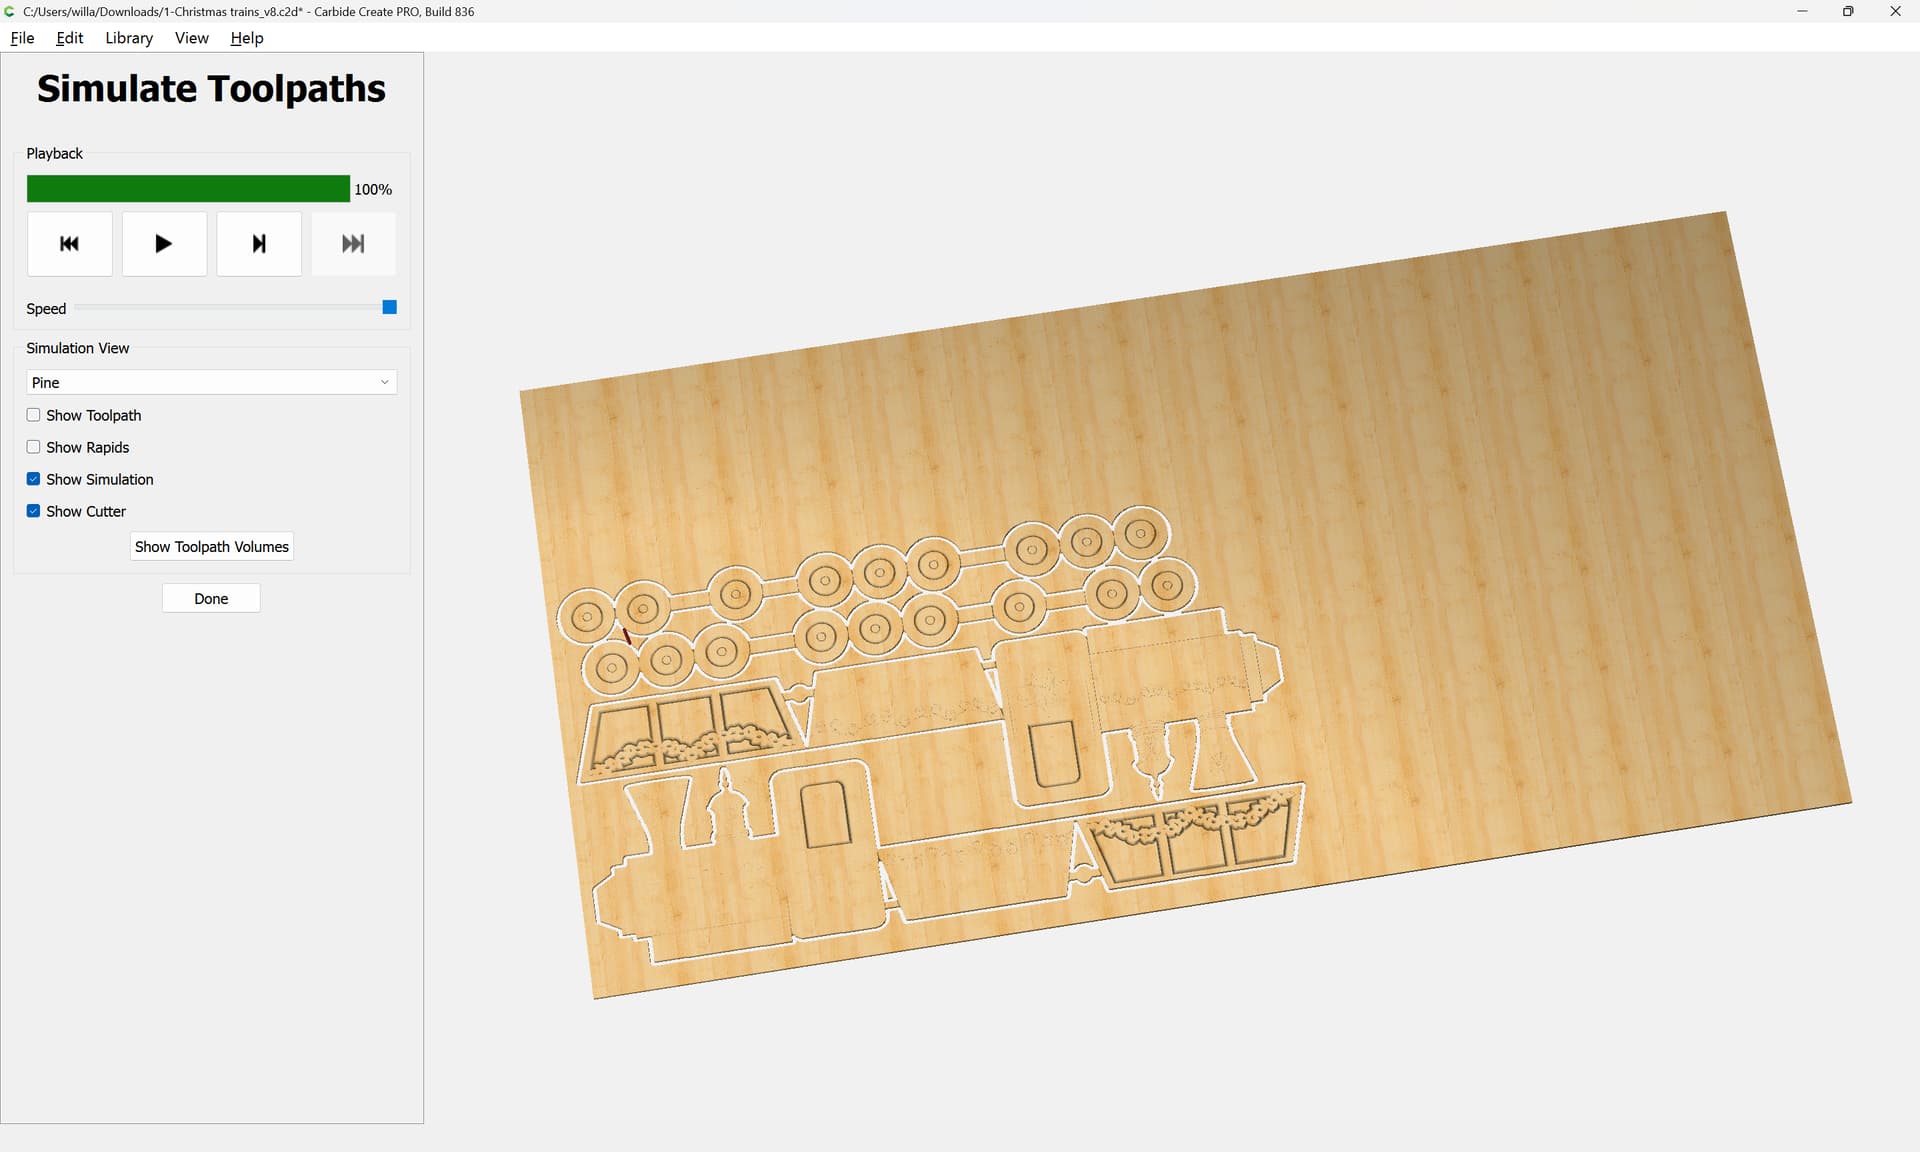
which will just need to have tabs added, the depth of the pocket reduced and a contour toolpath to actually cut things out.
2 Likes
Wow, it seems I still need to learn a lot about the software. Thank you so much for all the work you did on my file. I can’t thank you enough.
I should see more videos and have more training in order to really understand how to run this great machine properly.
1 Like
The basics are:
- there are two types of geometry
- open — indicated by being magenta, these may only be used with Contour toolpaths, and most likely No Offset Contours will be easiest to work with
- closed — indicated by being black, such geometry may be used for any toolpath — note that such geometry should not intersect or be directly adjacent to other closed geometry used in the same toolpath
- toolpaths should be checked for their preview and should use feeds and speeds suited to the tool and material – the defaults in Carbide Create are a great start for a beginner — also consider how the tool is cutting and avoid going too deep into a slot, adding geometry and cutting as a pocket where appropriate
After doing “Hello World”:
https://carbide3d.com/hub/courses/running-shapeoko/hello-world/
c.f.,
one should go ahead and do the following tutorials:
https://carbide3d.com/hub/courses/running-shapeoko/hello-contour/
https://carbide3d.com/hub/courses/running-shapeoko/hello-pocket/
https://carbide3d.com/hub/courses/running-shapeoko/hello-vcarve/
and if one then works through the training videos:
https://carbide3d.com/hub/courses/create/
should be in a good place to get things done.
I go over some basics of Carbide Create at:
if there’s something which you wish to know about the program which is not covered there, please let me know and we will gladly look into it with you.
1 Like
Thank you so much William, I will see all the video tutorials you sent.
Only the link you sent to download didn’t work. It was a blank page, I tried to download, there was a document that didn’t open on my Mac.
Here is the link that didn’t open with me:
https://carbide3d.com/files/hello_world.zip click on that link to download the files: [image]“Save” Once the file has downloaded: [image] “Open Folder” The folder will ope…
![[image]](https://community.carbide3d.com/uploads/default/original/3X/4/8/486fc0f59339368def7306ccd67565c1fbab1e16.jpeg)
It is a series of .zip files — which have Mac resource metadata, and which for some reason, don’t get stitched back into the files on some unzip programs.
I have directly attached them below which should allow you to download them and then use them for “Hello World”:
box_art_hatch_path.nc (28.6 KB)
box_logo.nc (35.6 KB)
1 Like
Same issue, I already saw the video, so I will try to download them from the website itself and see how it works. otherwise I will download them on the Android laptop. thank you William for the follow up.
Once the file is downloaded, it should be in your Downloads folder to access.
1 Like
yes, this is what is happens on my Mac, but the downloaded files doesn’t open with any of my apps.
I will try. on the laptop.
Thank you William.
The Hello World file isn’t supposed to be opened per se, instead, launch Carbide Motion, connect to the machine, load the .nc file and then send it to the machine.
If you wish to look at .nc files you will need a 3rd party G-code editor/viewing program.
1 Like
Thank you for your instruction William, I didn’t yet try it cause I thought it will be in safe side to clean everything first from all powder and wood chips, then run it again. I should receive my vacuum by tomorrow.
I have a question though; why do we need to do the “hello world” ? what is the advantage to do so, other than drawing?
I like to understand the function better.
The idea behind “Hello World” is it represents a low-risk/high-gain chance to use the machine without the need for tooling or dust collection or even a piece of stock to cut.
Our recommendation is that folks work through pretty much all of the videos at:
esp. Hello World/Contour/Pocket/Vcarve and also do at least one or two of the Projects:
https://my.carbide3d.com/#Projects
It will also help to review the Glossary at:
and you may find reading through the balance of that text helpful.
The big thing is to start small and simple, and learn from and build on successes, and minimize the risk of cutting into large and expensive stock until one has developed the confidence to do so.
For my part, any complex project will have three iterations:
- prototype cut in inexpensive stock such as MDF or PVC lumber
- test version done in spare stock of the same sort as will be used for the actual project to prove out the file/toolpaths/tooling selection
- final version in good stock — note that parts for this will interchange w/ the test version, so in some instances, I’ve used a part from the test cutting in the final piece when I’ve run out of stock
It will help to work up a machine operating checklist/log and keep records of both successes and failures, and for the latter, make a note of what went wrong and add a note in the machine operating checklist to ensure that it doesn’t happen a second time.
Above all, work safely, wearing proper PPE, and as I was advised by my first shop teacher:
Before throwing the power switch, quietly count to 10 on your fingers considering all the forces and mechanisms involved and envisioning every possible way in which the cut could go wrong or the machine or stock could fail or cause a problem, taking everything into account when positioning oneself, and remembering that one wants to be able to repeat that count in the same way when the power is switched off.
1 Like
Thank you so much for your priceless advice and instructions.
I will sure use them all.
Thanks again. ![]()
This topic was automatically closed after 30 days. New replies are no longer allowed.