Carbide Motion has received a number of updates, and the screens have changed a bit.
Here is a version of “Hello World” done using the new version.
At the page:
there was a link to the files needed for this in a .zip archive — this has now moved to:
https://carbide3d.com/hub/courses/running-shapeoko/hello-world/
https://carbide3d.com/files/hello_world.zip
click on that link to download the files:
“Save”
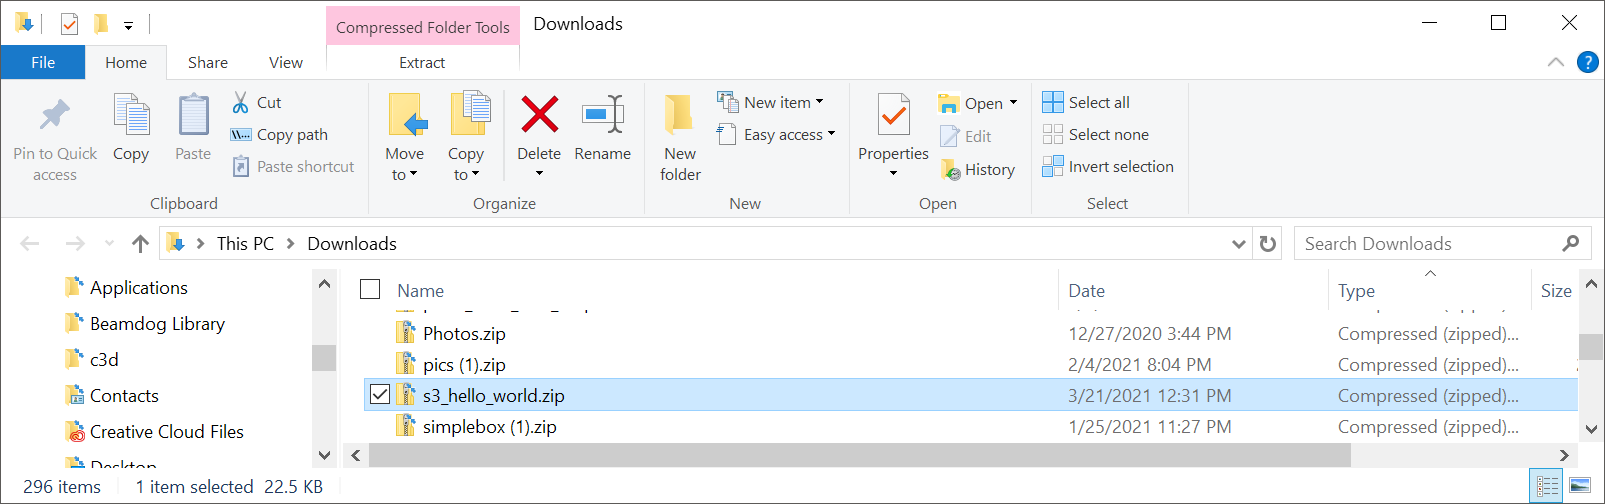
Once the file has downloaded:
![]()
“Open Folder”
The folder will open in Windows Explorer or the Finder:
If you double-click on it the contents of the .zip archive will be opened in a window:
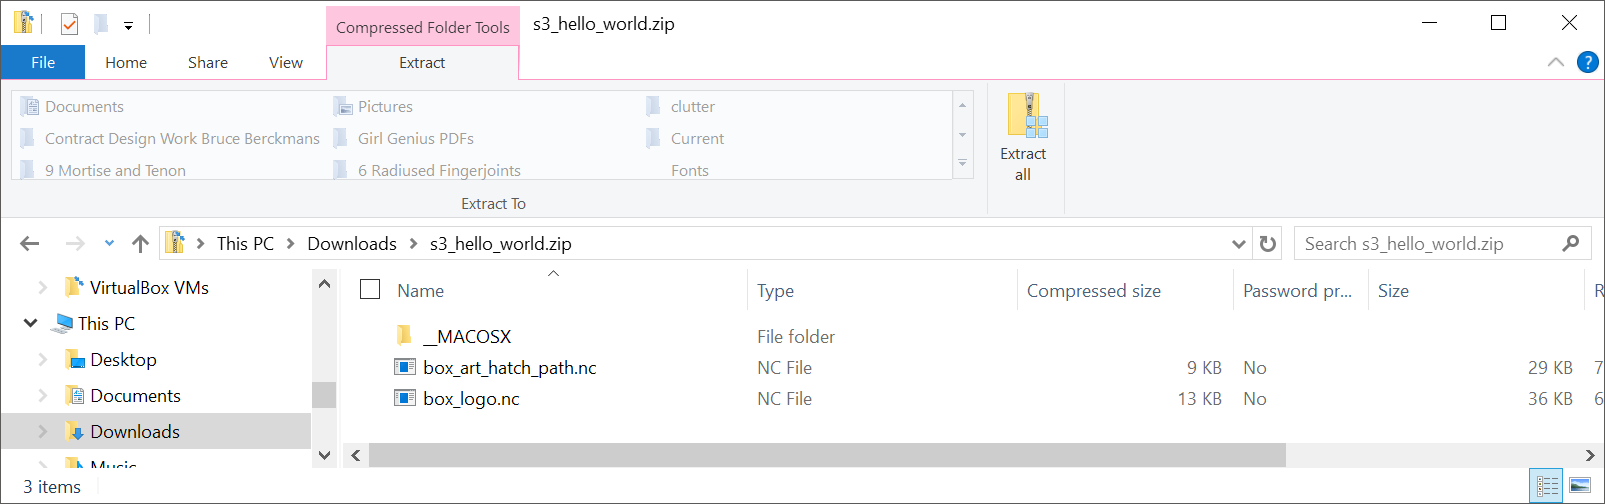
Drag the files (ignore the __MACOSX metadata folder) to somewhere convenient — for this tutorial we will use the Windows Desktop:

As was noted at:
https://docs.carbide3d.com/tutorials/hello-world/#secure-paper and the following section,
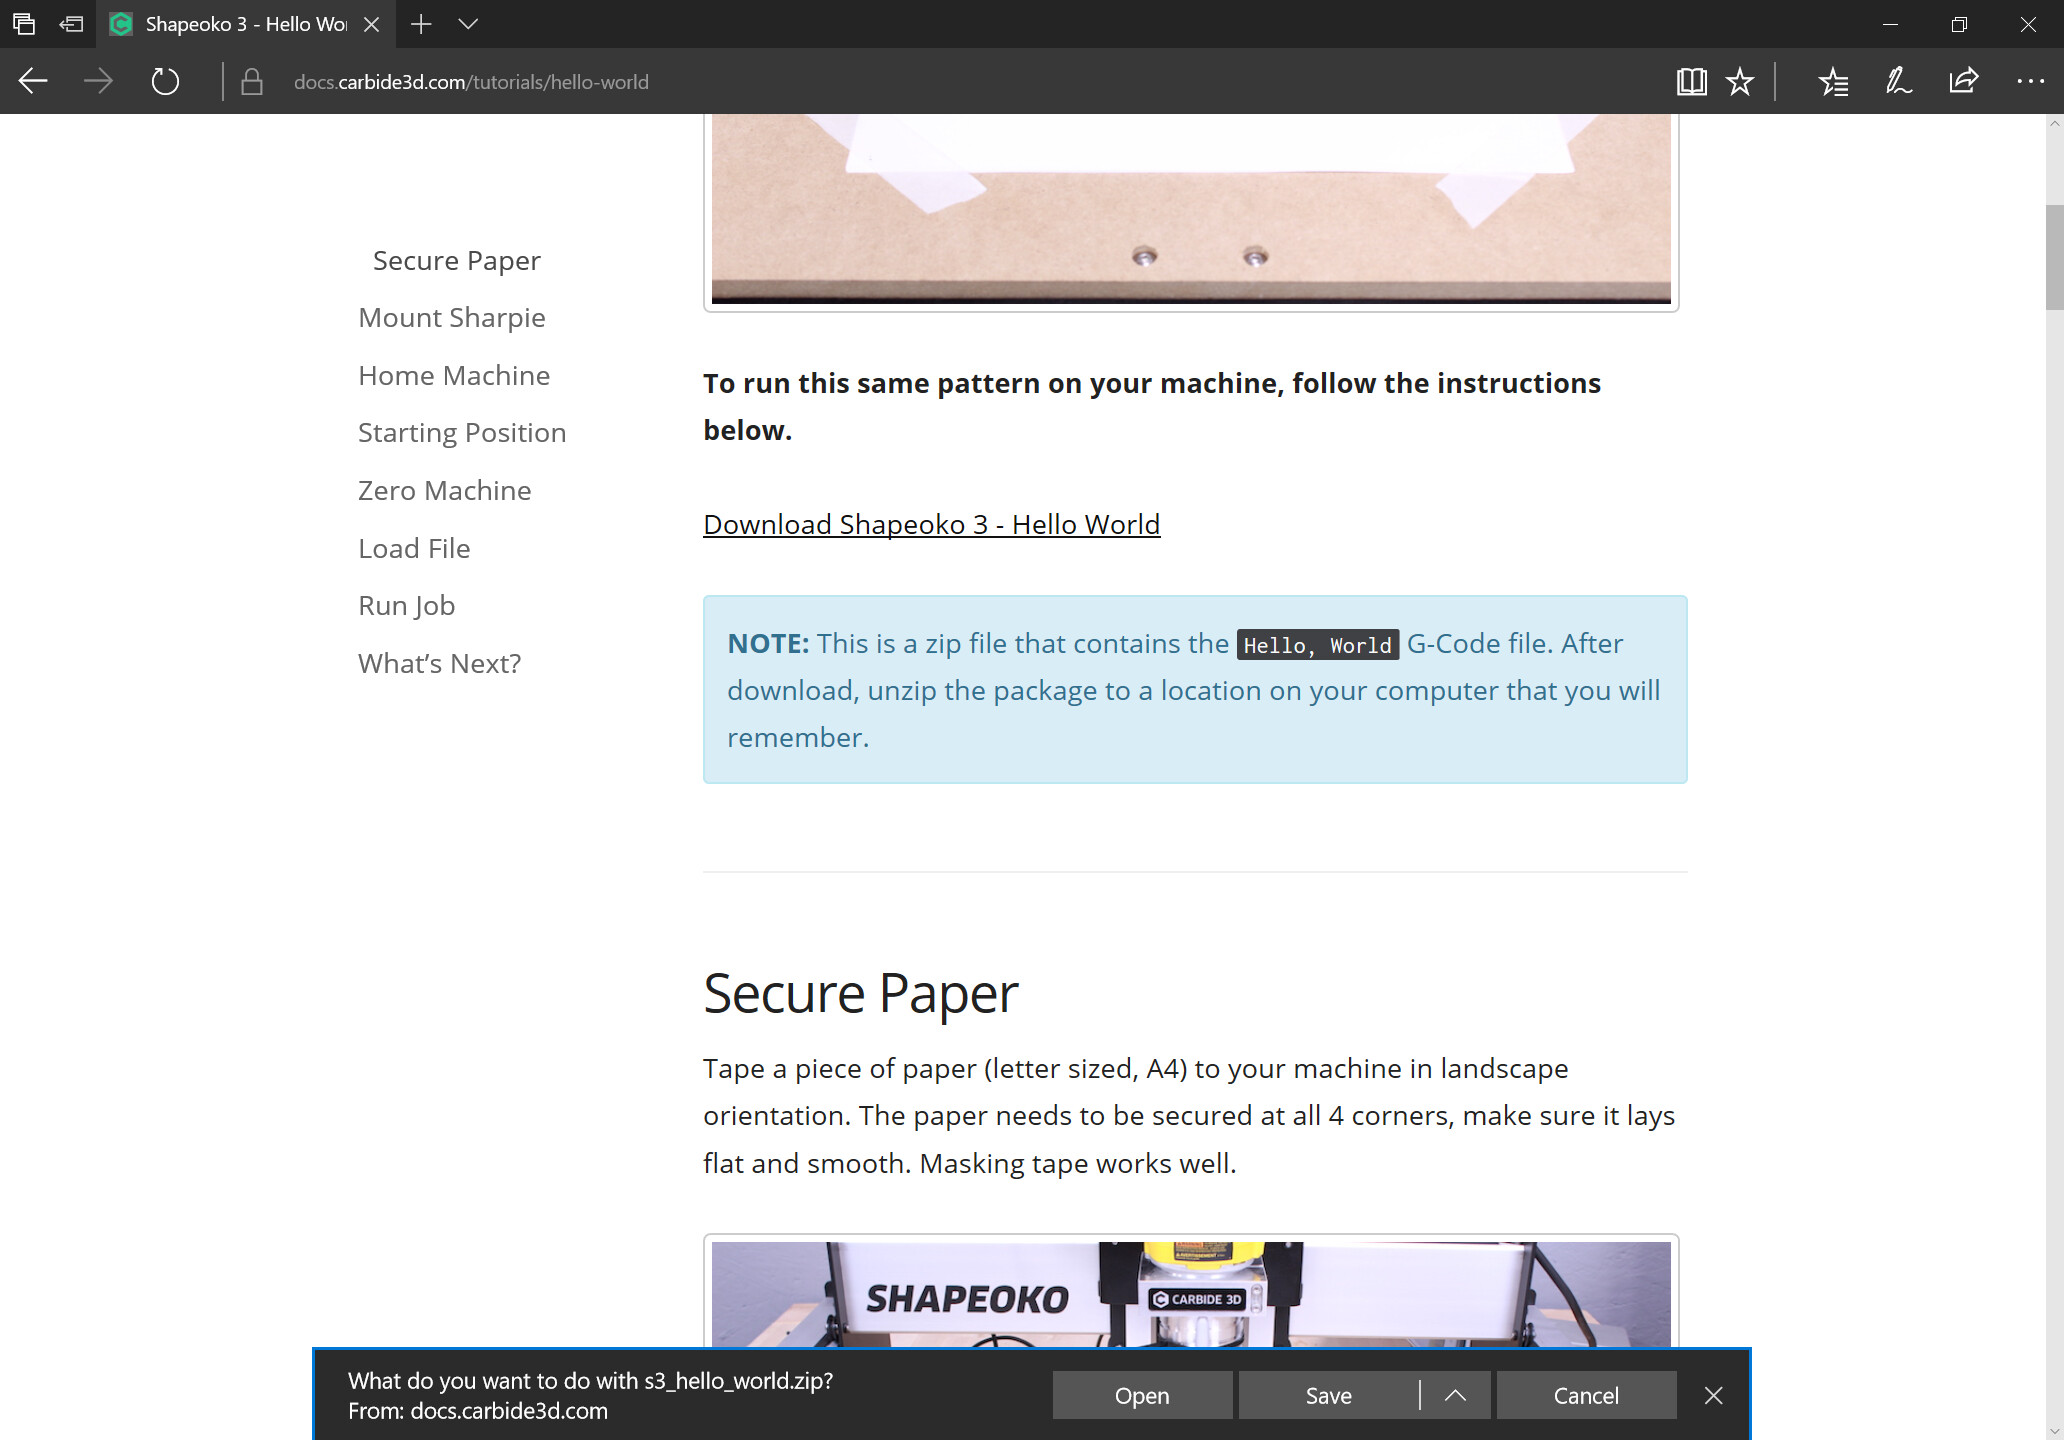
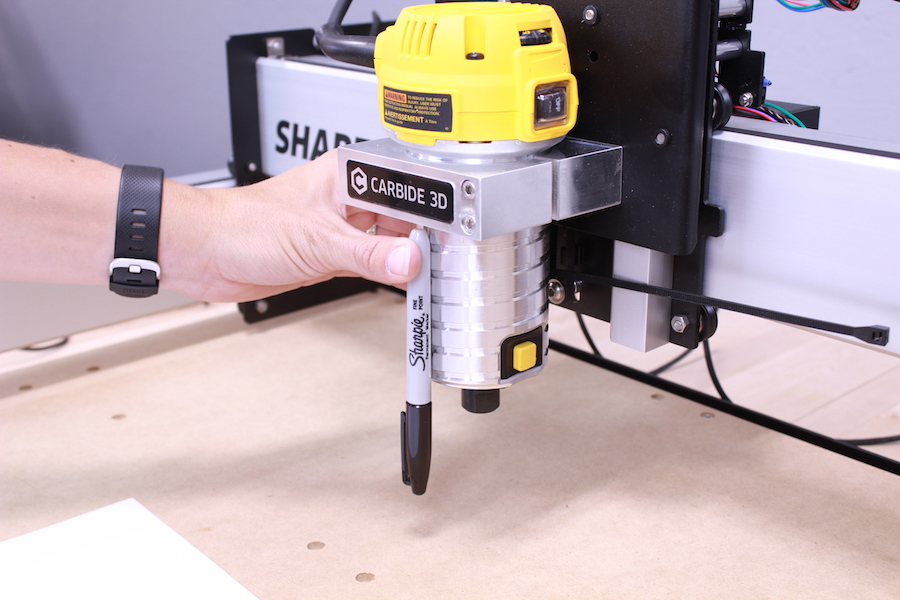
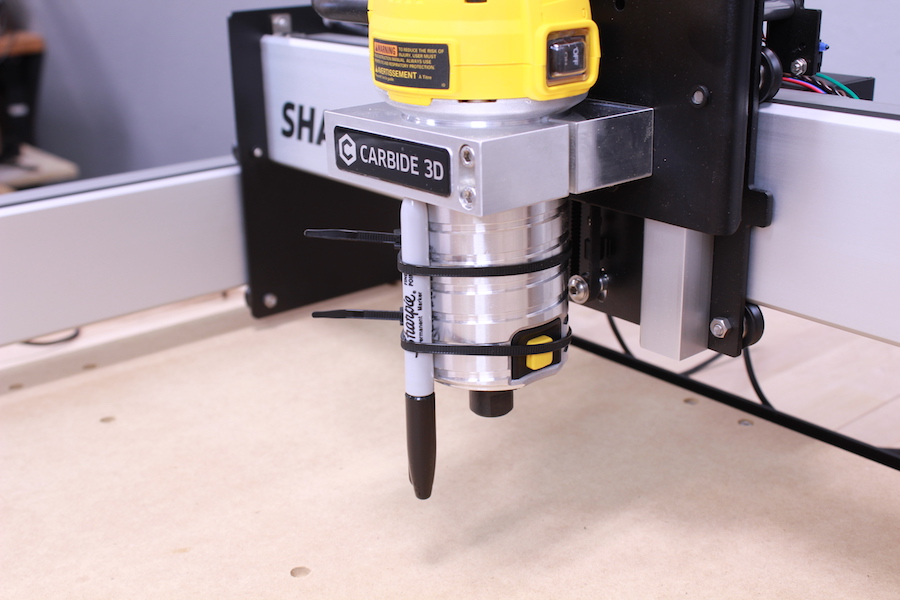
secure the paper and mount the Sharpie — note that on newer machines one can use the nifty “Quick Draw”:
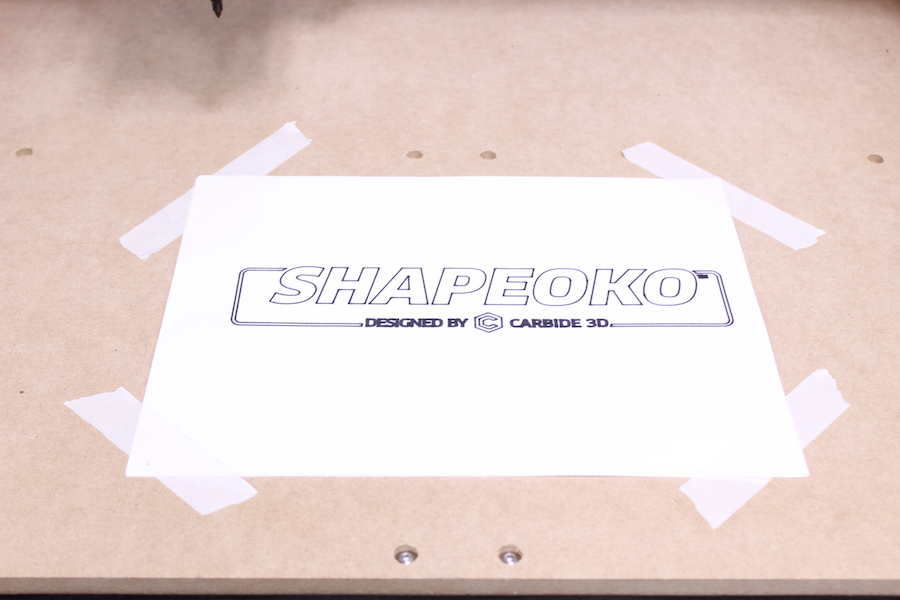
Secure Paper
Tape a piece of paper (letter sized, A4) to your machine in landscape orientation. The paper needs to be secured at all 4 corners, make sure it lays flat and smooth. Masking tape works well.
PROTIP: Place a piece of cardboard below the paper, both to prevent bleed through to your wasteboard, and to provide a little ‘cushion’ to a felt tip pen or marker.


Using zip ties, mount the Sharpie to the slot of your spindle. You can wrap a strong rubber band around the pen or use a small clamp to really secure the marker.
Launch Carbide Motion:
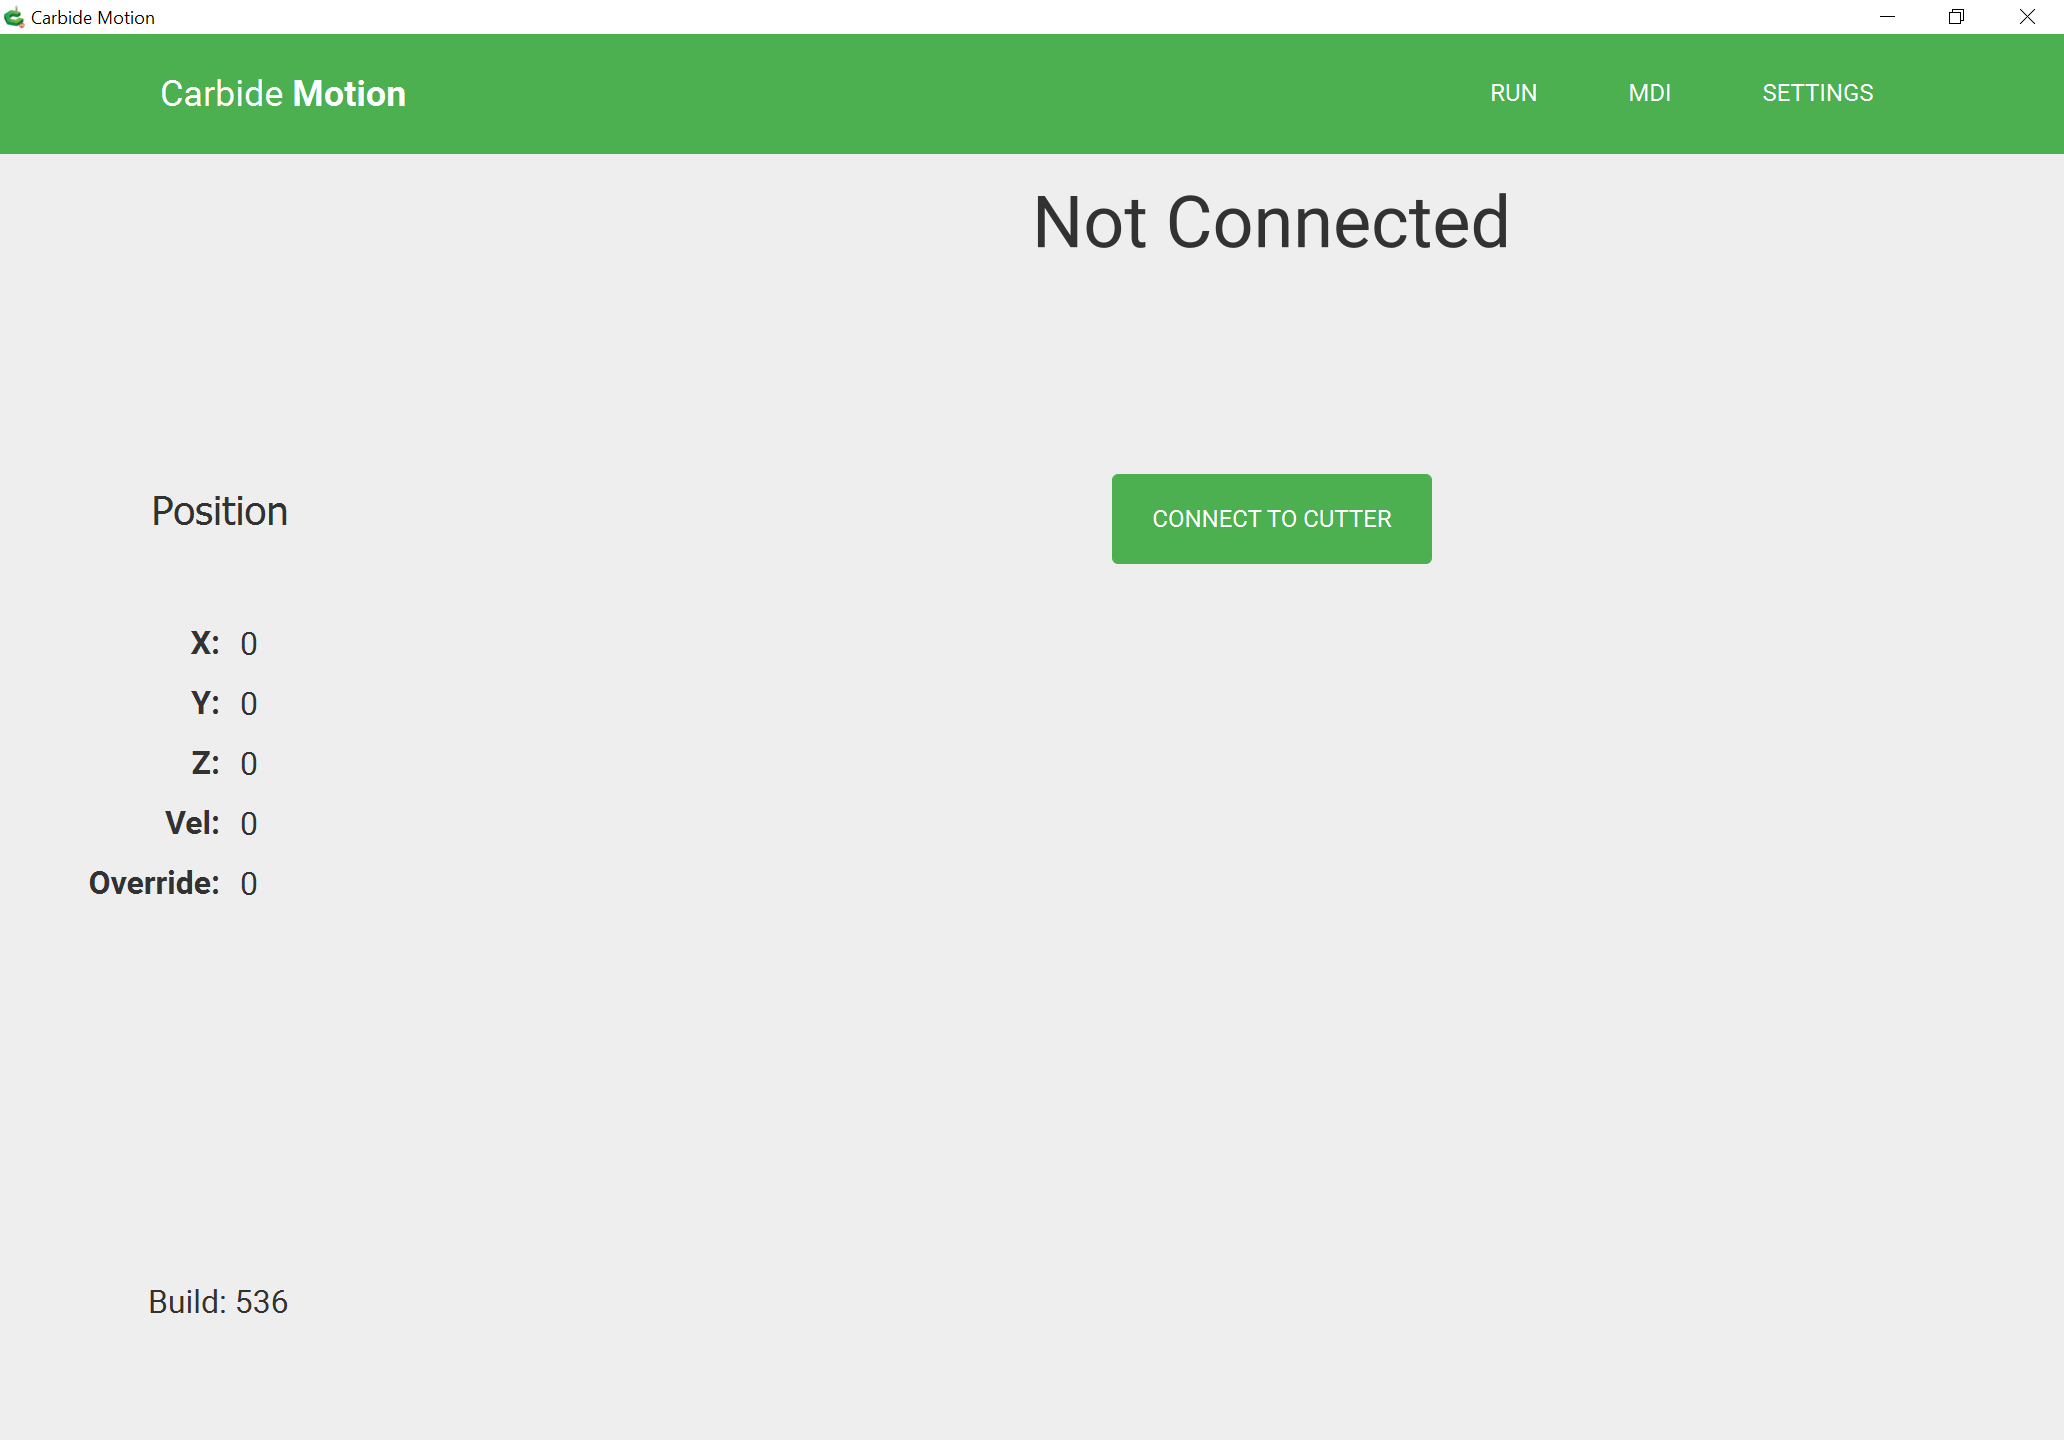
“Connect to Cutter”
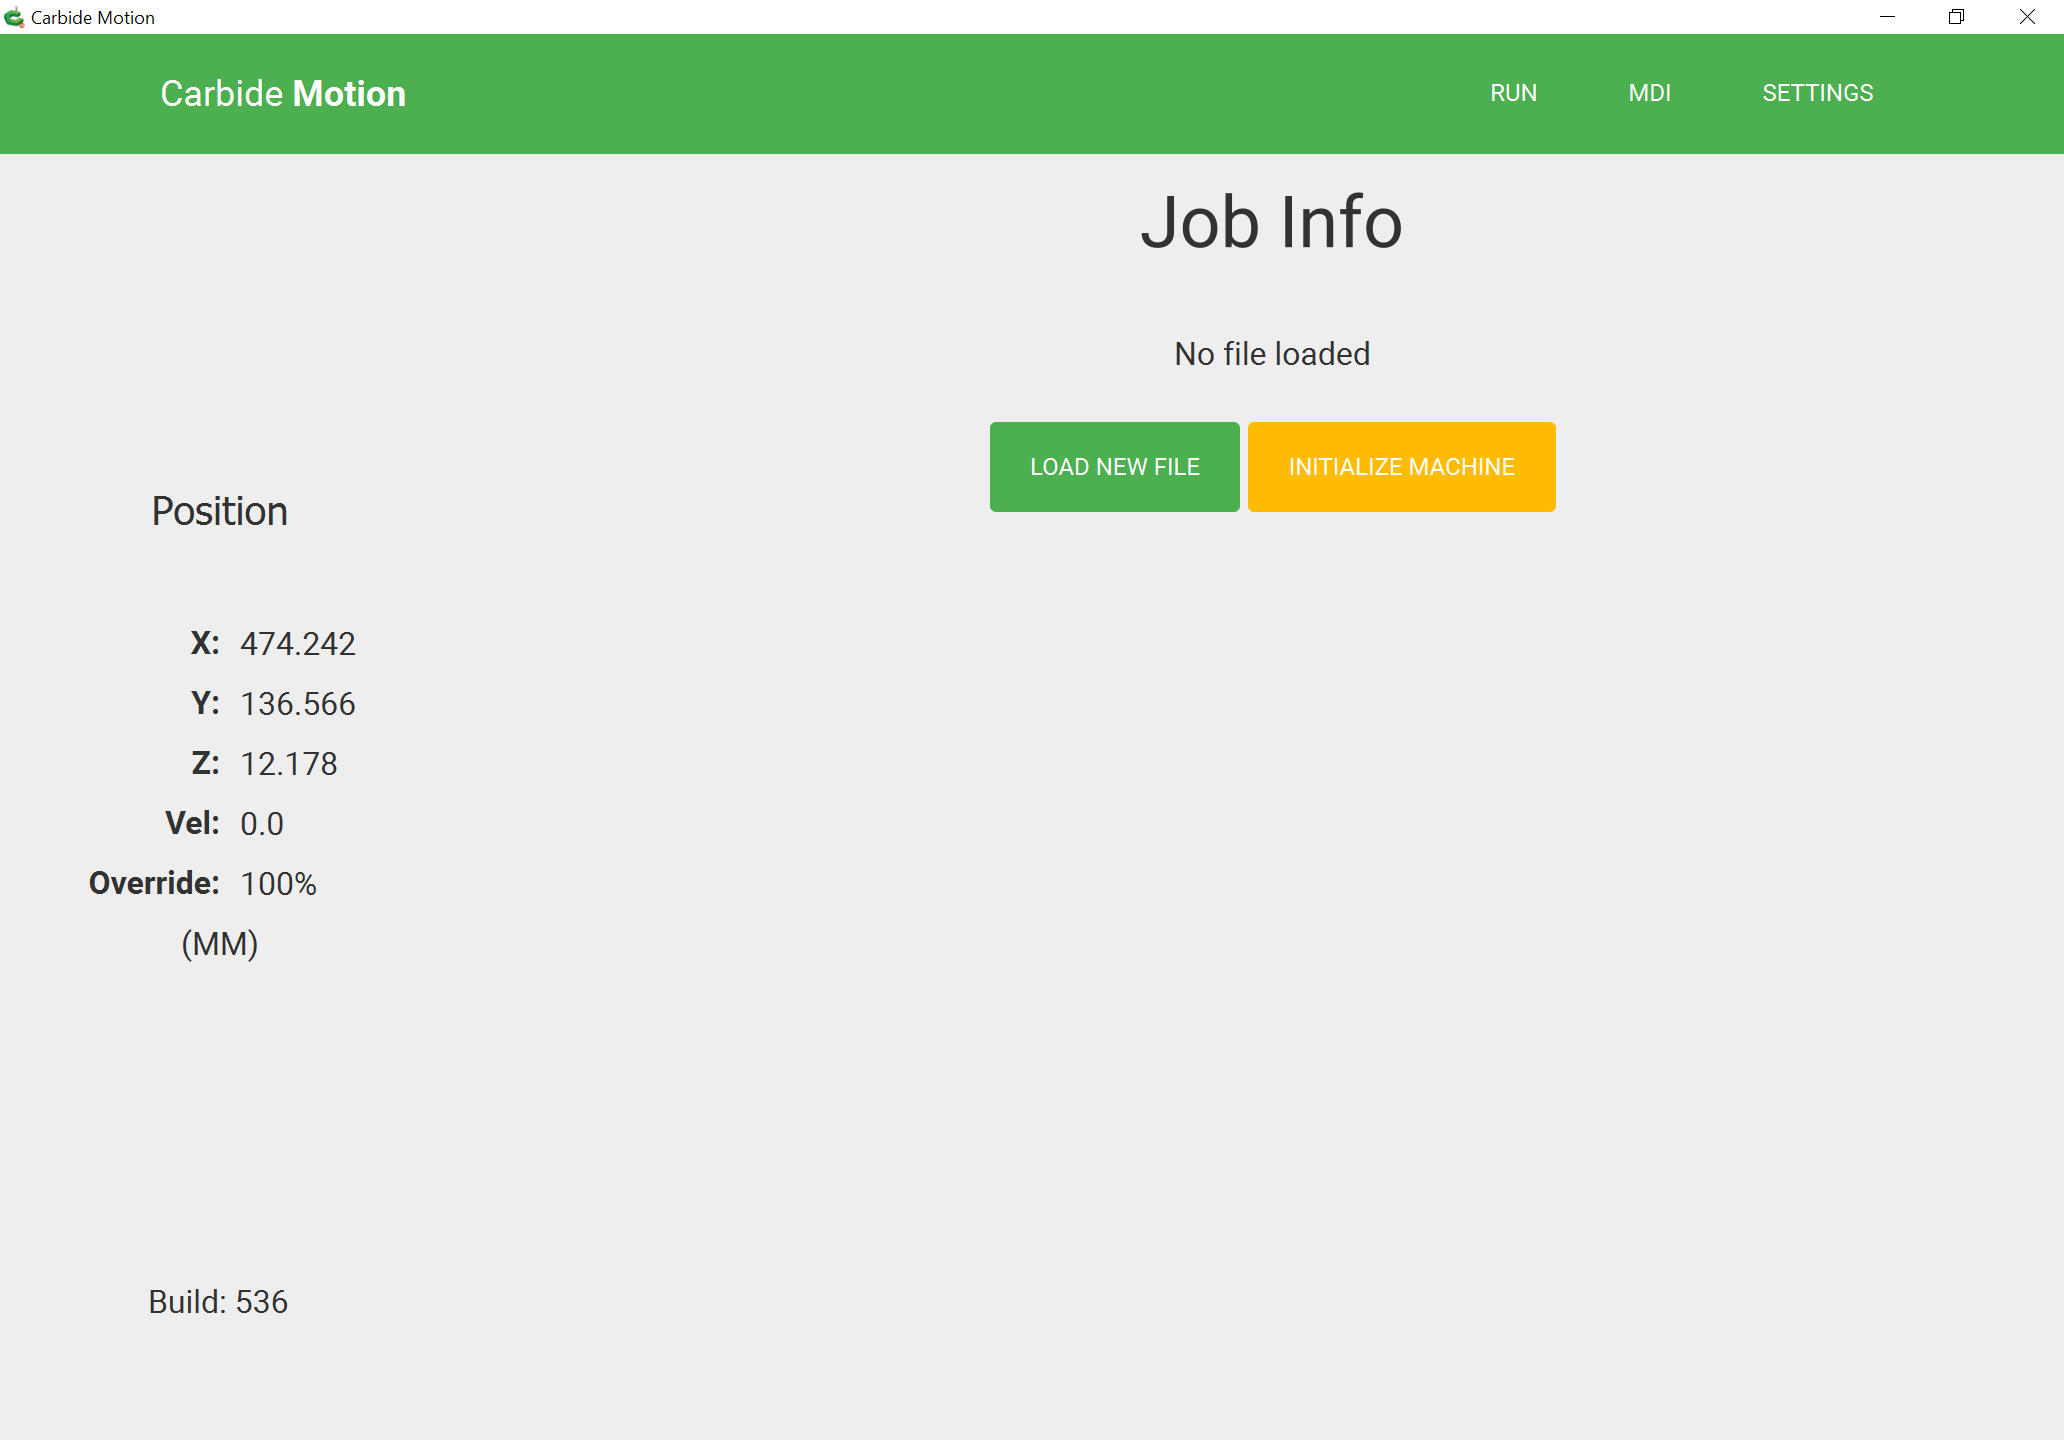
“Initialize Machine”
The screen will display the “Busy” message and initialize, finally stopping at the back right corner.
Note: Unless one wants to crush the tip of the marker and mark up one’s BitSetter w/ a black dot, the BitSetter should be disabled for “Hello World” as should any other accessories.
Click on “Jog”
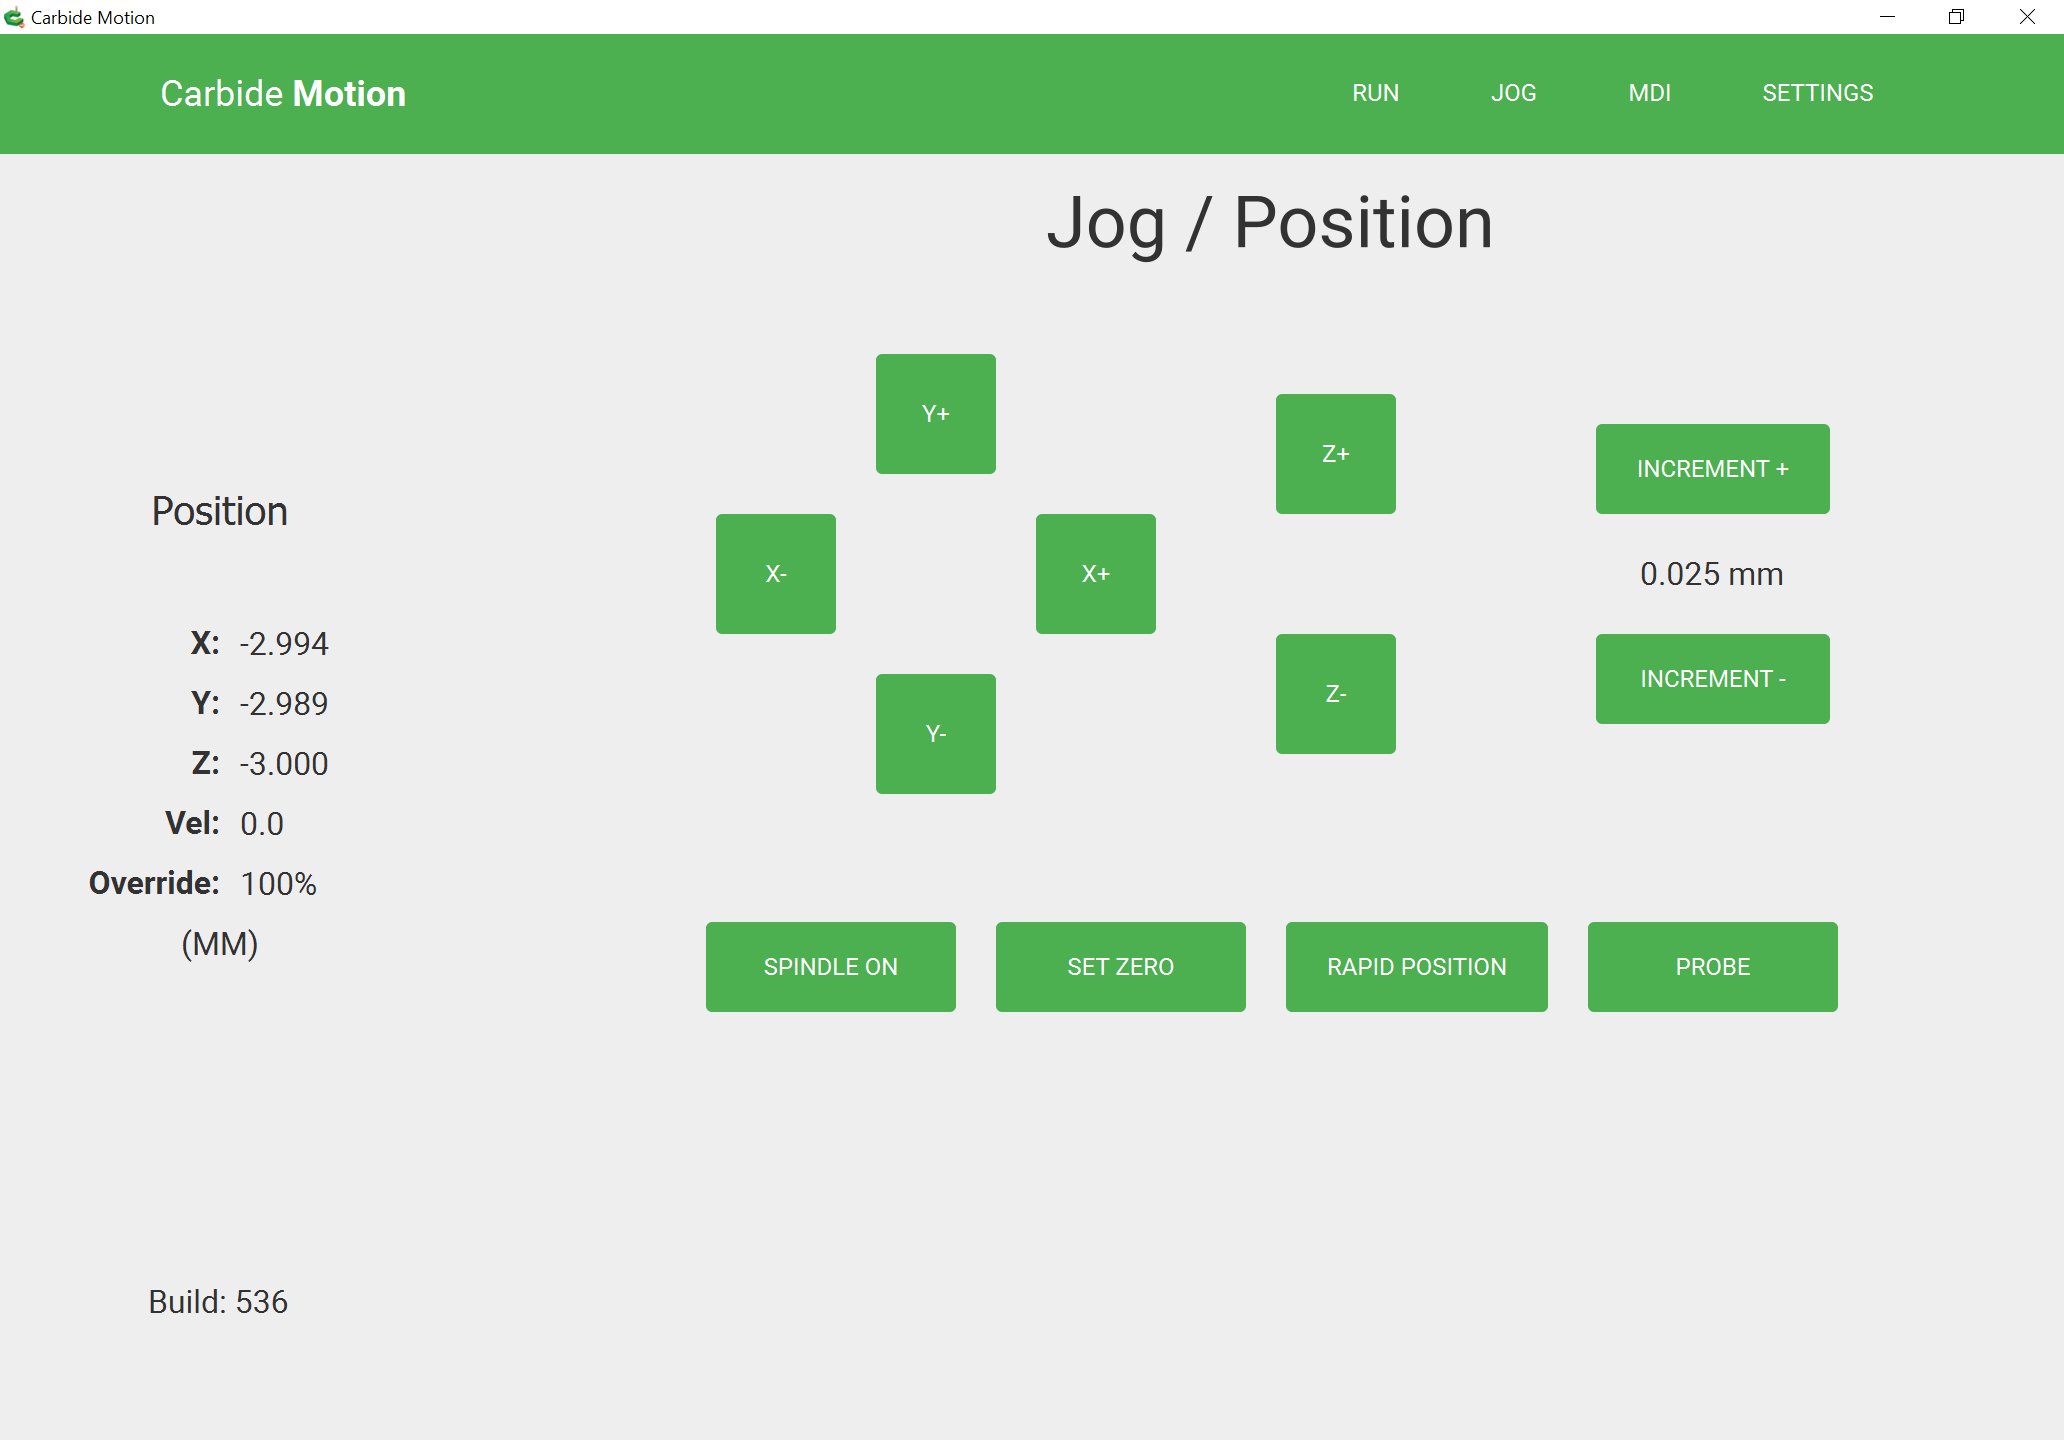
Click on “Set Zero”

“CLEAR ALL OFFSETS”

“DONE”
Note that the initial increment is set to a tiny distance. Click on “INCREMENT +” stepping through 0.25mm and 1mm until one arrives at “Fast”:

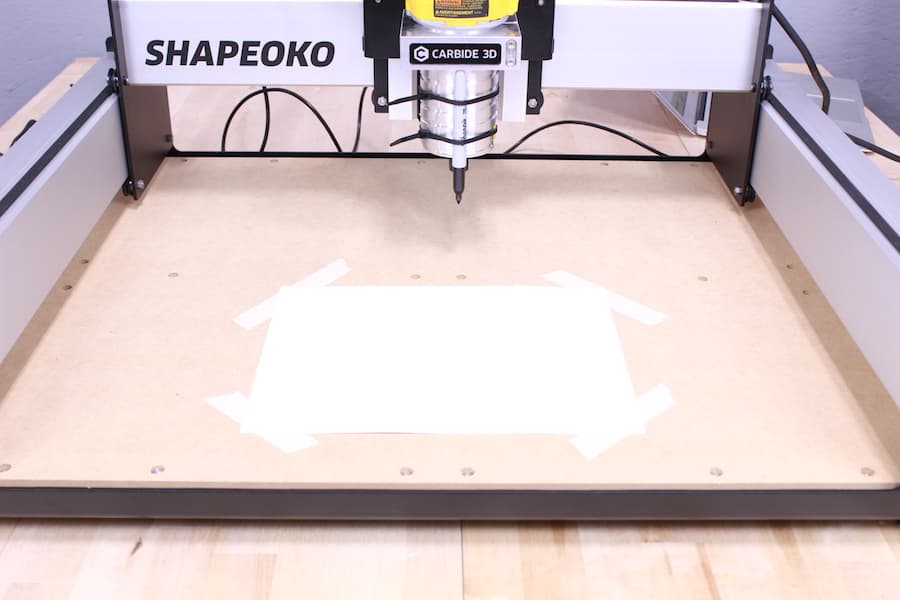
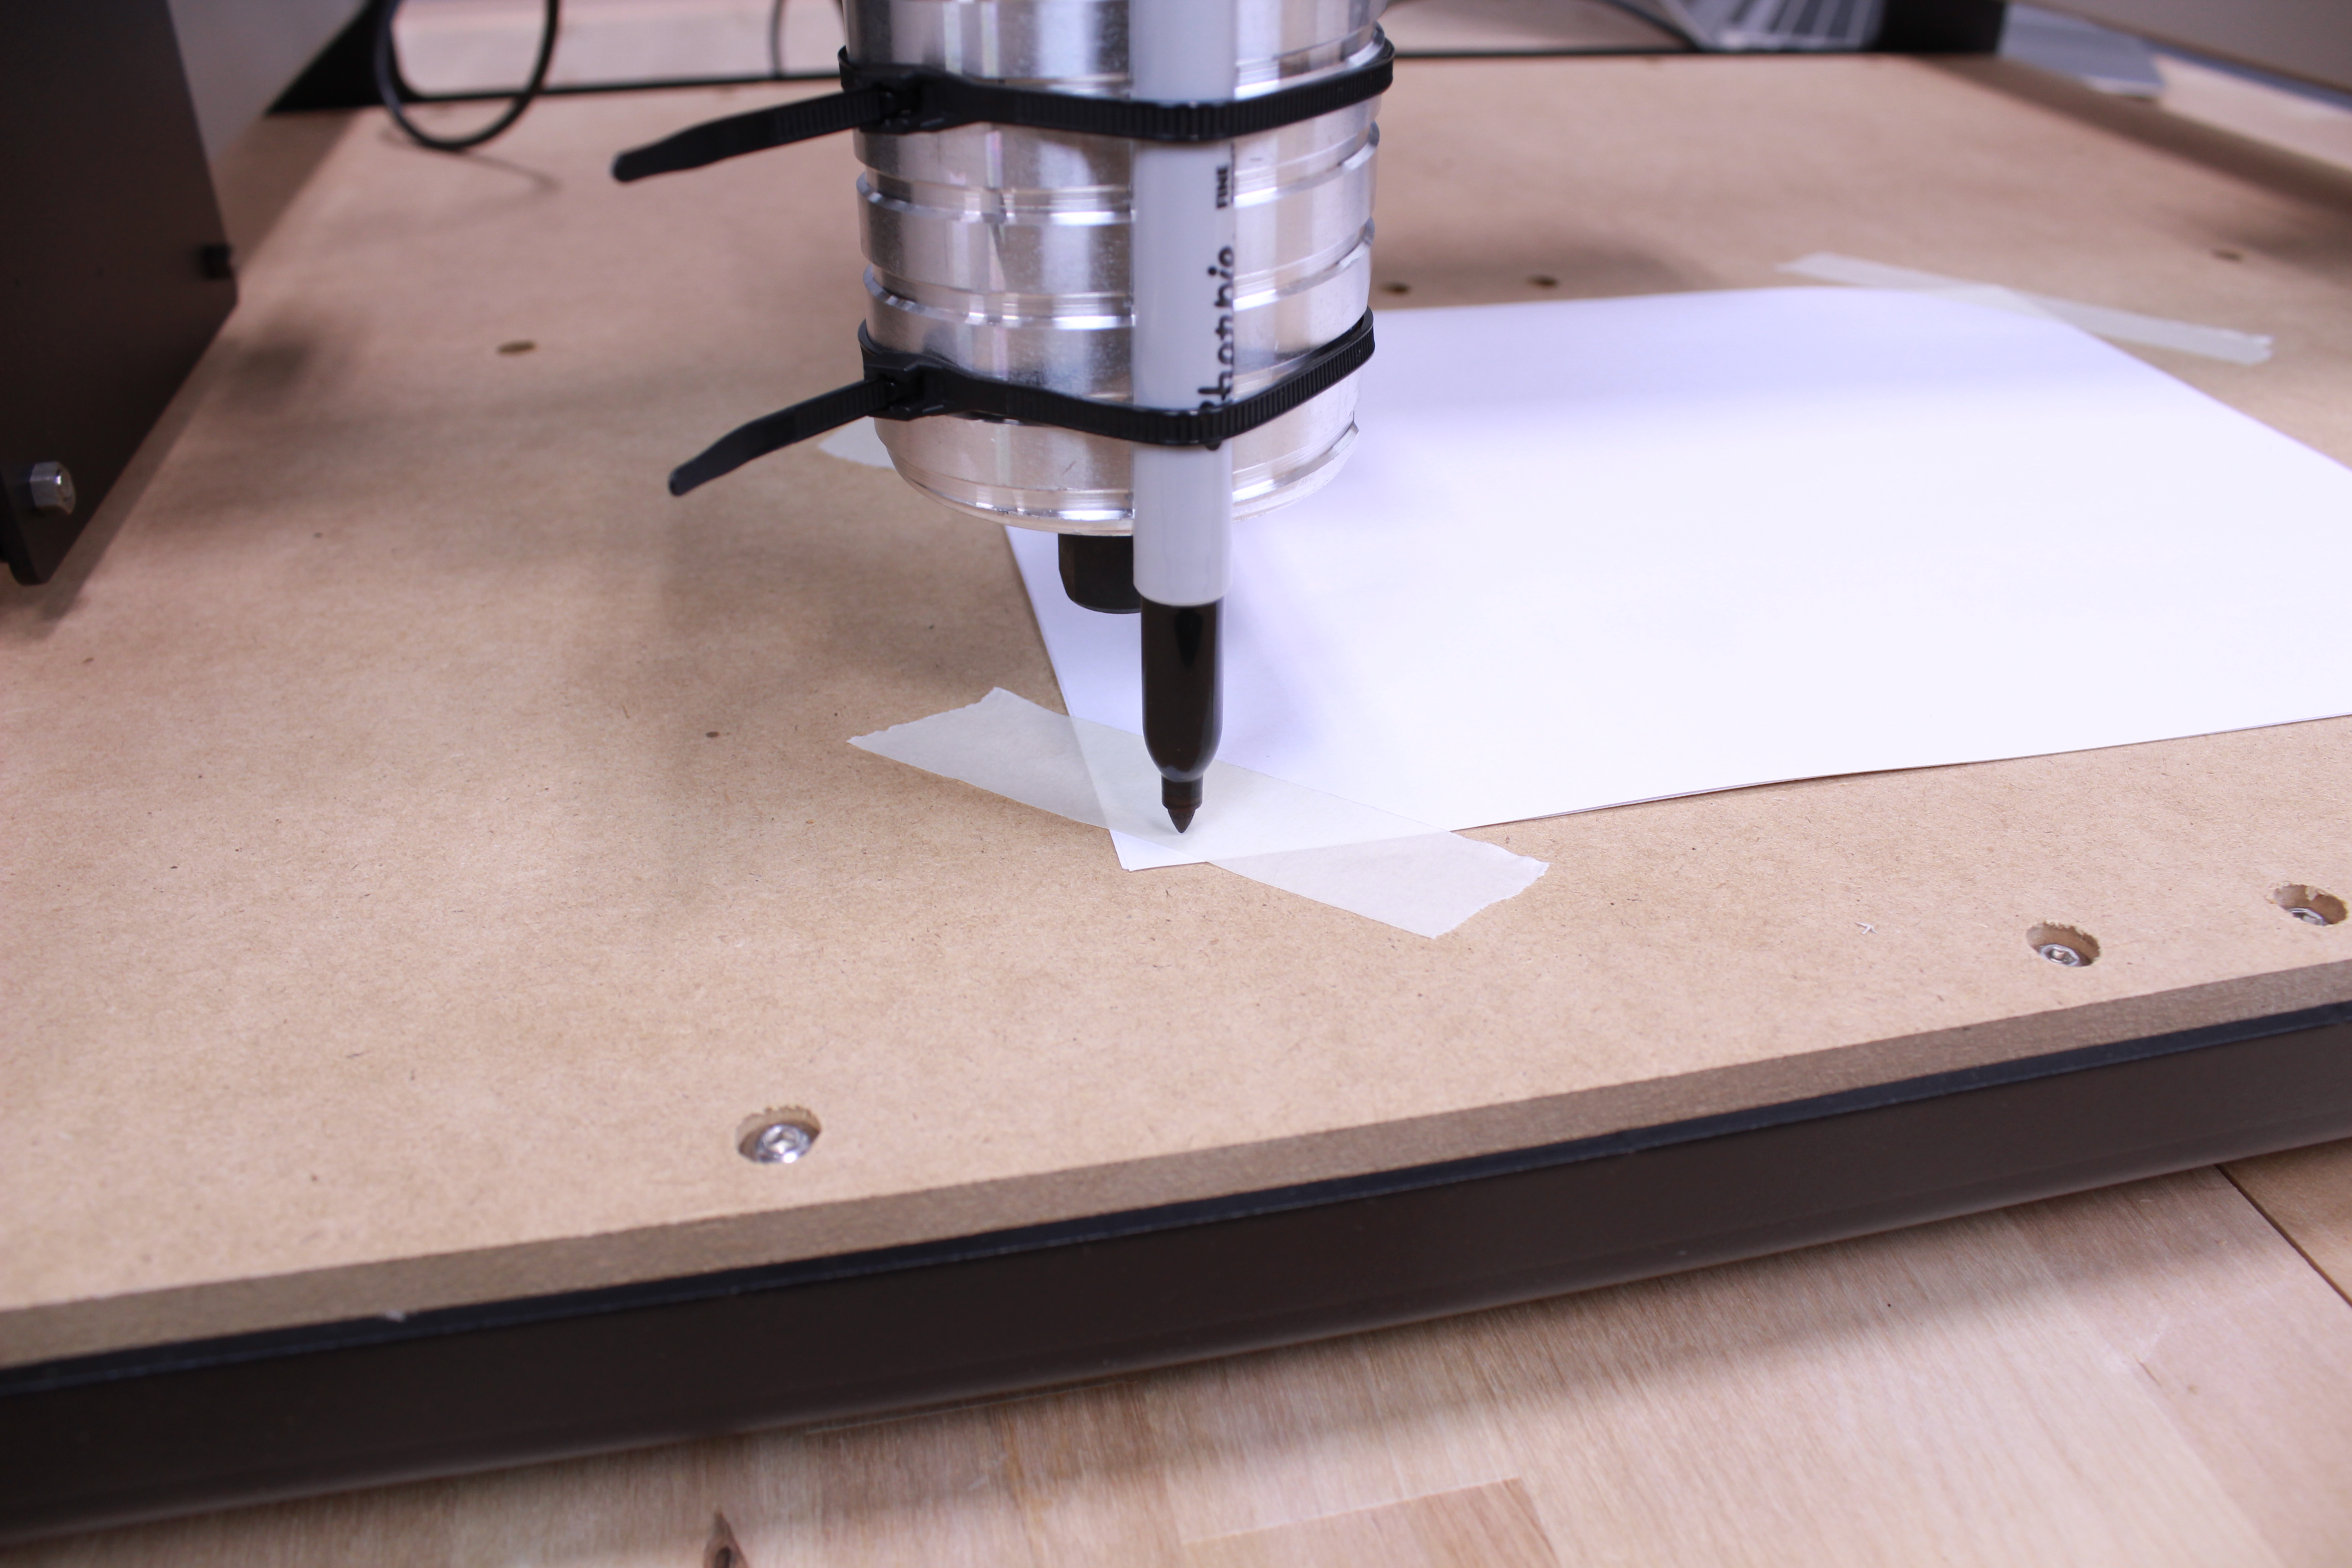
Use the on-screen controls (or keyboard shortcuts, see: Keyboard Shortcut Cheat sheet for Carbide Create and Motion or a gaming controller, see: Using a Game Controller with CM513 and later ) to jog to the lower left corner of the paper:
For this tutorial, we are starting the job from the lower left hand corner of the paper.
- Change the ‘INCREMENT’ value to
FAST.- Use the
Y-button to move your machine towards the front edge.- use the
X-button to move your machine towards the left edge.- Use the
Z-button to move the sharpie closer to the paper.When the Sharpie gets close to the corner, change the
INCREMENTvalue to something smaller, like 1mm or 0.25mm.Continue using the directional buttons to position the sharpie in the lower left corner of the paper as shown in the photo above.
Continue to jog the Z-axis down until the Sharpie is barely touching the paper.

Once the machine is positioned:
Now that the machine is in the correct starting location (lower left hand corner of the paper), you need to tell the software ‘This is where I want to start the job’. To do that, click the
SET ZERObutton.

click on “ZERO ALL”

“DONE”
(you will be returned to the Jog screen)
click on “RUN” at the top of the screen:
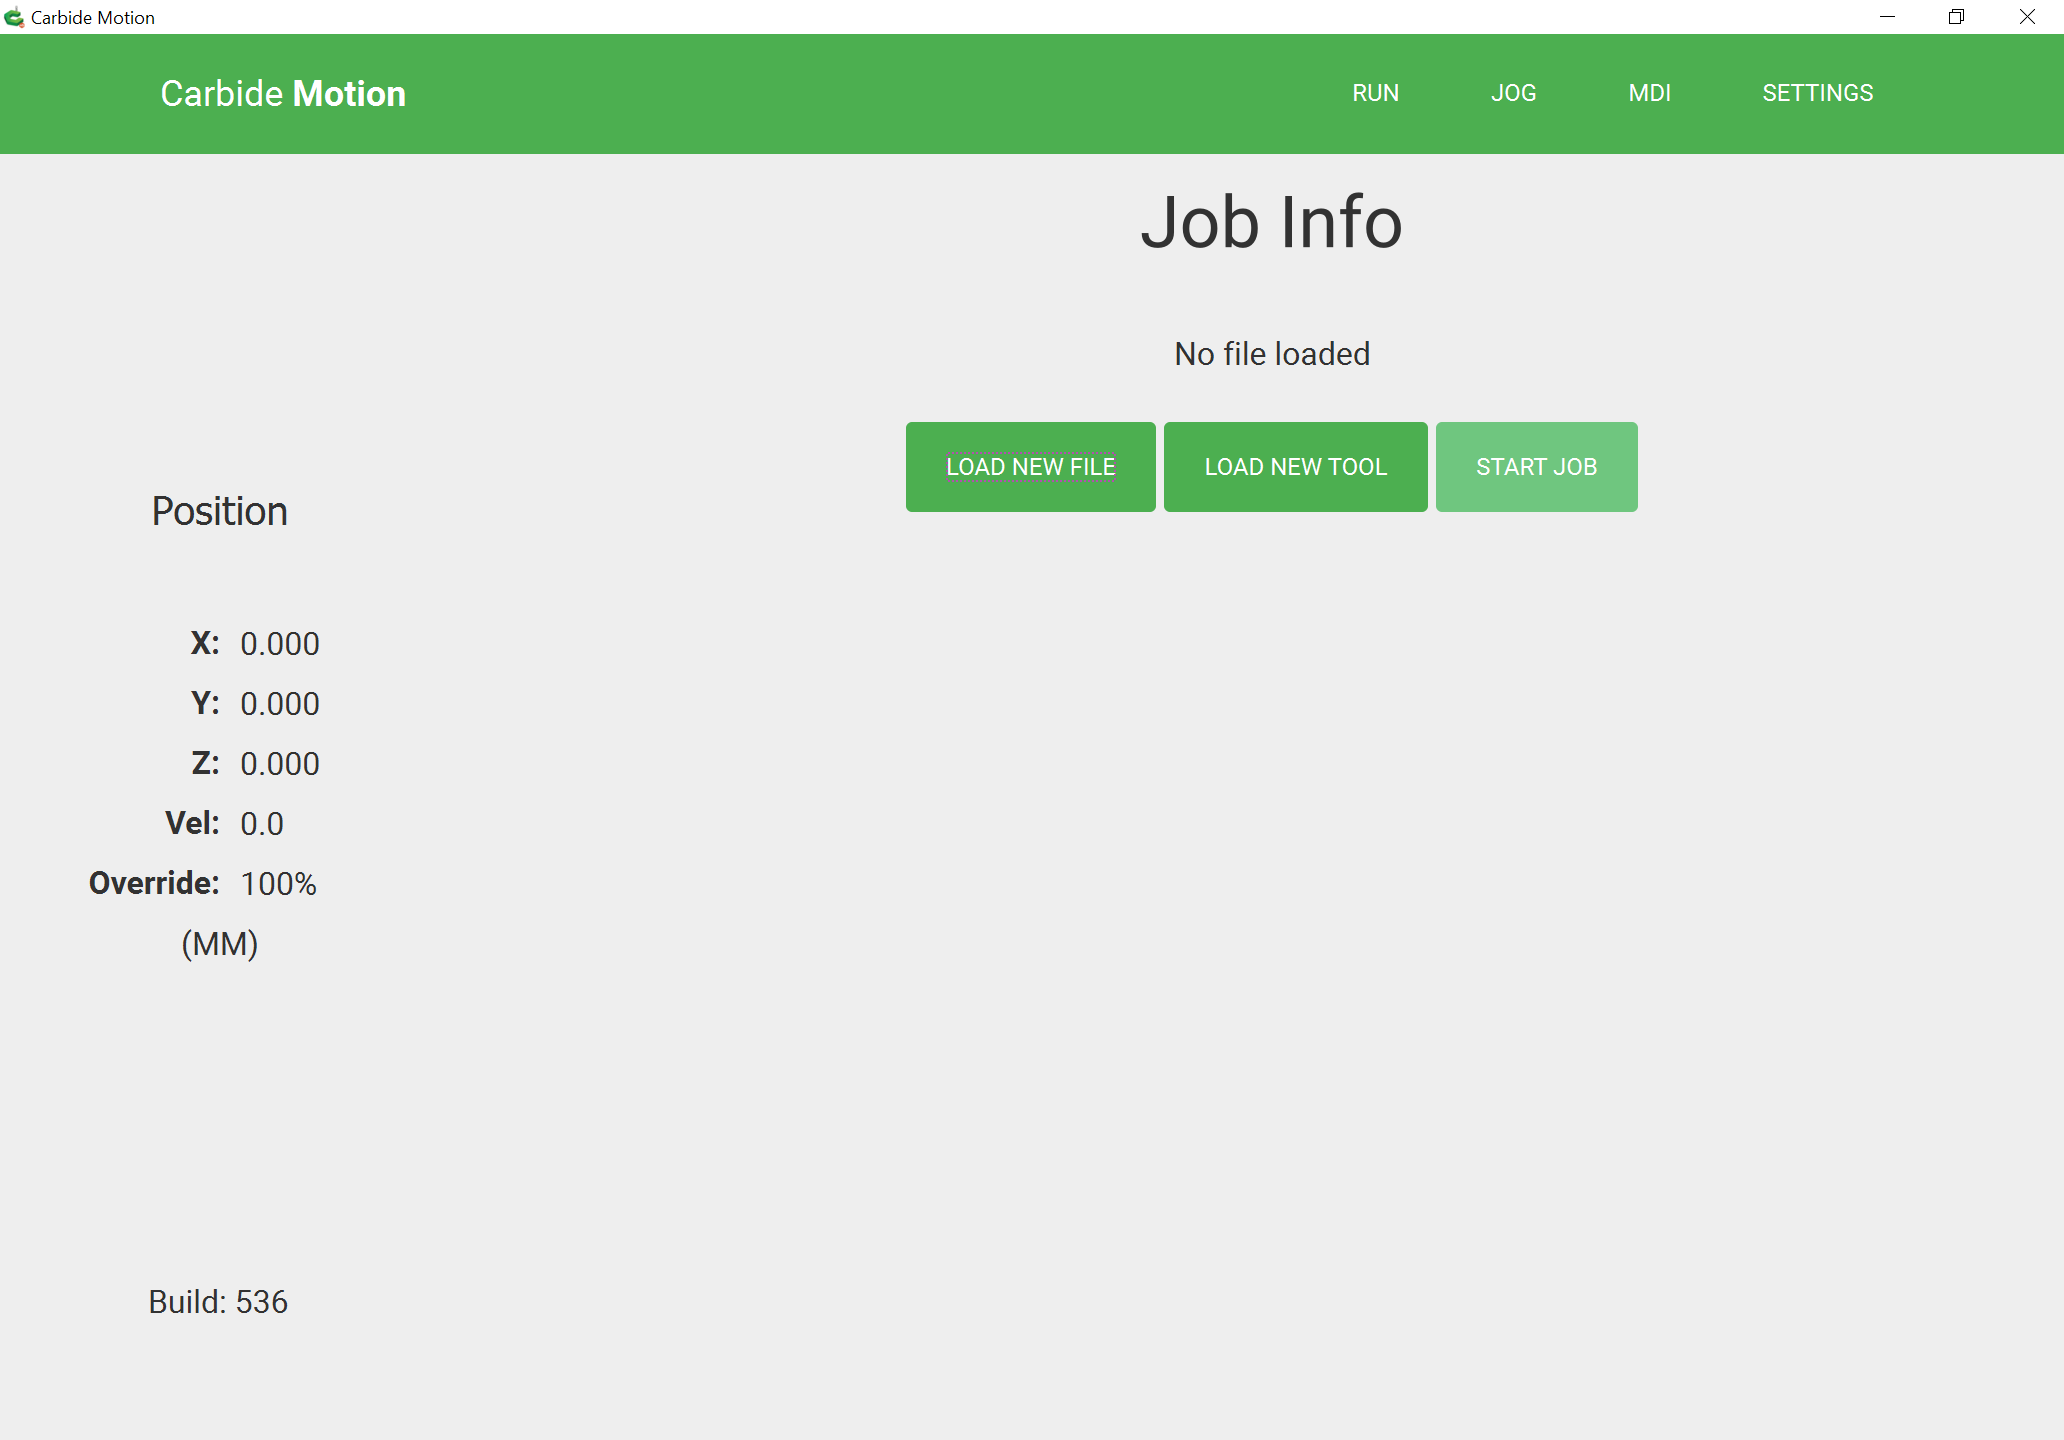
click on “LOAD NEW FILE”:
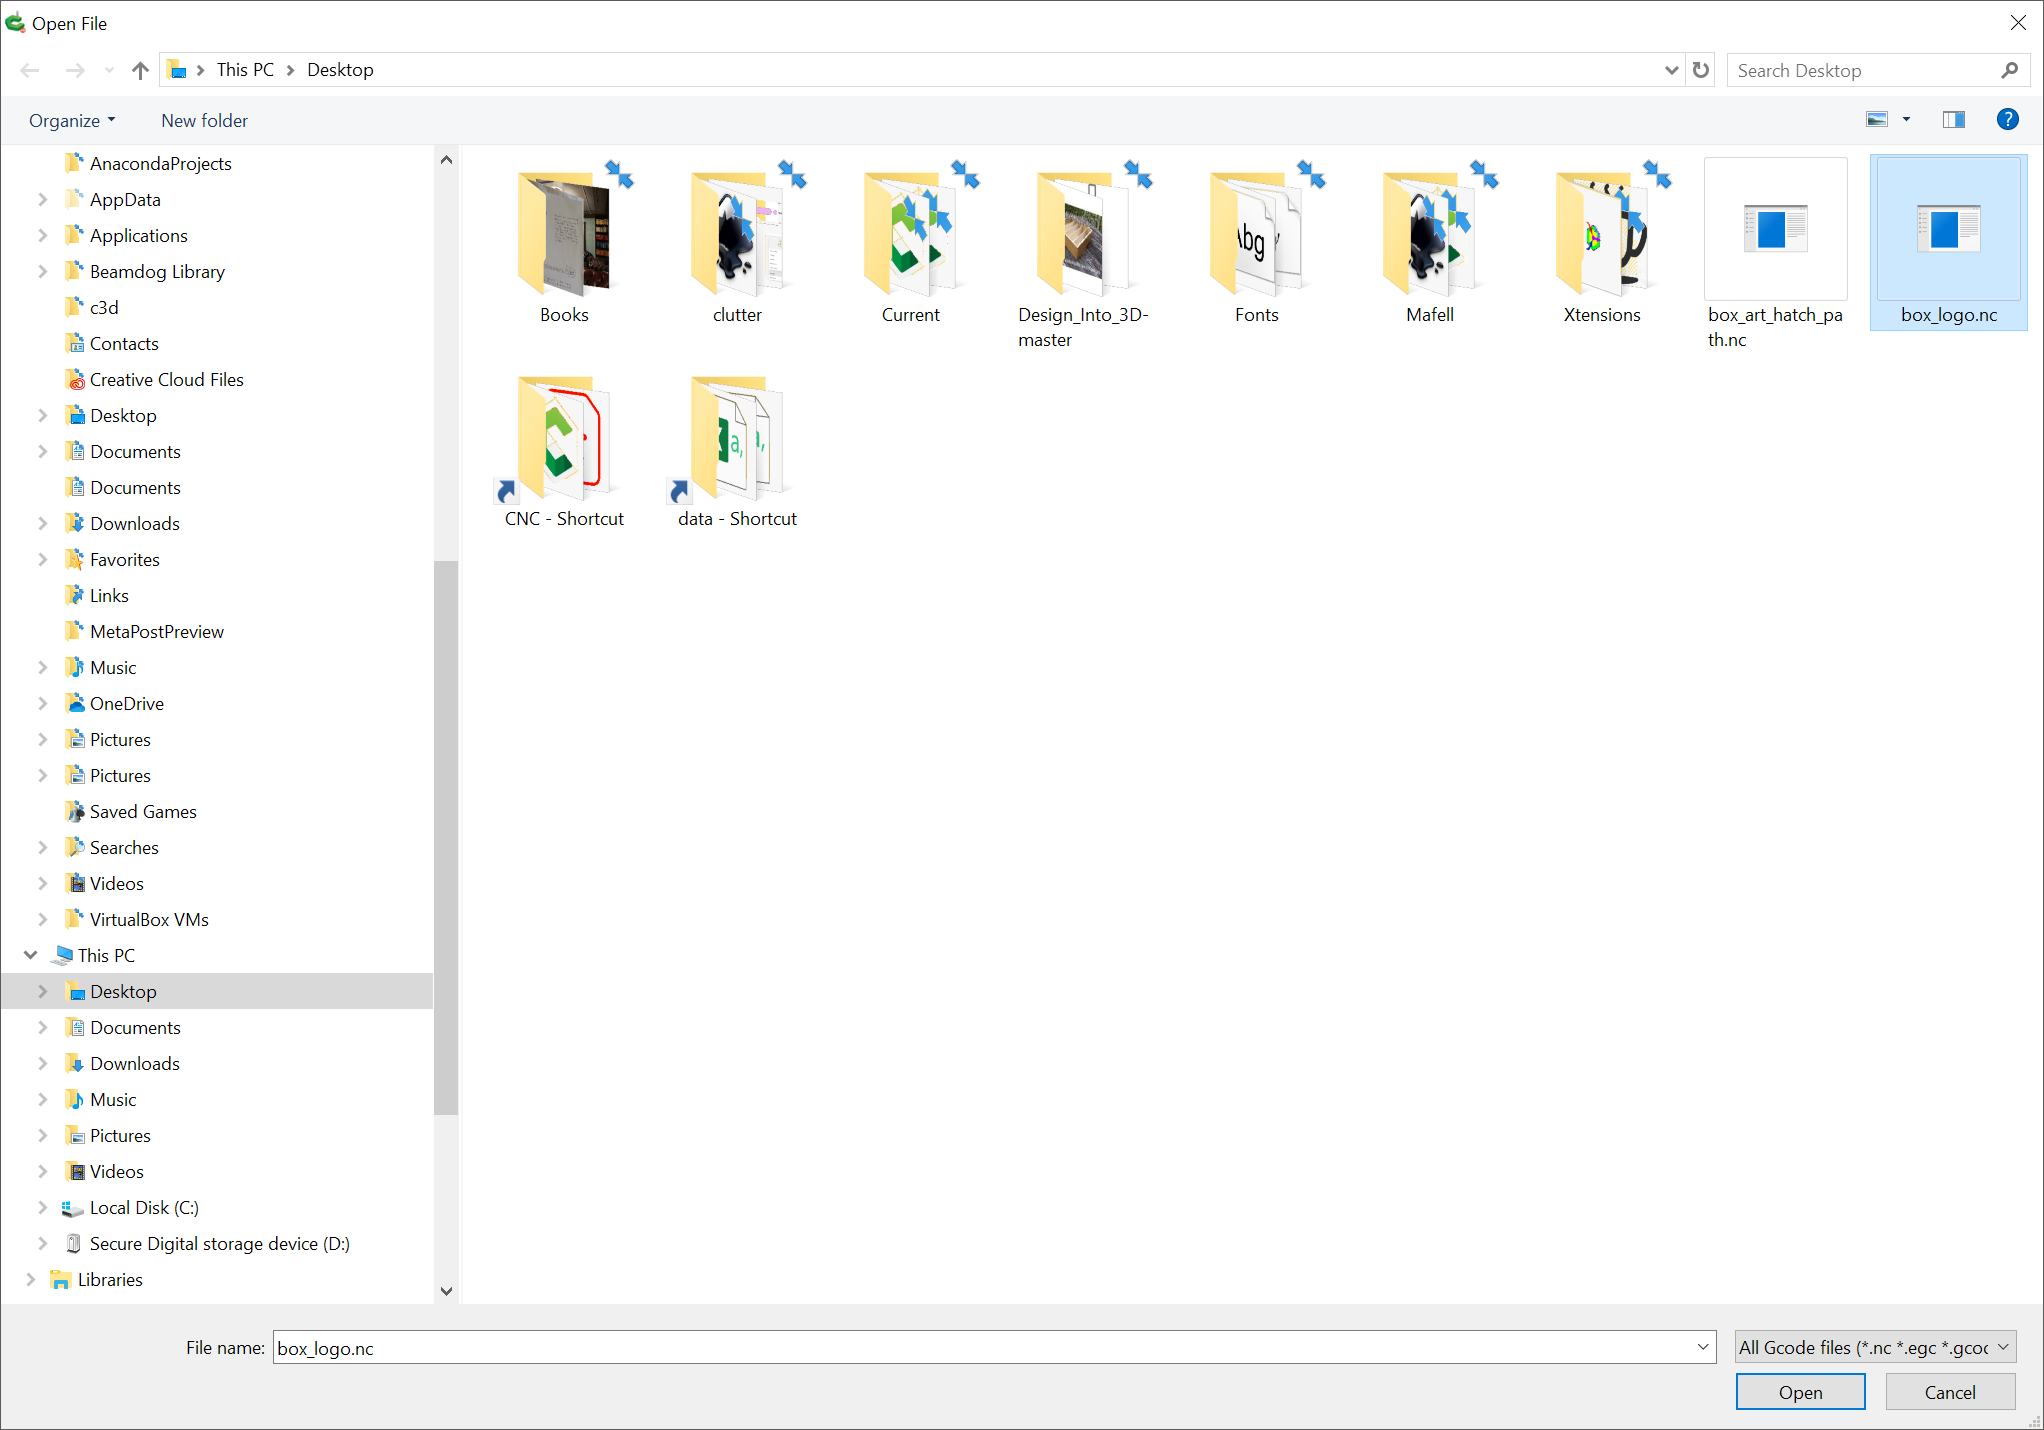
navigate to where you have placed the “box_logo.nc” file and select it:
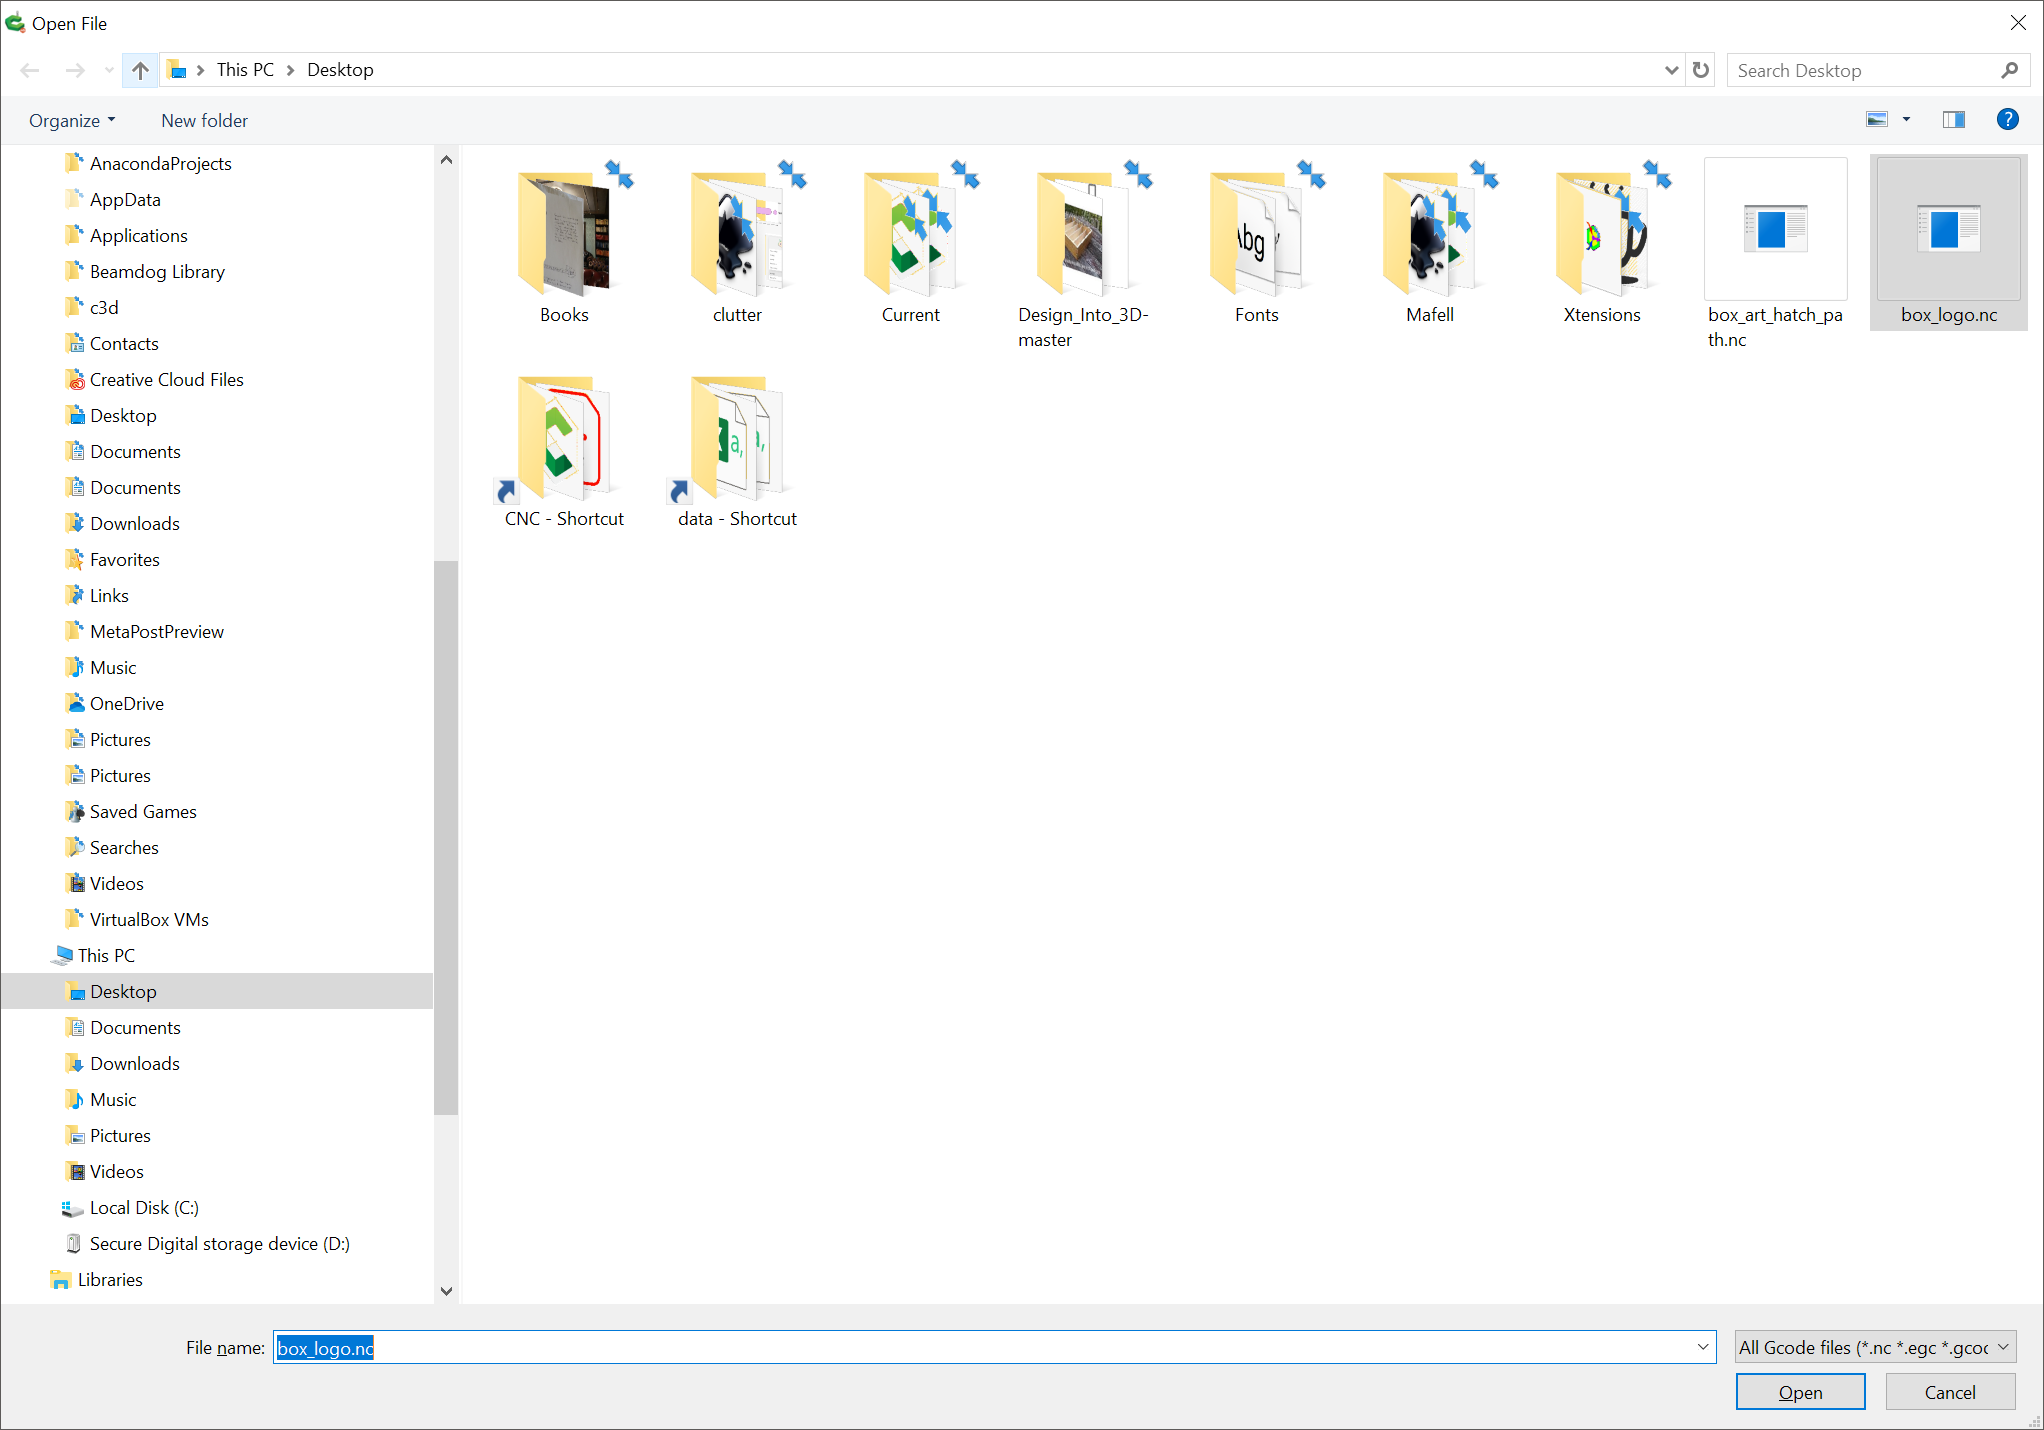
click the “Open” button to open the file into Carbide Motion:
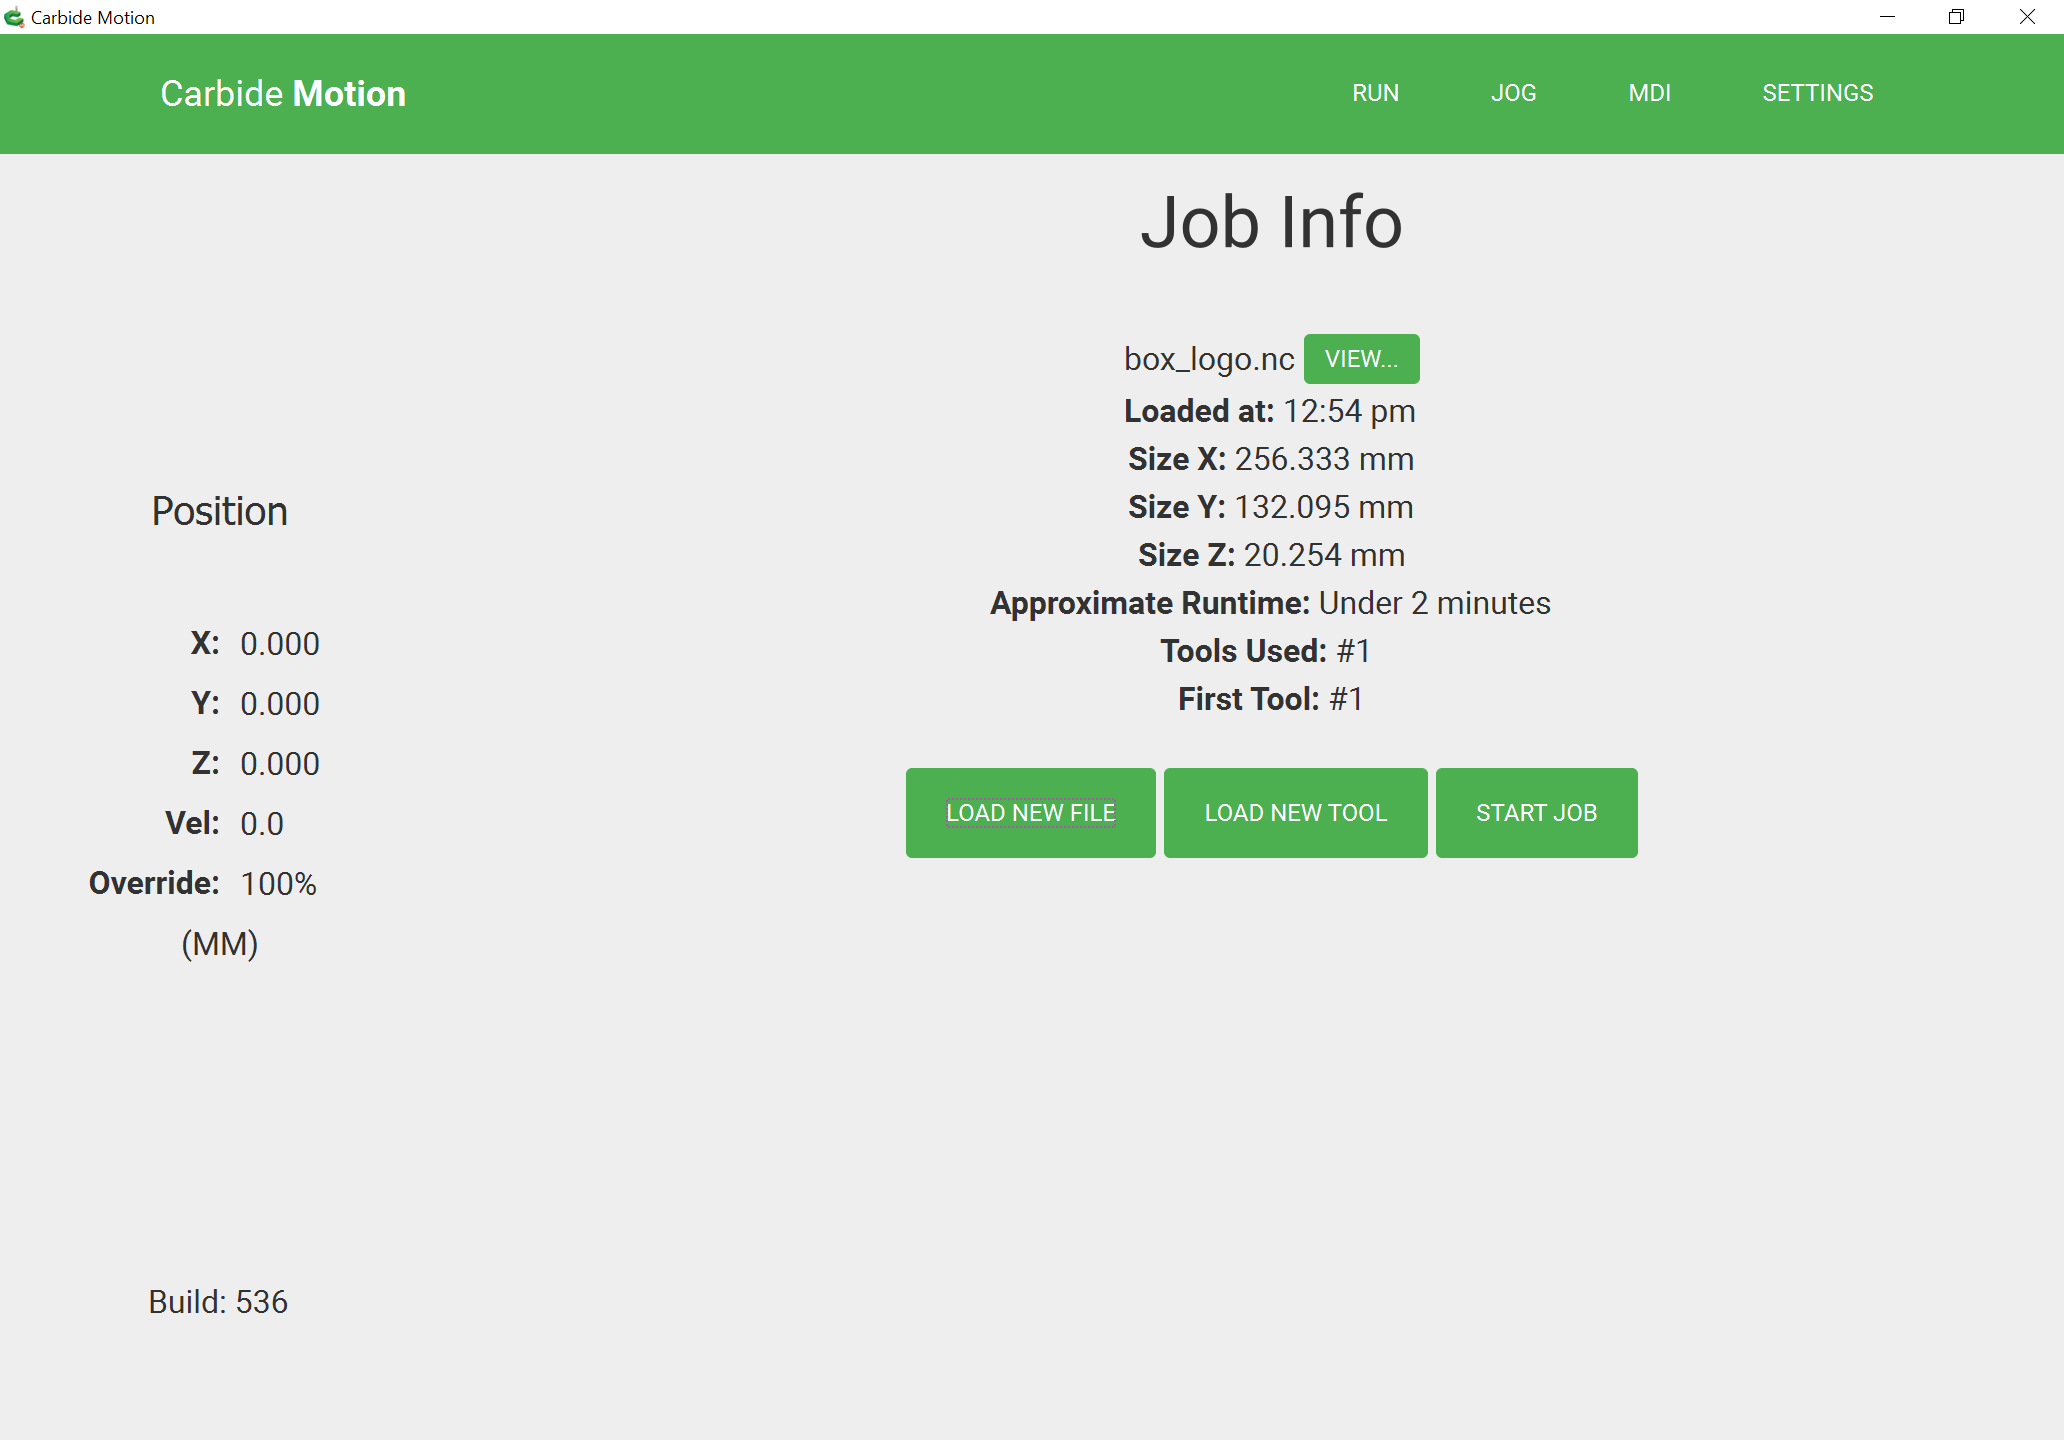
In newer versions, a preview window will appear:
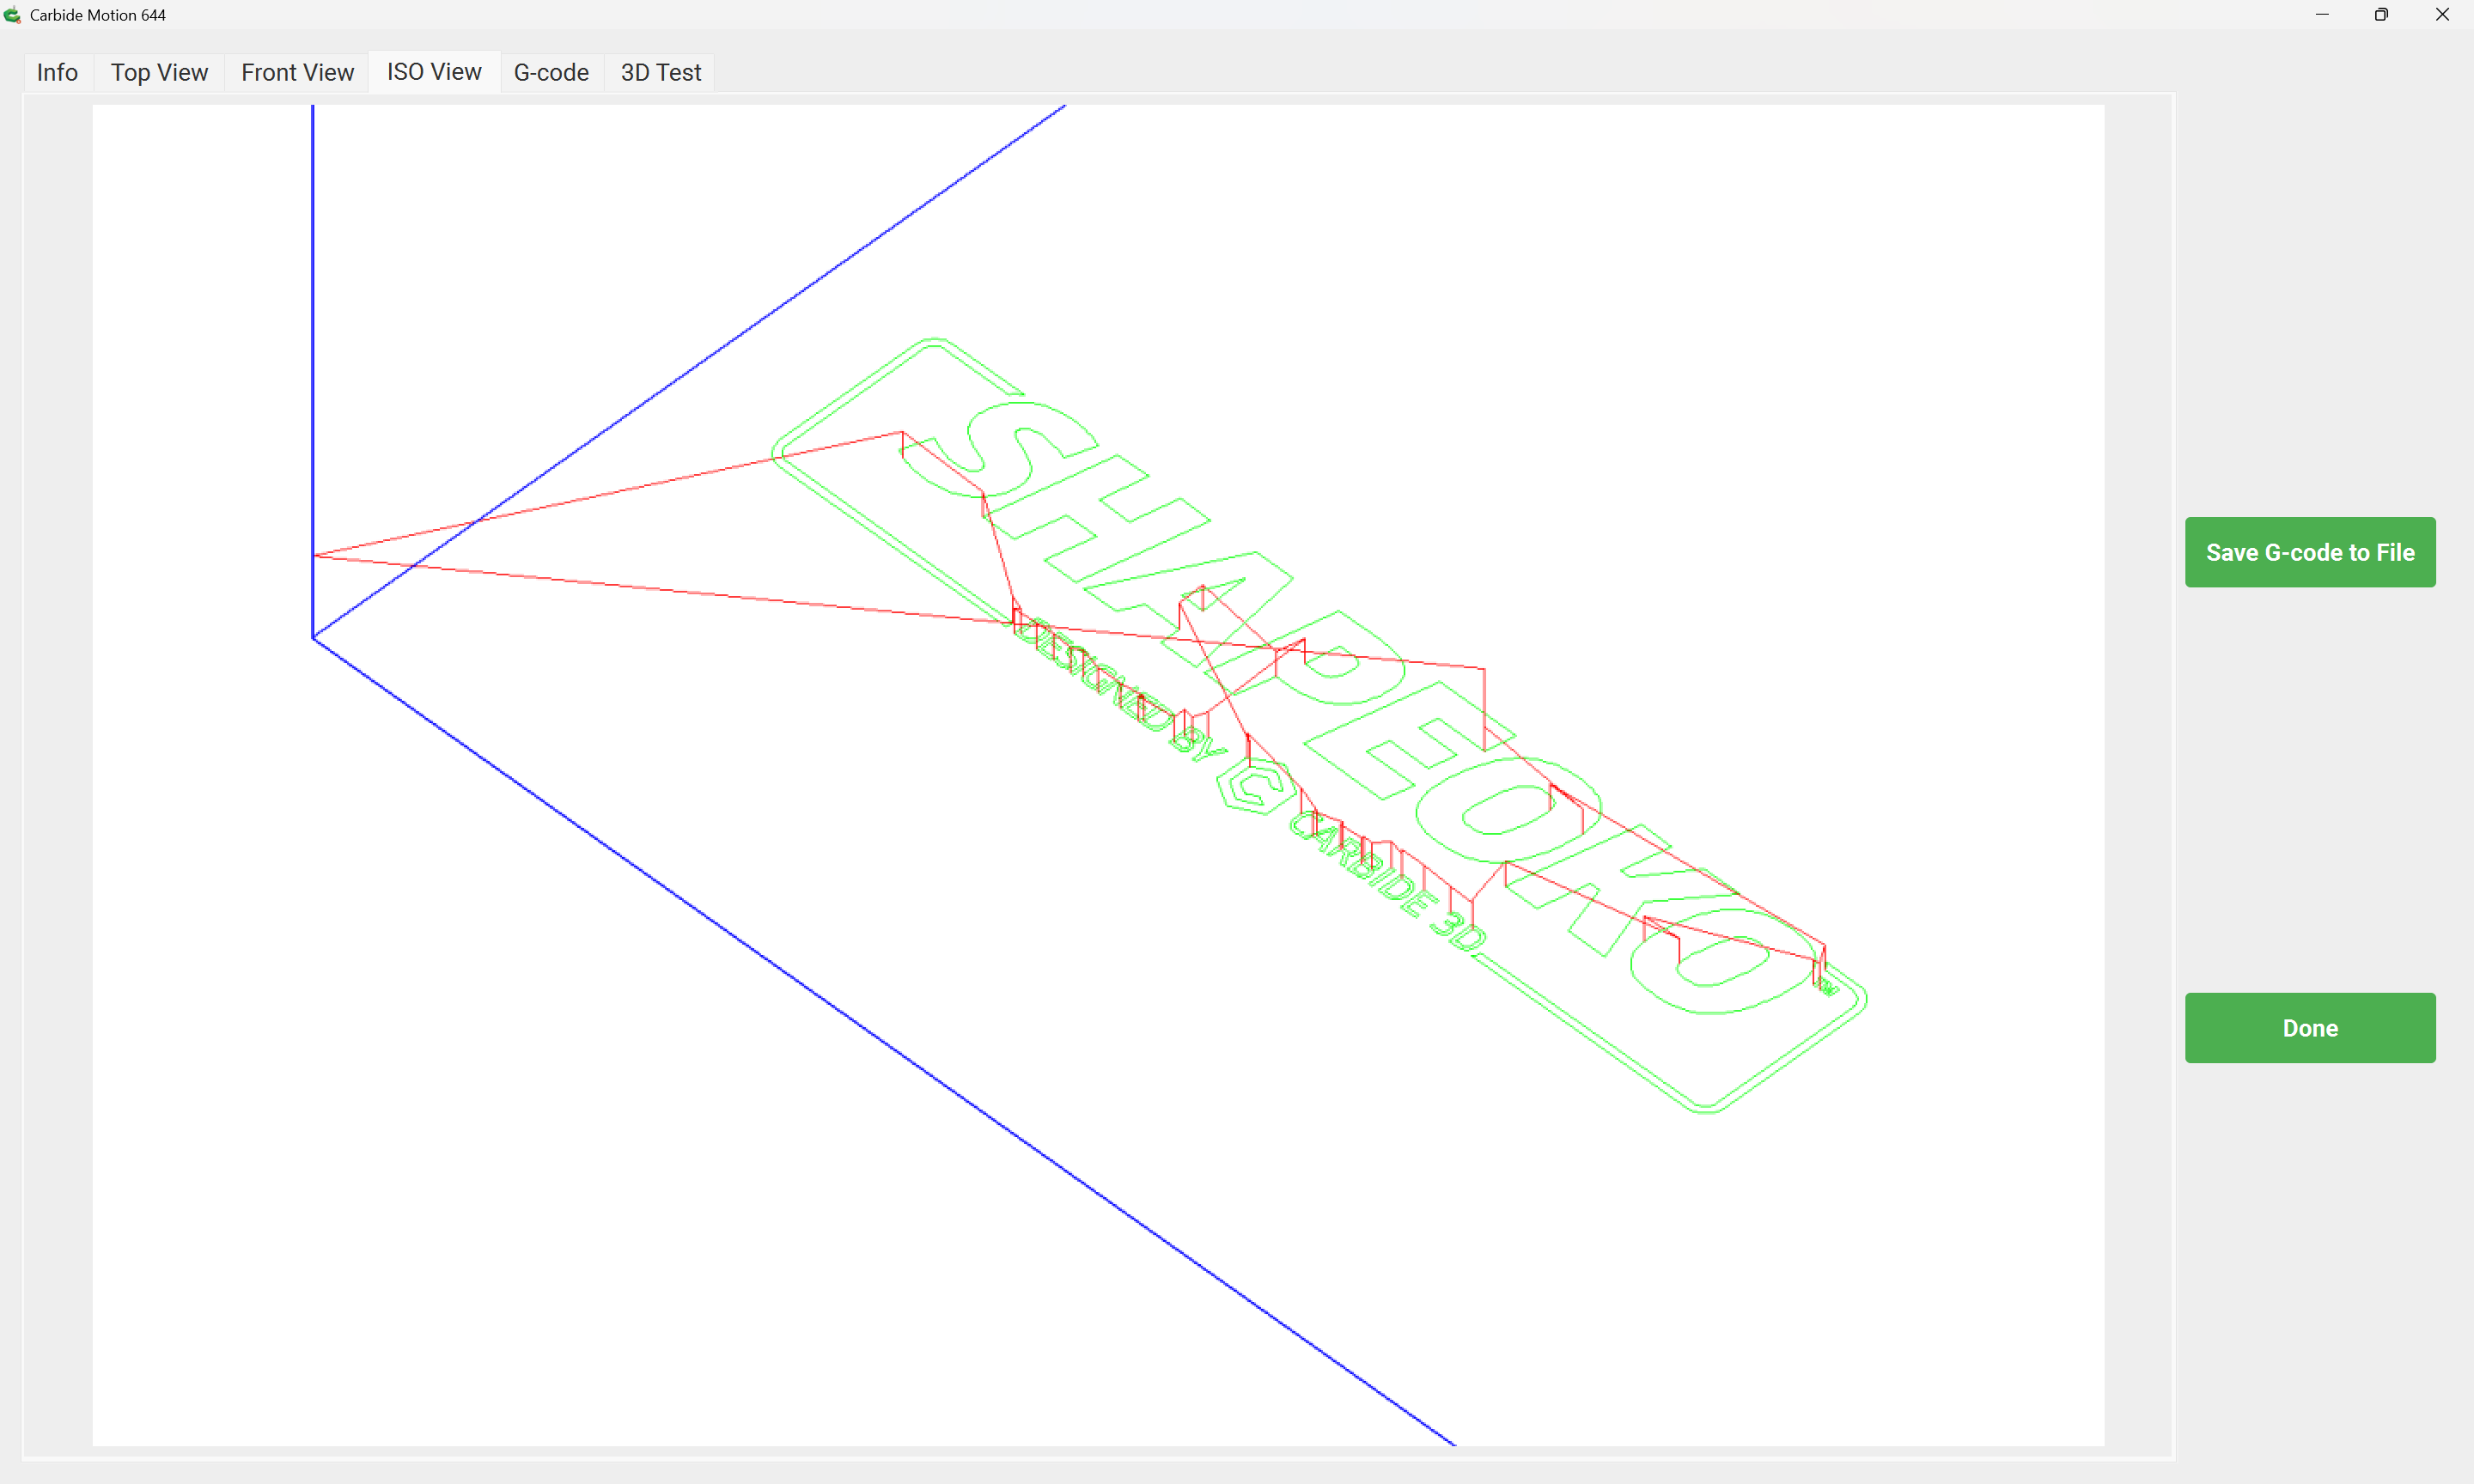
review the various tabs and once satisfied that the file is the correct one, and that the origin matches the zero click “Done”
“START JOB”
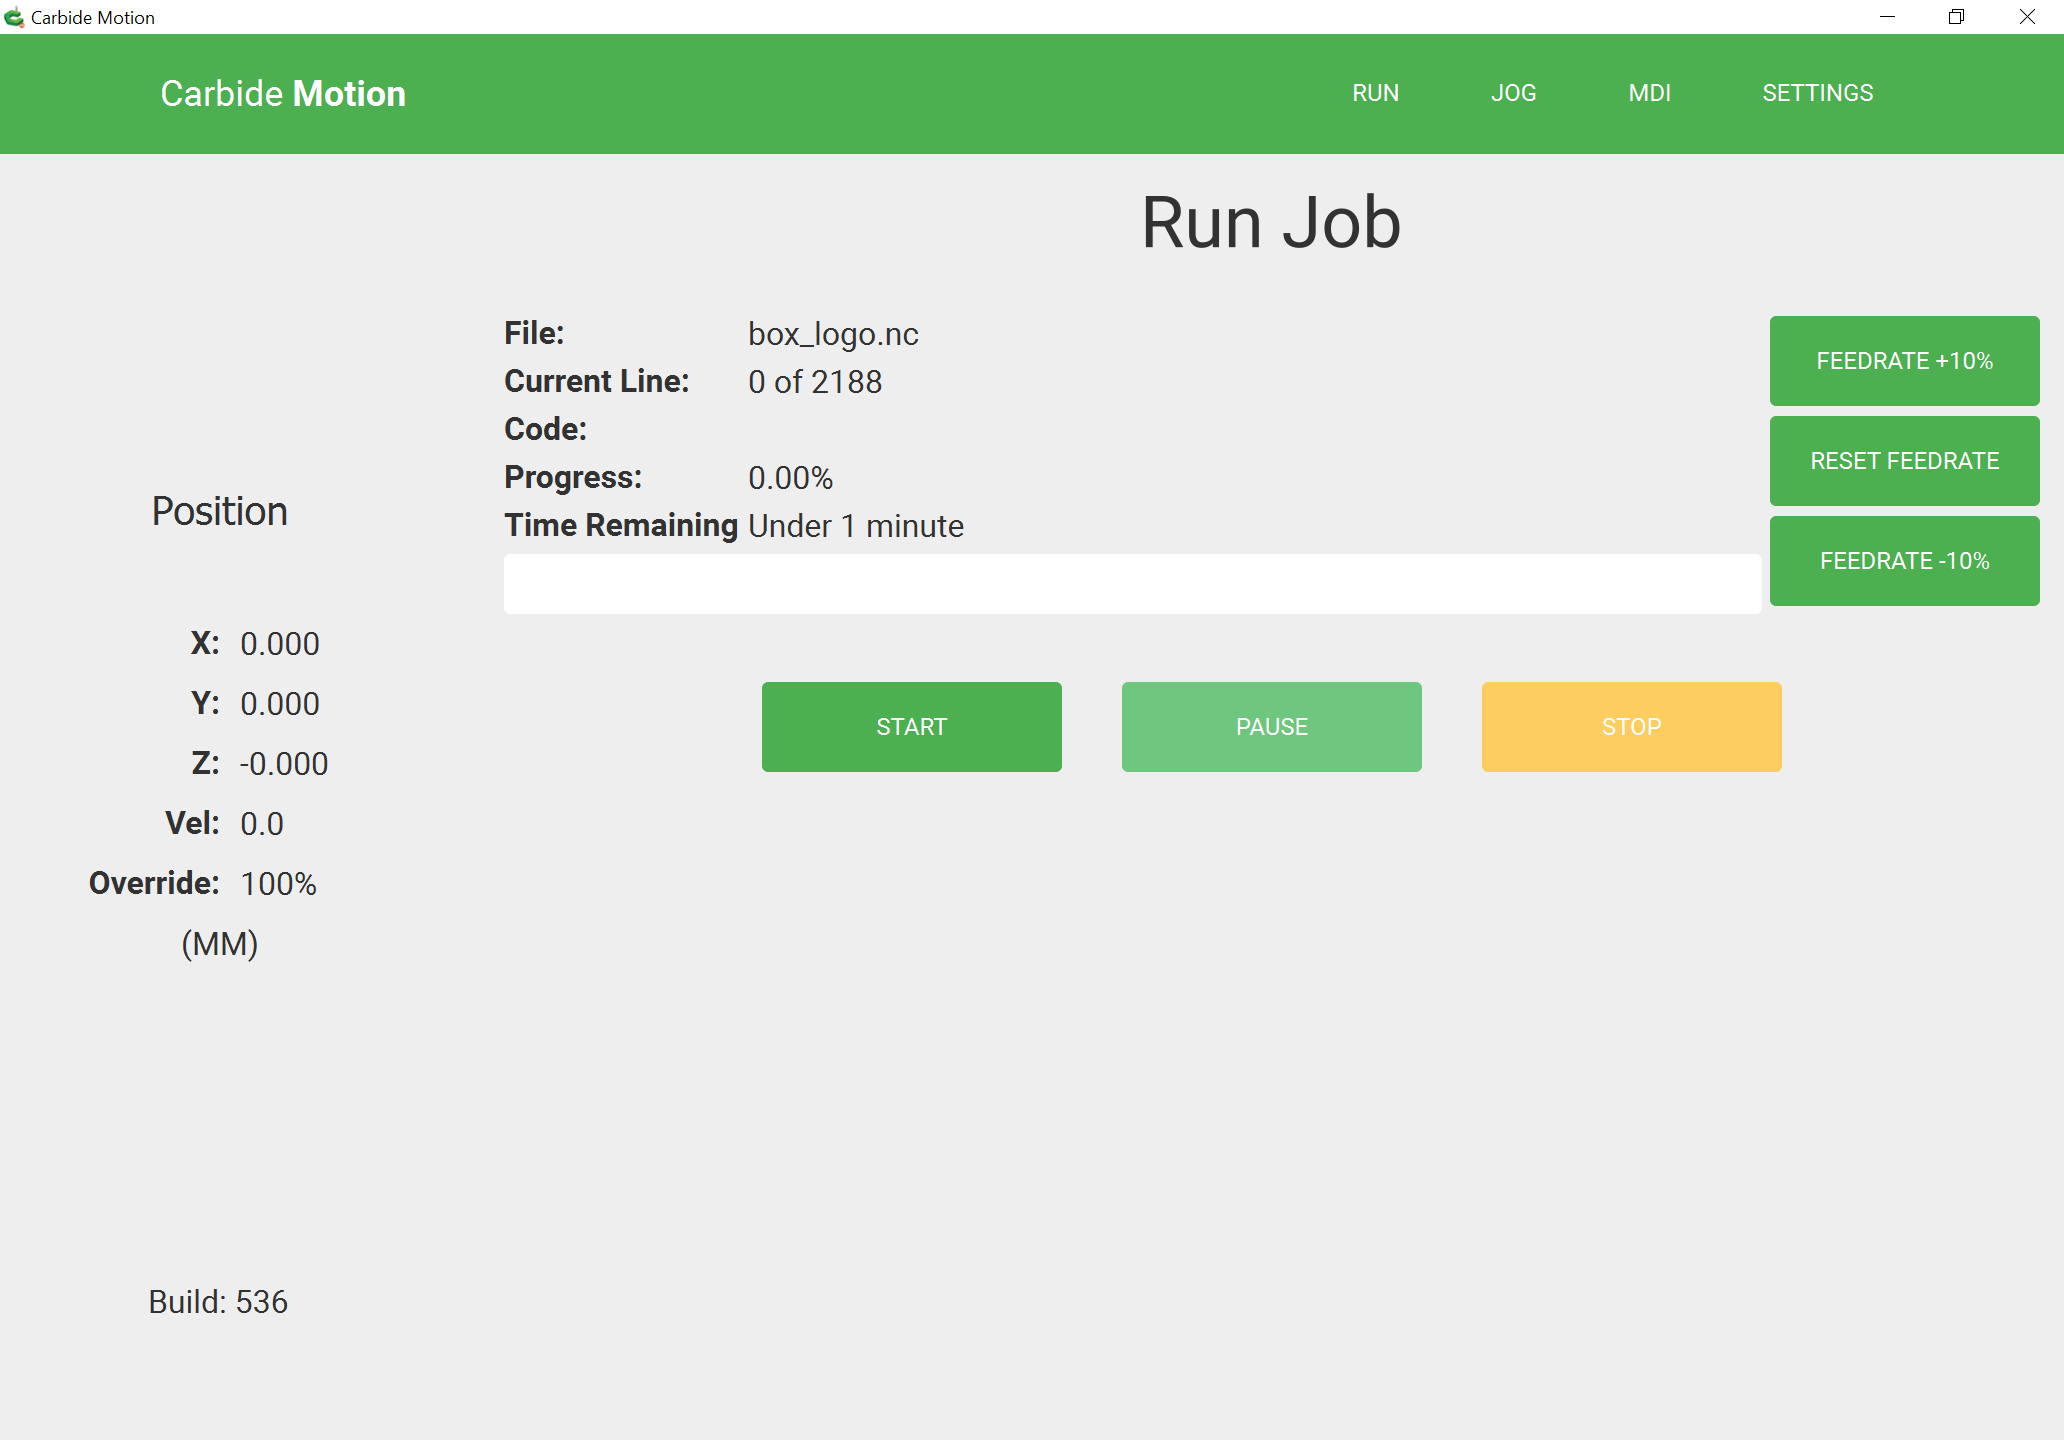
“START”
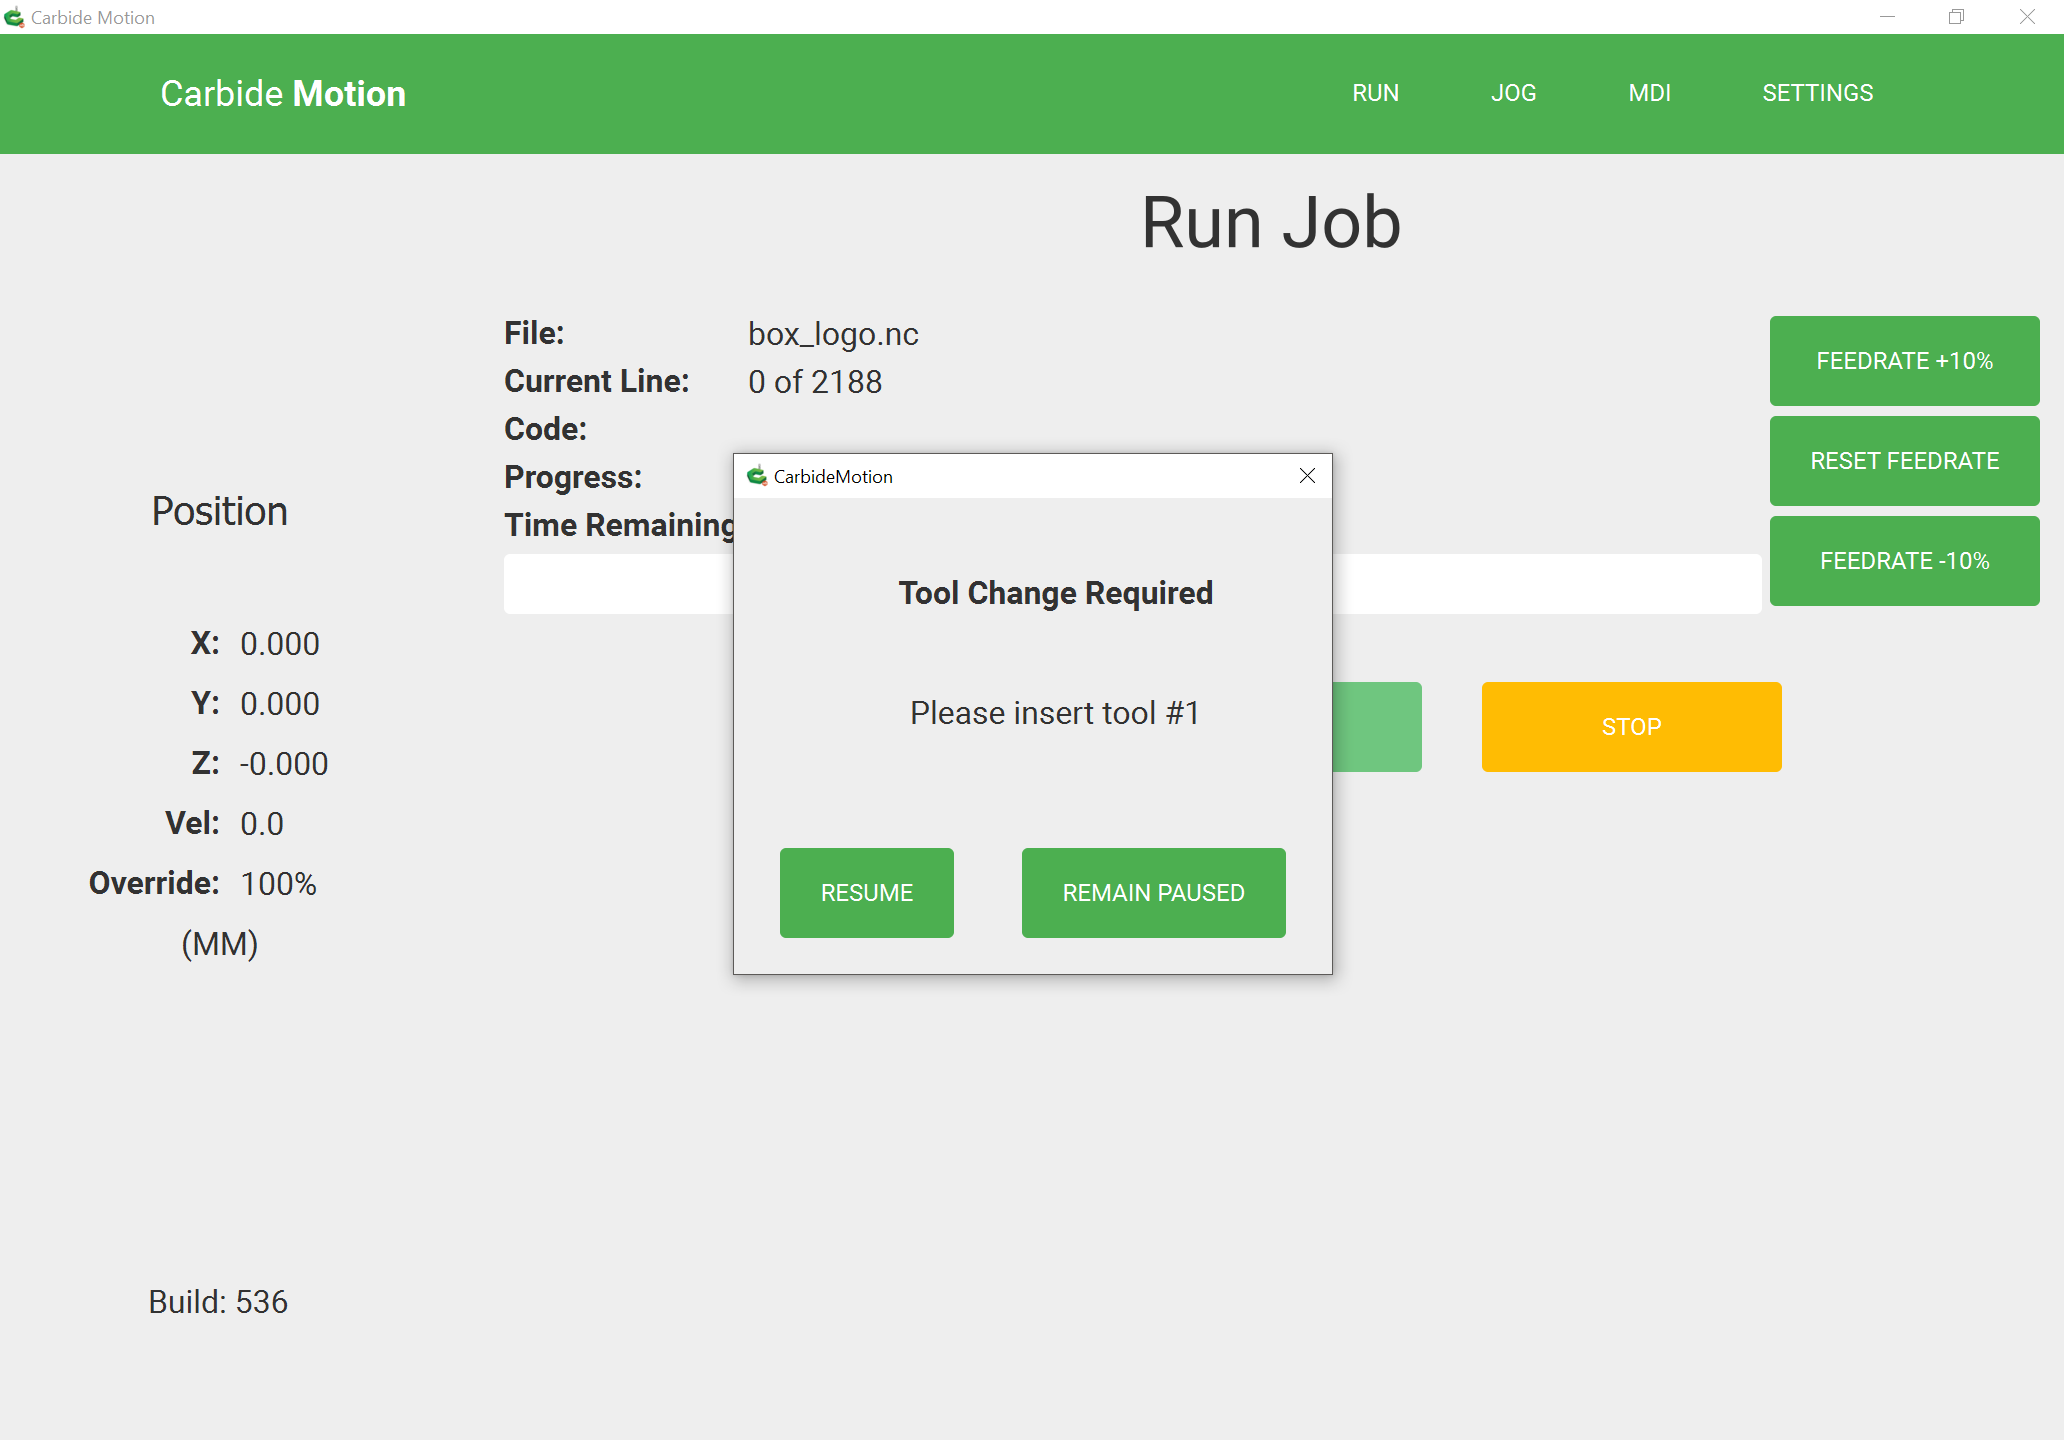
“RESUME”
The job will begin running, and take about 1 minute to complete.
at completion the file will return to 0,0, then move back in a straight line, returning to the “RUN” screen.
At this time the second file, “box_art_hatch_path.nc” may be loaded and run as well.