Got my poko a day early and lucky for me the box was in great shape when it arrived!
I did my best to follow the directions but ended up looking at a bunch of different videos along the way for help. It seemed to me like all the hard parts were edited out lol.
A couple things slowed me up. There was powdercoat on *some of the threads of the black frame pieces, I had to run taps through them. Not a big deal for me but others might end up cross threading etc.
Carbide 3D put two of my stickers on crooked, and the one on the Router mounting plate was upside down compared to every other Shapeoko I could find on the internet… (2 bolts to the right) This had me confused and I mounted my router housing plate upside down lol! Sorry C3D I gotta remove your crooked stickers, you are making me look bad haha…
Not a big fan of 2 sided tape. Is there a reason they don’t attach the wire harnesses with screws and tapped holes in the rails? The newly designed control box does not leave much room for the wires when you wrap them around the back side of the box resulting in slight tension and the piece of 2 sided tape did not hold for me.
It seemed like a lot of excess wire bundled up for no reason, I had some wire looms laying around and did my best to do some wire management but I plan on trimming down the excess and doing a better job with higher quality looms or mounted sealed piping asap.
Some high res photos of the full view of the back and side angles of a XXL would have helped me tremendously during assembly in the instructions.
A better designed aluminum bracket for the top wiring harness is in my near future. It sits a half a millimeter away from the limiting switch and if you try to shim or bend it up to angle it away it hits the motor.
Limiting switches seem so small I wonder why not use something more robust. Also Would metal wheels cause resonance or vibration?
Also was not a fan of tightening the frame down with a MDF spacer. I felt like it needed something solid to bolt to. I plan to do a lot of aluminum work and I was picturing the mess I would make trying to use lubricant on a bit over MDF so I ordered the 600 hole 1/2 aluminum plate from OhioDieselParts.com at the same time as the Shapeoko and it is really really nice!
Upon initial assembly I immediately dropped one of the leveling feet and the plastic housing shattered on my tile. I ordered some Stainless leveling feet and will post some pics if they work out.
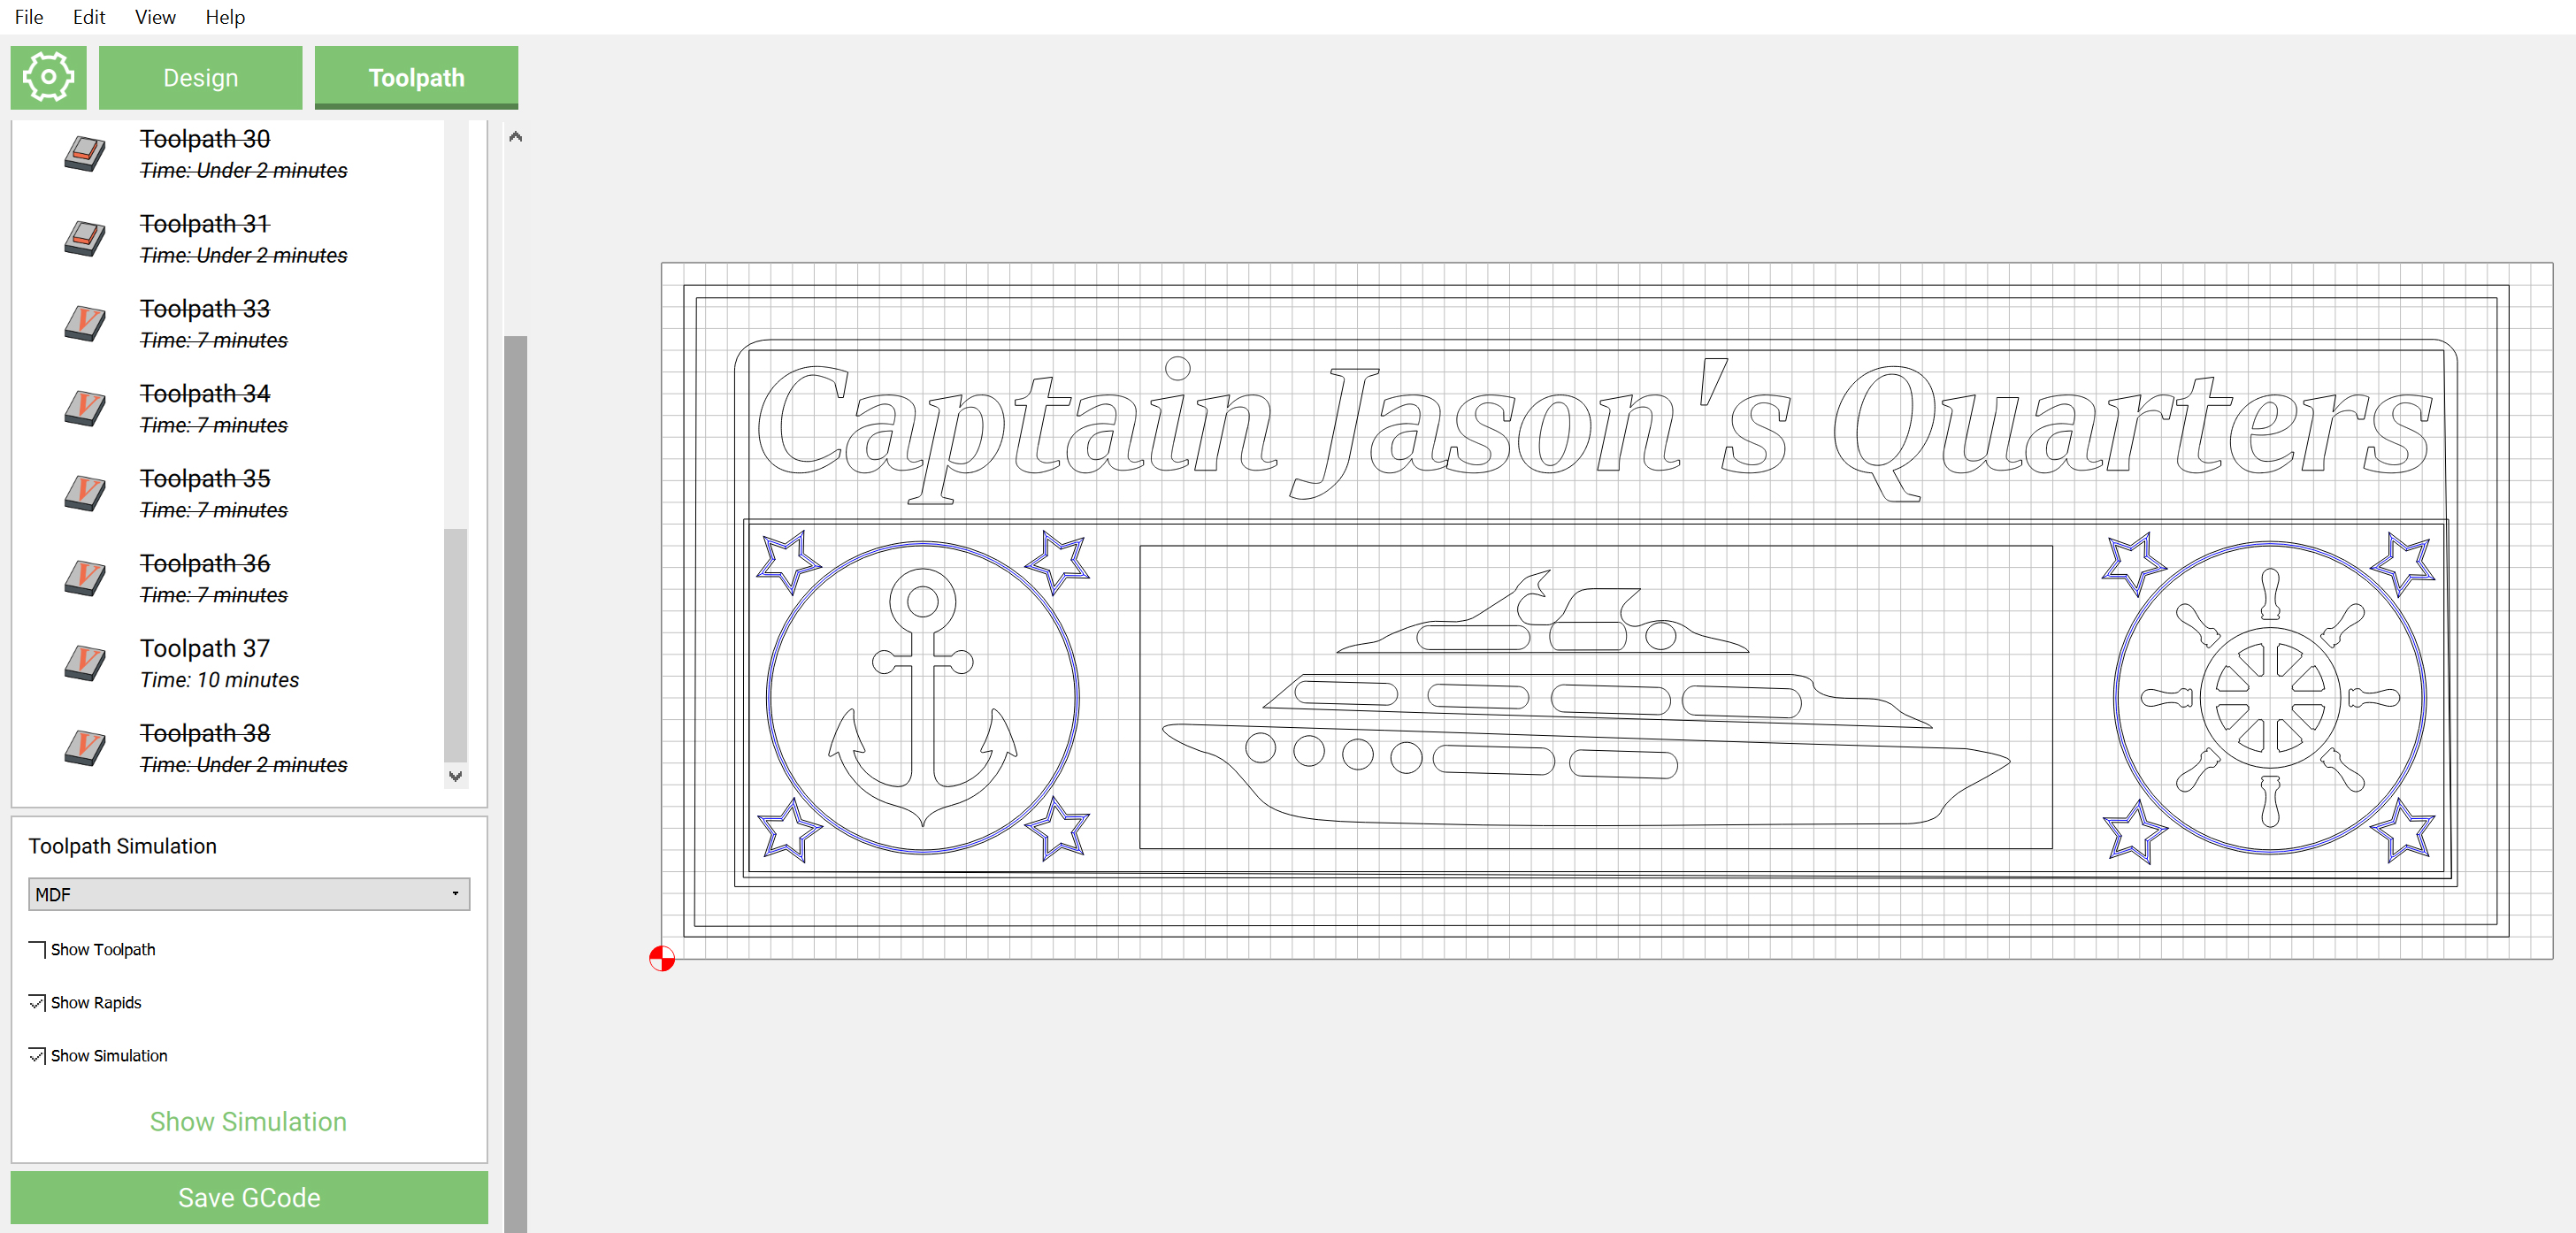
Anyway what a awesome machine. Could not be happier with it. Had a great time playing with the editor building this plaque. I screwed up and should have ordered some smaller mill sizes by now, I only have 2 bits so far and ended up having to design the plaque for a 90 v and a .25 lol! I am really looking forward to being able to create some more detailed designs.
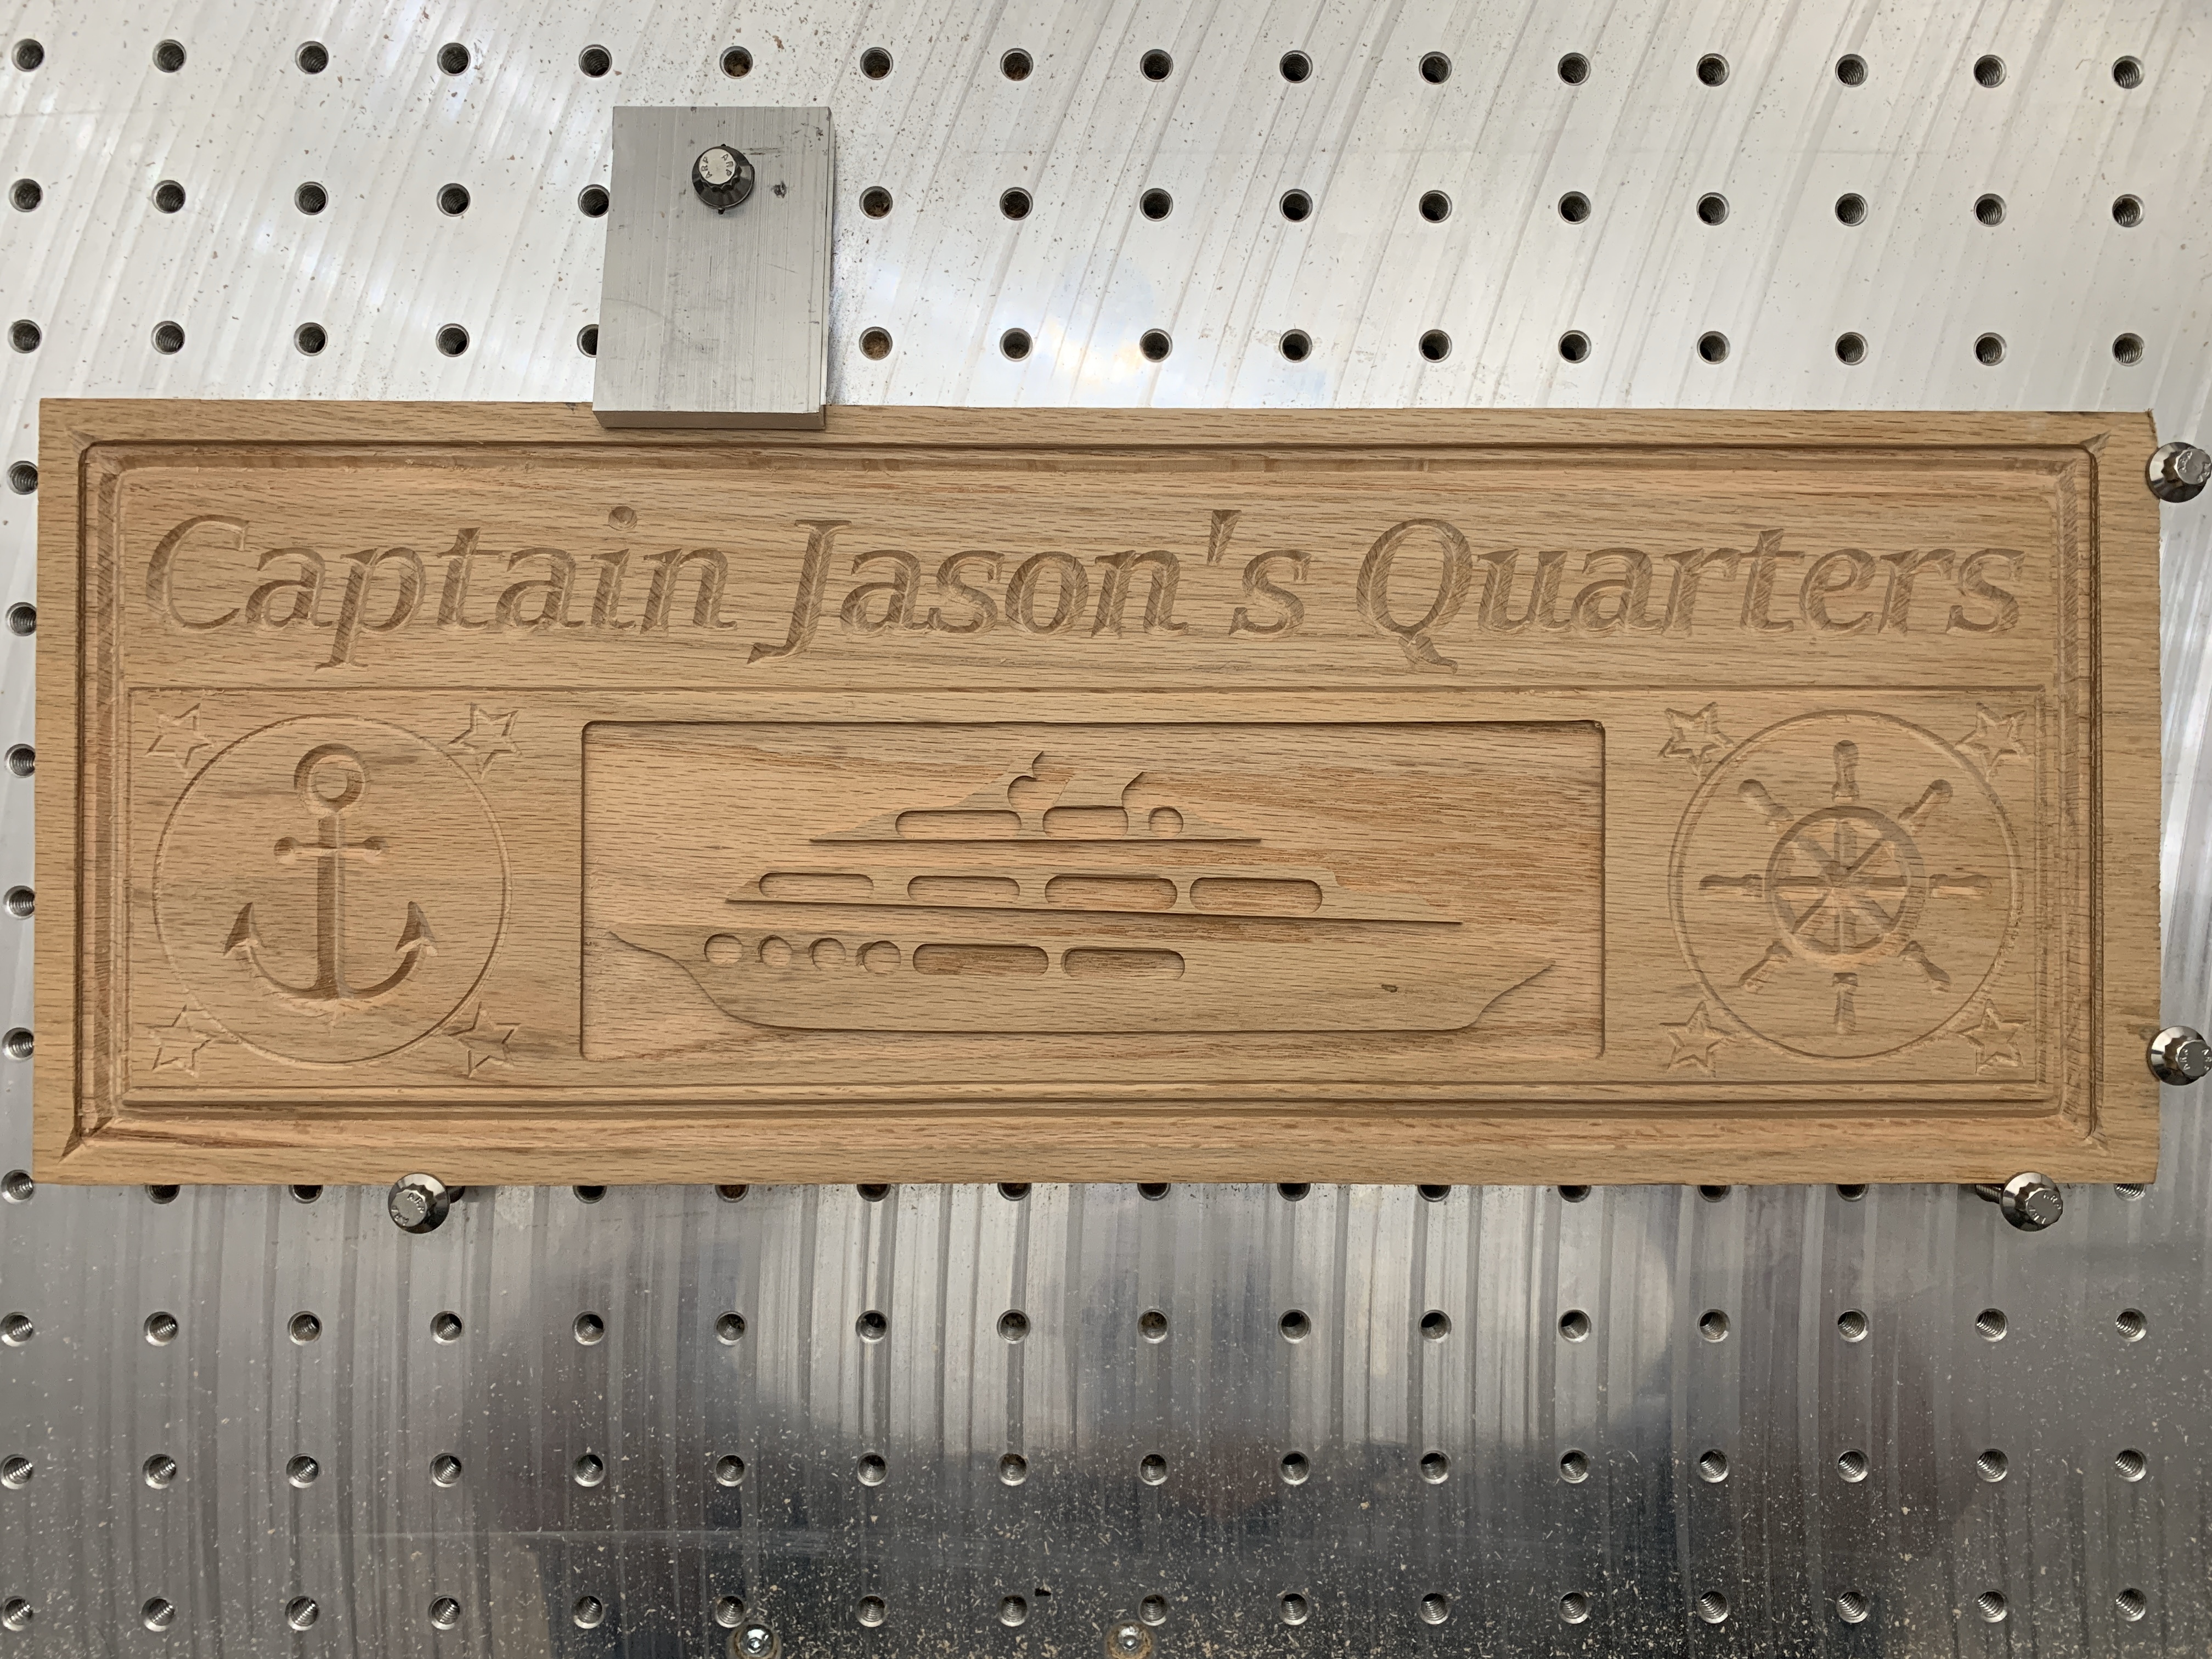
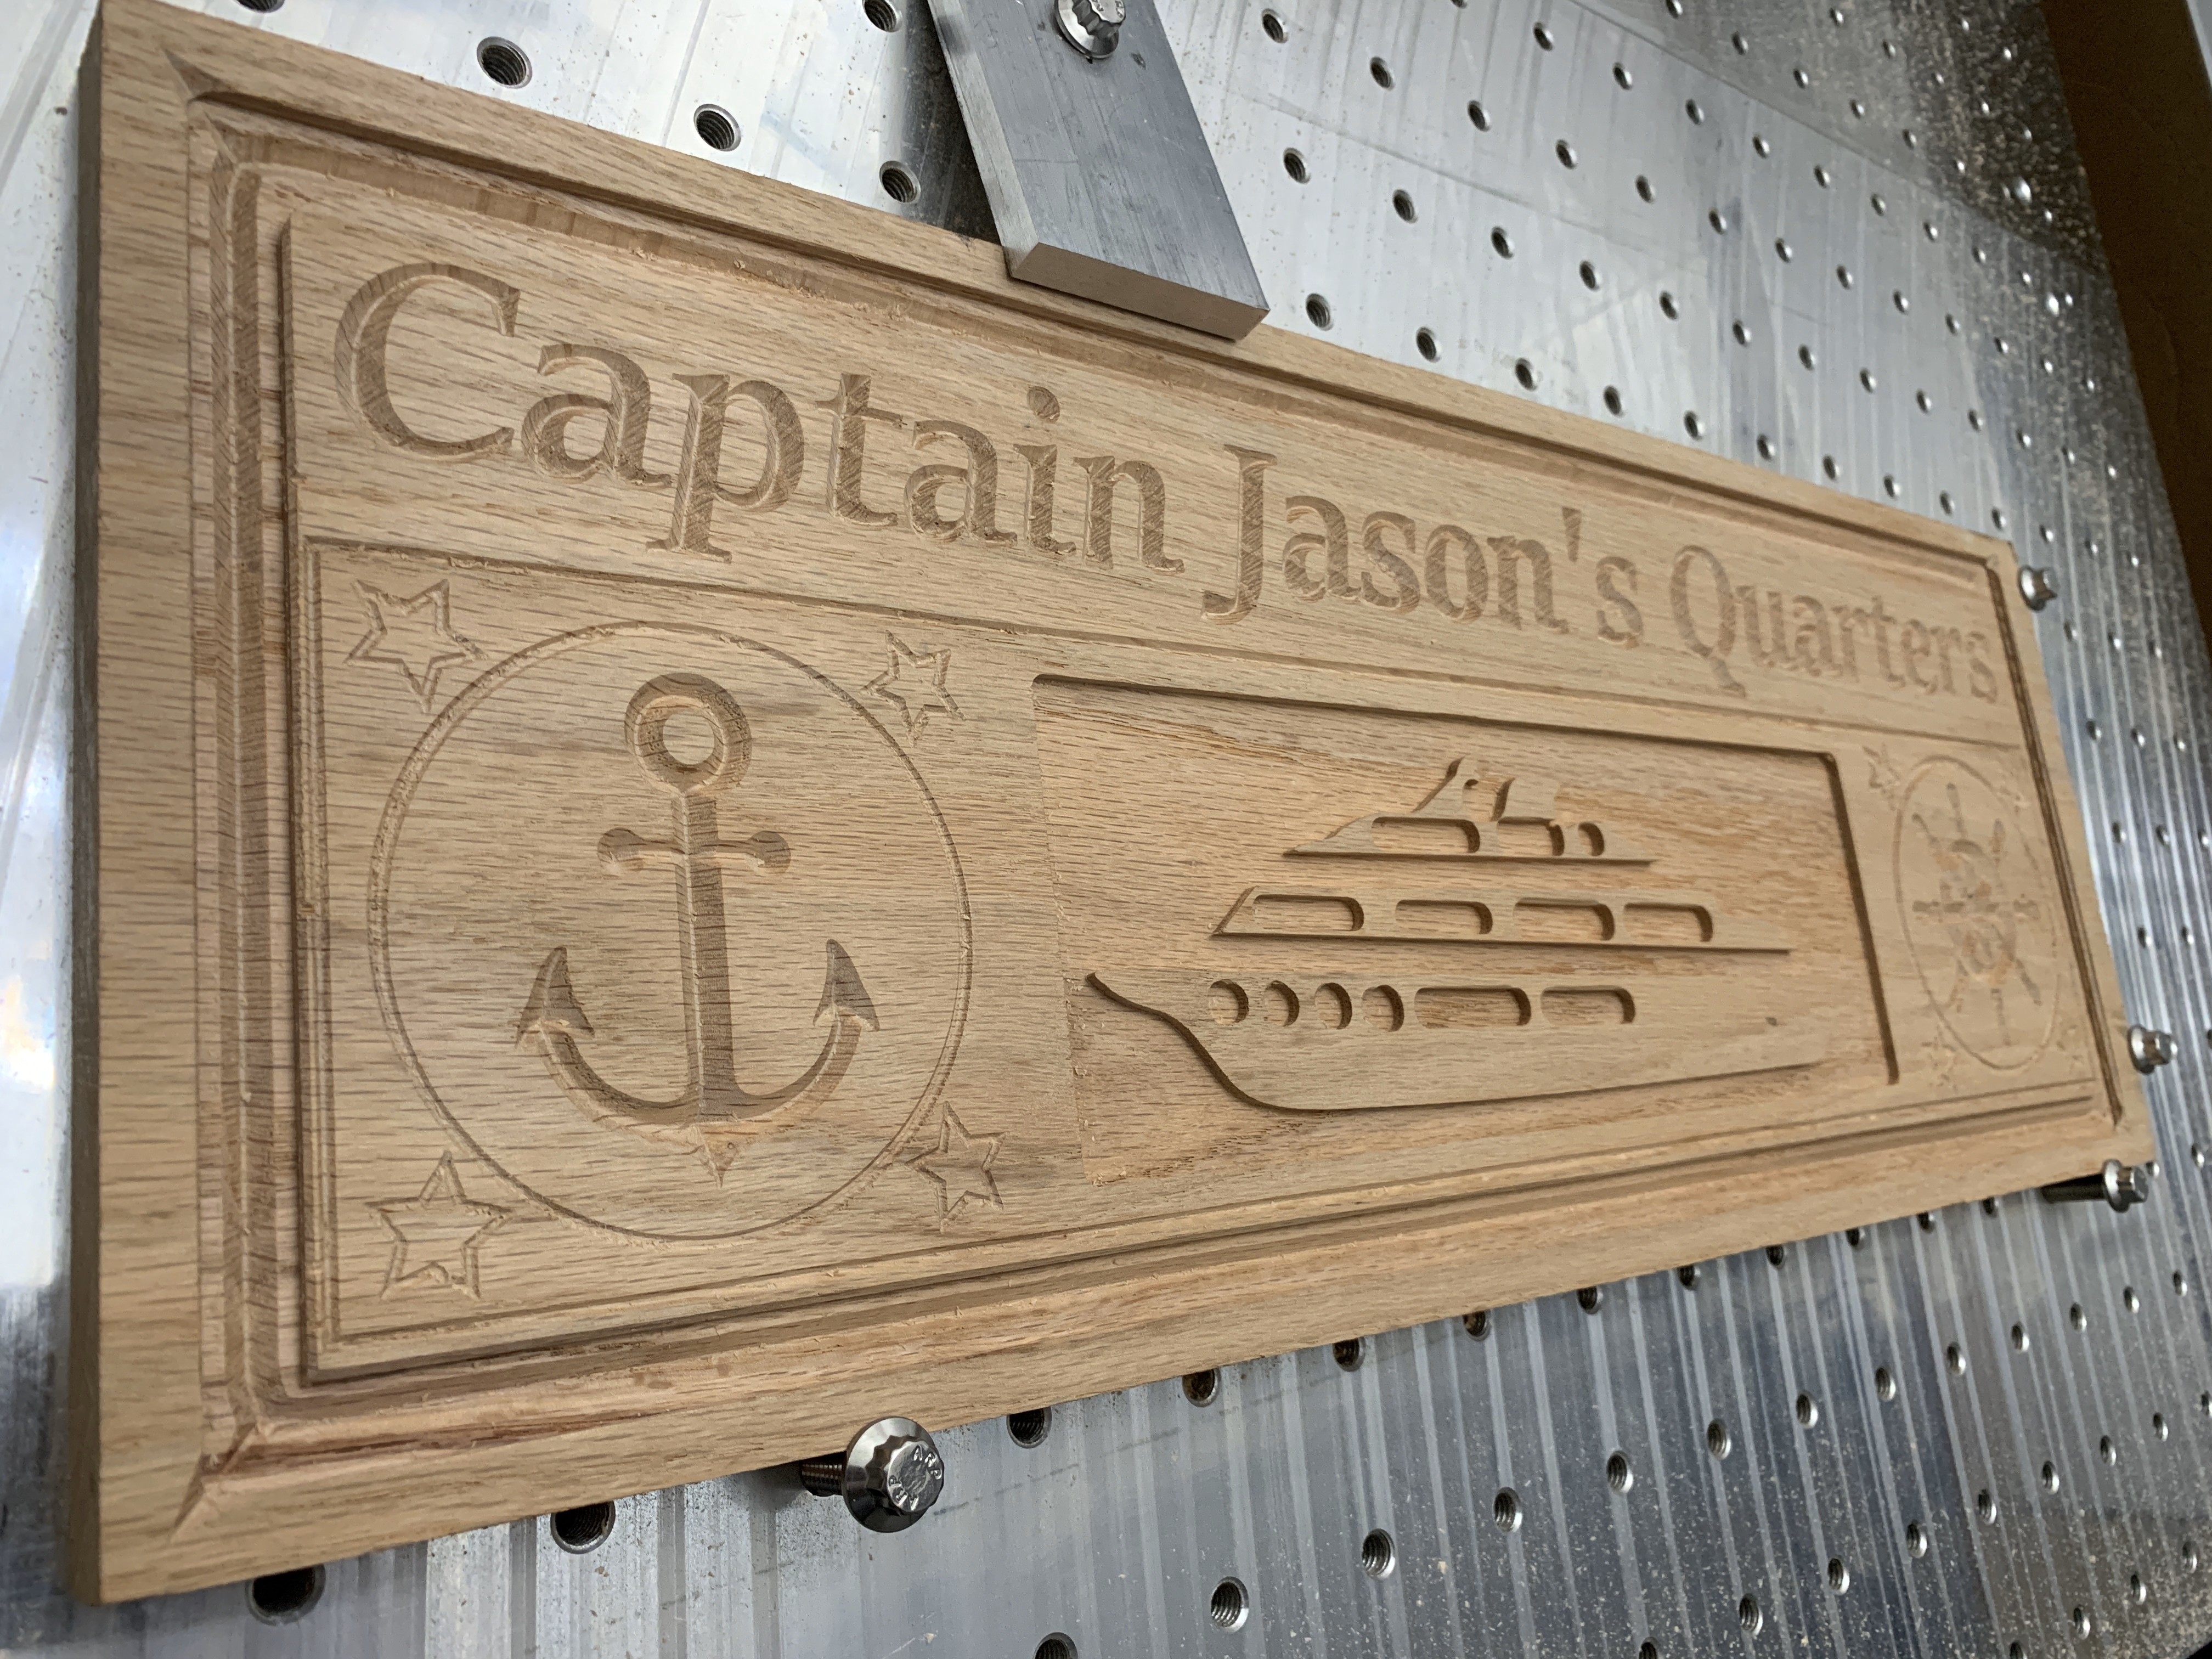
Need to get some paint supplies and fresh stain tomorrow for finishing…
I have some design questions if anyone would mind helping out.
When the unit starts a run it travels from the home corner to the start corner and starts diving on the z axis along the way. I watched it diving toward my aluminum clamp and it got pretty close. Is there a way to specify to stay high till it starts its first cut? I noticed when it was done cutting it lifted up to the top of the z axis and went home. Do I need to just not clamp between the start point and home and make sure I leave a clear path?
Also I had to exaggerate my V cut line distances apart from each other in Carbide Create to achieve a desired depth, in a recessed area. I tried setting my material height to the correct offset for the recessed height but that was ignored. Why is there no V cut depth setting or am I missing it? Is it better to compensate with a fabricated Z height on probe?
When the program needed a bit change it parked right over my work piece and left me no room to change the bit? The only carbide motion option was continue? My only choice was to continue then stop, re probe the z on my changed bit, and reload the re-edited program with the previous work disabled?
What am I doing wrong?
Thanks for any help and sorry for the long post!
Thanks Carbide 3d for one of the coolest machines ever. Please design more upgrades for your product!
More attachments please!