First try on machining epoxy, other times just used it as a single layer inlay. Making a three color Texas Rangers logo about 160 mm in diameter. First step, cut a circular pocket 5 mm deep and filled with white Total Boat MakerPoxy. Let it cure overnight. I had the toolpaths for the red portion of the logo and the blue portions separated into groups. For this trial run, i cut them out without pouring the respective colors.
Here’s what I found. The cutouts were kind of a mess. The pour was a 5 mm deep pocket and I used advanced V carve with a 1/8 endmill and a 302 60 v bit. I also tried a 1/8 single flute. Both gummed up. Used pretty normal feeds and speeds
Questions, was 5 mm too deep? Cutouts for the colors was 4 mm, Too much material to remove. Next test I think I’ll try 3.5 mm base and 2 mm color cutout.
Also, was ~24 hours long enough cure? Any other epoxy suggestions? I have some Total Boat table top. ]
Guess I gotta learn a little patience. Wanted to do the pours on the CNC bed but 5-7 days for a cure is longer than I want my CNC out of action, Guess the only drawback to m9ving the work is resetting zero.
I’ve got some more of the MakerPoxy and some Total Boat Tabletop Epoxy. I think I’ll make test pours of bith. Let them cure for 5 days and see how they macibe.
I did a bunch of epoxy work last year and usually waited 3 days u less I could do something to accelerate it. If it was a sunny day I would put the piece on a table in the driveway with a plastic bin over it to protect from debris and to act as a greenhouse.
I have heard of other people putting heating pads under the material but didn’t try that.
I bought some UV activated epoxy that is supposed to cure in minutes. That only worked if it was clear and thing. The black would cure at the surface and not underneath.
I never wanted to tie up the bed of the machine during the cure times so I would unmount and remount. I never really had a problem repositioning and I did several 3 color pours.
I recently tried to use white epoxy as a base for a photo carve thinking it would pop but the epoxy was either not cured enough in that case or just too flexible in the thin lines required for a photo carve. It was a disaster.
I used the machine to cut circles in the bed that allowed 1" PVC pipe to fit in tightly. the pipe stick up about 1 inch. I used User Macros to set a Zero off that in a couple places (top left, Botton left and almost Center). now I can align the work piece up against the PVC pipe, navigate to the preset zeros and zero the machine. it works great every time.
I can cut a work piece, remove it, rezero somewhere else for a different job, then come back to the original job using the PVC and Macros to zero and it cuts perfectly every time. hope that helps
Your method works but you could also just make an L bracket and leave it bolted to the bed and that would also give you the same X and Y as long as your material is square.
So even though my L bracket is different I am sure it is similar to the pvc pipe in the spoilboard in that it gives you a consistent place to place material.
Recently in CM the work flow changed and @robgrz commented that a lot of people never change their X and Y zero. He stated that some people have been using the same X and Y for years. For me I guess my habit of setting X Y and Z stuck because I change my X Y and Z almost every project. Different strokes for different folks.
Yes sir. That would work. As long as you know exactly where your lower left is so you won’t have to “do your best” to rezero after chaining zero in the future.
Just having a system to always return to an exact zero is key.
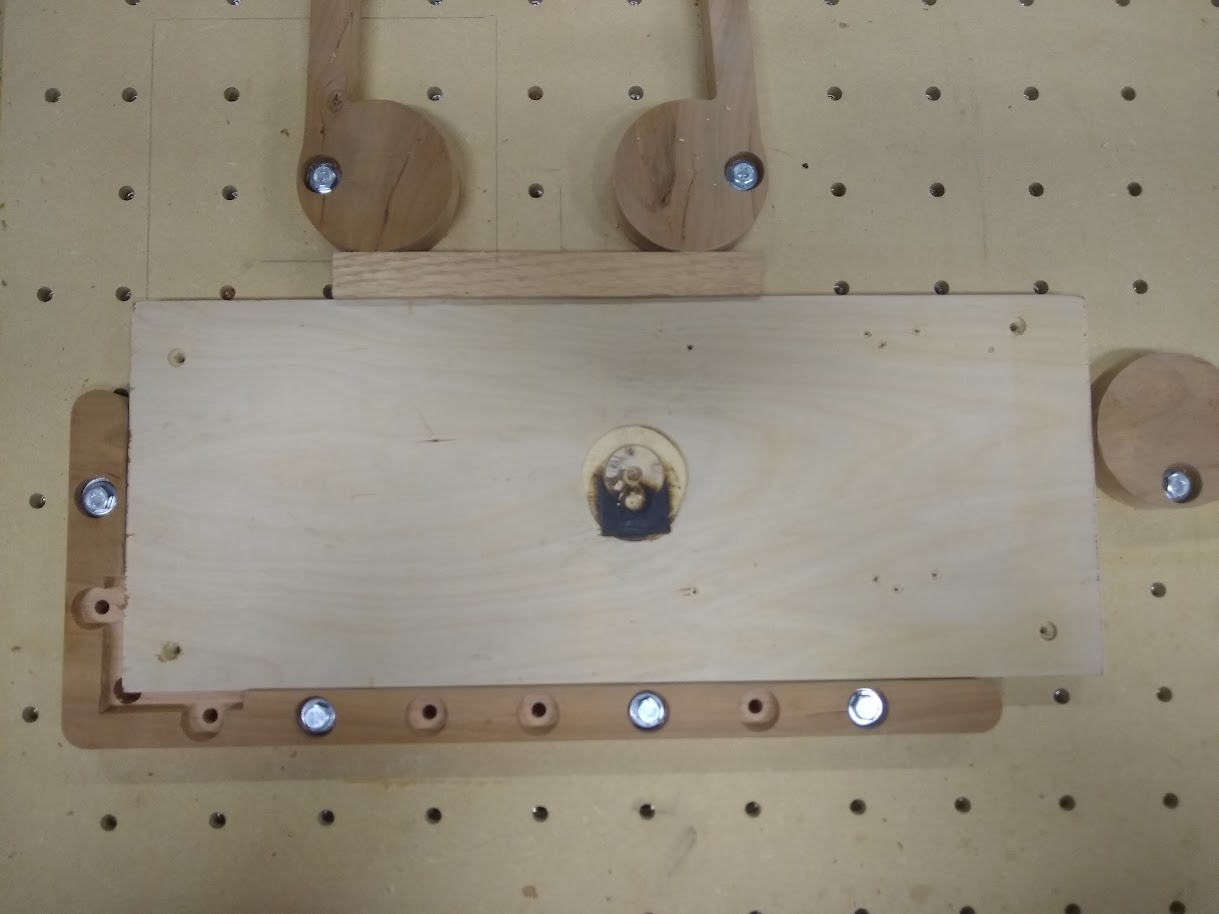
I have an SO3 with a 1/4-20 threaded spoilboard. My spacing is 2" so it works for me. The key to the cam clamps is they all have to have the same distance from the spoilboard to the recess for the bolt. That way you can use any thickness of material you want you just adjust how deep the pocket is from the top so you have a consistent measurement from the spoilboard to the bottom of the recess. Over time you get the cam clamps nicked up and you can just cut more. Use whatever material you have in the shop. You could plane the material to always be exactly .75" but some of my cam clamps are 1" thick and some are .65" so just accurately measure the stock and adjust your pocket accordingly.
The main reason for this is my spoilboard is only so thick and the bolts can bottom out and make the spoilboard lumpy so your projects are inconsistent. So by having a consistent distance you can use the same size bolts. After surfacing your spoilboard you need to make sure your bolts do not bottom out and cause spoilboard issues.
Here is the CC file for the large cam clamps. They run in two directions so when tightening they do not loosen up. All hardware was 1/4" bolts.
Michael I have used the same Makerpoxy from TotalBoat. I carve out at 48 hours drying time and it seems to work well. After cutting and before the next pour, I spray with lacquer to seal the layers and prevent both bleeding and reactivation of epoxy by the new pour at the joint. I found that without that lacquer, sharp lines may blur a bit if agitated like with a toothpick.
Get some Total Boat high performance and the medium hardener. Get the kit with the pumps if you can. You can do two different colors in 1 day if you get the first poured first thing in the morning.
Seems like the community has things under control, but I’ll add my two cents:
From a speeds and feeds perspective, epoxy can generally be treated just like a hardwood.
12-24 hours minimum would be recommended before working with a fresh pour, and temperature does matter too. Colder = slower cure. A garage in the wintertime (assuming you live somewhere with seasons) might require you to wait 2-3 days.
Yes you can move your project somewhere warmer to cure, but on bigger projects I would wait until after the first 45 minutes or so, once you get over the initial exothermic peak of the epoxy.
Yes, the tabletop will cure much faster in my experience. I have been able to carve, pour, cure and carve again in less than 24 with TB tabletop. Ive also put in powder pigments and works just as well. Shop temps were between 50s and at least 80s for my most recent projects. I have not tried the maker version from TB yet.
Here’s the Rangers logo I was working on. About 14 in. diameter. Still need to finish it, think I’ll sand/polish and then flood coat it with some table top epoxy.
I have a 16" Jet drum sander. That is what I use to remove most of t he epoxy overpour. I take the epoxy down until there is a thin coat left and then use a 5" random orbit sander to finish sand my epoxy fills. Famous last words “Well maybe just one more pass” has gotten me in trouble more than once. If you dont have a drum sander then just sanding with an RO works and you have a lot of control. The one tool I would never recommend to remove epoxy is a planner. I have tried a planner a couple times but it is a very rough machine on epoxy and has literally pulled epoxy right out the pocket. You have much more control with the drum sander and the RO sander. Just remember to let the sander do the work and do not press hard on the sander. That is a good way to gouge your work. Just leave the sander flat and have a light grip and let it do the work and try to not help.
I have all the Jet grits but for the last 5 years I only use 150 grit paper. It is agressive enough being a drum sander but does not over do the sanding. When I am sanding i start the material under the drum and crank down the down knob until I just hear it start sanding. Then without touching the down crank I run the material through again so all of it is sanded evenly. Then I only turn 1/8 of a turn of the down knob and run the piece through. My Jet conveyor is turned on full speed but the drum sander will slow down if it feels too much resistance. What you never want to do with a drum sander is stall the material. You get basically a snipe like you get on a planner. So I keep running the piece through until the underlying carving is just visabke byt still has a film of epoxy. If you try to completely clear the epoxy for me something always goes wrong. So better safe than sorry.
They sell 60/80/120/150/220 and maybe higher but the 150 works well and seems like the equilivient of a 120 on a random orbit 5" sander.
After getting down to just a film I use the 5" random orbit sander starting at 120 and go to 220 or 320. The epoxy inlay will look dull as dish water but when you apply a finish it will be shinny. Some people recommend polishing epoxy to 1200 grit but you are also polishing the wood next to the epoxy and that can lead to issues. So max of 320 works, Zinsser Universal Sanding Sealer and for me either gloss or semi gloss wipe on polyurethane. You can use water based and in some places like California you cannot get oil based finishes. The key to doing water based is pre raising the grain with a spritz of water, sanding, water based sanding sealer, sanding and then applying water based finish, sanding to like 600 for the first couple of coats to knock down any fibers that rise up or dust nibs that land on your wet finish.