Yep, hit the download in the corner three times now. I have four copies of your hard work in my Fusion file tree now. Unfortunately, none with the mount.
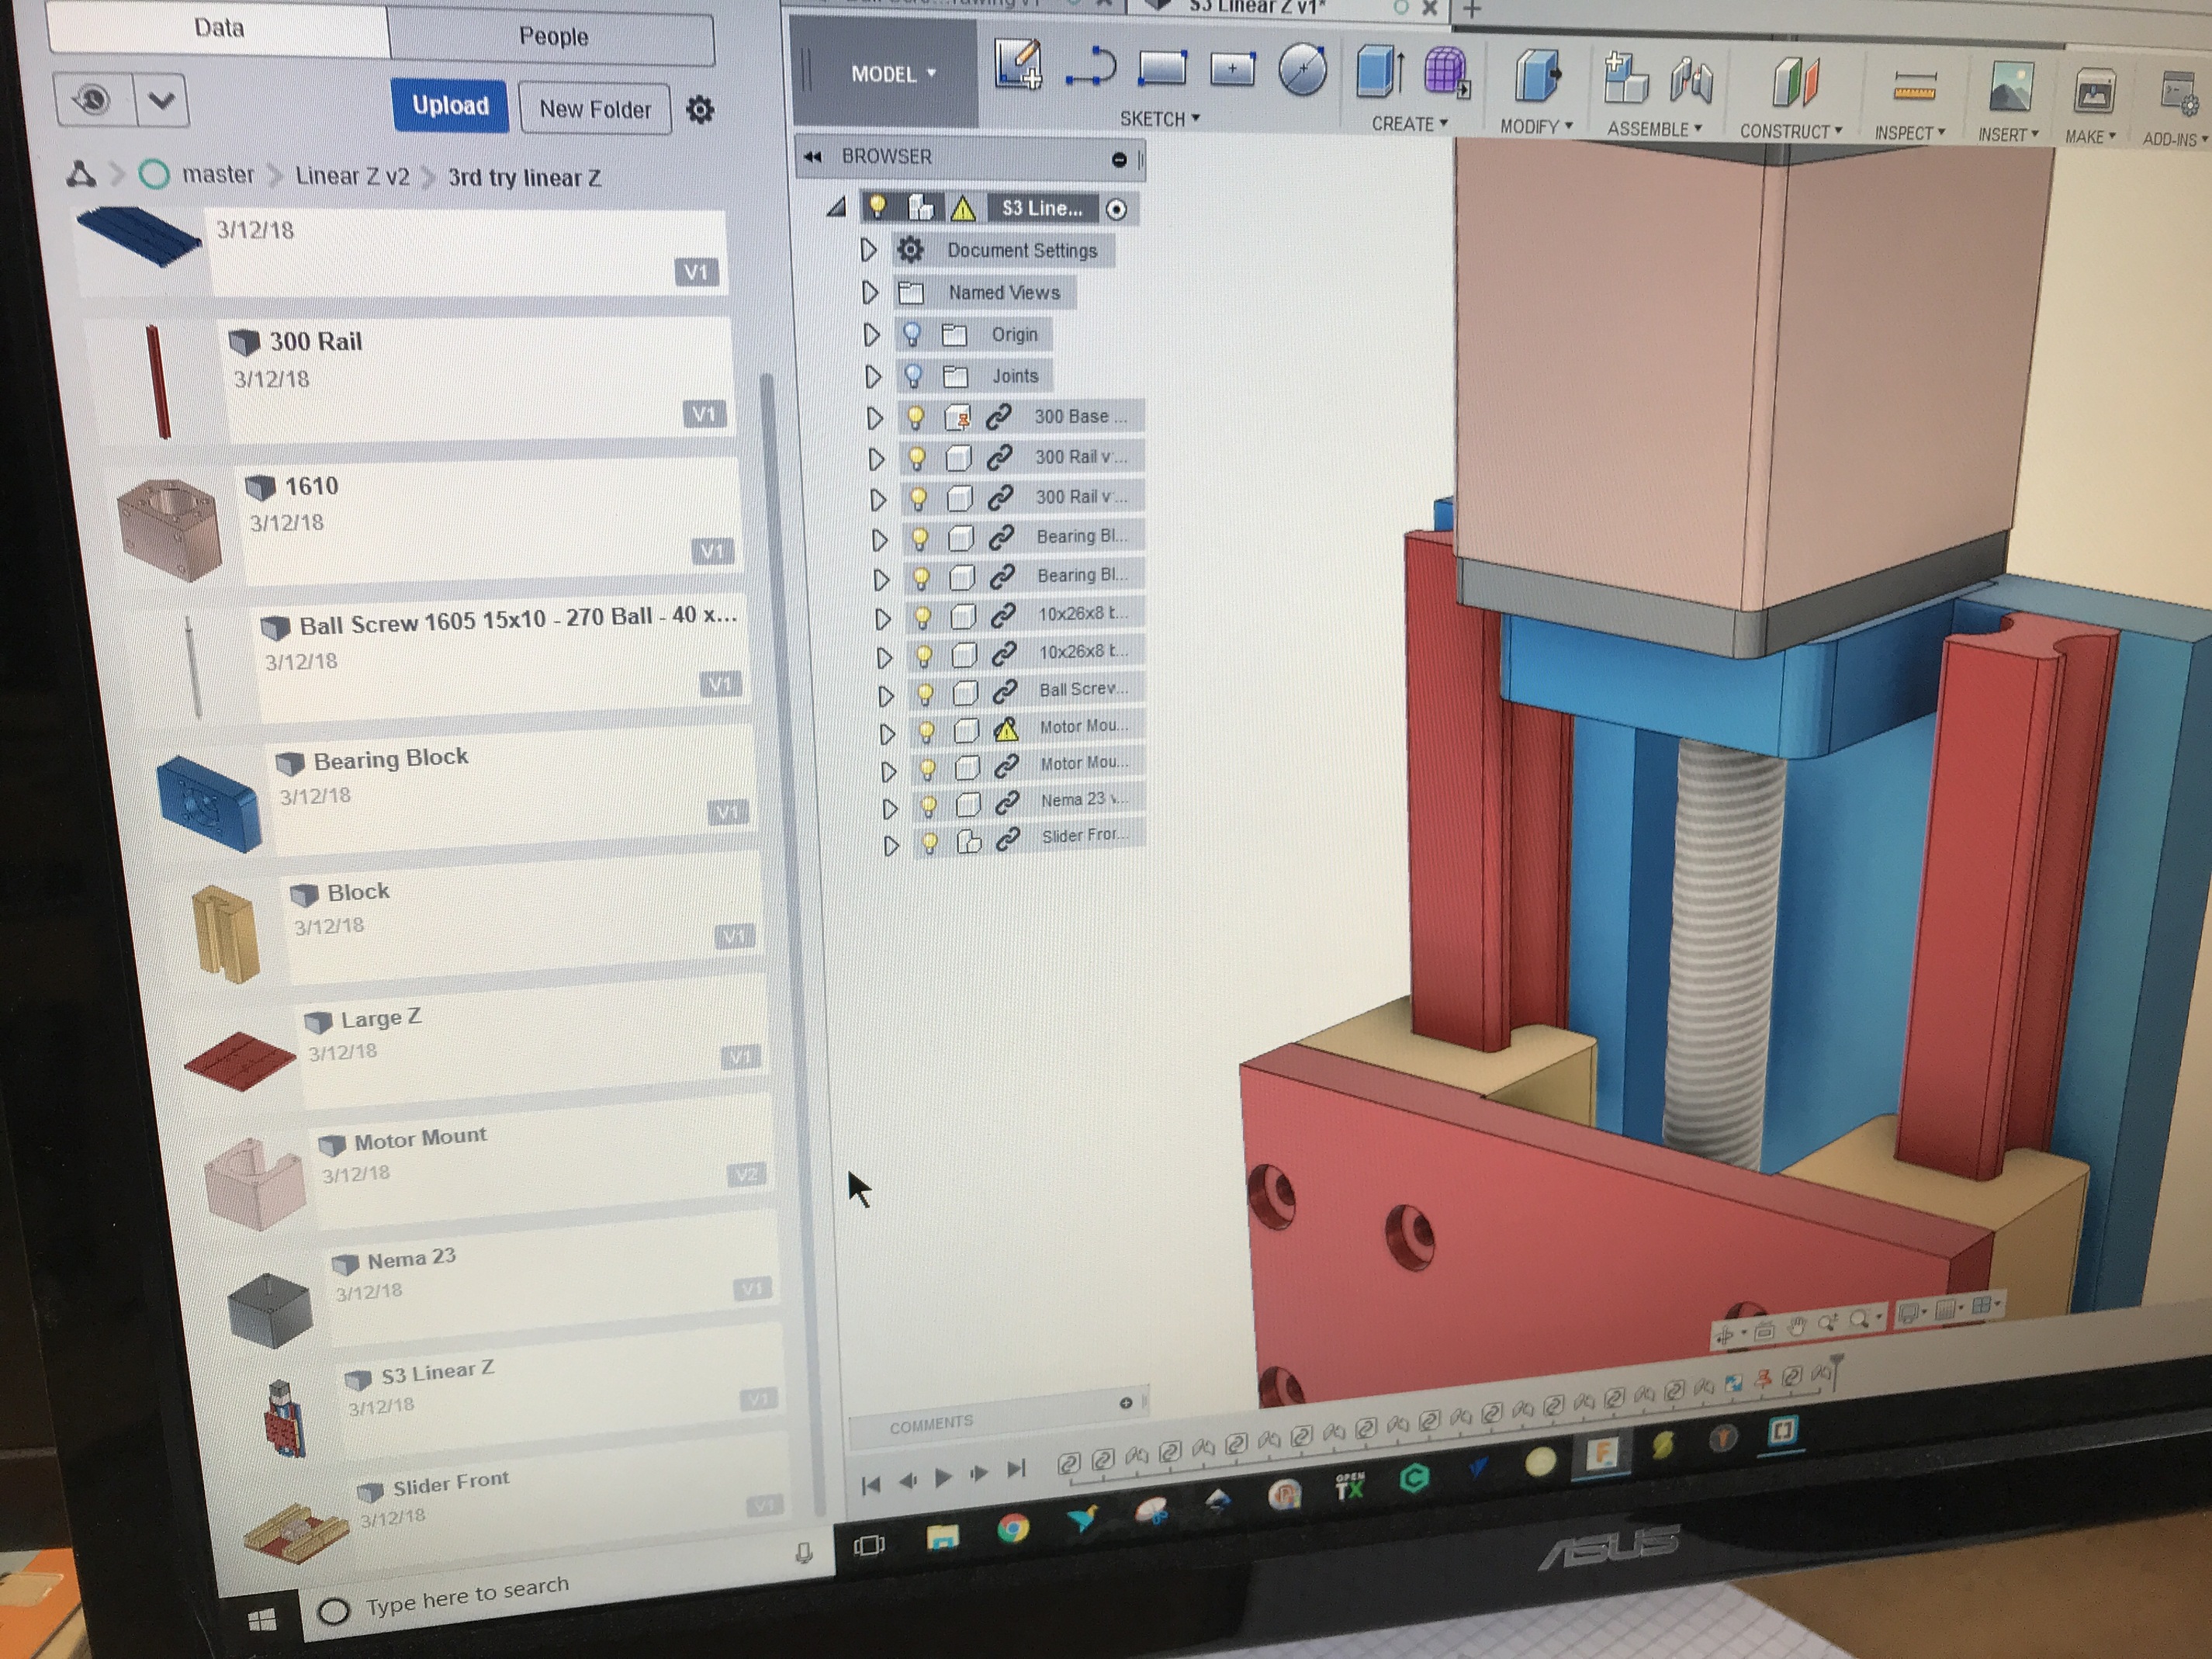
Solved the problem although the “thin” motor mount is not listed nor available as an individual component.
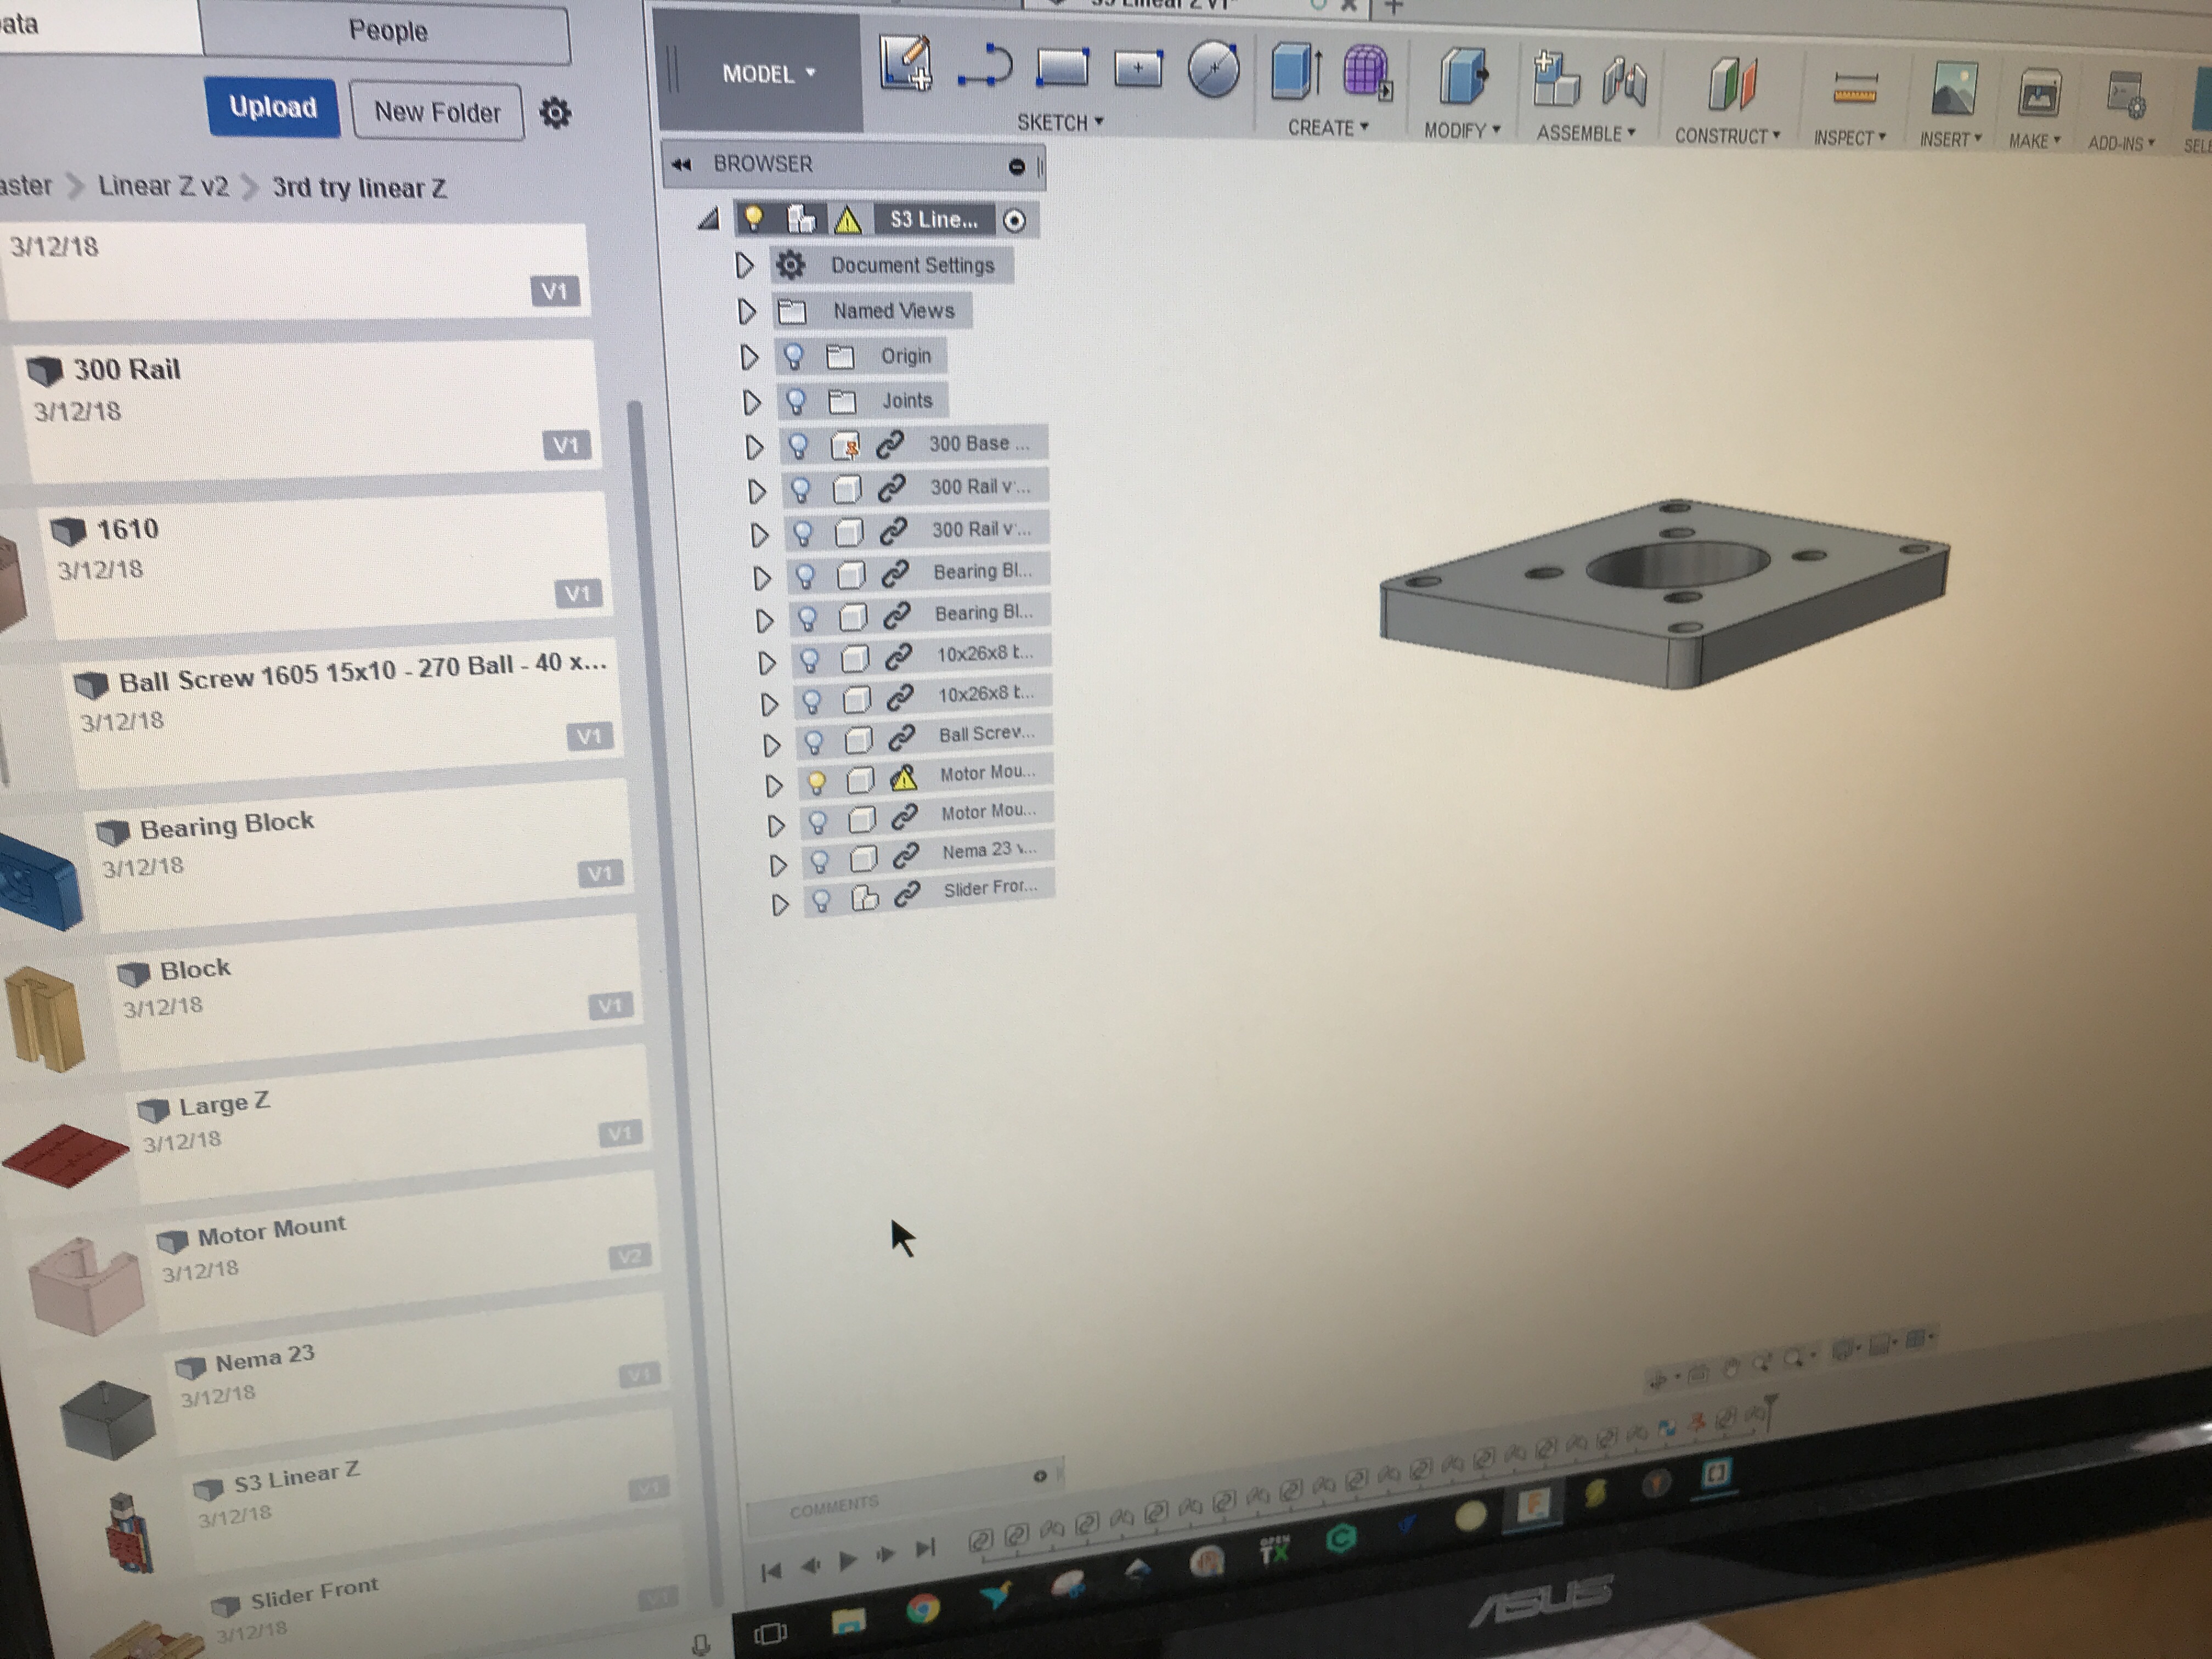
I opened S3 Linear Z complete assembly where I can see the motor mount under the motor. I turned all but that particular lightbulb off and, voila, a part I can CAM.
1 Like
Another trick worth knowing is to isolate the component you want to work on. Just right click on it and select ‘Isolate’. Saves you having to turn off the visibility on multiple components.
3 Likes
Expert parts !. Nice work !.
1 Like
Watching your progress, great work, please be encouraged and keep us up to date, thanks for sharing.
This is exciting. My stab at designing a 611 holder, front mounted, easy to tram. This file is just part of it. I will cut two of these and mount to plate that mounts to Lukes z plate
Stay tuned! http://a360.co/2FQ2H0K
5 Likes
An easy to adjust mount is something I’d be interested in even though I don’t plan (at least at this time) an wholesale replacement of the Z-axis.
1 Like
Phil, this whole thing is in a constant state of flux. Check with @Luke, he has a killer idea that uses the stock mount but makes it adjustable. I’m pretty sure it can be used with the stock steel Z axis plate. Just need to drill a few holes in it.
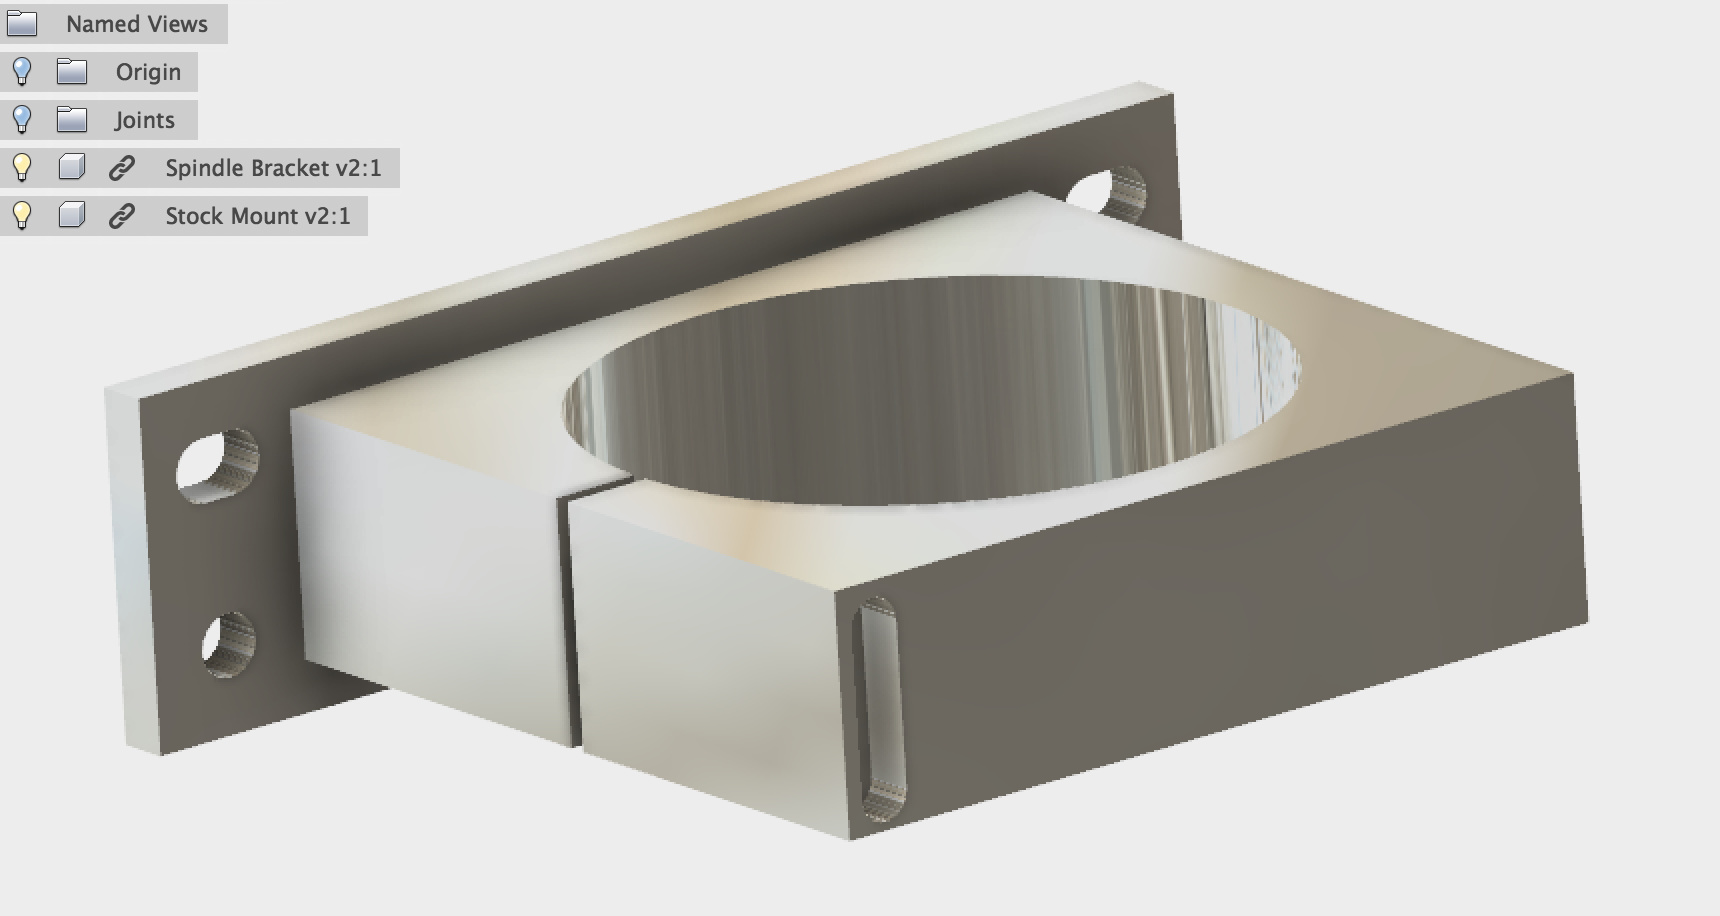
Evening all - as an update to this I’ve addressed the front tram issue. The shapeoko has a great way of dealing with tram but it’s not actually called tram in this instance - it’s track tension. So what happens when you pull their track tension method and apply it to a different design?
See attached picture. I have made a rear mounted spindle plate - this fixes to 4 M5 mounting screws on the carriage plate. Now there are 2 ways you can tackle it - lob 4 screws in and adjust as you see fit - really boring and a pain in the ass. The other way is to put 2 screws with eccentric nuts in the top 2 holes. Now this won’t work if they are round as they would pull in opposite directions. However by extending the holes to be elongated this allows the mount to move a couple of ml in either direction.
You can now raise or lower either side which will allow you tram left and right.
You can then fit the other 2 screws in the bottom holes and tighten locking it in situ - then tighten the first two fully if required. Forward/backward tram would still have to be done with shims.
This will work on any shapeoko…
5 Likes
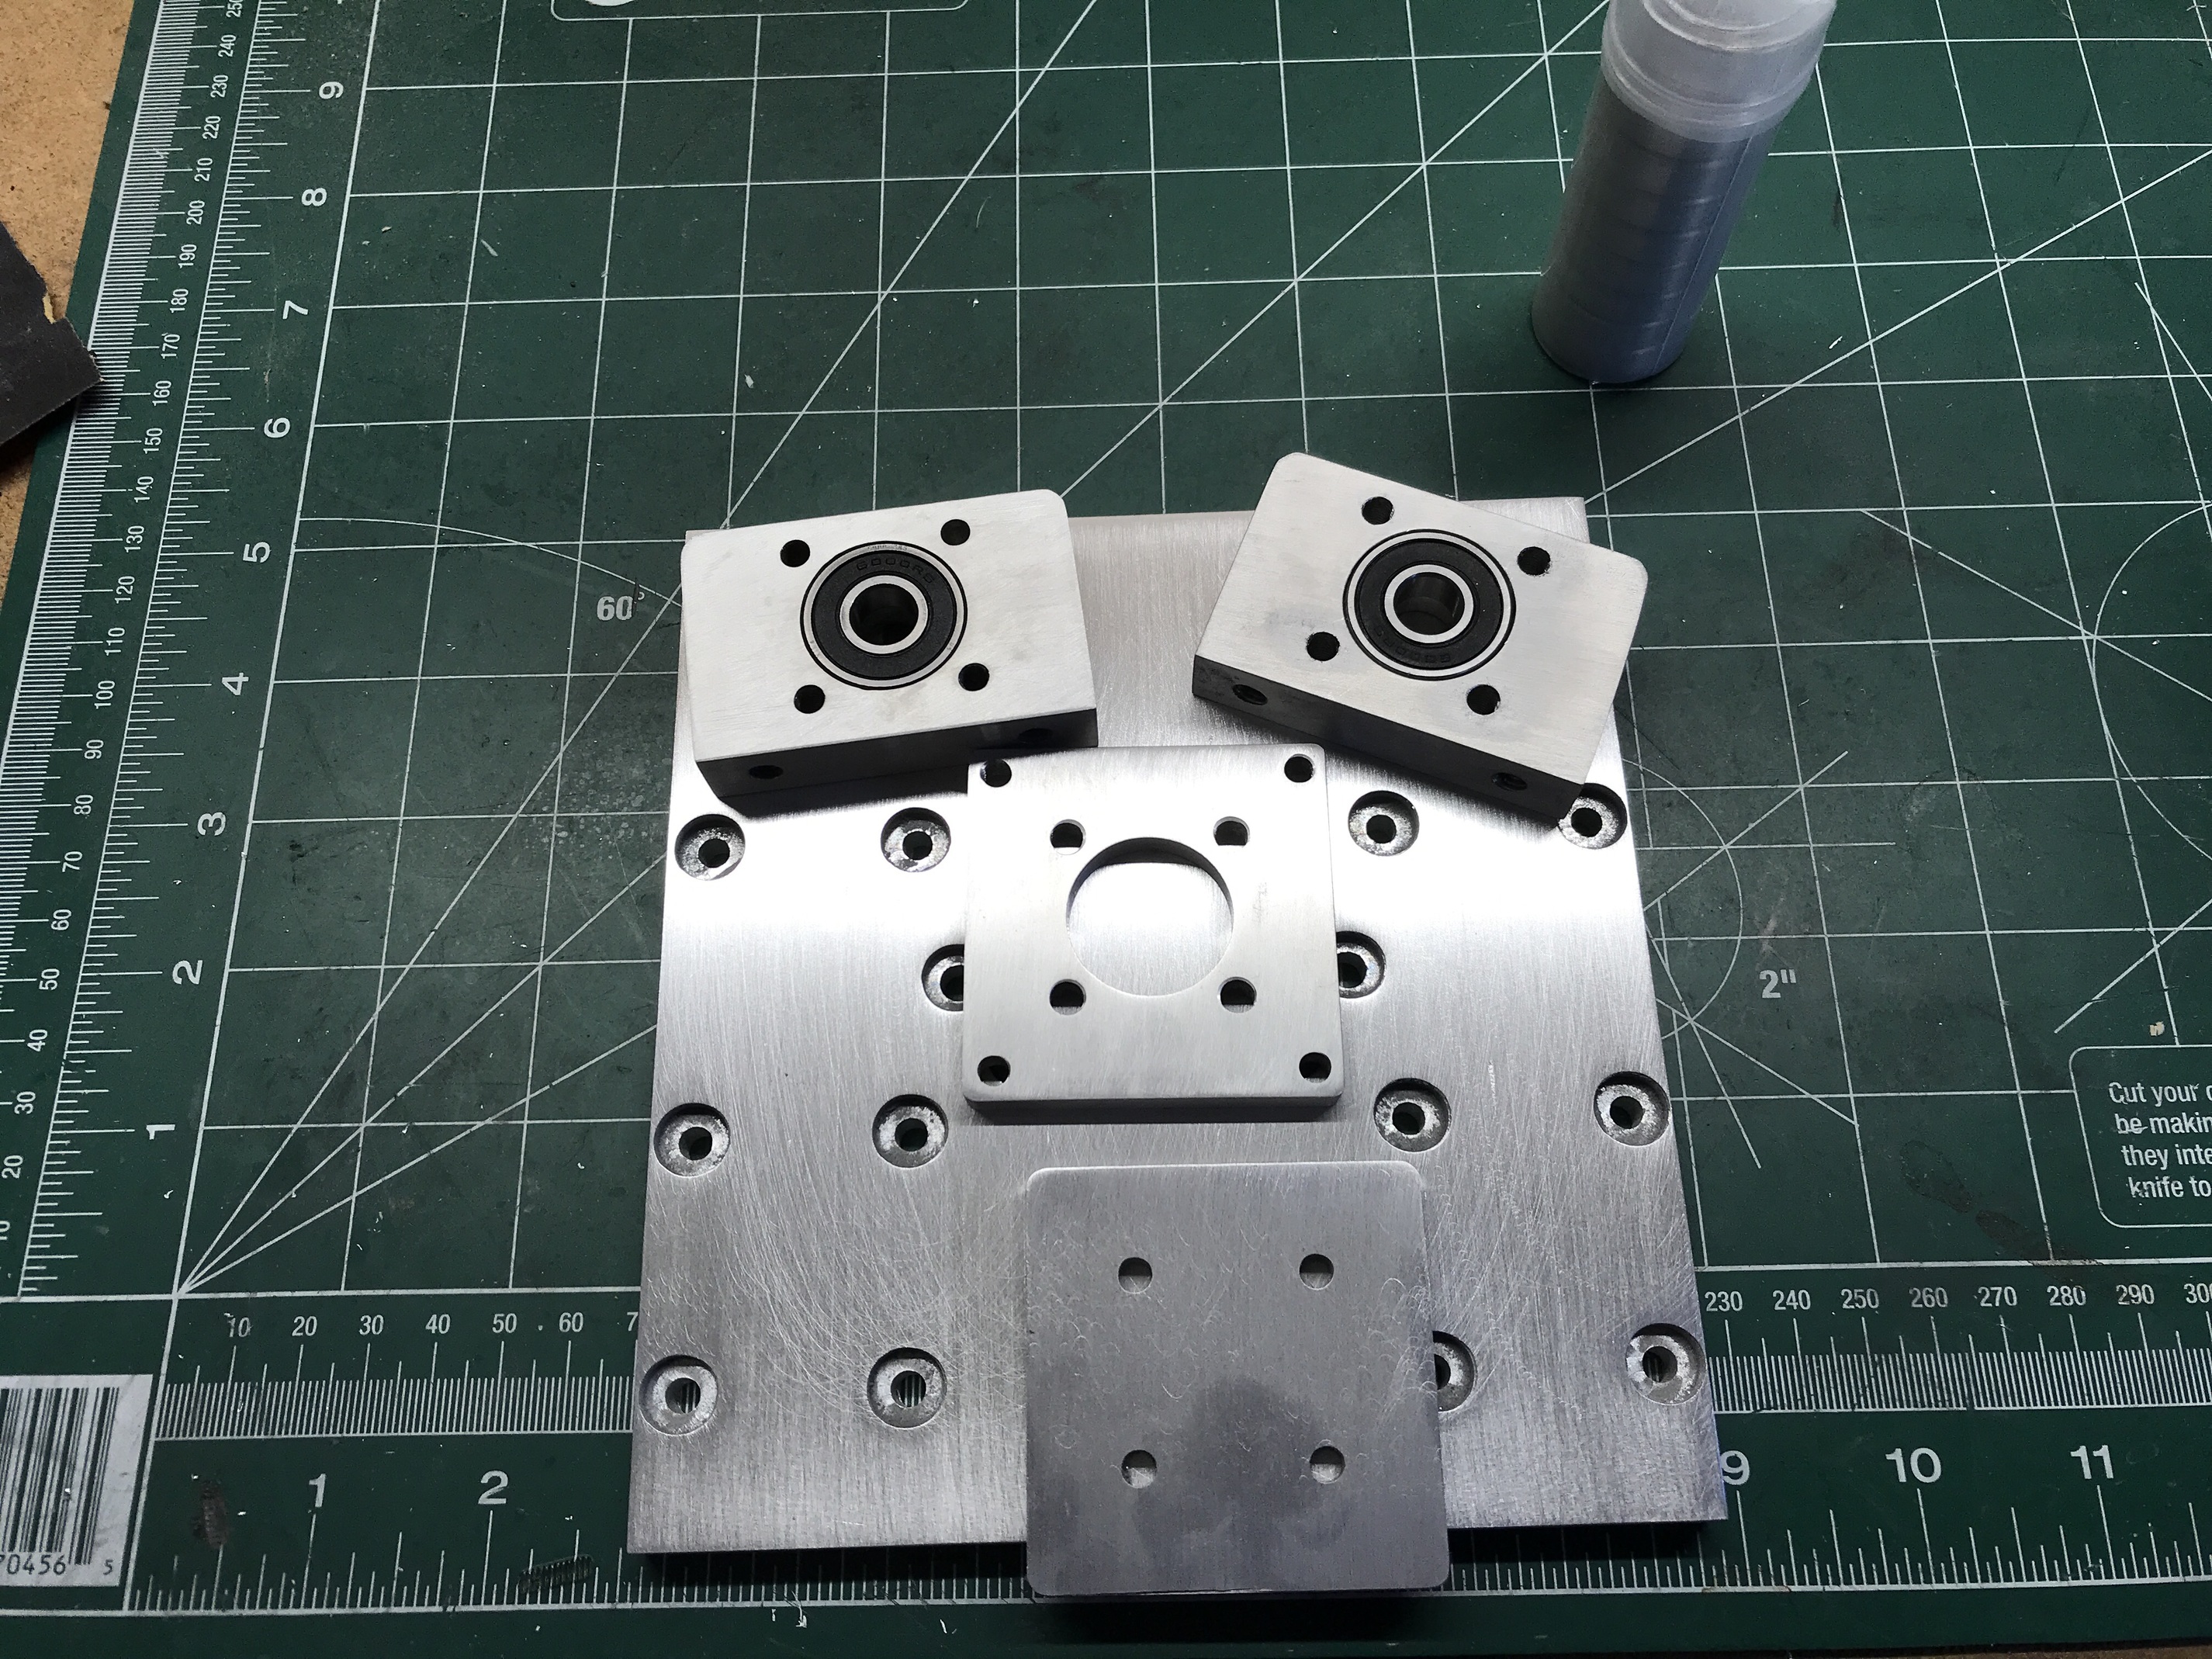
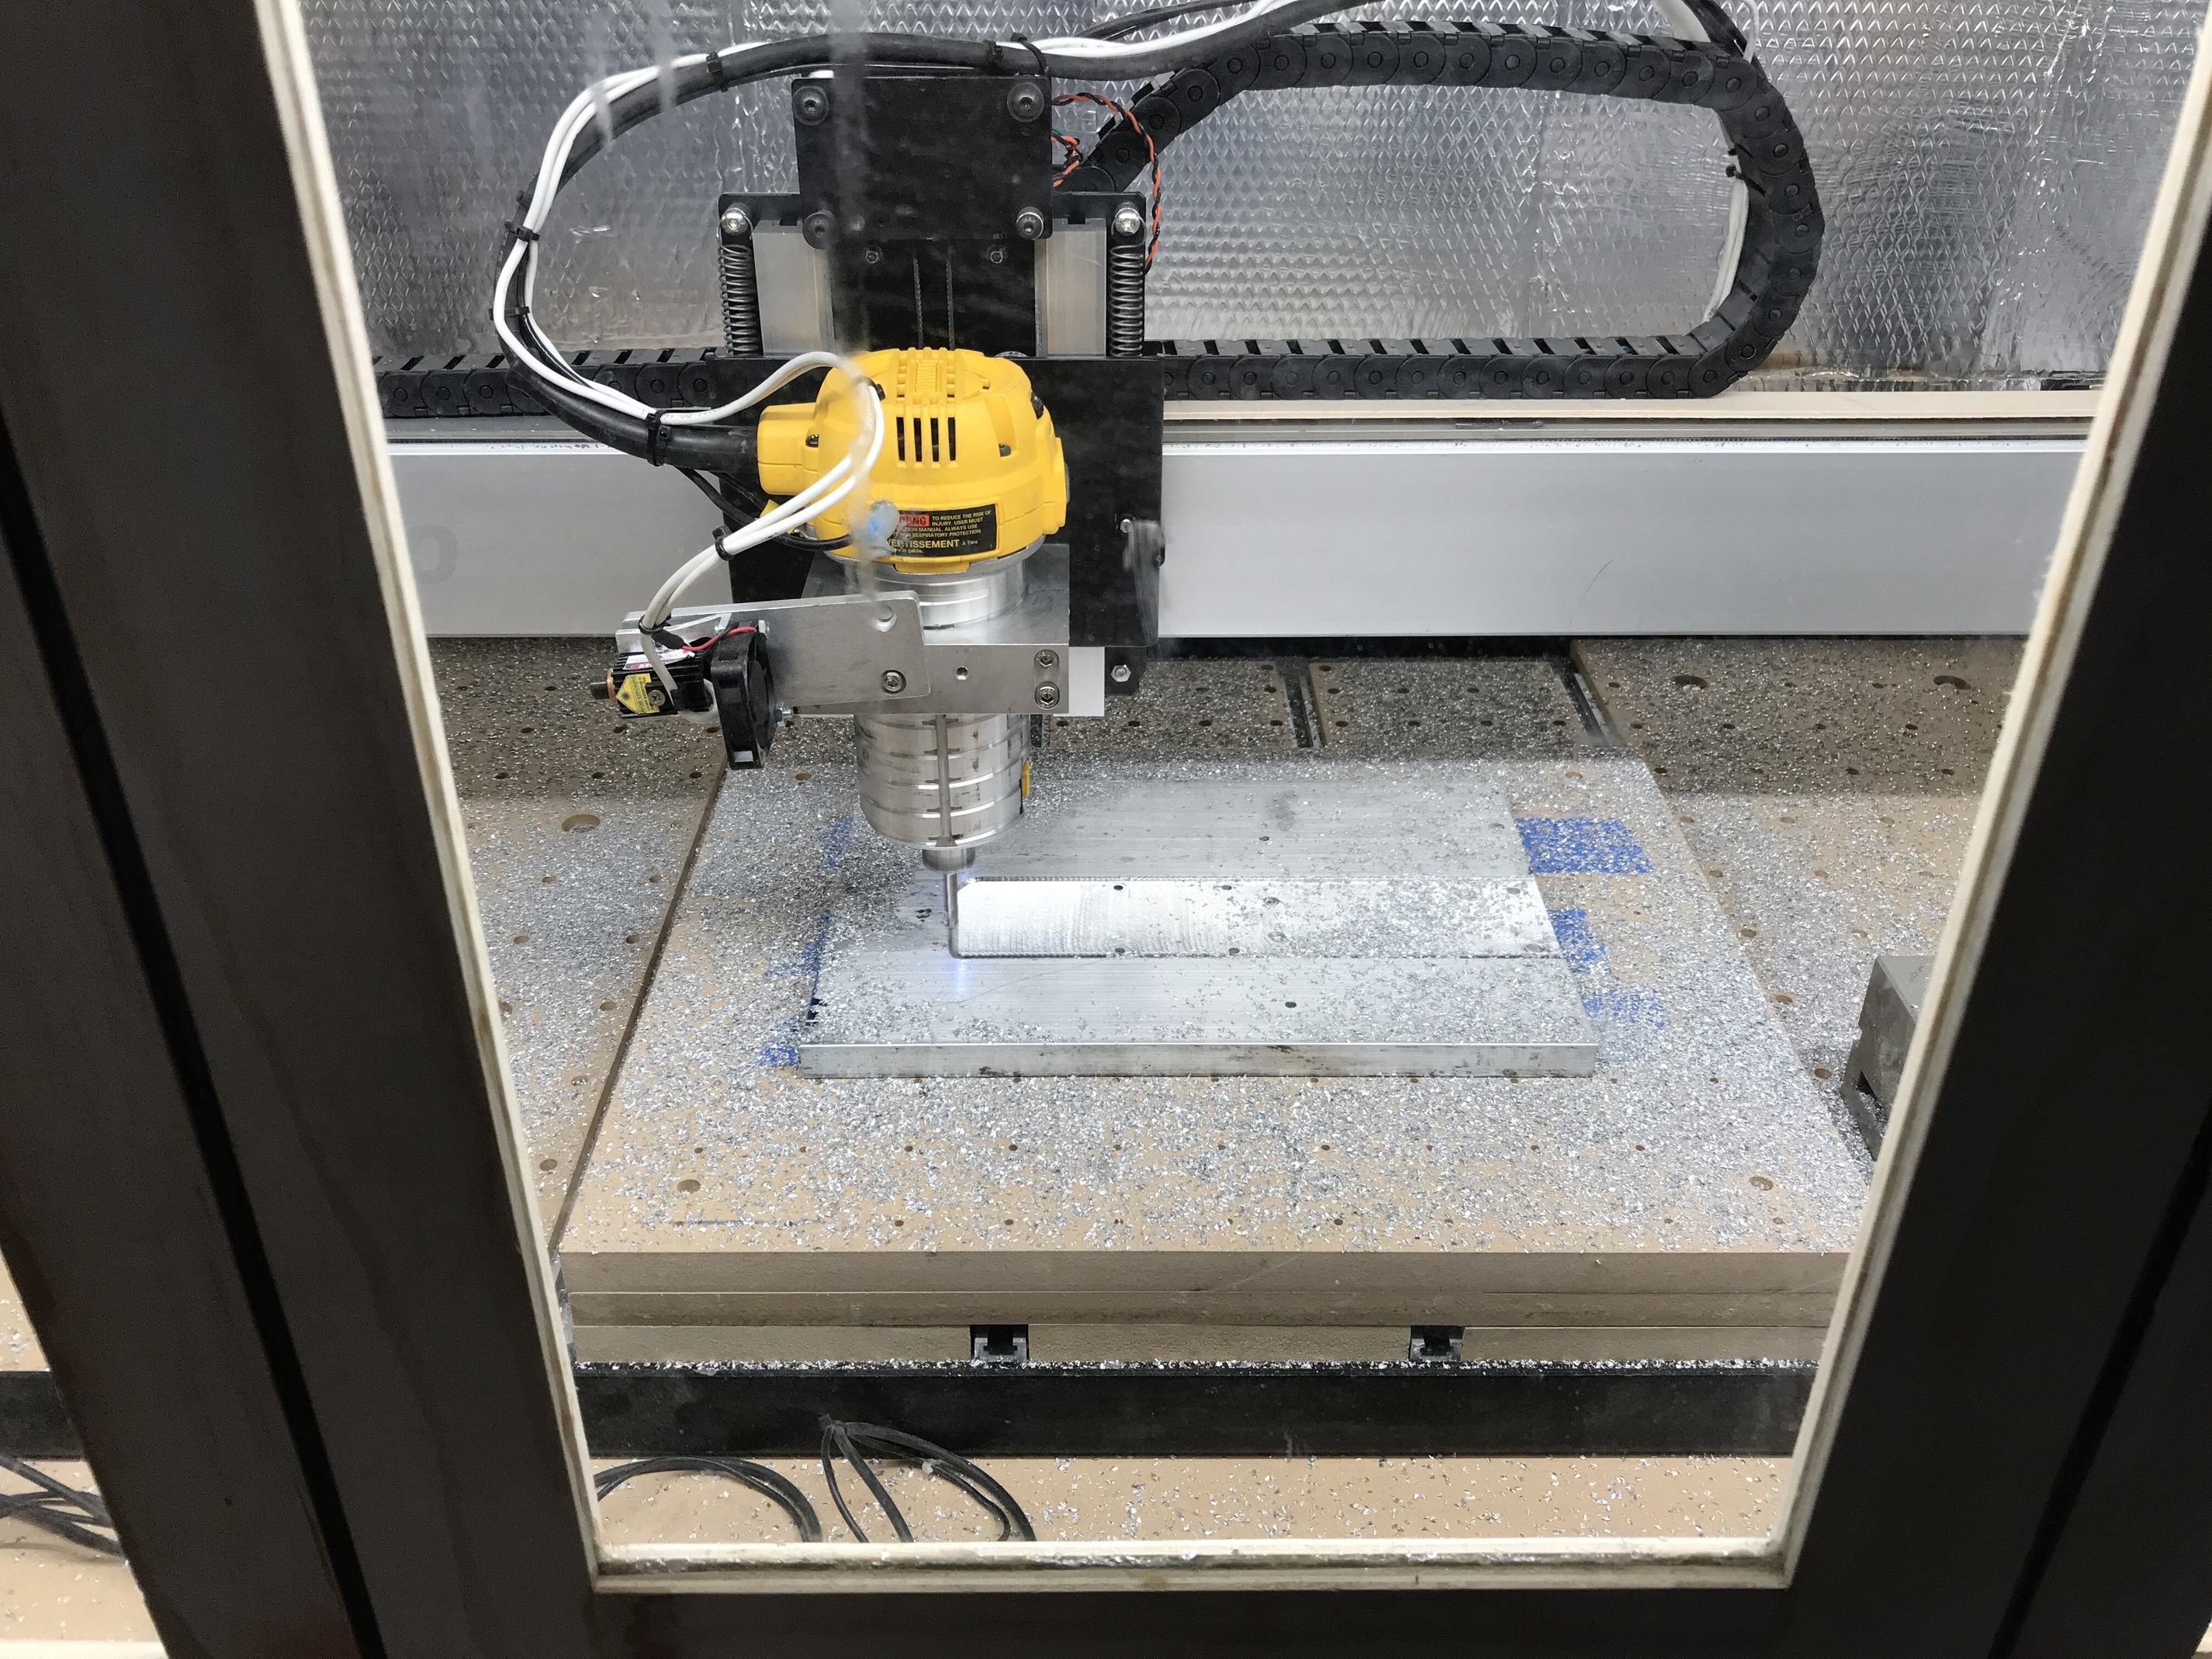
Hey all, Luke’s design has been a real inspiration and challenge for me. I’ve never done a project as complex as this in metal, not even close. I’m far from finished but I’ve learned so much. I’m now cutting the Base plate he designed. I’m using adaptive clearing in F360 cam per his suggestion. 1mm doc, 400 mm/min. Thanks to CM I was able to start this 1mm doc job slow and ramp up the speed in 10% increments.
So, the message I guess is for any other metal cutting noobs out there, jump in, you’ll be amazed at the capability our little “hobby” machines have.
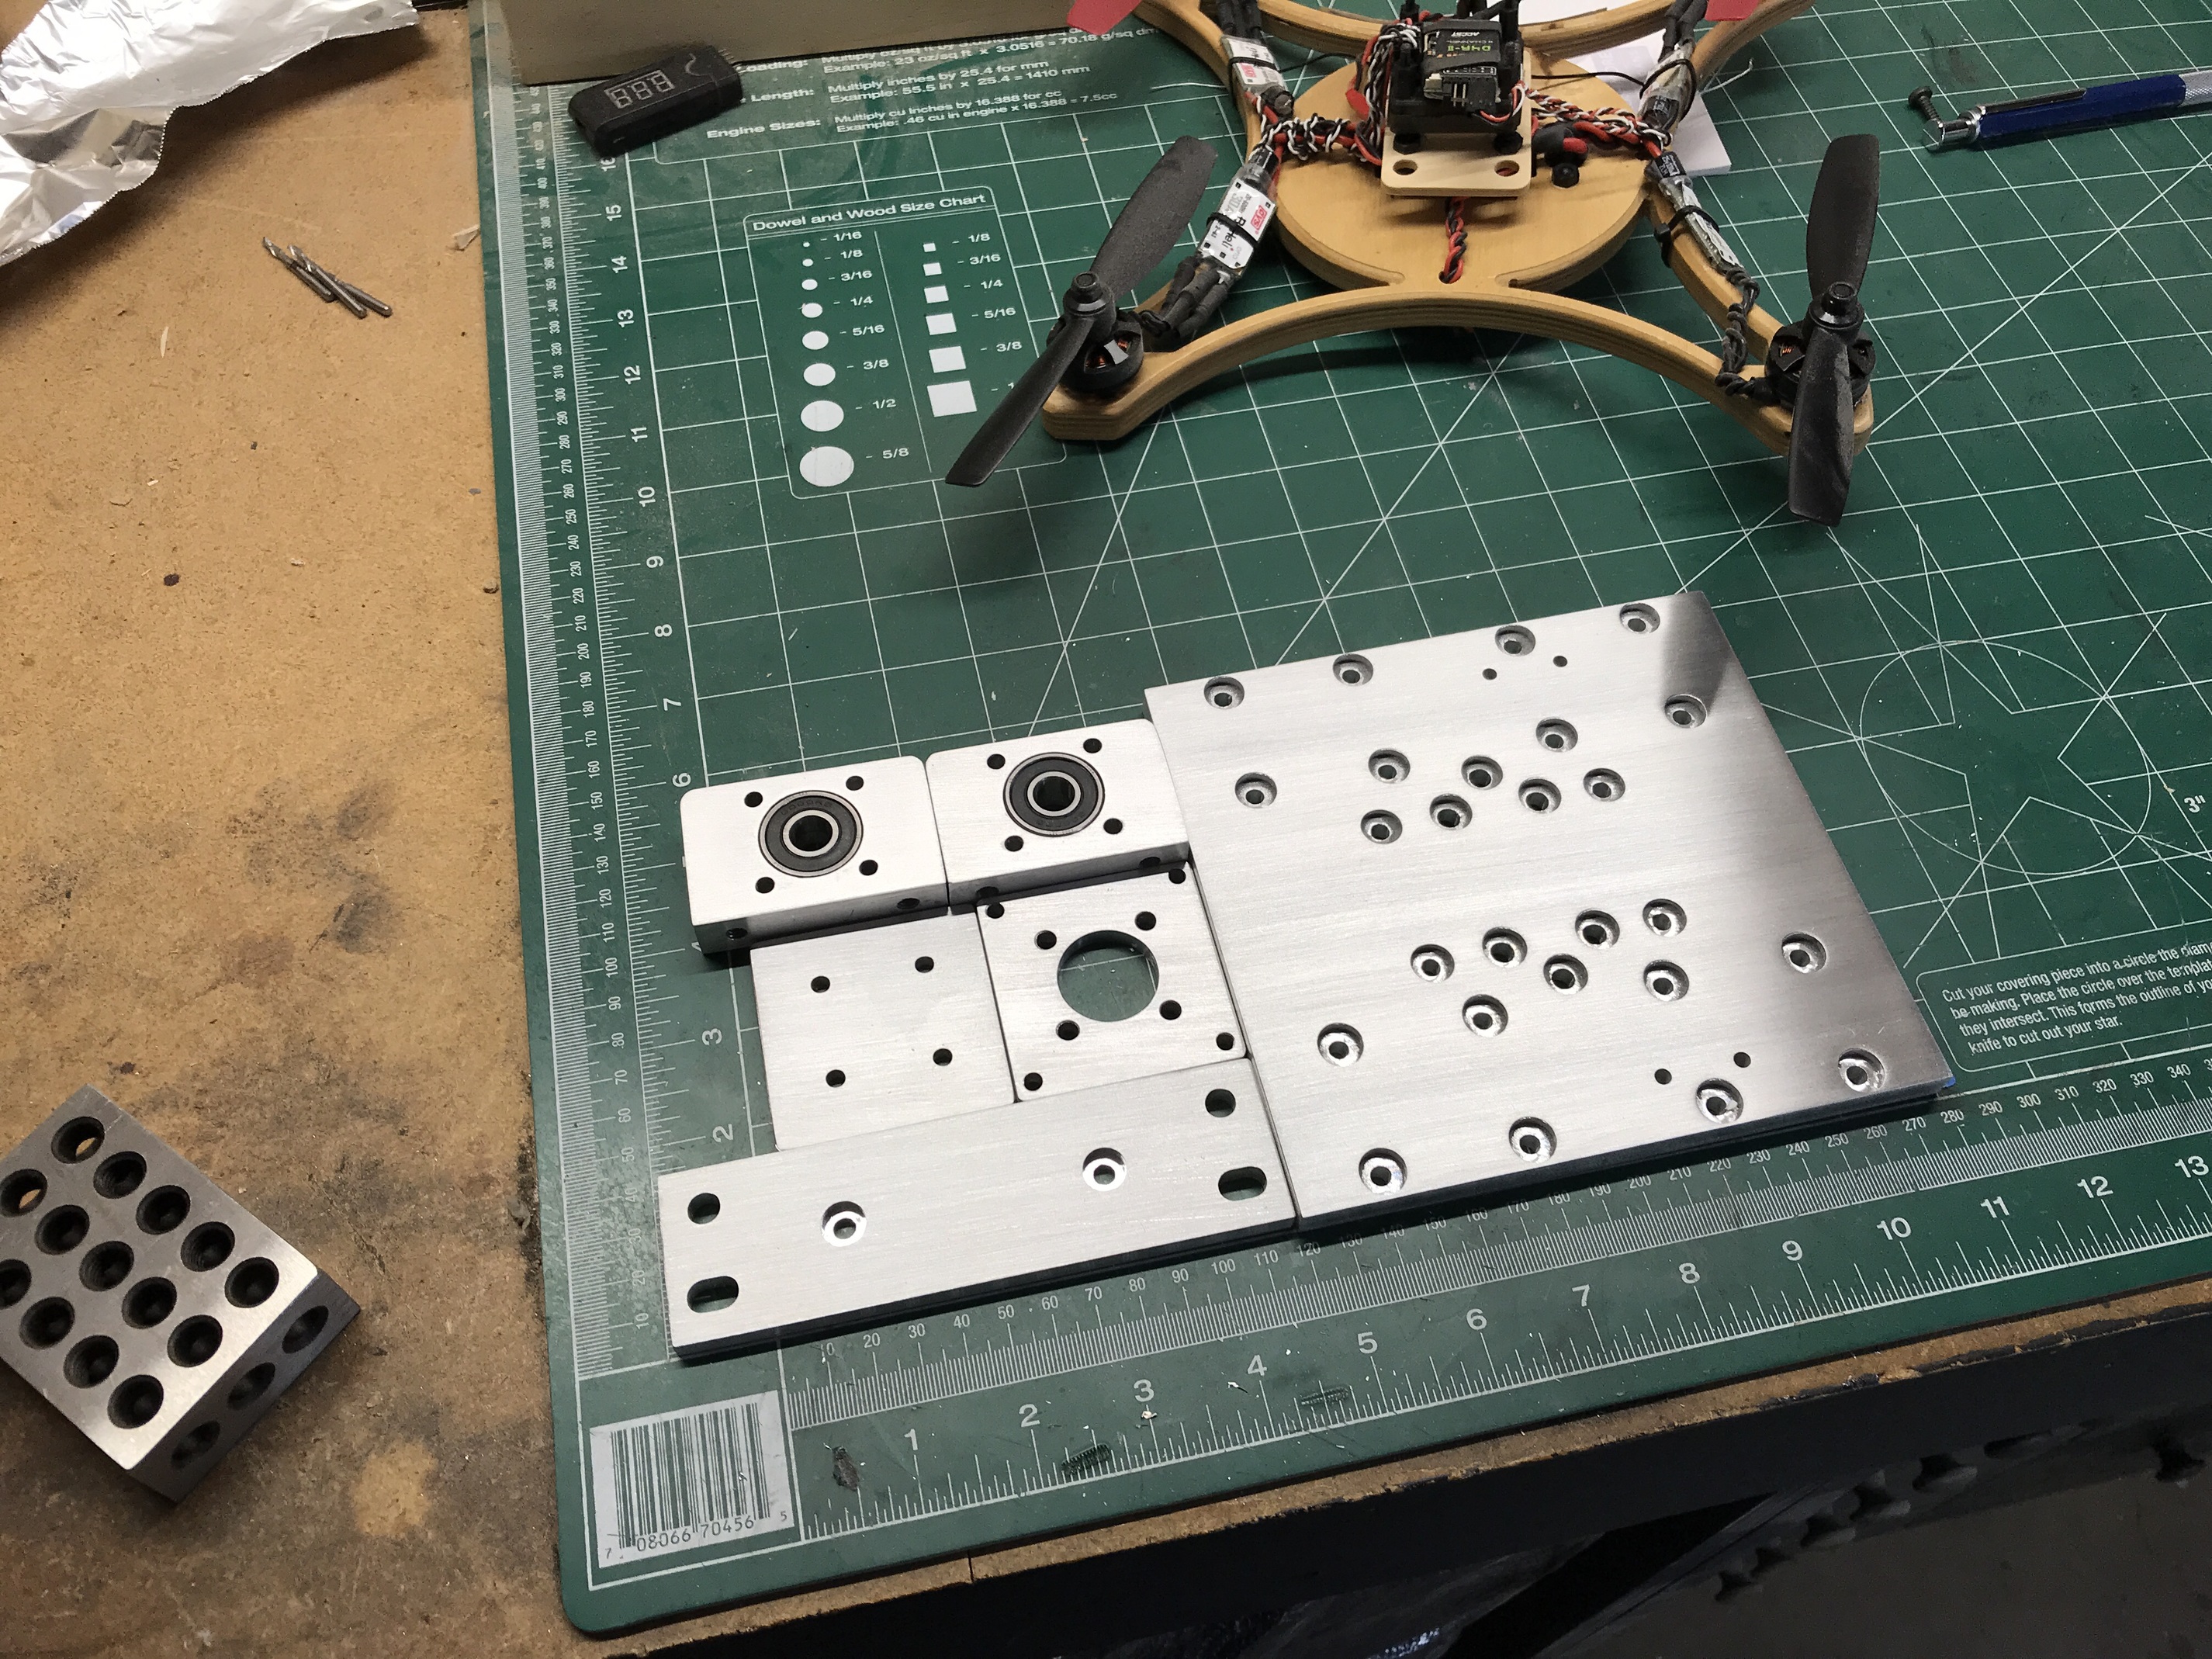
Other parts I’ve cut for the project…
7 Likes
Nice quad , you do in your Shapeoko ?.
Yes I did. I’m working on some more ambitious designs but, too many hobbies  .
.
2 Likes
Whilst I’m waiting for parts I started my aluminium milling. I only have 6mm currently though.
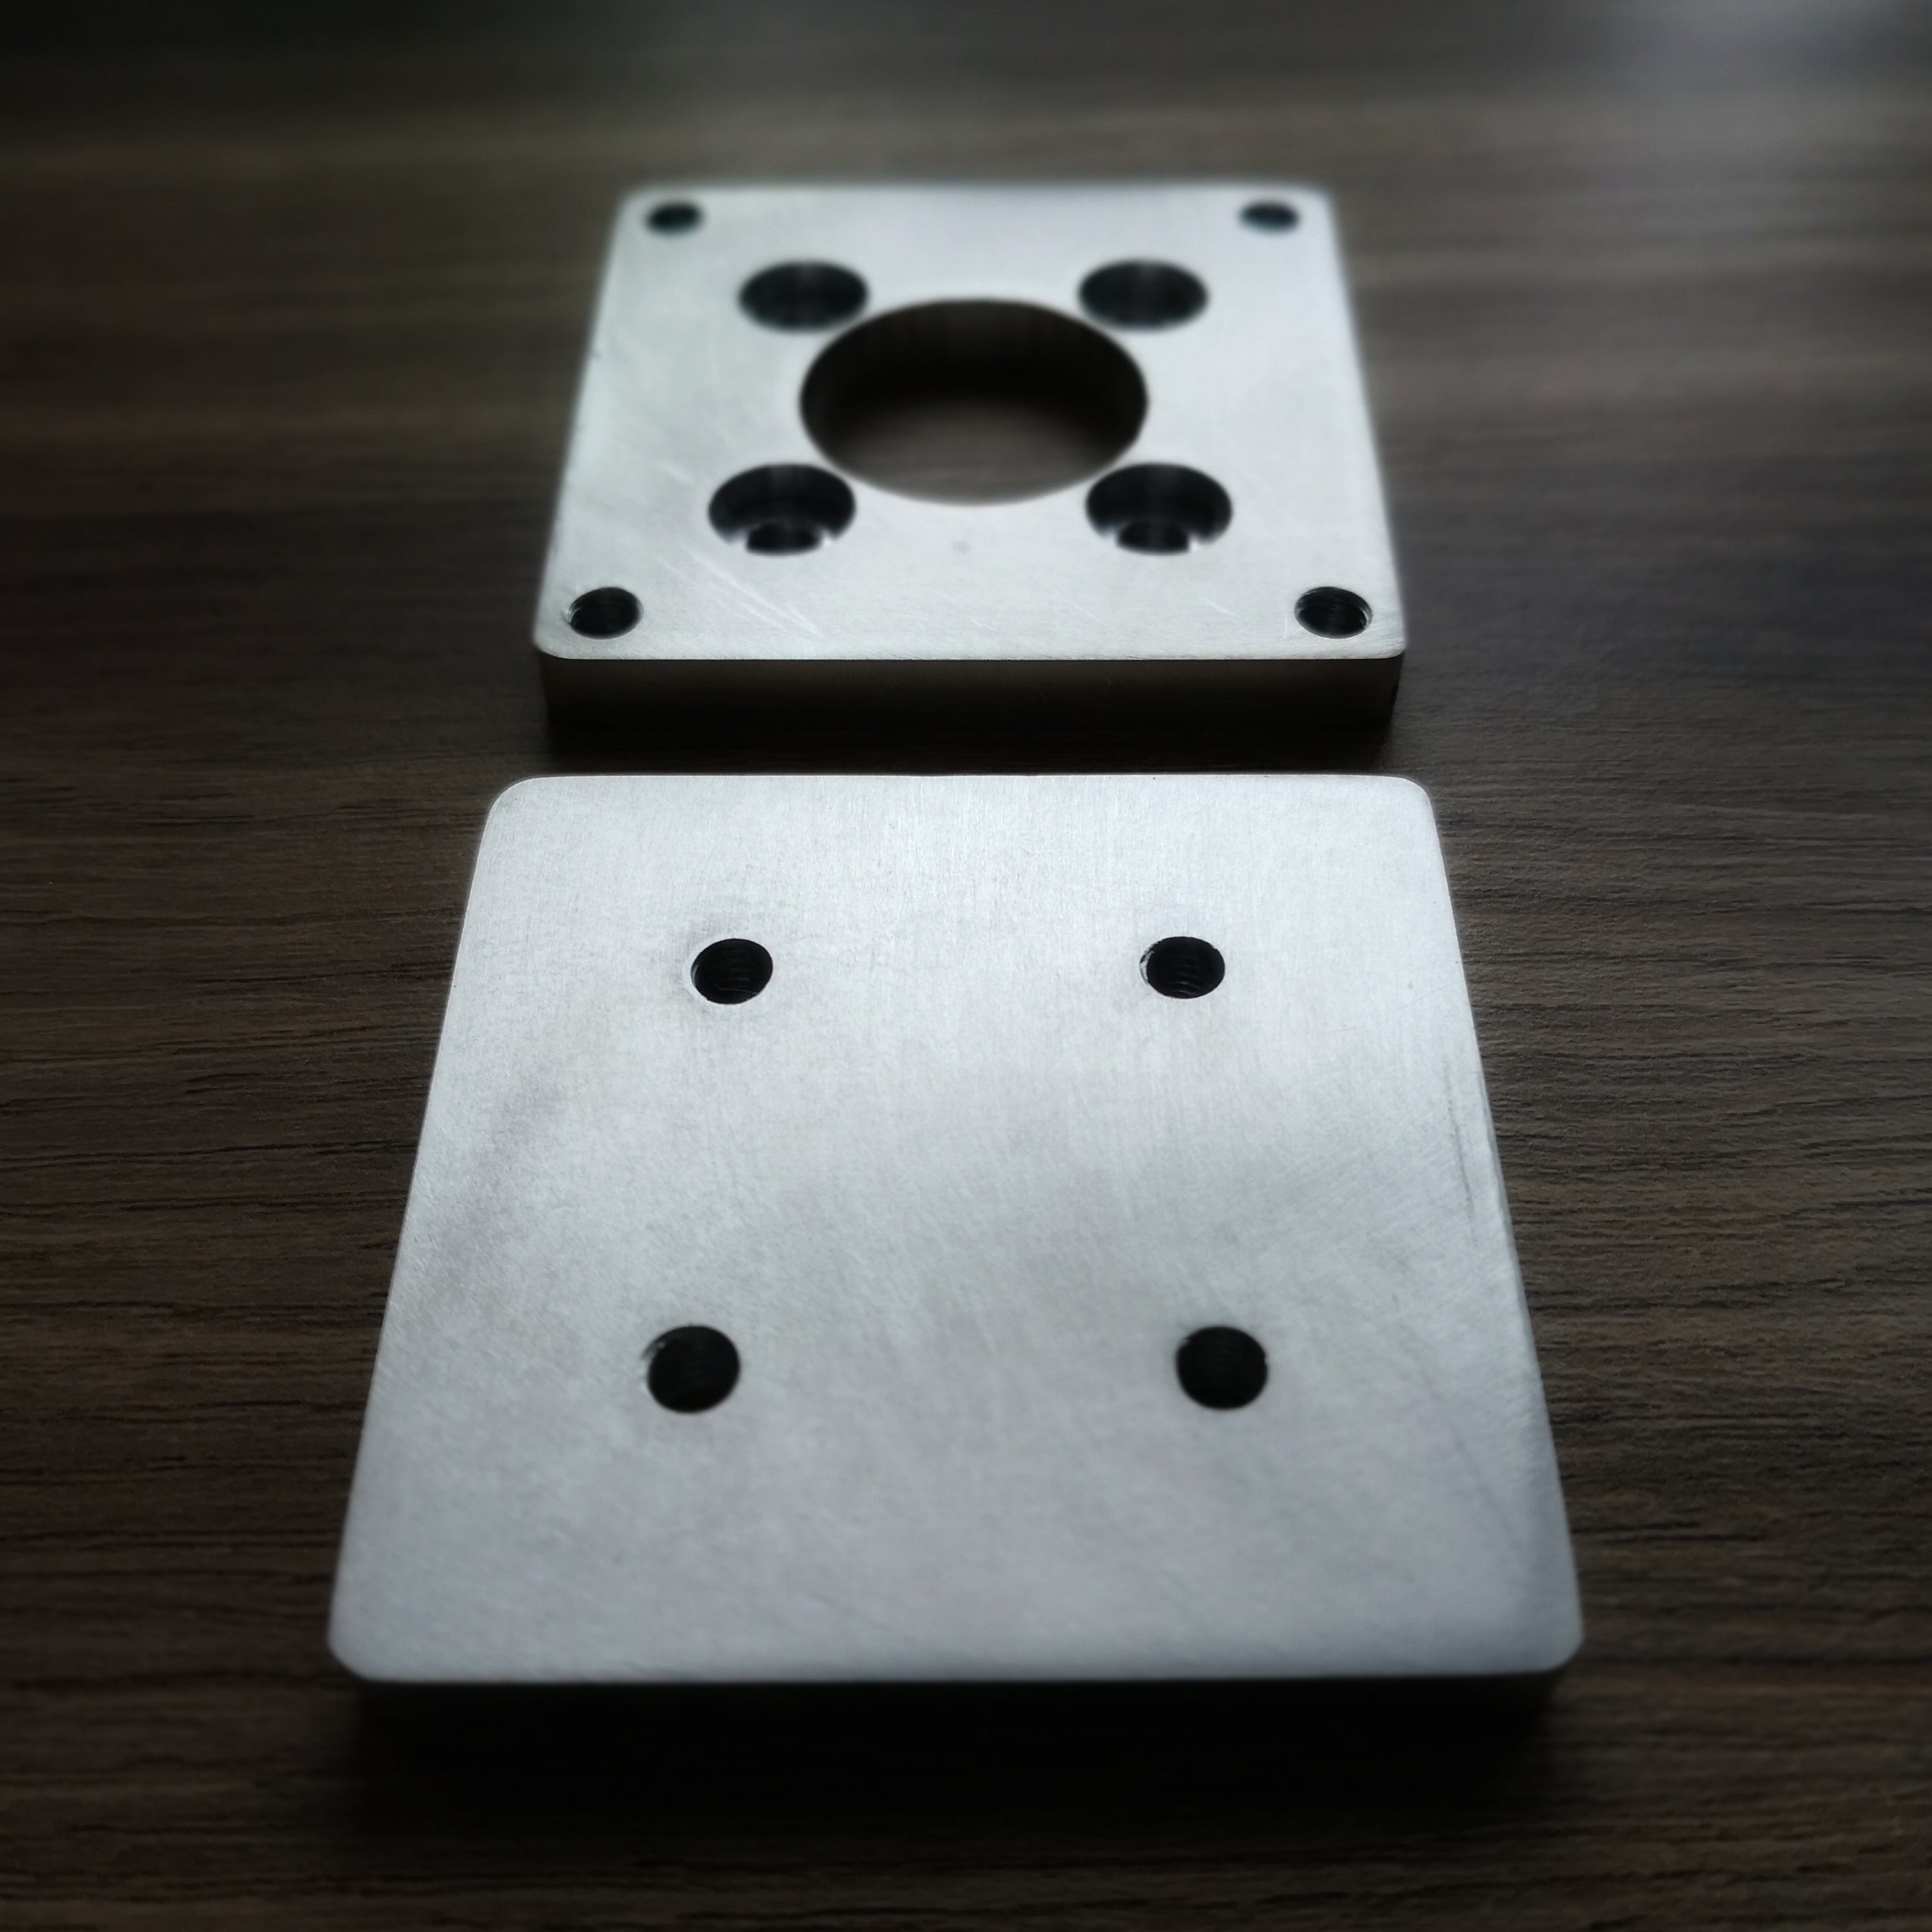
It’s a great day when you mill clean through but don’t hit the tape…
5 Likes
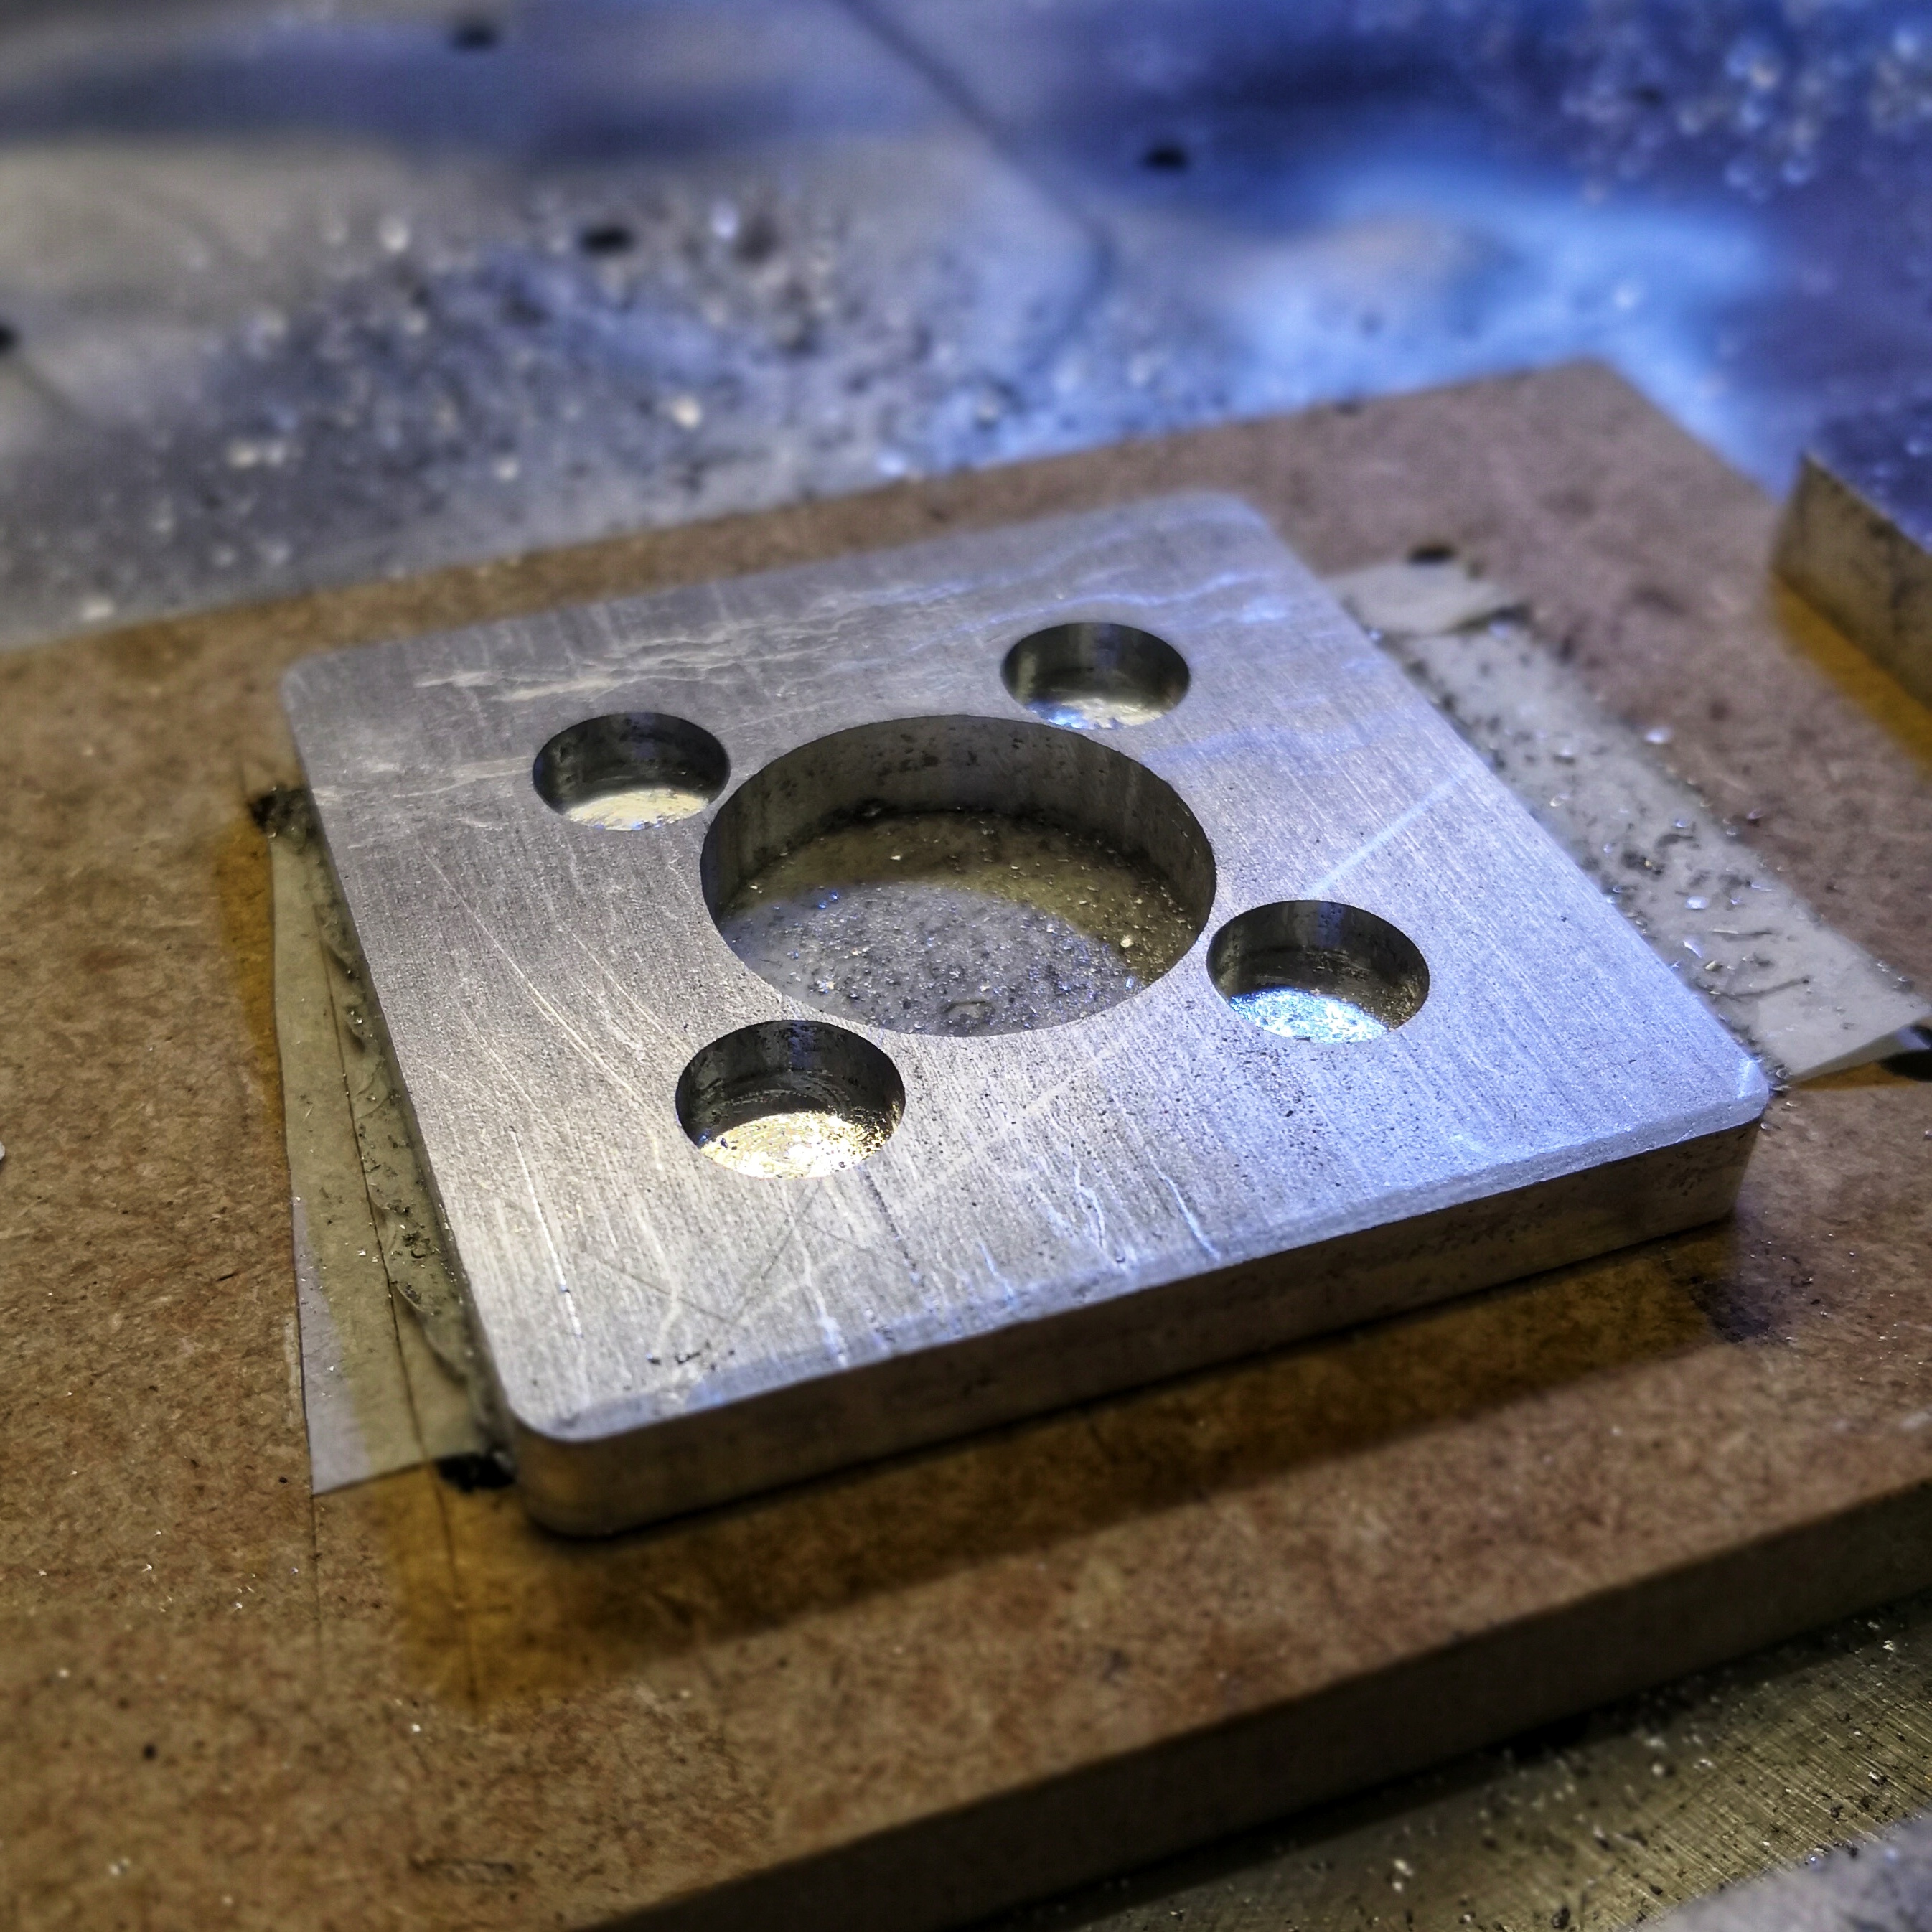
Hmmm, I seem to have left out some counter bores  . Easy to fix, thanks for posting.
Thats my fault - I didn’t include them - I go my motor spacer today and realised they would sit ontop the screws - originally I was using rod spacers… I forgot to adjust the design when I sent it over…
What rpm do you use with 6mm bits? 13,700 ‘ish seems the sweet spot for my S3. Anything lower and I get resonance/chatter. That’s at 360 mm/min, 1mm DOC.
I run all at 9700 rpm but I use smaller faster passes
I did 6mm at 1000mm a min. 0.4mm doc
More parts came today and I did a respray of my spacers…
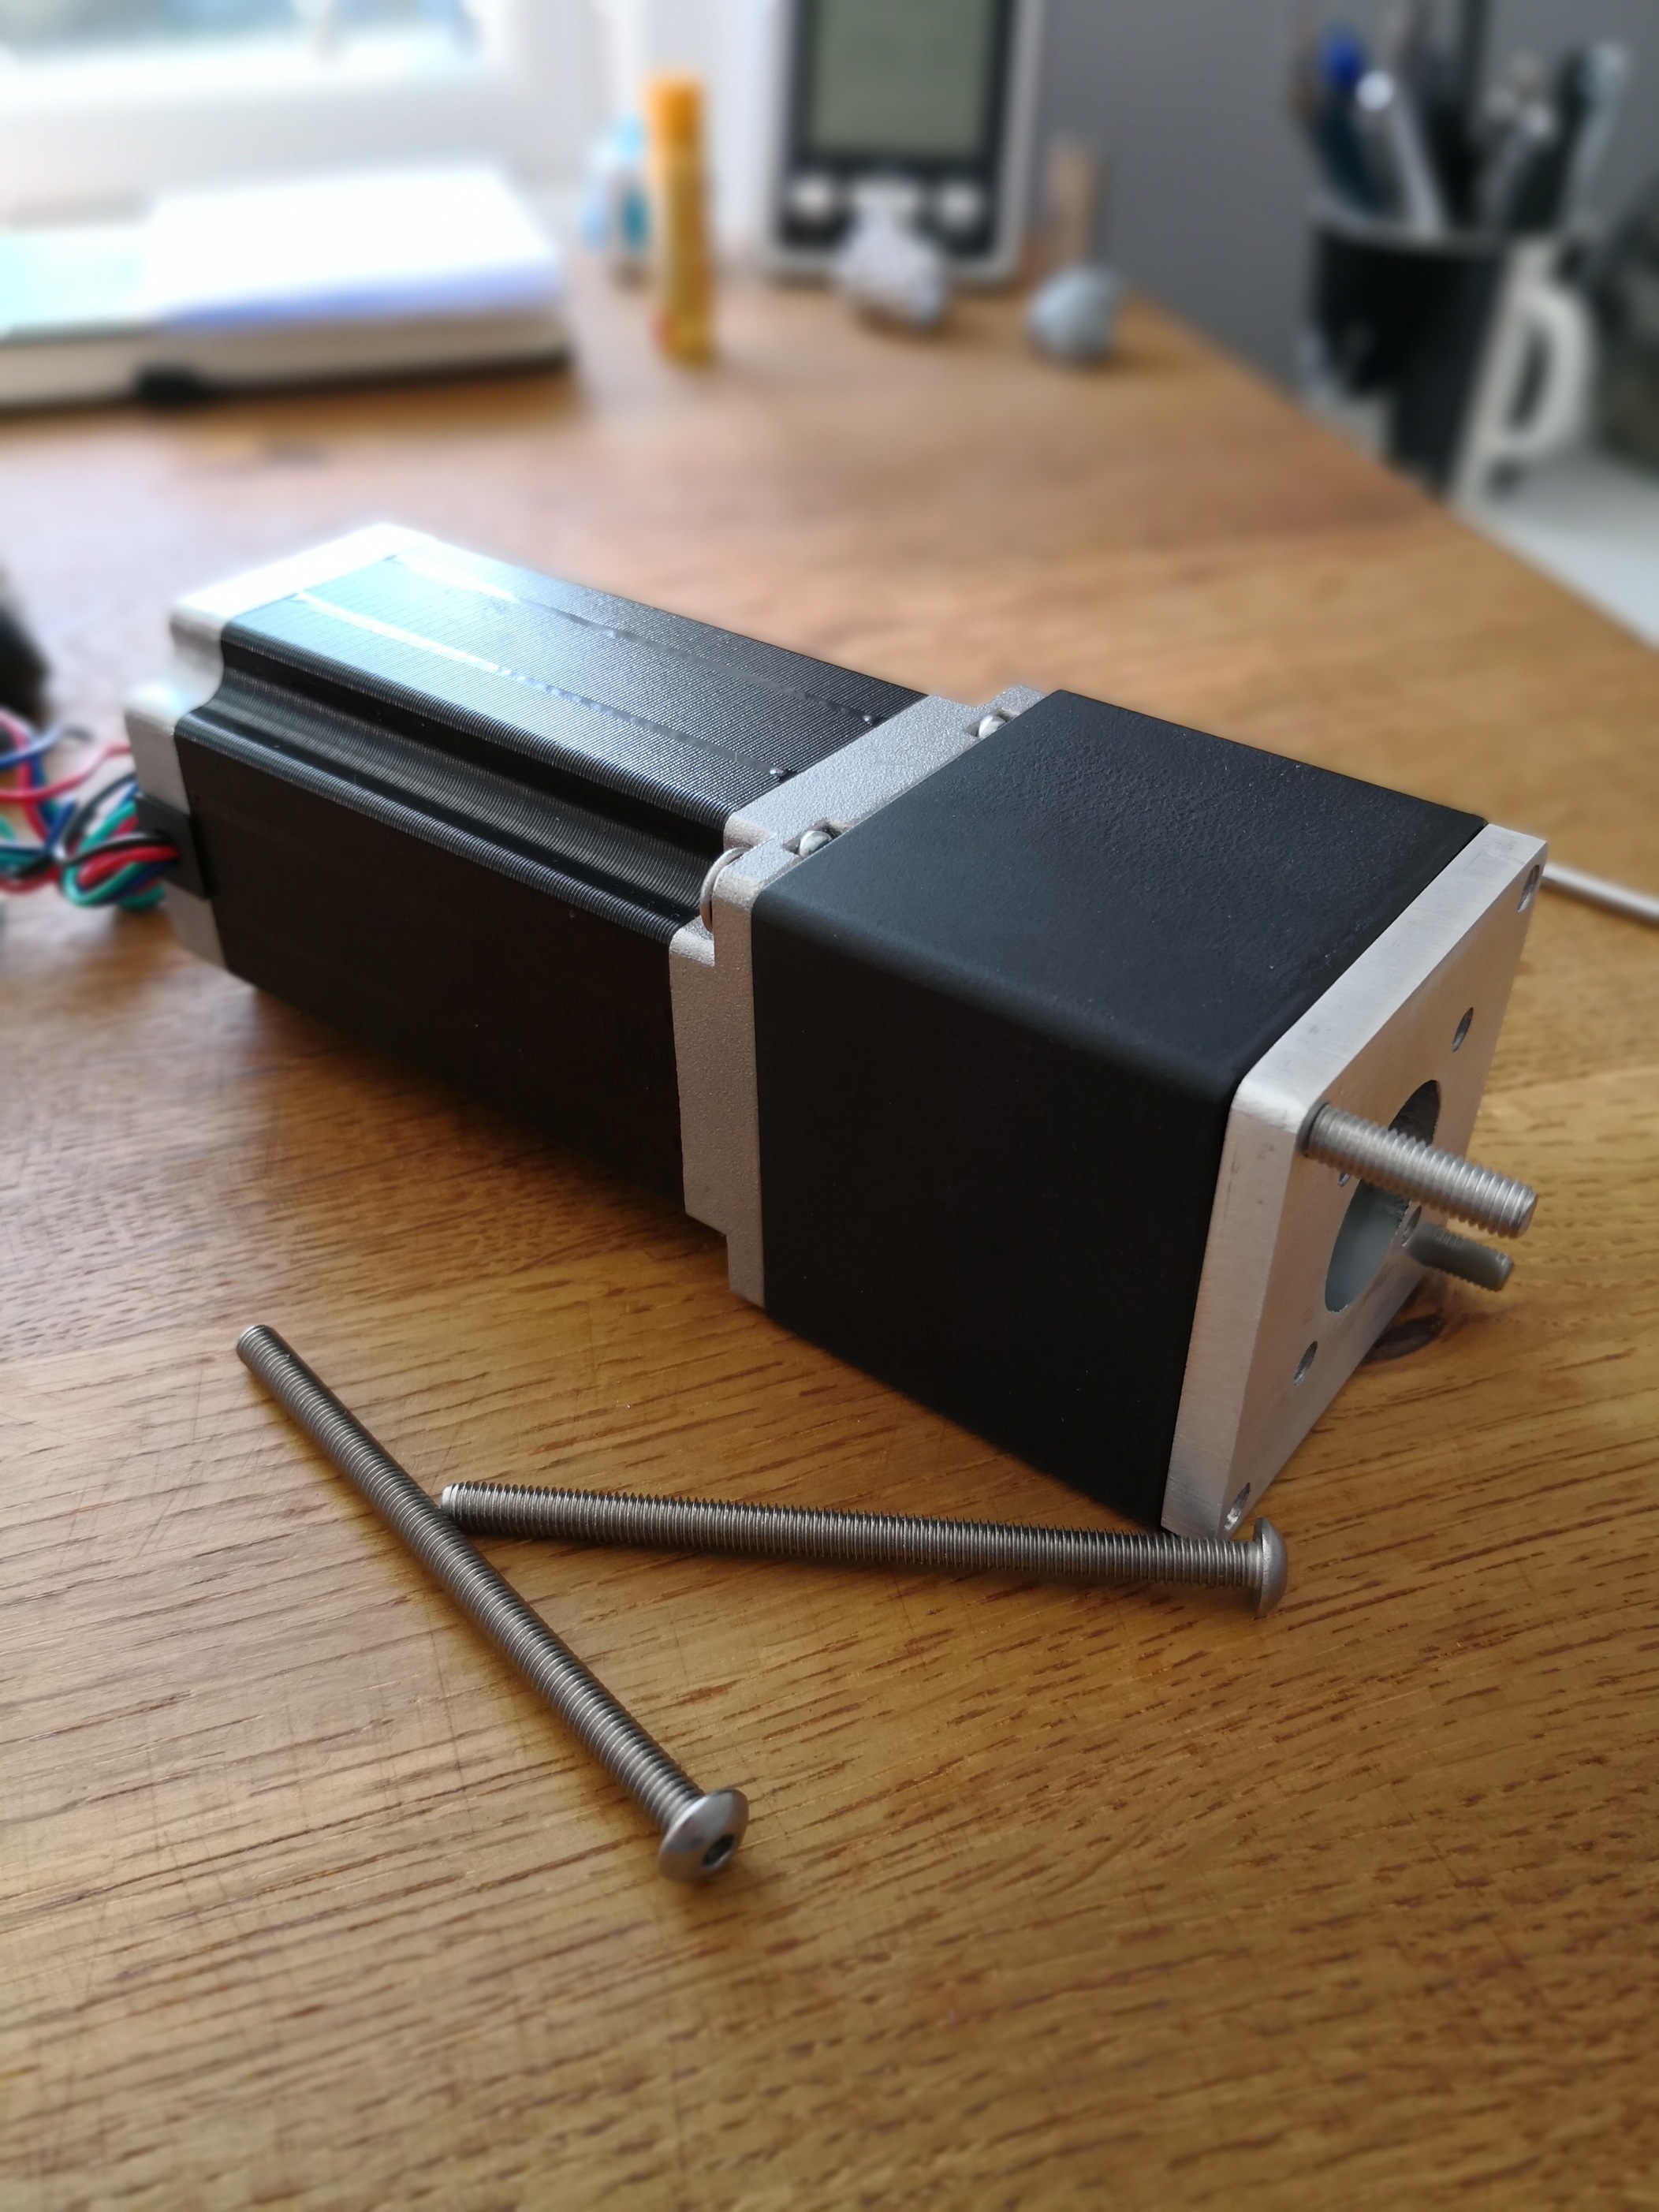
Worth noting don’t you need 65mm screws and don’t use button head.
1 Like
When you guys machine aluminum, are your cut edges 90-degrees to the faces or a little off?