A little off at a time - 0.2mm doc through the piece. If I have the item in a vice I can mill through it leaving 0.3mm then save 0.1mm off per side at a time.
4 Likes
That’s looking great! When are those rails coming?
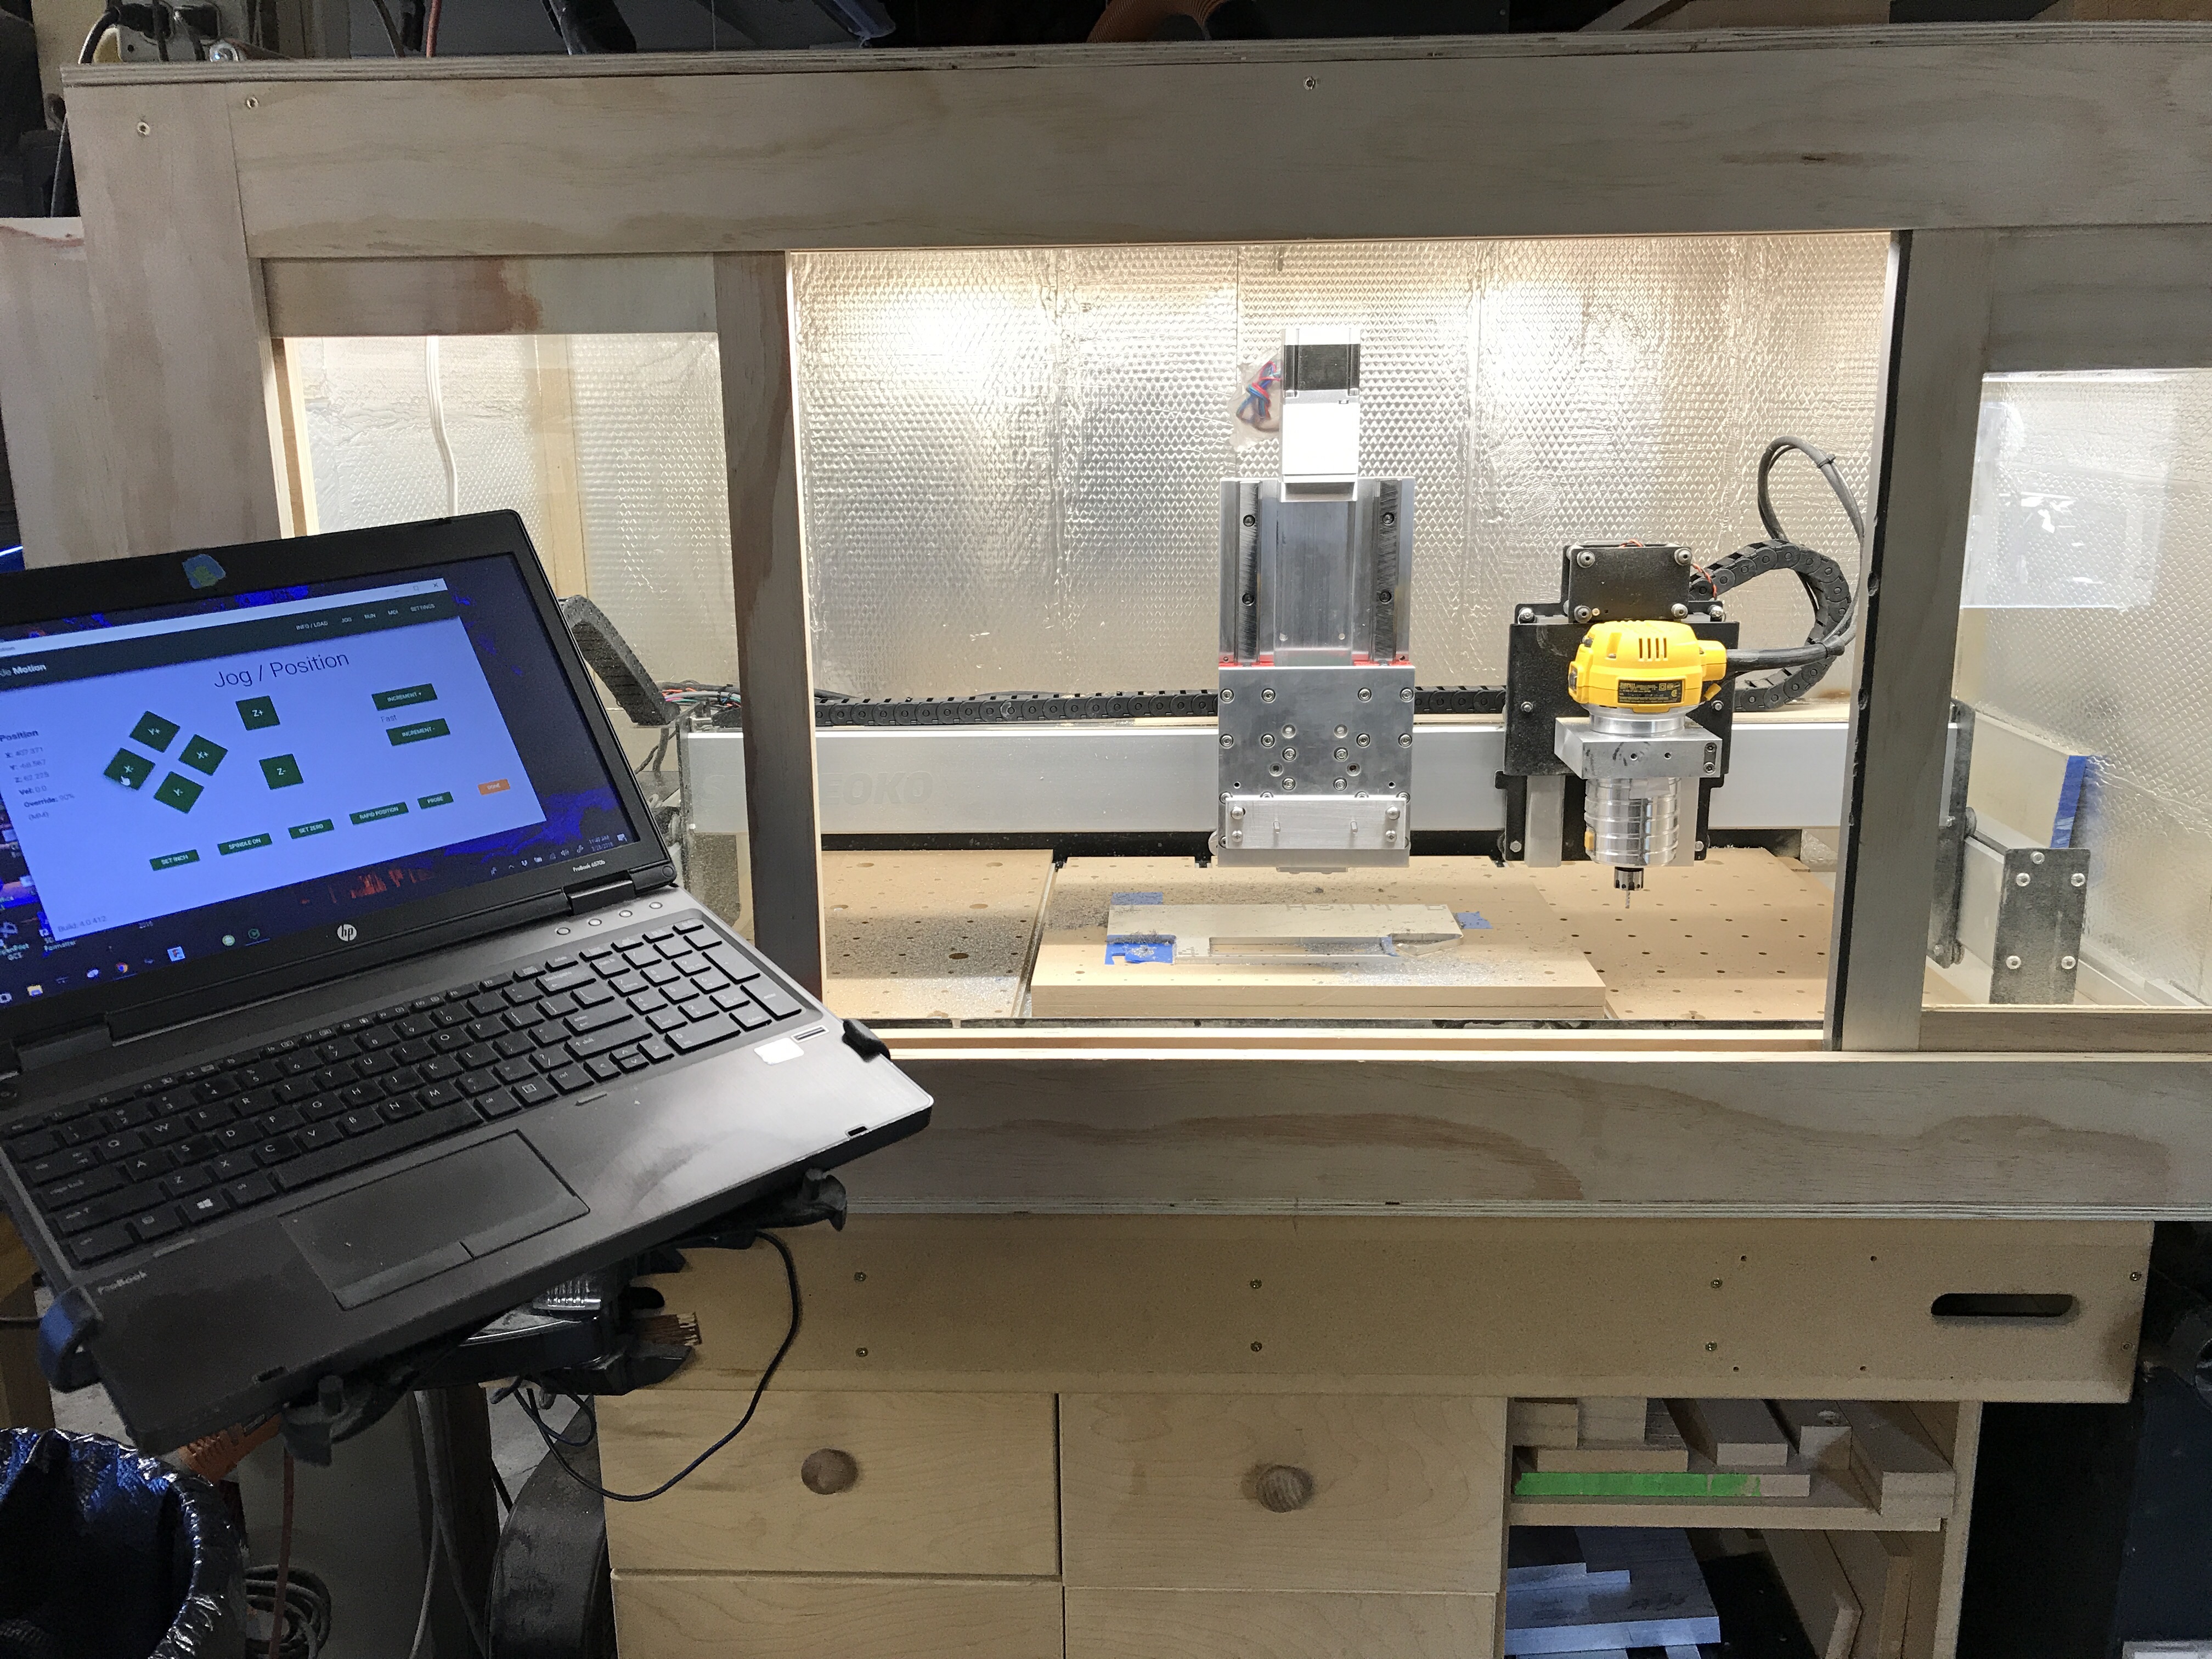
Continuing to progress.
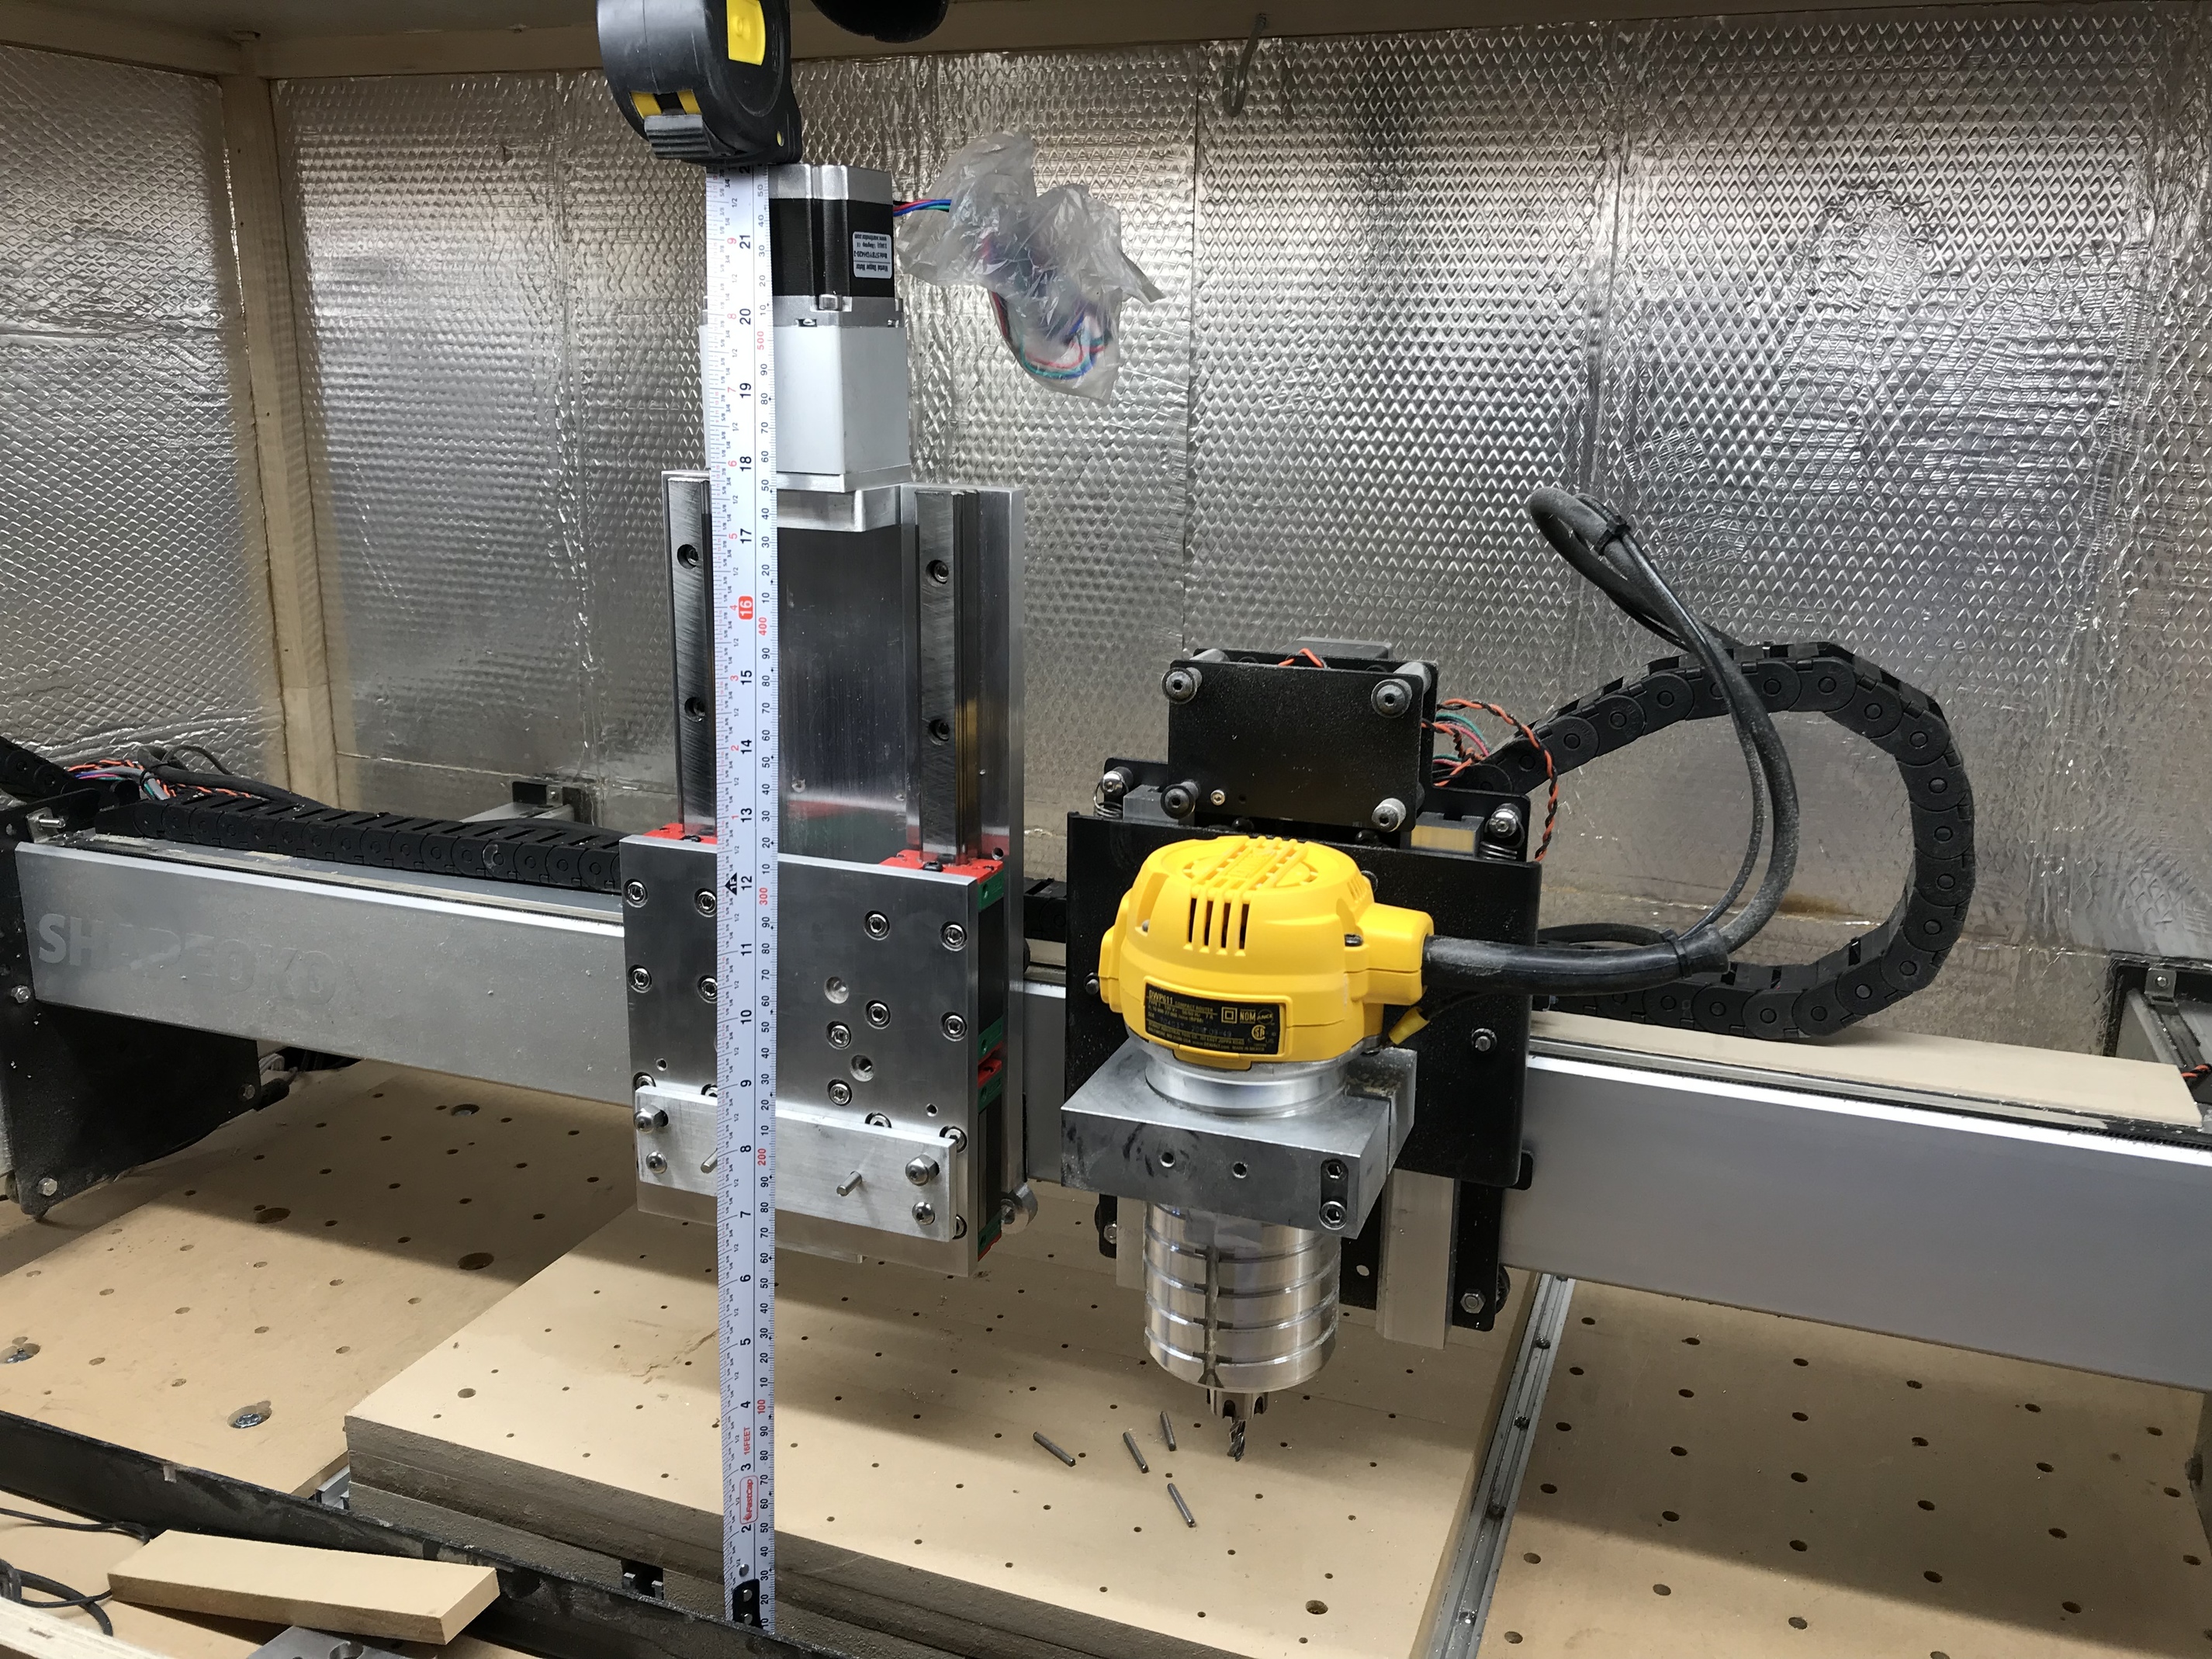
I tacked the 611 mount on to see how it’s range of motion compared to stock.
Both Z’s are at their lowest point. My preference would be to match the stock -Z without having to drop the 611 all the way down in its mount. Is there an engineering consideration that would prevent dropping the 611 mount plate on the new Z another 30-40 mm?
BTW, the hole pattern on the rails I received is 30 mm from the end then 60mm between hole centers, 5 holes total.
3 Likes
Amazing! Would love to do this to mine someday.
Should be fine to drop it down. How does the movement feel? Nice and smooth?
Re movement, not so smooth, yet. Need to fine tune the placement of the bearing blocks.
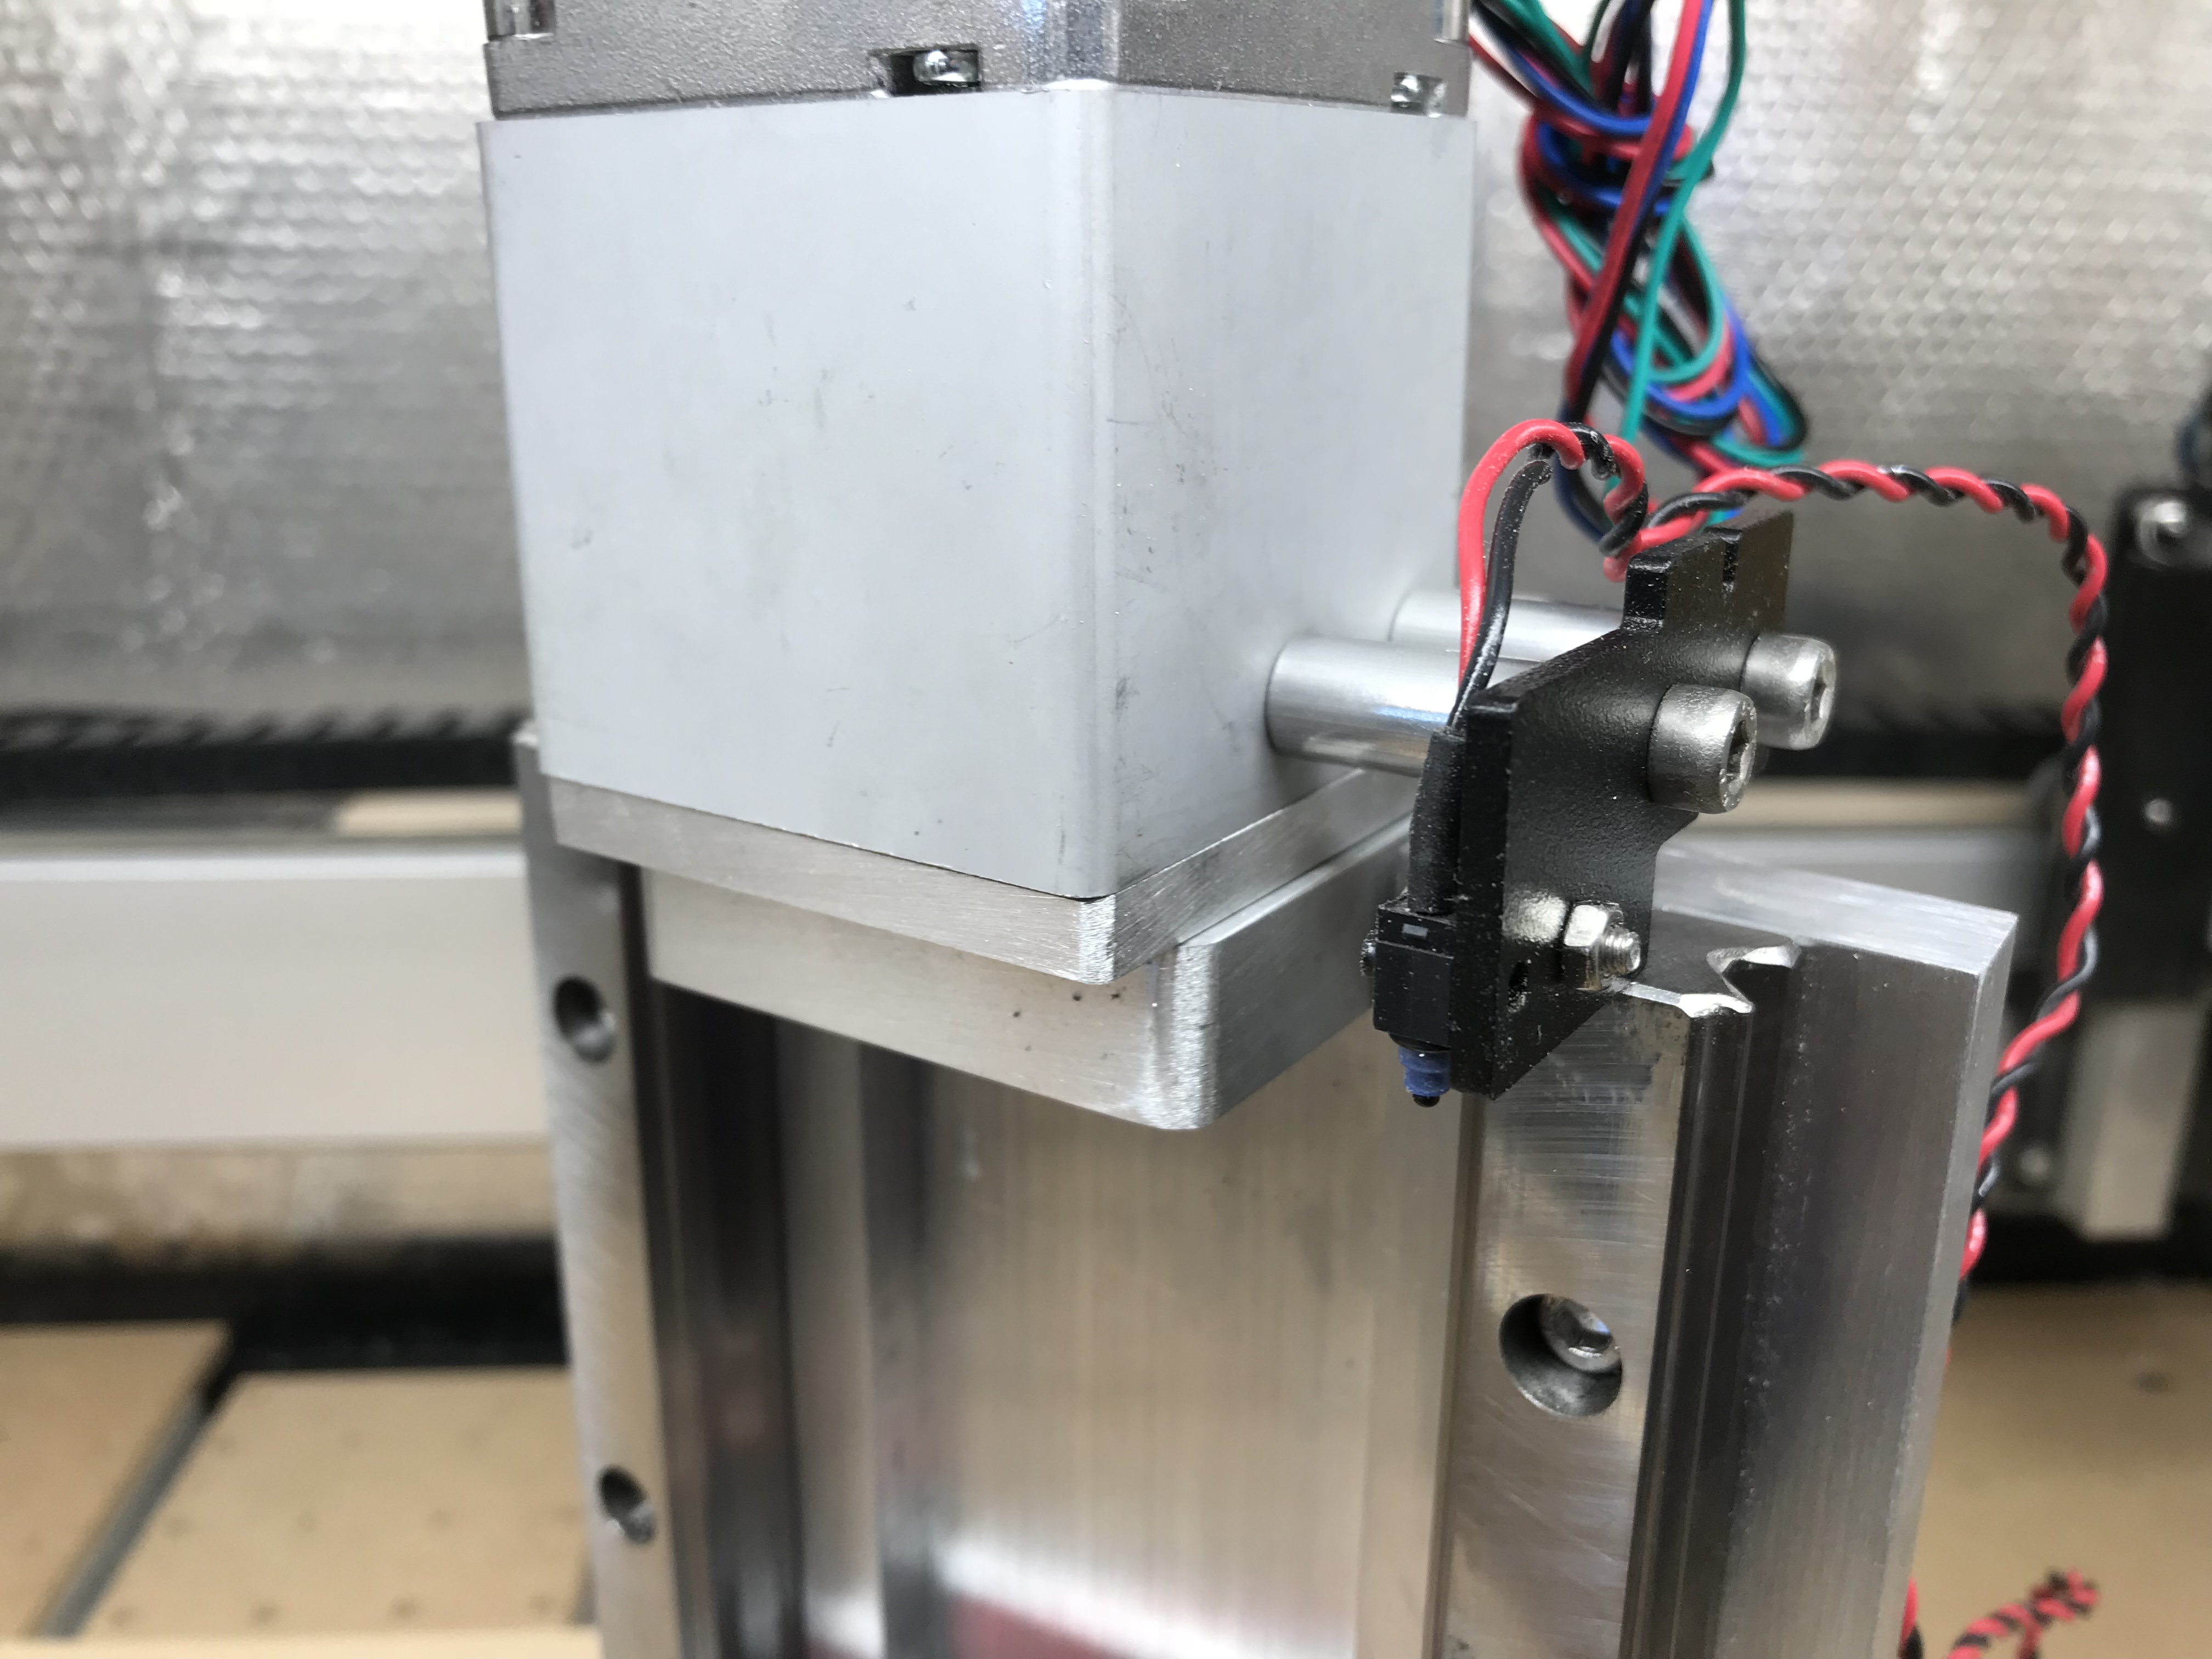
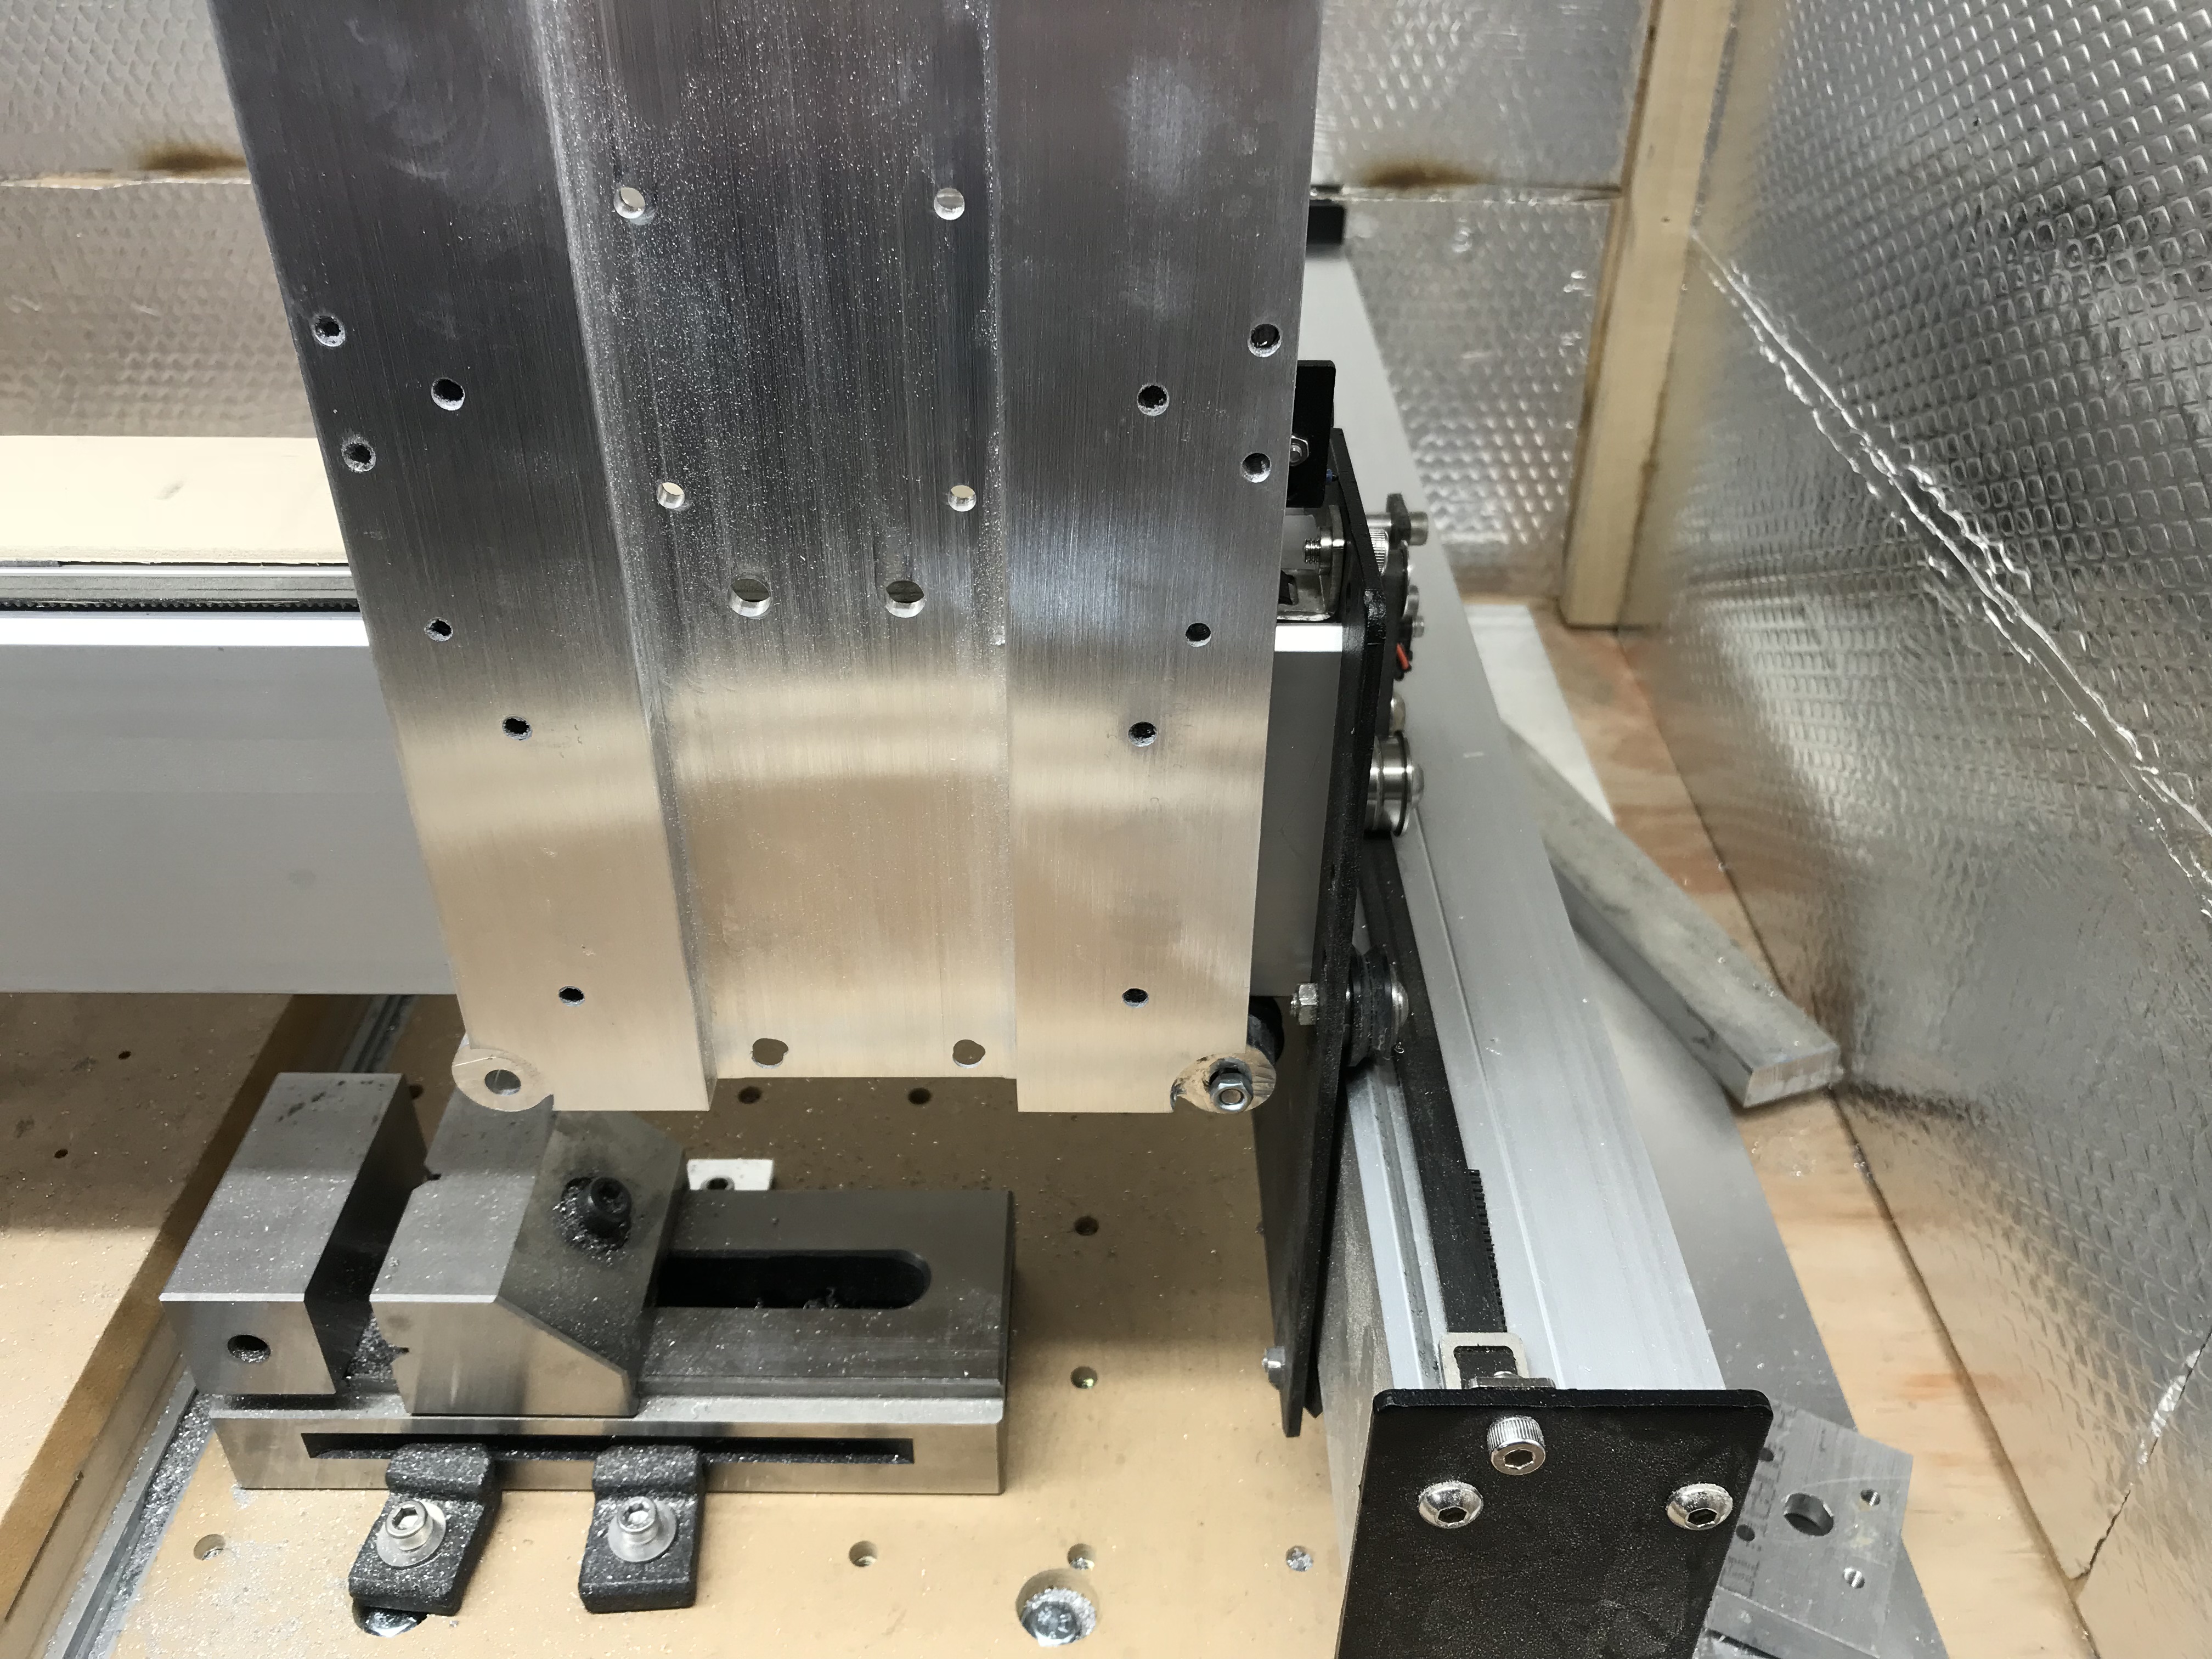
It’s all coming apart so I can machine the holes for the limit switches and do a final clean up.
I’m really pleased so far, design is spot on. Well done Luke.
3 Likes
I have done a design with limit switch holes. However I don’t have access to my computer to send it over. The top hole needs to be set at around 60mm and the bottom 70mm as the ball screw will take up 10mm of your internal z height.
If you want to do really neat use an orbital polisher with 240grit sand paper
Hi Luke !.
Good and when one has in screw in place what is the adjustment that should be done in GRBL so that when the CM is in use of the exact depth?.
Thanks .
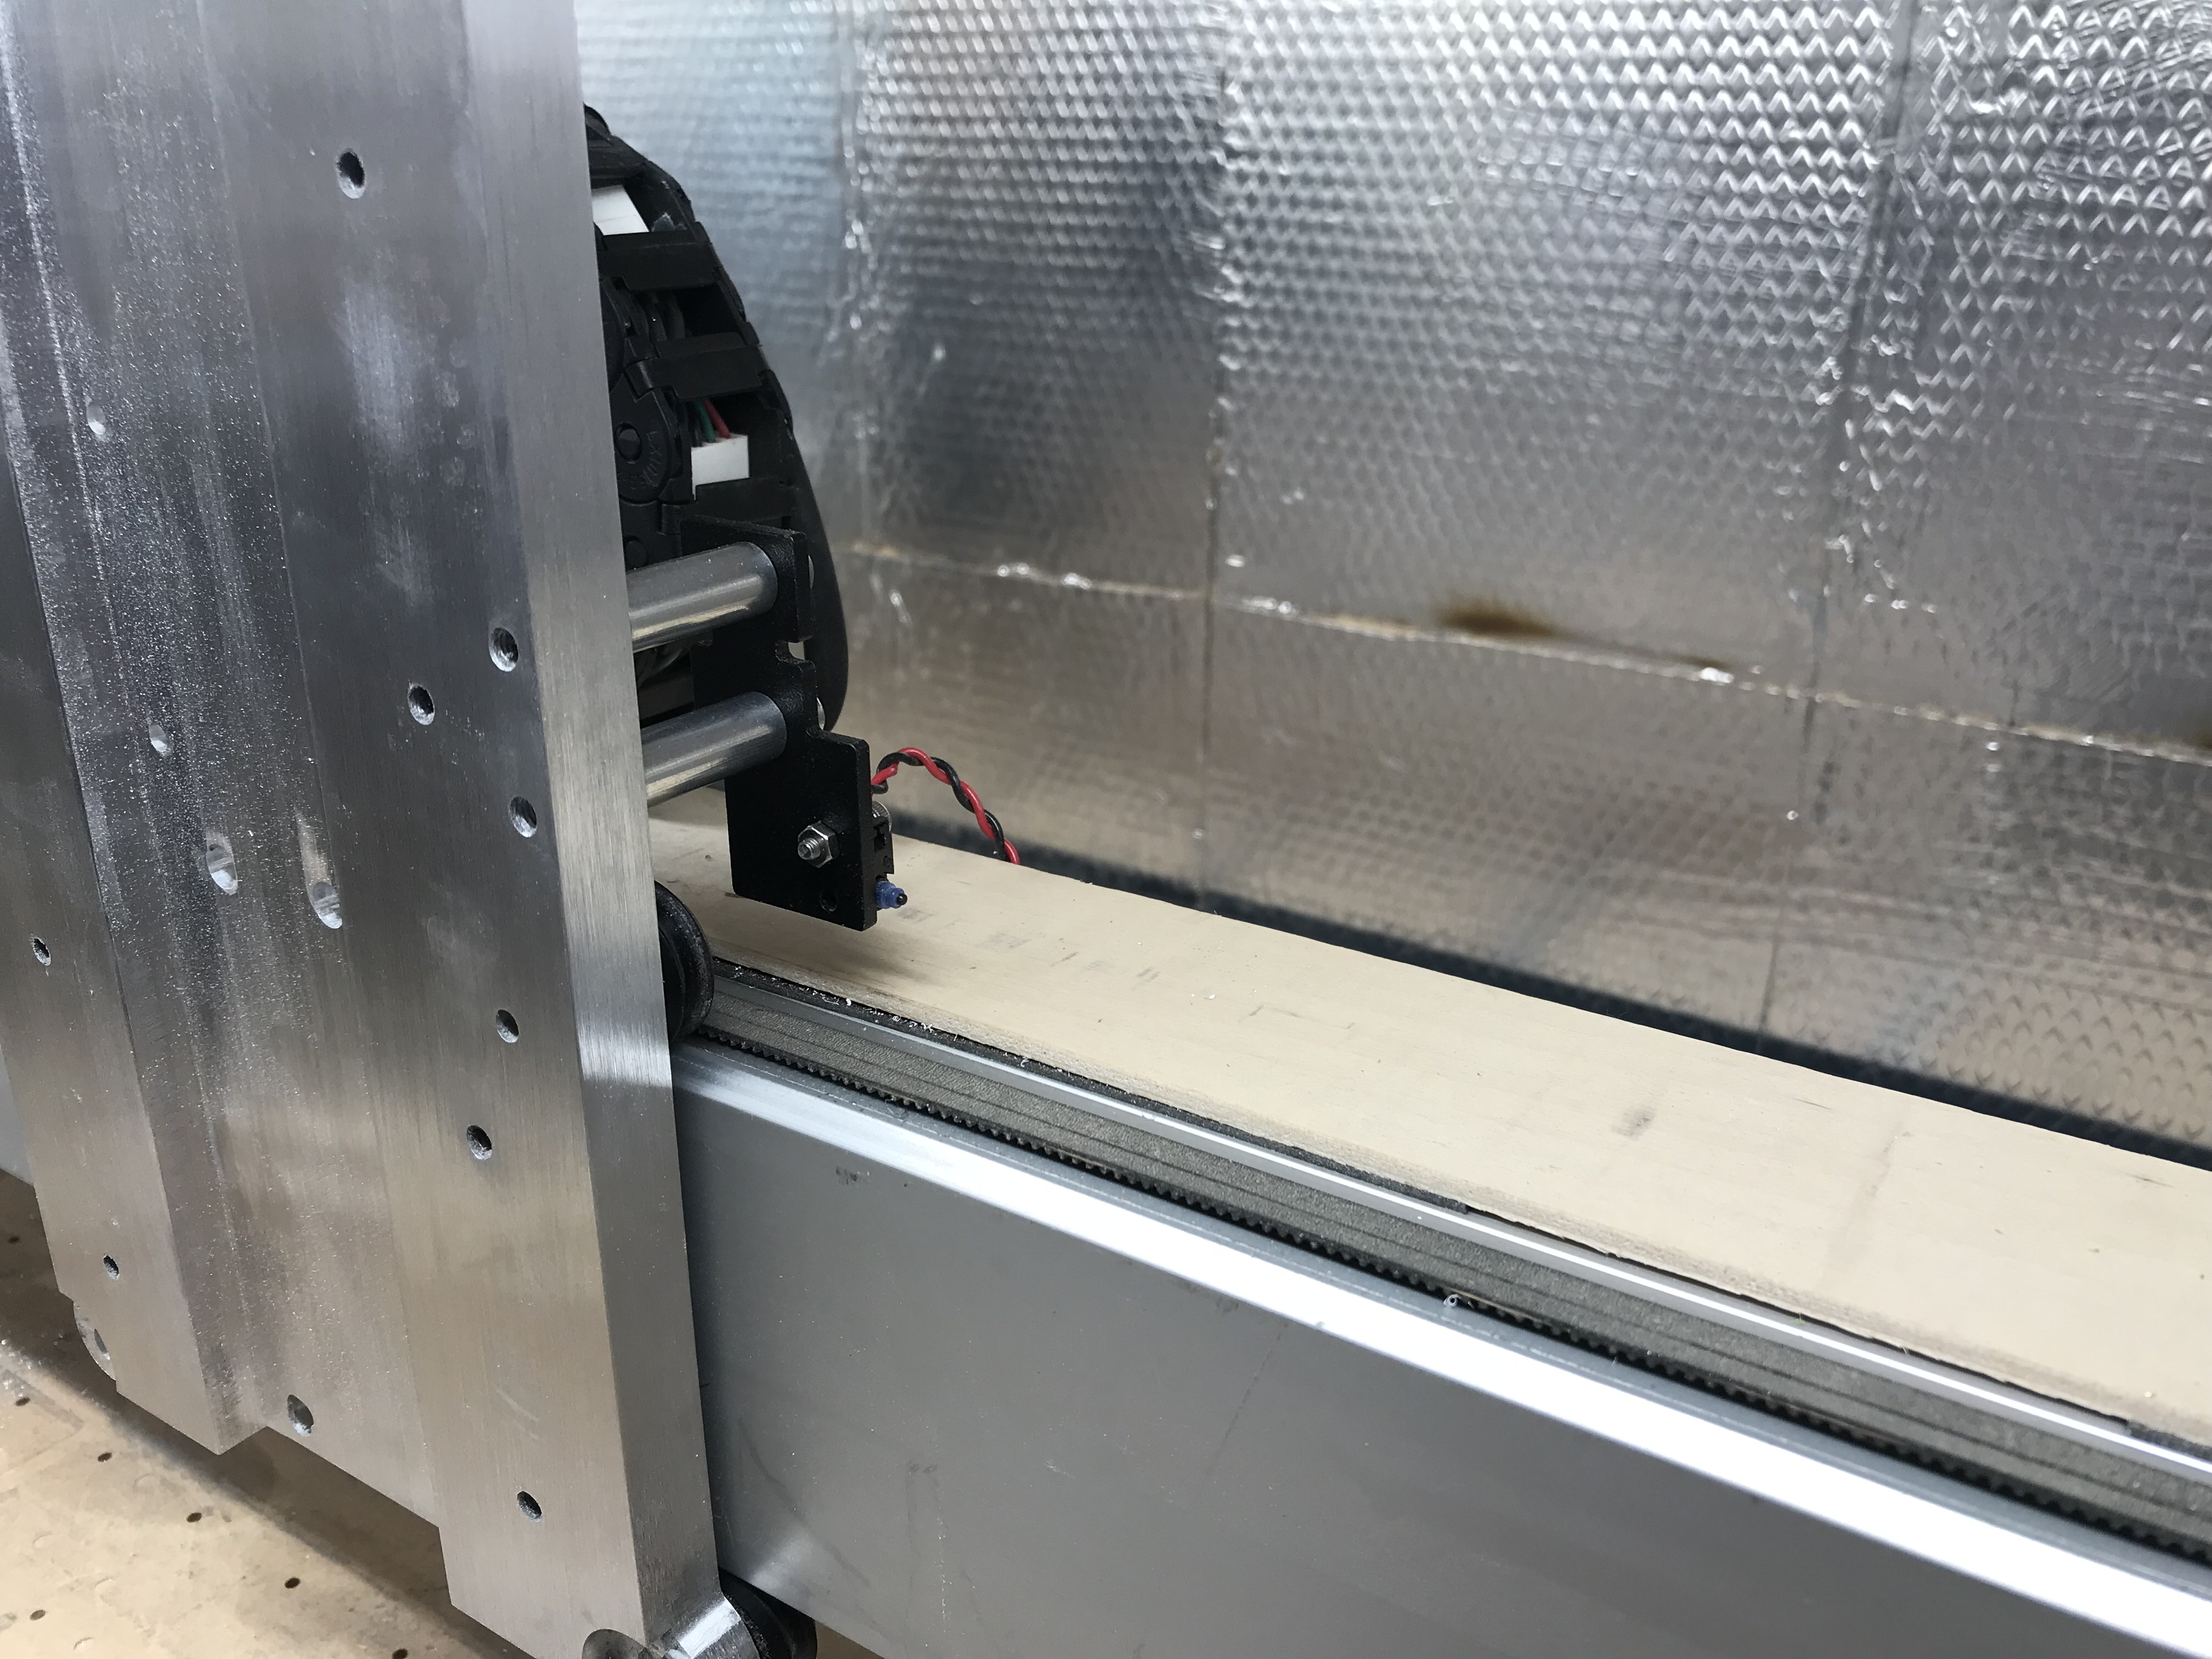
This is what I cobbled together to utilize the stock C3D limit switches. I put holes on both sides in case I want to add a switch. It could probably be another few mm lower. The lower v wheel is 3mm from the X plate, close enough I think.
Not being an engineer, I snuck up on this with my mdf prototype.
Don’t know about the grbl stuff, yet. This old brain has been resisting, every time I tackle learning grbl I fall asleep, go figure. Will also need to improve my chops in grbl panel. Or, UGS.
Anyway, an interesting exercise.
1 Like
I am surprised at the development of his work, he is a very clear example of the capacity of this kid, I am very pleased to see his work and Luke’s.
I believe of using a 1605 ball screw you change the z movement to 50 rather than 400 but will confirm when I get back from holibobs.
@Griff I’m loving watching your build. Again I do have a design that uses proximity switches of you’d like to have a look at that?
1 Like
Thanks for the proximity switch offer. Maybe someday for those.
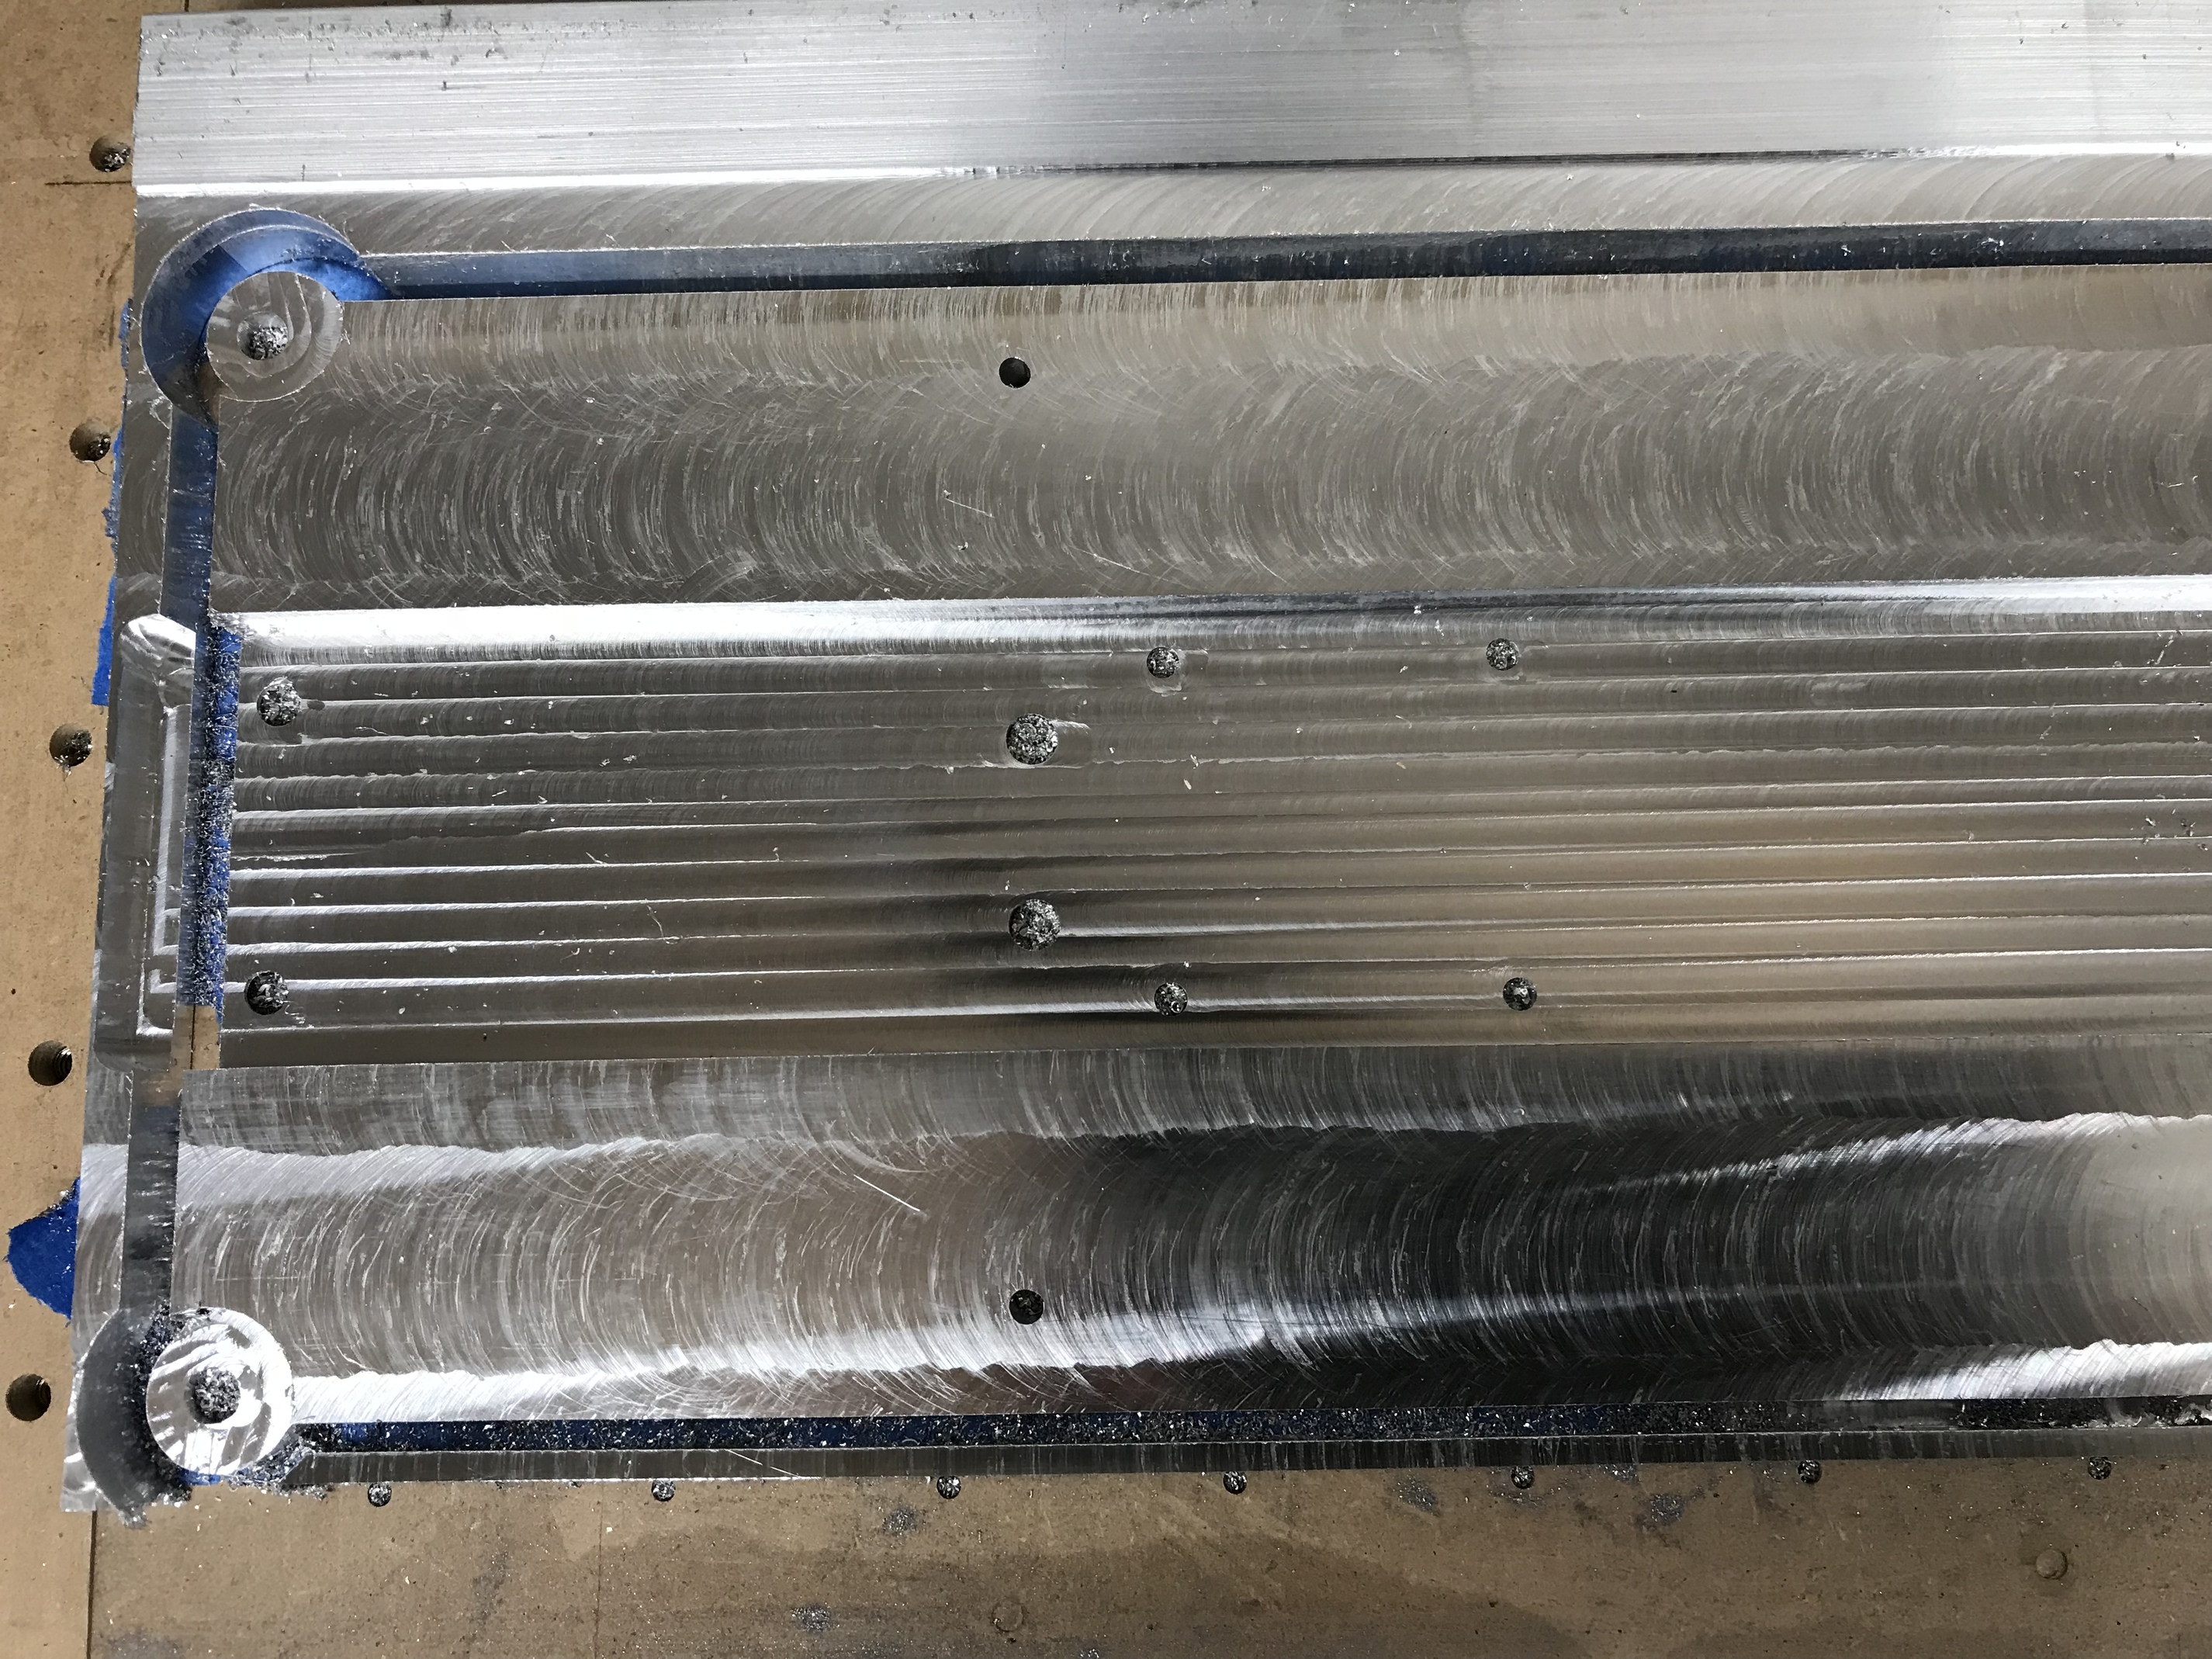
The C3D switches have given good service so far. I have done additional machining 3 times on the front plate, once on a bearing block and twice on the back with perfect results. The C3D probe was critical for this, too.
For anyone wondering, additional machining meaning removing a part from the SO3 and, later, placing the part back on the wasteboard, establishing new zeros and recutting previous cuts to make wider, deeper etc. Or, to cut new geometry added to the design, such as counter bores around existing holes, any inaccuracies in this case are clearly visible.
I’m waiting for parts now, stay tuned…
I sure am glad I had the foresight when I built this latest enclosure to leave room for eventual mods!
All I’m waiting for now is the ballscrew…
4 Likes
Smart. When I did mine I had to make a whole new enclosure
That’s not an enclosure, that’s a shed.
Dammit, something else to add to my to-do list
@Griff, if you get a chance would you be able to take a side shot to give some perspective on the size of new mount vs the stock one?
If I remember correctly my original enclosure was something like 40cm high, for rev 1 I extended this to 50_
-55cm to be safe
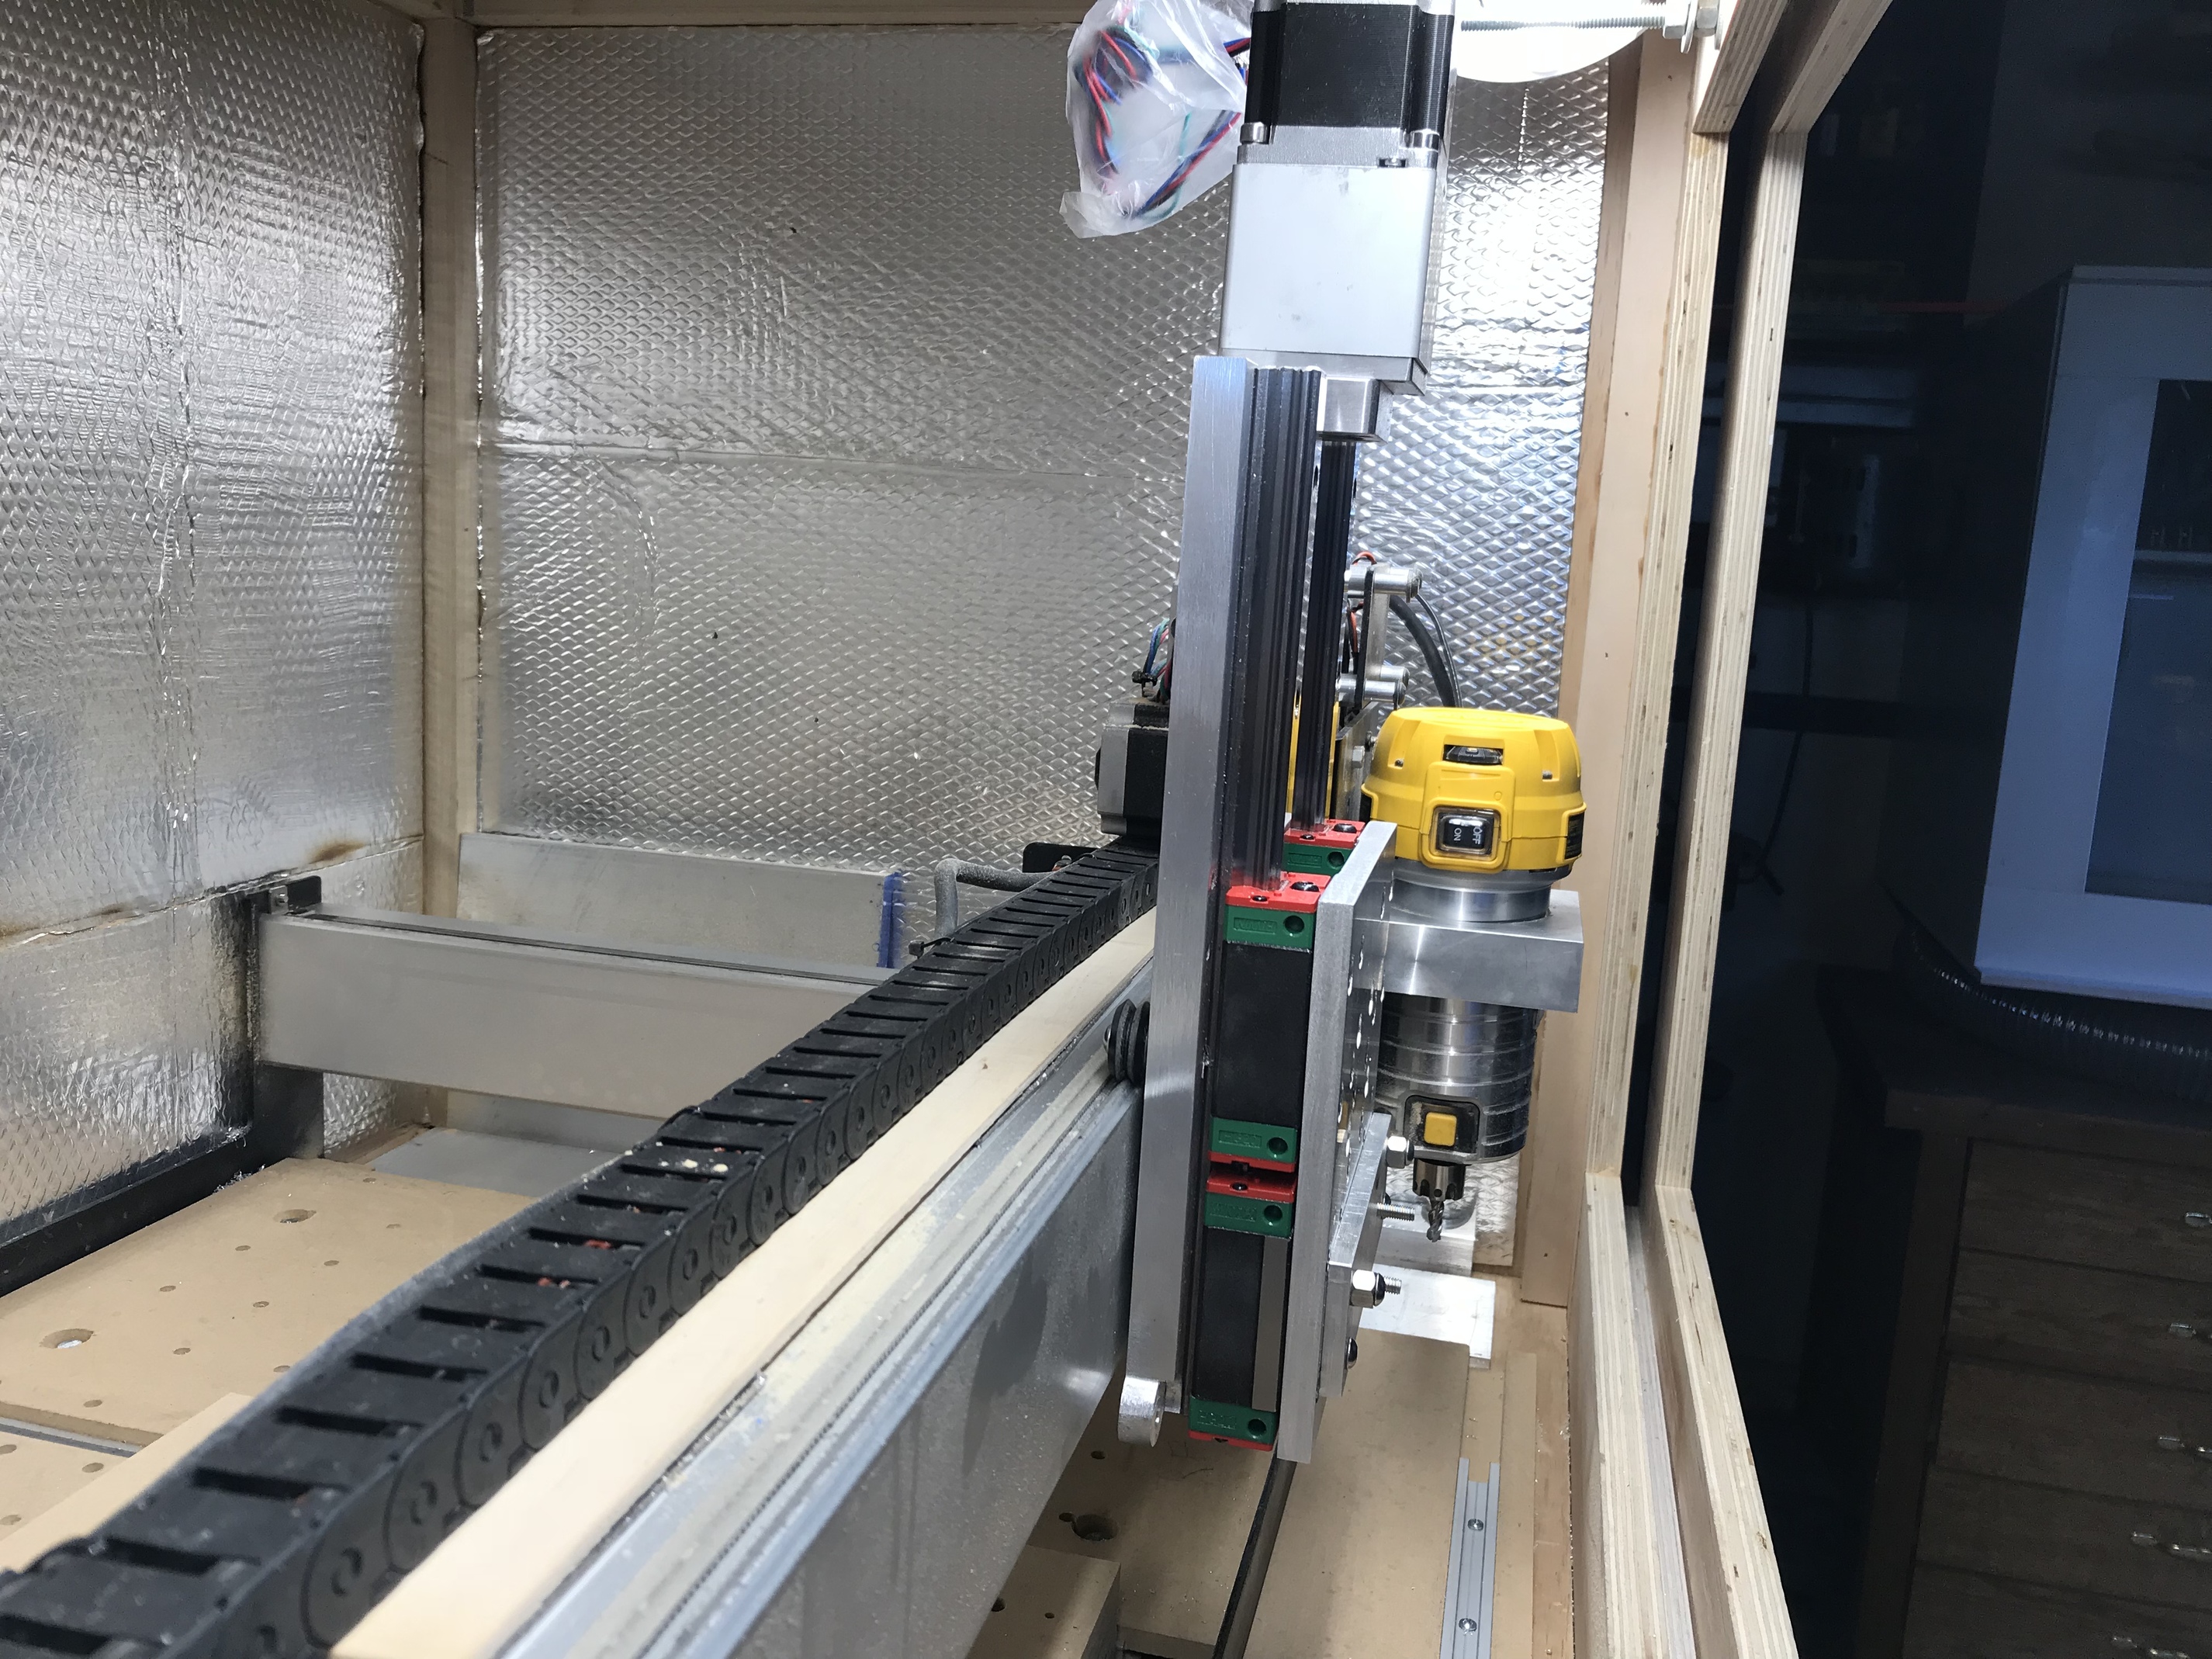
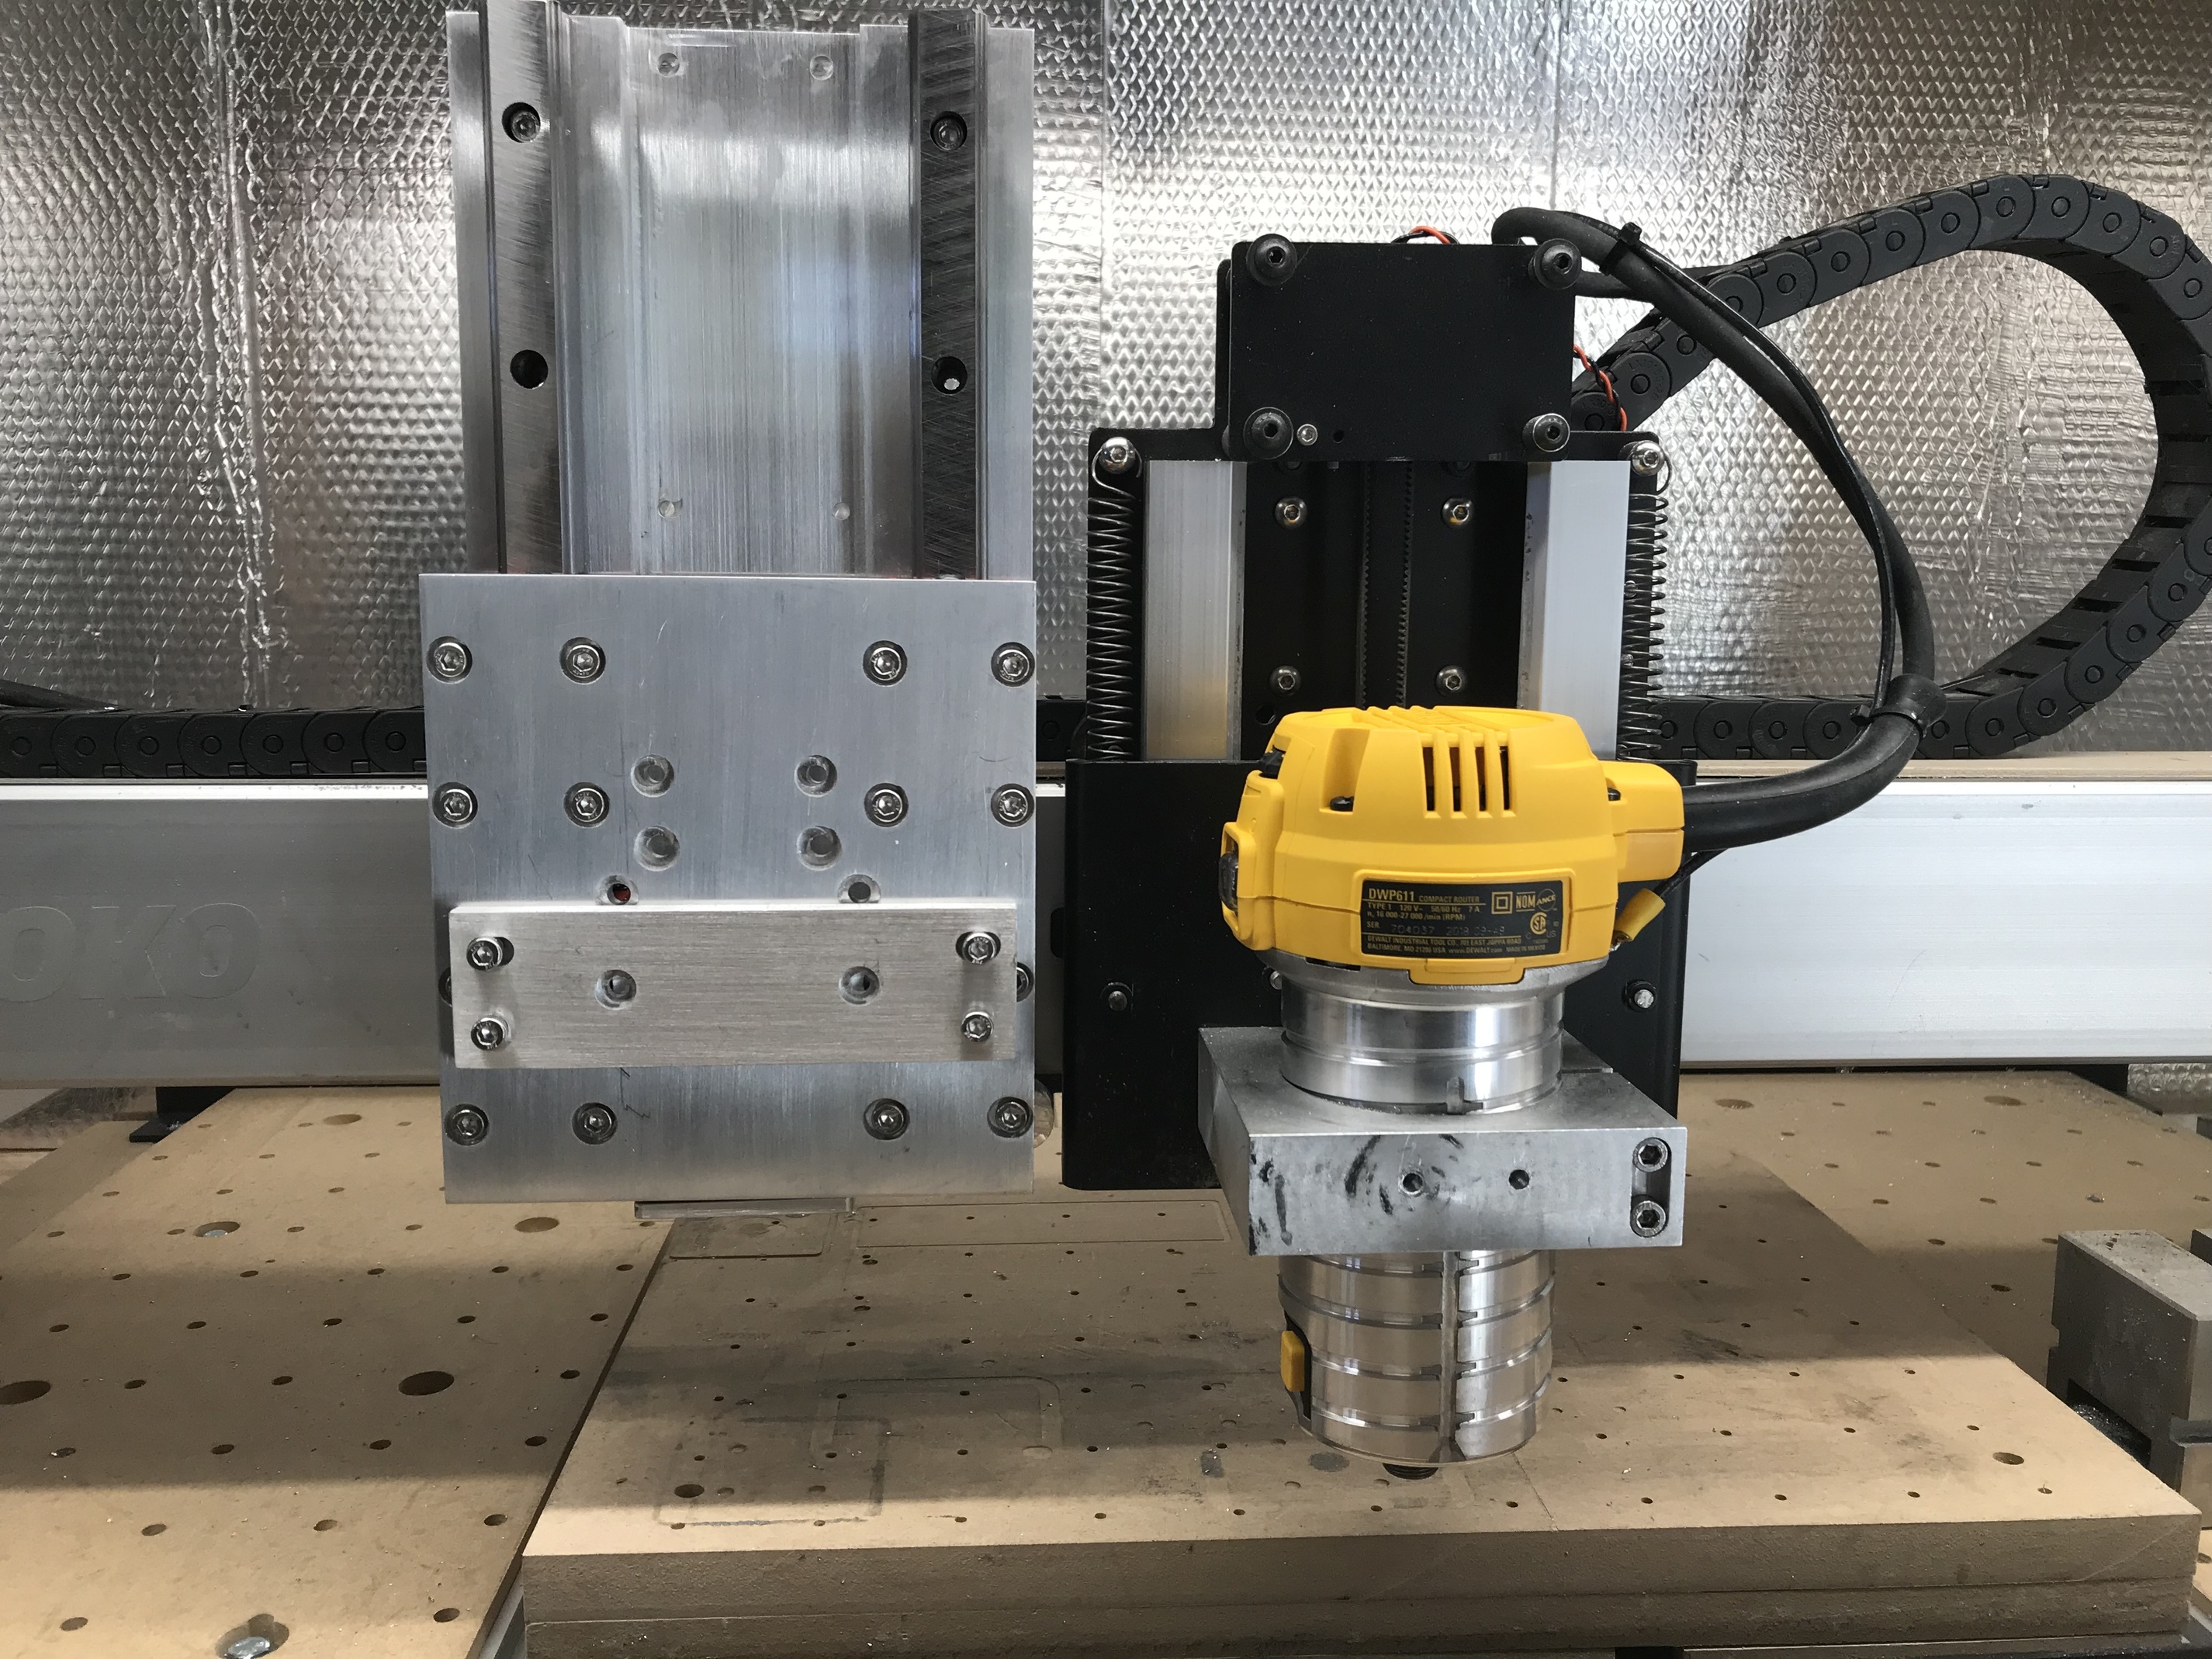
The front of the 611 mounting plate is about 35mm forward of the mounting surface on the stock Z.
And, I’ll thank you to not call my Cathedral of Creation a “shed”. 
1 Like