Thank you for help. I really appreciate it!
1 Like
You can definitely go narrower than 59” if you have access to the sides. I went 54” but in hindsight wish I was min. 56”.
When you think about your x and y dimension, are you subtracting space for the enclosure thickness which could be
- 3/4 x 2 = sheet of MDF on each side
- 2.5” x 2 = two sheets of MDF with insulation in between each panel
*0 = as the enclosure is built around the base (not on top of) - some hybrid
Another thought, where will your power outlets be? Do you need table space for these or are you just drilling holes in the sides for the cables to come out?
FYI - I’ve had the machine on my torsion base for a month now and every day redesign my enclosure slightly, so I keep thinking about these things.
happy to answer more questions (also, if you DM I’m happy to set up a zoom session where I can give you a 360 view of the machine on a table to make you better informed).
3 Likes
@Intohouse Good point and for clarification I was thinking of the clearance required around the machine not including the enclosure walls/ceiling. So if the footprint on the website is 50" (X), 42" (Y), 19" (Z) does this include the space needed for the drag chains on the left and right sides and so on. So for example if you would say keep at least 3" clearance on the sides X direction 50" + 3" (left) + 3" (right) = 56" plus what ever is needed for the enclosure wall thickness. Same for the clearance front (dust boot), back and overhead for the dust collection hose to clear the Z axis and not get tangled/wrapped around the machine (thinking of when cutting our large circles/ellipses).
@Boss302 I hope this isn’t considered hijacking your post, it’s just your enclosure looks great and I’d be interested in hearing your thoughts on spacing inside the enclosure as you run a few projects through it and learn from your experience.
1 Like
Yes - the footprint “x” includes the space for drag chains and the control panel which sticks out.
The footprint “y” does not include the additional room for sweepy. I’ll go do some measurements later.
1 Like
LOL…Not at all. This is great to see everyone helping out with questions and answers.
Patrick

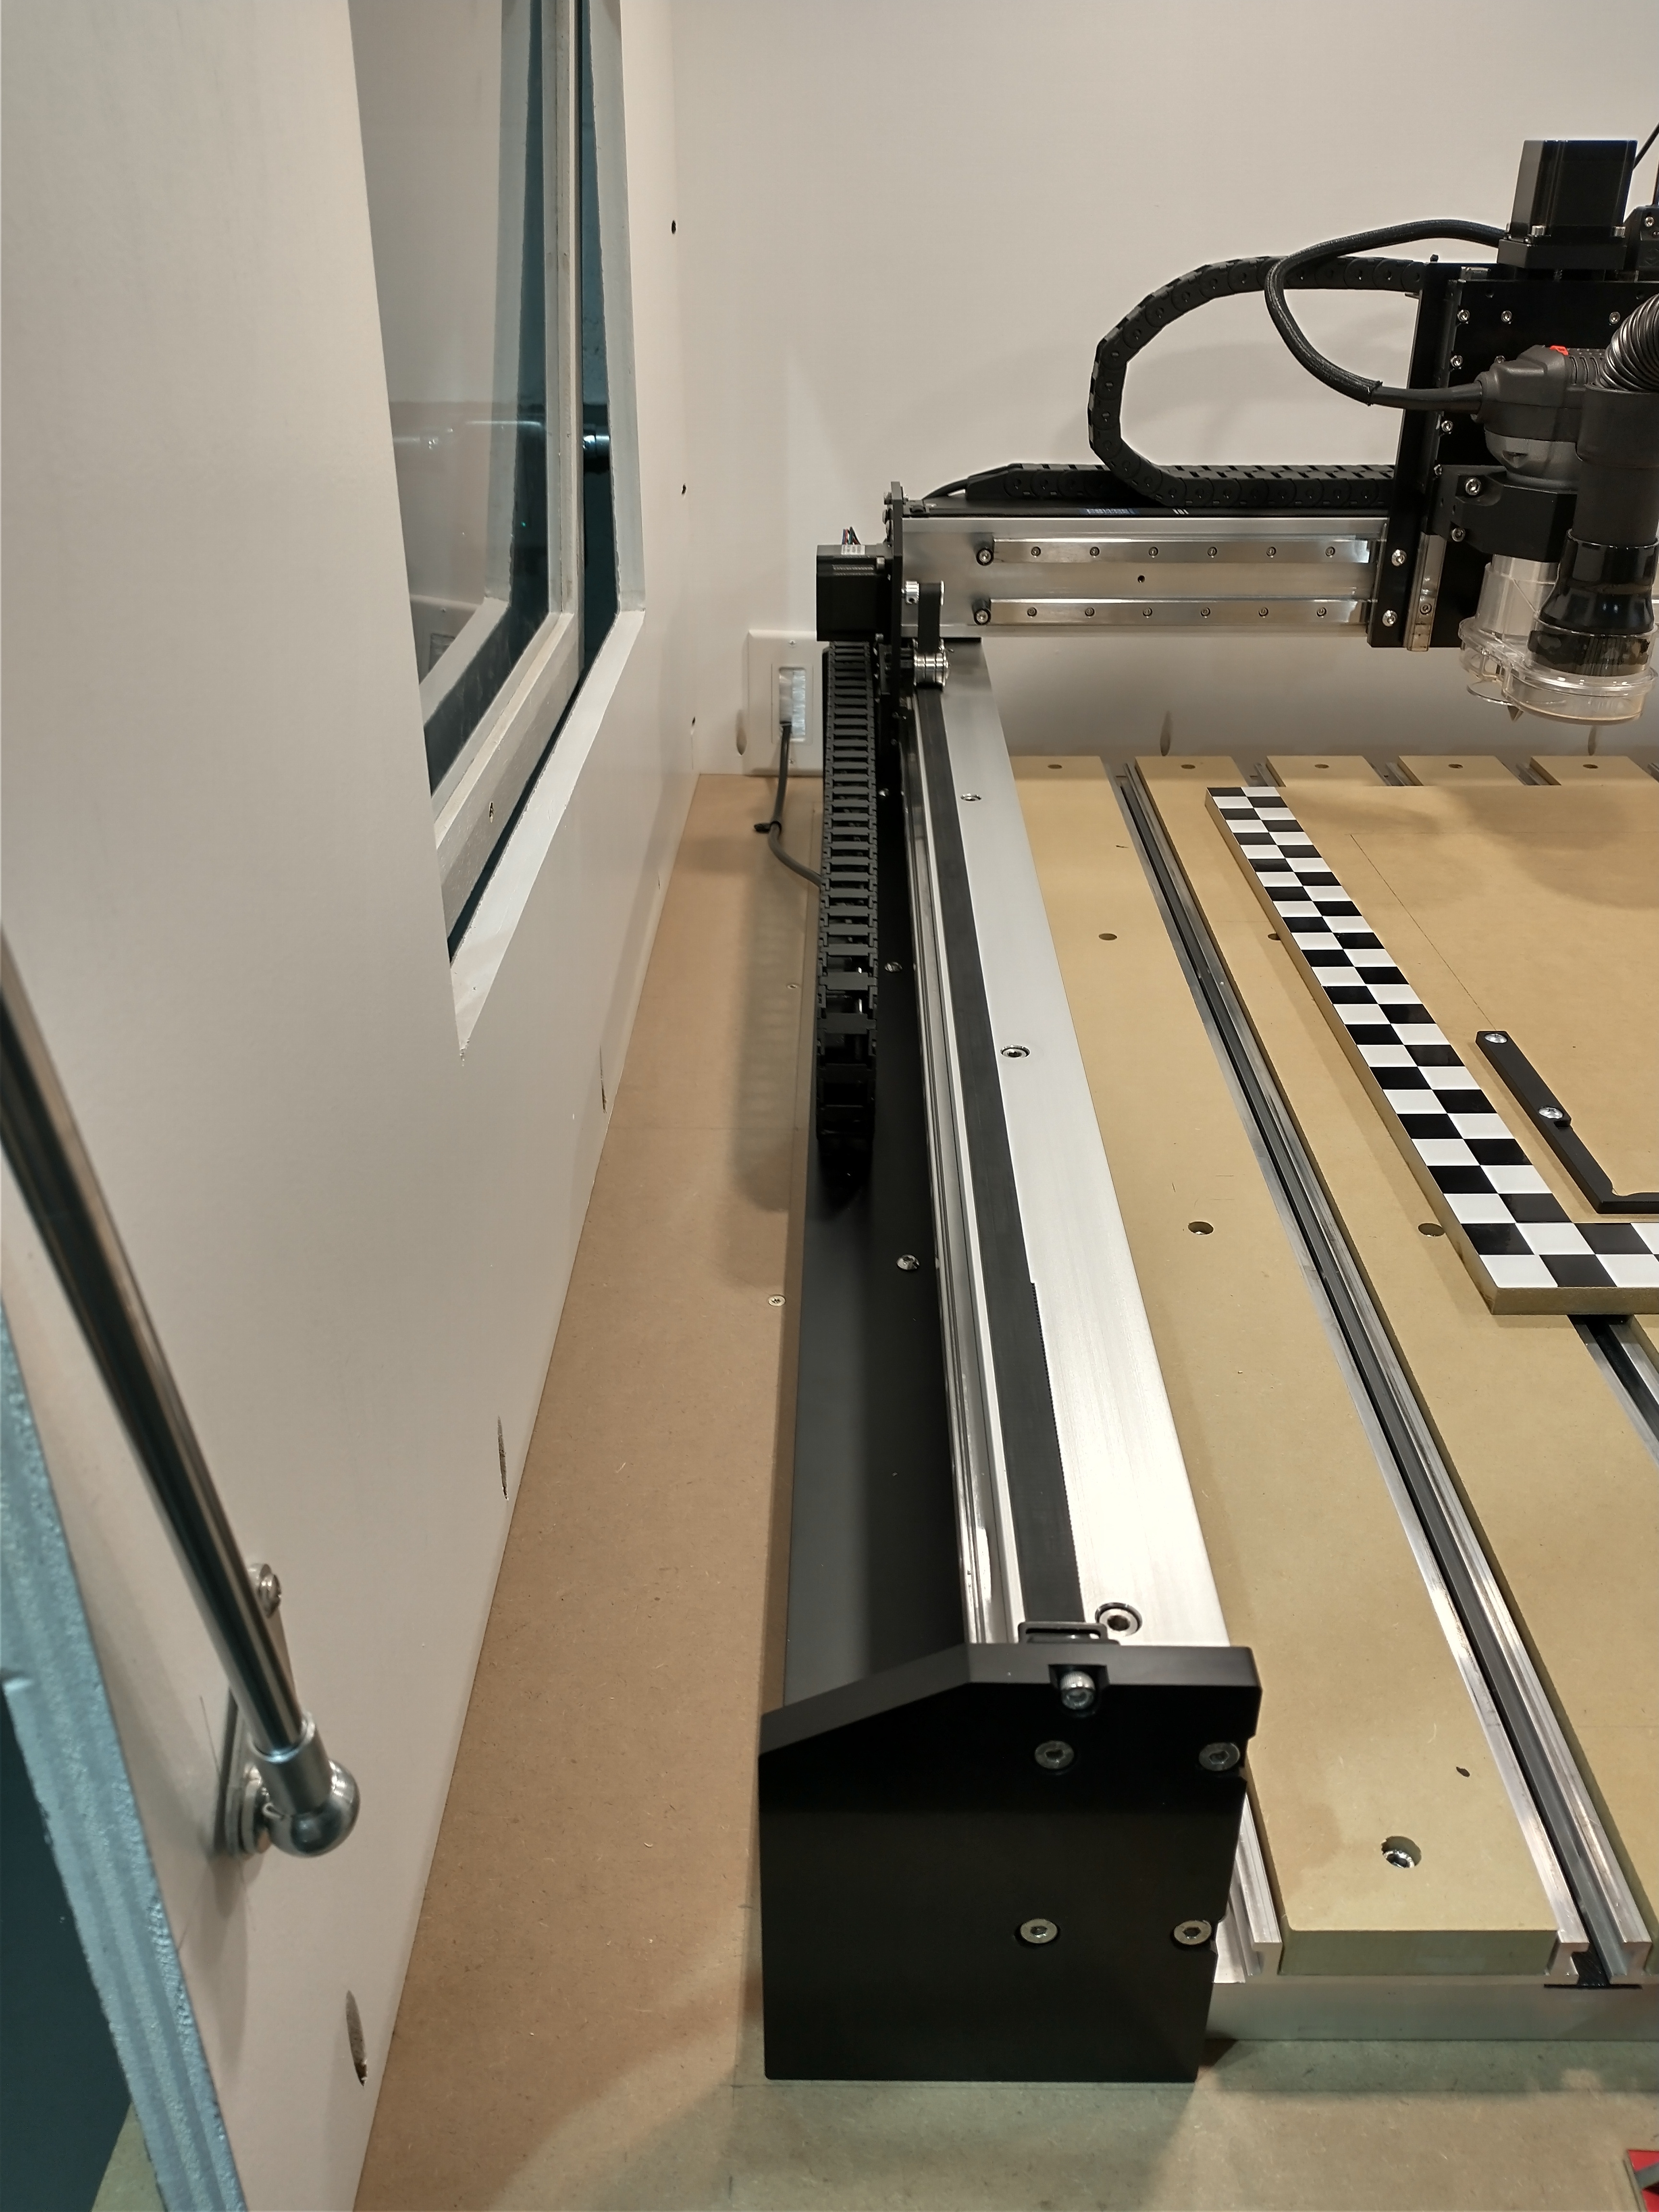
So to answer the question on enclosure space I allowed myself 4" completely around the Shapeoko Pro XXL. That gives you a rough interior measurement of 48" x 57 1/2". This allows you plenty of room around the machine for maintenance or even the ability to move it around for final nesting. I also took into consideration the sweepy and vac hose protruding out past the foot print of the waste board. And for some add piece of mind when constructing the door I add another 2" of clearance to the front of the machine.
6 Likes
@Boss302 thanks for the pictures. I did notice your using the wall plate with the brush grommet/filler to allow passing wires while helping keep the dust in the enclosure. I was actually thinking of finding a large one like in the picture (width 33" - 36" x height 3" - 5") to place at the bottom of the front door and back of cabinet at the height of the spoil board. Would allow me to pass longer pieces through the enclosure while reducing the chance of any dust escaping while allowing air to flow in through these brushes creating a draft towards the dust collection to gather as much of those tiny dust particles as possible. I may even consider connecting a 4"-6" duct system with one of those inline fans and exhaust outside my shop or some Merv 13 filters. 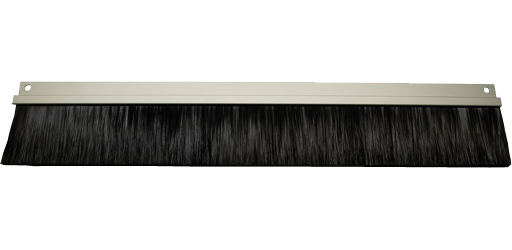
2 Likes
Patrick
I think that is a very good idea with the large brush grommet for a pass through opening. I will have to say that so far I have had absolutely no issues with escaping dust while cutting. The sweepy has been working phenomenally well even when cutting MDF board. I was surprised at how little clean up was needed after a project.
When you’re completed with your build you’ll have to post some pics so we can see how it worked out.
Thank you for your compliments and please feel free continue using this post for questions and any other ideas you may have. Everyone has been very supportive and helpful with this subject.

1 Like
The brush instead of a door for a pass thru is a really cool idea.
You could probably also have a blank panel in front with slots in the ends and bolts with wingnuts to attach it to the cabinet/door. So if you do not need it cover the slots with the brush blocking more noise and when you need the slots just slide up the blanking panels and the brush seals around your material.
2 Likes
That’s a great idea. I know I’ve seen them for garage doors in very long lengths, but a quick google search found these very inexpensive versions in four foot lengths:
Looks like there’s a retainer clip optionally that you could use to connect it securely.
4 Likes
@GJM those you found at North Shore Commercial Door Company look like a winner. At first I was thinking just wide enough to cover the cut surface width but being able to cover the entire width between the extrusions (I think that’s what their called - the Y beams front to back) would be great. Can make some nice wall panels with the 2"-3" inch border all around by allowing to pass materials that just fit between the rails. Thanks for sharing that link.
3 Likes
I’ve been struggling with blocking that area ever since I saw how @Julien was doing it. The bottom of a door brush will be a good alternative and will still allow me to do tiling on long items. +1 ![]()
2 Likes
What kind or brand of switches did you use??
1 Like
Enclosure threads are my favorites.
@AsylumWoodworks, hello John, you may have already modded your design per suggestions in this thread. In case not, I’d open up access around the machine to a minimum of 4”. Granted, you do not have v-wheels to contend with but belt and rail maintenance will be much easier with some extra room. Said room also comes in handy when jobs require fixtures or other additions, they can be stored conveniently next to the machine for quick change-outs.
I’d also go higher ‘cause you’ll be knockin your noggin on the current design, been there done that. You might think not but you will very often go head and shoulders inside that enclosure, need some headroom. And, if you fully immerse yourself in this hobby I can just about guarantee you a water cooled spindle is in your future. That will require some headspace.
7 Likes
@Boss302 could you send me the link to the gas struts you used
1 Like
Brandon
The company I used for the gas struts is called Gas Springs Shop. They have an amazing 3D simulator for designing whatever applications you are requiring.
5 Likes
Juan
The switches are Apiele 22mm 2 position selector switches 10A 440V
When wiring them up you only need to use one side or pole of the switch.
This same company also makes emergency stop bottoms if you wish to install but I would highly recommend it. I have had to use once so far😬
1 Like
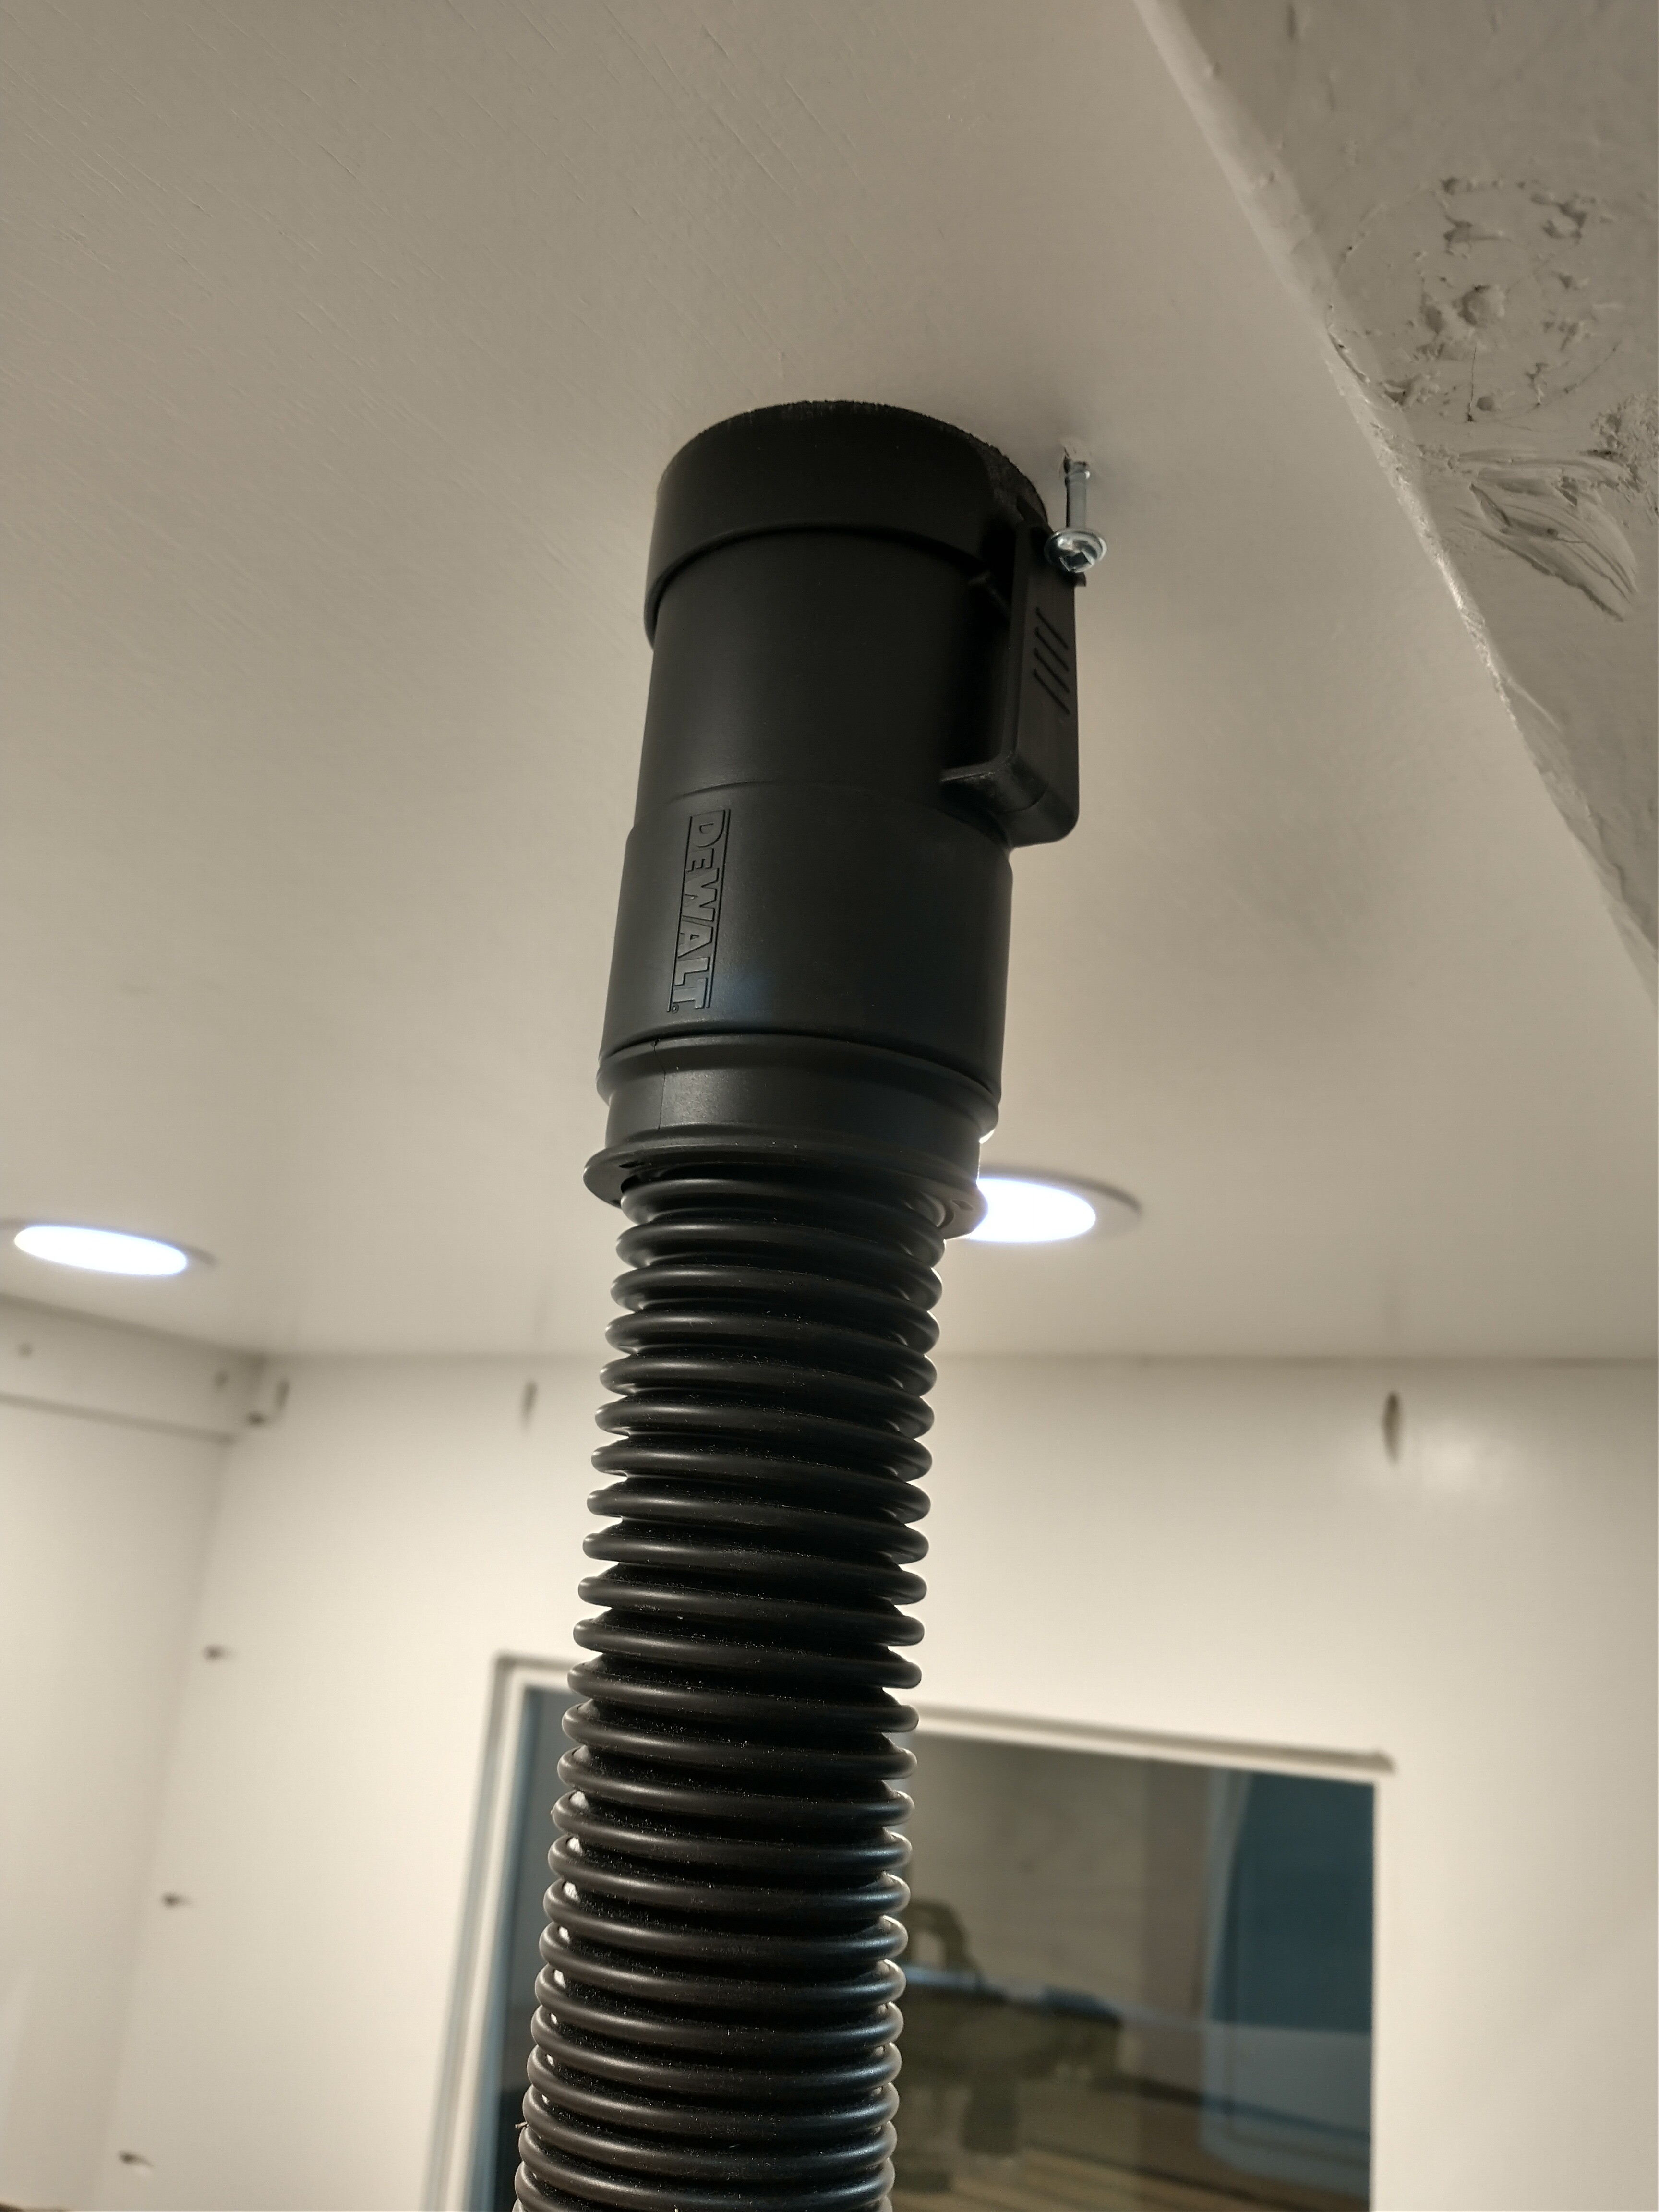
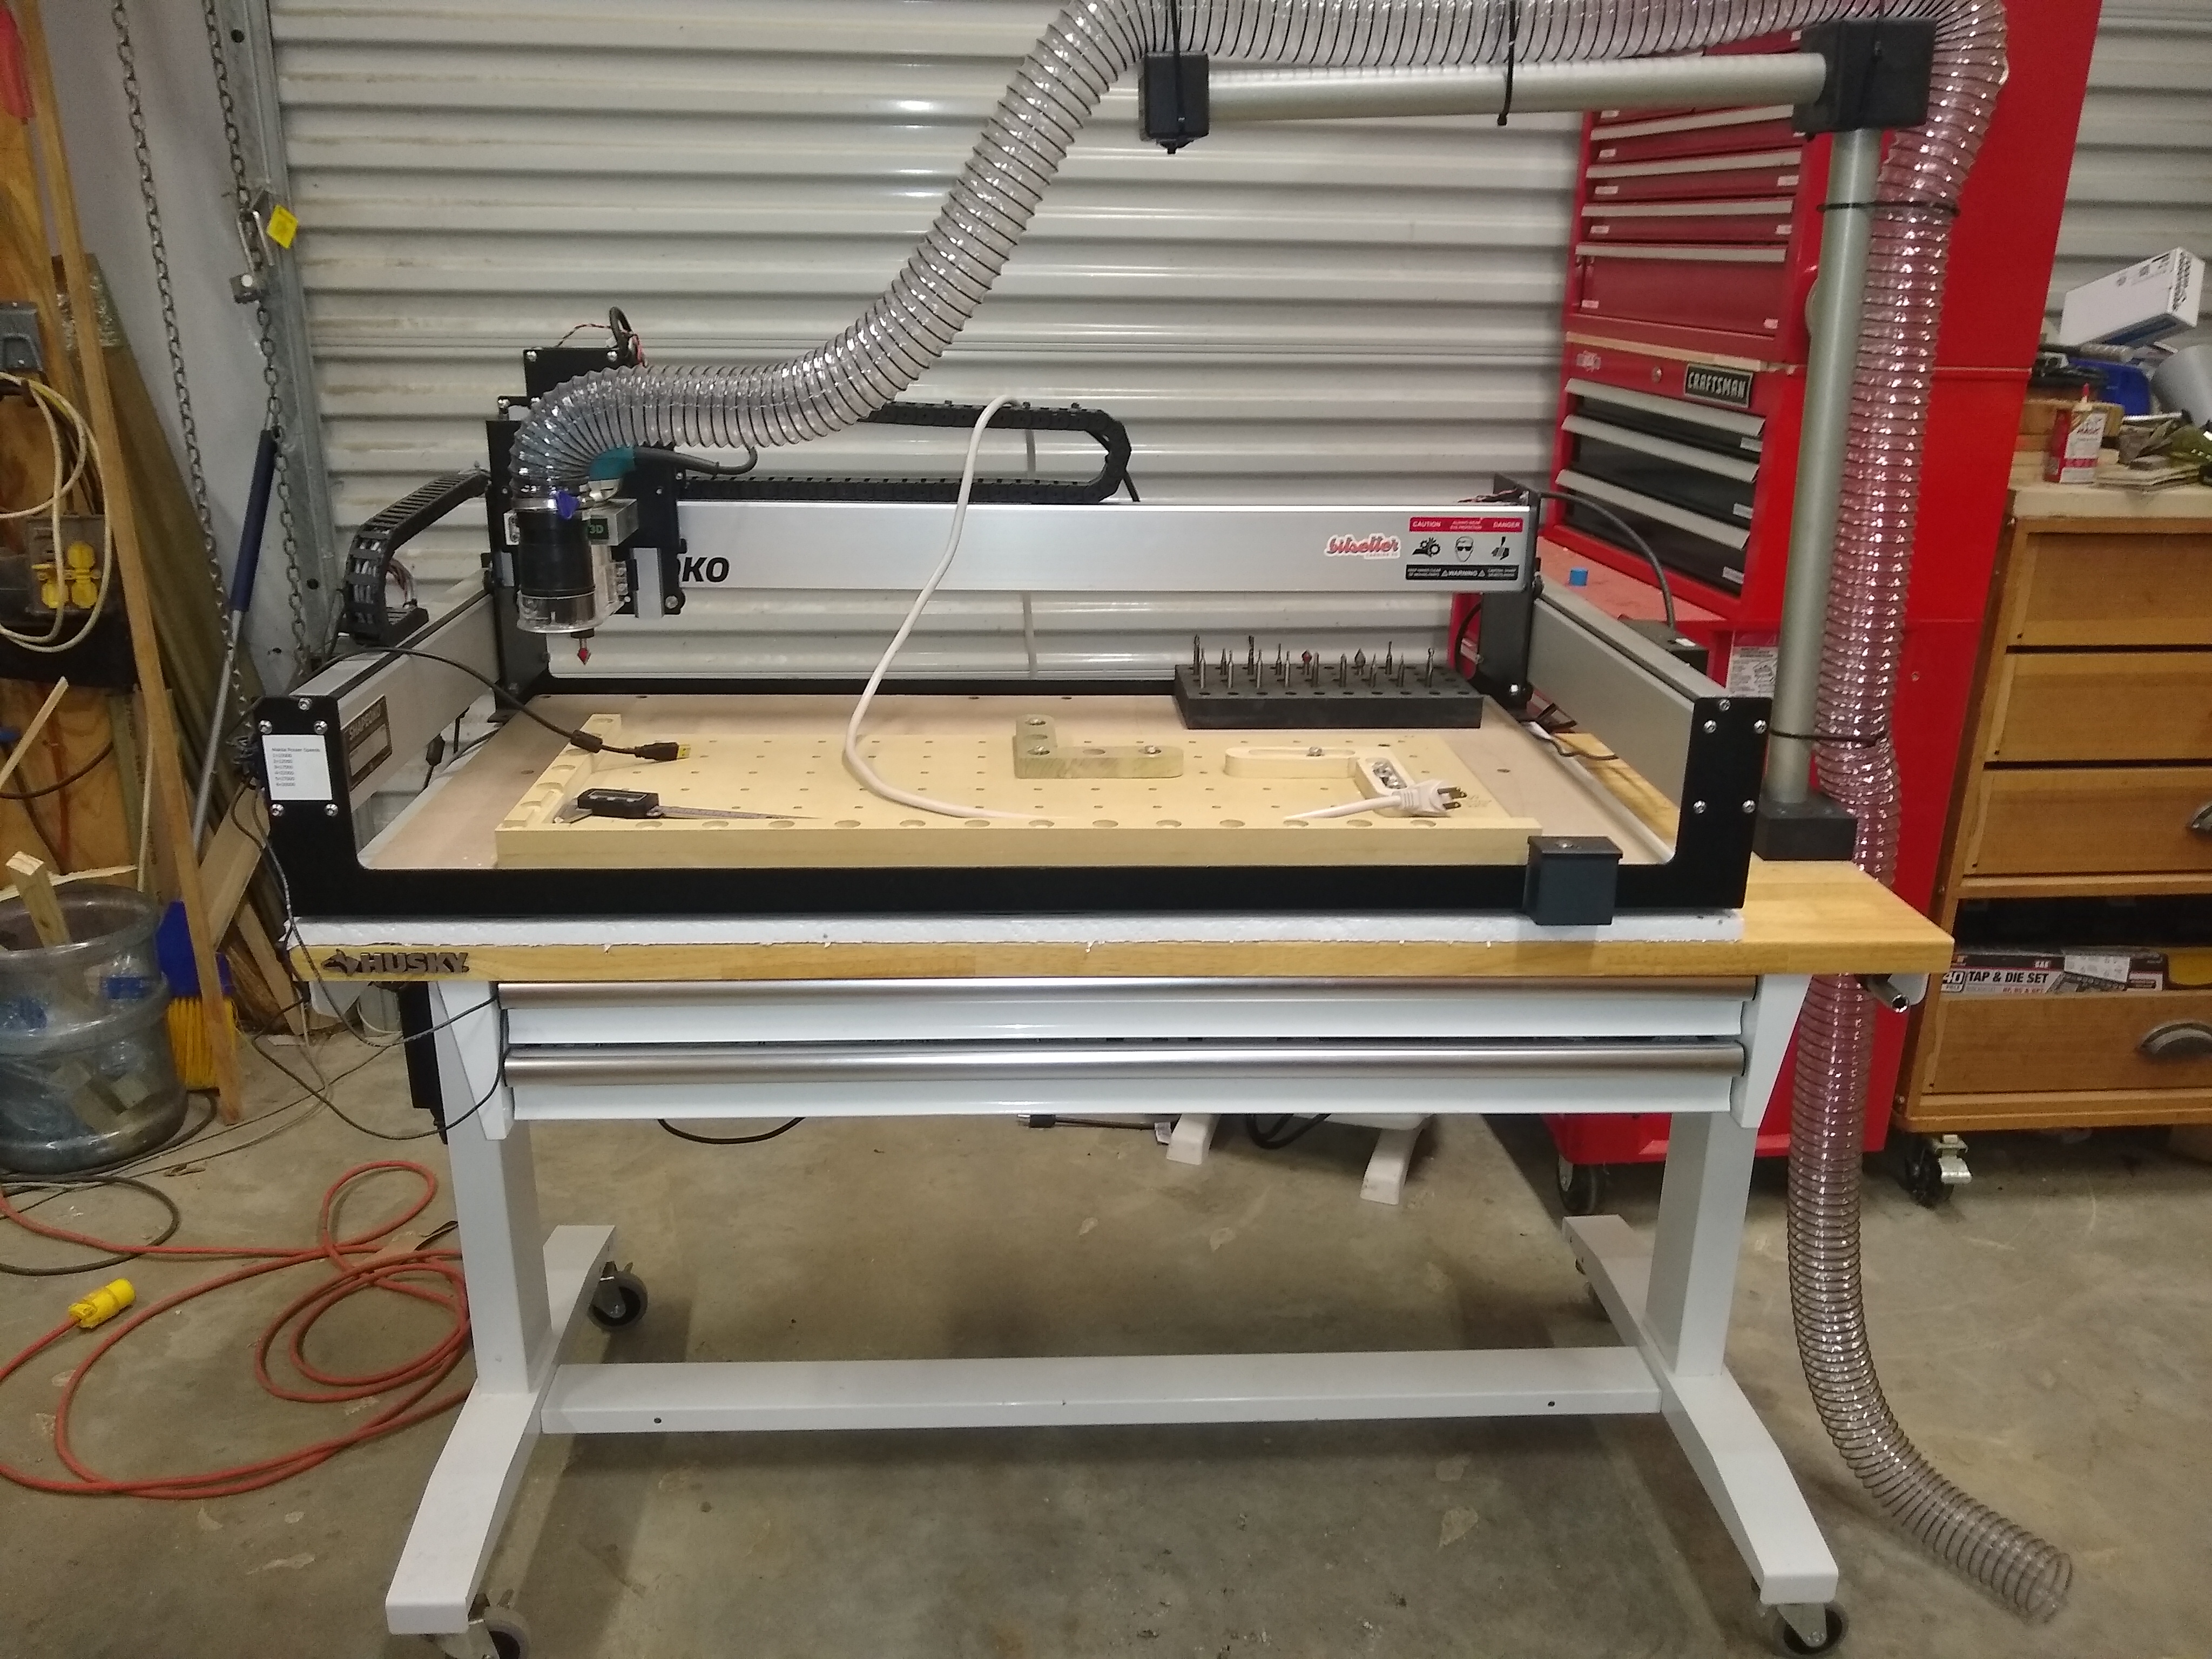
Darren, I’ve started my enclosure build and just circulating back here to ask how you like your dust collection setup with the hose coming in through the top of the enclosure and being fixed in that location. I get you need to provide enough length to the flexible hose inside the enclosure to allow the router/sweepy to travel to the 4 corners. Do you find that at time there’s too much length and it wants to wrap itself around the z-axis or has it been working just fine? Alternatively I was thinking about coming in through the side and having a solid pipe that can pivot front to back and only have a flexible hose for the vertical part allowing enough slack for the x-axis travel left to right. Kind or like Frank did here but inside an enclosure.
1 Like
Patrick, Hello again
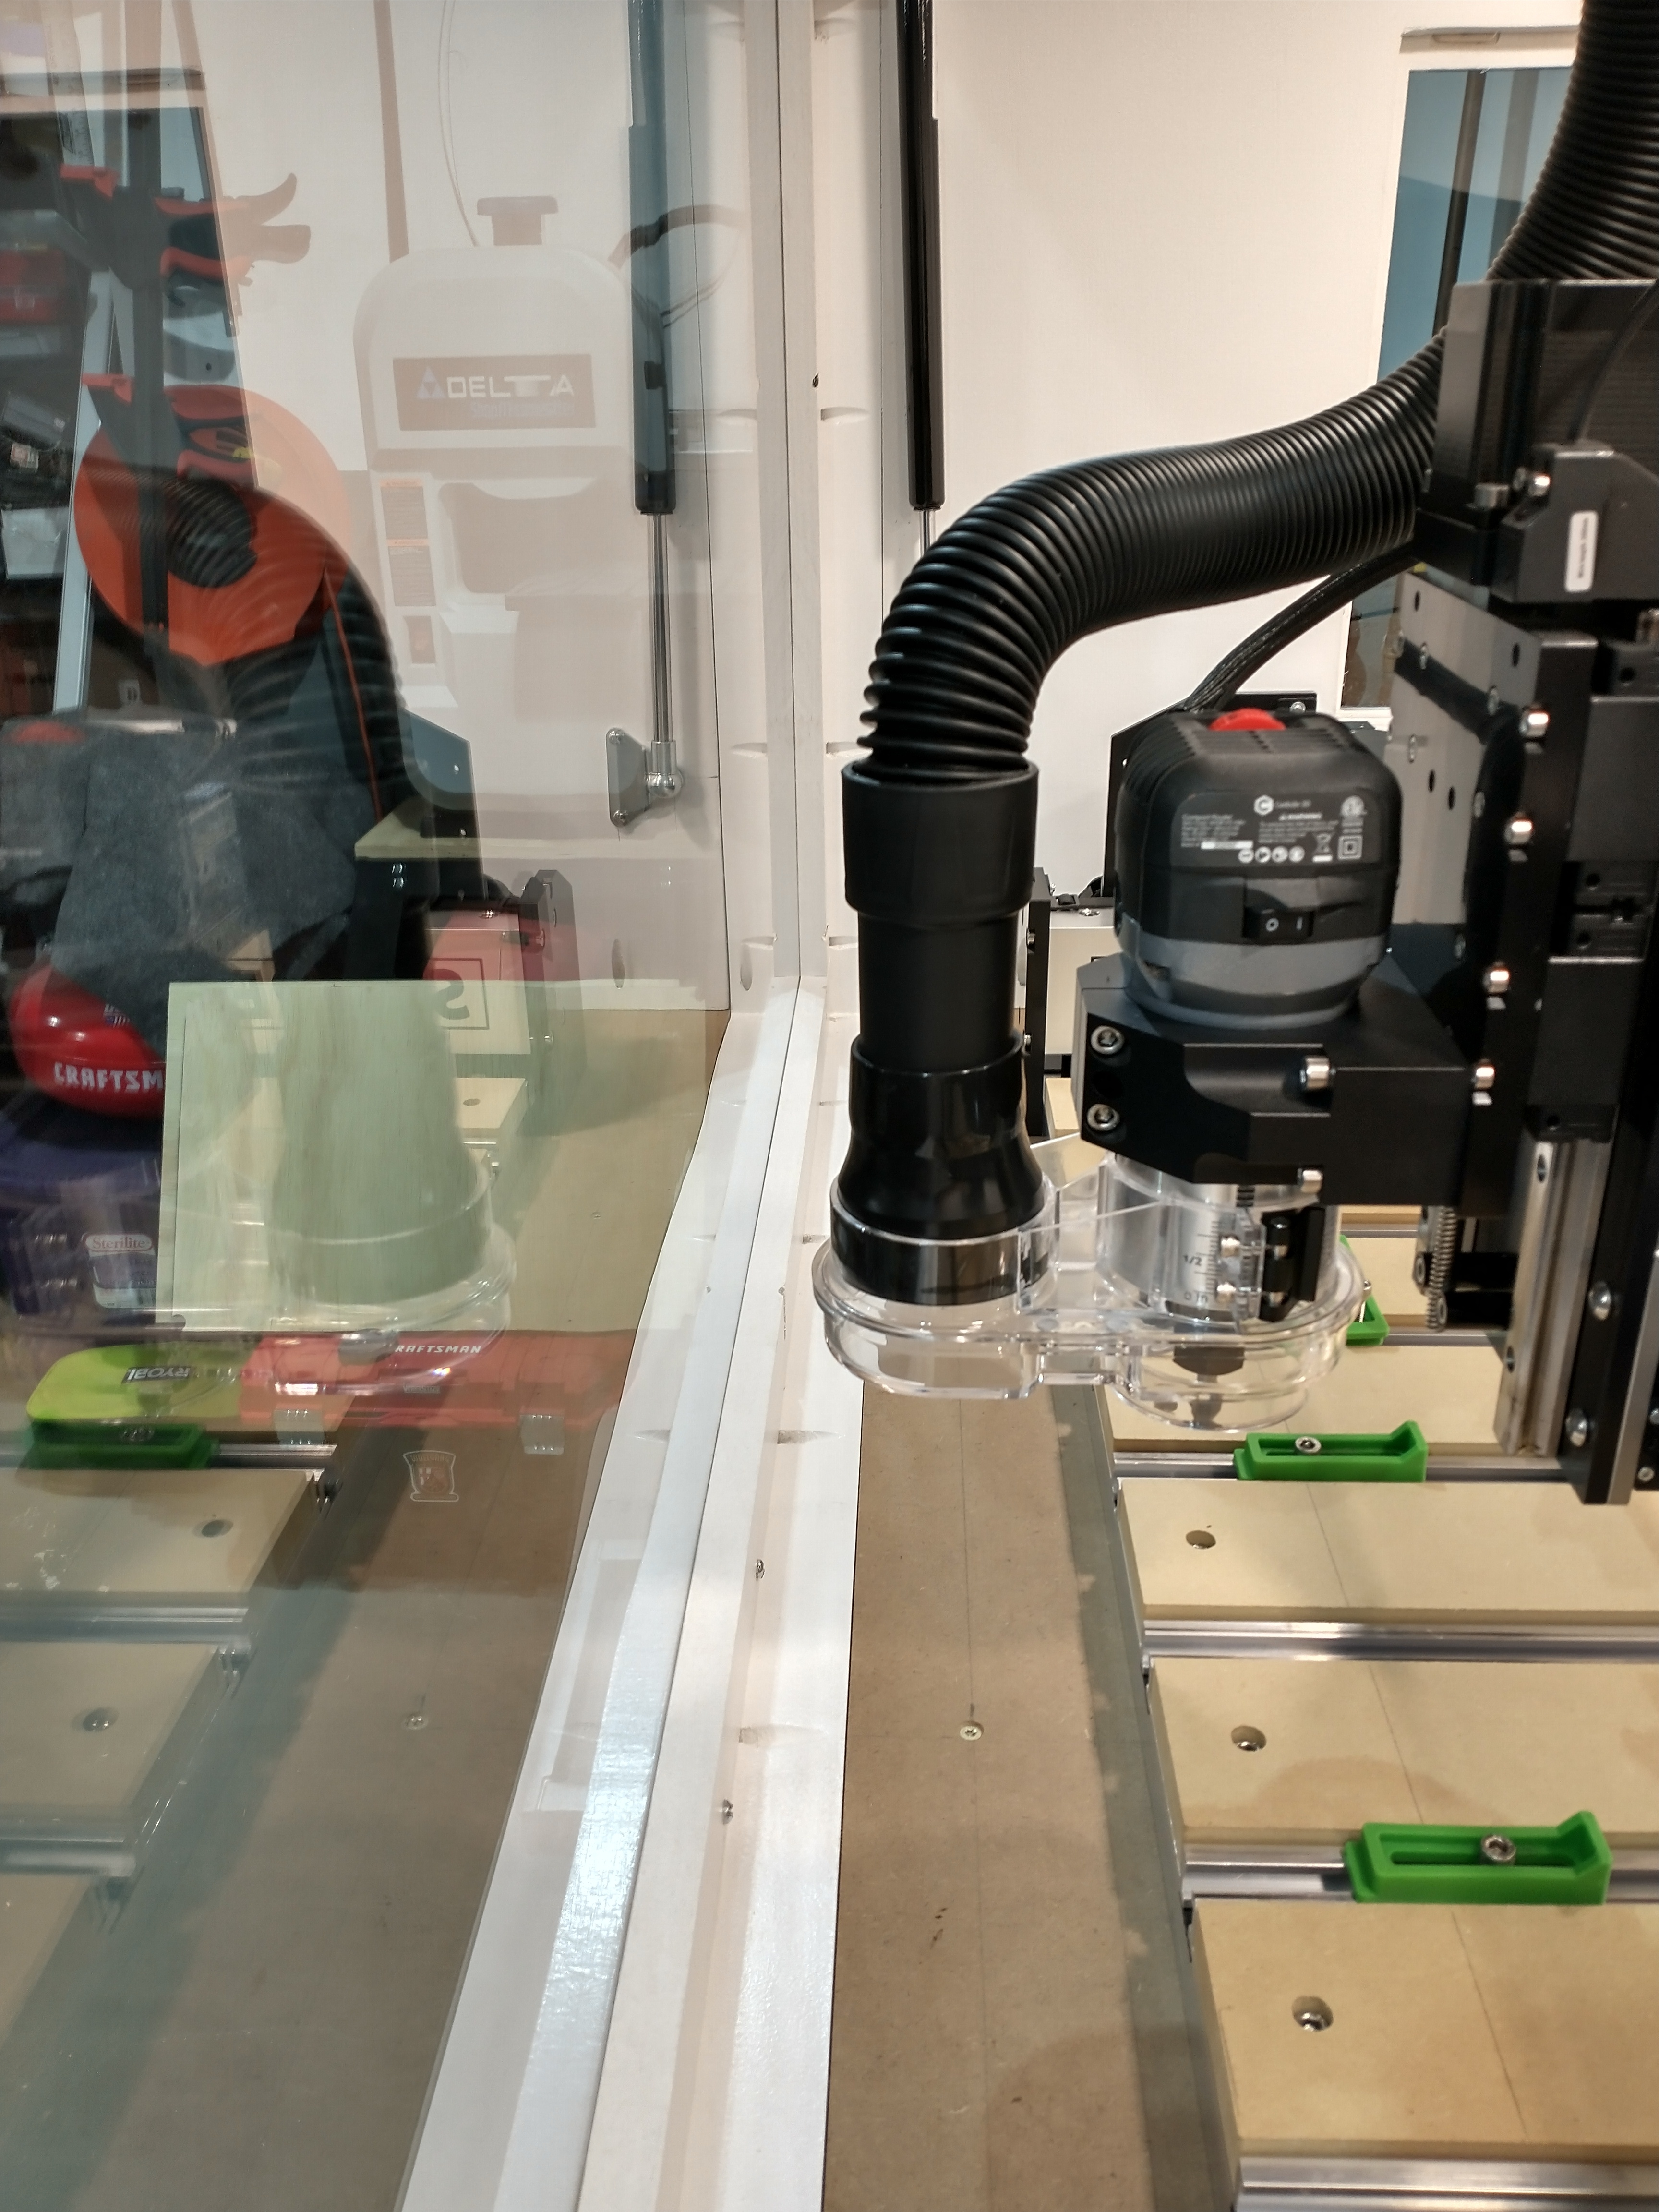
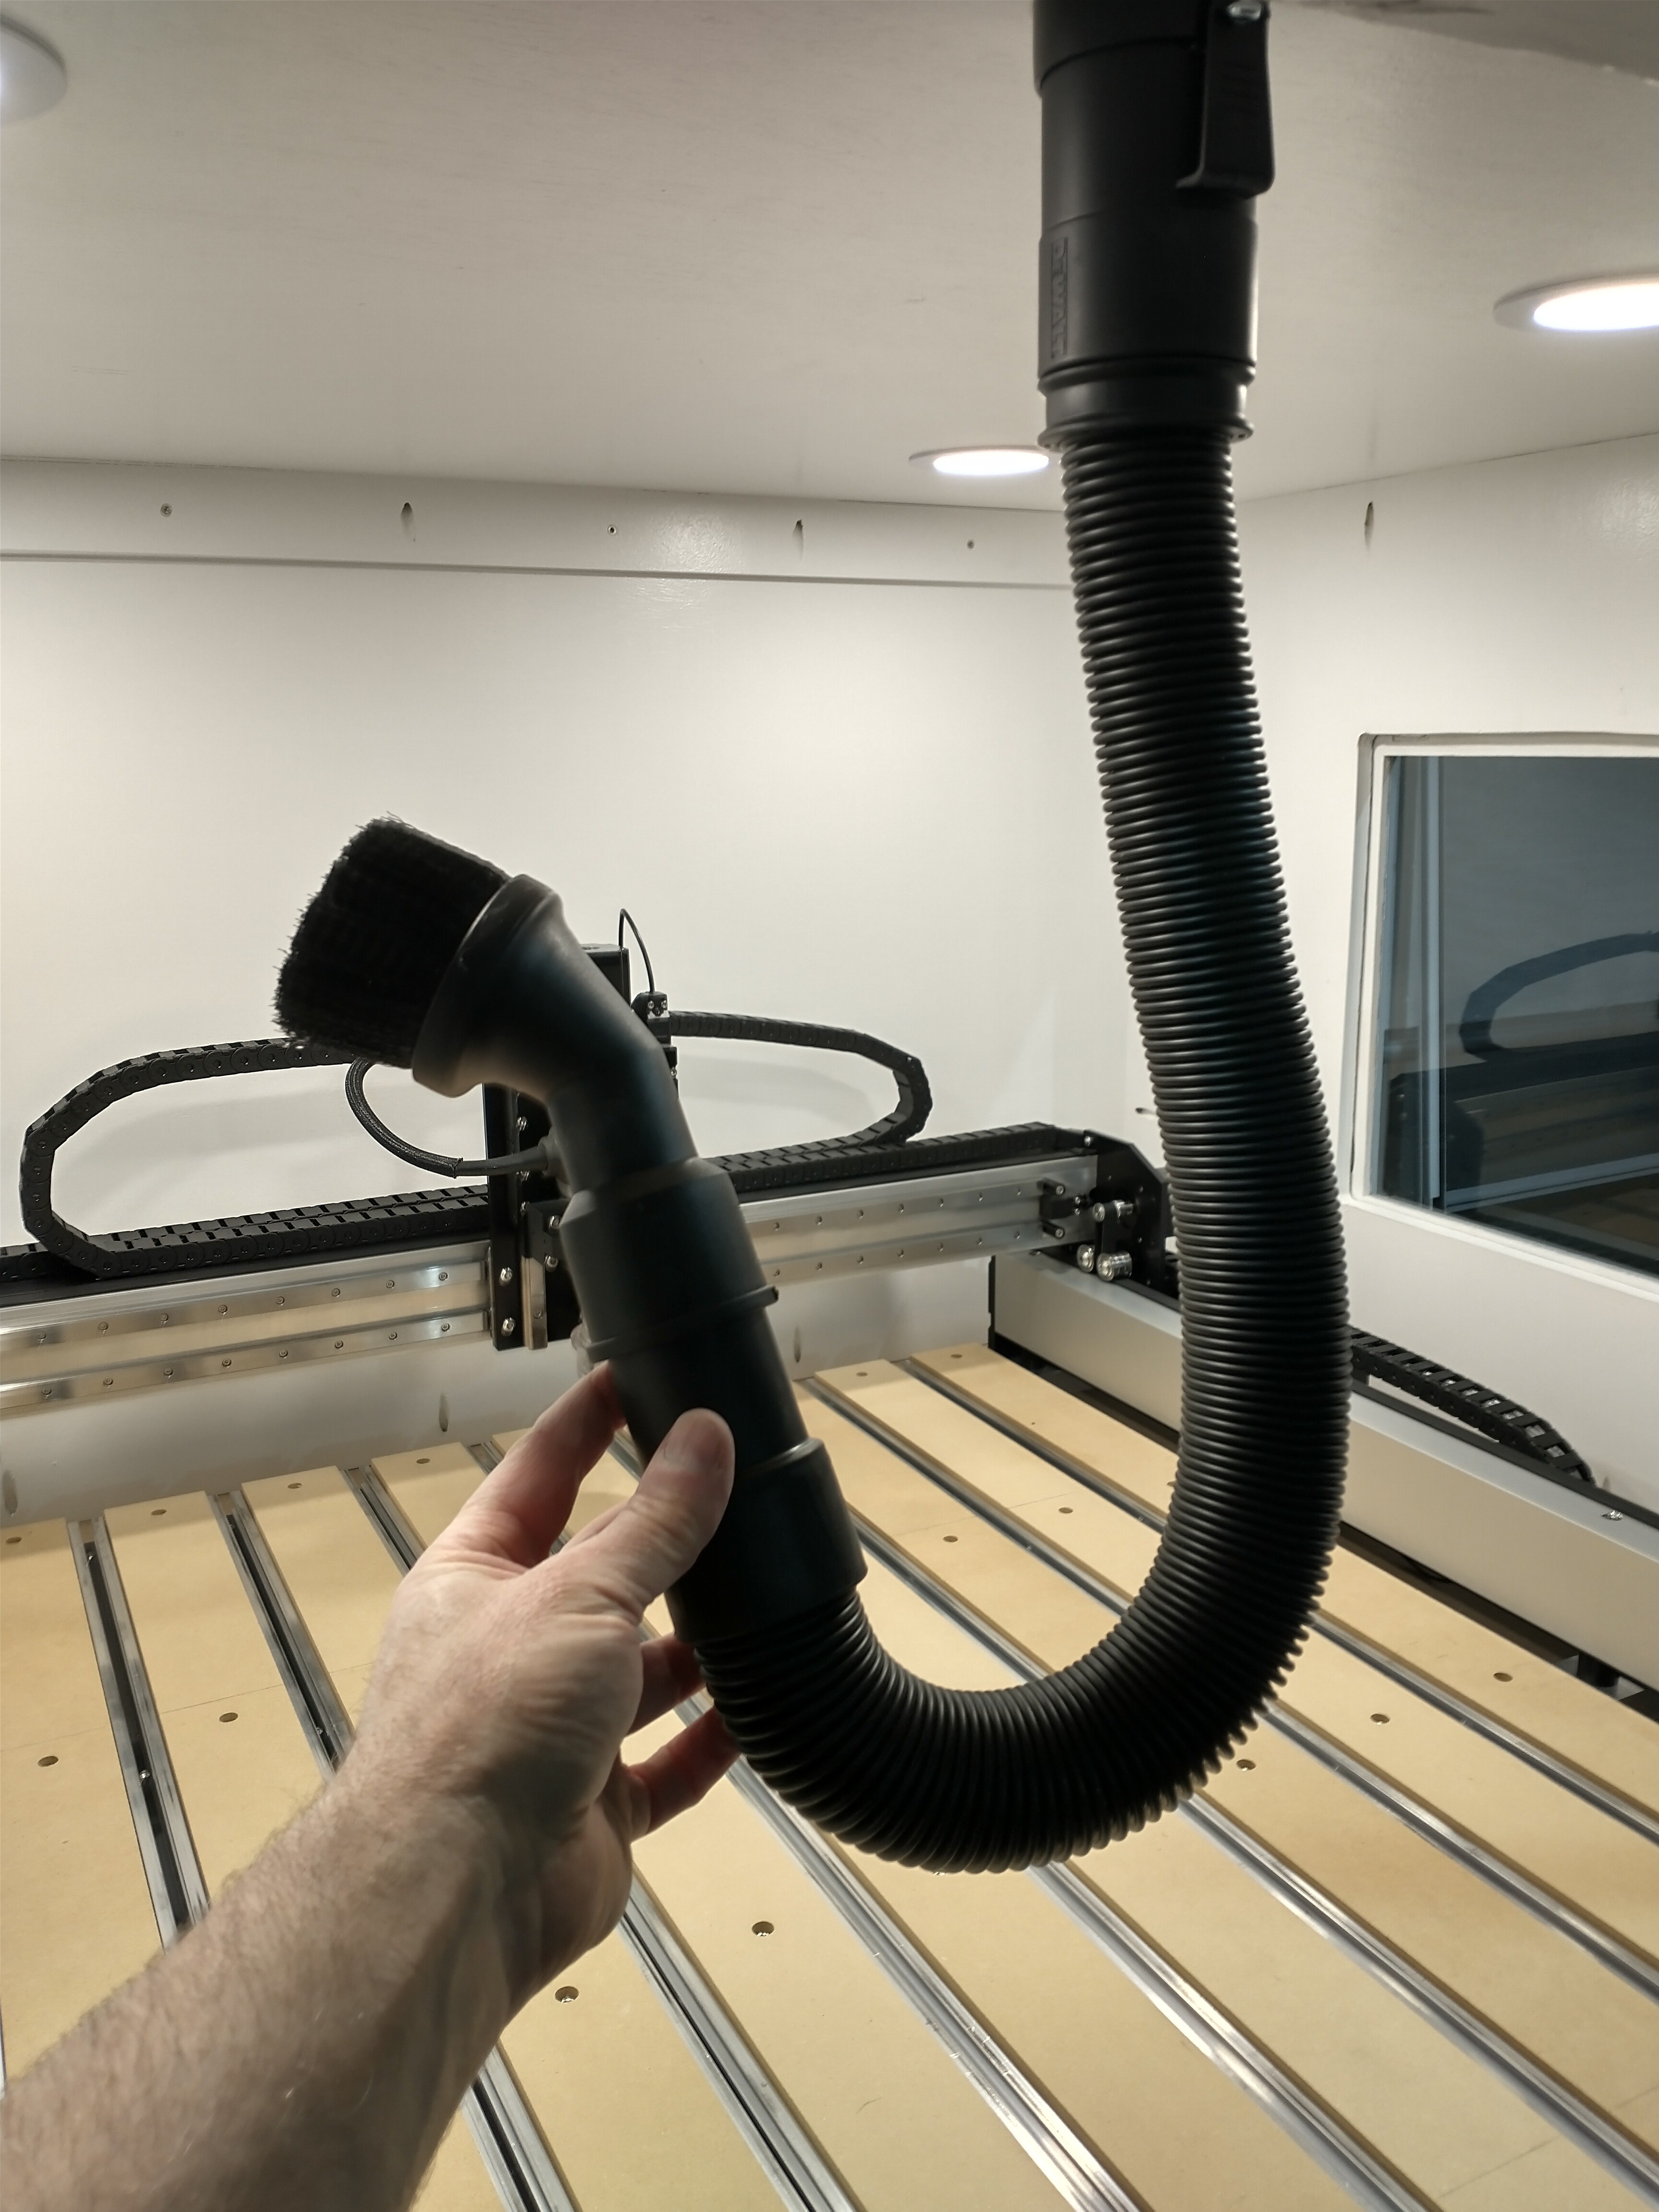
I have had literally no issues with my dust collection system at all. I’m very pleased with the Cyclonic Dust Separator and the Dewalt DXVA19-2600 Extended Super Flex Hose. The flex hose did have some extra length which cause a slight droop but that was easley fix by cutting about 3" off the hose. It’s hard to see in the pics but where the hose enters the top of the enclosure I positioned it slightly forward of the CNC so there would always be some tension on the flex hose. This has corrected any issues with wrapping itself around the router mount and stepper motor.!
IMG_20210425_115018008_HDR|375x500

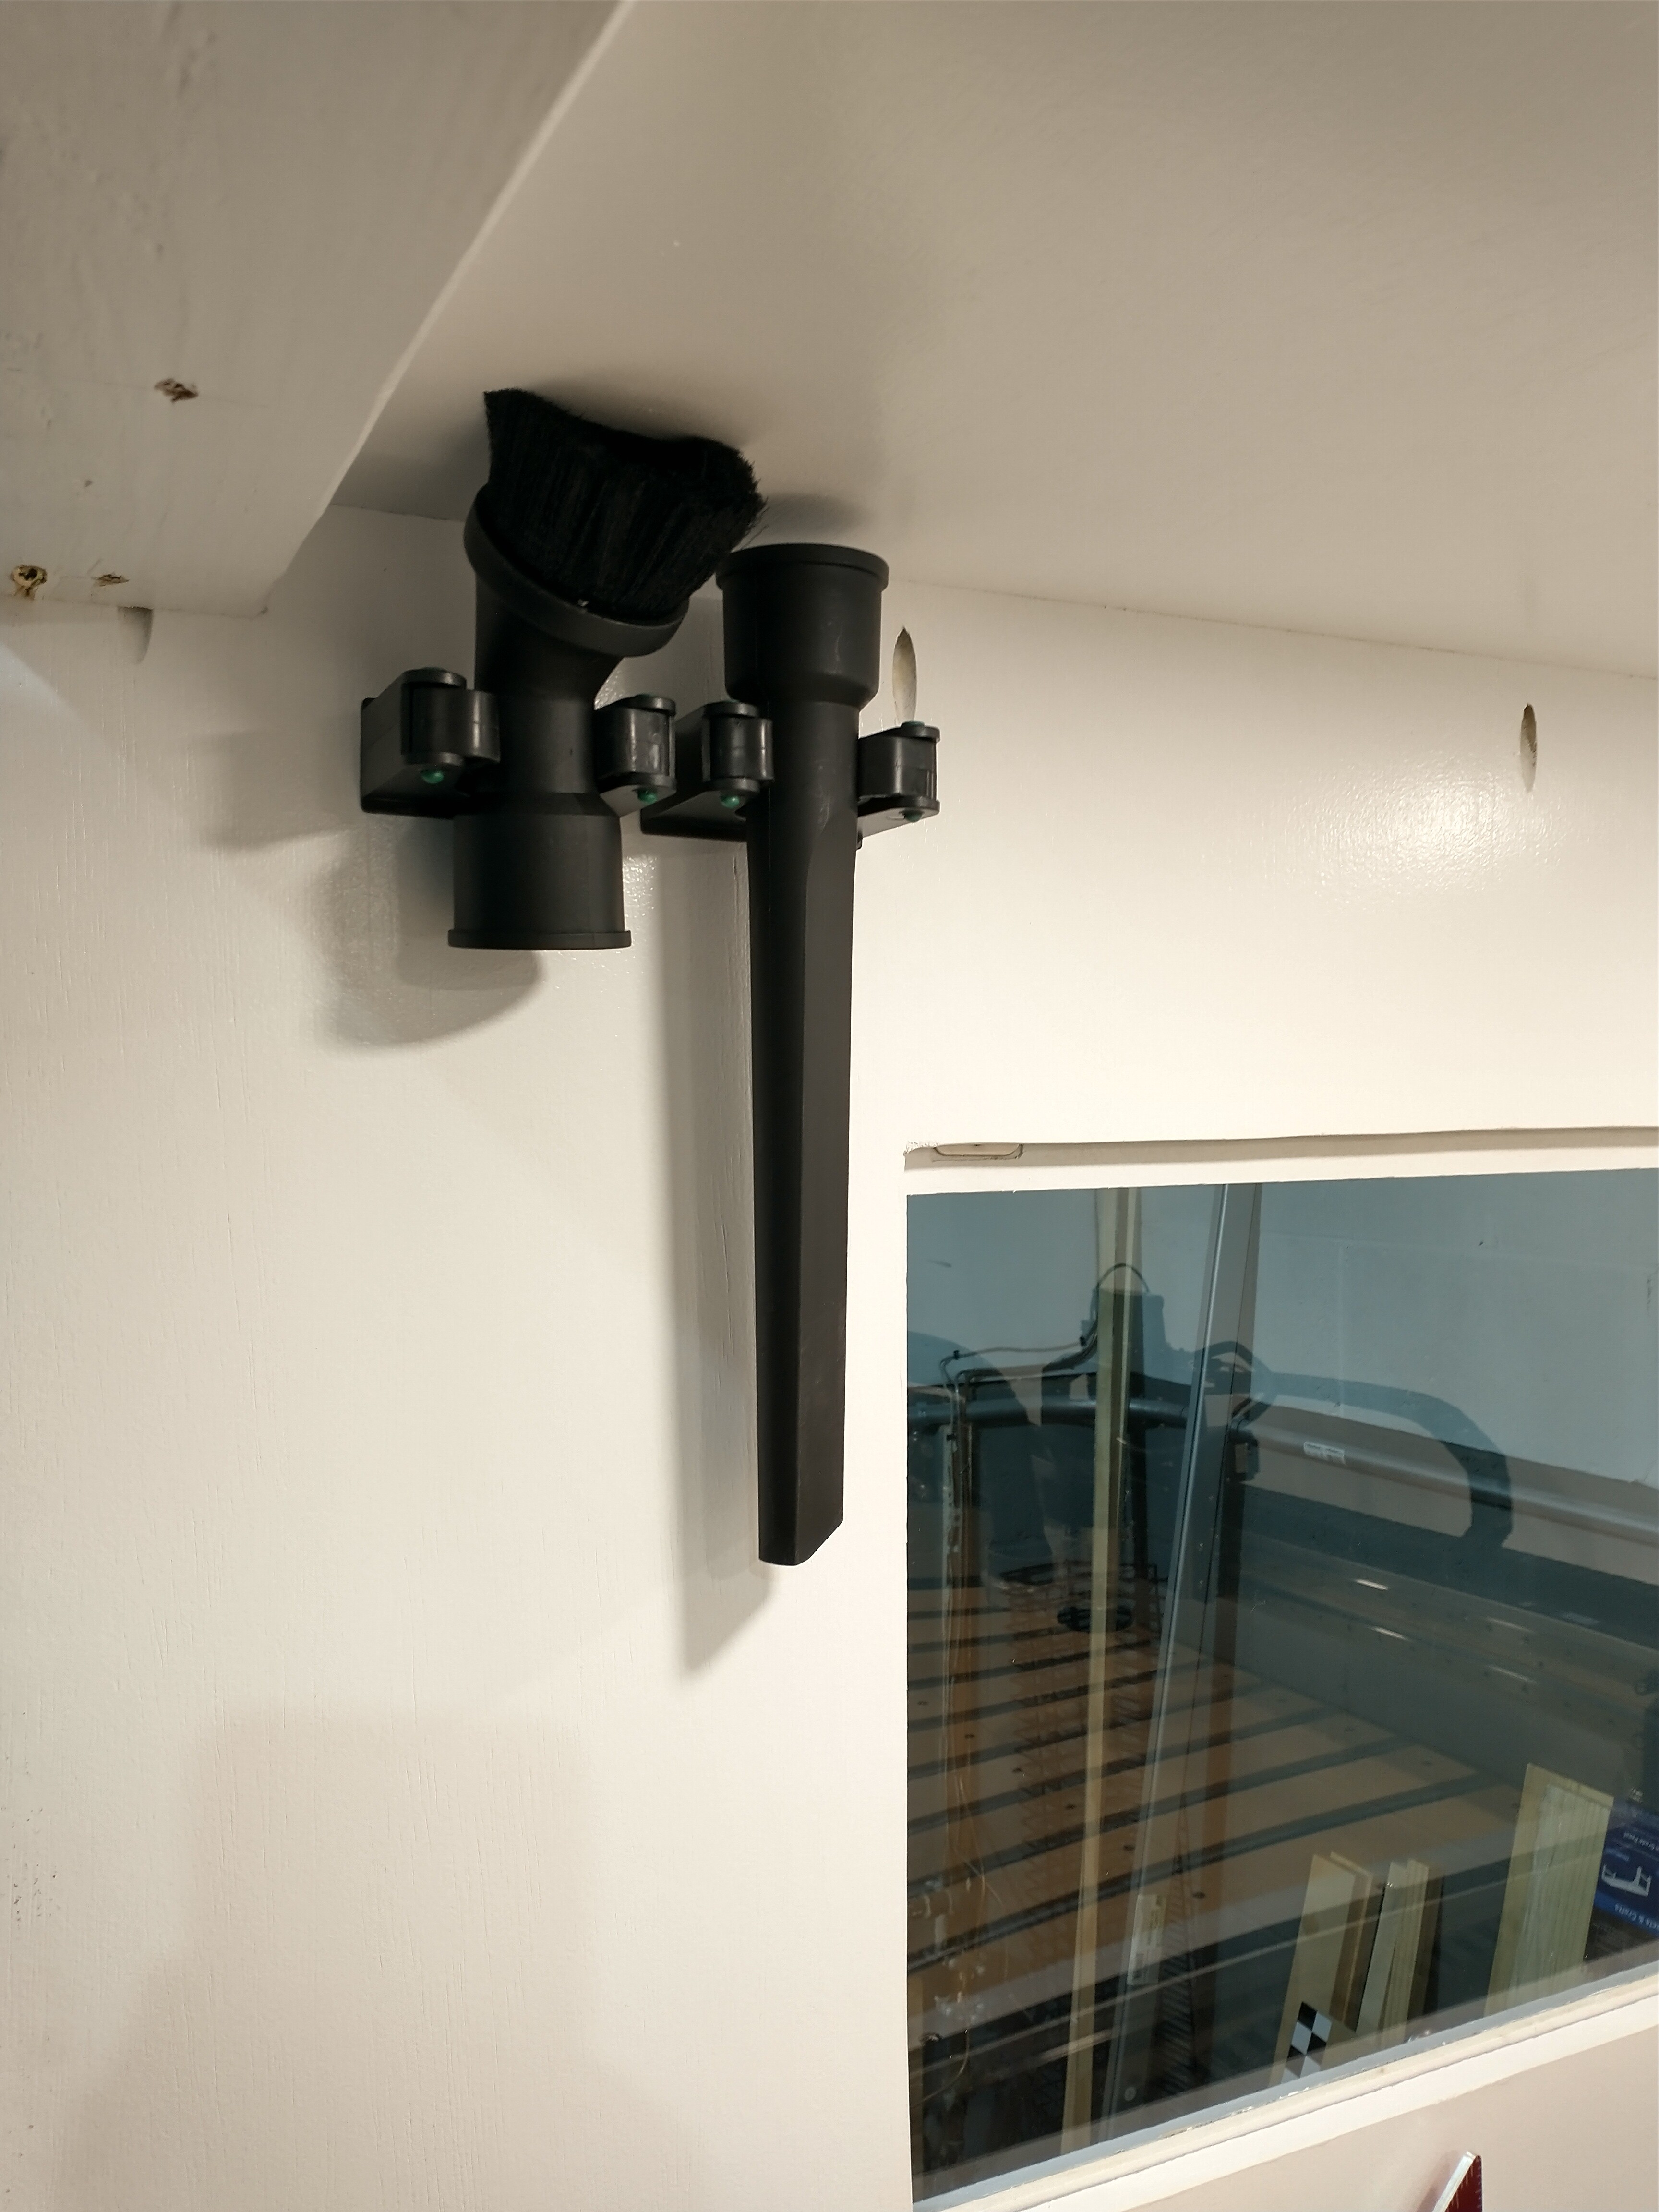
Also the placement of the flex hose has allowed me to have quick and easy access to vacuum accessories such as a crevice tool and dusting brush.
If you have any other questions just let me know.
Hope this helps.
Darren
10 Likes