I’m in a group that meets 2 per month for training/discussions/presentations, etc. One of our members brought in a piece he had carved letters in and asked many of us to break the bond by twisting horizontally on the SMALL milled piece attached to a LARGE backing piece. No one broke the connection!
The connection was the blue painters tape - back to back - that you can buy at any big box store. SO, you put blue tape sticky side to the SMALL part. And you put blue tape sticky side to the LARGE backing board exactly in line with the tape on the small part.
Once that is done run a bead of Instant Glue (Cyanoacrylate) along the mating surfaces of all of the blue tape on both sides (top & bottom pieces). MAKE SURE THE GLUE IS ONLY ON THE BLUE TAPE, so make your bead in the middle of the tap and no large beads. Stick together, let cure for a while and you’re set to go without running into clamps - if you glued it to a large enough piece.
The pieces can be easily pried apart with vertical force like a spatula between the pieces. The Blue Tape can then be peeled off of both the small part and the backing board as easily as you can peel it from masking surfaces when painting.
TRY IT OUT, but I am NOT responsible for any problems with this process. But, it should work with no problems.
Ah yes the superglue/tape method. It is well documented elsewhere on here in multiple places. It is pretty much my go-to method. Apparently it originated somewhere in the woodworking/instrument making world?
Finding out about this method felt like an epiphany at the time. Never looked back since, my clamps are now collecting dust in a dark corner of my garage. It should be advertised on the front page of Carbide3D’s tutorials, would save a lot of headscratching for beginners trying to understand the workholding thing.
If you put the super glue on one side and activator/ accelerator on the other the bond is almost immediate. So you need to get it right alignment wise first time but you save a lot of cure time that way.
True but I like being able to put it down and align it with my square rather than try to aim, drop it down, and hope I got it right. I have to wait a minute for it to cure but it usually takes more time to put in the endmill and zero it and by the time I’m done with that, I’m good to go.
I actually use a brush to spread the CA glue evenly over the surface so no areas are missed. This seems to help if I am cutting a bunch of pieces with a small footprint out of larger stock - none of the small pieces pull up. Is there a different technique to ensure that?
I always wondered with this method, how flat / parallel the work piece sits compared to being directly mounted on a surfaced bed. I would imagine two strips of tape and glue in-between would create some tram errors, no?
Griff
(Well crap, my hypometric precursor device is blown…)
11
A tight, square machine that’s been accurately trammed and has a surfaced work surface will provide outstanding results using tape and glue.
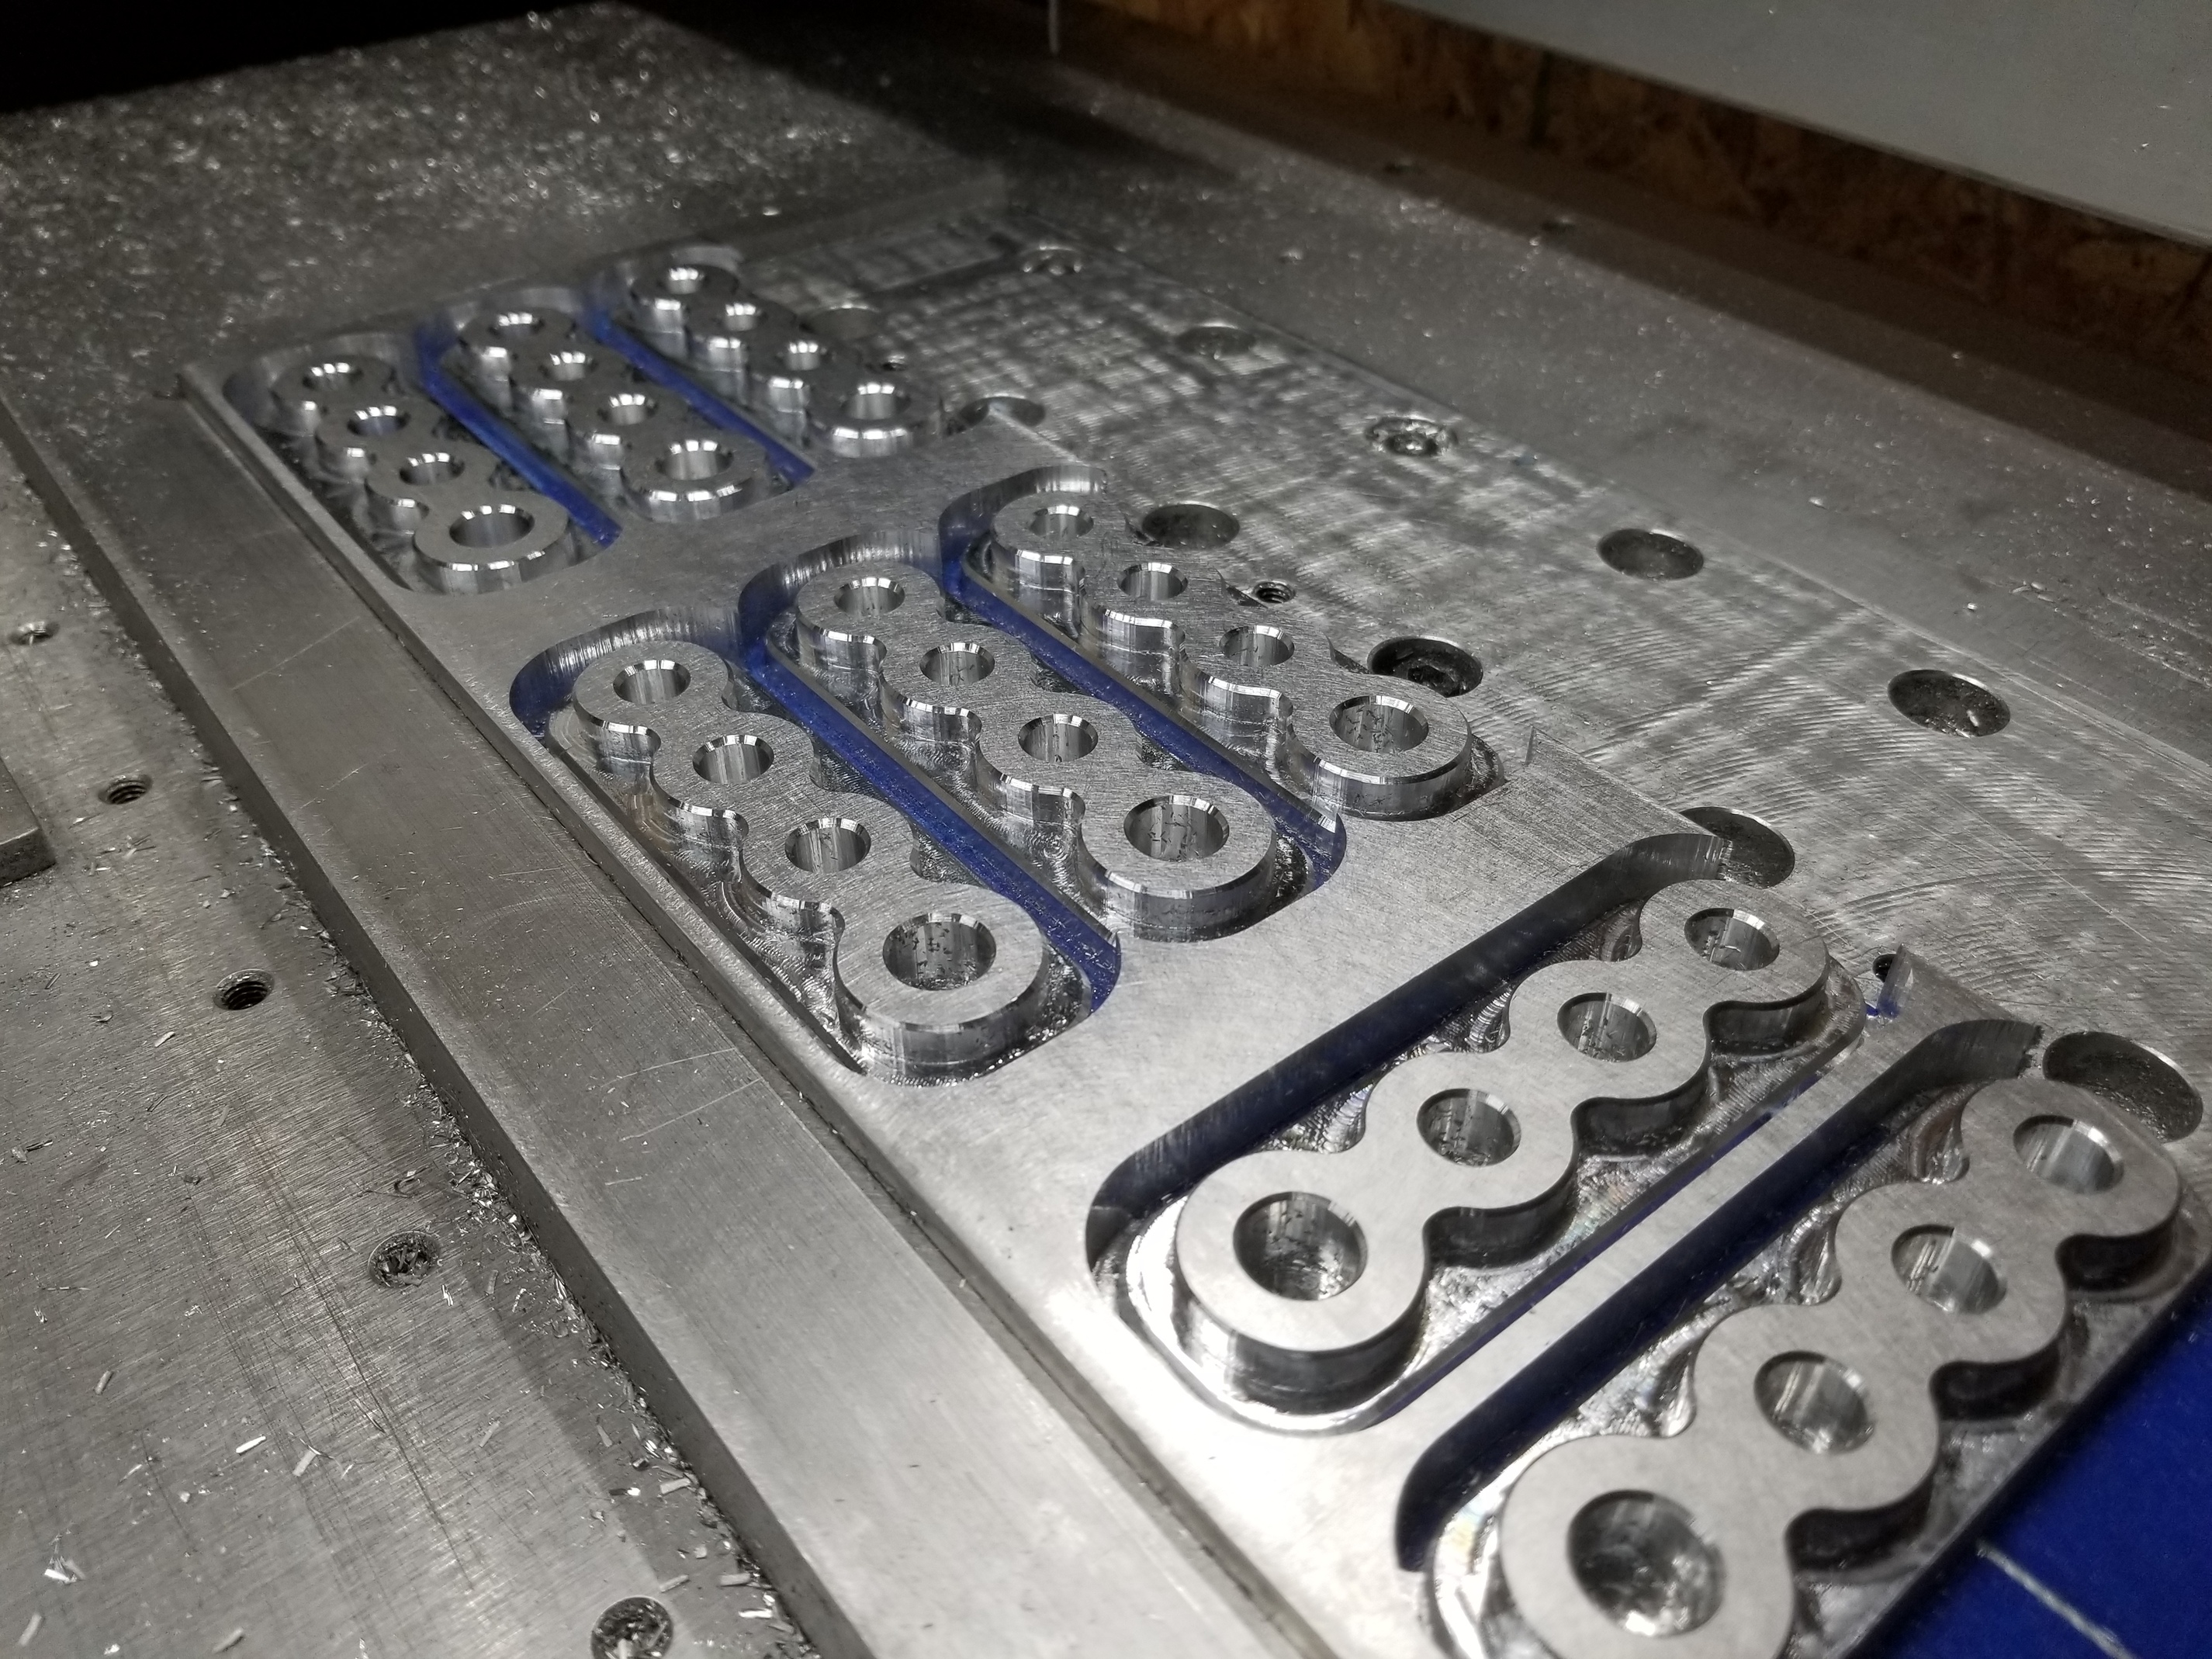
I routinely cut metal and wood using this method and rarely cut through the first layer of tape, never the second. Of course this also depends upon an accurate Z zero datum.
WOW! This was like hitting a hornets nest - everyone came out of the nest!
Maybe all of these responses will help with the newbies too. I had never heard , nor seen this method before myself. Thanks to the person who added a URL for the YouTube flick. I forwarded that to our club members, about half of whom did not attend our meeting where this was presented.
Thanks for all of the replies also. Very Interesting!
They did tweak the method a little (products): https://www.instagram.com/p/Bty5d1ggOvh/
Don’t think they have a new video for switching up the tape, but they have started using ET powder coat masking tape from McMaster.
Edit:
Powdercoat tape is better if using coolant, if misting minimal it shouldn’t be a problem.
Kill all tabs! Ive even setup double sided work like this. Regular superglue, lay part down and twist to spread. Easy peasy. Powdercoat tape is better if using coolant, if misting minimal it shouldn’t be a problem.
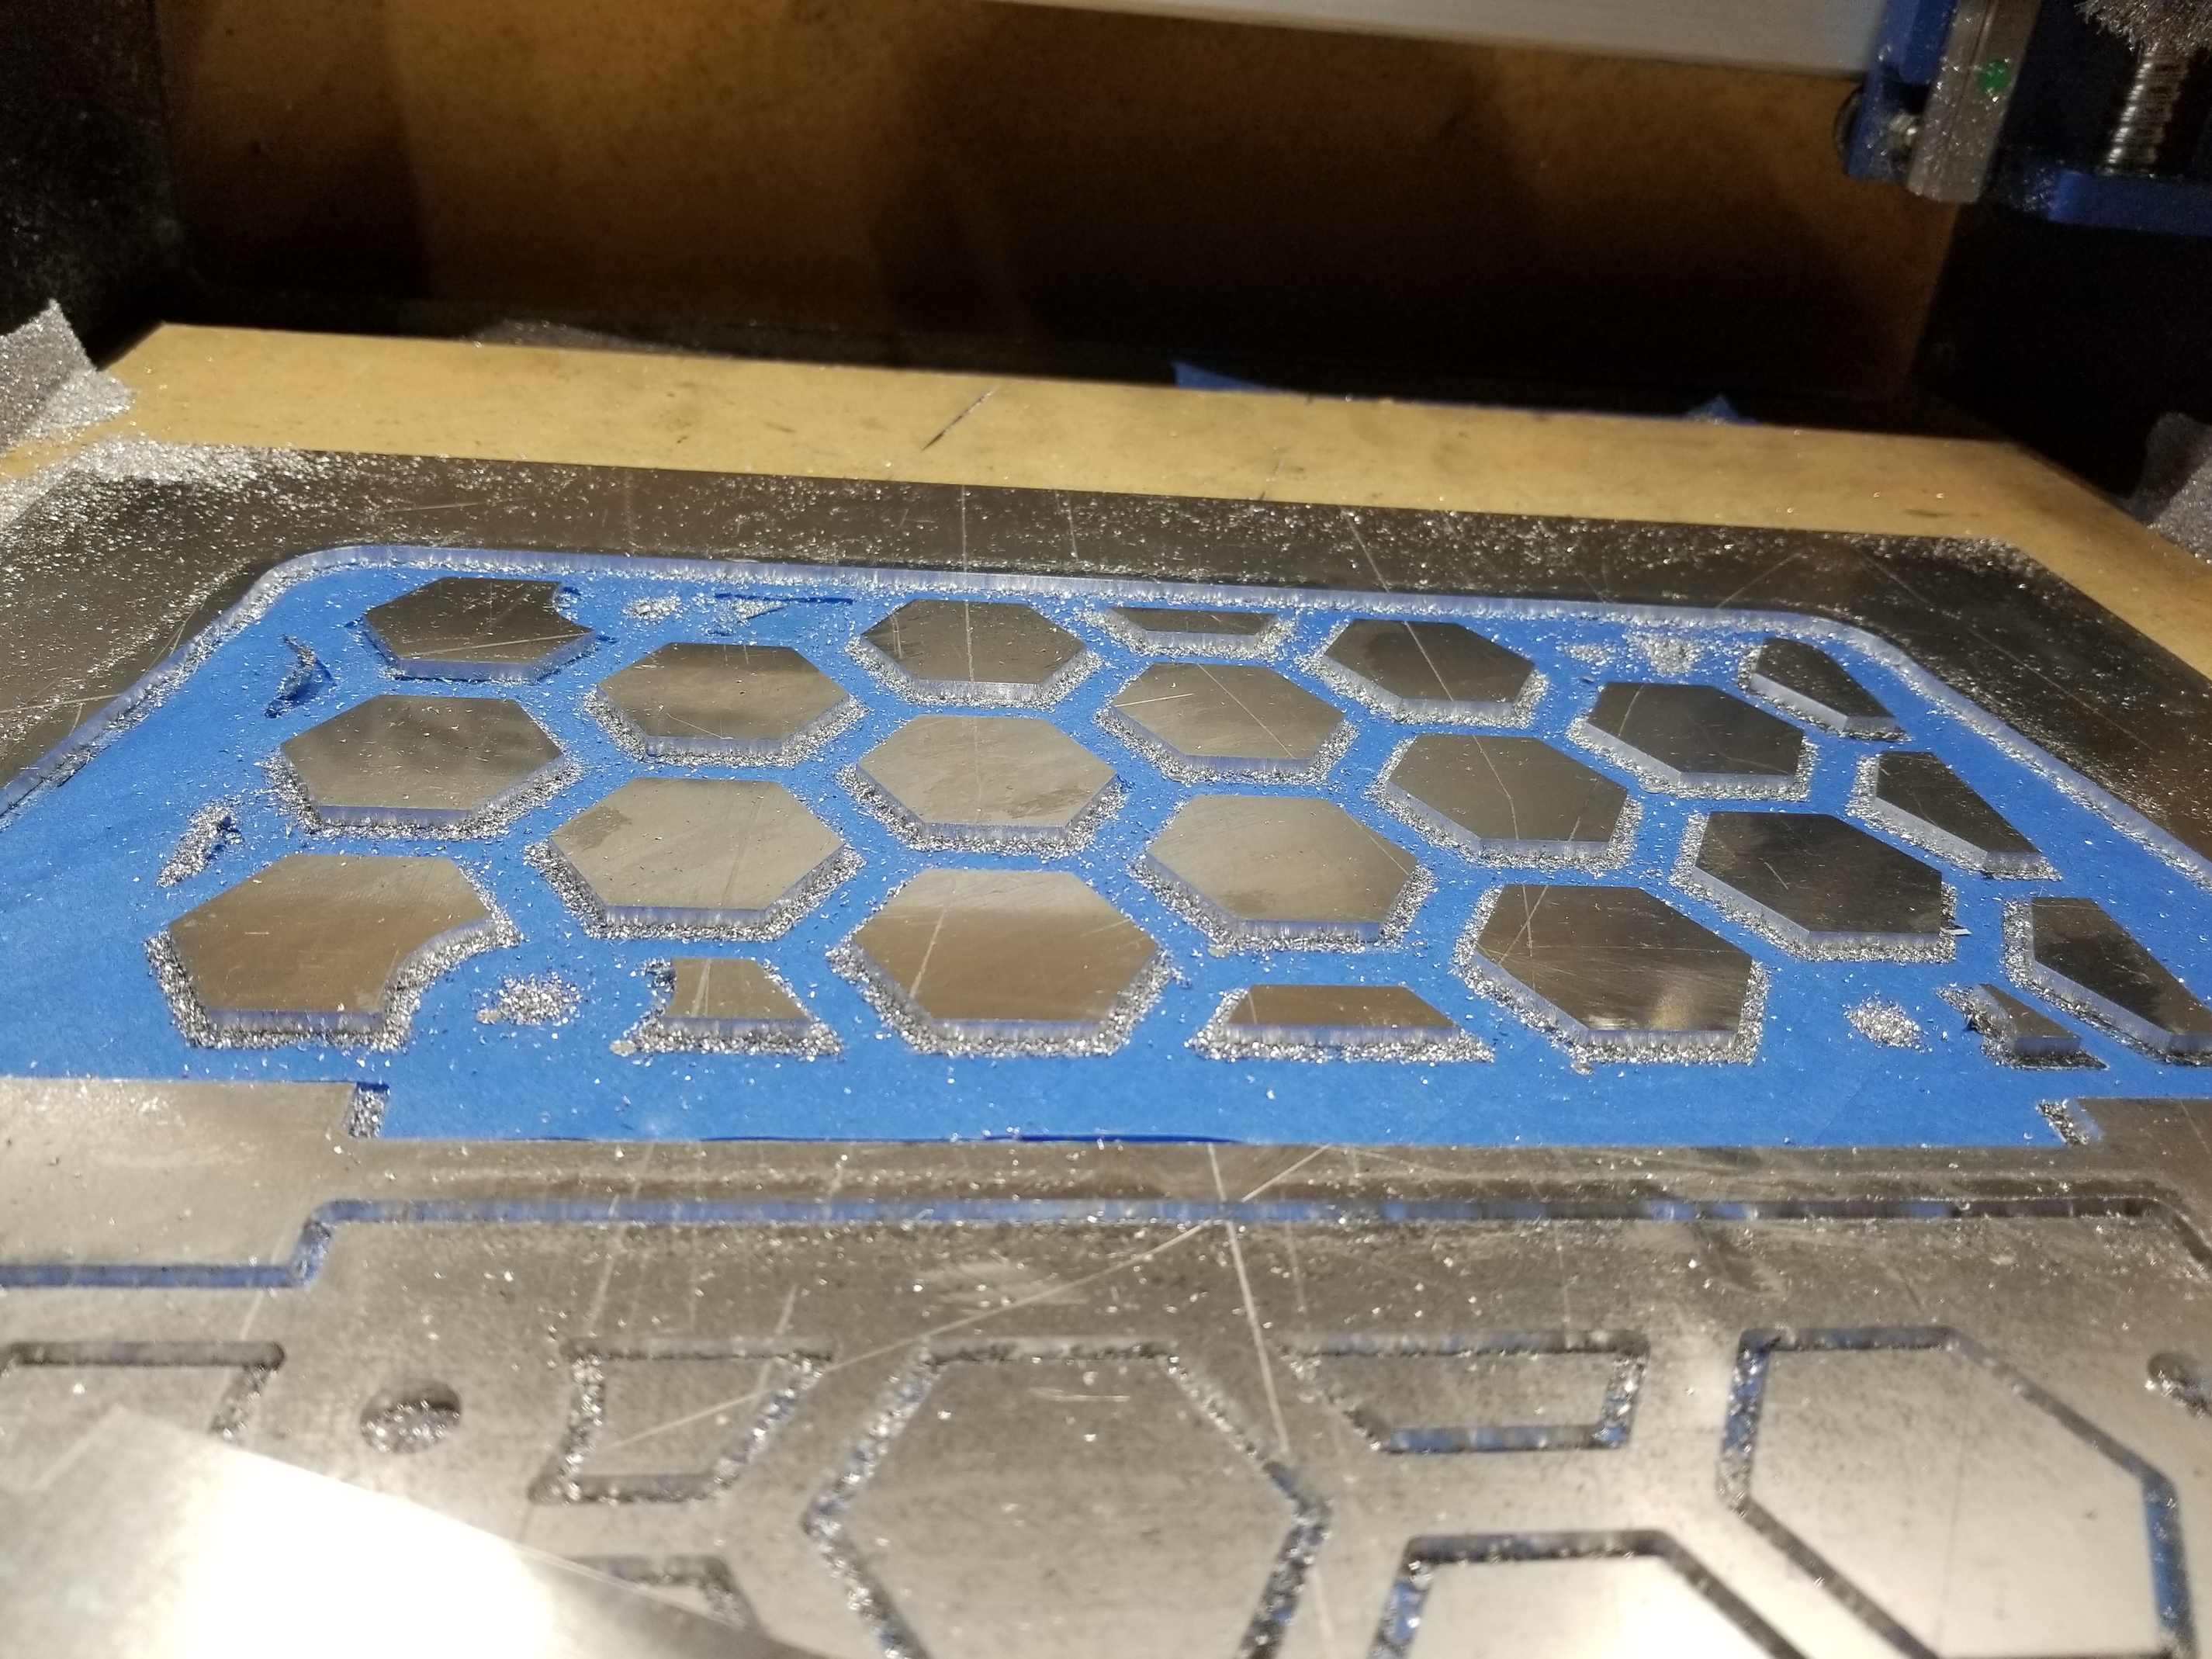
I use this method exclusively, pretty much. Planning your tape placement will cut down on the amount of tape you have to use… there’s no need to cover the whole piece of material with tape and then tape an equally large amount of your wasteboard. What I do is plan my tape layout so some tape hits each part that will be cut out, usually for larger pieces, or pieces I’m not cutting through I can use one or two strips. Then I lay my material on the wasteboard and mark the material with small pieces of tape over the edge to show where my material will lay on the wasteboard strips. Then turn the material over, run strips of tape to match what I have on the wasteboard. That way, I don’t have to worry about the tape on the wasteboard being perfectly parallel or anything.
Also, I don’t use painter’s tape, I use standard 2" wide beige masking tape. Works just as well for a lot less cost.
I use the el cheapo masking tape and super glue and it works wonderfully well! That’s what I used to hold my spoilboard down while making it and again to hold the material down while making some cam style clamps. I love them too! (Thanks Marius Hornberger and Ben Myers).
I tried that double sided tape stuff but it’s pricey and it takes way too long to get it stuck to the CNC bed and then to the part.
In terms of flatness using this method I have trammed a dial indicator across the top of stock held down with this method and it probably induces a couple thousands of error across 6 inches but not more than that. Good burnishing of the tape, smooth application of CA glue probably helps to keep it to a minimum. Depending on clamping deformation I suspect its as good or better than most vises or some hold downs.
For activator I just wipe some baking soda on one side of the tape. You don’t need a lot, just some residue. Much cleaner than spraying stuff in the shop.
What are general opinions on thin vs thick (or even gel) CA glue?
Thin seems like it’d do a better job of wicking to fill the gaps, but I’m worried it’d run over the side of the tape and cause a mess when the two pieces are pressed together.
Also, any difference between fancy brand name painters tape and the cheapest blue stuff?
Personally I use thin CA for no specific reason other than I feel that the gel type tends to dry in the bottle. As for painters tape, even the cheap stuff works (I use the generic blue rape from Menards/Home Depot). Also double sided carpet tape works very well but once it sets be prepared for a fight to get it to release.