Doc1.pdf (53.6 KB)
We have a thread on this sort of thing here:
Arguably, this sort of difficulty is why they changed to:
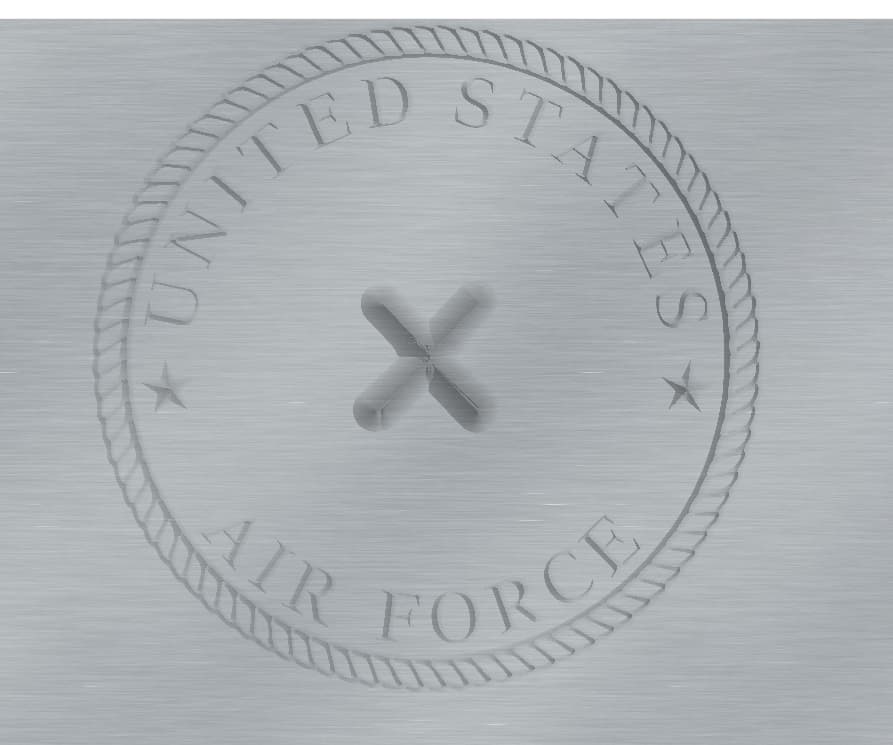
Please note however that the official version of the Air Force Seal:
Is limited to official/internal use only:
Keep in mind that many .svg files were meant to be displayed or printed, not lasered or machined.
Many have overlapping shapes filled with color, and the ‘highest’ shape (the last one rendered) wins. For machining they need to be edited so they don’t overlap.
Some will have filled shapes, and open vectors. I think the military logos in the library use open vectors for the feathers in the eagle, et.al. You either need to edit those or use a different strategy to cut. Machine the closed areas with V-carve & the open vectors with a contour path.
If you upload your .svg we can help further.
Hi Todd,
Not sure how to upload file?
Thanks Kerry
This icon in the reply widget ![]()
Airforce Emblem 1st carve (1).c2d (872 KB)
Yeh, looks like the top surface may not be perfectly flat. I would separate out the eagle with a Vcarve & cut it again just a smidge deeper.
So I did separate the eagle from the drawing and increased both the depth and the size of the eagle but am still not happy withe the depth of cut. Was thinking about filling with epoxy but not sure it is deep enough.
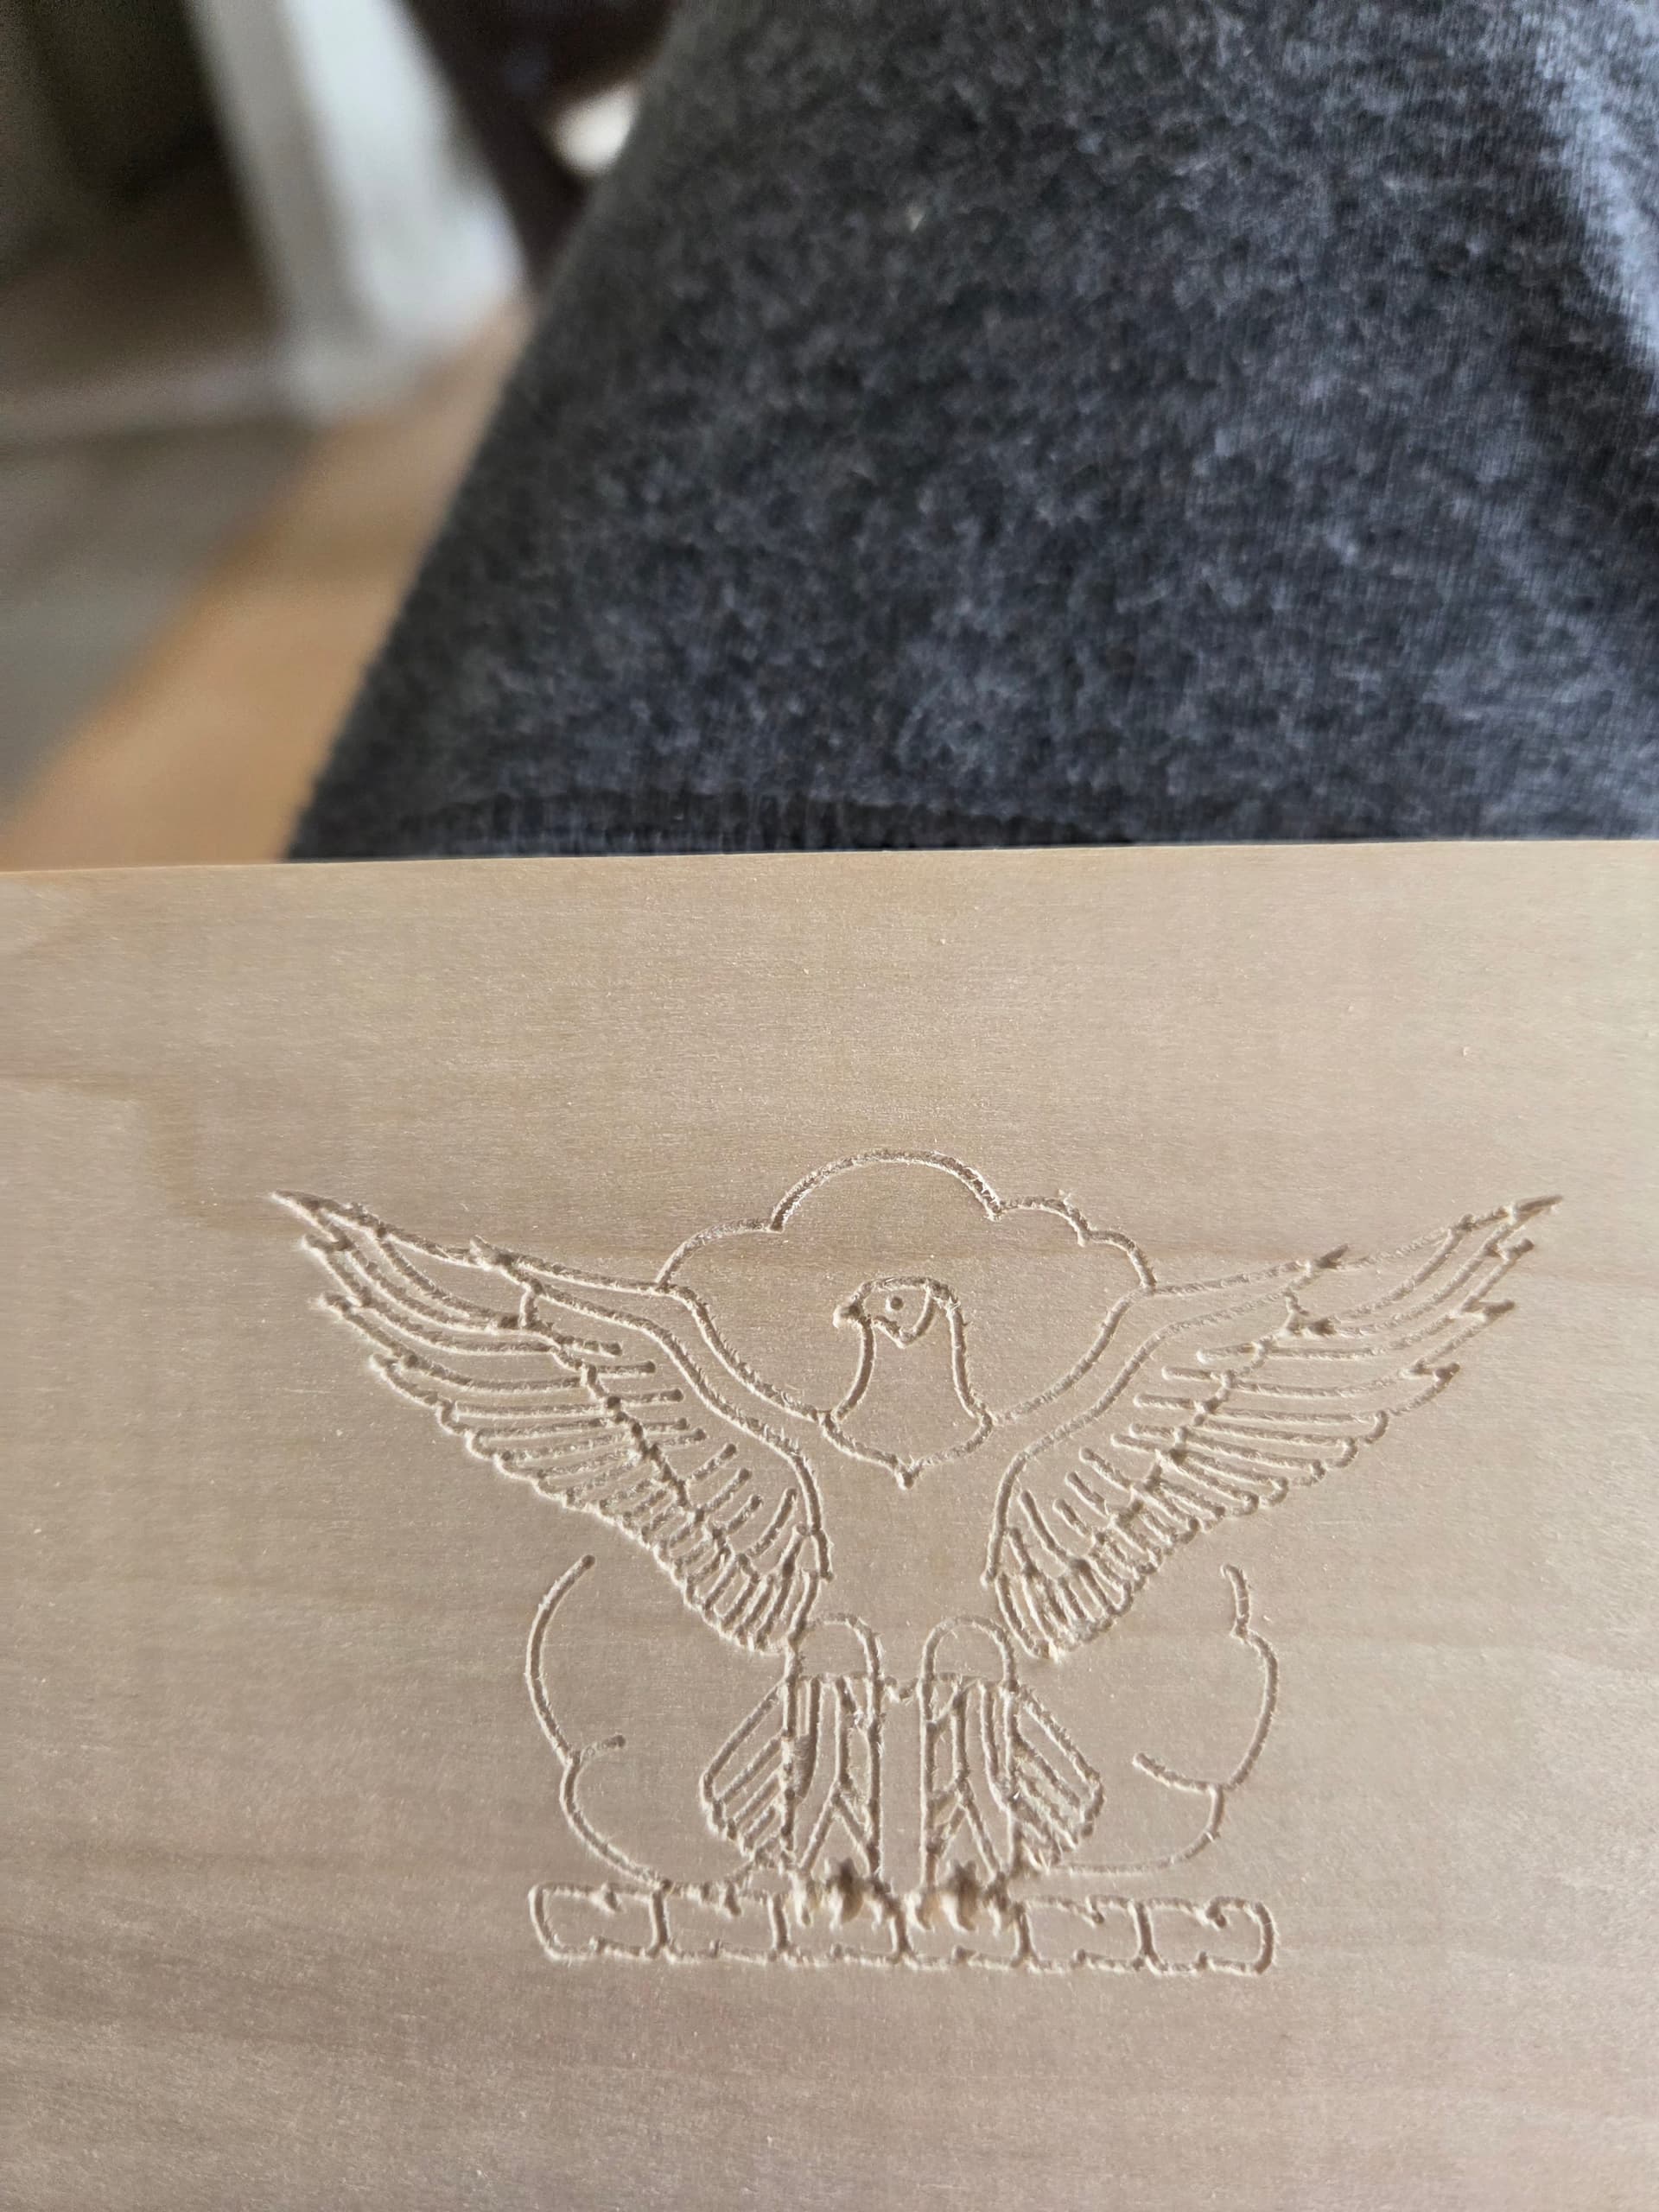
Also, I am using poplar for my sample and the lines seem a bit shredded.
Eagle.c2d (836 KB)
Try soaking the surface with a couple good heavy coats of sealer before carving. It will bind the fibers of the grain together & prevent the ‘fuzzy’ edges.
2 Likes
Is there a good sealer you can recommend?
I like lacquer sealer for this purpose. You can thin it out so it really soaks in well.
Zinsser SealCoat also works well. (and doesn’t smell nearly as bad) ![]()
1 Like
Thanks Tod, Was also wondering why I can’t get cnc to cut any deeper? Think I went to .750 for depth and it didn’t change much?
V-carve will only cut as deep as is needed to touch both vectors, or both sides of the vector. Changing the max depth won’t make a difference. The only time the max depth does make a difference is when set to a value less than the depth needed to follow the vectors.
Changing the start depth will make the lines wider, and deeper as it’s tracing the vectors at the start depth. But be careful as the lines will be wider at the surface, so small adjustments are prudent.
1 Like
Thanks Tod! I will give that a try.
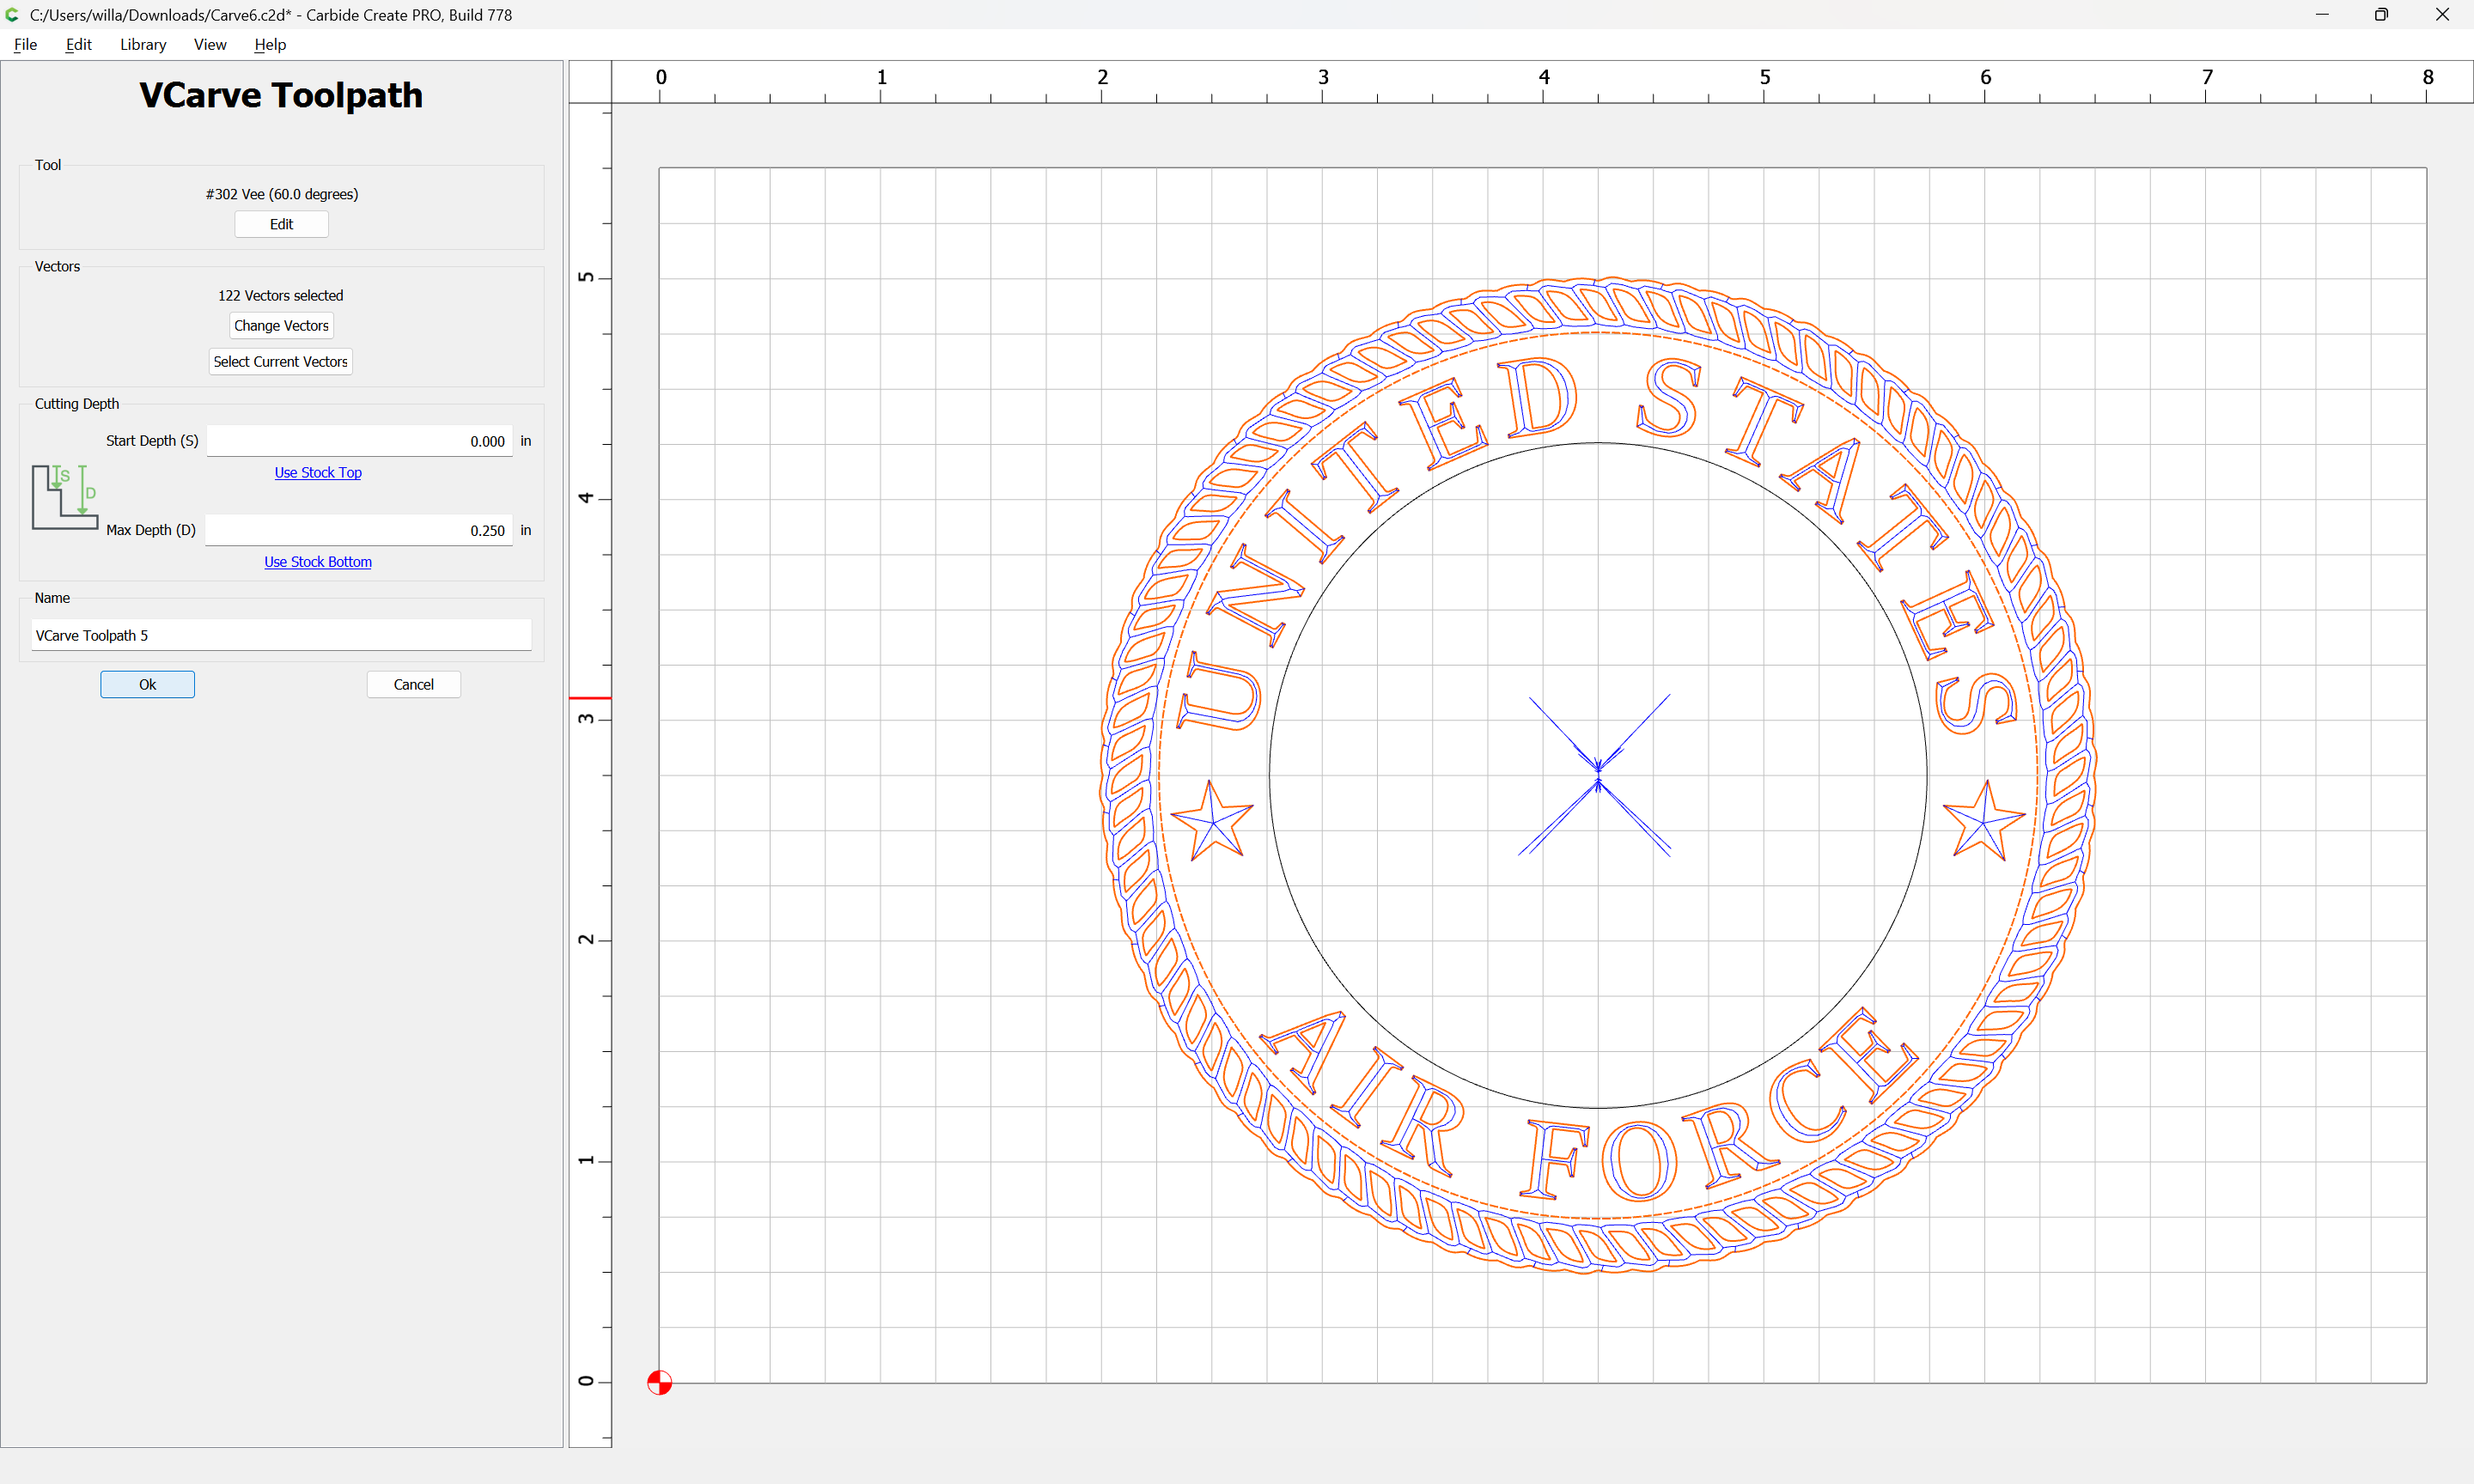
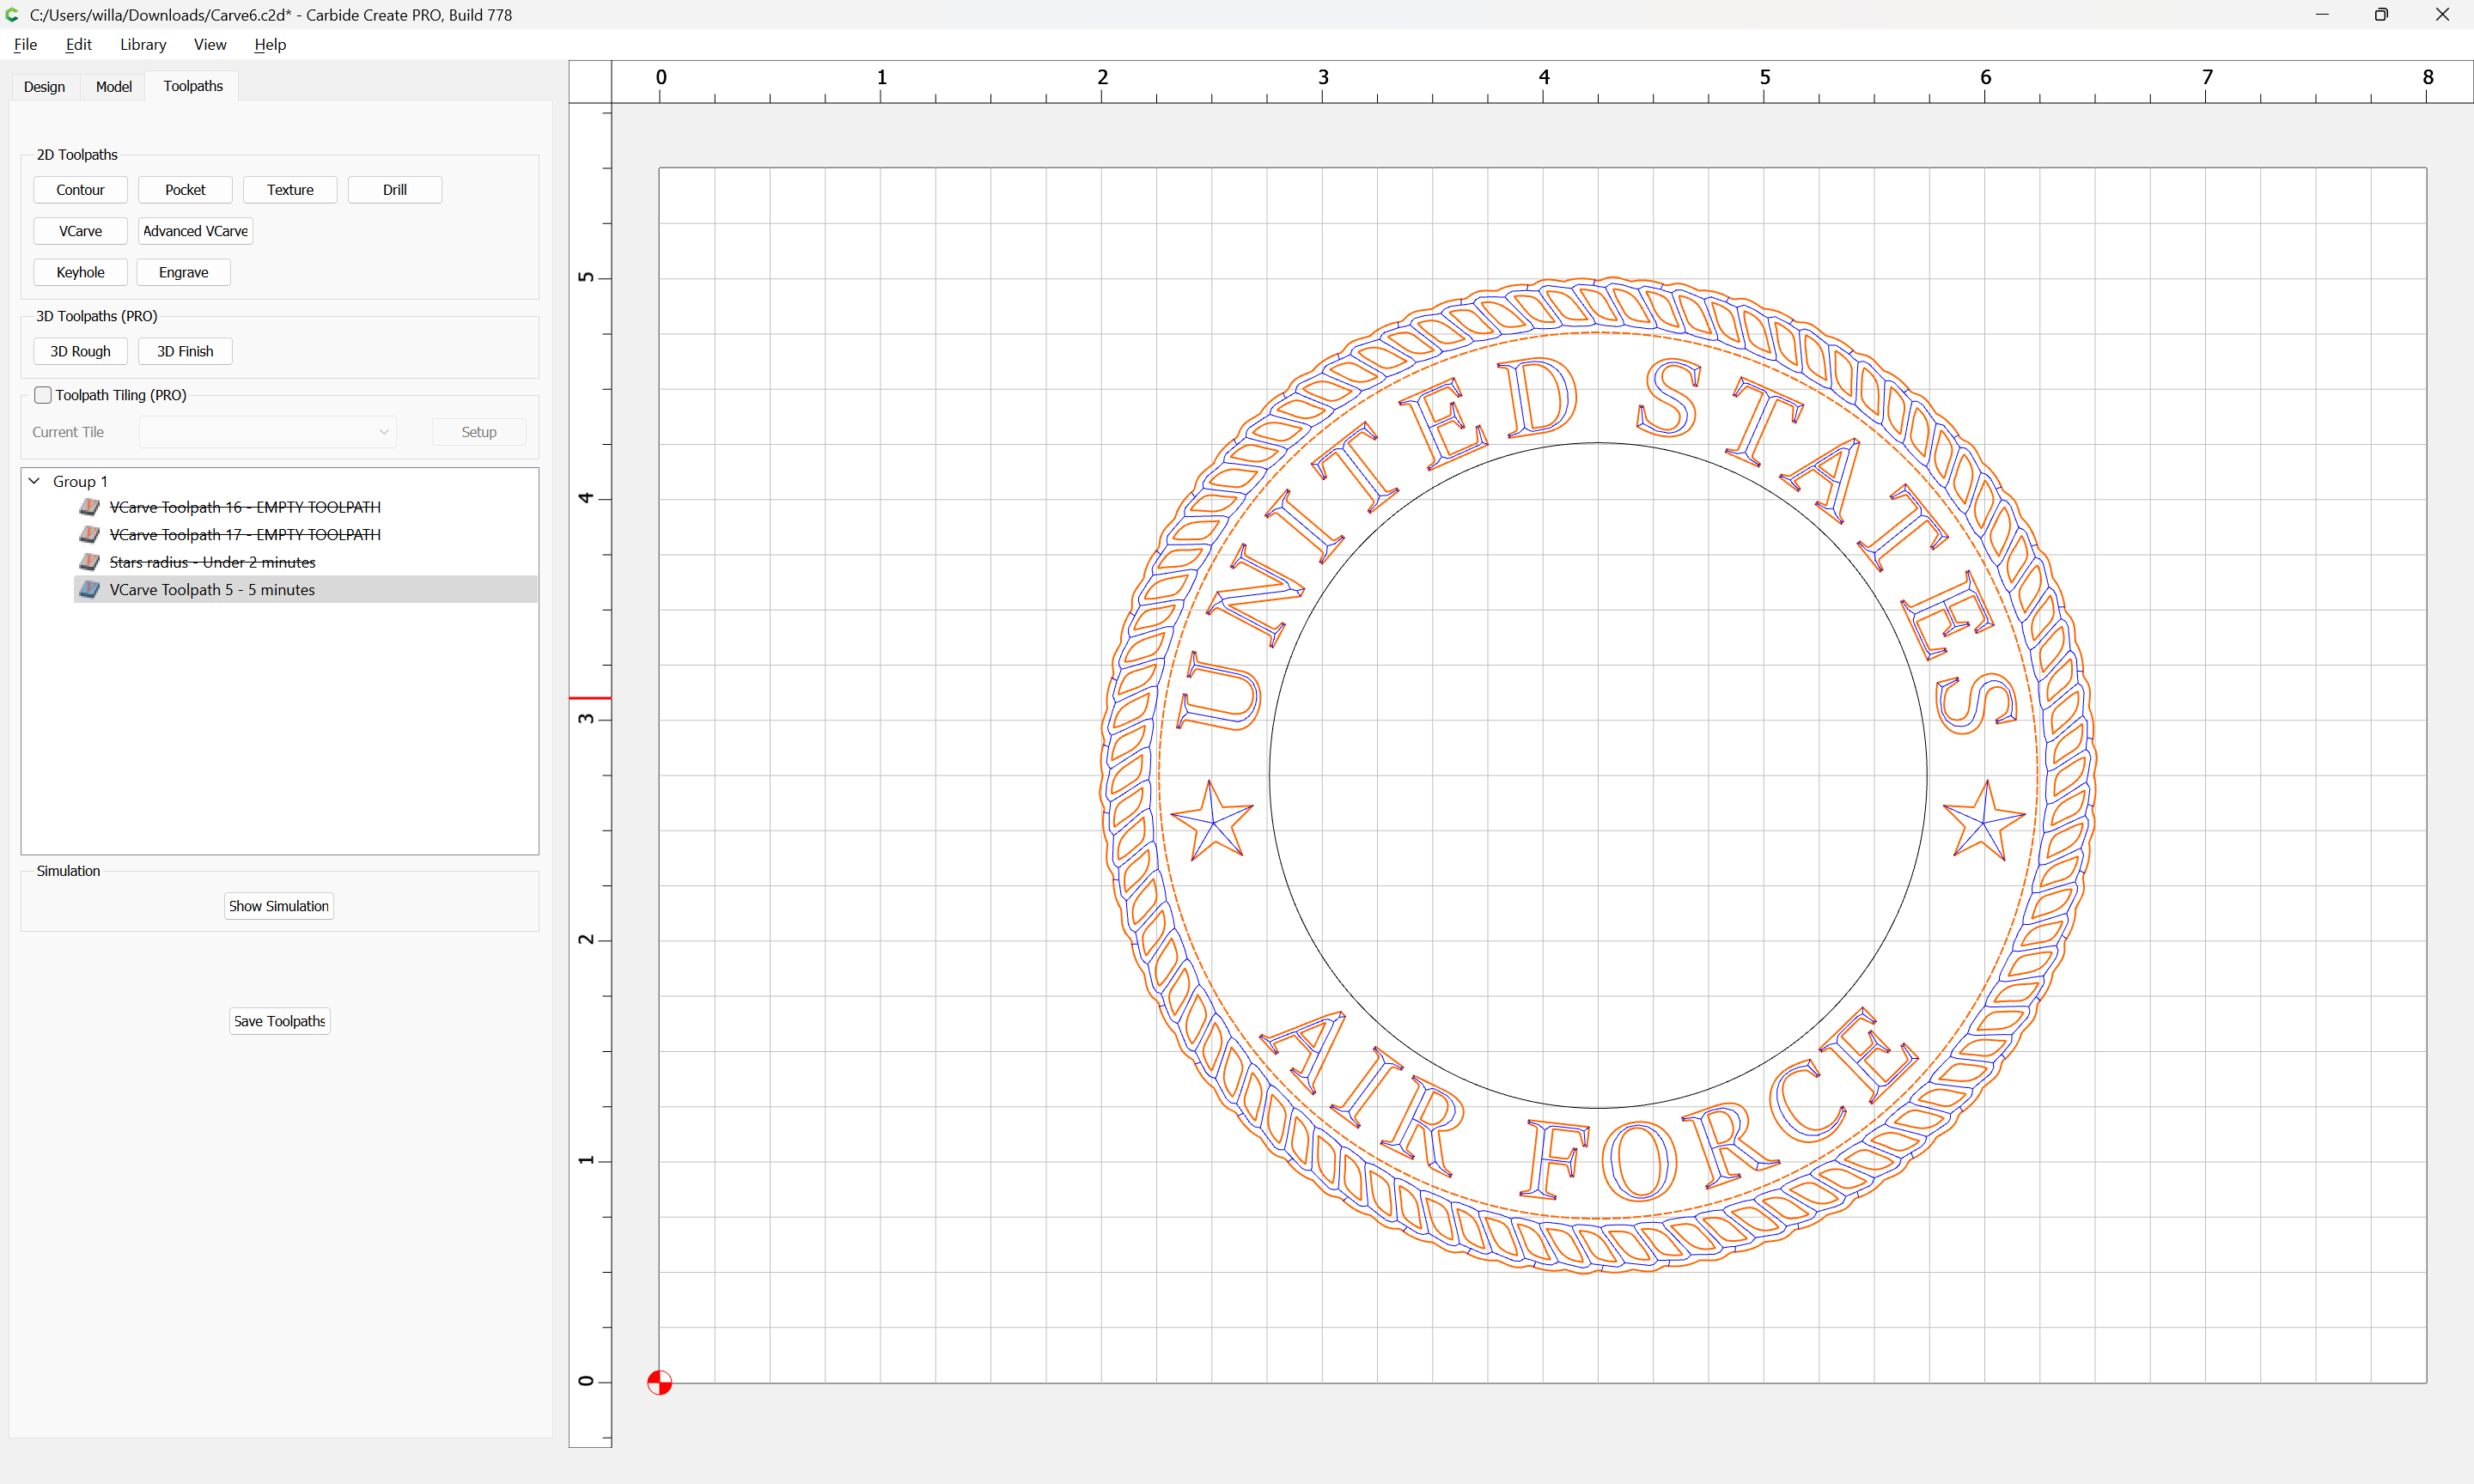
Wondering why there is a carve in the middle of this file when I have nothing in it?
Thanks Kerry
Carve6.c2d (2.7 MB)
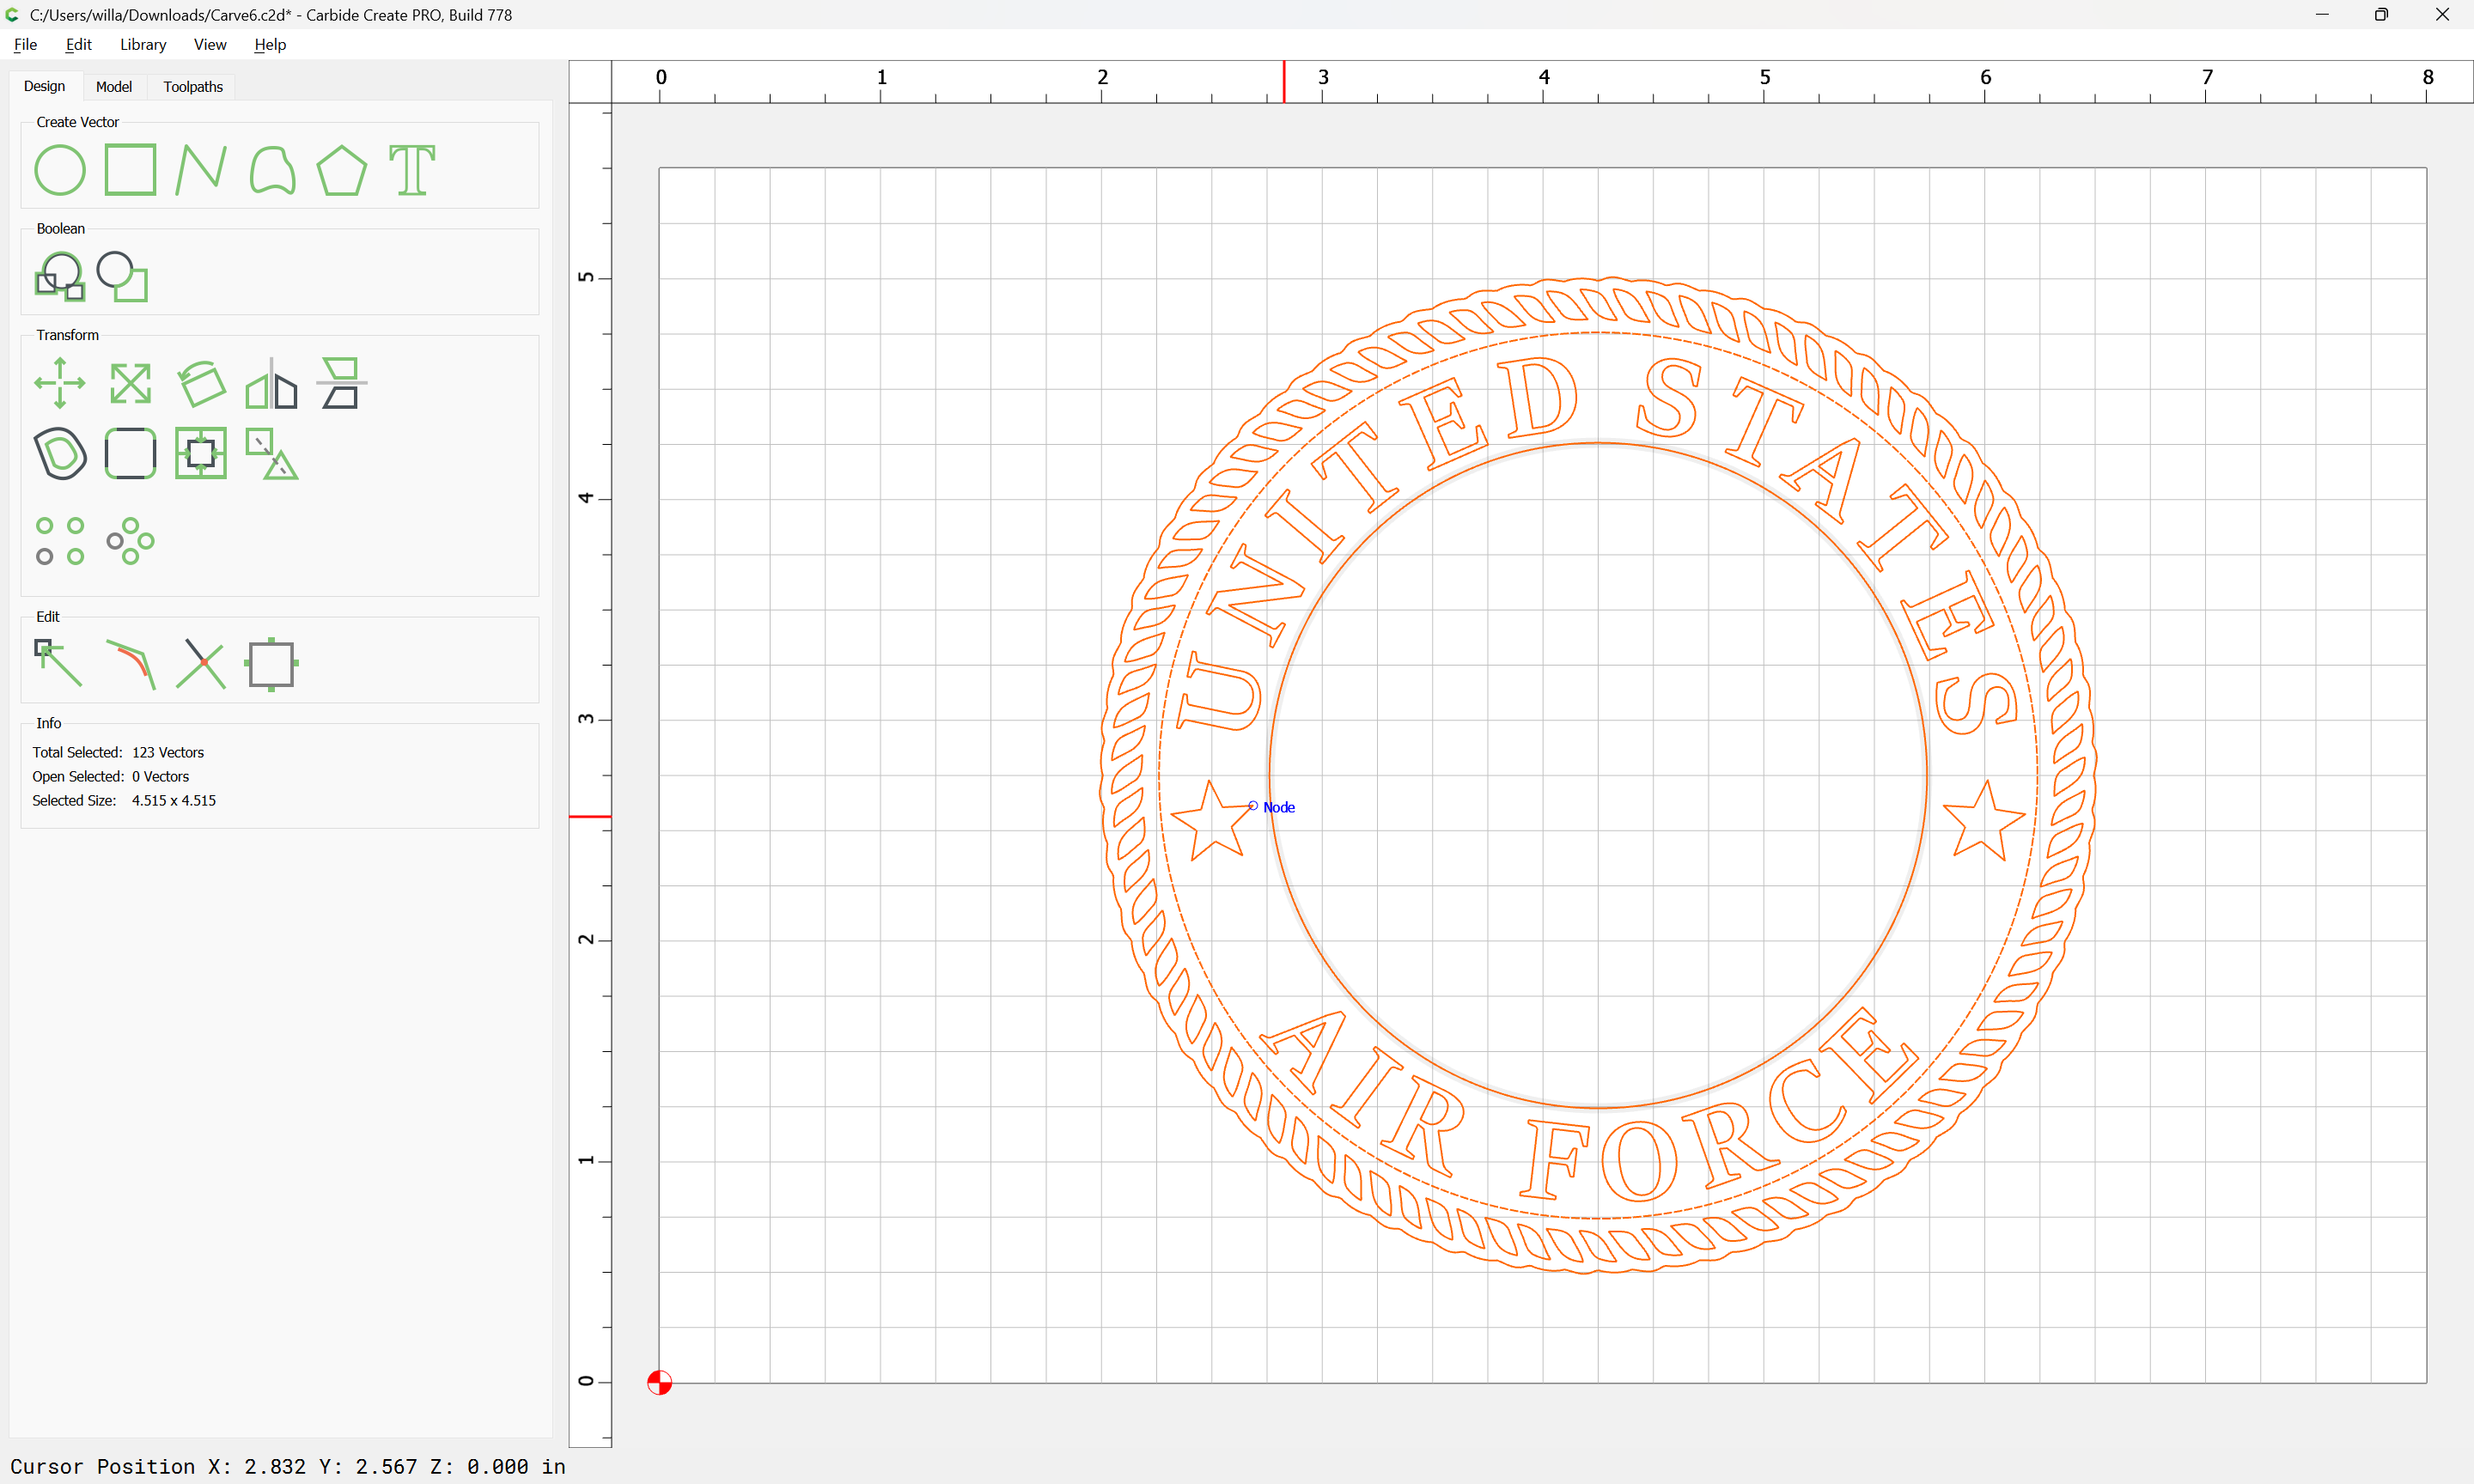
To start, you have a bunch of geometry associated with a toolpath which isn’t in the Stock area:
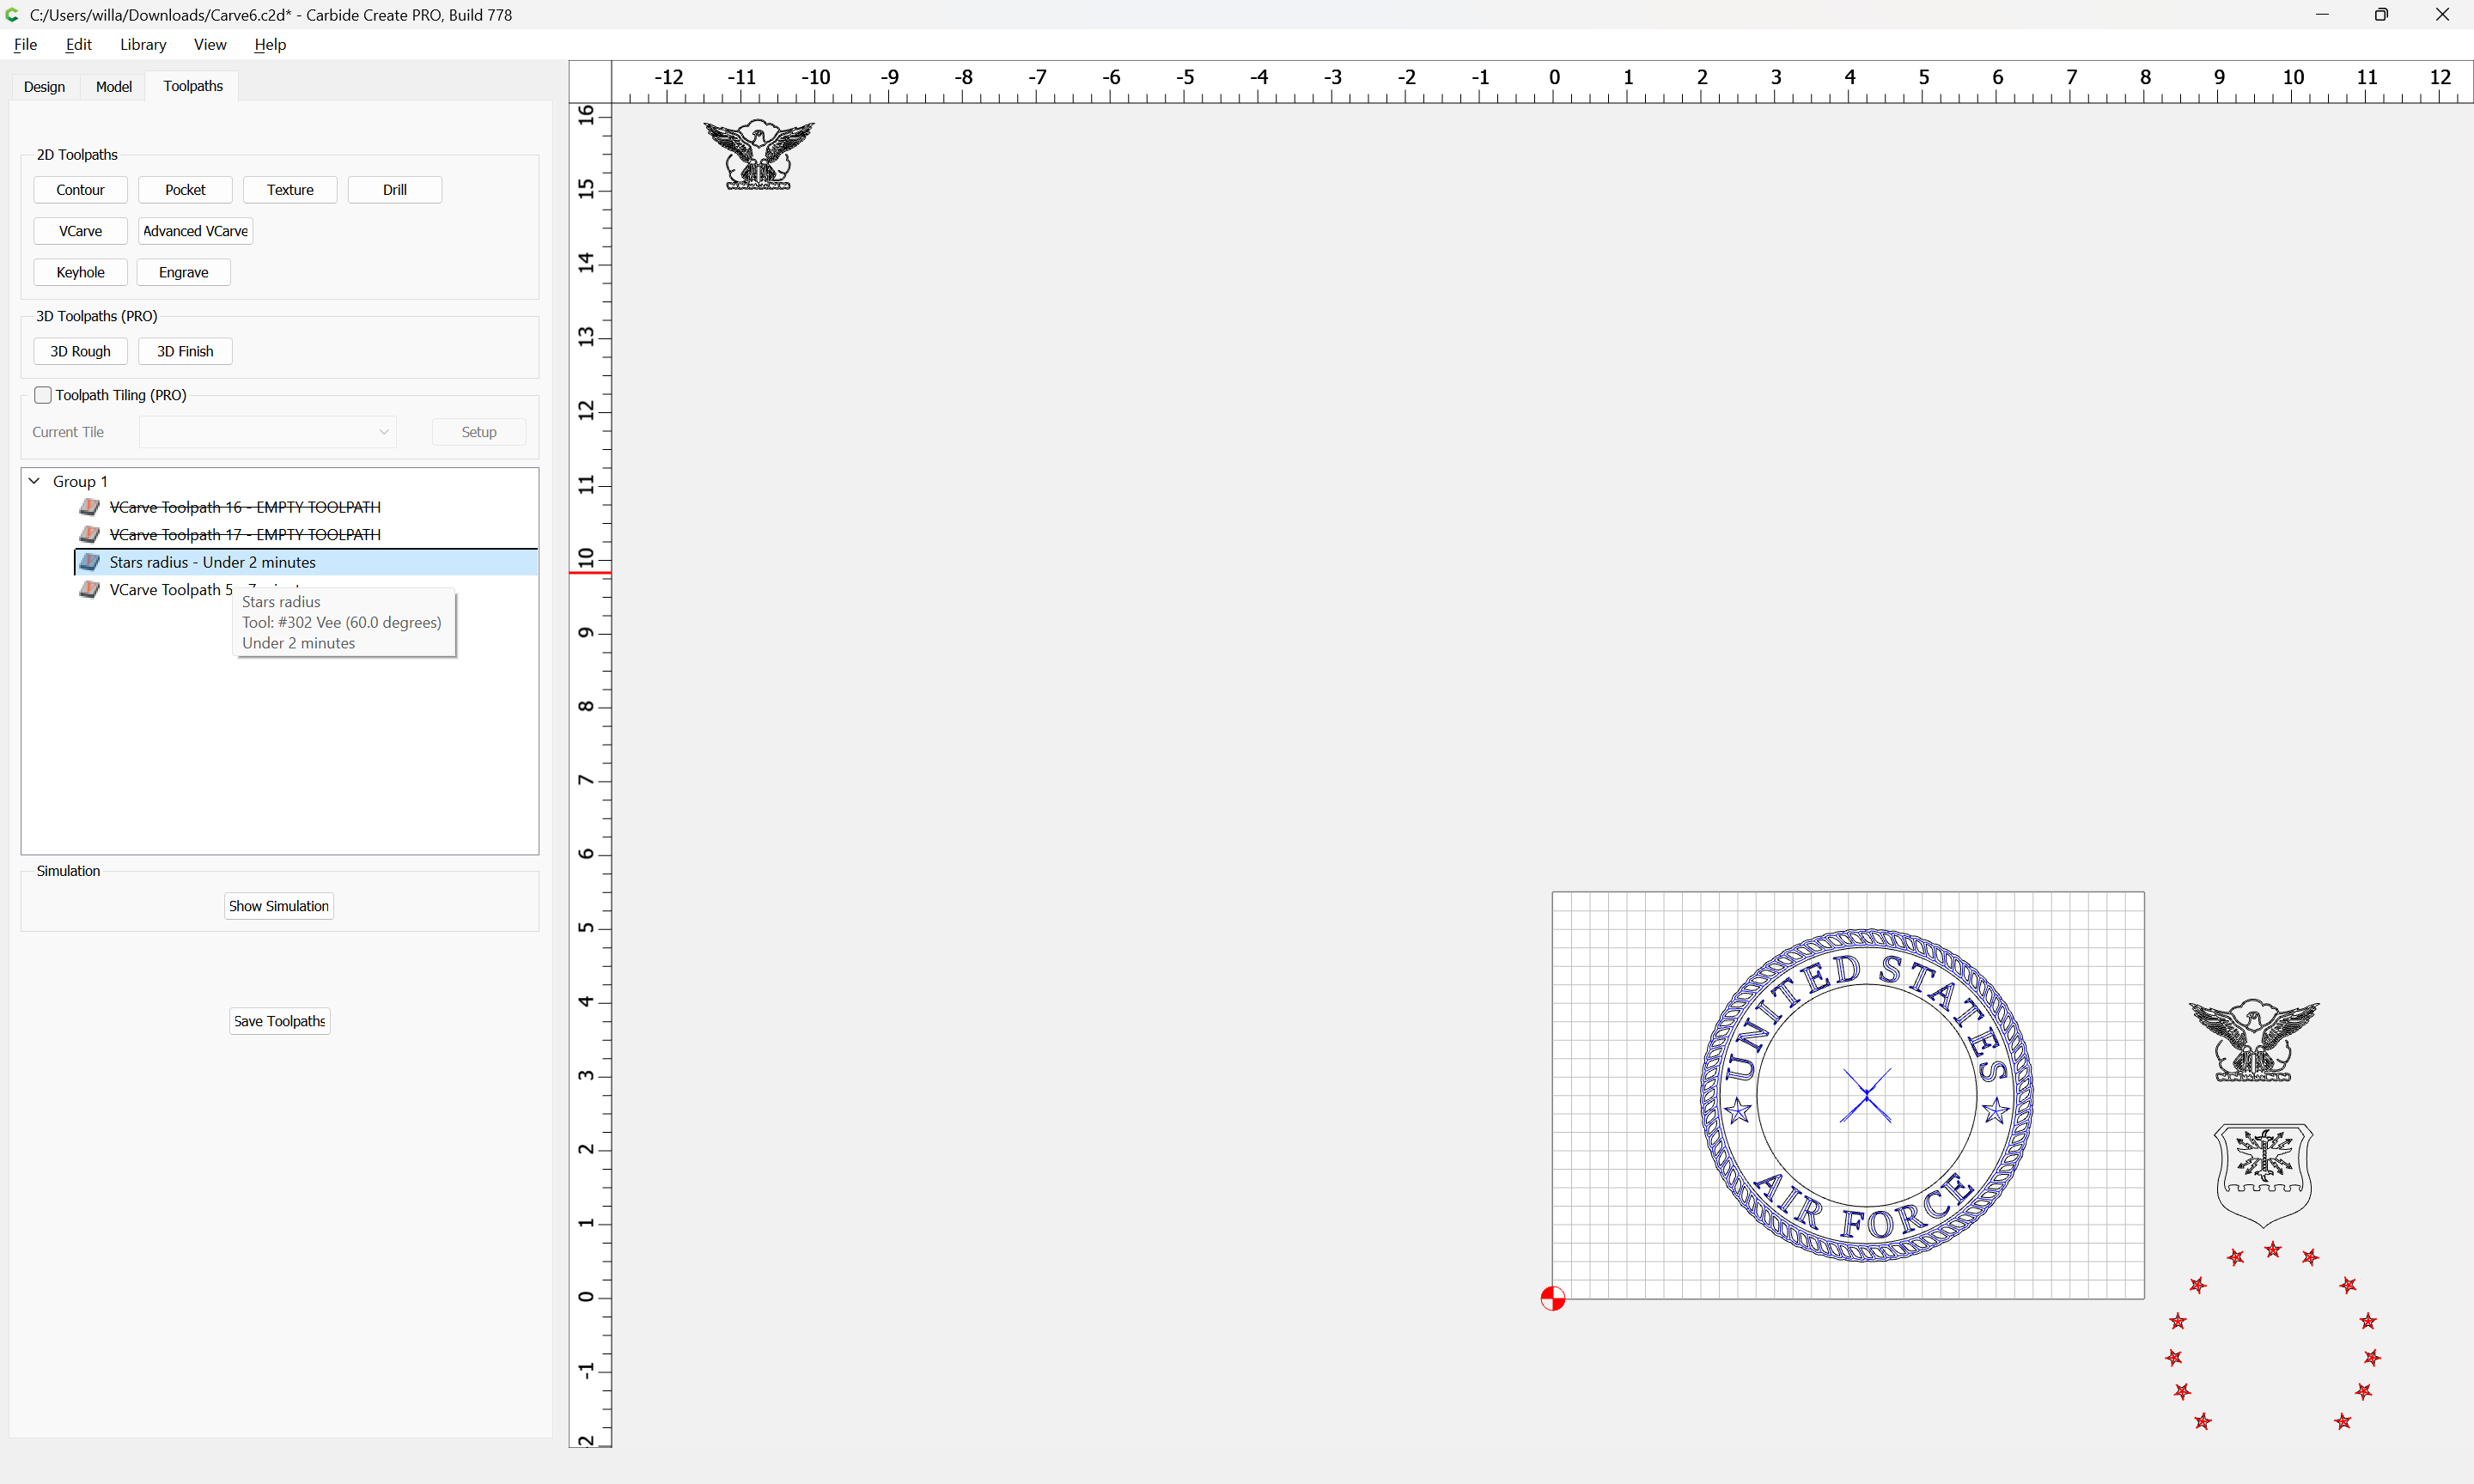
For the toolpath in question, you have an extra bit of geometry associated with the toolpath:
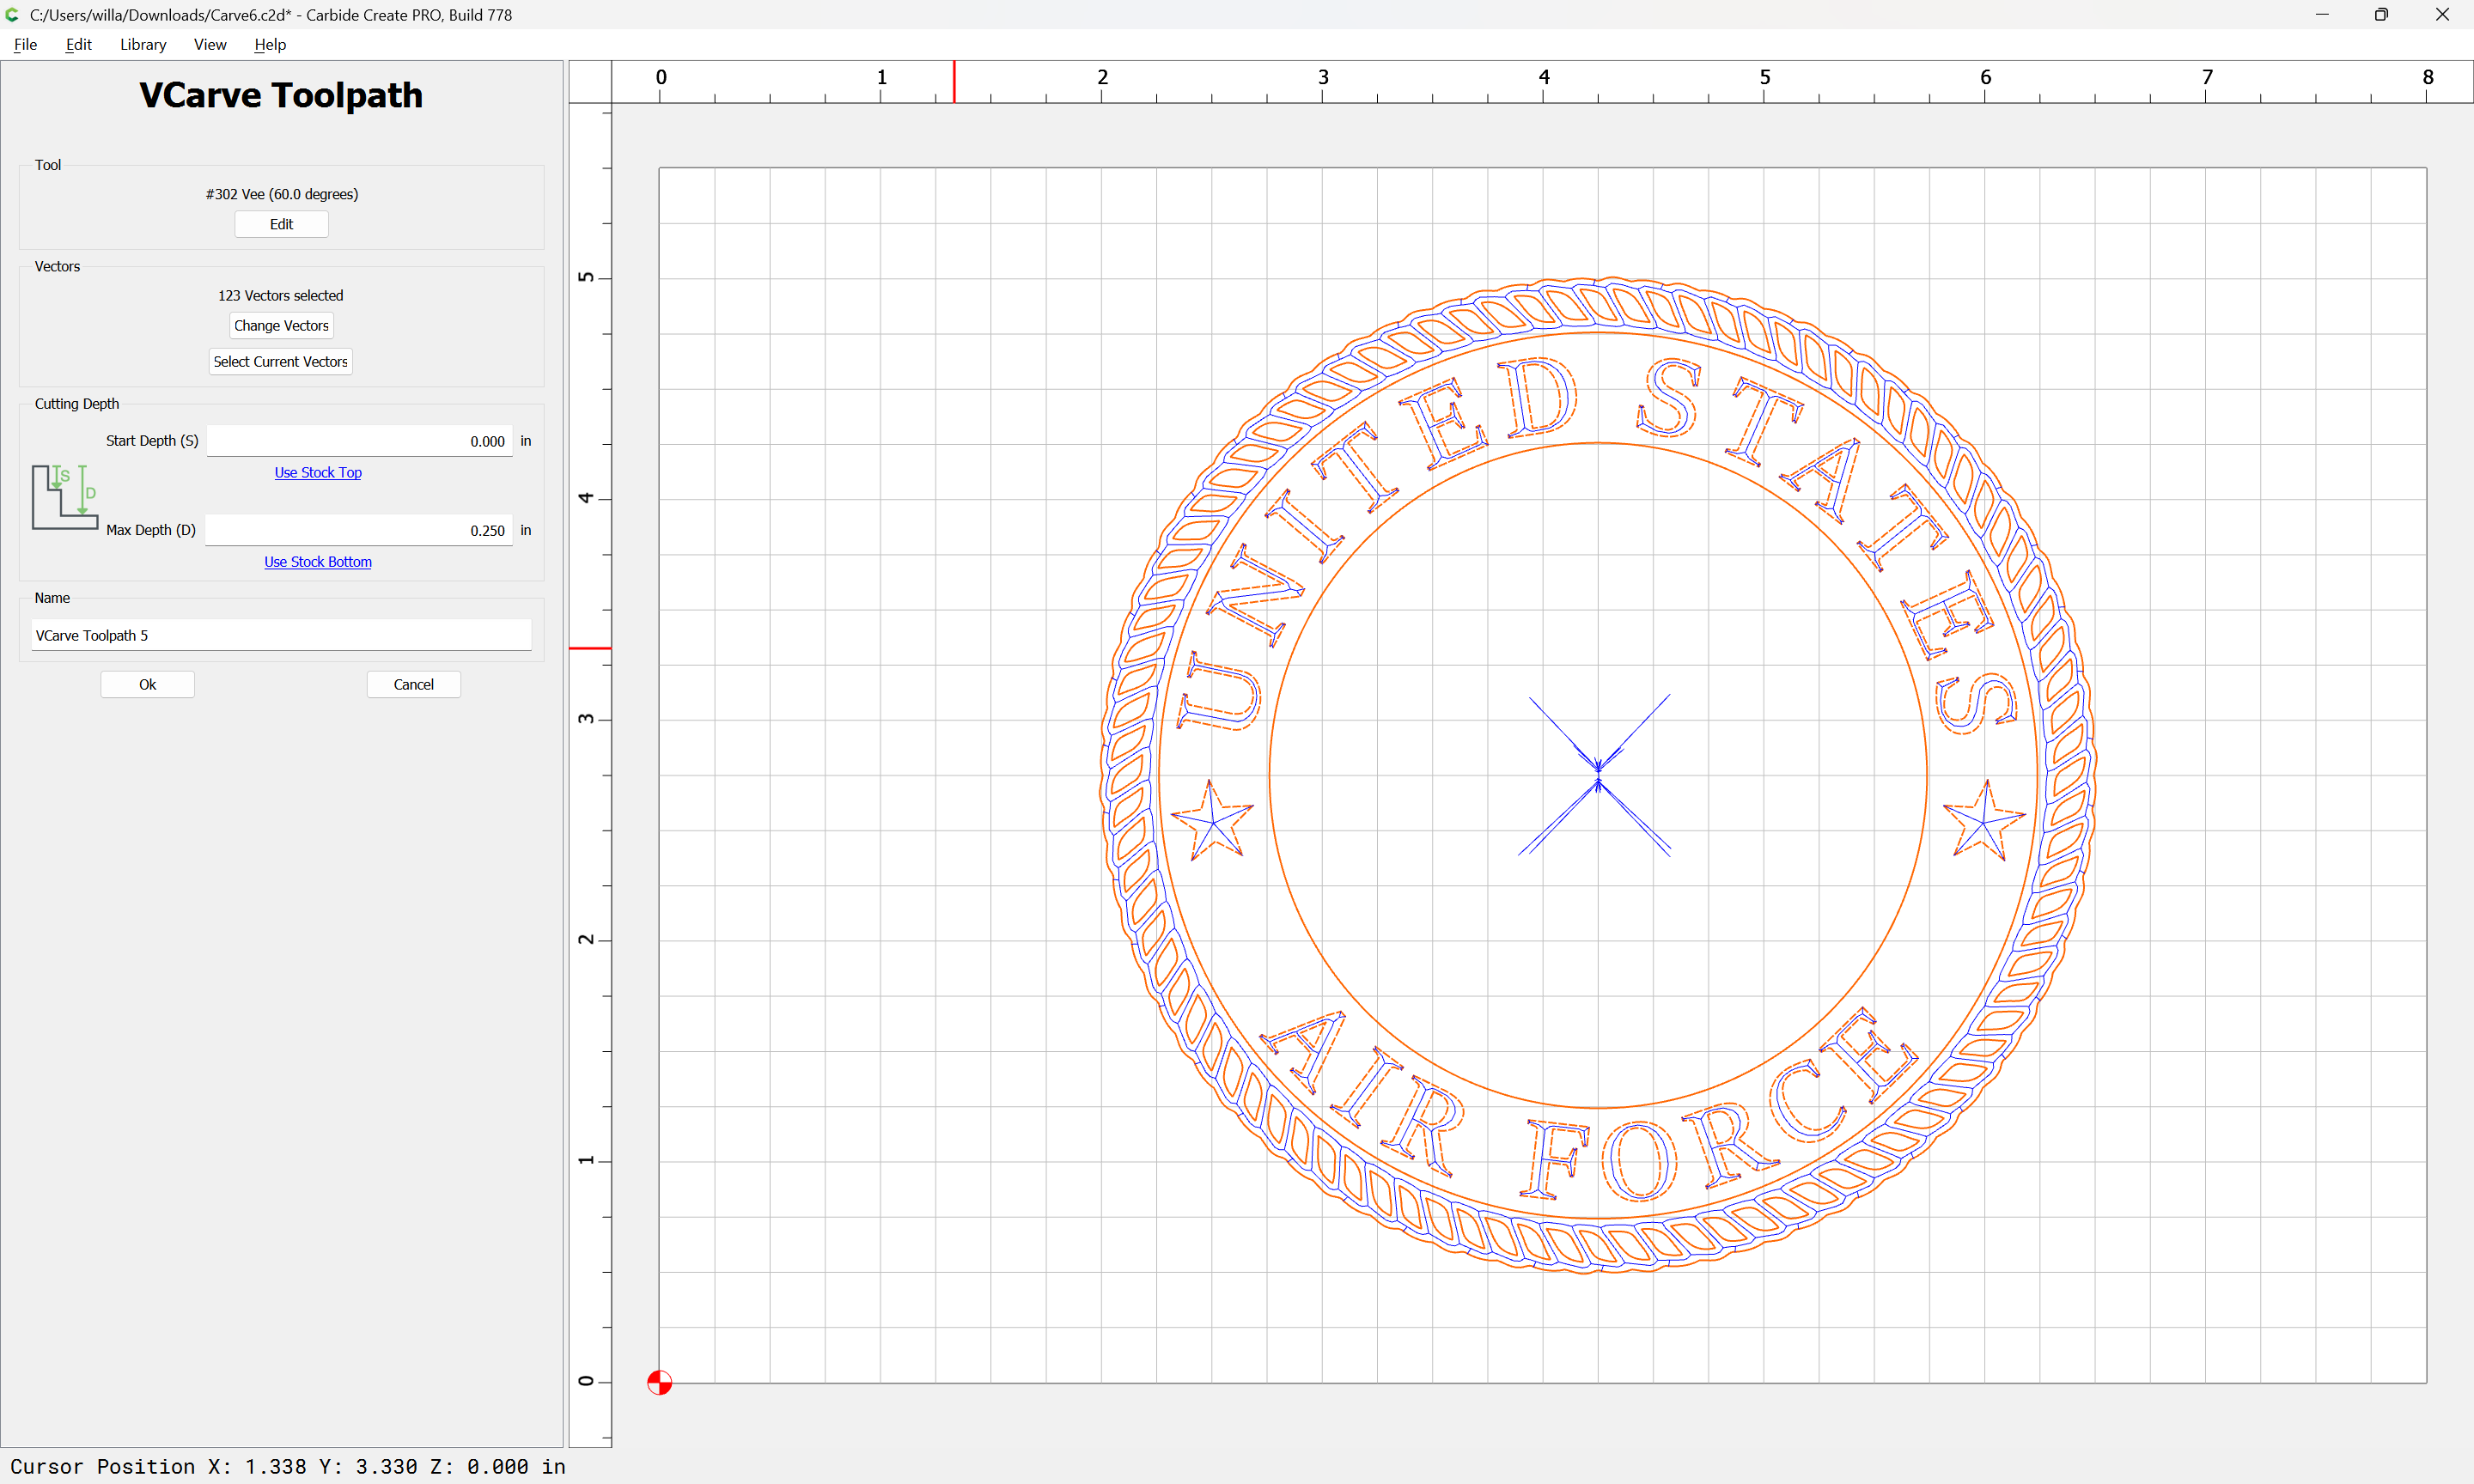
If you go back to Design and Ungroup:

and then remove the inner circle:
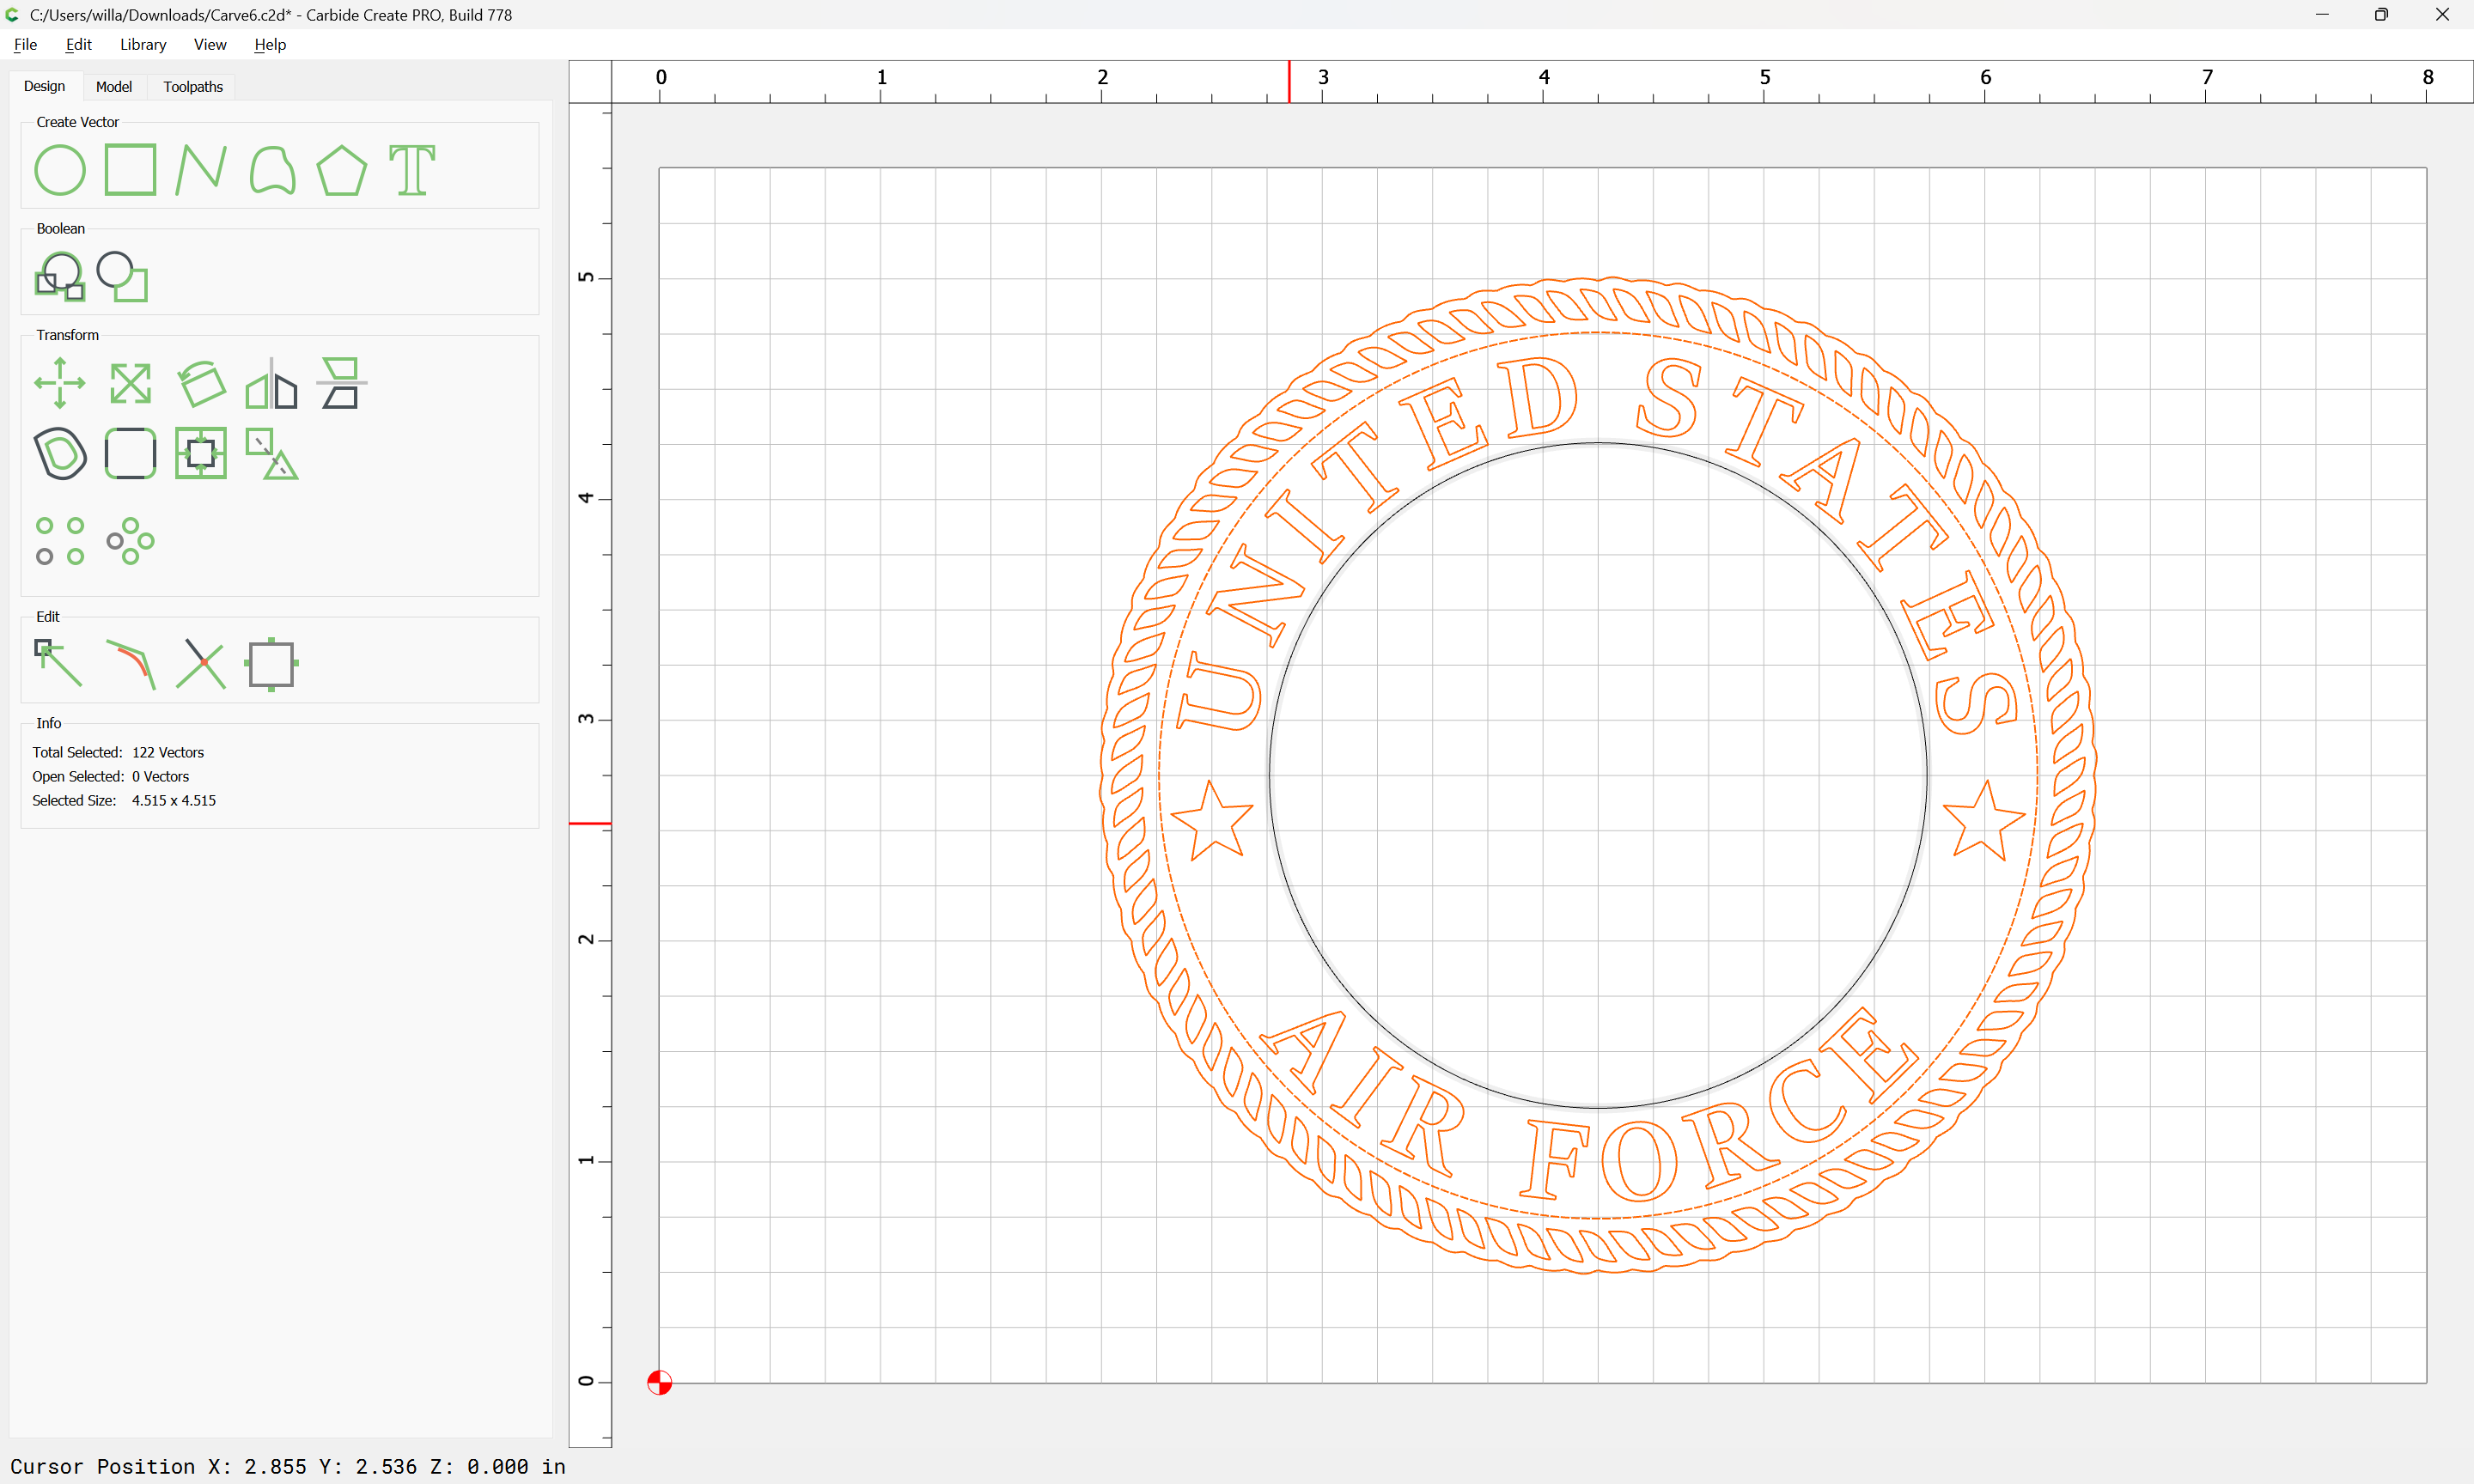
you will have a selection which matches what you wish to cut:
“Change Vectors”
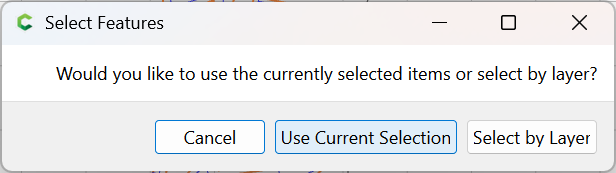
OK
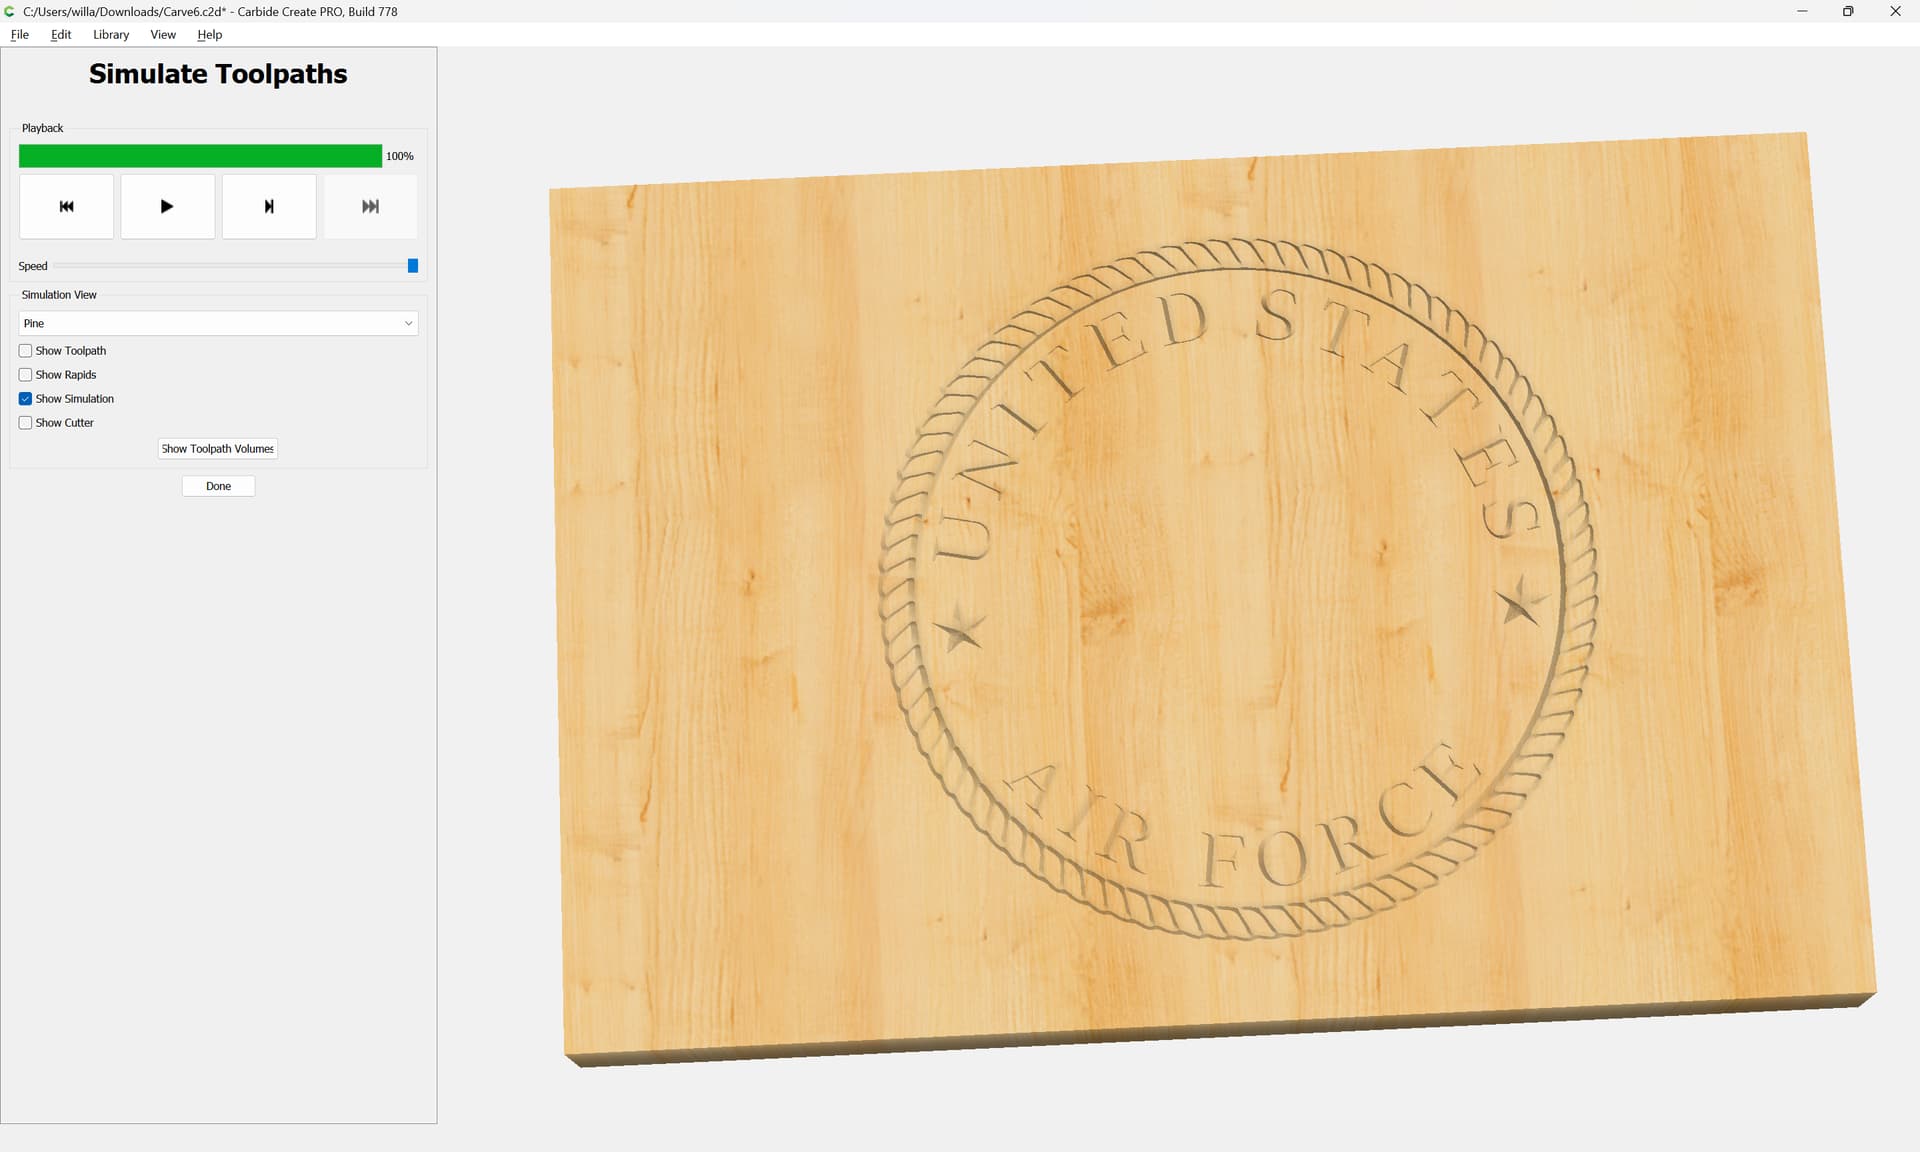
If you use v8, then the V carve toolpath will more closely match the selection making this sort of difficulty obvious.
1 Like
Thank you Will! I did what you said and it worked. Wondering if you know of a good sealer for poplar that will stop colored epoxy bleed through?