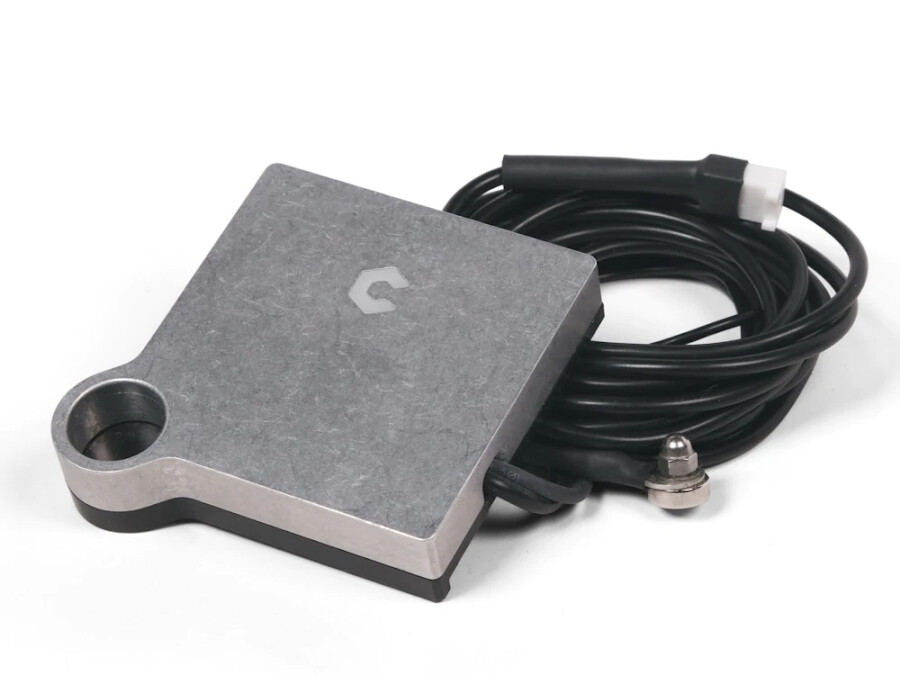
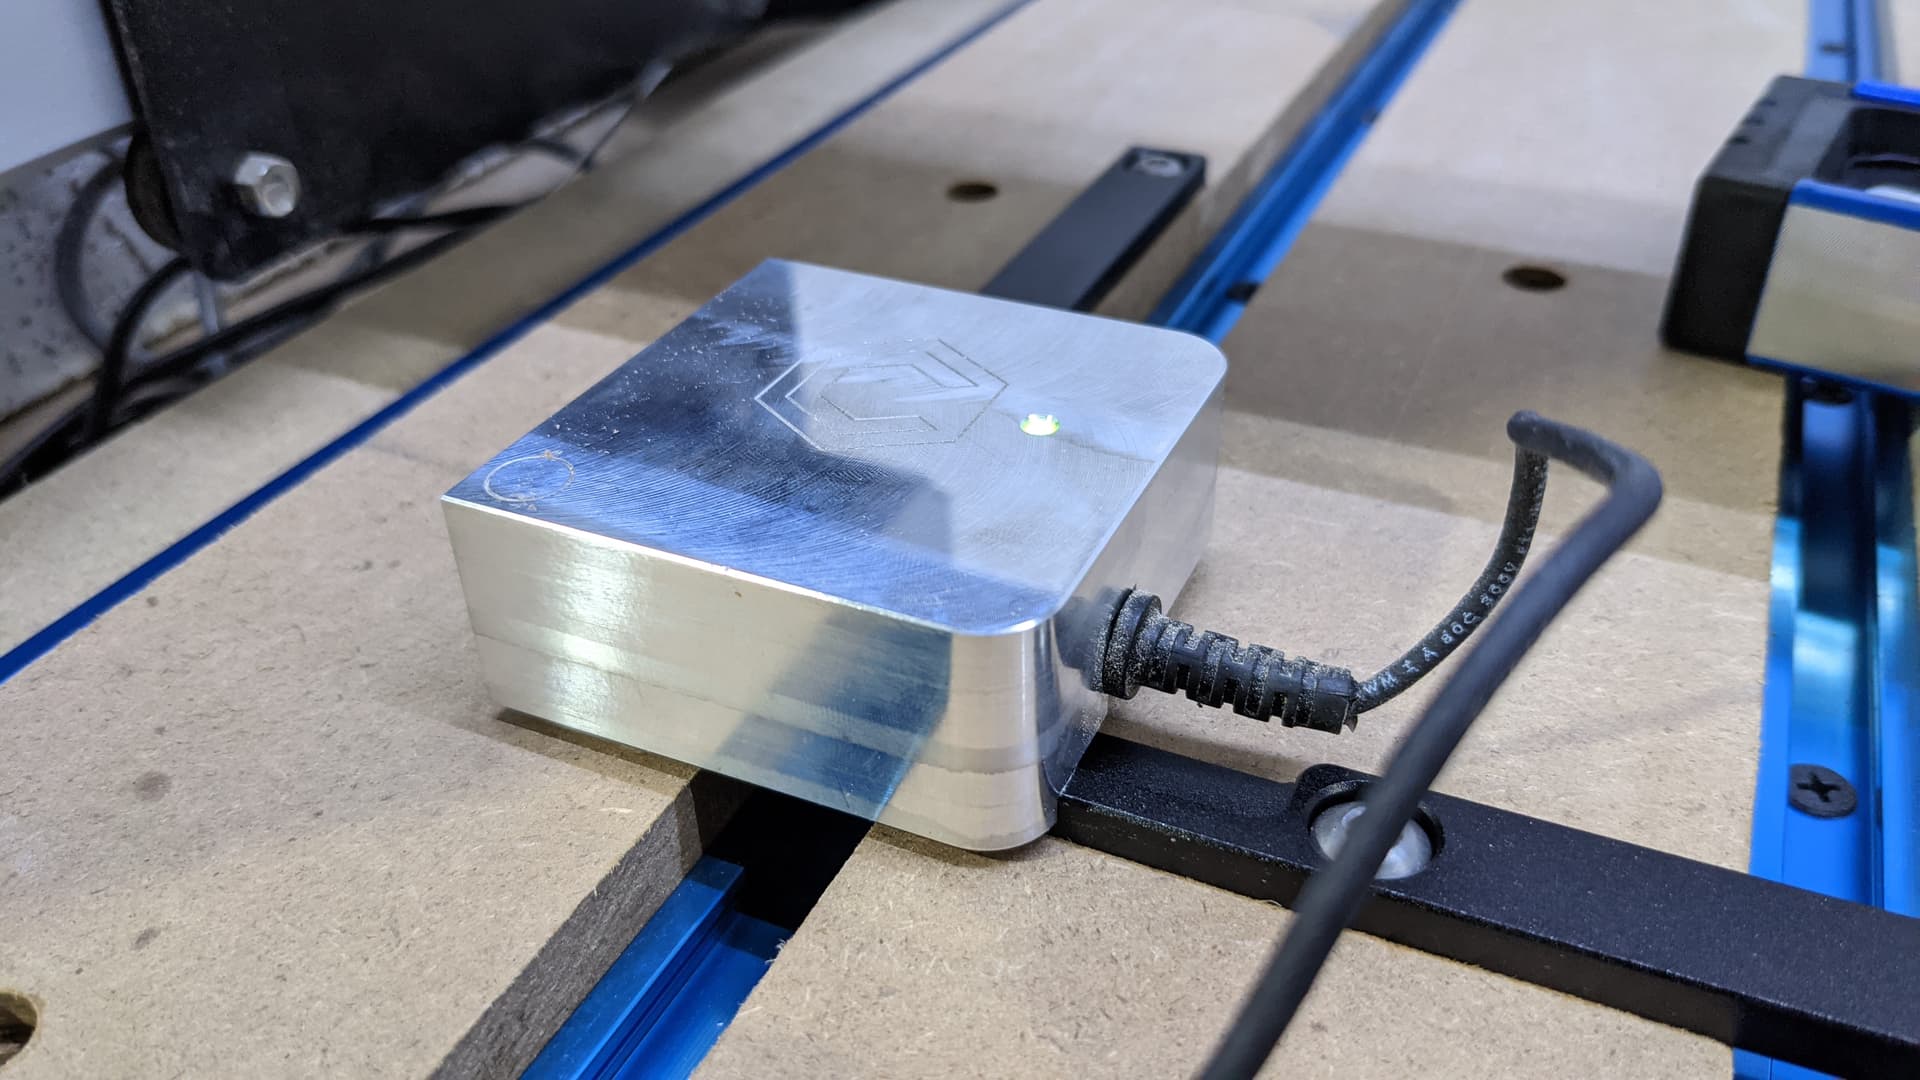
I recently bought a used Shapeoko 3 that came with a BitZero. I’m running Carbide Motion v4. A single cable runs from the block into the controller and seems to be plugged into the right place on the board. I’ve seen photos with two cables coming out from the block and I’ve also seen single cables emerging with grounding clips, so that’s a bit confusing, but must relate to various versions. My green light is on, but never turns red when I touch it to the bit so something is amiss in the grounding of it and I am, obviously, not using it.
I have it turned on in settings. Other than that, it seems straightforward and I would expect it to be working. What am I missing? How can I go about troubleshooting this? While new to Shapeoko, I’m comfortable around electronics, wiring and a multimeter.
From my reading, this seems like a terrific forum, and I appreciate your help in advance.
You’re missing the ground lead/clip — if you can’t find the one you should have, or have difficulty fashioning one, let us know at support@carbide3d.com
The BitZero and the BitSetter are tied together. The BitZero comes in two flavors. The V1 and the V2. The v1 is just a block of aluminum with a cable running out of it. The V2 has the same block but a circle on one corner.
Both of the versions have a separate wire that is grounded to the frame. The V1 has a clip and the v2 had a magnet. You set your BitSetter under the bit within 1/2" and attach the clip/magnet to the bit/collet. Then you probe. In CM there is a setting for which version you have and it is persistent. The two versions have different thickness and that is compensated for in the software when probing.
When probing X Y and Z on a corner you set the lip over the corner. When probing only Z you set the lip on top of the material.
Make sure in Carbide Motion you set either top or bottom the material and match that setting when you set the Z Zero. So if you use top of material in CC set the Z zero on top of the material. If you use bottom then set the BitZero on the spoilboard to set Z zero.
Not to hijack your thread but I have another bitzero related question. How are people storing their bitzeros? Since it plugs into the controller board and behind the controller board protective panel I just leave my plugged in and thrown somewhere around the wasteboard. Obviously this isn’t a great solution…
Is there an extension cable we can buy (from Carbide or Amazon or wherever) that I could plug into the controller board and then plug the bitzero into that cable only when I need it? Or can you give us the exact molex connector part numbers?
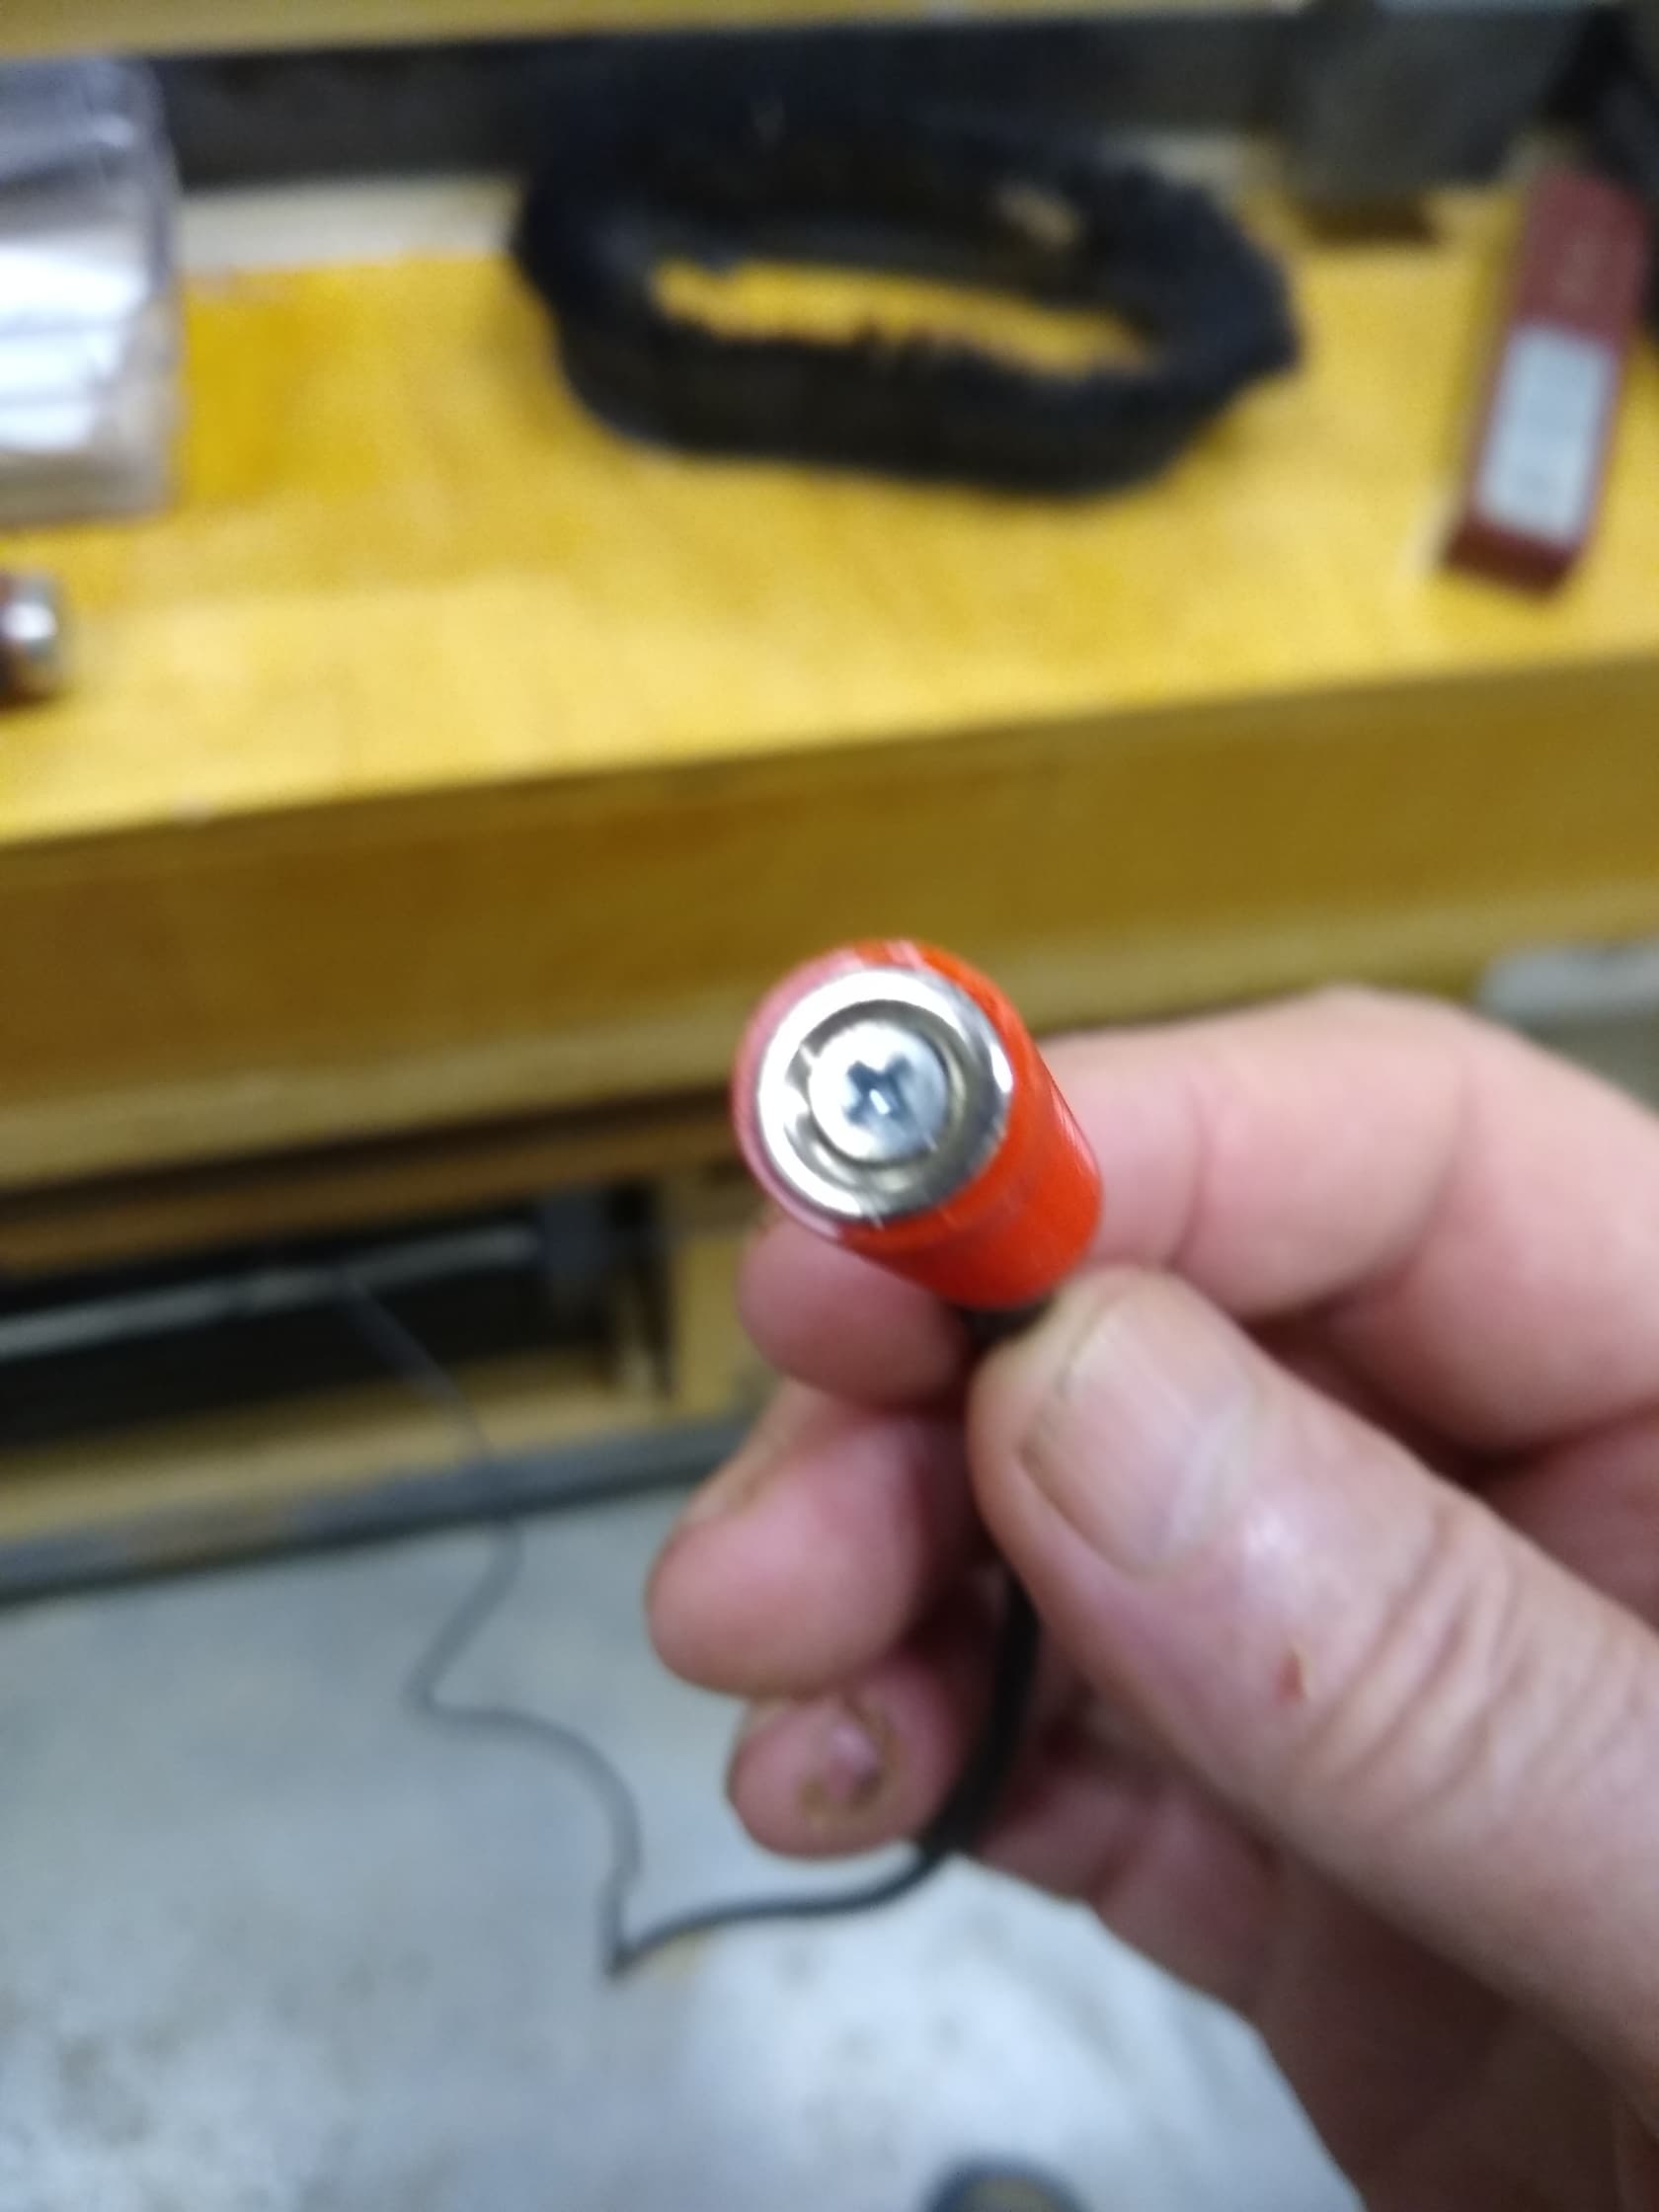
I have a V1 version. There is a single cable which plugs into the controller. Are you saying there should be an additional grounding cable which is clipped on the bit? If so, I’m sure I could fashion one, but could use additional info.
Thanks everybody for the speedy and helpful replies.
The clip/magnet is just a single wire. Make it long enough to match the BitZero wire. You simply put a round terminal on one end that is big enough to fit over one of the bolts on the end frame of the Shapeoko. The other end can be a clip or a magnet. I have a Shapeoko 3 and it originally came with a clip. That clip would slip off at the most inconvenient time. I bought a magnet kit from etsy. I looked on etsy and it is no longer there. So an alternative would be to 3d print a round piece with a magnet that sticks out slightly and a brass insert for a screw to ground the screw to the magnet. Any magnet should be electrically conductive.
For some reason having the BitZero cabled onto the board, I had a hard time wrapping my head around a separate grounding cable, but I understand now.
I appreciate the help.
Thanks. I made a cable. All good now. Some how I missed the BitZero installation information …even though you provided the link in your first response. So, my bad.
Since mine came installed (bought it used) and there was no other cable attached anywhere, I figured it was already installed. I didn’t think to look there. Also, of the photos I’ve seen, even from Carbide3d, they seem to show one cable exiting the BitZero and going out of the shot and then one end of the ground wire coming in the shot. It wasn’t clear to me that they were two separate cables, even though I knew there was supposed to be a ground wire. I know it would be hard to photograph both ends of both cables in the same shot.
The installation guide was very clear and well illustrated…thanks for that. I’m loving my Shapeoko 3, and I’ll love it even more when I get familiar with the steps needed to get going. Lots of learning going on…even at 70!