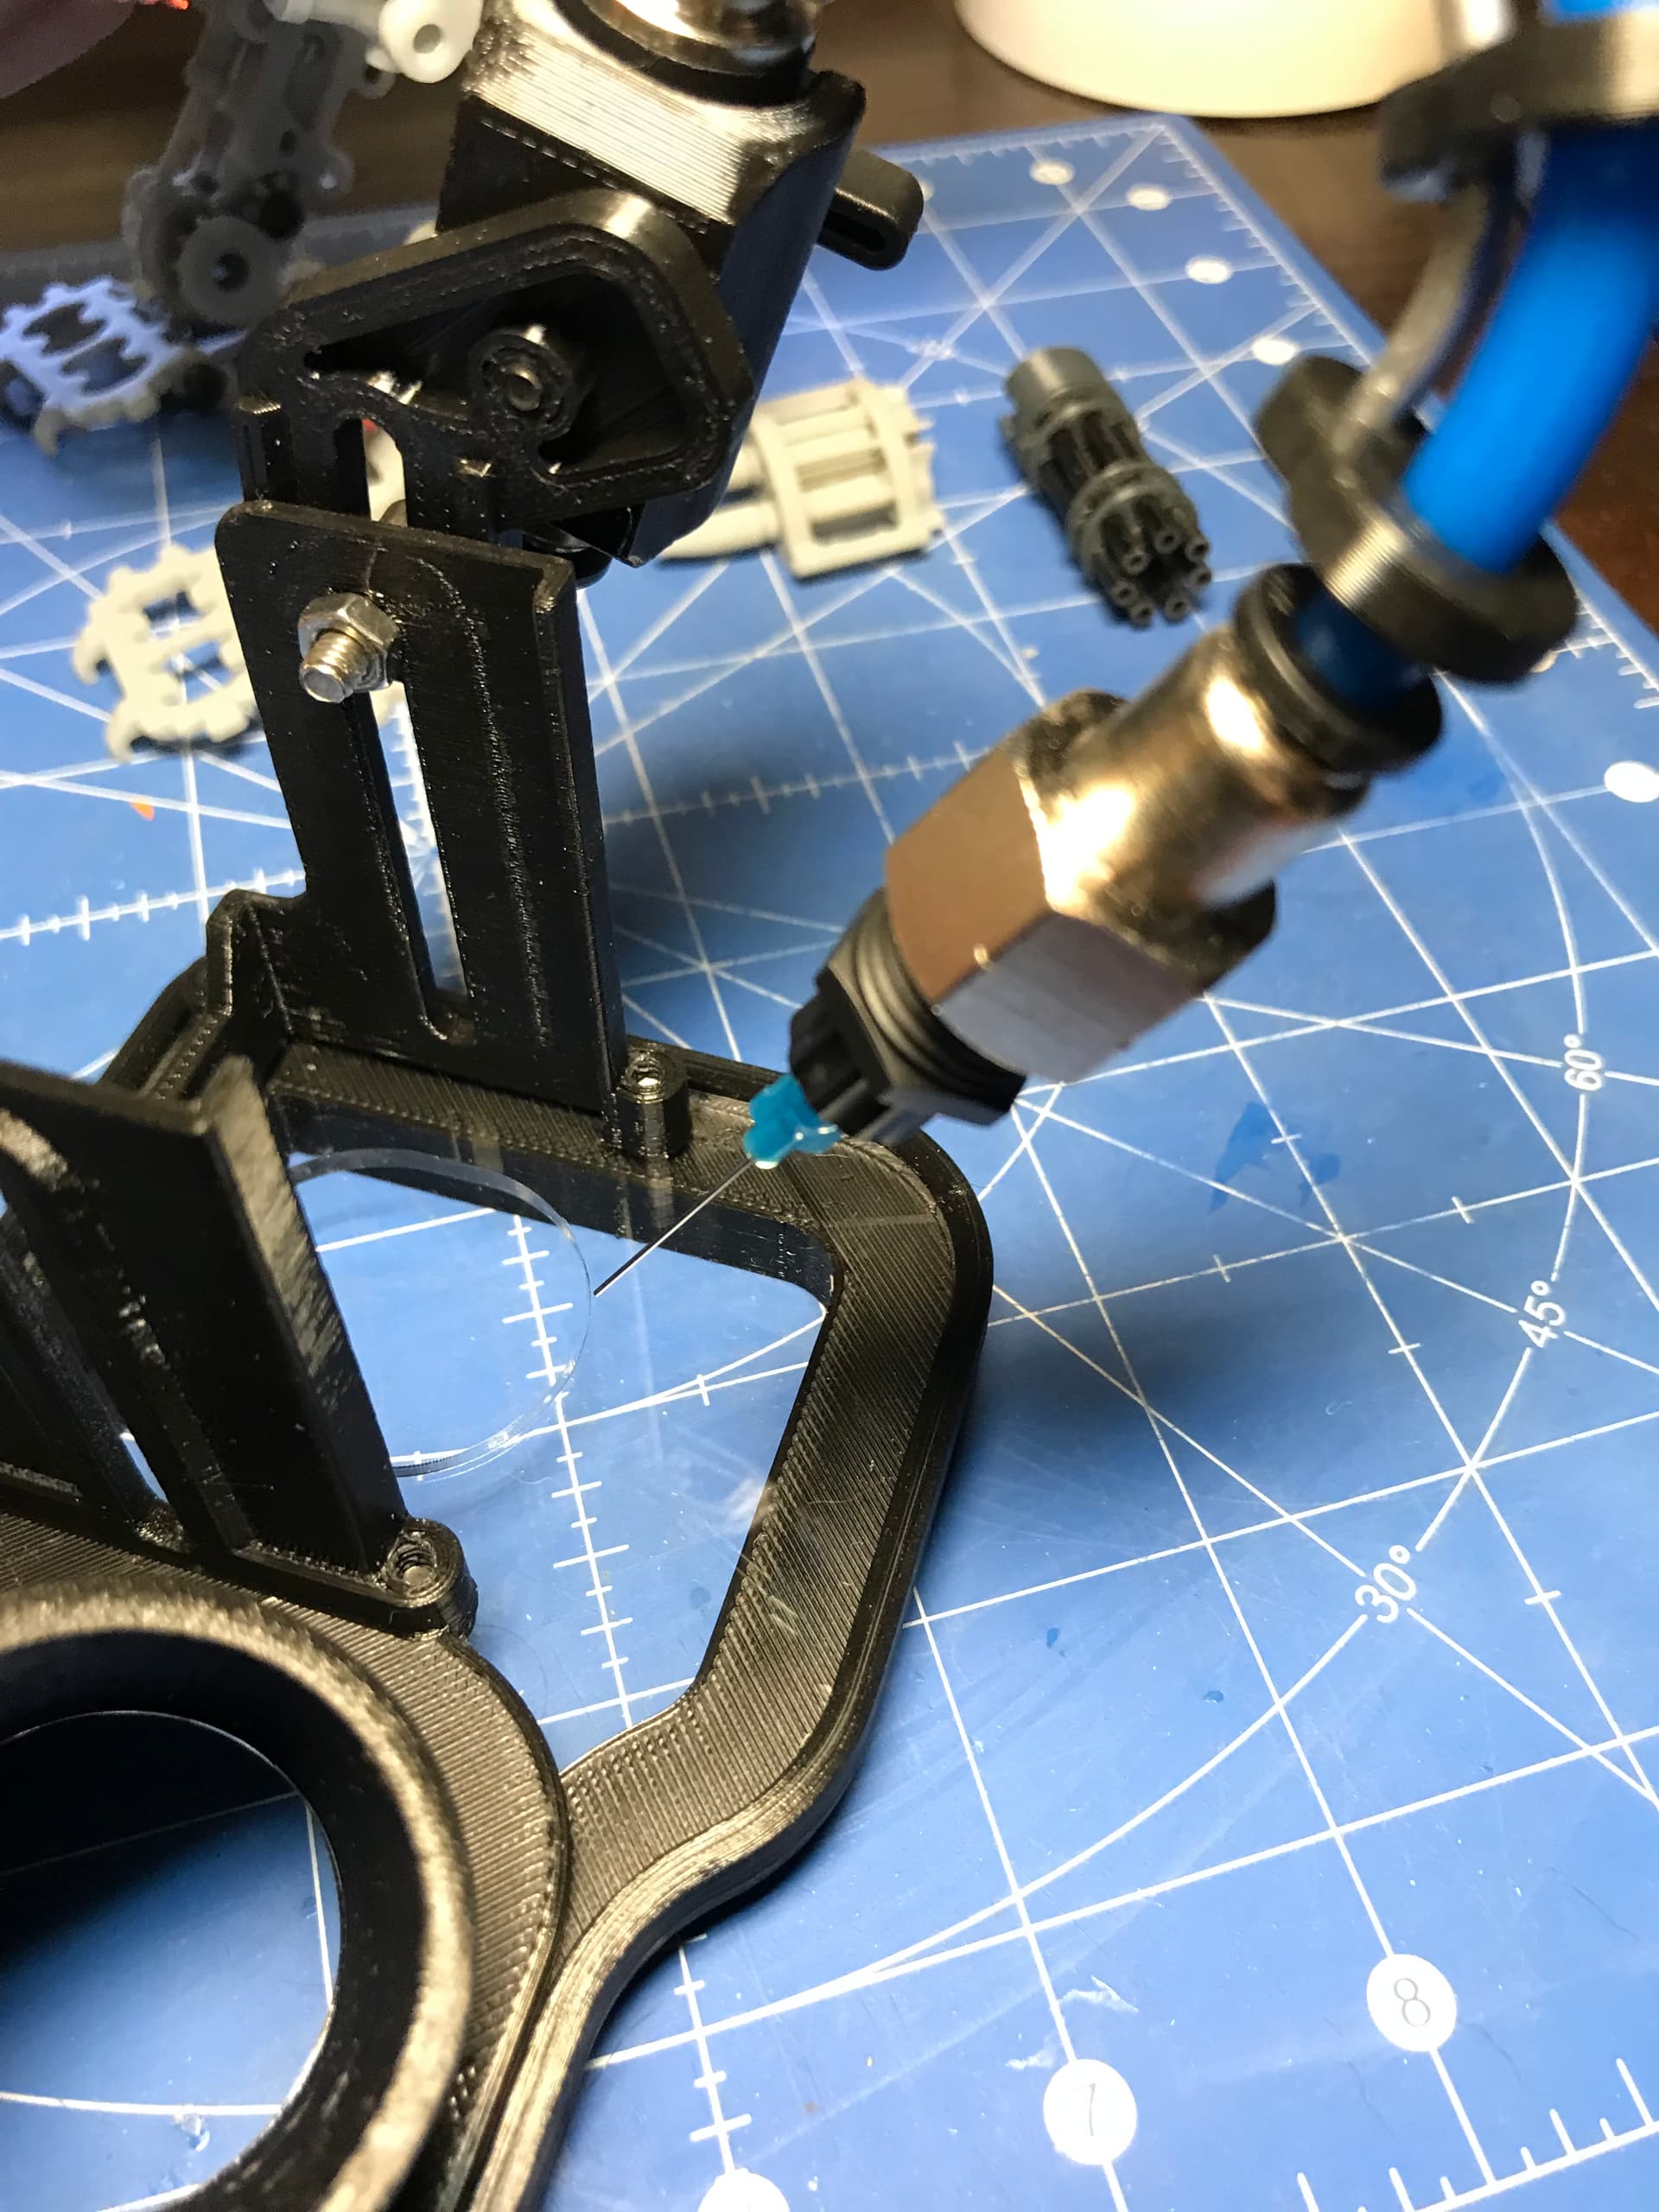
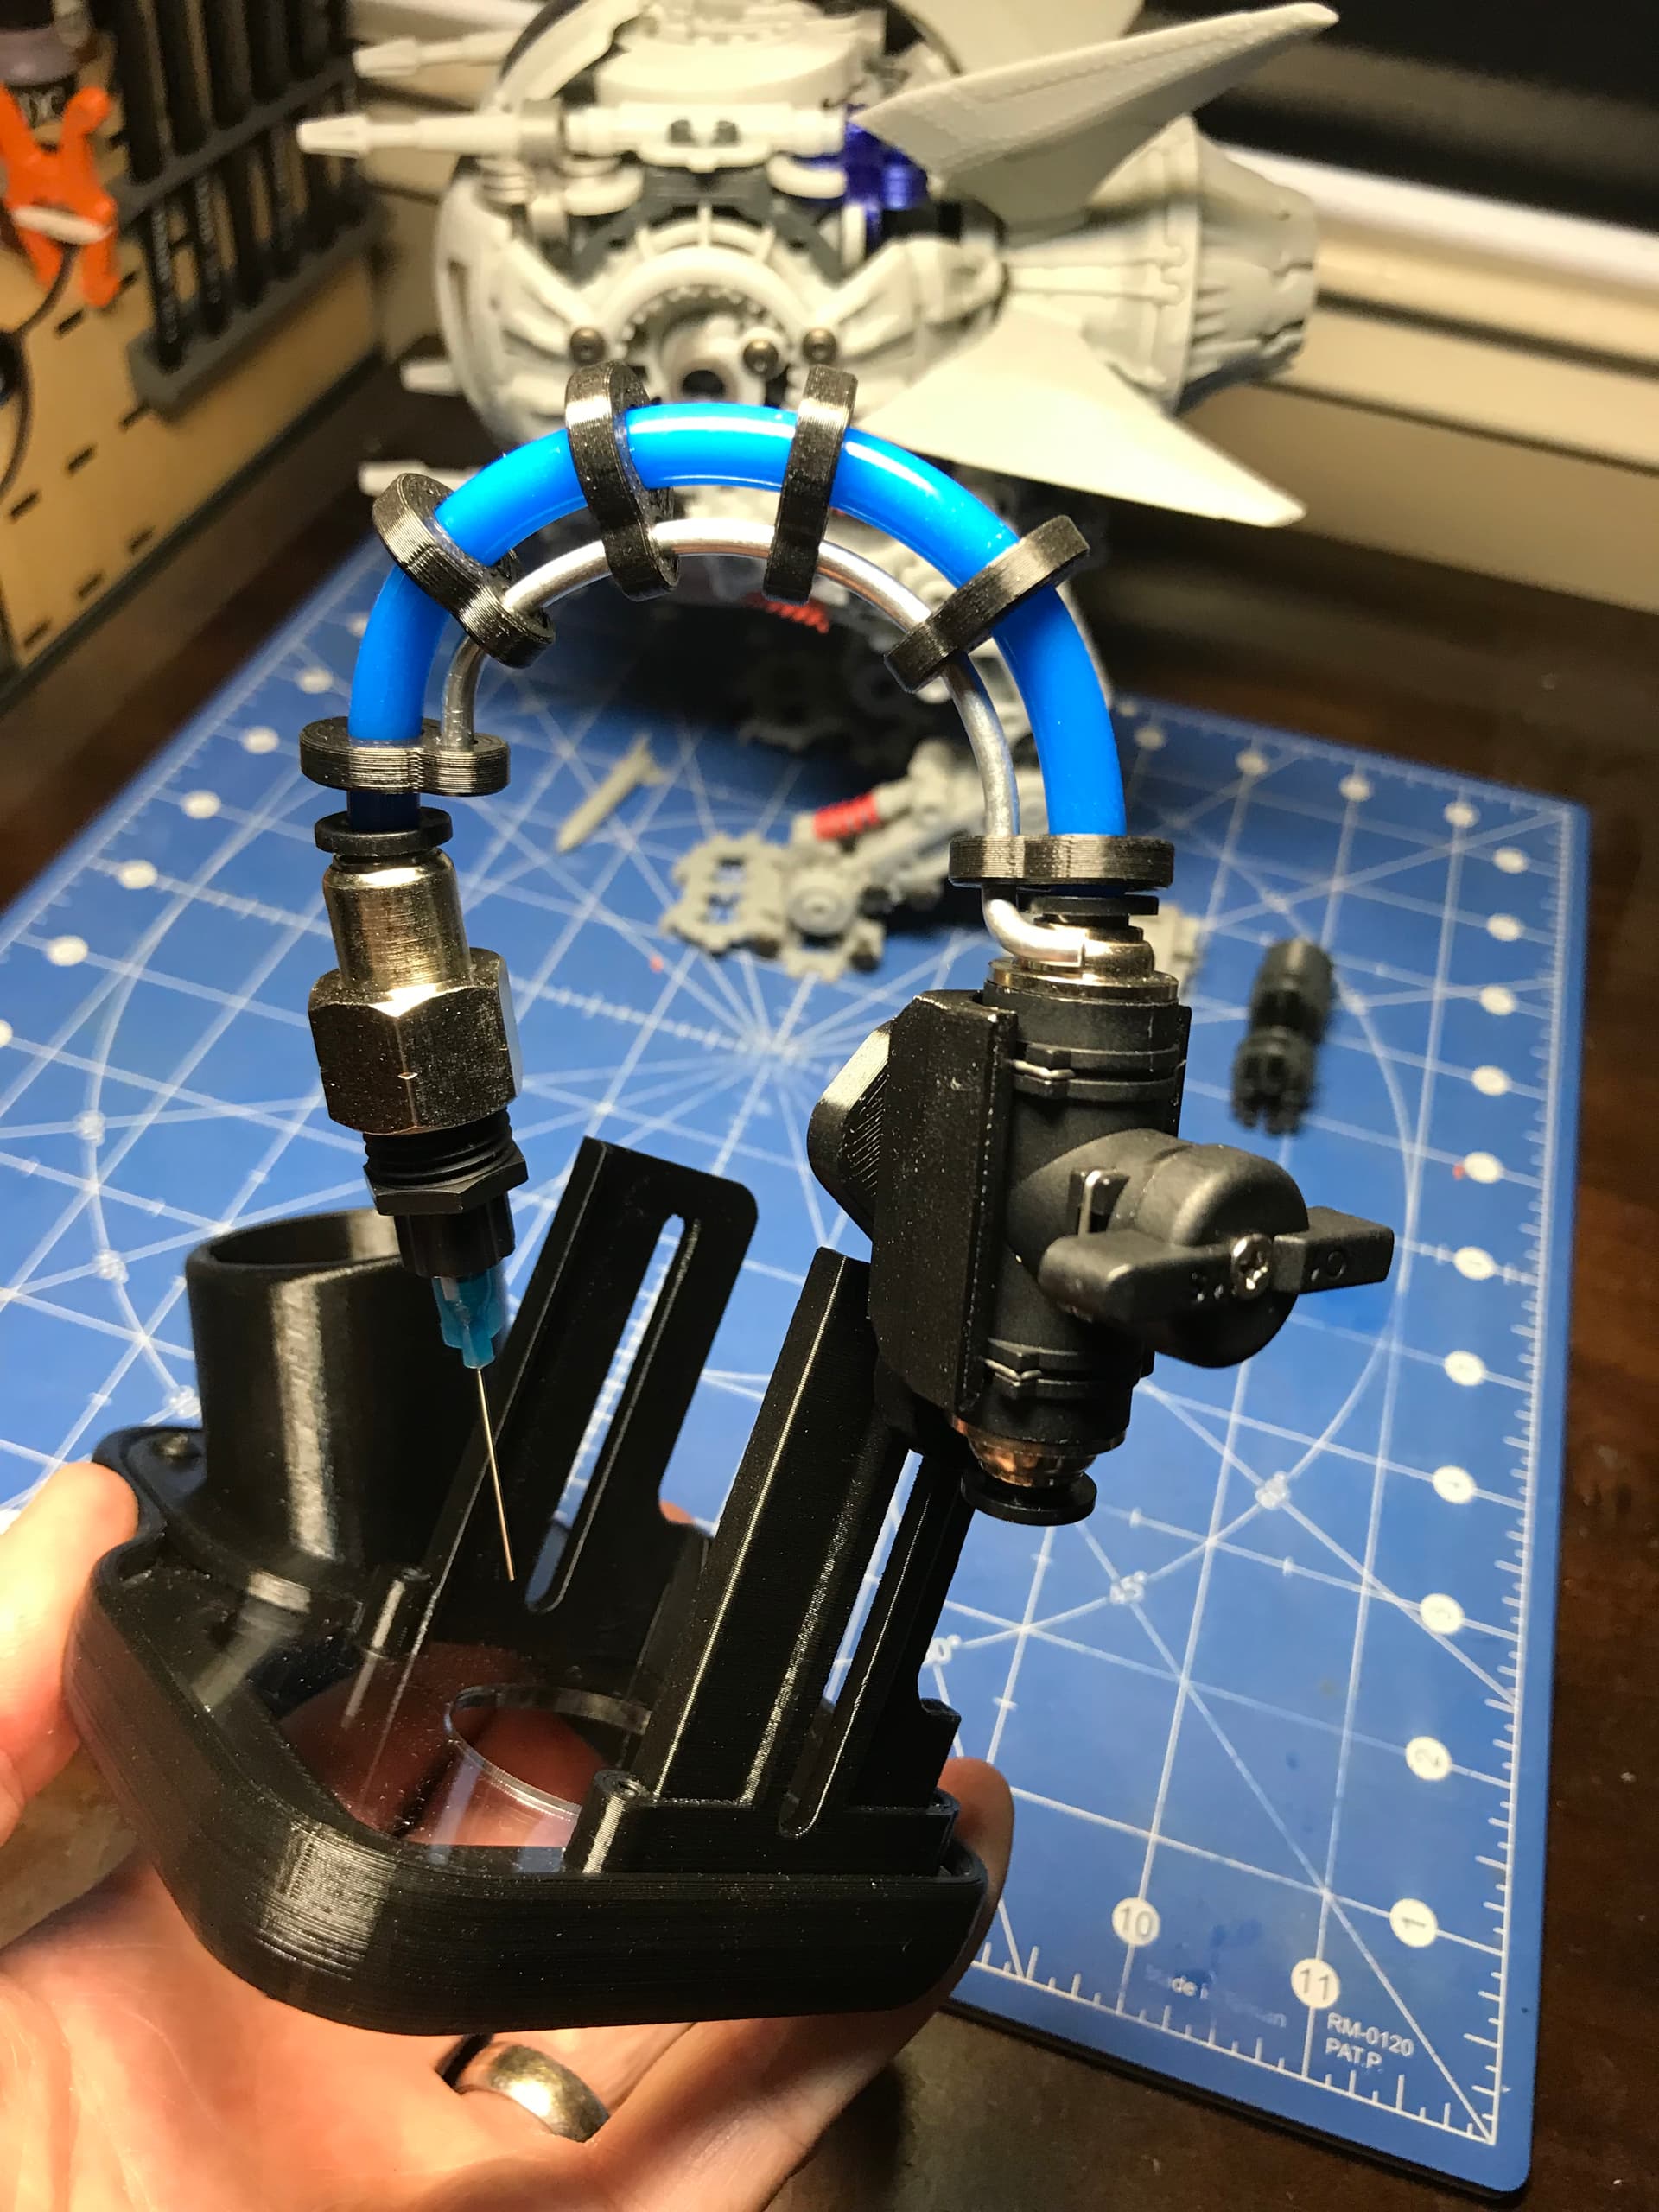
I found a luer lock to npt thread adaptor so I can use different gauge glueing needles to air blast chip clearance on the Nomad 3. I had seen people here using air brushes but I didn’t want to sacrifice one or buy a new one. Since this fitting didn’t screw to lock line, I 3D printed some hose rings to accept heavy aluminum “armature” wire for positioning. Working great, thought I would share the idea.
11 Likes
Hi @Brotron, are you willing to share your CAD files for this? Also, do you have for the adapter or did you maching it? What material is the metallic looking stiffener next to the blue line?
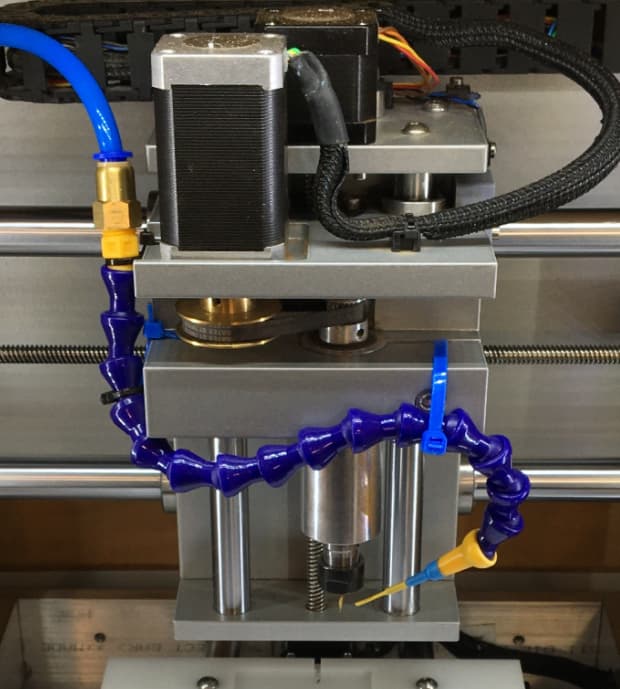
An alternative to needles is to use heat-shrink tubing. It’s easy to get it down to the right diameter, and is flexible so can be placed very close to the material and endmill without fear of scratching etc.
Here’s my far-less-sophisticated air blast (three cable ties) on my Nomad 883. It has three diameters of heat-shrink tube overlapped to get the right diameter.
5 Likes
Sure, I have them in fusion. I don’t love the way the valve connects to the dust boot, that is still a work in progress so it will likely change. It’s too many parts and a pain to adjust as I move the boot up and down, but you can have what I got. [Dropbox - Nomad3-Dustboot_gb01 v2.f3d - Simplify your life]
Yes, the needles are from Mcmaster and the adapter was Amazon, here are the links
[McMaster-Carr]
[Amazon.com]
[Amazon.com]
[Amazon.com]
Its armature wire… which is just aluminum wire, I’m using .1144 gauge. I printed the rings in t-glaze which is a really strong formulation of PETG, I would use something like that or machine them in Delrin, I think they could break easily if they were something like PLA
[McMaster-Carr]
1 Like
I was using the leur lock needles because I have a bunch of different gauges, and wanted to swap them out to see what worked the best to control the air flow with the added vacuum, but in retrospect the shrink tubing looks like a way easier and maybe safer solution.
I ended up liking a 25 gauge needle, but as I was going thinner I started to worry about the possibility of accidentally injecting myself with high pressure air. The shrink tube would also keep that from happening!
Inflating oneself is not recommended 
For pressure control, I took the route of placing one of these between the compressor and the Nomad.
It’s external to the machine (wall mounted), so the pressure can be adjusted as the job is running.
I do have pressure control, it was more of an effort to pinpoint the chip removal for deeper holes with a small blast footprint while not overriding the vacuum flow and blasting the chips outside of the brush enclosure. Probably more chaos than I can control but that was the thought anyway.
1 Like
Understood. I wasn’t considering vacuum flow.
I have collection on my SO3, but as yet I don’t have it on the Nomad. Instead, I removed the aluminium-coated-plastic baseplate and blow all the metal chips in one direction towards the left rear corner. Crude, I admit.
This topic was automatically closed 30 days after the last reply. New replies are no longer allowed.