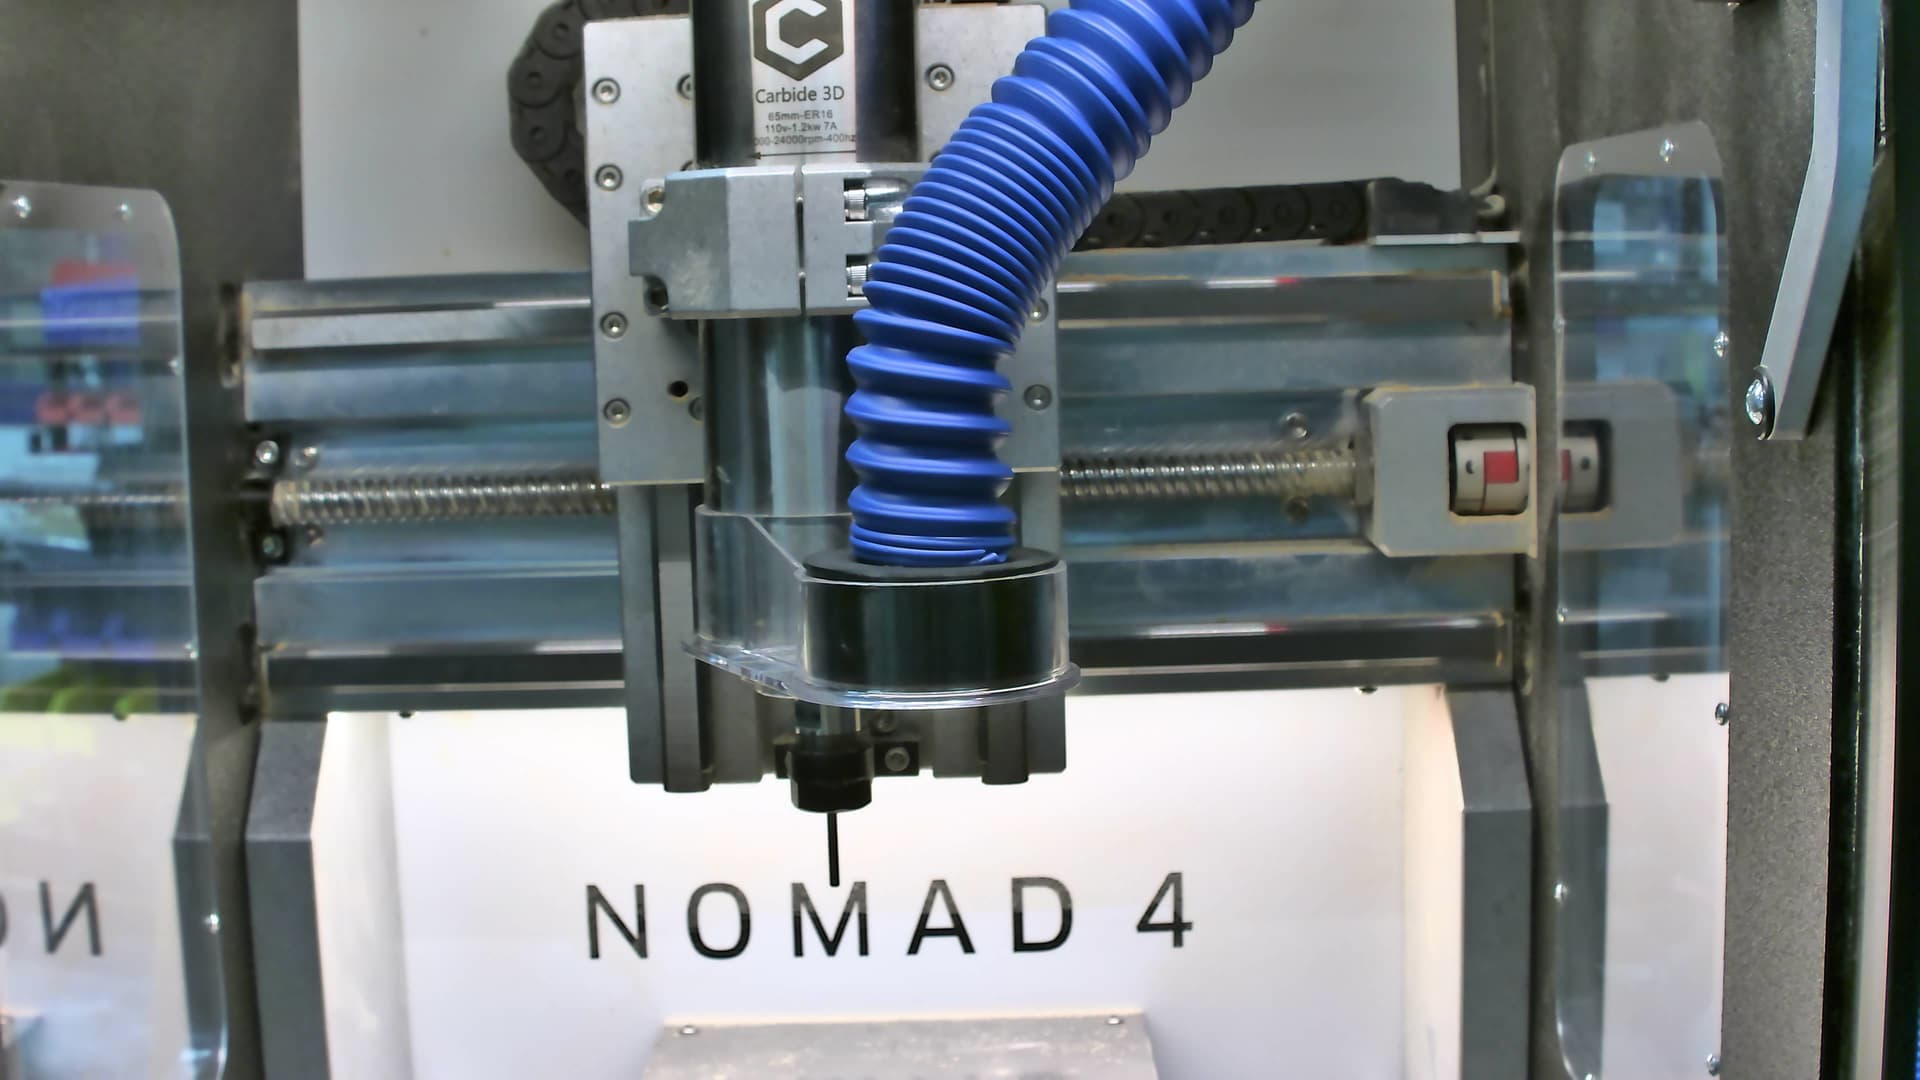
I posted the original development of this in another thread:
…but am creating a dedicated thread here for reposting the completed project (with a more obvious title).
I have been working up several generations of ducting to mate with the Sweepy V2.0 that provide full functionality (spindle travel) with the Nomad 4 (see link above). The challenge here is that there really is very little clearance to work with in passing hoses through “the slot” - particularly with such little clearance on either side of the spindle when it is at full travel. To make things worse, the spindle is needlessly centered in the slot using up precious space in front of the spindle (the slot could have been moved forward for an additional 20mm of space up front). Essentially there is less than 40mm of free clearance between the spindle and the side of the enclosure (with about 75mm front-back). To complicate matters further, if you fix your left side end stops so you can use the BitZero on the left edge of your worktable (see link above for details), then there is actually a little less clearance on the left side of the spindle vs the right.
I wanted to make a duct which basically maintained the same cross sectional area as the popular Rockler vacuum hose (super flexible) and another relatively inexpensive hose (41mm OD Hose) which has a more traditional “stiffness”. I did not want to introduce any unnecessary restriction in the vacuum path. I decided to use a square profile as I could fit I the same cross sectional area in a narrower profile vs a circle.
After much tweaking and test printing, the fitment is extremely close. Its essentially just up to the right side window without crashing during initialization or at full end stop allowance. The duct is also right up against the spindle with the upper cuff just hanging over.
The duct comes in three parts and is fully 3D printable. For printability (without supports) the ducting was designed such that no horizontal transitions were done at an angle less than 45 degrees.
There is a lower section which mates directly with the Sweepy V2 and transitions left to right.
There is a upper section which travels front to back and clamps to the spindle clamp using existing M5 threaded holes (using a 3D printed mounting bracket). The mounting bracket provides stability for the entire assembled duct and provides a slot so the duct can move up/down if the Sweepy itself needs to be adjusted. The upper duct was also designed such that the flange which mates with the mounting bracket also serves as a support during printing.
There is also an option extension section which will provide a mount point above the enclosure with the spindle in full downward travel. Generally this would only be required if you had to make a mating attachment which could not operate/fit/pass within the limited clearance provided by the slot itself (or had a really big hose). Hopefully, you will not need this.
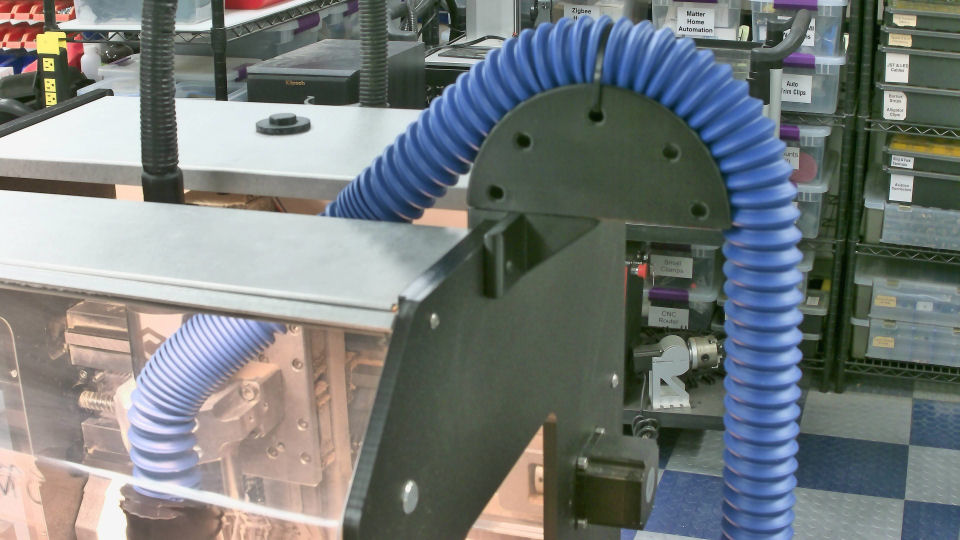
The main duct completely assembled:

Right up against the spindle. Not a mm is wasted:
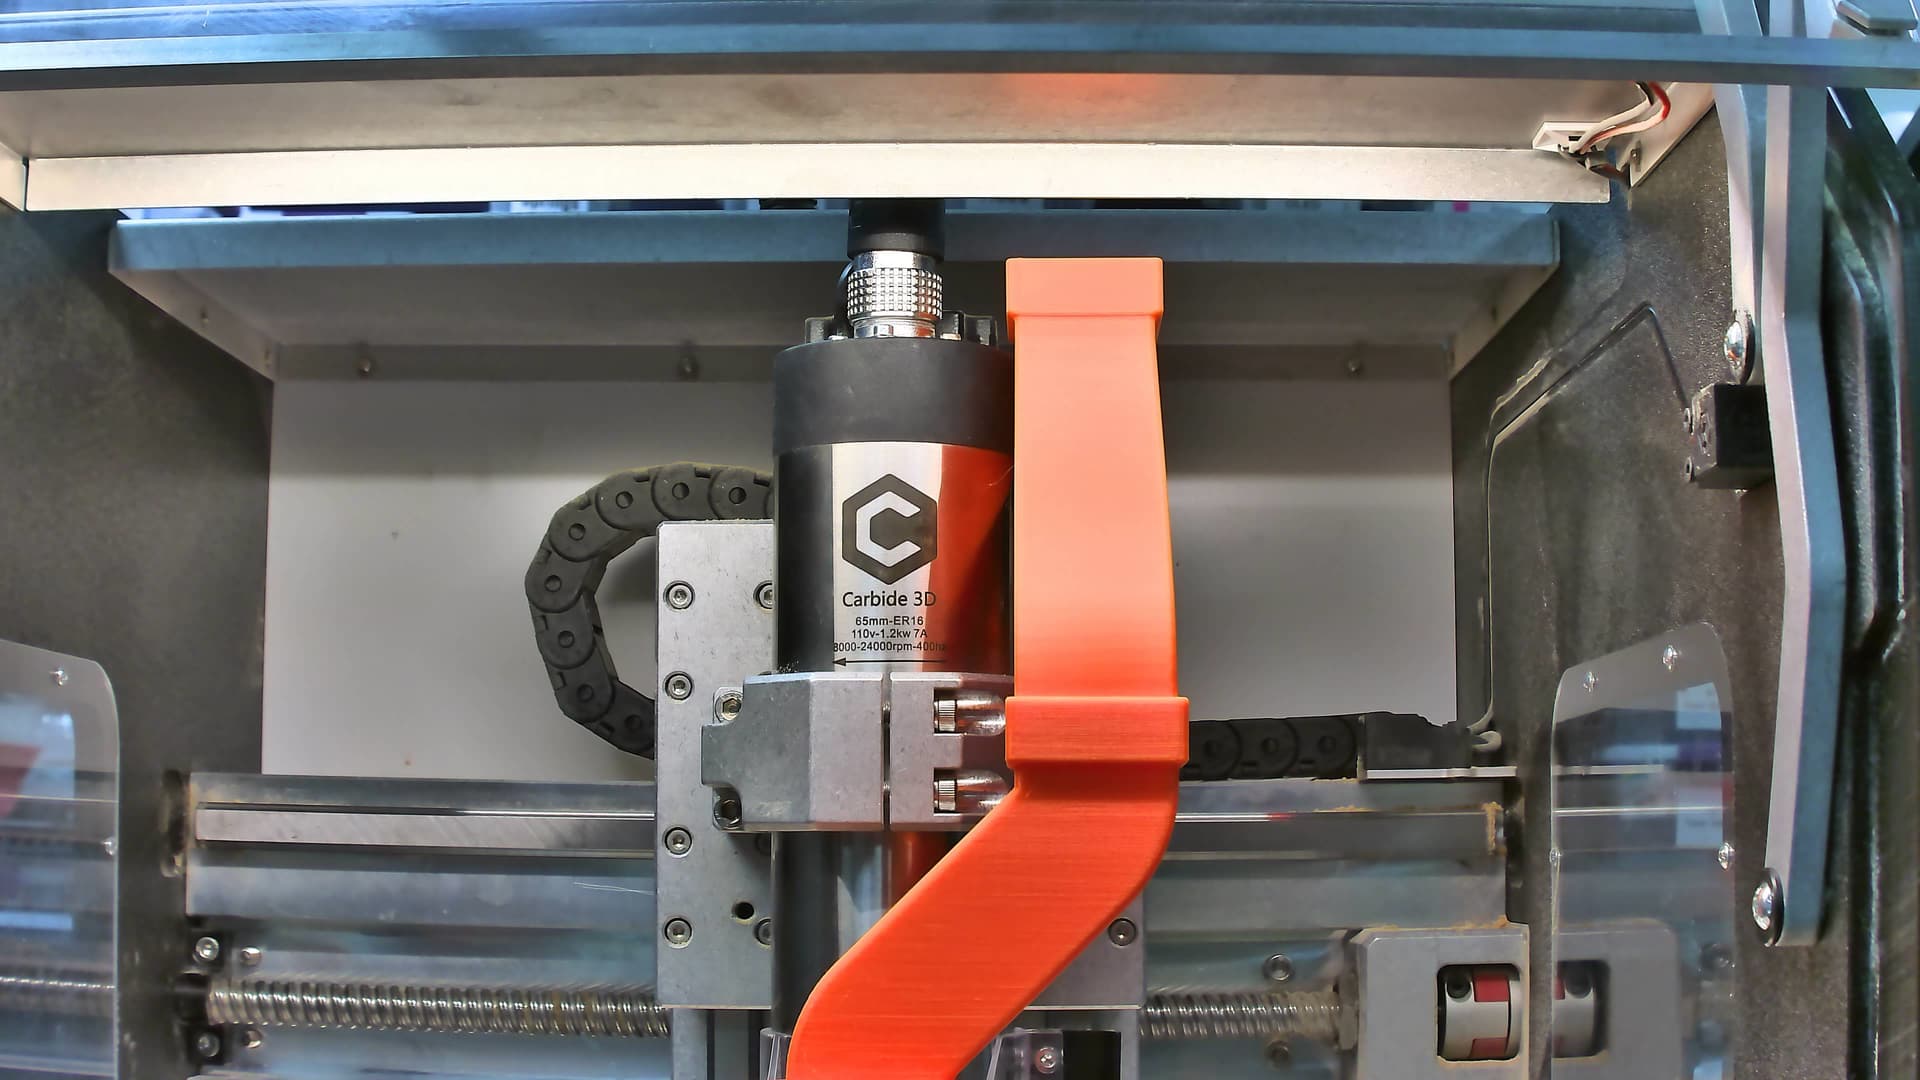
Yeah, its that close! (on the end stop):
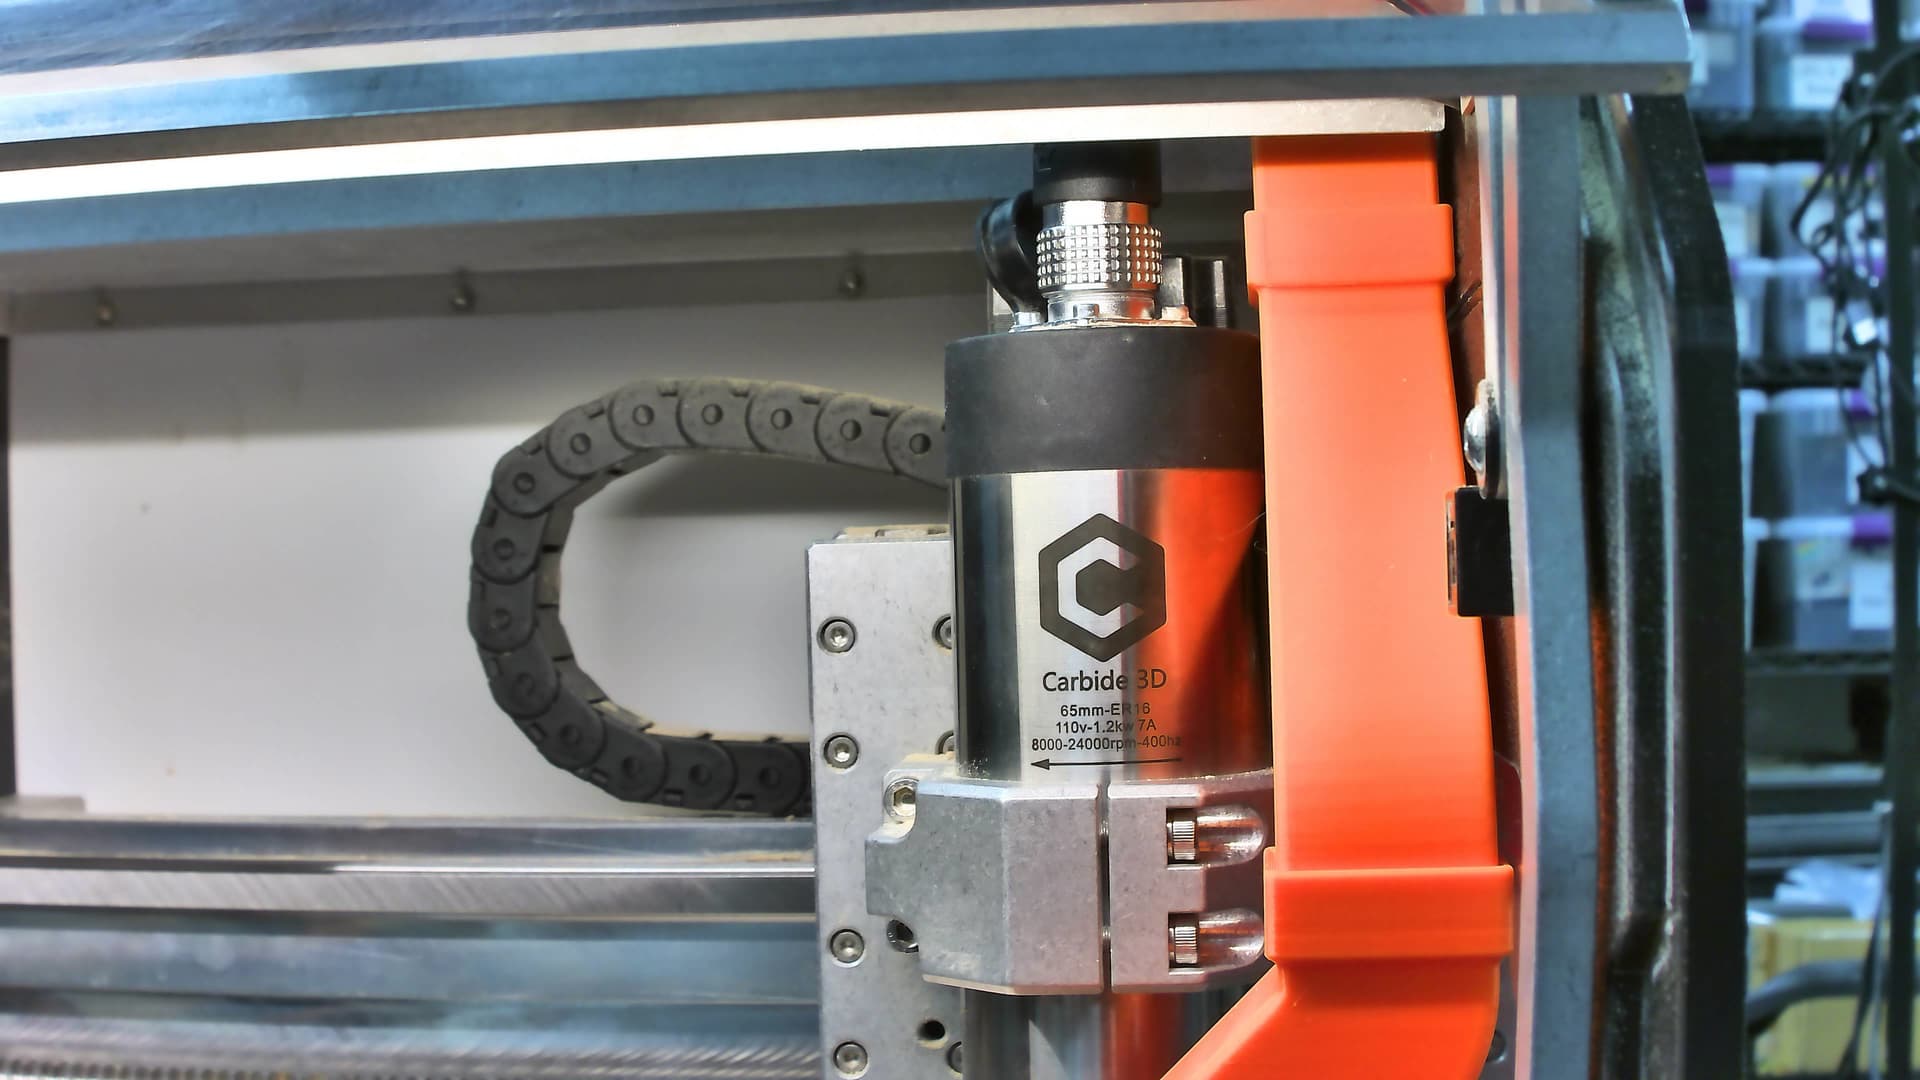
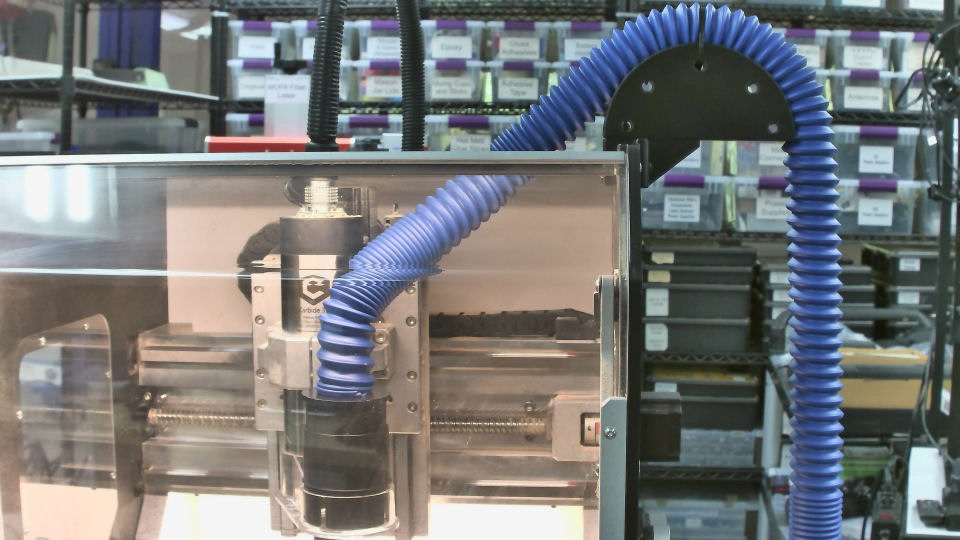
Mounting bracket as seen through the side window:

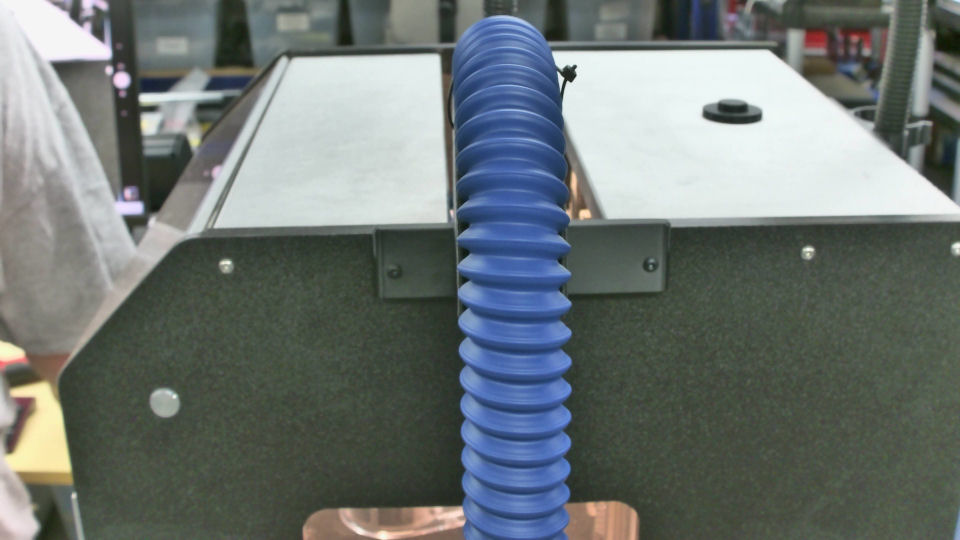
View through the slot:
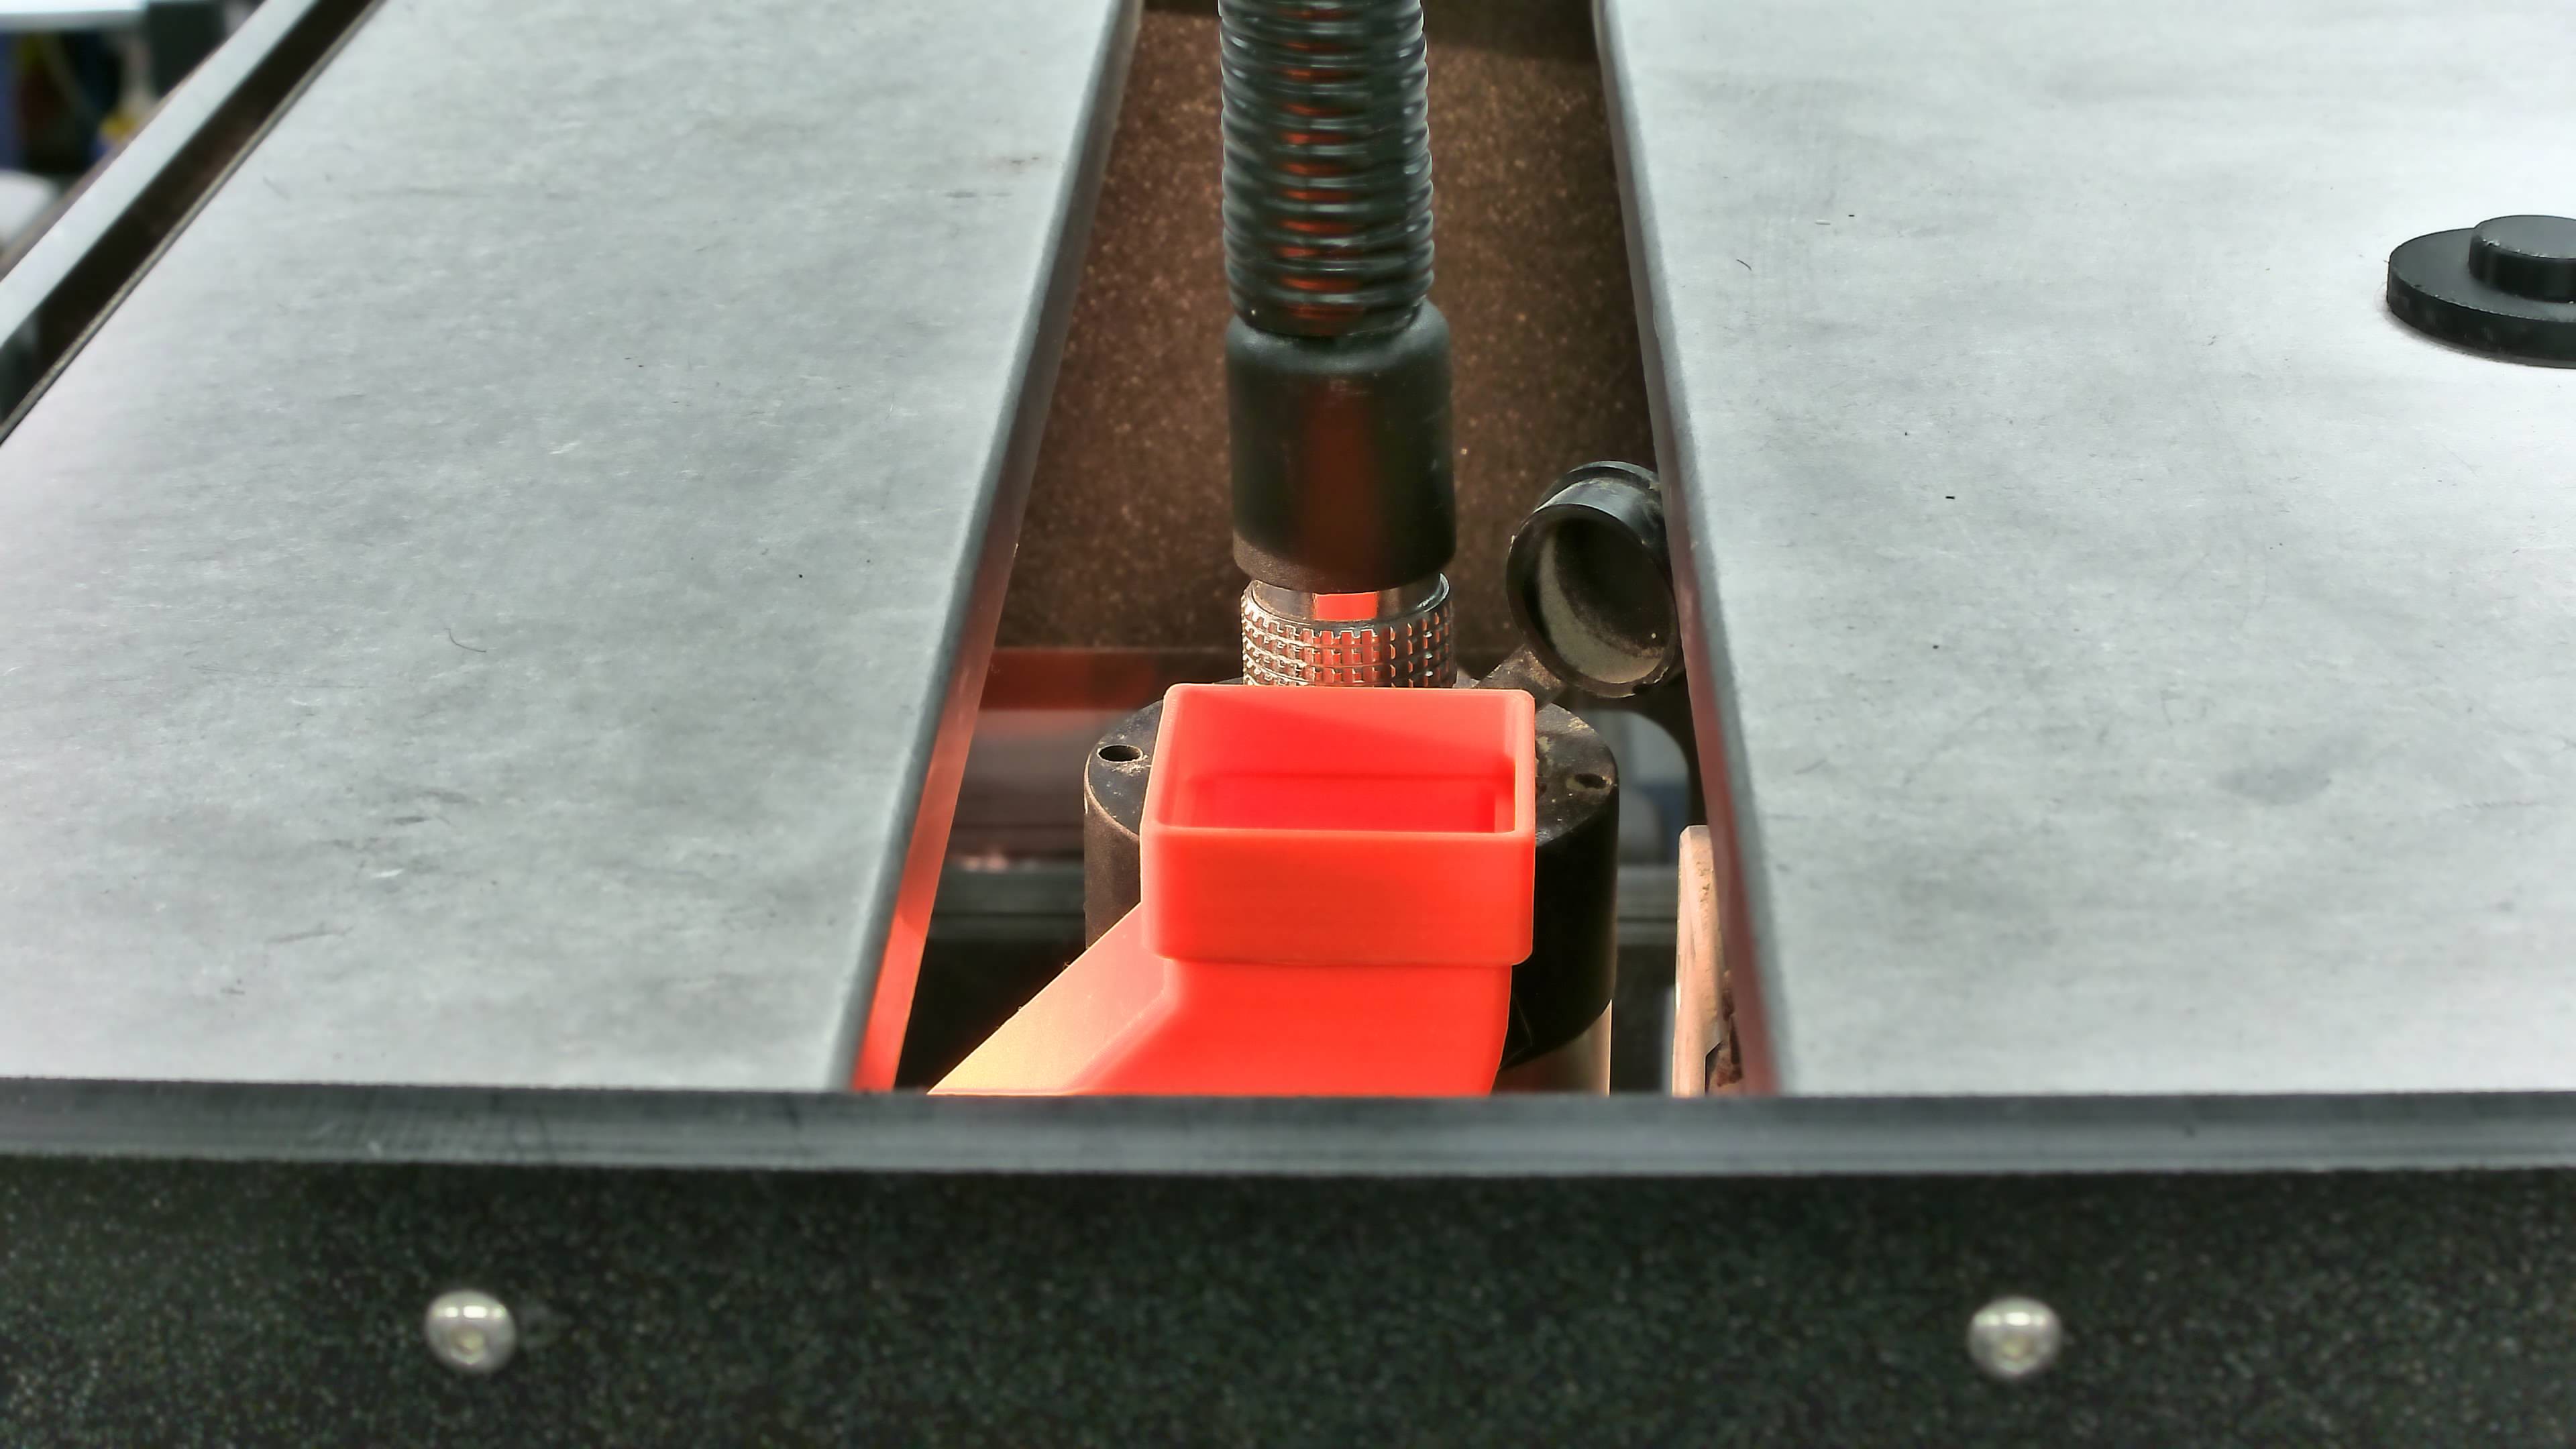
Includes an extension for vertical clearance (travel allowance):
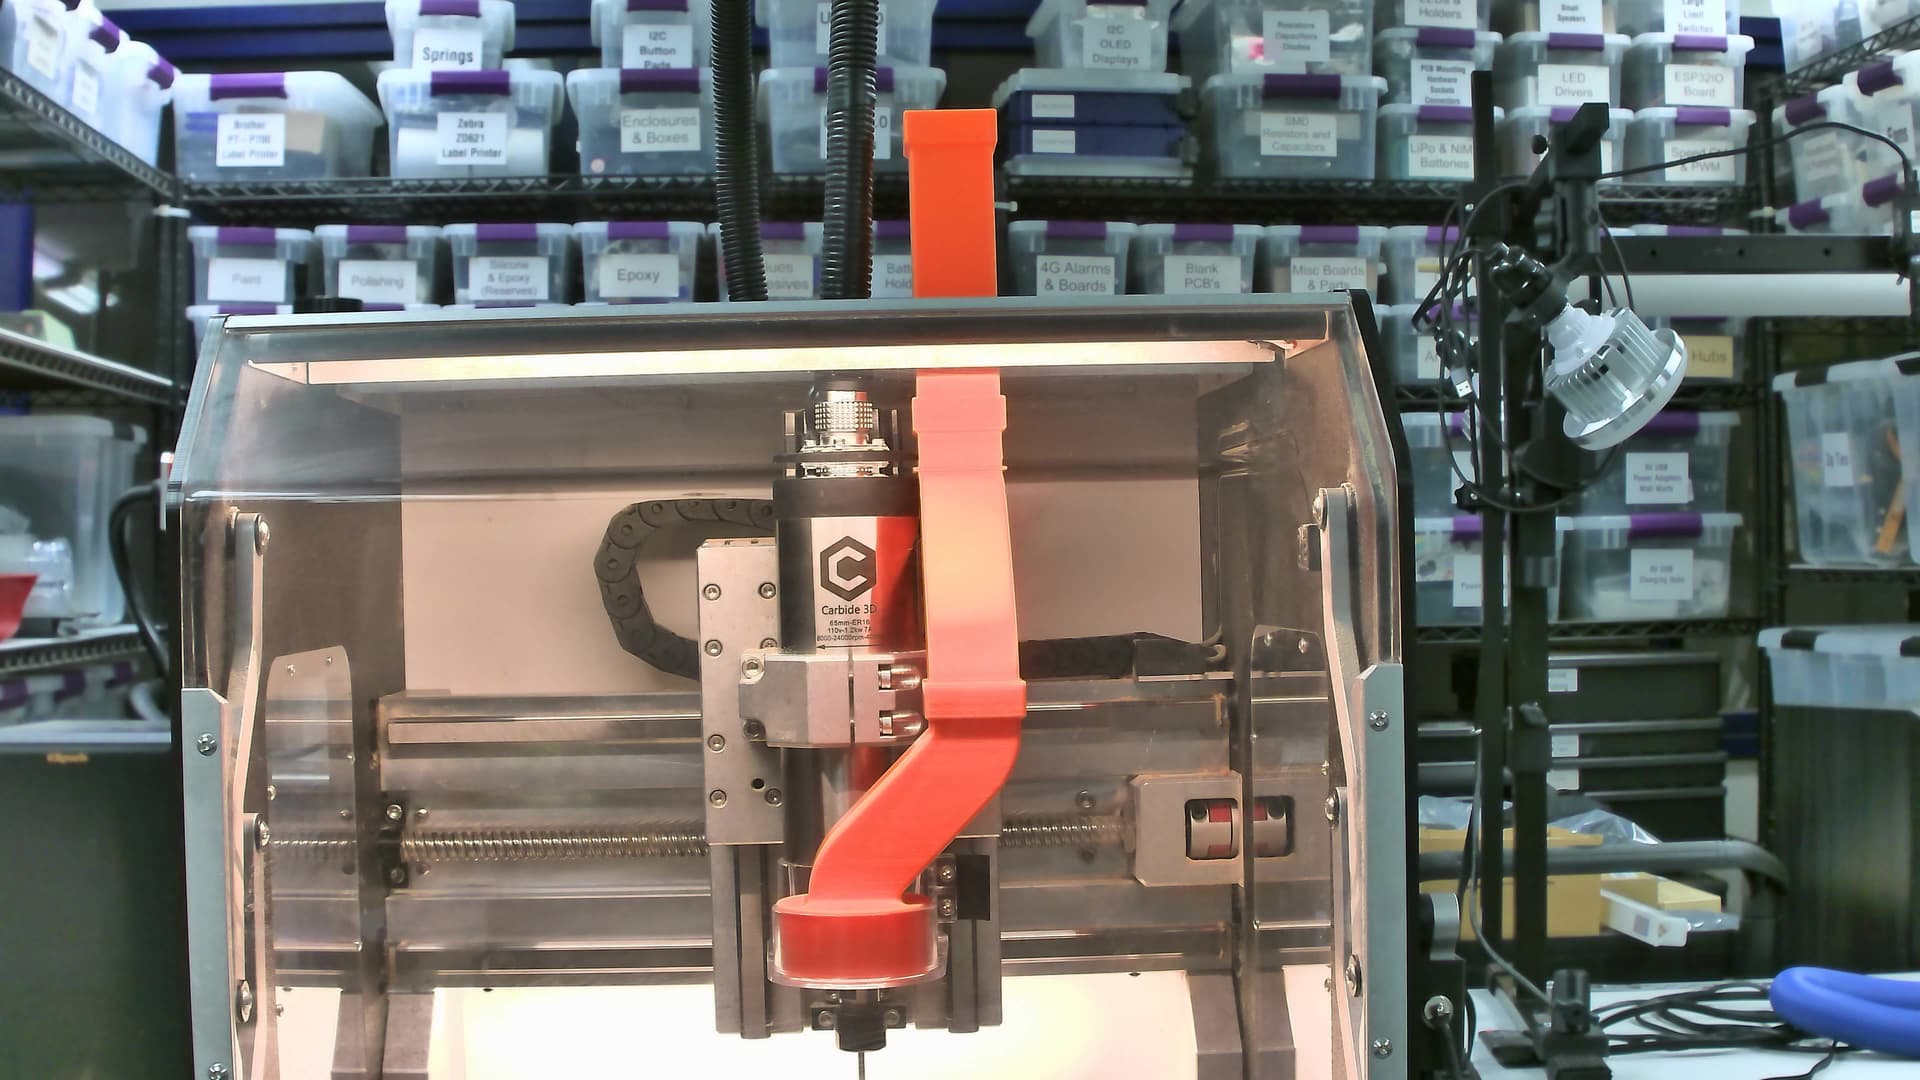
Here are the three print files which make up the ducting:
Sweepy Duct (Lower).stl (2.7 MB)
Sweepy Duct (Upper).stl (3.0 MB)
Sweepy Duct (Extension).stl (1.2 MB)
Here is the bracket which stabilizes the ducting to the spindle clamp while allowing vertical adjustment of the Sweepy itself. There are three variations of this bracket. The only difference is the type of adjustment hardware to be used. There is one for an M6 Heat Set Insert (M6x9x8), one for an M6 nut/screw, and one for a 1/4-20 nut/screw.
Sweepy Duct Mounting Brackets.zip (894.1 KB)
If for some reason you wanted/needed to try a run up the left side of your spindle, you can simply “mirror” the “Upper Duct” and the “Mounting Bracket” in your 3D slicer.
I printed all ducting in ABS and all adapters in PLA (mostly just keeping two printers busy). The fitment between sections is pretty good (0.1mm) but not overly tight. I’m thinking Silicone Sealant/Adhesive will work nicely for bonding this all together.
I also designed a full set of adapters and connectors to use the Sweepy Duct with both the Rockler and the “41mm” hoses I have been testing with. This includes not only adapters to mate with the ducting but also hose guides (clamps) and 2-1/4" Shop Vac female ports which mount on the back of the N4 using the existing screws.
The “Shop Vac Ports” (female) for both the Rockler and the 41mm hoses can be mounted on the top or side edges of the rear panel. You can skip the middle brackets if you want to mount on the top edge.
The “middle clamps” have been designed as more of a cylinder than a narrow clip. This was done to help hold the hoses in a vertical position rather than having them lean from side to side as the spindle moves.
→ “41mm” Vacuum Hose:
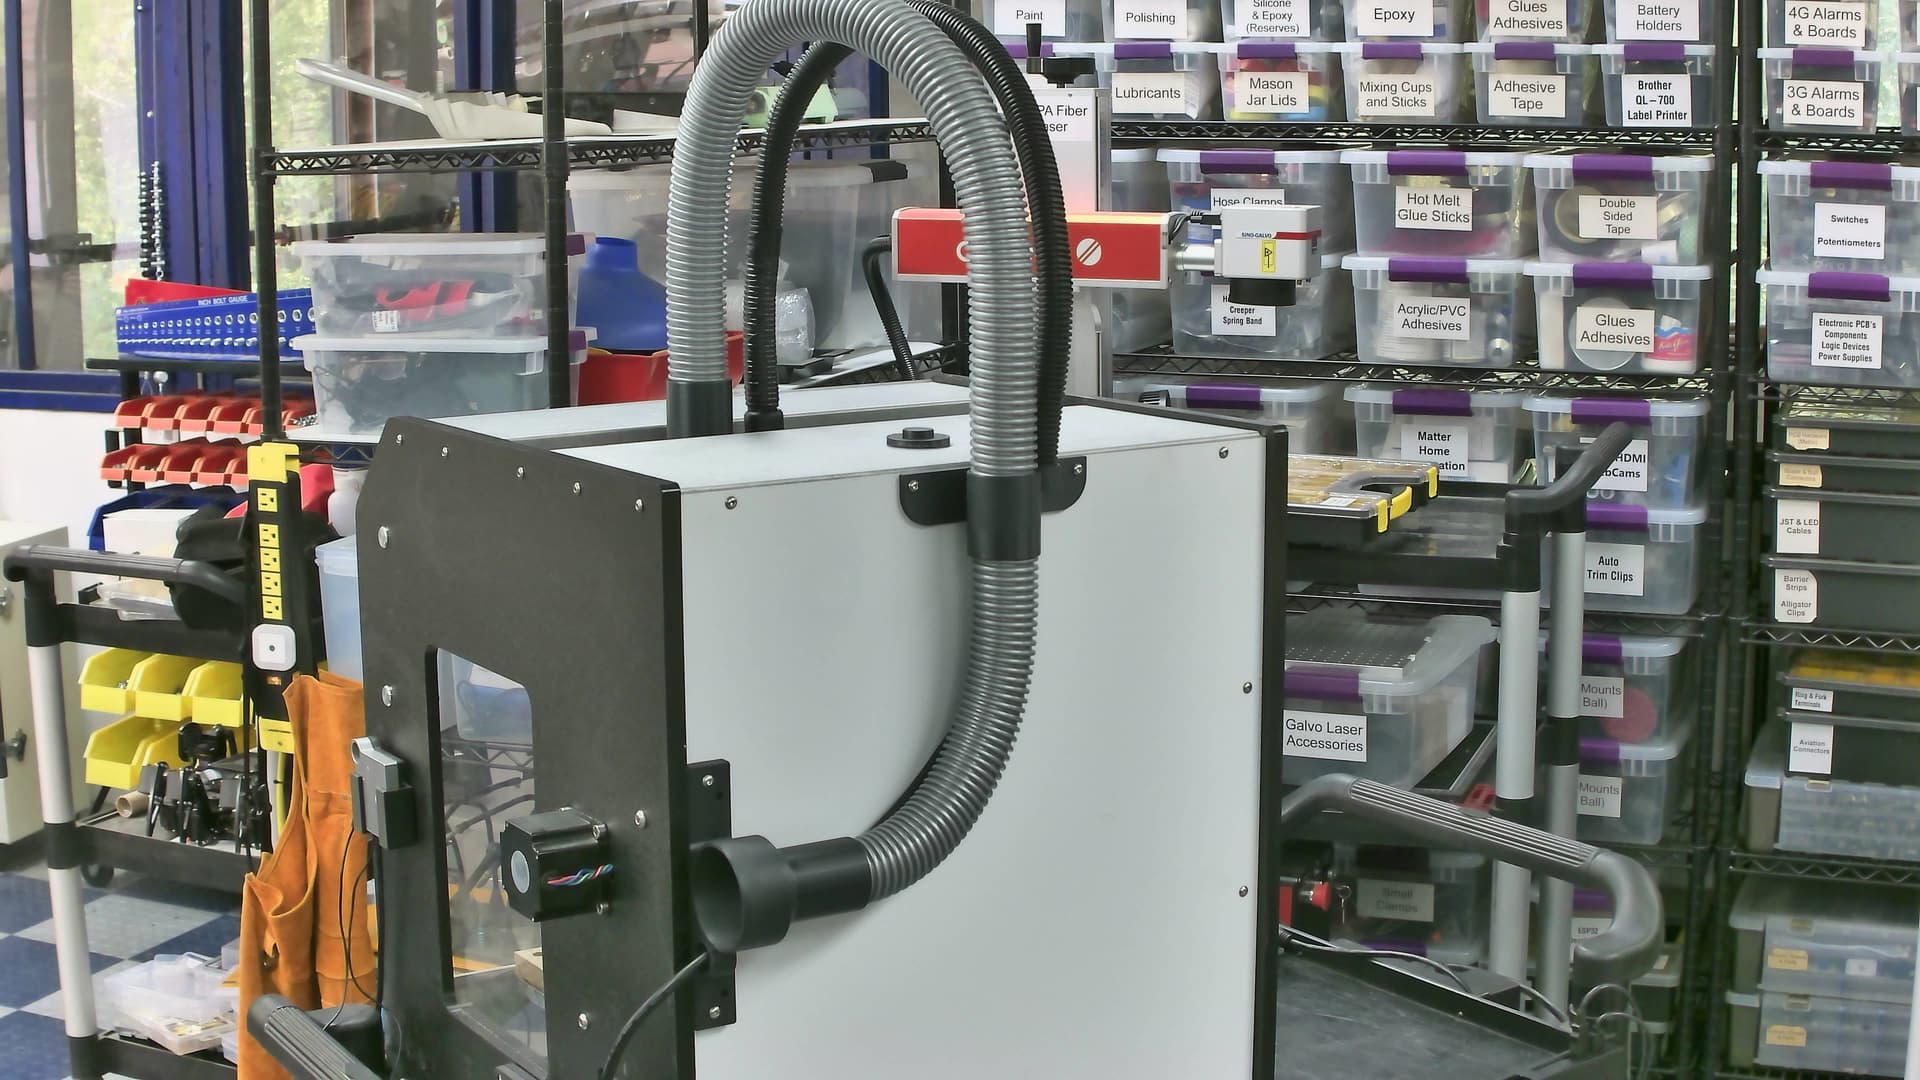
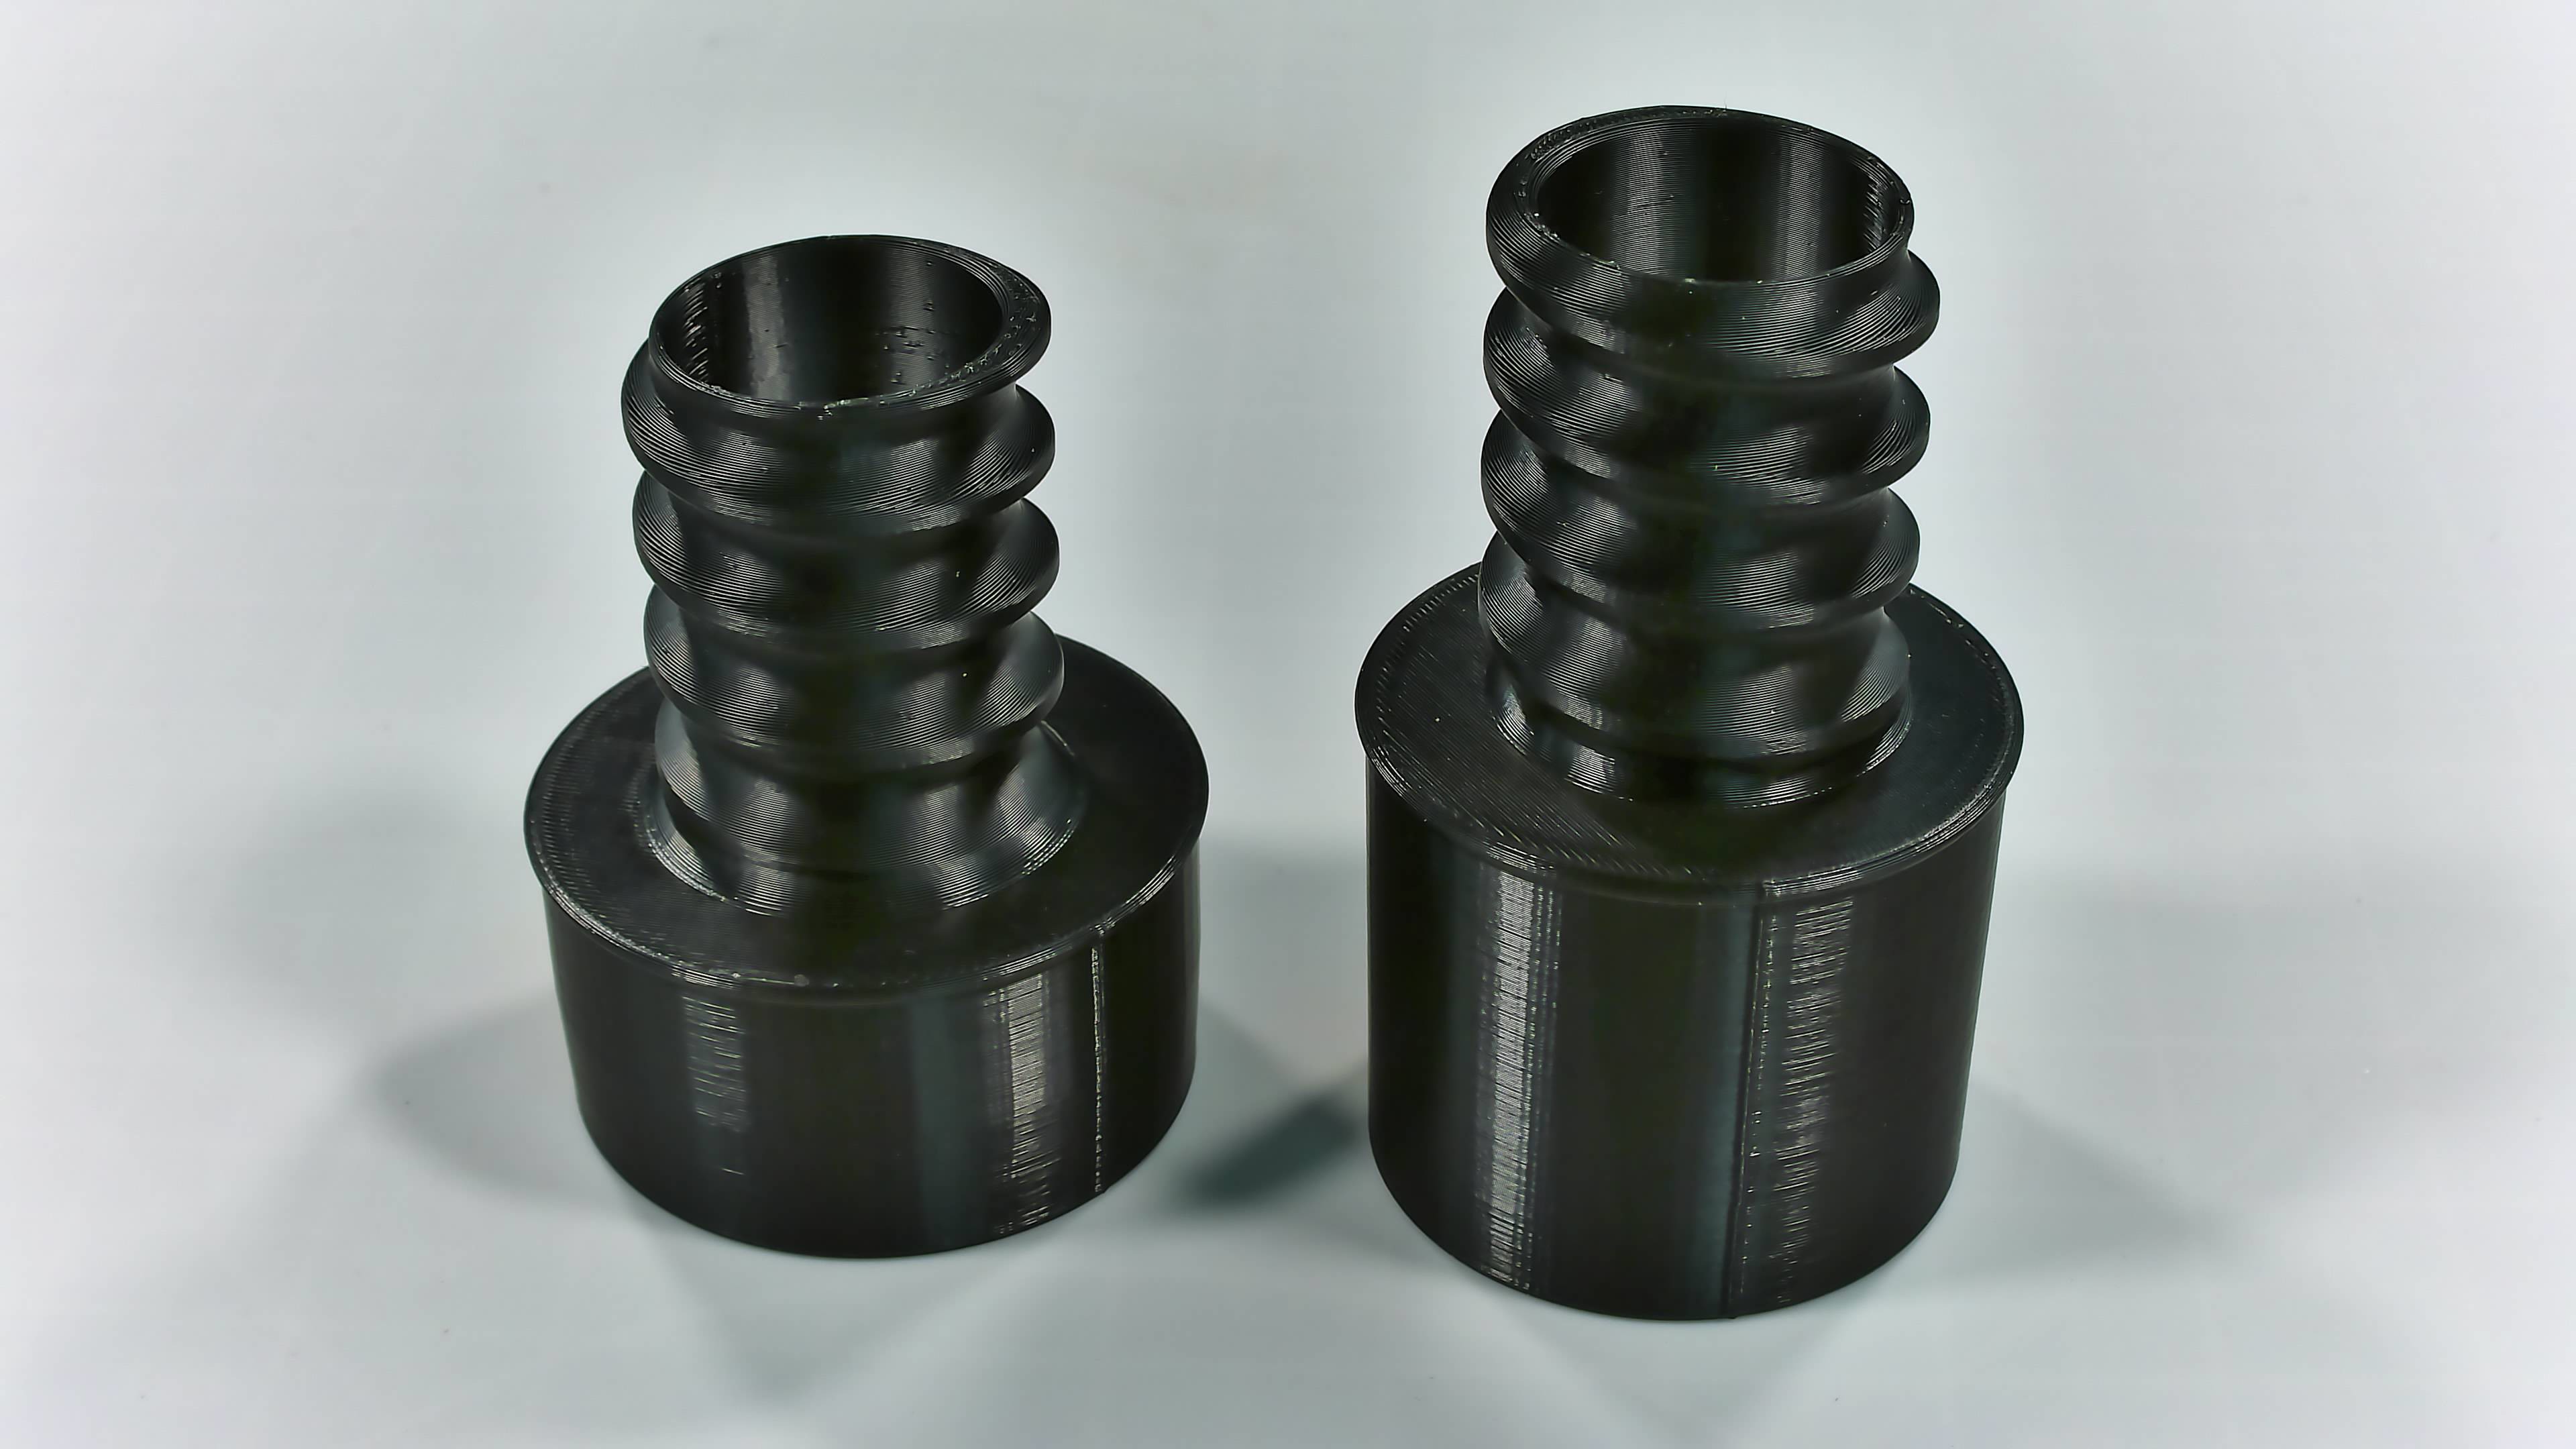
Here are the three basic fittings you might want to use with the 41mm Hose and terminate in a female Shop Vac port on your N4:
Sweepy Duct 41mm Hose Adapter.stl (3.5 MB)
Hose Clamp 41mm.stl (3.7 MB)
Hose Clamp 41mm to Shop Vac Port.zip (1.7 MB)
41mm Vacuum Hose notes:
-
NOTE that the Sweepy adapter for the 41mm hose is NOT symmetrical. The 41mm hose collar is actually a larger diameter than the width of the Sweepy duct. As such, the hose collar is offset to one side which should face the spindle. Only one side of the 41mm Sweepy adapter is straight up/down. Make sure the side of the adapter which does not have a bulge faces the enclosure wall so you don’t incur any additional width beyond the ducting. (I mentioned clearance was tight, right?)
-
The optimum length of this hose seemed to be about 43".
-
You will want to pre-thread (pre-fit) all three fittings before actually screwing down the clamp/adapter to the N4. (I thought about splitting the middle clamp so threading wasn’t required but the “feature creep” needs to stop somewhere… Anyway, “you only thread once”, right?) It will be easier if you are happy with the positions of the clamp/bracket before screwing the items down.
-
You will also want to allow for a little rotation in the hose as the spindle moves side-side (don’t hard seat the hose into the Vacuum port).
→ Rockler Vacuum Hose:
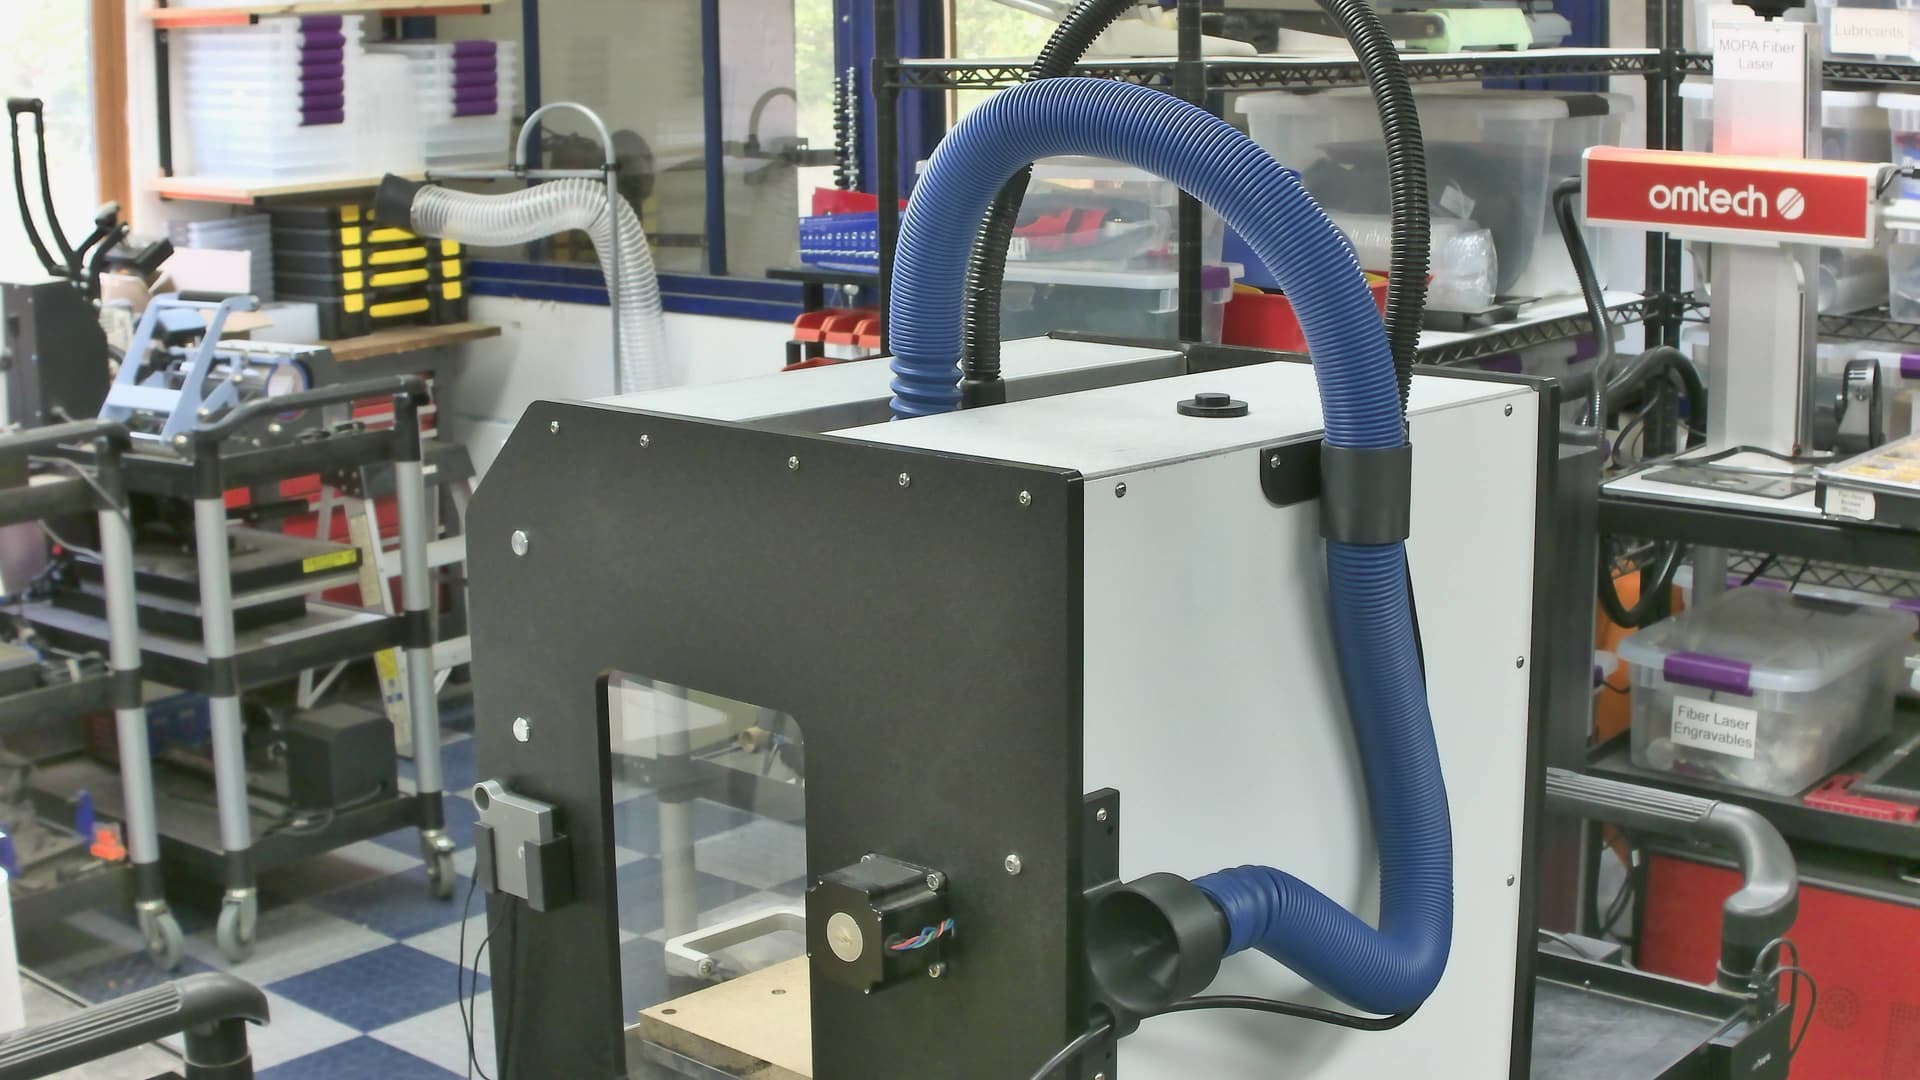
(I had not made the decision to shorten my Rockler Hose - as such you will see excess hose between the middle clamp and the Shop Vac port in the above photo).
Here are the three basic fittings you might want to use with the Rockler Hose and terminate in a female Shop Vac port on your N4:
Sweepy Duct Rockler Hose Adapter.zip (2.0 MB)
Hose Clamp Rockler.stl (3.9 MB)
Hose Clamp Rockler to Shop Vac Port.zip (1.9 MB)
Rockler Vacuum Hose notes:
-
The Rockler hose is very soft and flexible. Too much vertical coming out of the slot and it will just fall over. Too little vertical and it will drag on the slot. I’m really not sure this is the best option if you have a Rockler hose but I wanted to work up the components for those who wanted to give it a shot. I had also previously worked up a “side exit” solution which might actually be more elegant (and functional) in its simplicity. I will repost that solution right after this one.
-
Given the flexibility of the Rockler hose, you only need to thread it through the mid bracket until you can get a hold of it. (The mid bracket is not actually threaded but just has a couple of ridges to hold the softer hose). Once you get enough of the Rockler through the cuff to get a grip on it, just squeeze it and give a gentle pull to bring it past the ridges to the desired location.