Nomad3 Window with Nomad3

I cut a new side window for the Nomad3 on the Nomad3 from 12"x12" acrylic stock.

The window (7.7" x 9.7") is larger than the Nomad3 working area of ~8x8. This requires extra consideration with respect to work holding.

Process:

  • Rough cut 12x12 stock to ~8x10
  • Cut the first 8" length of the window
  • Create a jig for the bit zero over the SW table mounting hole. This becomes CAM origin
  • Create a jig to hold the window for remainder of operations
  • Perform final cut

The error introduced by flipping is on the order of 0.5mm. I believe this could be improved with two changes:

  1. Use tapered head screws for better alignment with the window jig, instead of stock machine screws
  2. Remove the acrylic protective sheet prior to final cut

5 Likes

Very creative, nice job :+1:

3 Likes

Beautiful work - something similar is on my todo list. Tell me more about your dust boot?

1 Like

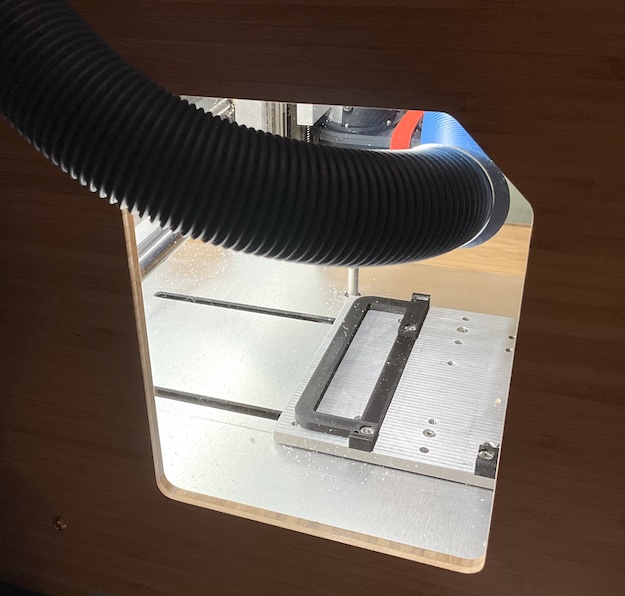
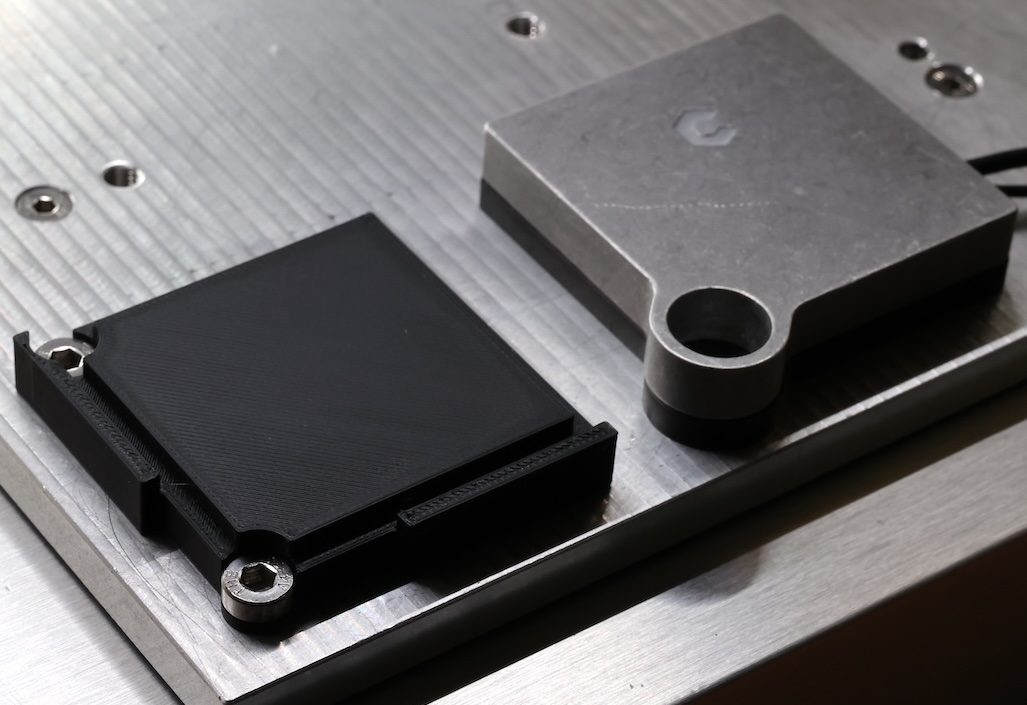
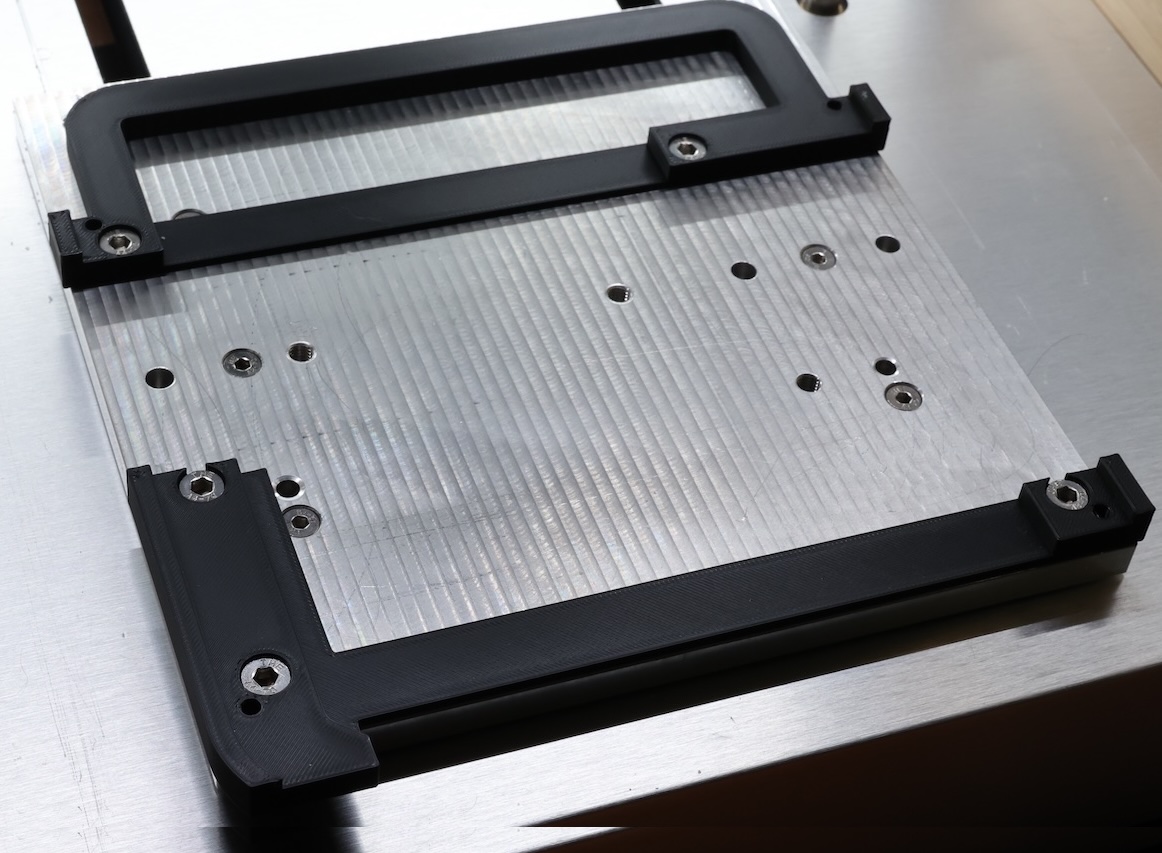
Nice work and fixturing, @andres (I am thinking the tooling is 3D printed?) but please forgive this question–is there a reason you didn’t remove the OEM window, tape a plastic bag over the opening, and mod it? (I don’t have access to YouTube and you might have explained this there…)

1 Like

@Randy that is the great question.

All things considered, I committed to the more precise/repeatable approach at the expense of time. I will take learnings forward into my next project.

The video is silent, and shows the cuts with active dust collection

1 Like

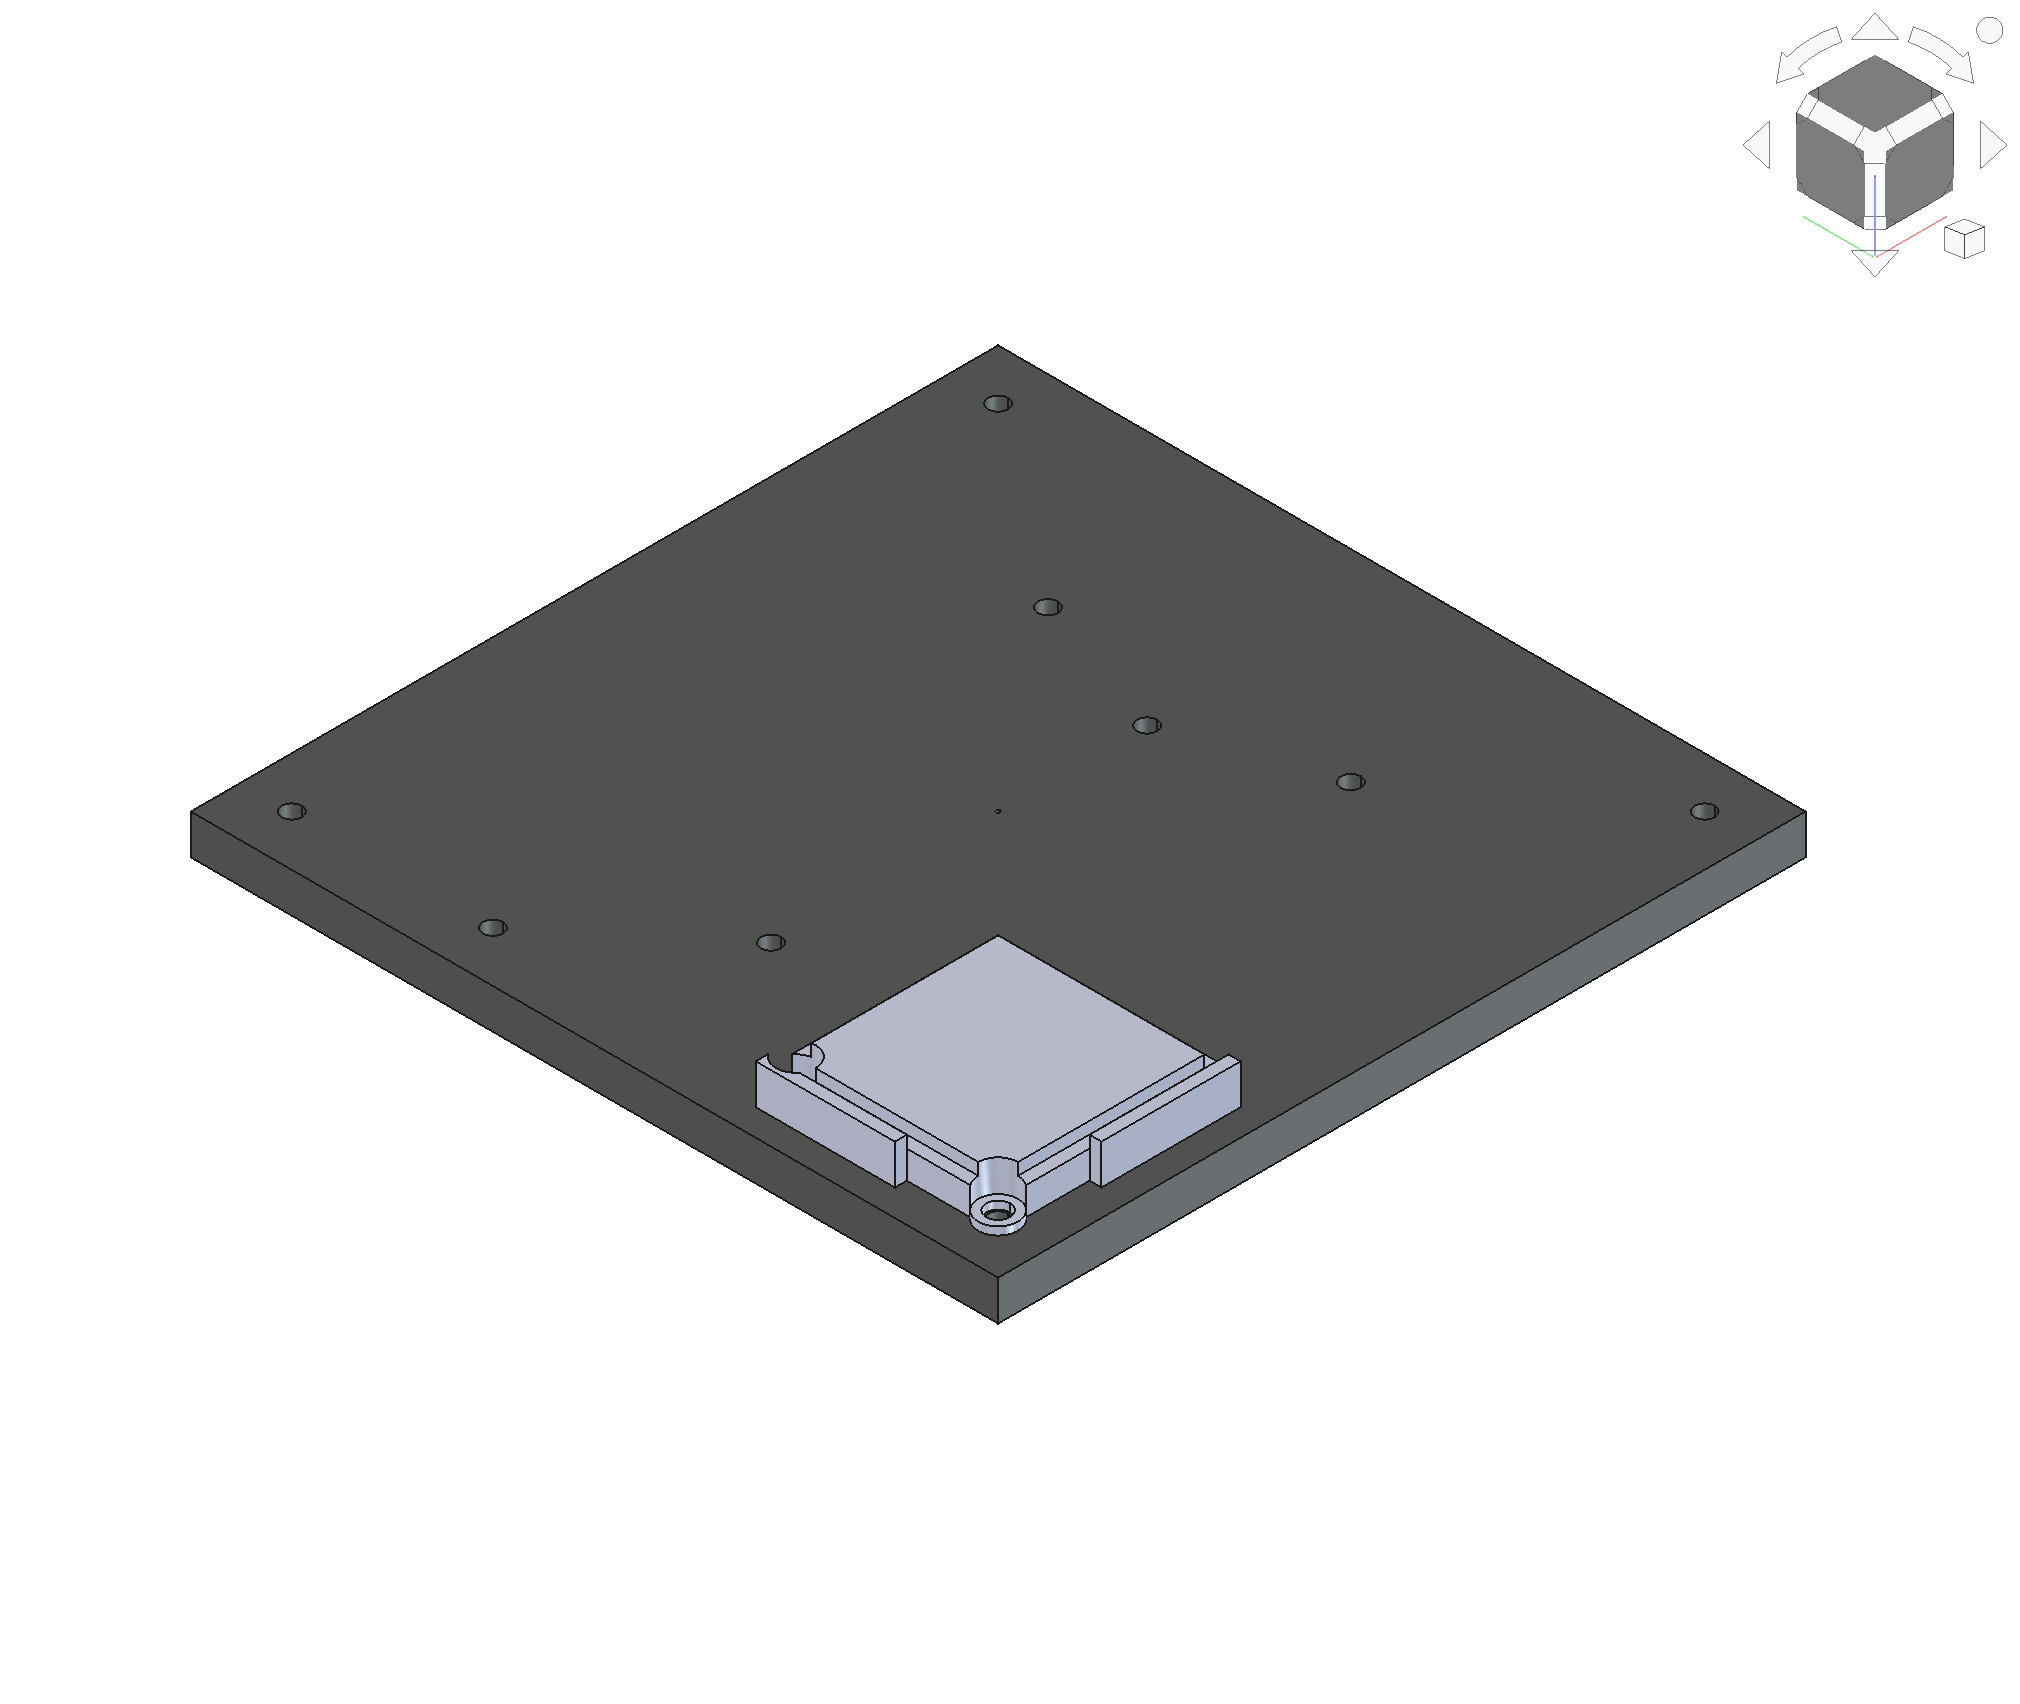
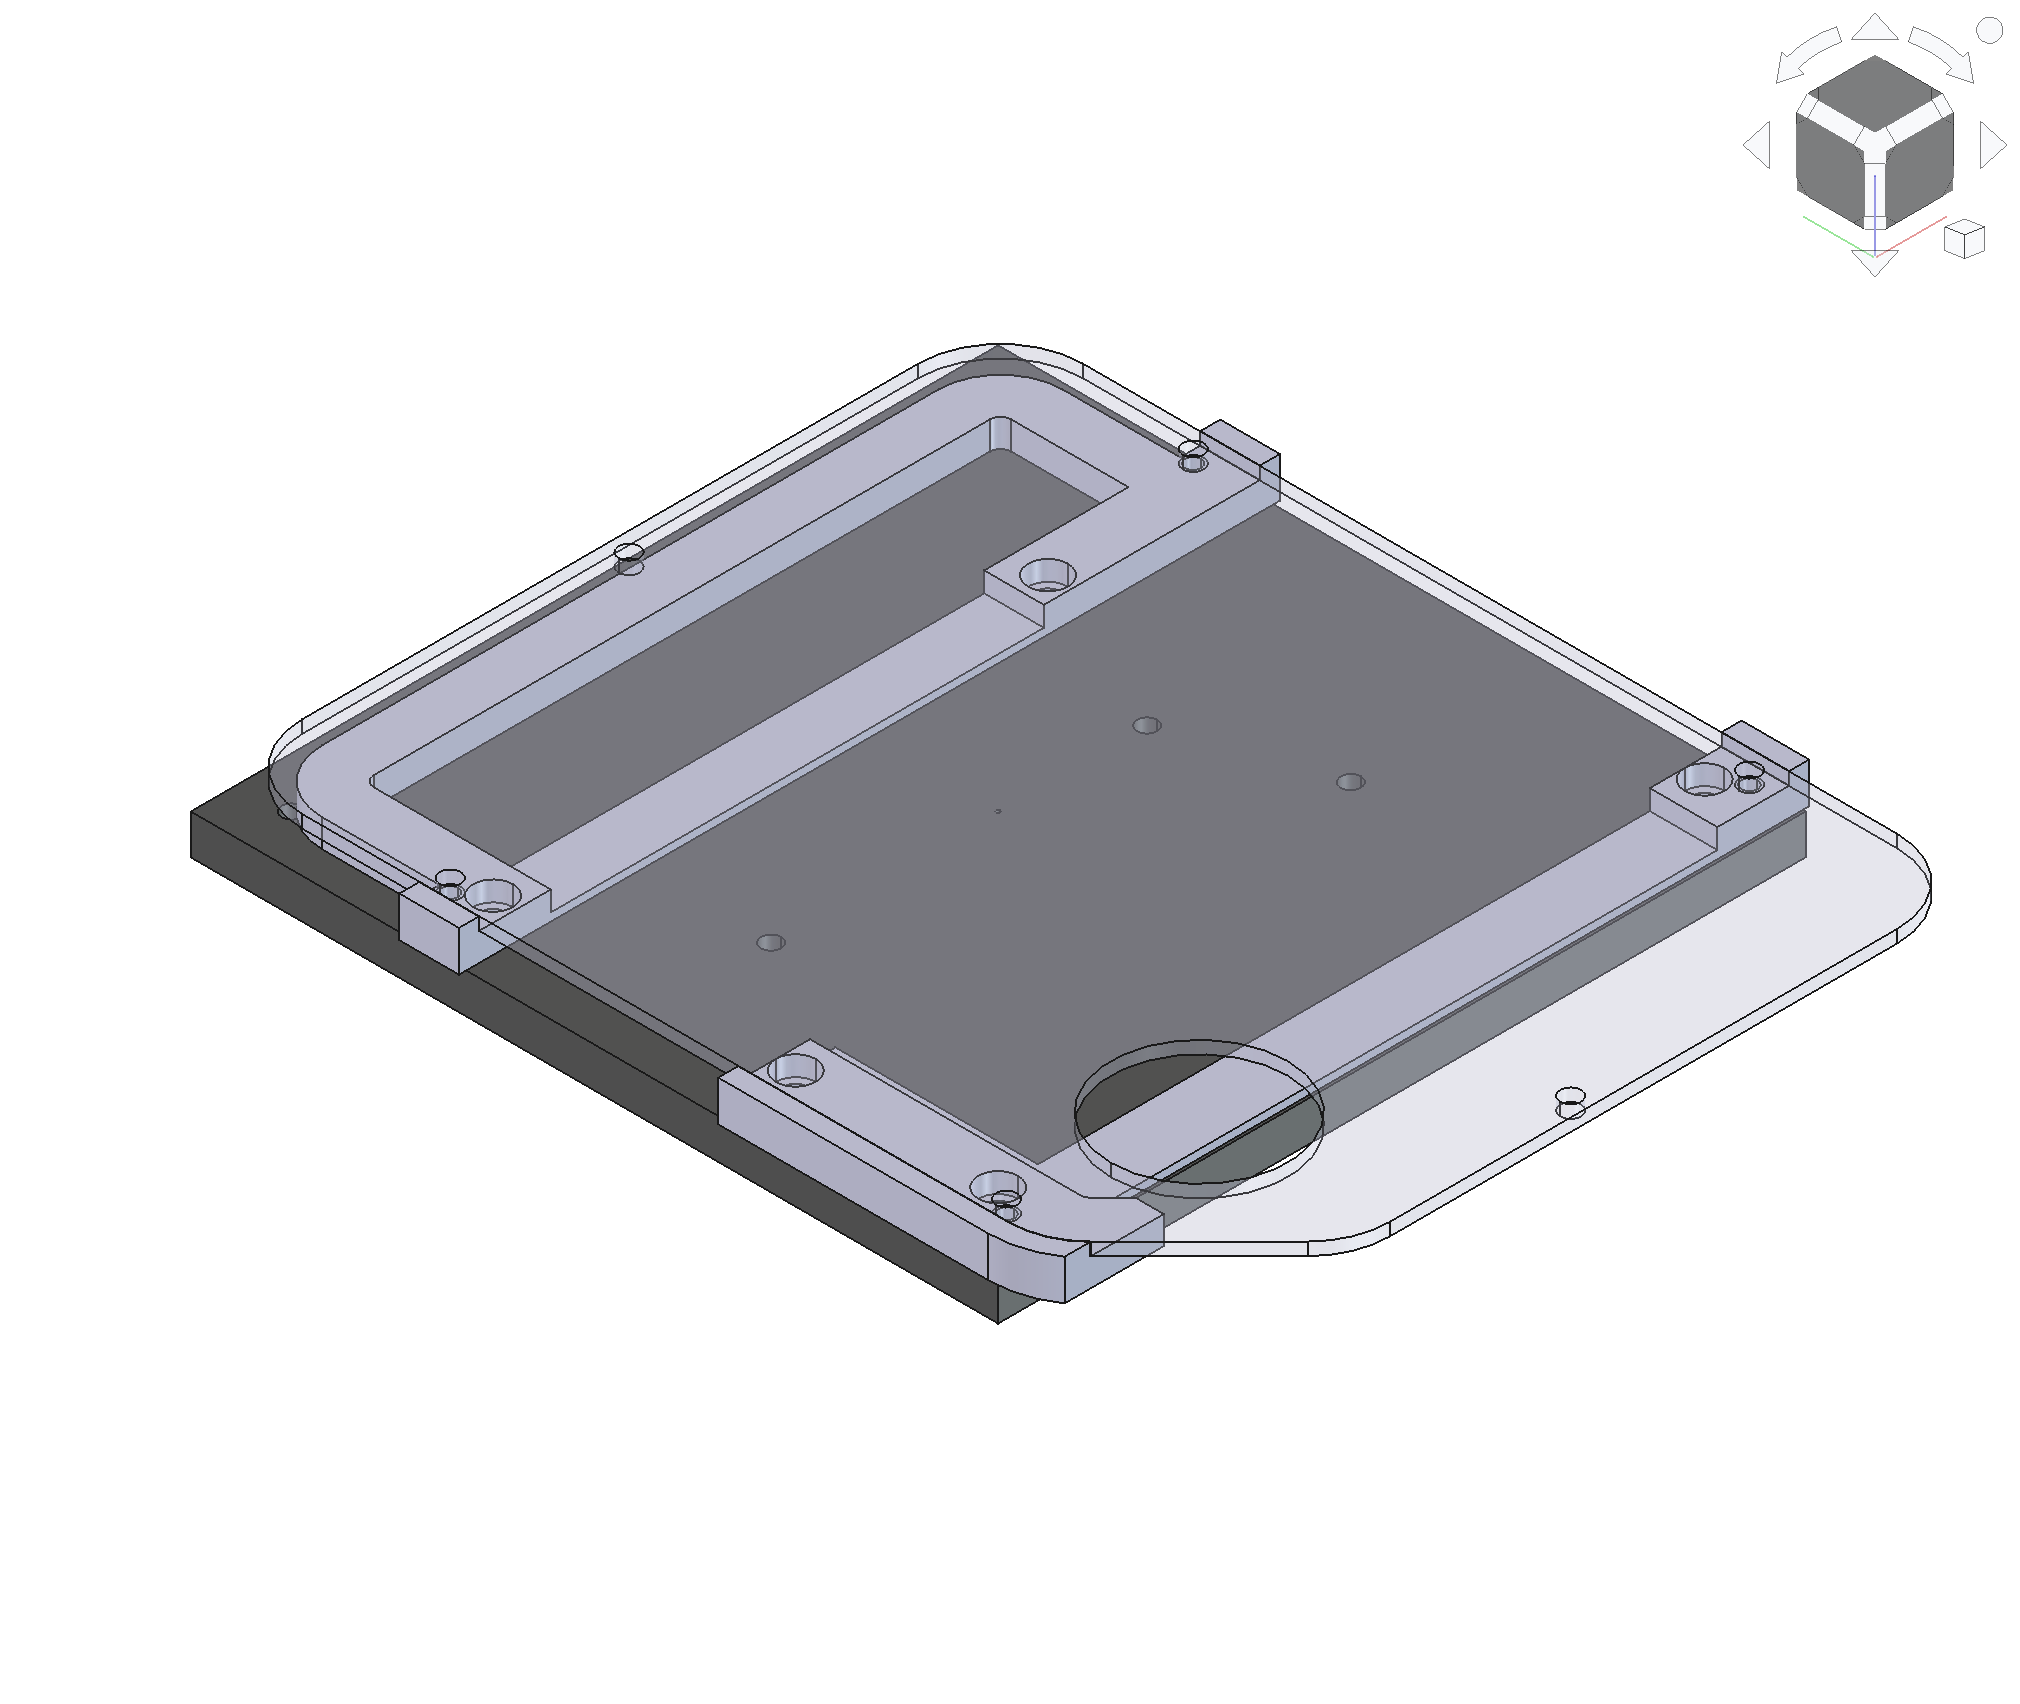
@KLUDGEDREDD Thank you. This dust boot is new. Some additional detail is available on this thread: Nomad3 Dust Boot - #20 by andres. If you have any further interest, please let me know

1 Like