Following on from a number posts, questions and a few months of waiting a production level Touch Probe has entered the wild!
I won a probe as part of one of Carbides 3D design competitions. Firstly a big thank you to Carbide 3D for the probe and a big thank you to those who voted for my designs. I’m thrilled to bits to trial it.
I don’t work for Carbide 3D and don’t know when the Probs will be available to buy - but I assume it will be very shortly. I will do my best to answer any and all questions I can.
Here is a short unboxing video:
A first testing video is coming shortly.
The setup instructions can be found here:
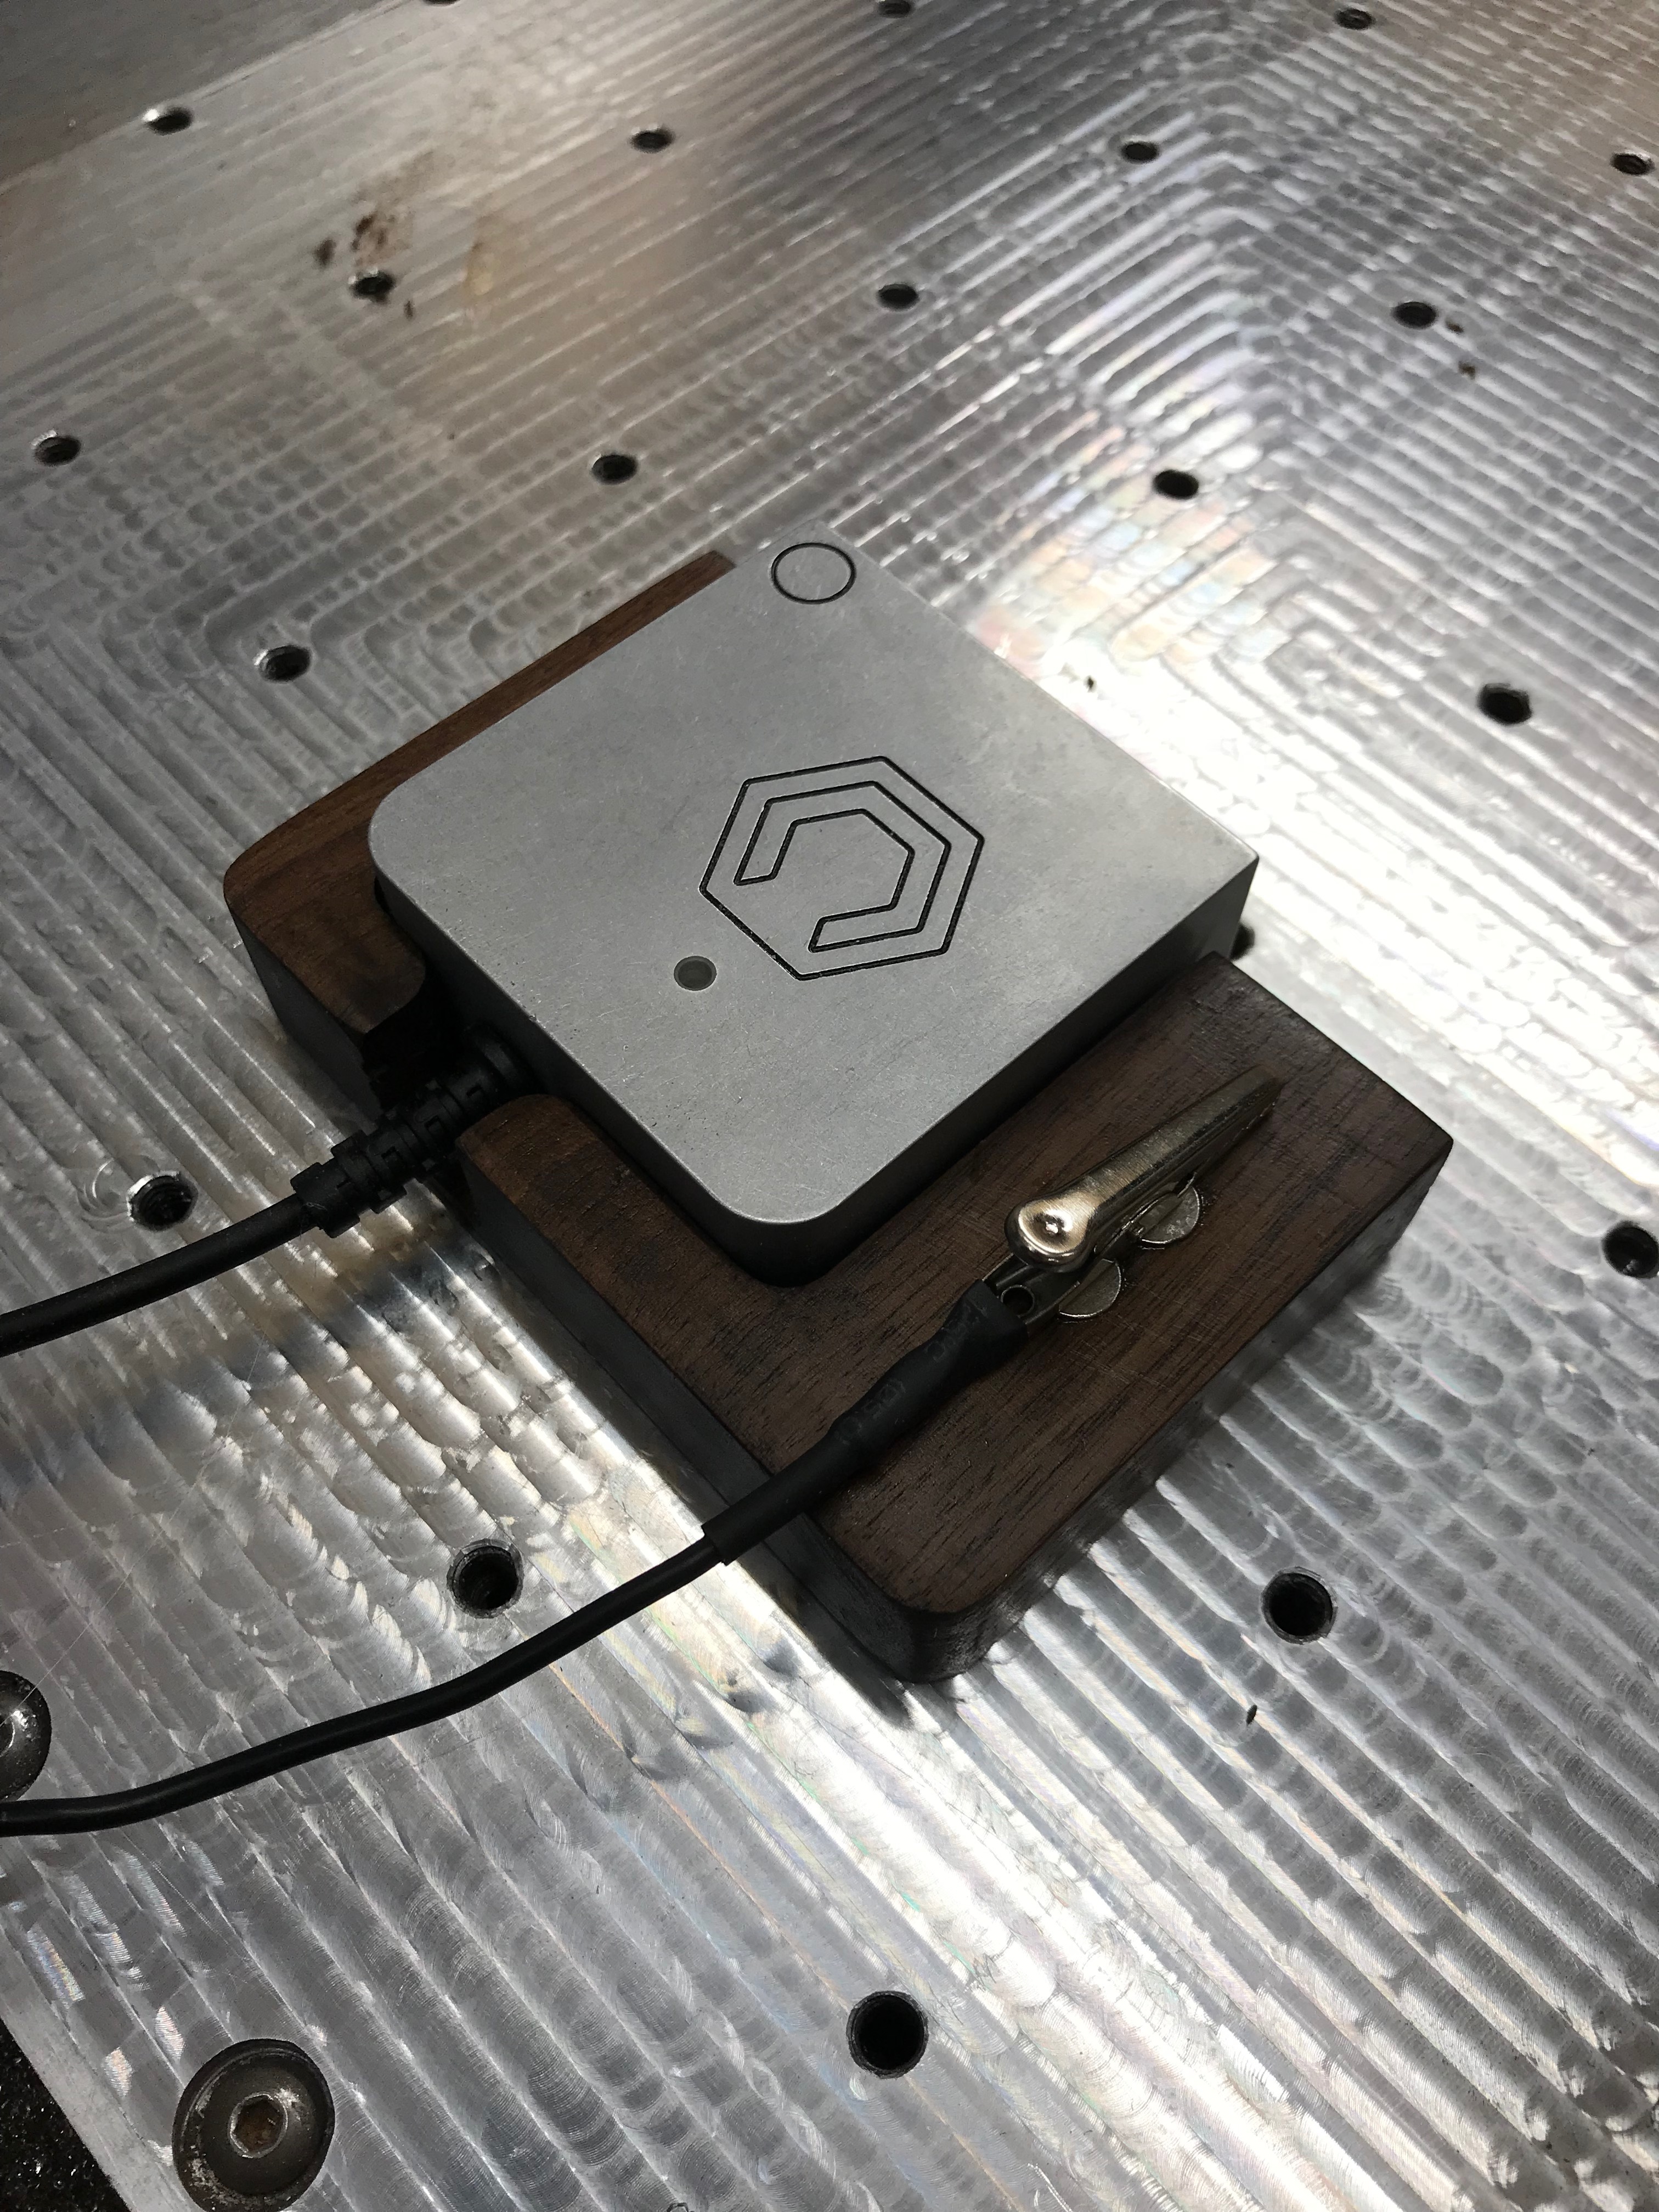
Please note at present there don’t seem to be any instructions on the croc clip - but this needs to be connected to a machine ground i.e. the S3 frame.
It should work with the Sparkfun board — all the connections are broken out on it as pins, so it should be easy, but someone will need to puzzle out or document what connects where. @Jorge ?
Here is how quick you can find datum! This is awesome.
After playing with it, I do believe there is a offset on the datum X/Y - this is half the bits diameter - if you are using a 1/4 bit there will be a 1/8 offset. Depending on the work you are using you are doing you can program in this off-set if it’s needed.
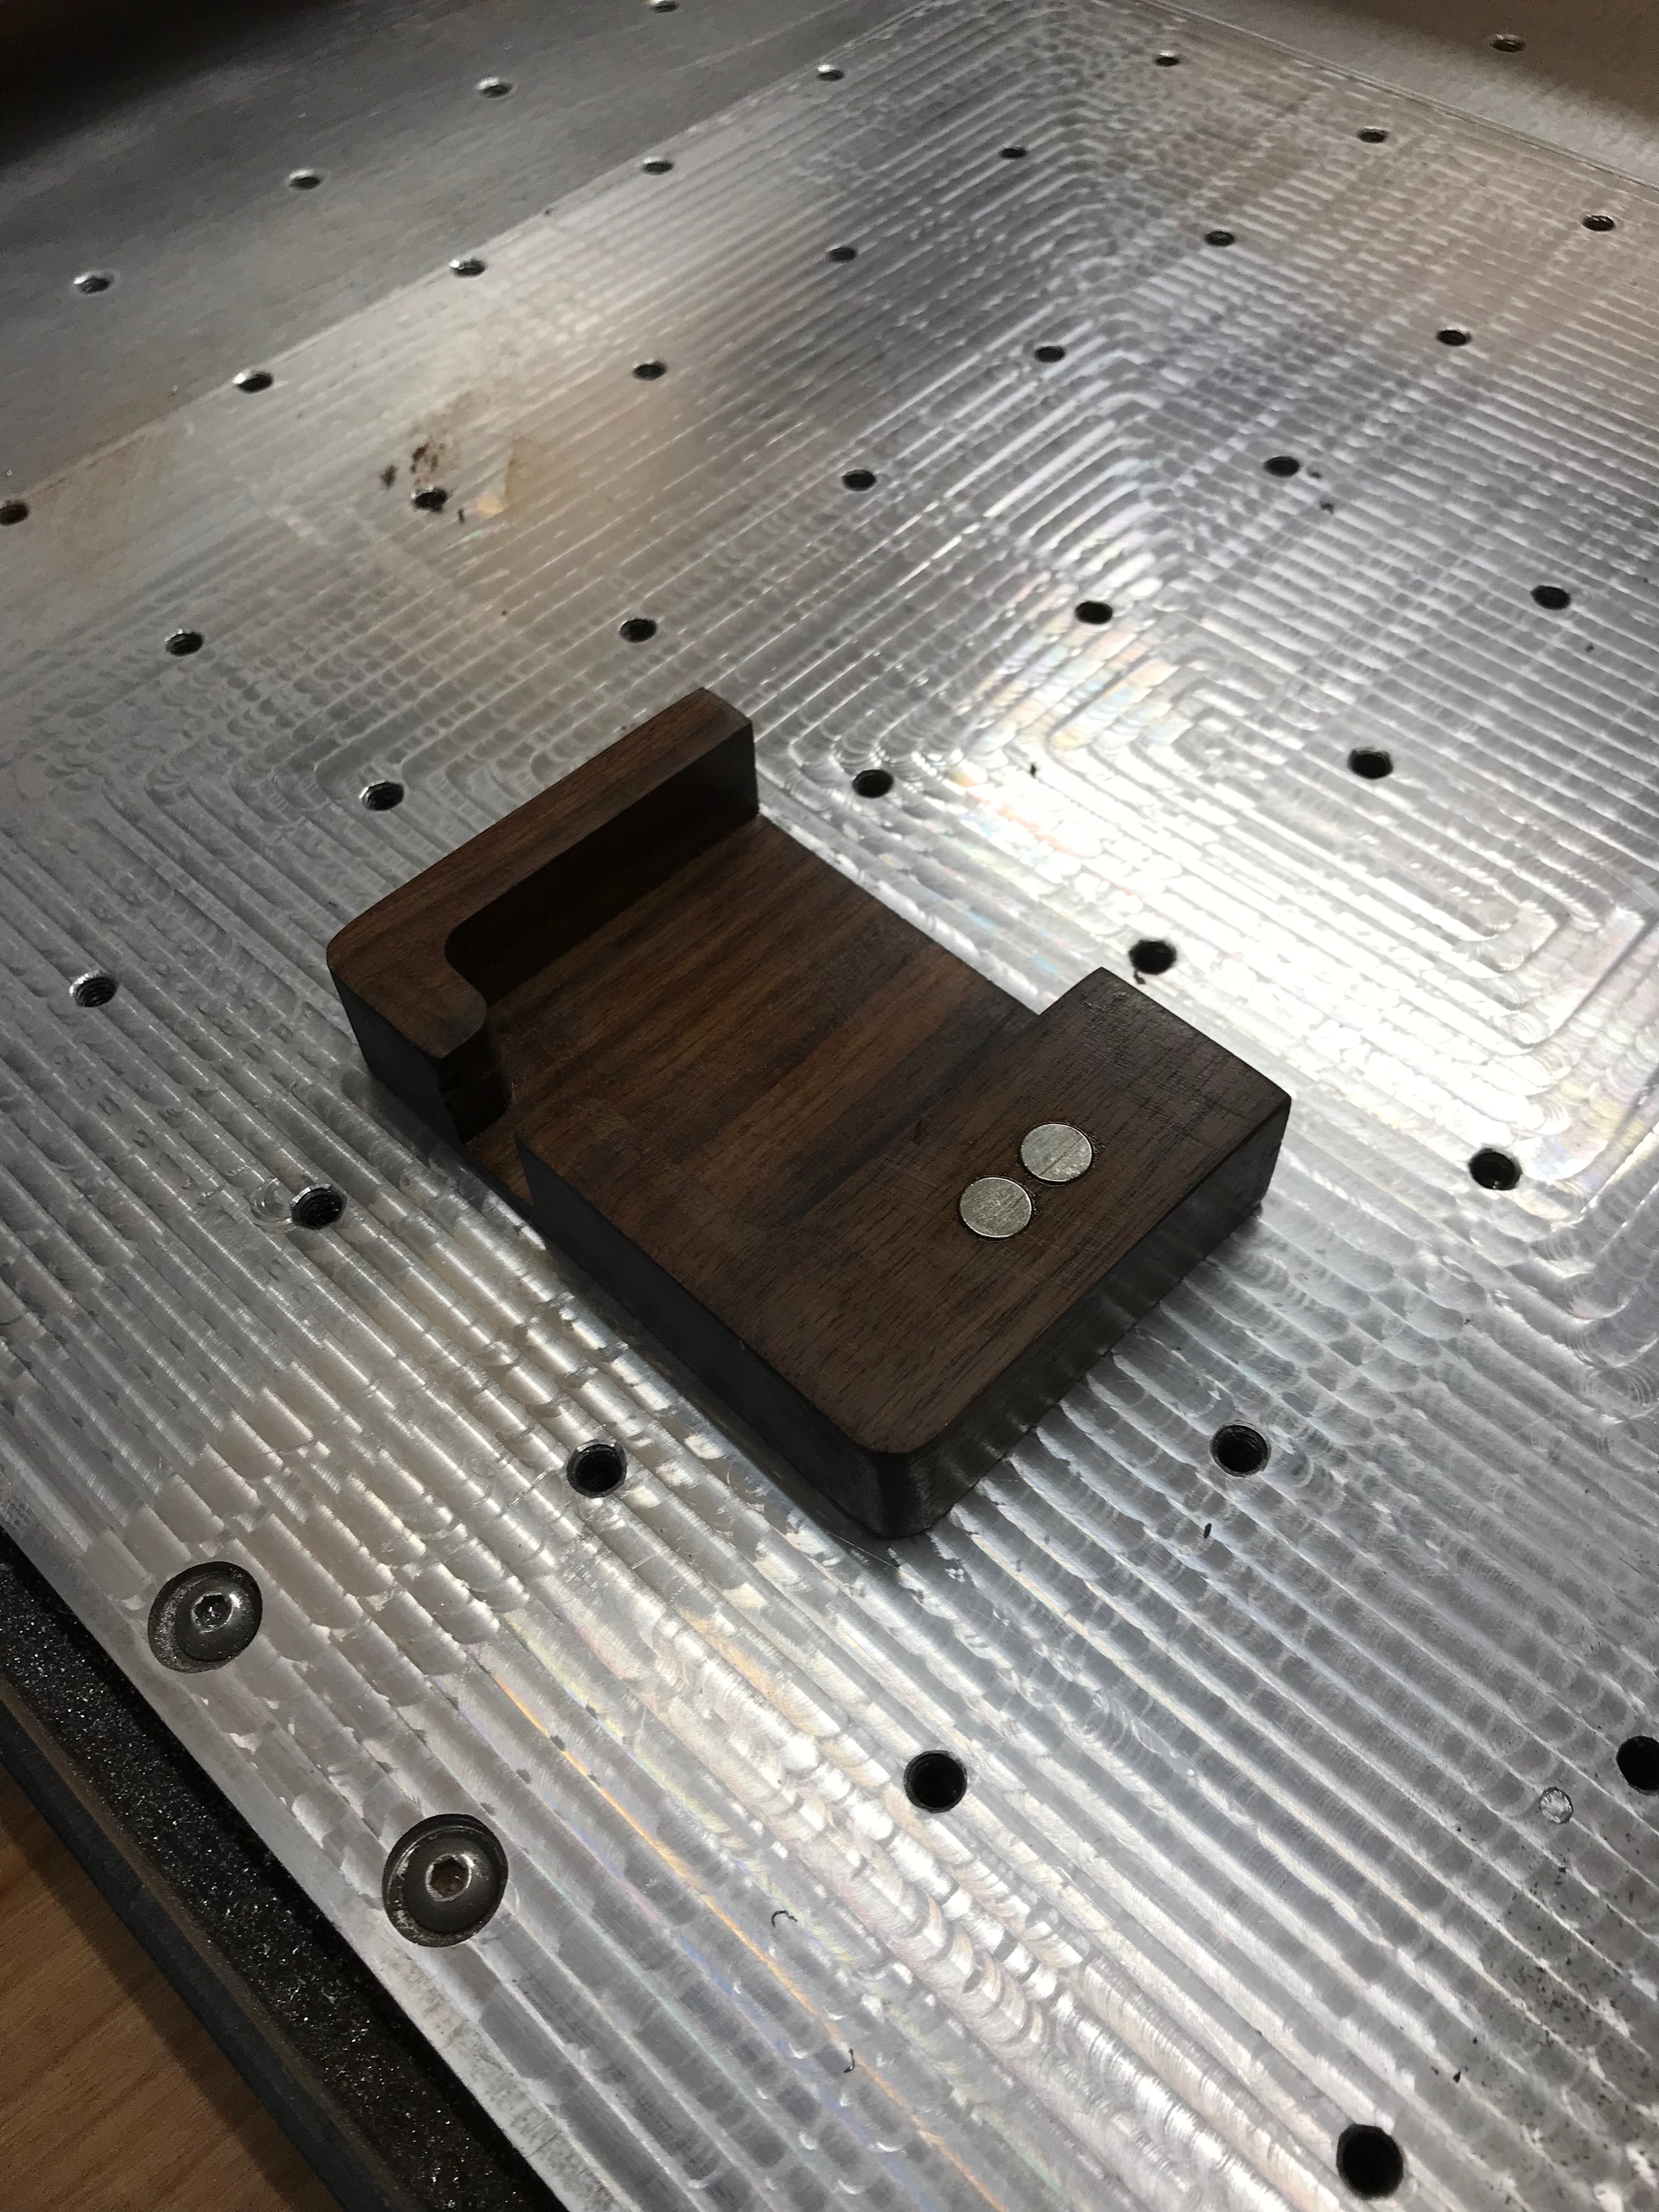
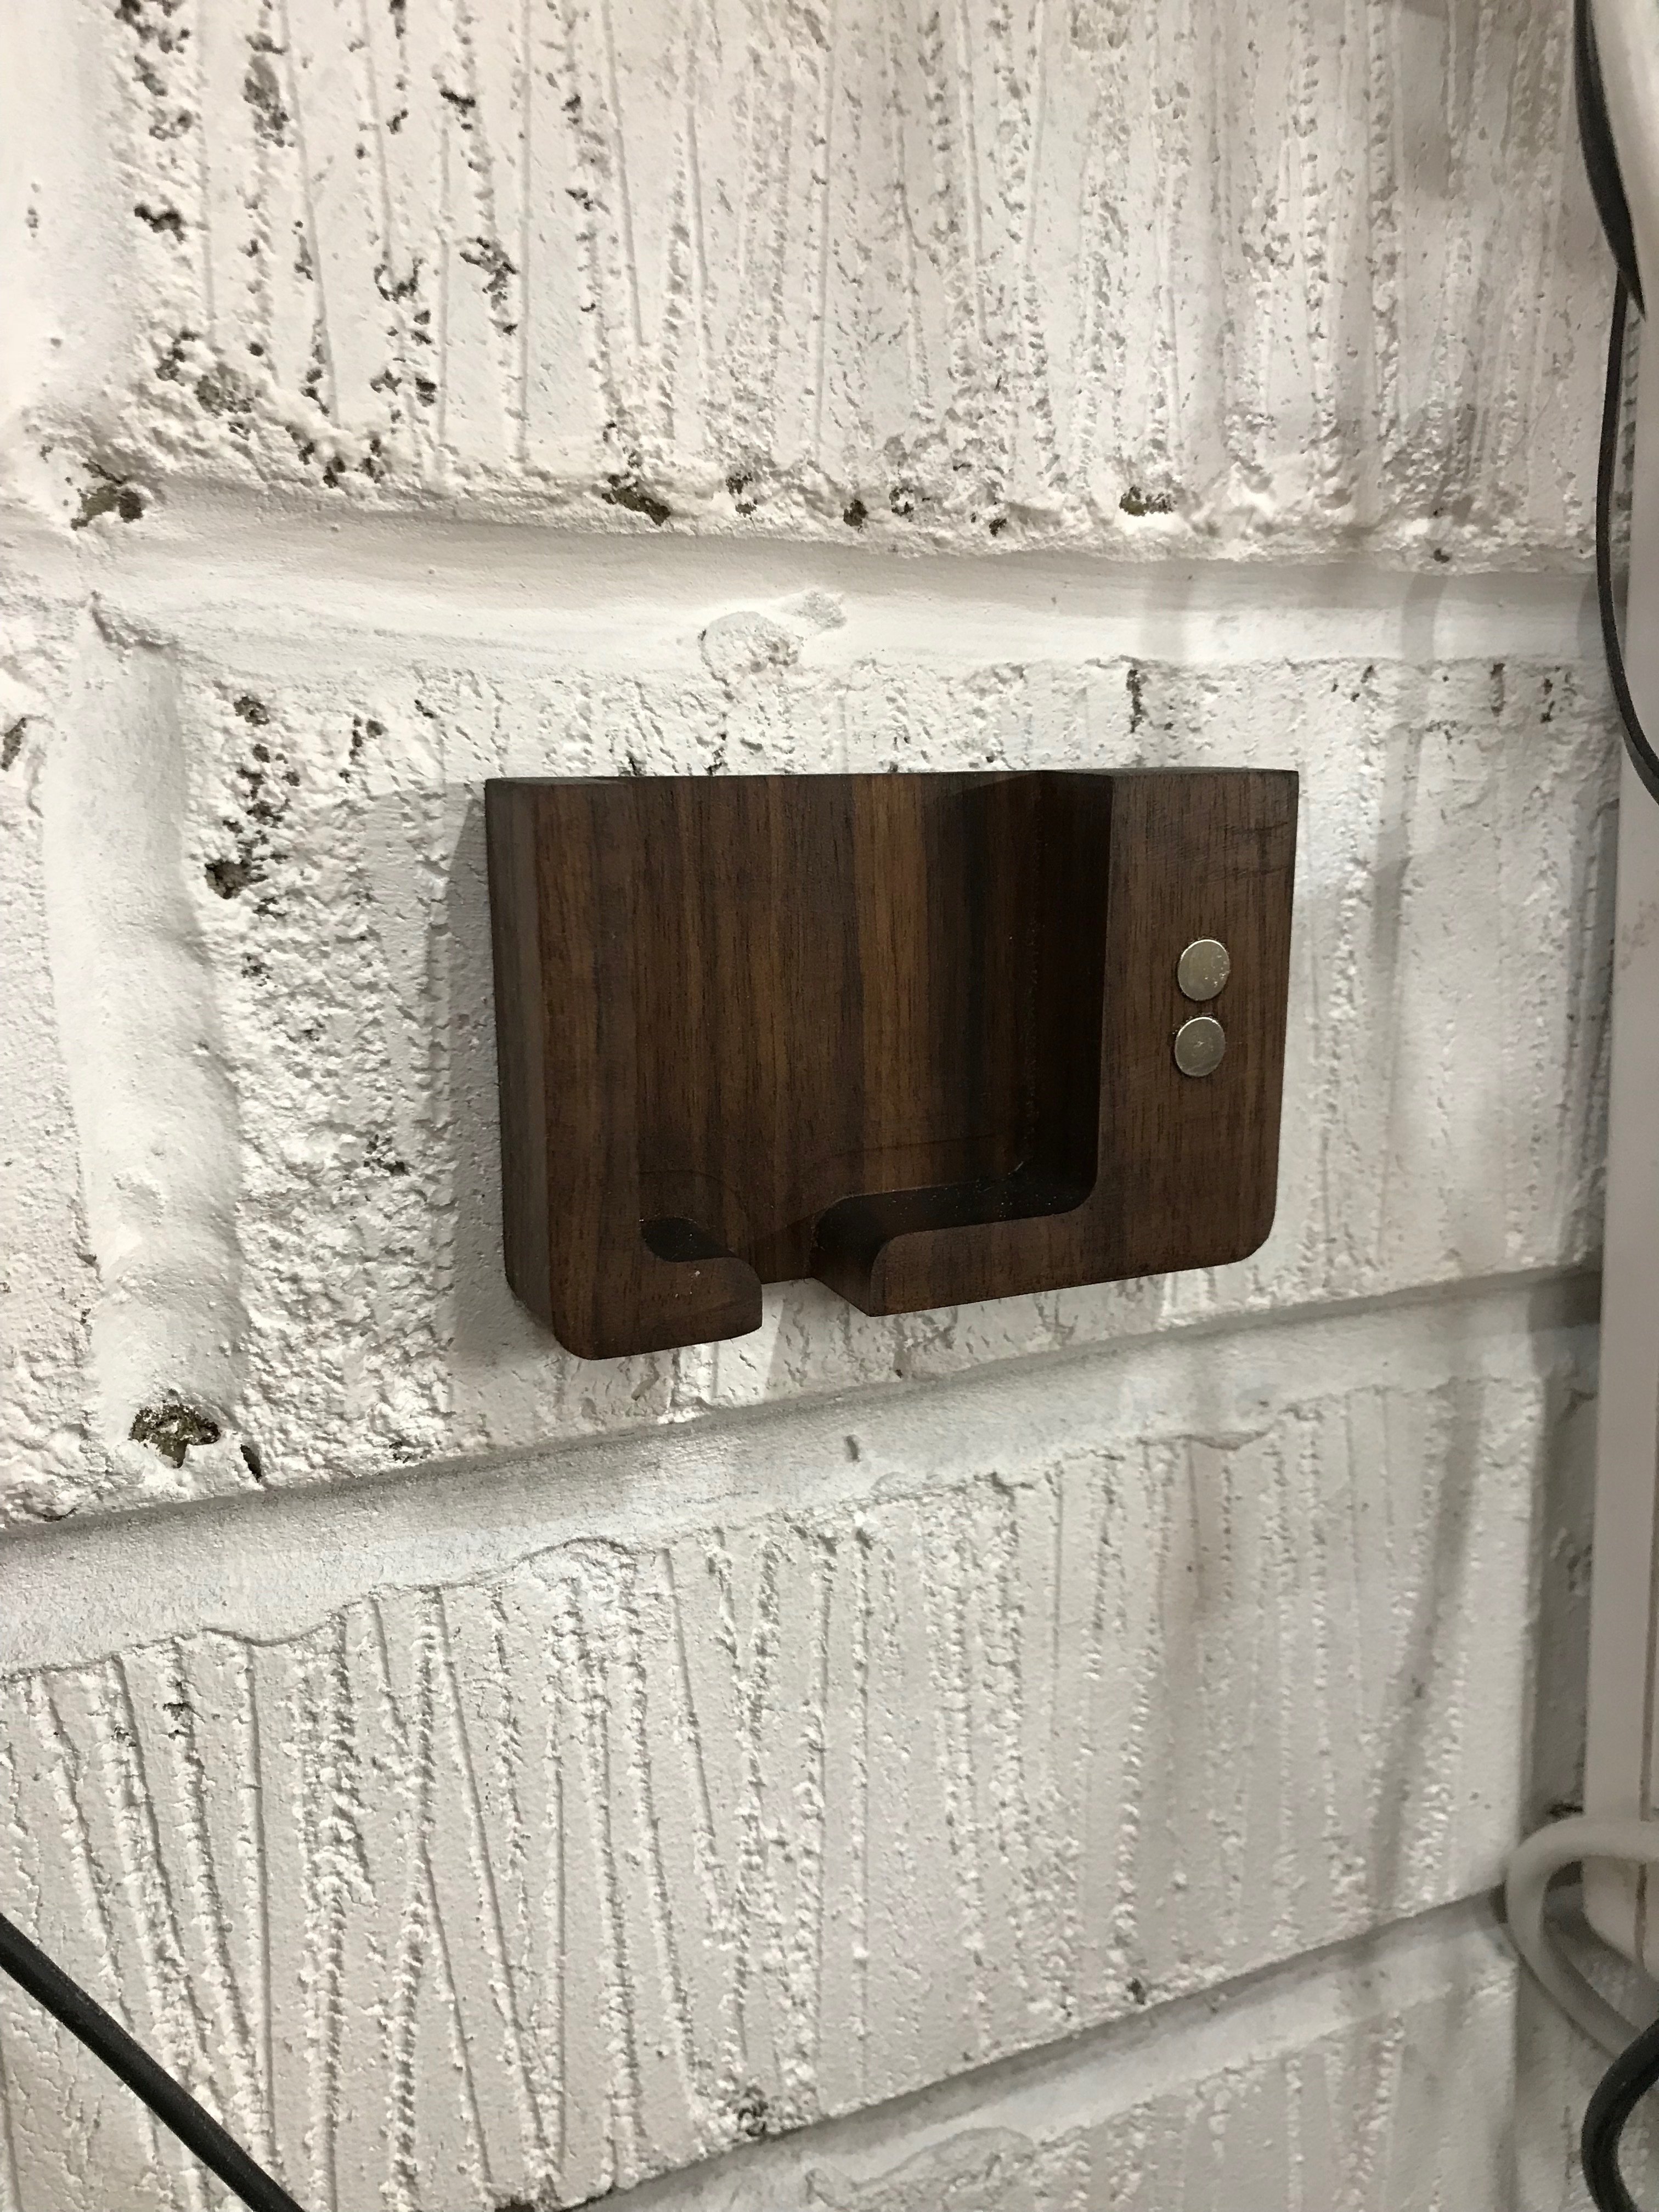
Also I thought it would be fitting as this was won in an accessory contest to make an accessory for it!
I’m thinking that the list would be relatively short. There are metric and inch size end mills, and there are several standard sizes in both directions.
Maybe, there could be a way to add to this list? Maybe, copy and modify an existing end mill size?
Share these custom settings online somewhere?
And save them too, like in a library (folder) on ones computer/network.
Makes me wonder how how you’d use it with a tapered ball end. I guess you could run XYZ with a calibrated blank the same diameter as the shaft of the end mill to get a proper XY than replace the blank with the tapered end mill and run Z. Adds a little extra effort to the process but not anything major.
A tapered ball end mill is usually a standard size at the depth of its radius (i.e. 1/16, 1/8, 1/4, 4mm, etc.). So, in this case, one only needs to move a tapered mill that radius distance in the -Z direction to perform a touch off for the remaining X and Y. But if the script defaults go to far in the -Z direction, then it will definitely be an issue for tapered cutters.
Are ther non-ball end mills?