Thanks Neil,
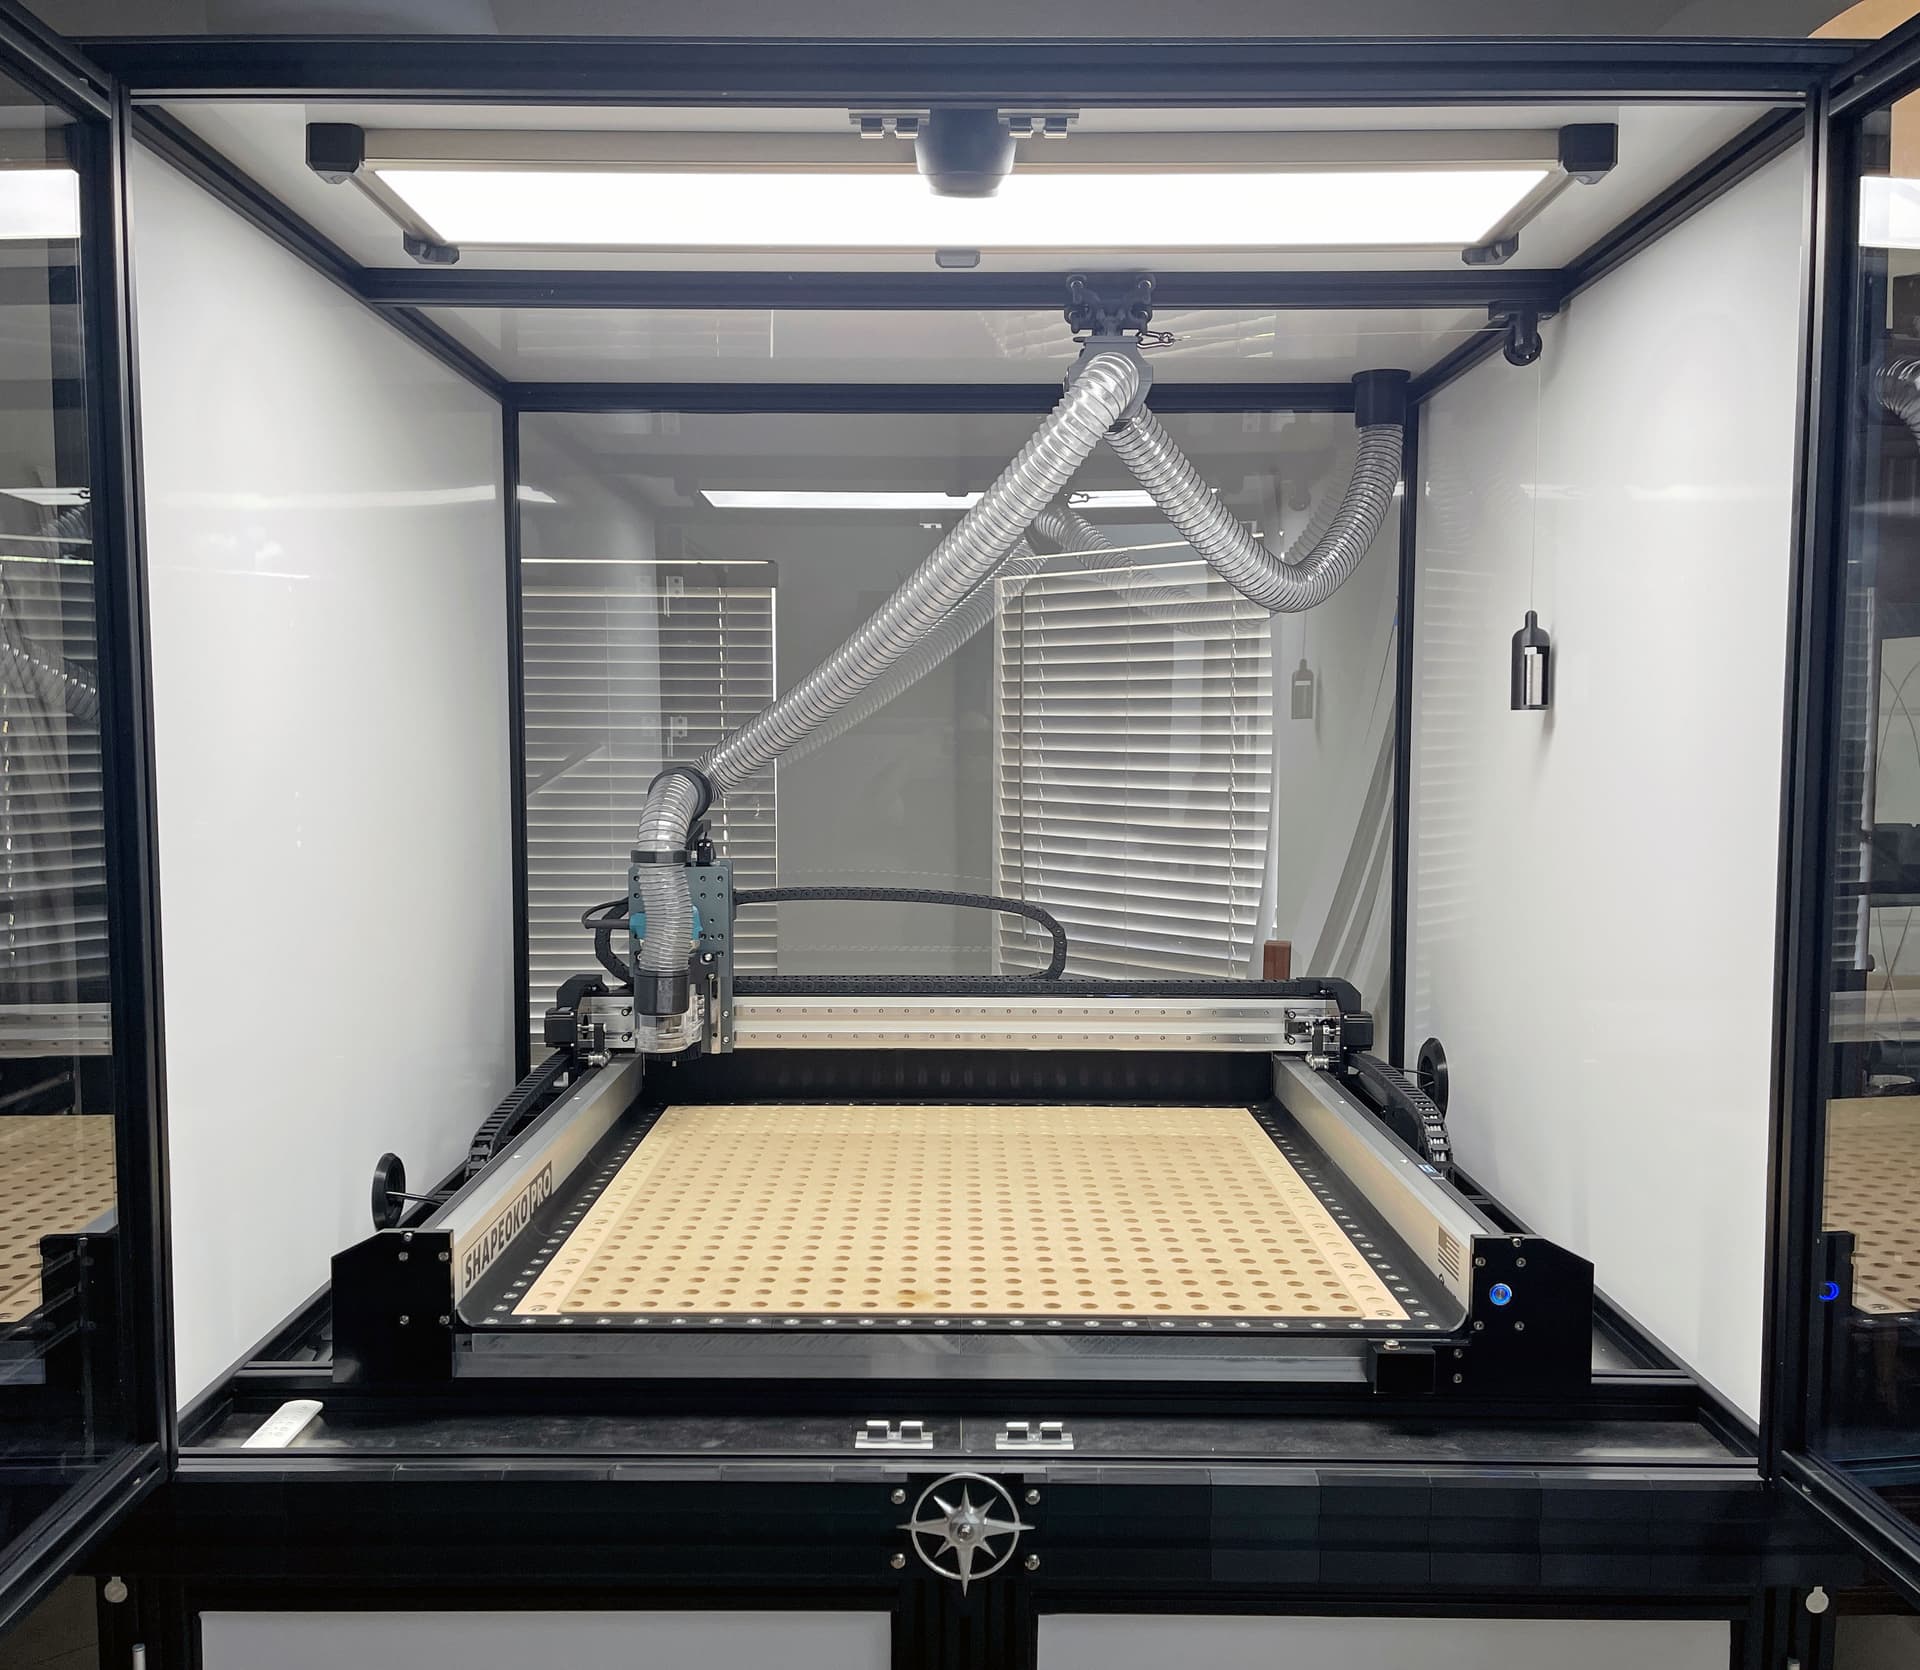
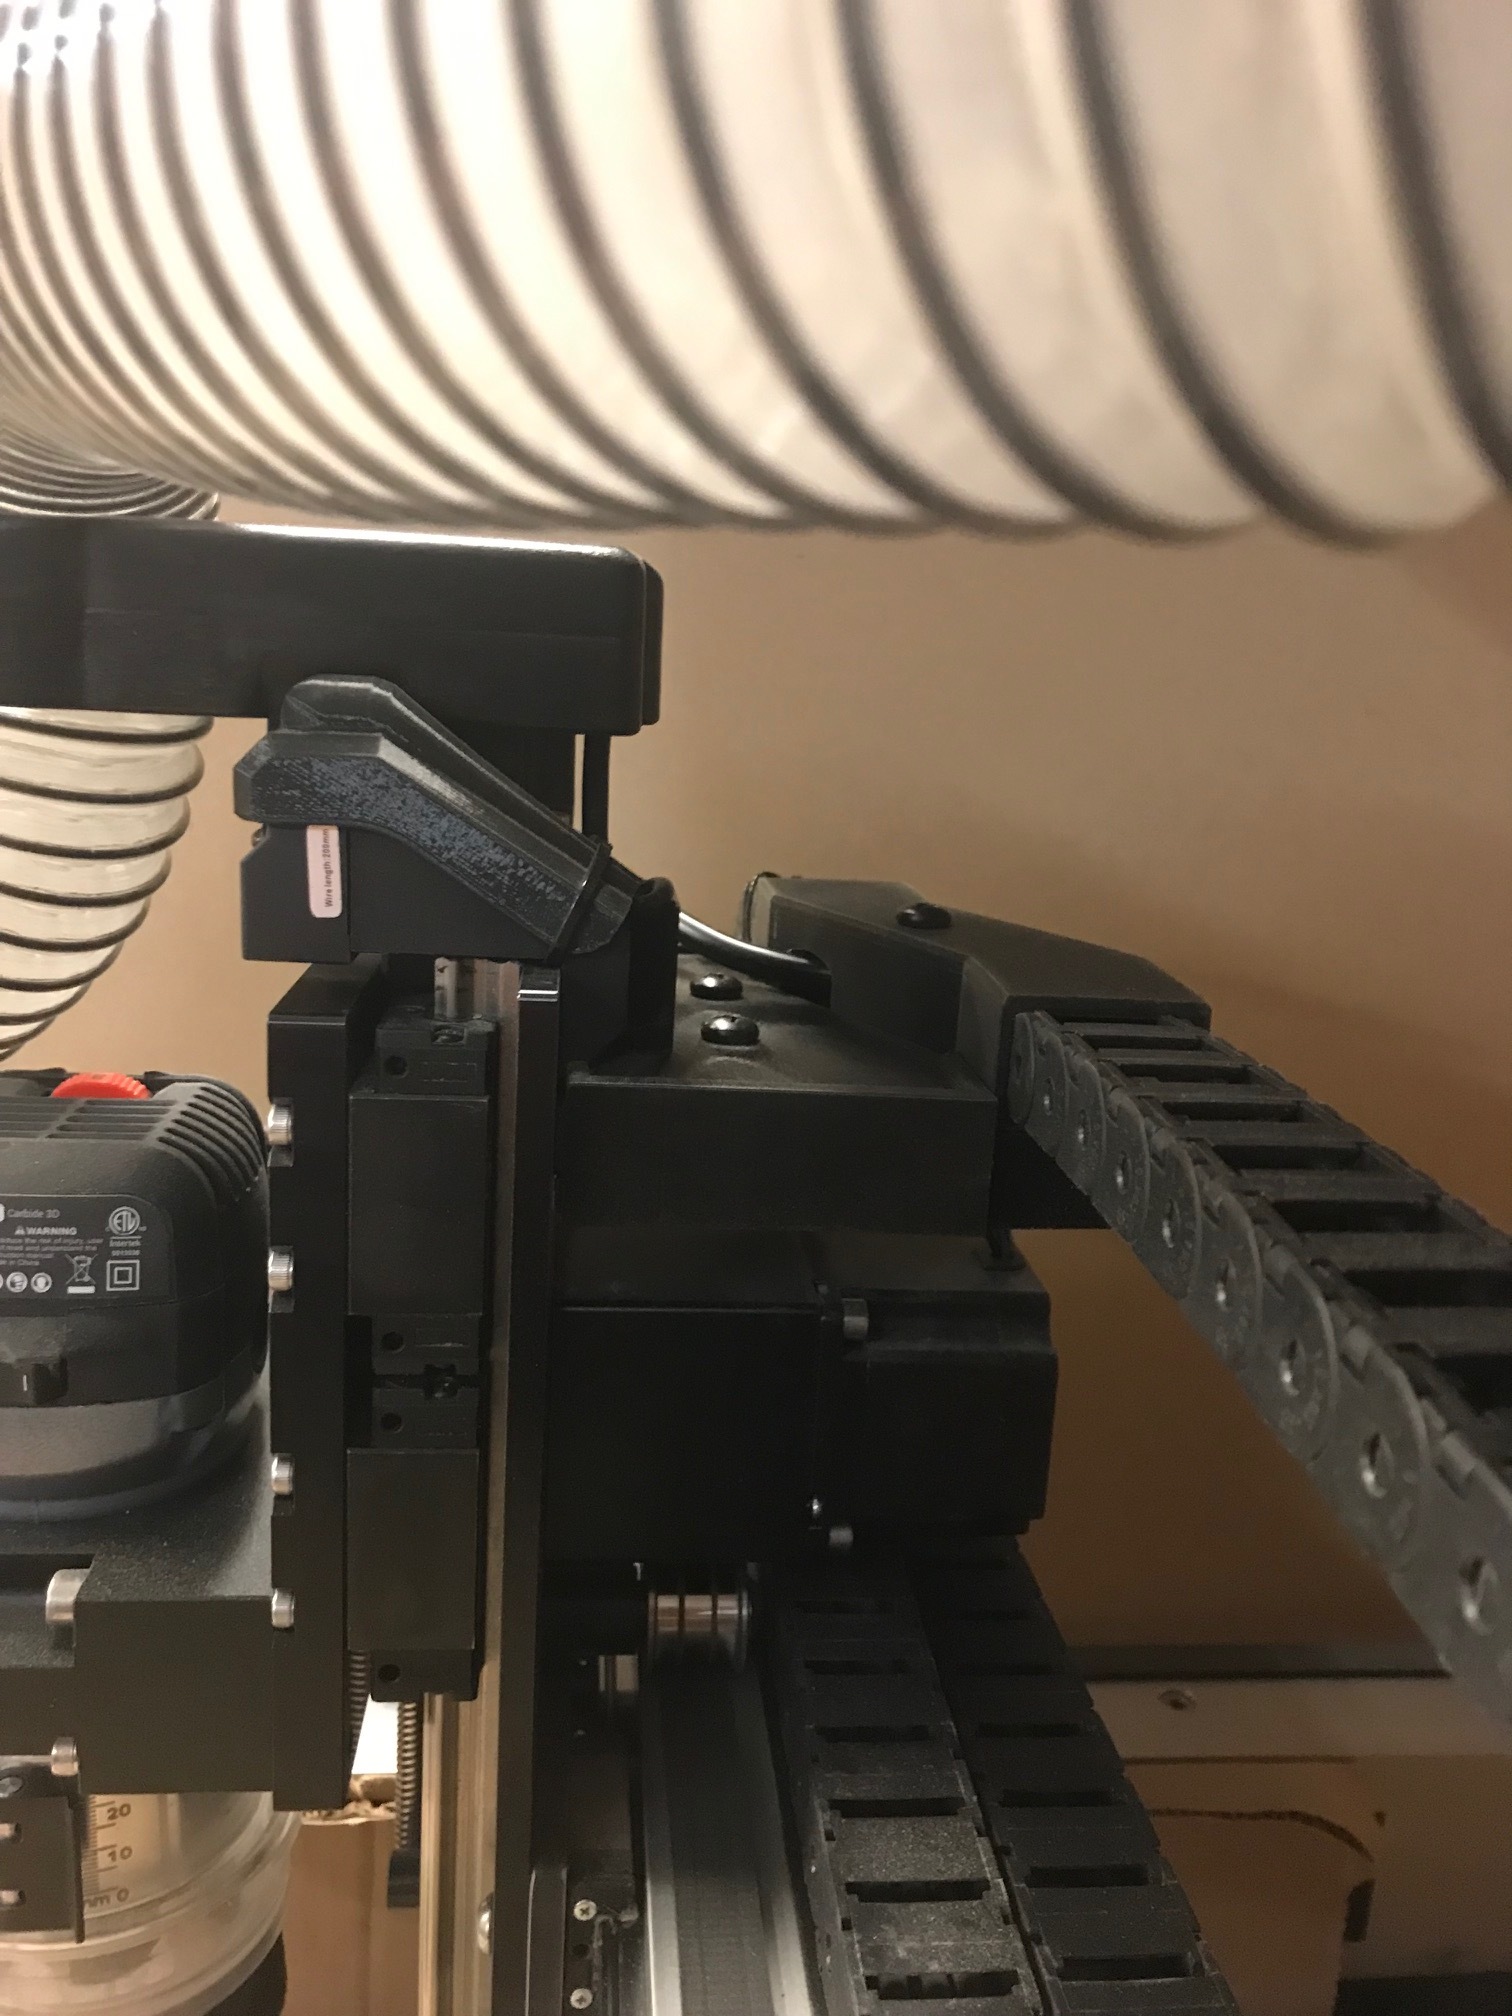
Here is a photo. It is a brand new hose trolley I just printed, and is somewhat tight. It will loosen up over time and need less weight to move it.
4 Likes
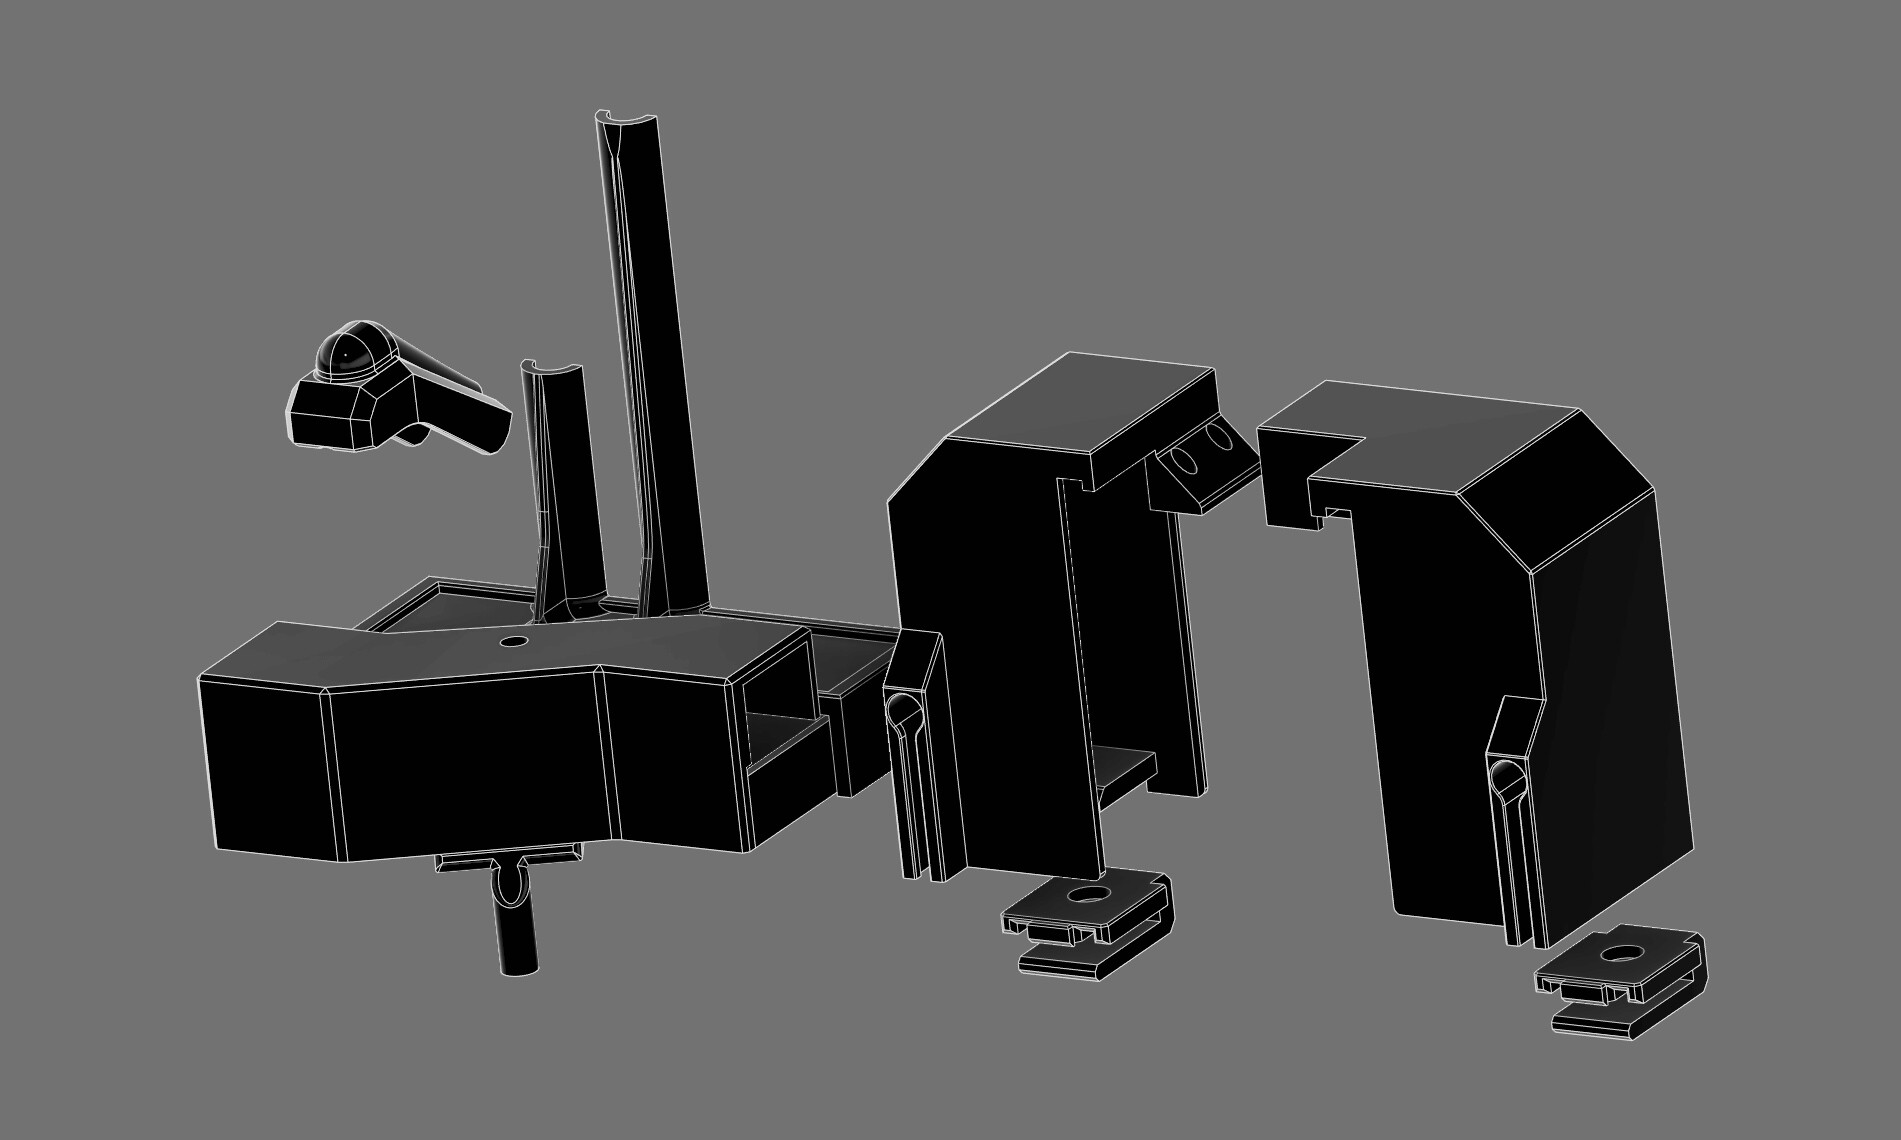
Here are all the models in one place. I put a lot of hours into these, and I am giving them away to Carbide 3d forum members for personal use only, please do not redistribute. If you download and print these please post photos to this thread. If you don’t have a printer and want a set, let me know.
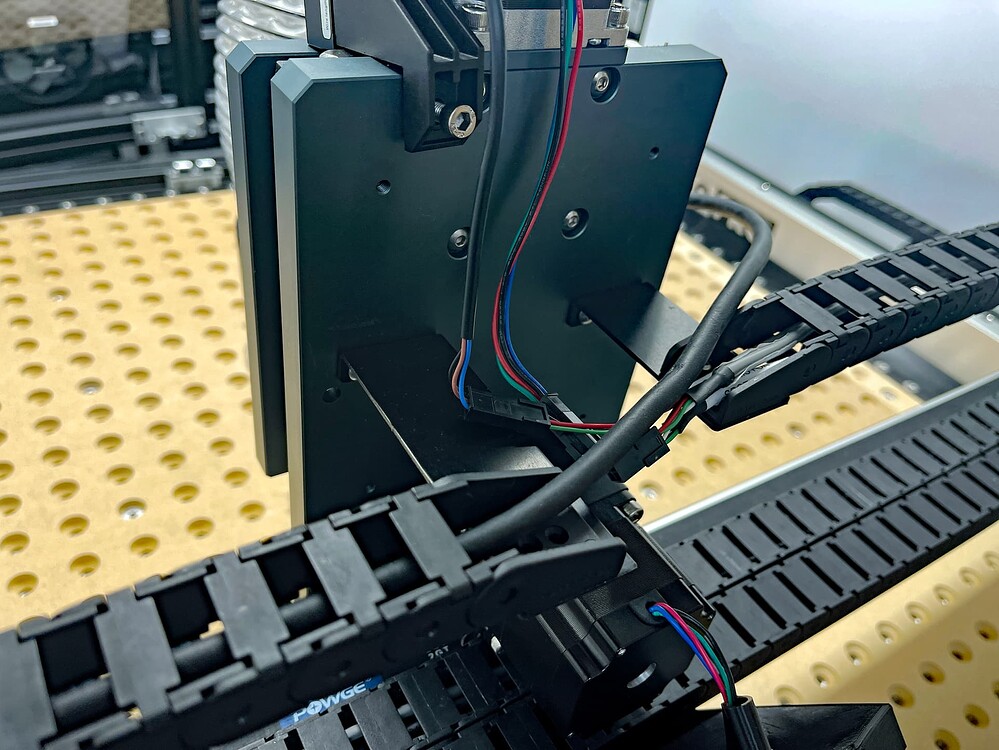
The center covers use 1/4-20x1/2 button heads for the top 3 screws. When you print, I would run a 1/4-20 tap into the plastic threads before attaching. I would only tap the top 5 or 6 threads to make it easier to get it started and still be snug when tightened. I used 3mm socket caps with small washers to attach the X stepper wire cover. The left side wire cover has two holes on top for 3mm socket screws.
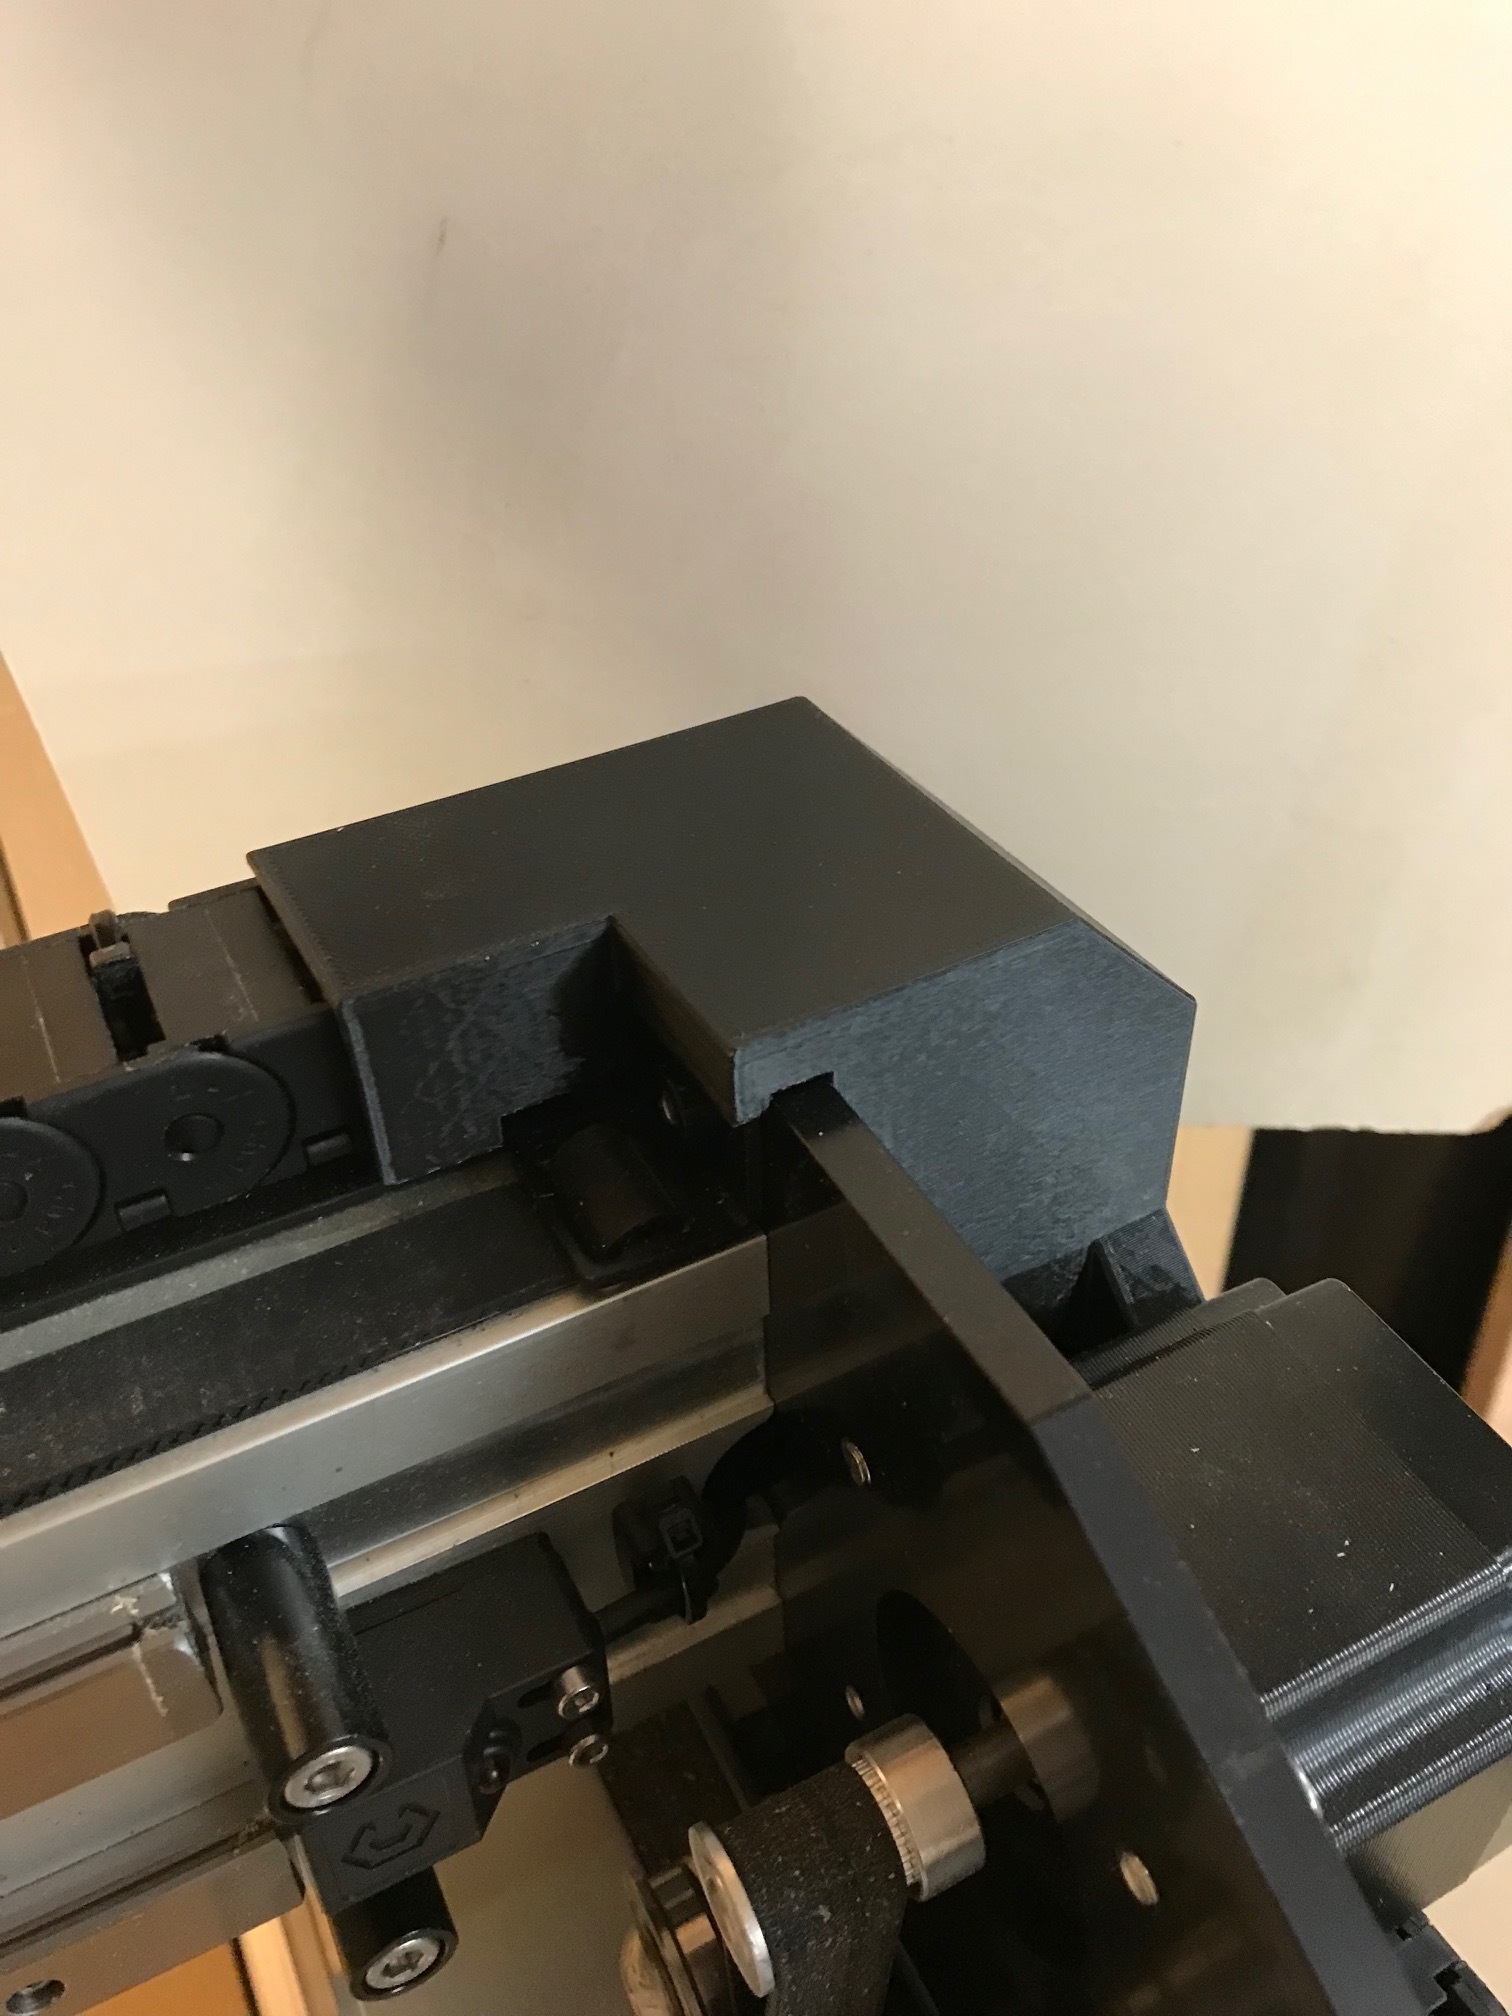
The center cover has long vertical wire covers on top for the Pro HDZ. If you have a regular Z just trim the tops down a little. Use a razor blade to get a clean slice. Can melt the top smooth with a lighter or a heat gun.
If you have no experience printing threads, or you are not sure how to setup the supports and need advice just pm me. You should have the magnet holes facing up with no supports and also no supports on any threads.
Amazon sells small packs of assorted 3mm screws washers and nuts for 10 dollars.
Any issues let me know!
Pro-LeftSideWireCover.stl (344.1 KB)
Pro-CenterStepperWireCover.stl (627.0 KB)
Pro-CenterBottomCover.stl (1.5 MB)
Pro-CenterTopPlate.stl (870.3 KB)
Pro-CenterChainCover.stl (238.4 KB)
Pro-RightSideWireCover.stl (299.7 KB)
Pro-MagClip.stl (38.6 KB)
Pro-ProxCover.stl (808.7 KB)
22 Likes
Next project for the Pro is hose brackets and cable chain brackets for 80mm water cooled spindles, need a larger cable chain 18x25 id to fit two 8mm water hoses and a 10mm shielded spindle cable, replacing the router plug cable chain, and adding a cable chain looping over the Z with brackets that also hold the vac hose. Will be on it soon after the holiday.
Not sure how I missed this thread but this is awesome! I am new and have no idea how to make these parts but soon I will and when I do I will be making them all! This is fantastic!
1 Like
Thank you so much. I printed the first 2 and I was very impressed, Nice work 
I hope you do mind I extruded the clip higher and printed it with 100% fill. Removed the tab in the cover. I then just drilled and taped into the solid clip with a self tap screw for plastic. I might still print the magnet one, I just didn’t have a magnet at this time 
Awesome work
1 Like
Whatever works is good! If you need any changes let me know.
2 Likes
3D printers are fairly inexpensive for entry level and they work very well in combination with a CNC machine. Opens a lot of doors to make parts that are impossible to carve with a round tool, or without a 5 axis machine.
1 Like
@CNCInspiration Do you know if these will fit on the SO4 frame? I can print them and give it a try to see if any modification is needed, but do you have any concerns of any of the parts not fitting as is?
1 Like
I noticed from my 1st run Pro to my 2nd run the cable chains were slightly different. I built these models for the 2nd run with the slightly taller cable chain. It was a gap of around .1 on the top. I never had my hands on a 4 yet, if the back side of the Z is the same dimensions it should fit. If not let me know, I might be able to adjust with some basic measurements.
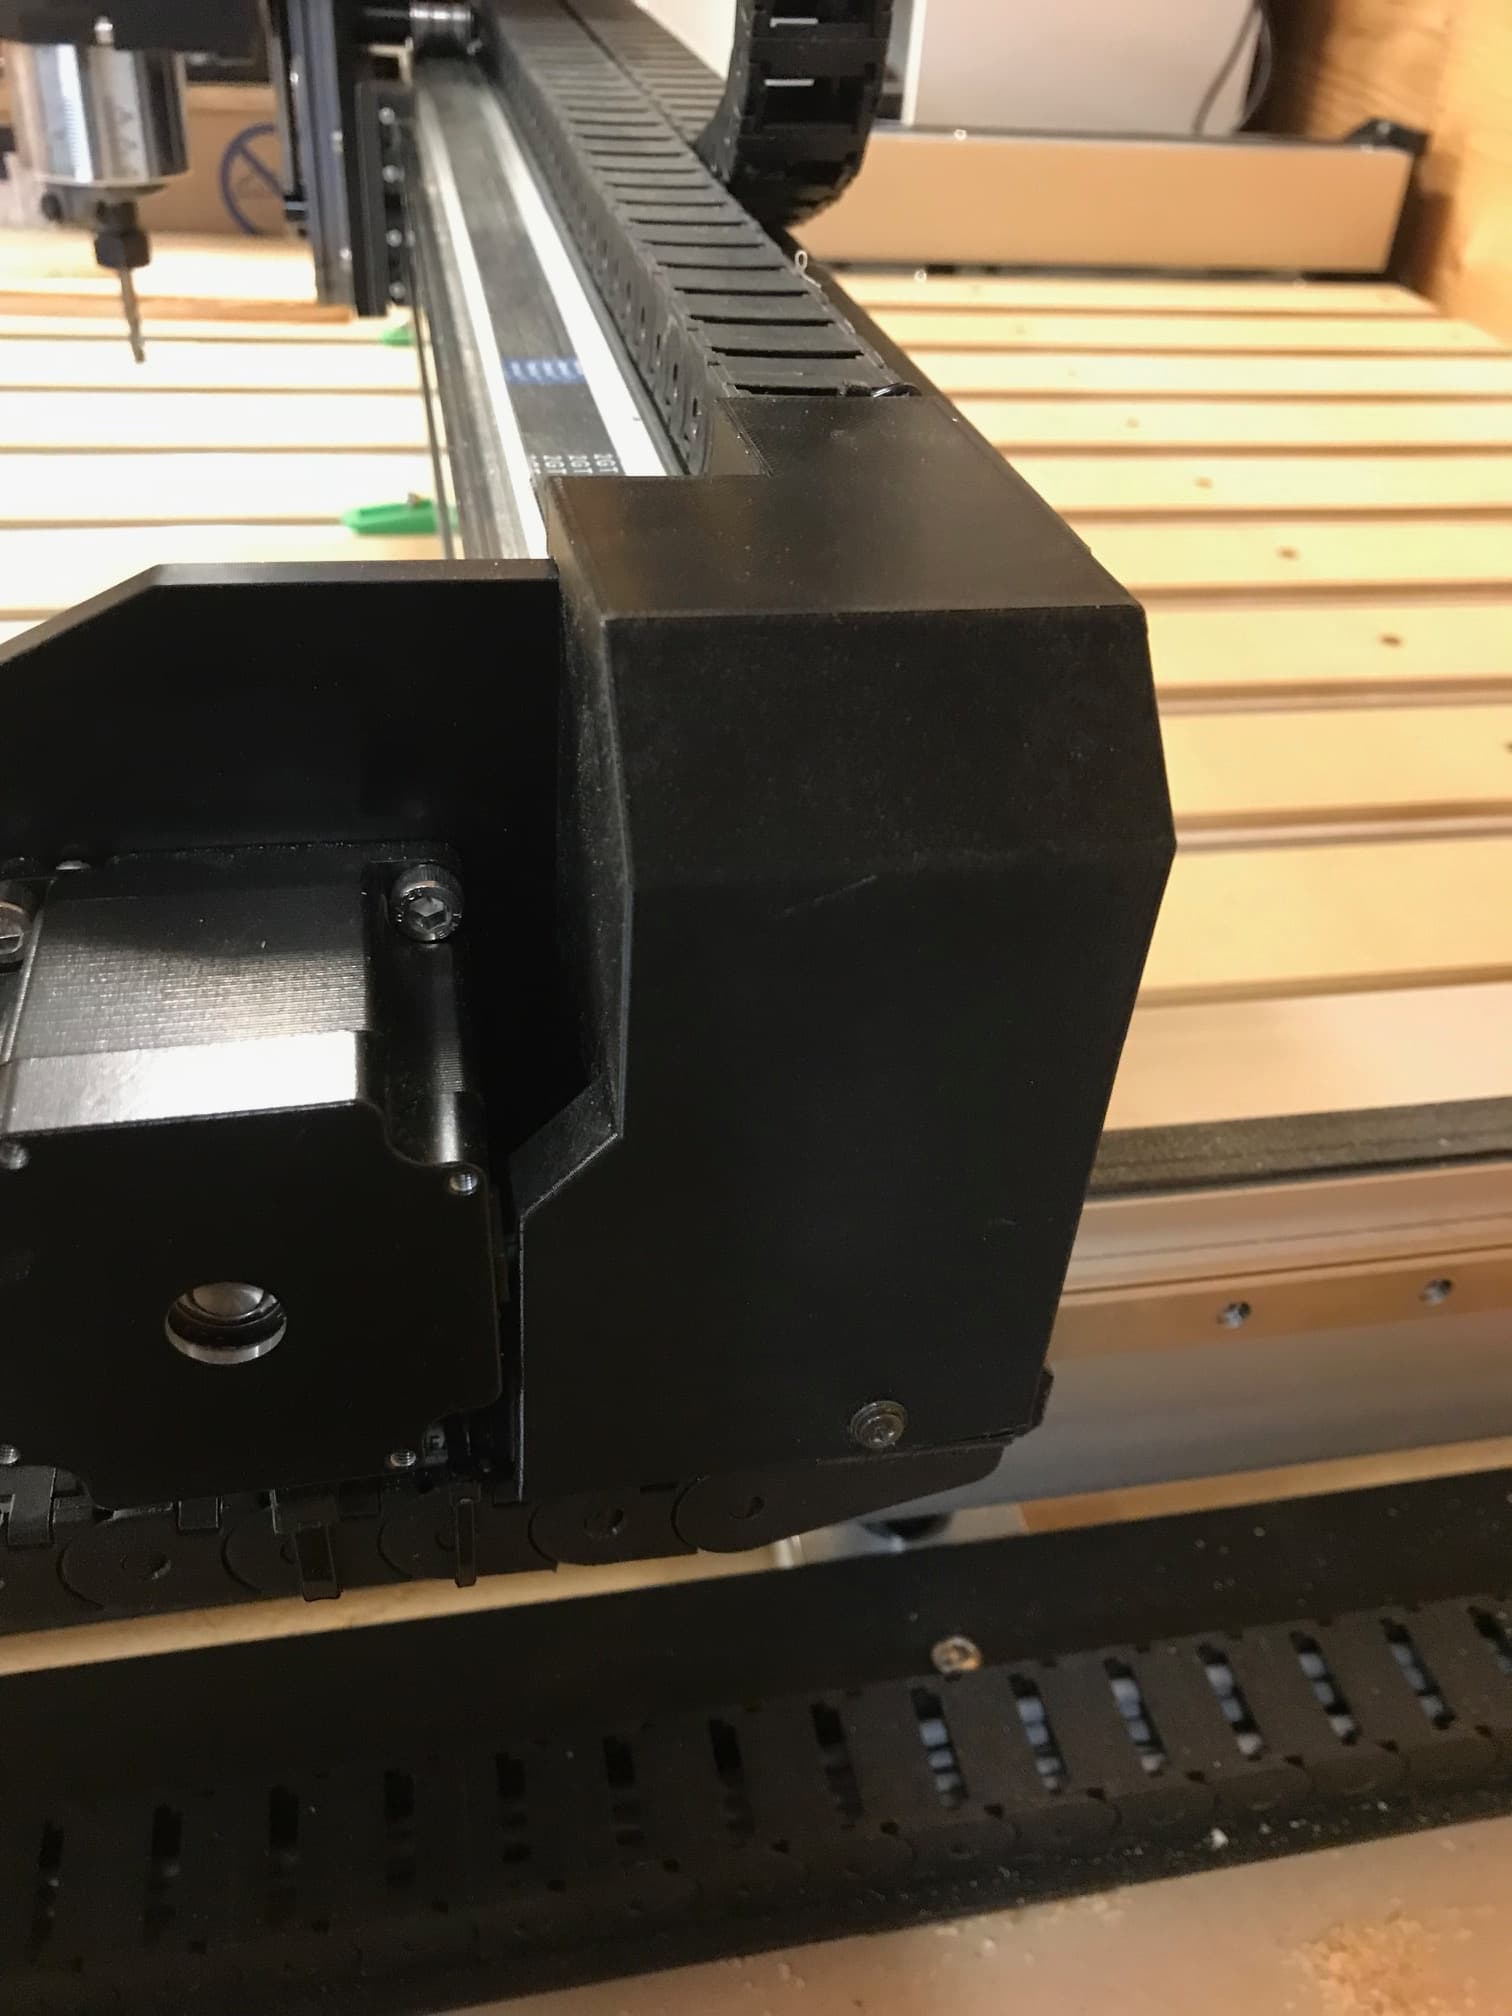
I added the cover for the Z sensor and the right and left cover. Looks great.
I then ran a couple of jobs. I think the machine runs better now, more aerodynamic
Looks Great Thanks. I took some pics and will send them later.
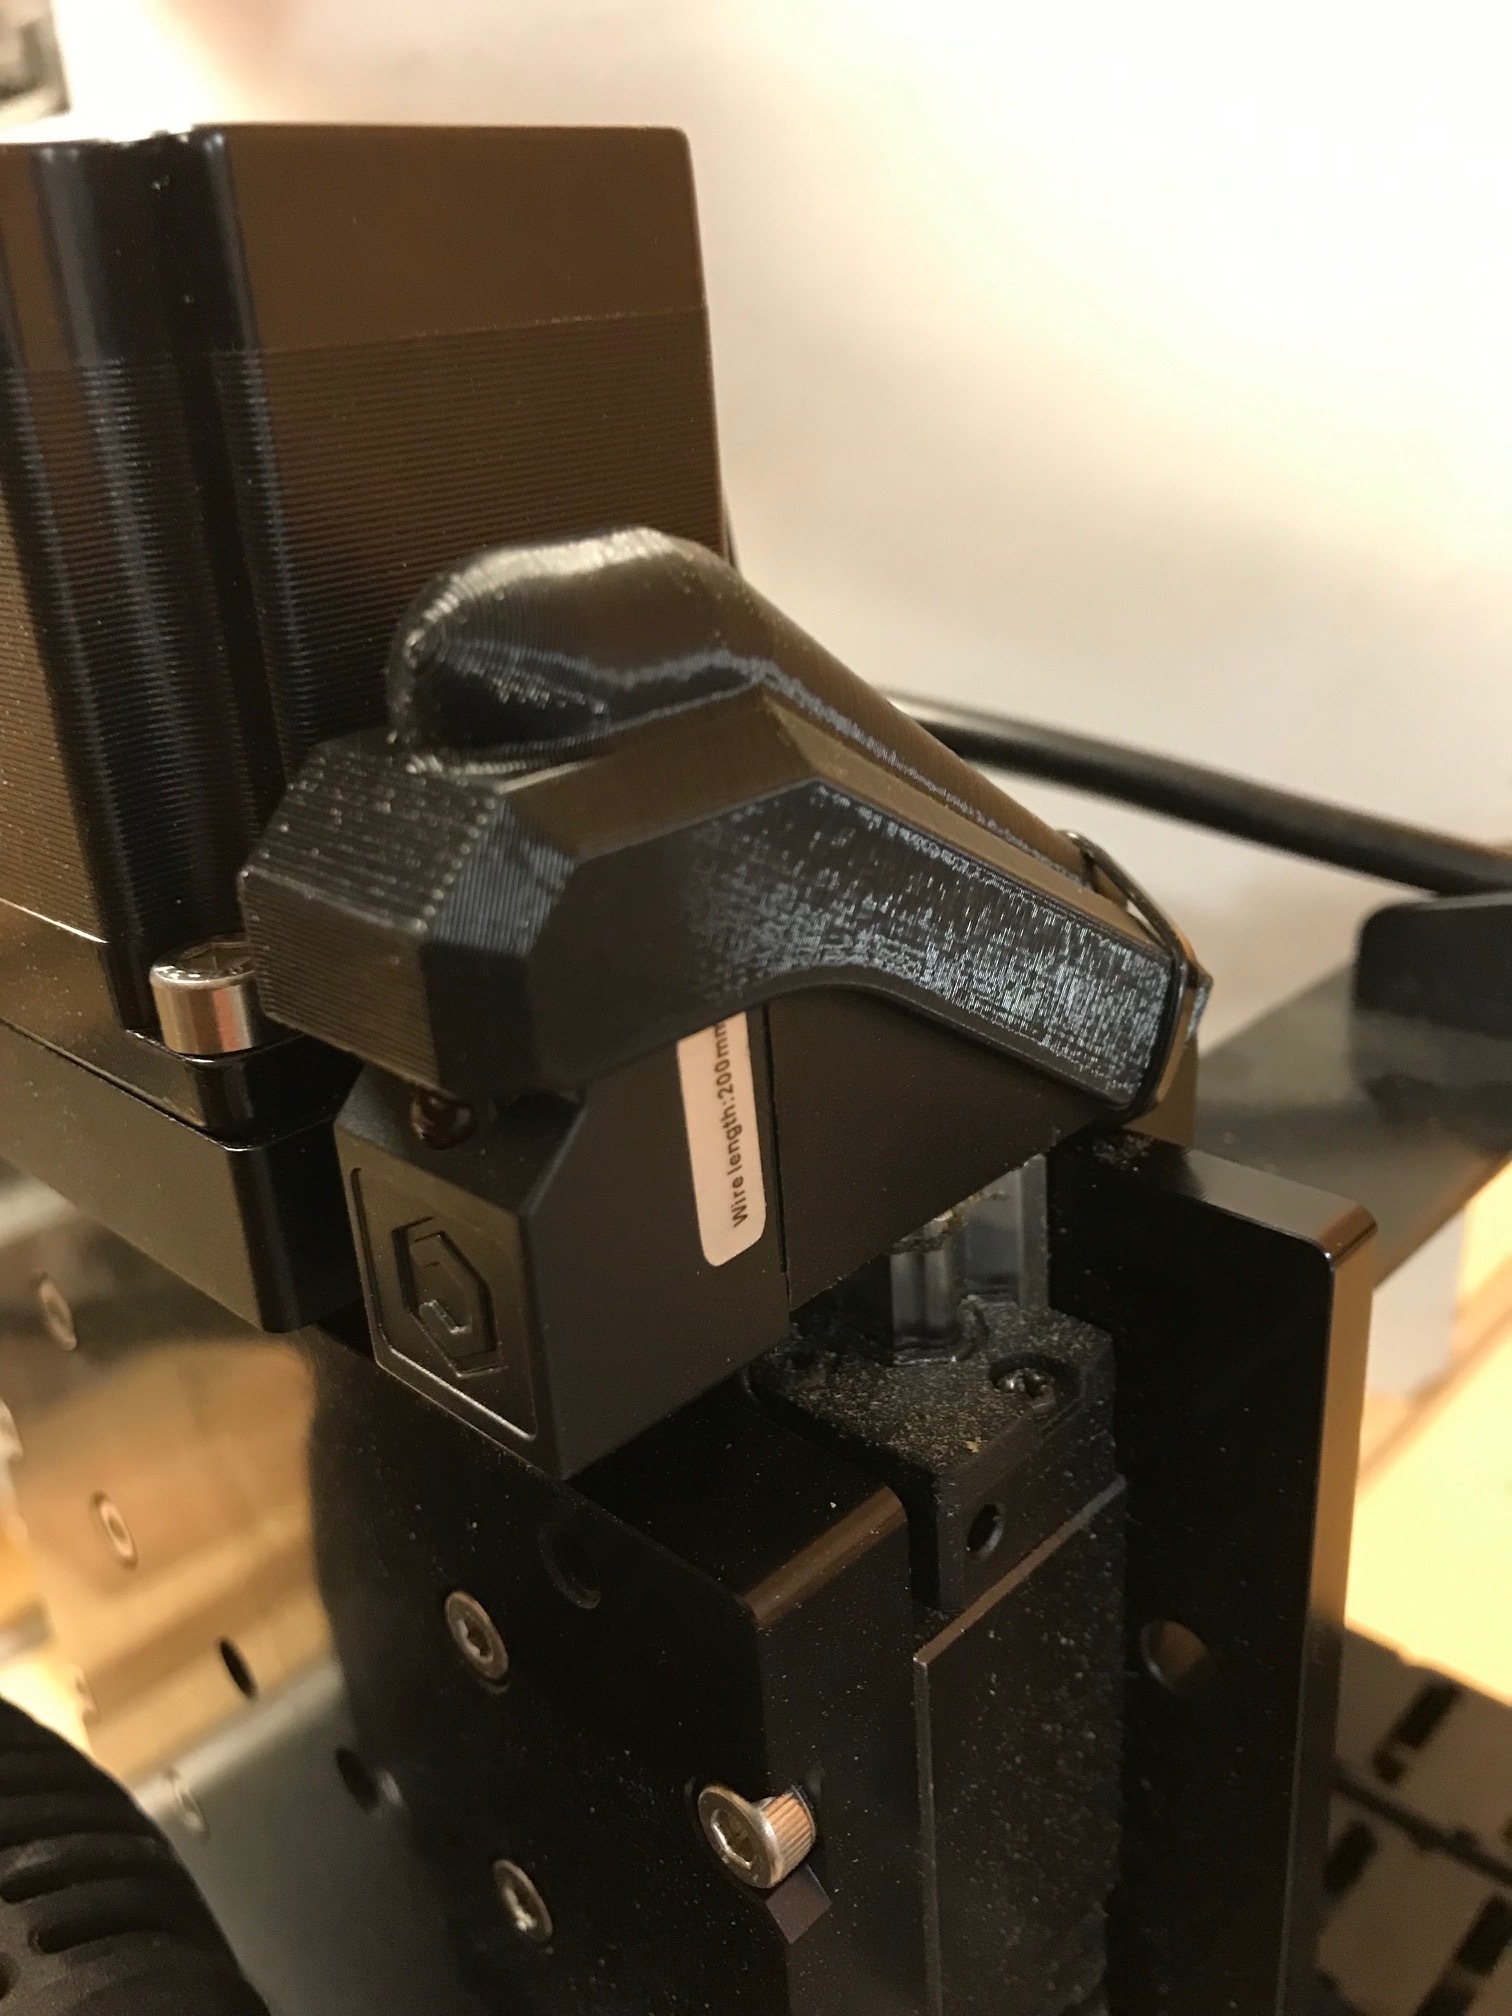
Here are the pics as requested
I did a slight mod. I made the clip taller and printed them with 100% fill. I removed the tabs inside the cover. Drilled and tapped it with a self tapping plastic screw.
I didn’t have any magnets


3 Likes
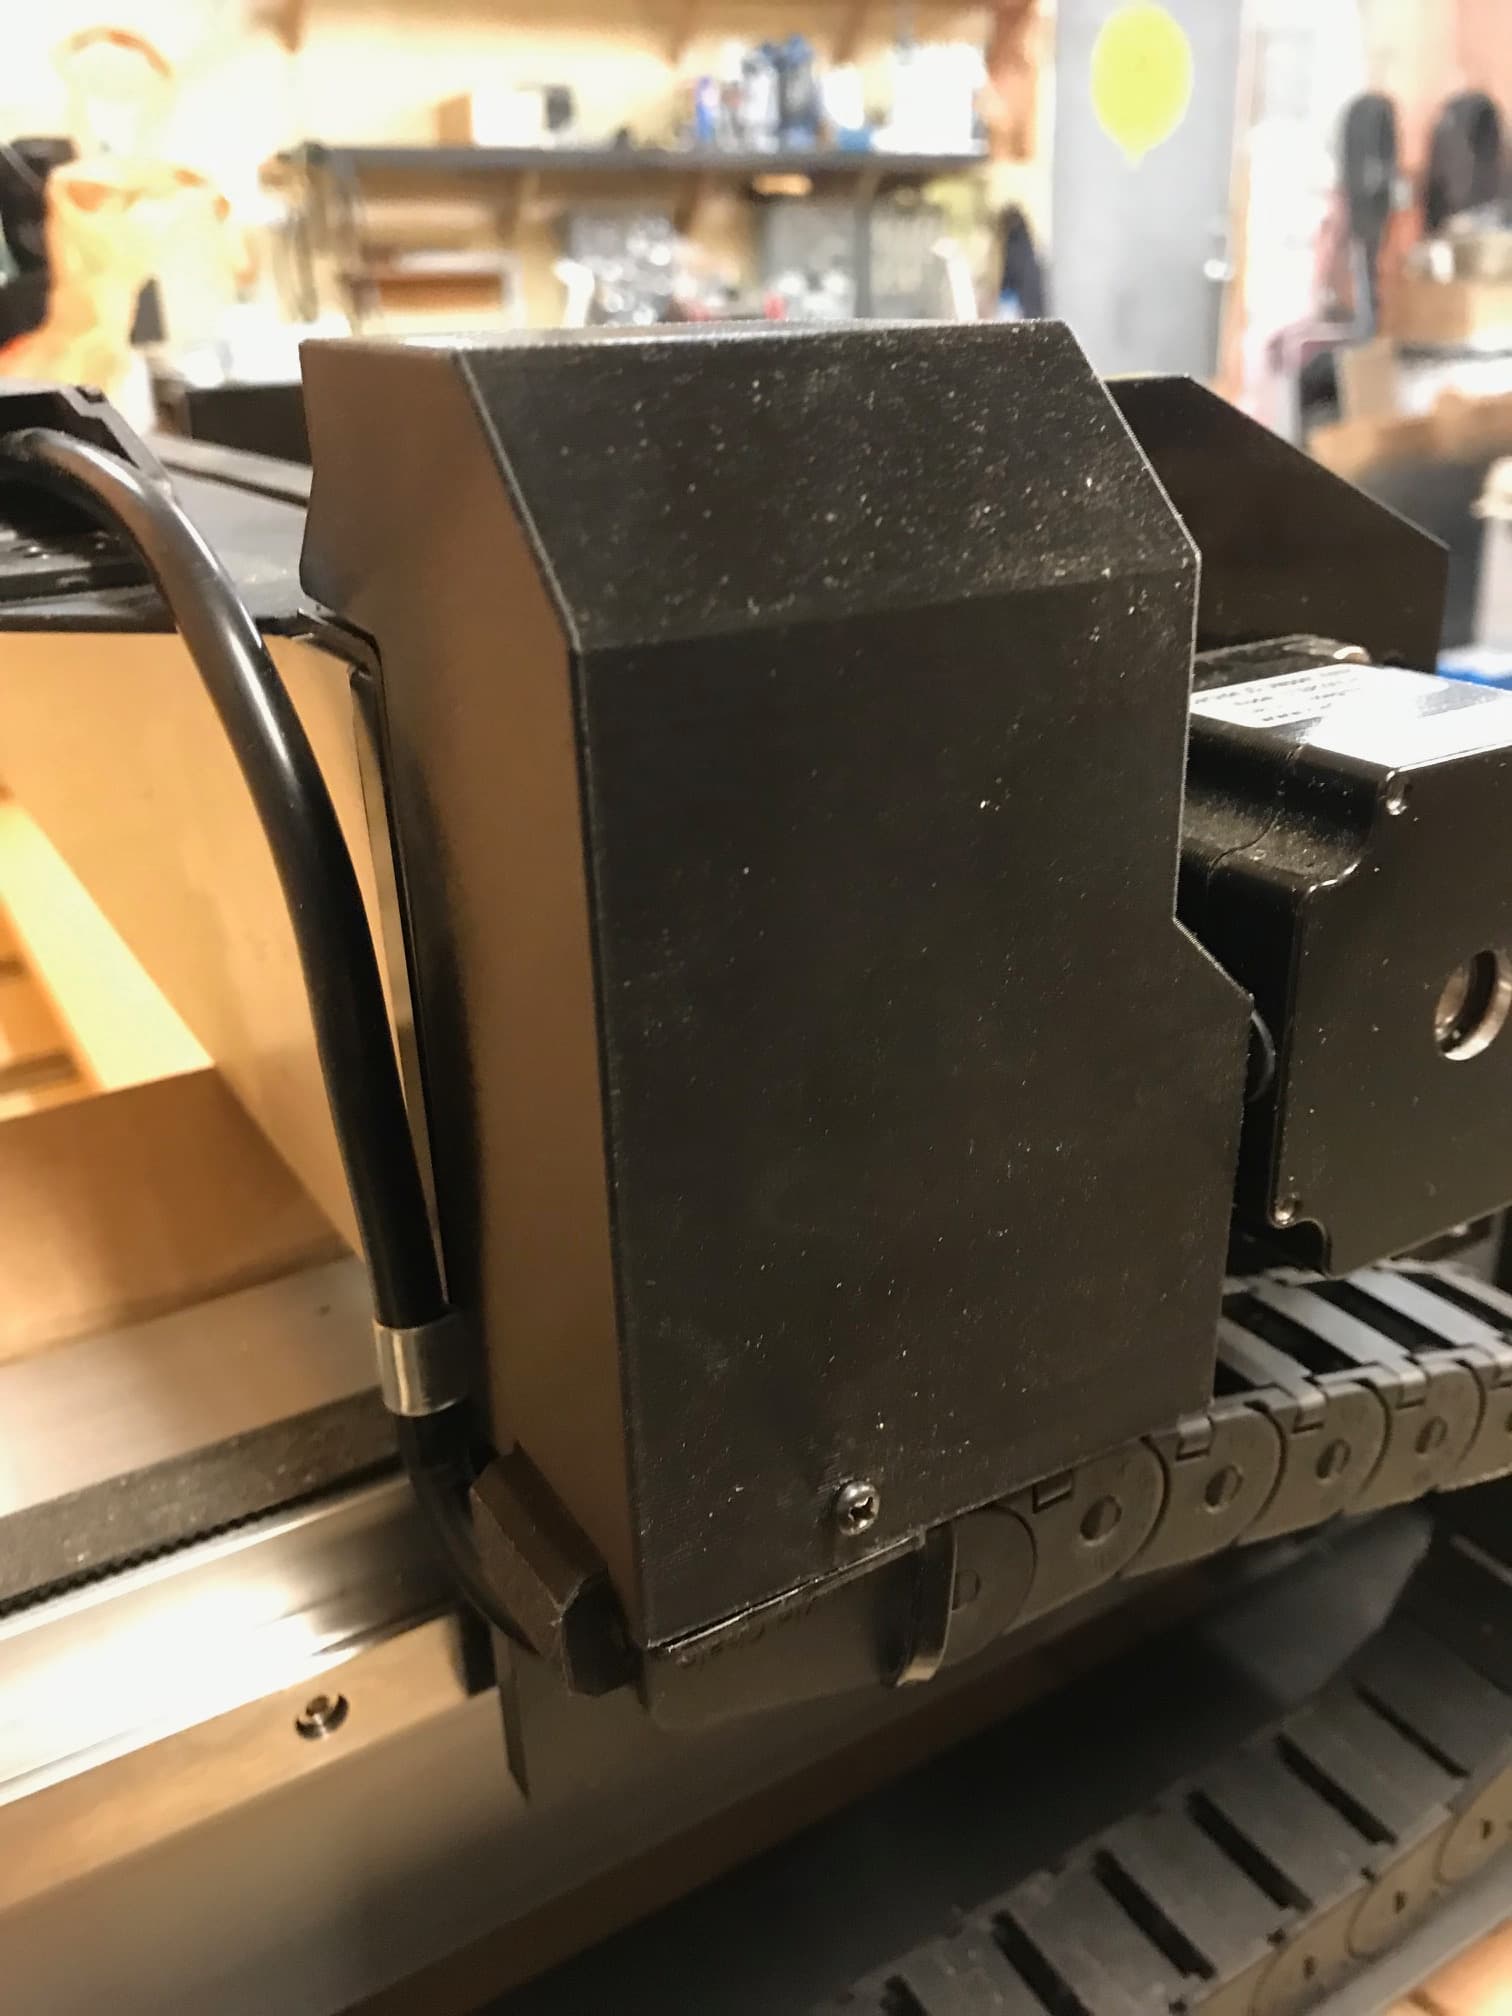
Note how the router power cable is ran. I added a thin cable clamp and mounted it under the side mounting bolt. then it runs underneath and straight into the Cable Chain. Much better and out of the way On a side note, I replaced the side mounting bolts with longer ones. After adding the Cable Chain brackets, there was only 2.5 thread holding them in the aluminum. That is not enough IMHO.
3 Likes
I should do that also, I appreciate the heads up.
Looks great, thanks for the photos!
Do you have venmo or anything we can donate? I REALLY appreciate the free files, but as someone that creates, I know it can a ton of time making these. I’d love to show some appreciation 
Cheers
4 Likes
Thank you Thomas, I appreciate it very much. If you have a chance help out a C3D forum member, just pay it forward and consider us even.
I plan to start a online store at some point soon, however I do not anticipate earning a living selling parts for Carbide 3d machines, ha ha, so all my shared parts are all basically product development practice for me, and free for forum member personal use.
“ See a need, fill a need. ” -Mel Brooks
9 Likes
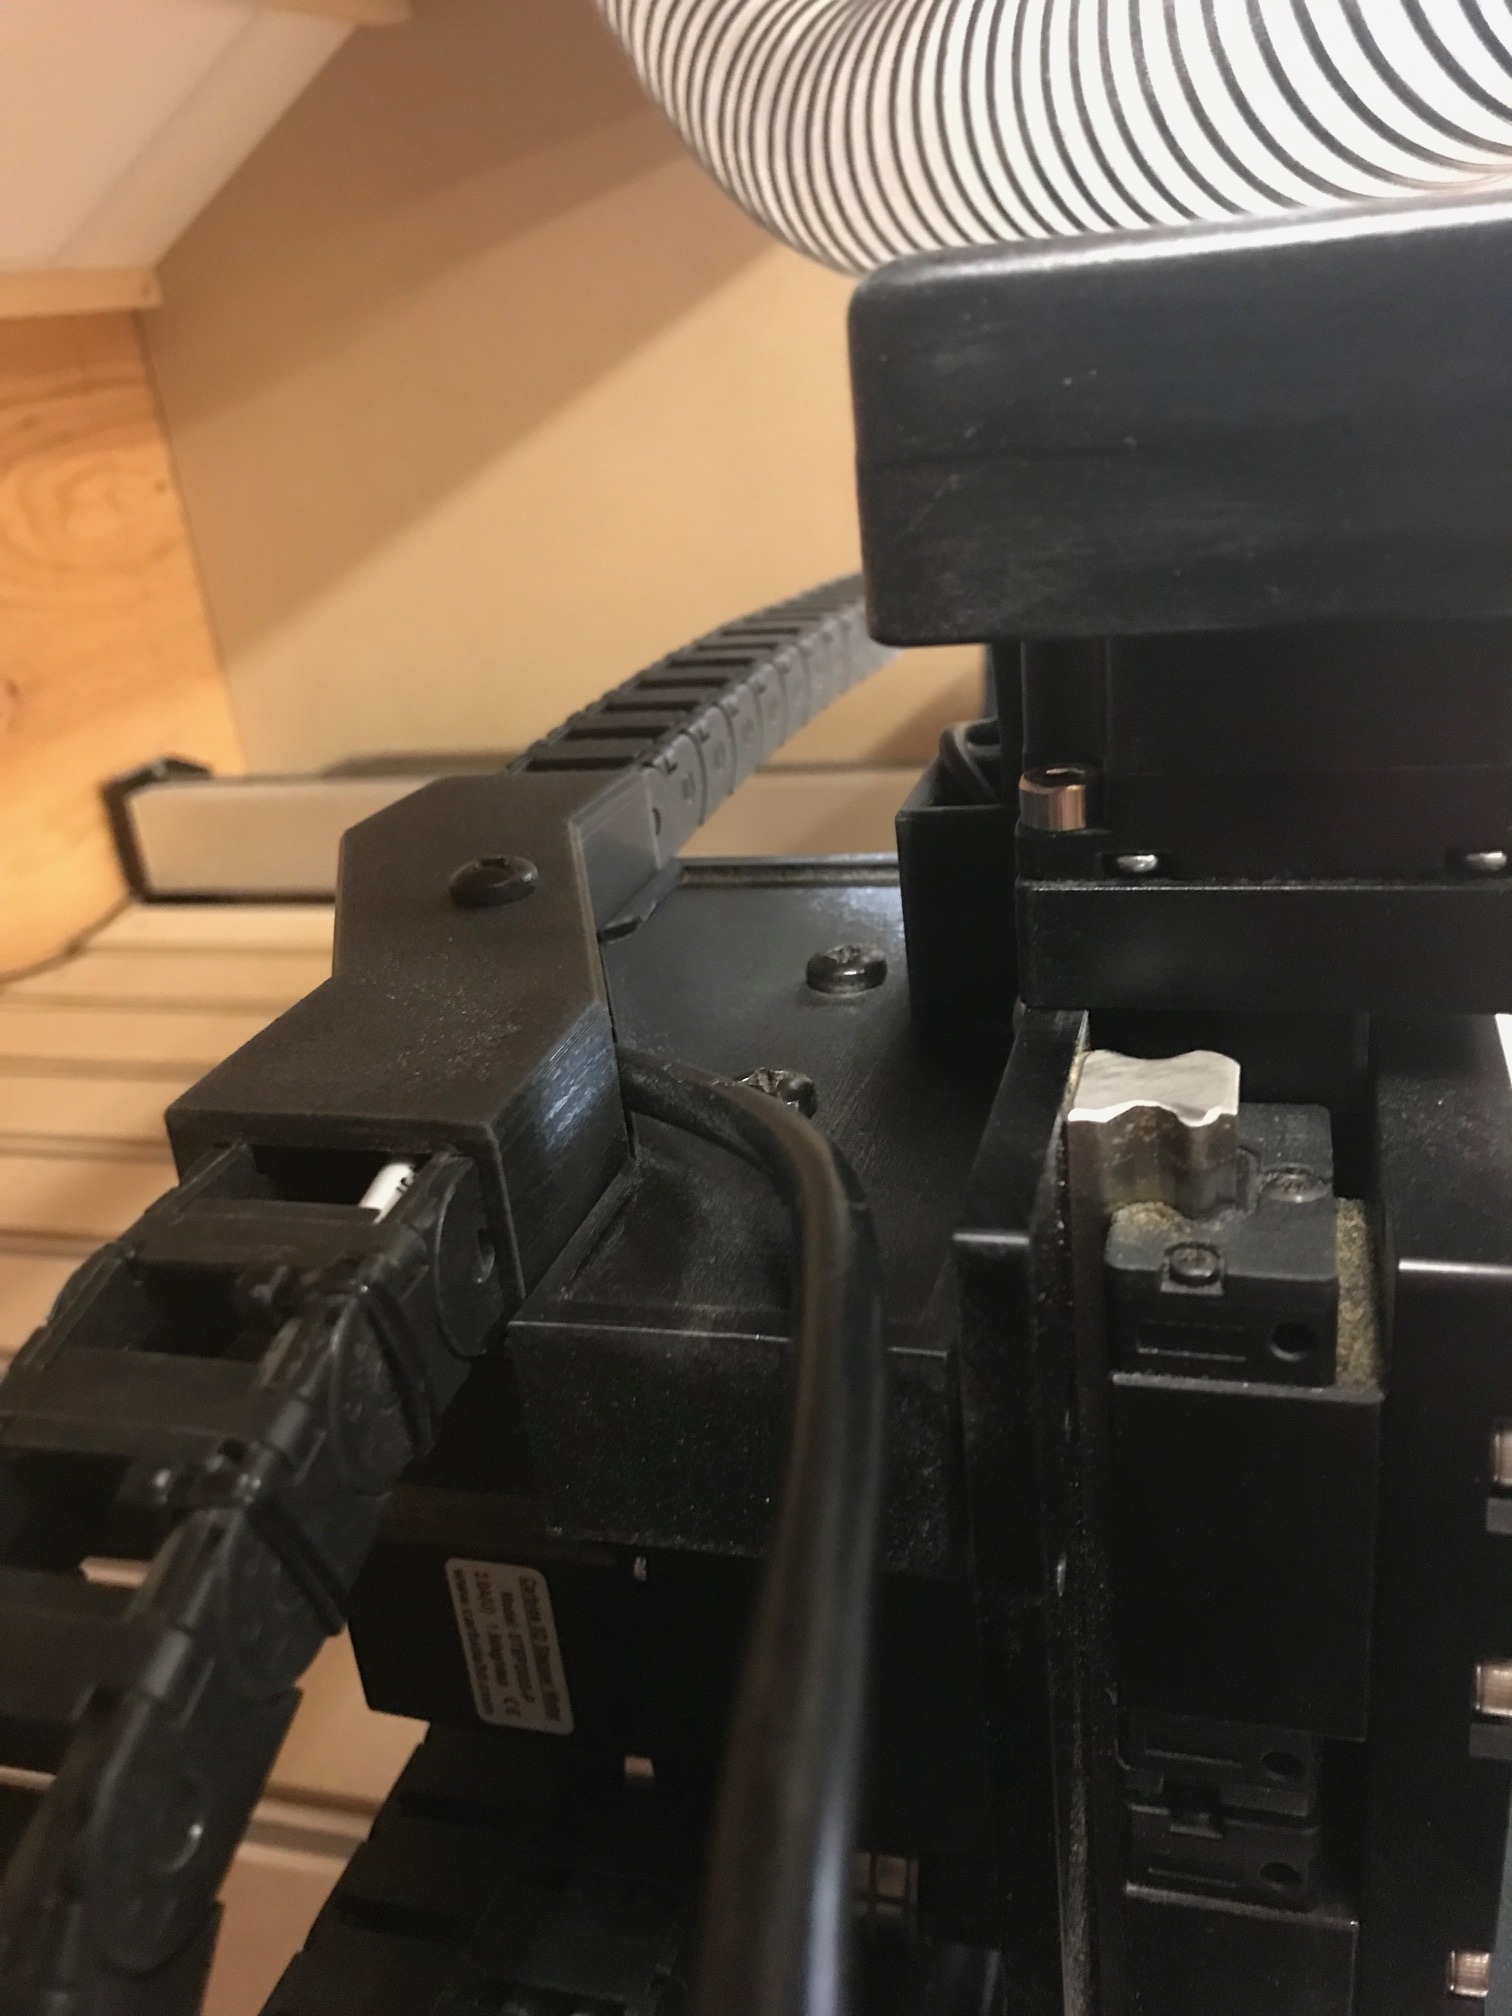
And here is the Centre covers. and again a slight mod as I will have additional wires coming out the top plate
2 Likes
@CNCInspiration thanks for all the work here. Im printing out a set for my Pro XXL now. I have a slightly different drag-chain mount on the X/Z gantry than you do. Its one piece rather than 2. Hopefully it still fits!
1 Like