I was perusing the forums last night when I came upon, in happenstance, a cry for help per say… I was a bit tired at the time, I may have been confused a smidgen… My forum bretheran @Able, I believe he was asking for… “Pro XXL content”… In particular, as someone once referred to as, “The shiny stuff”.
Well…
I believe he was talking indirectly, or as I took it, directly to me.
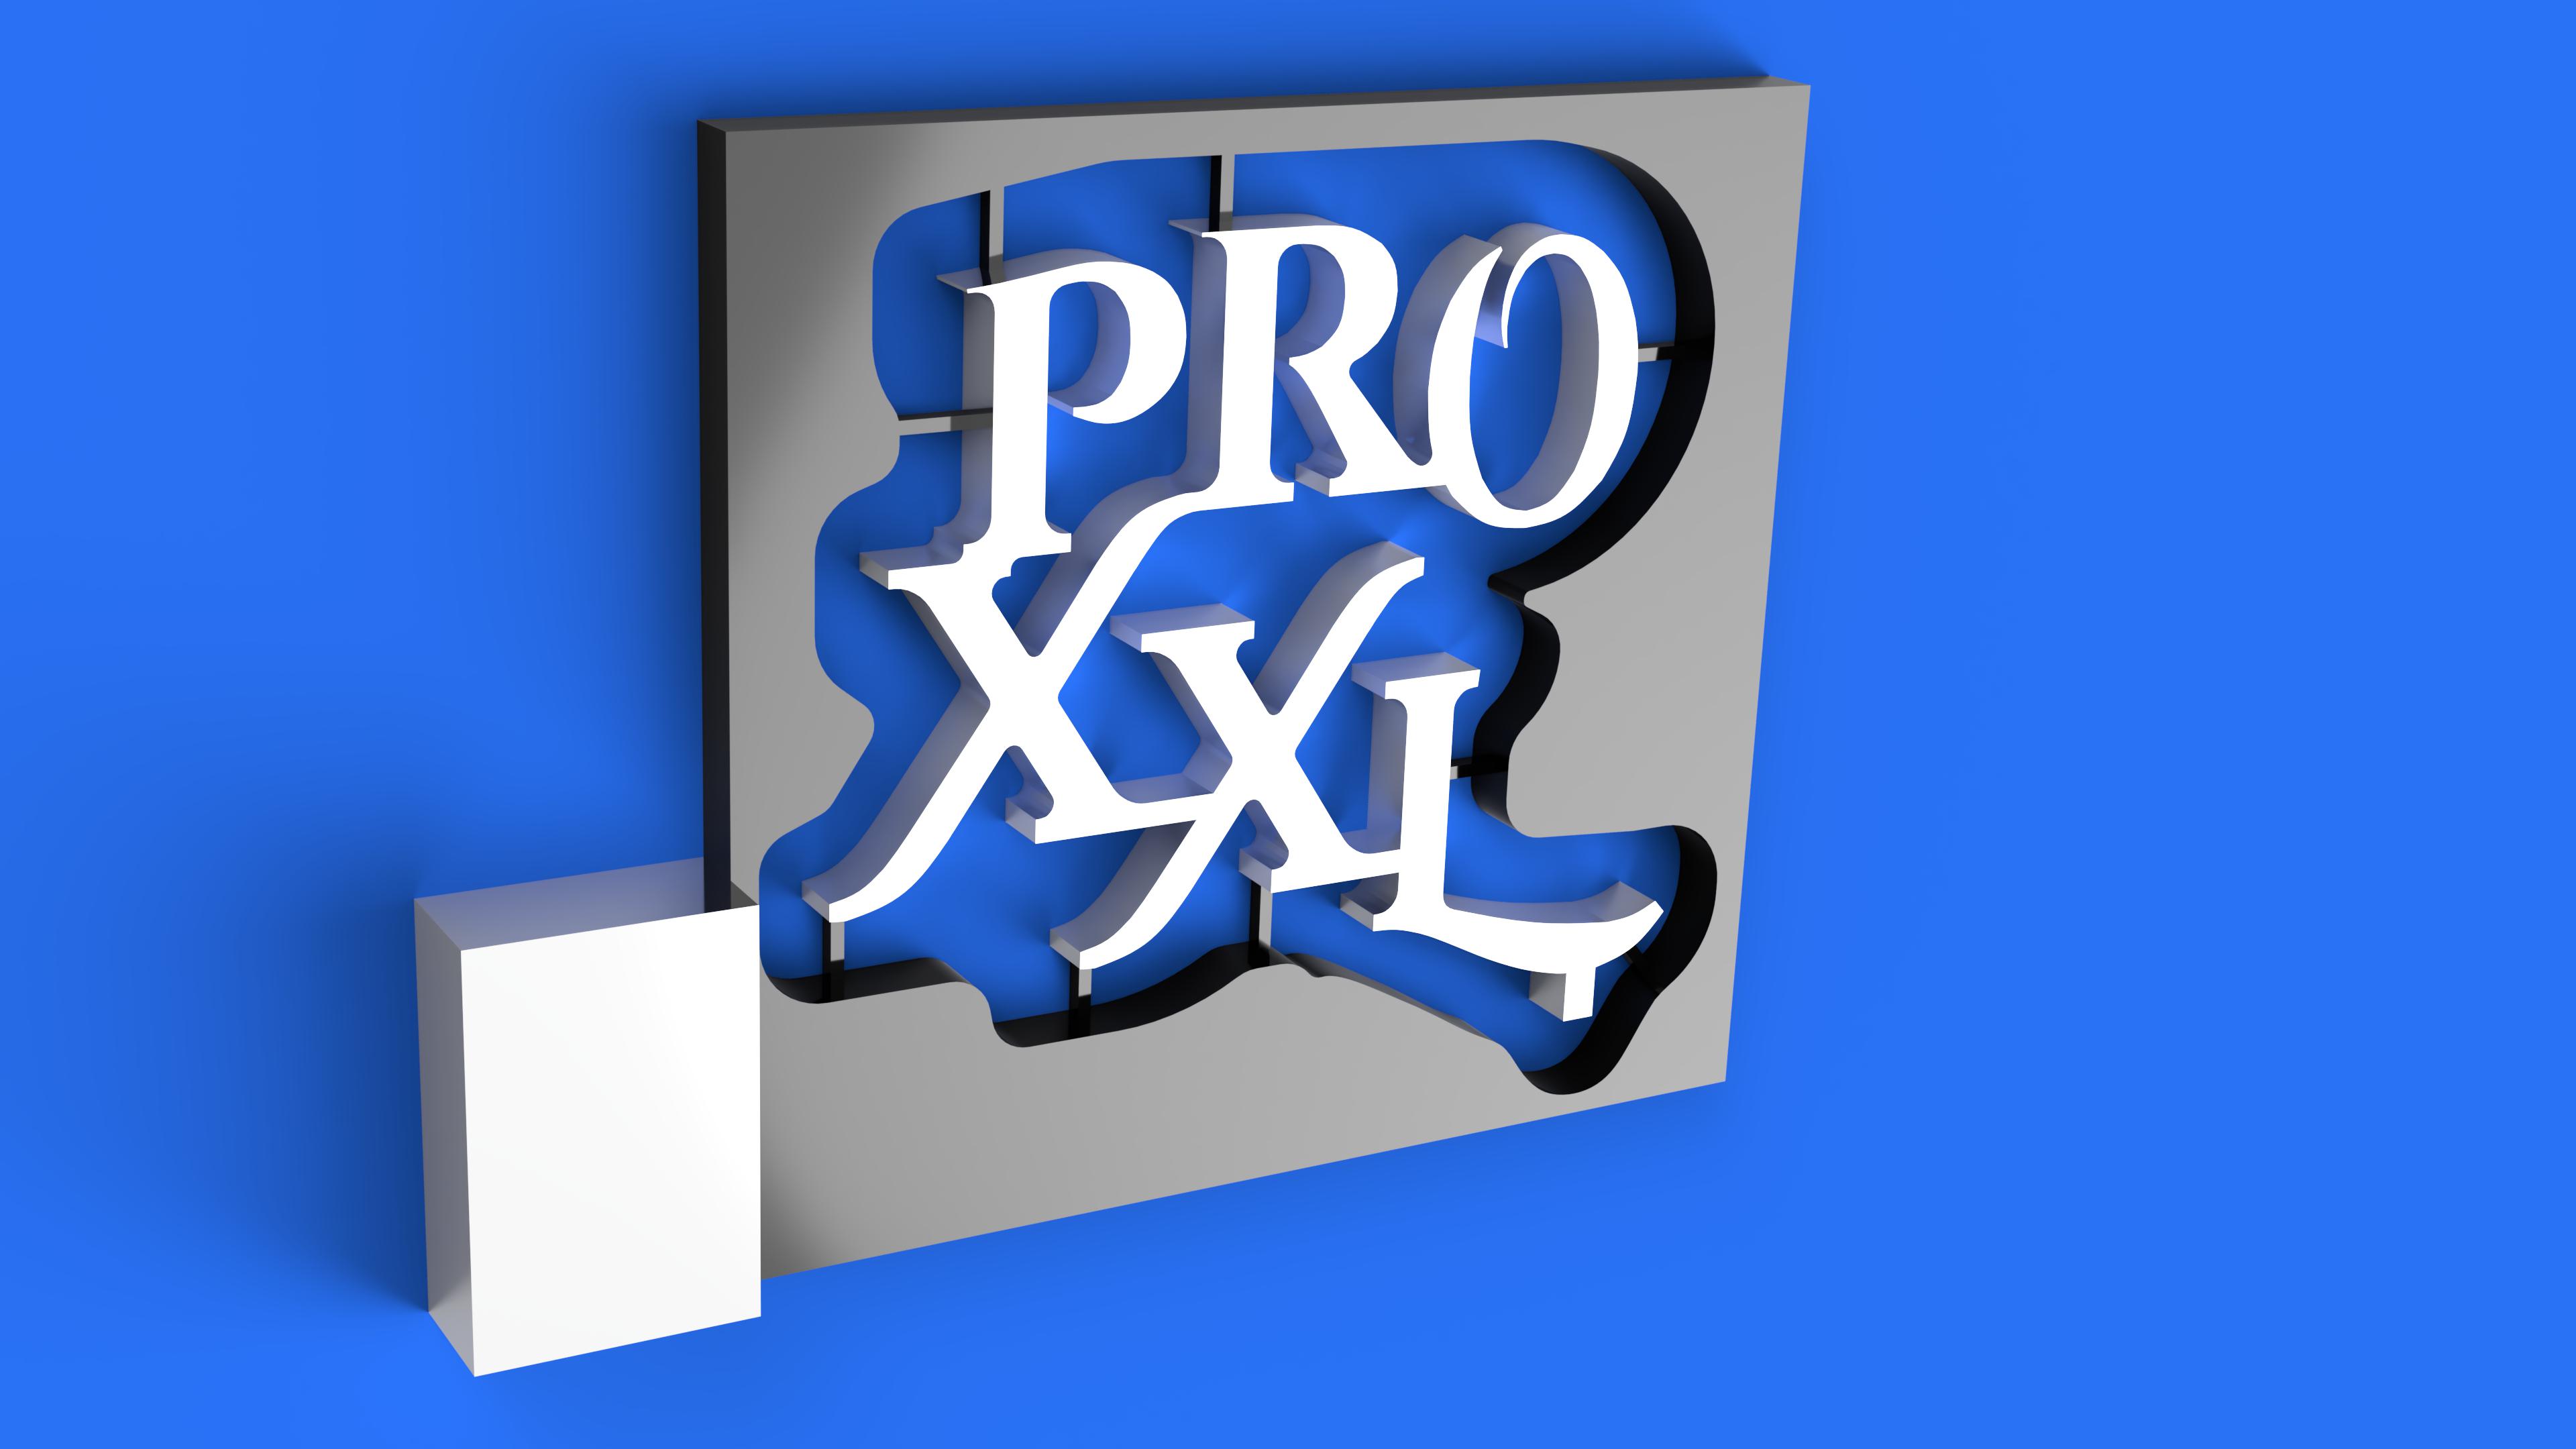
I shall not be one to disappoint, and unto thee I proudly reveal, “Pro XXL” content.
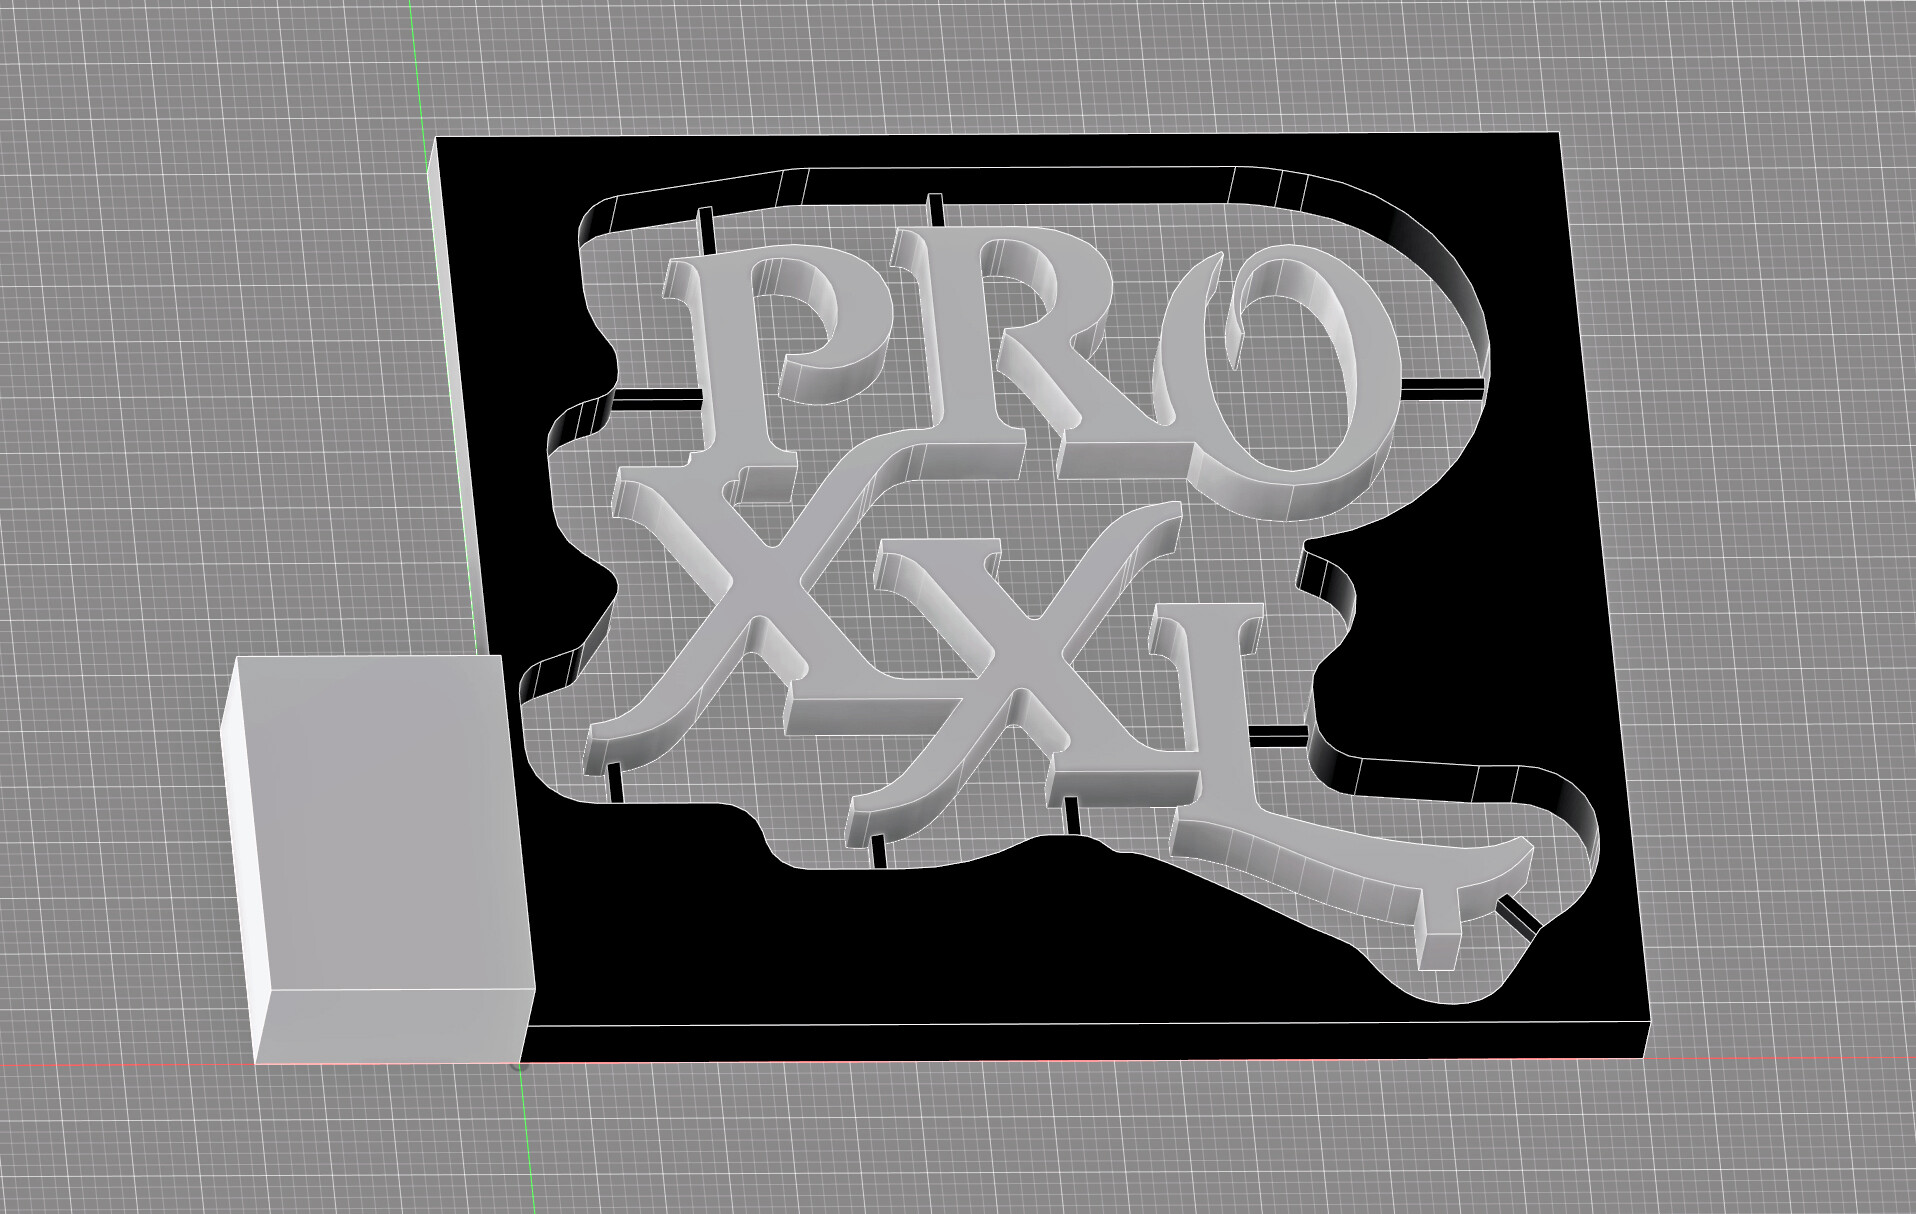
Pro XXL insignia, is designed to be cut out of 1/2" Aluminum 8" tall by 8.5" Wide, using a 123 block to probe from. Make sure to remove the block after probing!
It has a lower right tab that is meant to lock into a base, that I have yet to design. I will link the base models and tool path files to this page asap.
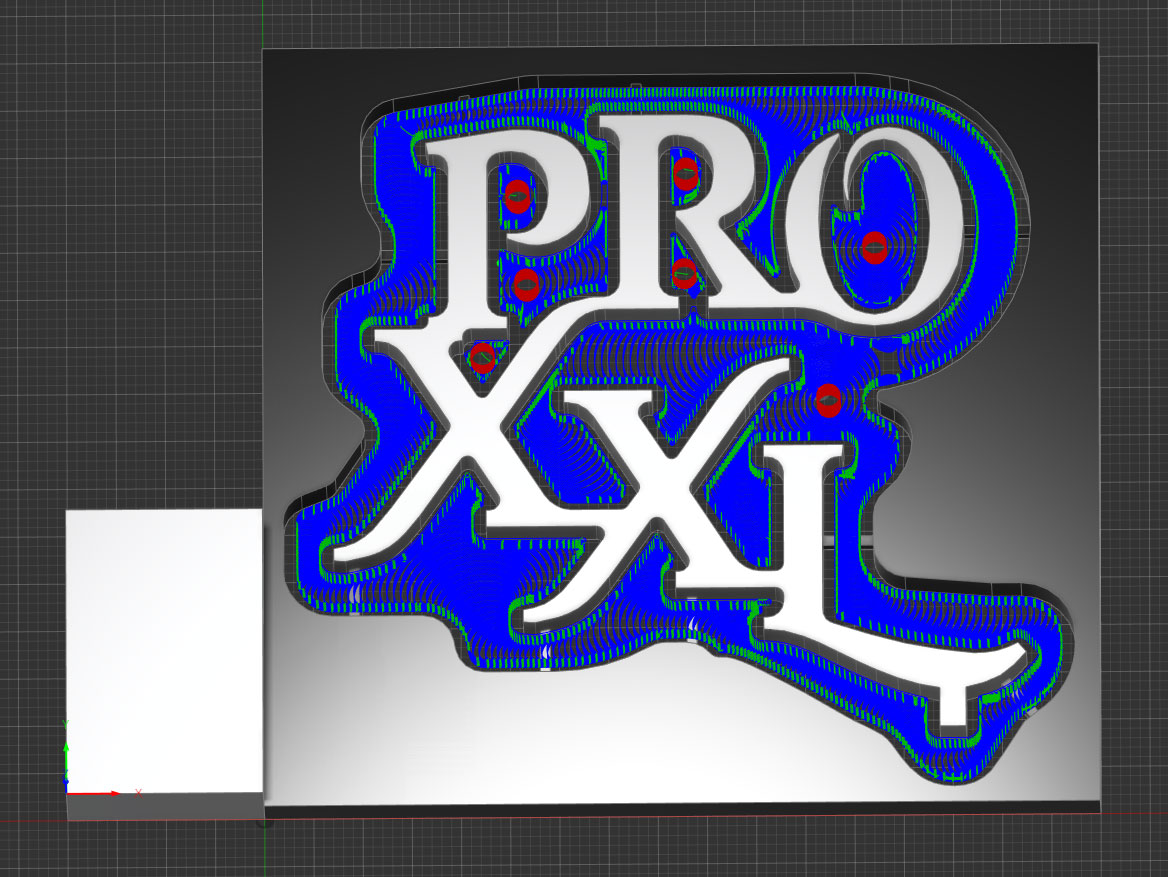
4 Toolpaths start with a #201 for a top surfacing, a #278 1/4" single flute to do the heavy carving, then step down to the #274 1/8" bit for the tight corners and shave off a little of the stock I left on the sides, then I finish shaving off the rest of my stock to leave, with an Amana #46292.
One final tool path to shave down the tabs and it is done.
I bought this really awesome photo pedestal machine, I figured I would try it out. Has LED lights built in, and you can move the pedestal around to see your model better.
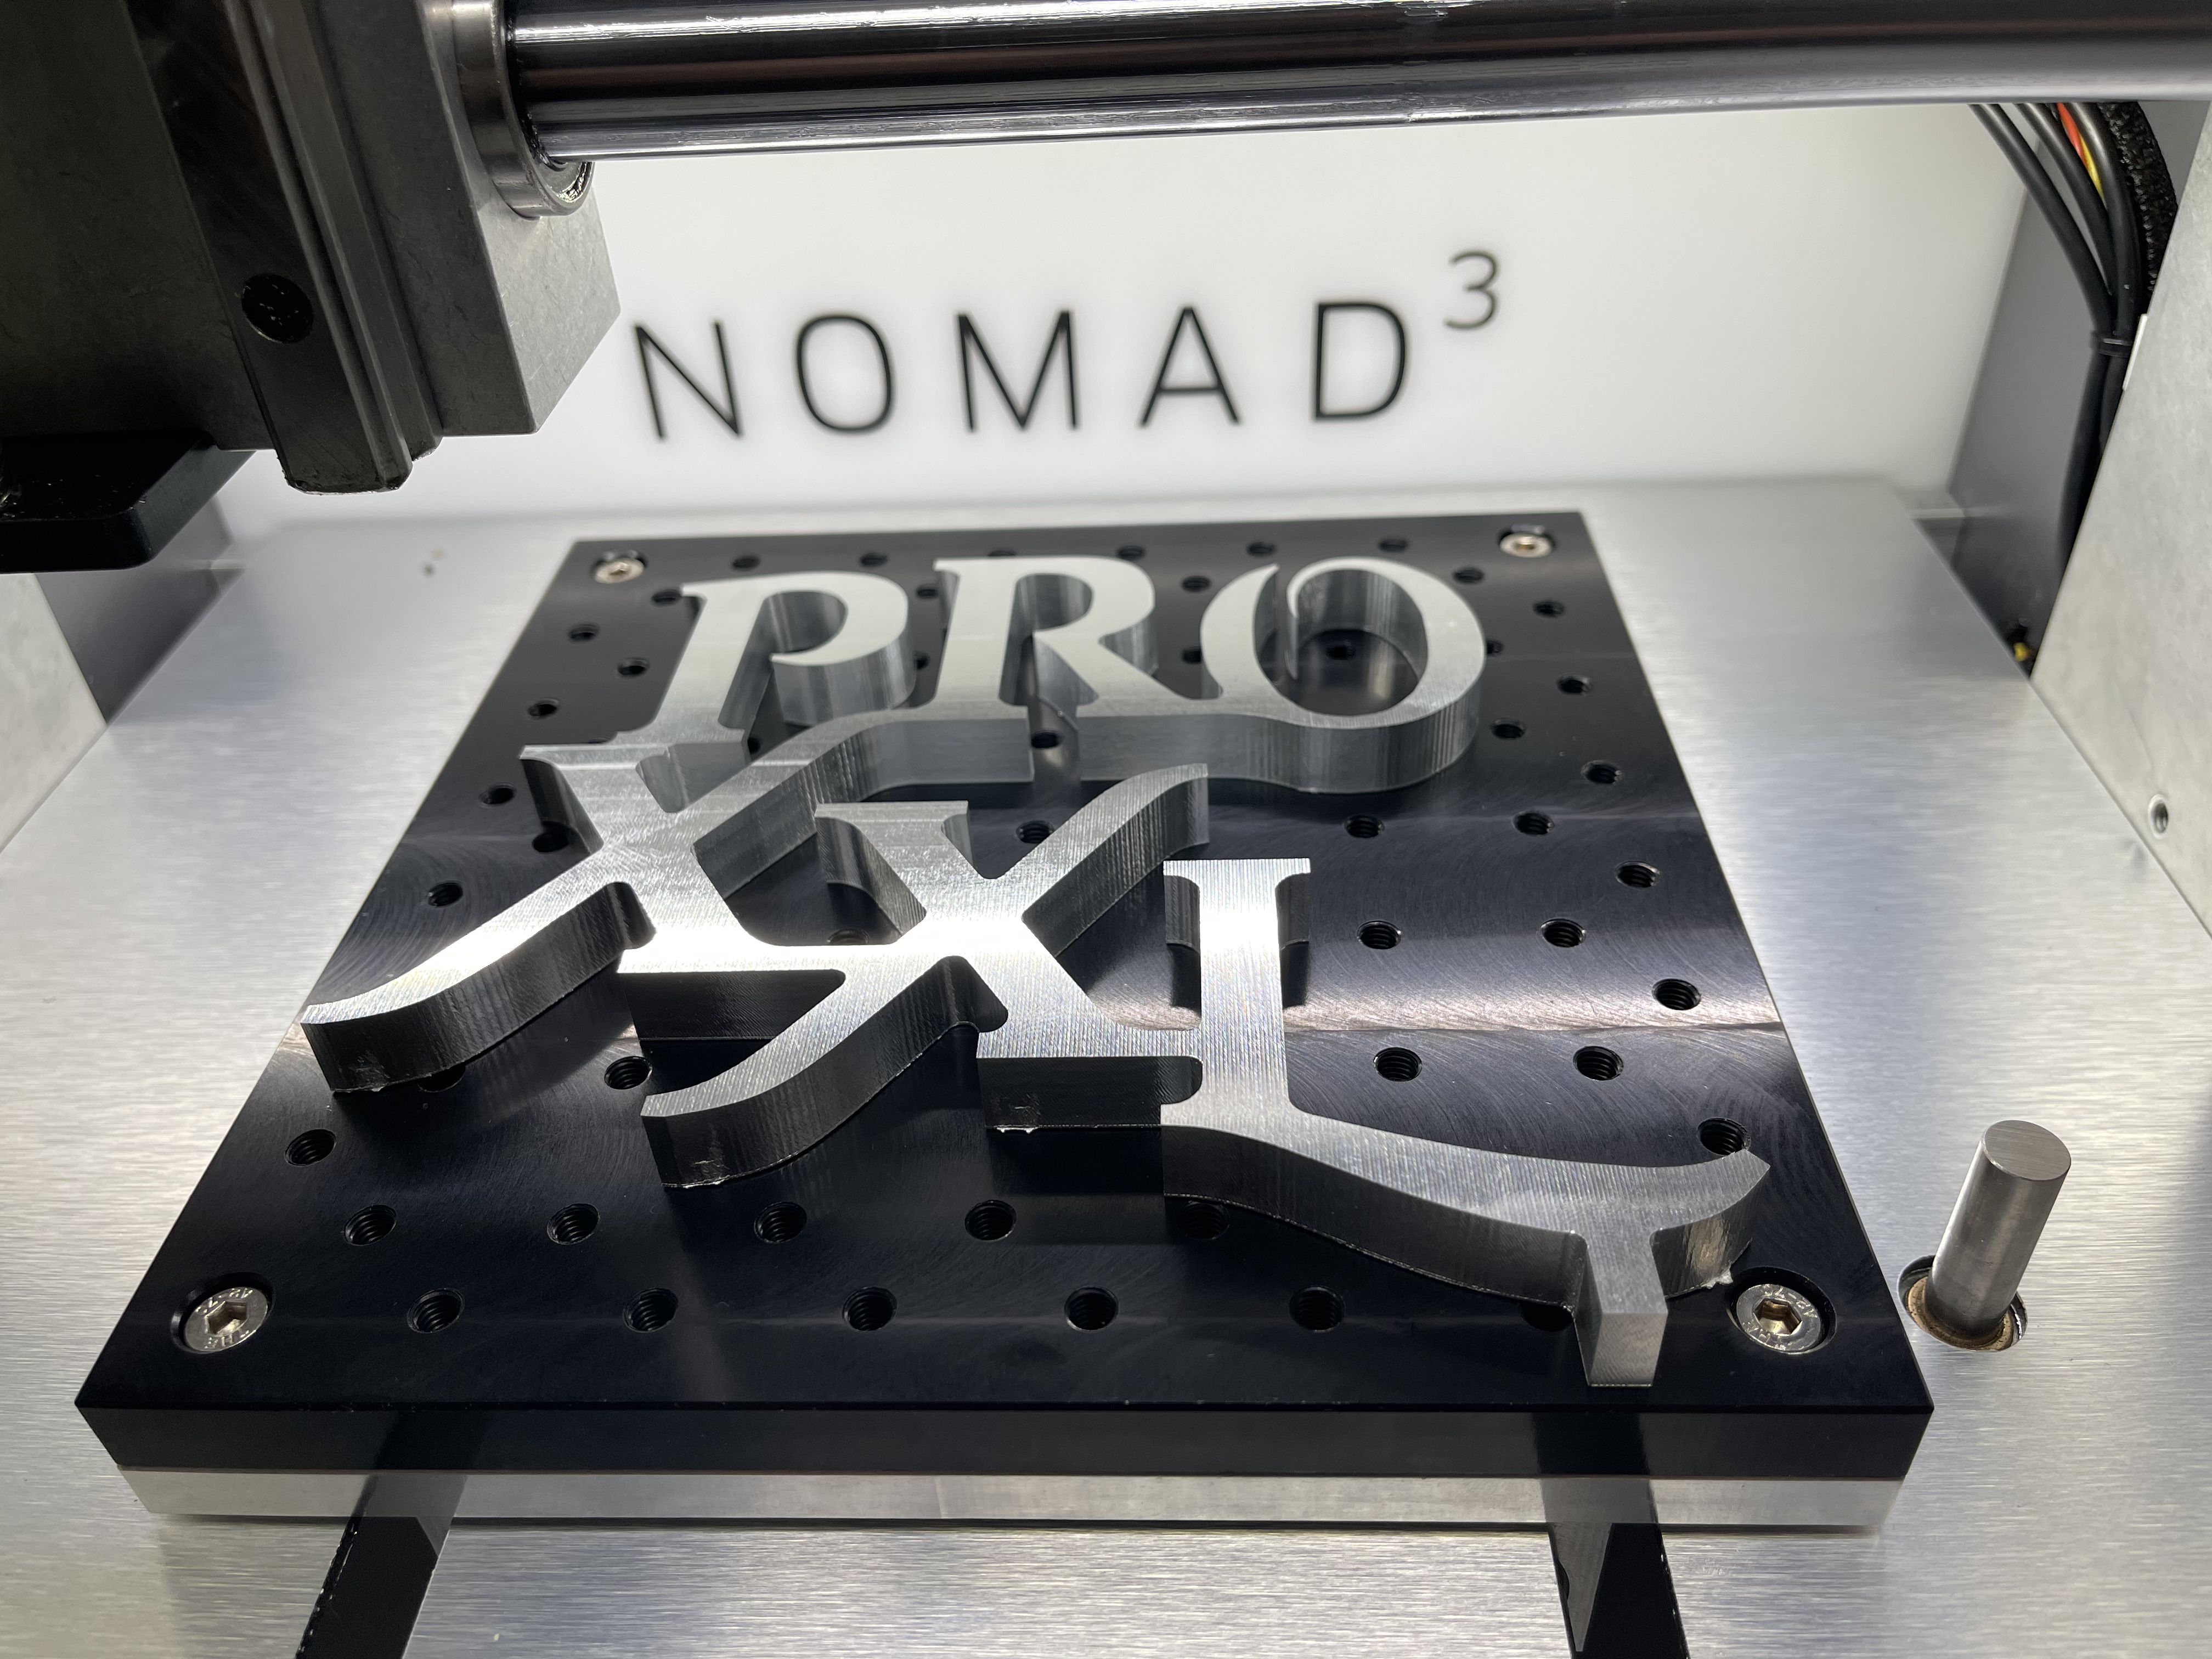
Sounds good cutting and for sure has plenty of room for more RPM and feed rate with the adaptive. Very nice Sir and thanks for putting out some content for me to enjoy while I’m down.
I also love the enclosure and will be making a new one for my machine in the future as my new steppers will be sticking out making my machine a little wider with the 120 x 80 extrusion X gantry and linear rails.
Yes I was in no way pushing it, using very conservative settings, pretty much what I used on my previous S3 XXL.
You are installing upgraded stepper motors on your new Pro?
New high torque steppers for my upgraded SO3 that’s getting linear rails and 15mm belts. I can’t afford a Pro and will not be able to for a few years. My wheelchair accessible ramp van needs inner and outer tie rods, tires, and a paint job badly as the clear coat is peeling everywhere. I can afford the ends and tires but the paint is another story. I’m hoping to line up some sort of skill trade 3d design / CNC or 3d printing work for proper paint work. None of that single stage Macco crap. I need to get the price down to about 2k.
These are the steppers I bought that work with the stock so3 controller. I got 15mm wide 8mm gt2 pulleys from aliexpress
Thank you for the link, looks like a excellent upgrade. I am working on customizing a pair of standard S3 machines right now, I will get a set of these steppers asap. Could you please do a write up of your upgrade?
I built a 99 Ram truck and had it painted at Maaco about 10 years back. Some Maaco locations do good work and they are quick.They removed the truck bed did the jams, engine compartment, and underside of the hood. Paint lasted 8 years in Florida sun looked like a million bucks. It had a 5 year warranty. Had all the upgrades though, was base/clear think it was around $6000. Clear is starting to peel now pretty bad though… Trick is wait for it all to peel off, power wash the whole top layer off then light wet sand and re-clear it…
That stepper would be an awesome upgrade for holding power. I would likely just do the X, as that would better match the fact that the two steppers on the Y hold almost 2x the torque as the single on X. That would get them closer to being equal.
You’ll probably want to upgrade/change your controller to one that can handle higher voltages to the steppers if you’re using those motors. They have a pretty high inductance and will need more voltage to get the same torque.
When I get past these health issues and can actually spend time out of bed I can take my pile of upgrade parts and have them machined and installed. As of now it’s just a pile and a plan. I have the X gantry end plates close but need to adjust the sketch to fit the HGR rail blocks. I first ordered and designed around MGN rails until I actually got my hands on them and lets just say I’m not a fan of single row bearing sliders and 3mm hardware.
MGN rails are more common in high speed low weight pick and place machines / 3d printers. It’s fine for the light weight Pro extrusions and a palm router but 80x120 extrusion with .5" thick side plates and a water cooled spindle is another story.
My project map is to go from V wheel to rail with belt drive and then to ball screw and a different driver. The no finger function requires me to get outside help and there are things I trust my brother to do but being precise is not on the list so I am shopping around for a local machine shop that can drill and tap my side rails and cut the 80x120 to length as I bought it surplus.
No content yet but I got the shipping confirmation yesterday. This morning I checked the tracking and its already in my city. I’m not ready, not even close. haha. Still need to build it a spot in the garage.
Thanks. Had an issue, emailed support. No response, just a shipping notice with the part I needed within a few hours of emailing them. I’m happy with that.