Welcome to an open avenue of discussion about Making Things.
I’m making things, at HQ, every week.
Here we’ll talk projects, processes, materials, designing, selling, finishing and anything else you think of or have questions about.
I will be posting lightly produced videos full of information, highlighting how I approach processes and problems.
Ask Questions
Suggest Improvements
Post Next Level Ideas
Let’s get everyone going on projects, learning and getting wins with their builds.
This thread is here to get your creativity flowing.
What are your favorite finishes for Wood Projects?
How many coats do you apply??
Do you consider the toxicity of the finish when you are applying it?
What’s your #1 go to if all options are on the table?
Spray Poly
Wipe or Brush on Poly
Stain
Oil
Oil w/Wax
Rubio Monocoat type finish
Paint
NONE
Others???
1 Like
Griff
(Well crap, my hypometric precursor device is blown…)
3
Favorite finishes?
For (what I would hope to be) an heirloom piece, many coats, 8+, of oil. I like Tung with limonene. To me, there is nothing like a hand applied and hand rubbed oil finish.
For dining tables, bars, surfaces that will see a lot of use, conversion varnish from General Finishes.
Project Number 1:
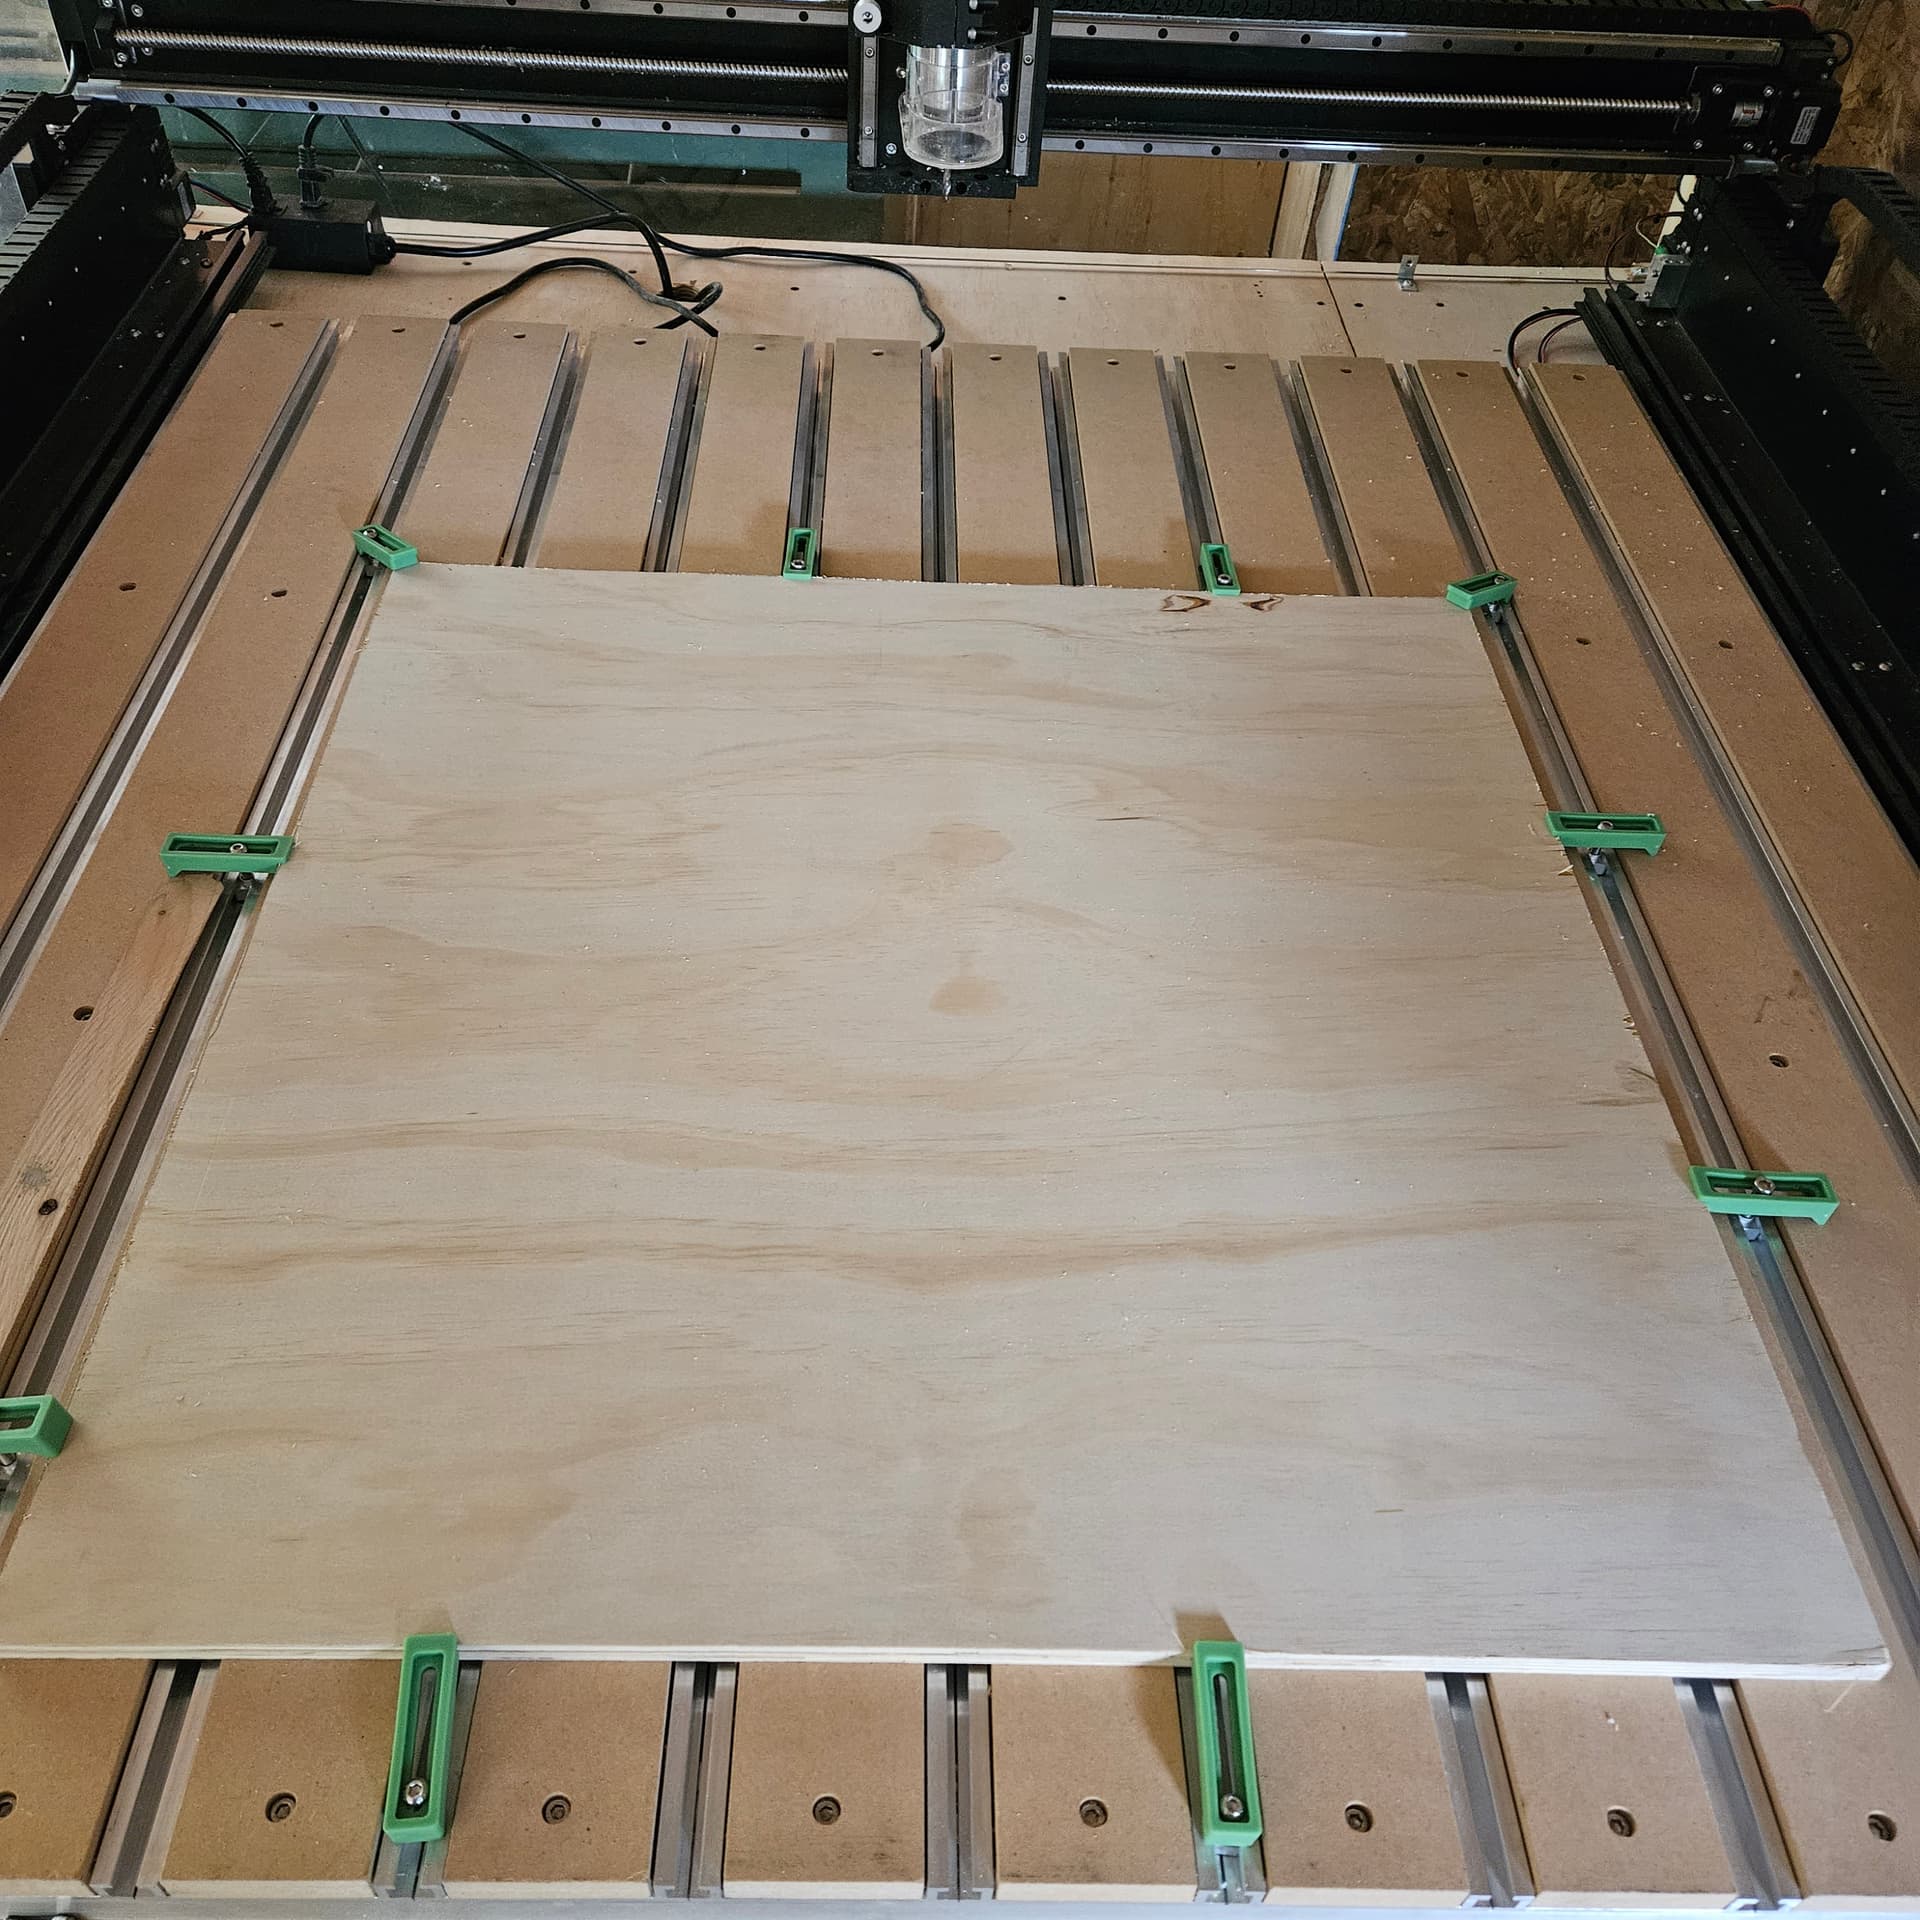
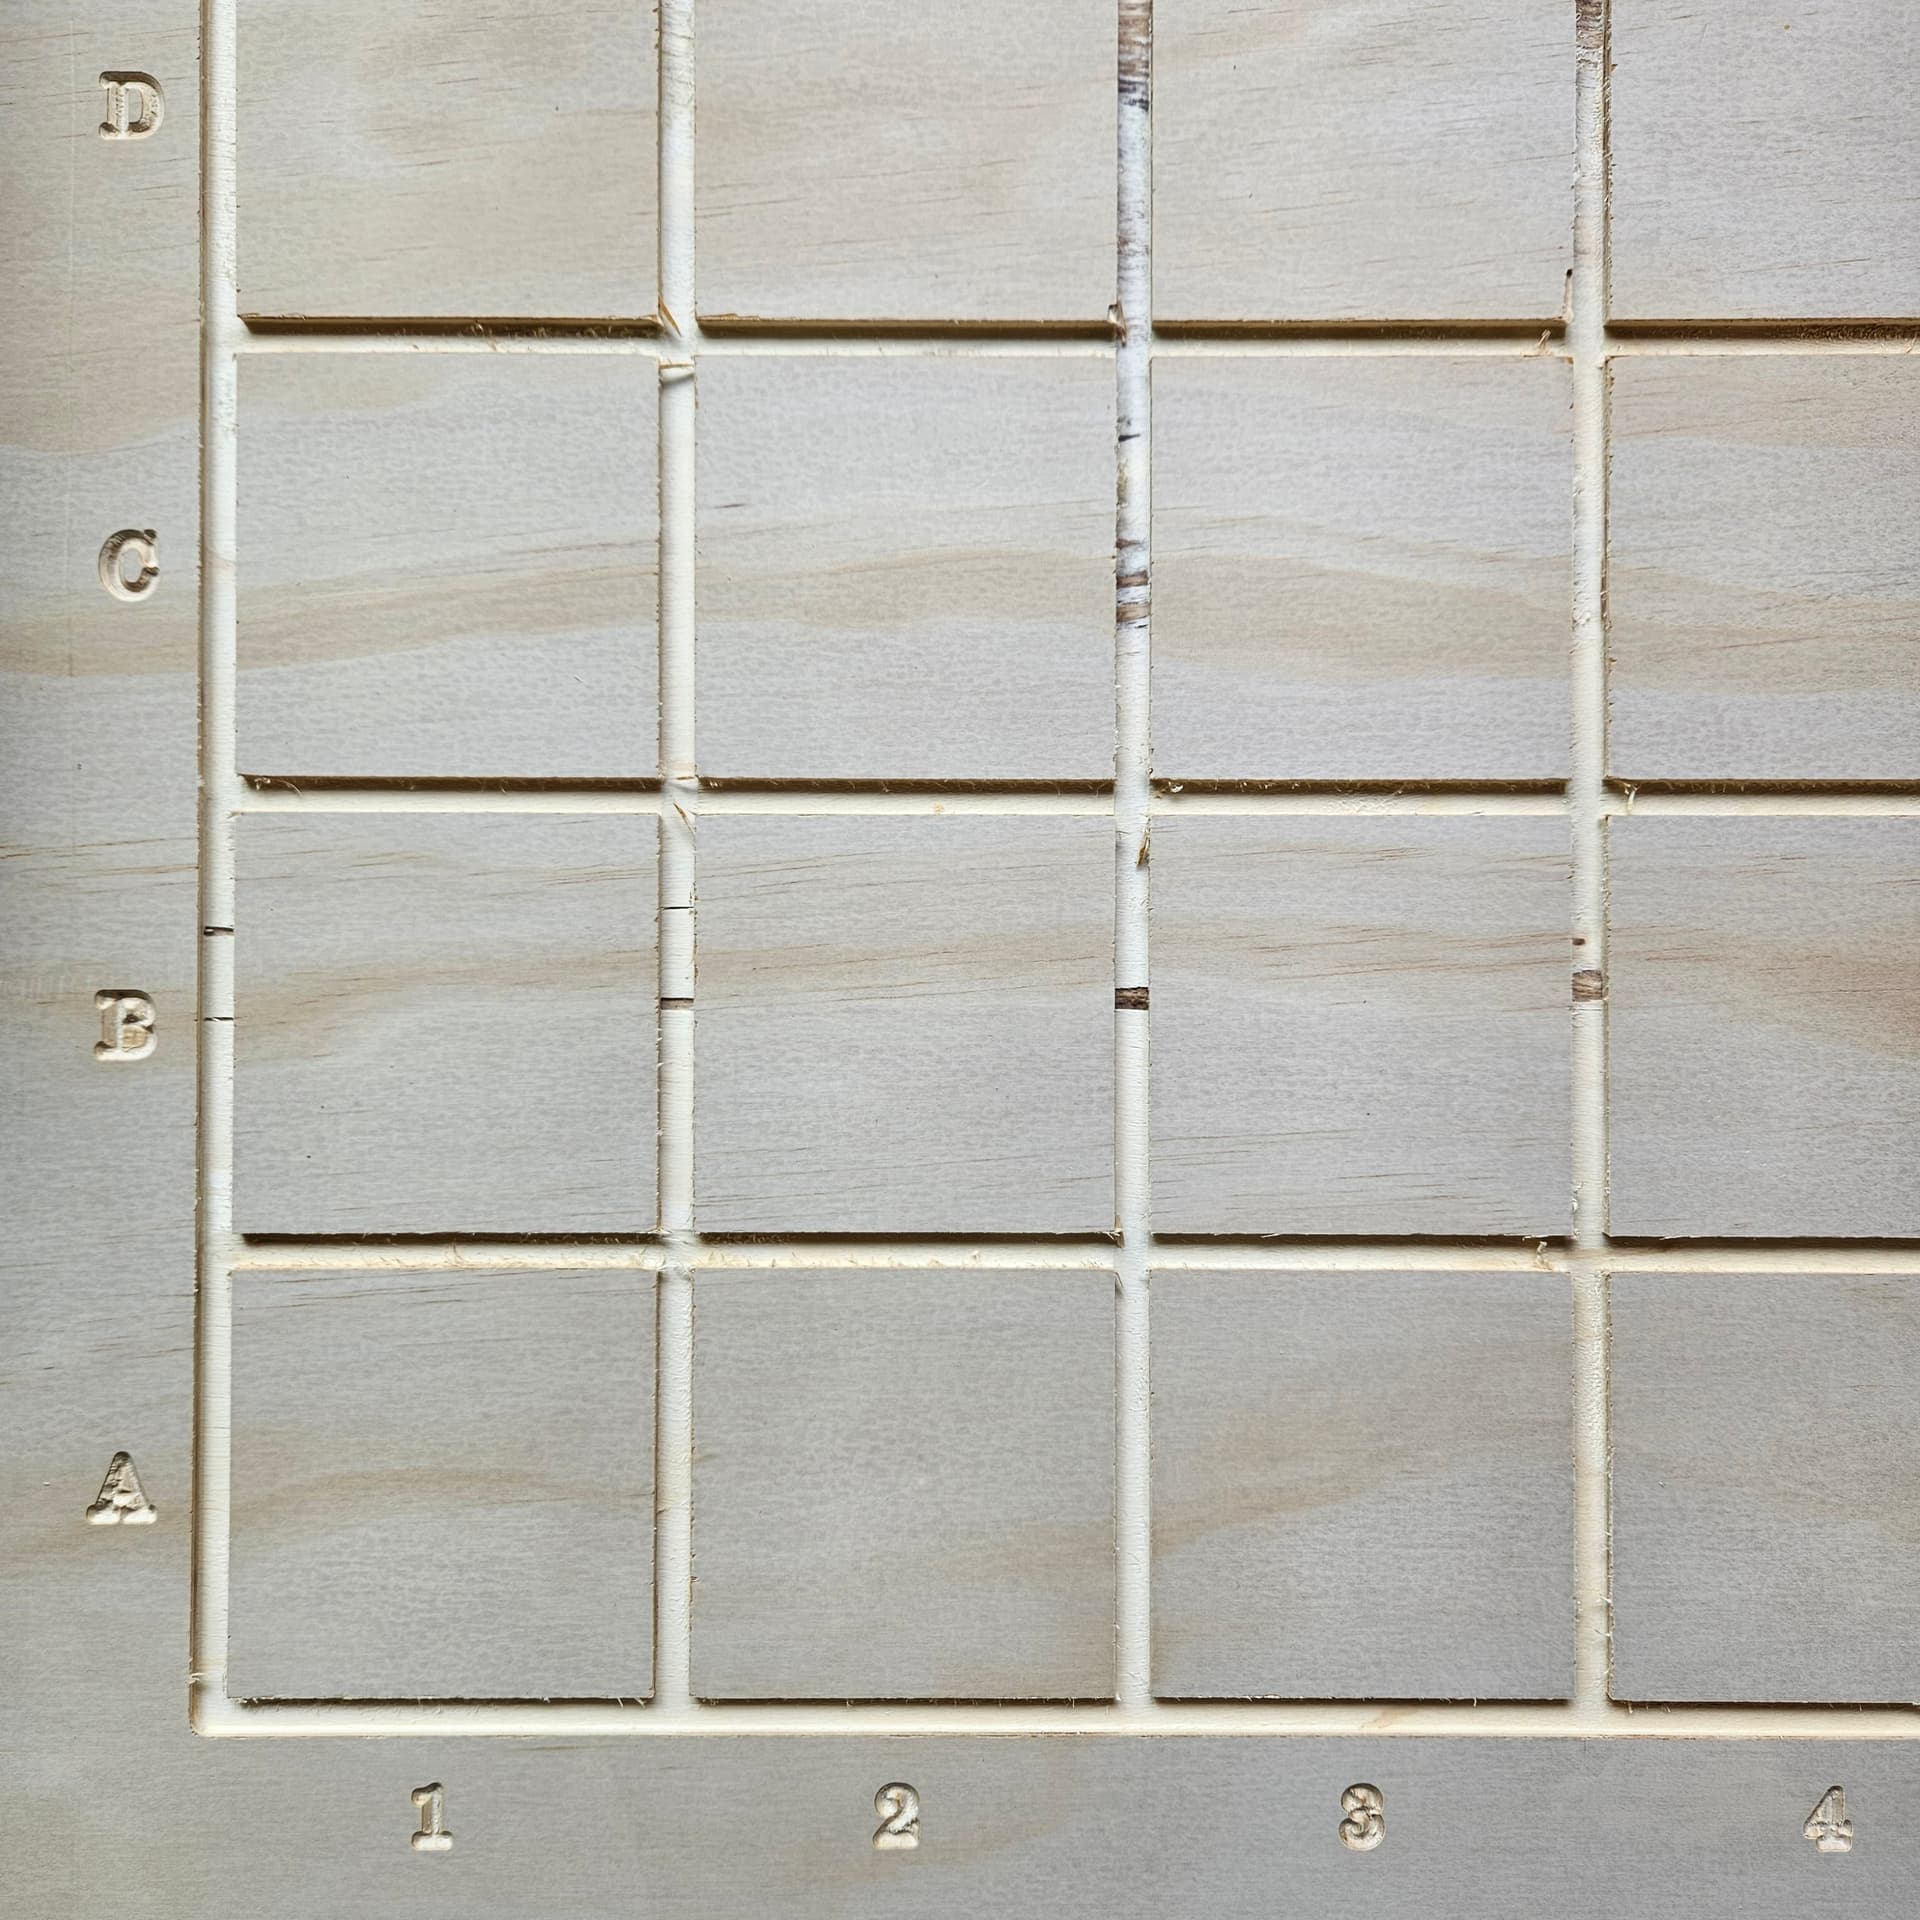
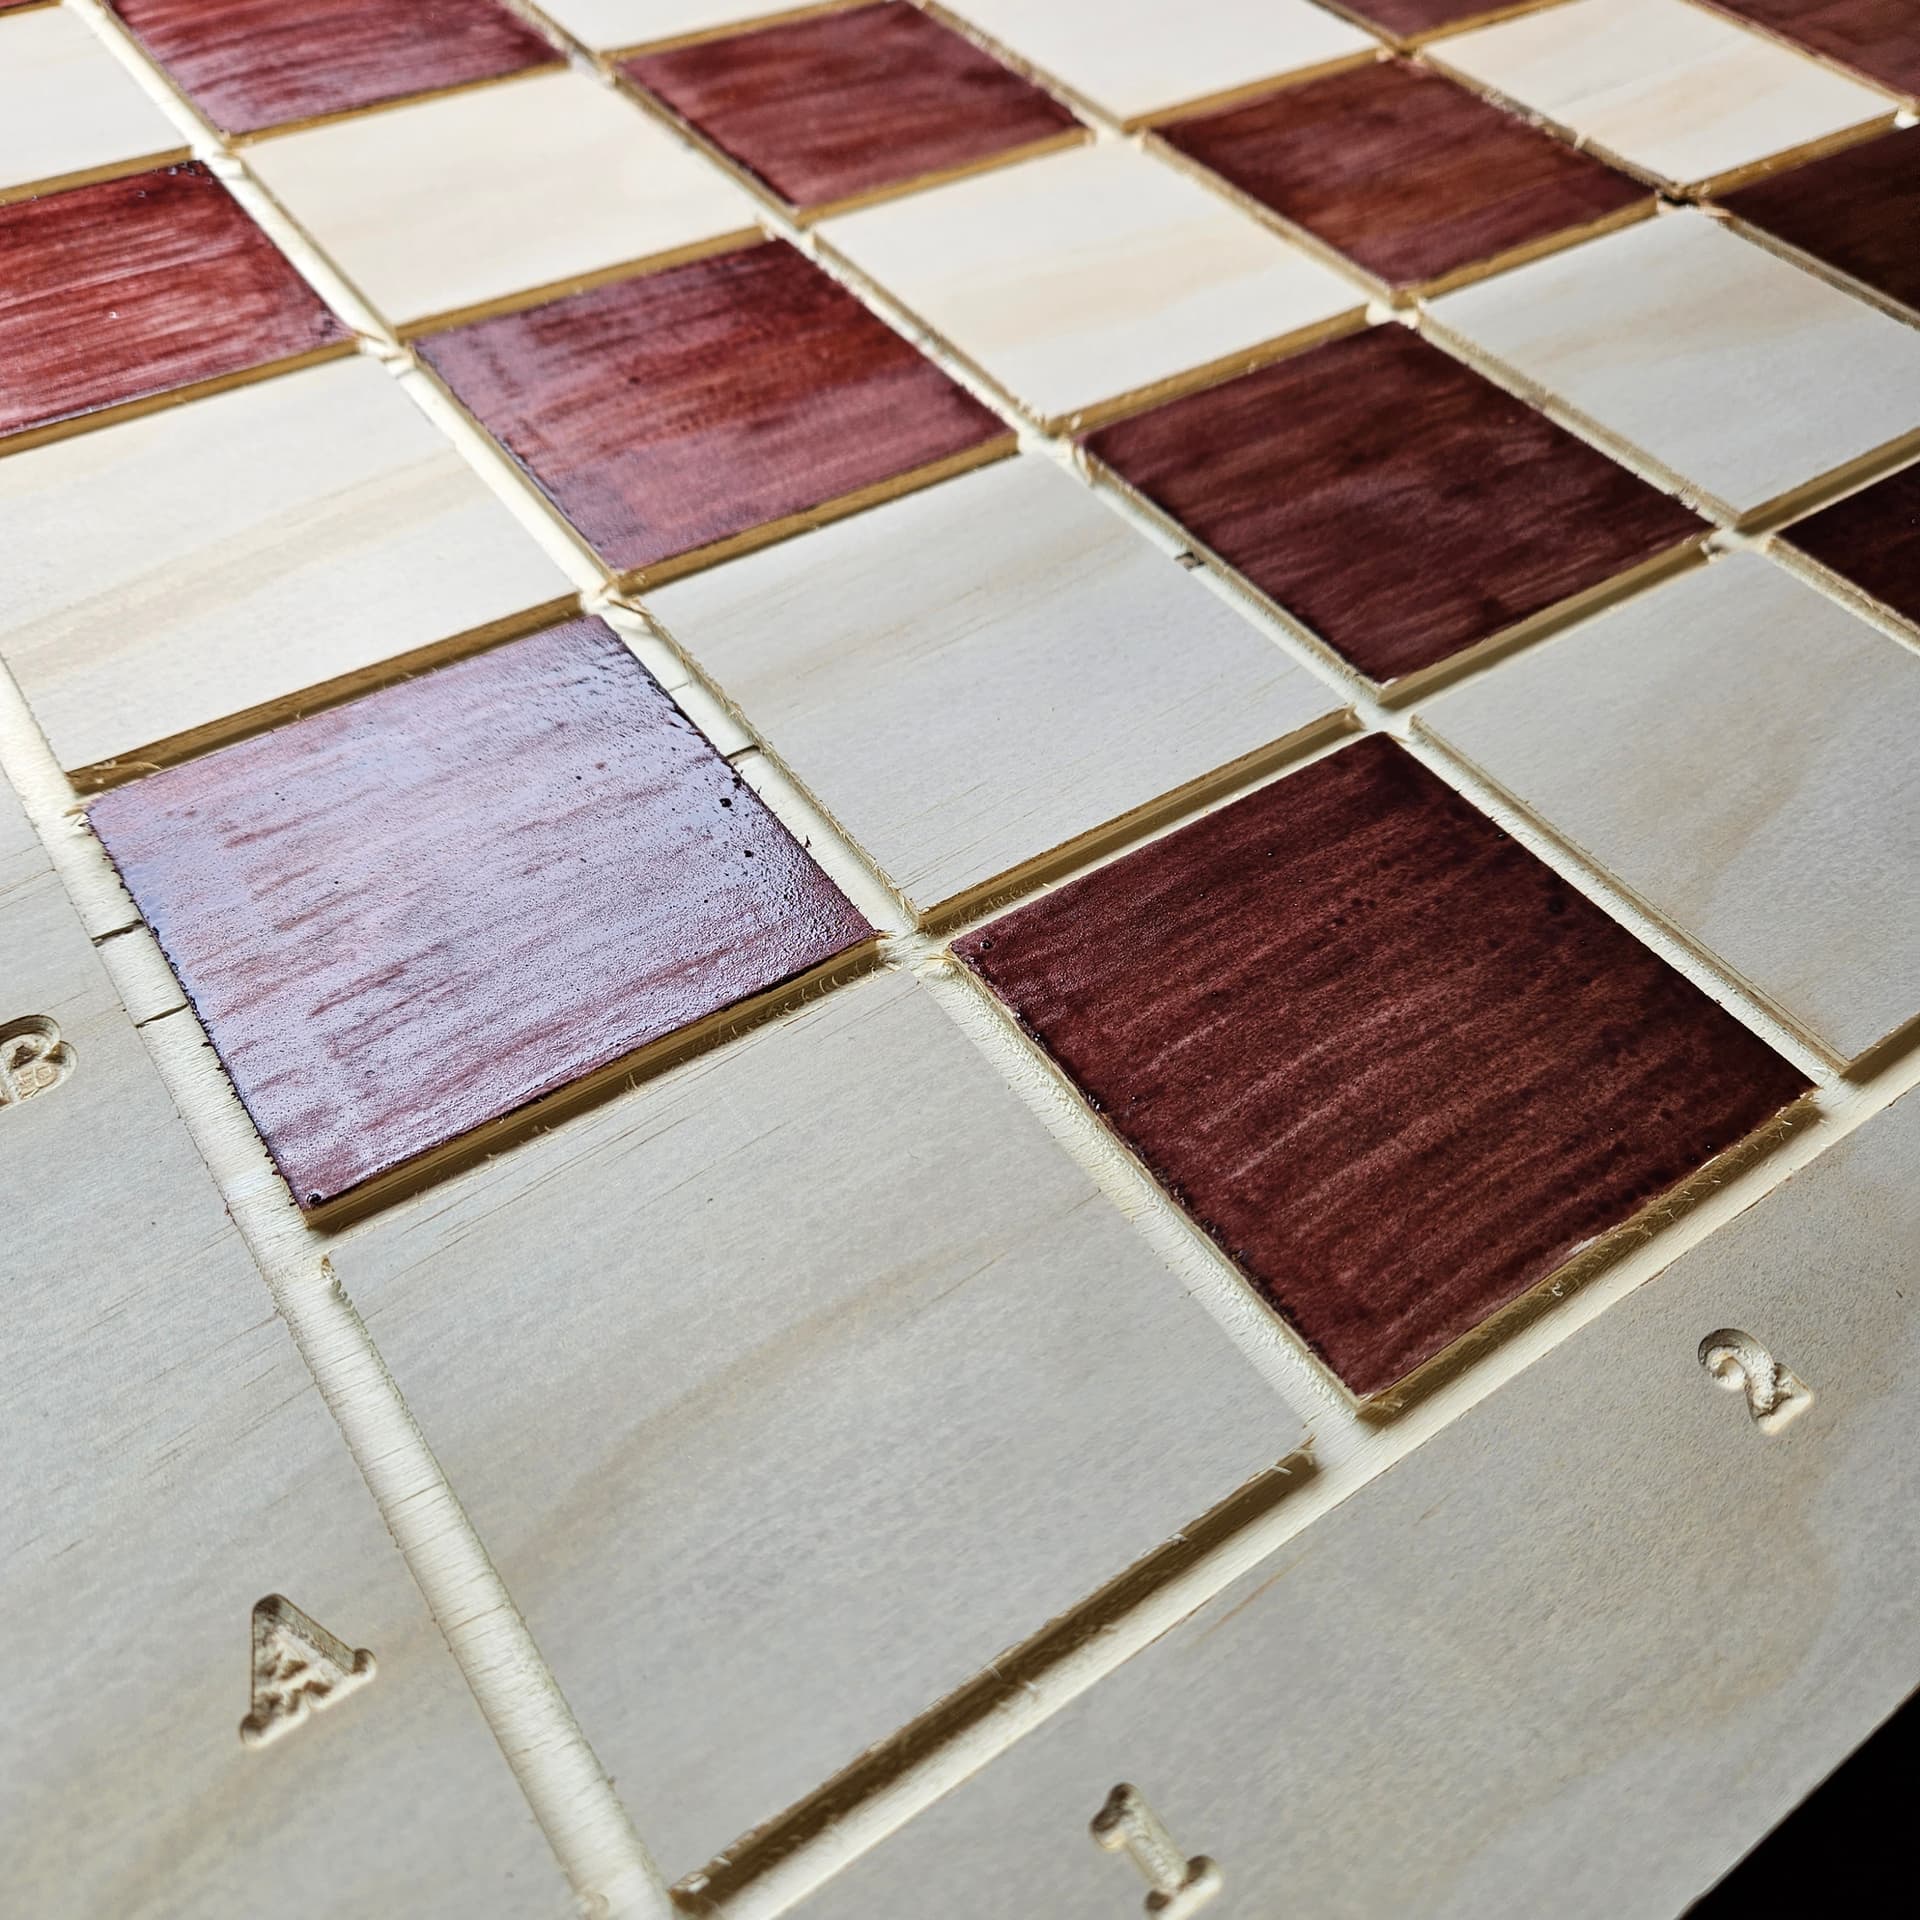
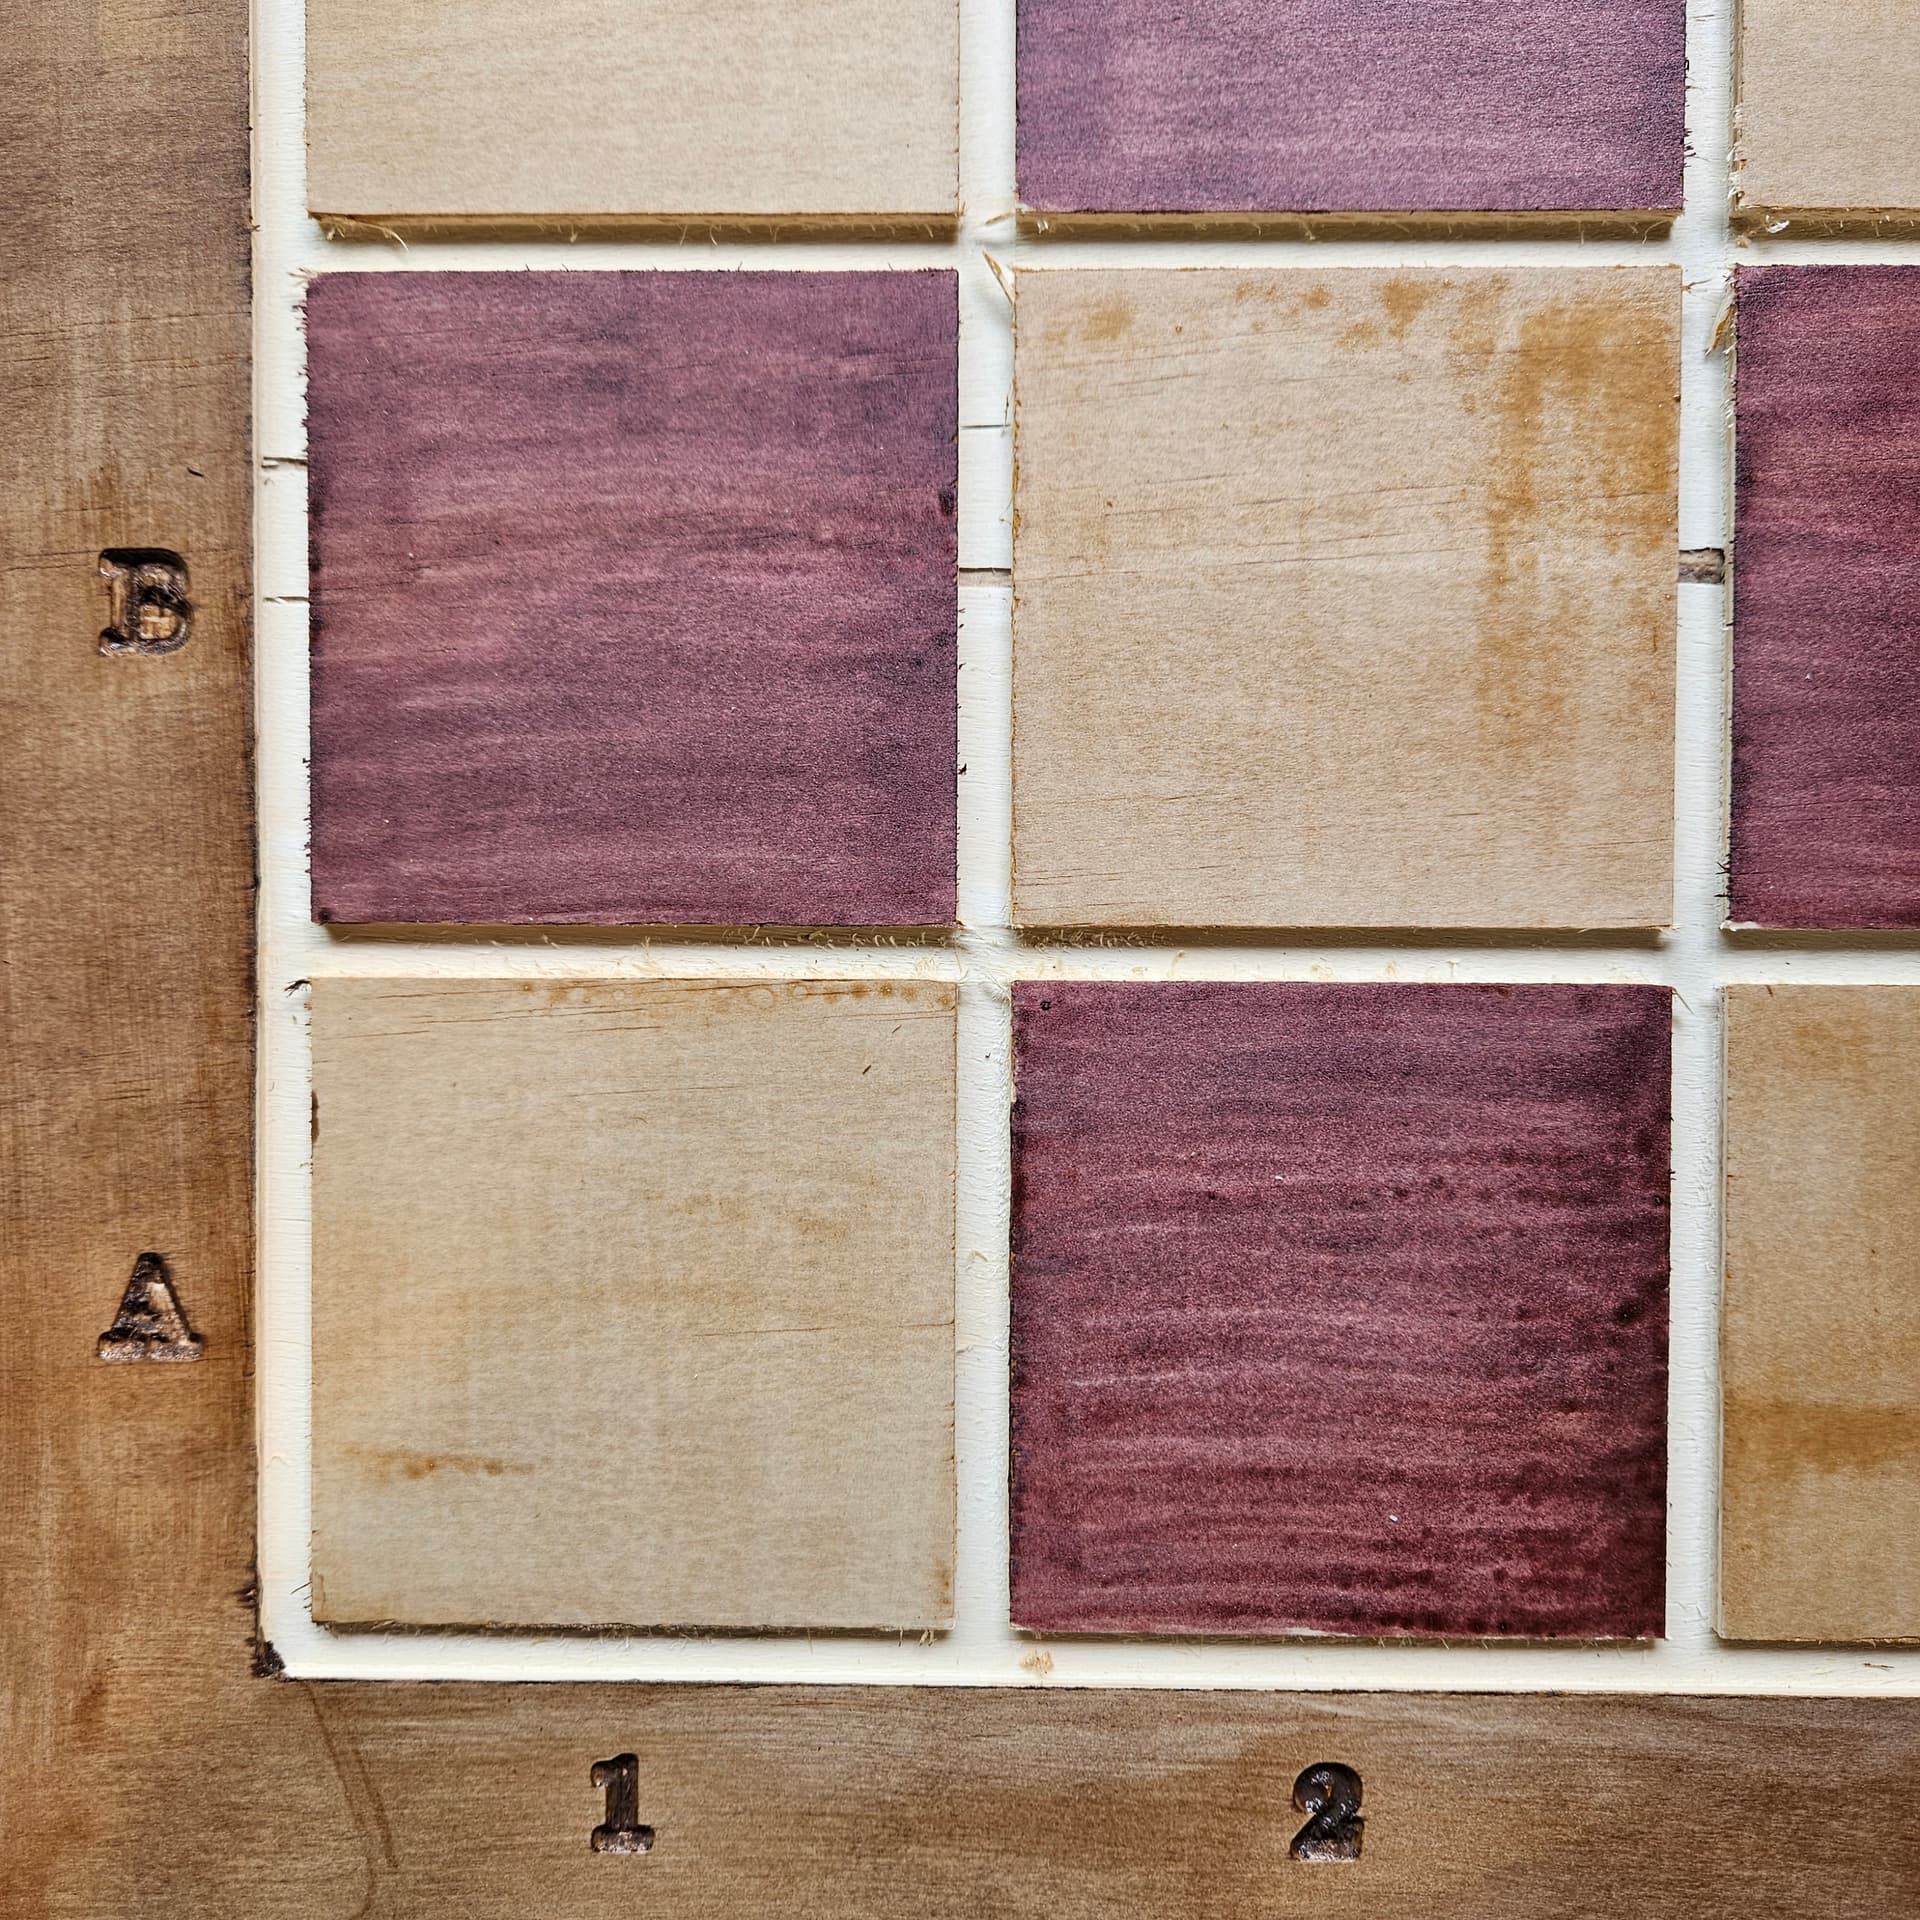
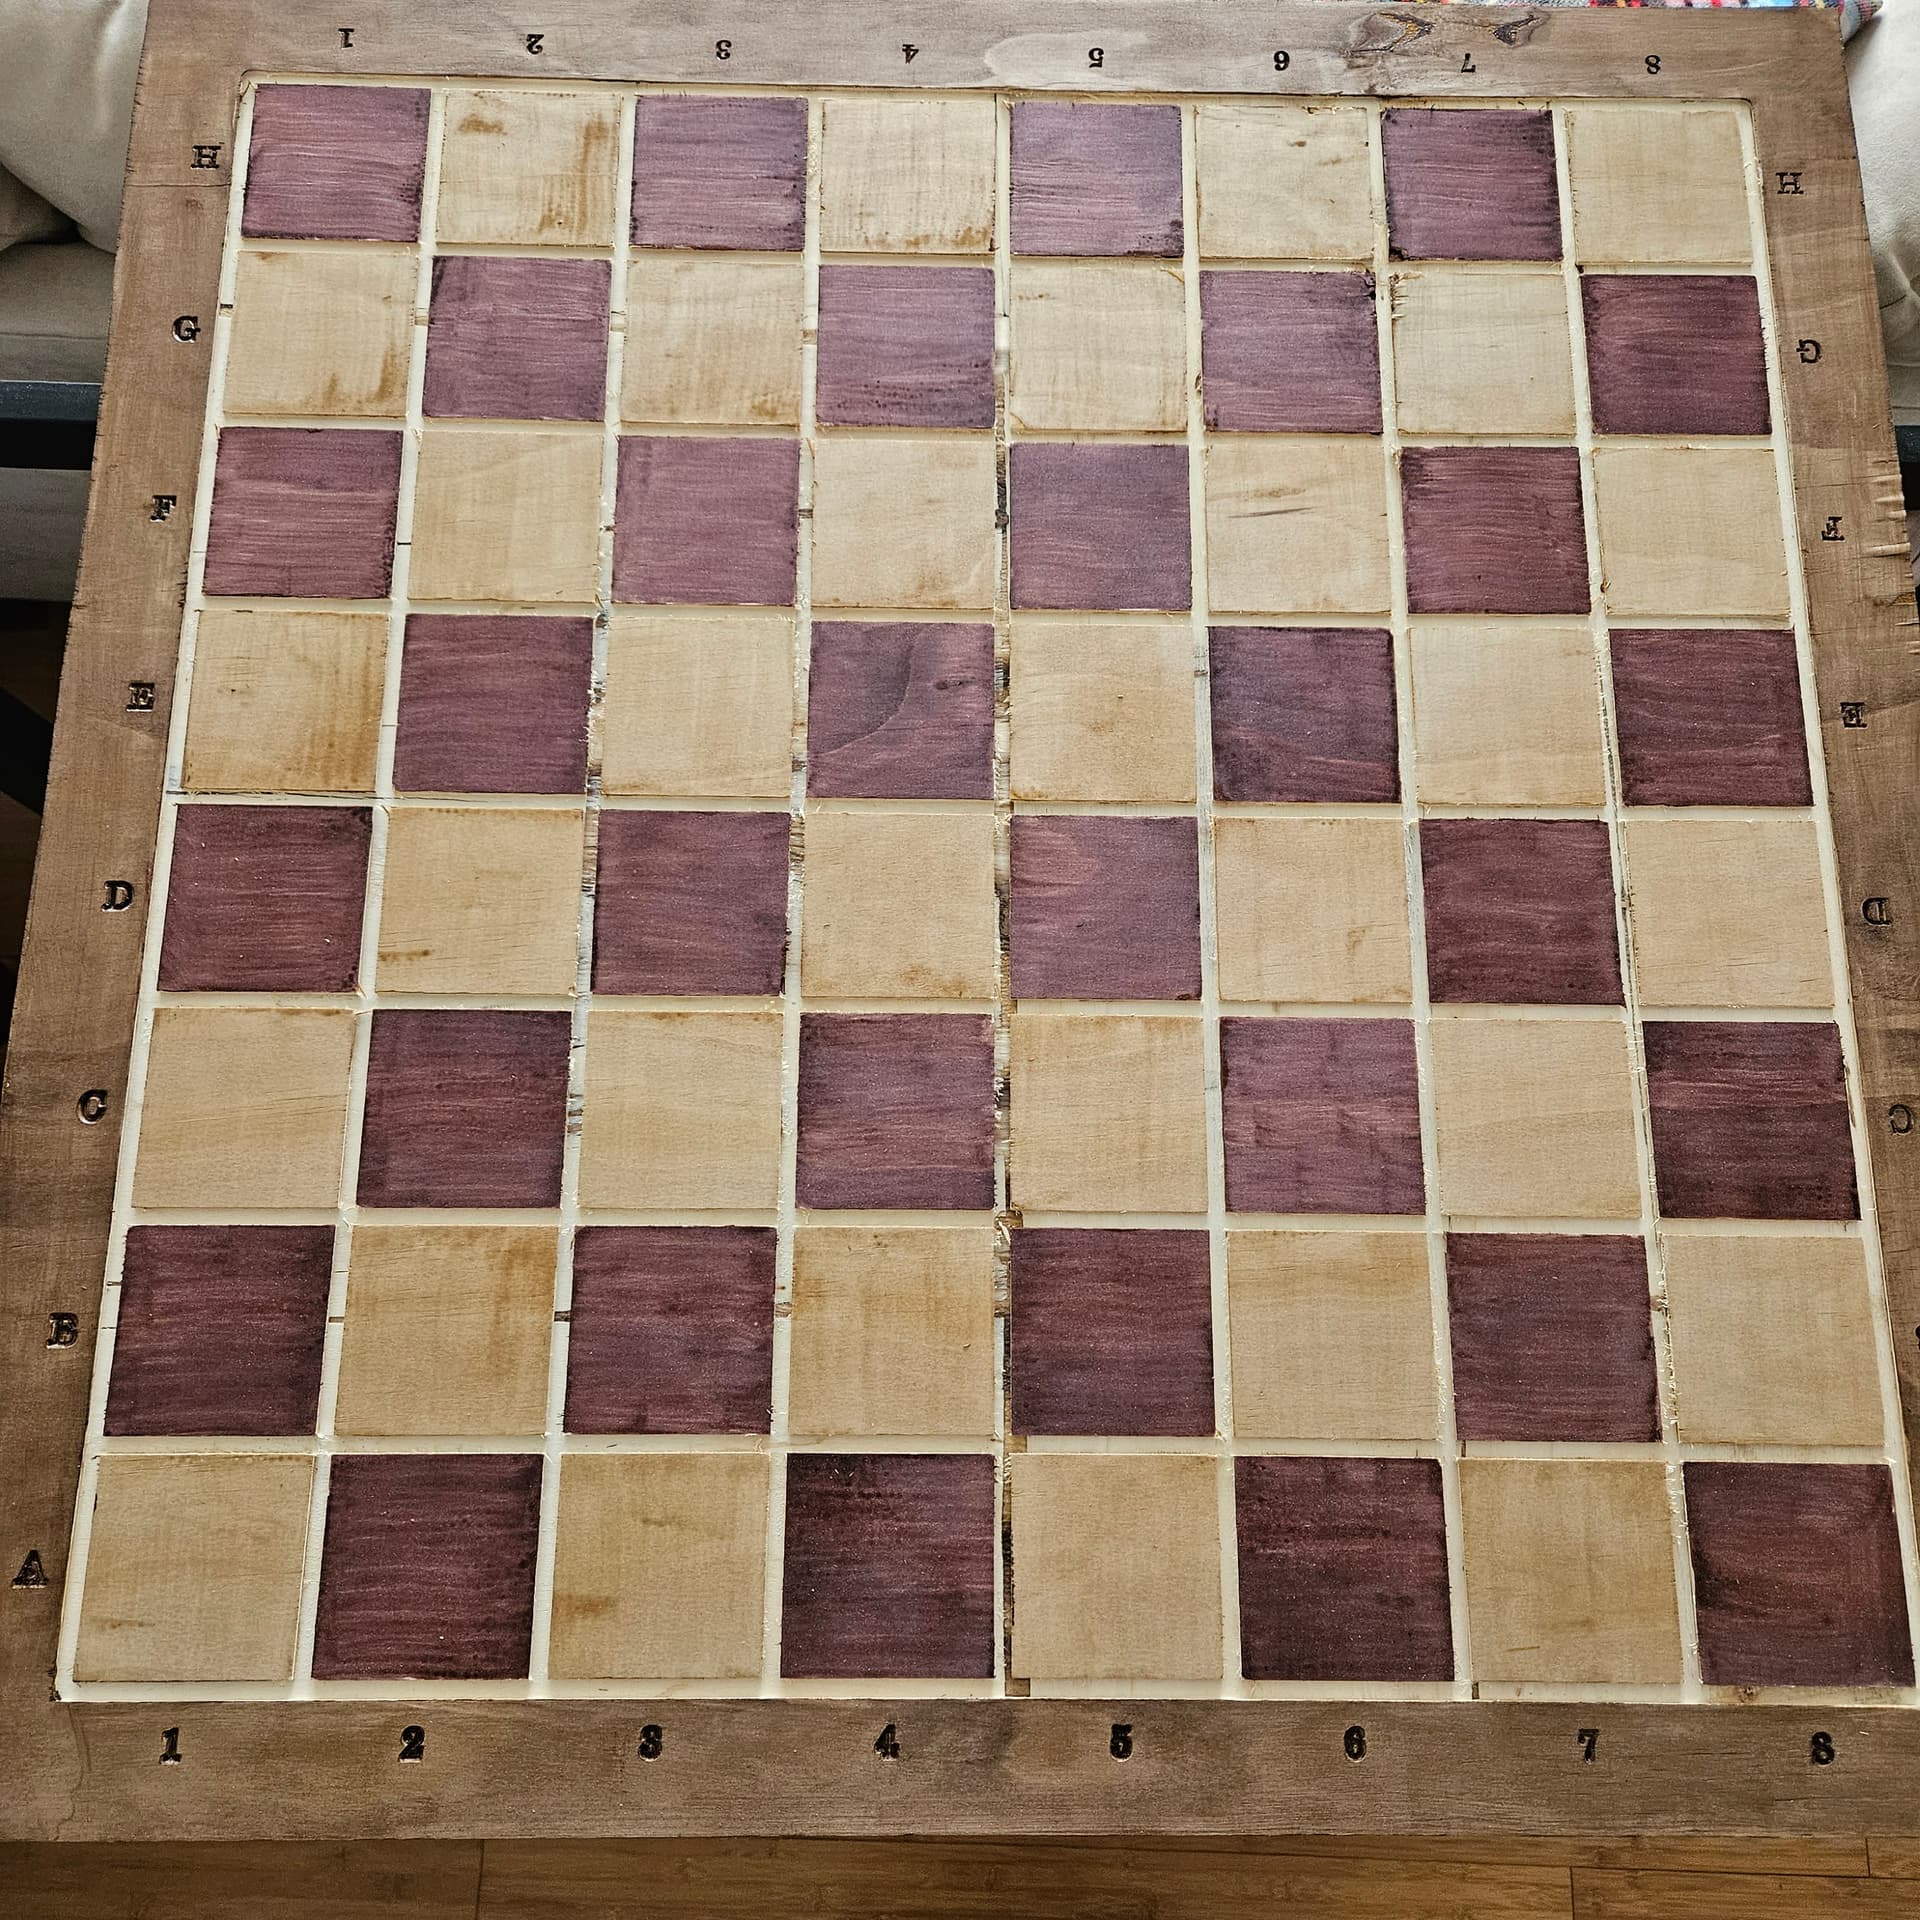
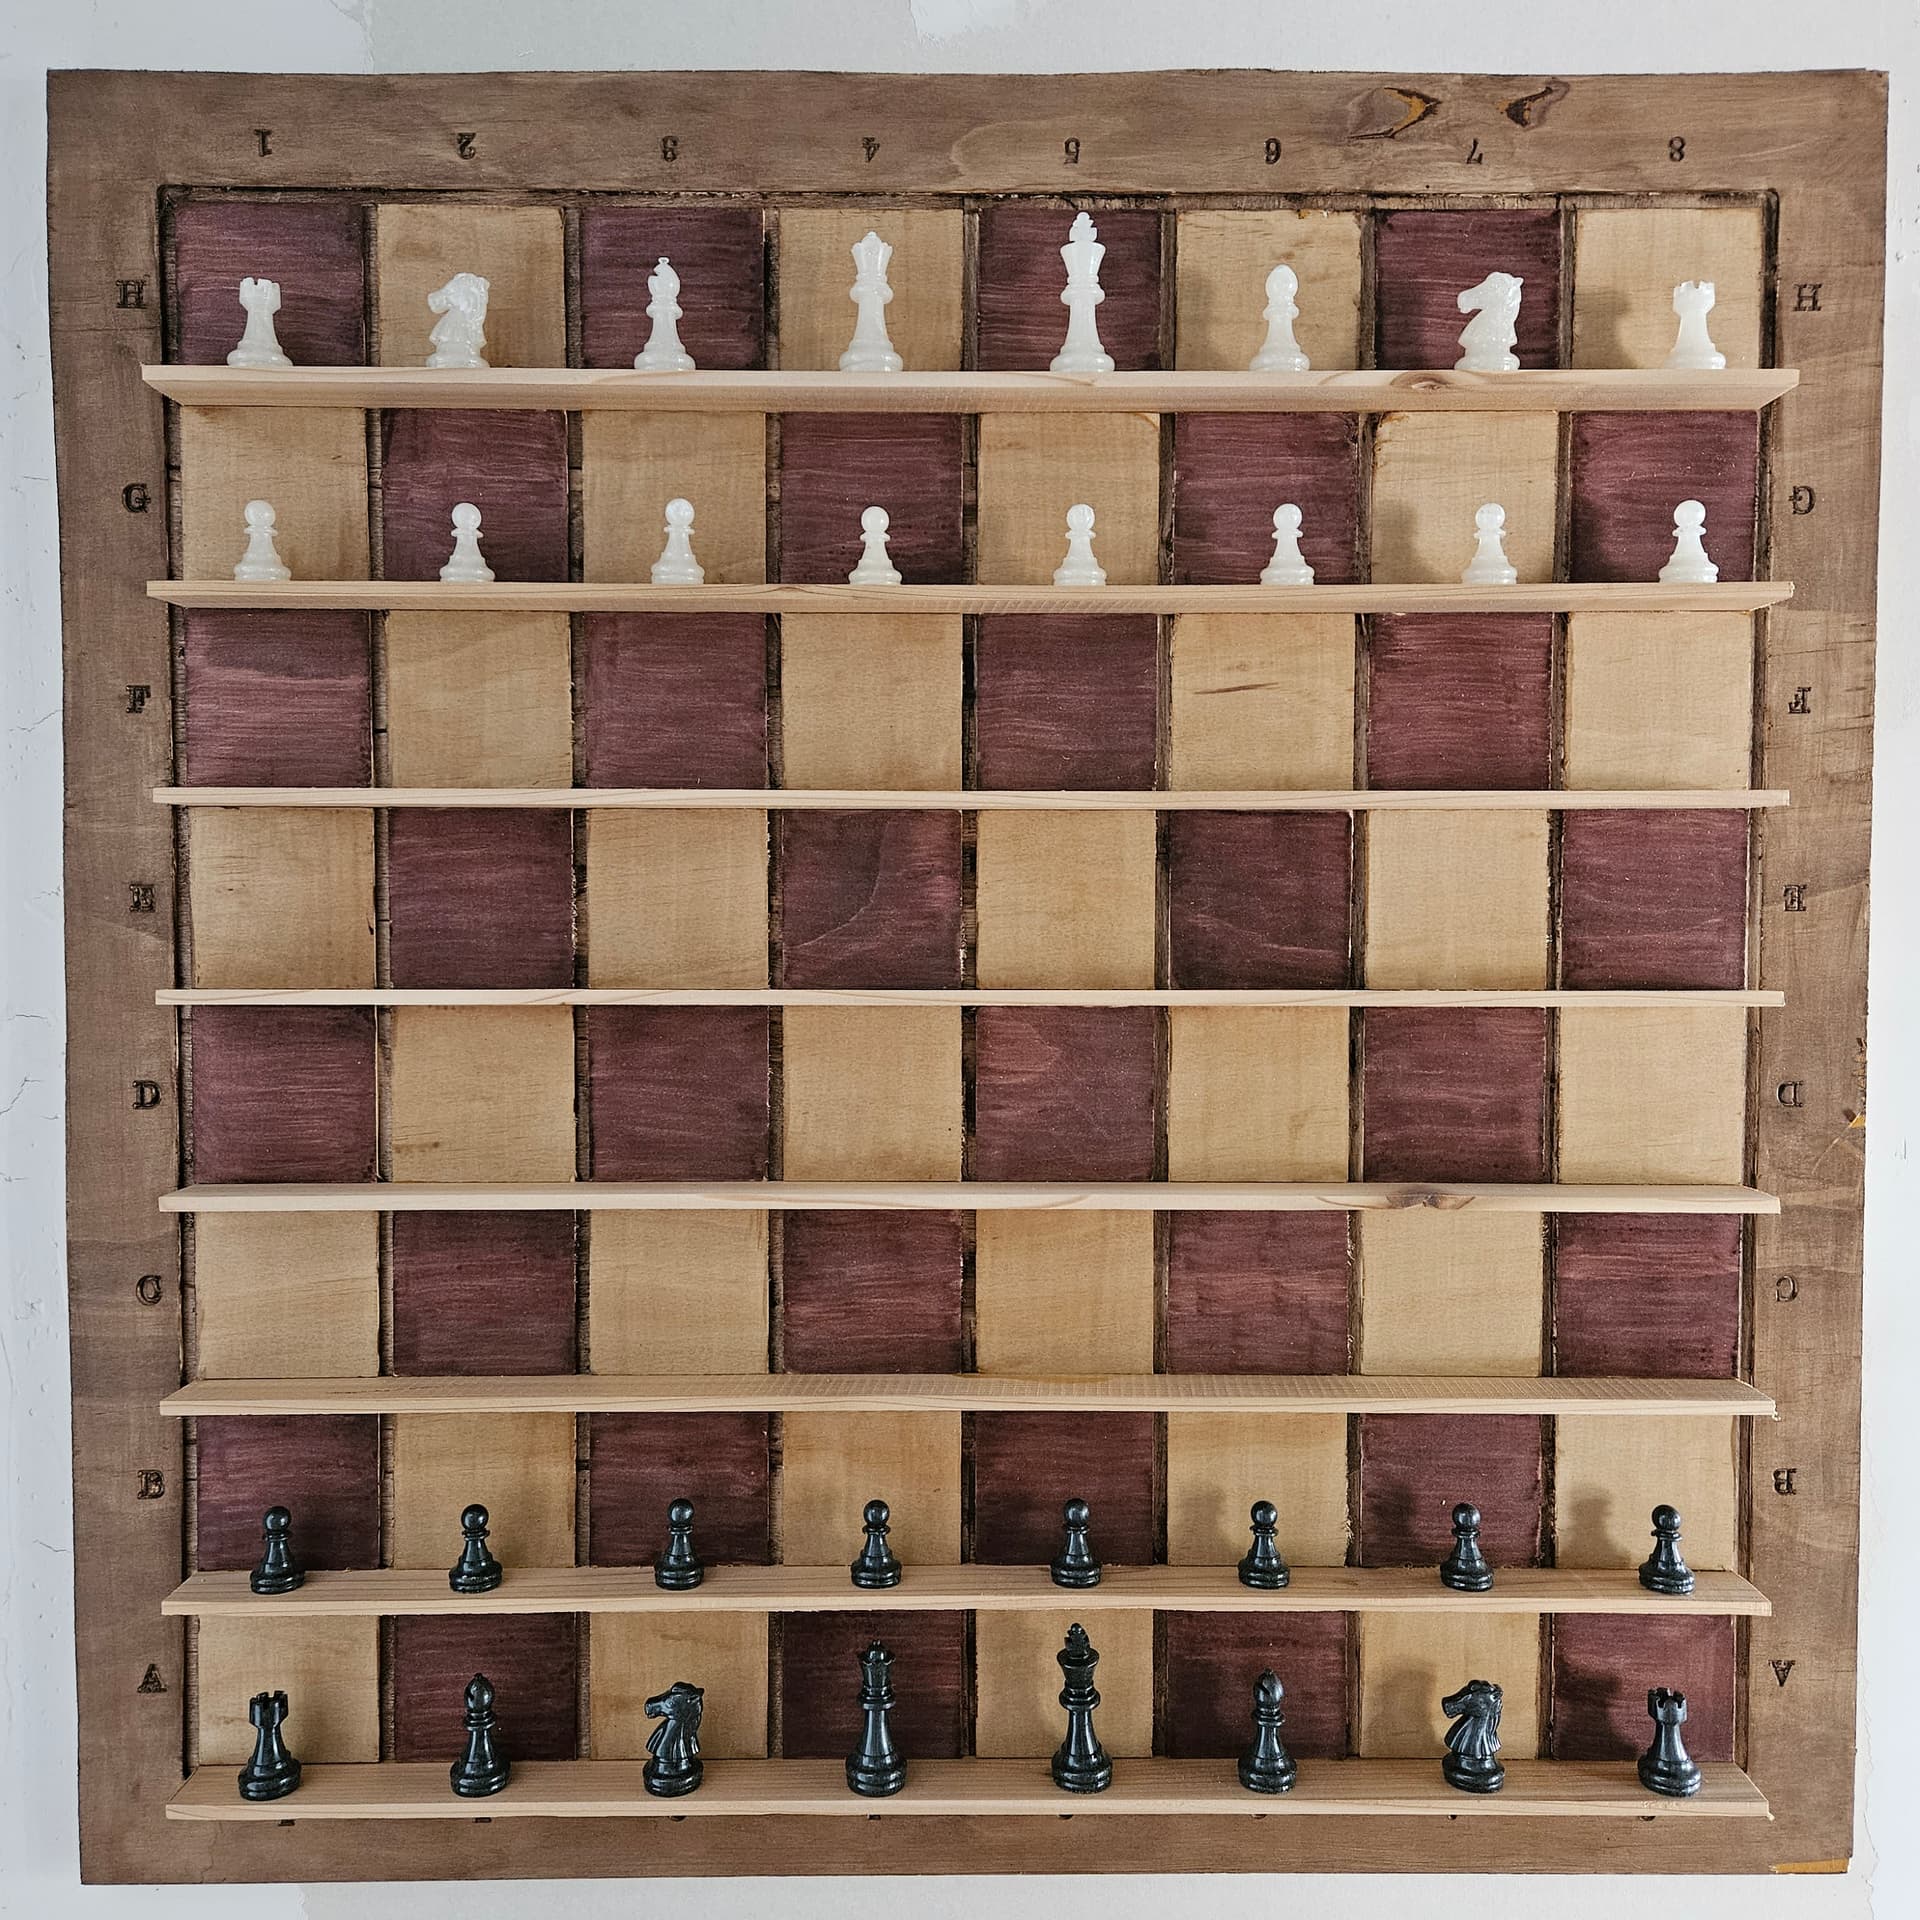
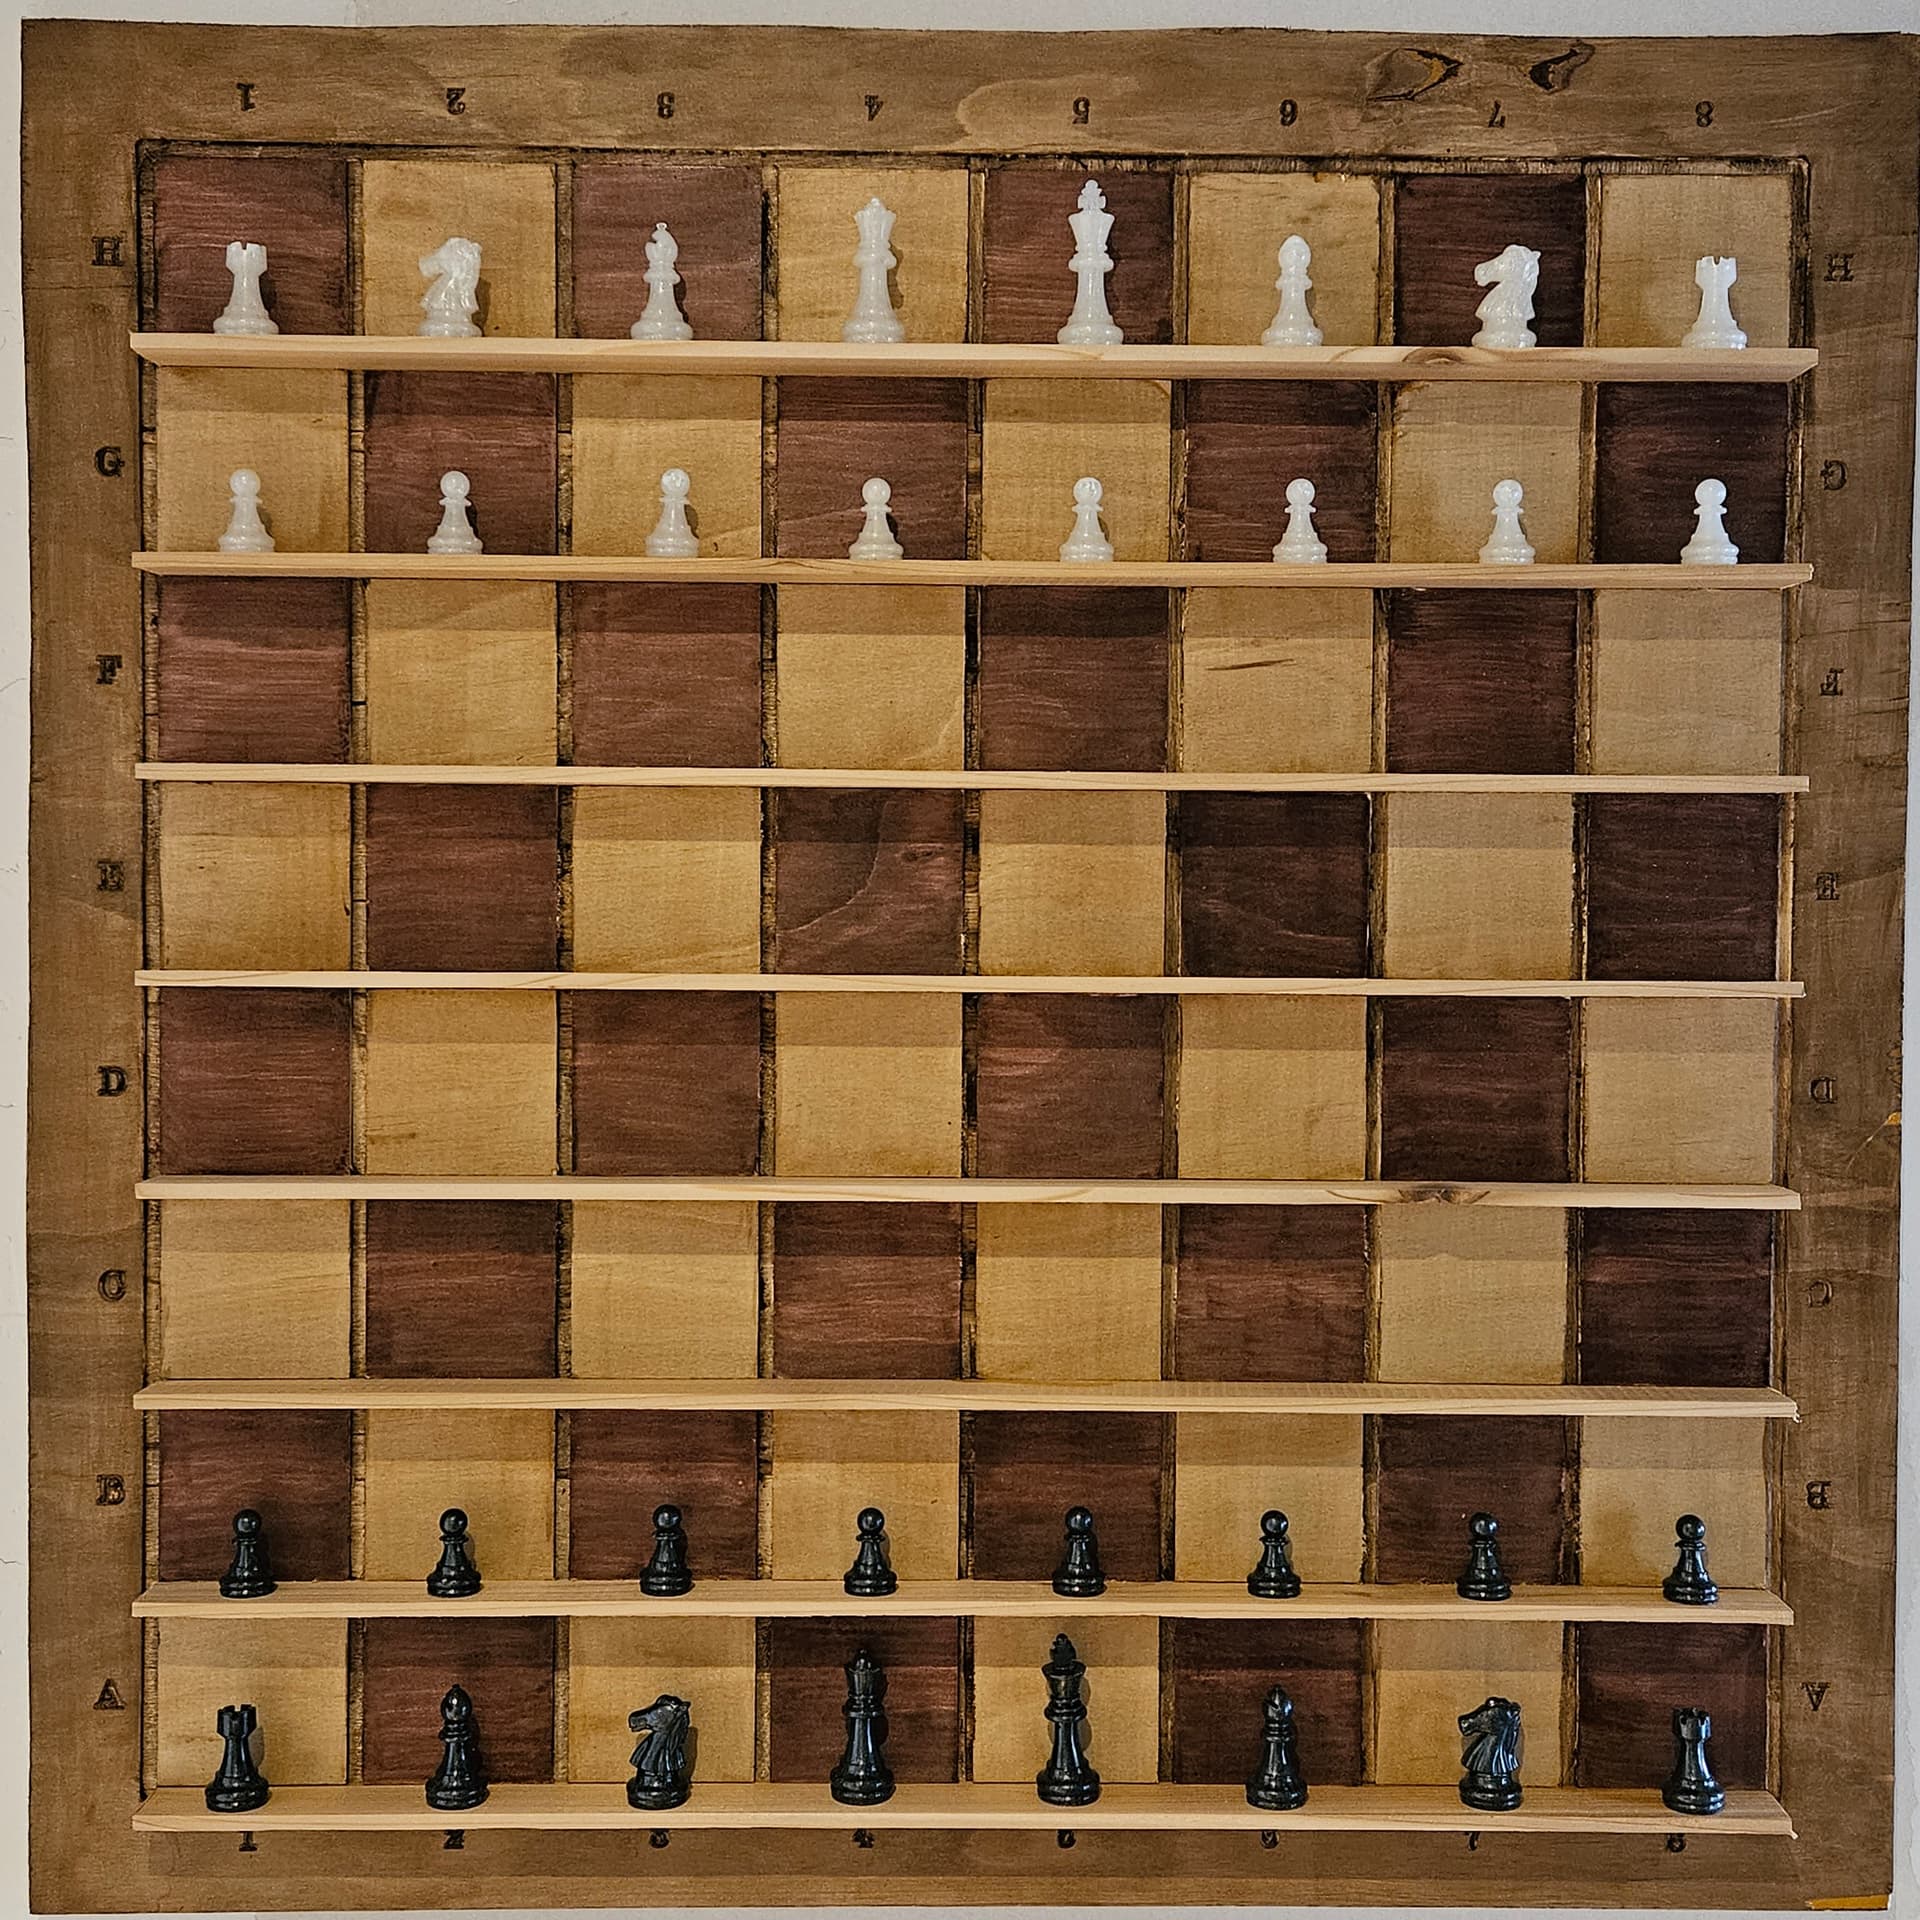
I didnt have any Birthdays to celebrate but i wanted to be involved. I created a wall mount chess baord. Very simplistic design. Its a 30 x 30, 3/4" plywood. Quarter inch contour for the lines. 90d vee bit for the rank and files. (In hind sight i would do the rank and file different for my next wall mount, the template i made was better suited for a table top board). Stained each square, lines and boarder with a sponge brush. The ledges made for the chess material was a cedar 2x6 i put through the band saw and planner then sanded to 1/4". Glued the ledges in place only. Did them all at the same time by clamping another board ontop and then placing two 40lbs dumbells in the center to help the middle set properly. The chess material is made of resin. The molds were poured and then put on a heat mat and covered to cure faster. The overall project didnt take much time but its very basic. Im excited to add to this design with some LED’s or an over hanging light.
I hope you all like it. A great day project. Thank you for creating this post/thread.
Stay safe!
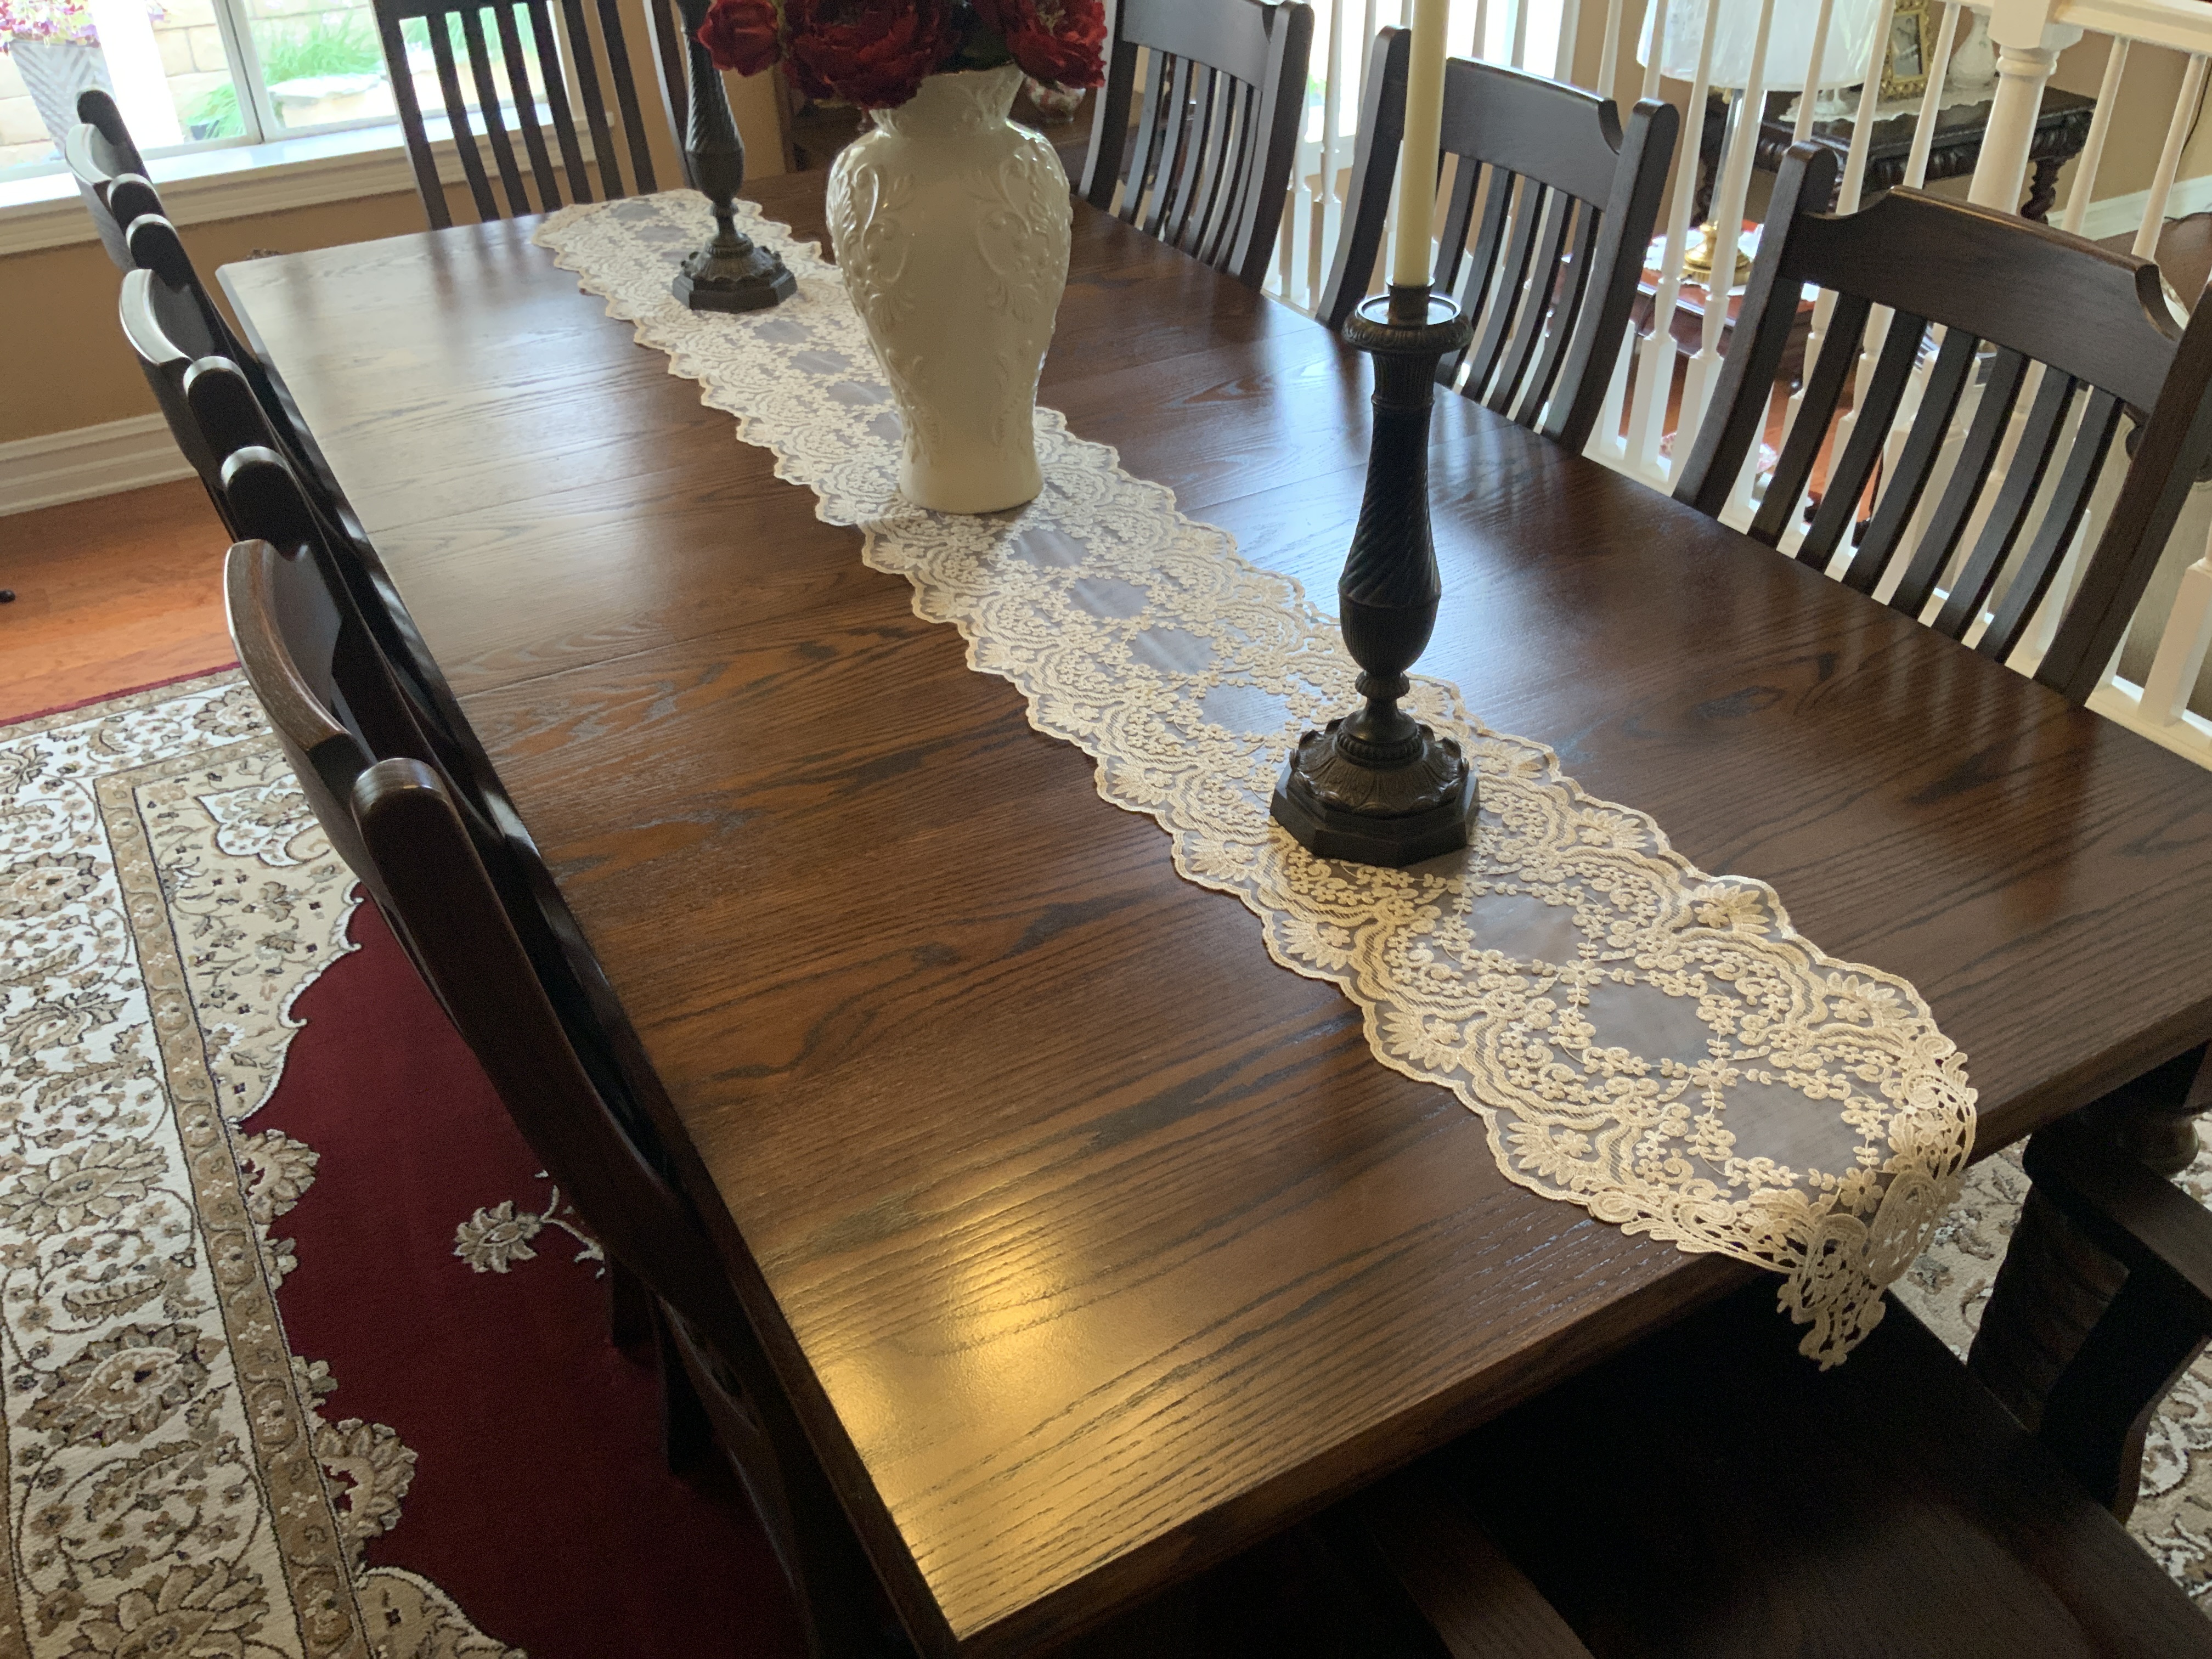
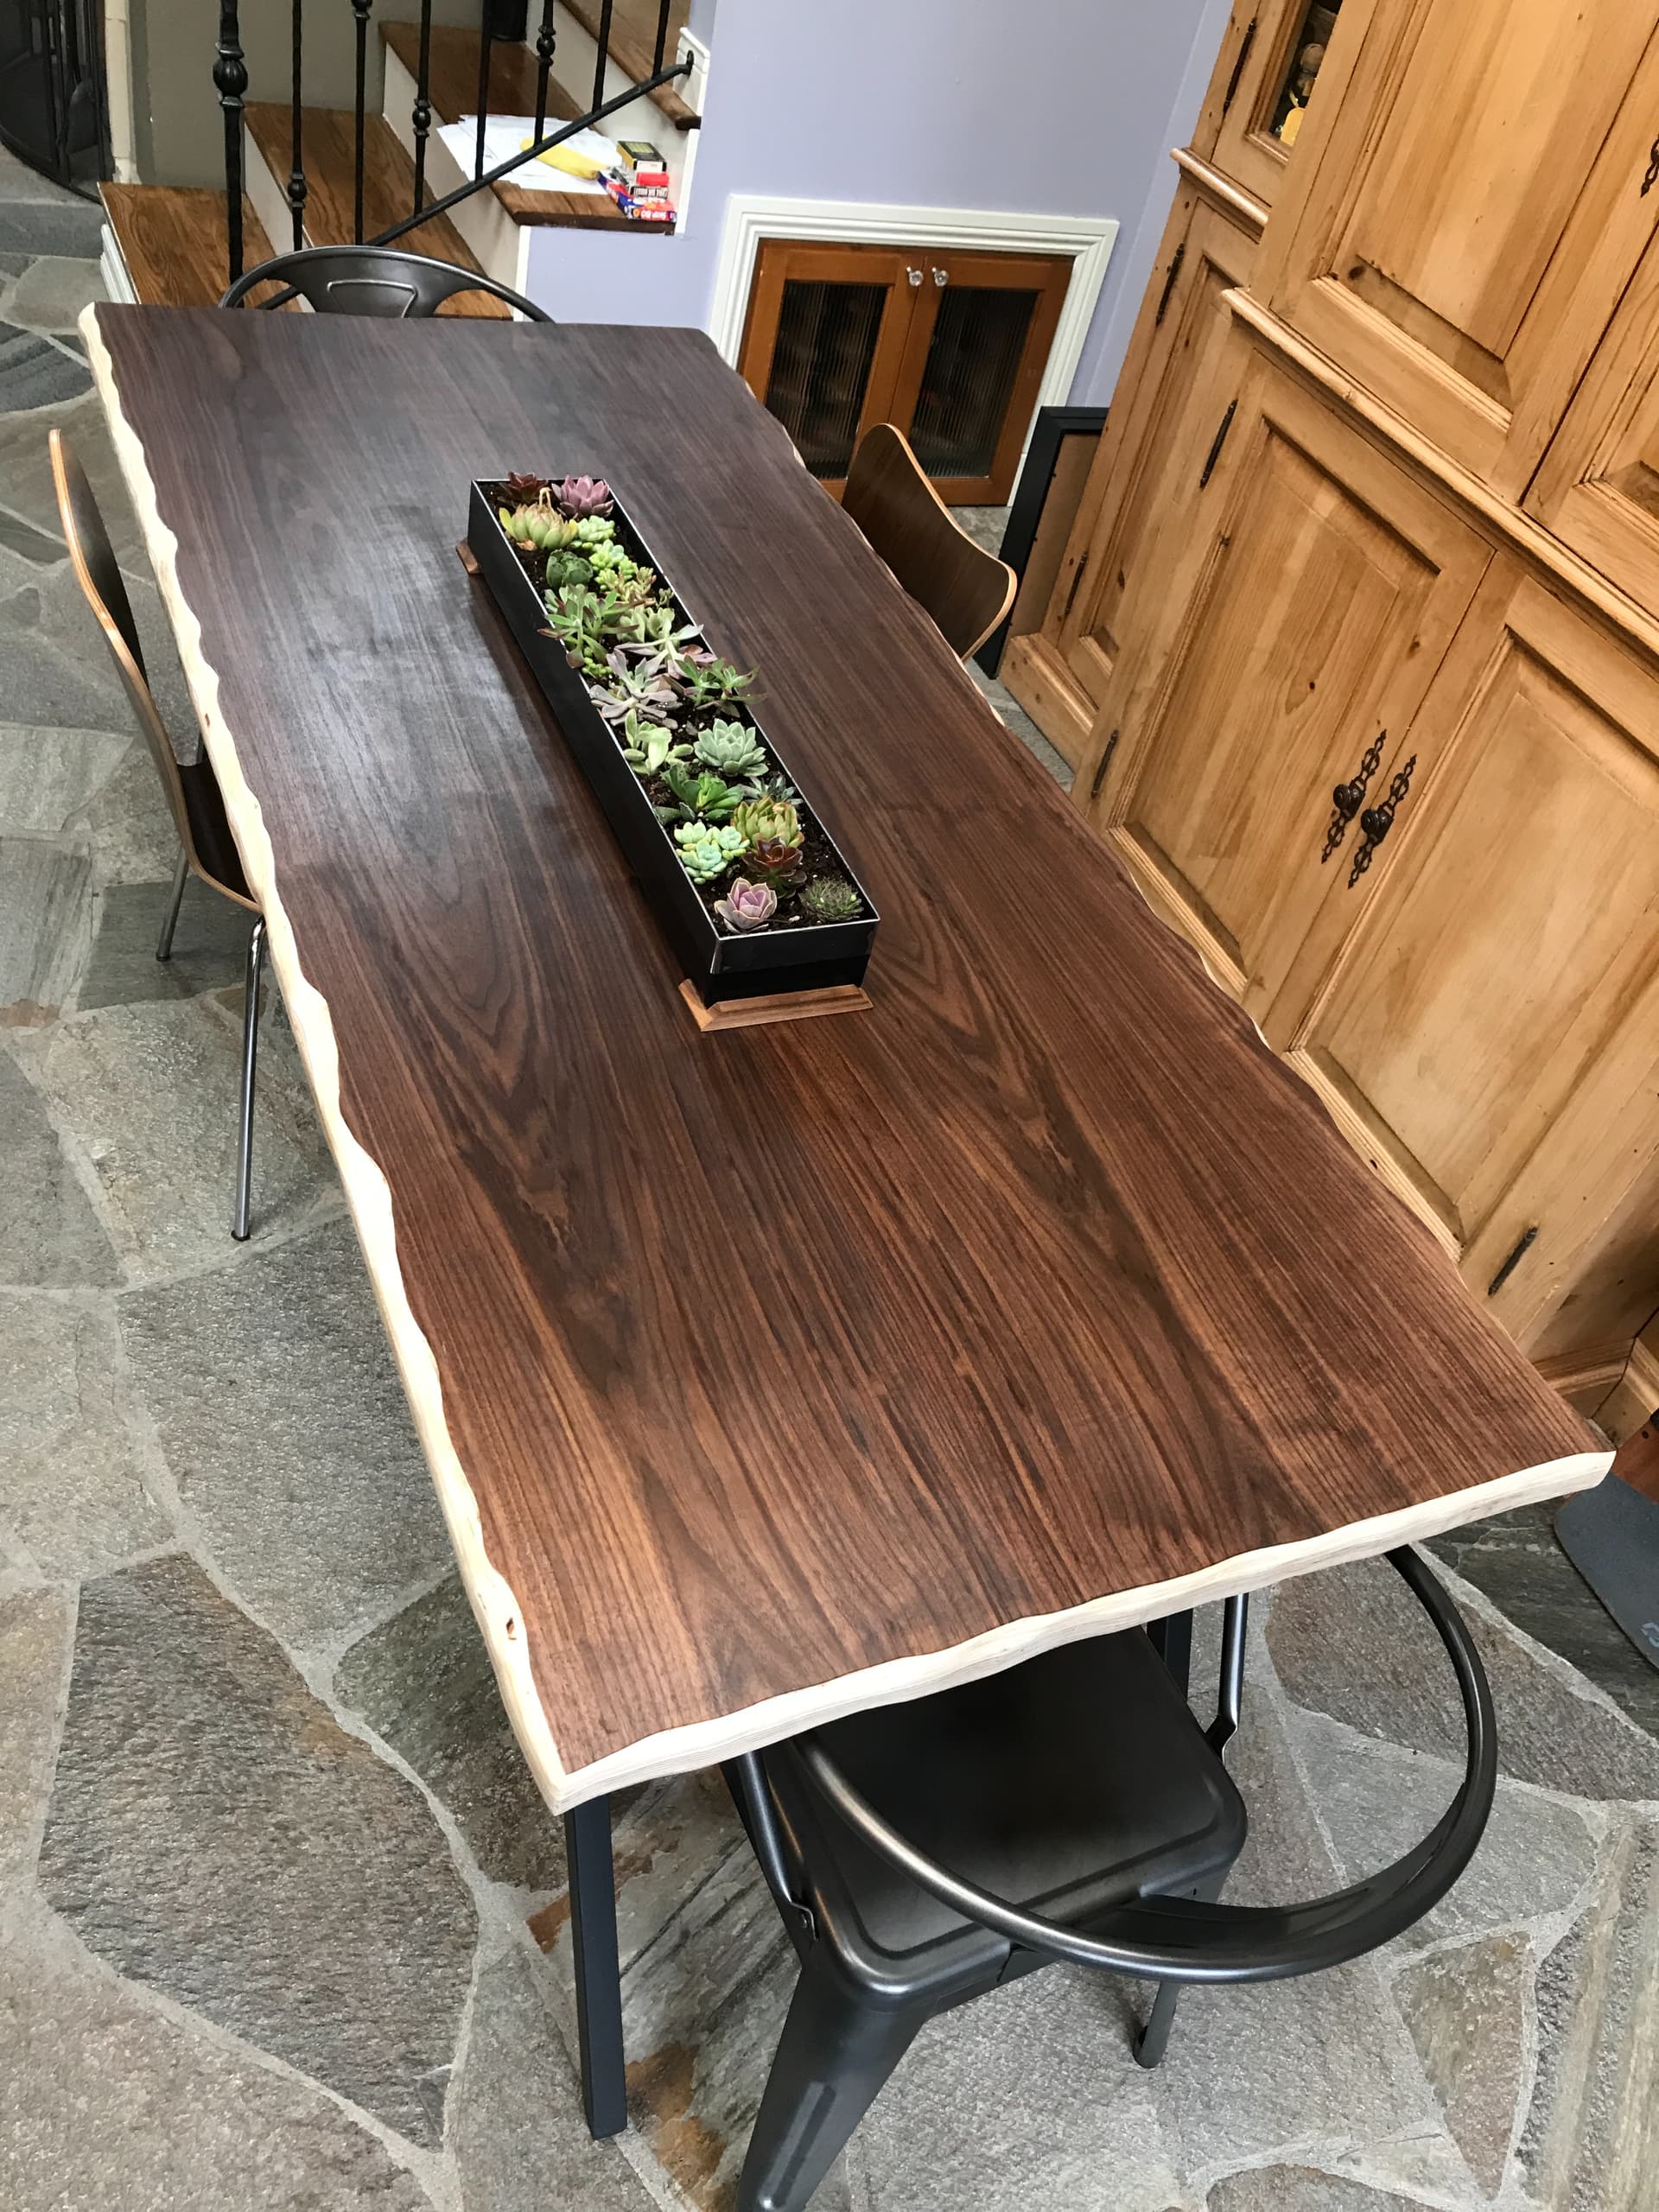
Something about that grain direction is so appealing. I’m used to boards joined with the grain in the longest direction, but it makes everything look long and skinny. This way is much more relaxing. Or maybe it’s the doily, sending Grandma’s cooking vibes. Beautiful table.
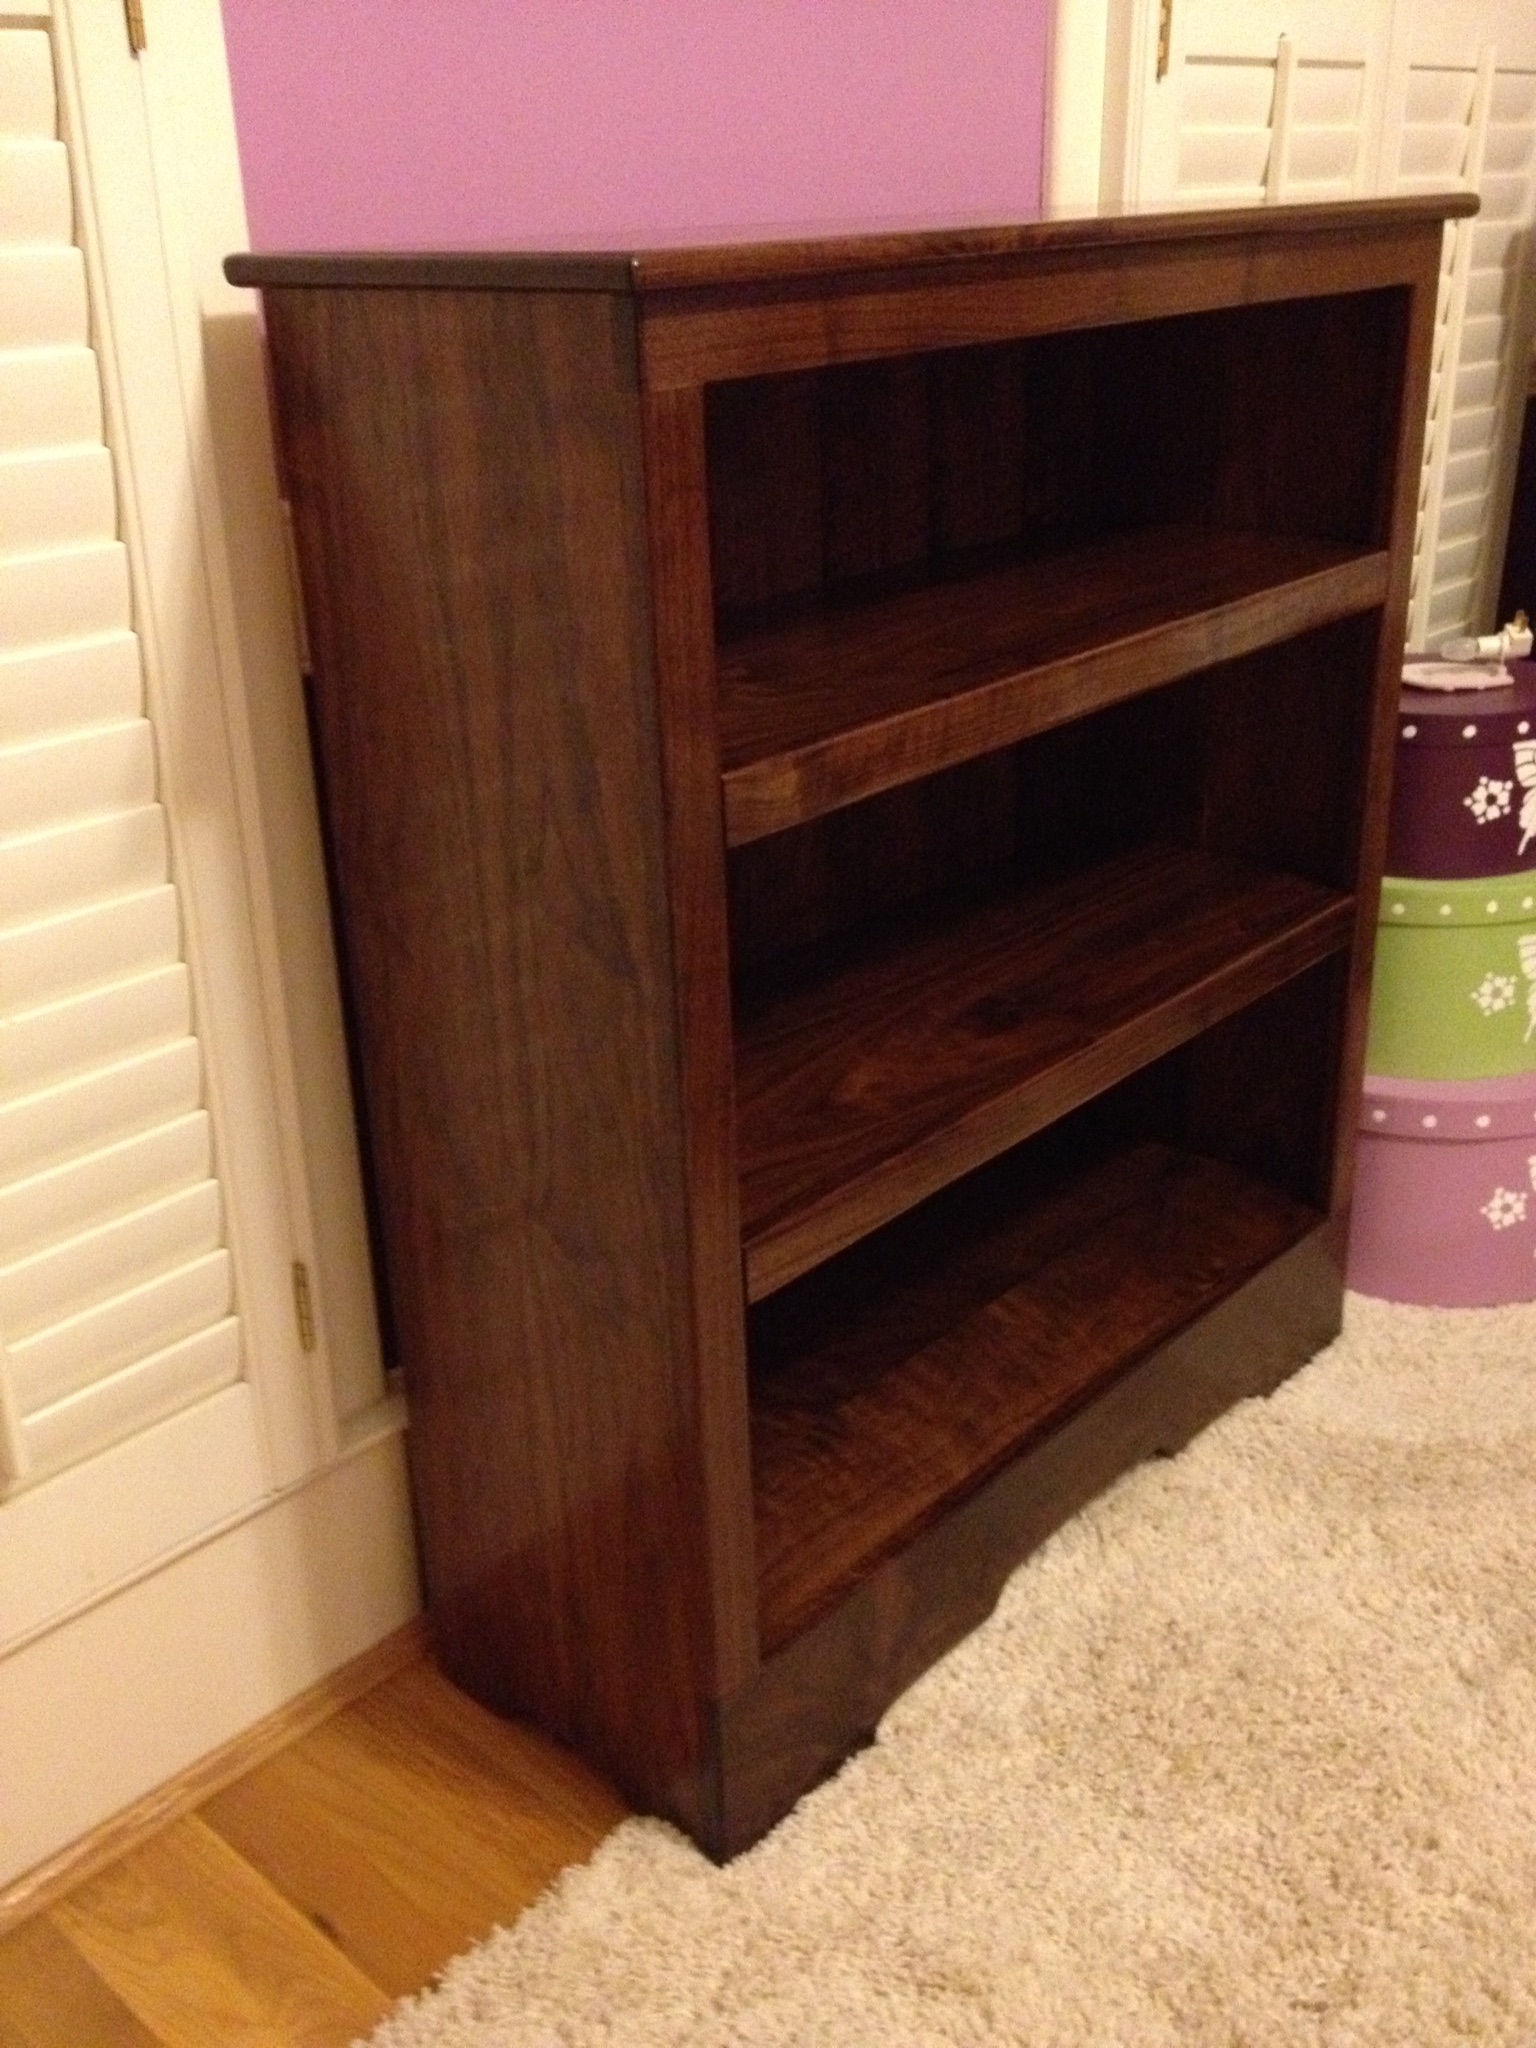
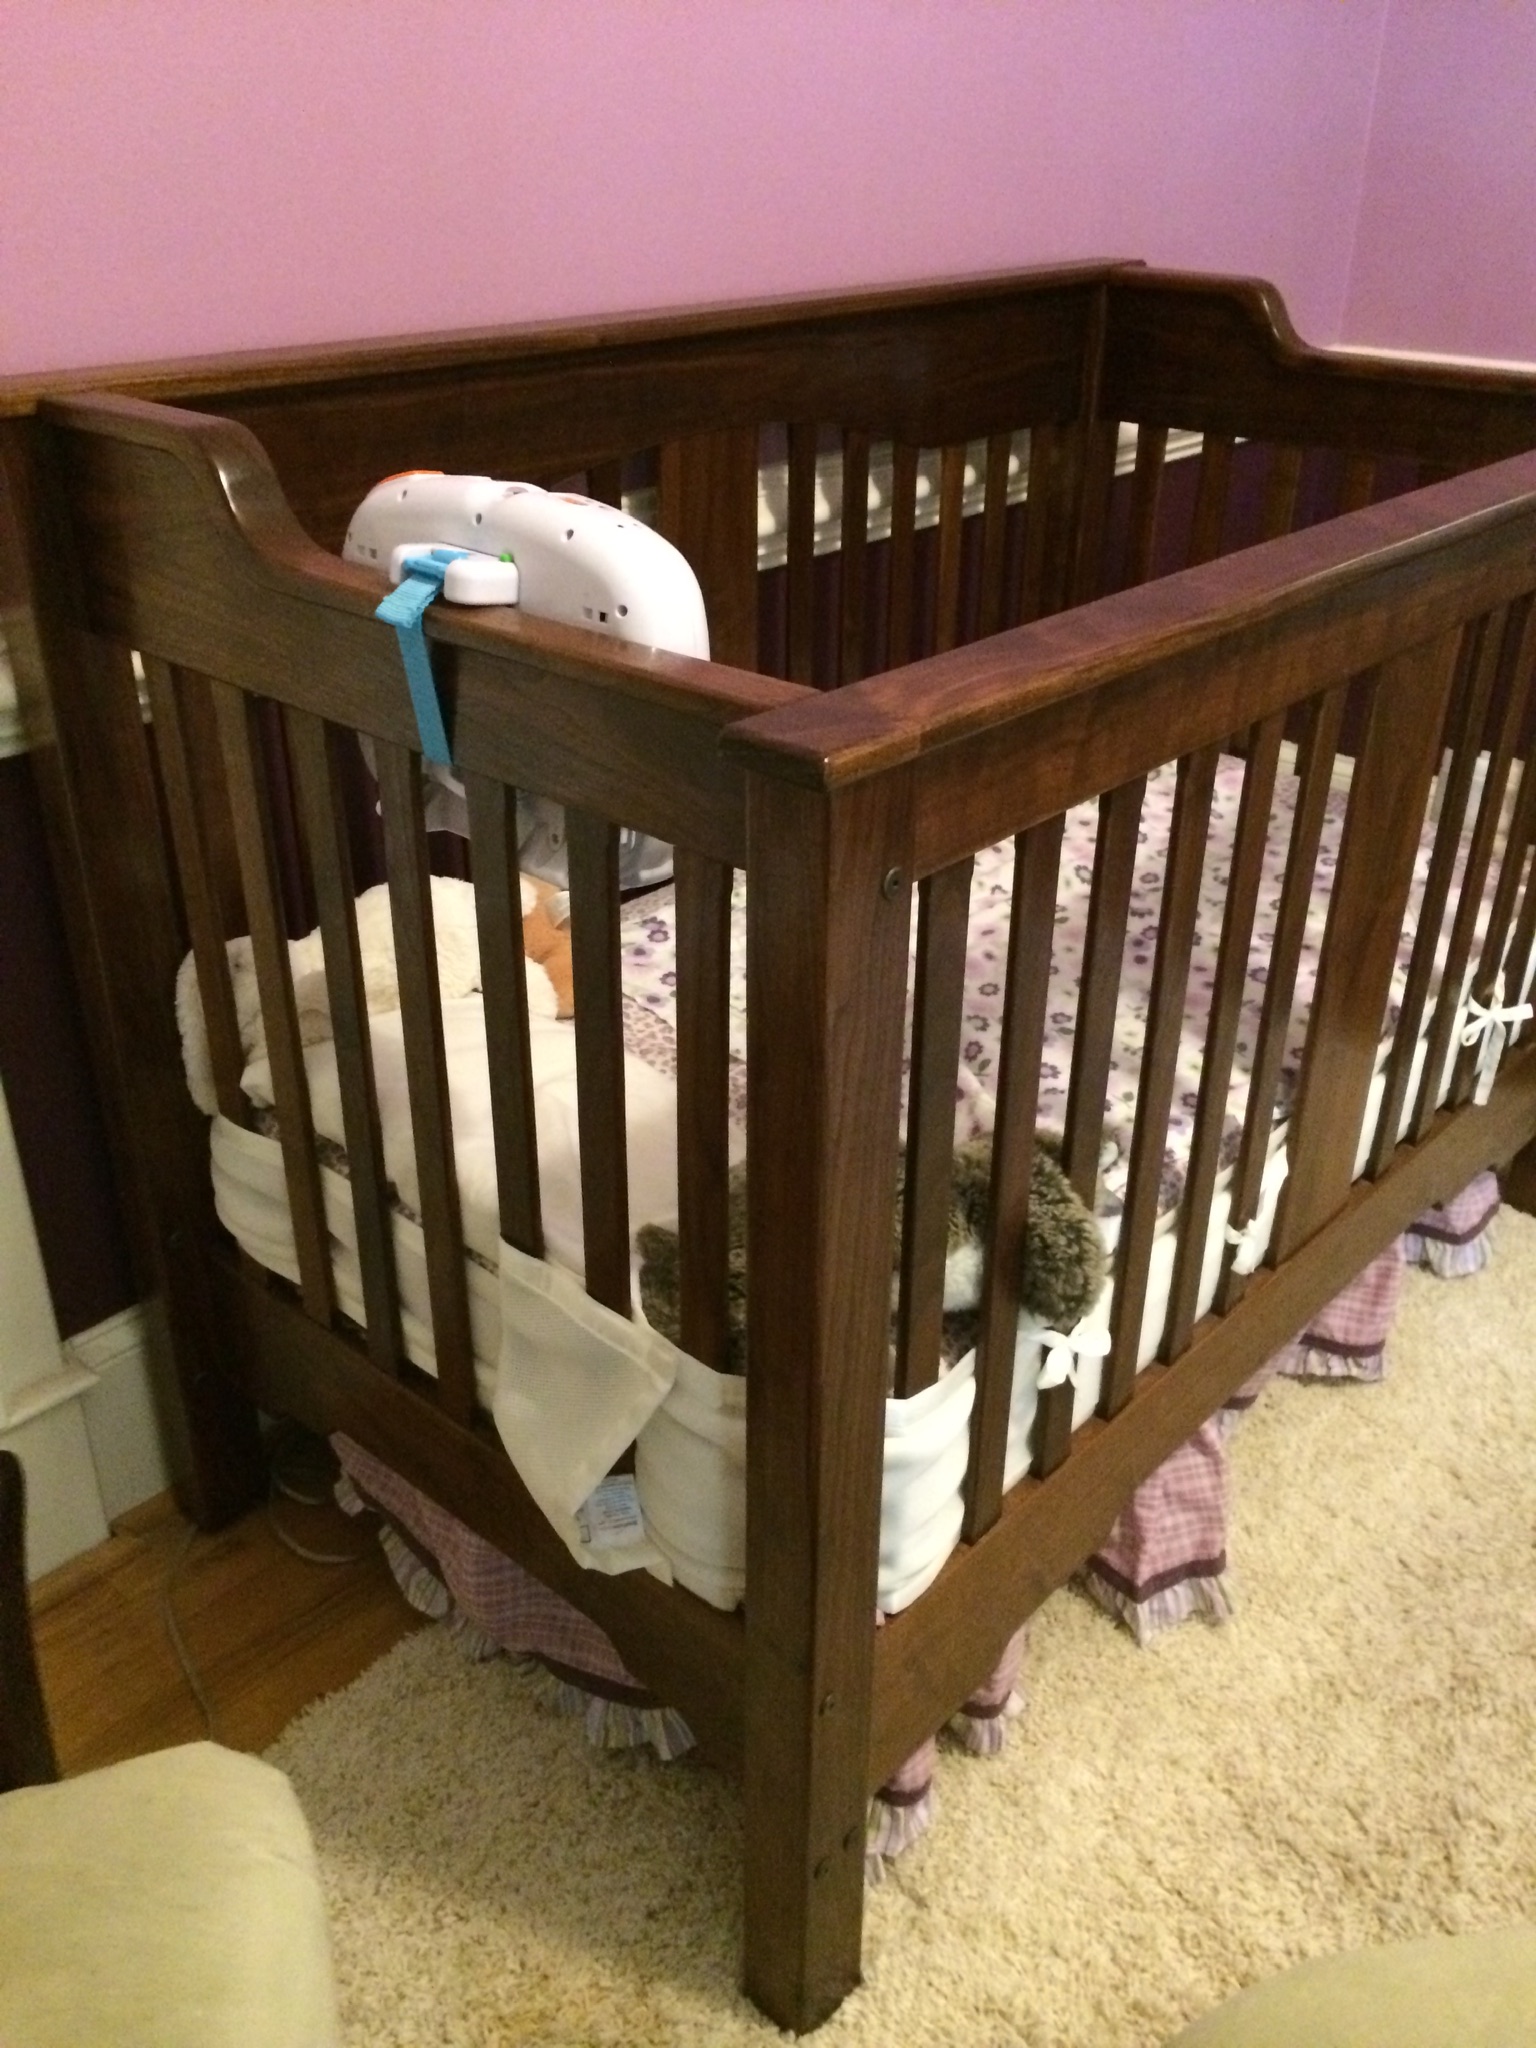
I did all of the furniture for my daughter’s room with Watco dark walnut Danish oil and then top coated with multiple layers of shellac. I chose shellac because I figured she would be sticking her mouth all over it.
The crib in the photo below turned into a toddler bed, then a full size bed and then she wanted a loft bed so I made some taller legs for it and anchored it to the wall on two sides.
There is also a dresser that matches this set but the only picture I have of it is recent and it is covered in crap. She is 11 now.
Griff
(Well crap, my hypometric precursor device is blown…)
9
Thanks.
This is my first attempt at a dining table so I’m no expert. Since it has three leaves, two of which are in place, to enable resizing it just seemed logical to build it that way.
The ease of the application, longevity, and overall long term maintenance is second to none. The only thing I hate is the price point and the accelerator. Once you crack the lid, the time starts on the air dissipating it. When I first used it, I ended up using just a tad, weeks later I came back to do another piece and it evaporated. Super frustrating, but not really needed to mix, just takes longer to cure.
Prep is super easy, I only sand to 320, and that’s not even recommended. First application cures in 24 hours, then I hit the project with a maroon scuff pad, then apply the second coat. I’ve had some projects over a year and a half that looks the same as it did when I first made it.
I use spray shellac for my carvings. Pros: Hypoallergenic, dries super fast, multiple layers in a few hours, available at any blue or orange lumber store. Cons: alcohol soluble but can be repaired.
By “behaves” I mean being durable. From your work it appears that it does stand up to some use. Love it. General Finishes tends to have excellent products.
The one area where I have yet to find a truly effective product, either General Finishes or others, is an outdoor wood product that lasts longer than a few months in the Southern California Sunshine. Nothing can truly stand up to the power of the sun for nearly as long as claimed.
I think if I go look at my Rubio Accelerator in my home shop, it’s probably gone!
I agree that the finish does stand up. I also liked the matte look it put on my main dining table.
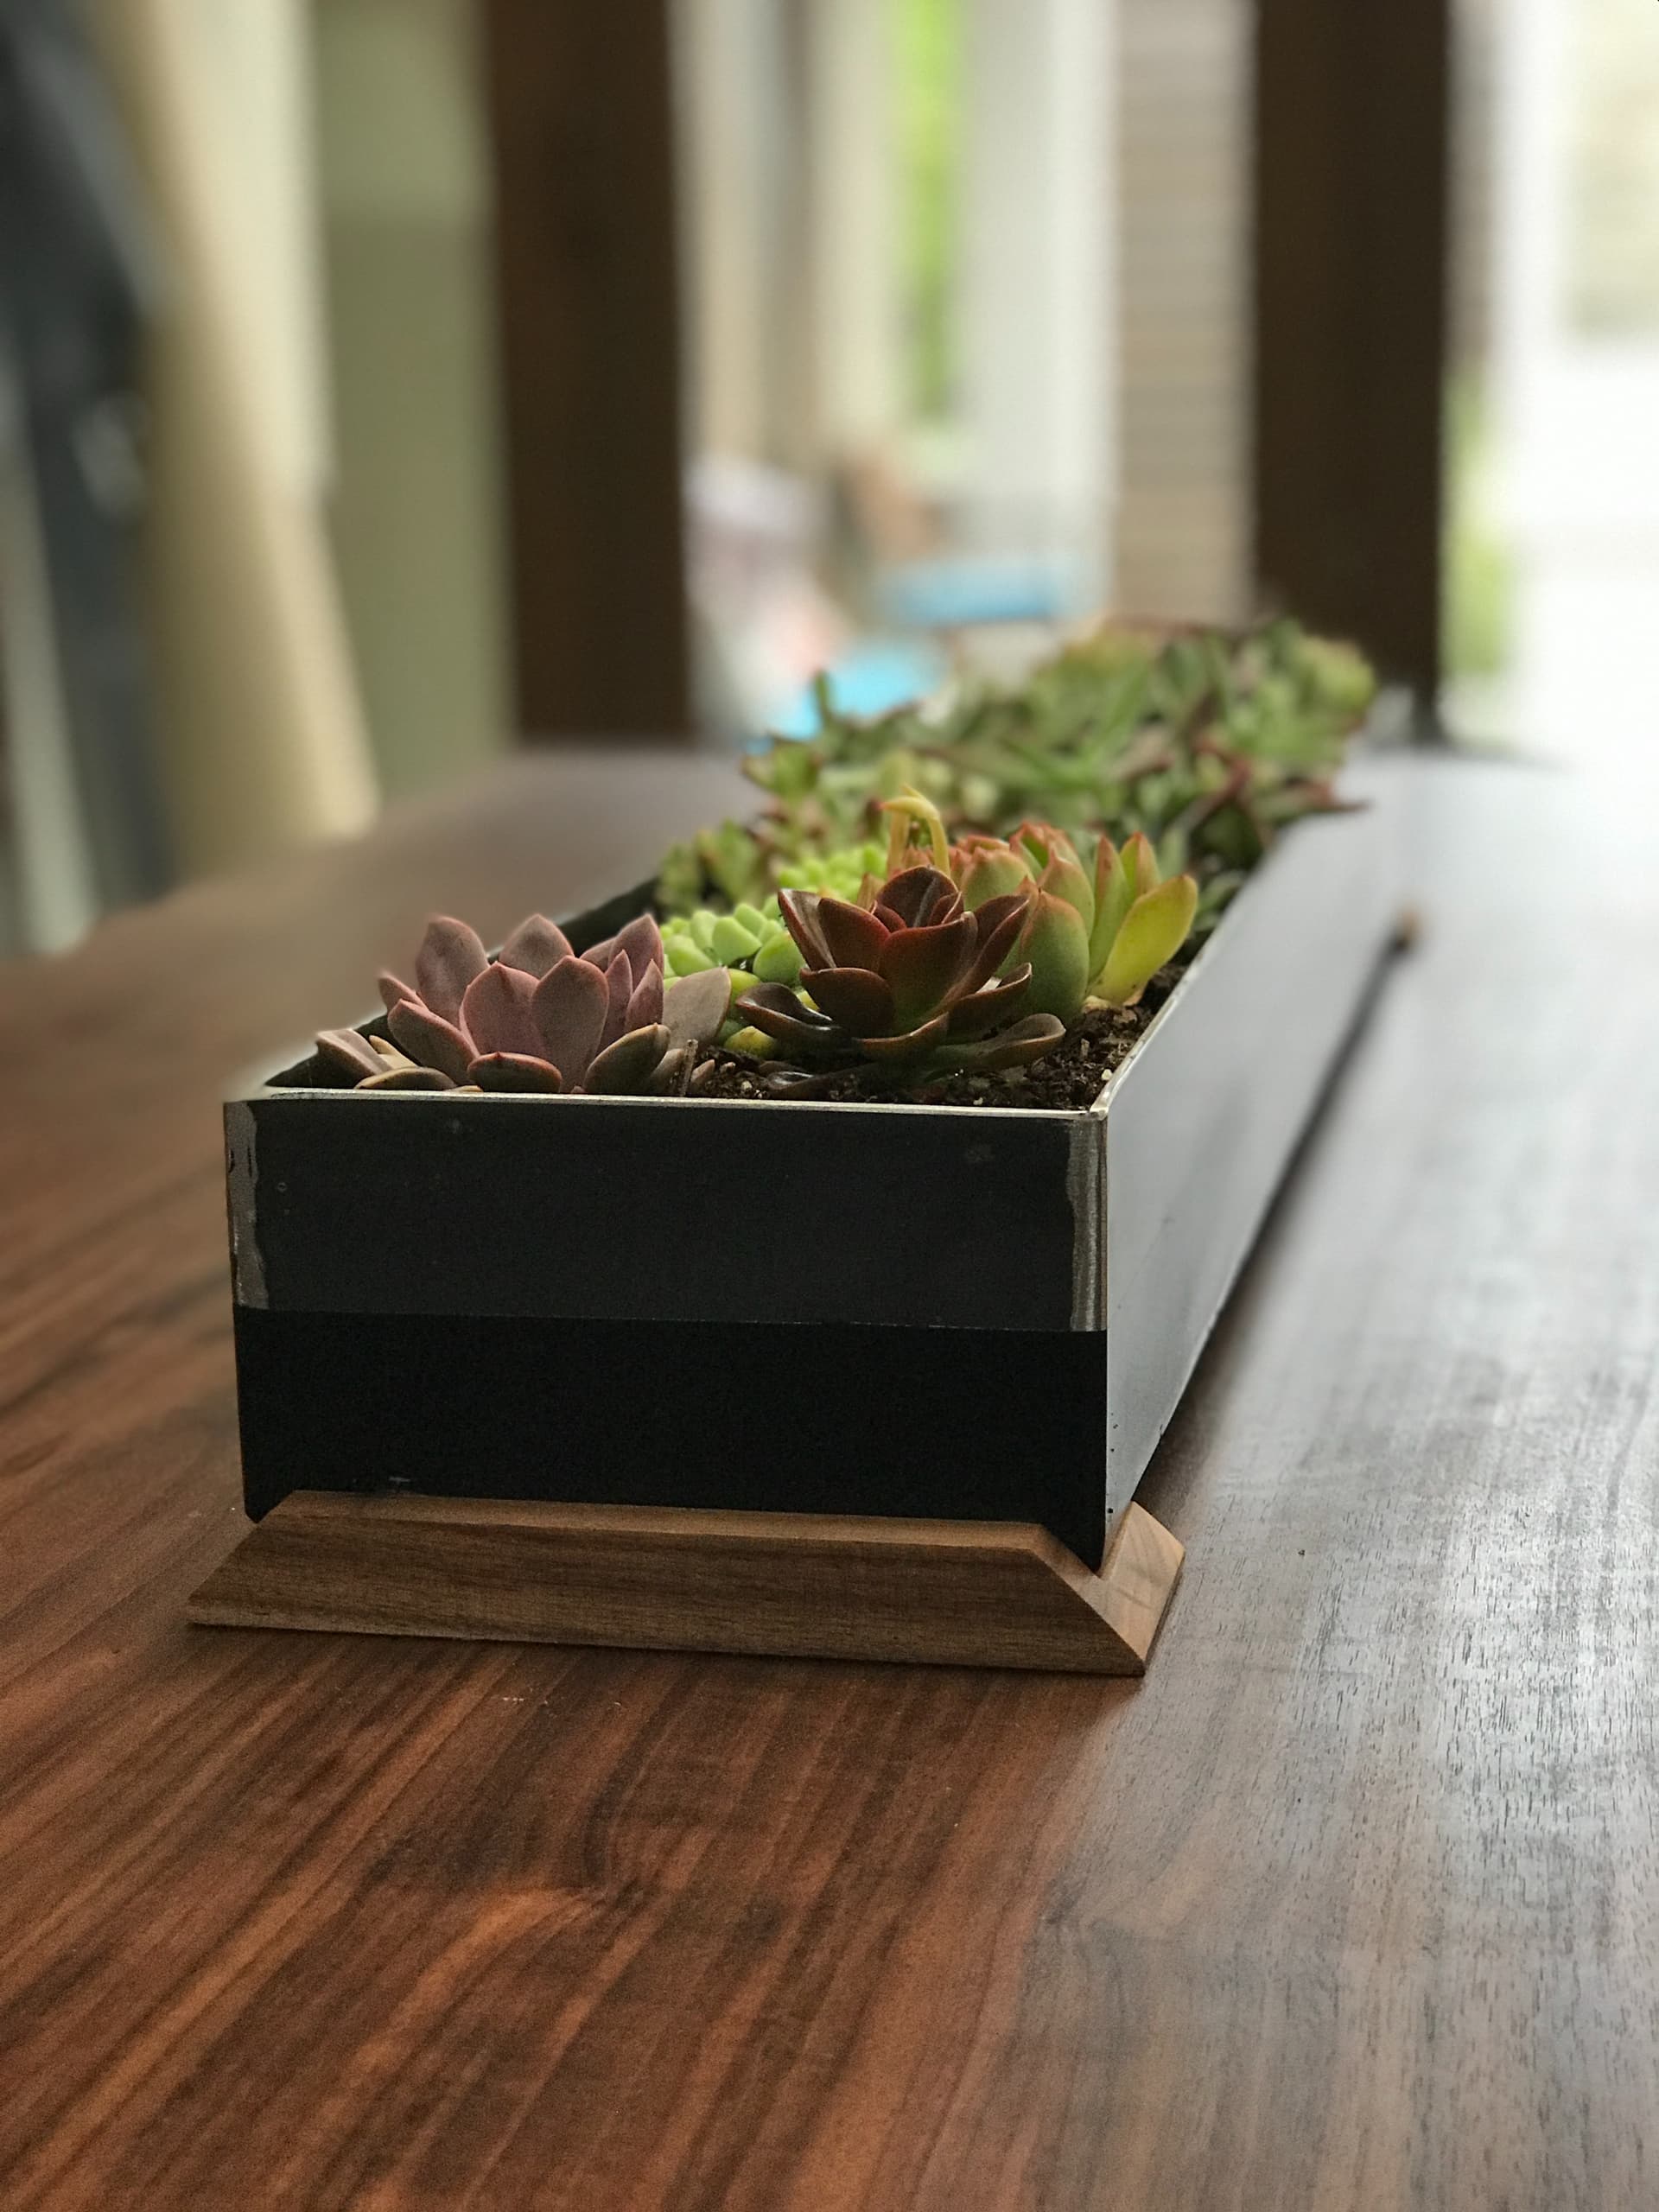
I called this experiment “Plive Edge”. 3/4" Walnut Plywood sheet backed with a 3/4" Baltic Birch sheet. Cut with a jig saw at various angles / Sanded / Poly to seal the edges / Then Rubio on the main surface.
Only issue with it is the durability of plywood. It has acquired a number of dents and scratches over it’s years of service.
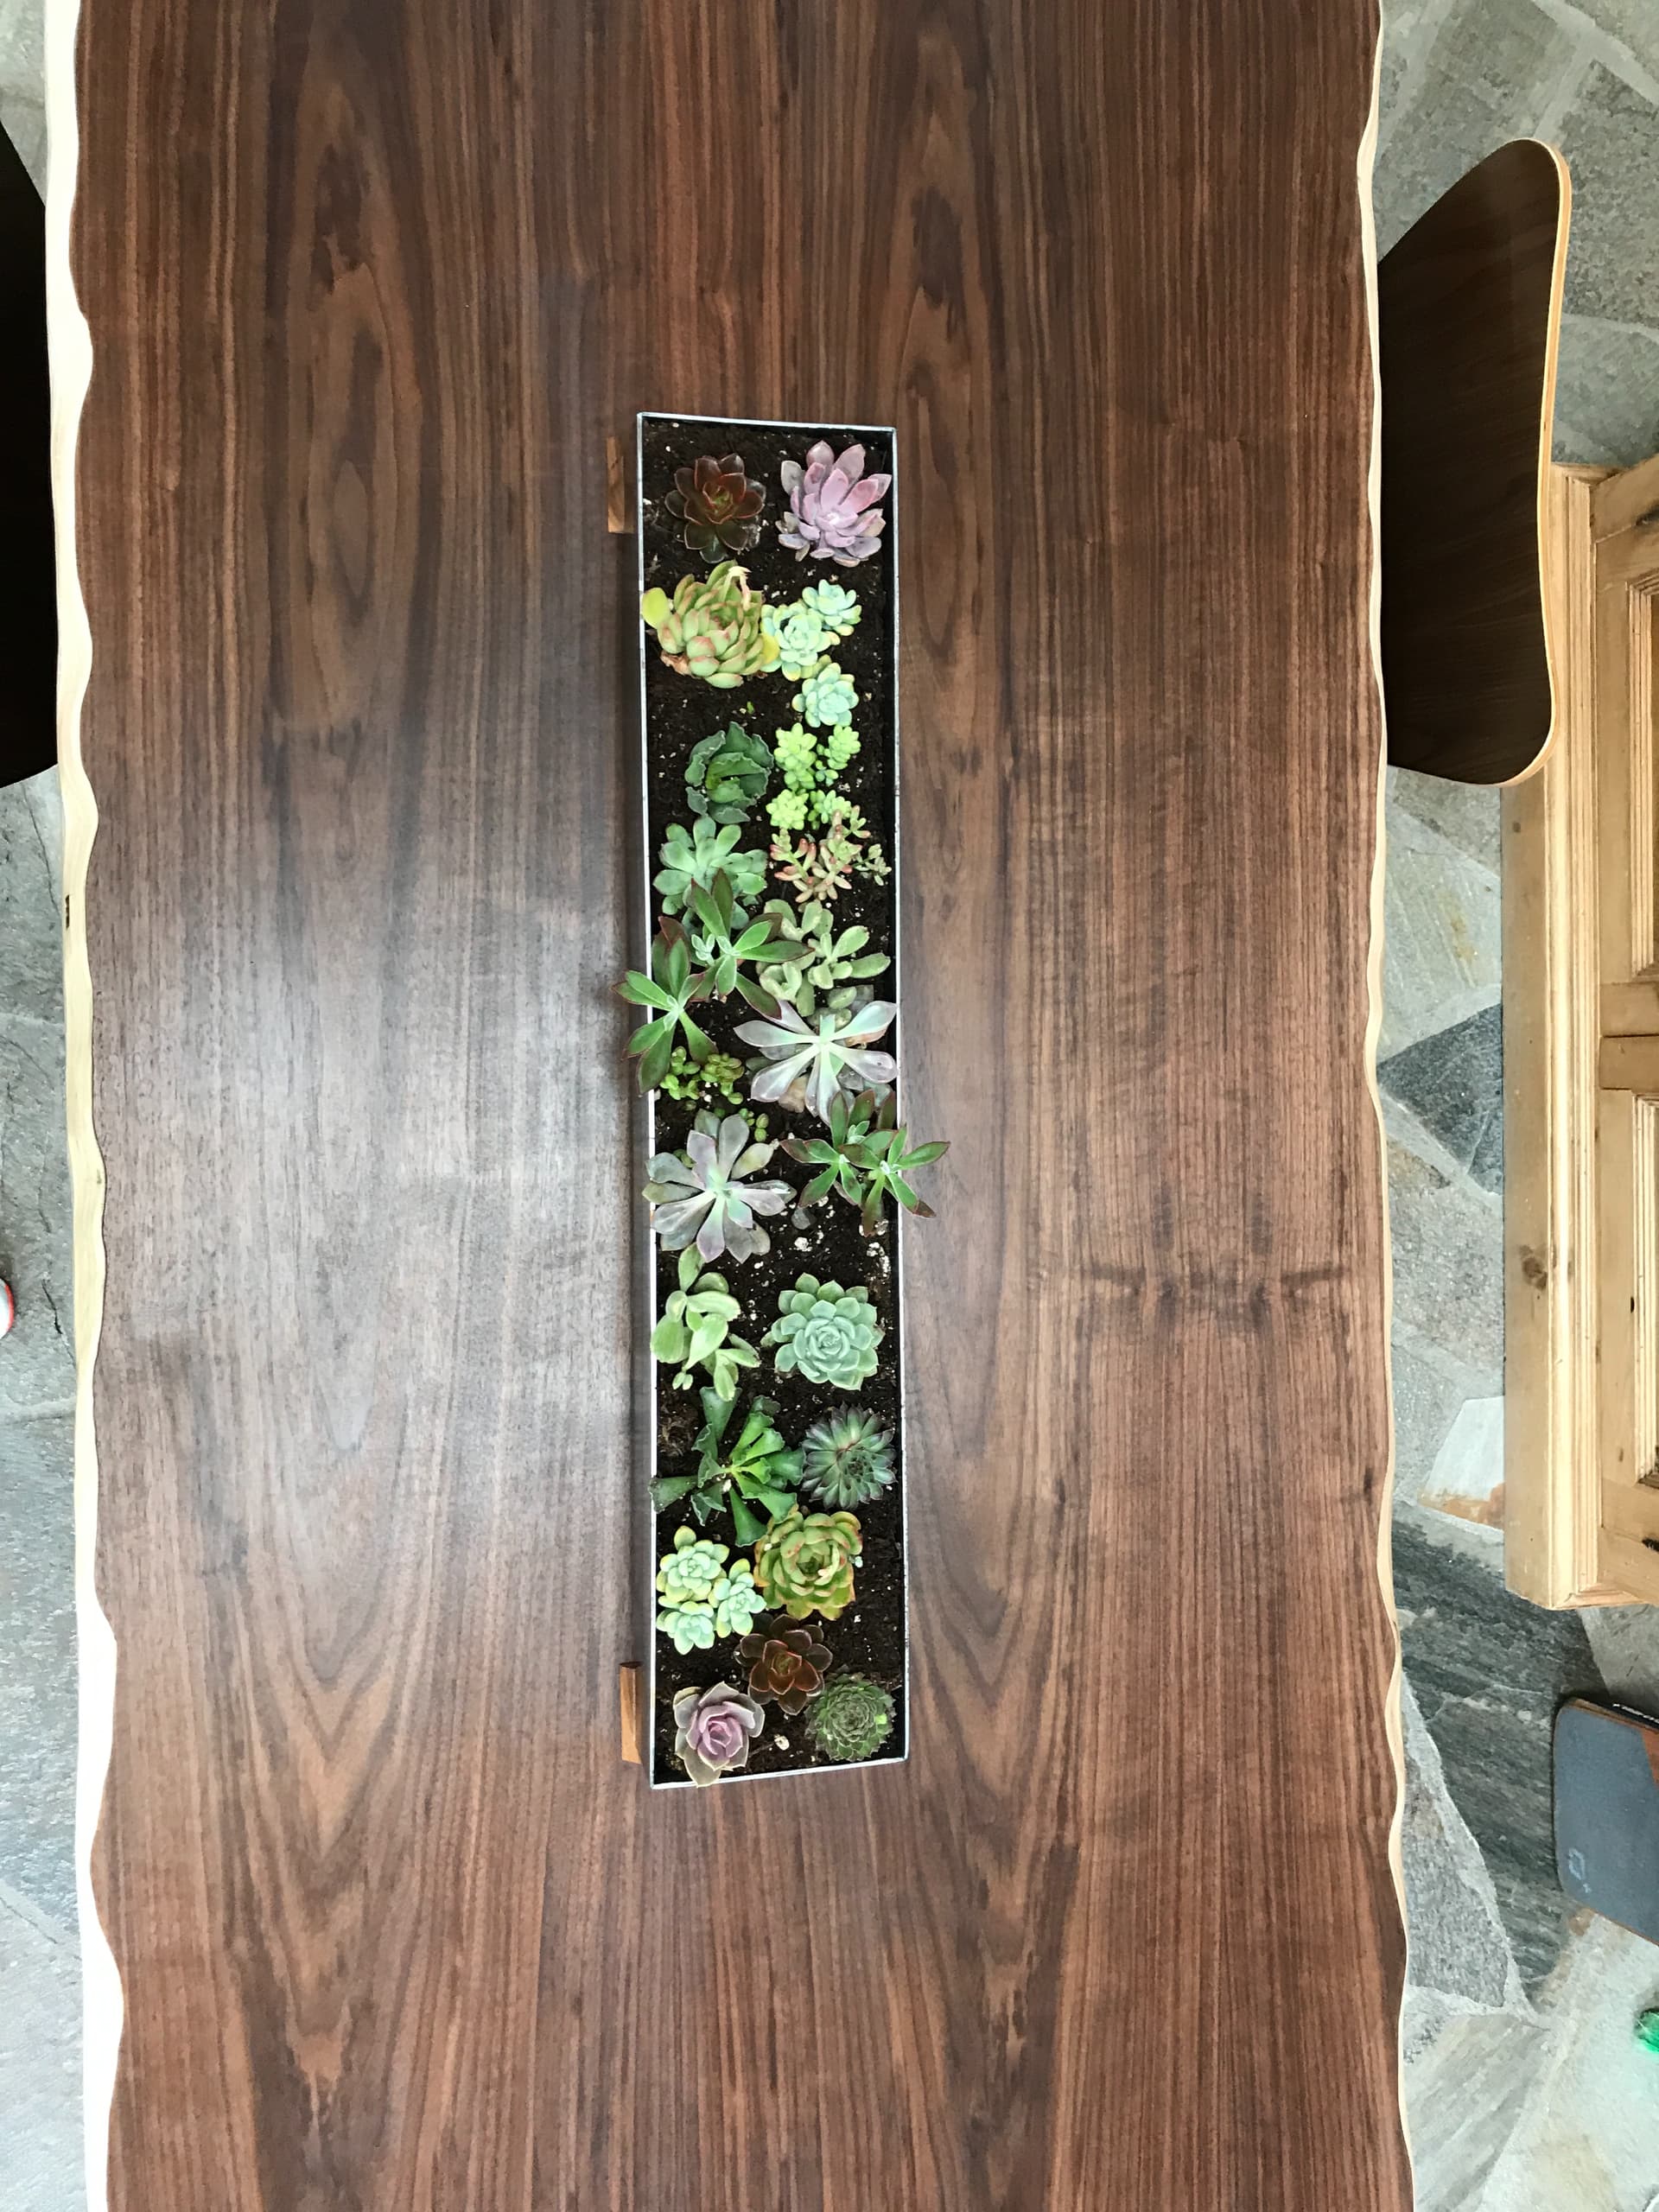
I welded the planter and put real Walnut feet on it.
4 Likes
Griff
(Well crap, my hypometric precursor device is blown…)
17
Let me know if you ever do! I’ve just started doing outdoor projects and have learned two things so far. No finish survives more than a year. “Cheap” pine dimension lumber warps, splits degrades quickly.
Next try is 6/4 white oak, no finish.
Having both machines is a luxury.
If you are trying to make a living, or side hustle, with your machines, the use case for large and small projects is pretty good. Jewelry and Coins are my main NOMAD projects. It also makes small trays and various metal engraved items.
A lot of it comes down to footprint. I love having a NOMAD in a room versus a shop. It’s about the opportunity to be creative outside of the industrial environment of a shop or a garage.
Being in a house allows for different thoughts and ideas. Being able to explore those in the house is also excellent for sharing the CNC experience with kids and wives.
Yes, I’ve done a number of tables. You are spot on. The best advise for people (clients) who want beautiful “Dwell Worthy” outdoor furniture is:
Pay for the best materials (Redwood / Ipe or similar outdoor durable woods)
Sand and re-coat every 6 months to 1 year. Or…
Accept that aging is part of the look and natural progression of an outdoor item. That’s why people pay for barn wood.
Barn wood wasn’t coated with poly or imbued with oils every 6 months. It was left to age and acquire character. This can also be true of your client’s table, fence, bar or whatever.
But those old barns were not built with Pine
What would someone put on a picnic table for sealant?
Im currently making a 10’ long live edge plank picnic table. Using c channel and m6 fastners underneath. Curious what would be durable and best suited for years of weather. This table will be transported down the road to the neighbours house by tractor, set in place, and left in place all year. Any suggestions would be appreciated, even on the build not just the sealant. Thanks.
Stay safe.