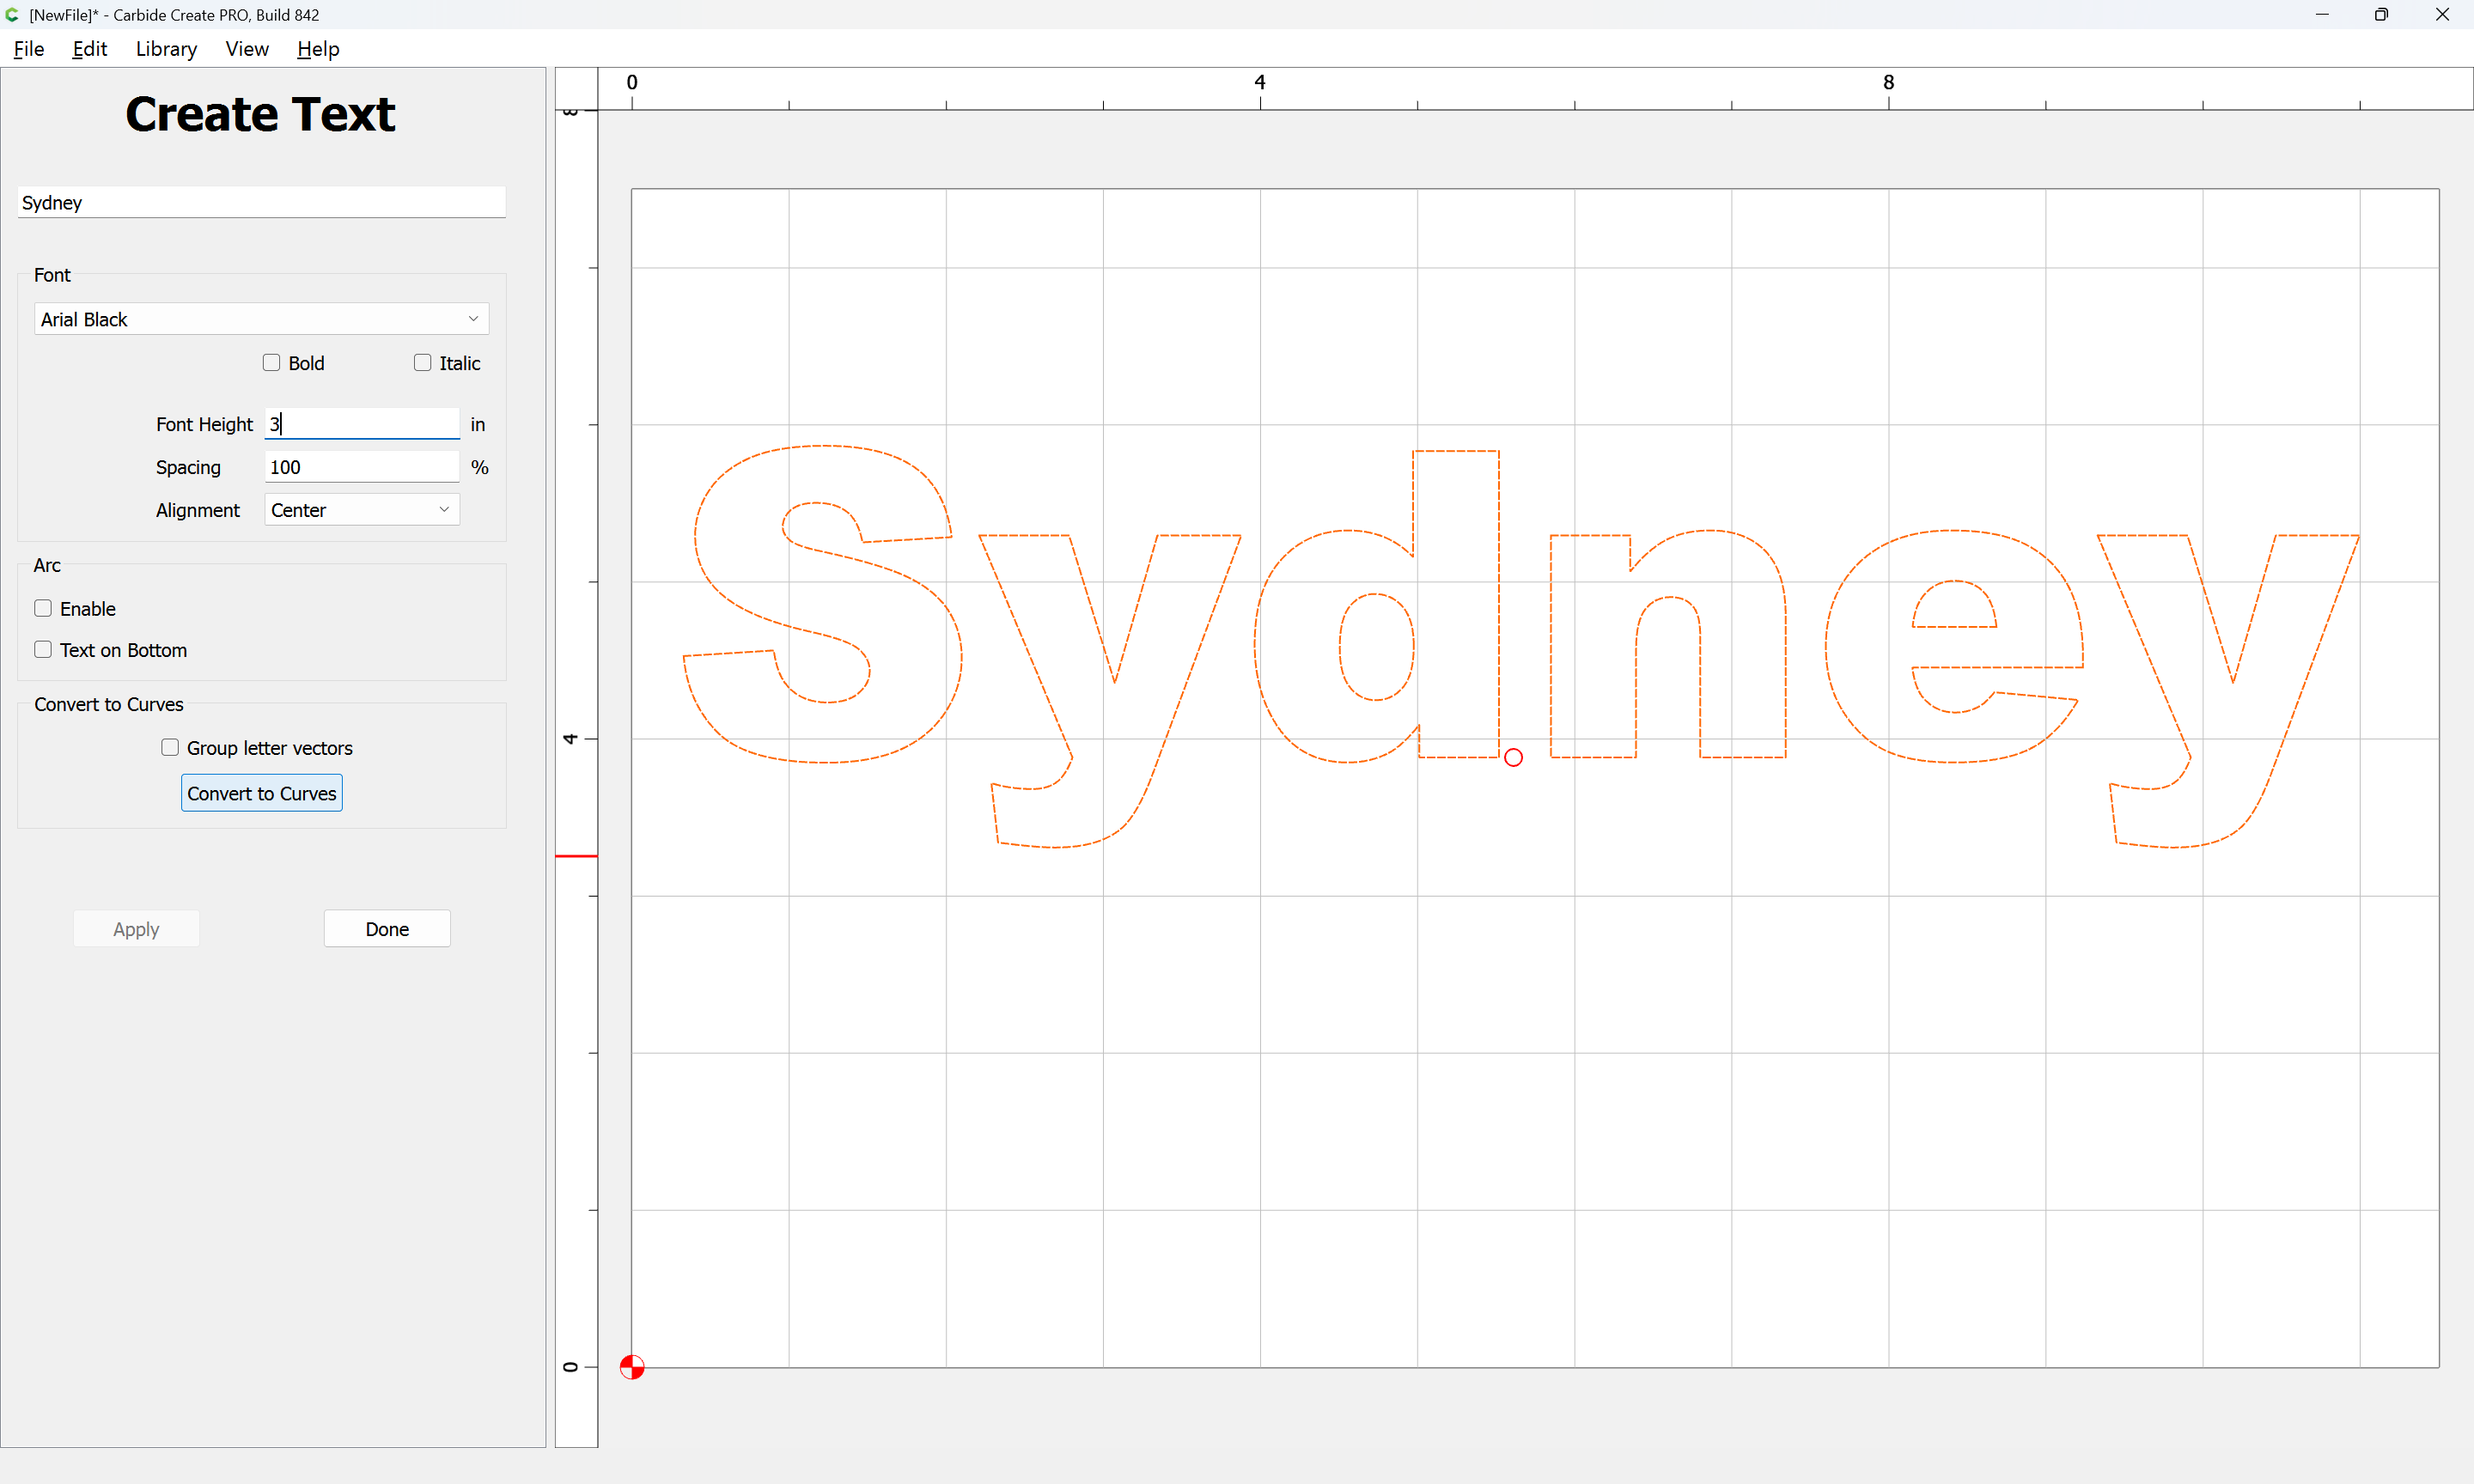
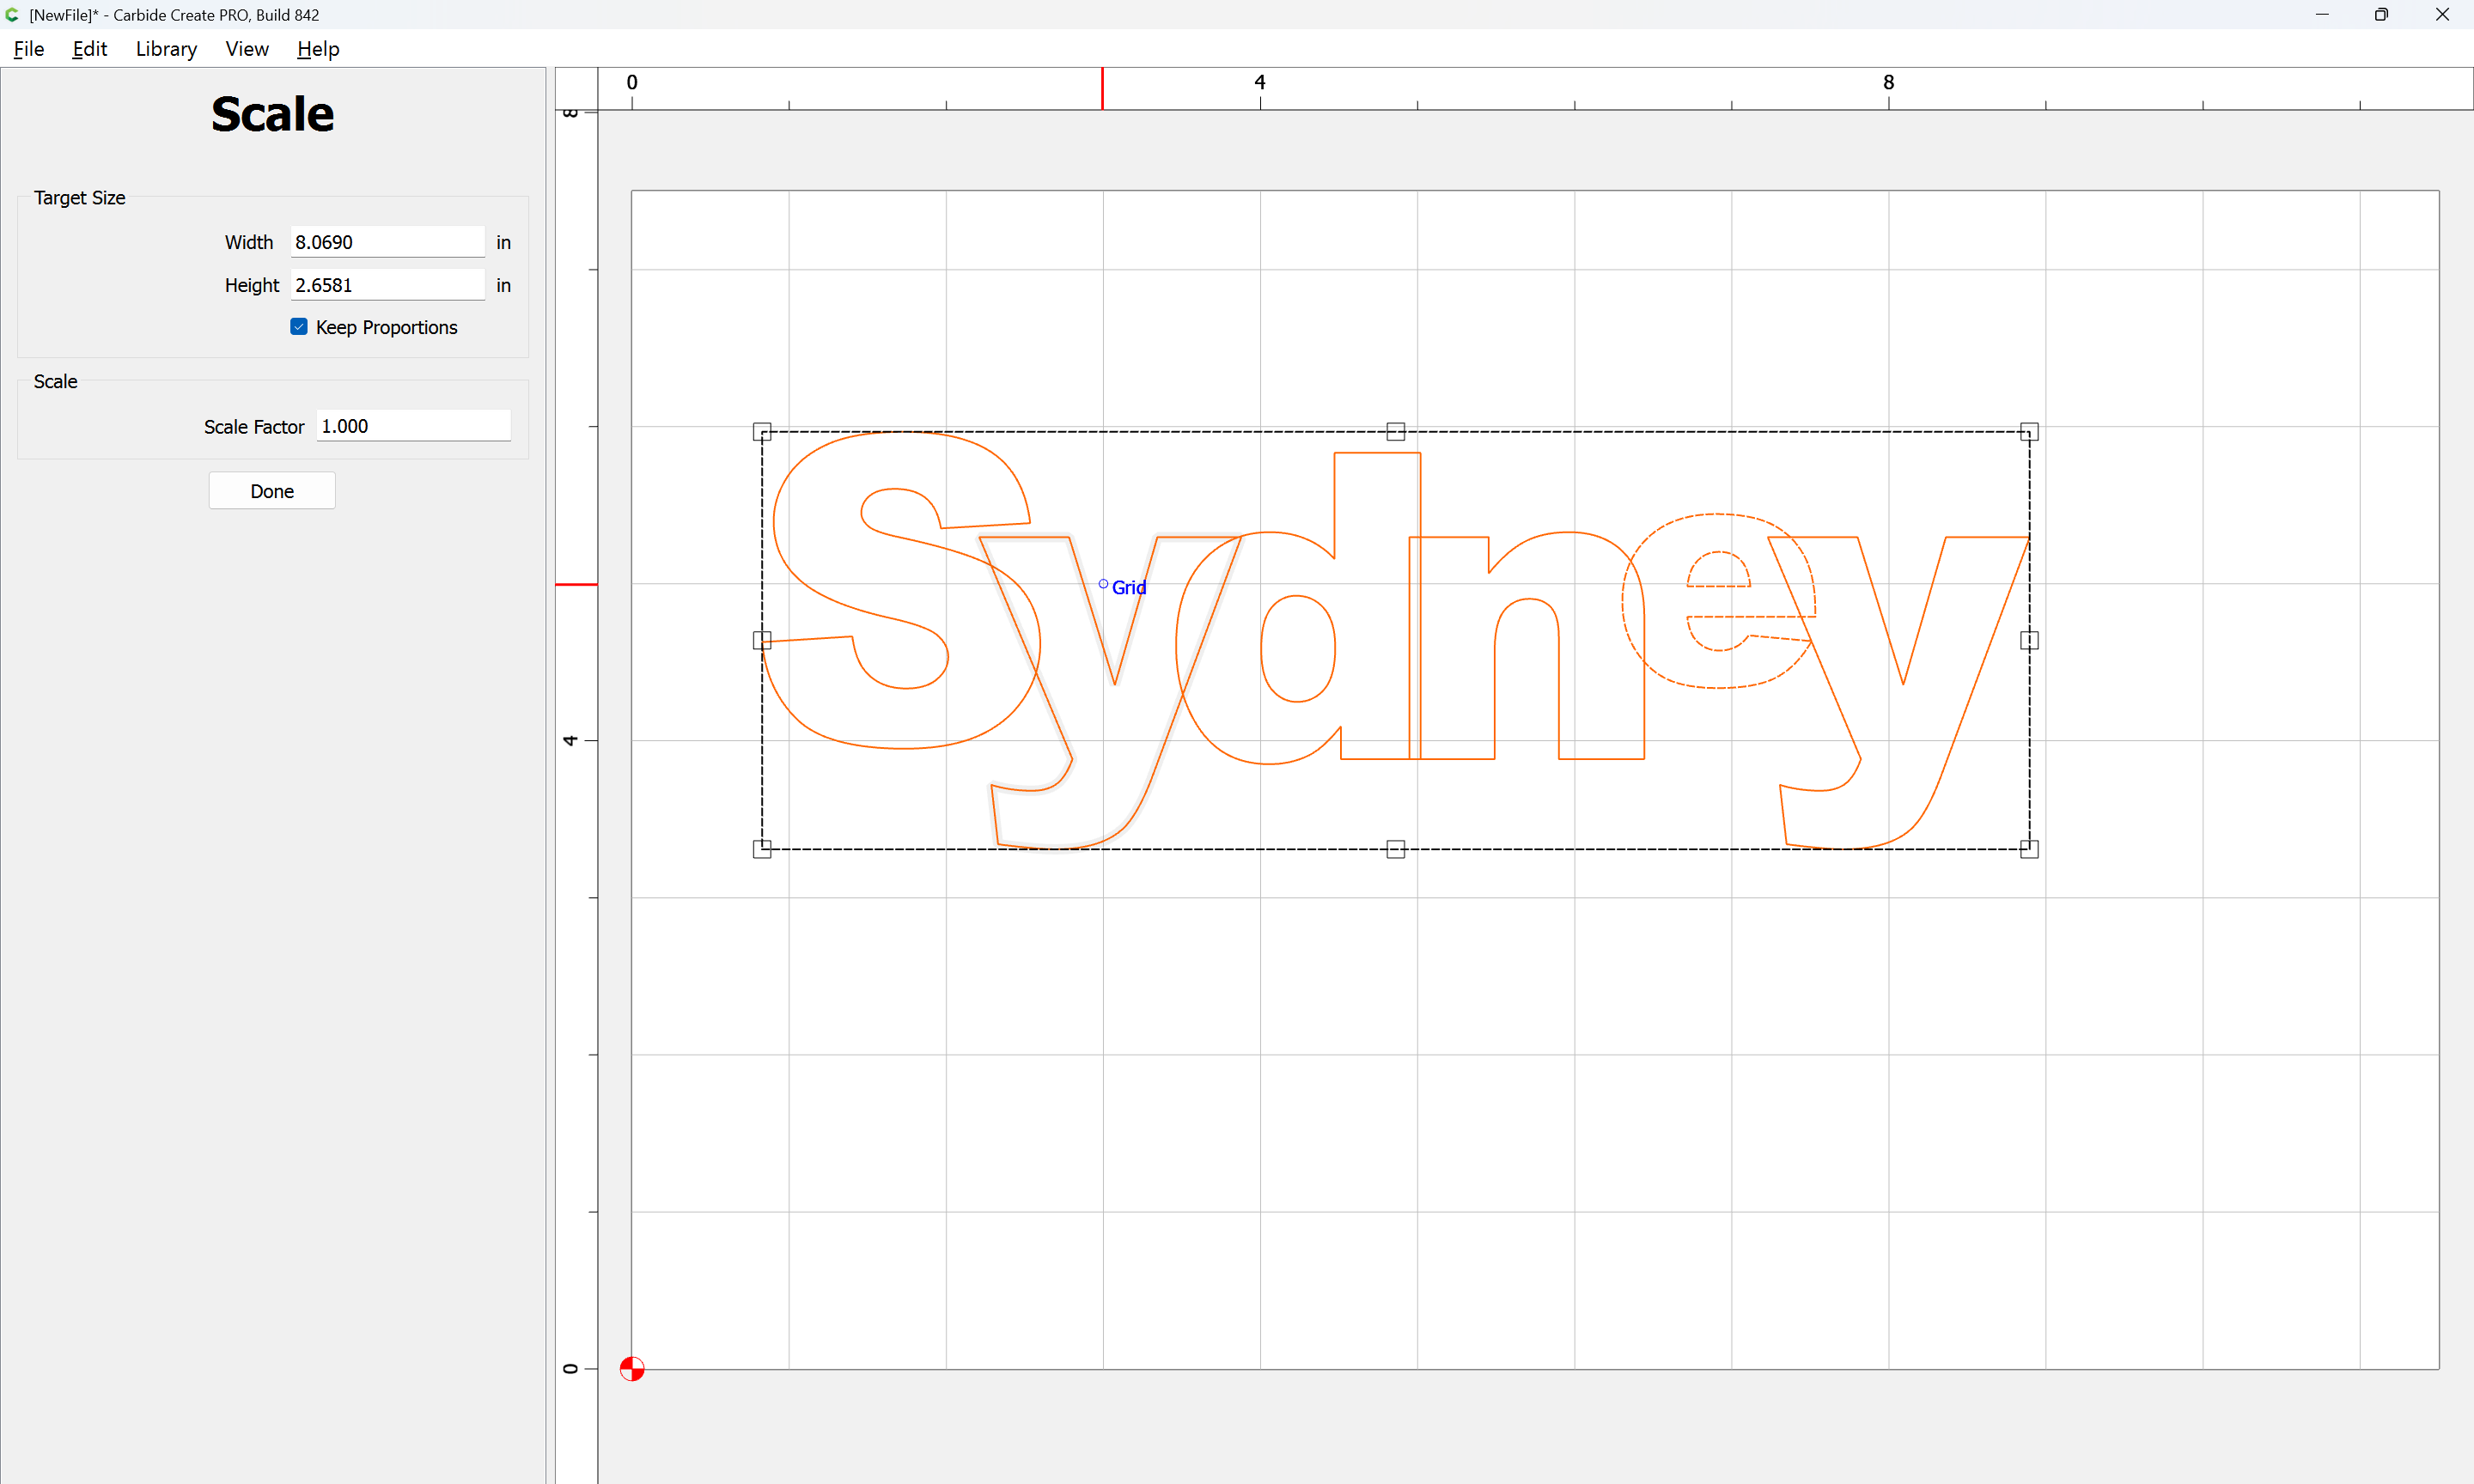
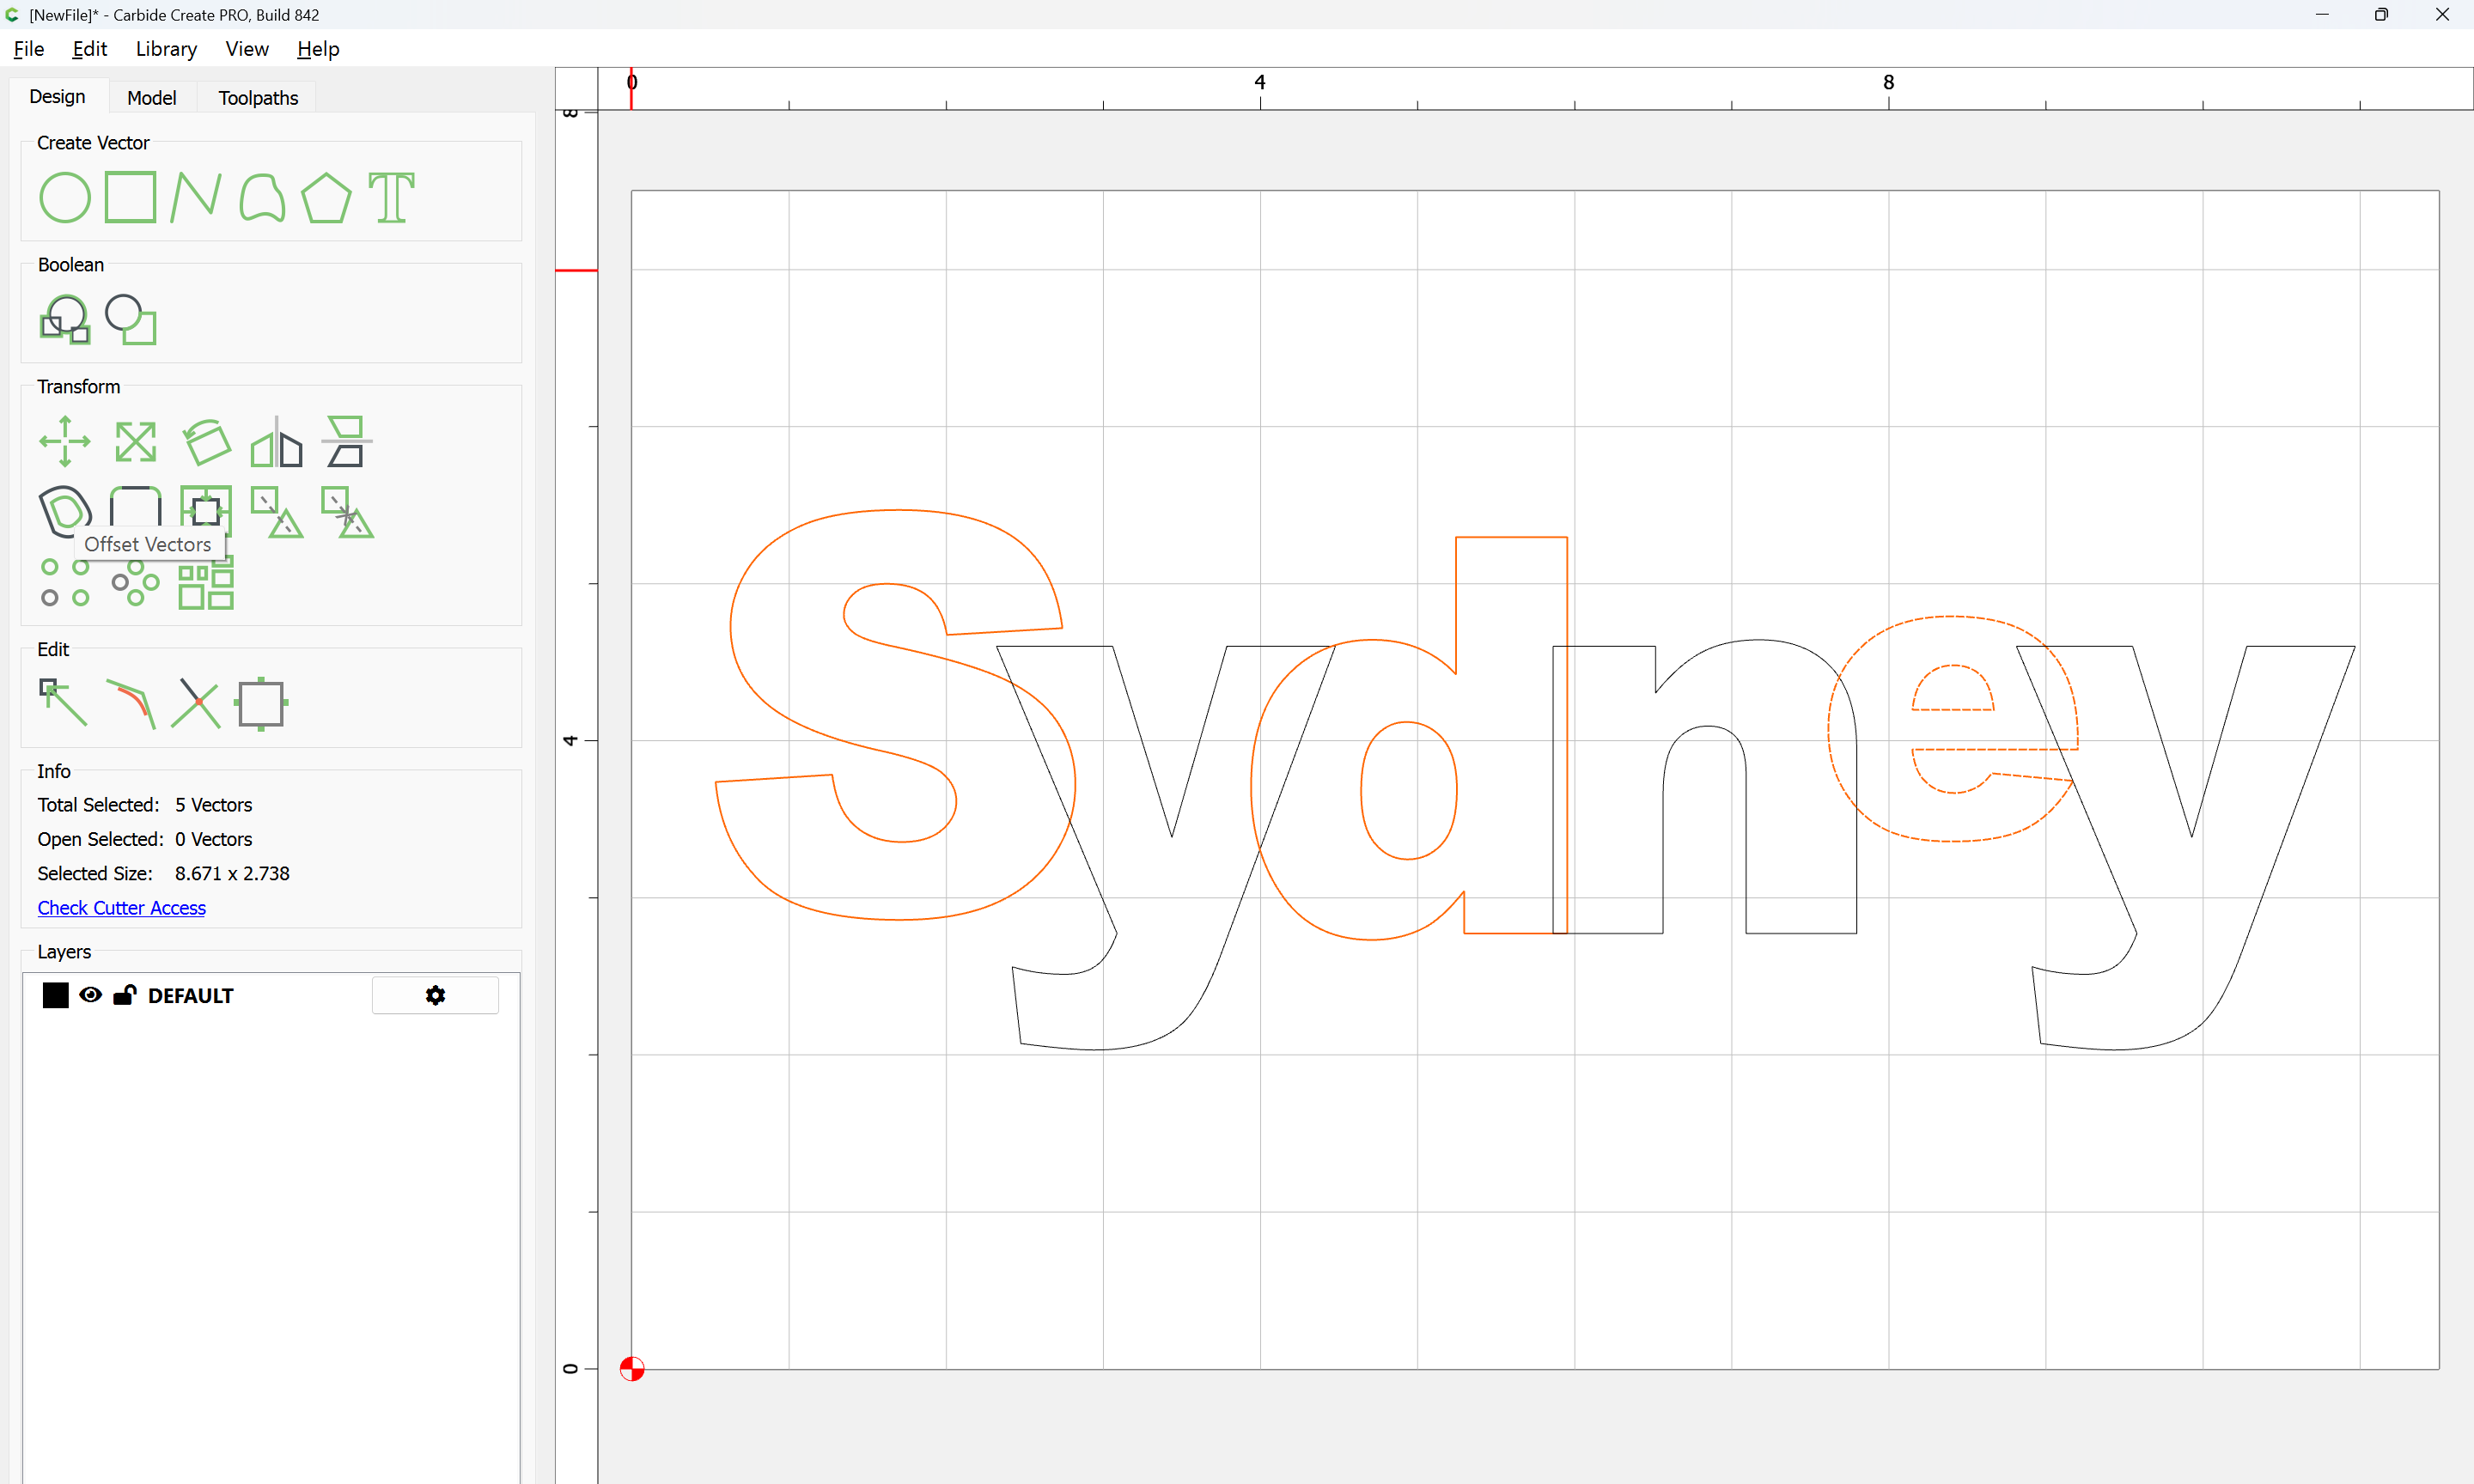
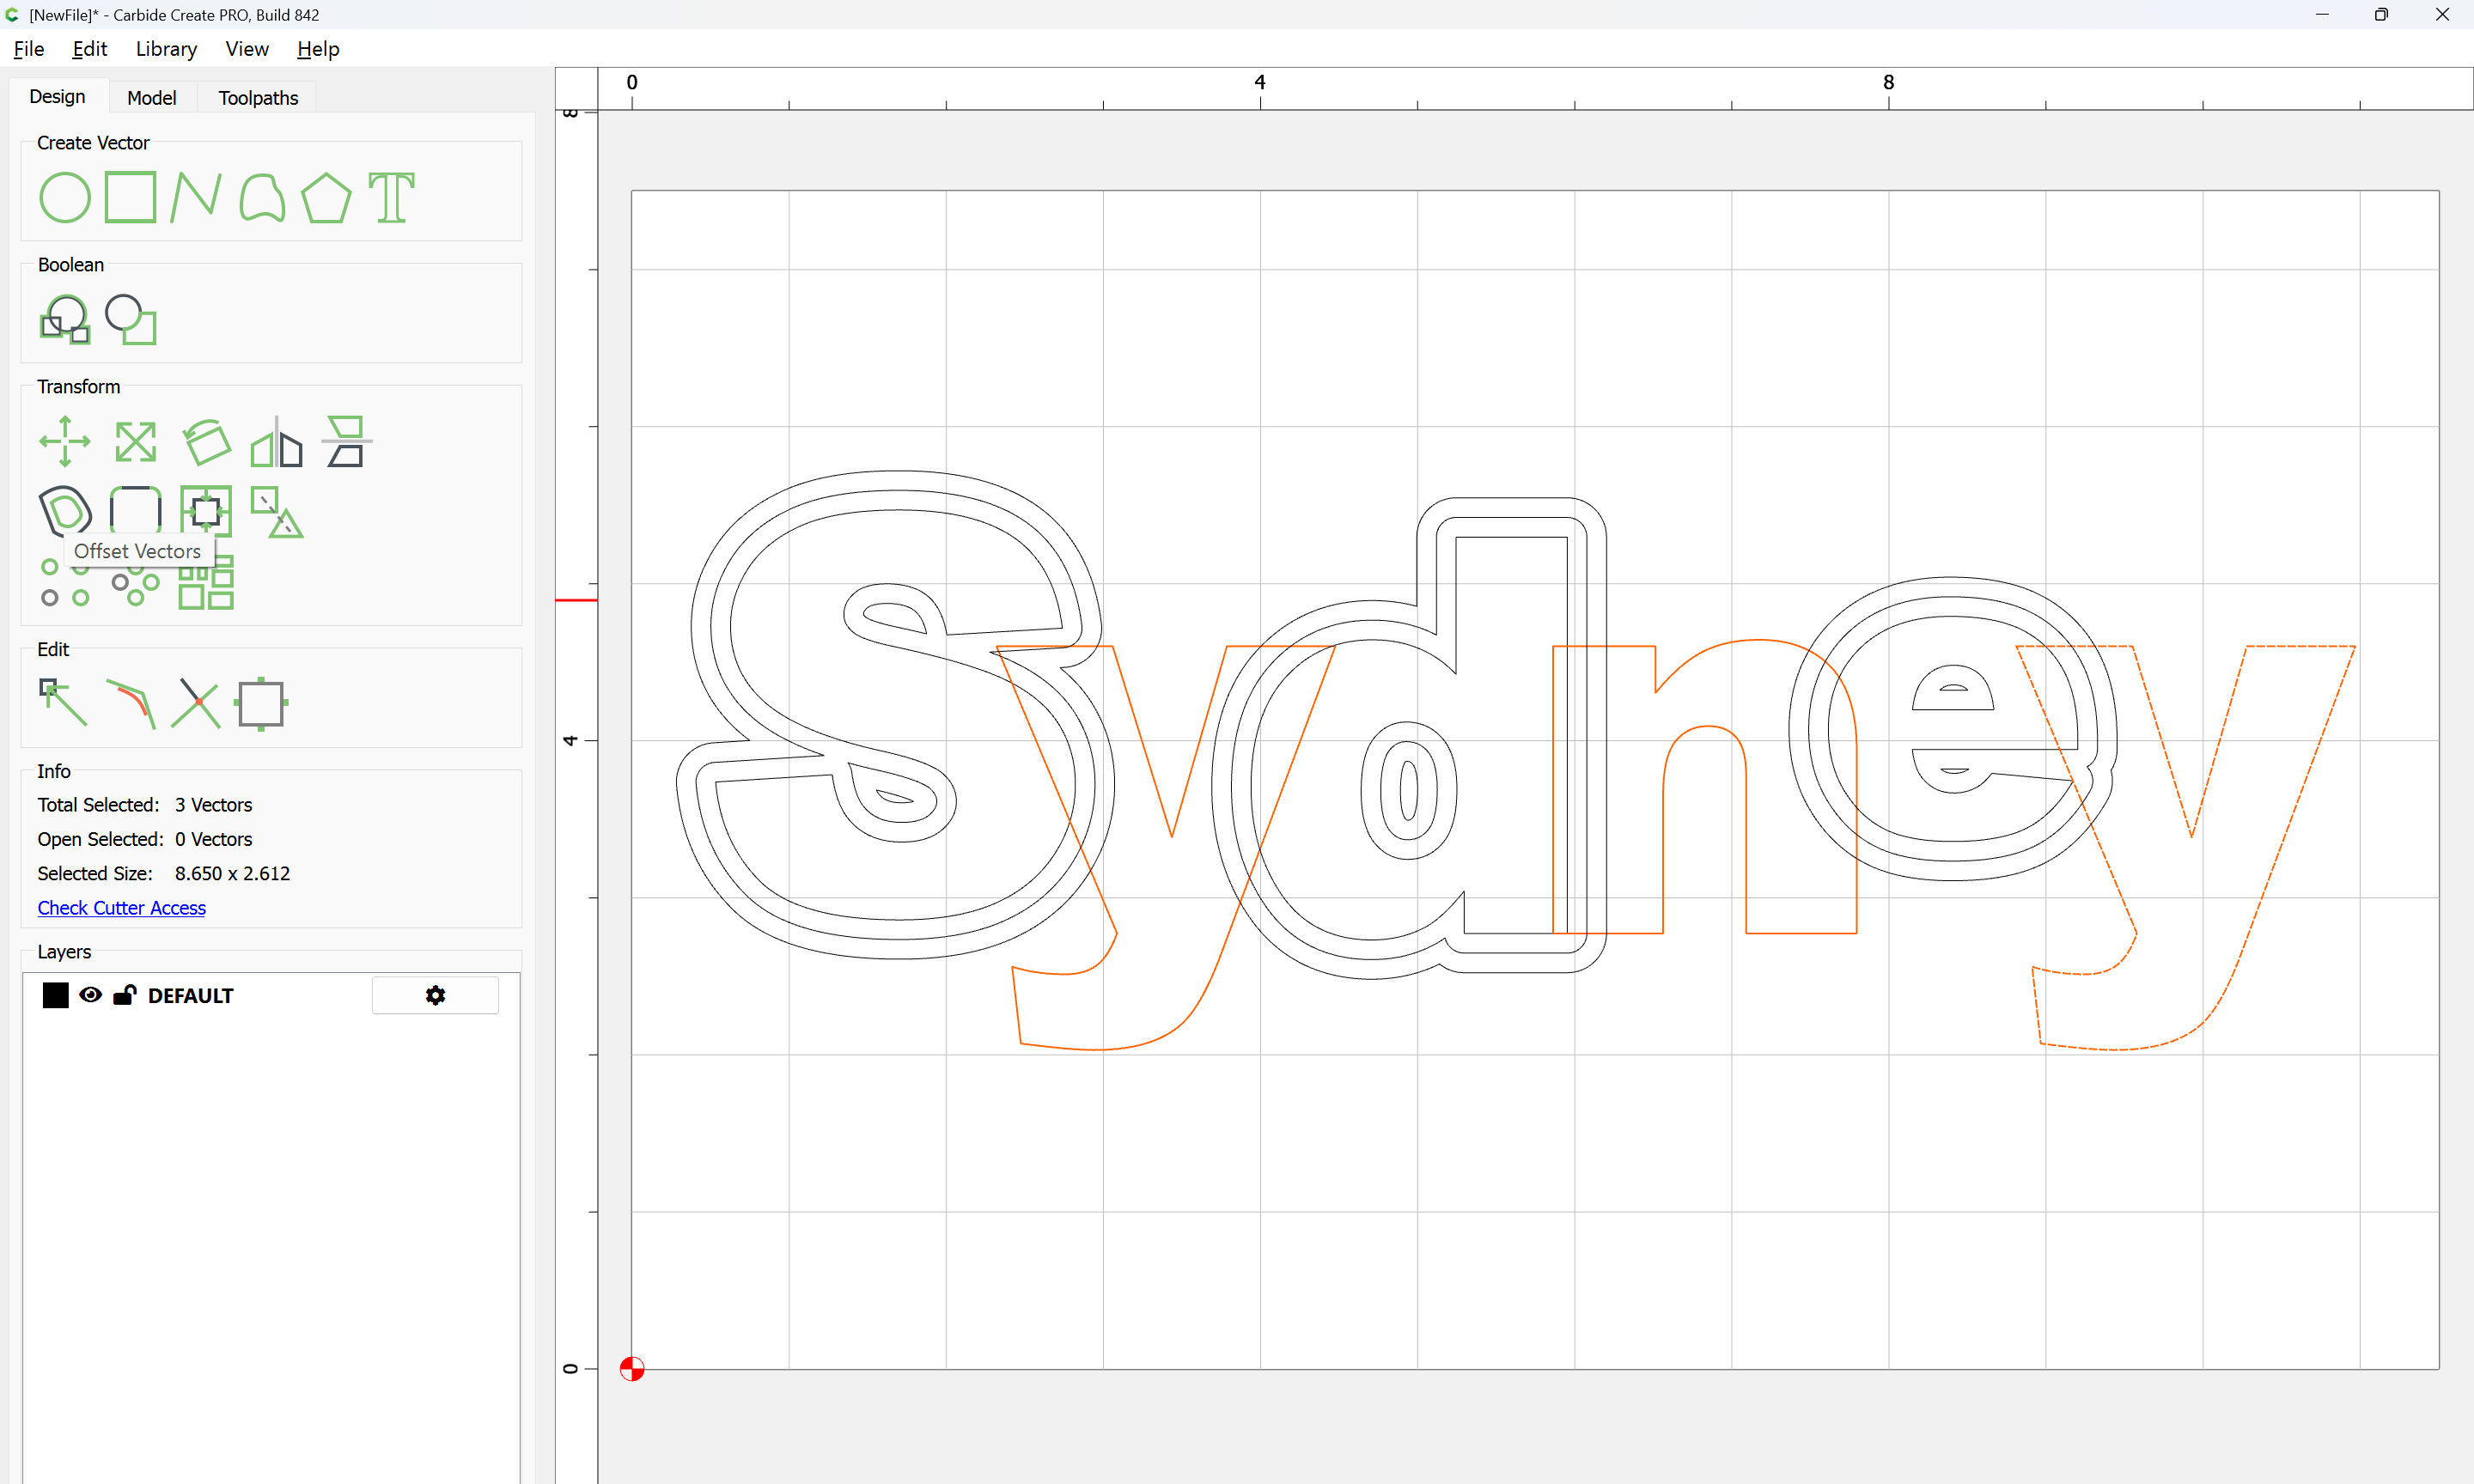
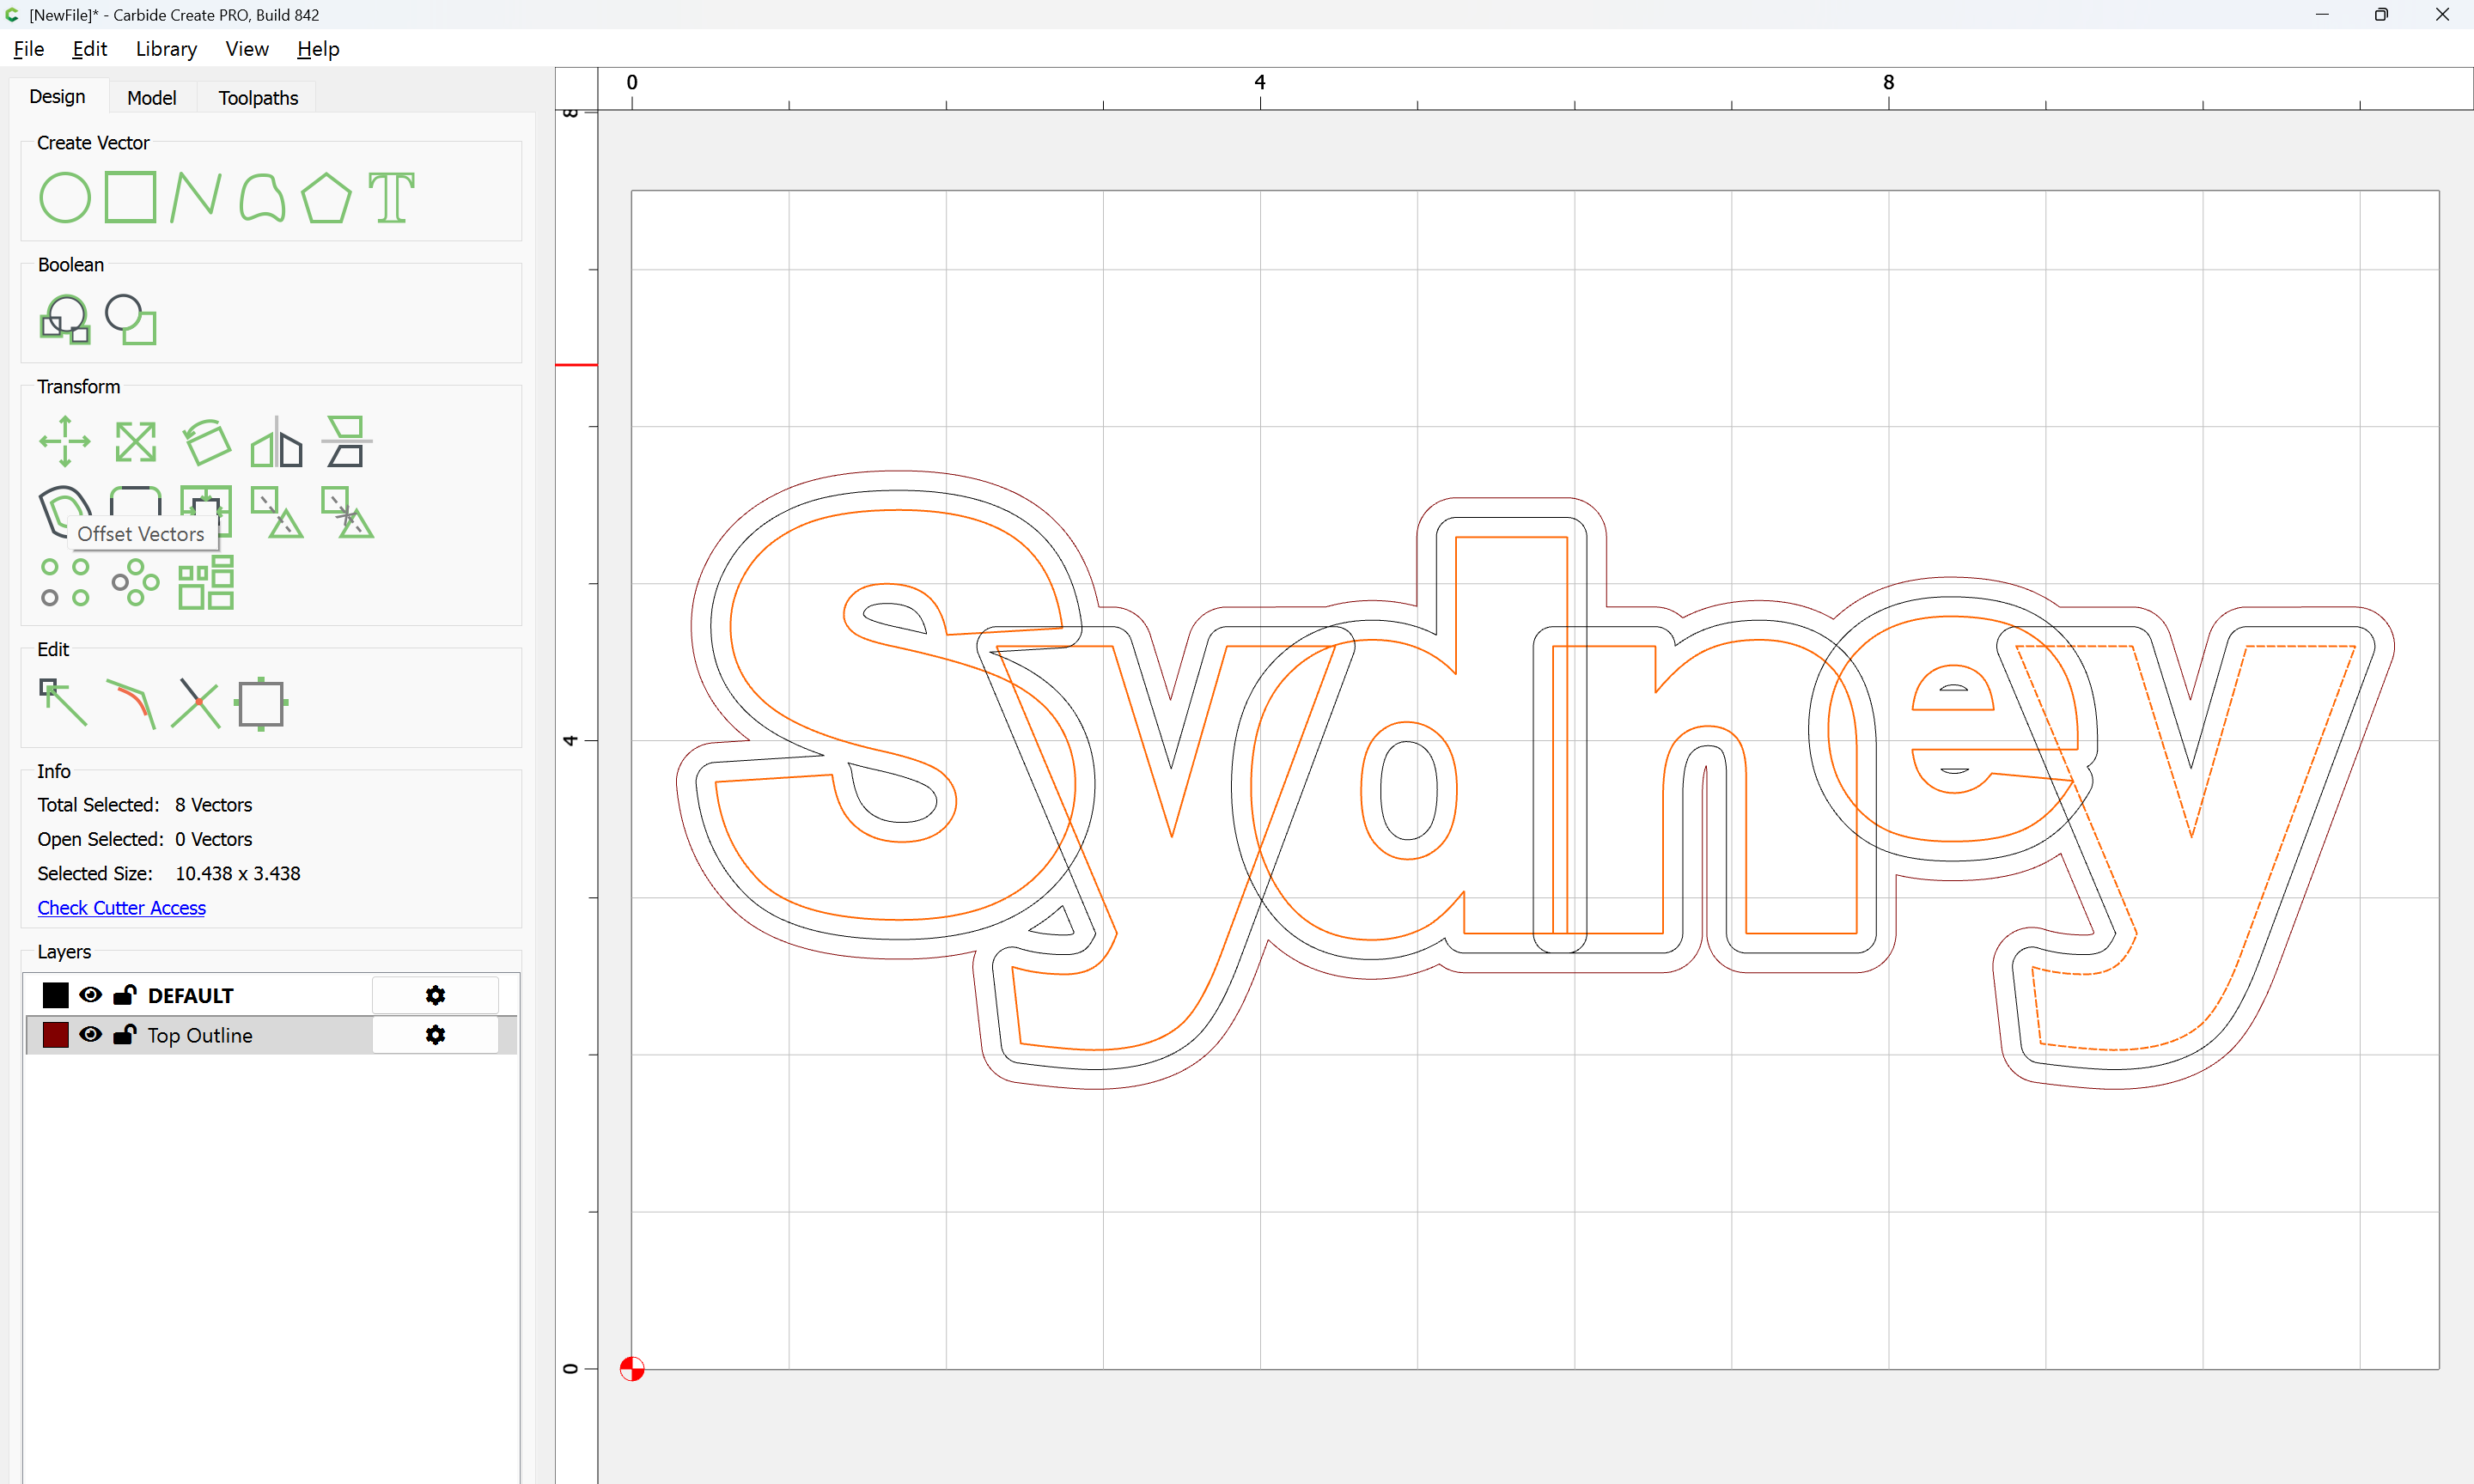
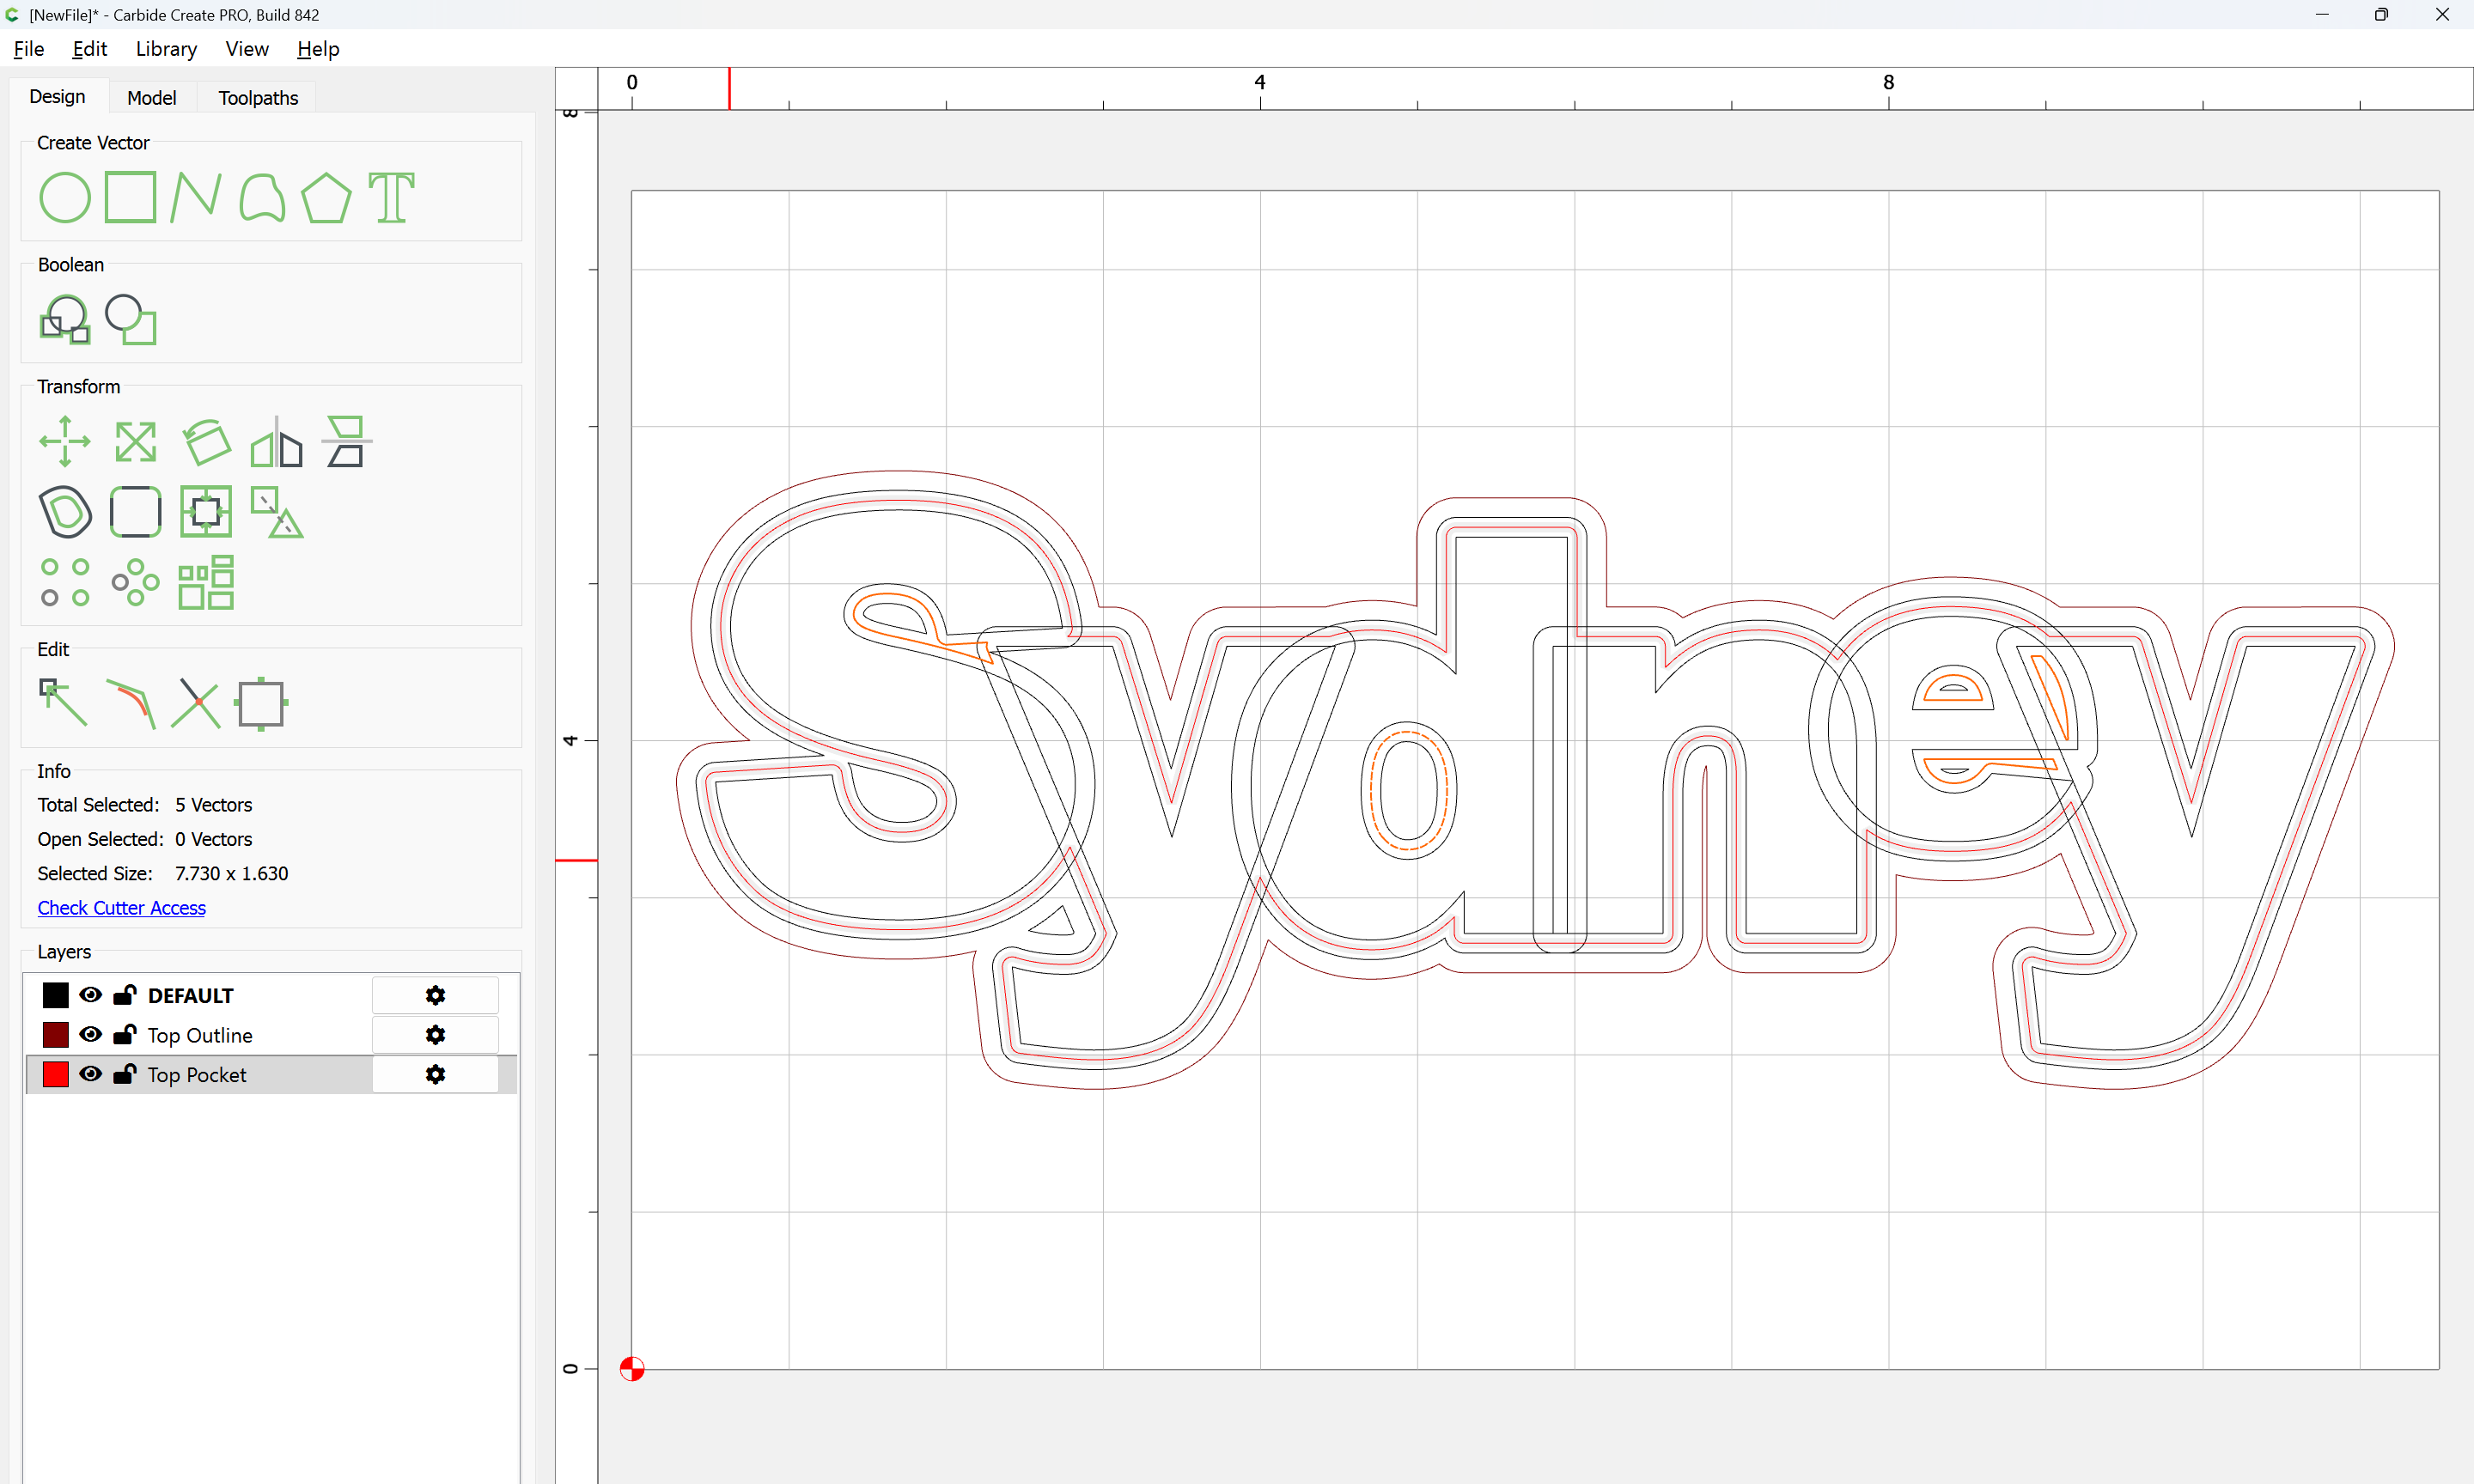
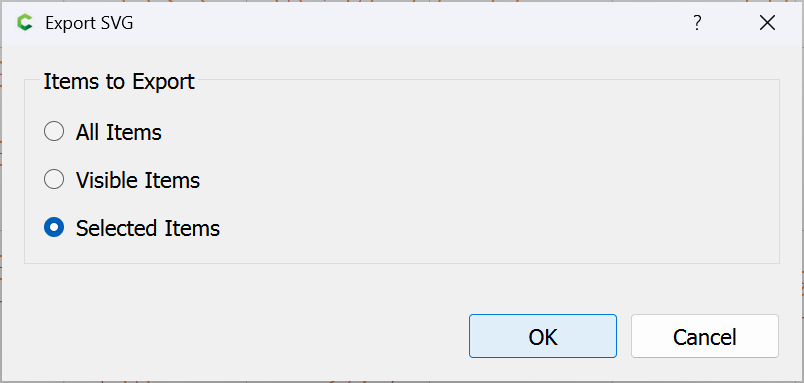
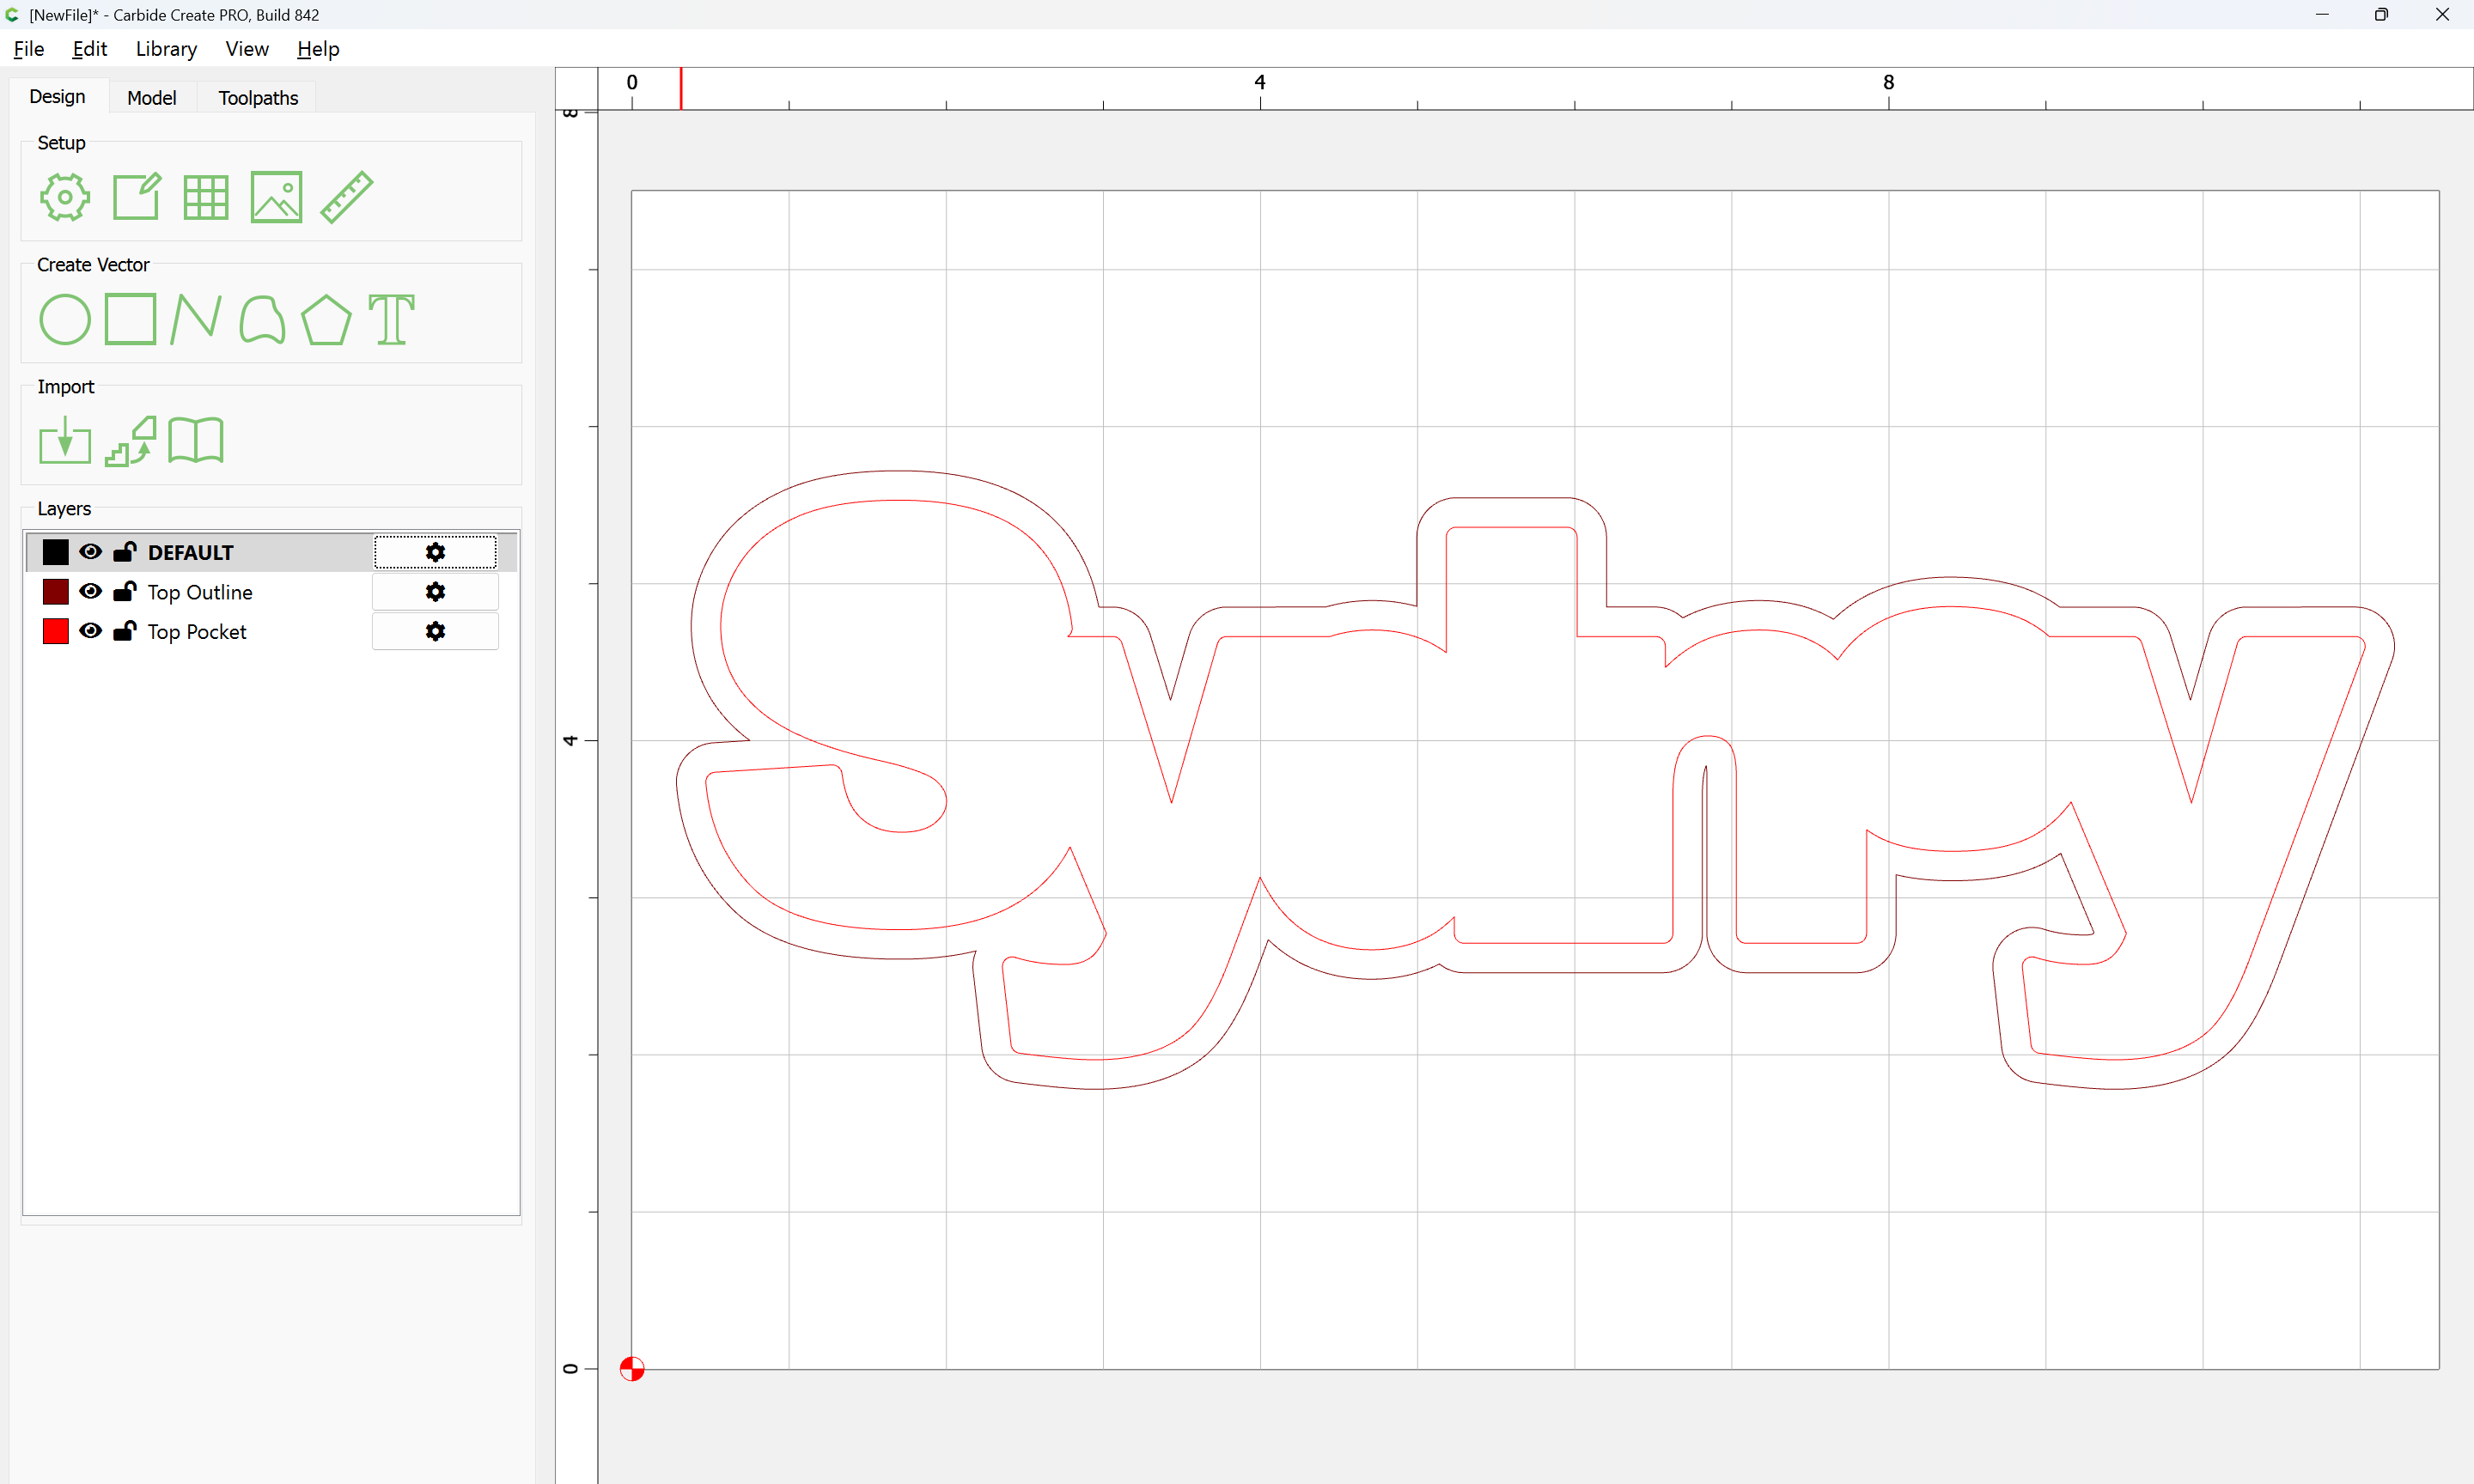
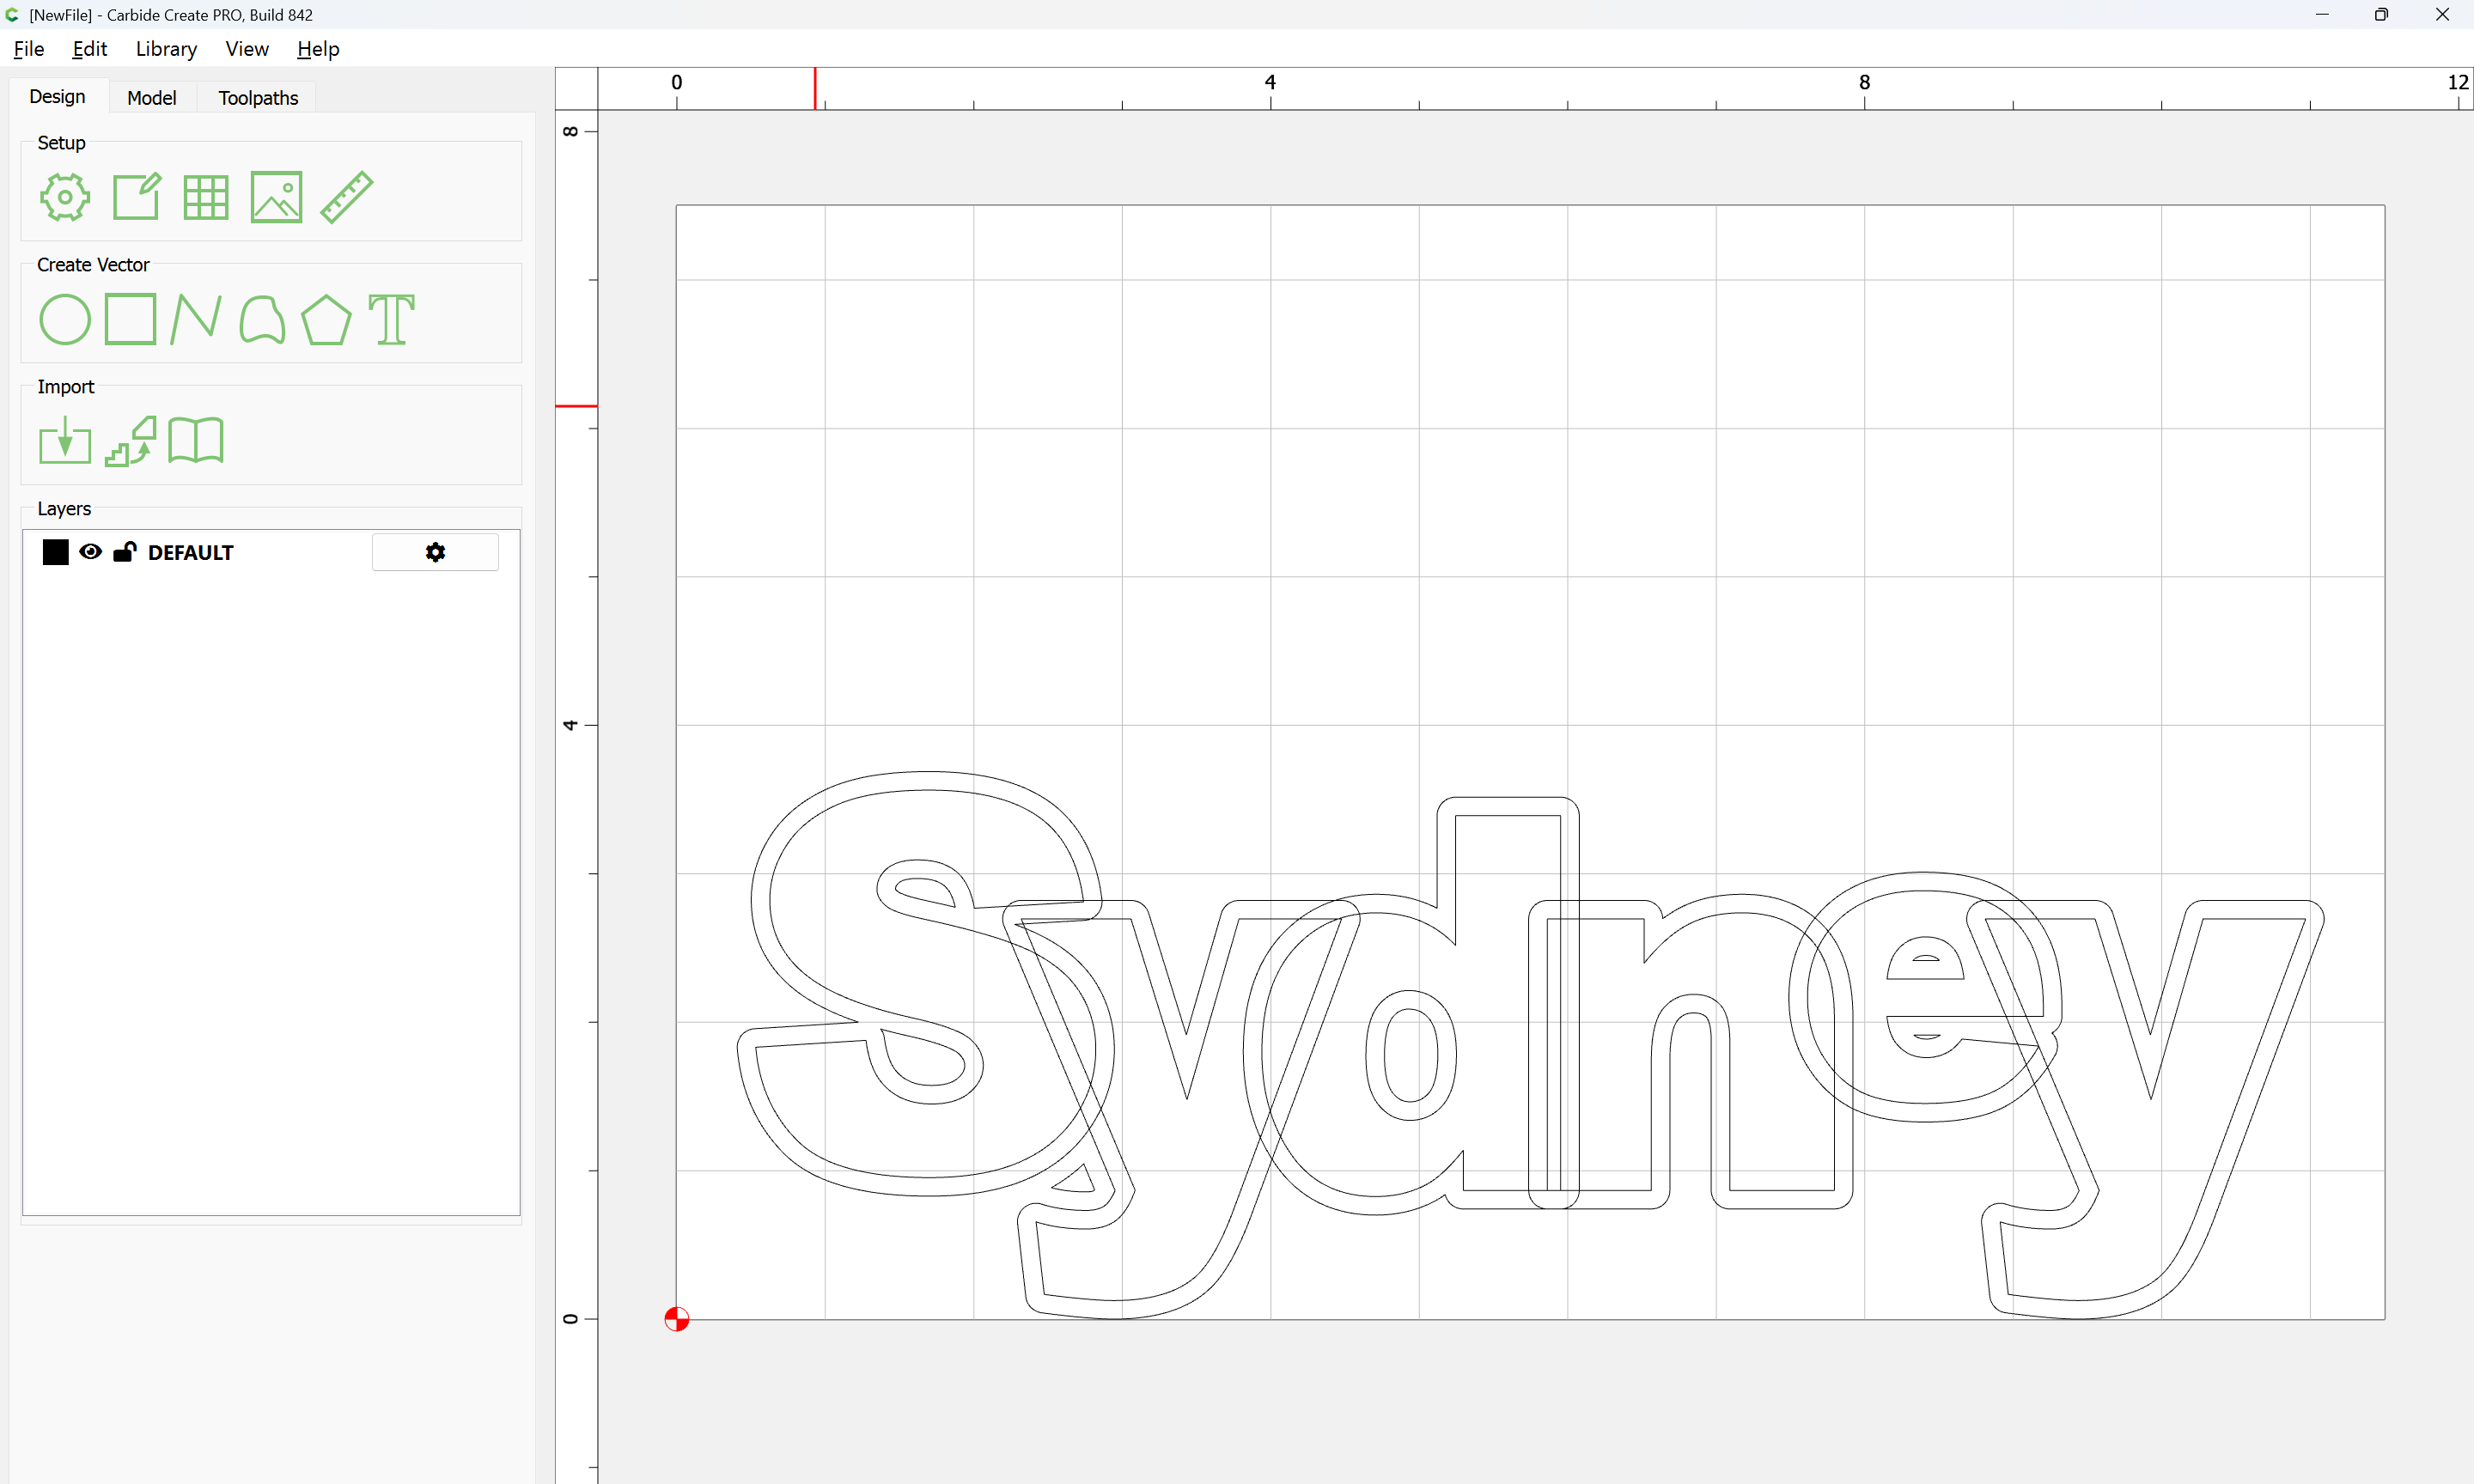
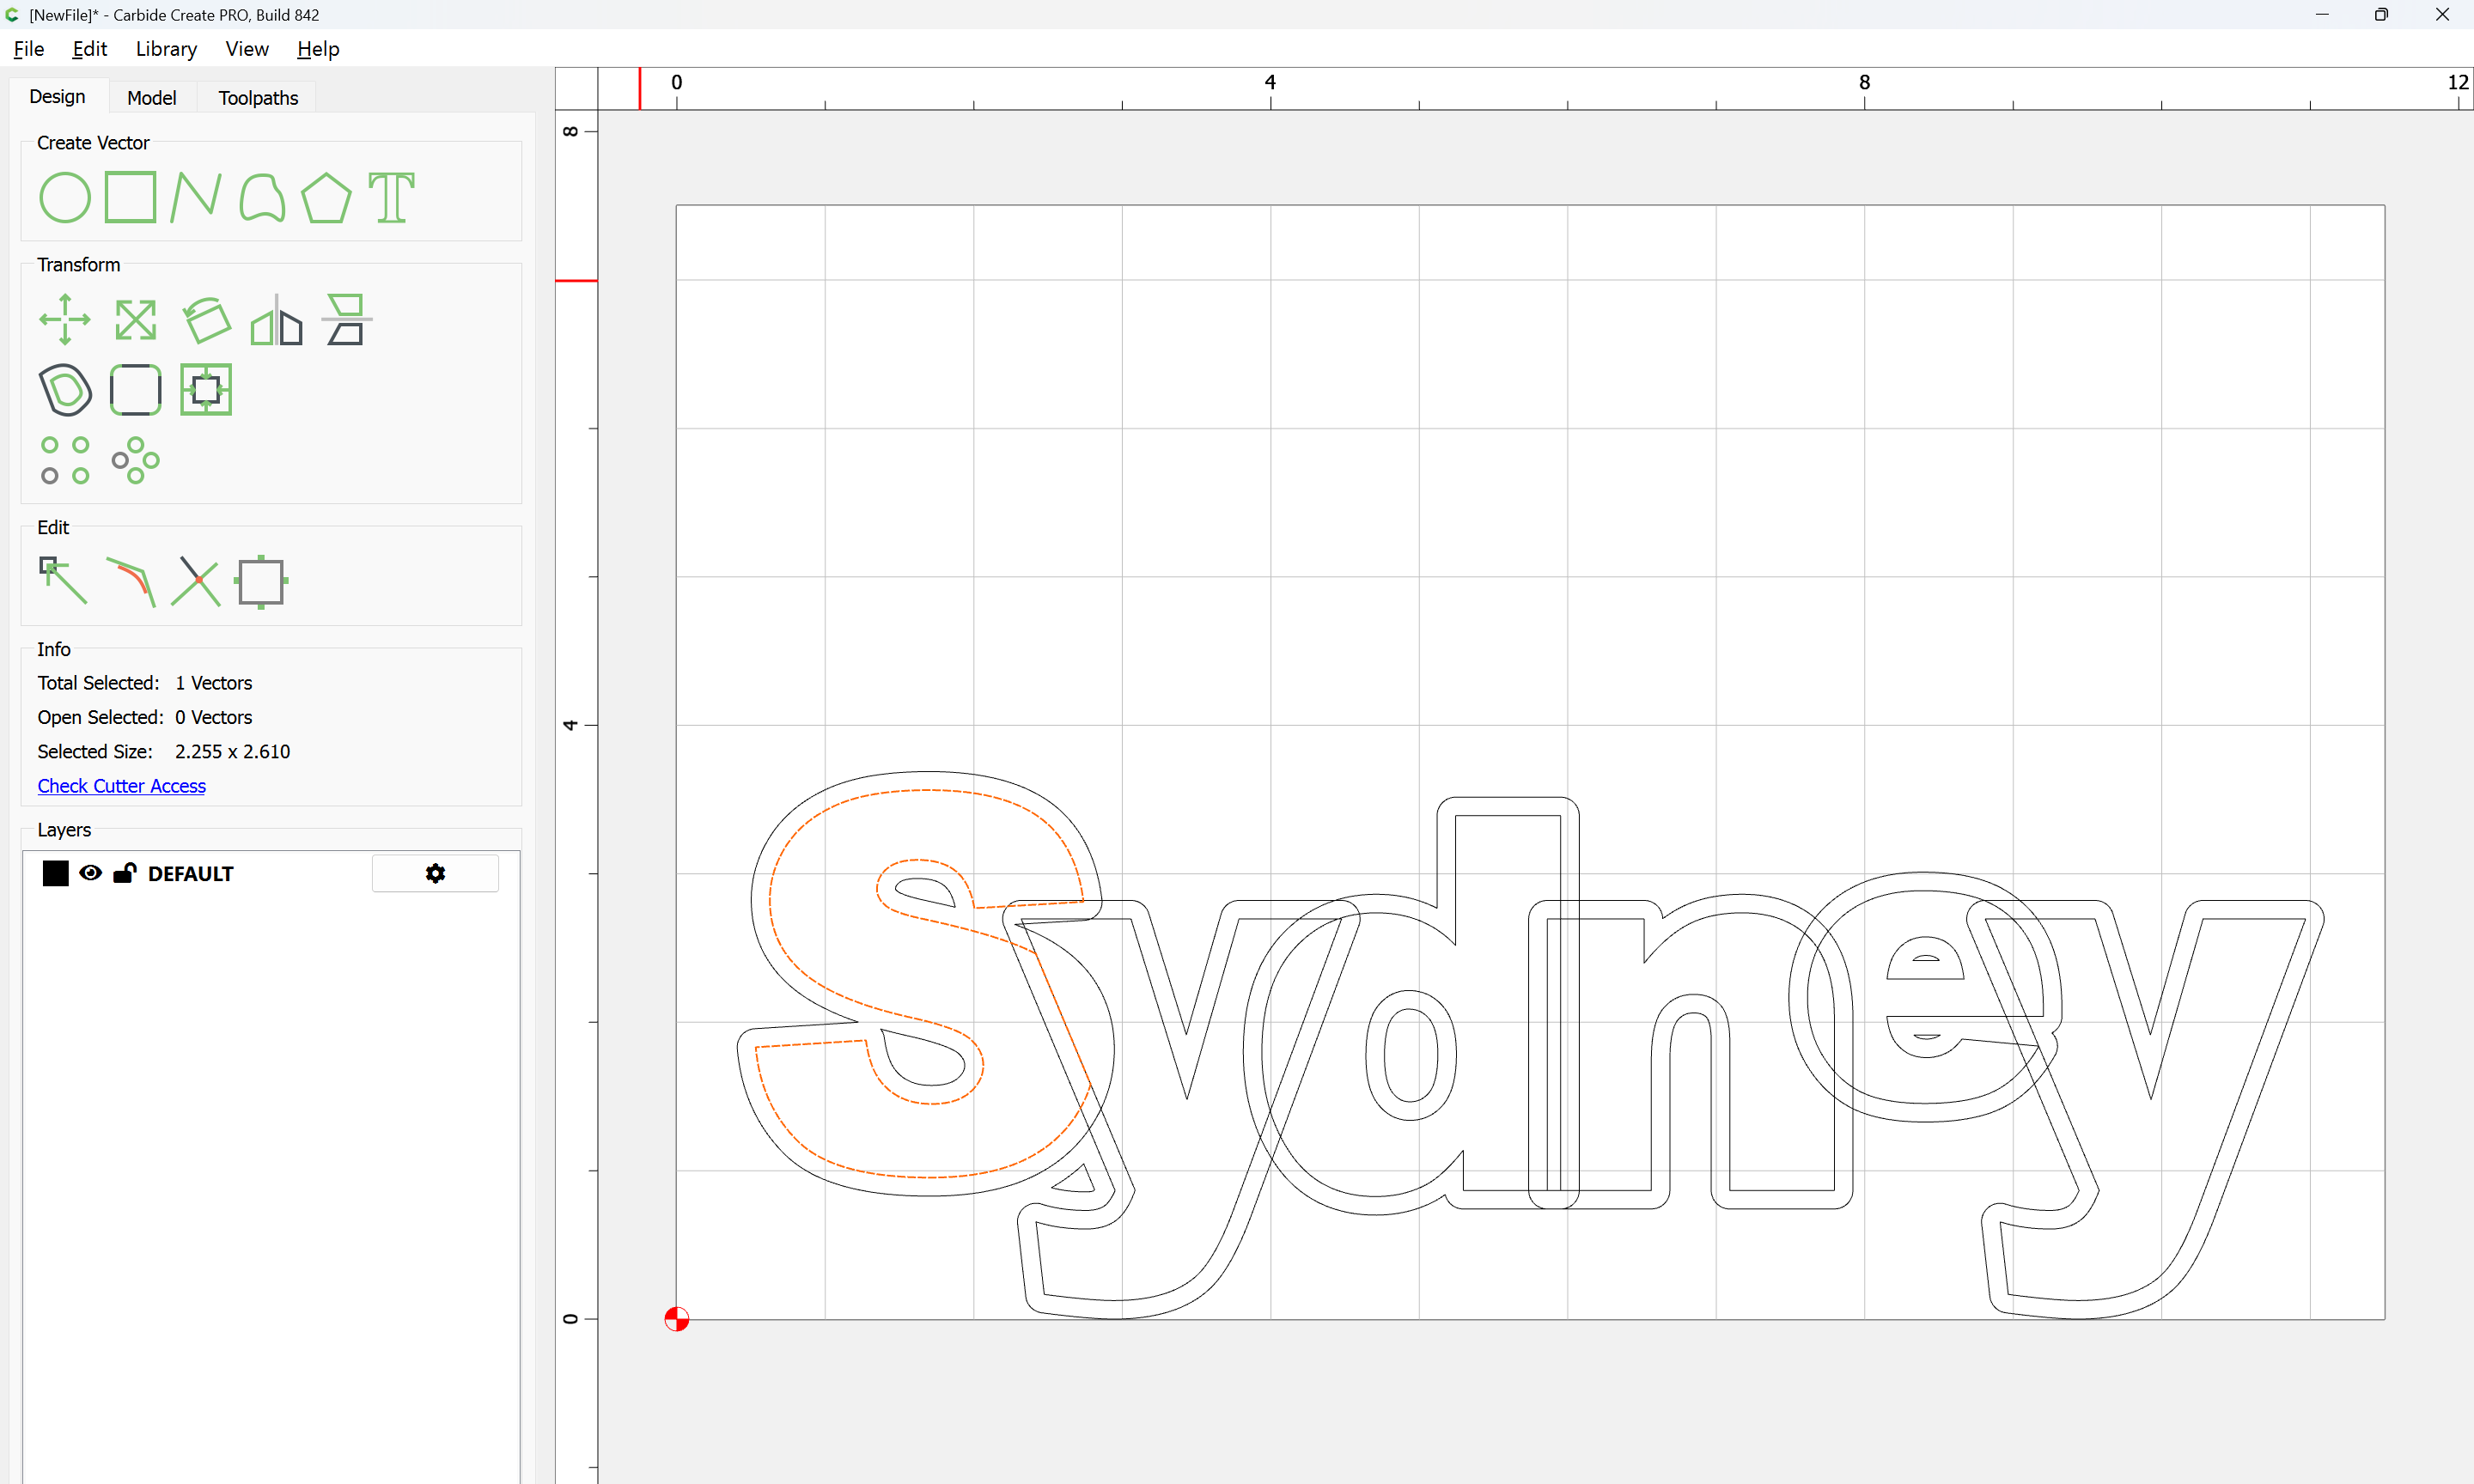
For the letters, open the SVG:
Note that the grouping of letter perimeter with counter will need to be re-done:
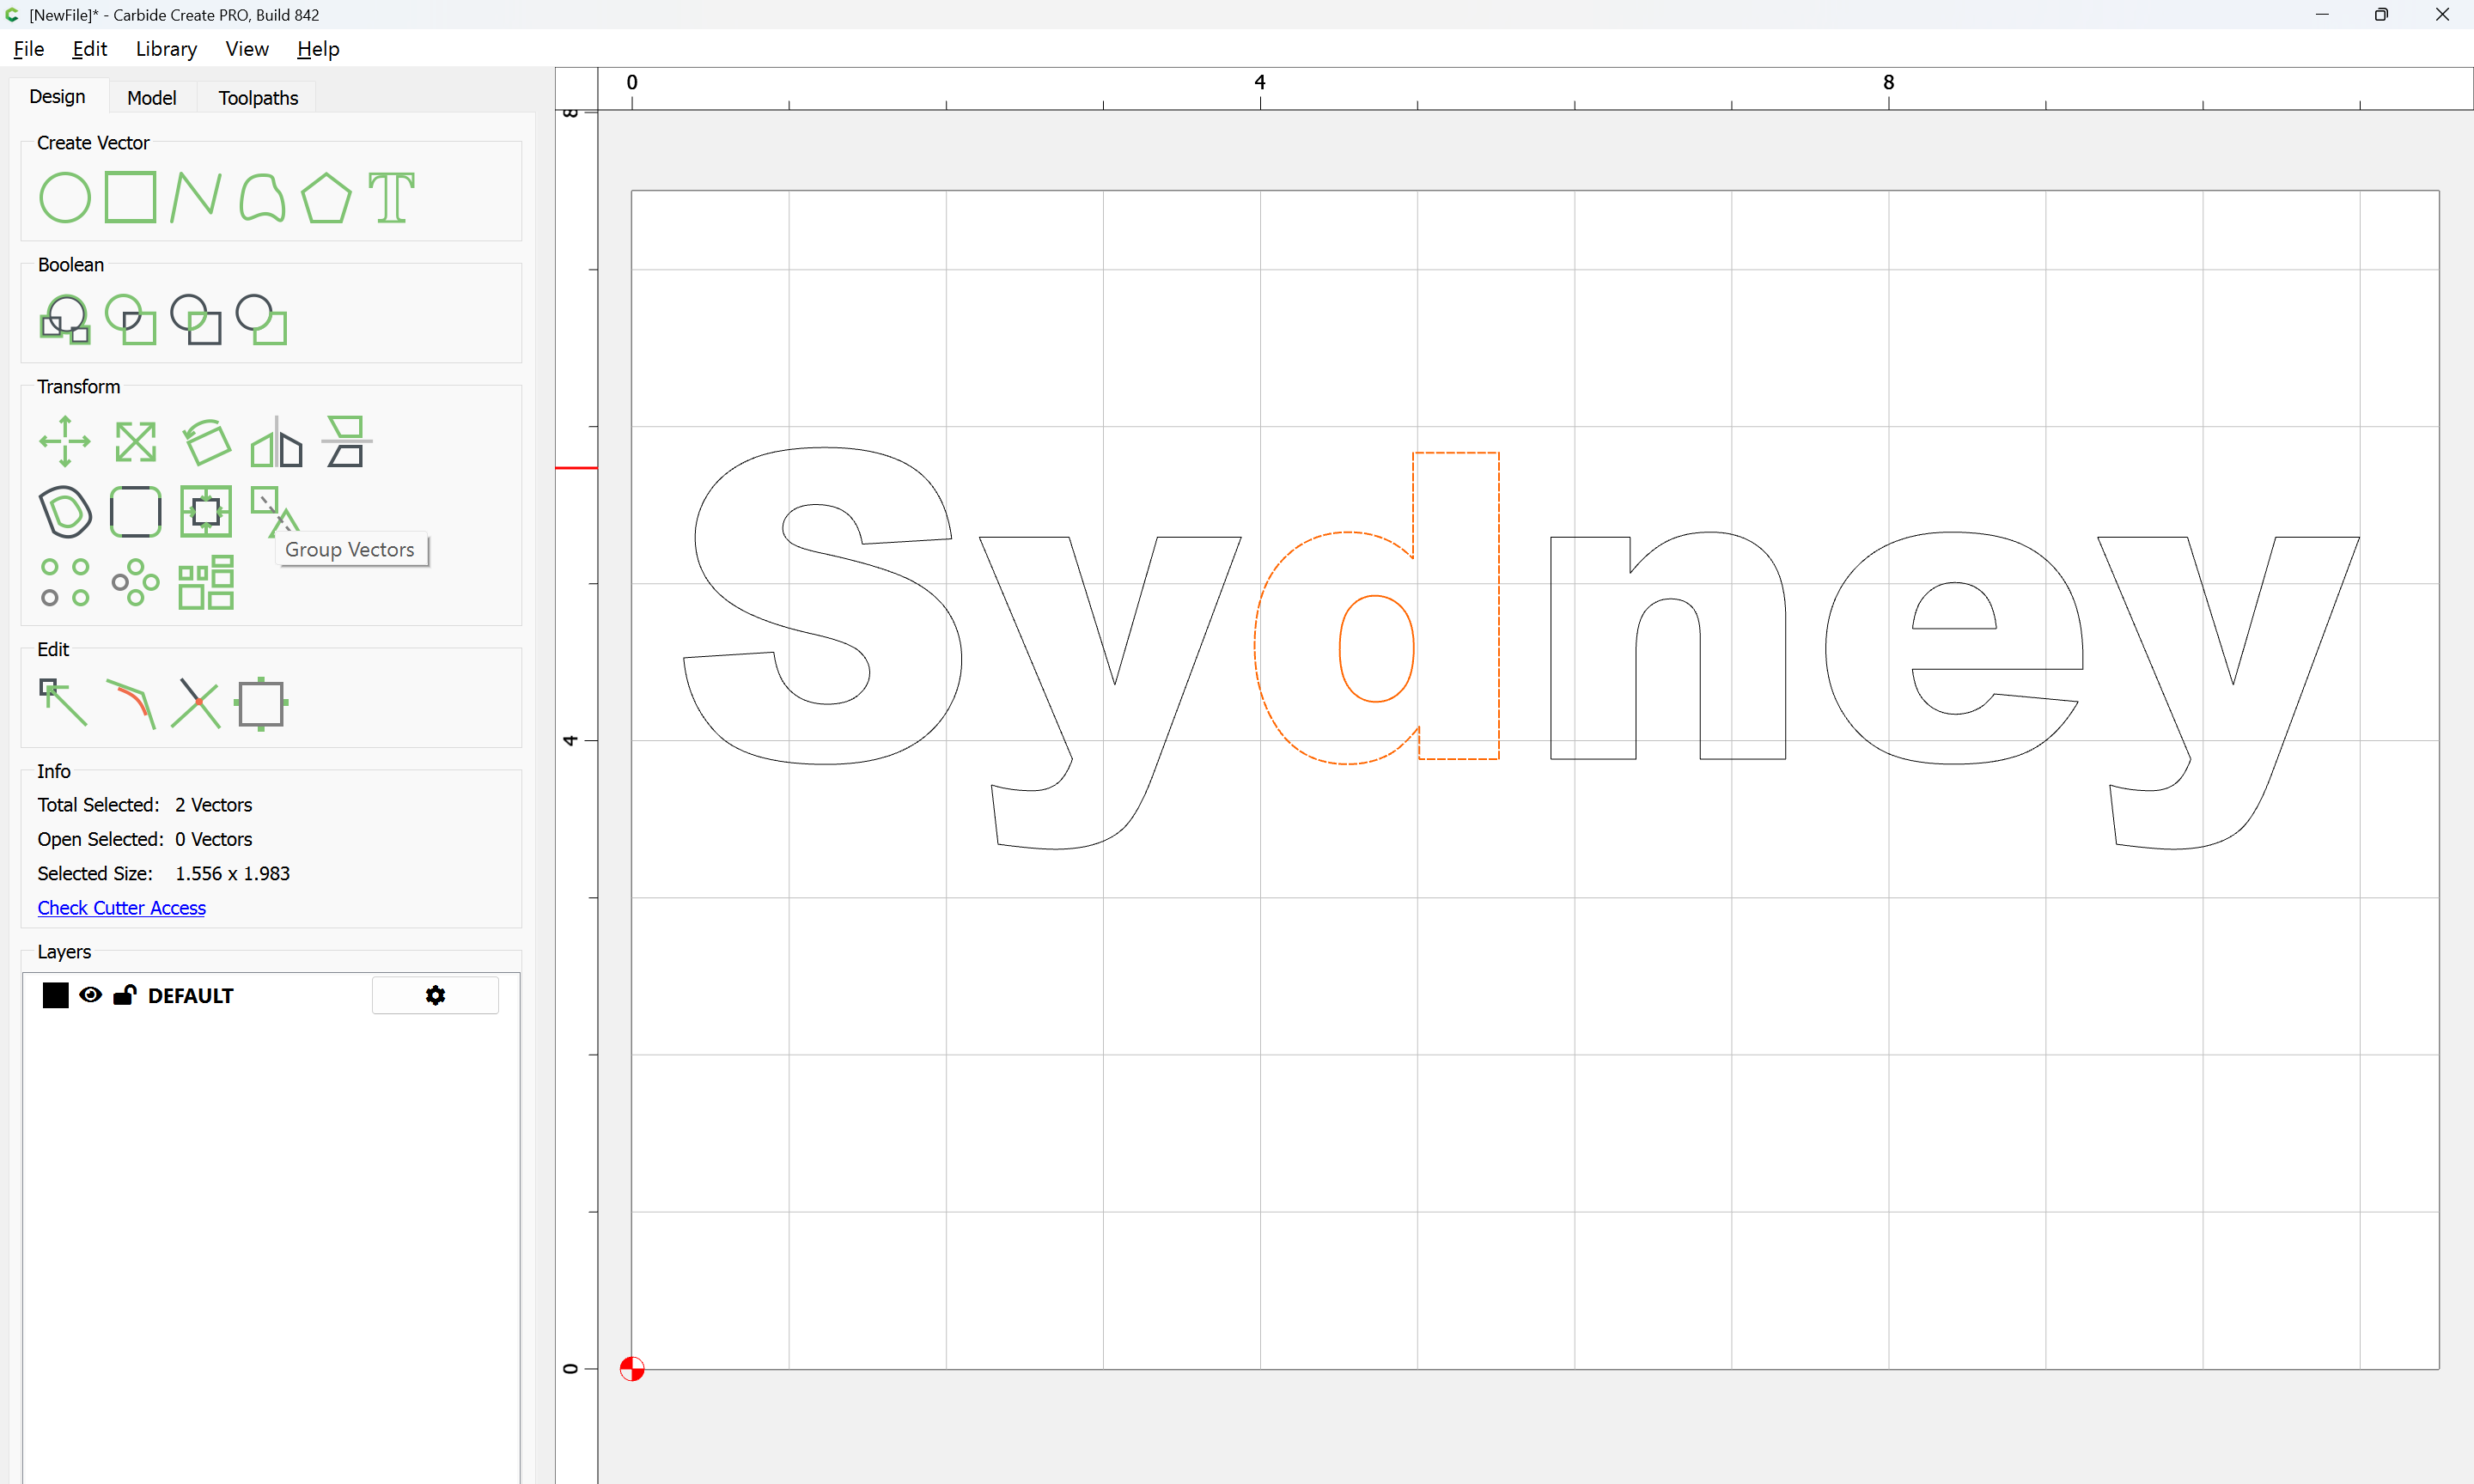
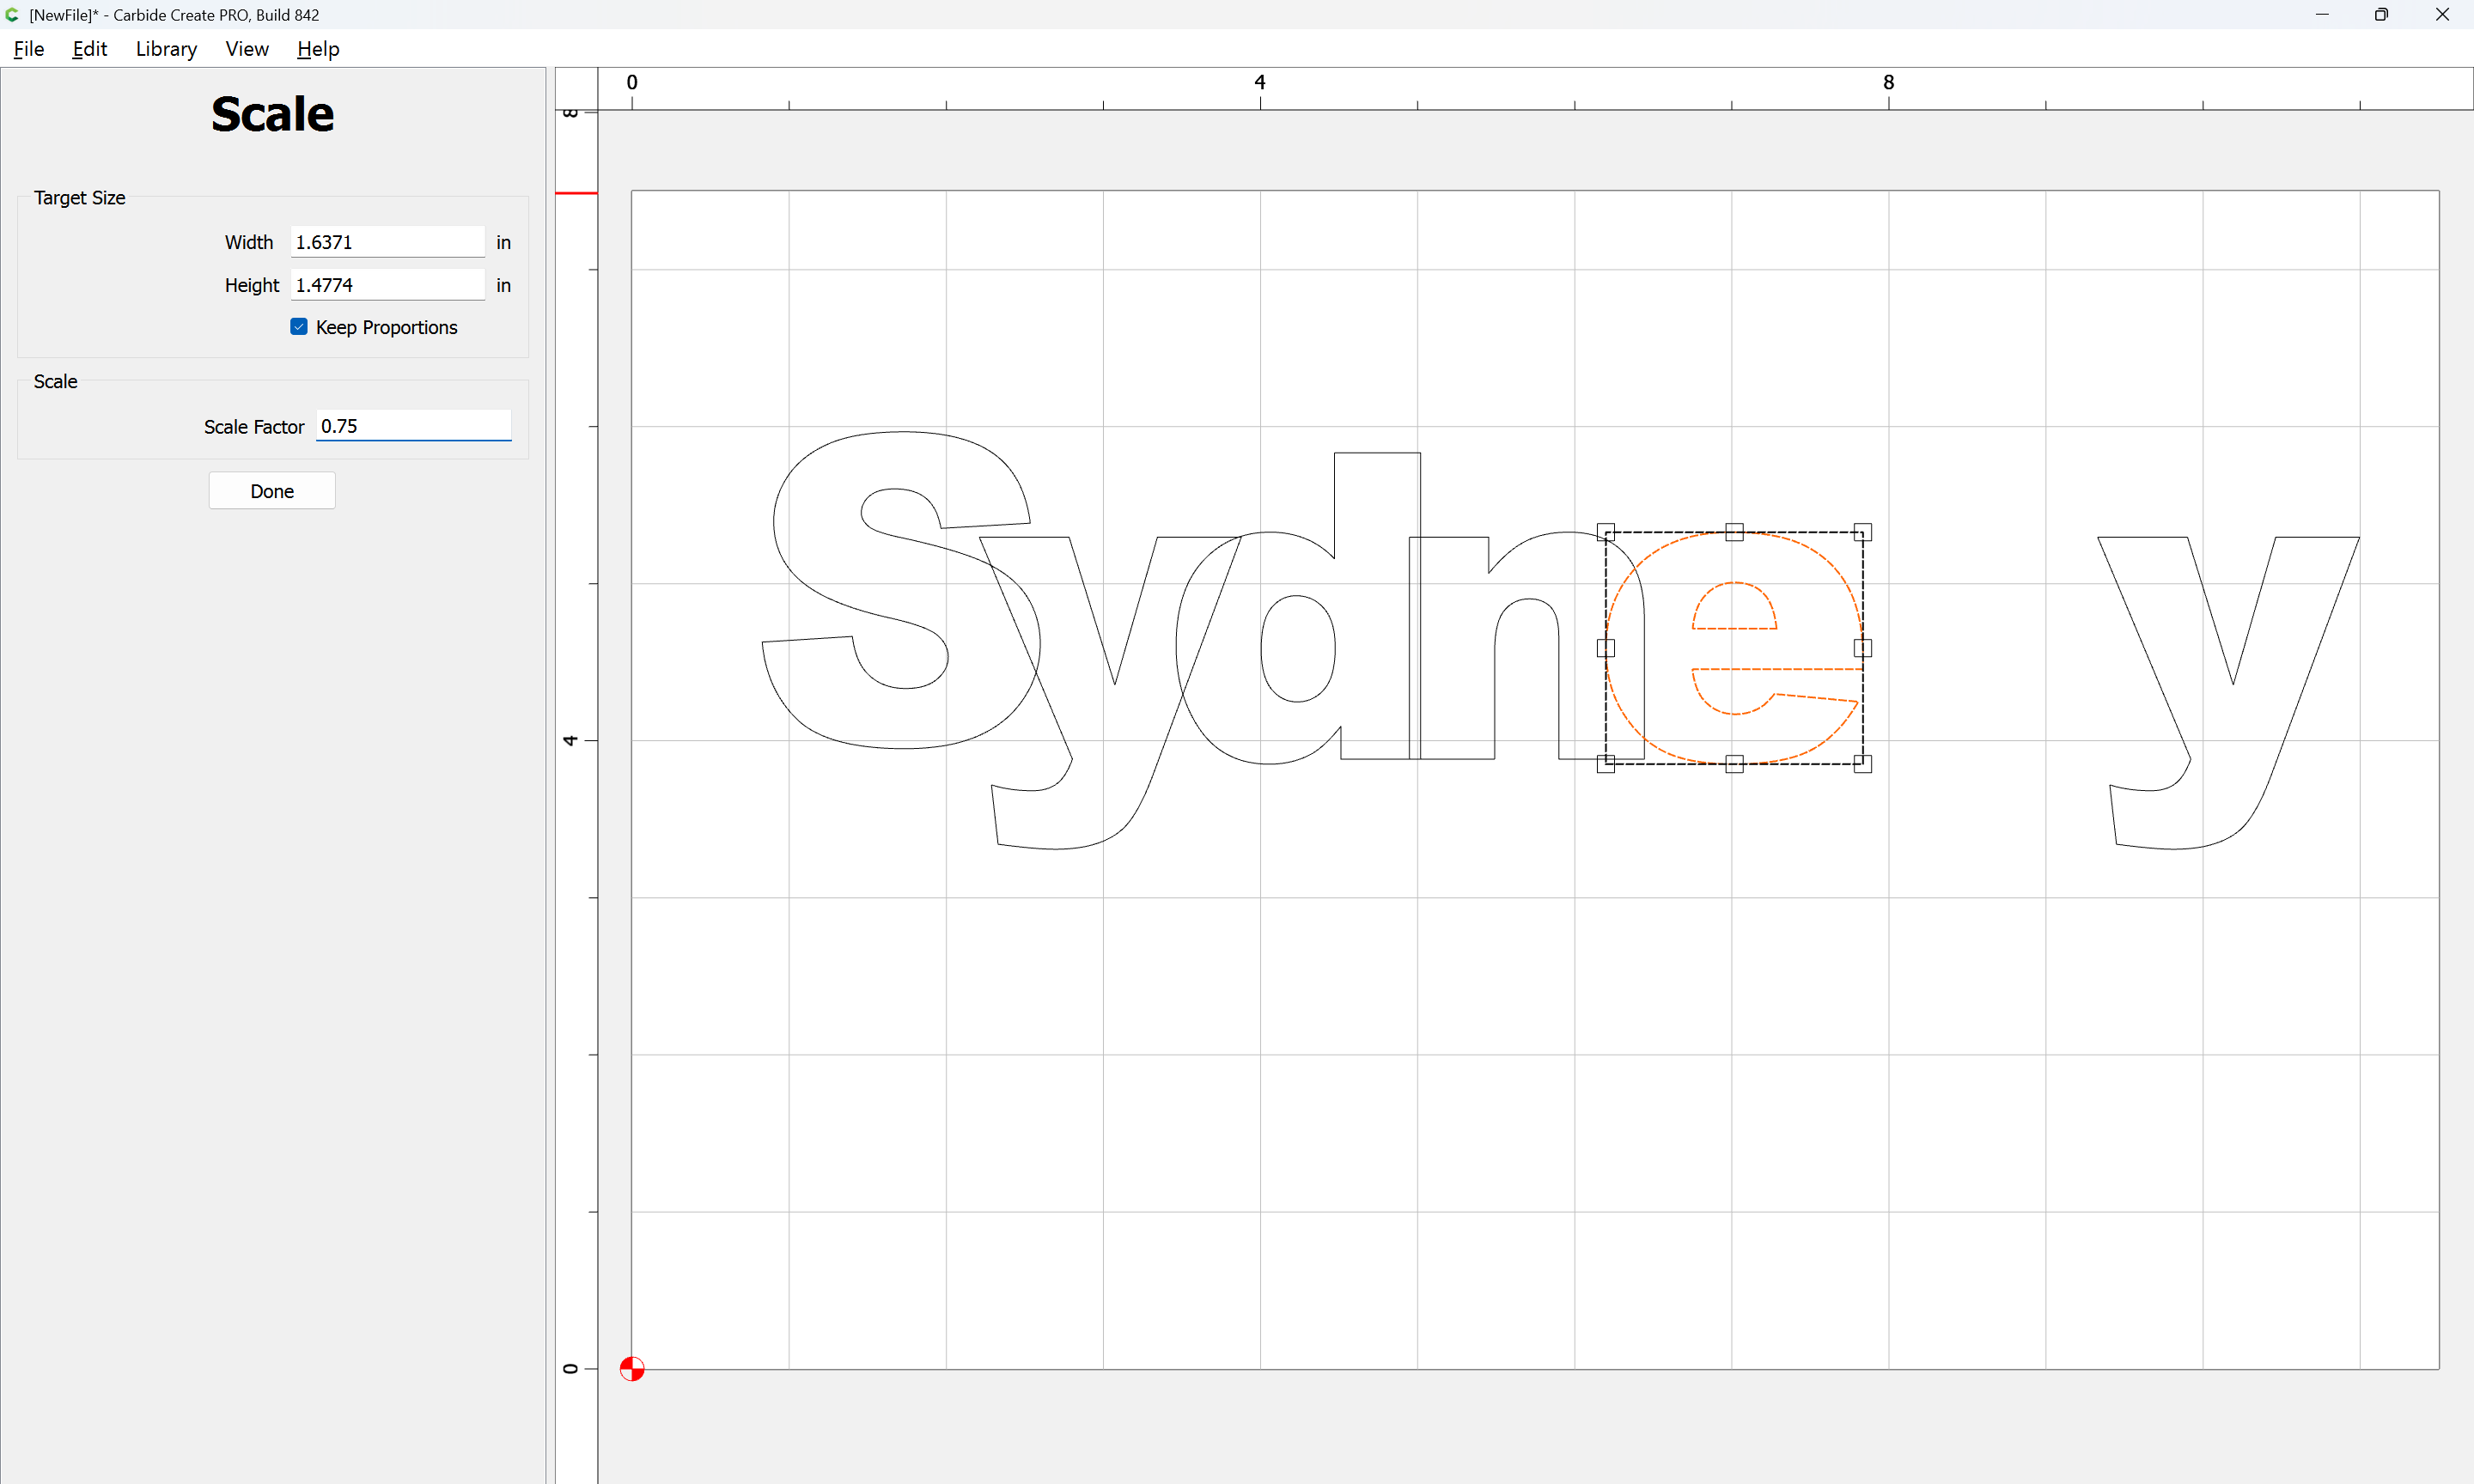
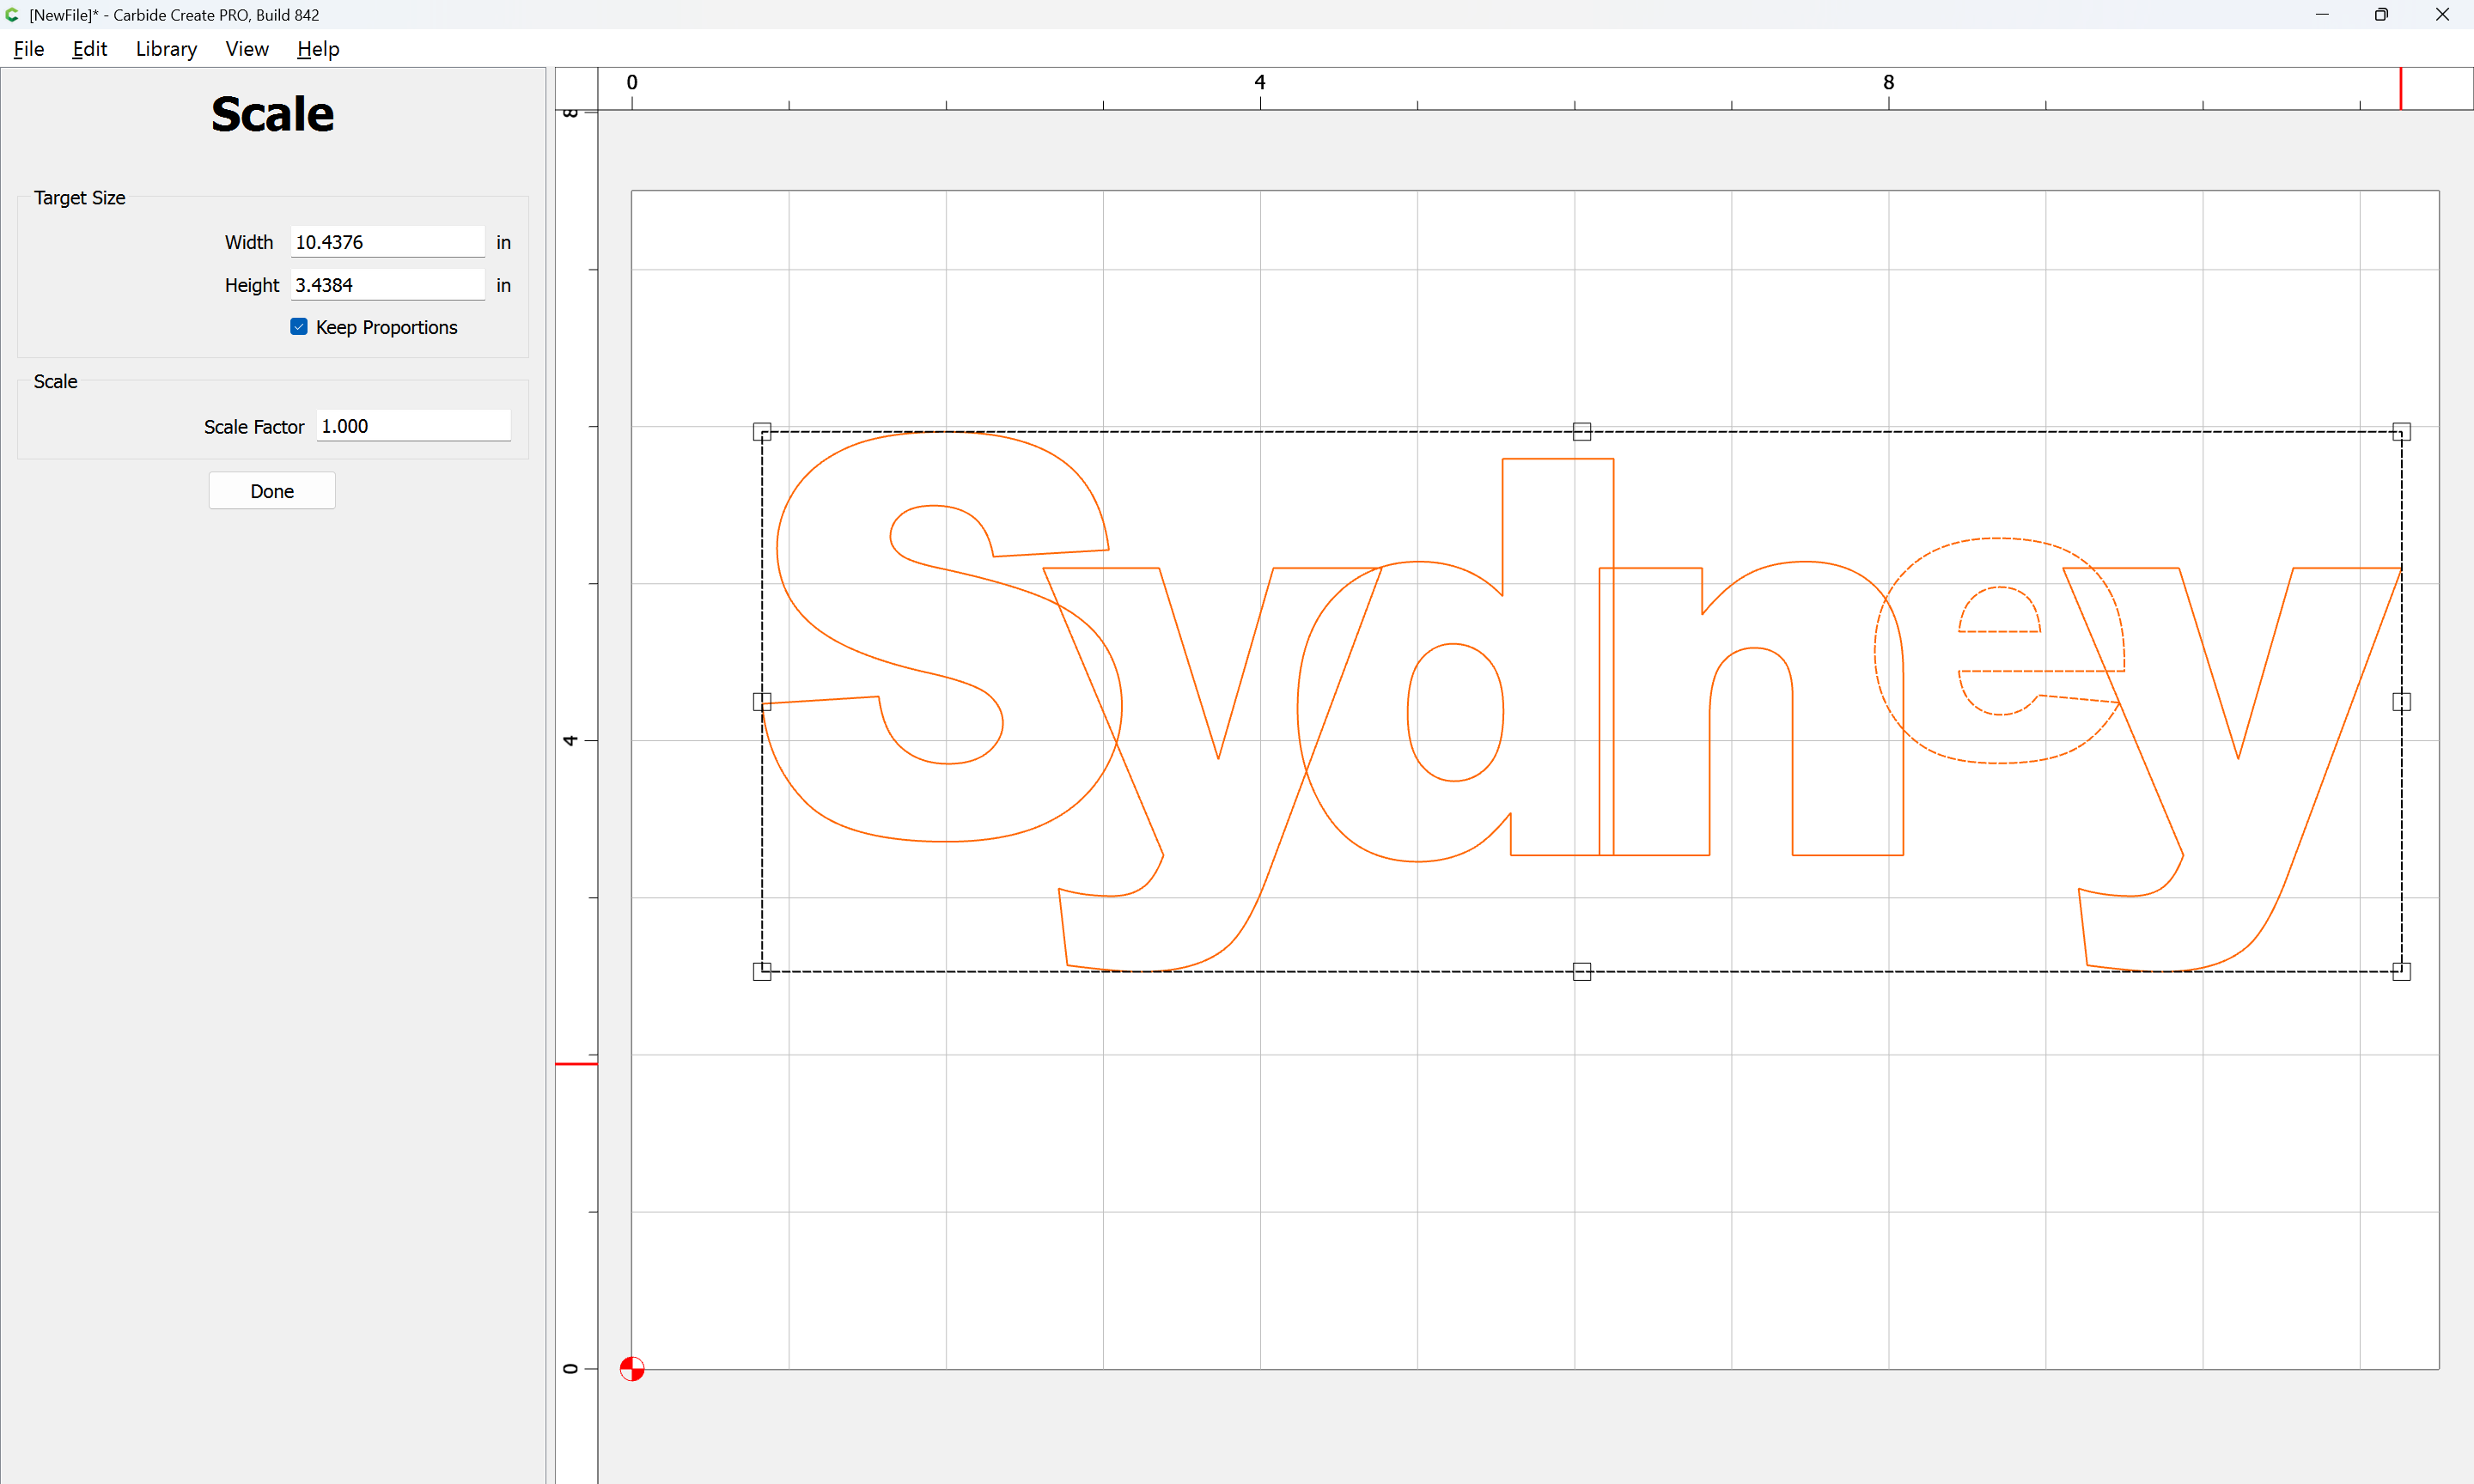
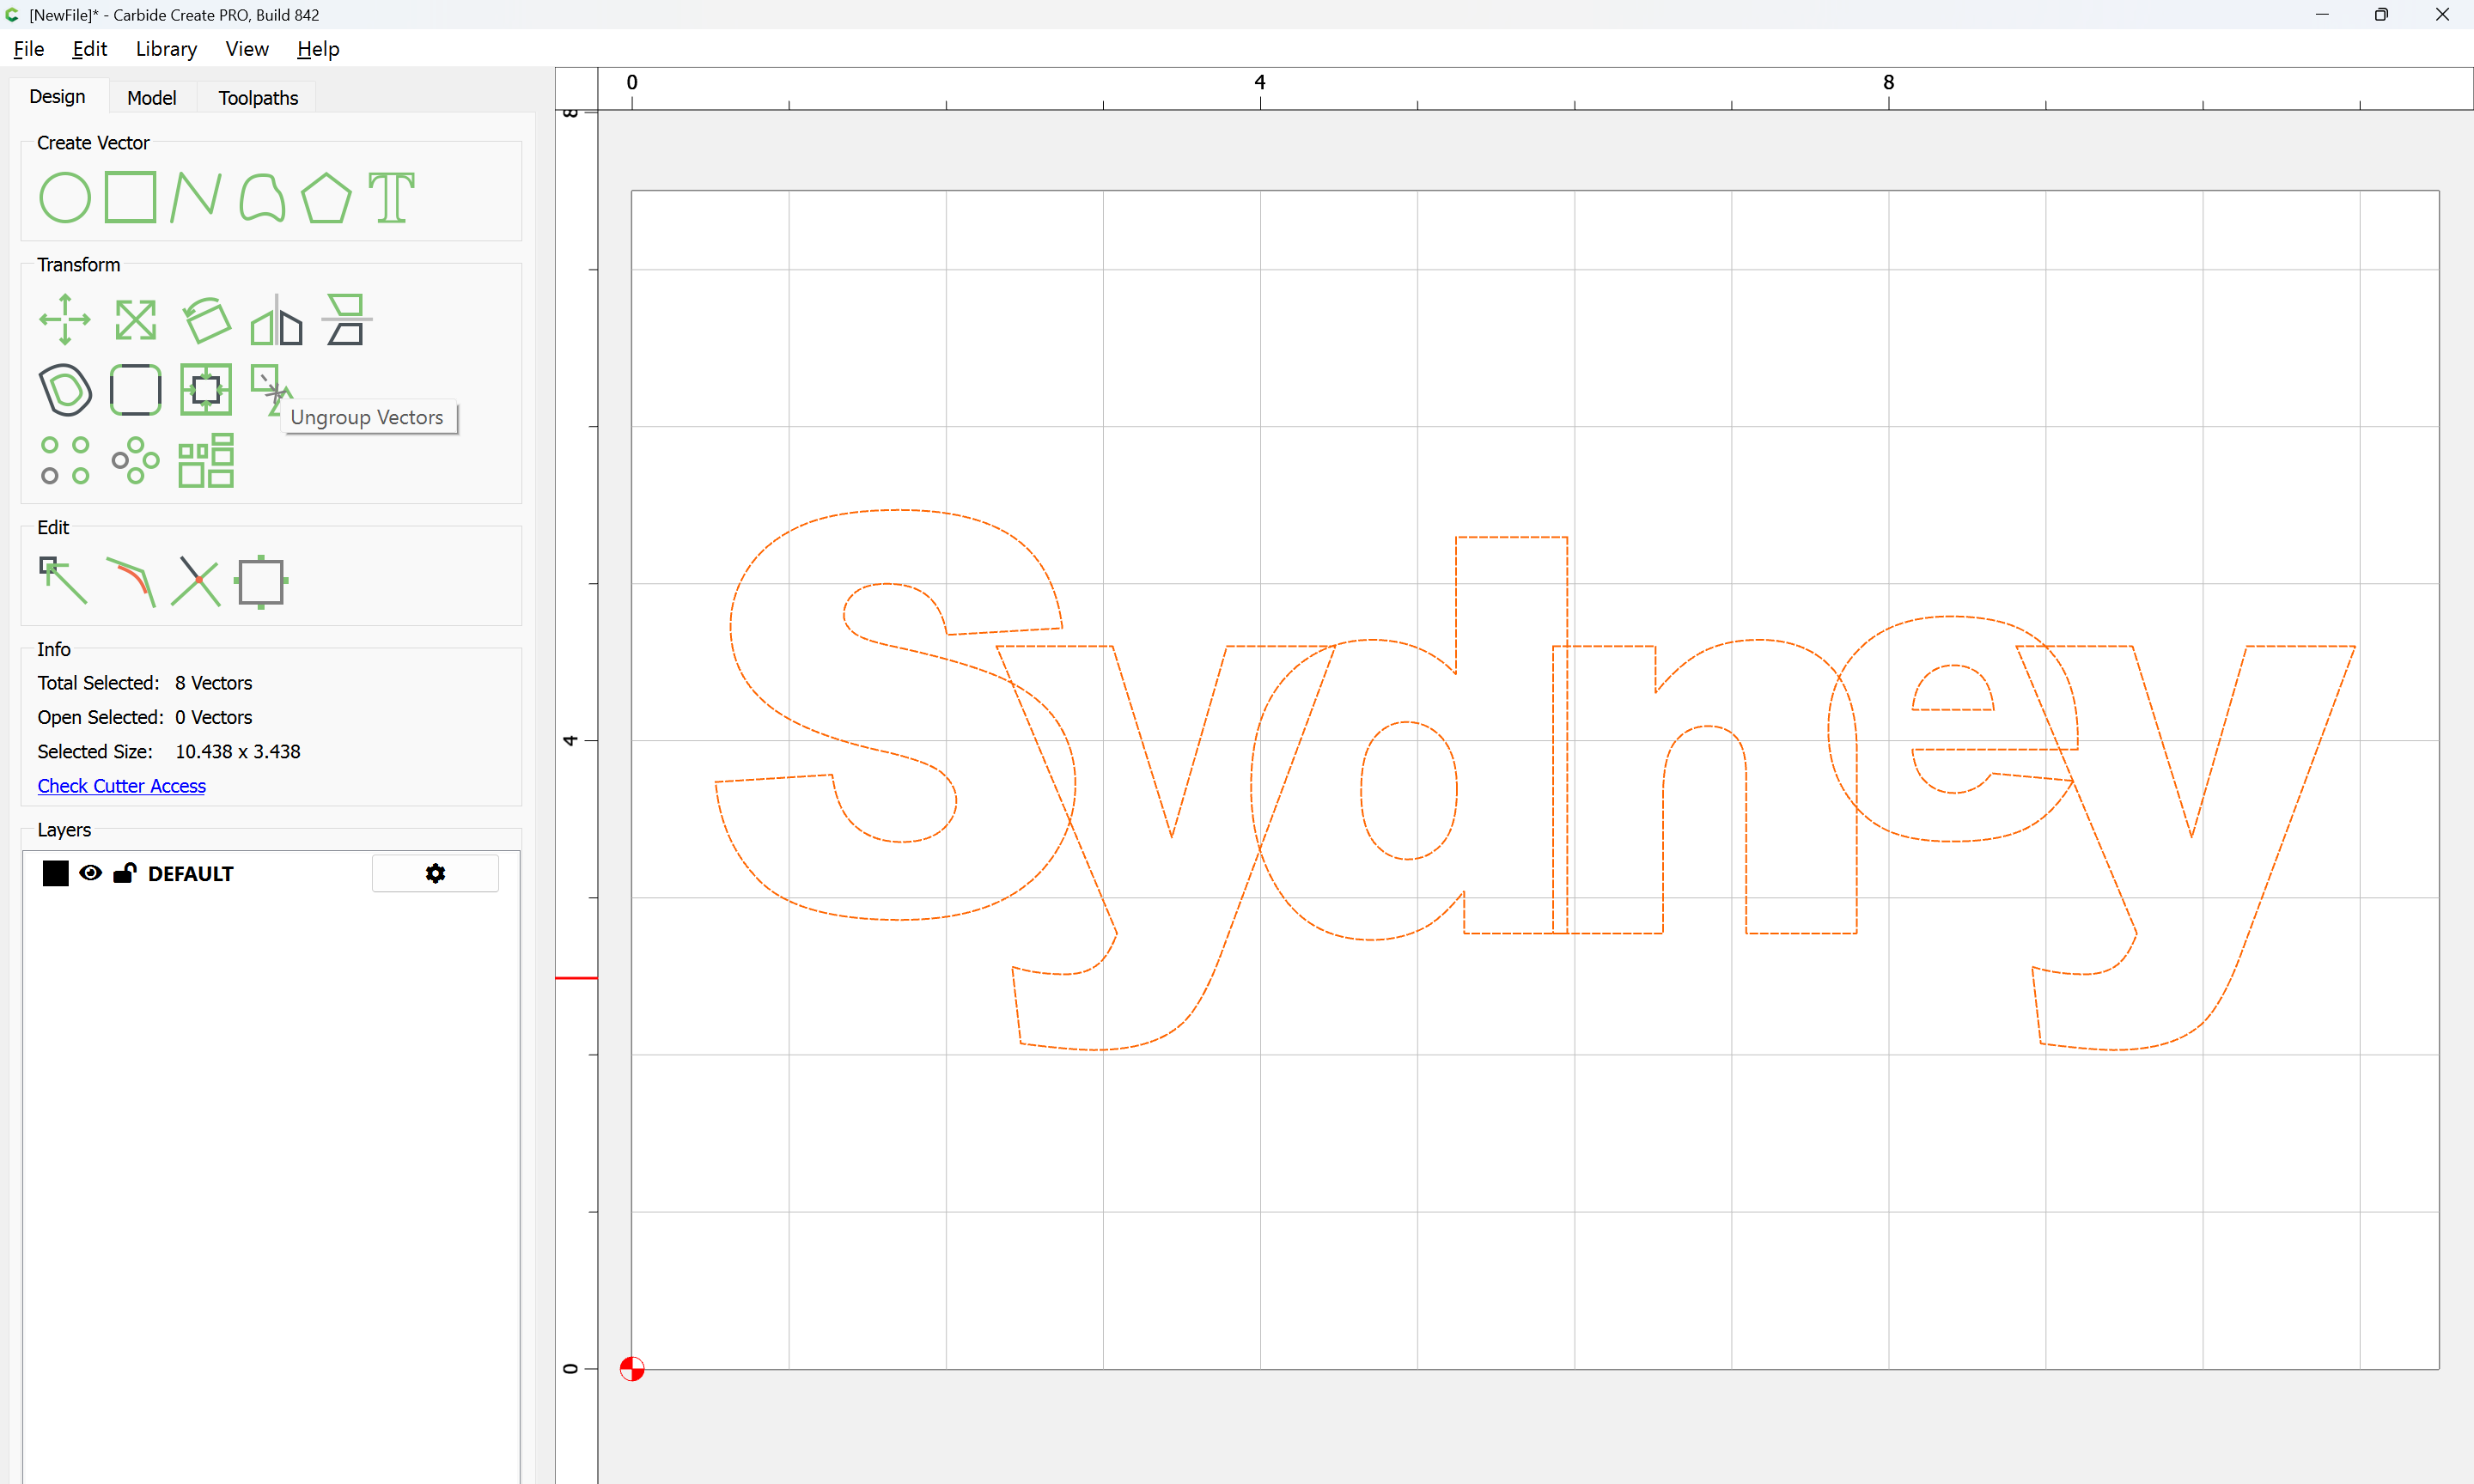
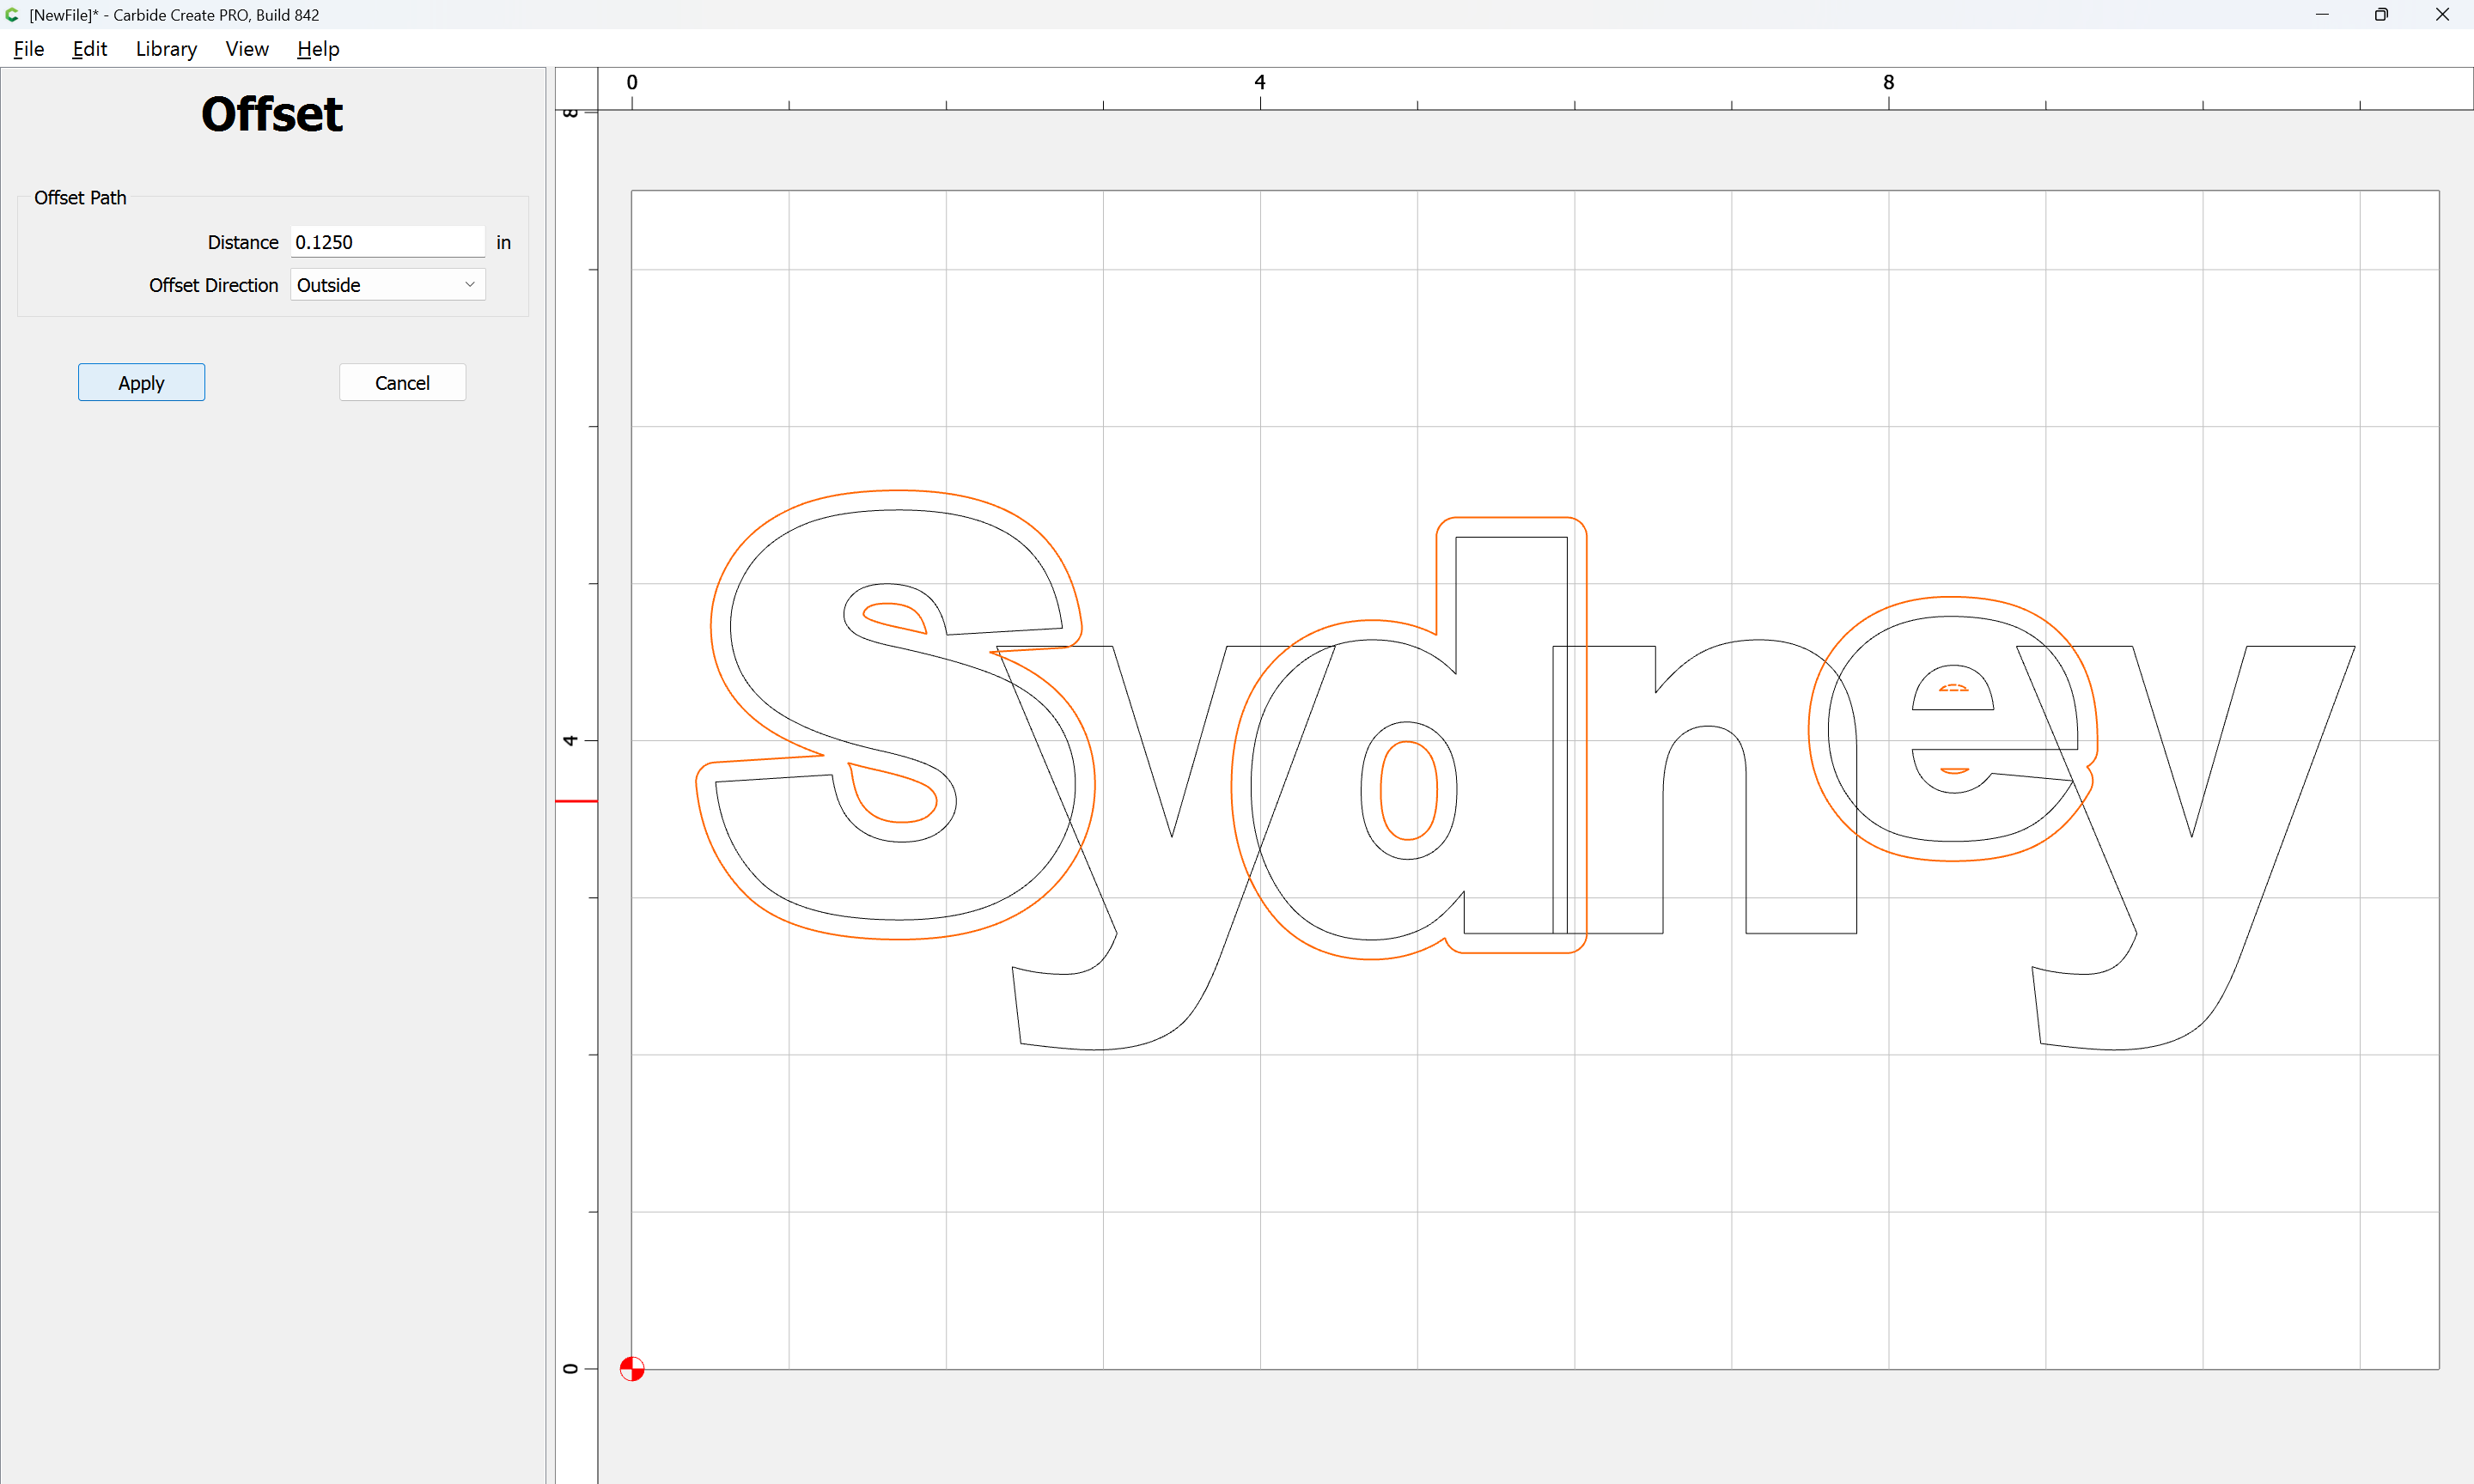
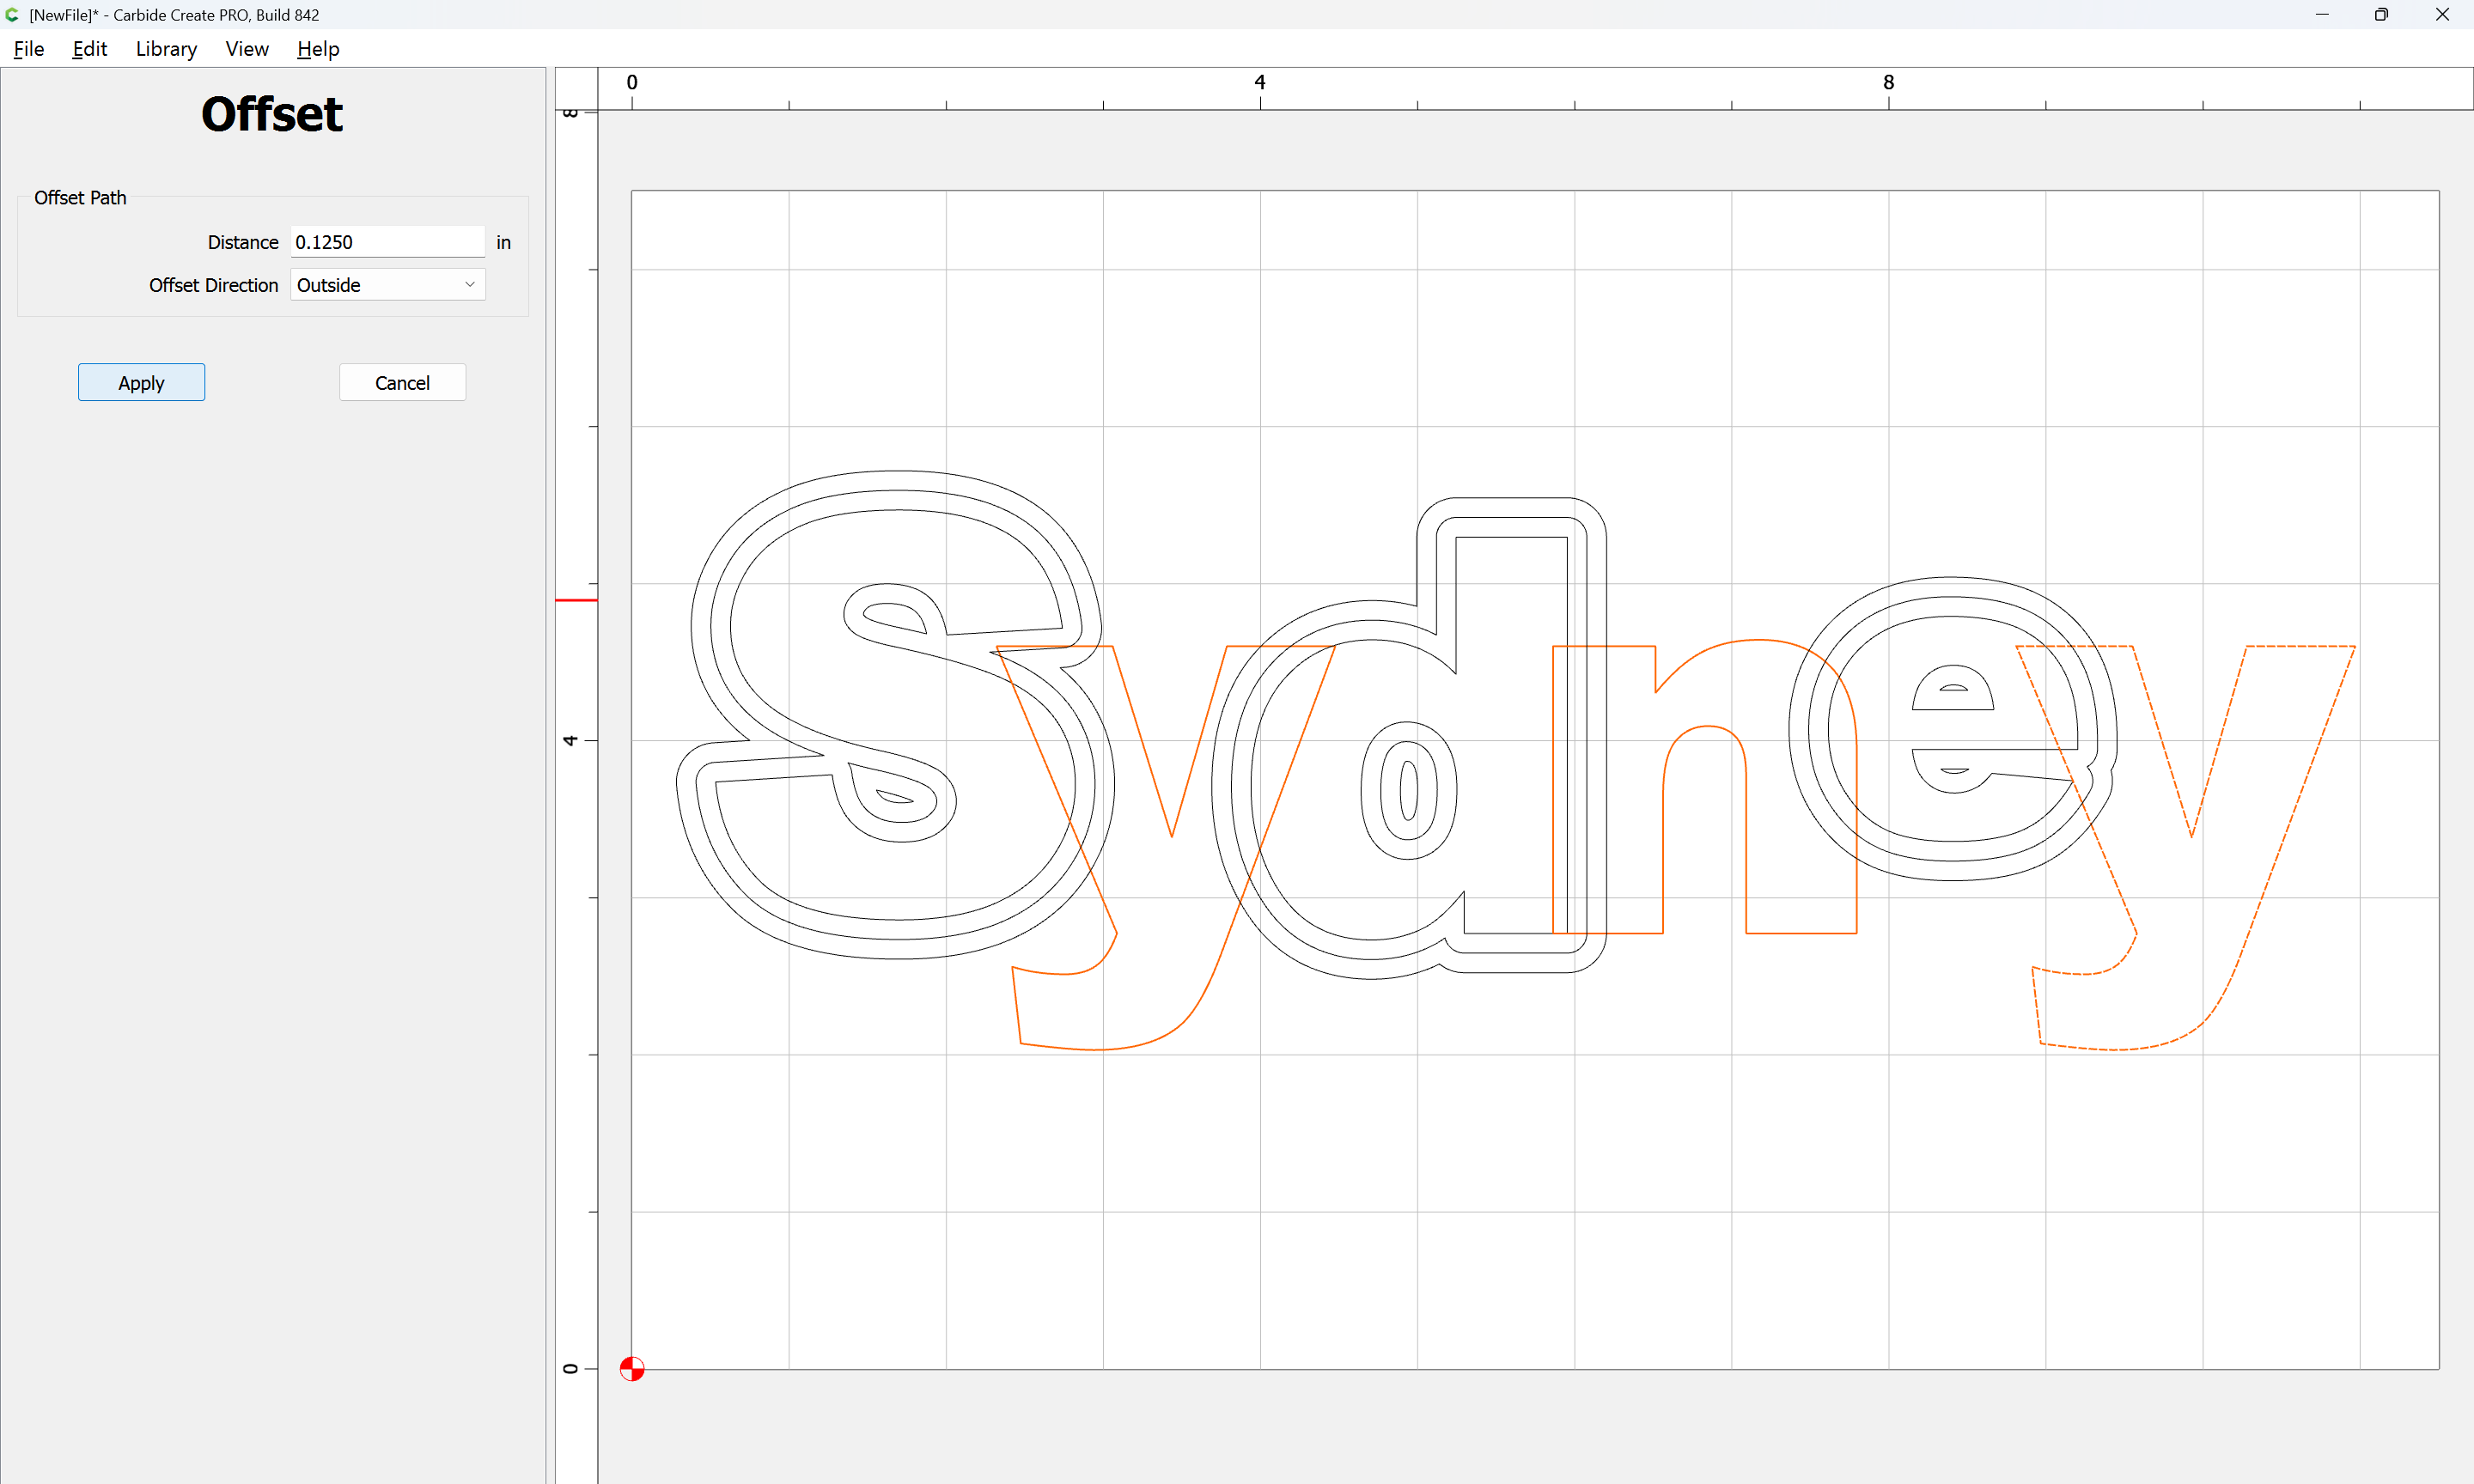
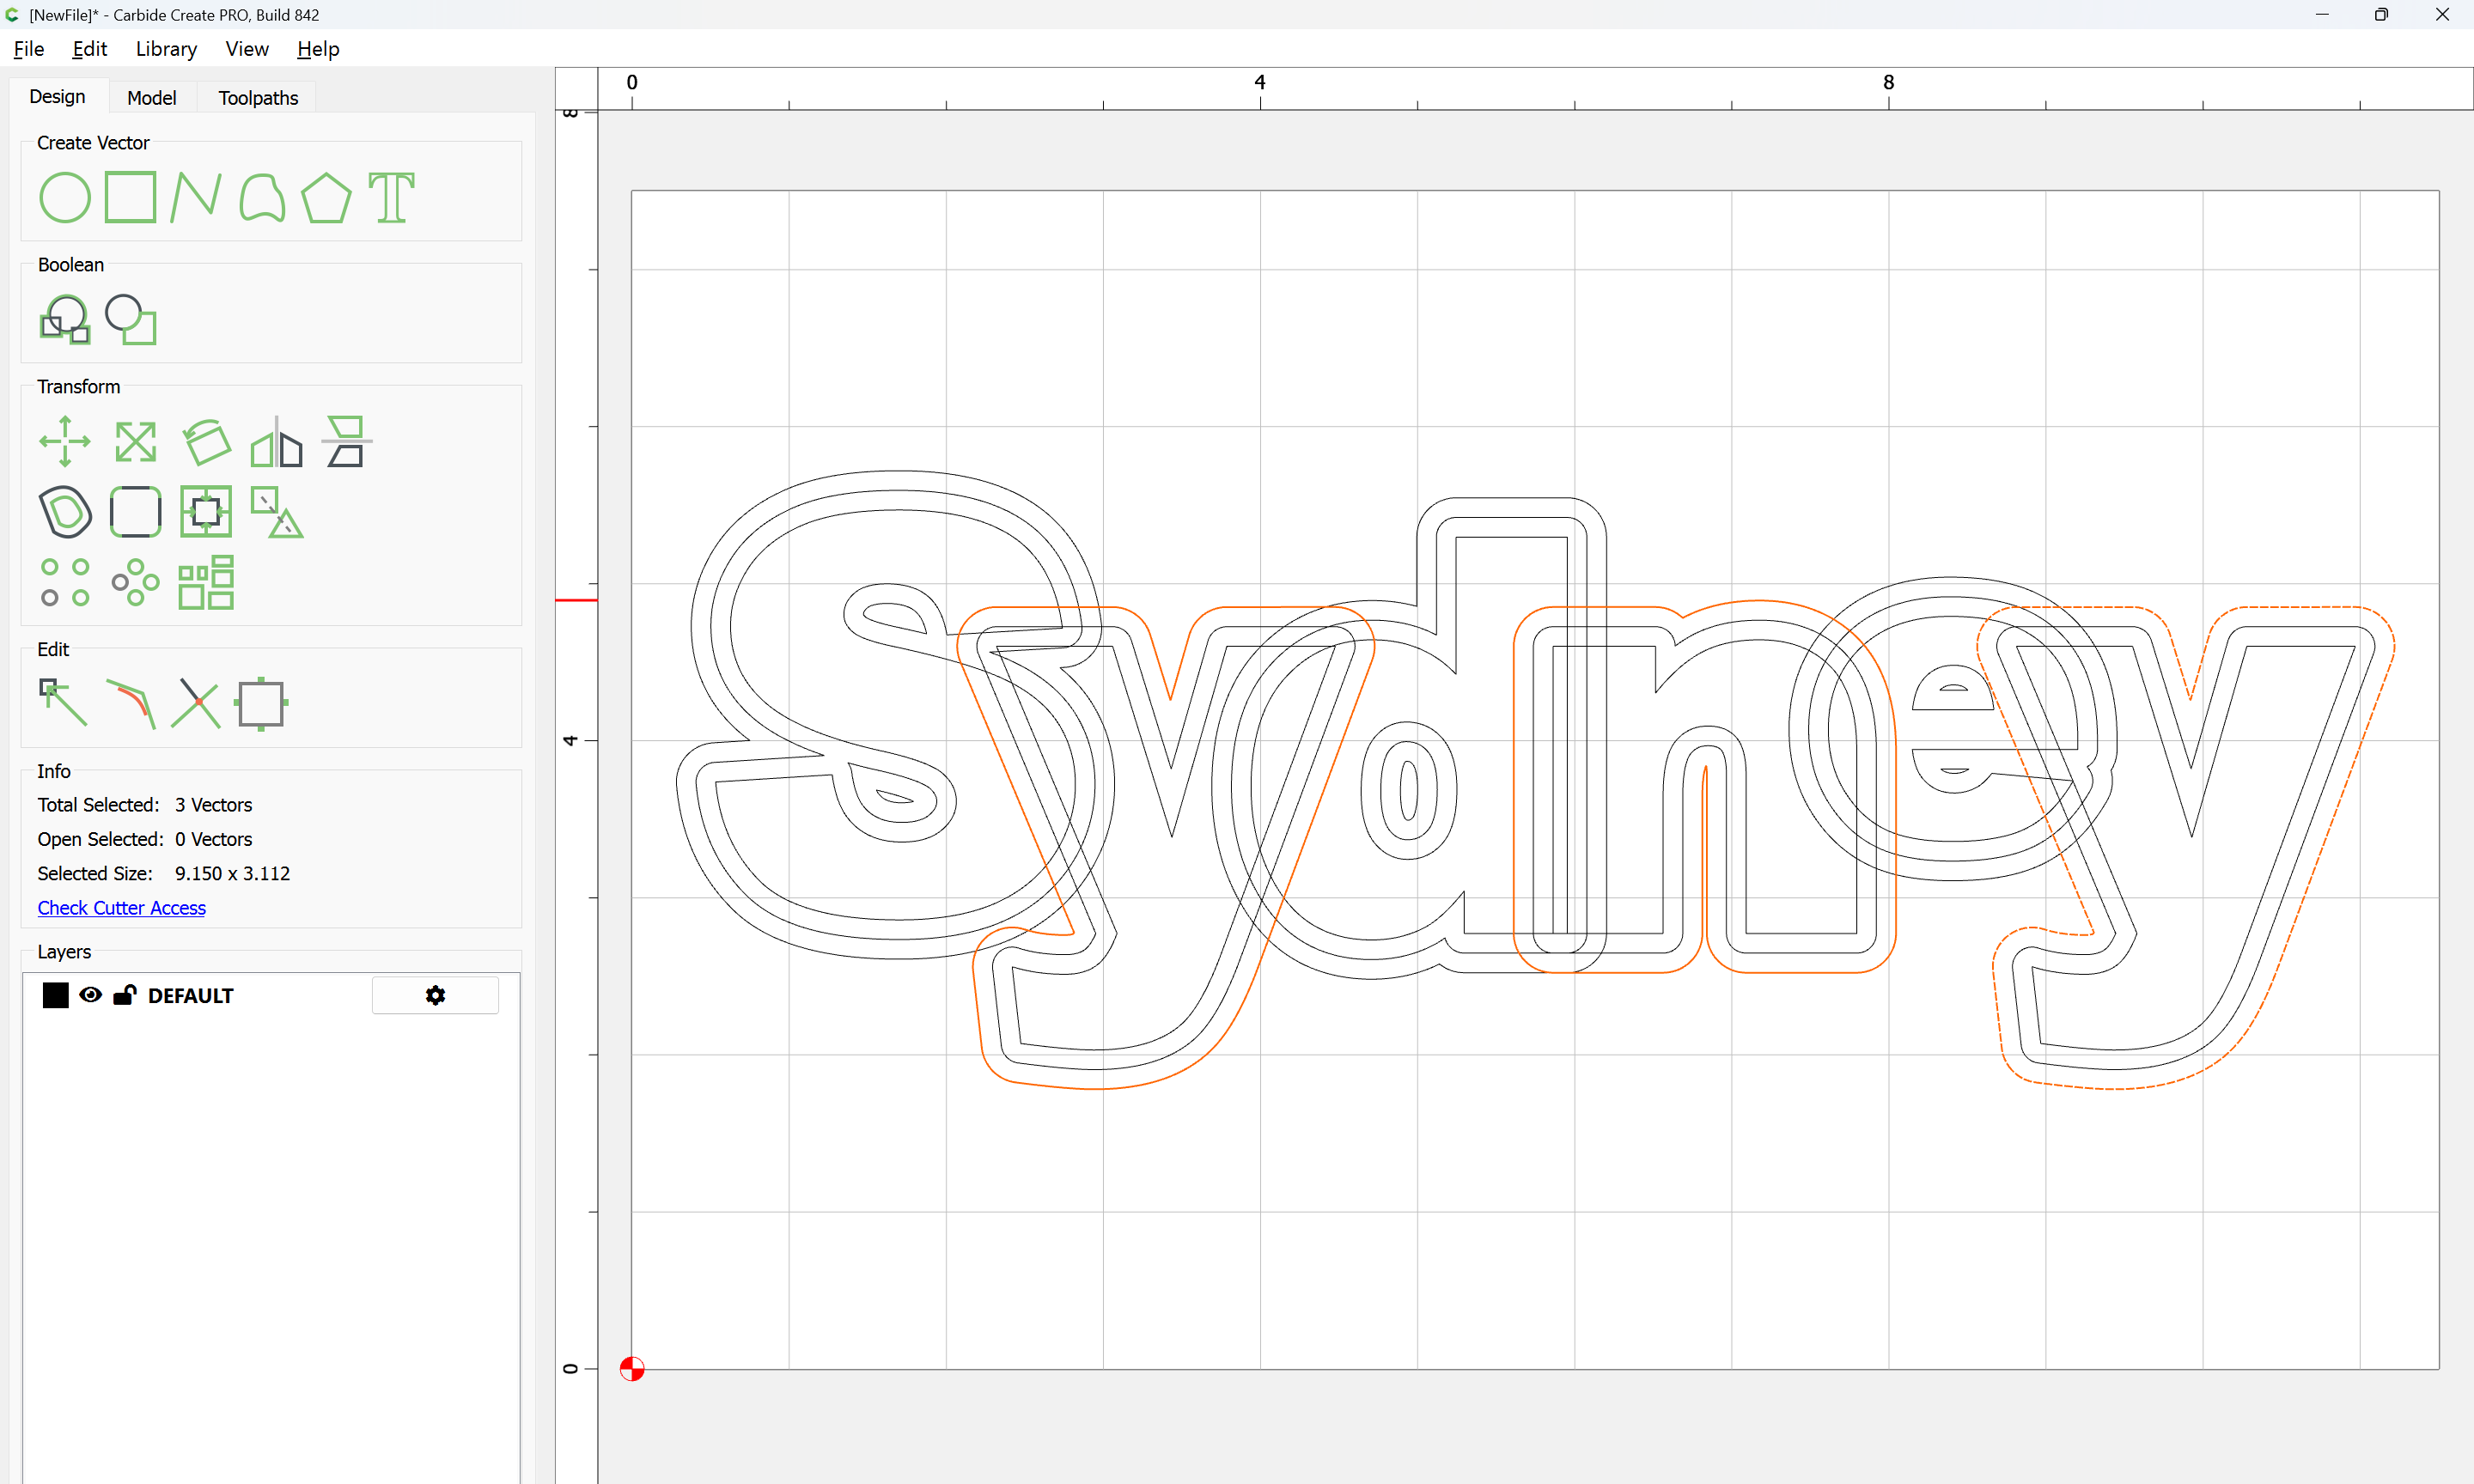
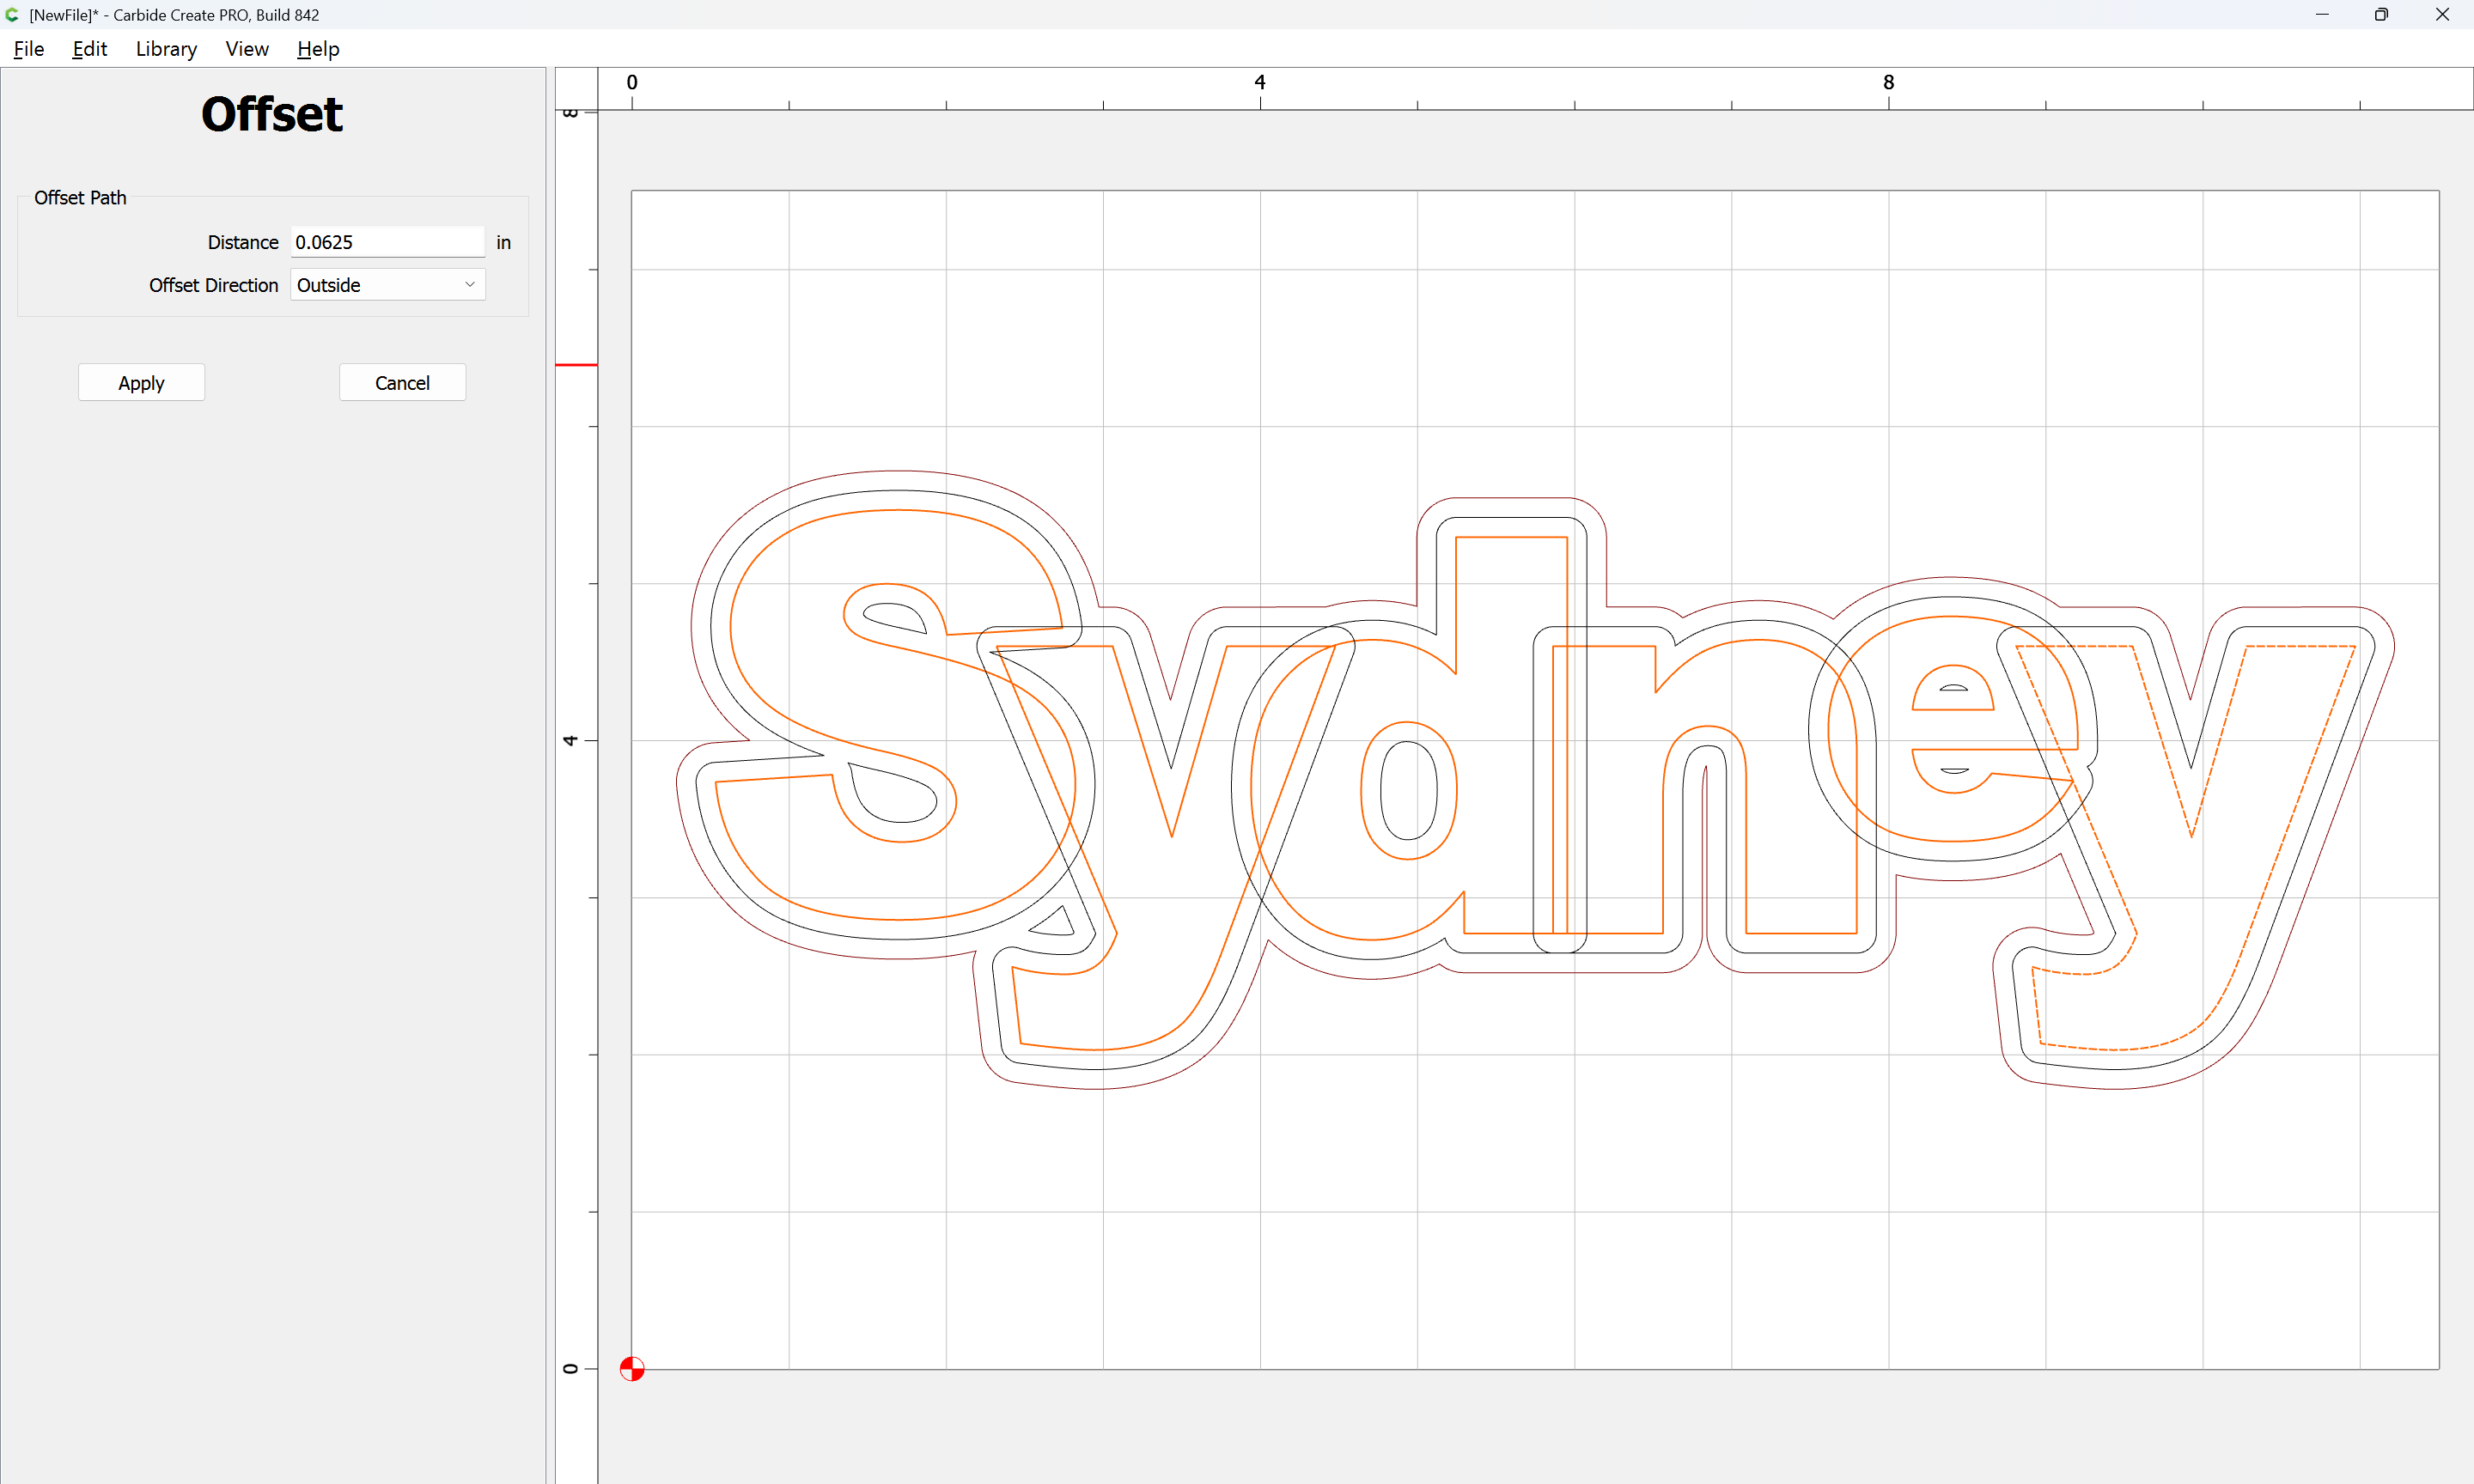
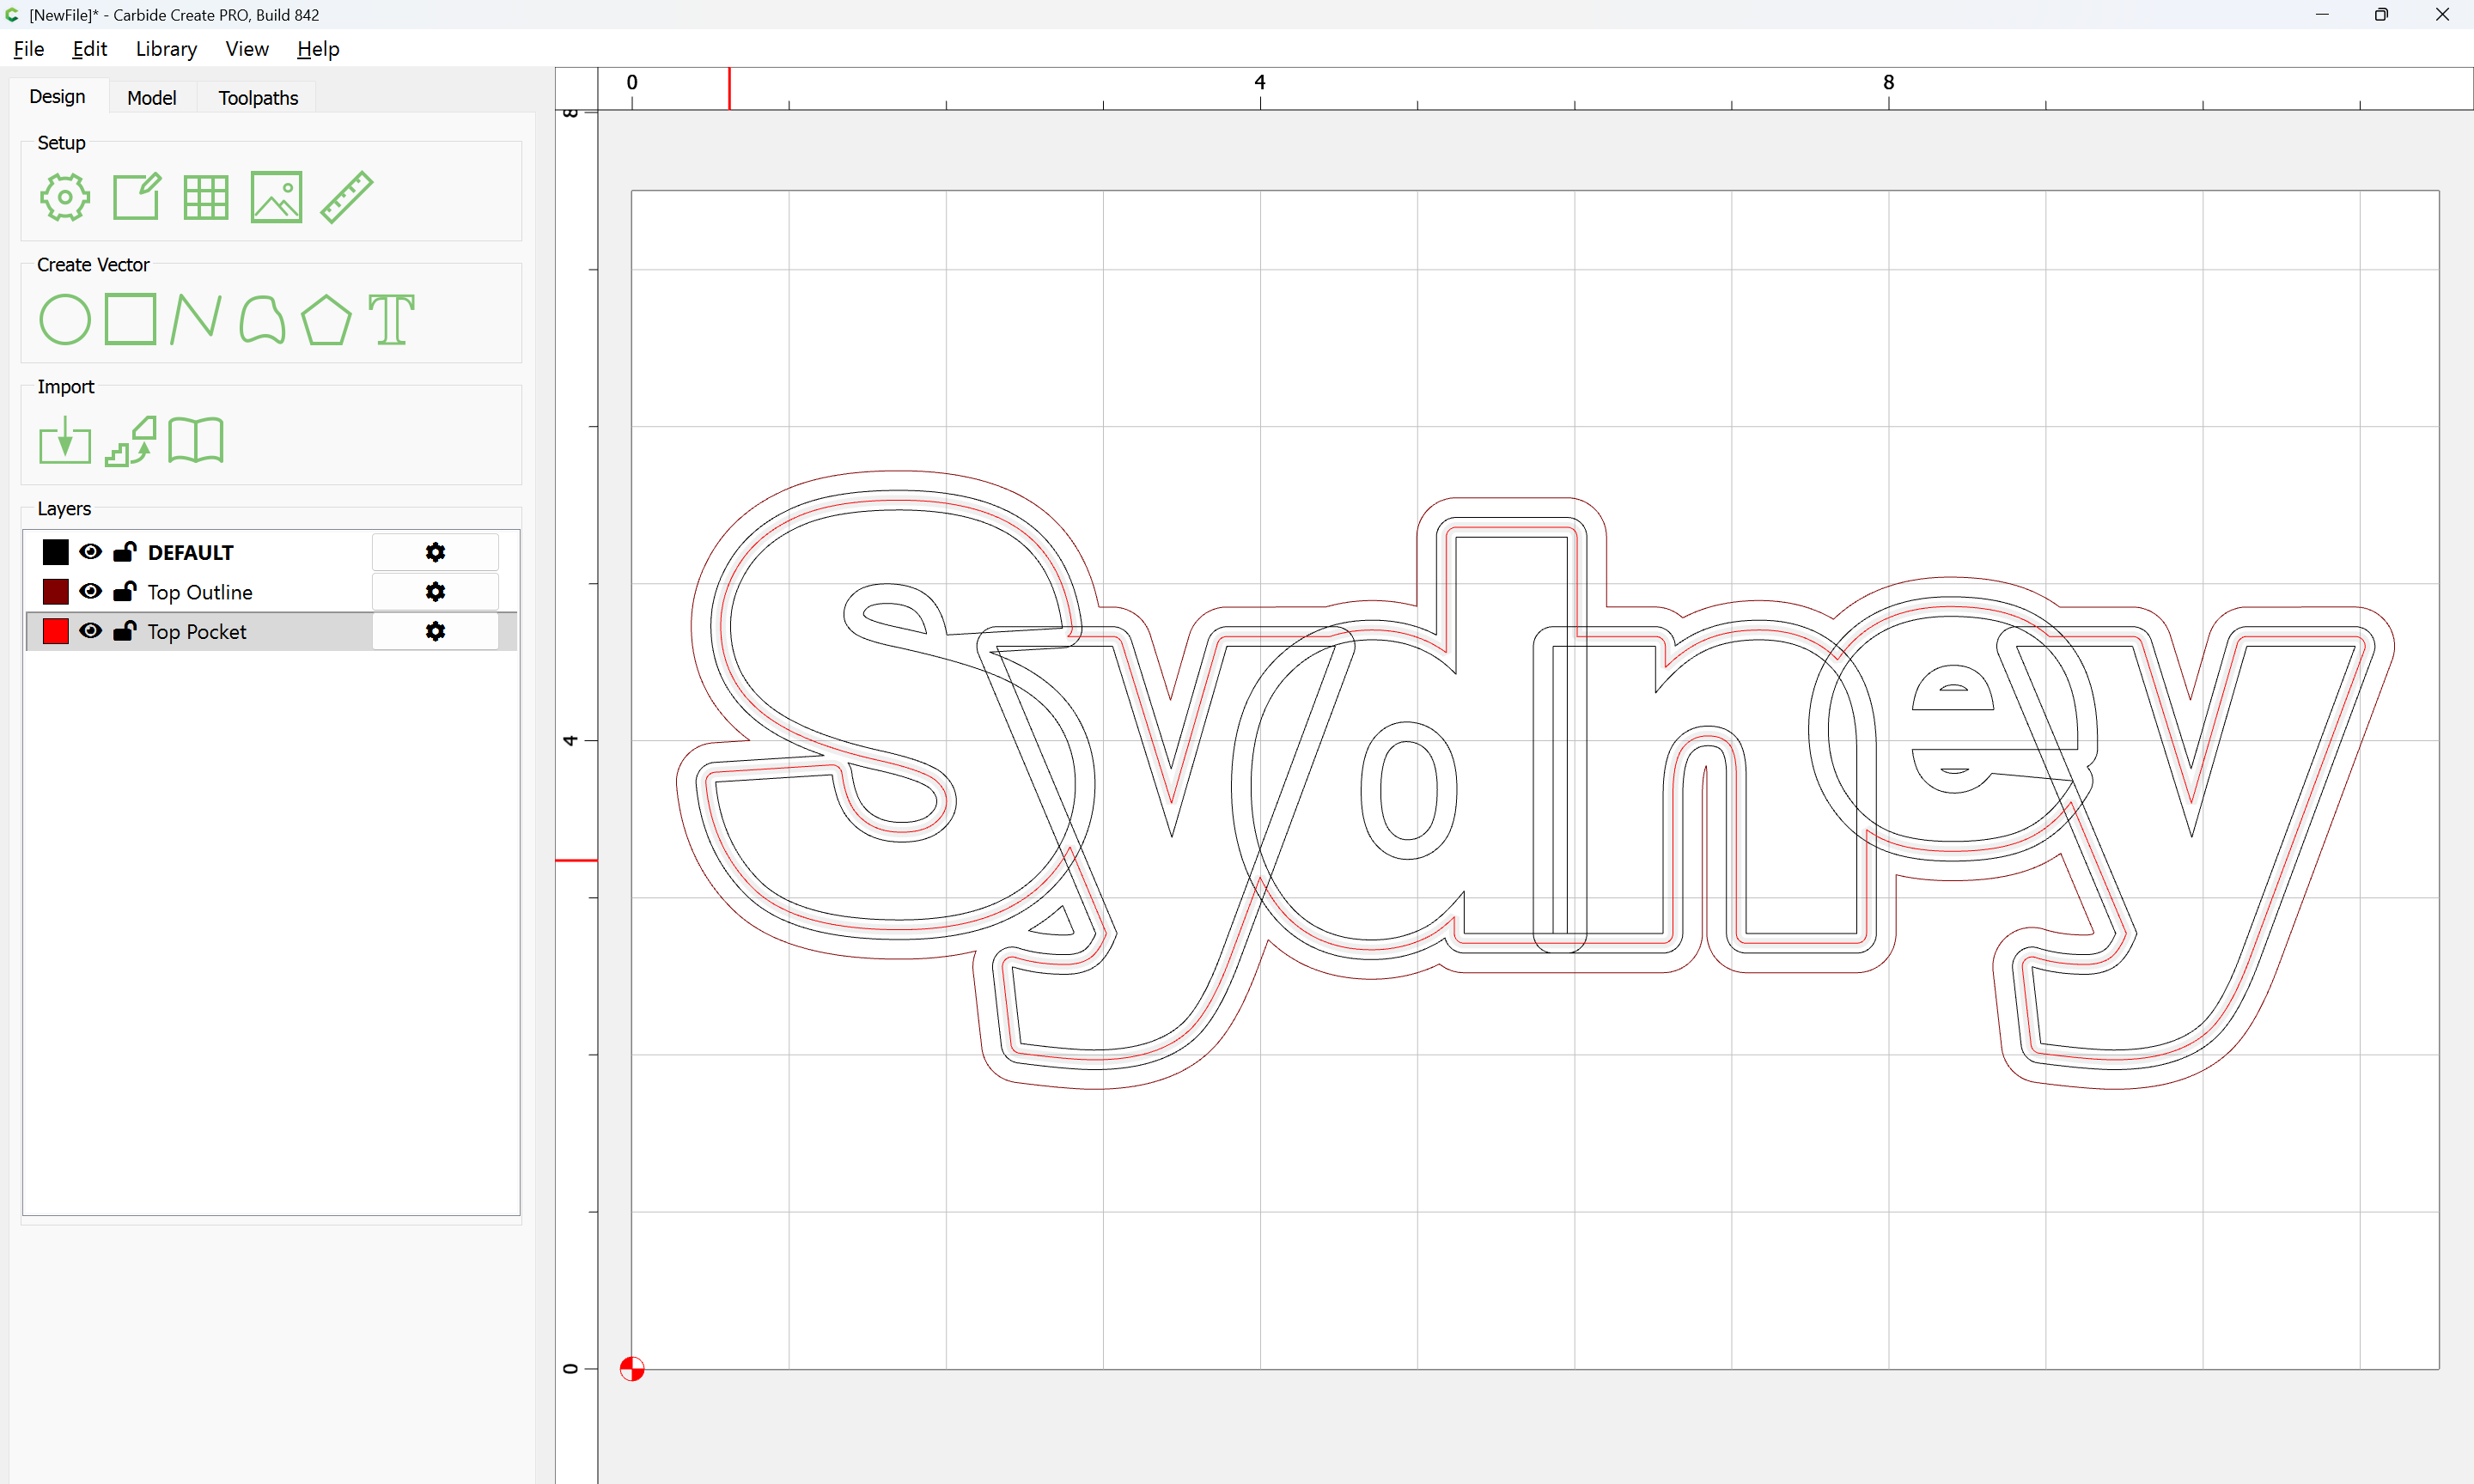
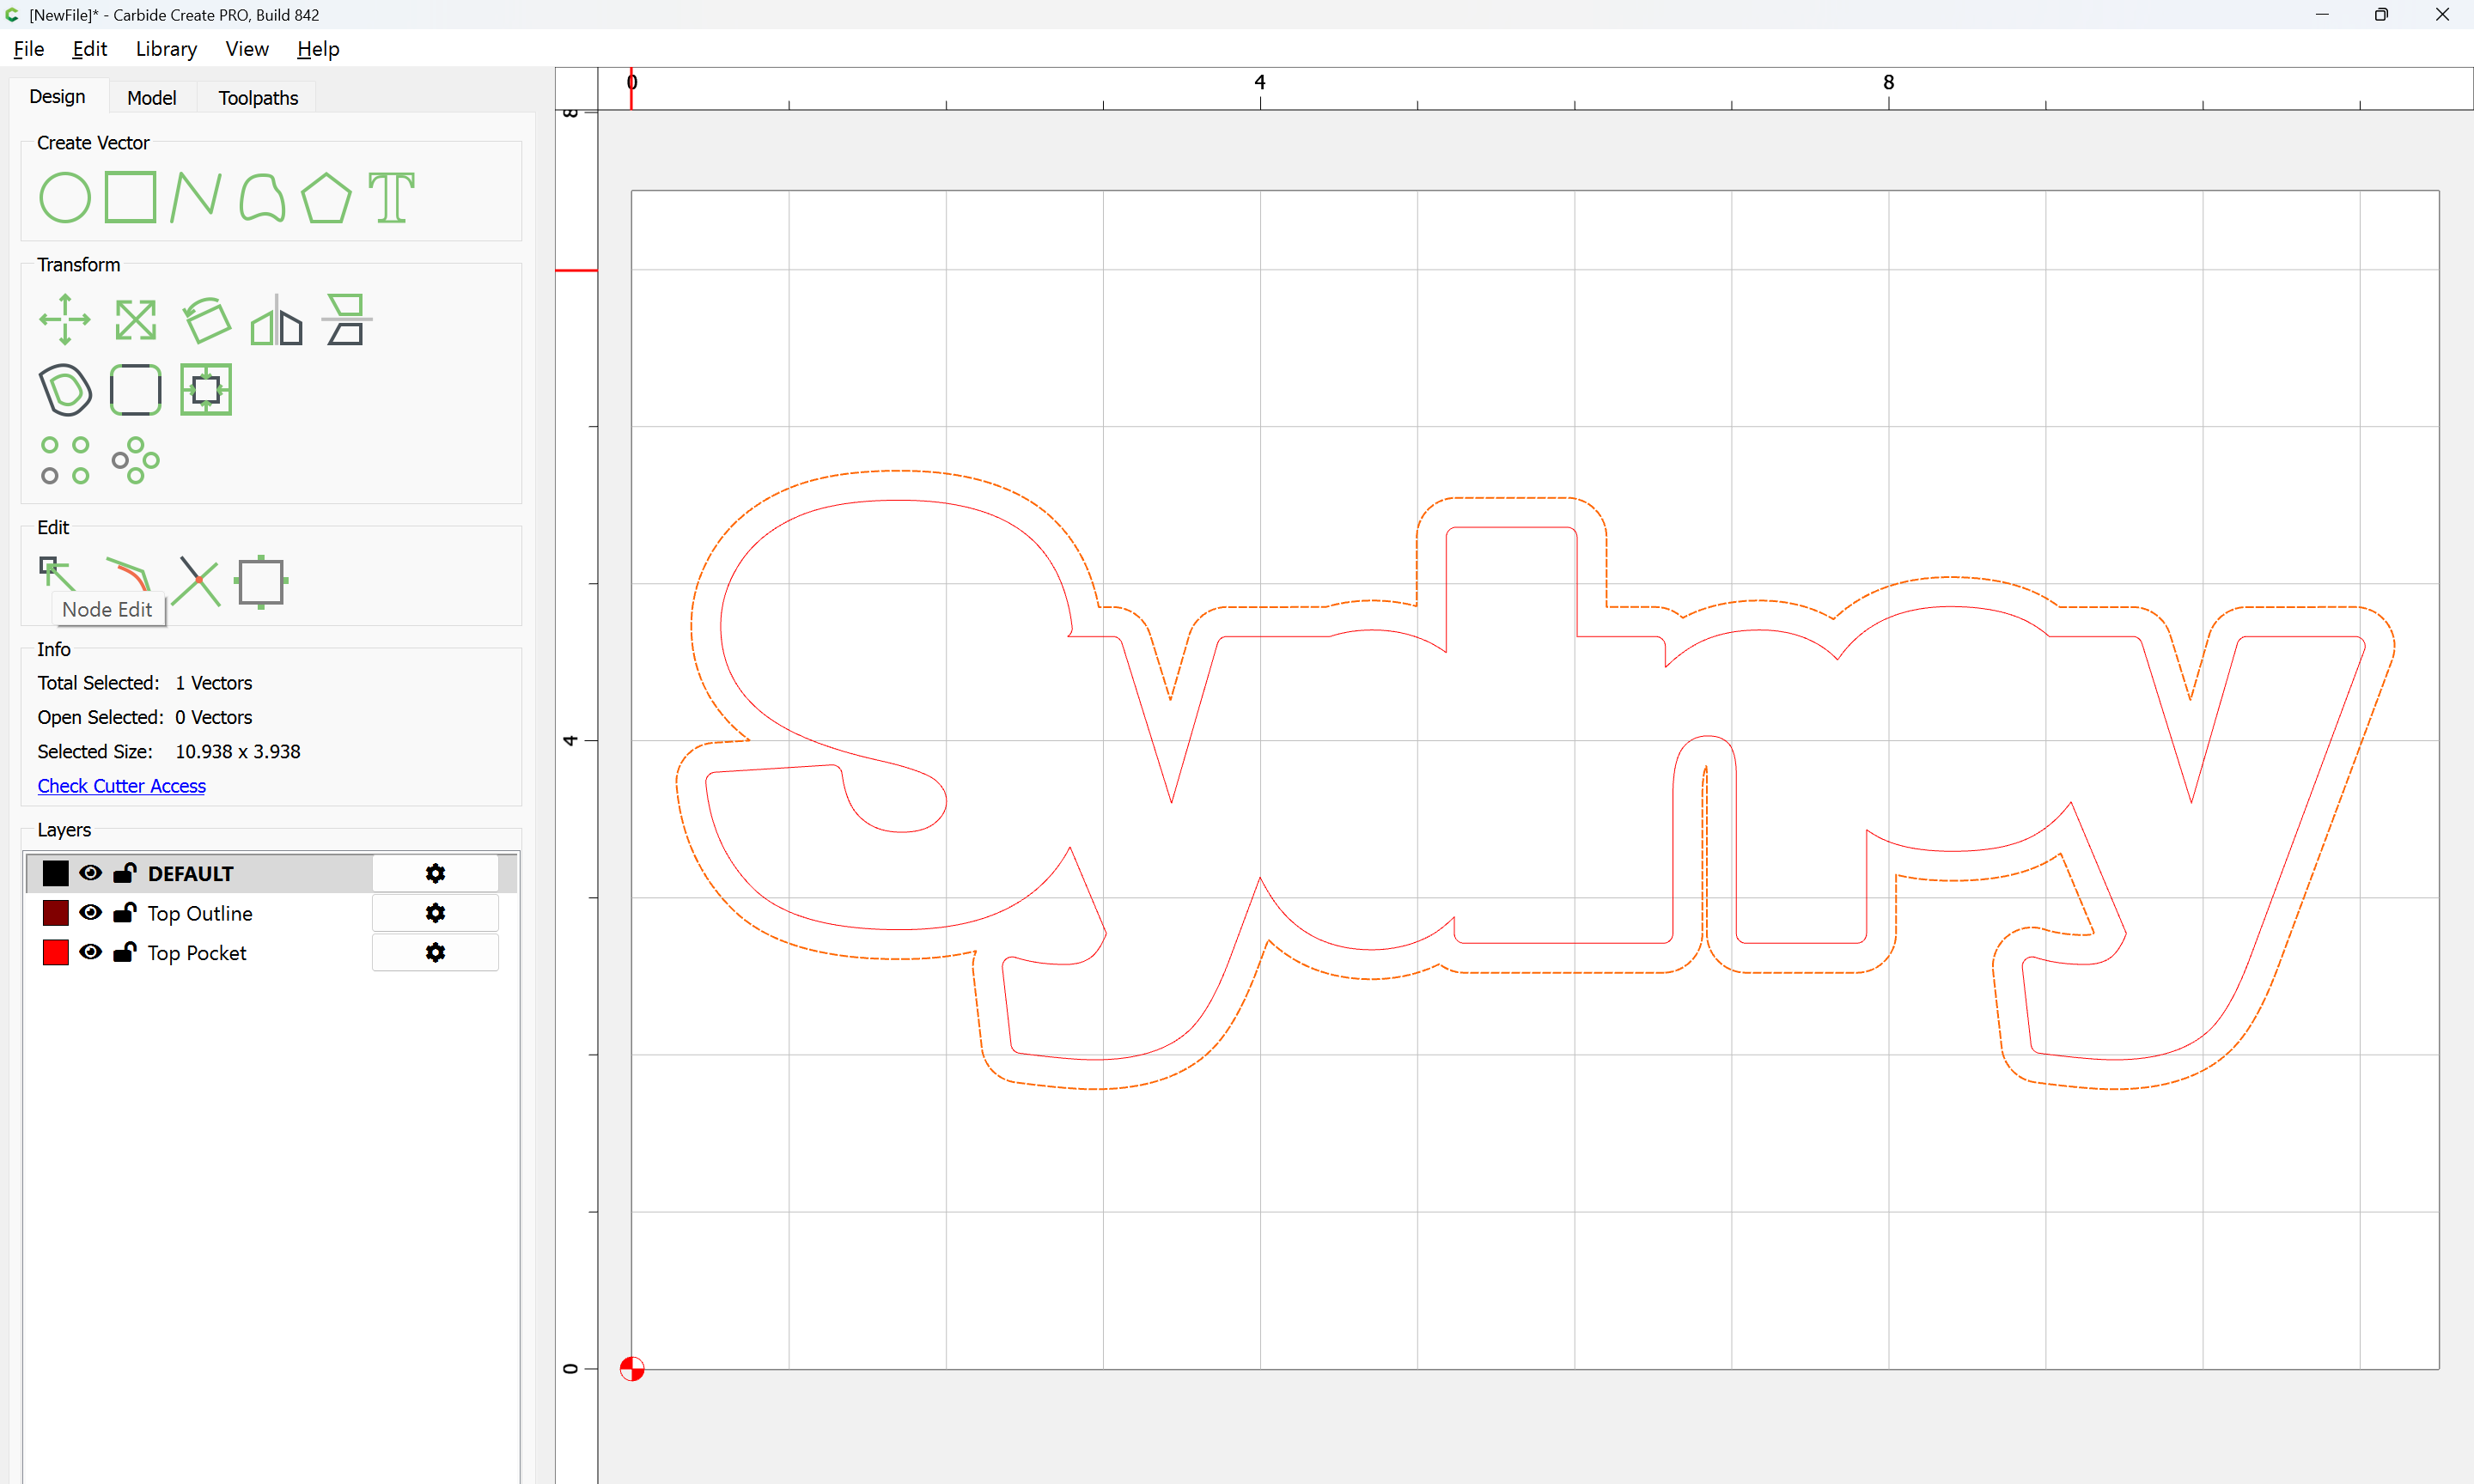
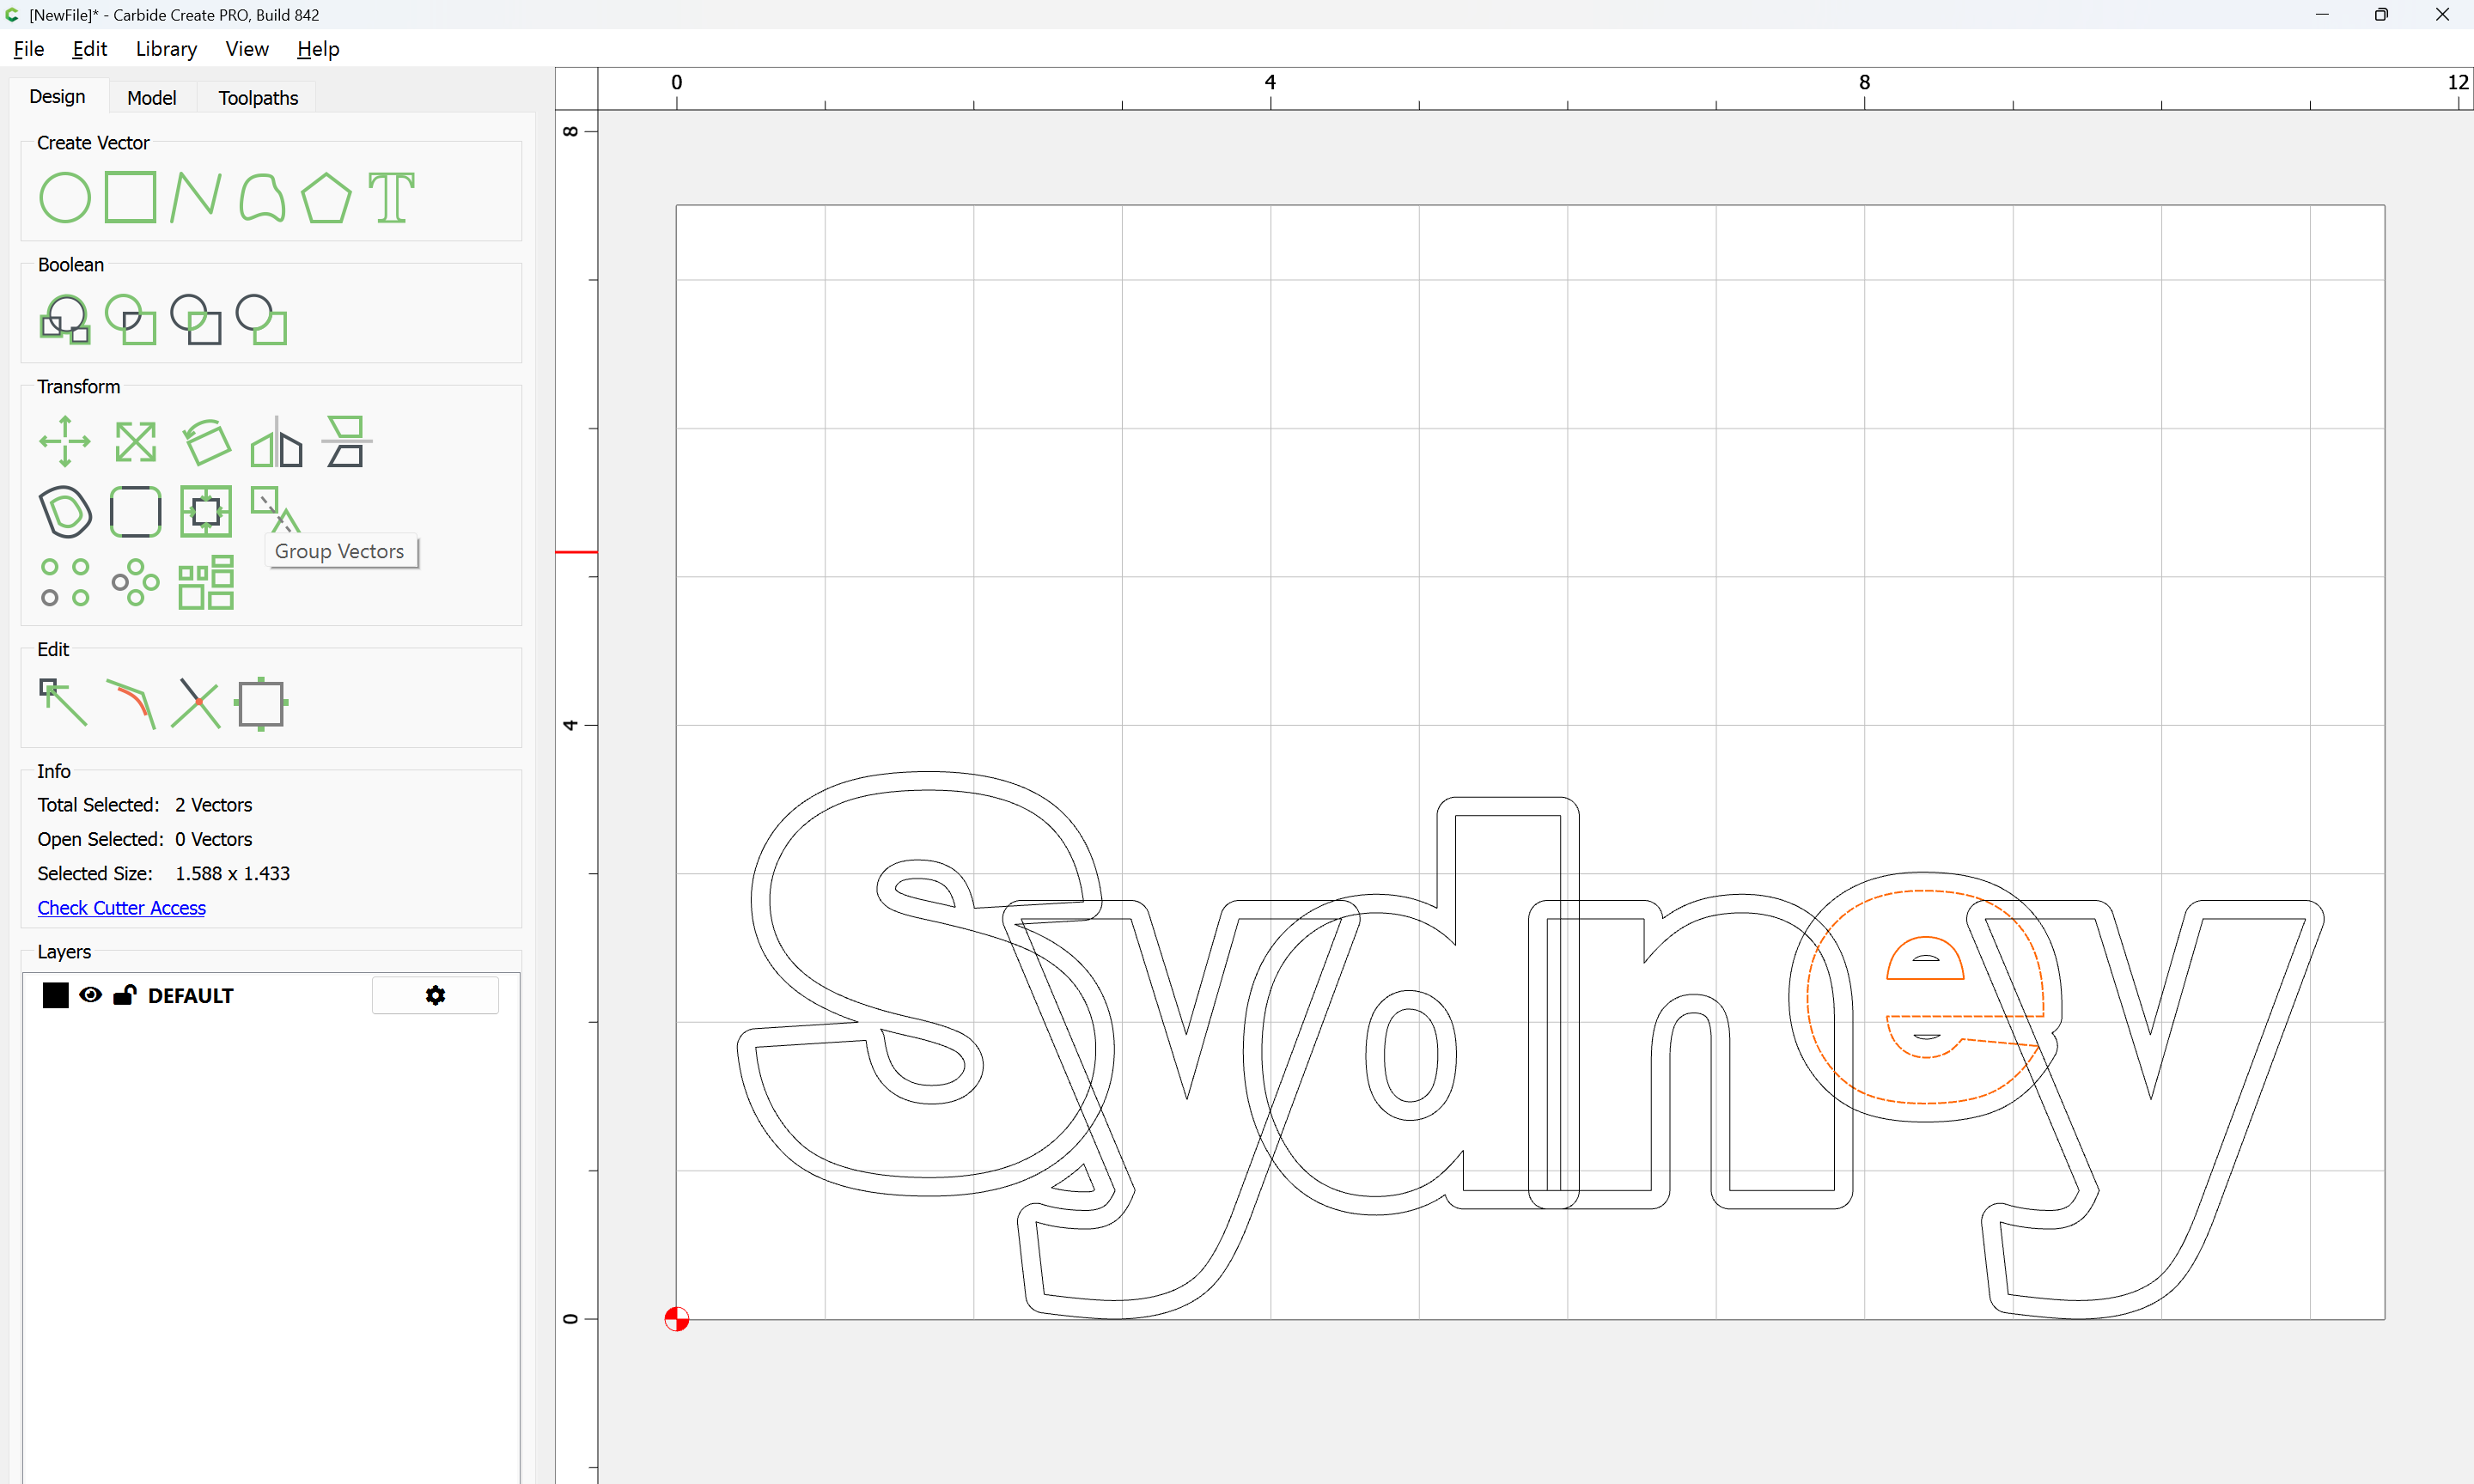
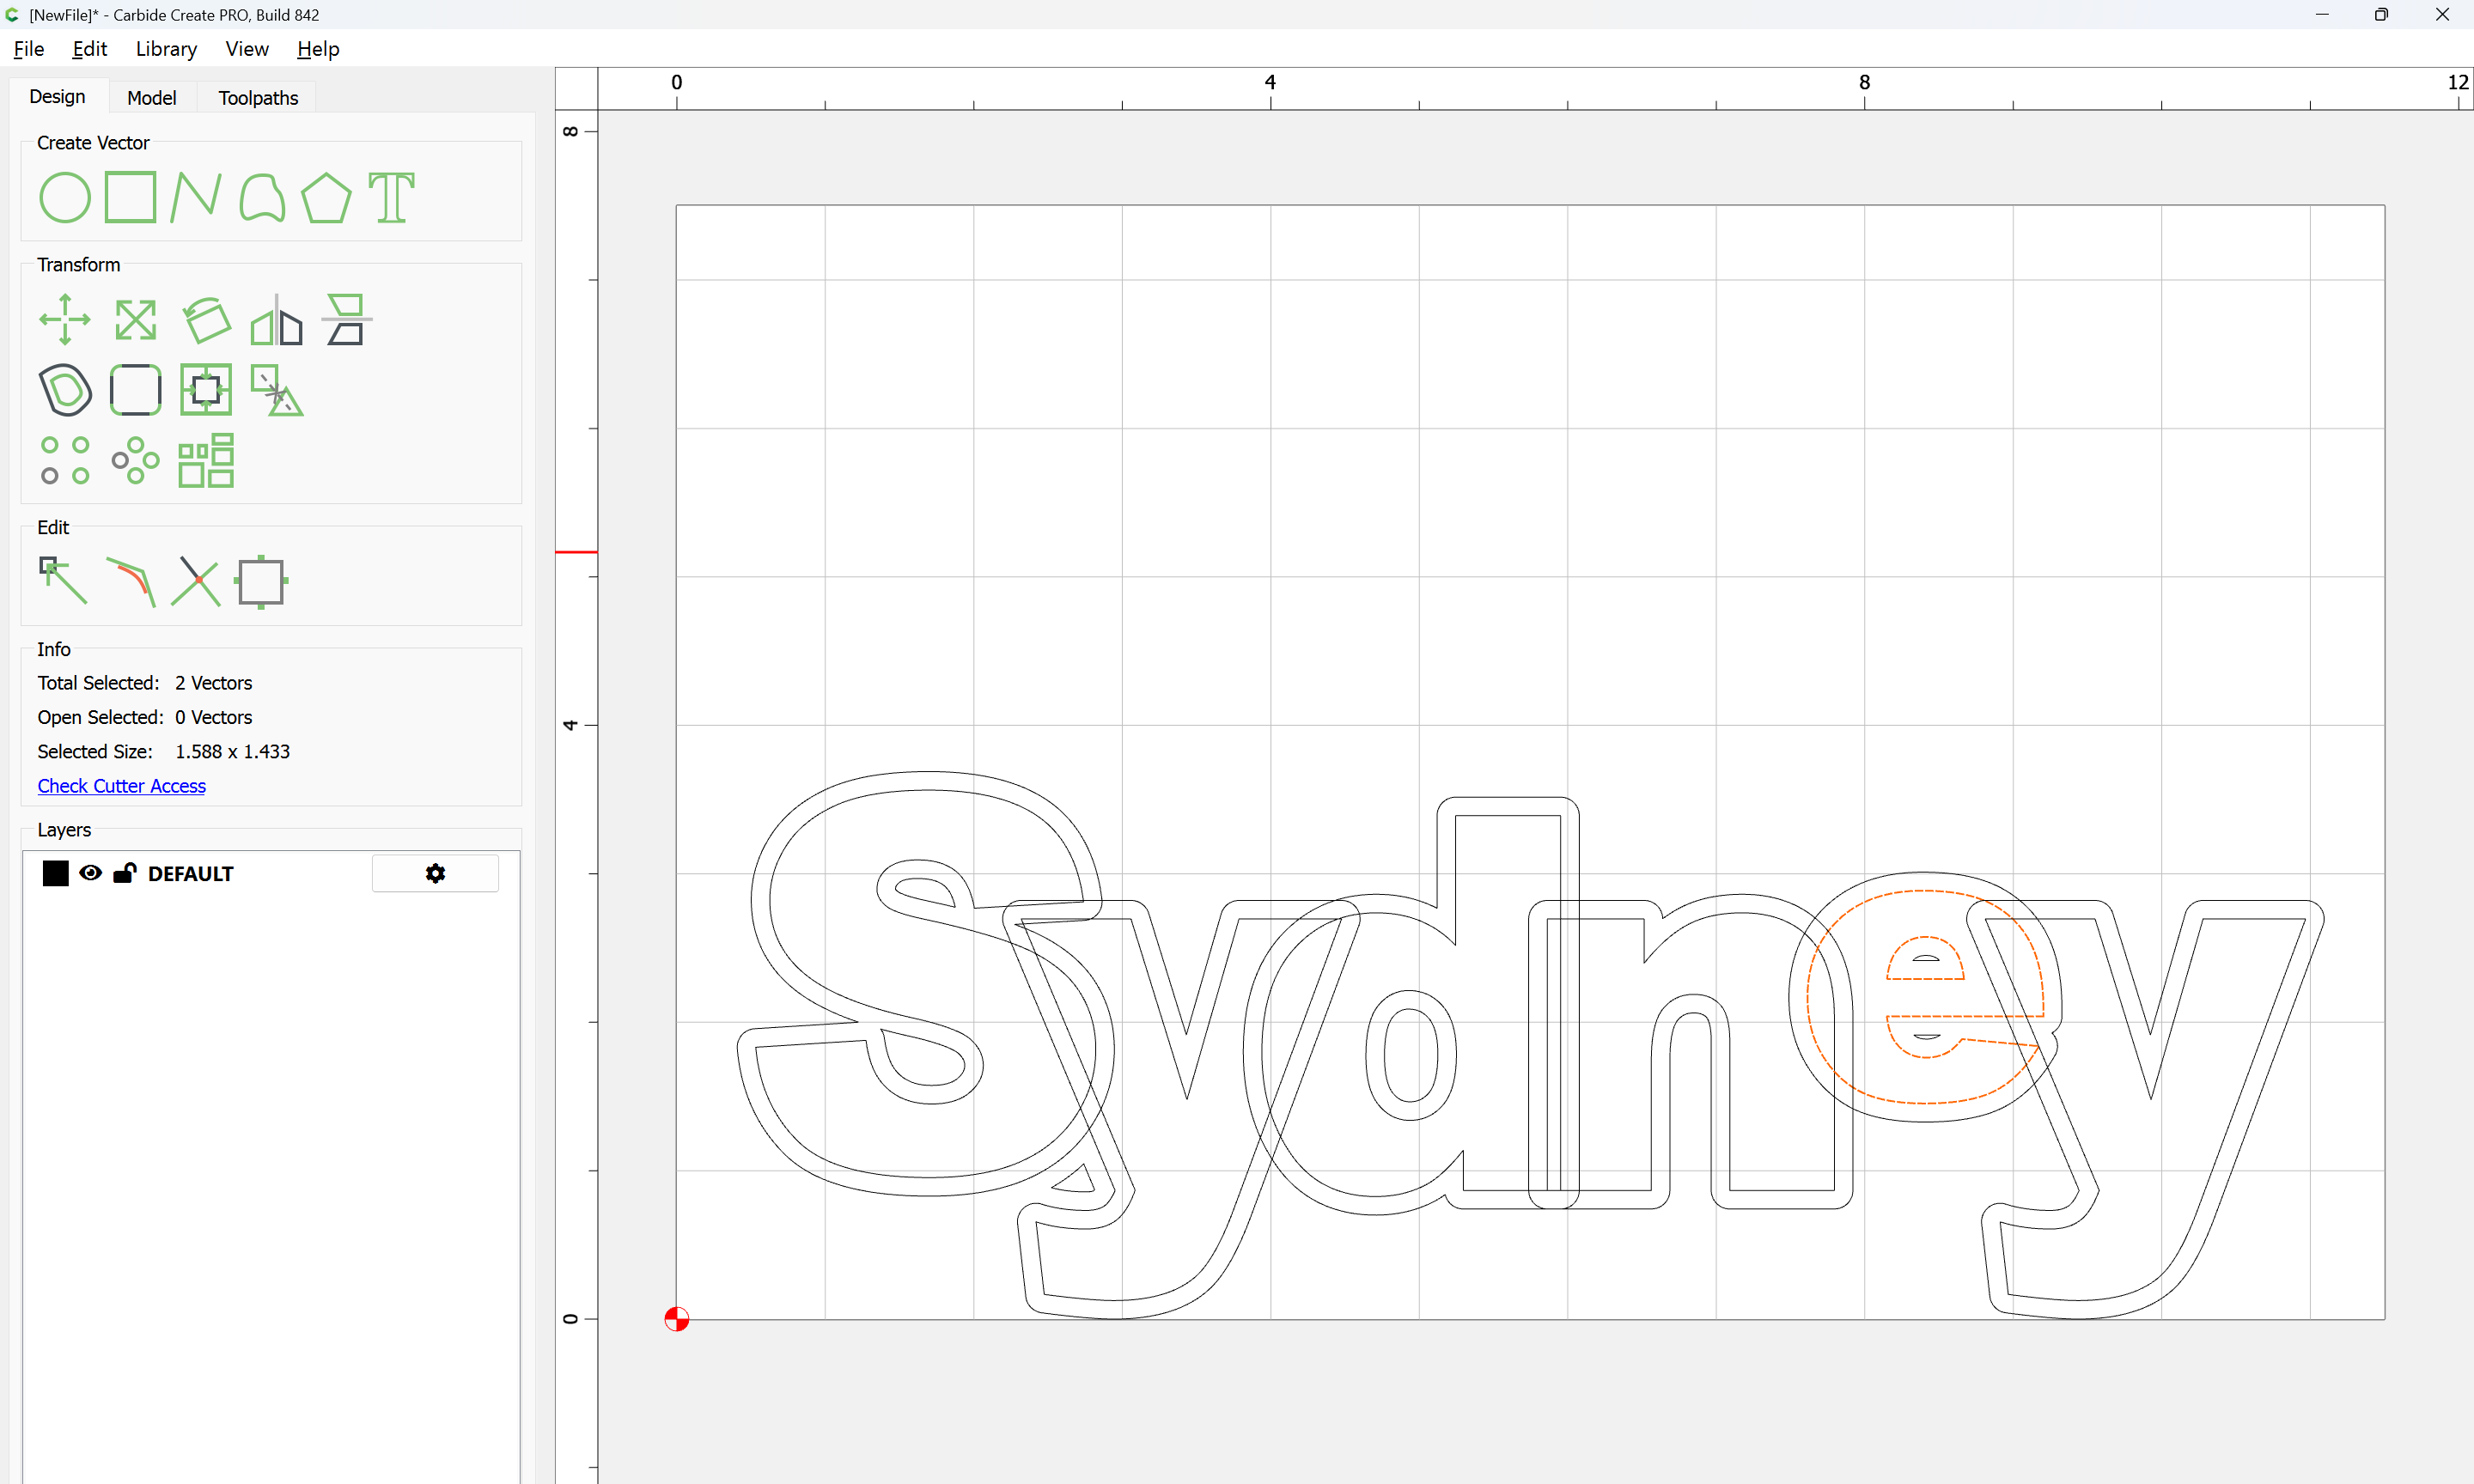
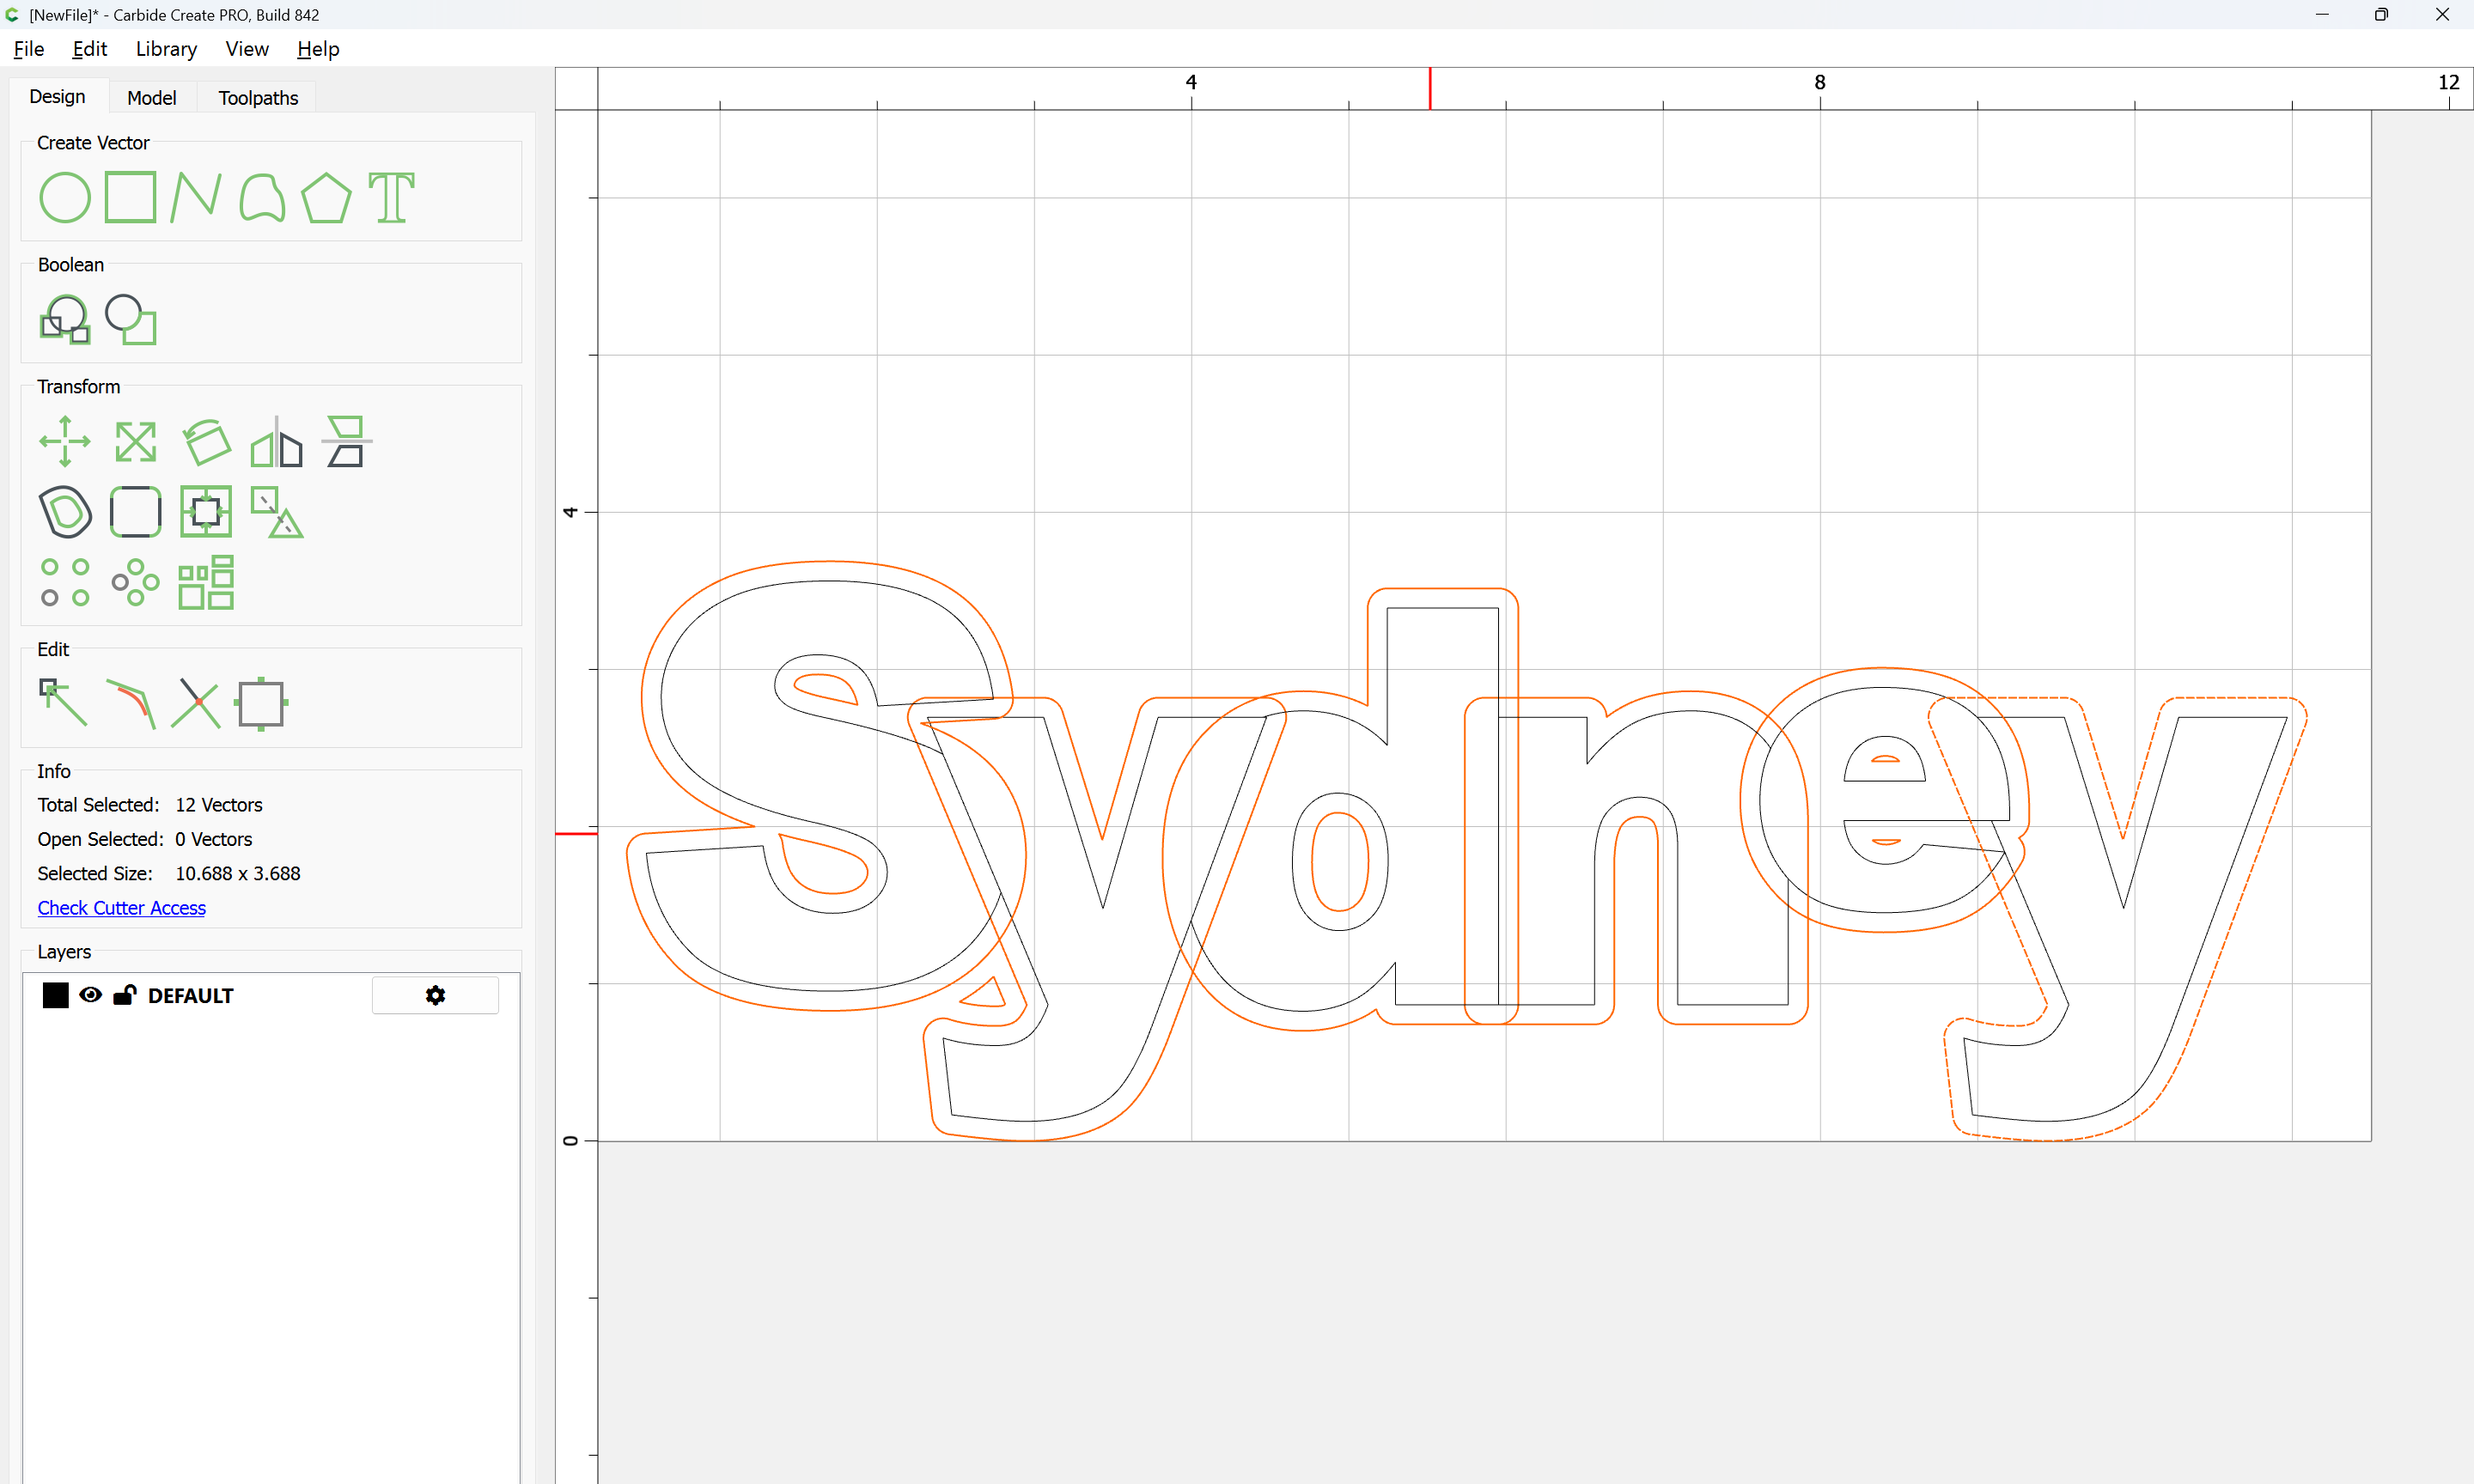
For each letter which crosses over other letter(s) select it and copy-paste it in place so as to create a duplicate in register w/ the original:
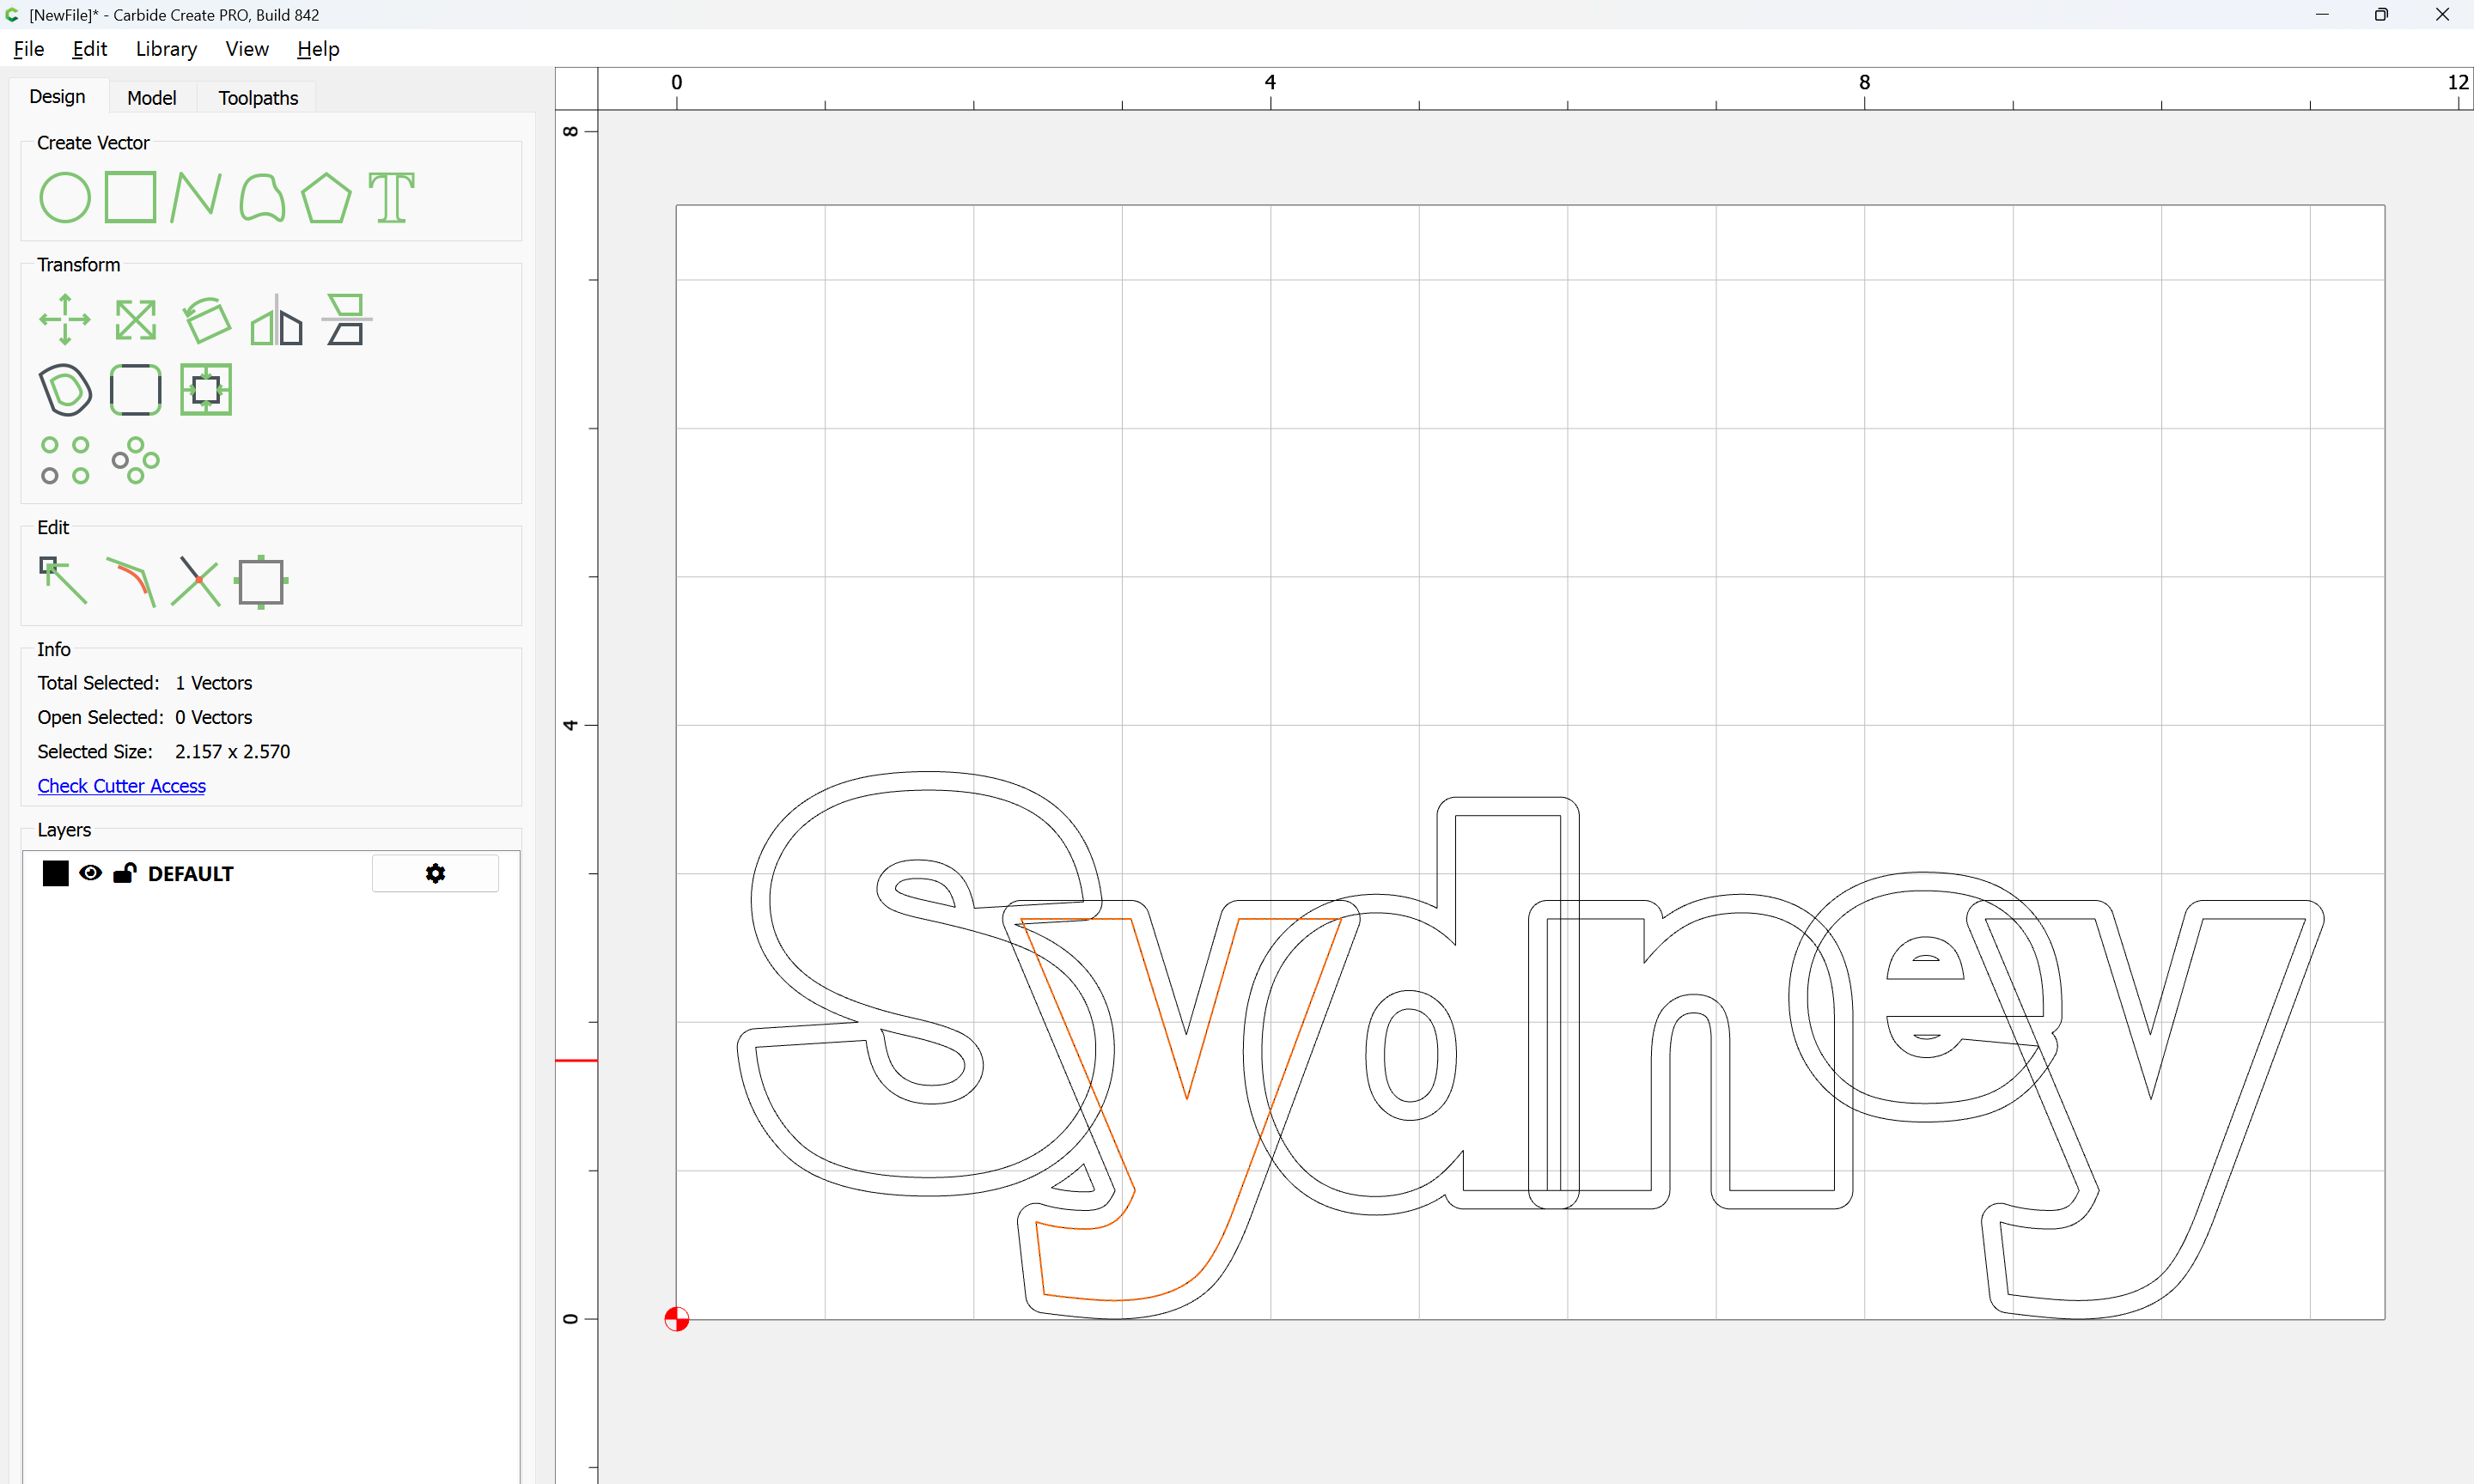
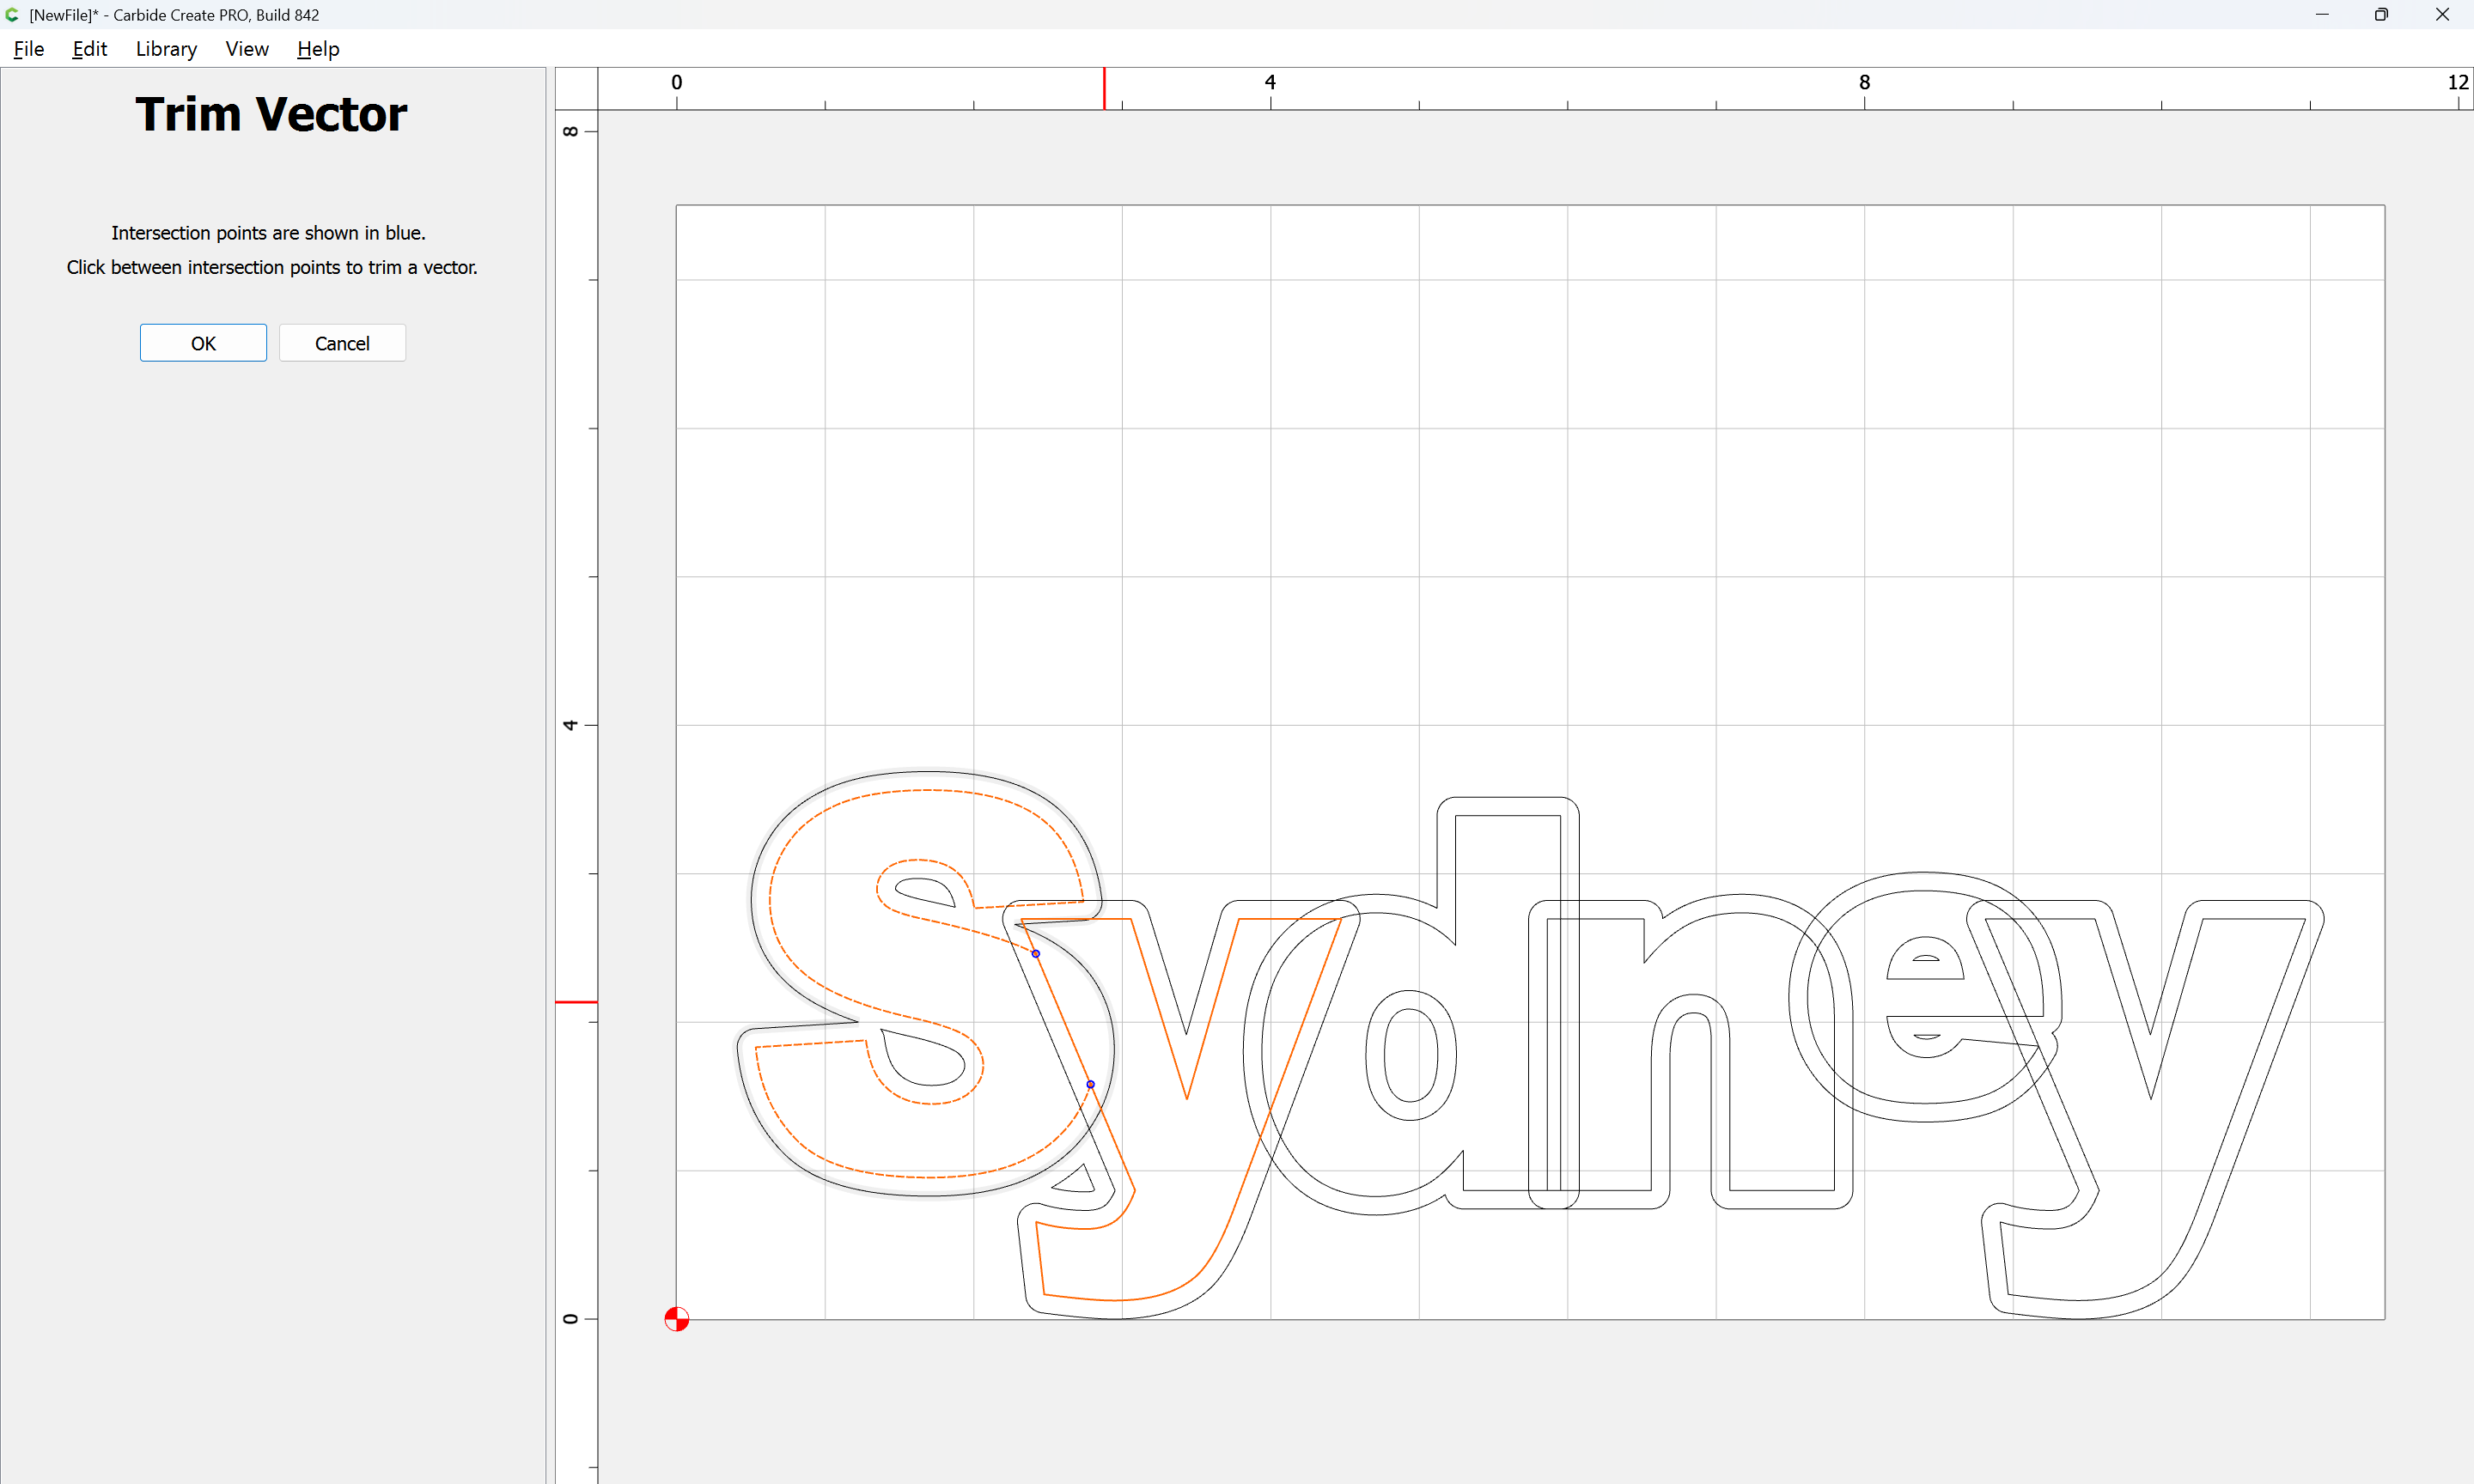
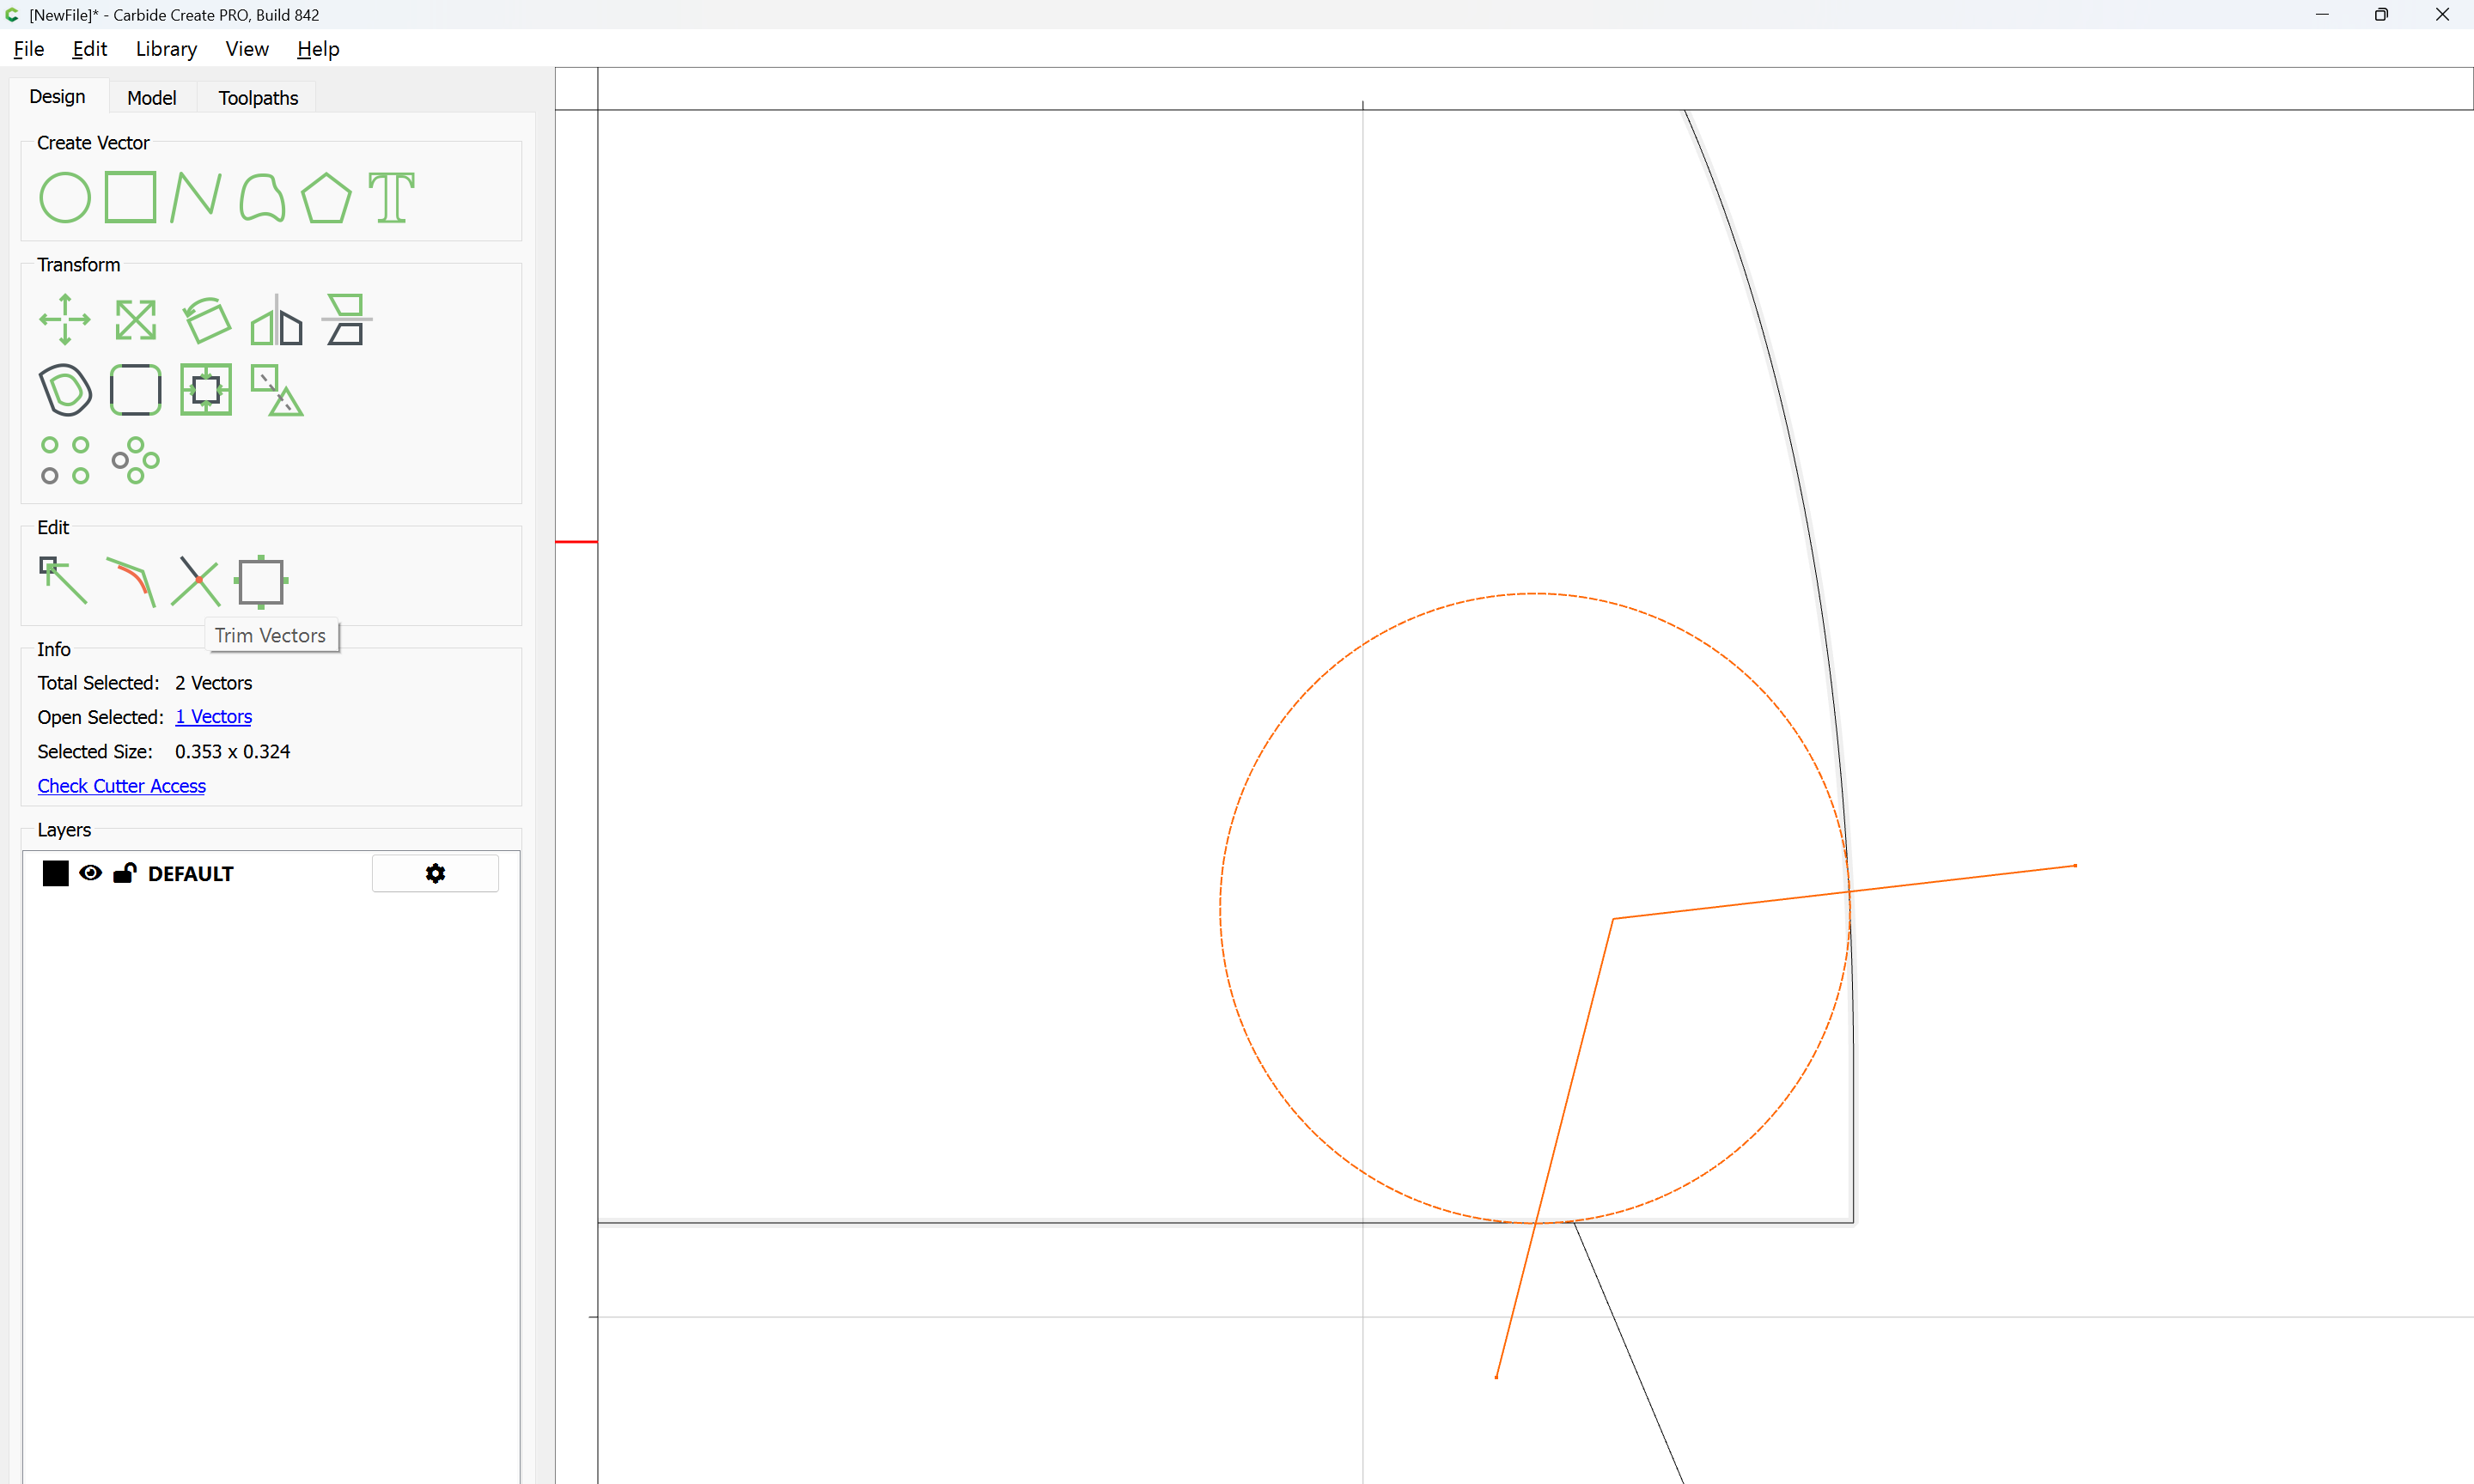
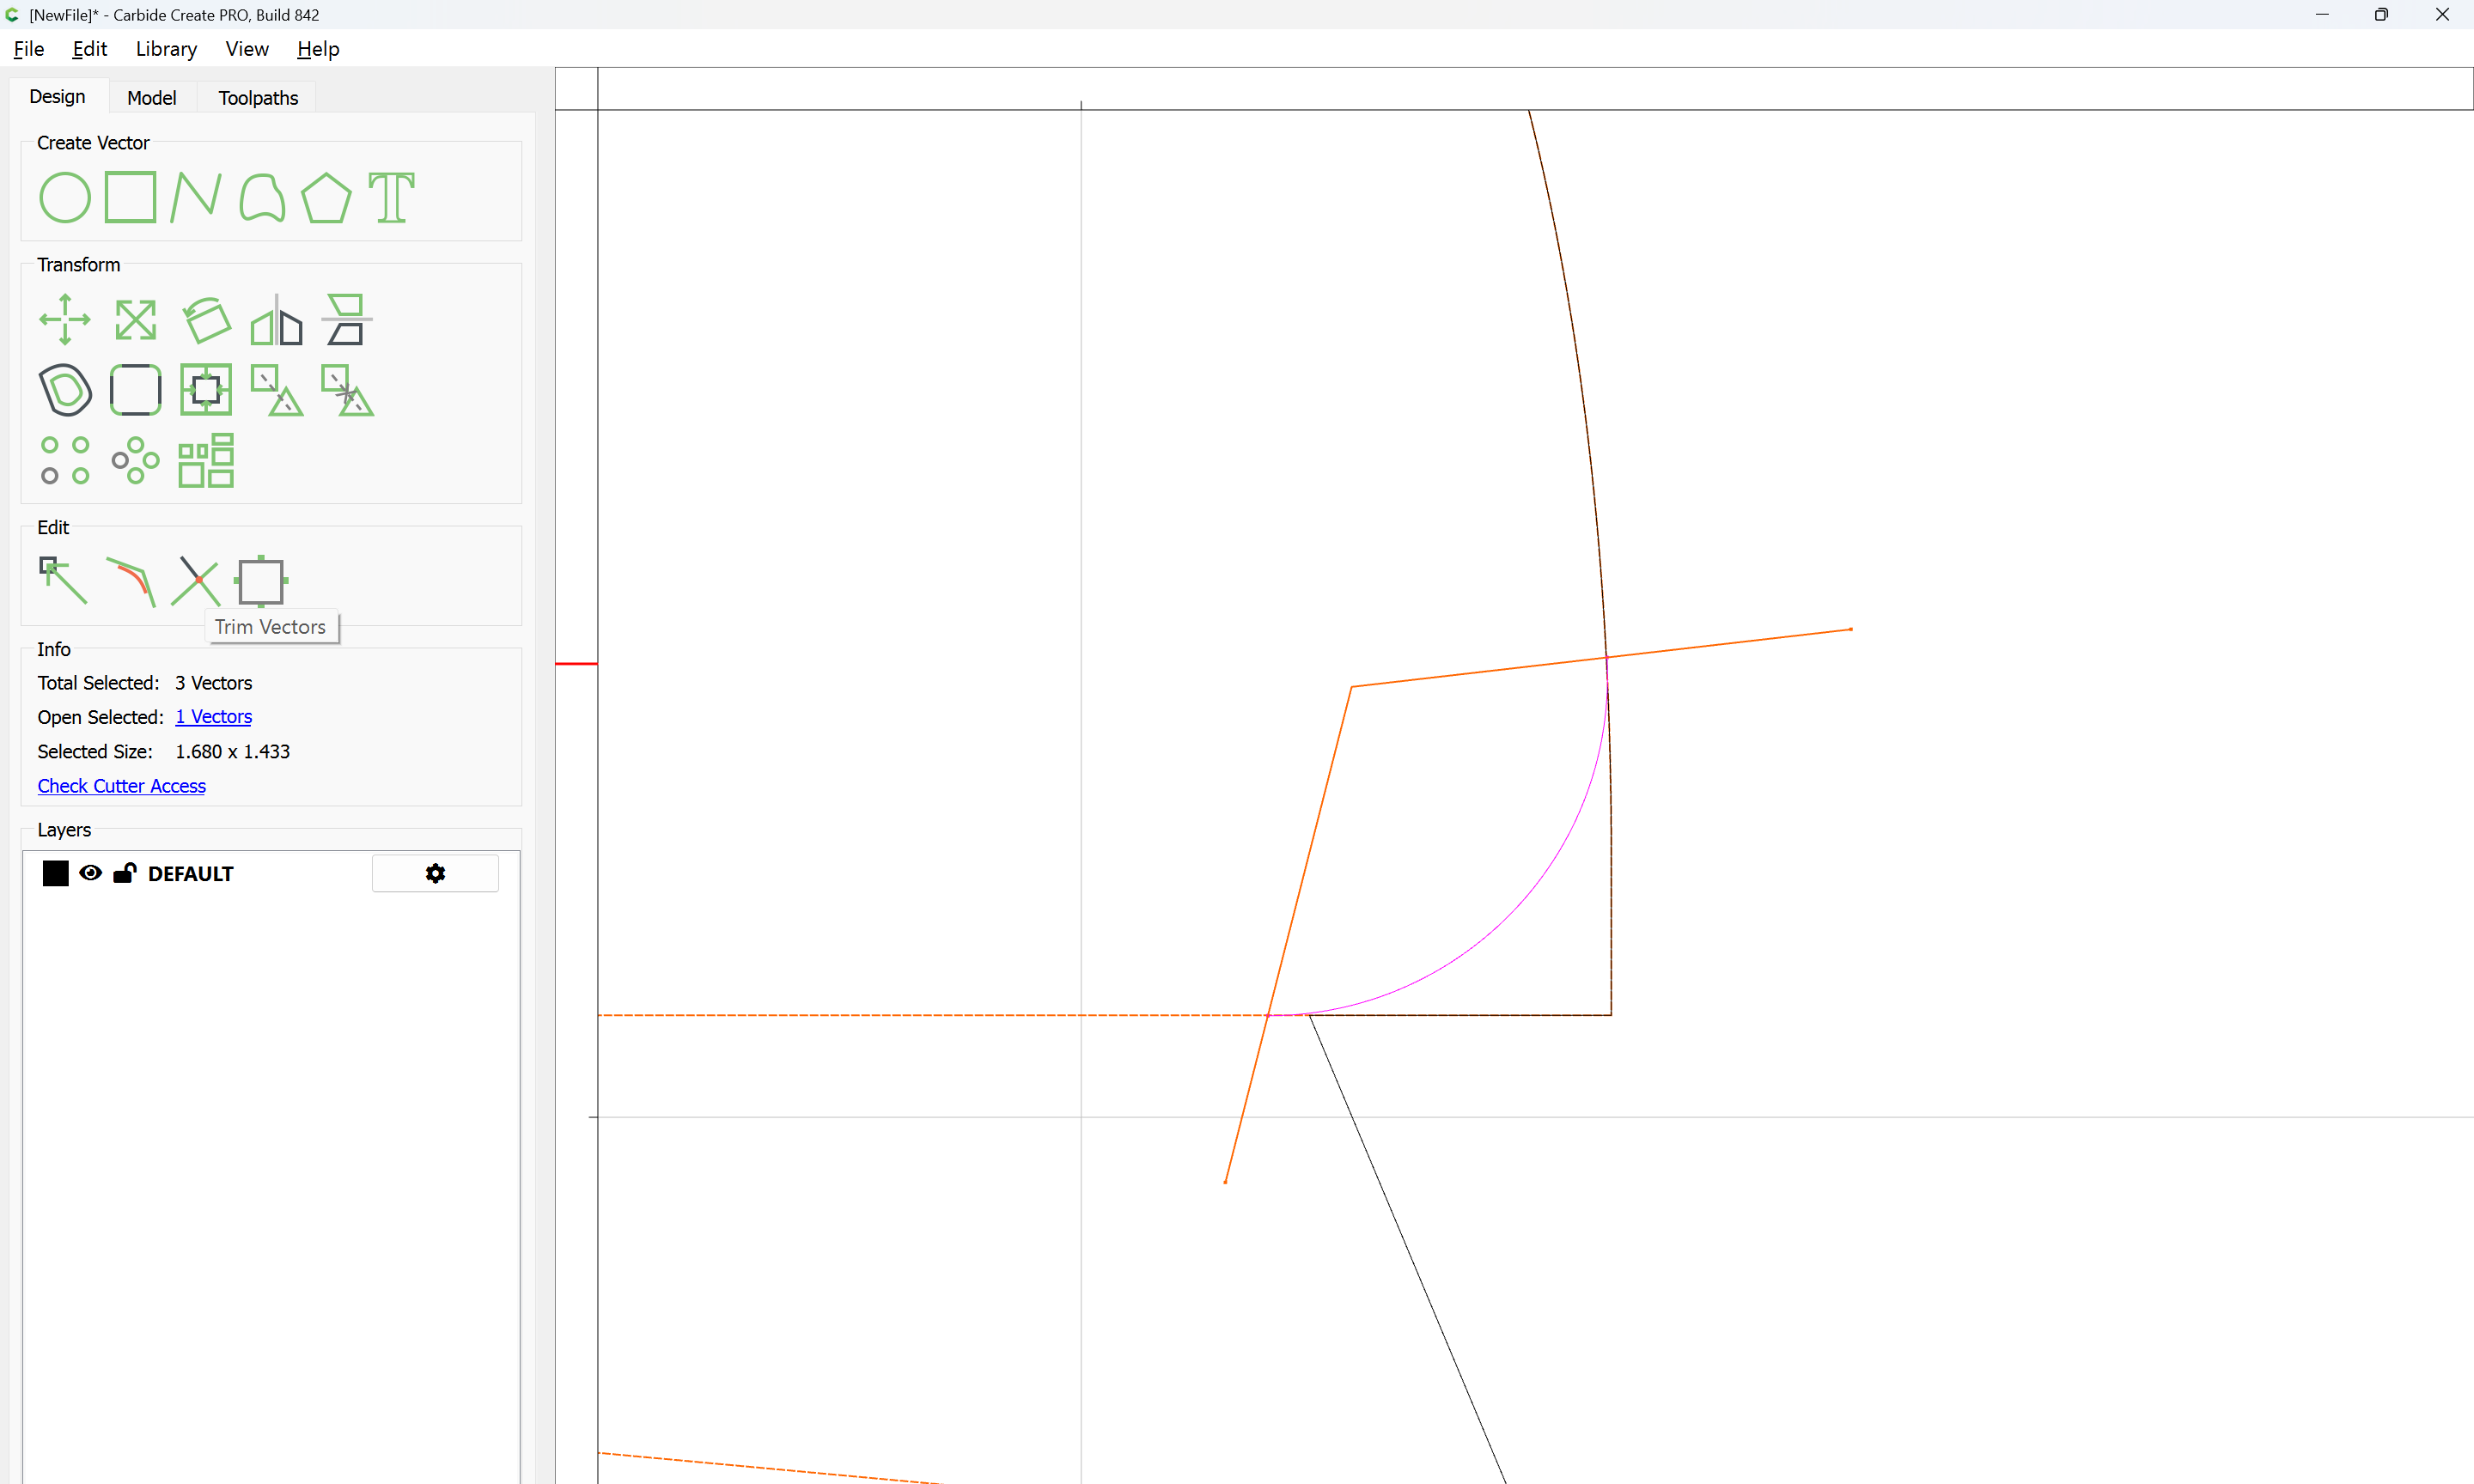
Then select a duplicate and a crossing letter:
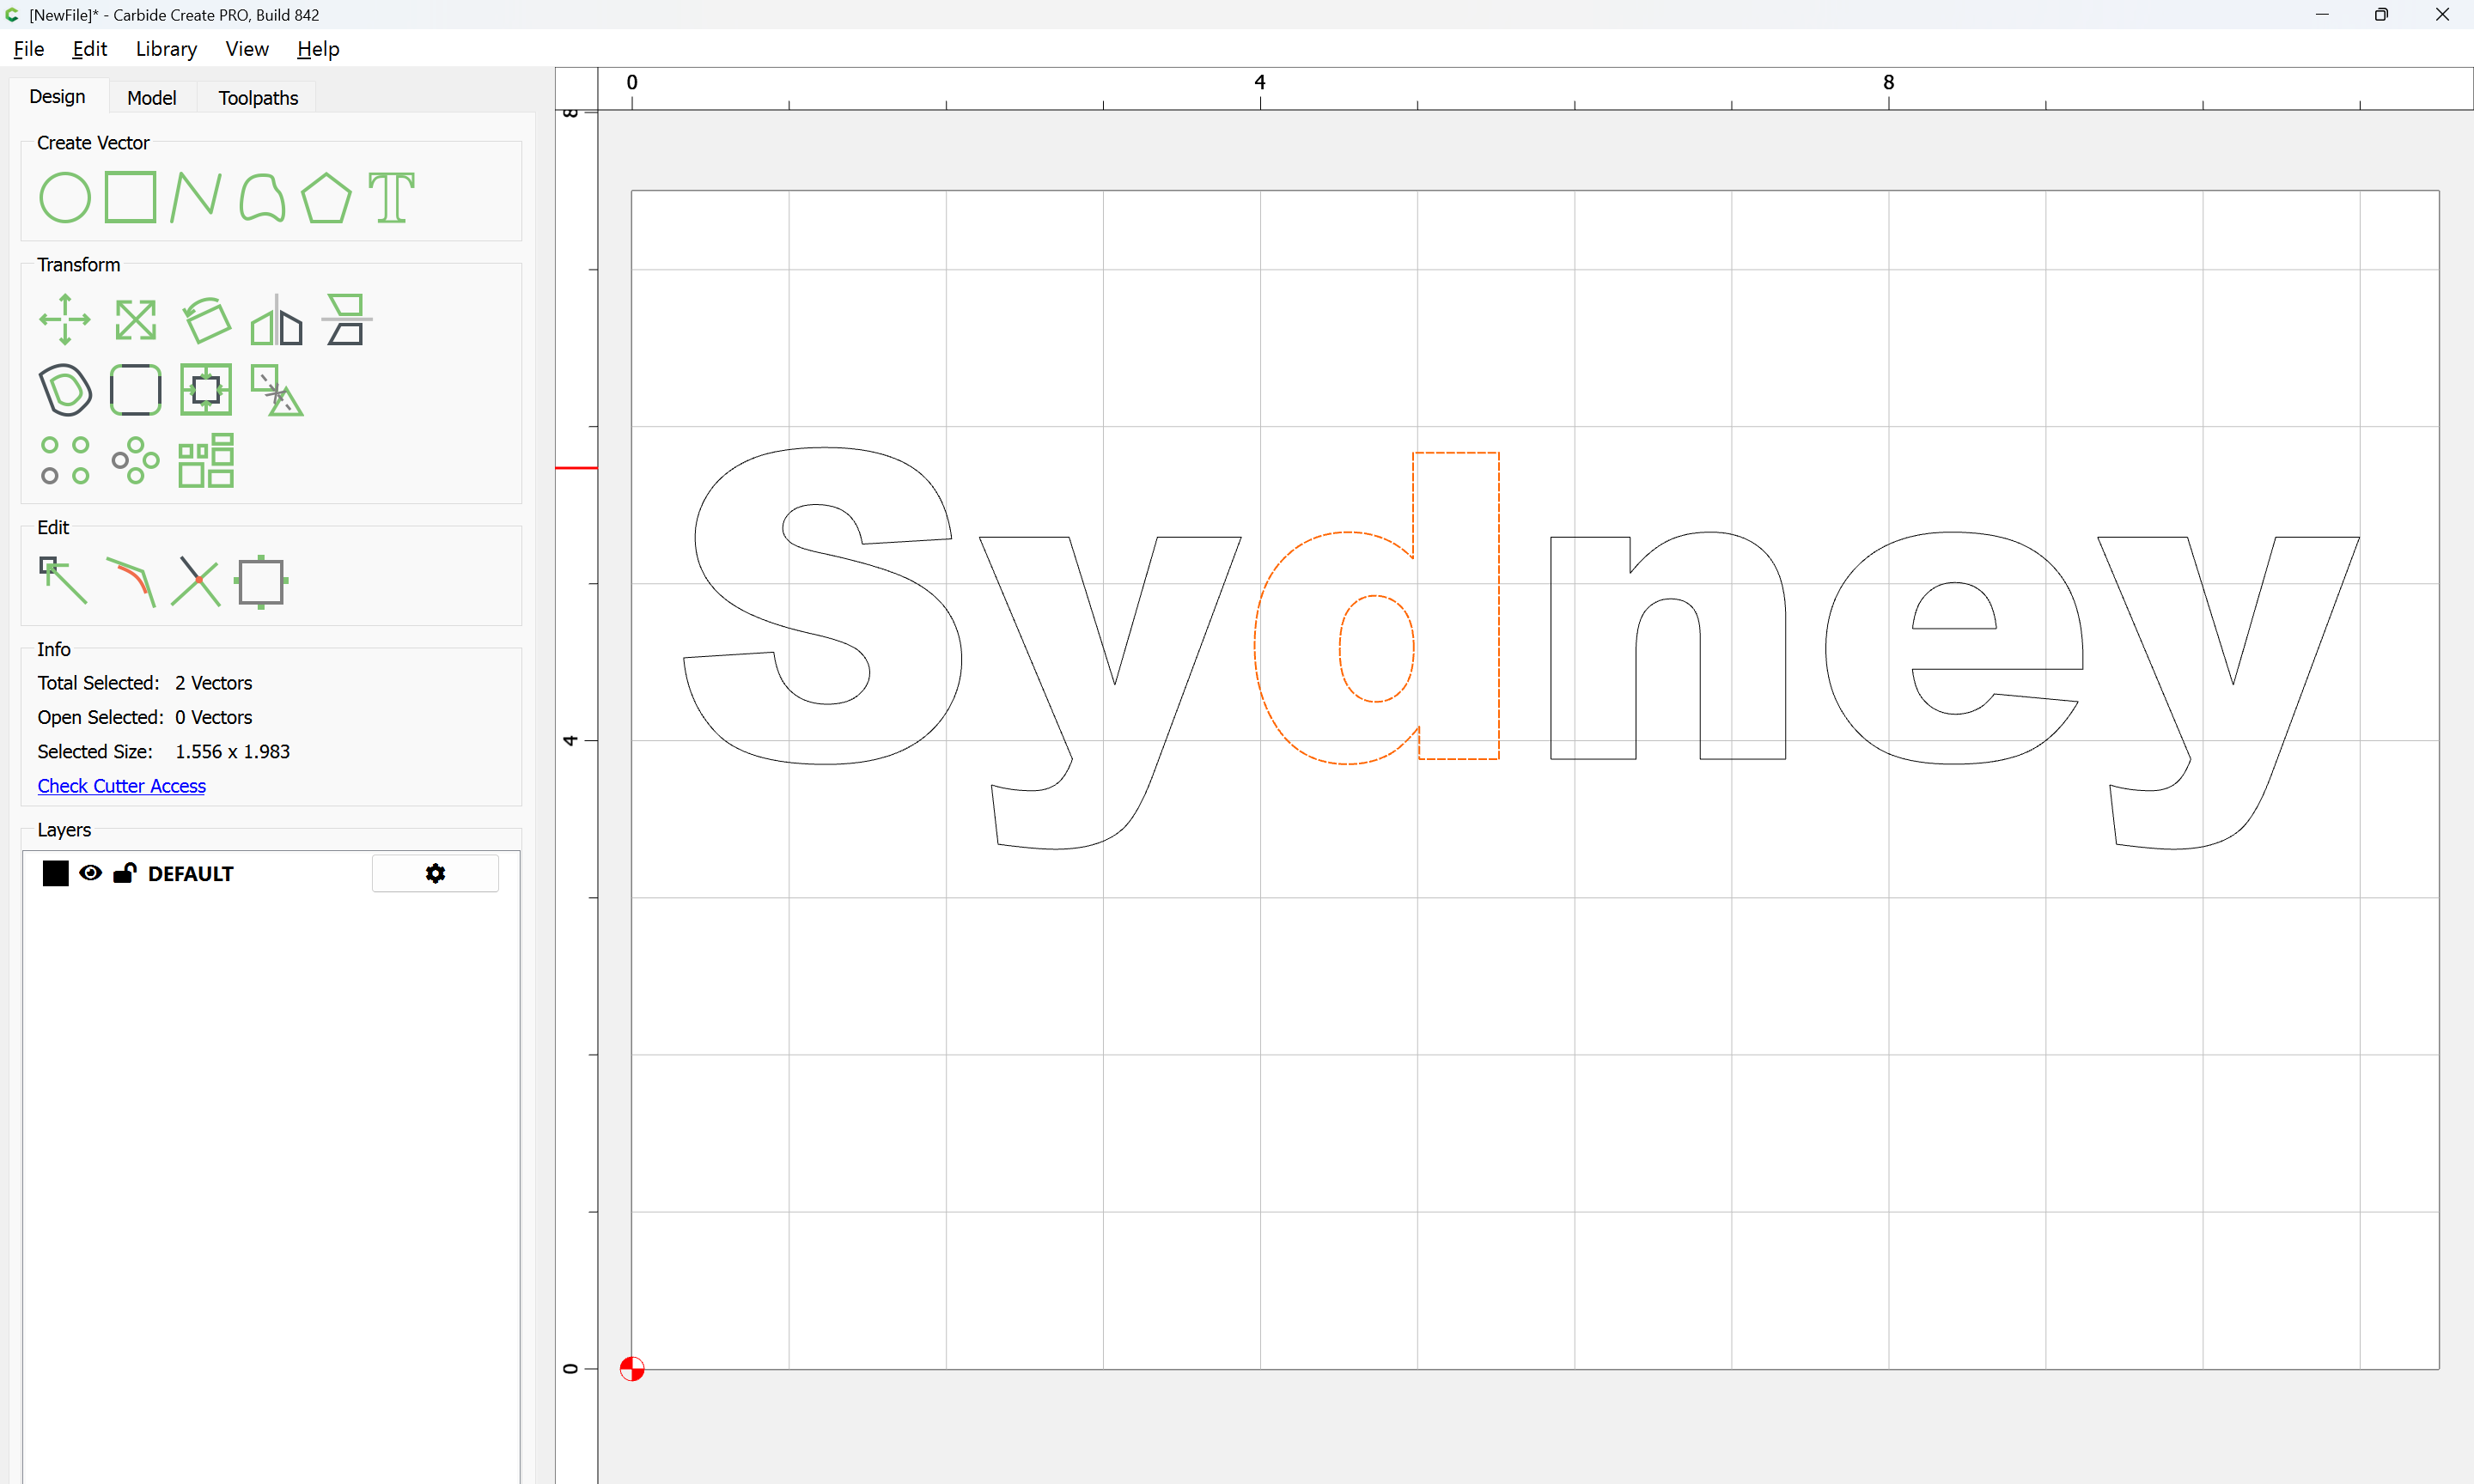
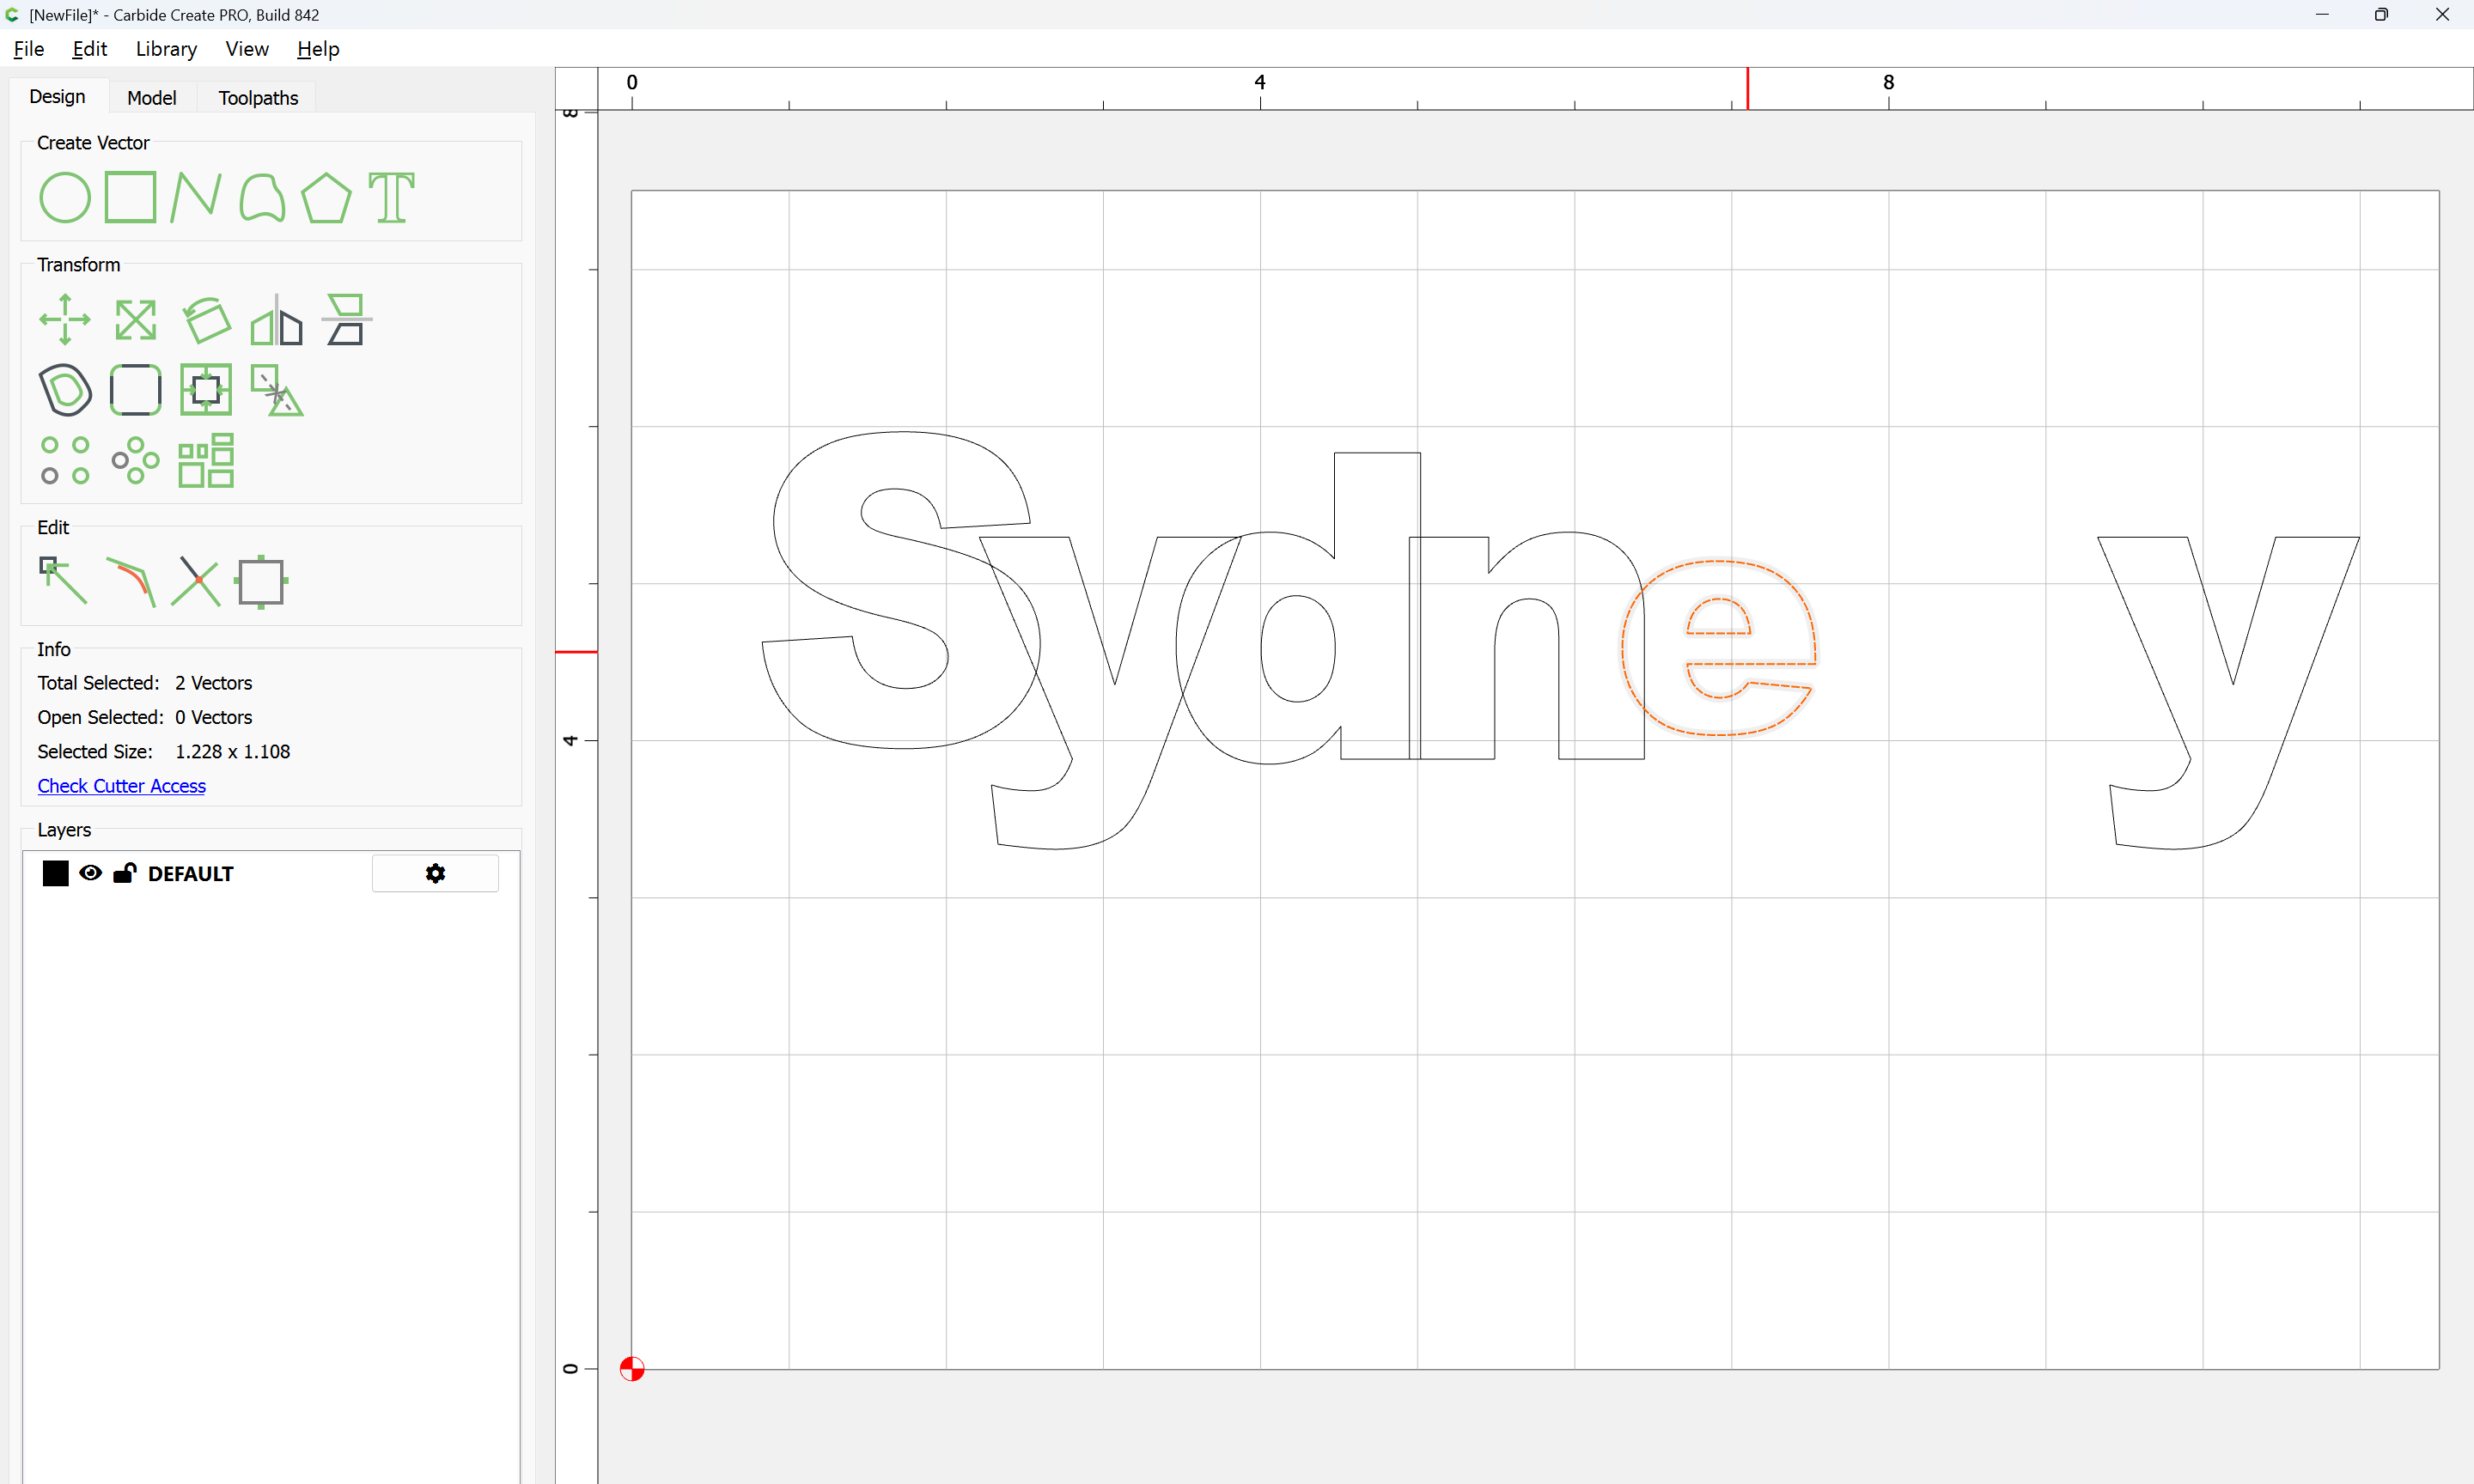
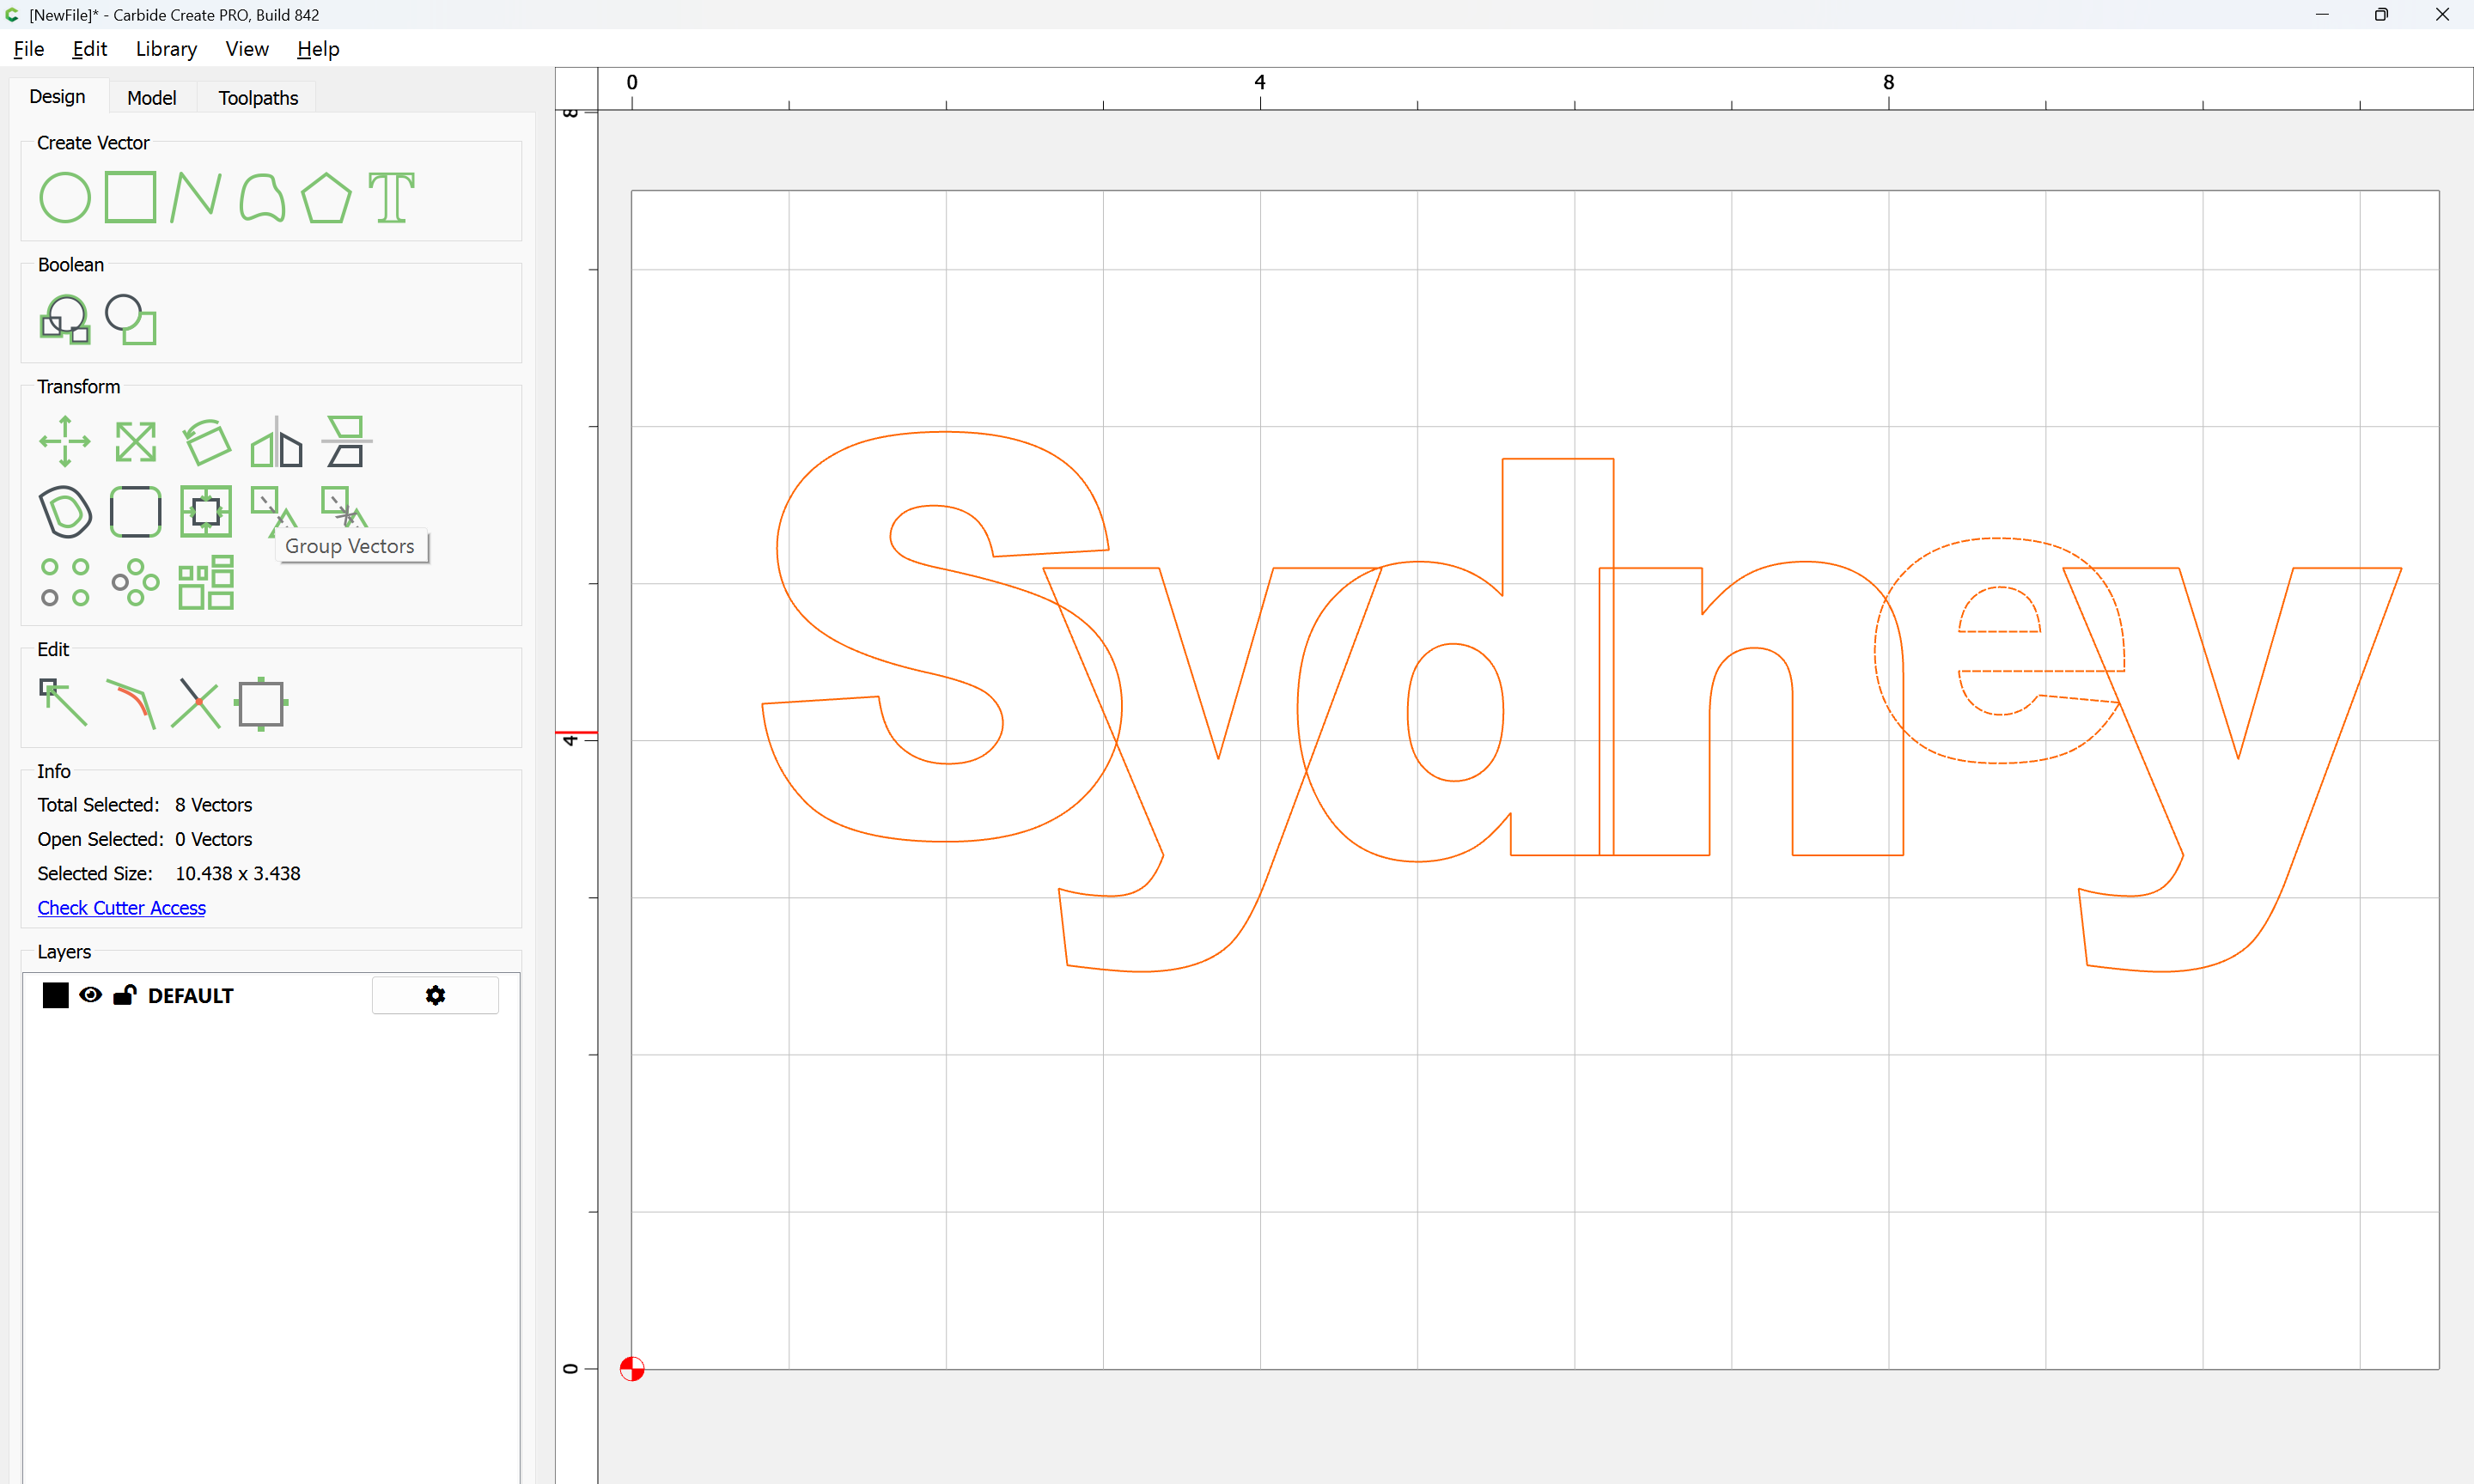
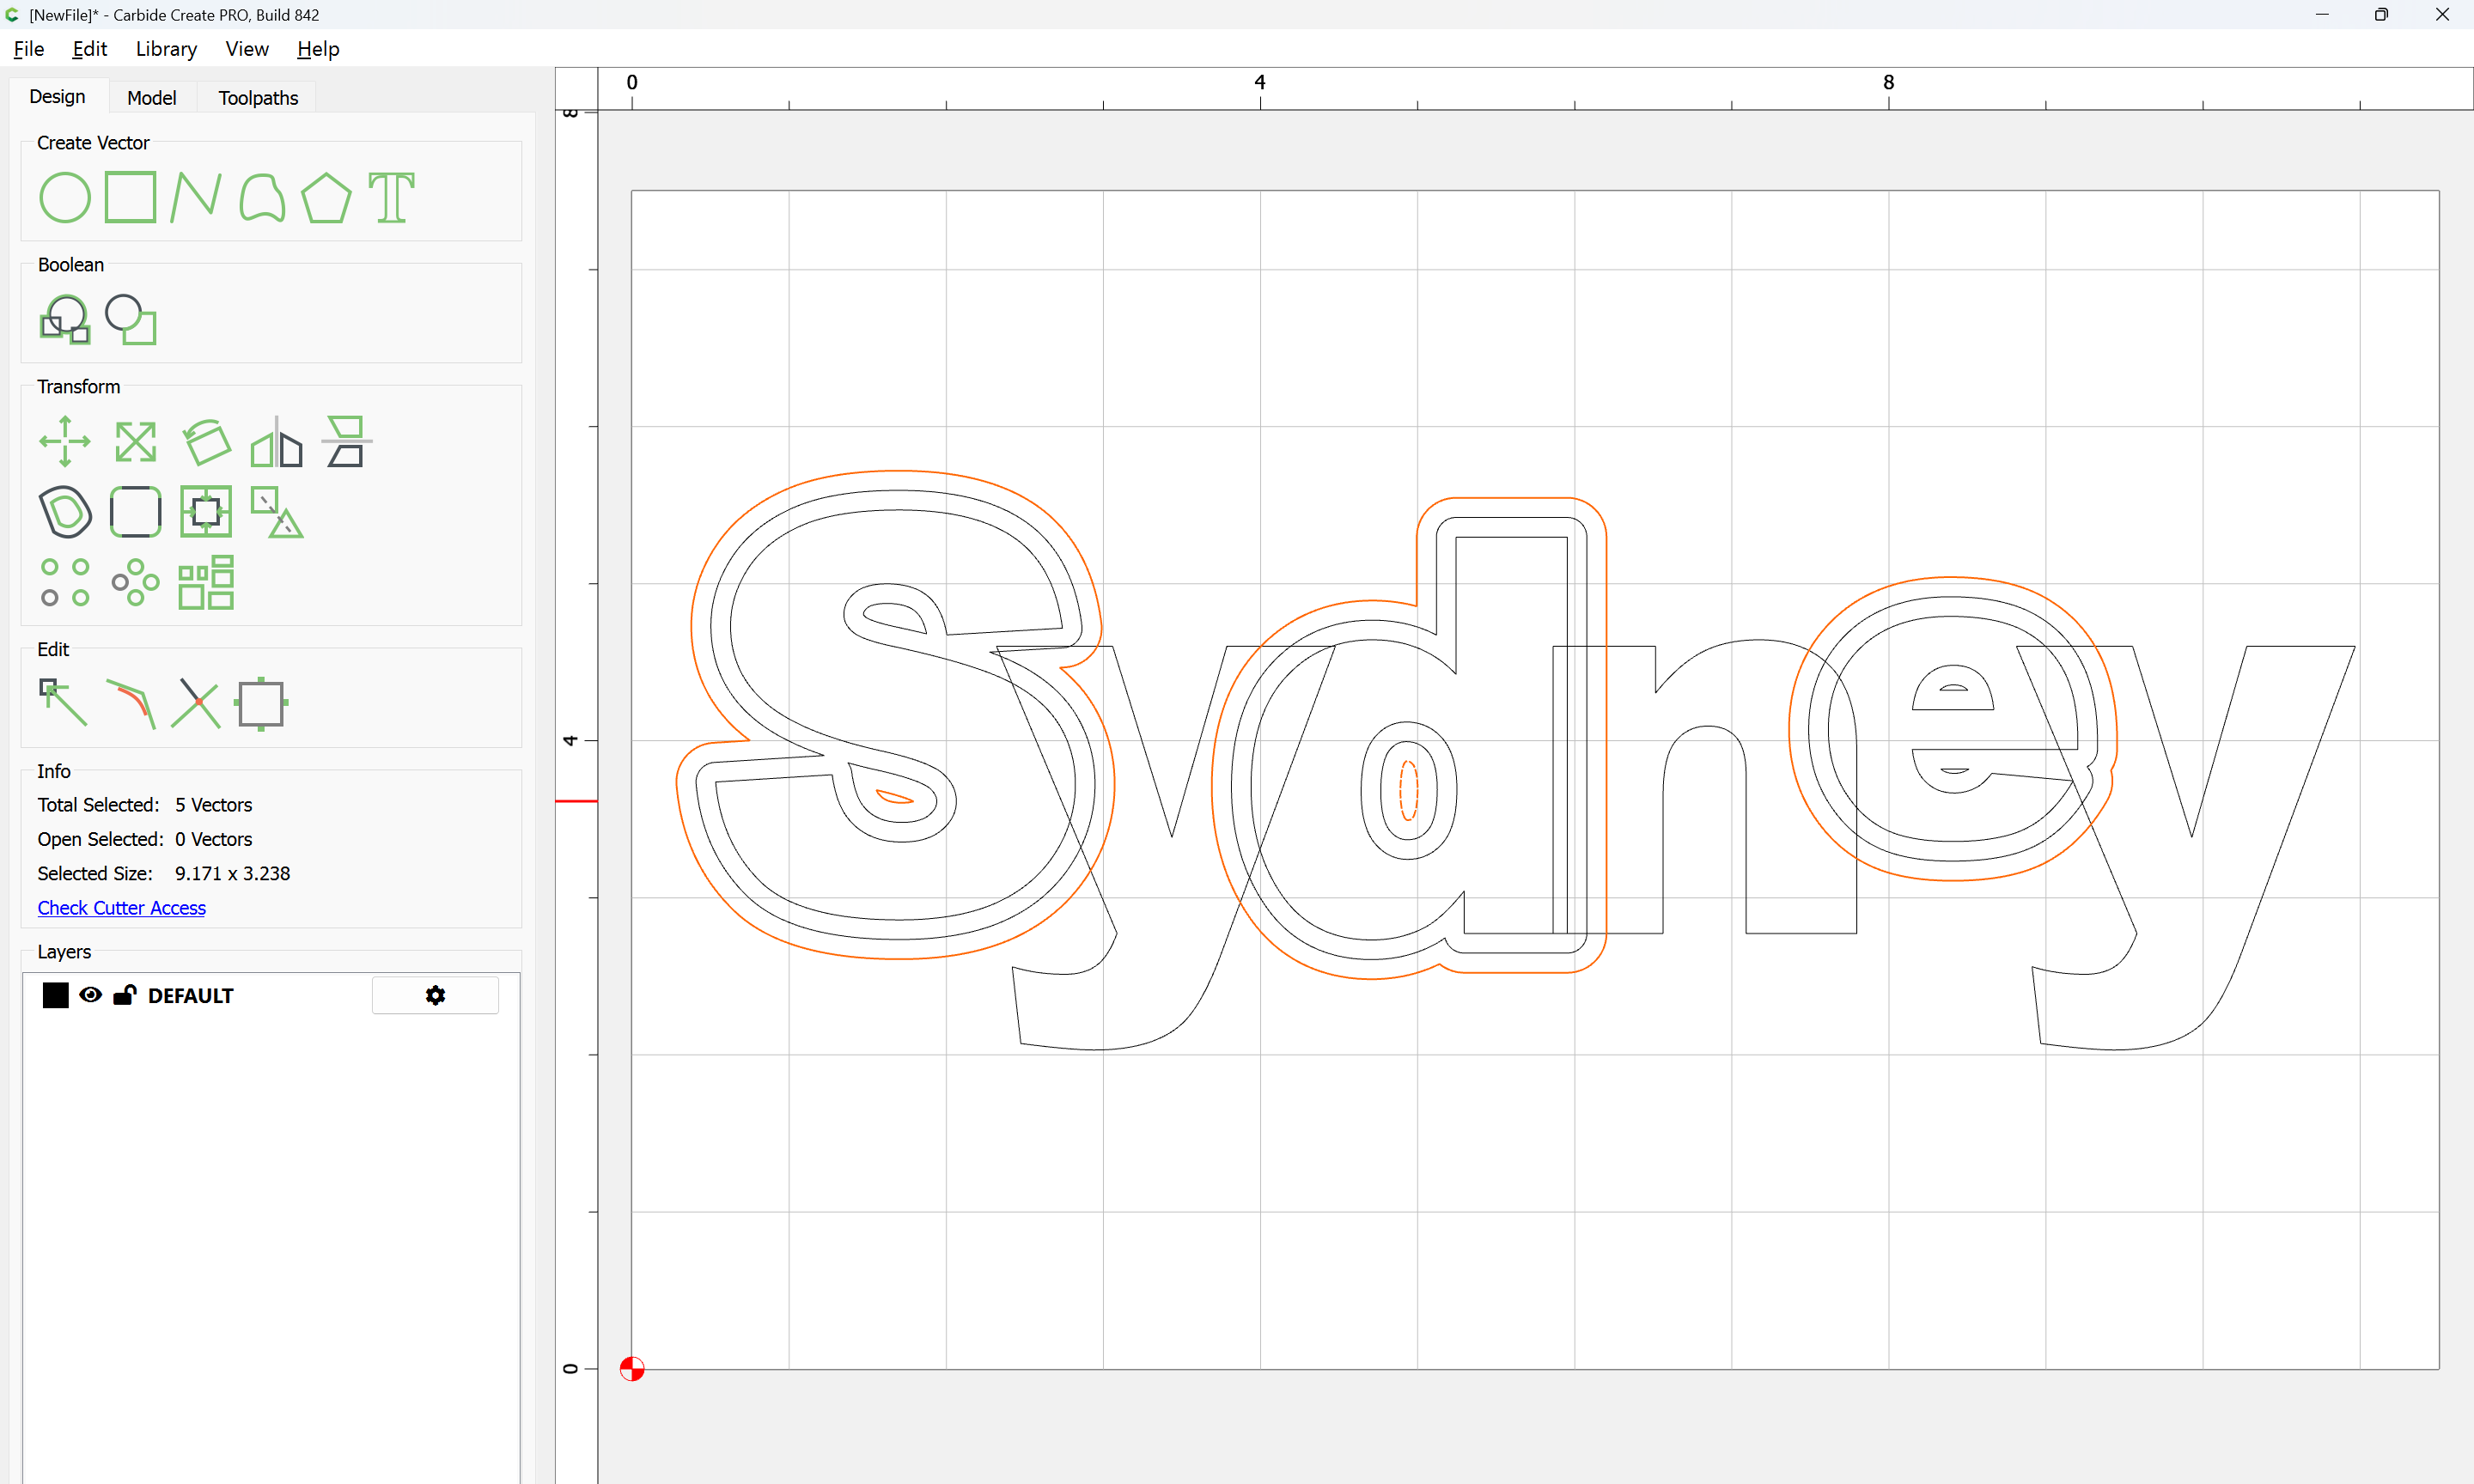
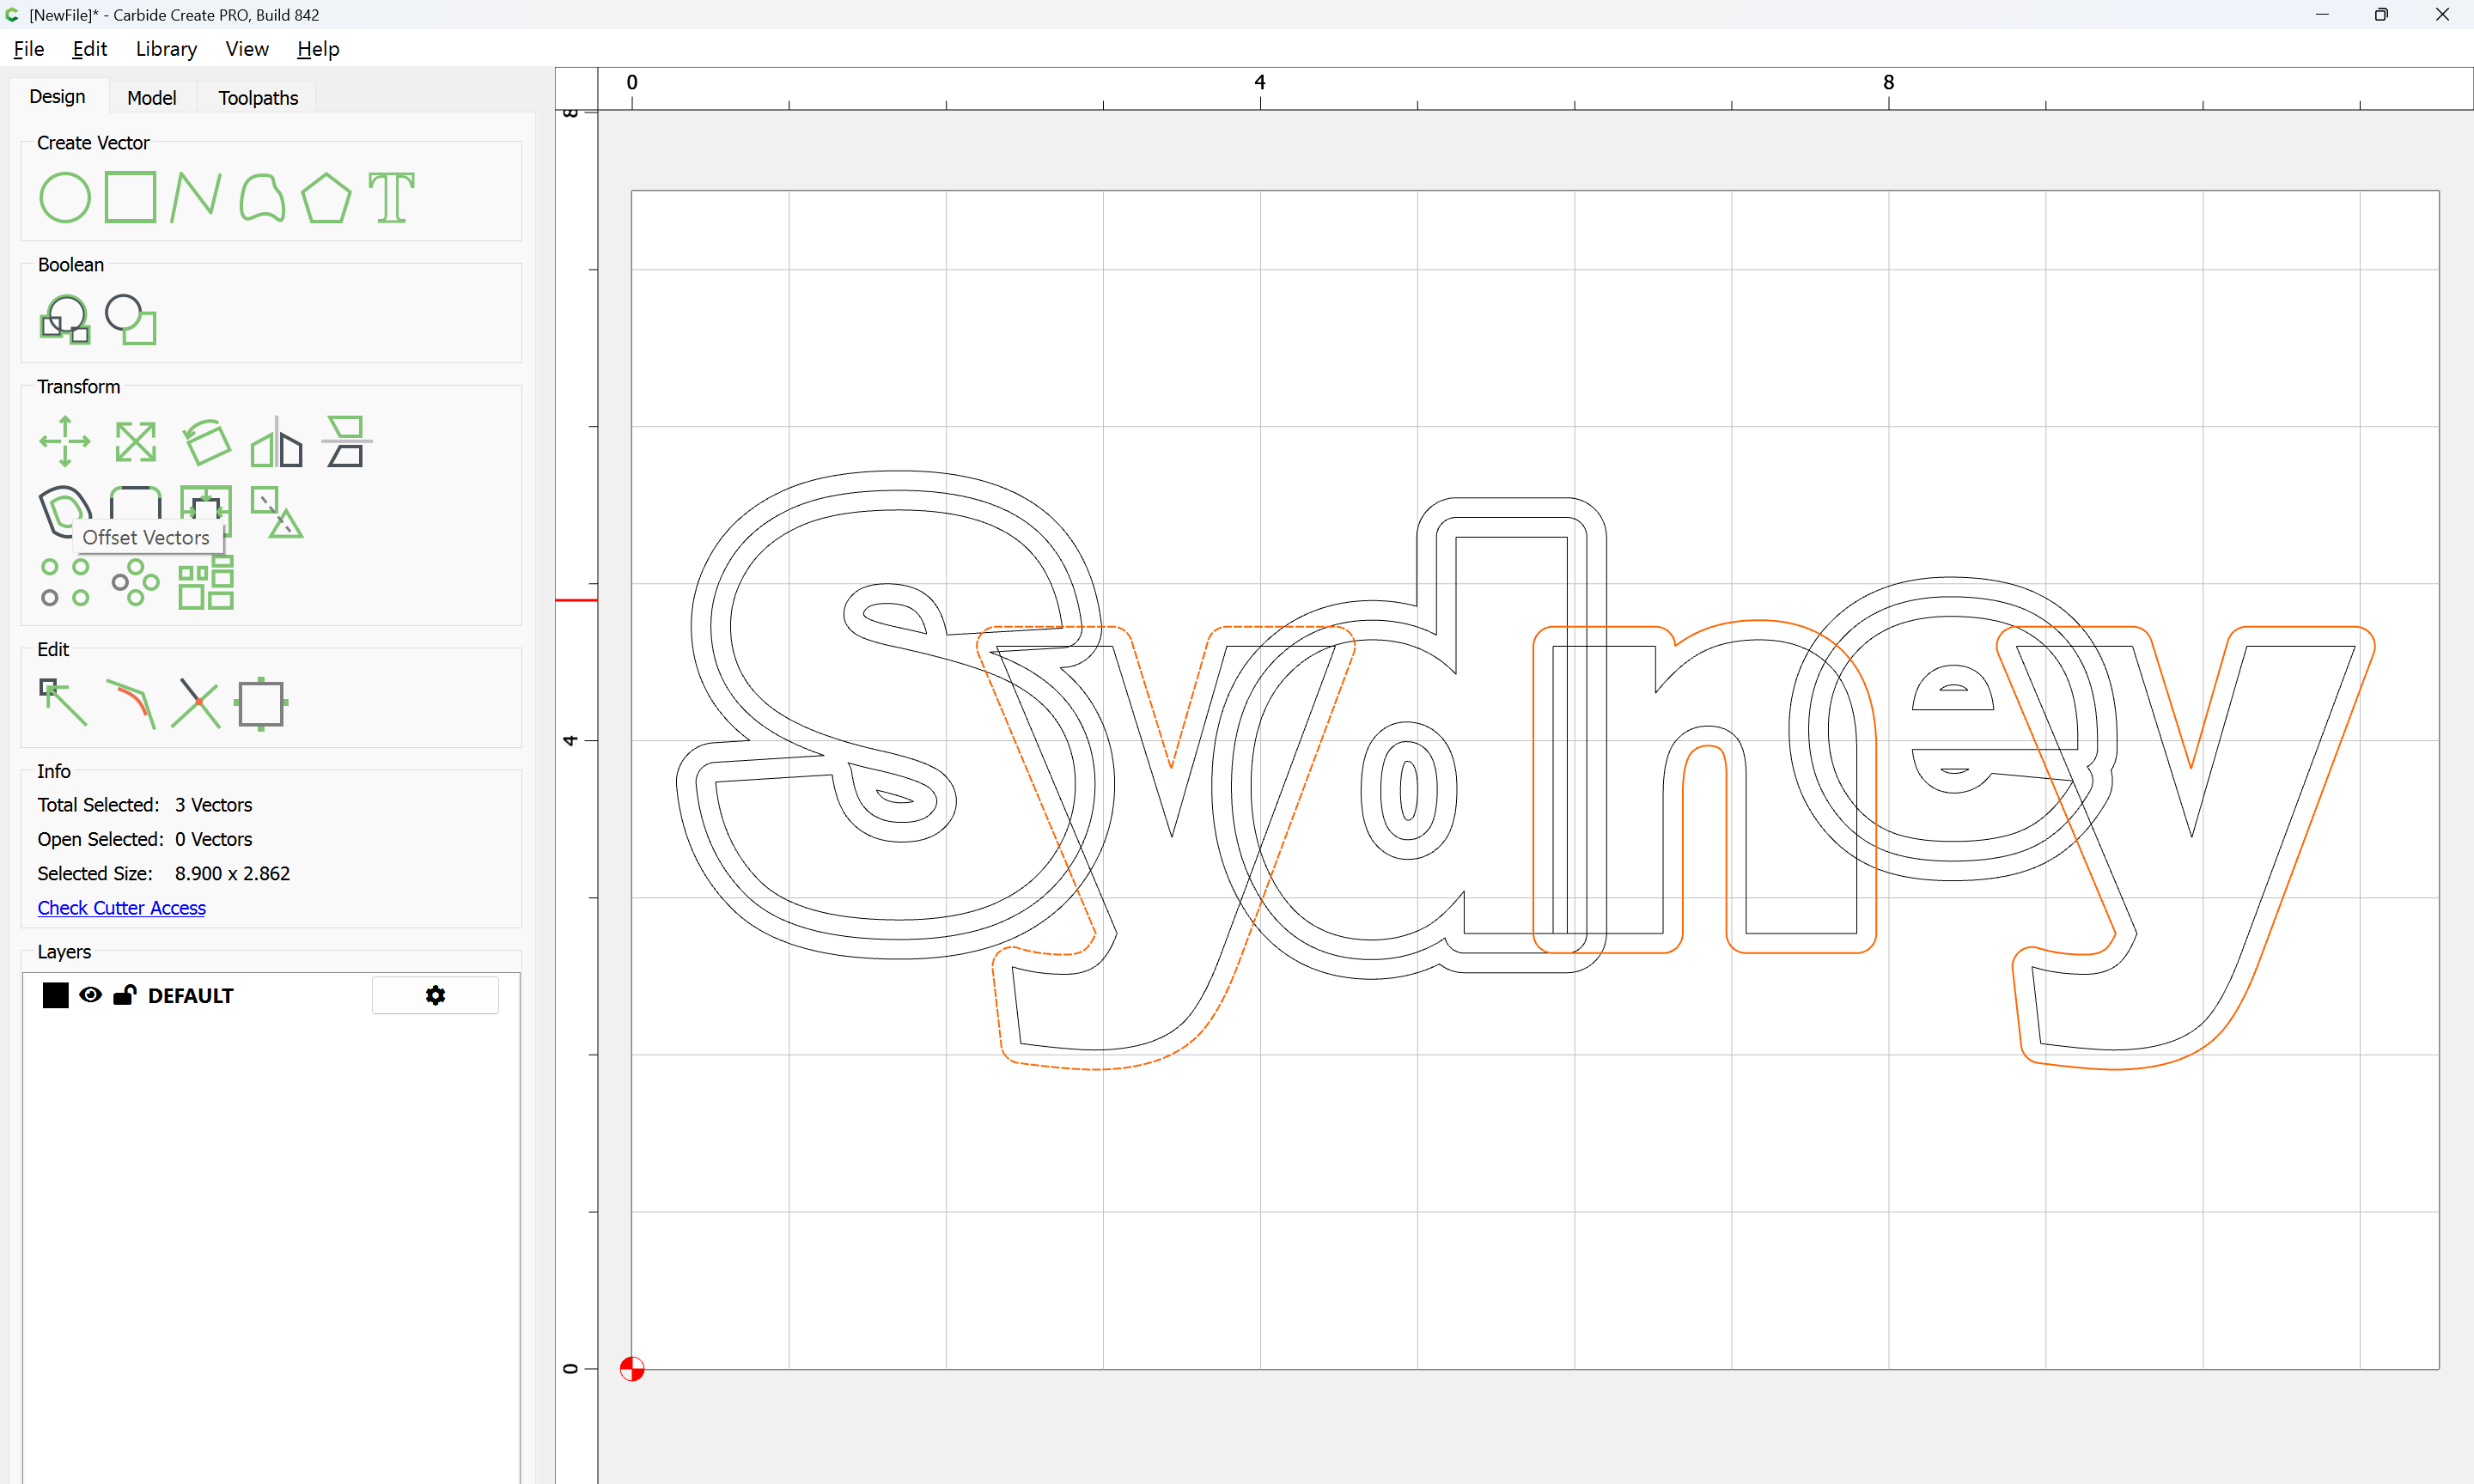
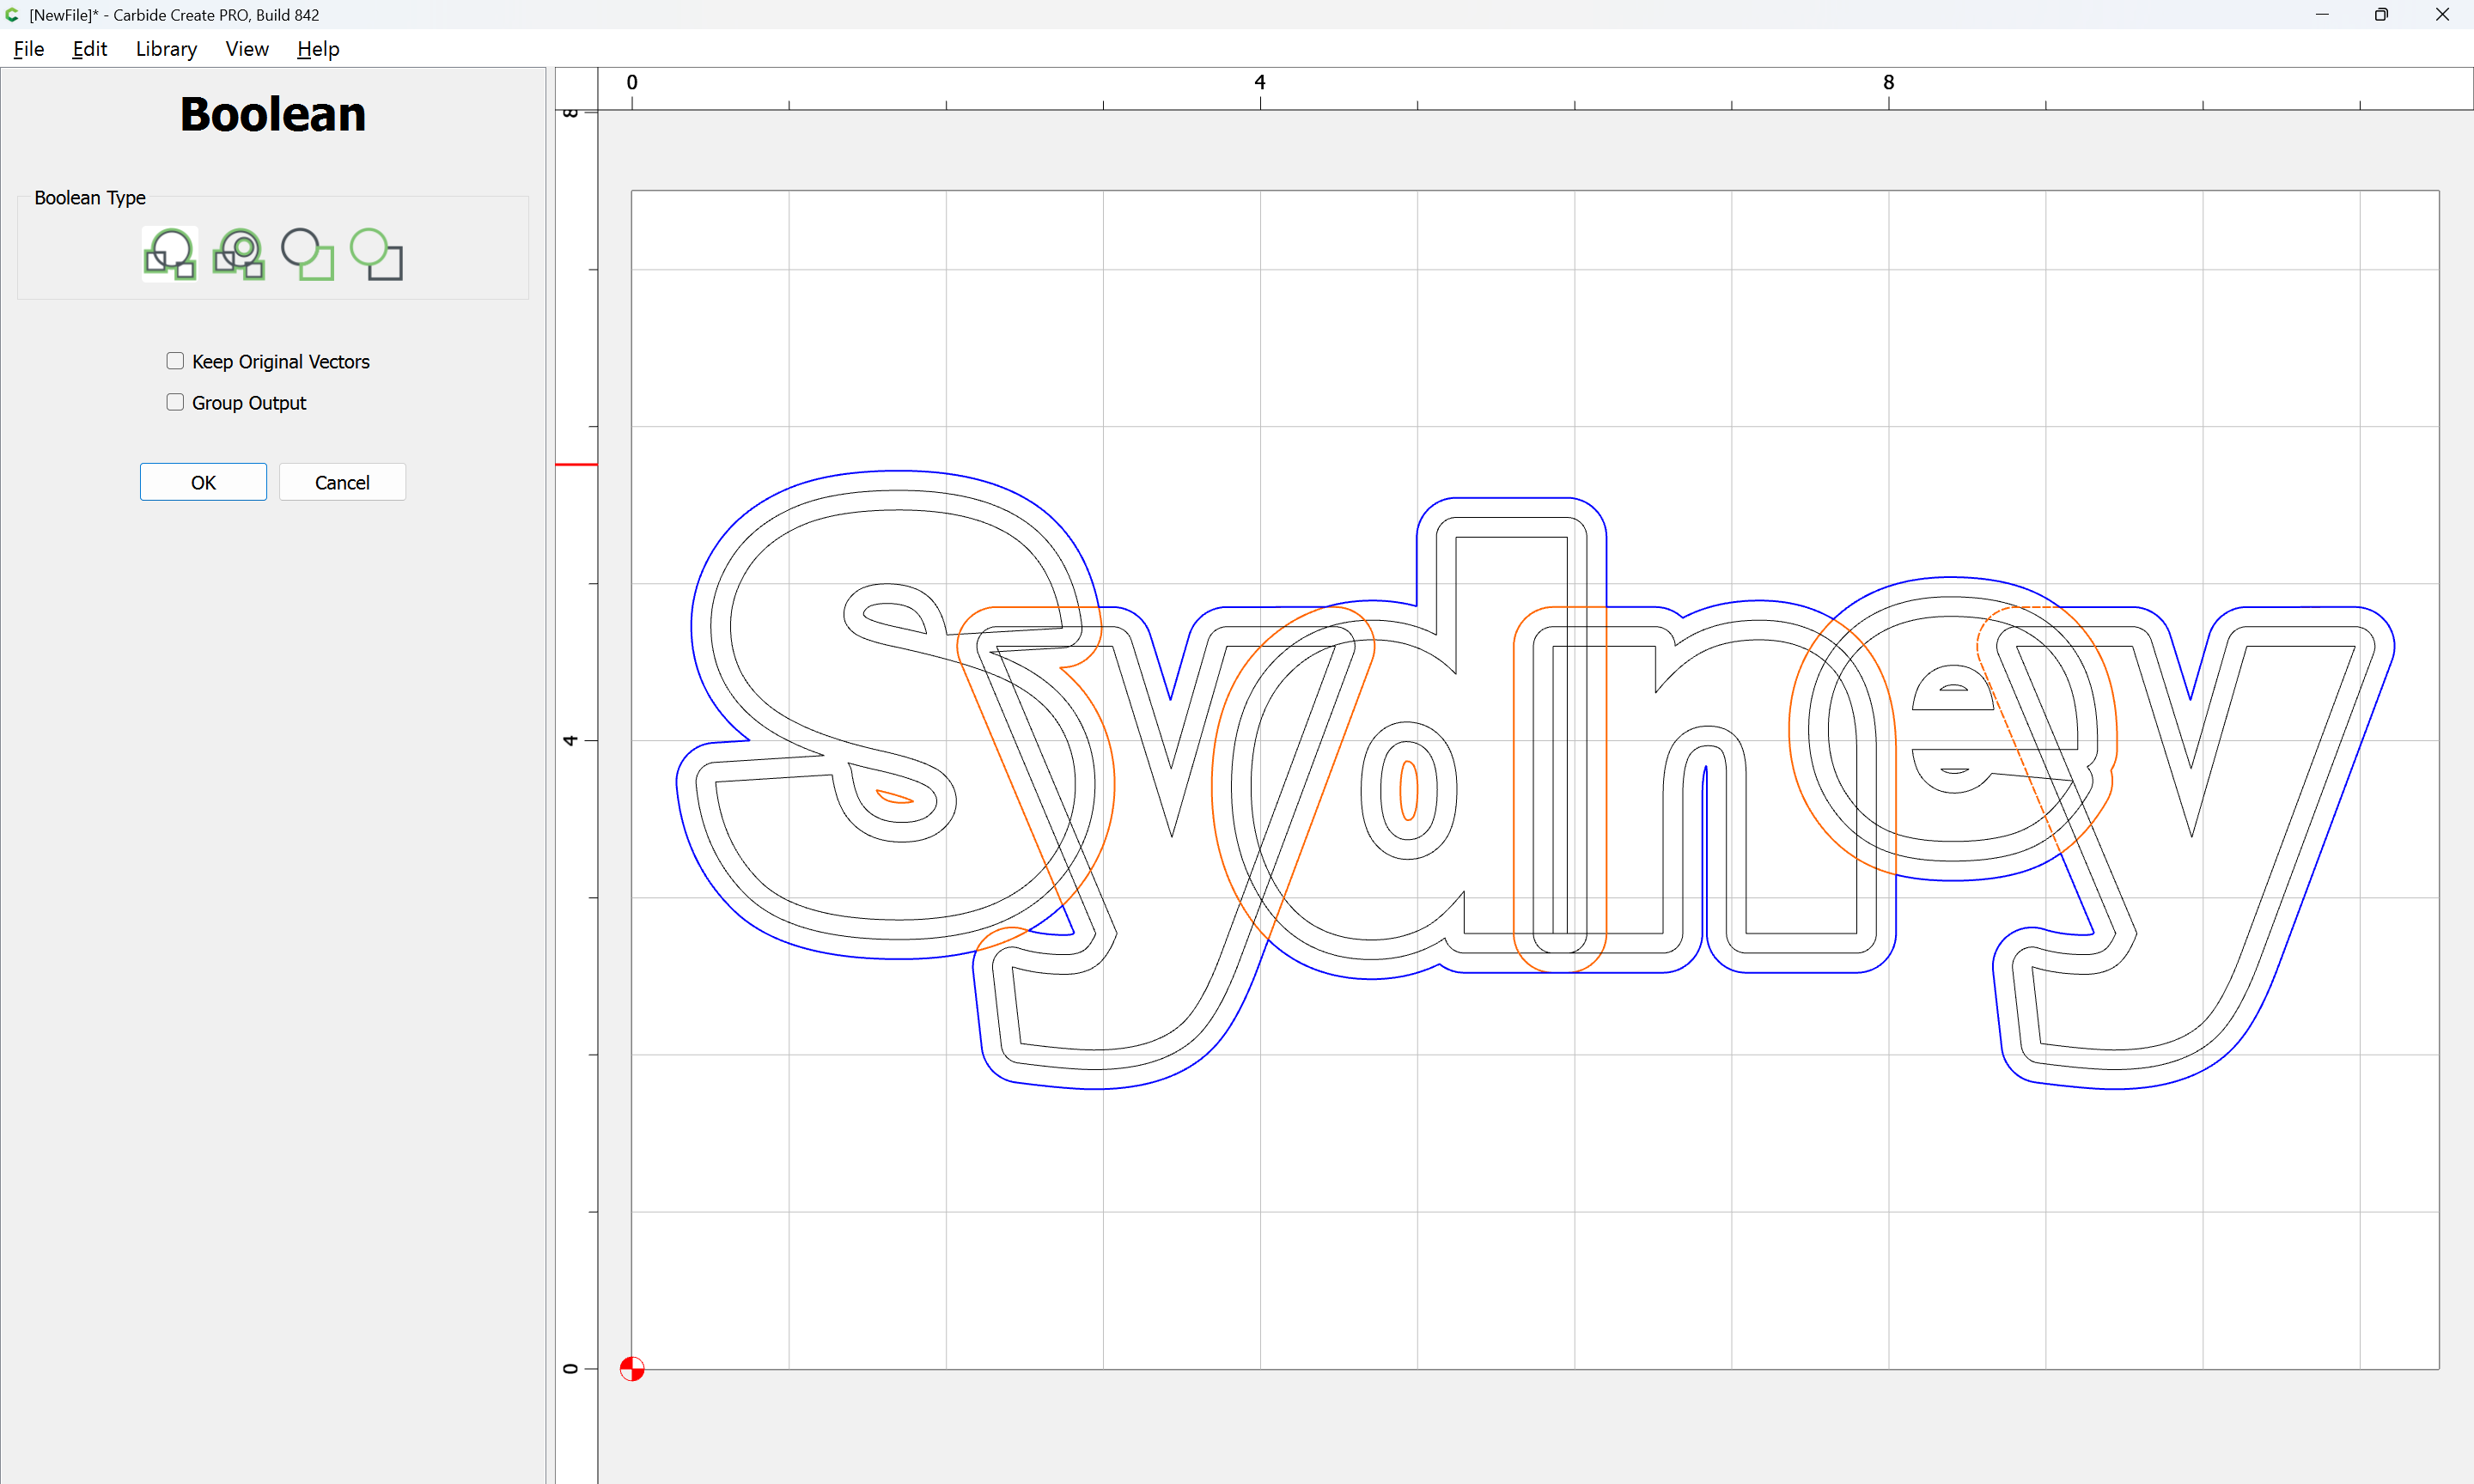
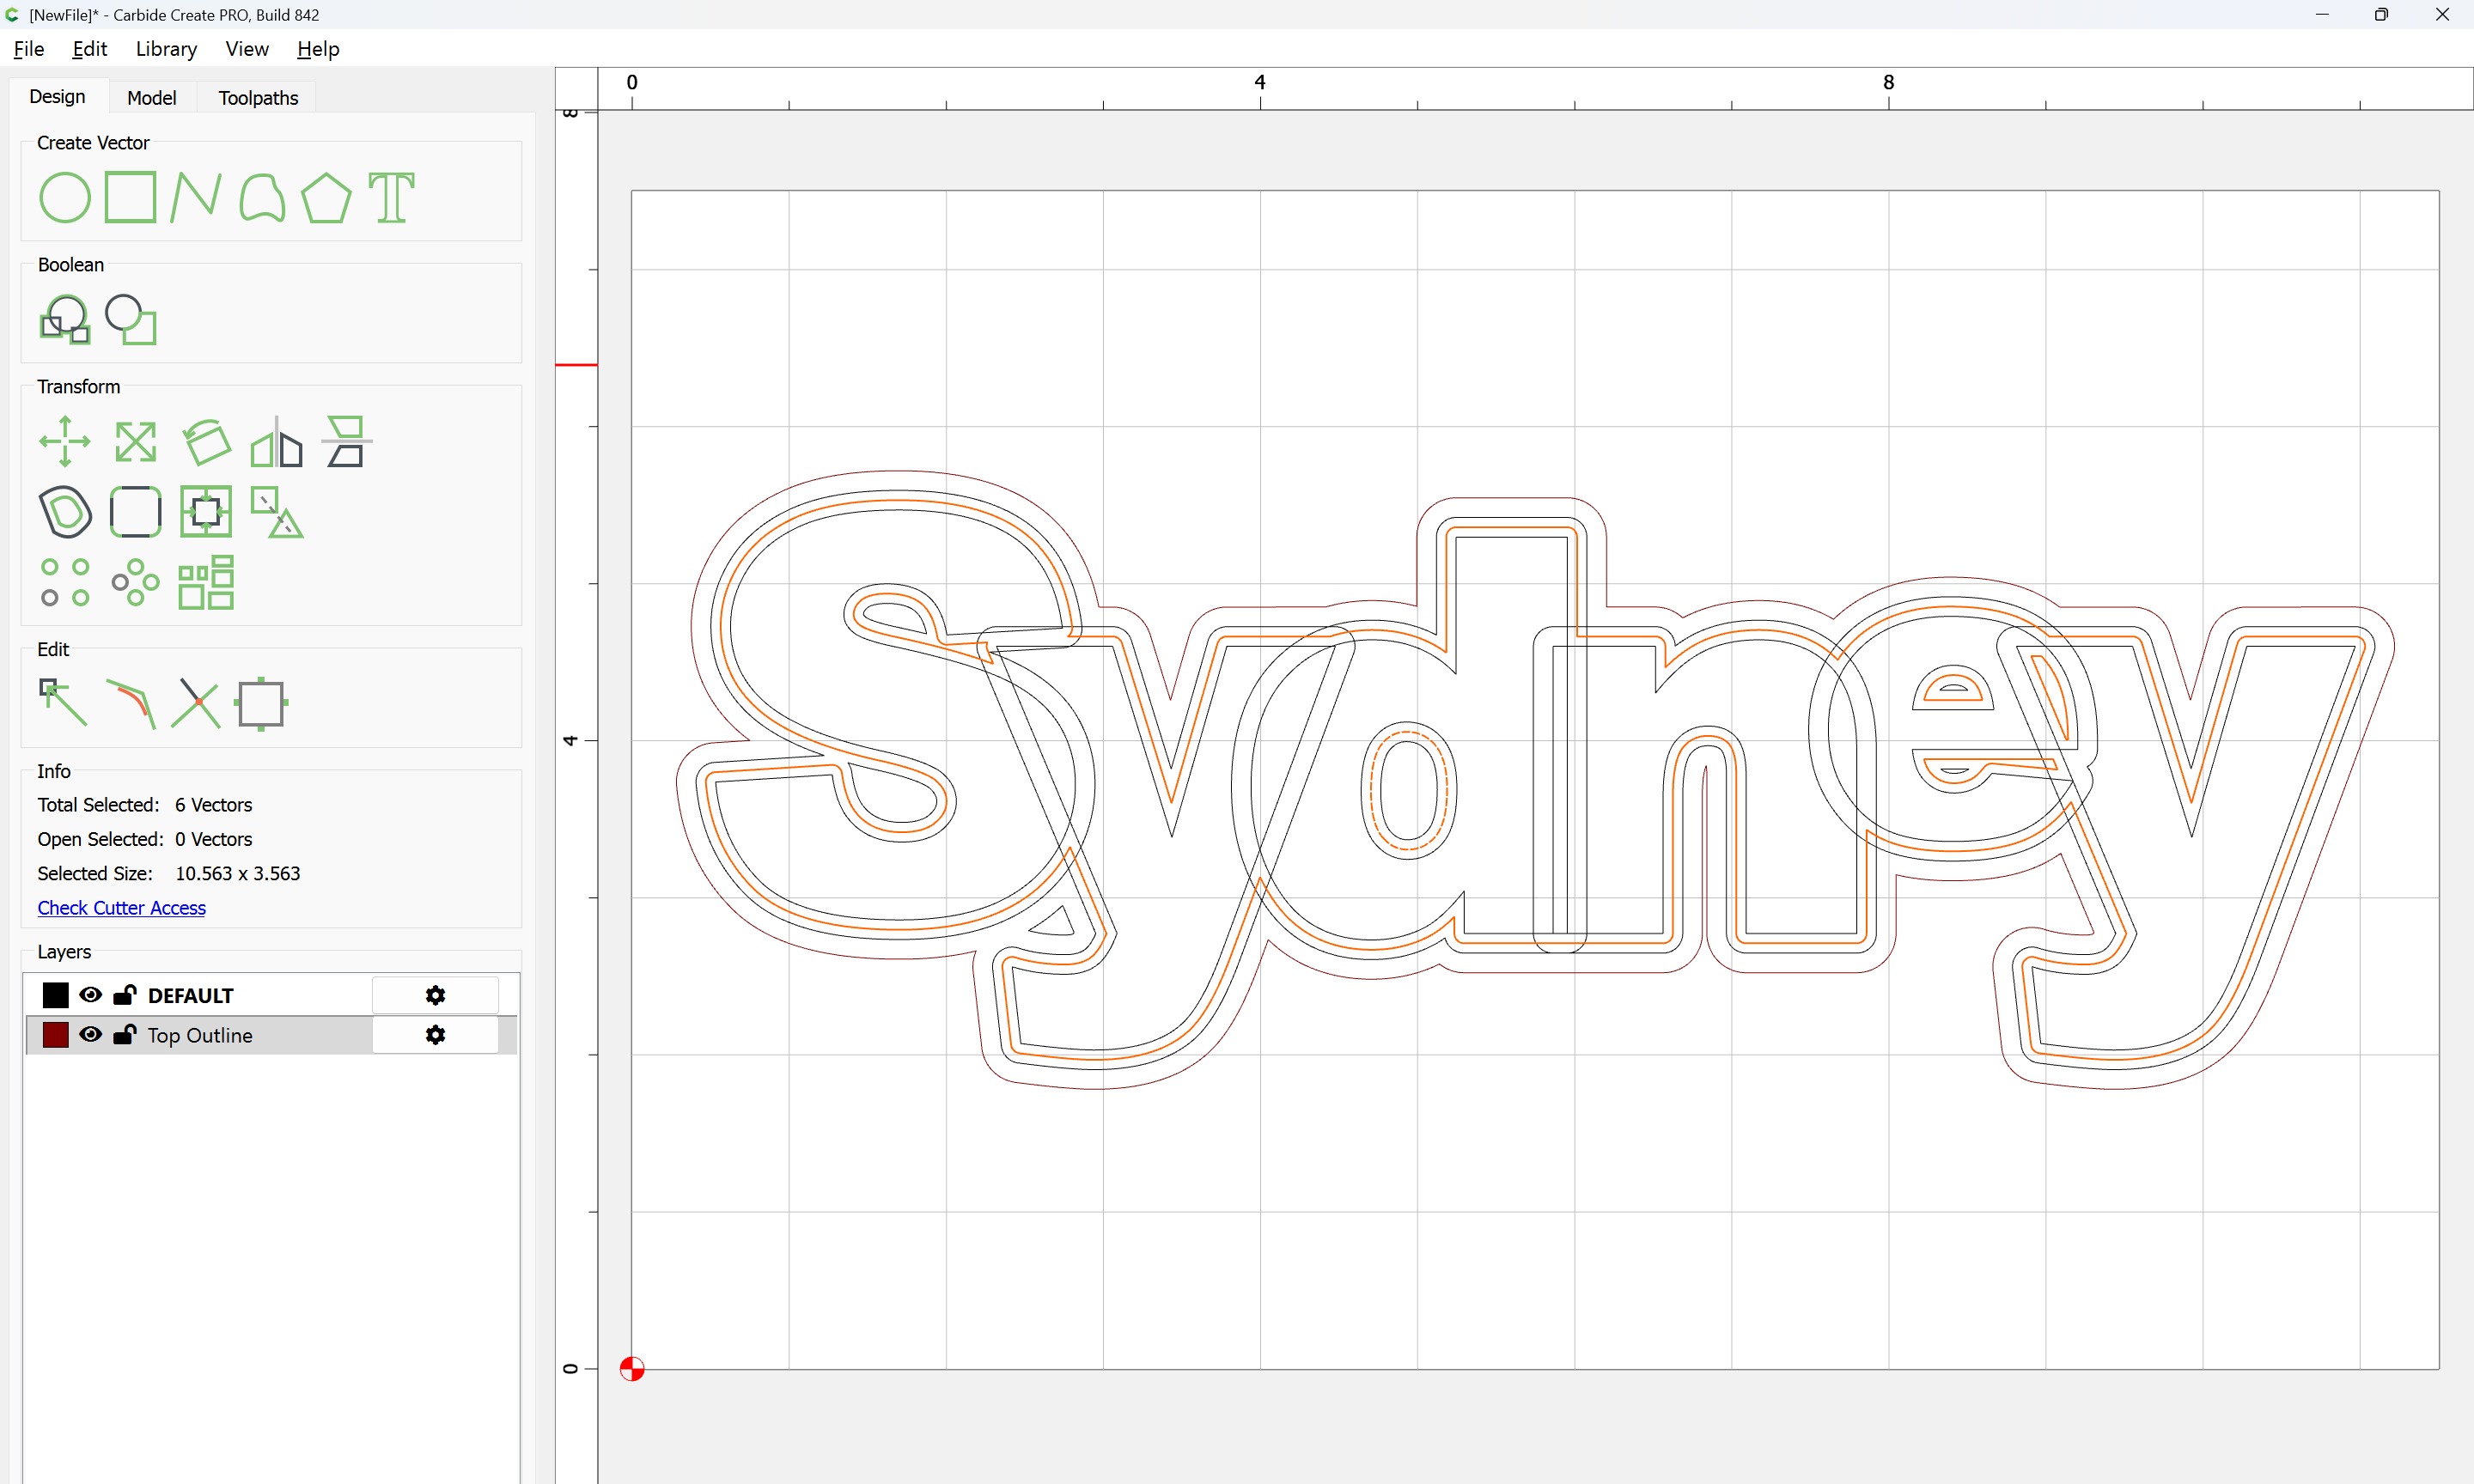
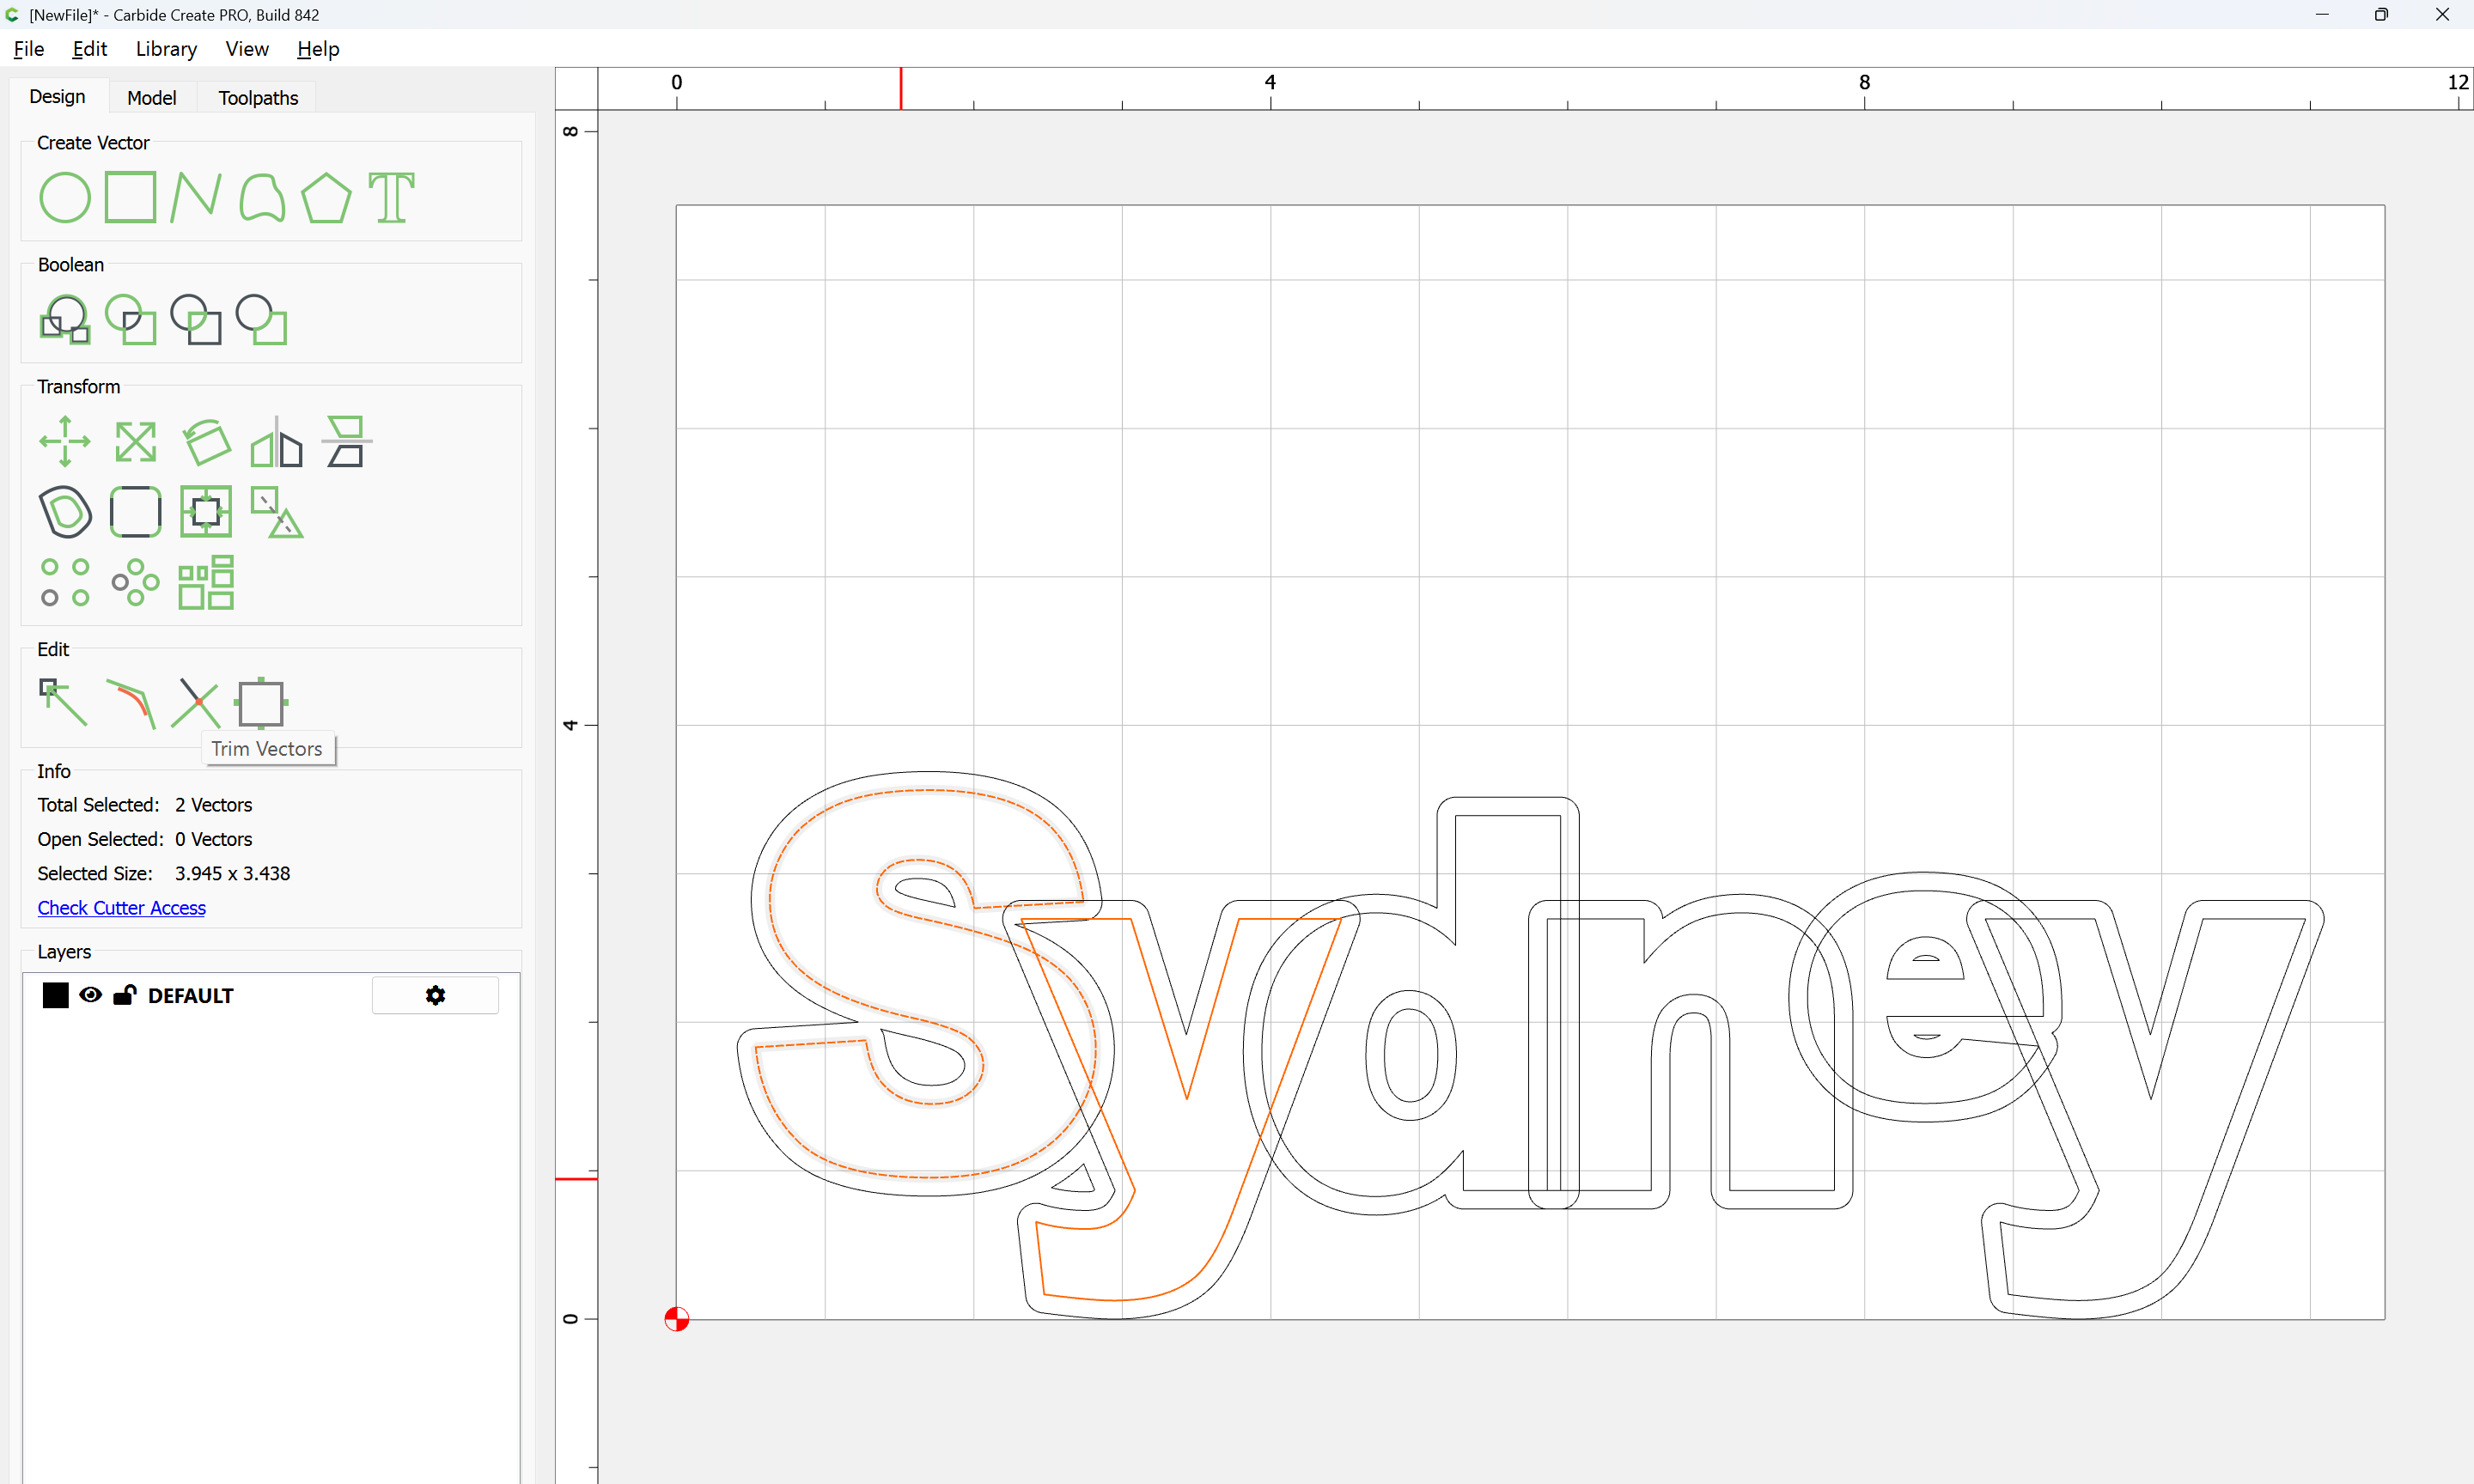
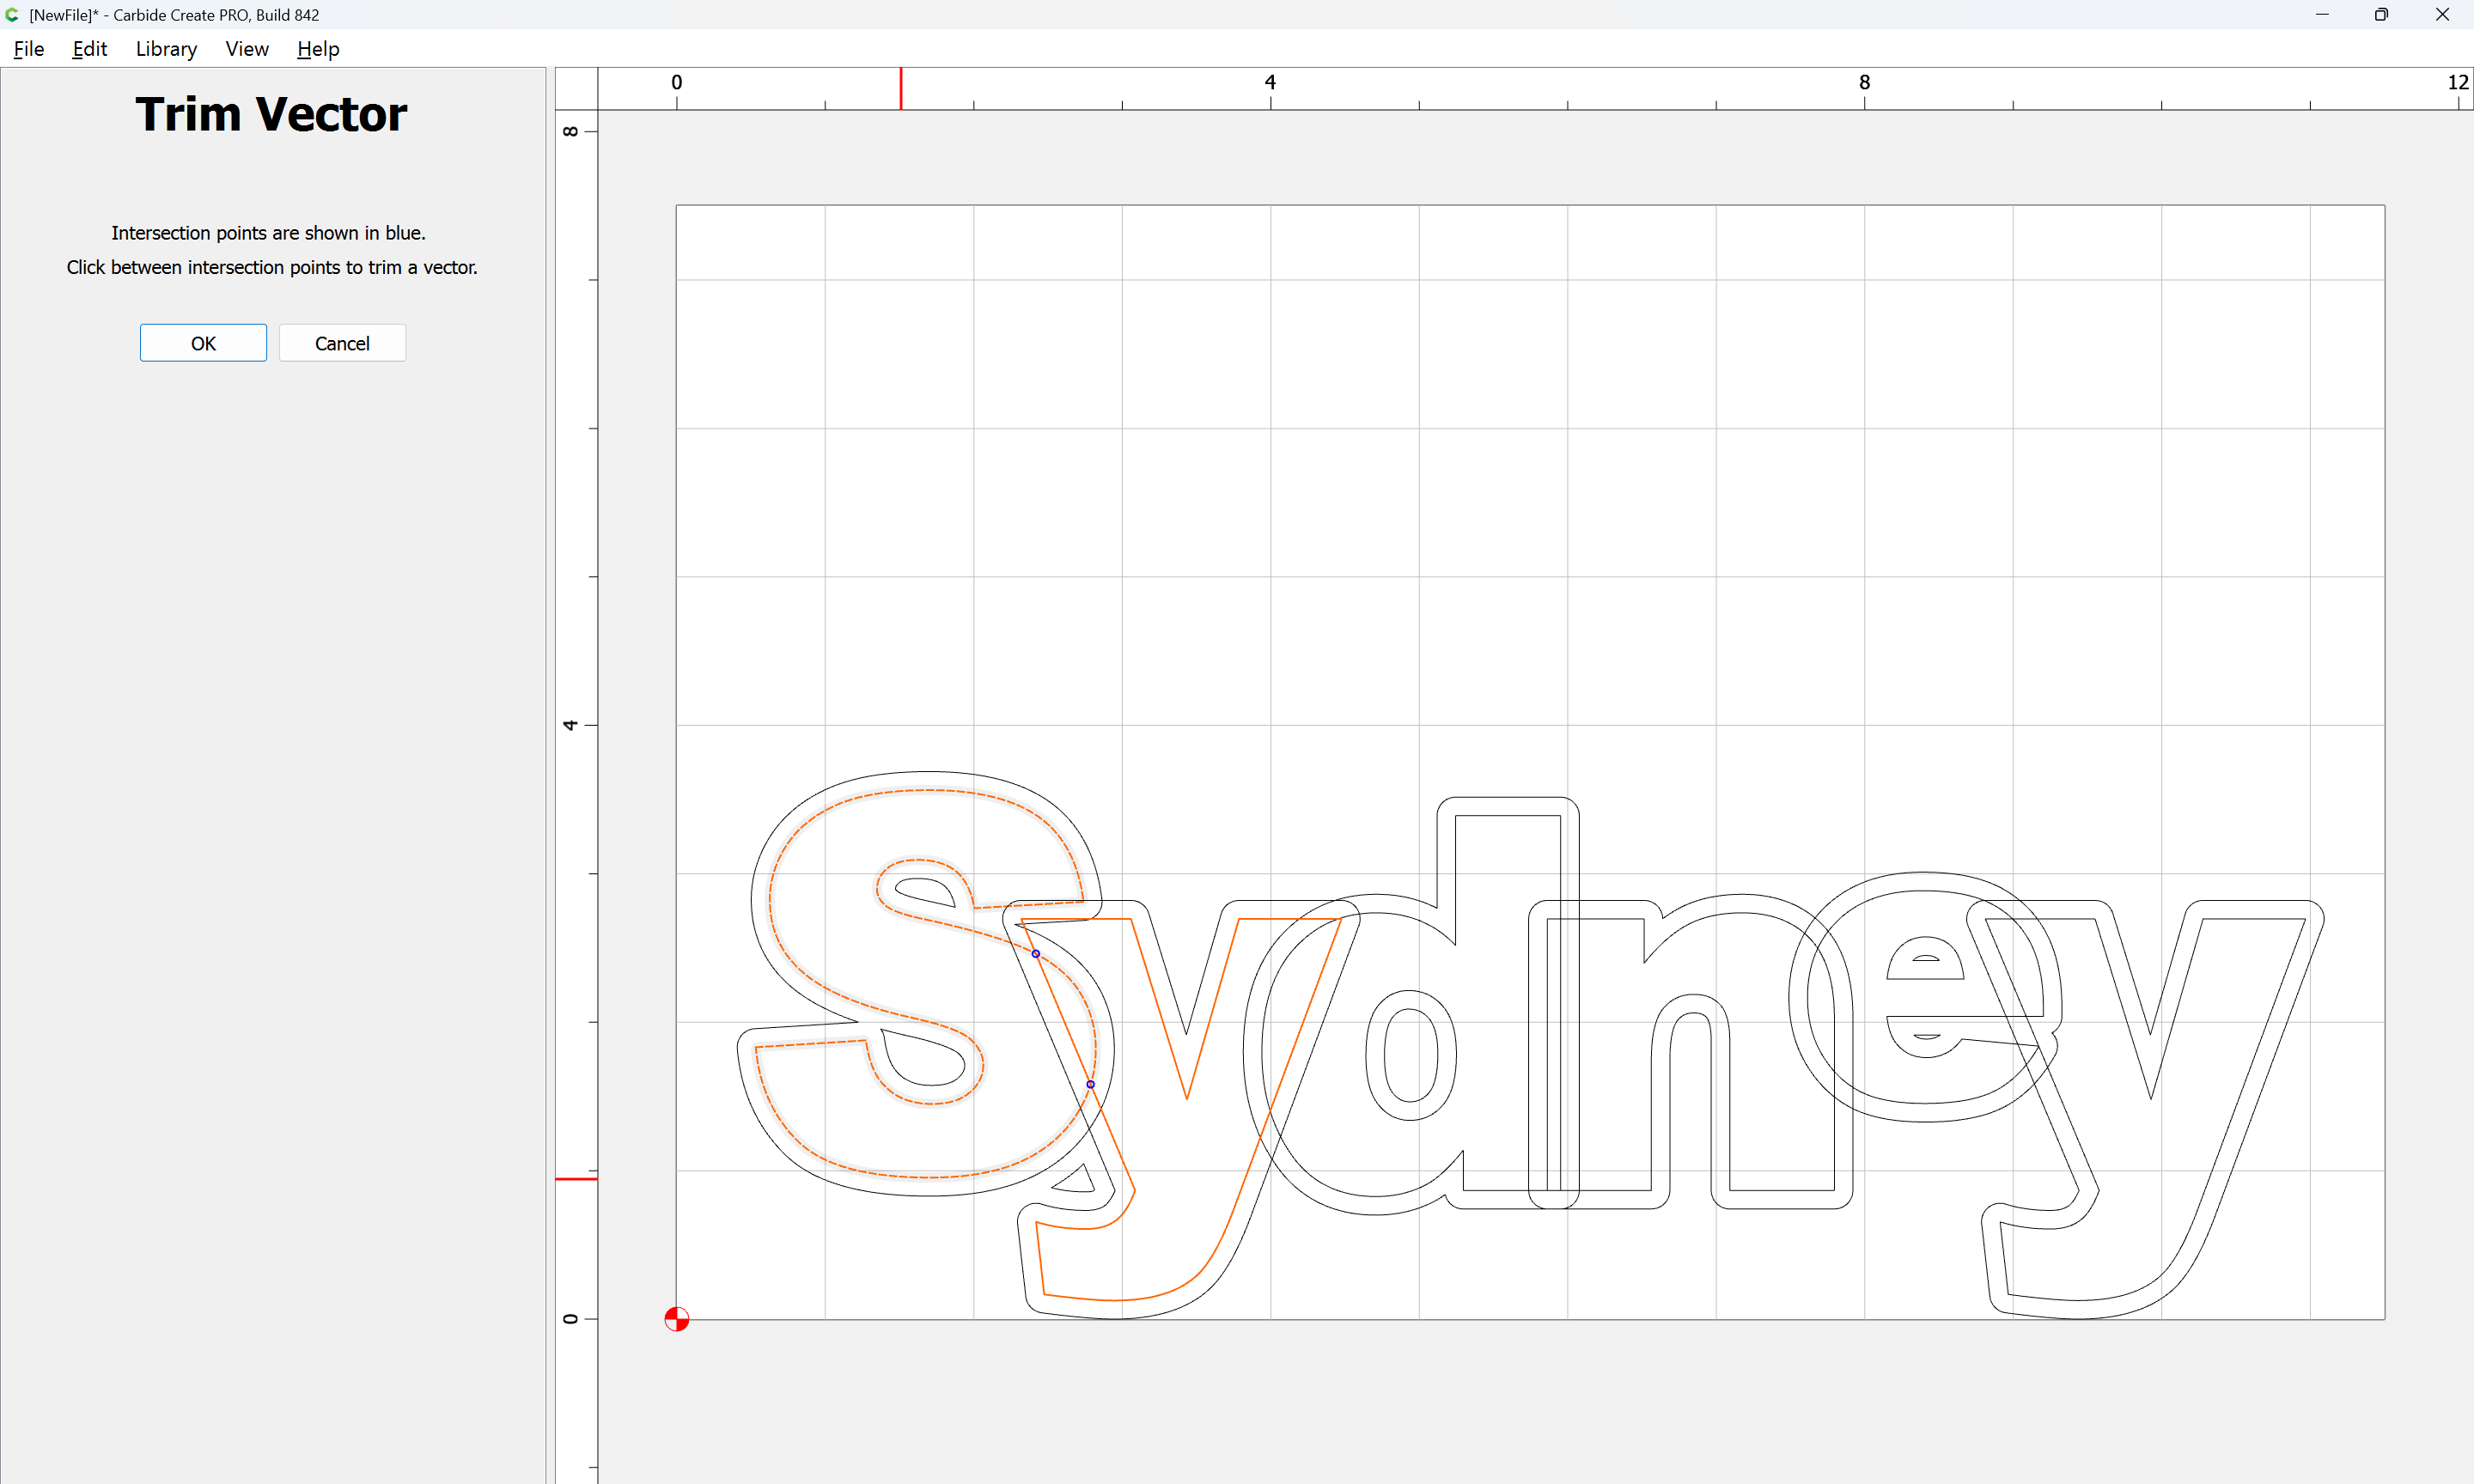
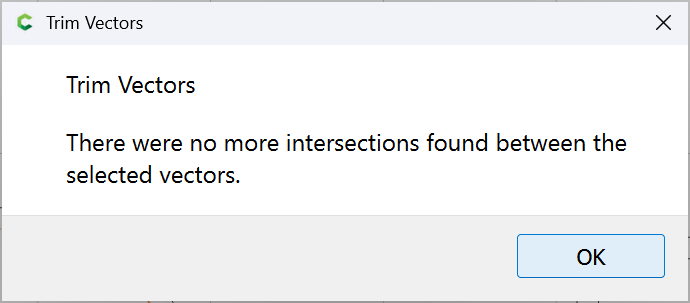
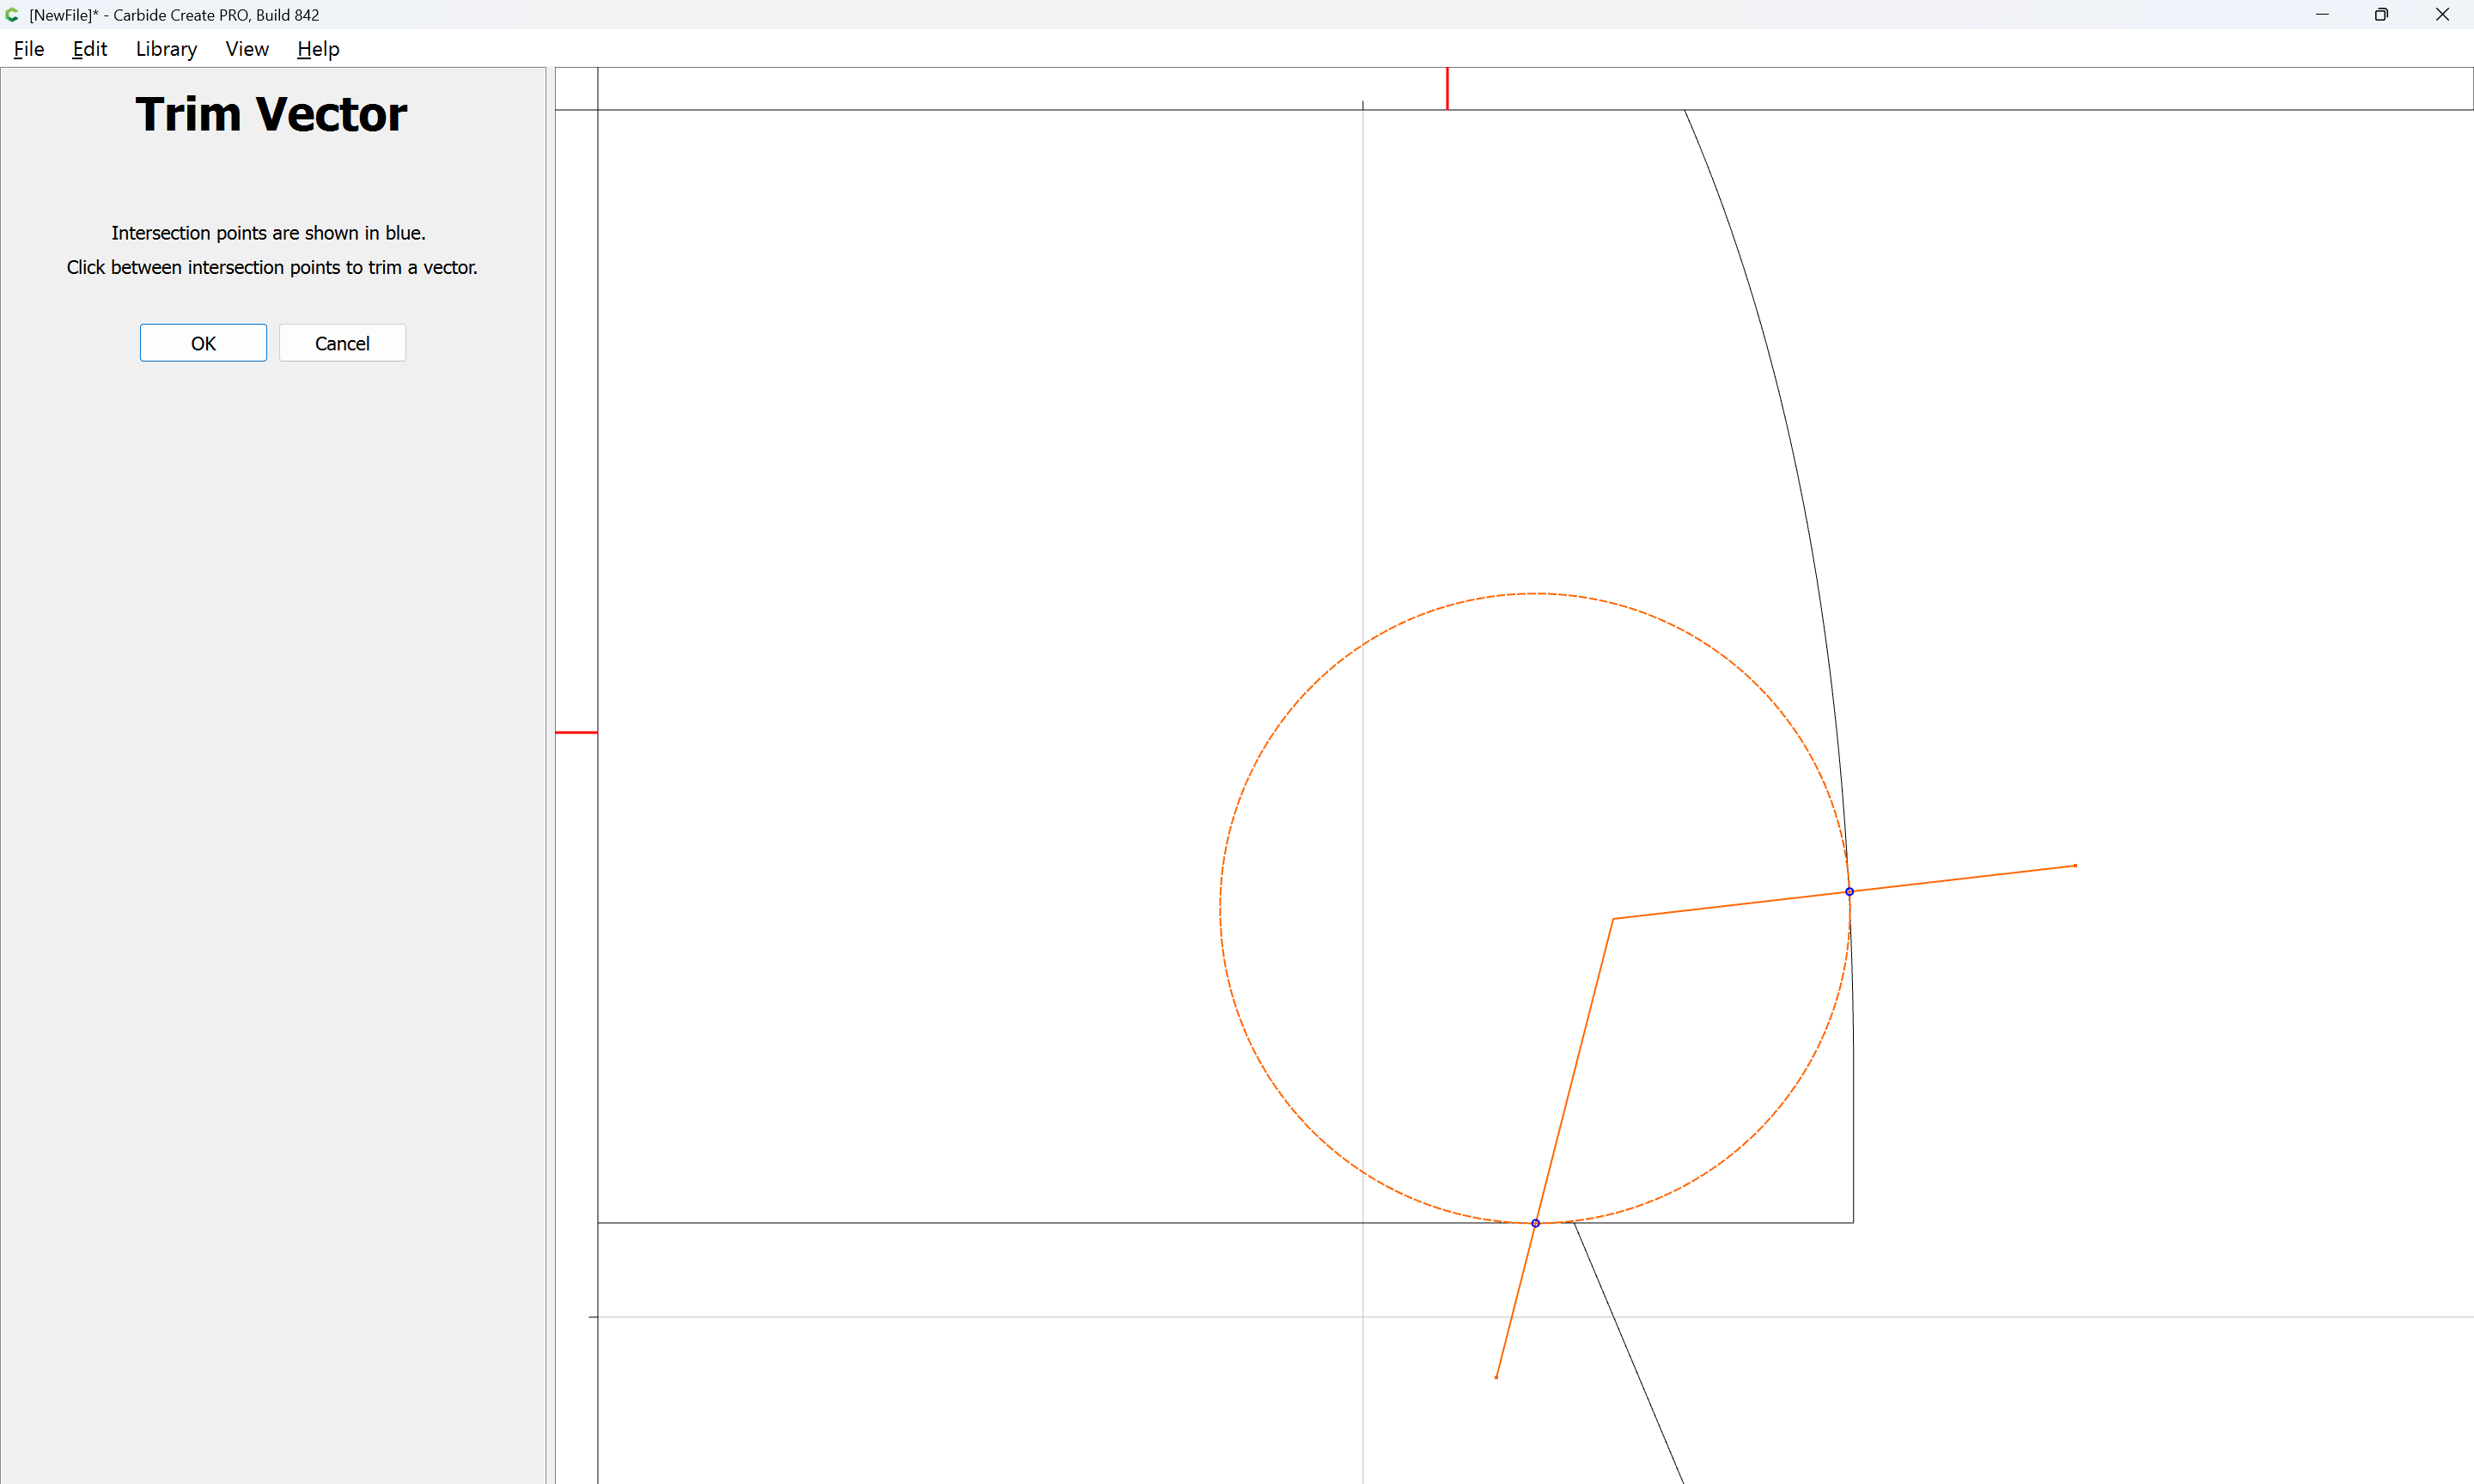
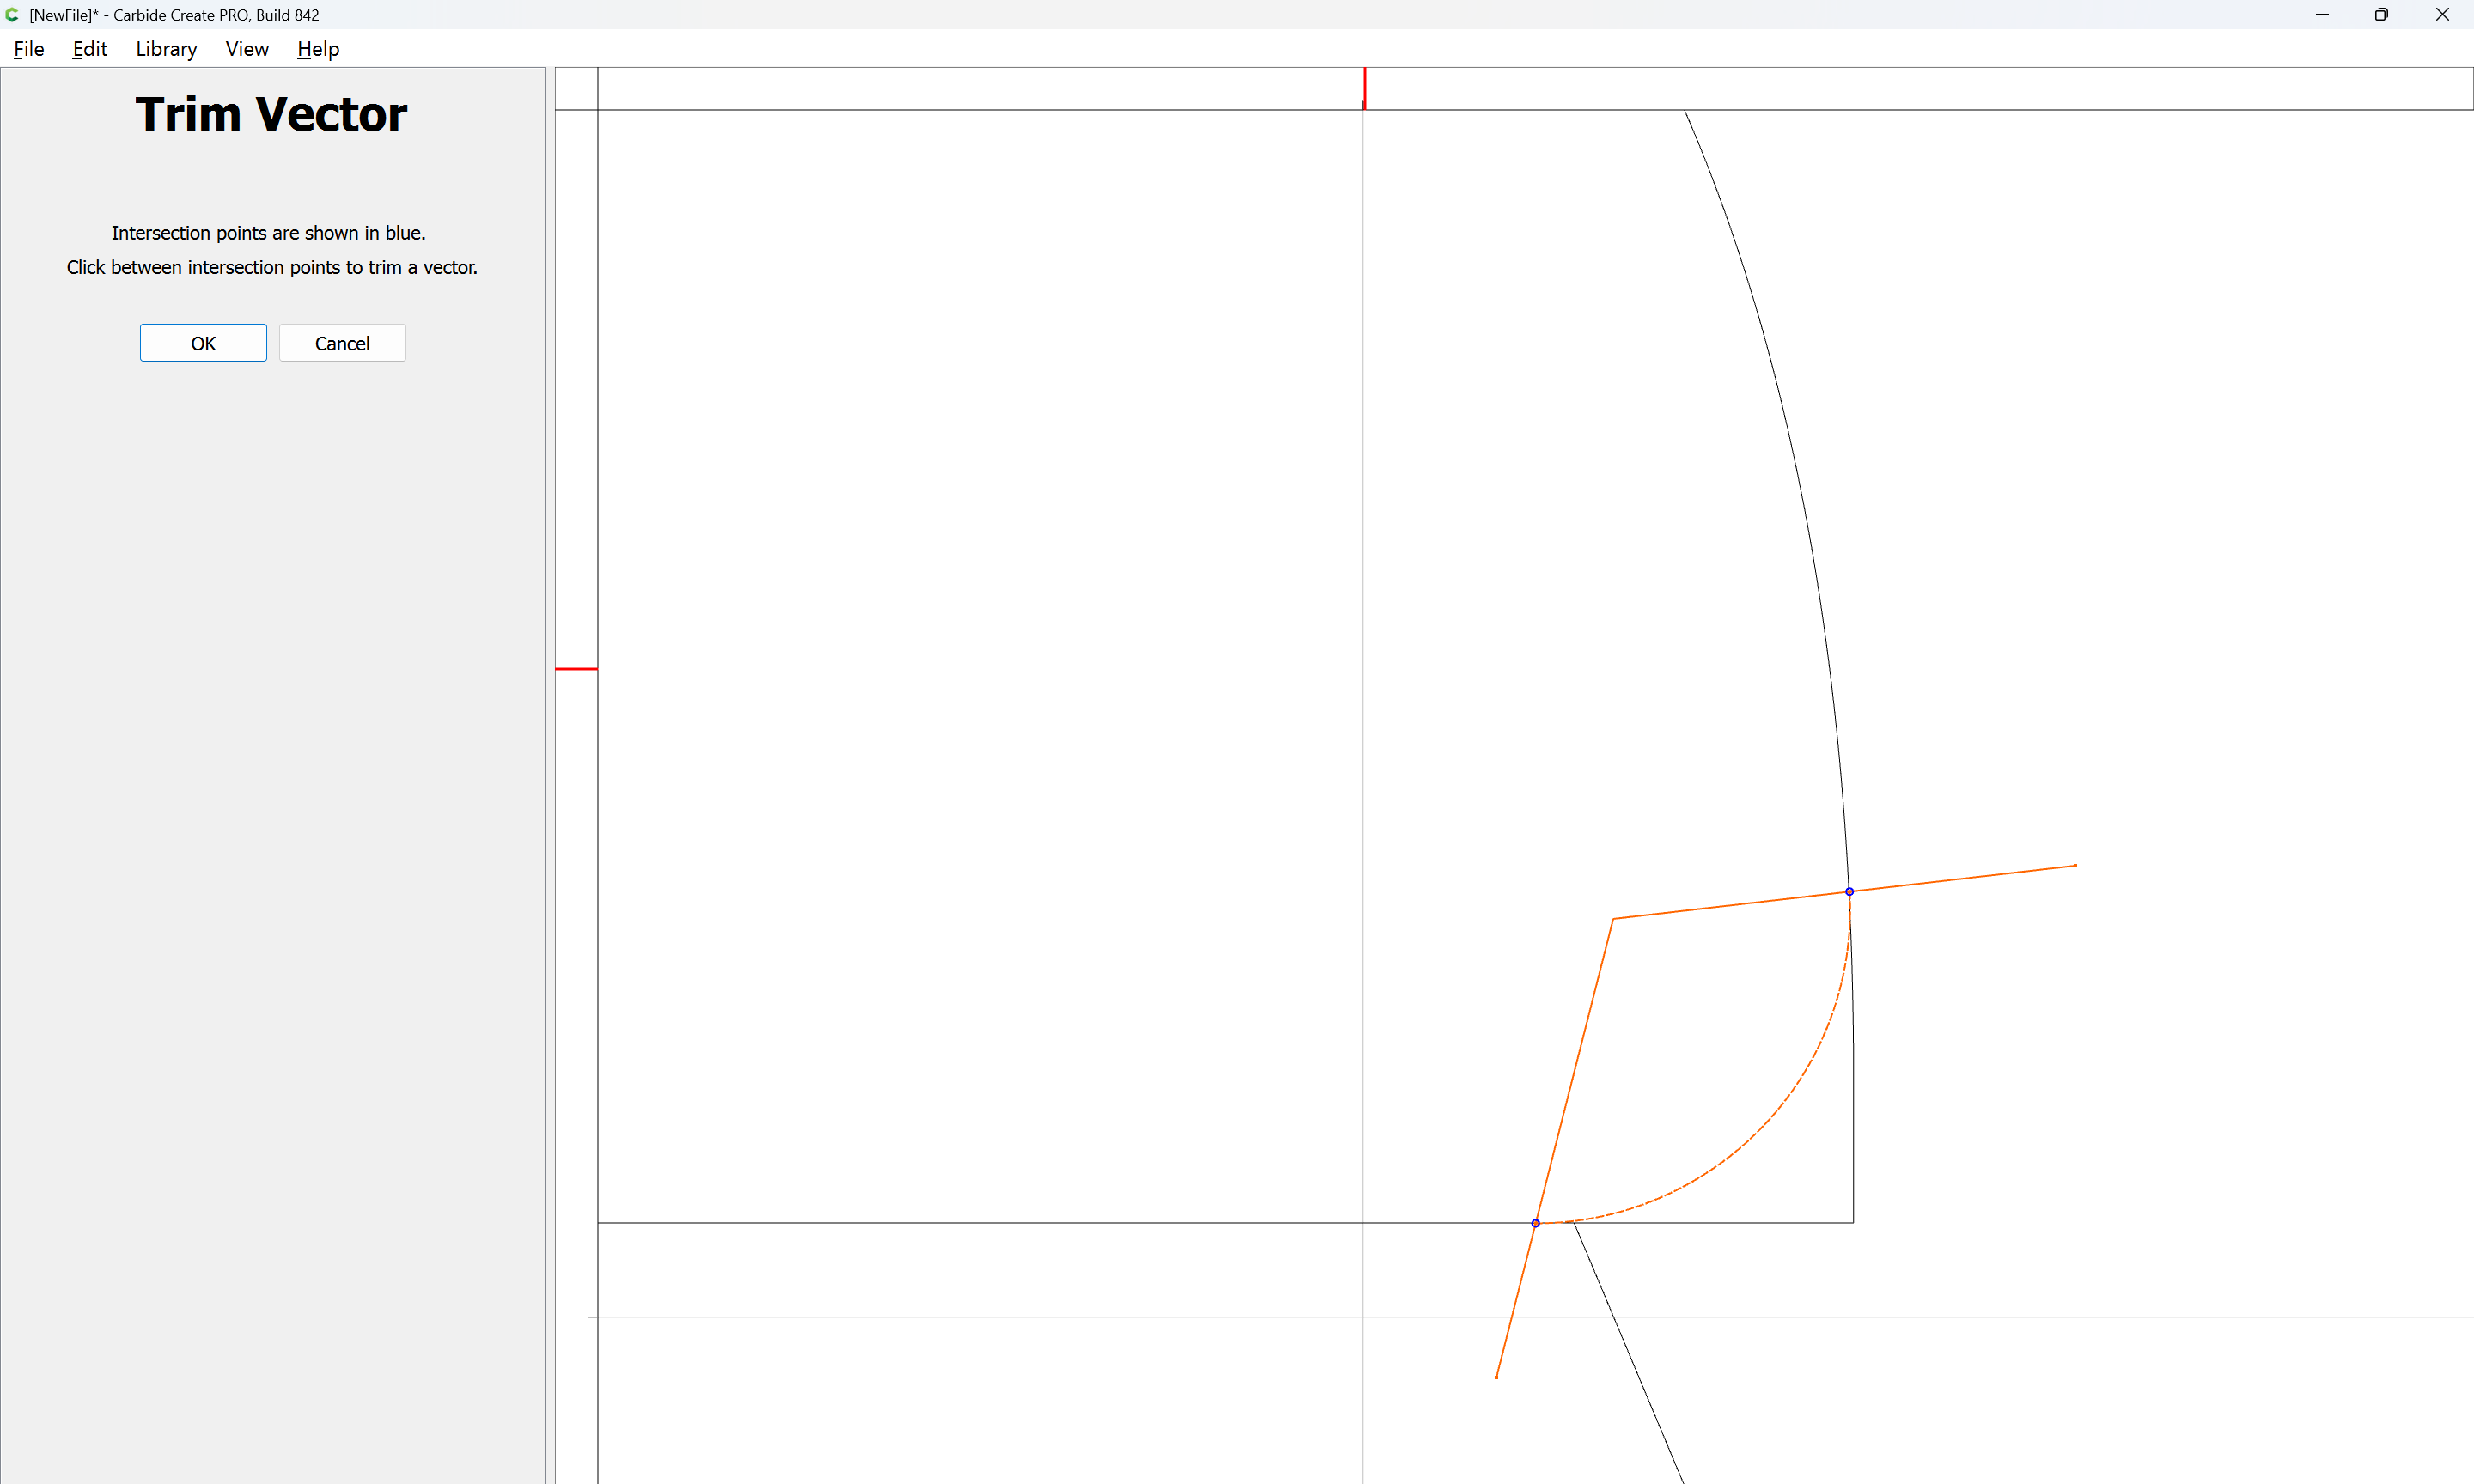
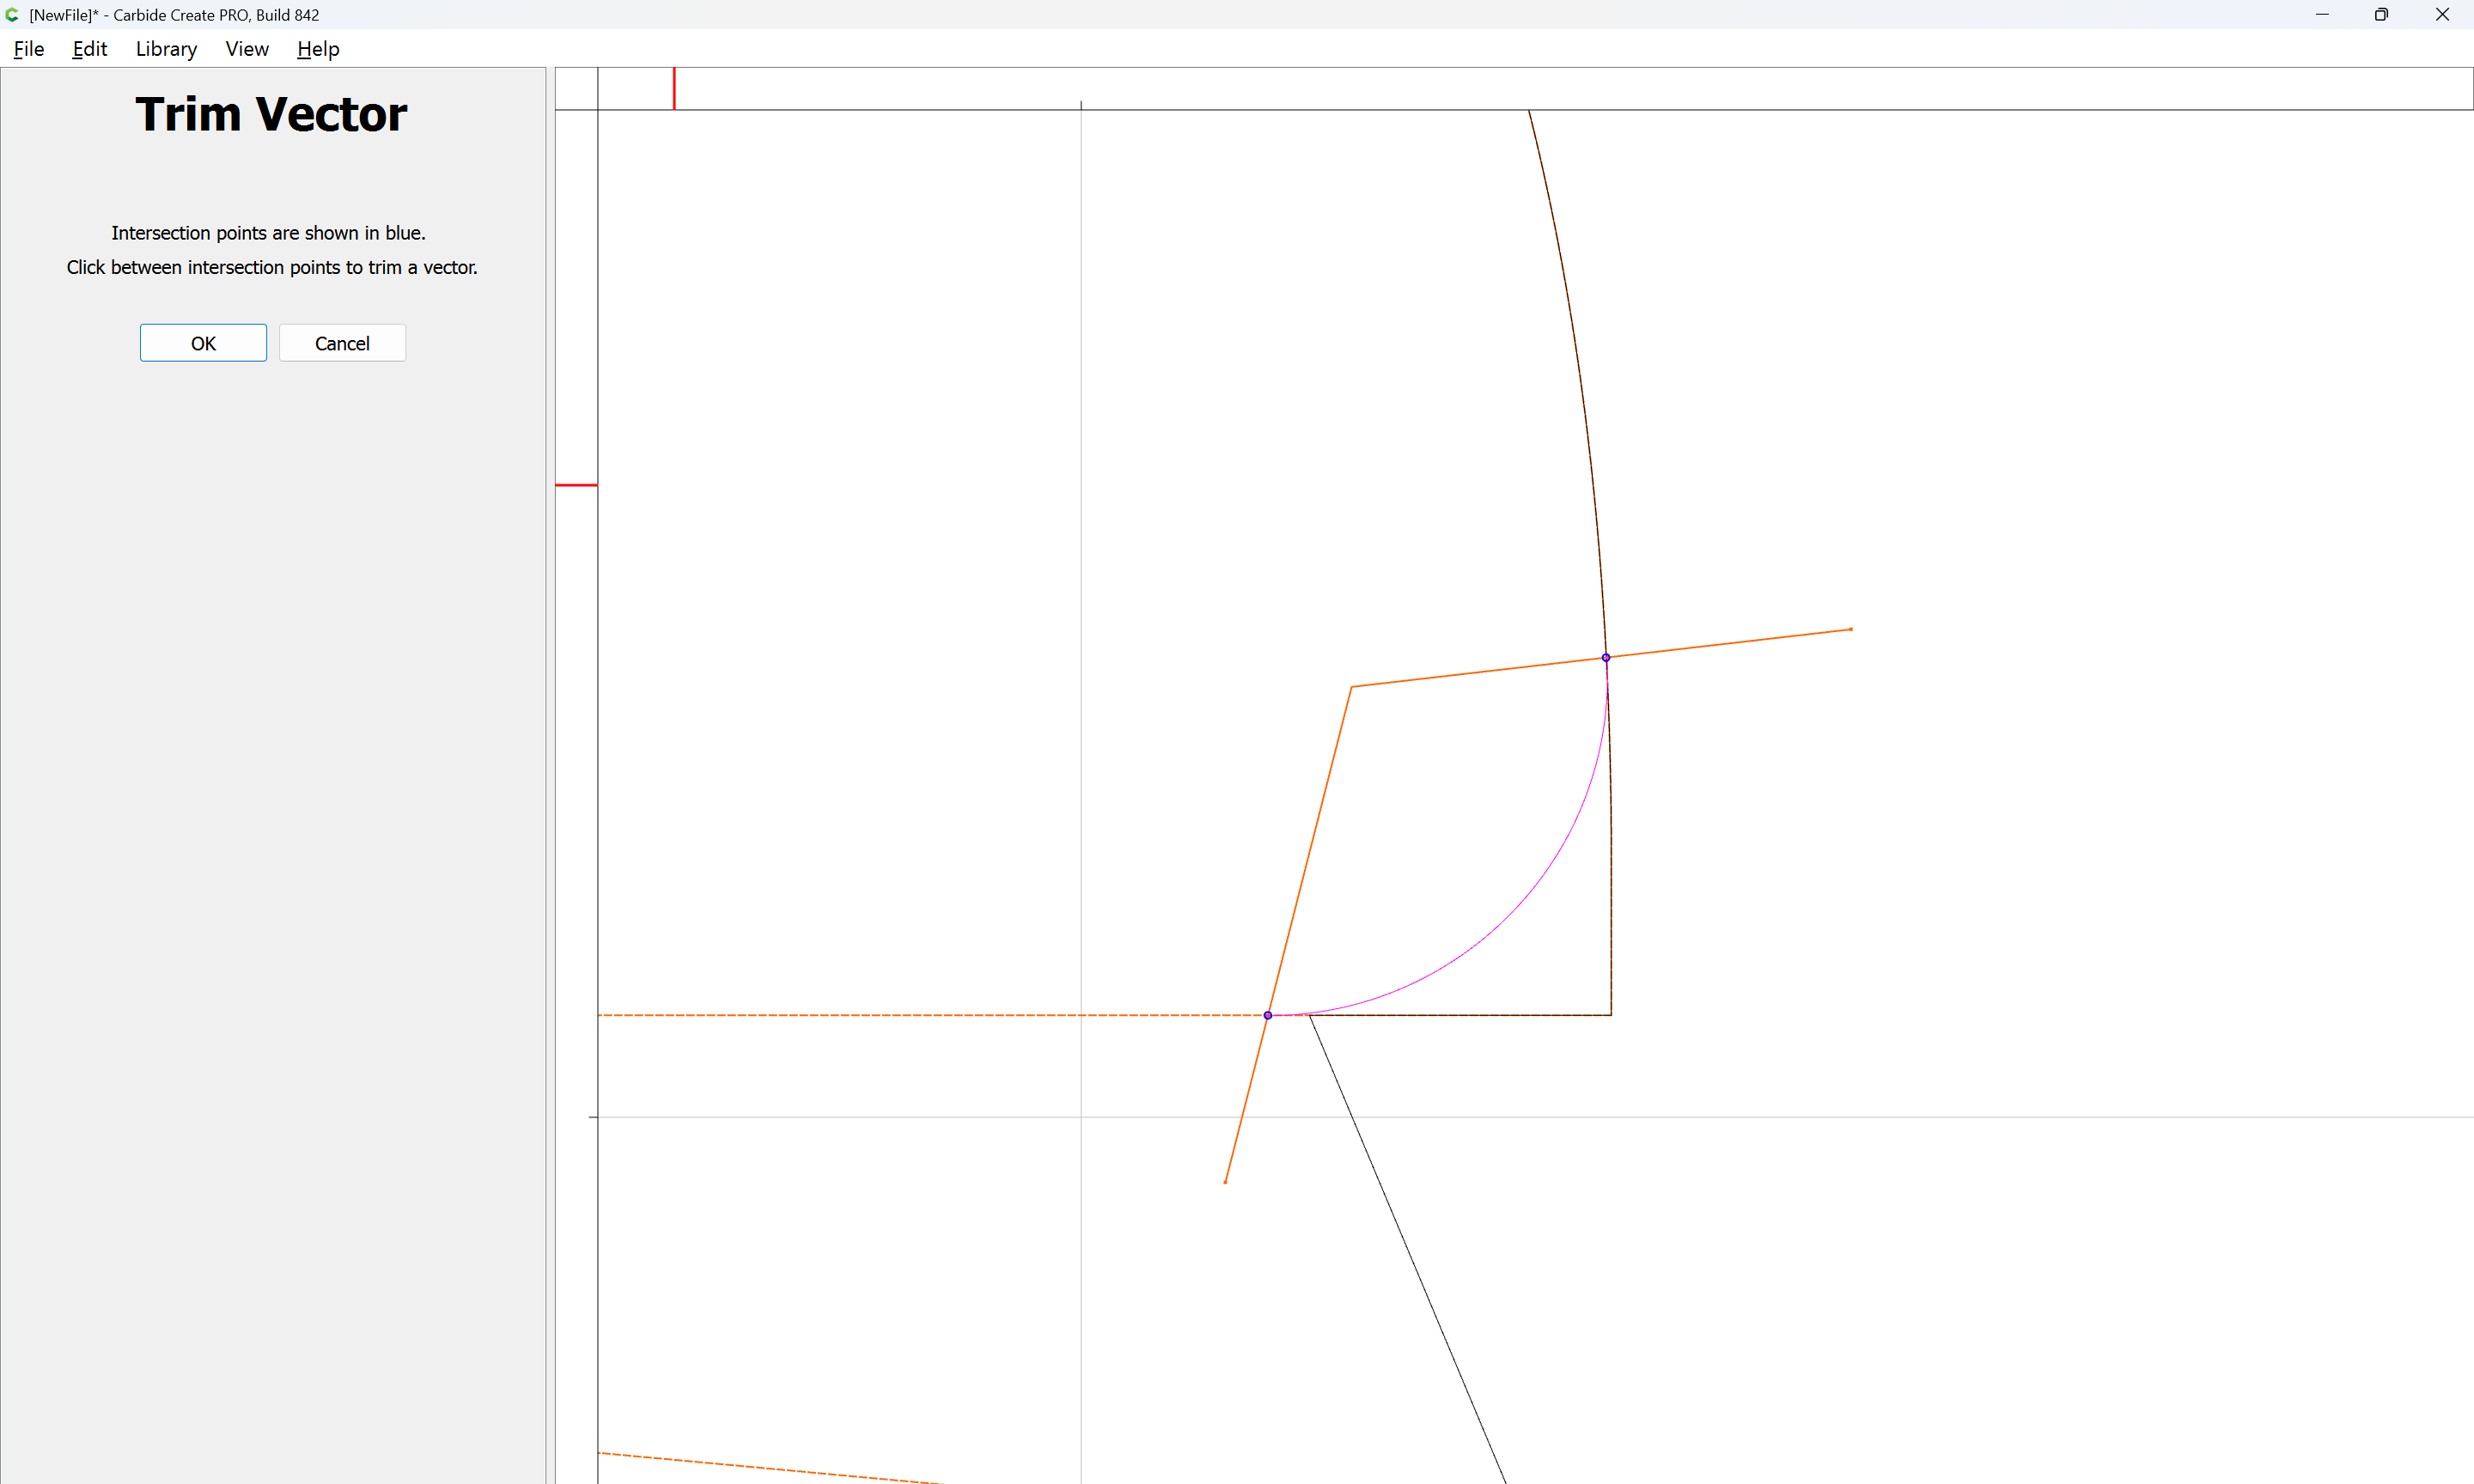
and use Trim Vectors to remove what is not wanted:
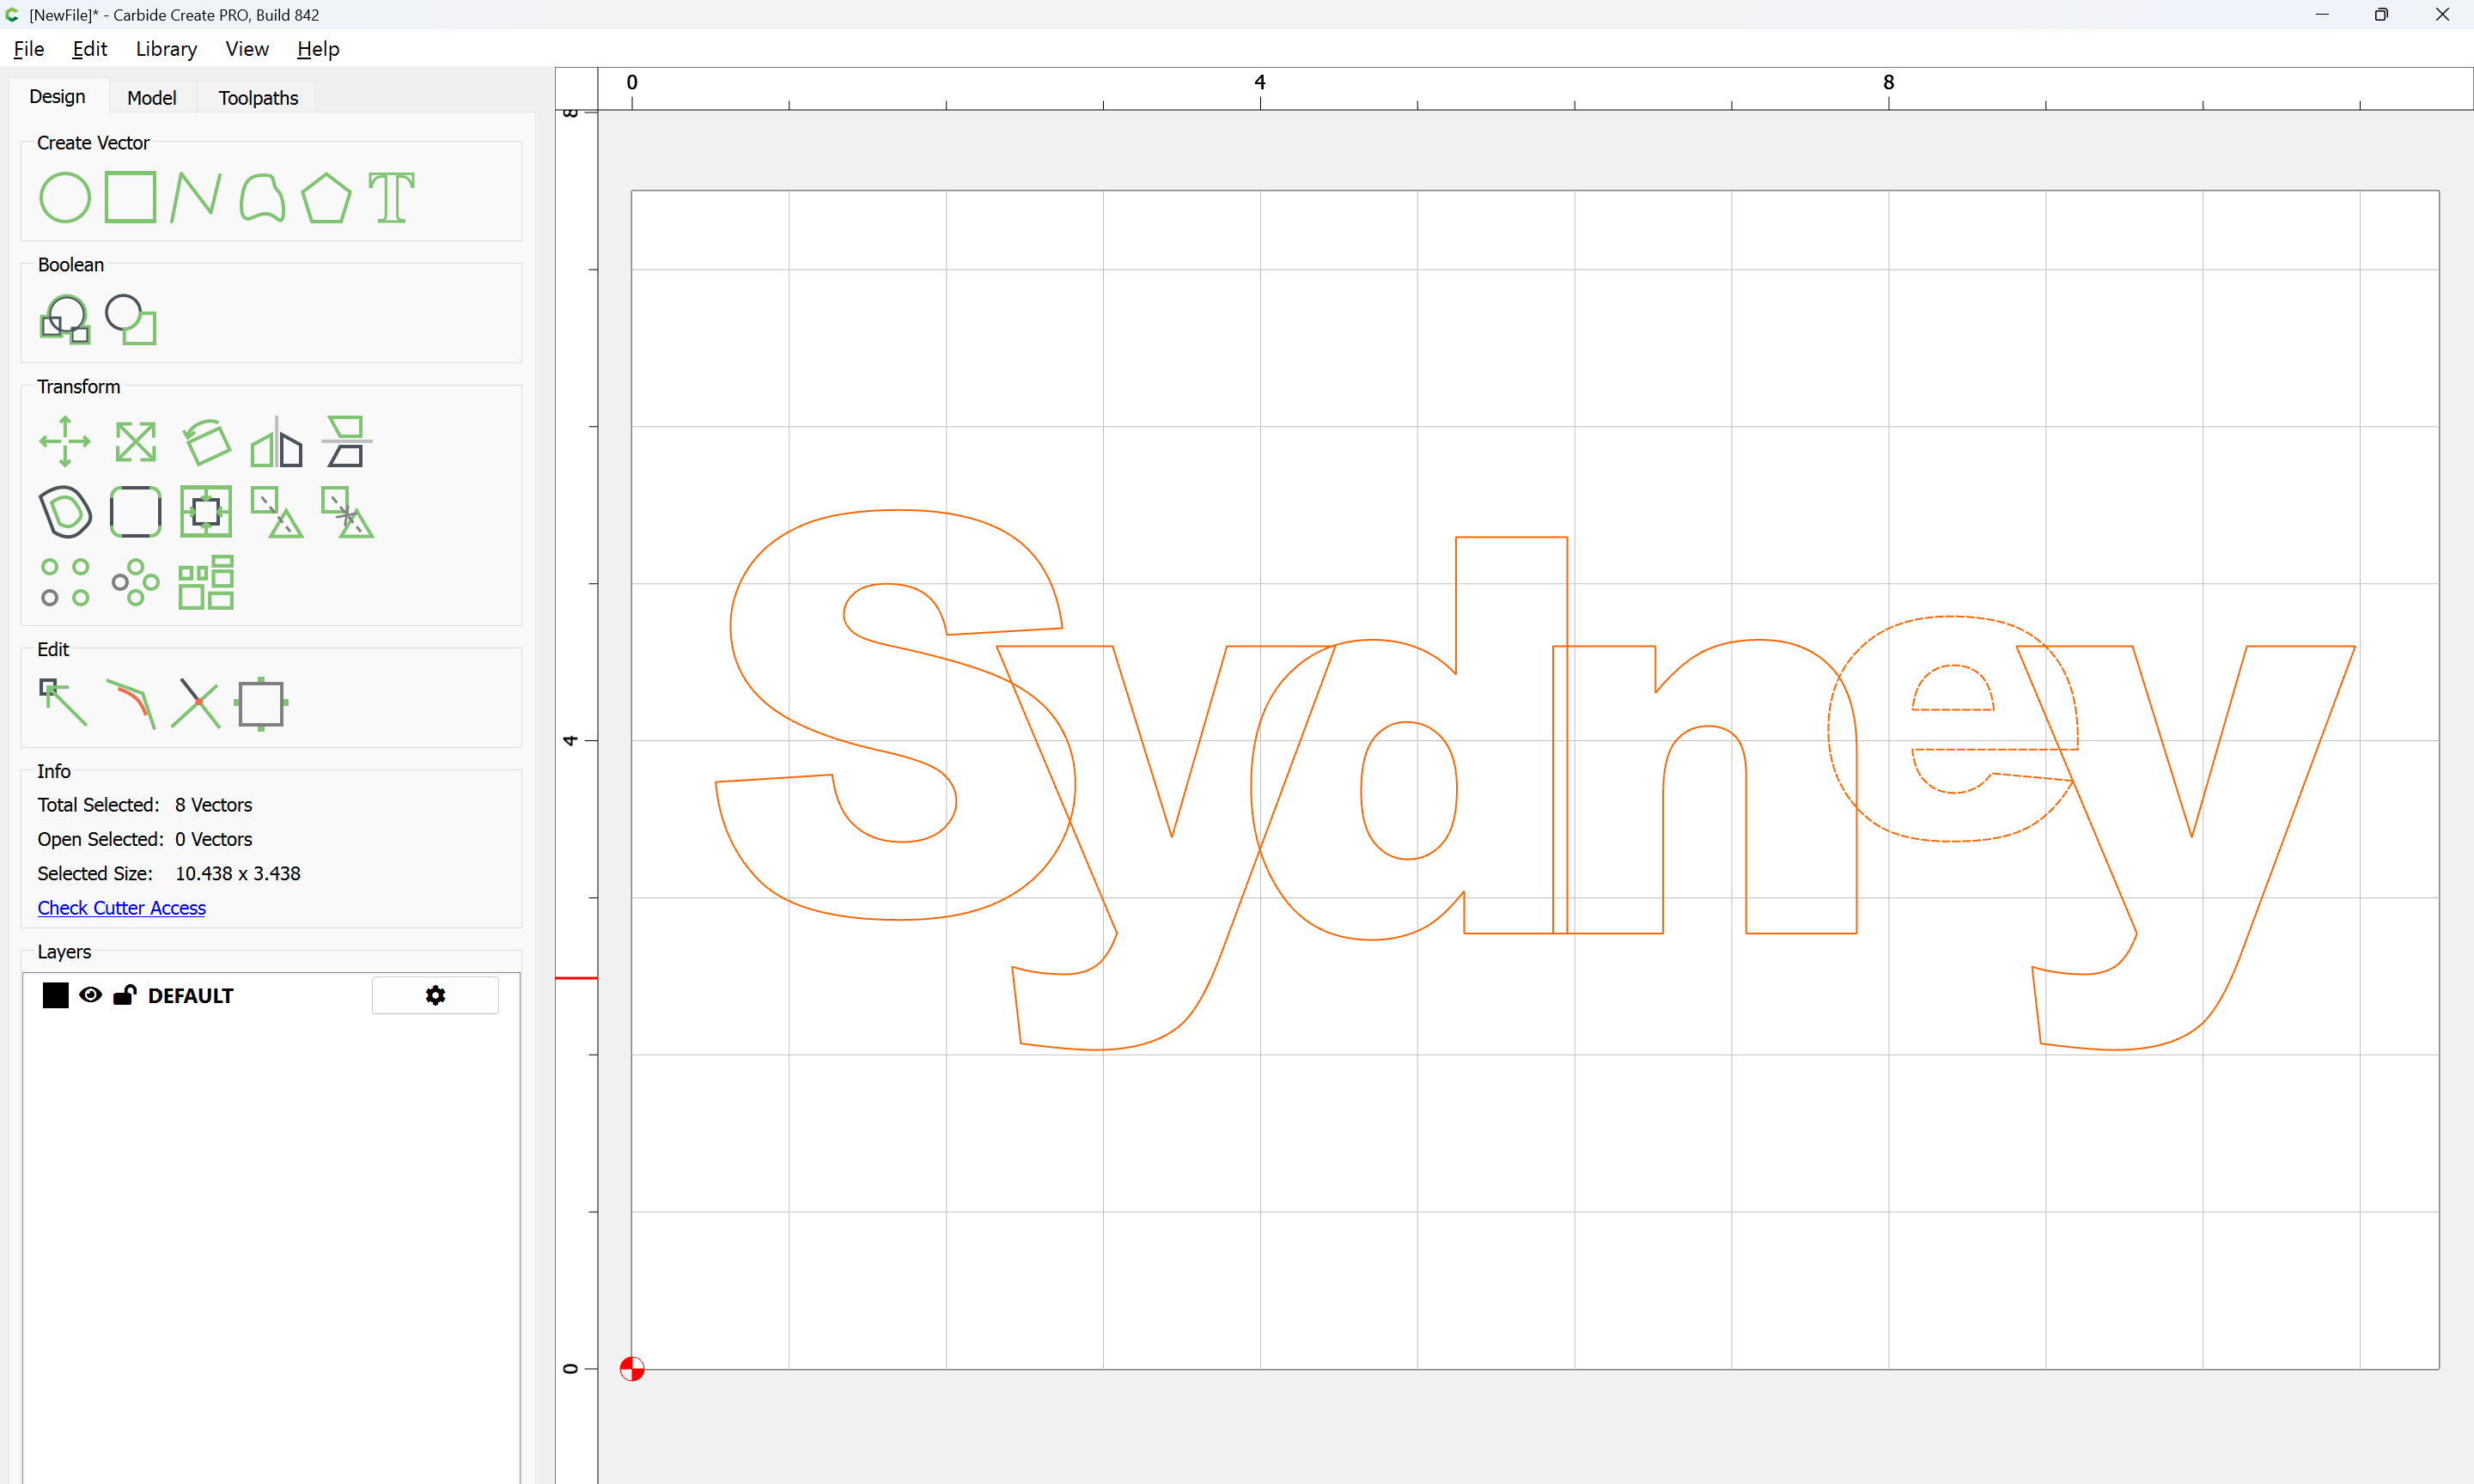
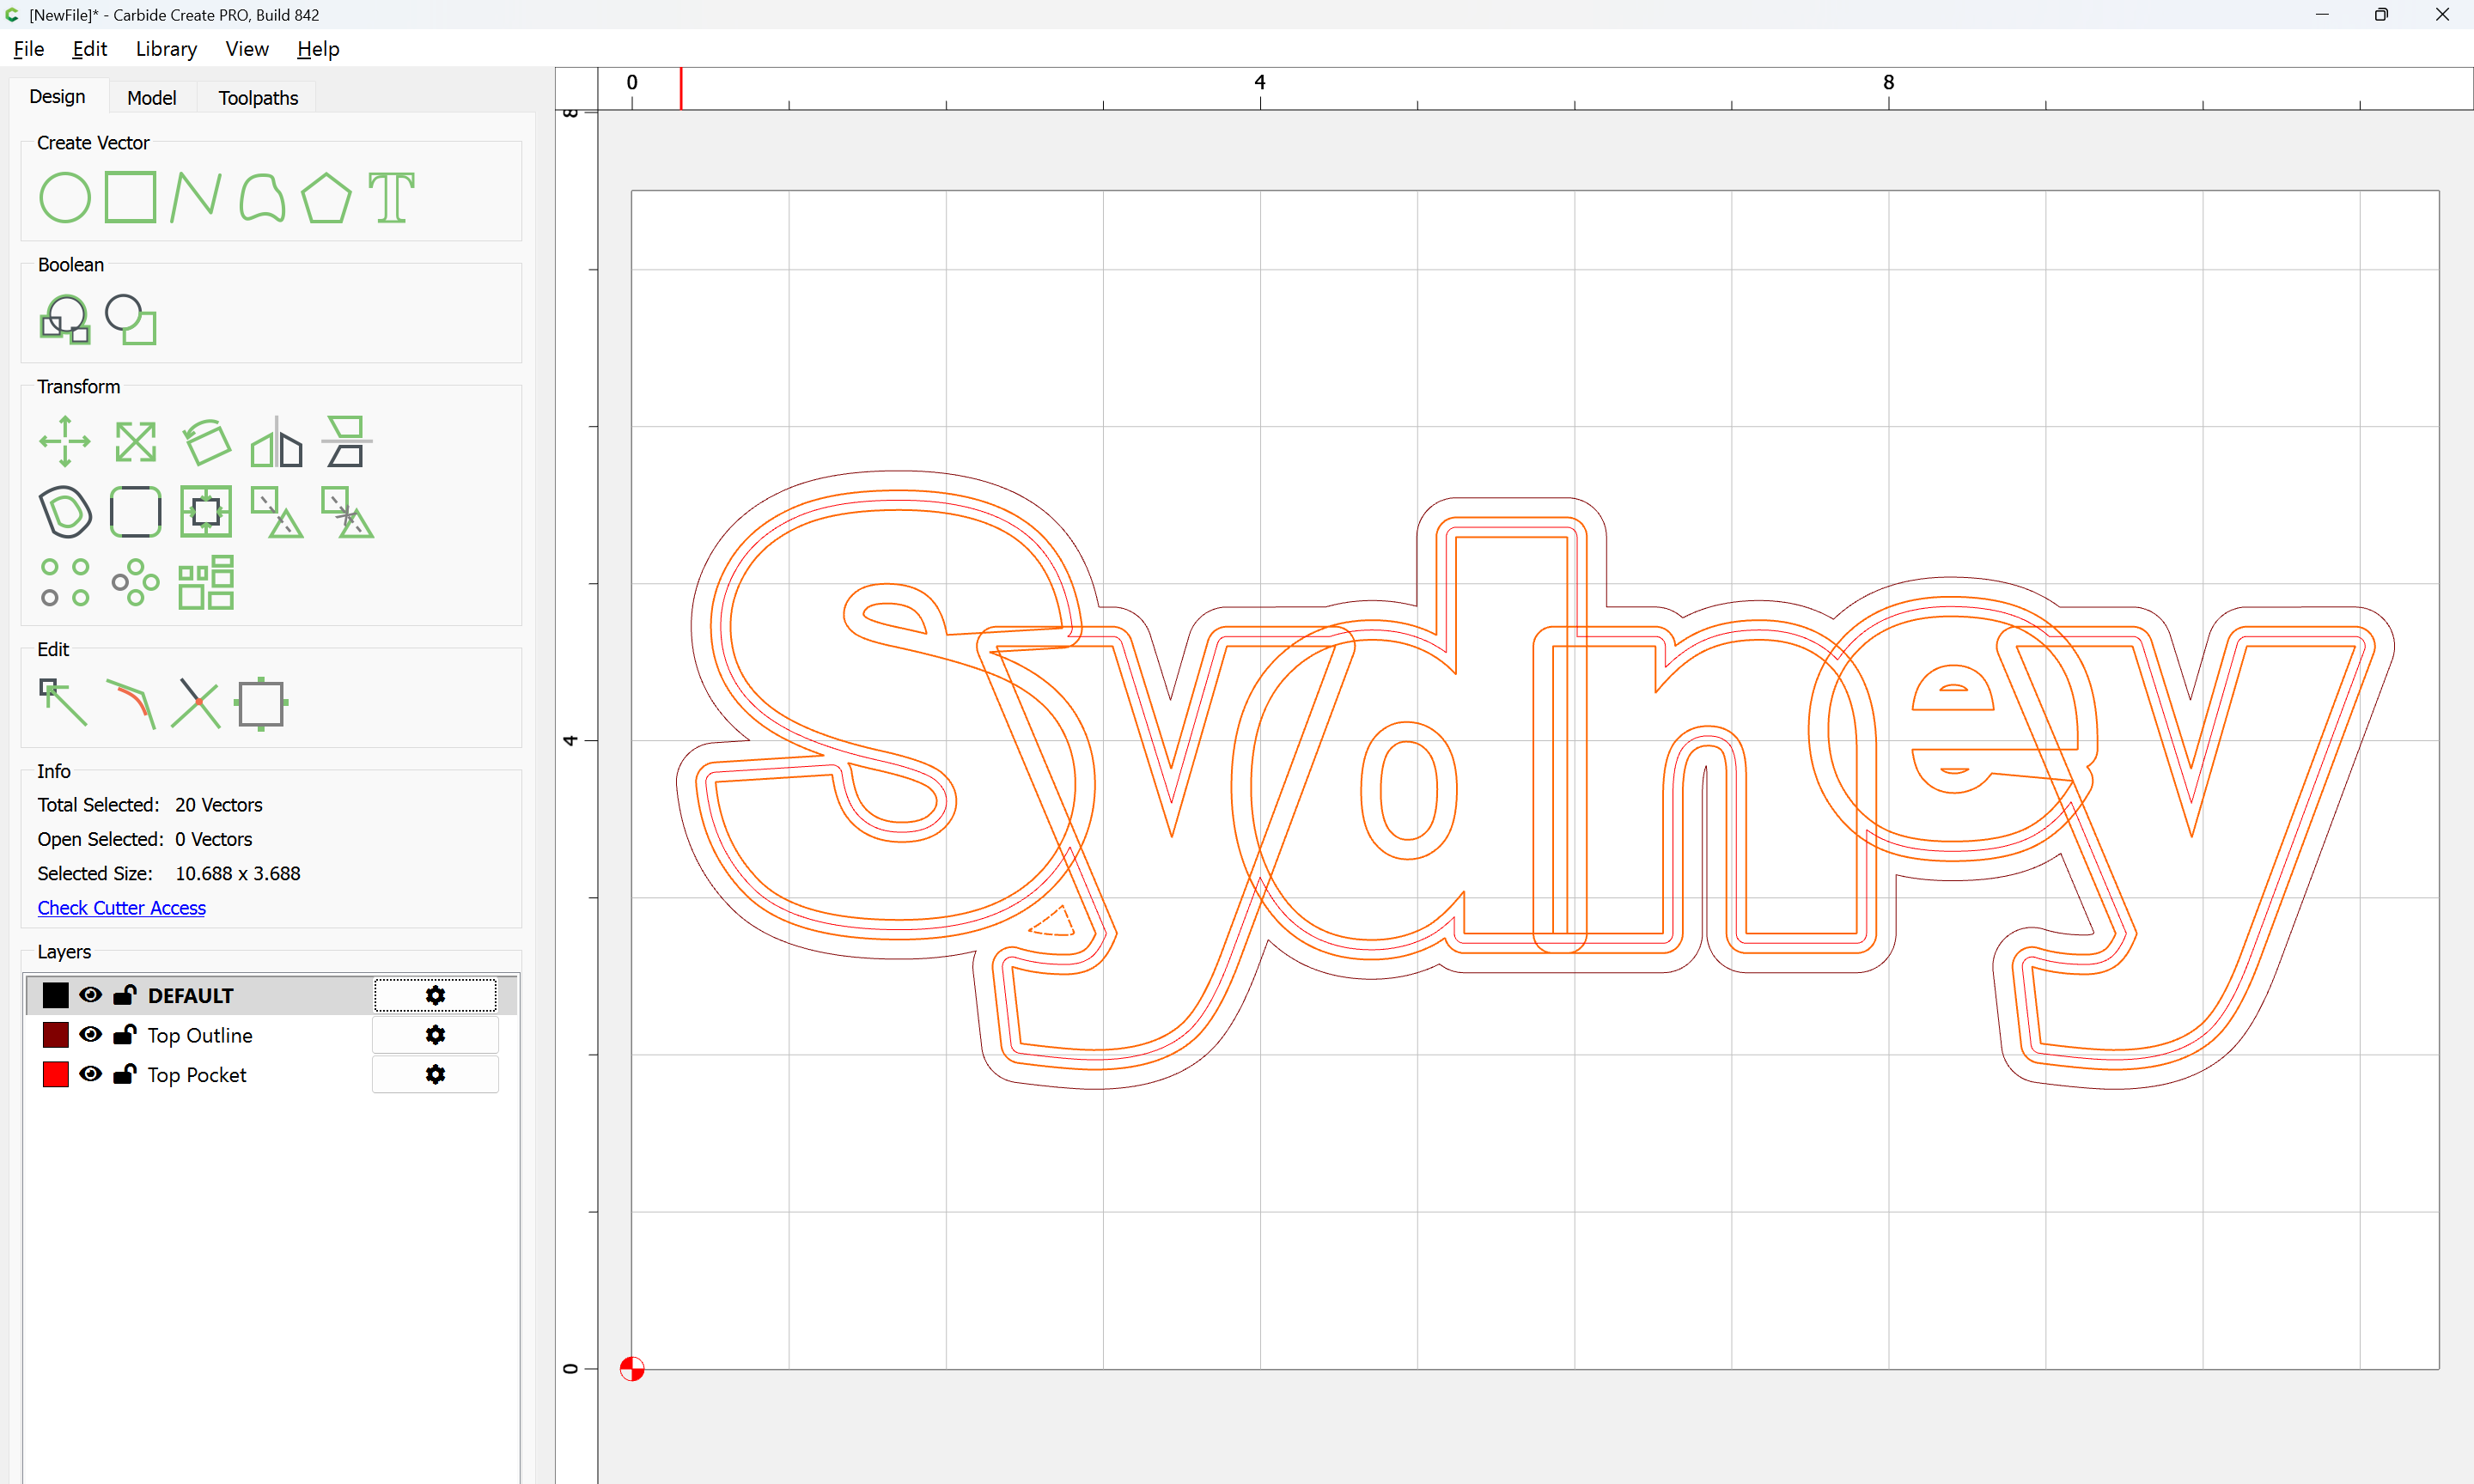
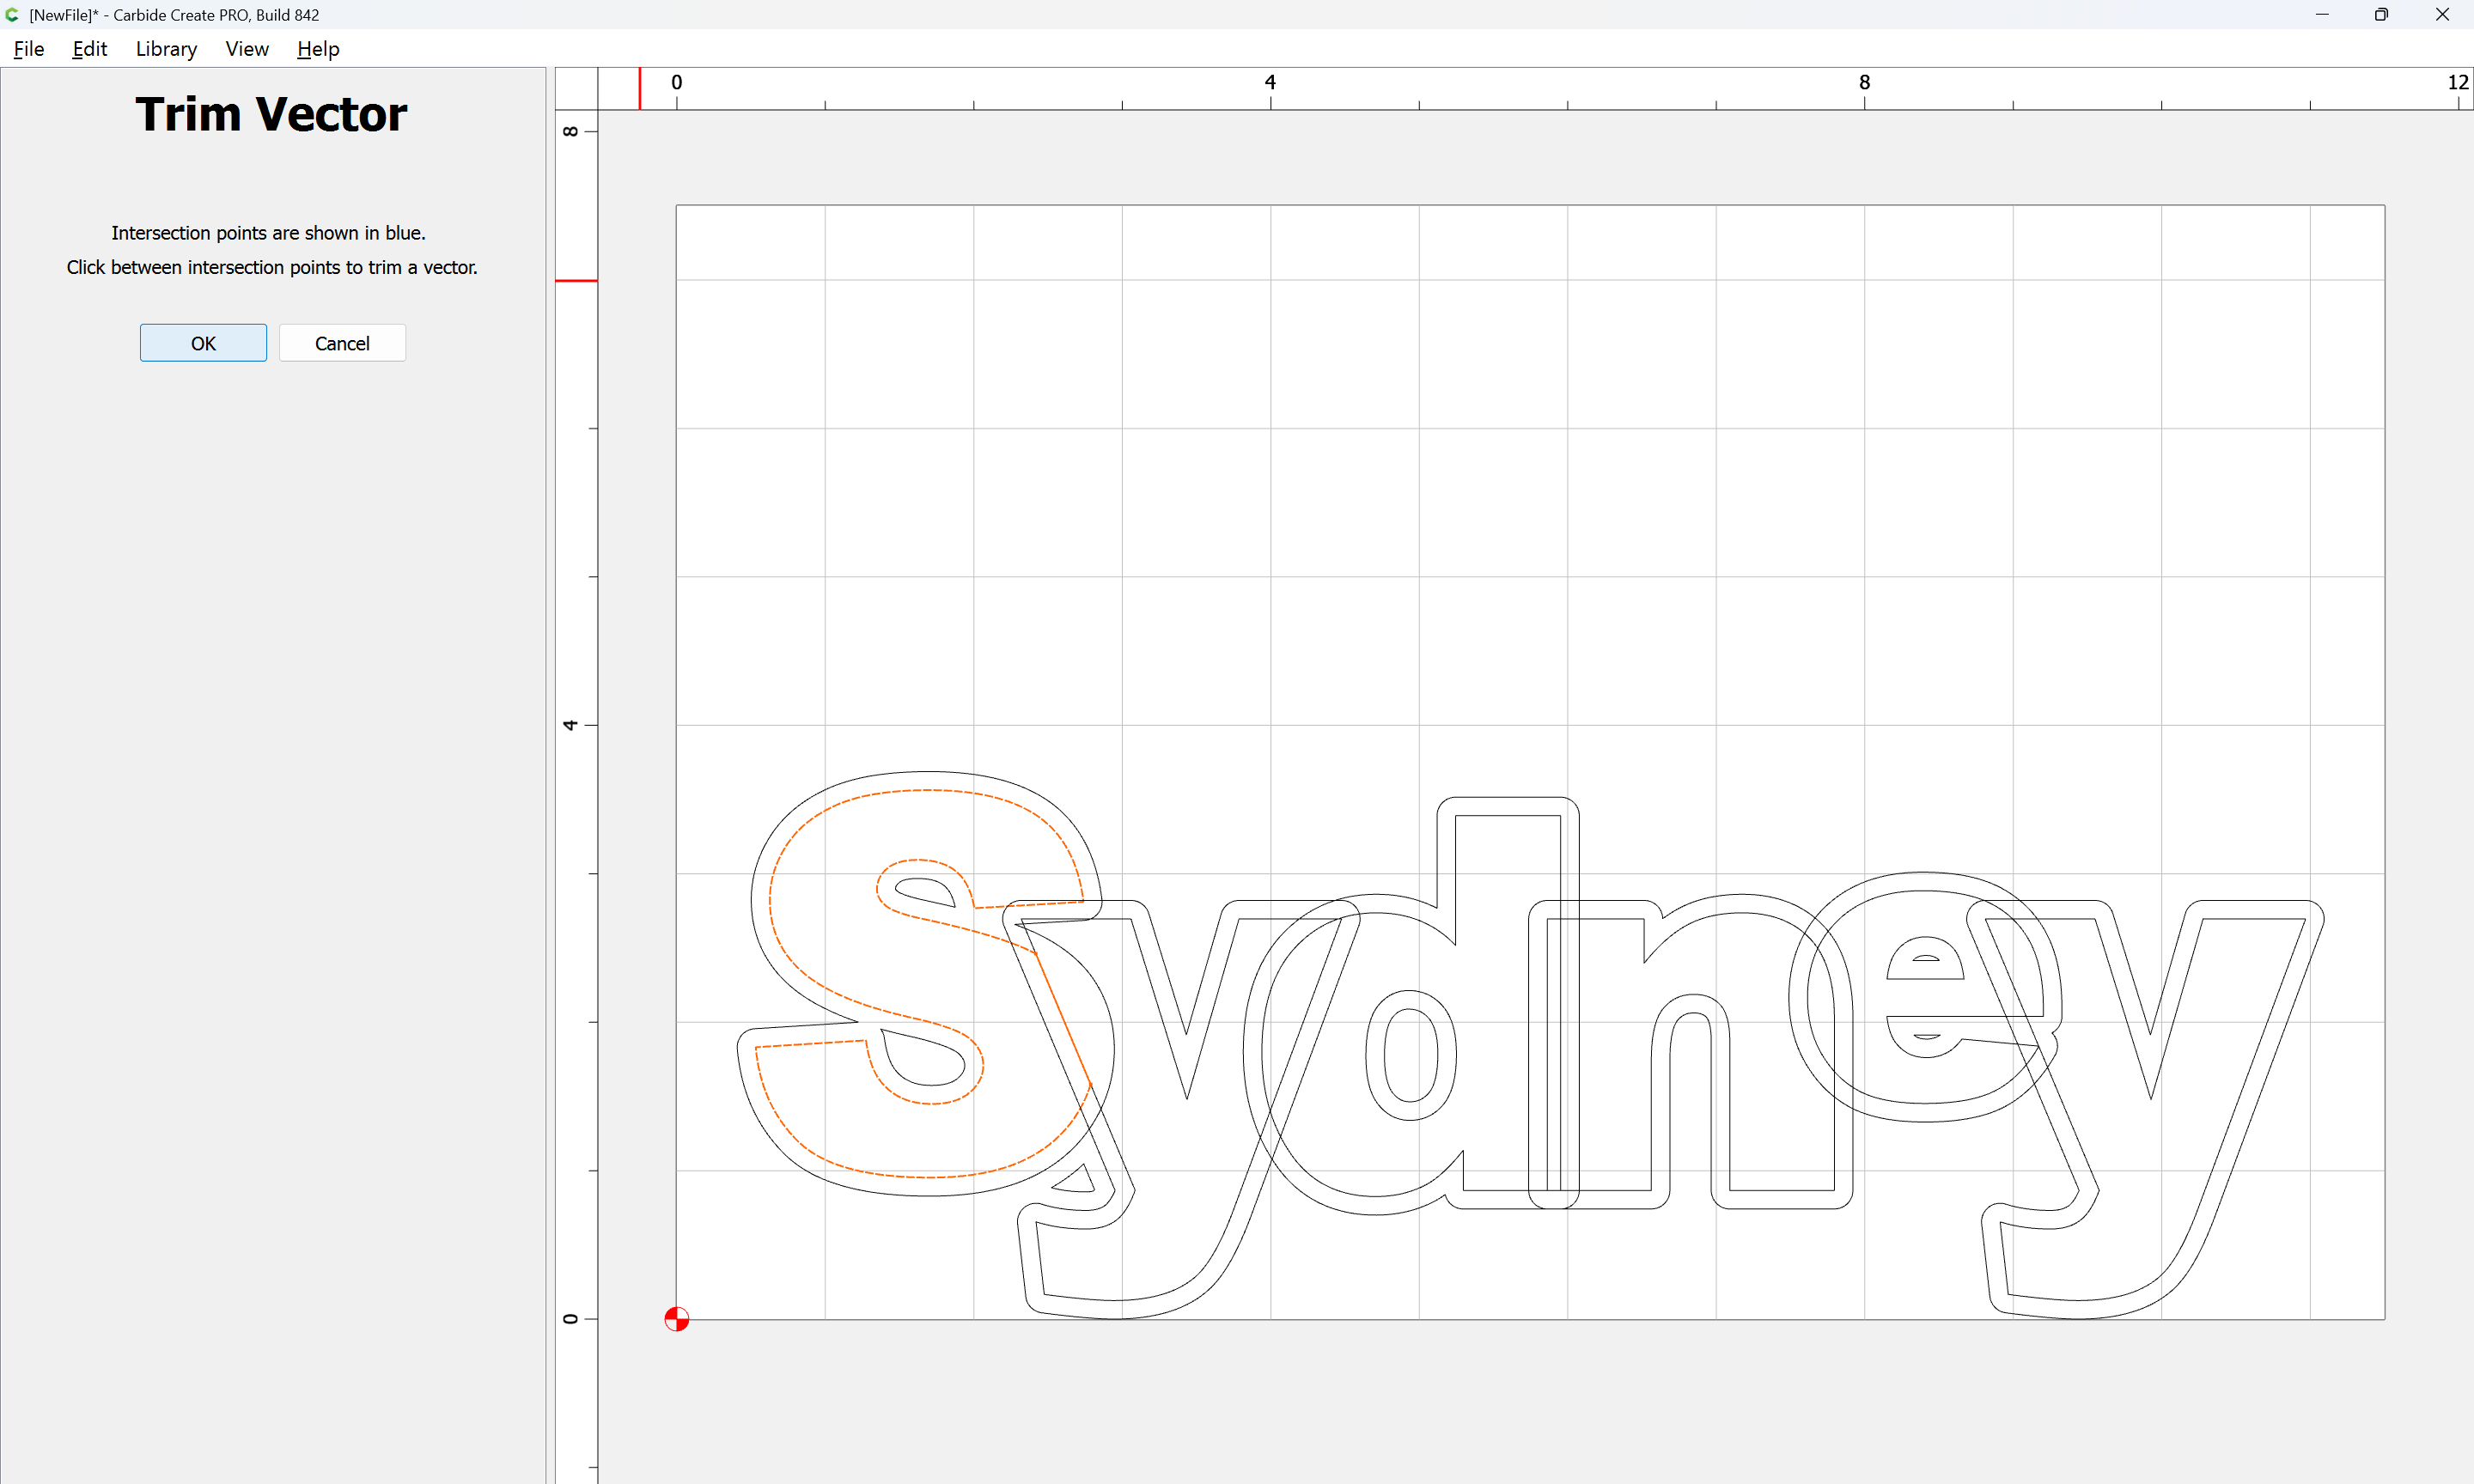
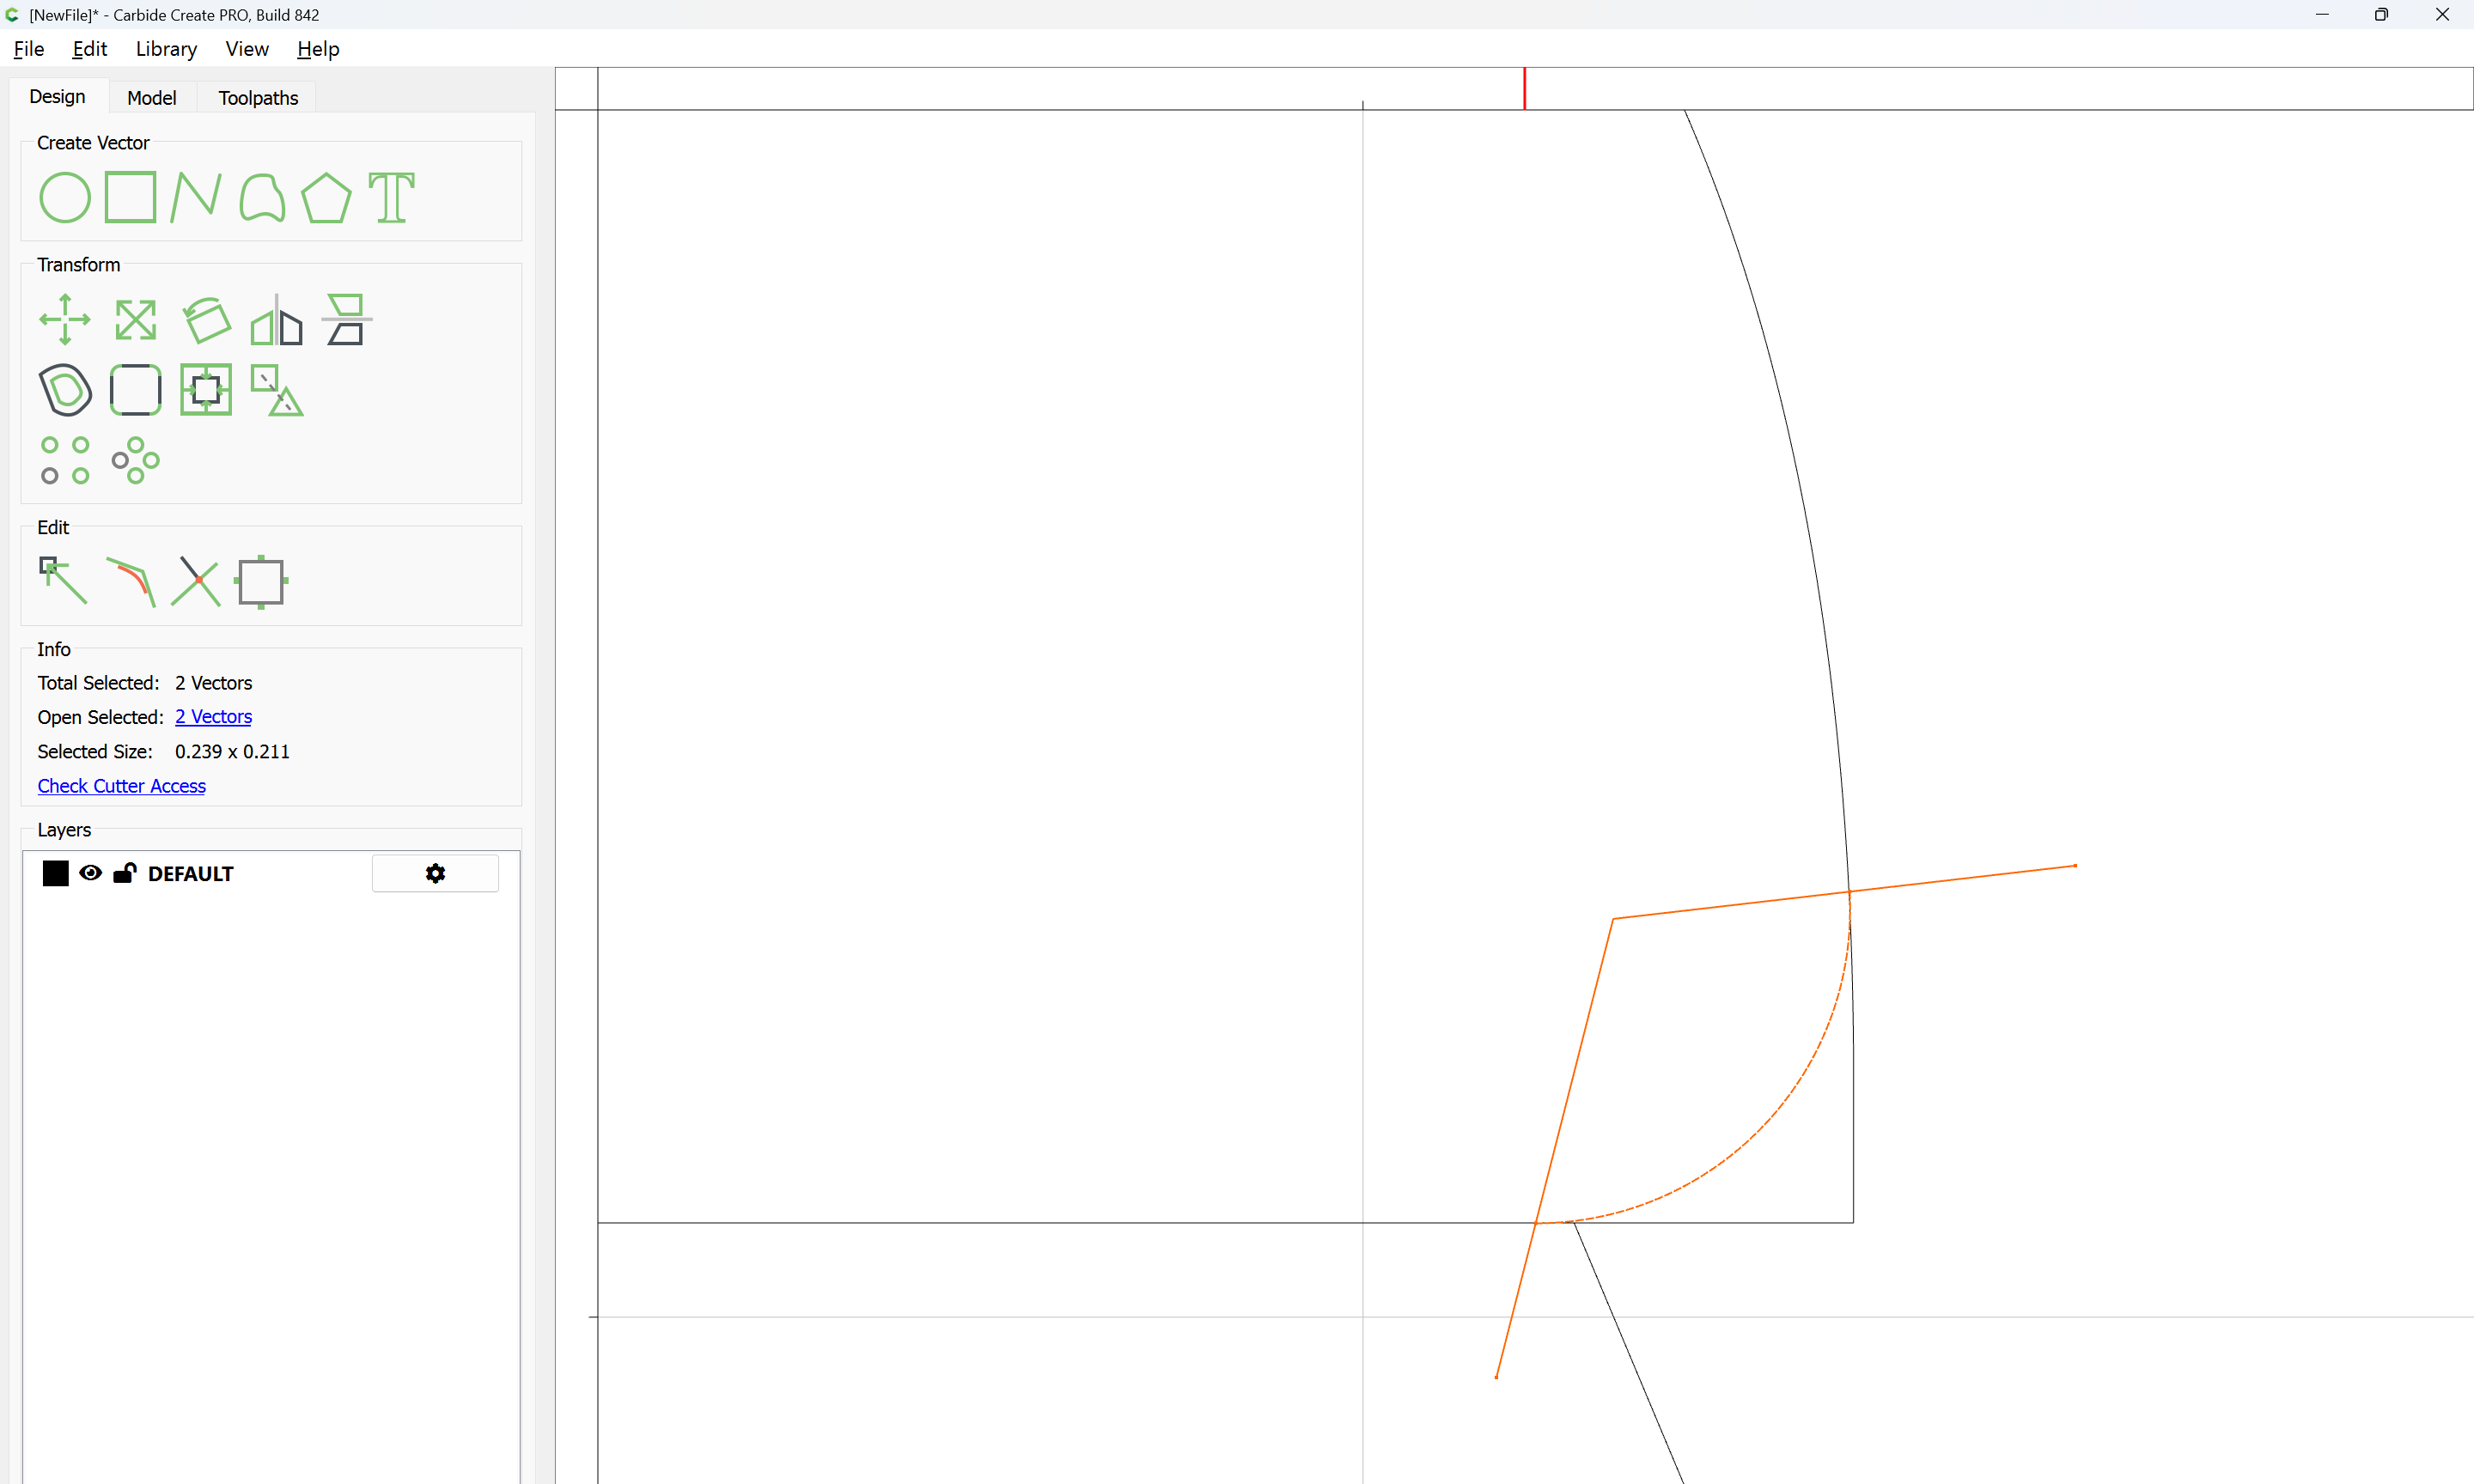
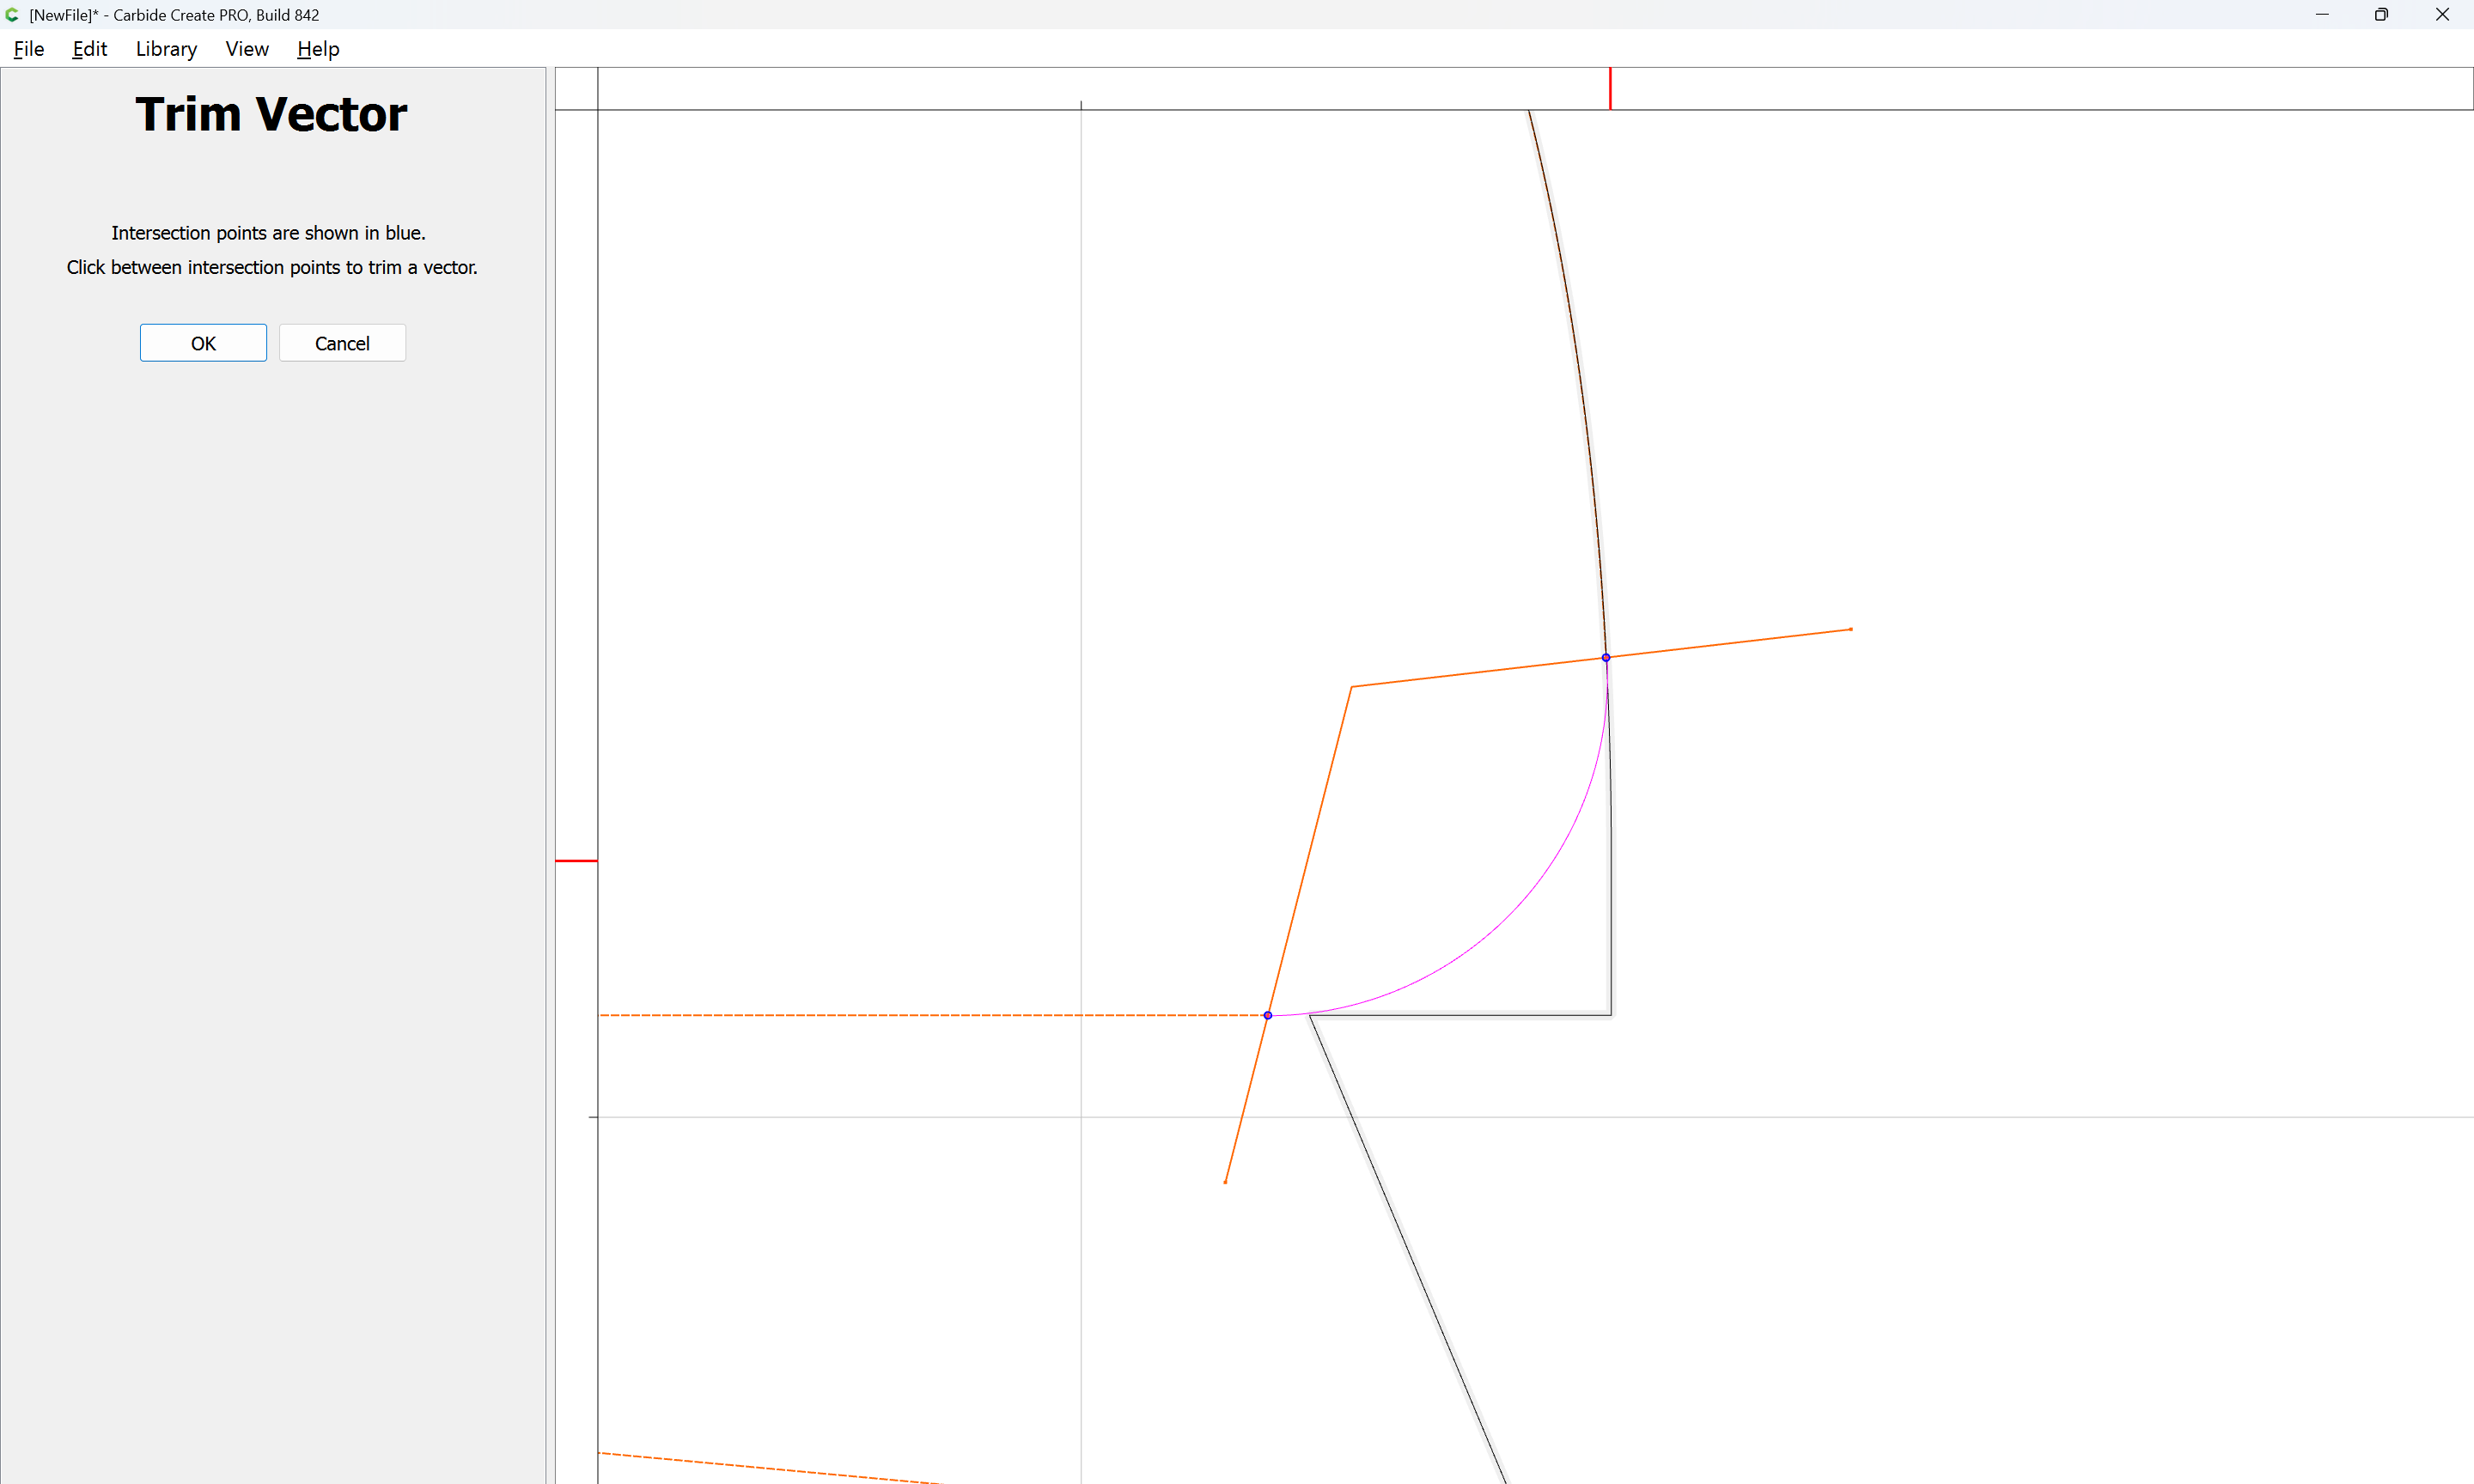
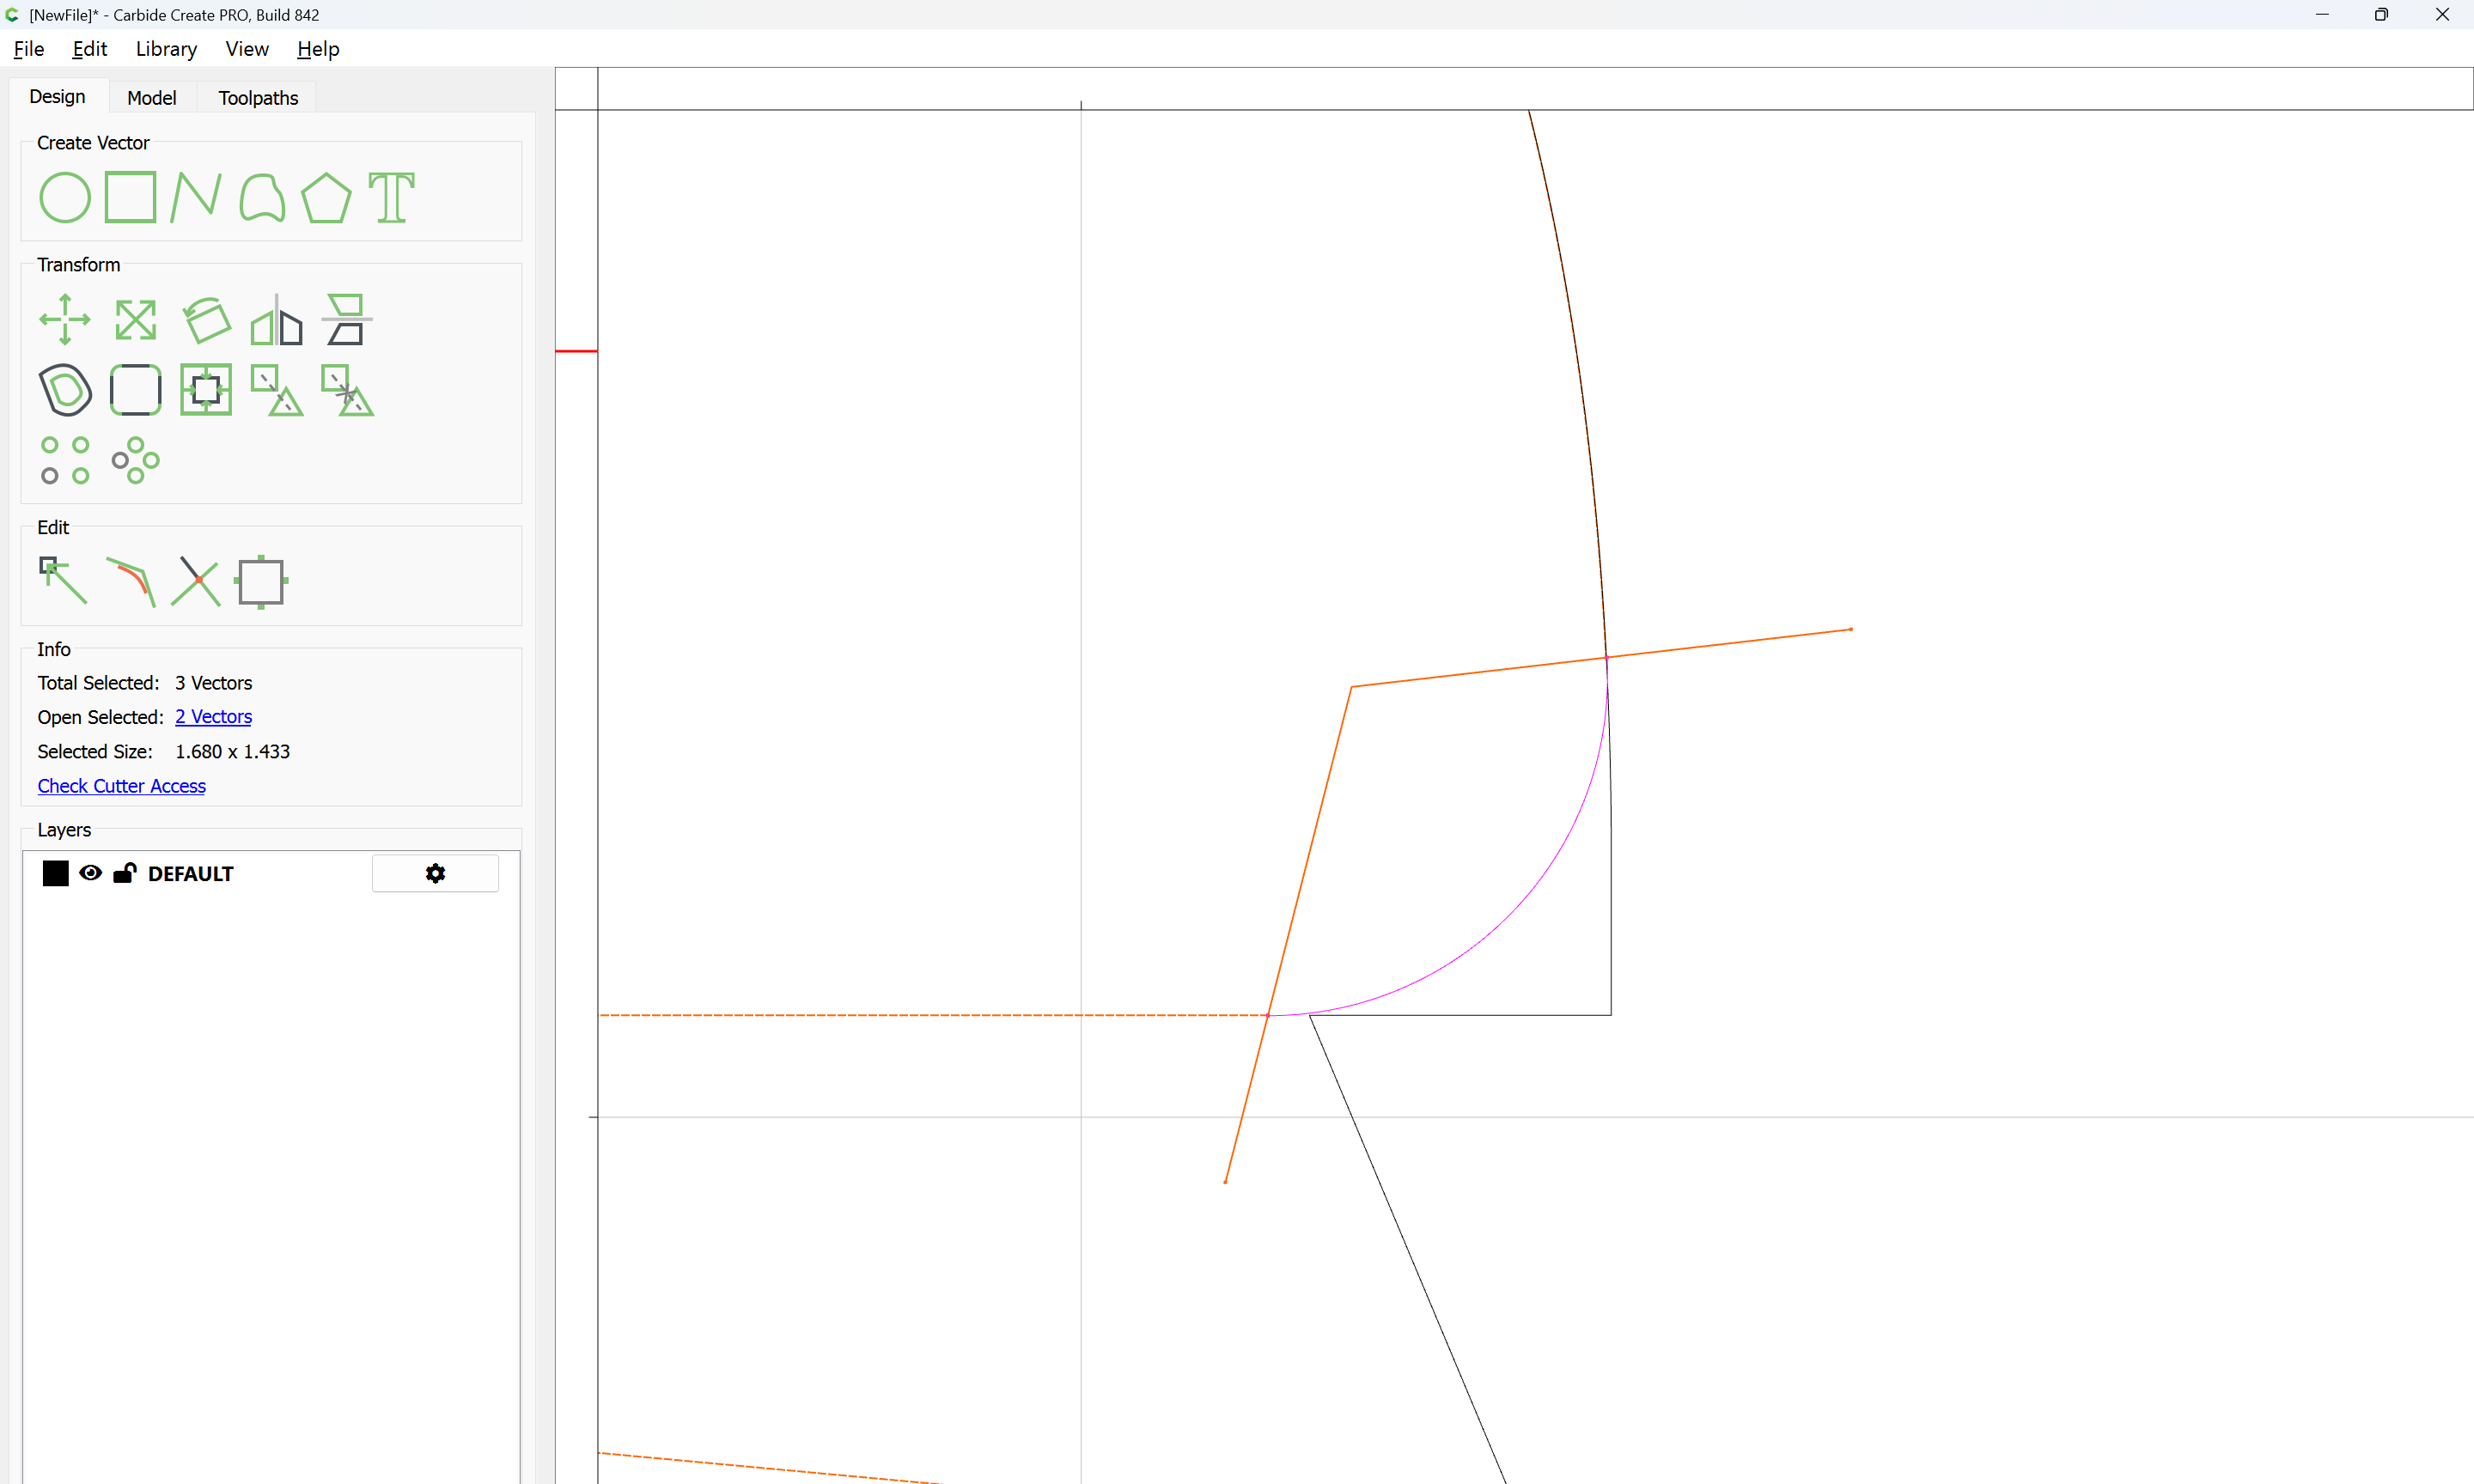
until one arrives at:
OK
OK
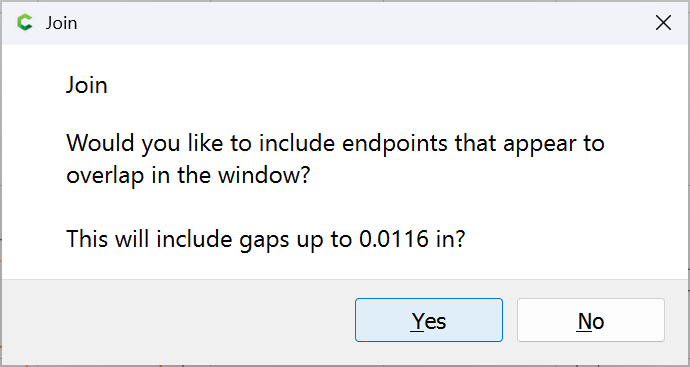
Join Vectors
Yes
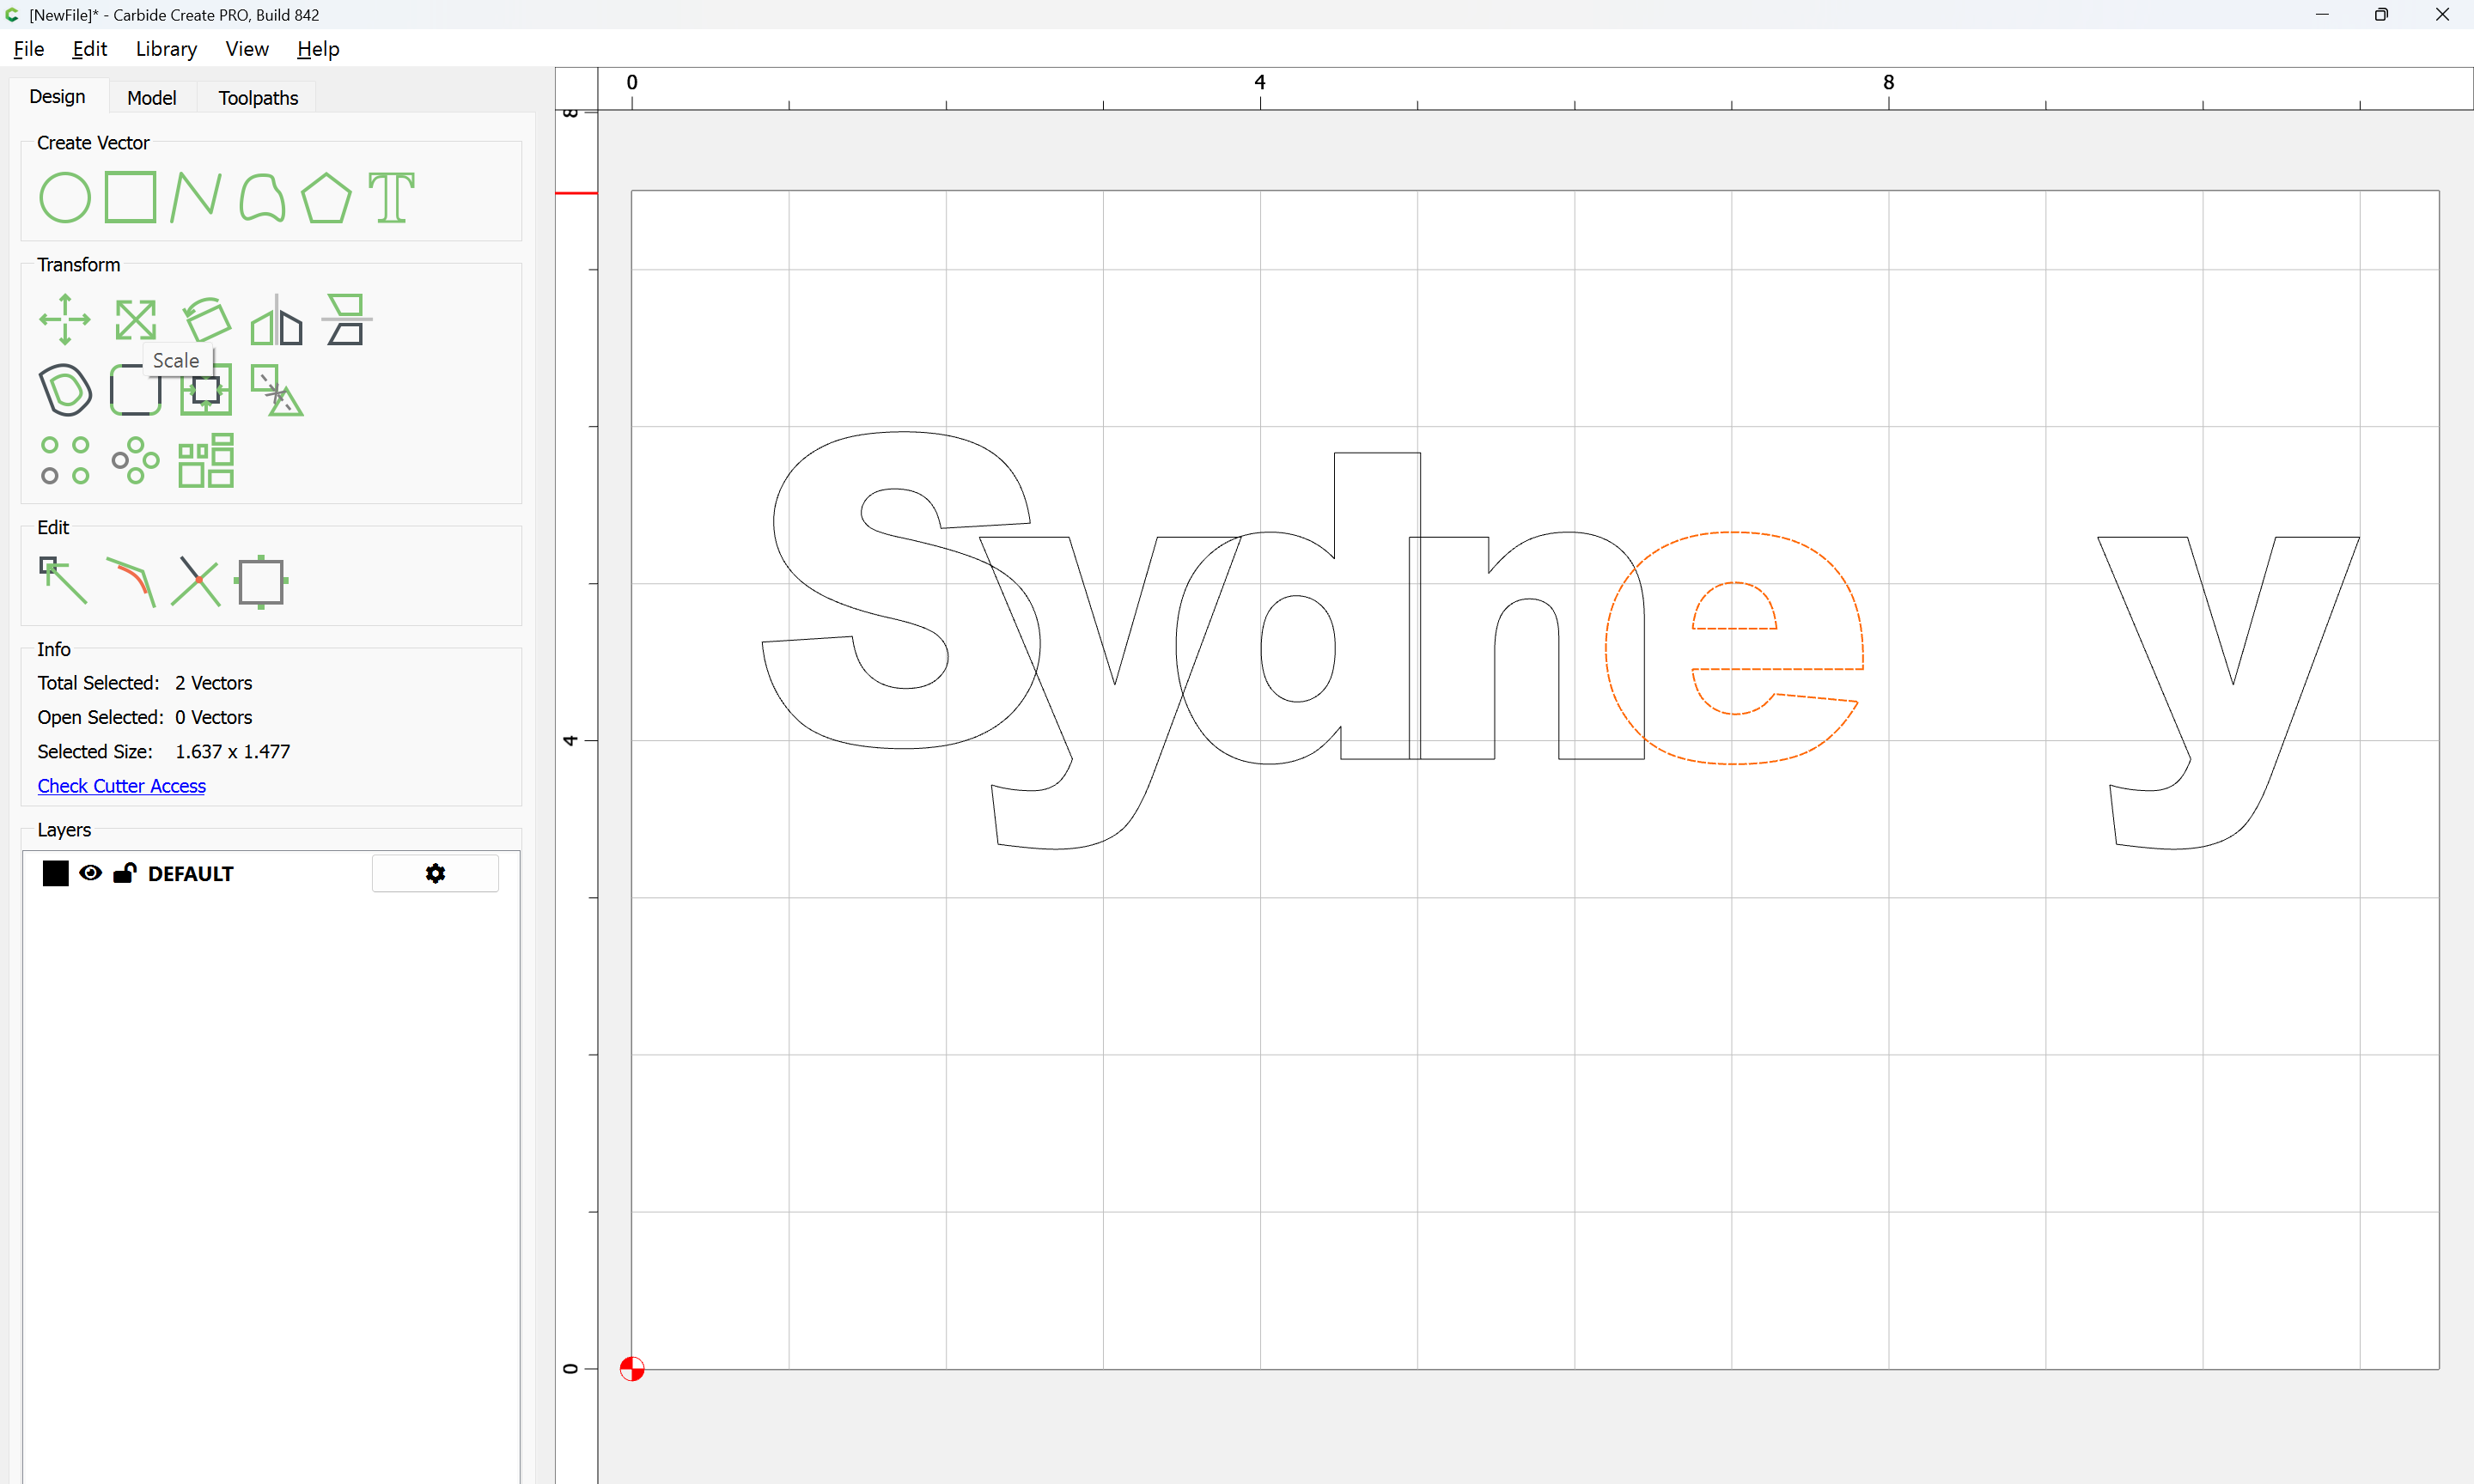
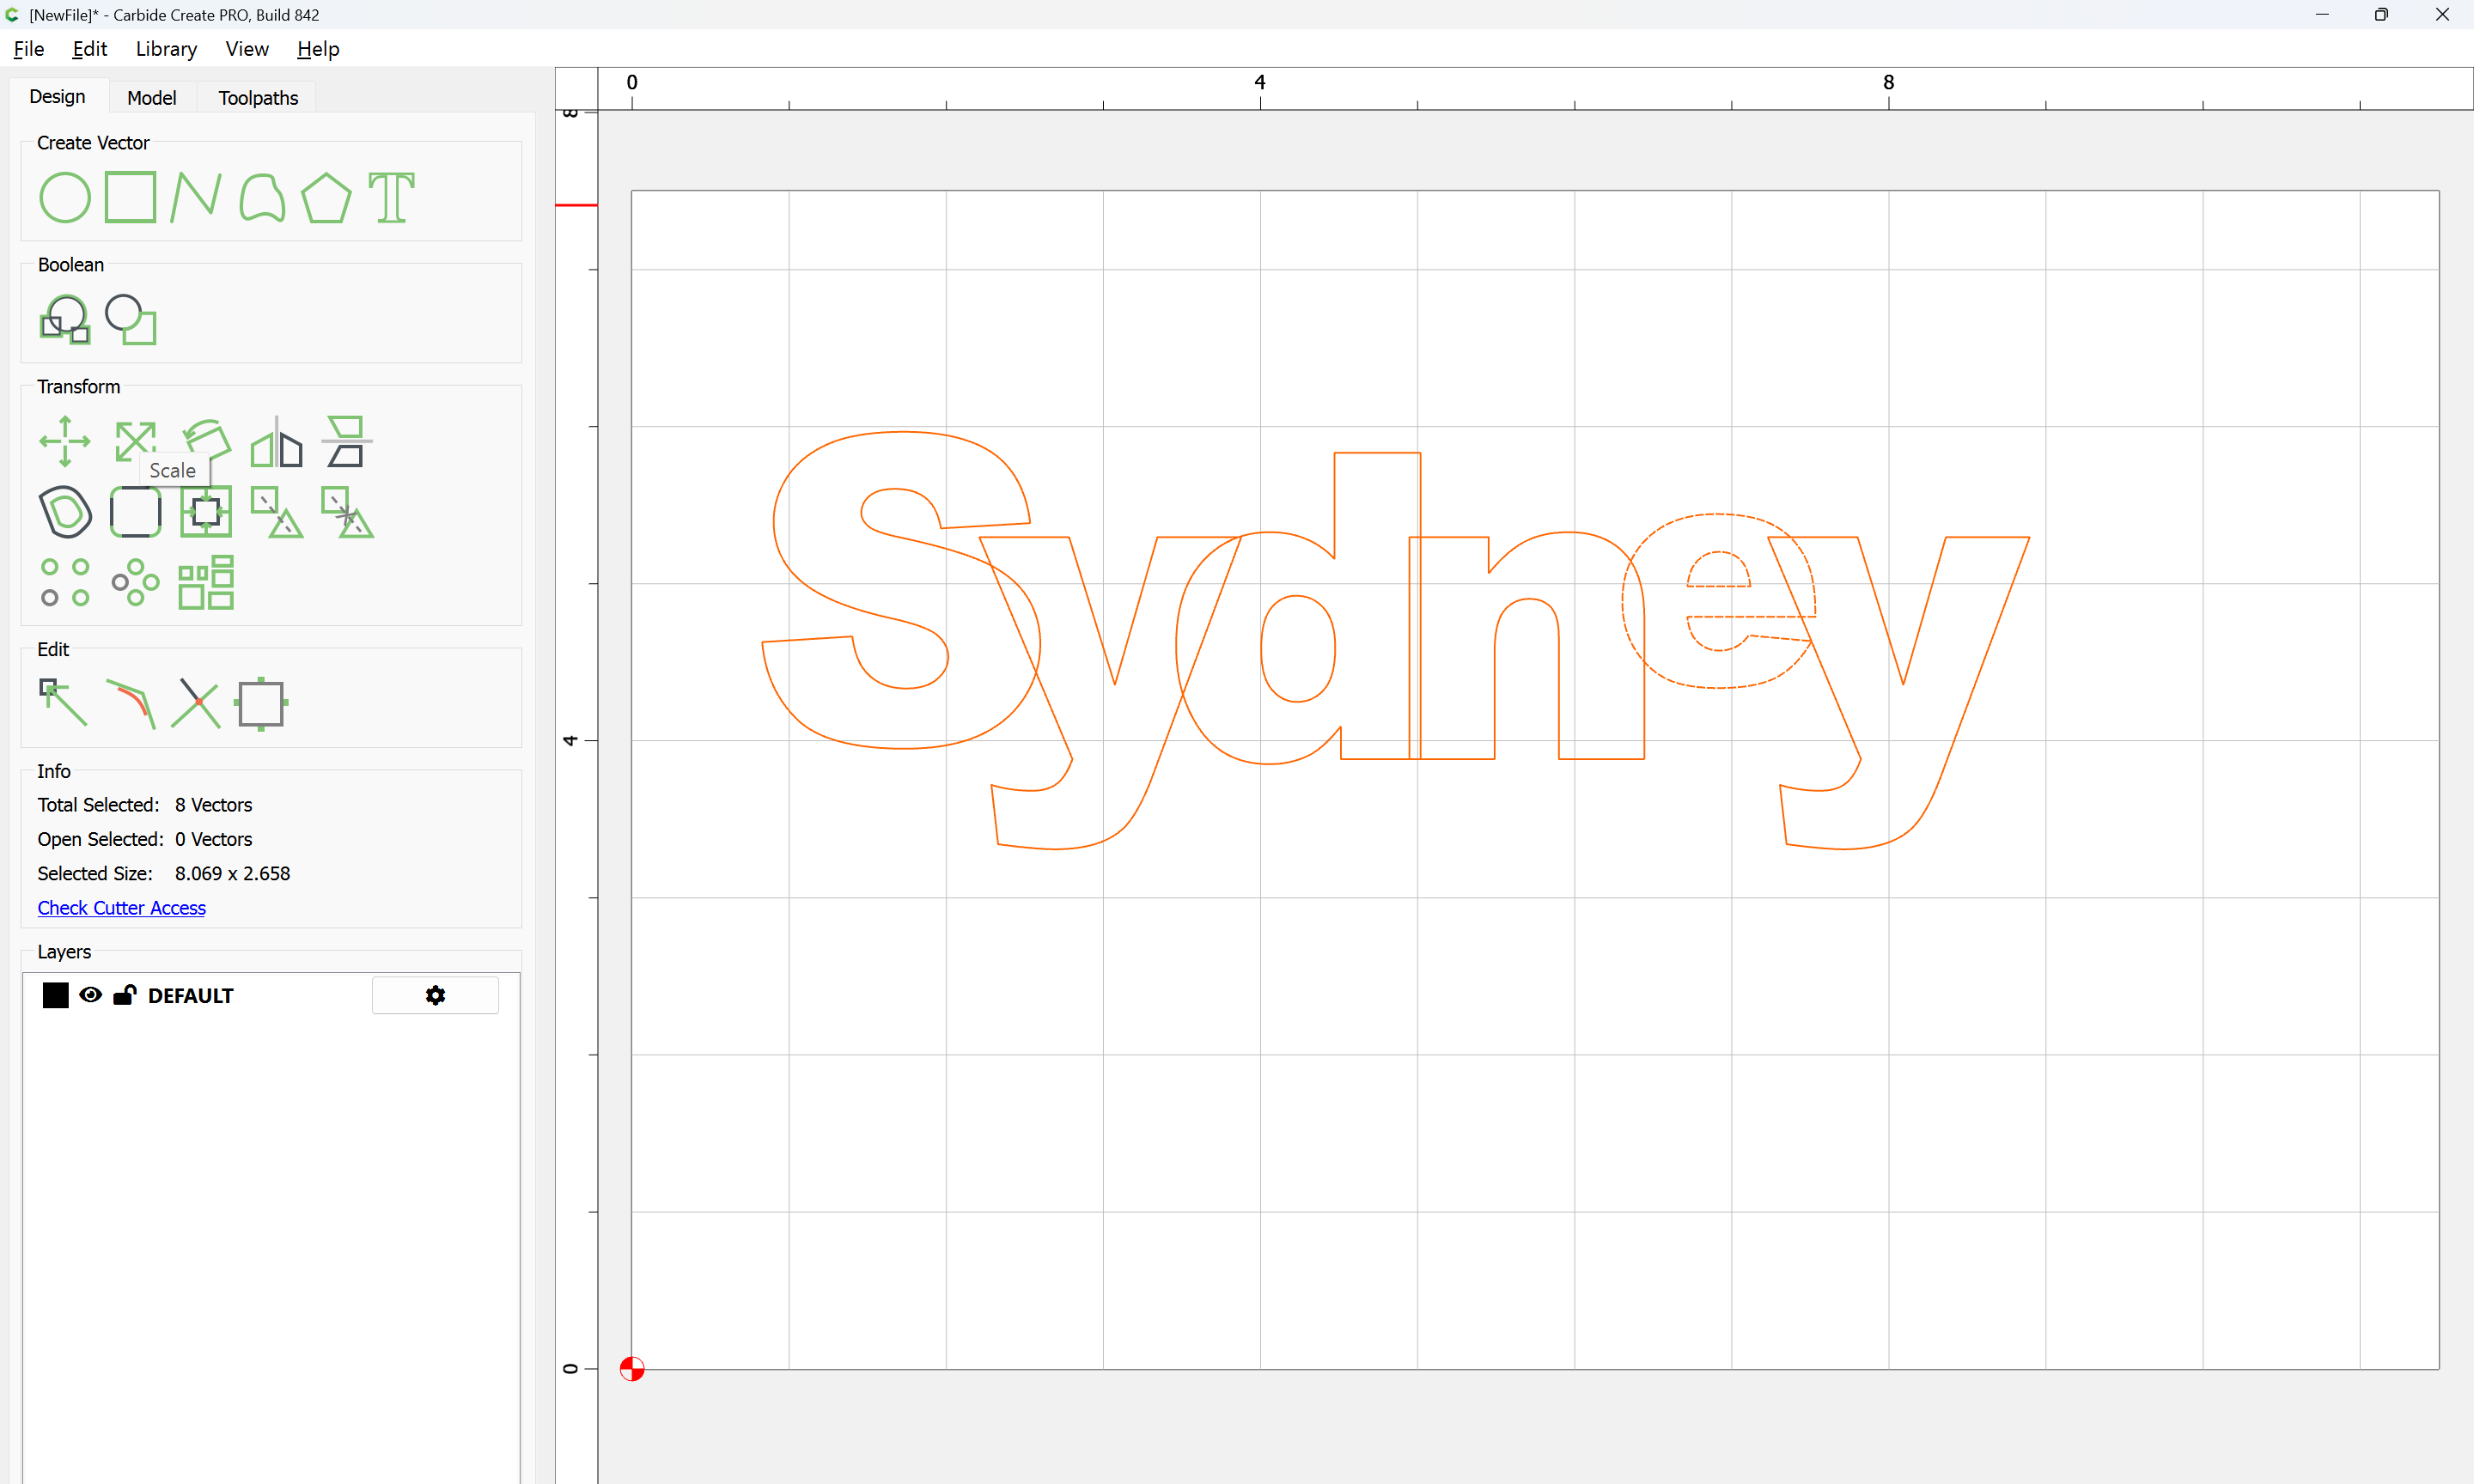
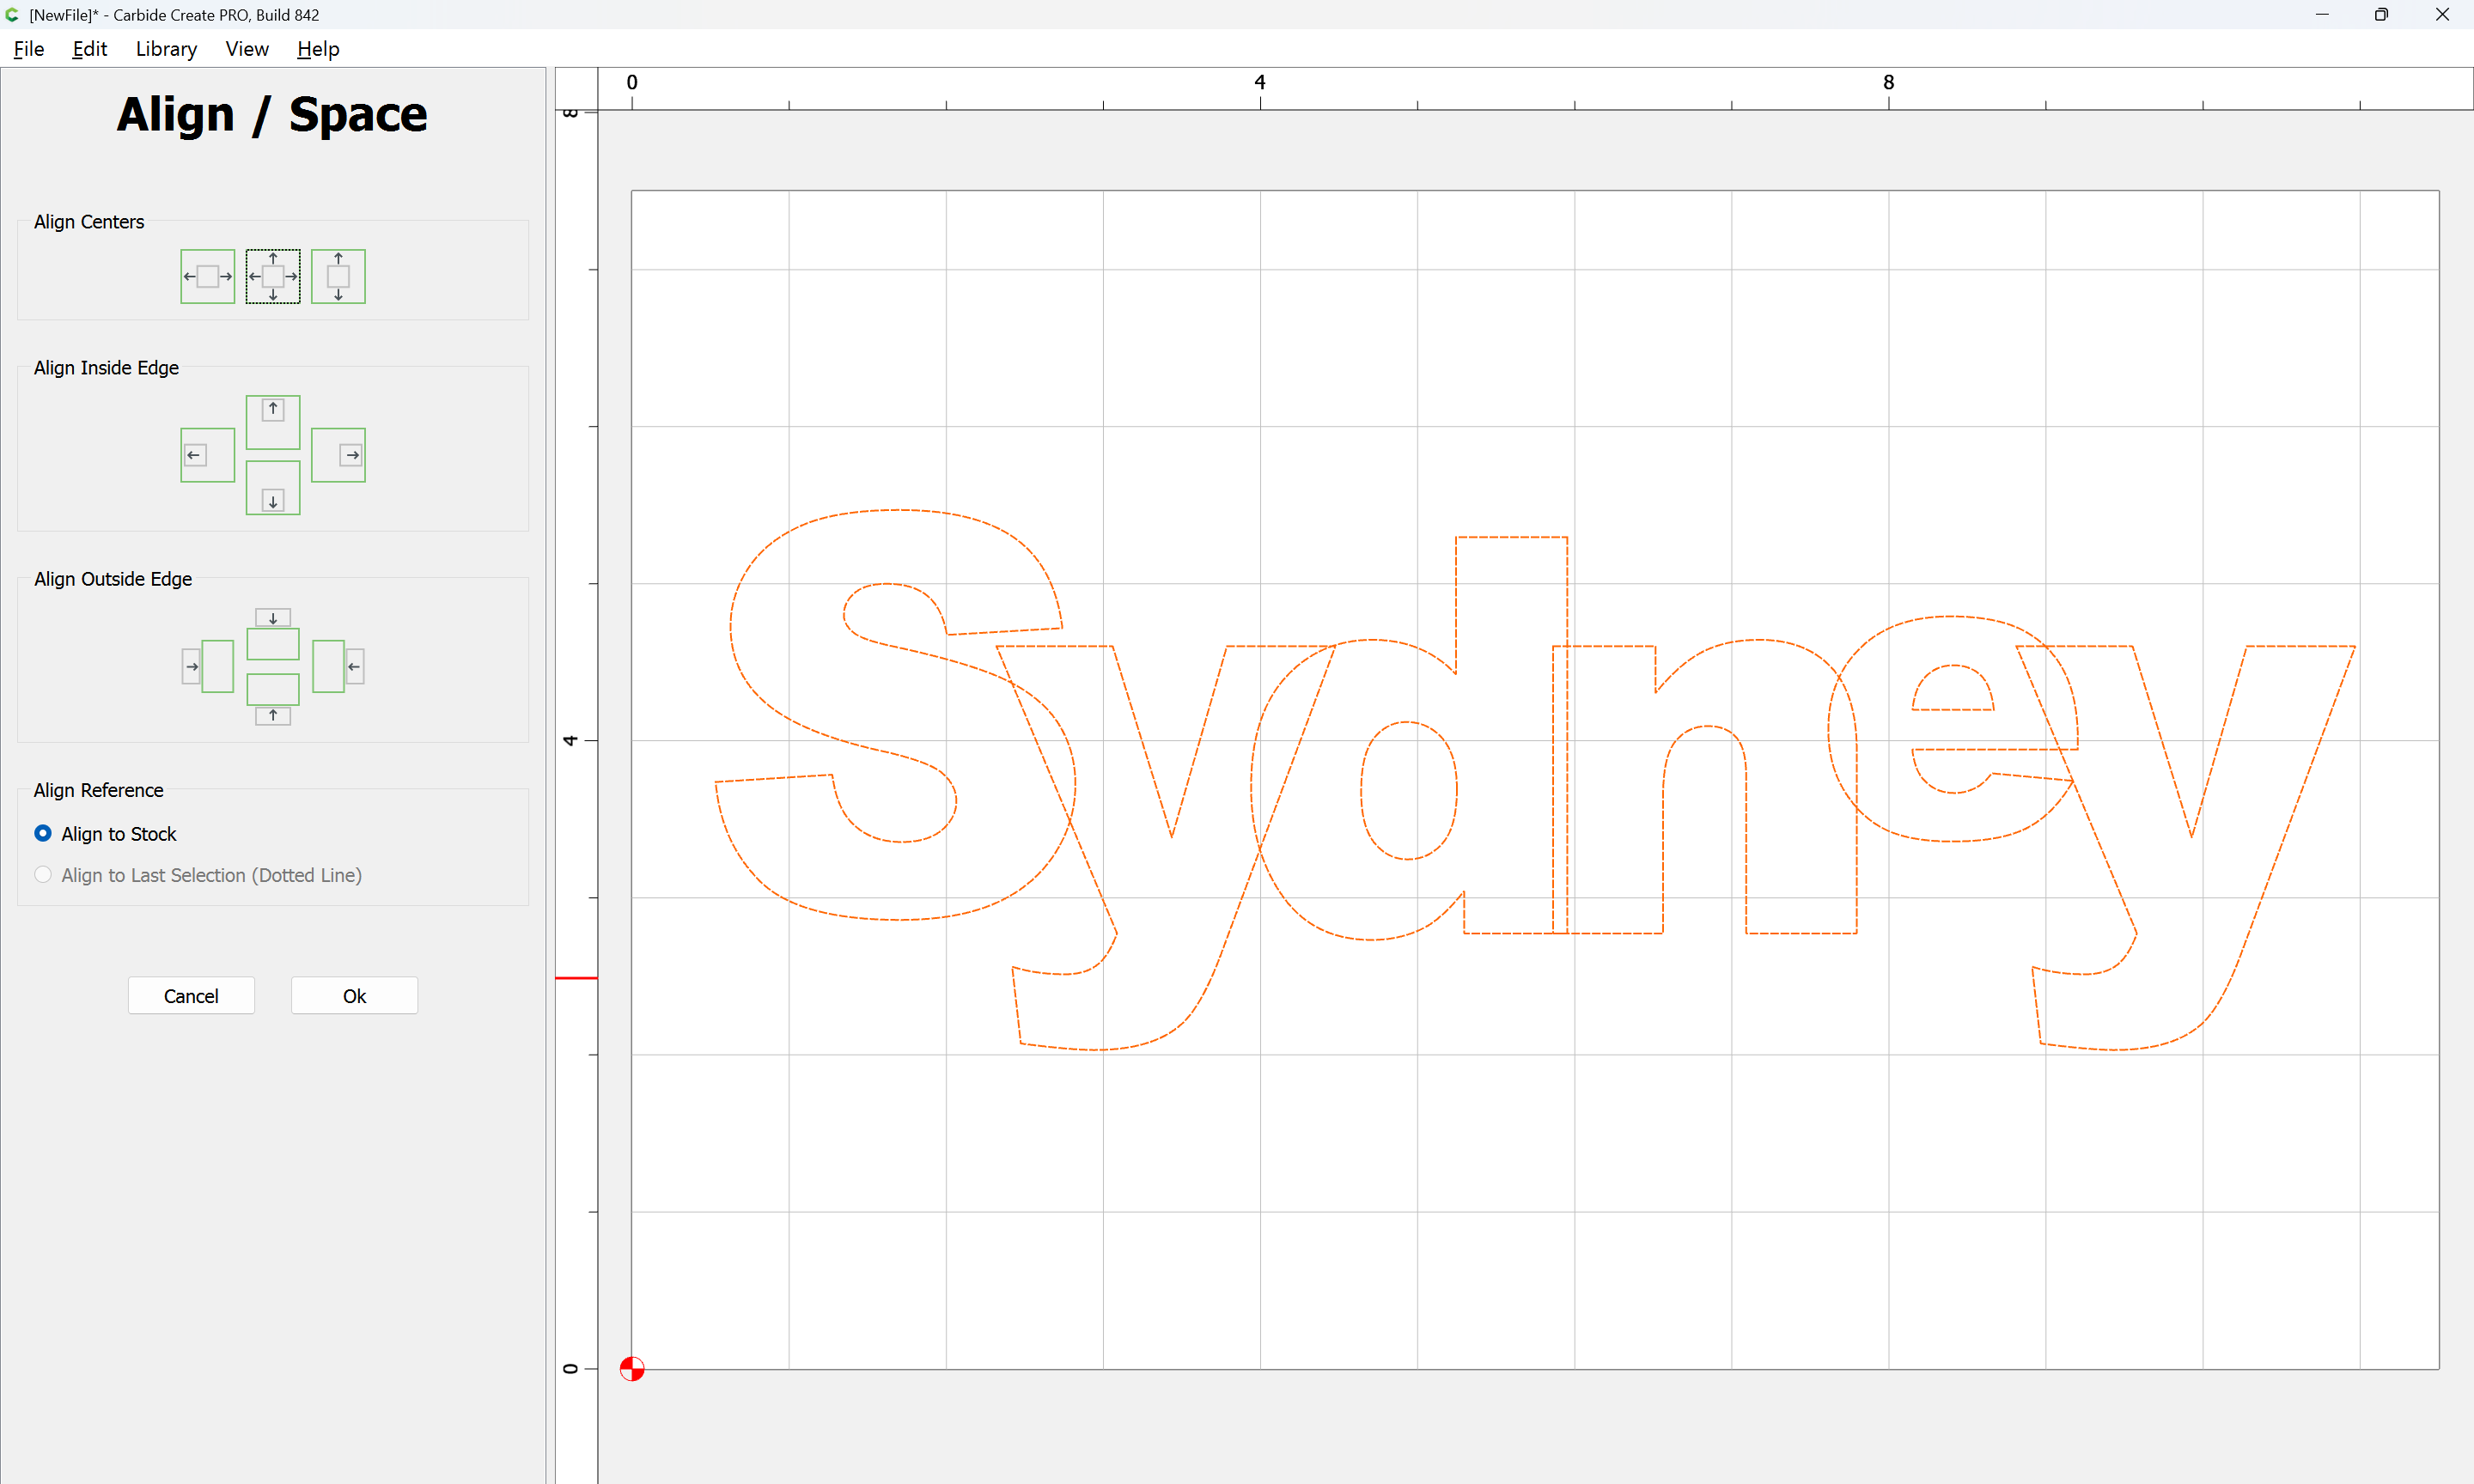
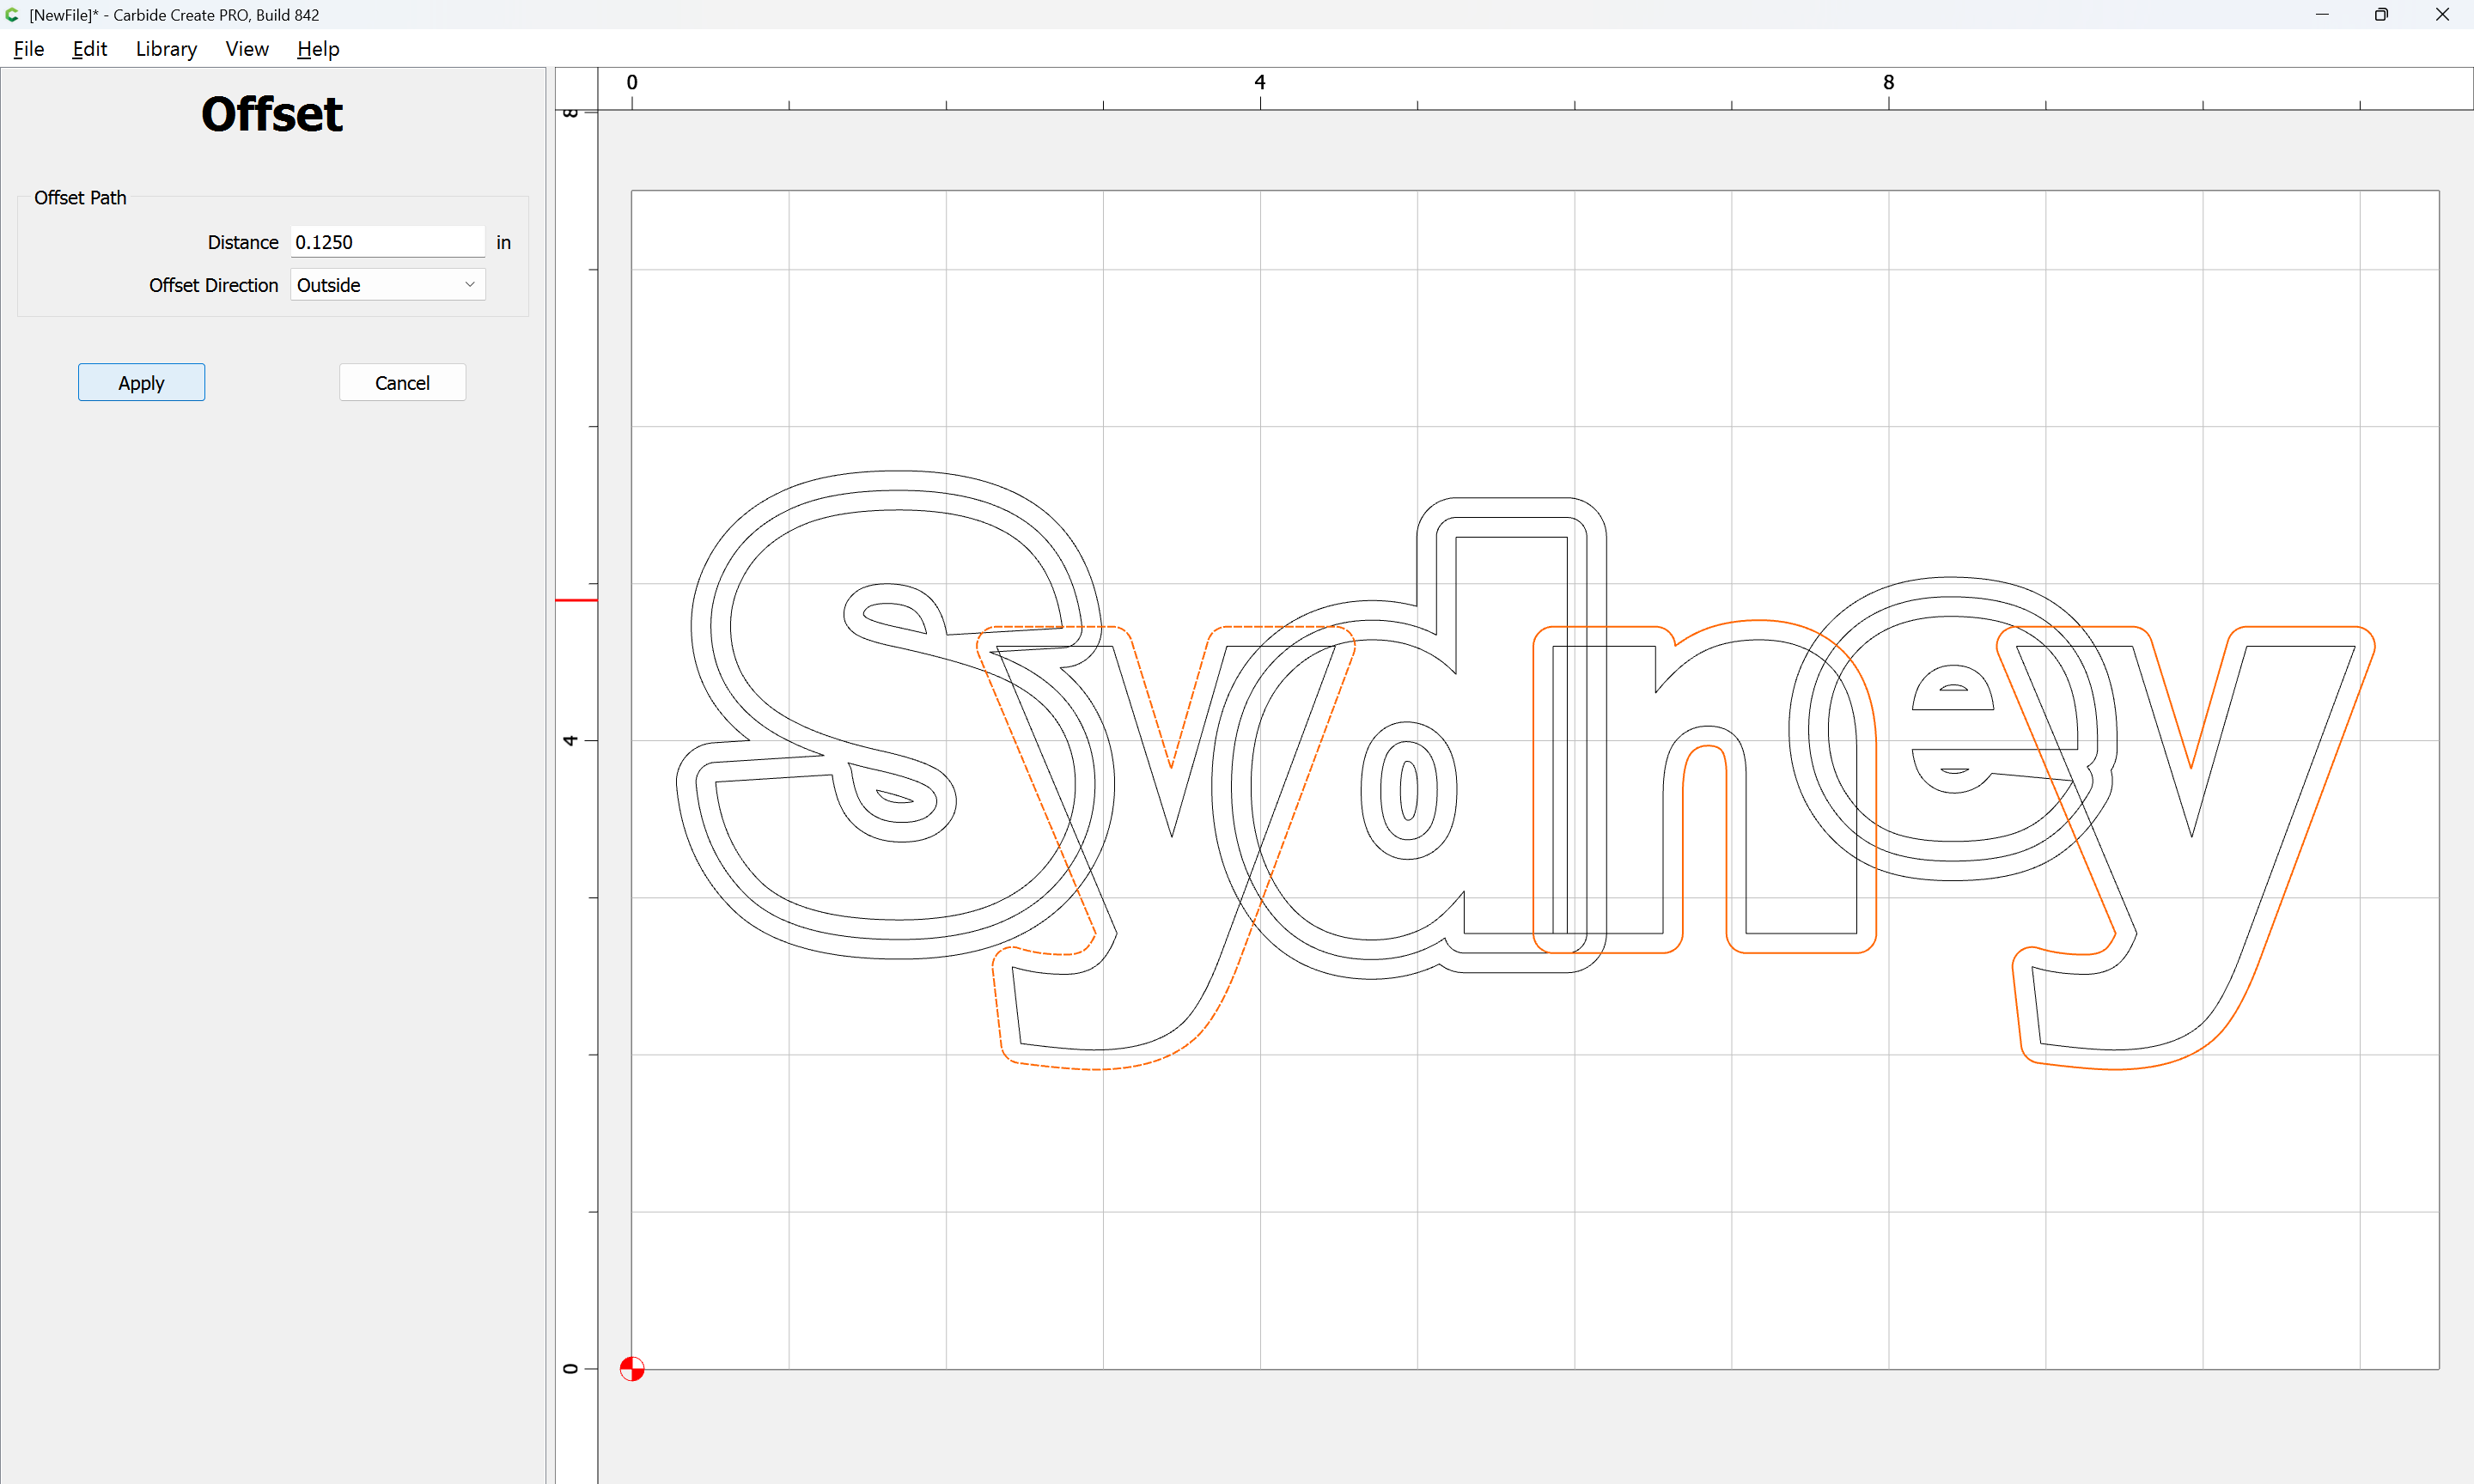
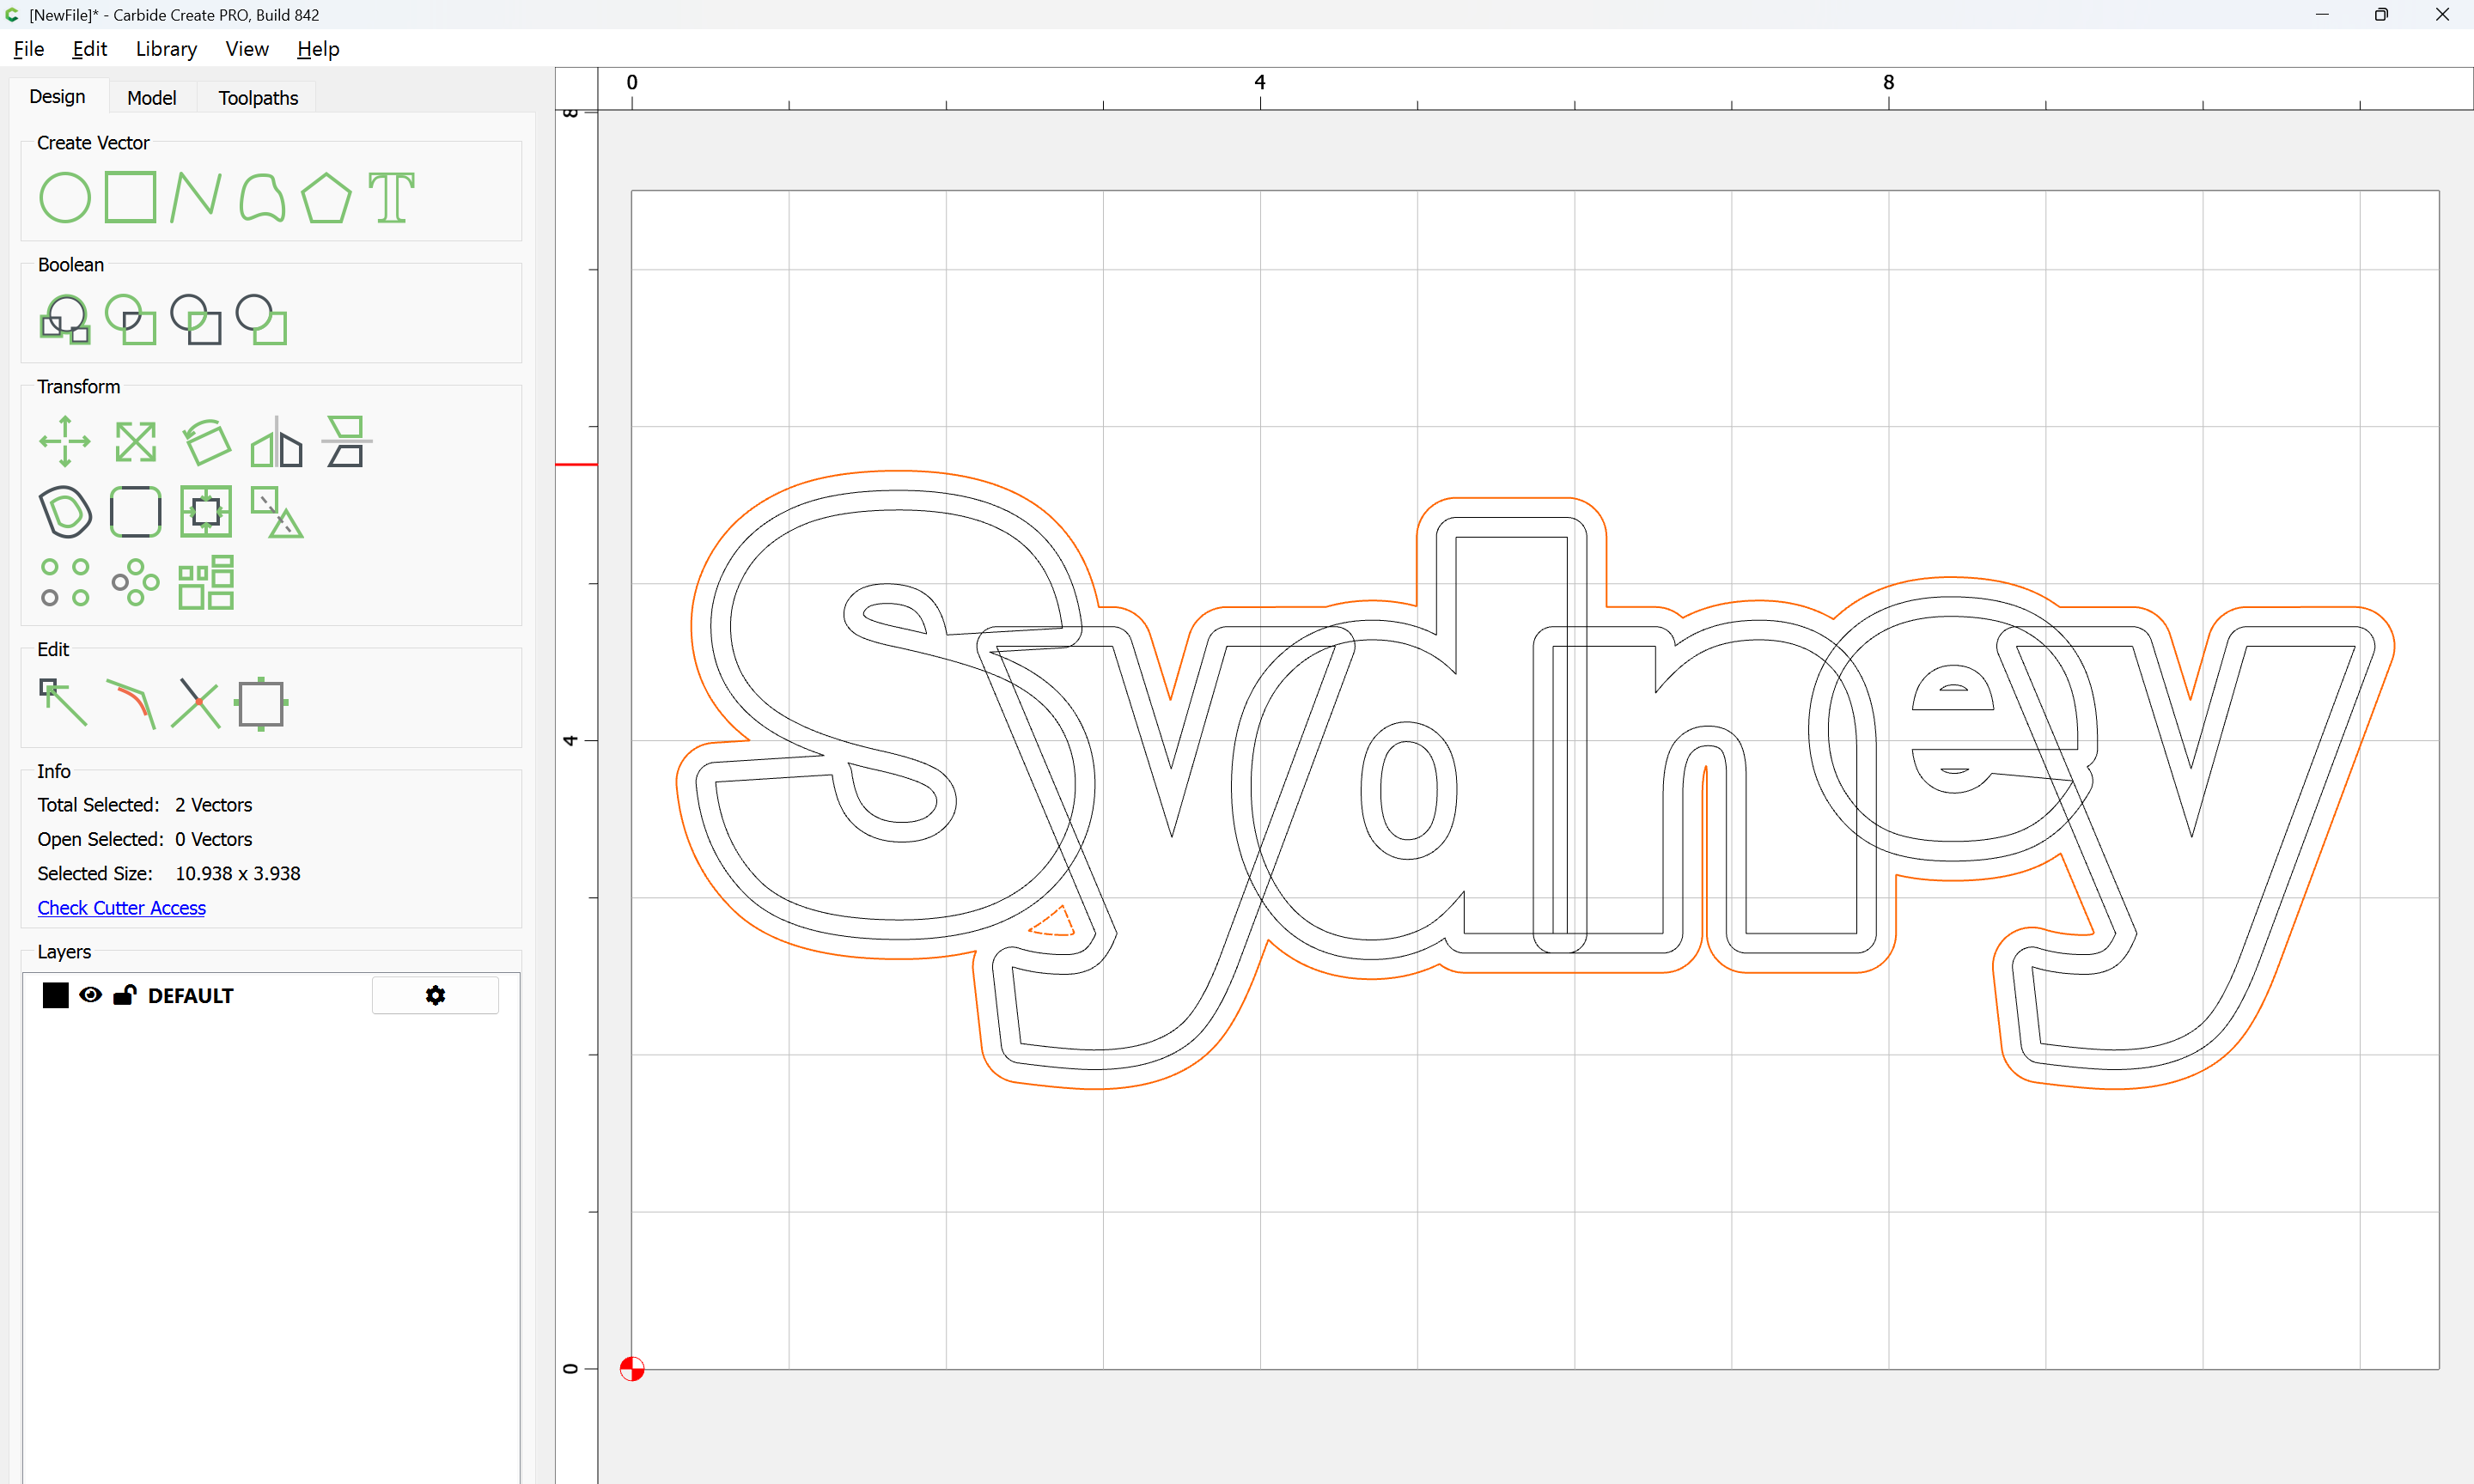
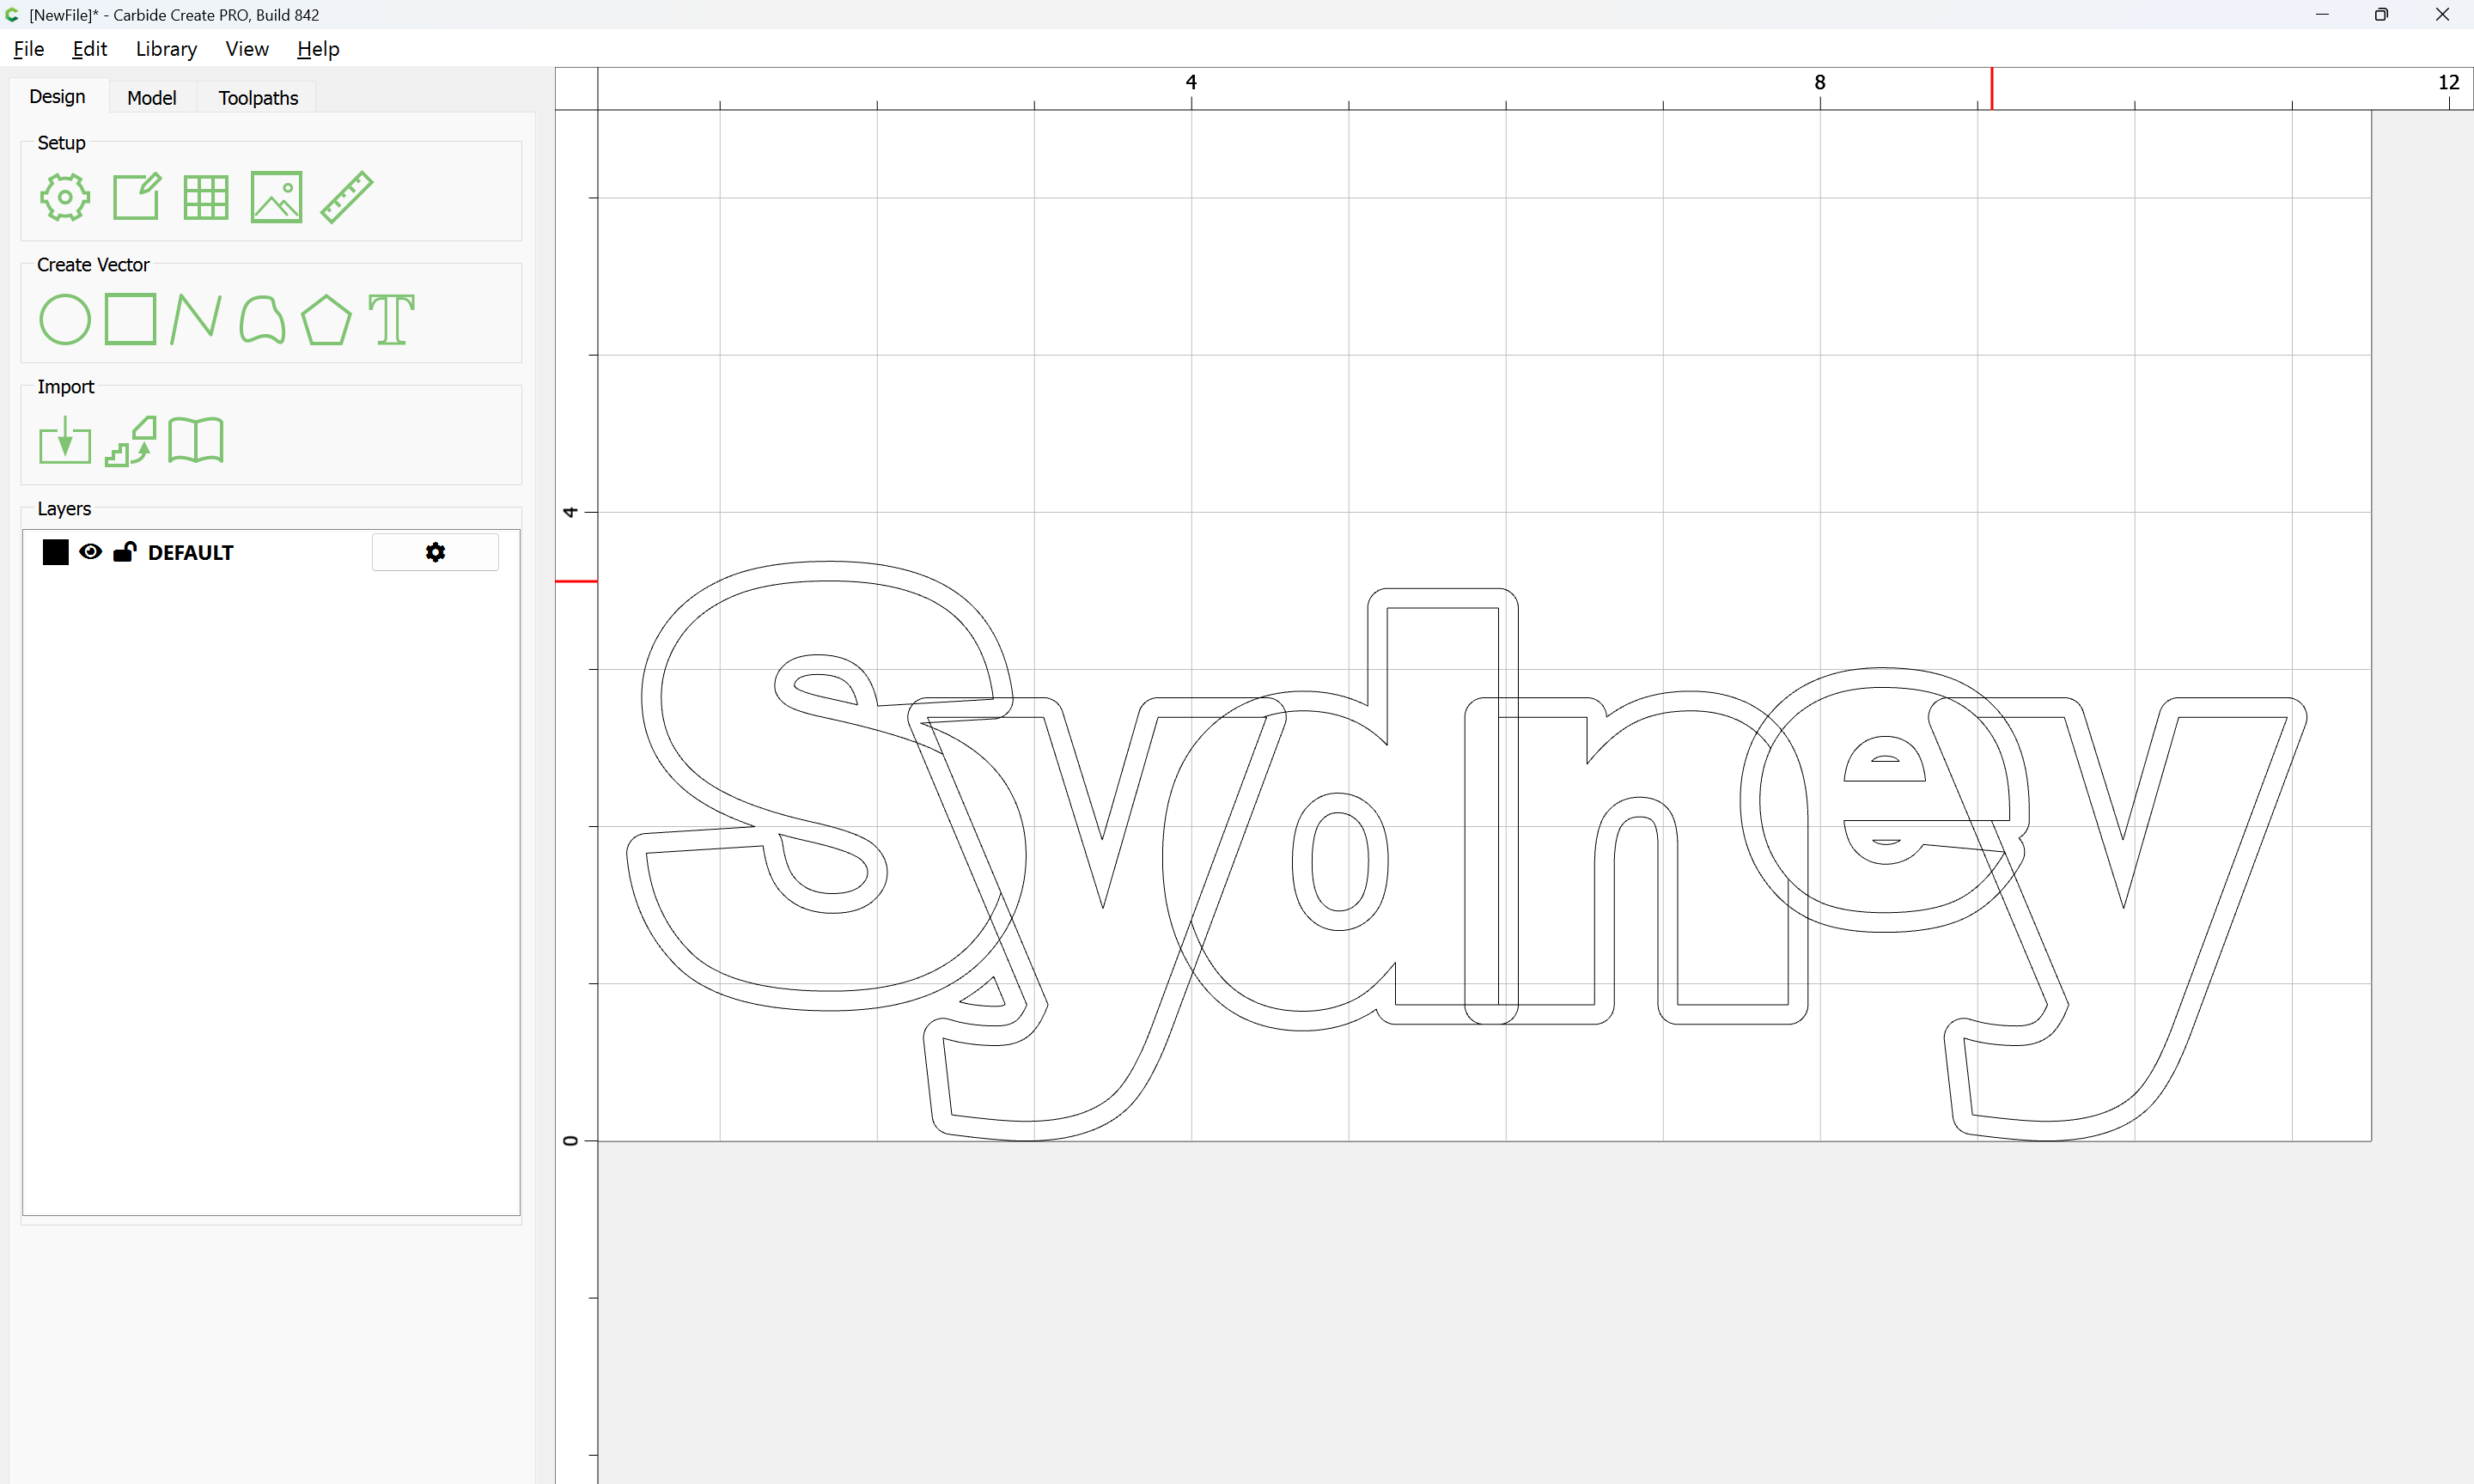
Repeat for each overlapping region until one arrives at:
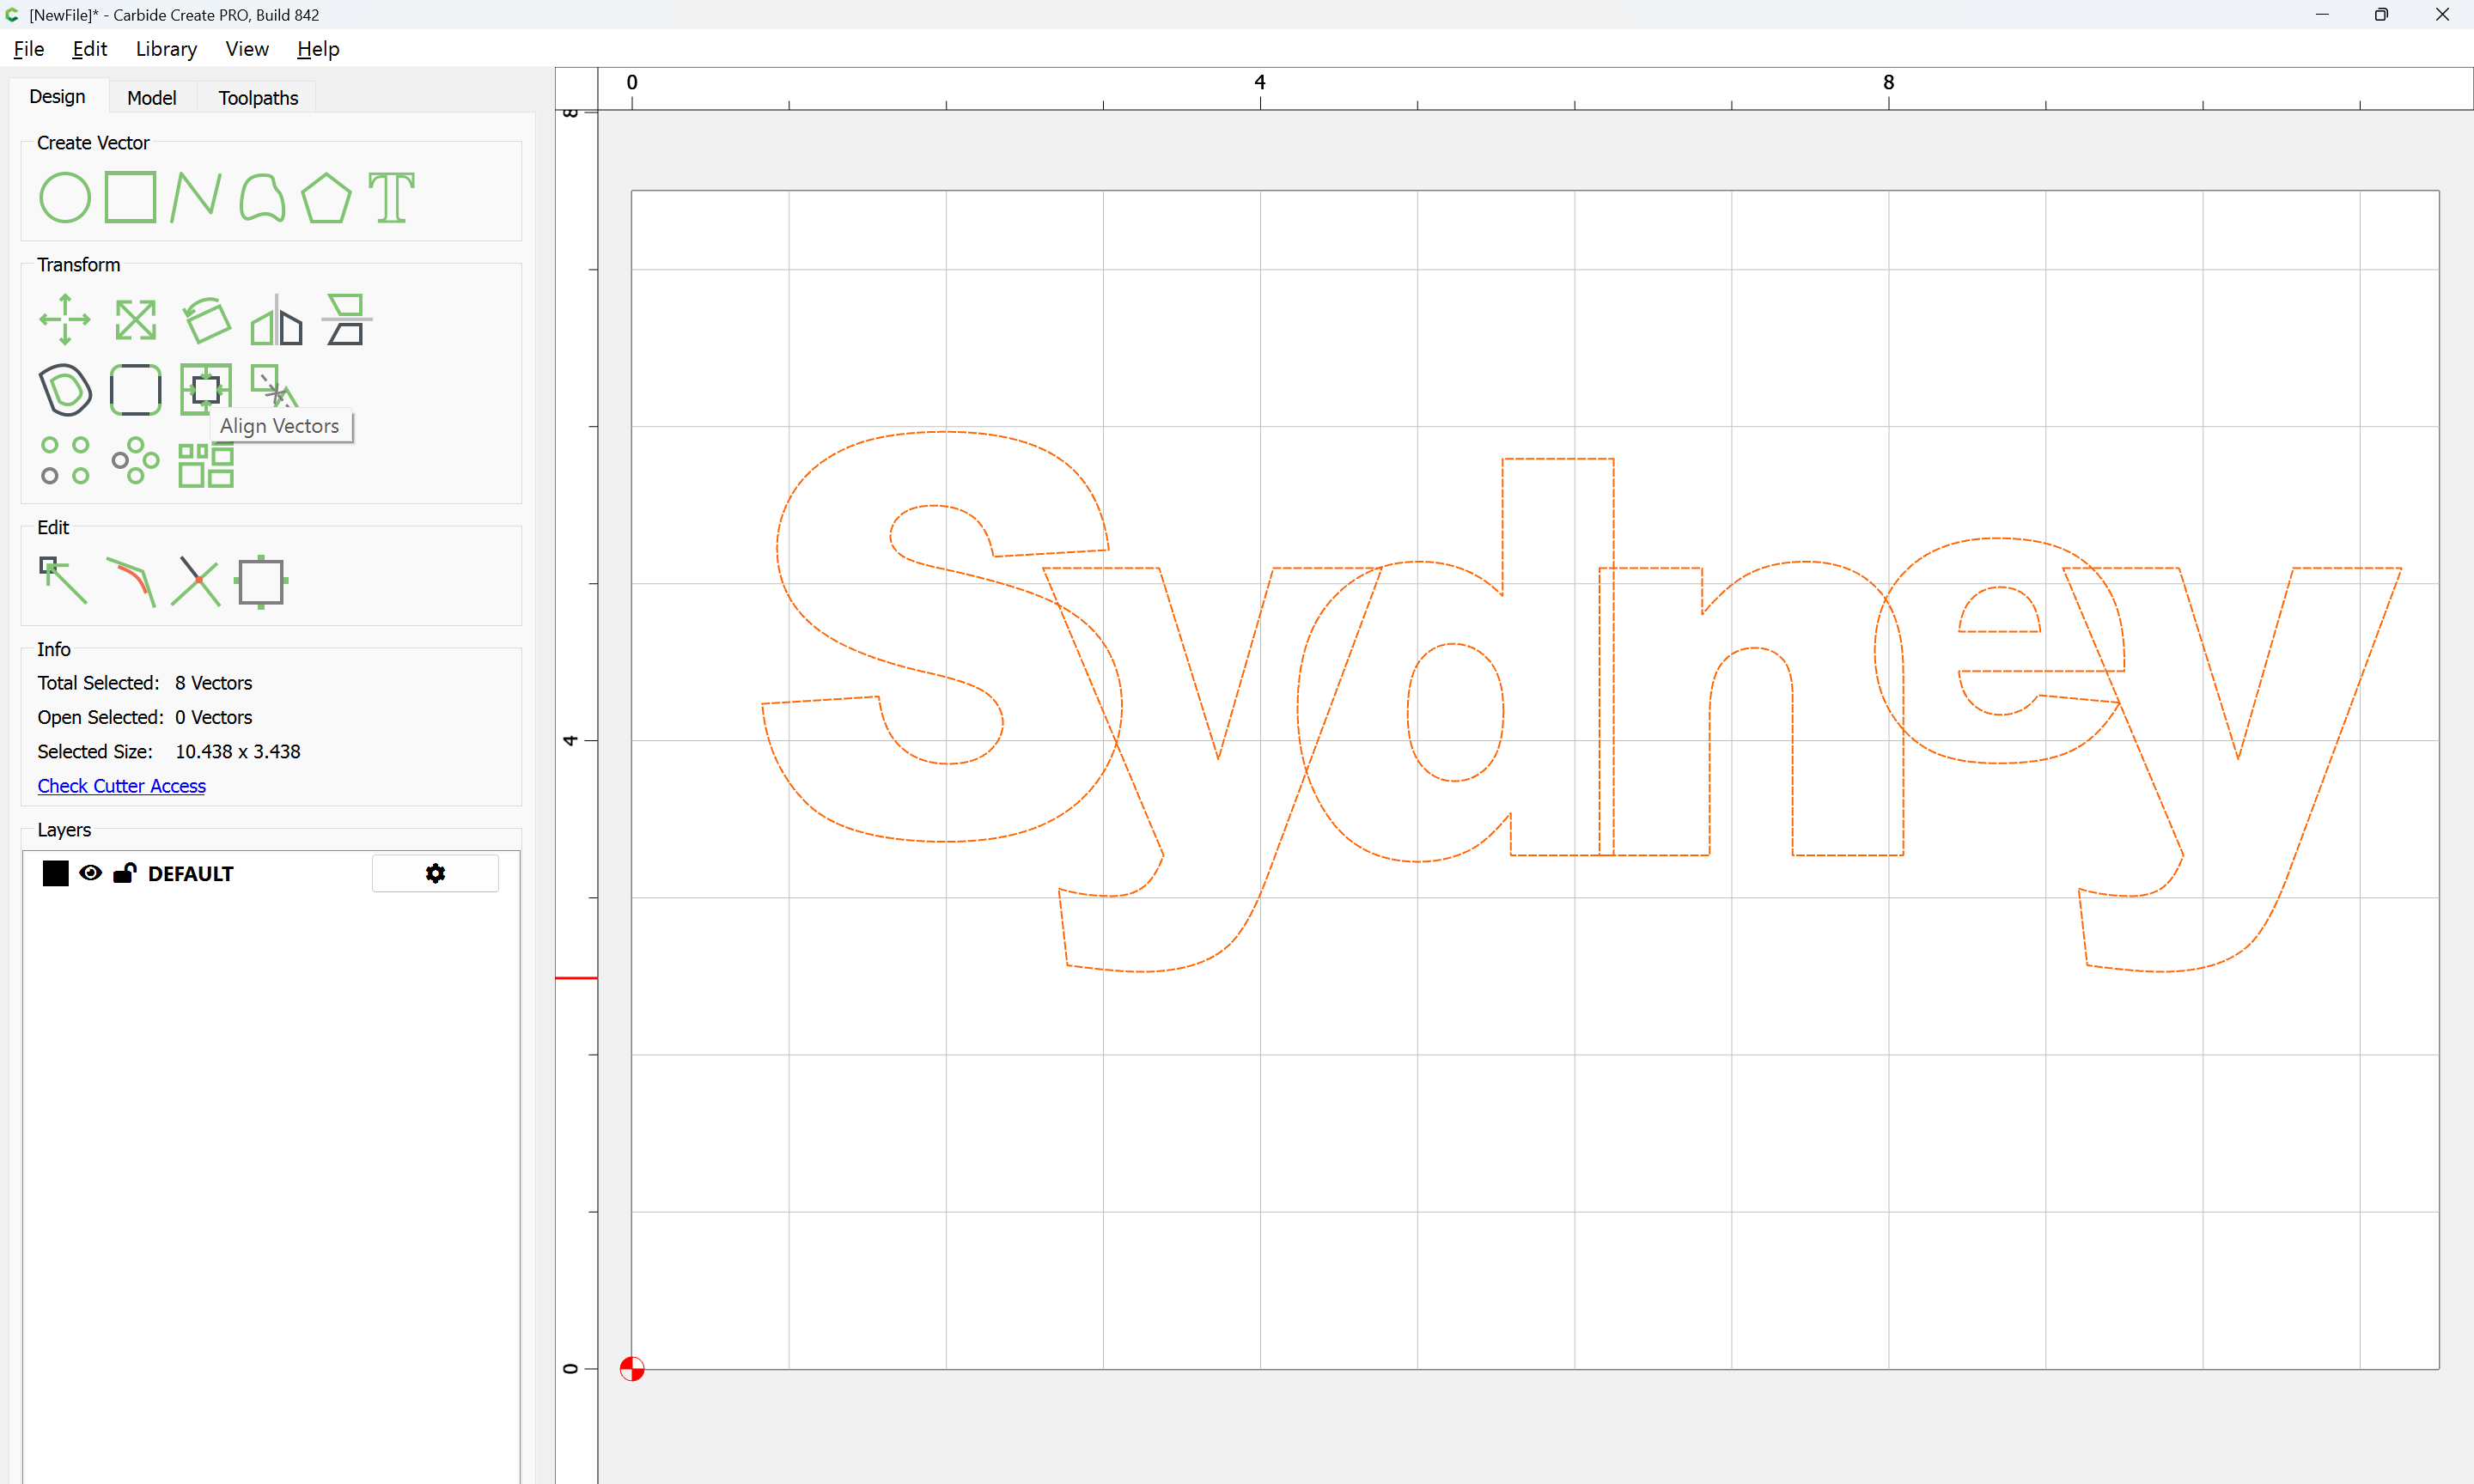
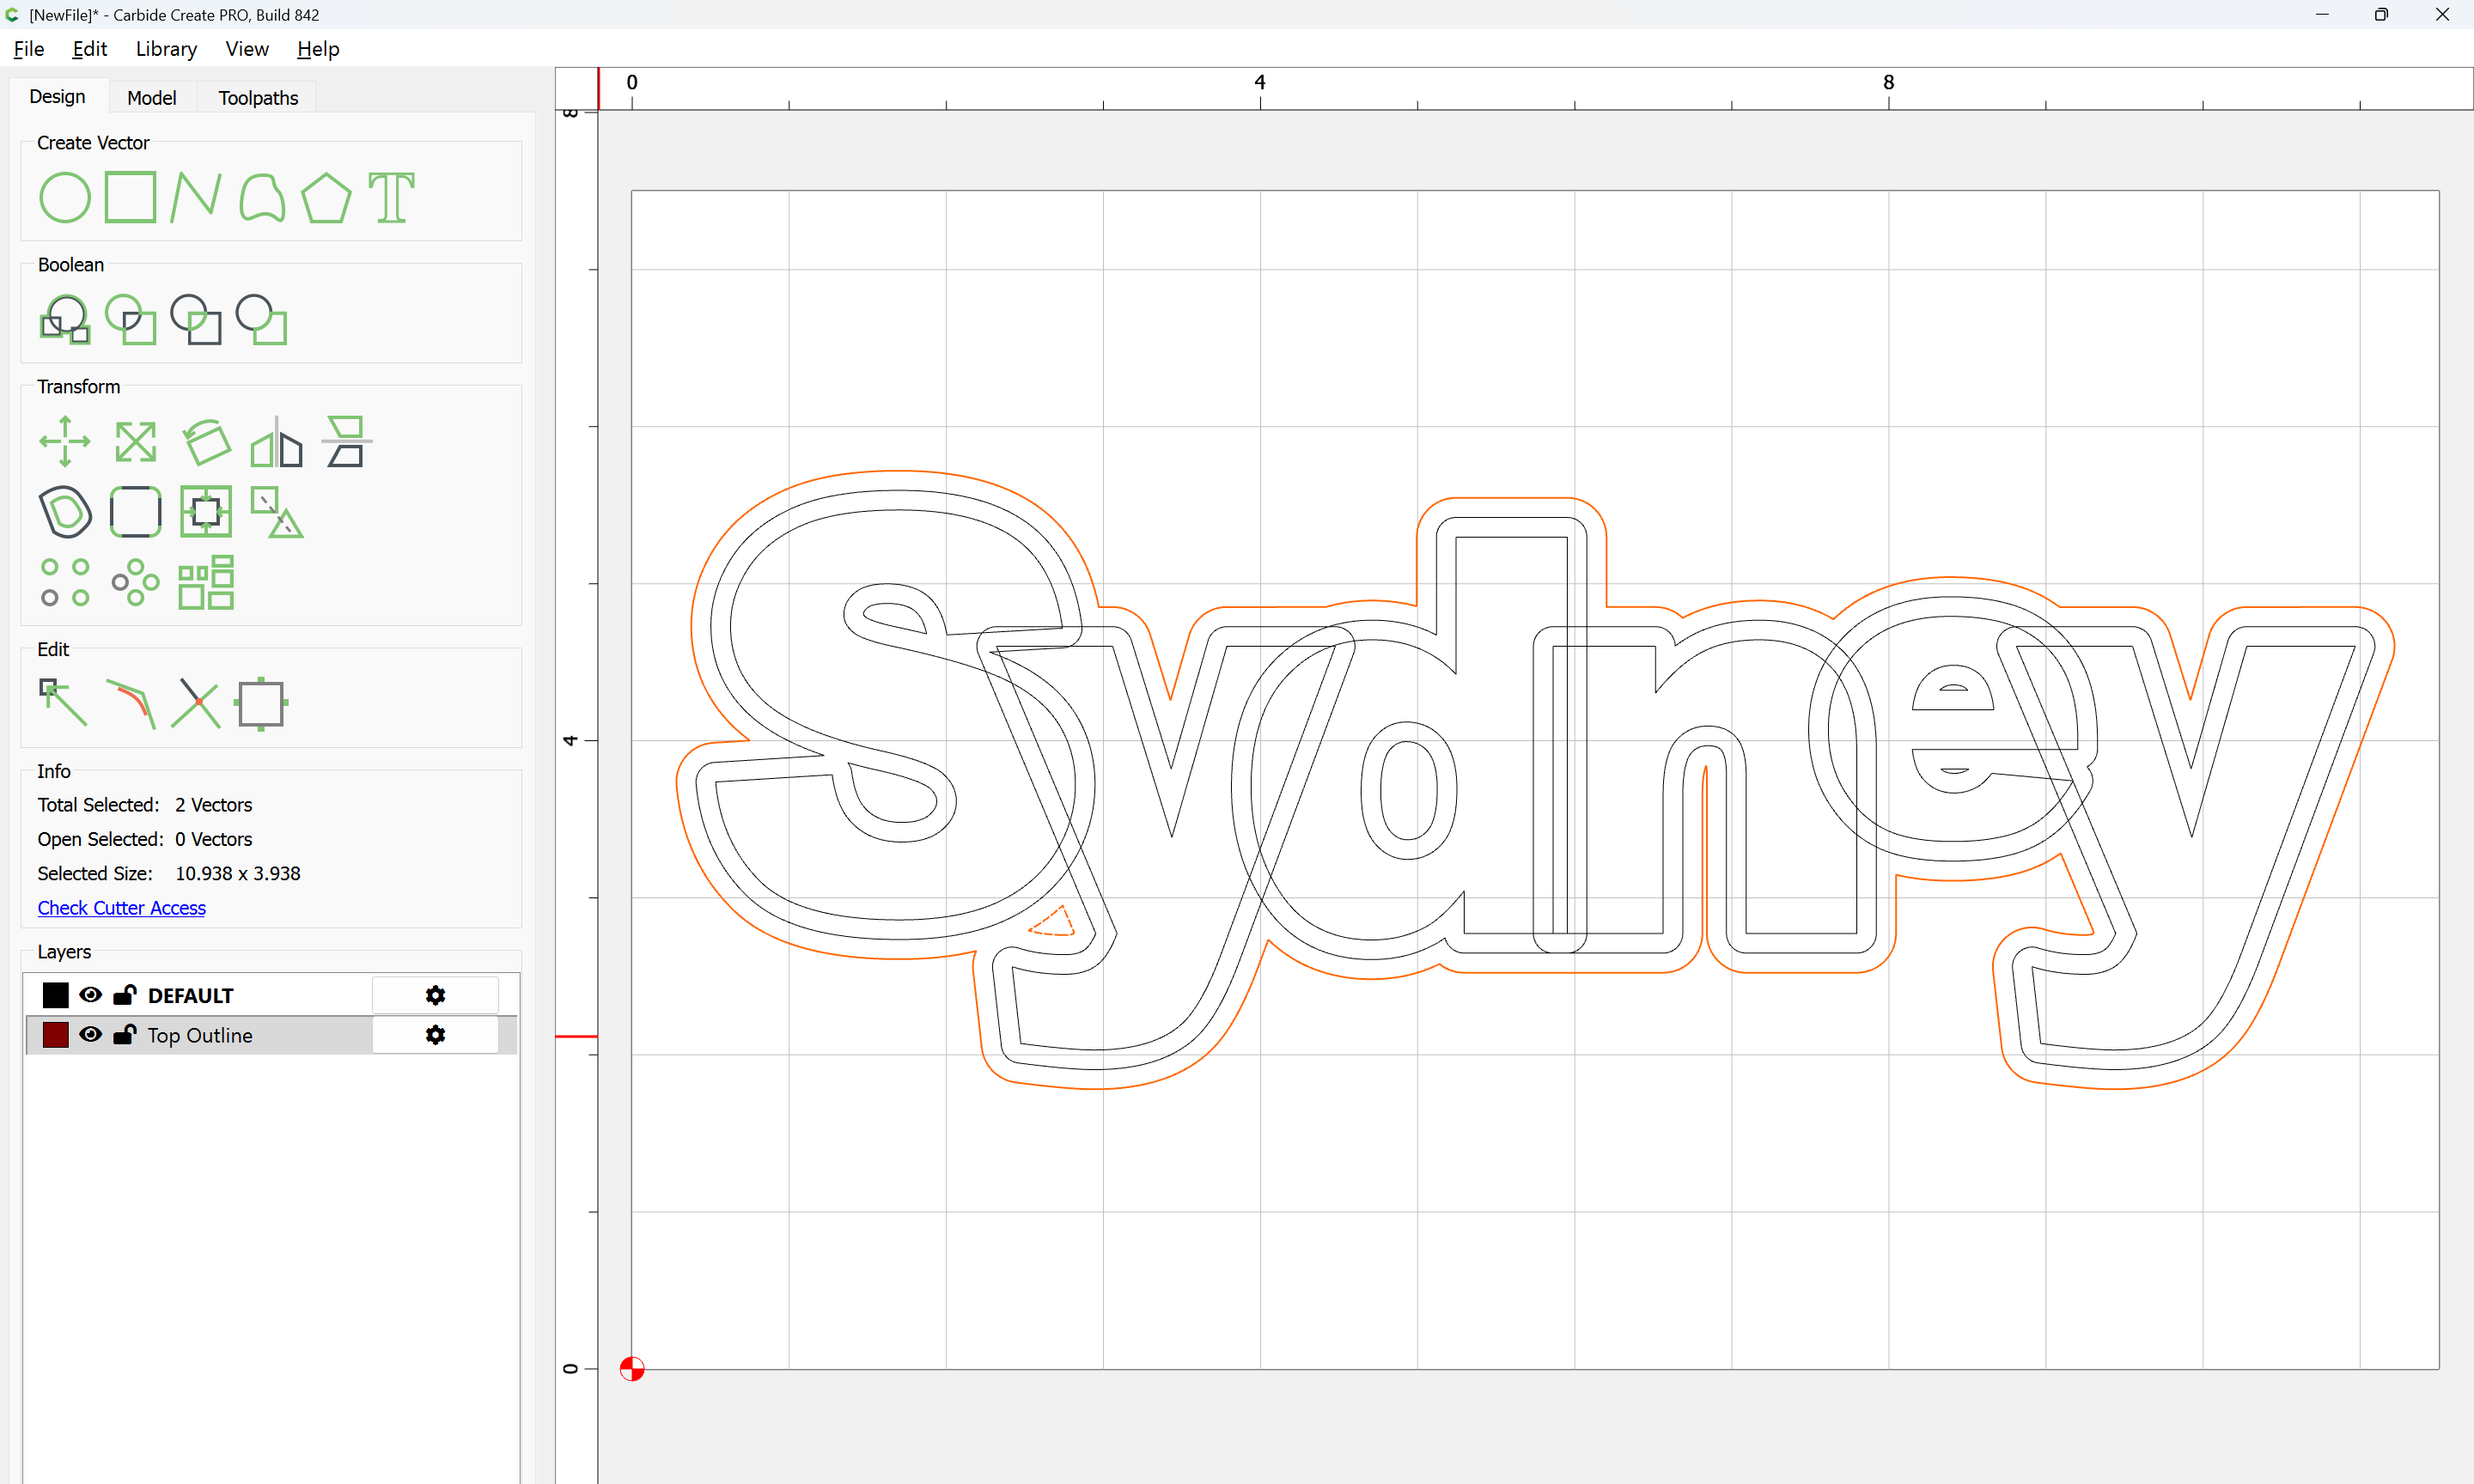
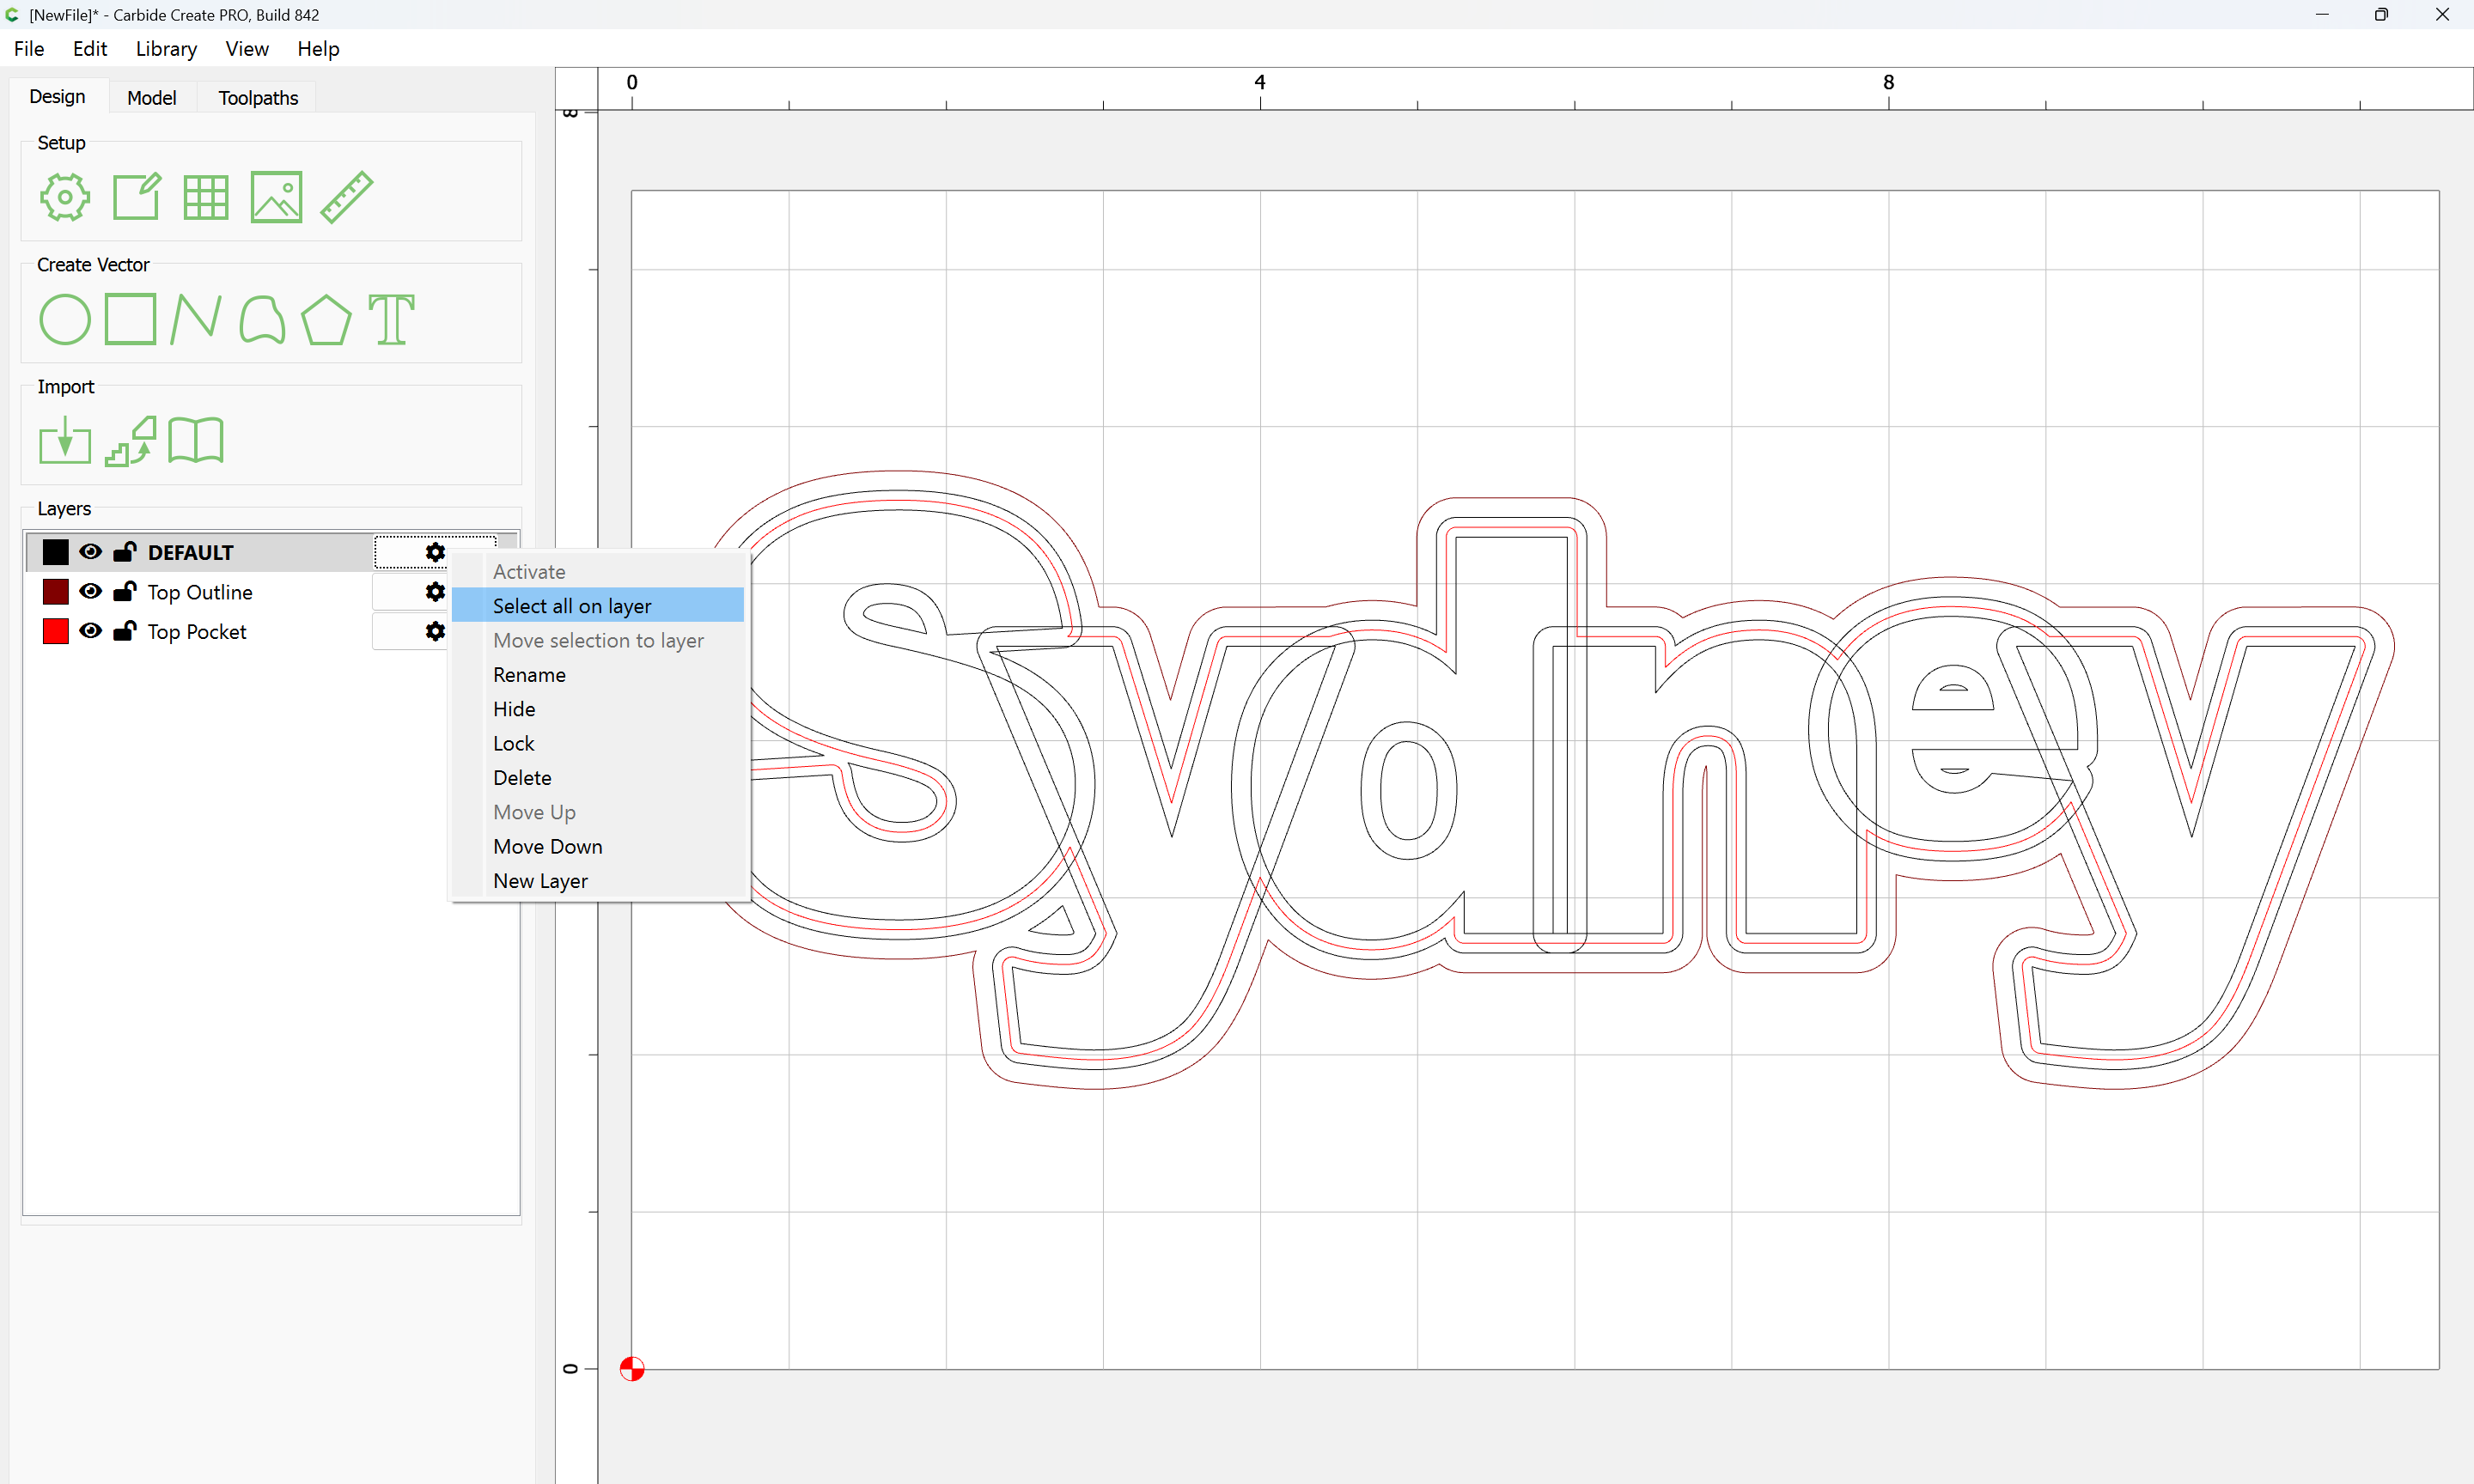
The surrounding/extraneous geometry may now be selected:
and deleted:
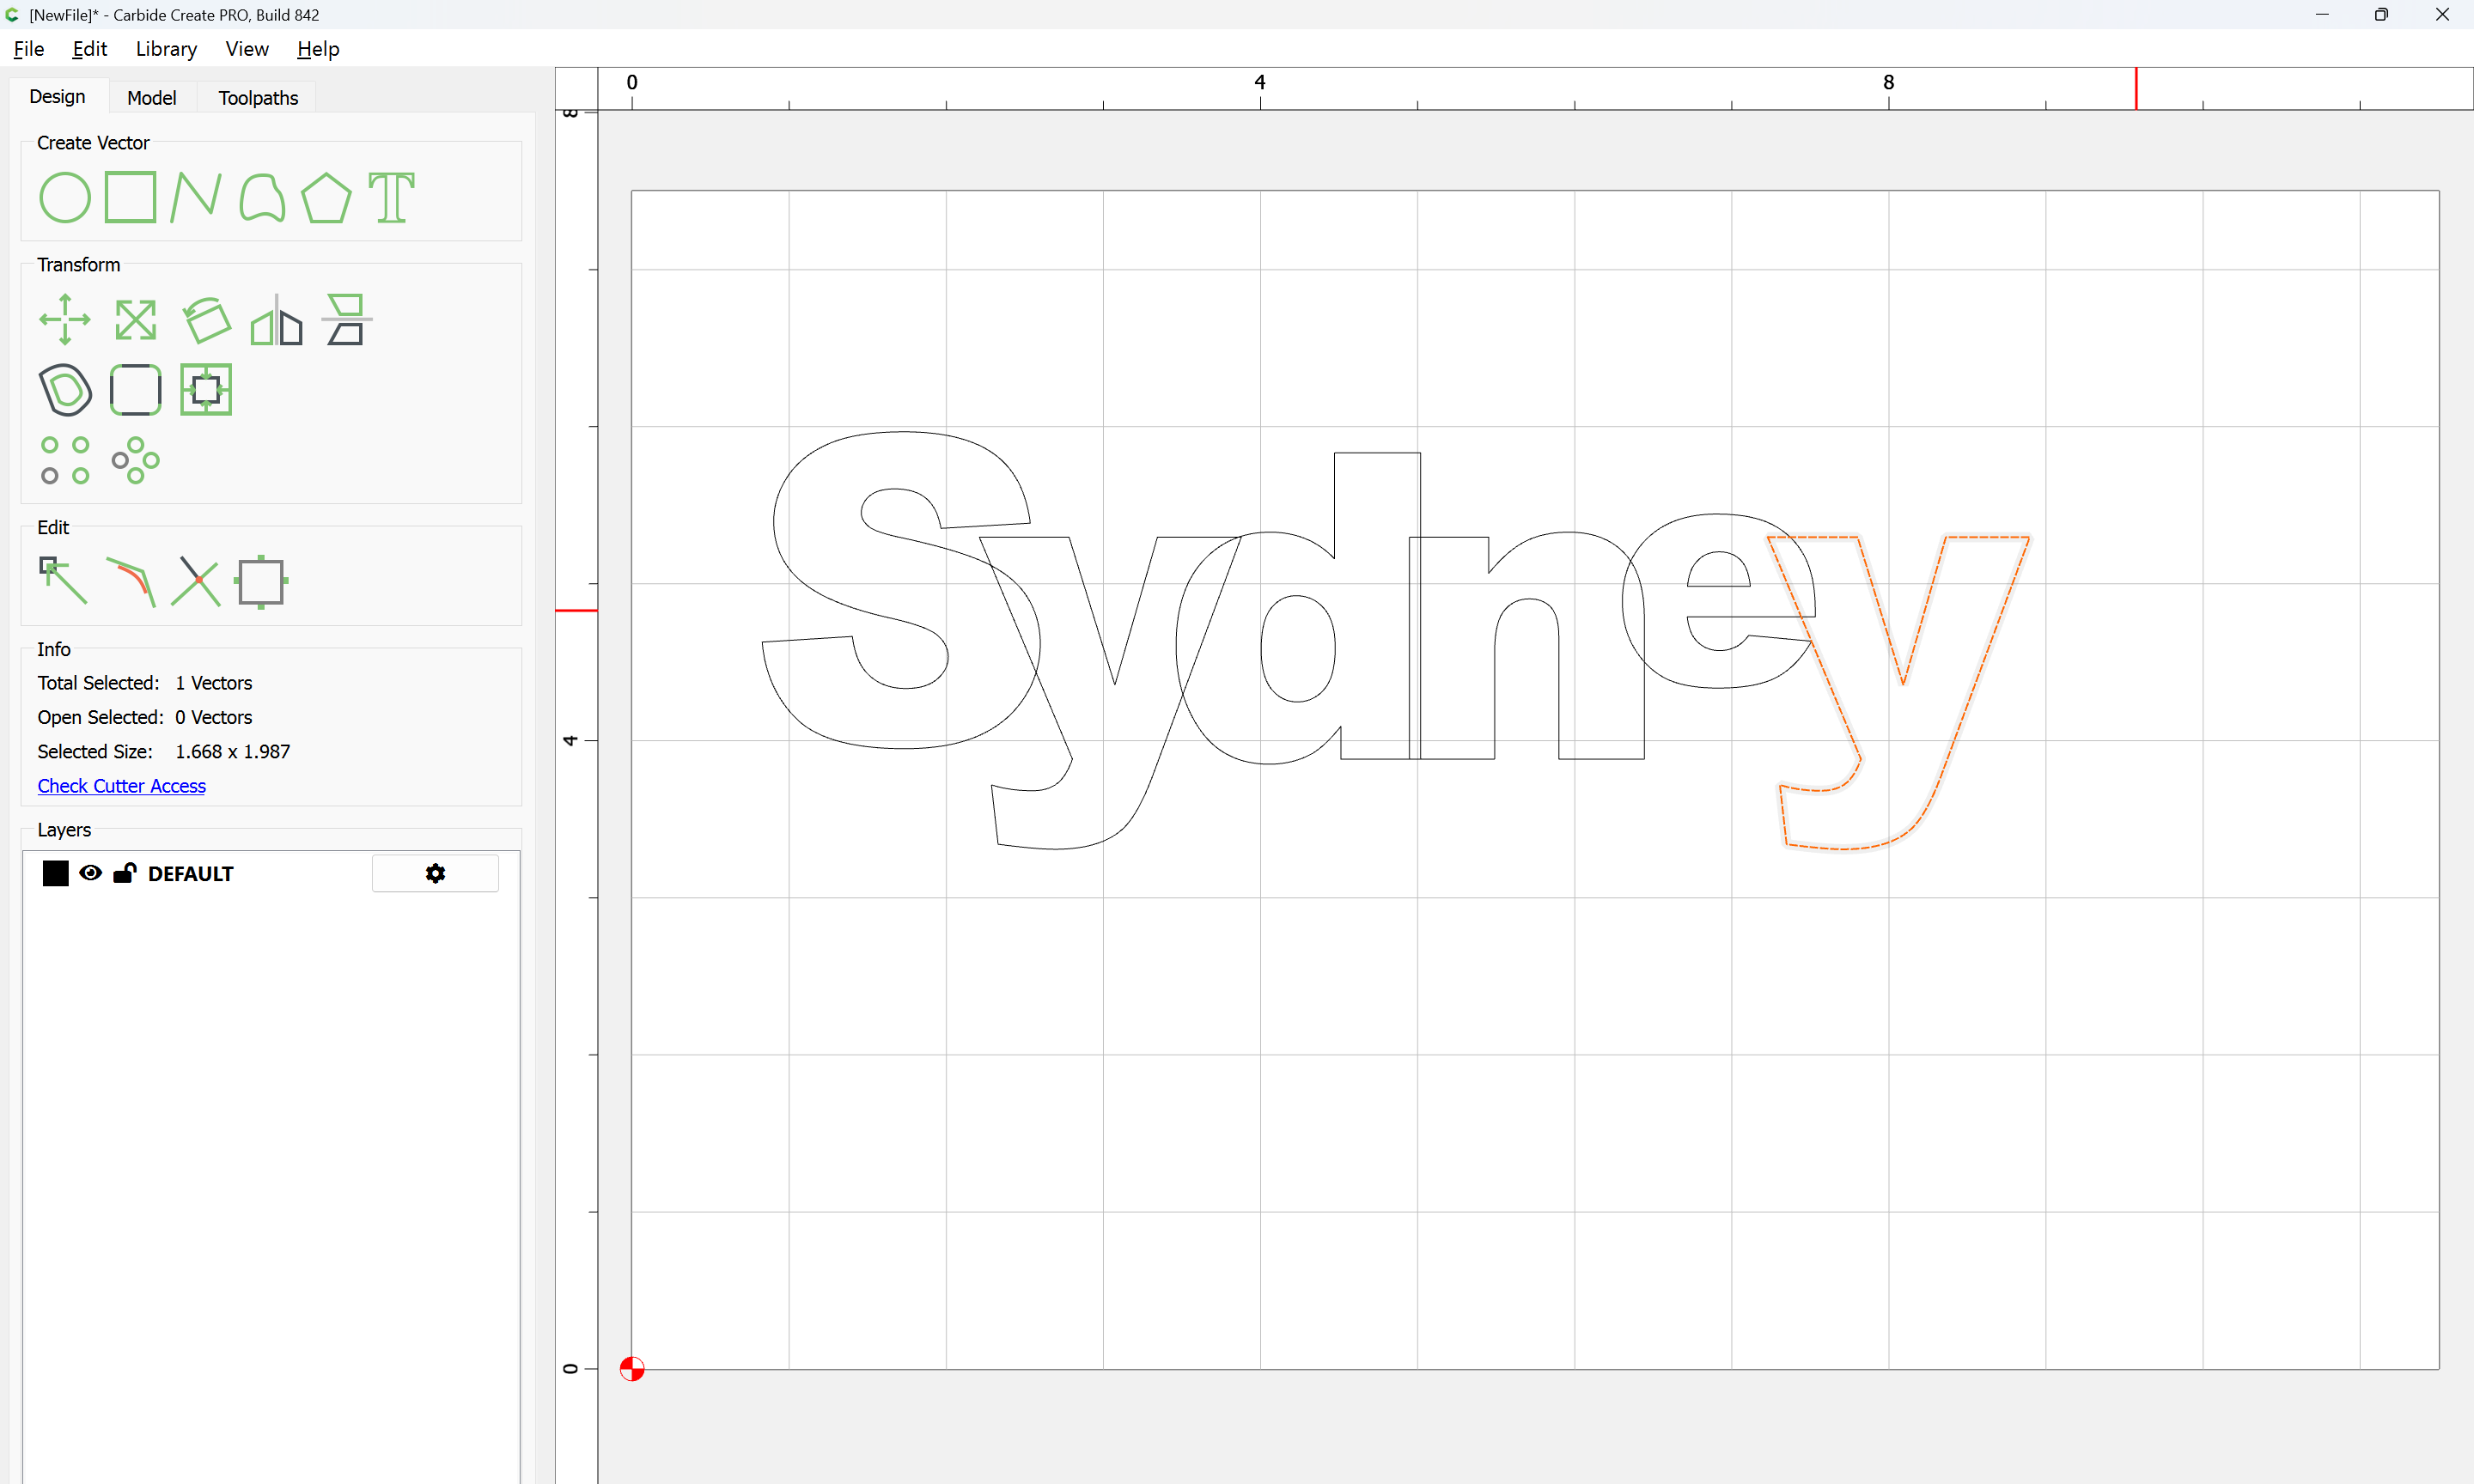
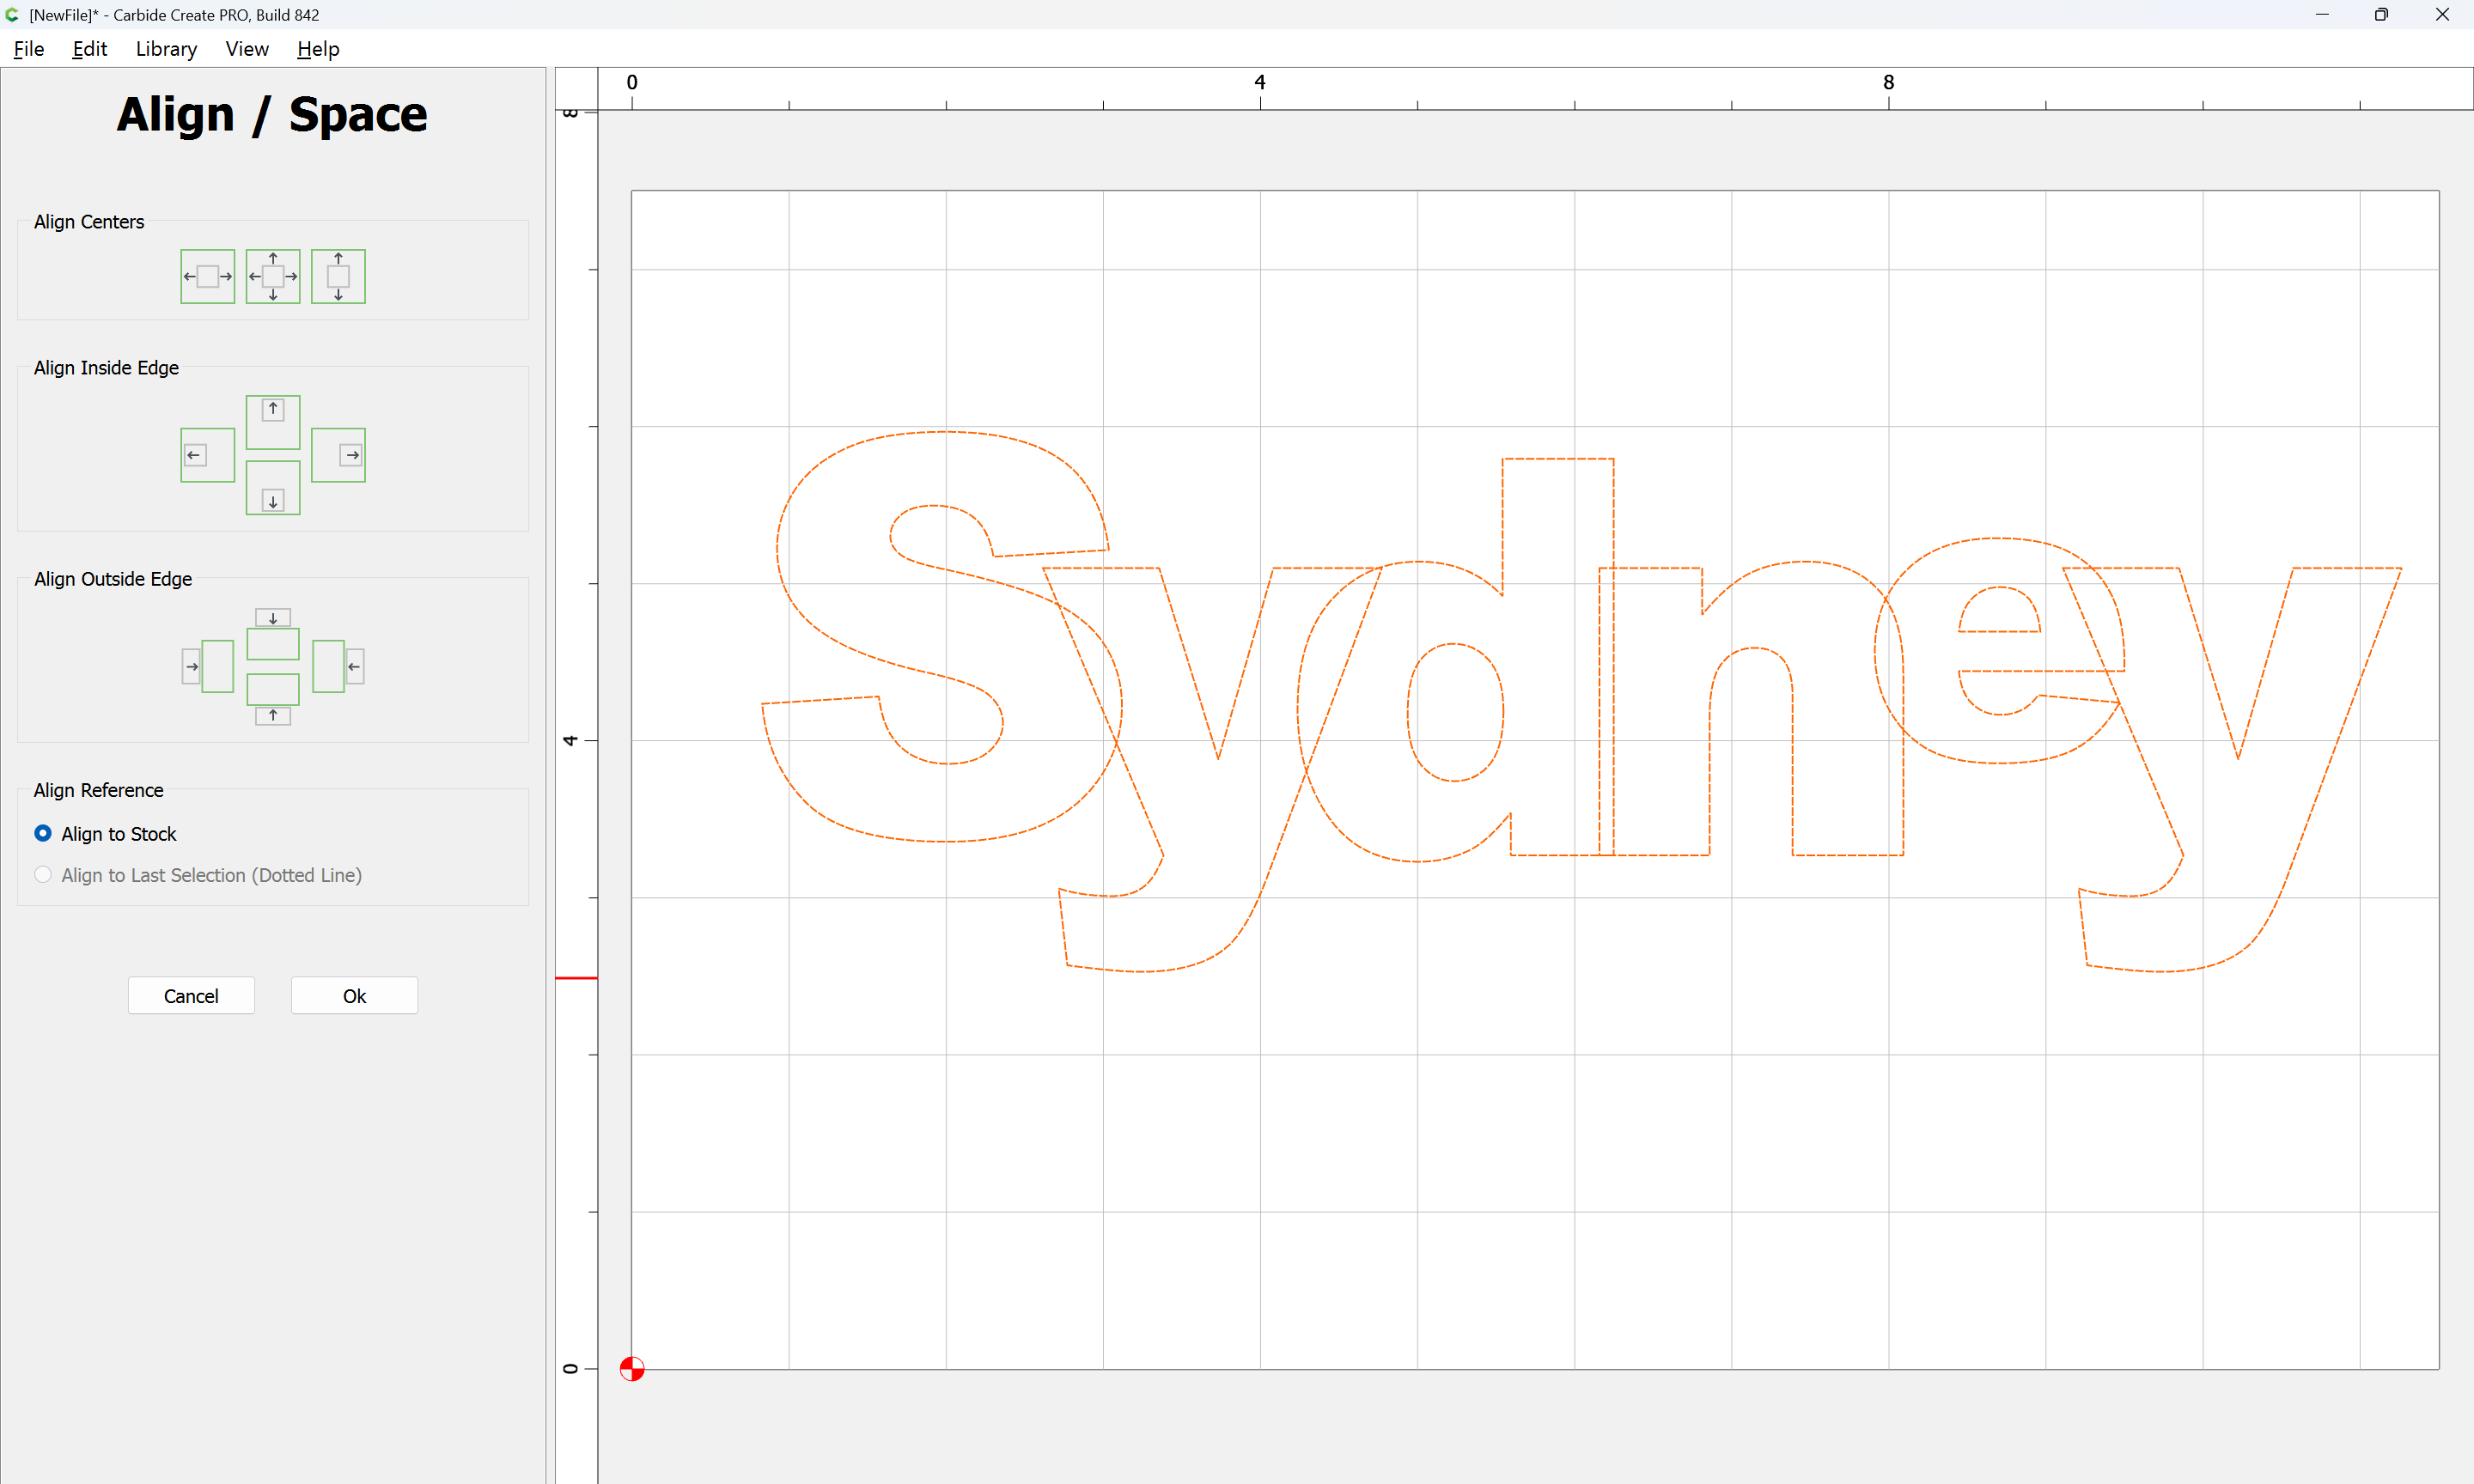
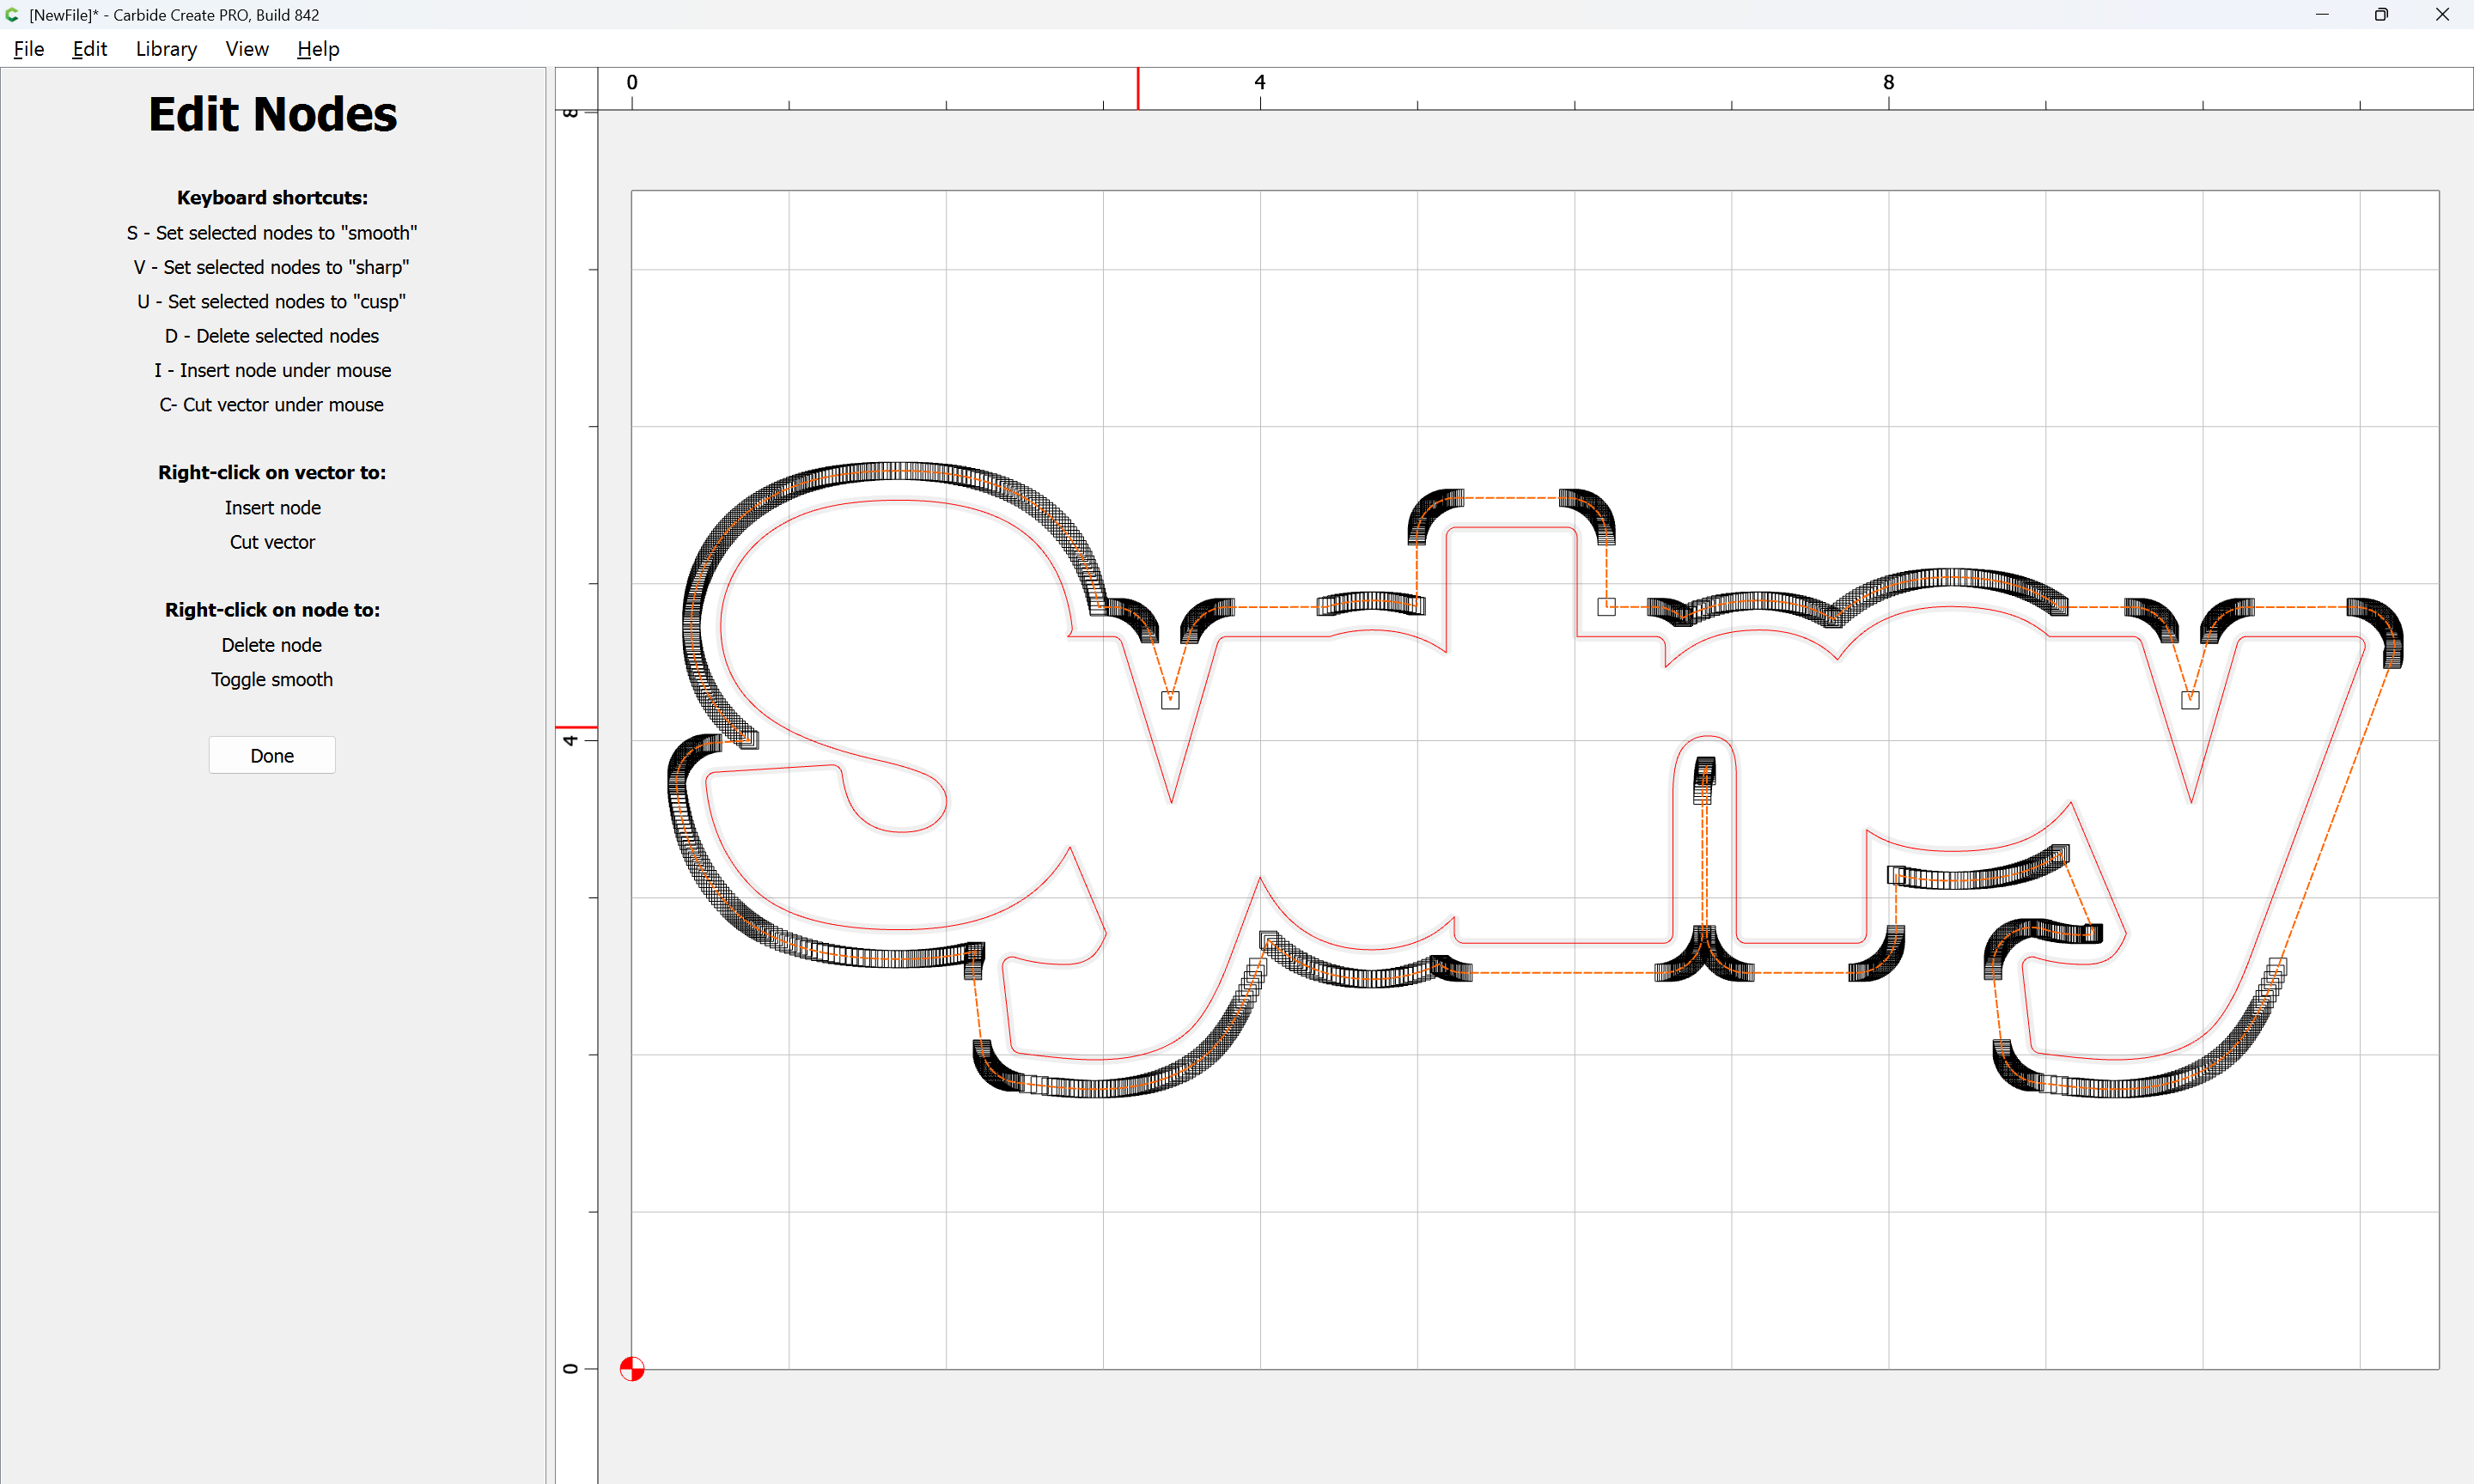
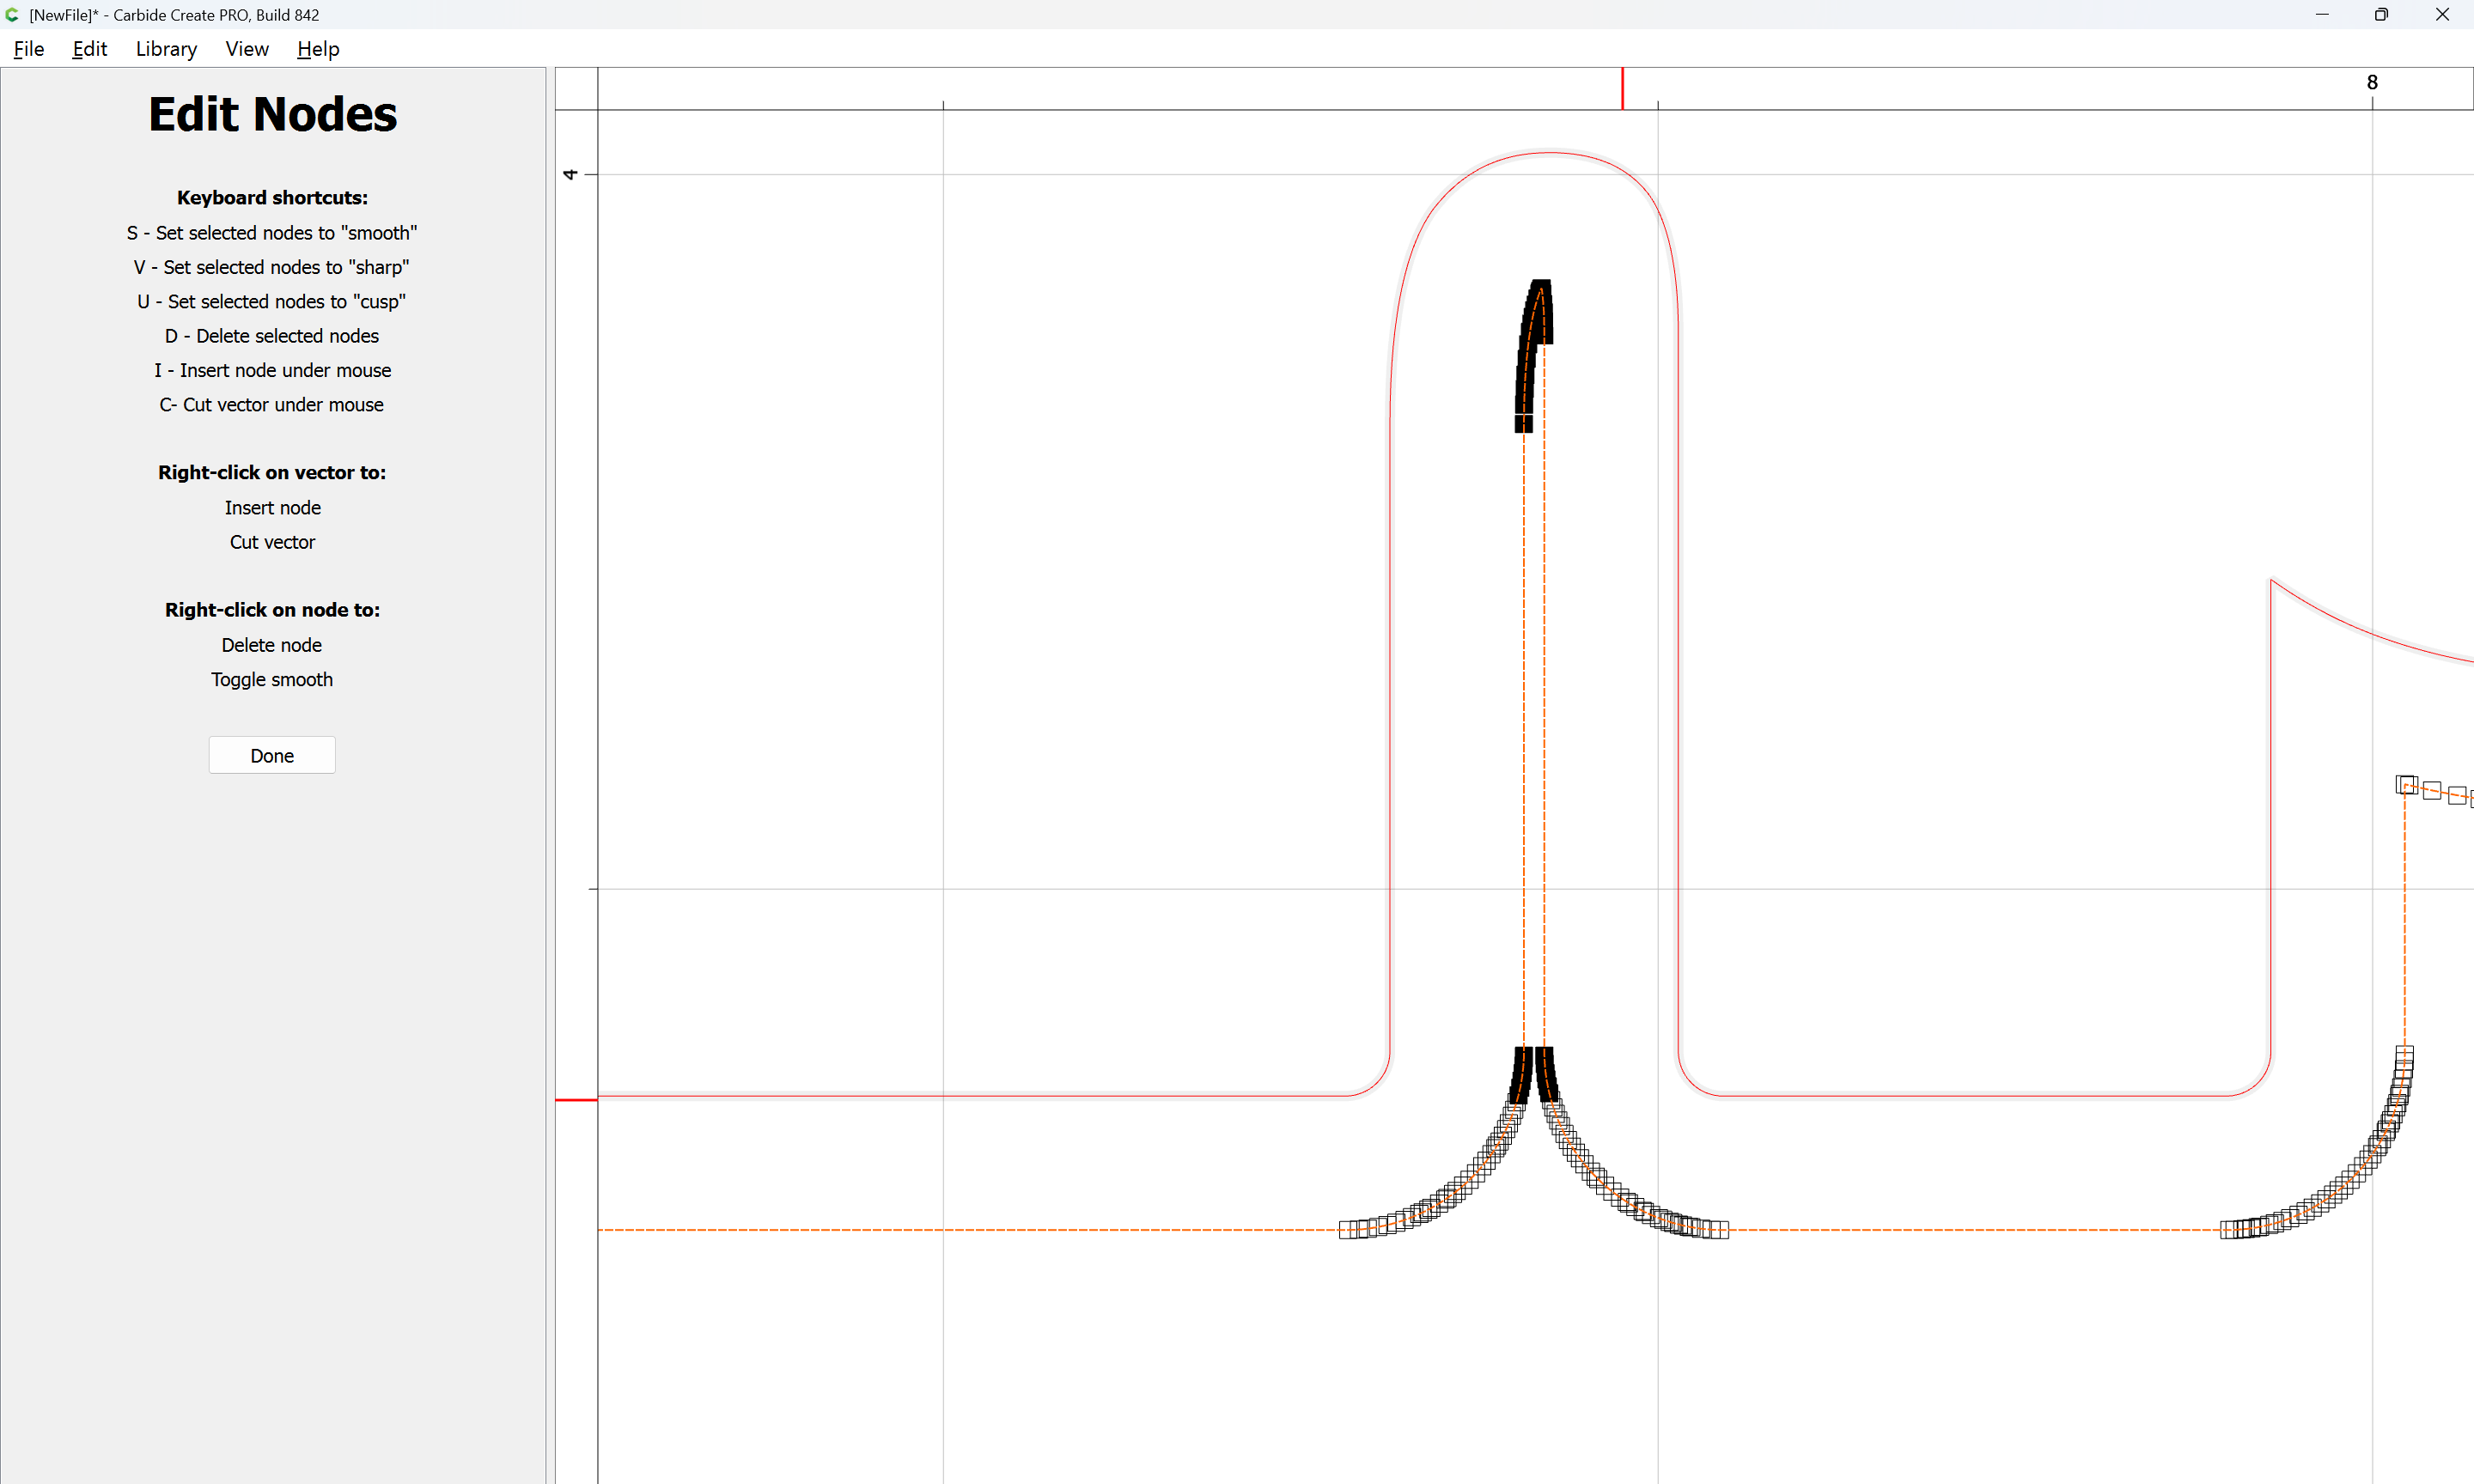
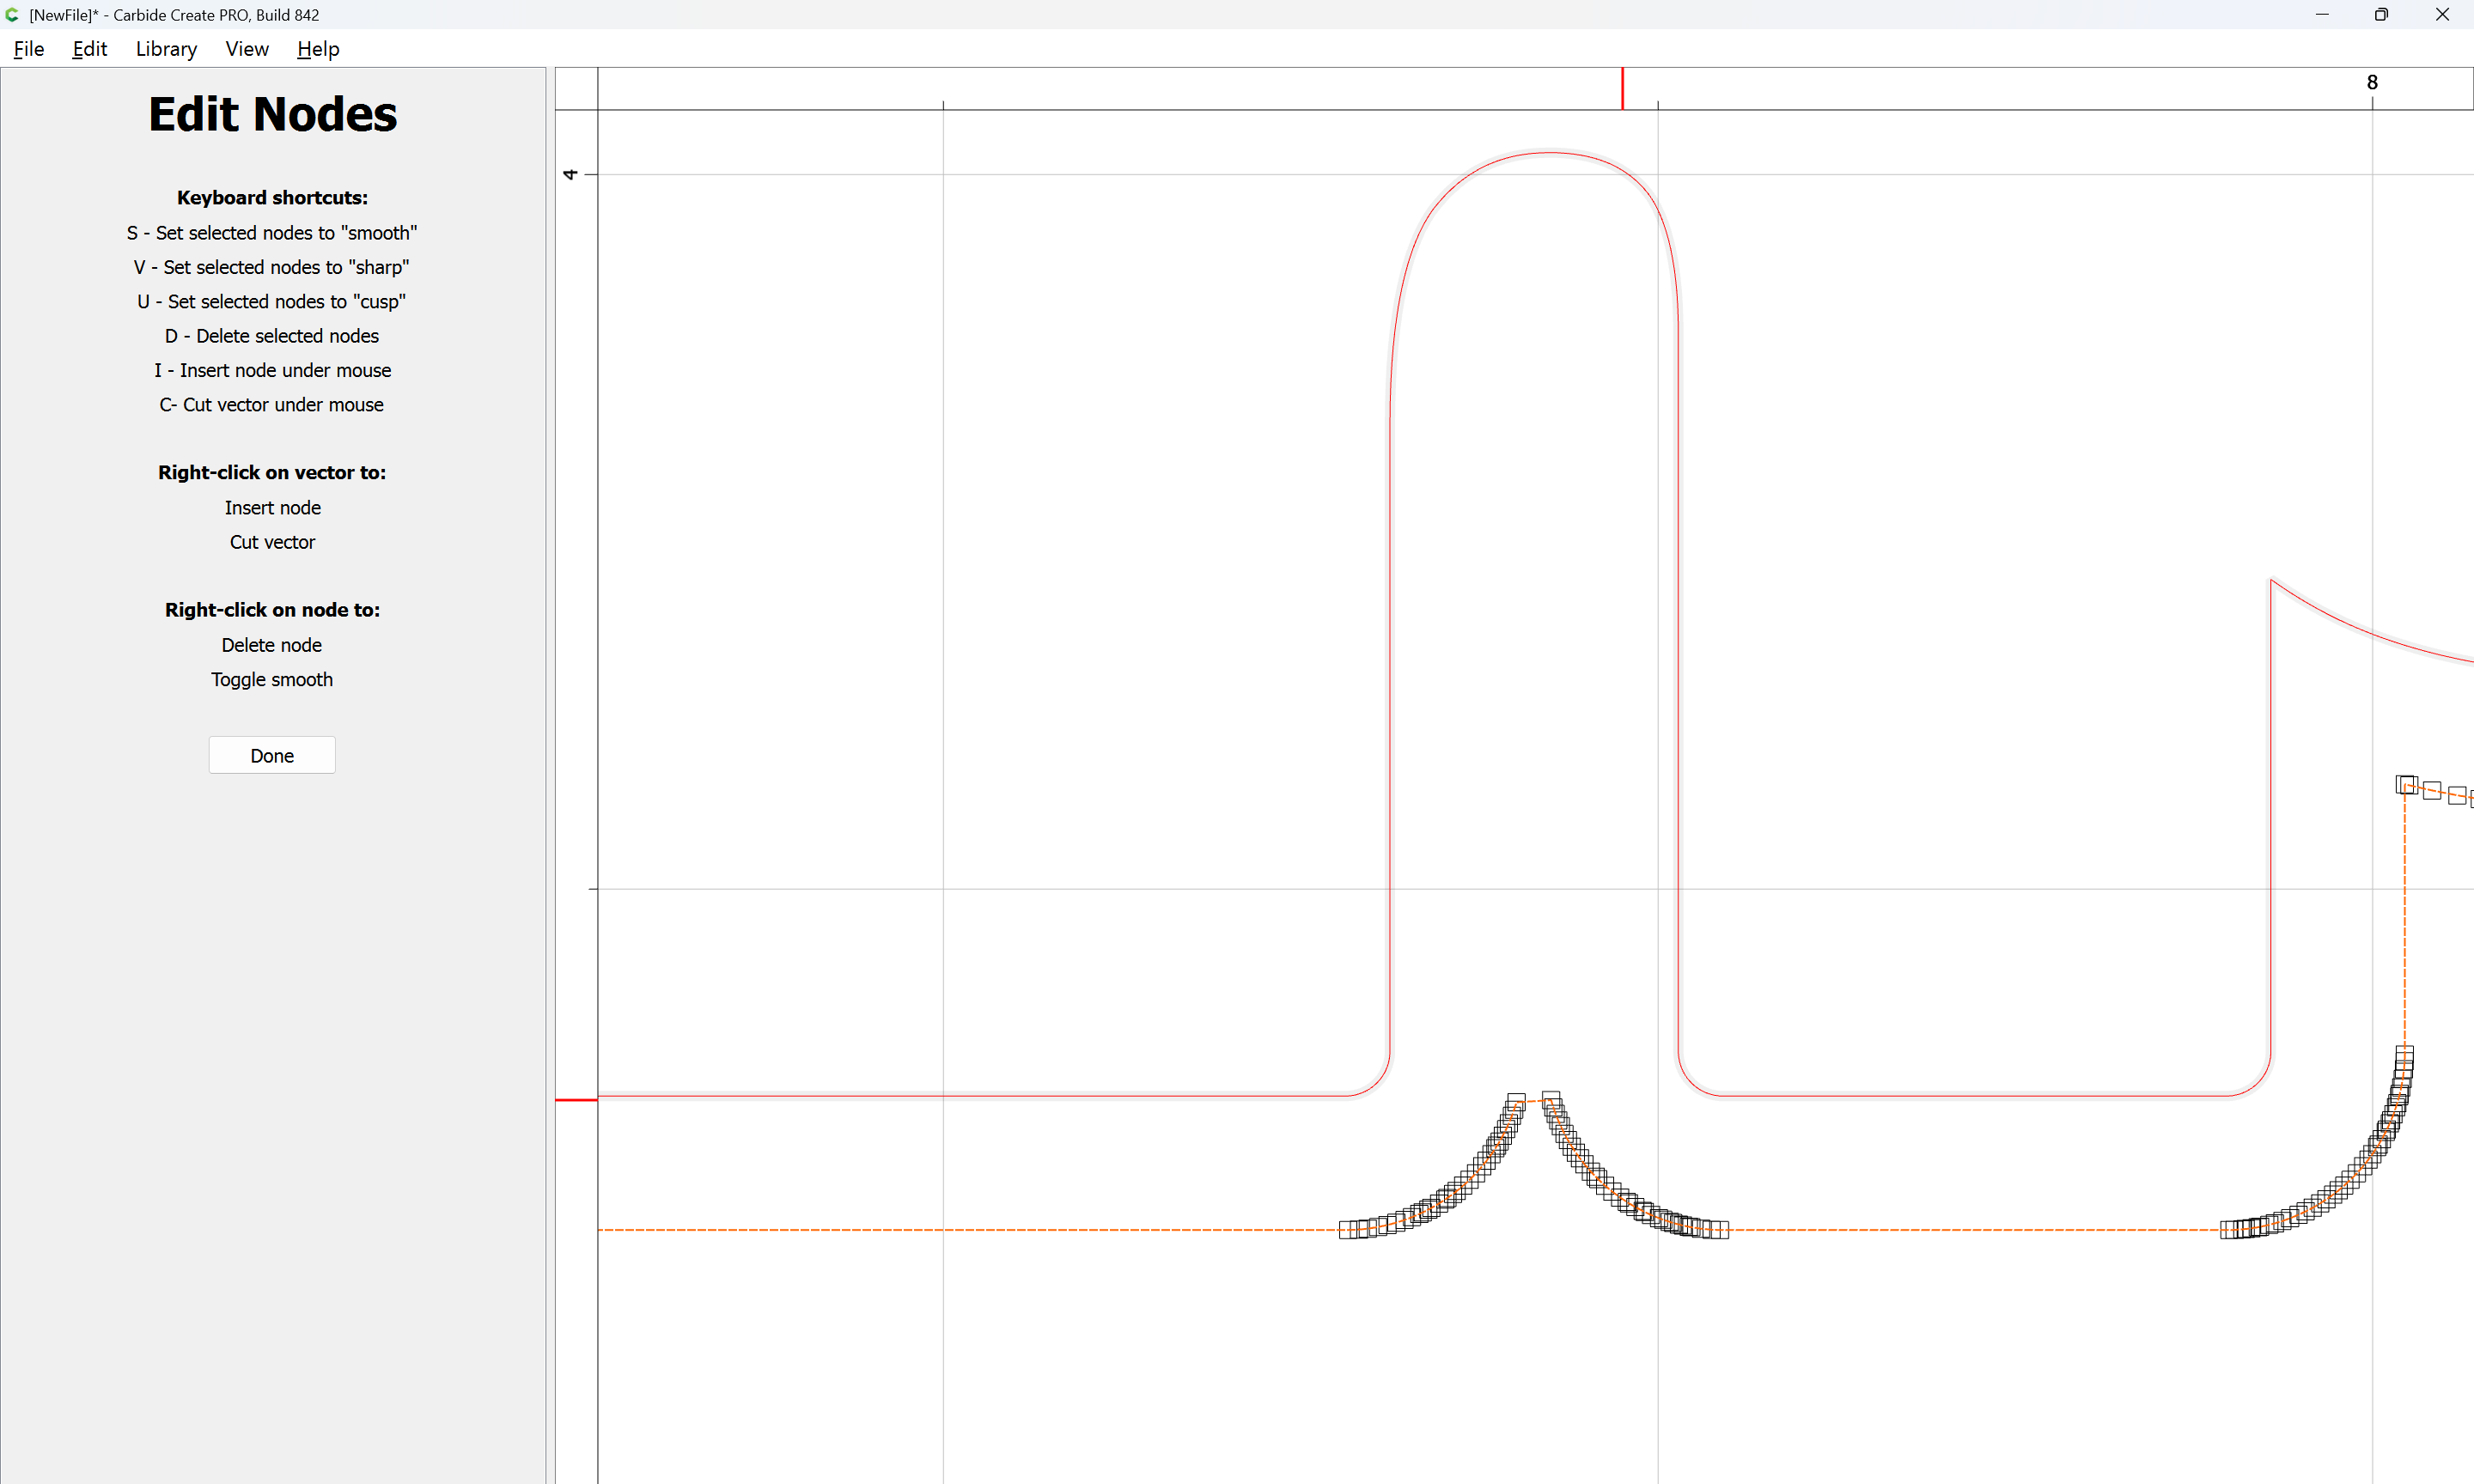
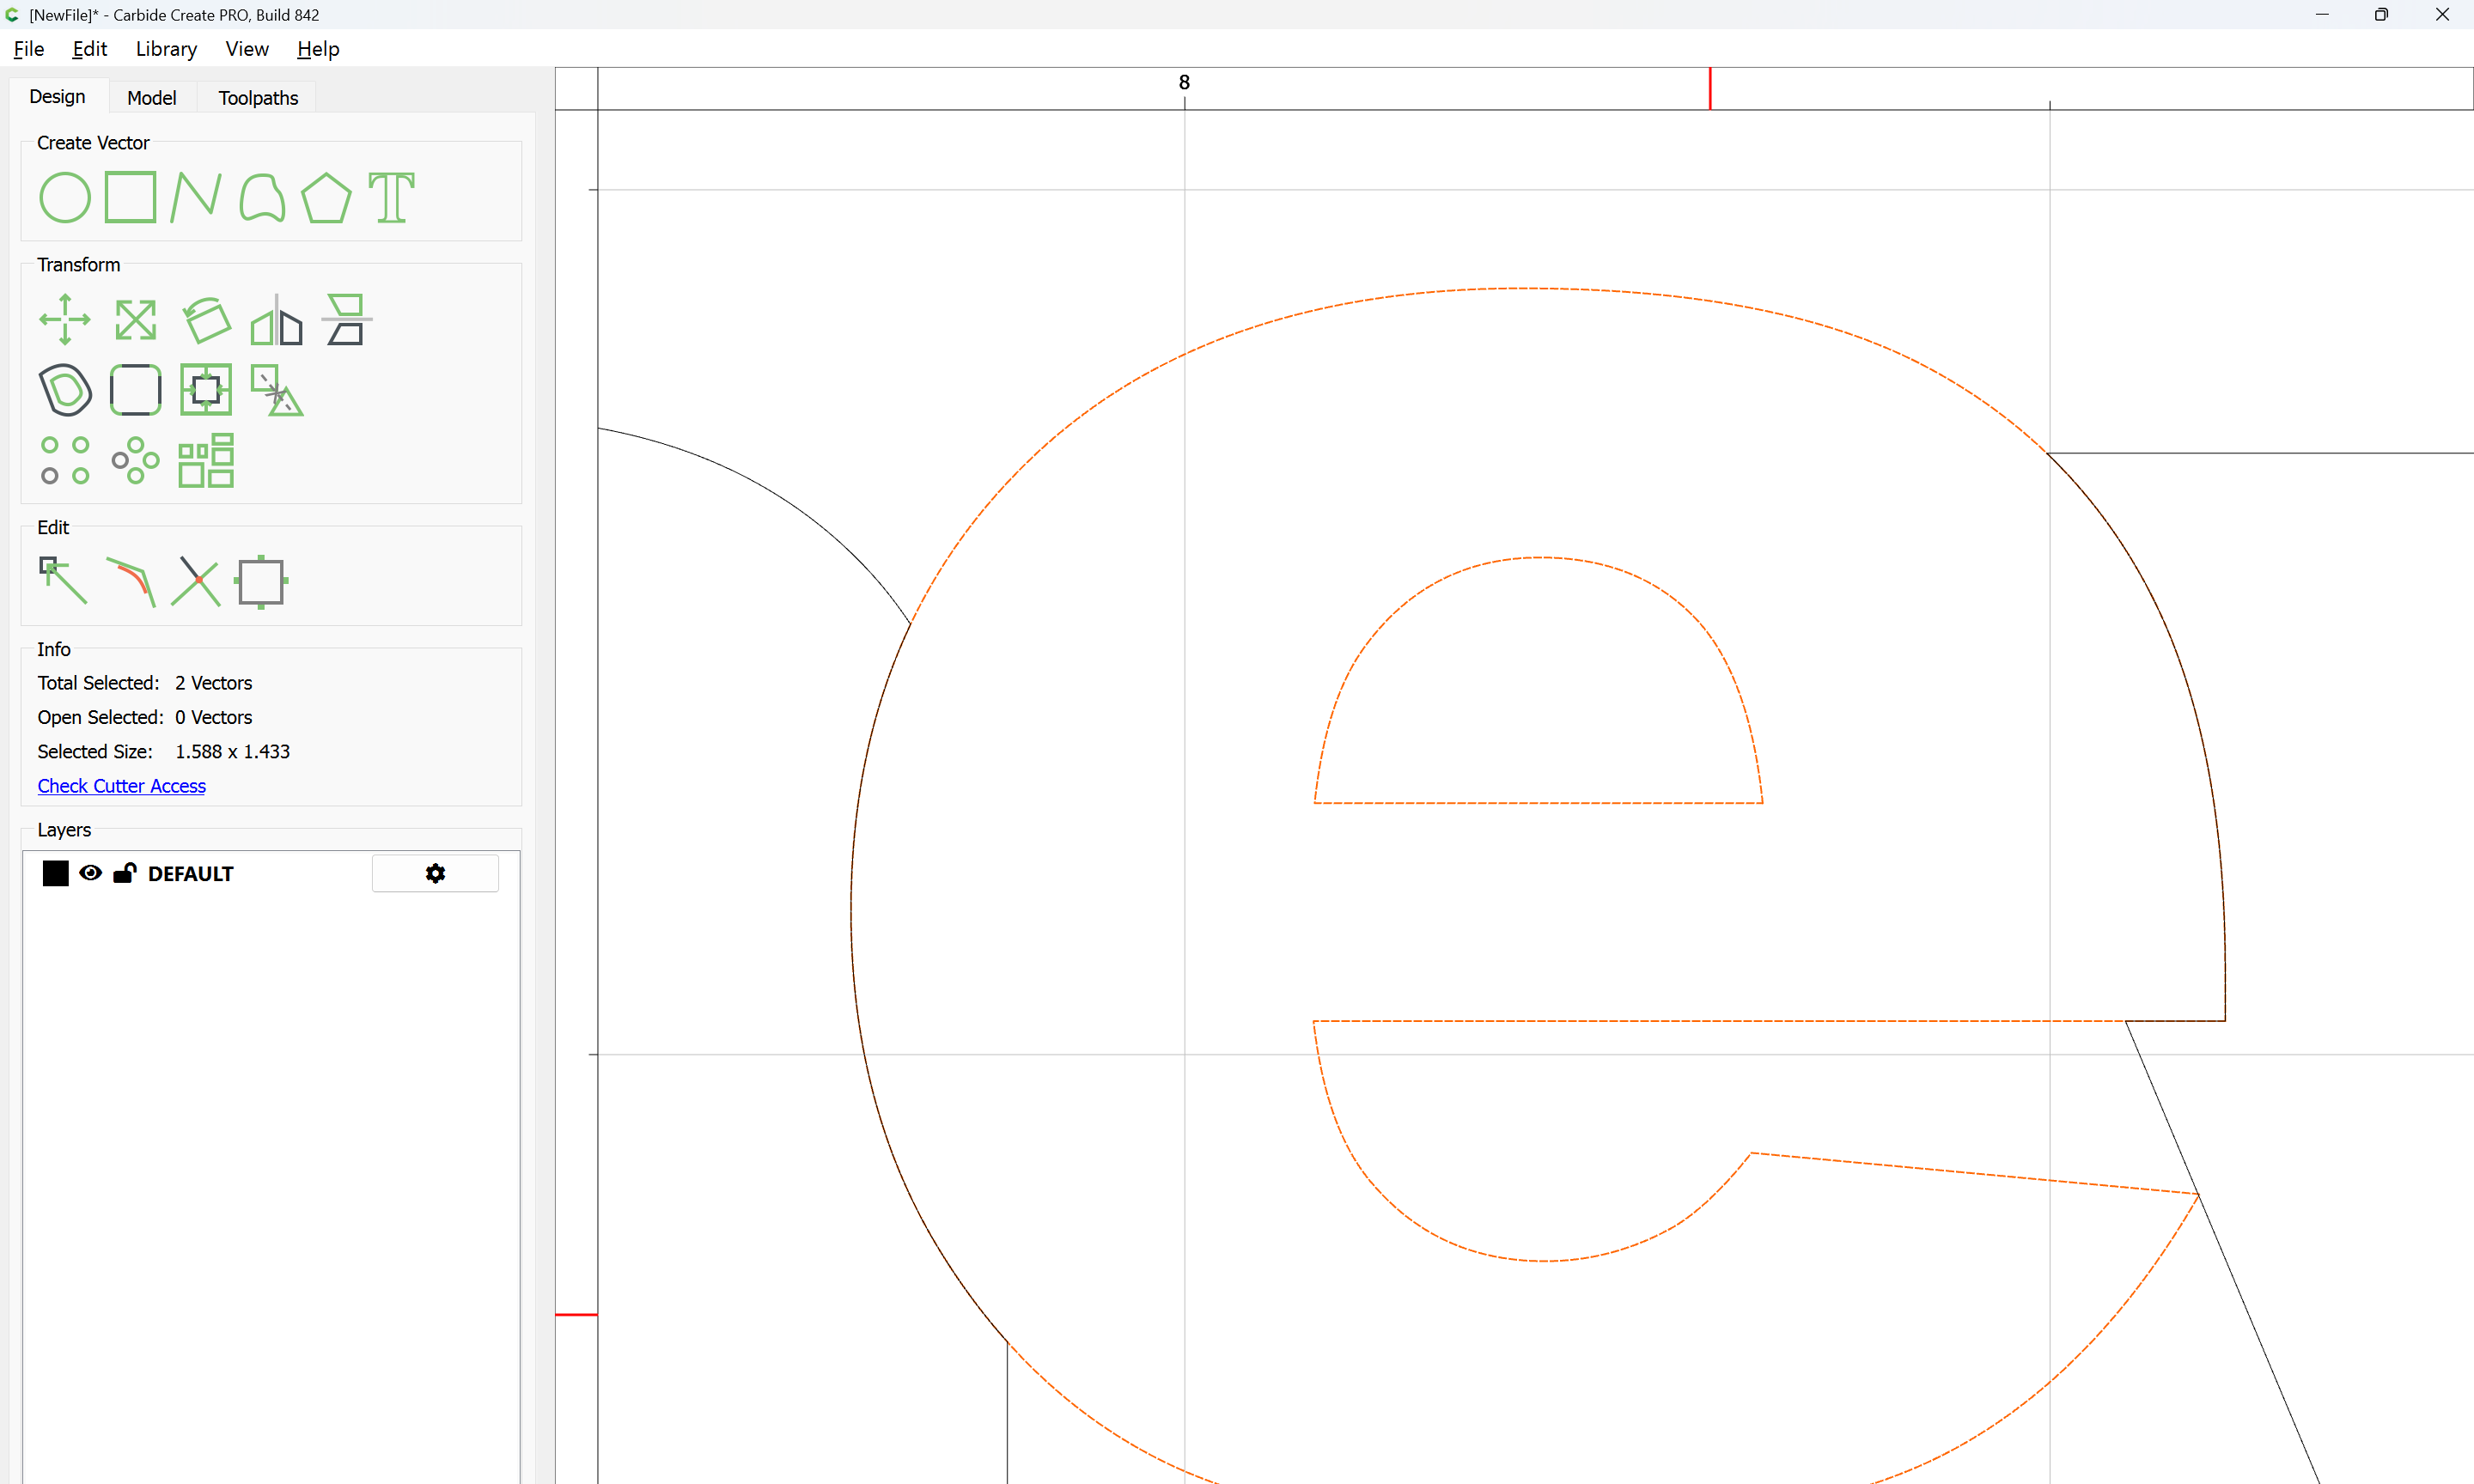
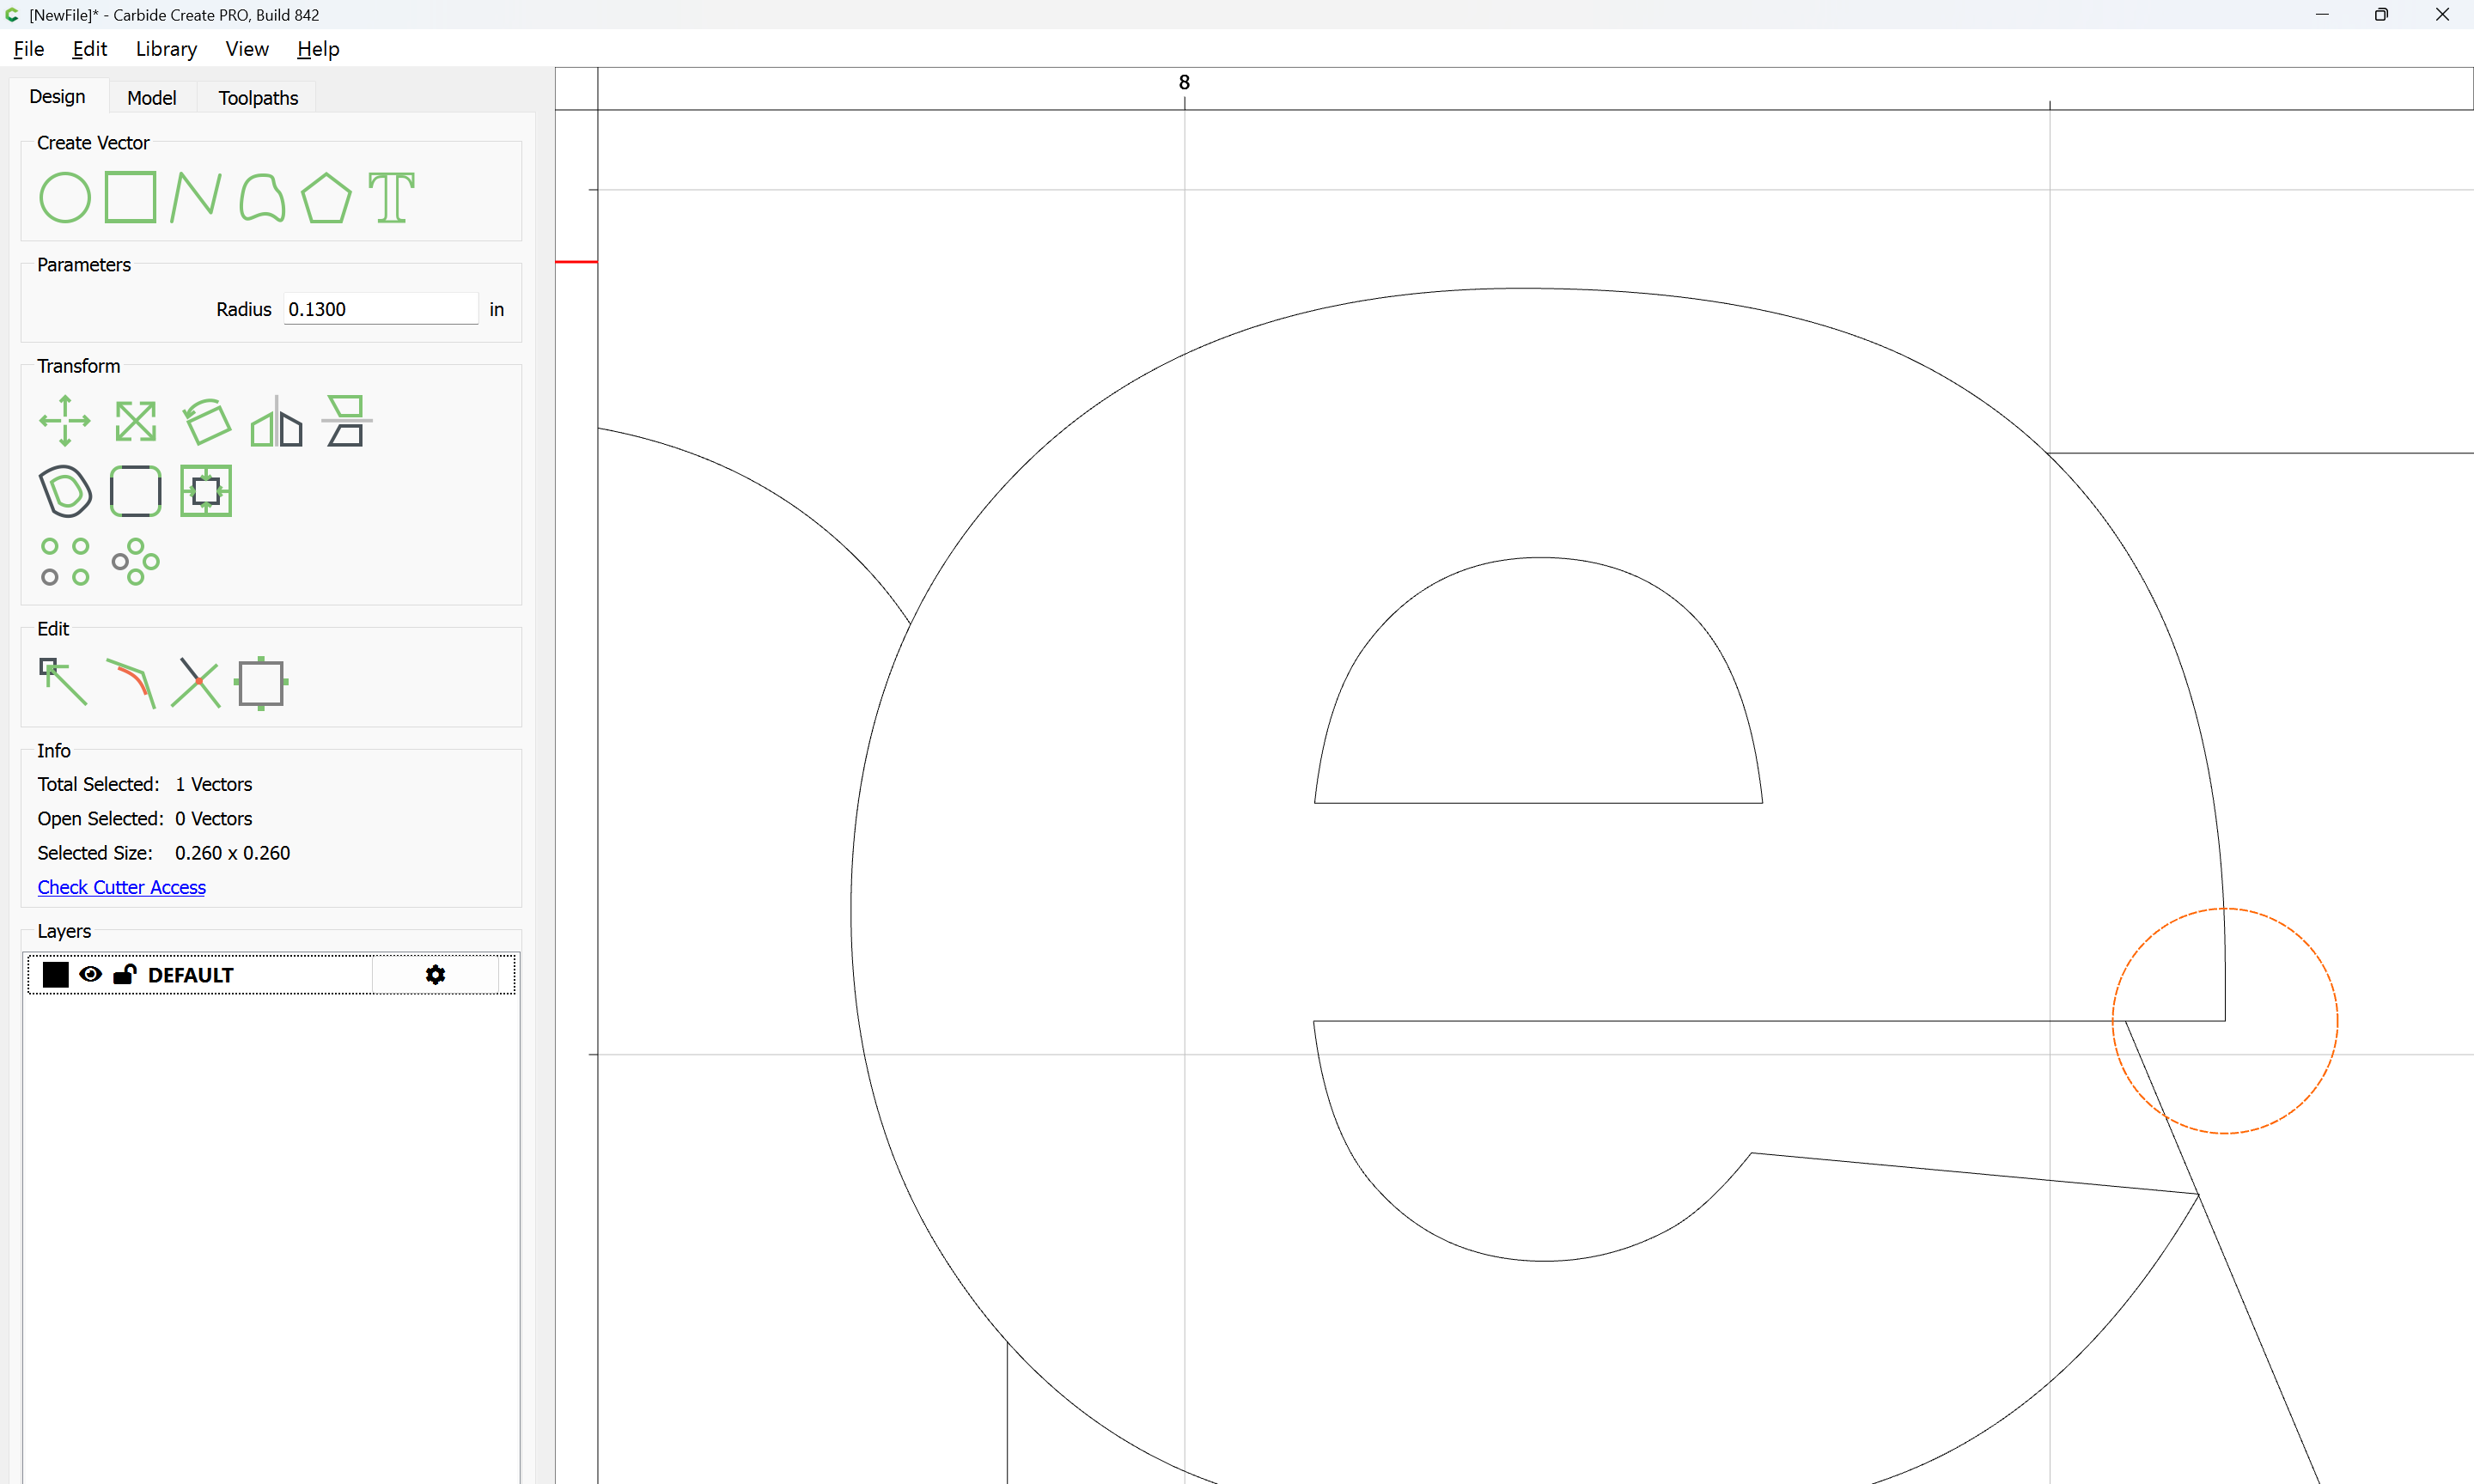
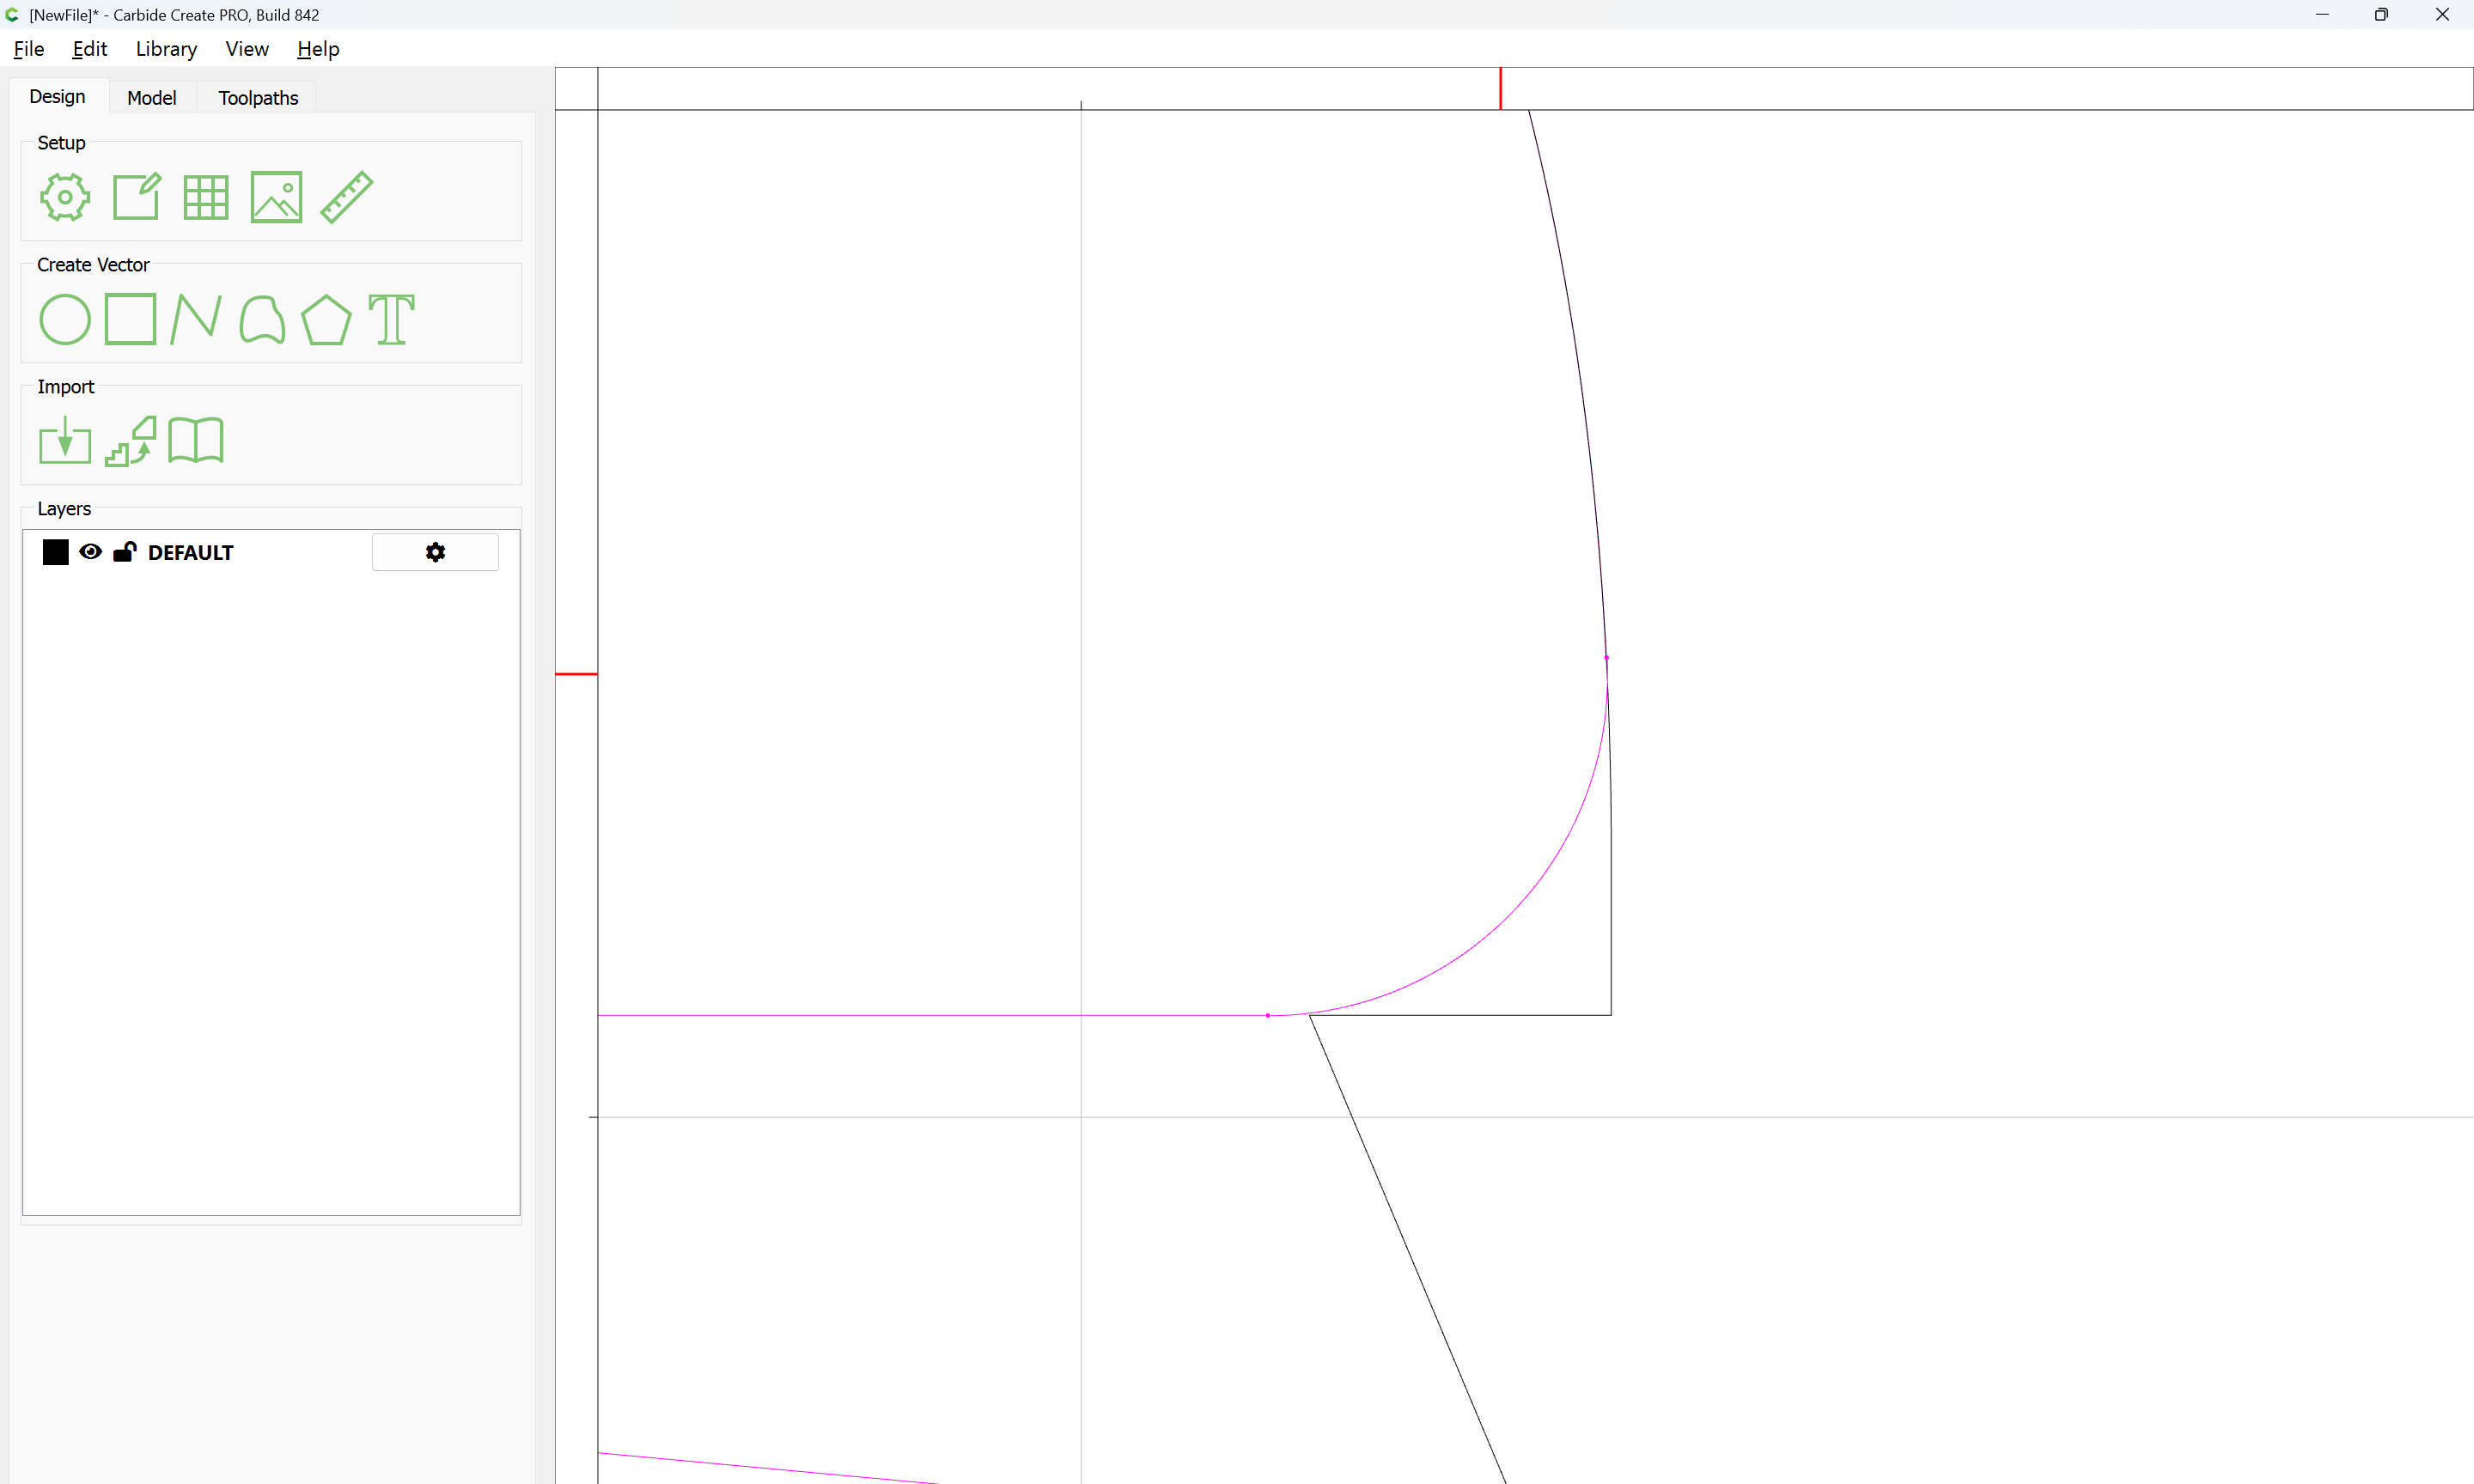
Where necessary, geometry should be rounded:
Since letterforms rarely have straight lines which are needed for the automatic techniques to work, the notch where the e fits to the y will need to be rounded manually (arguably, the latter should have been positioned to preclude this necessity).
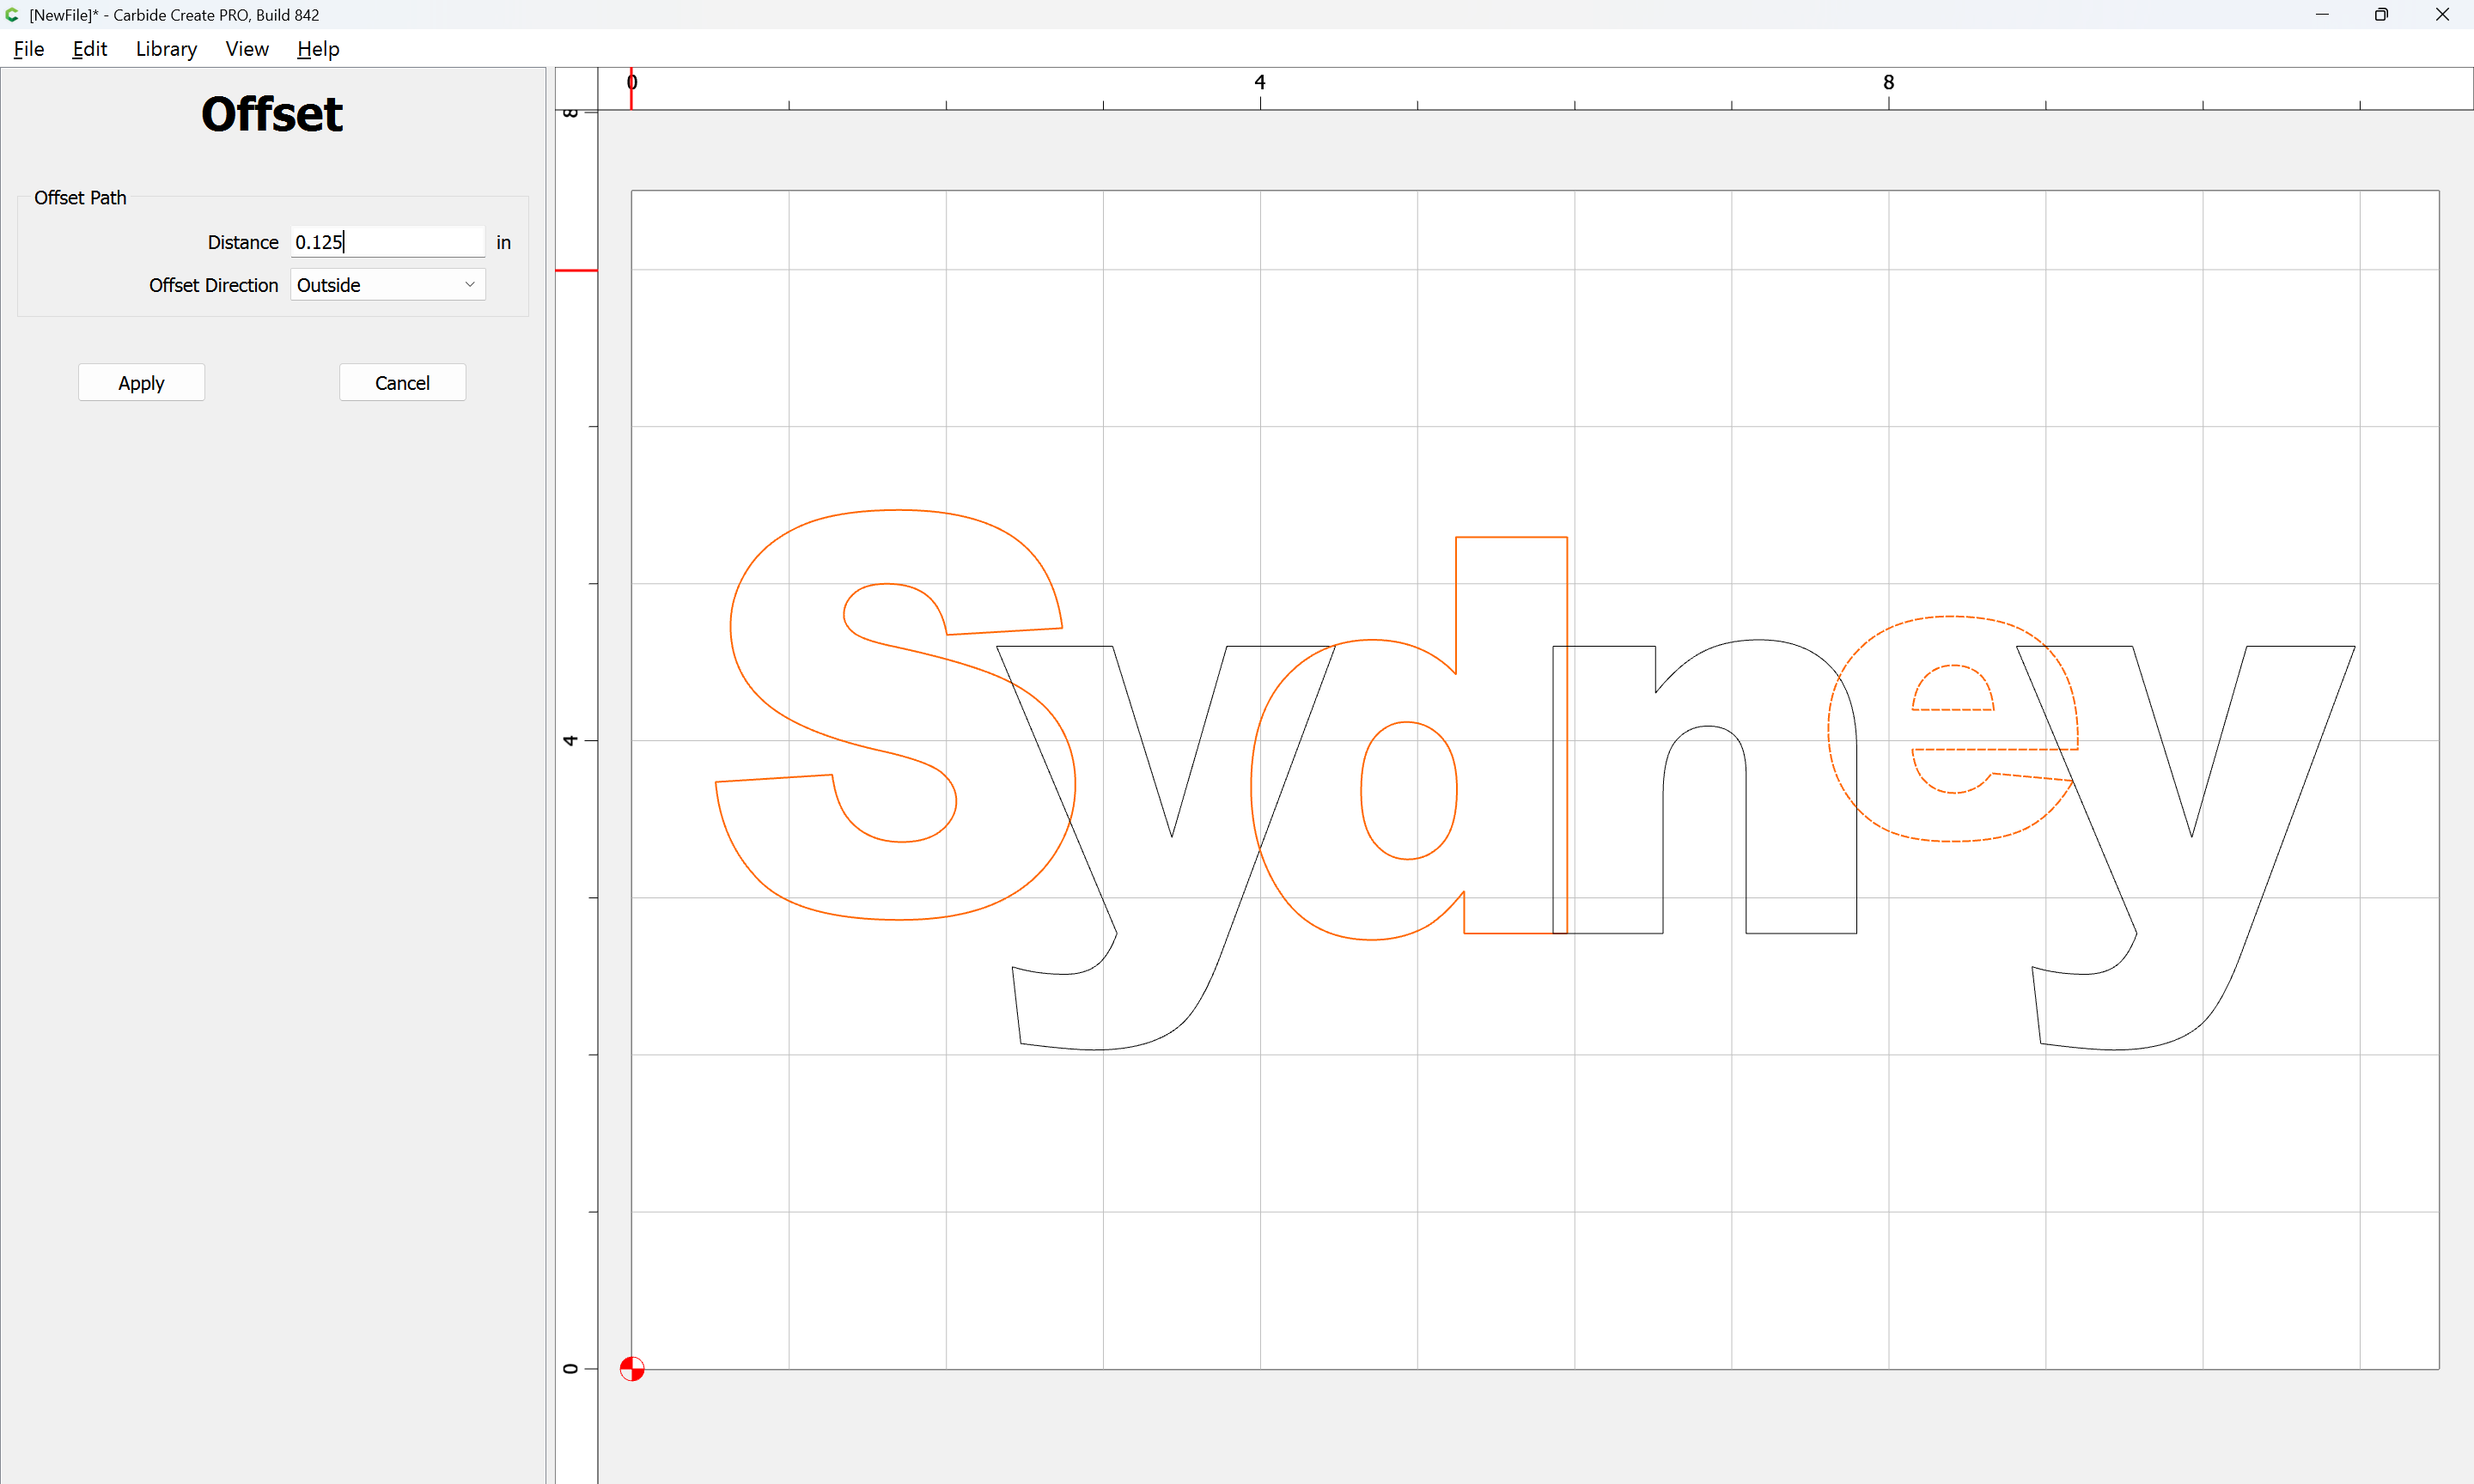
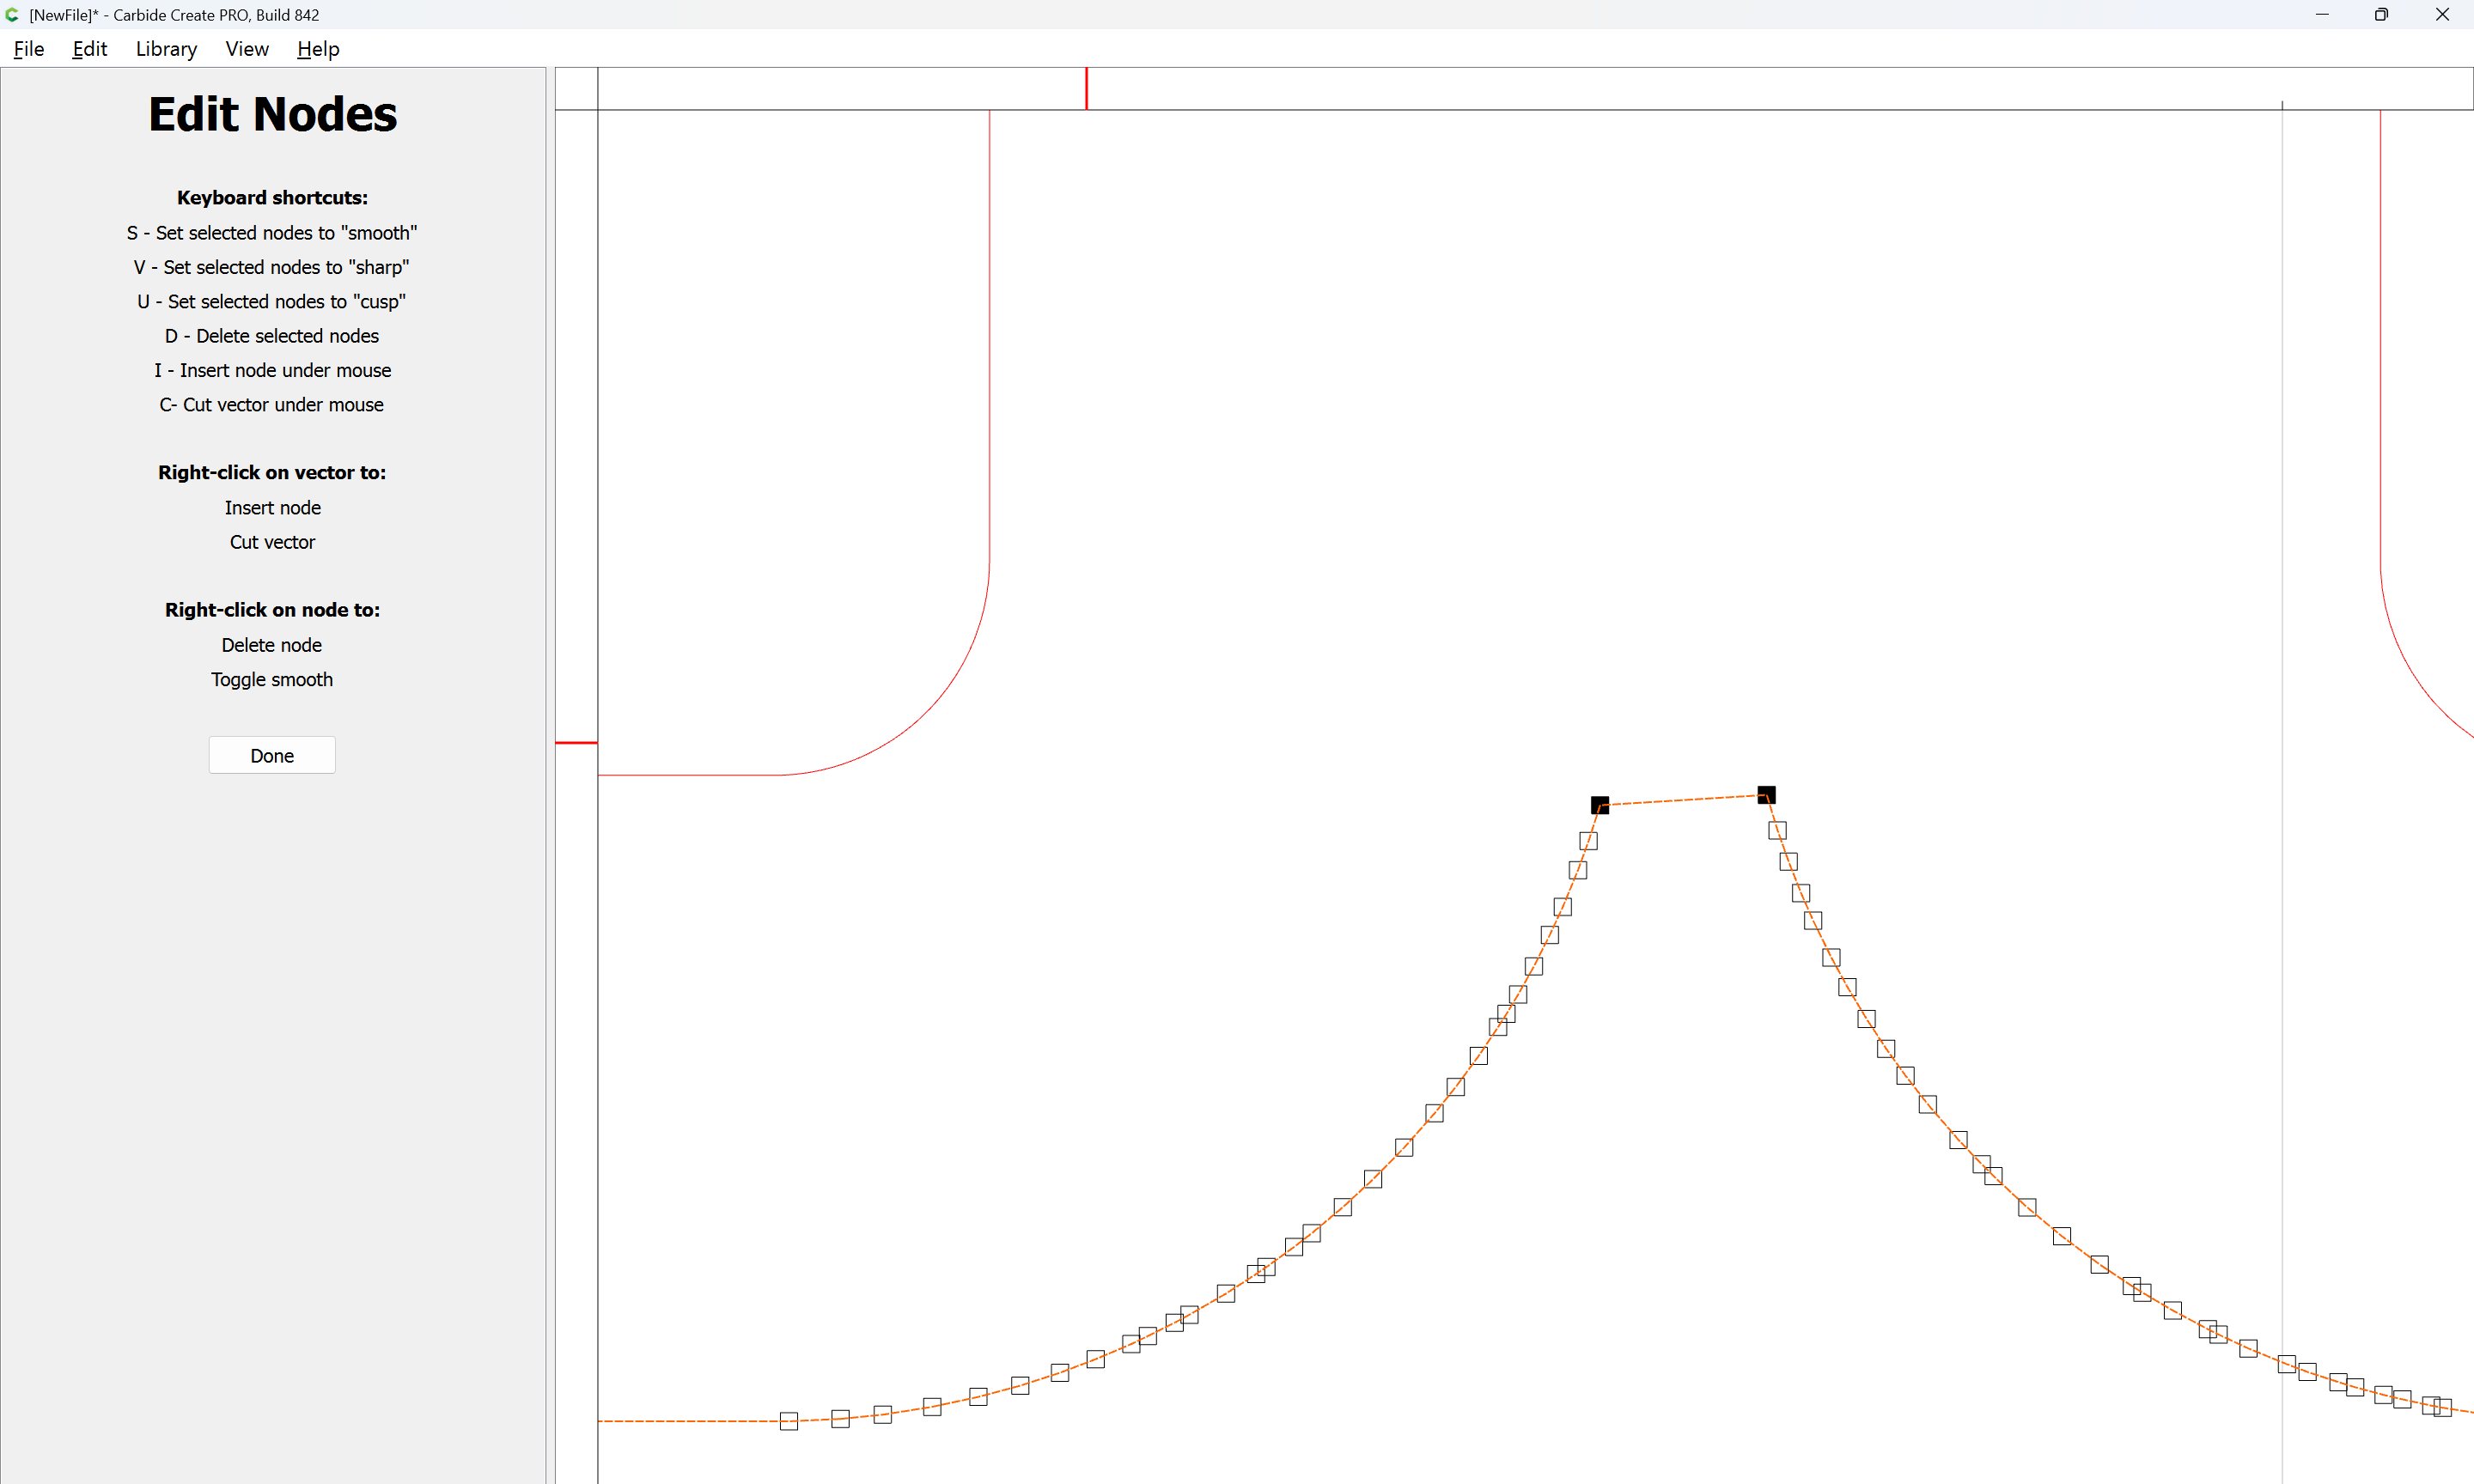
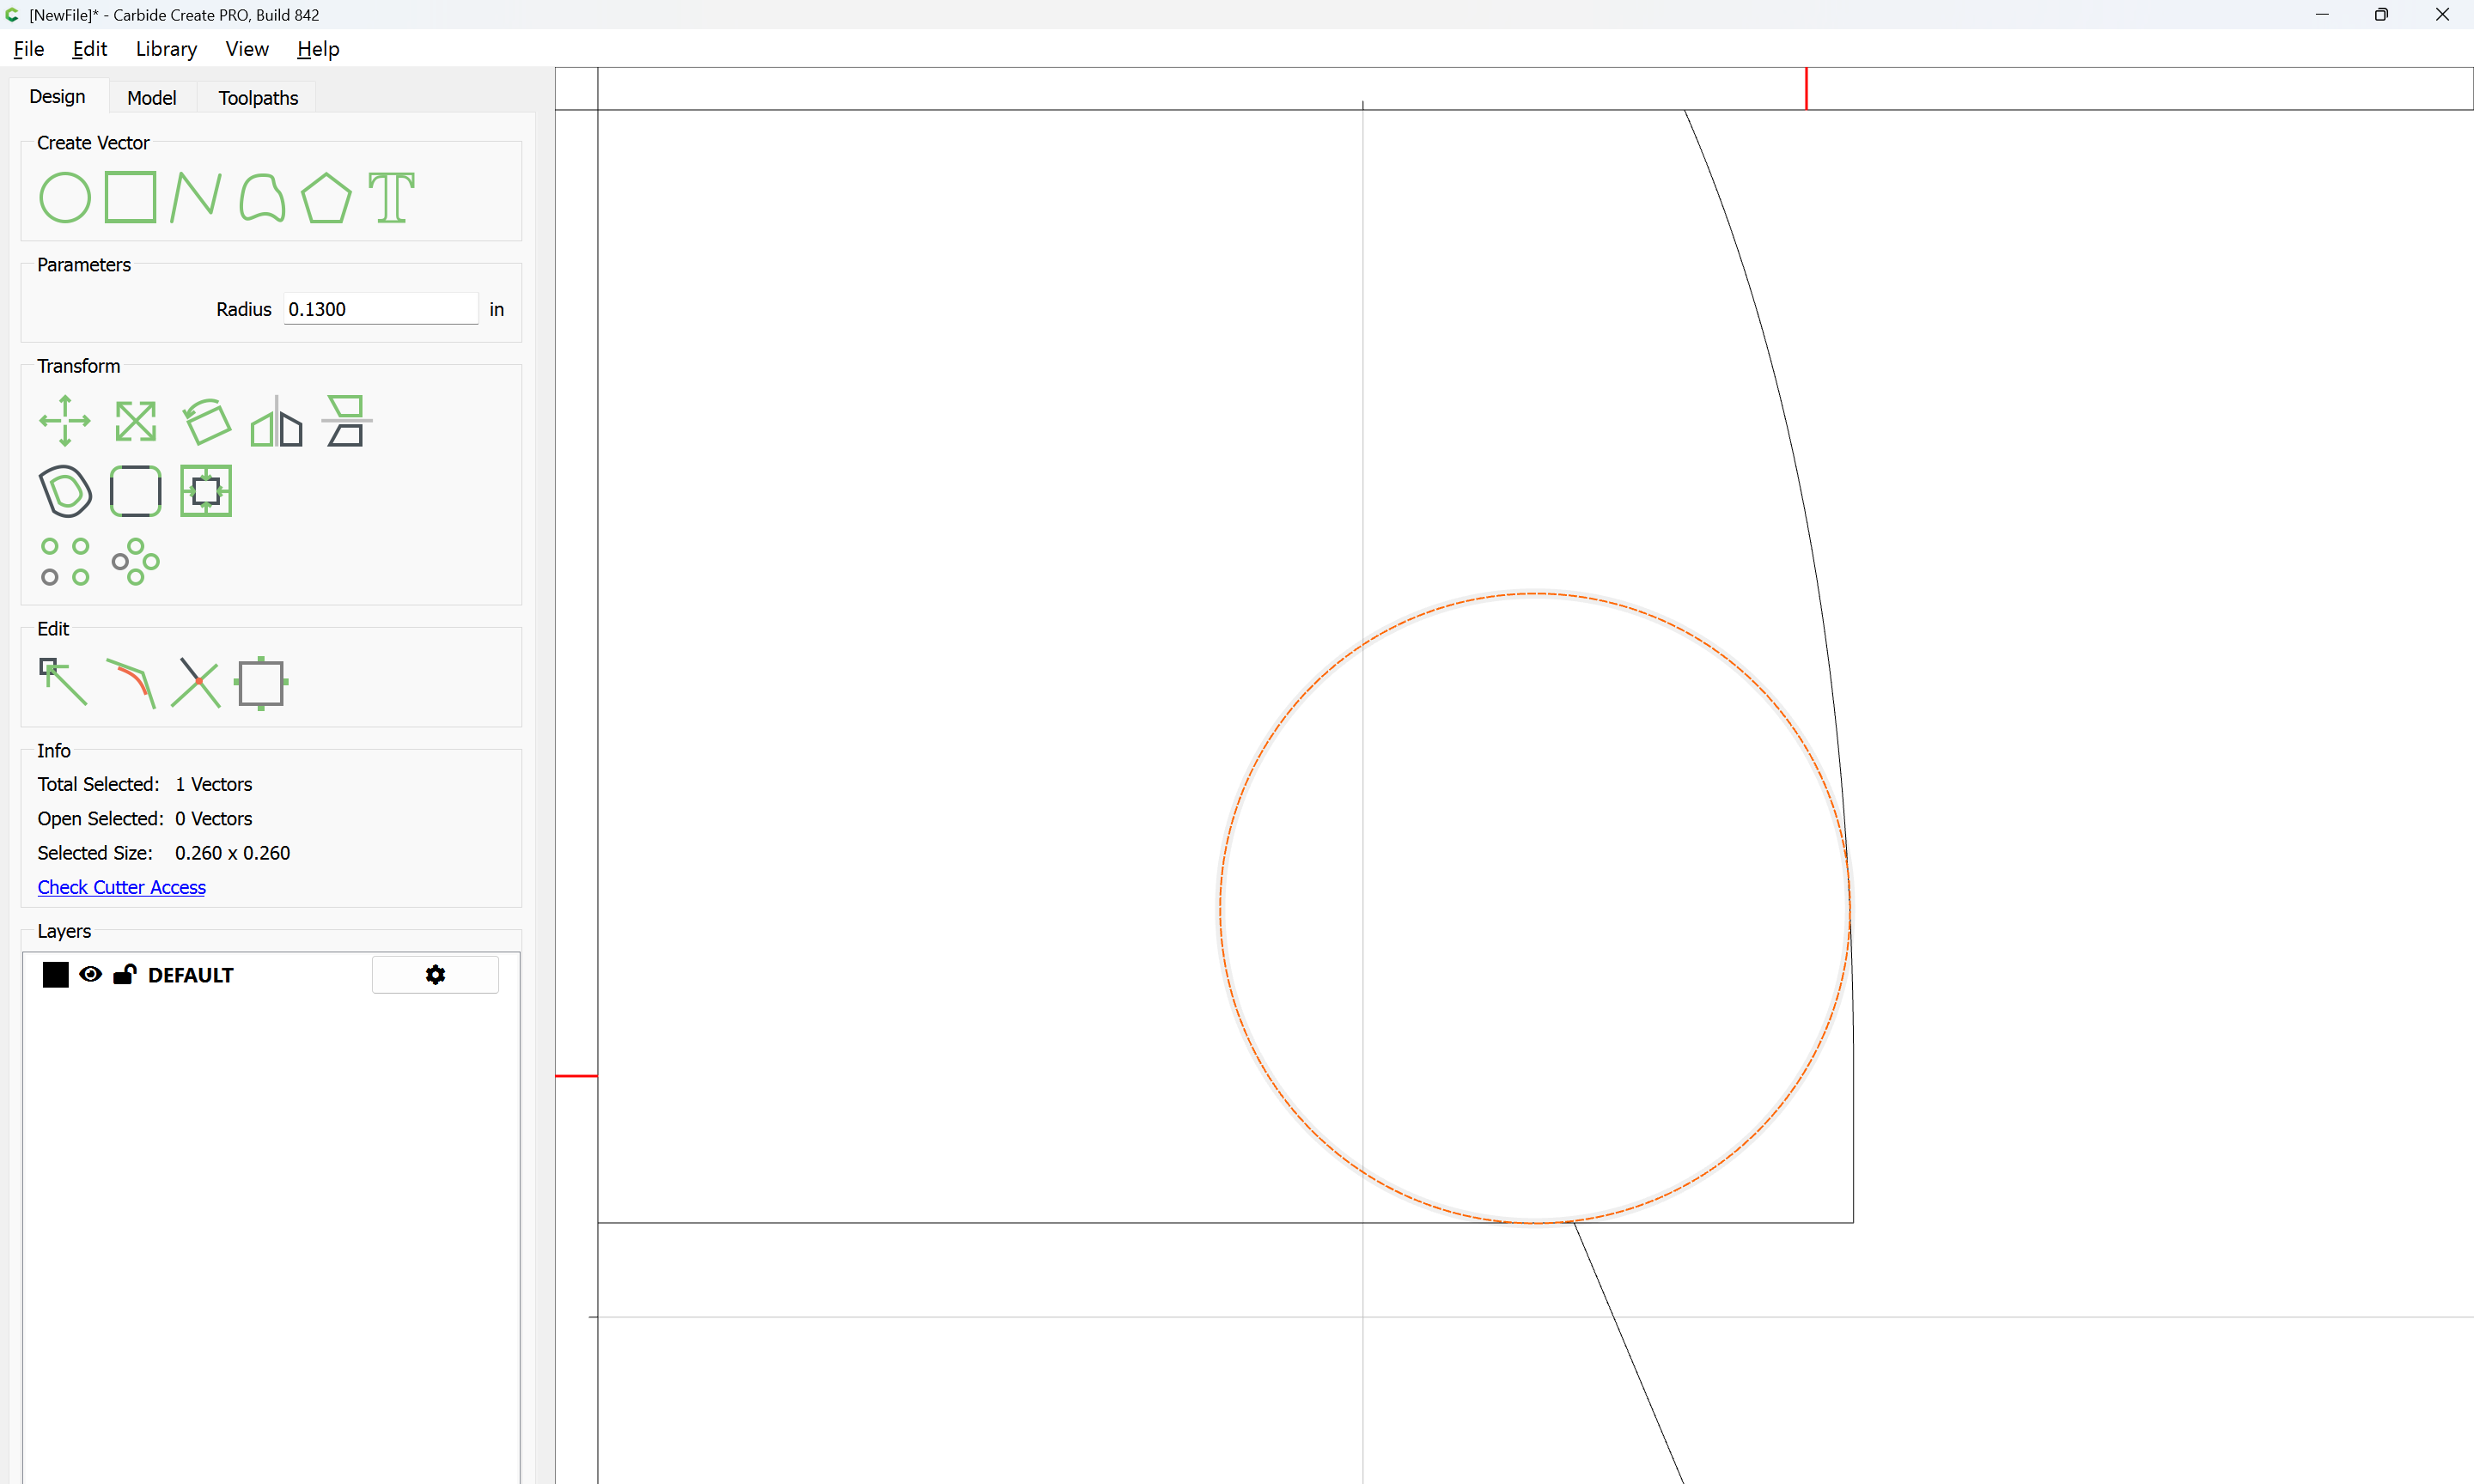
Draw a circle of a suitable size:
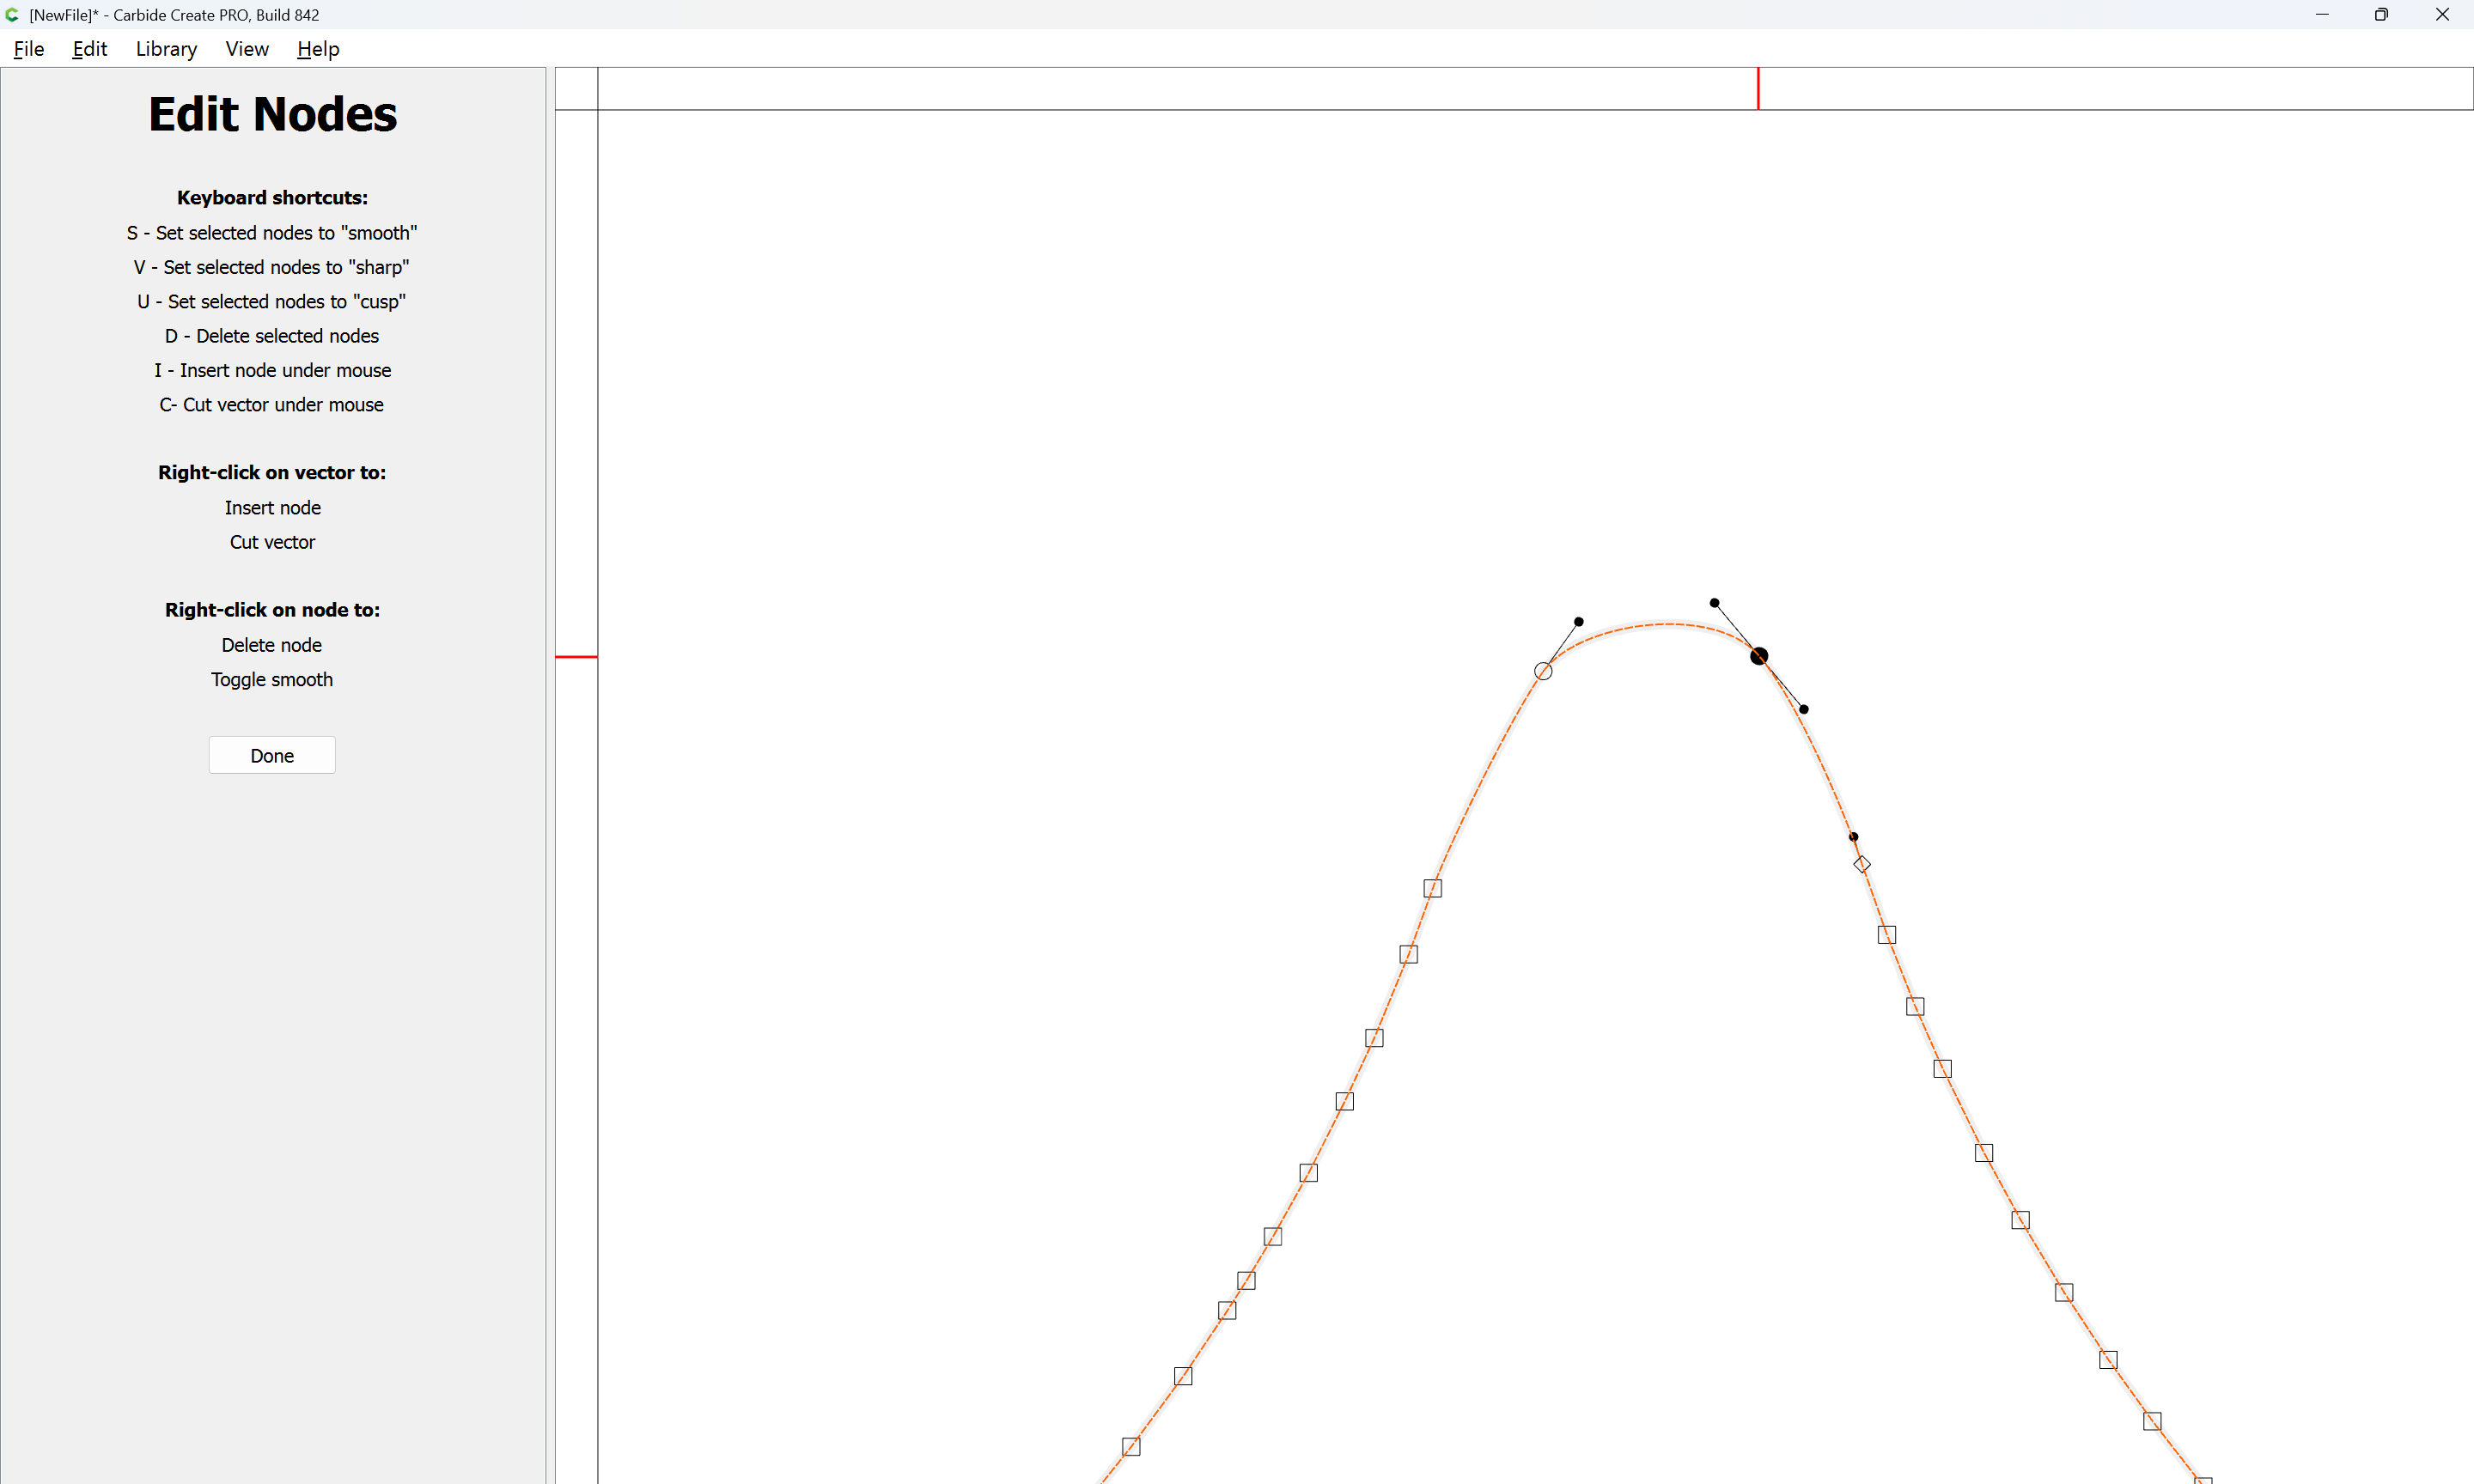
and position it so as to either use as a guide for Node Editing, or an element for Trim Vectors:
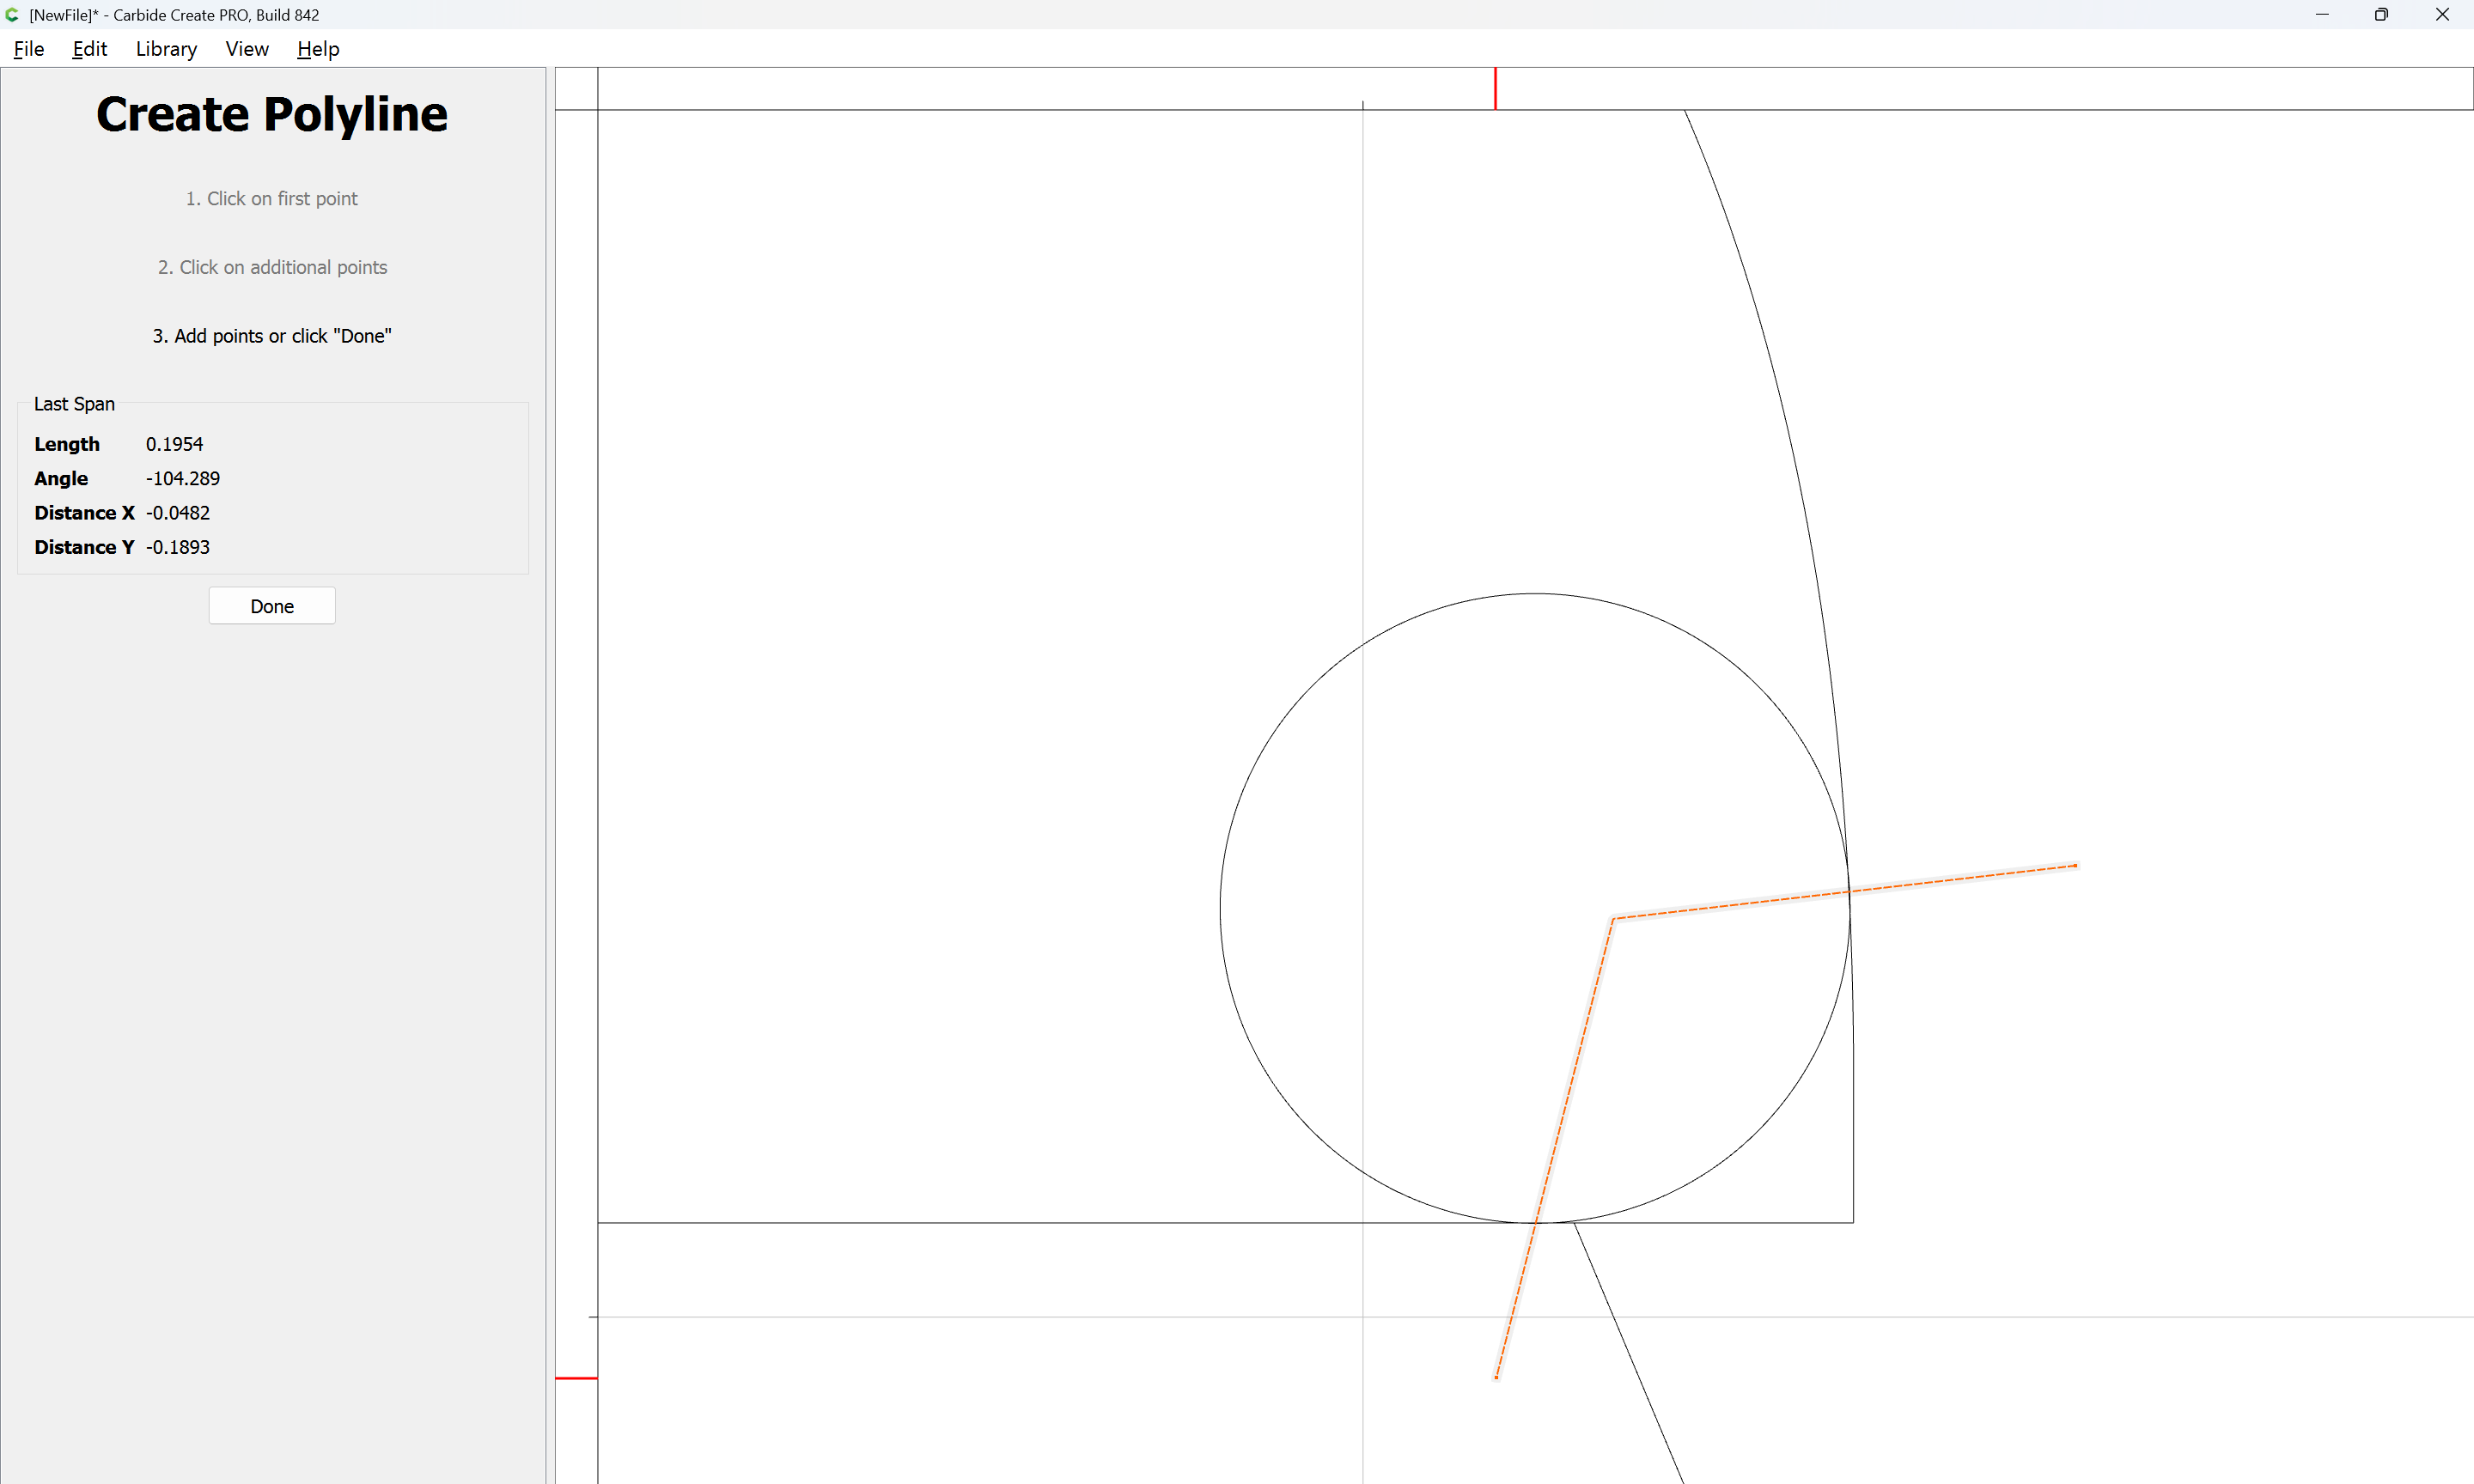
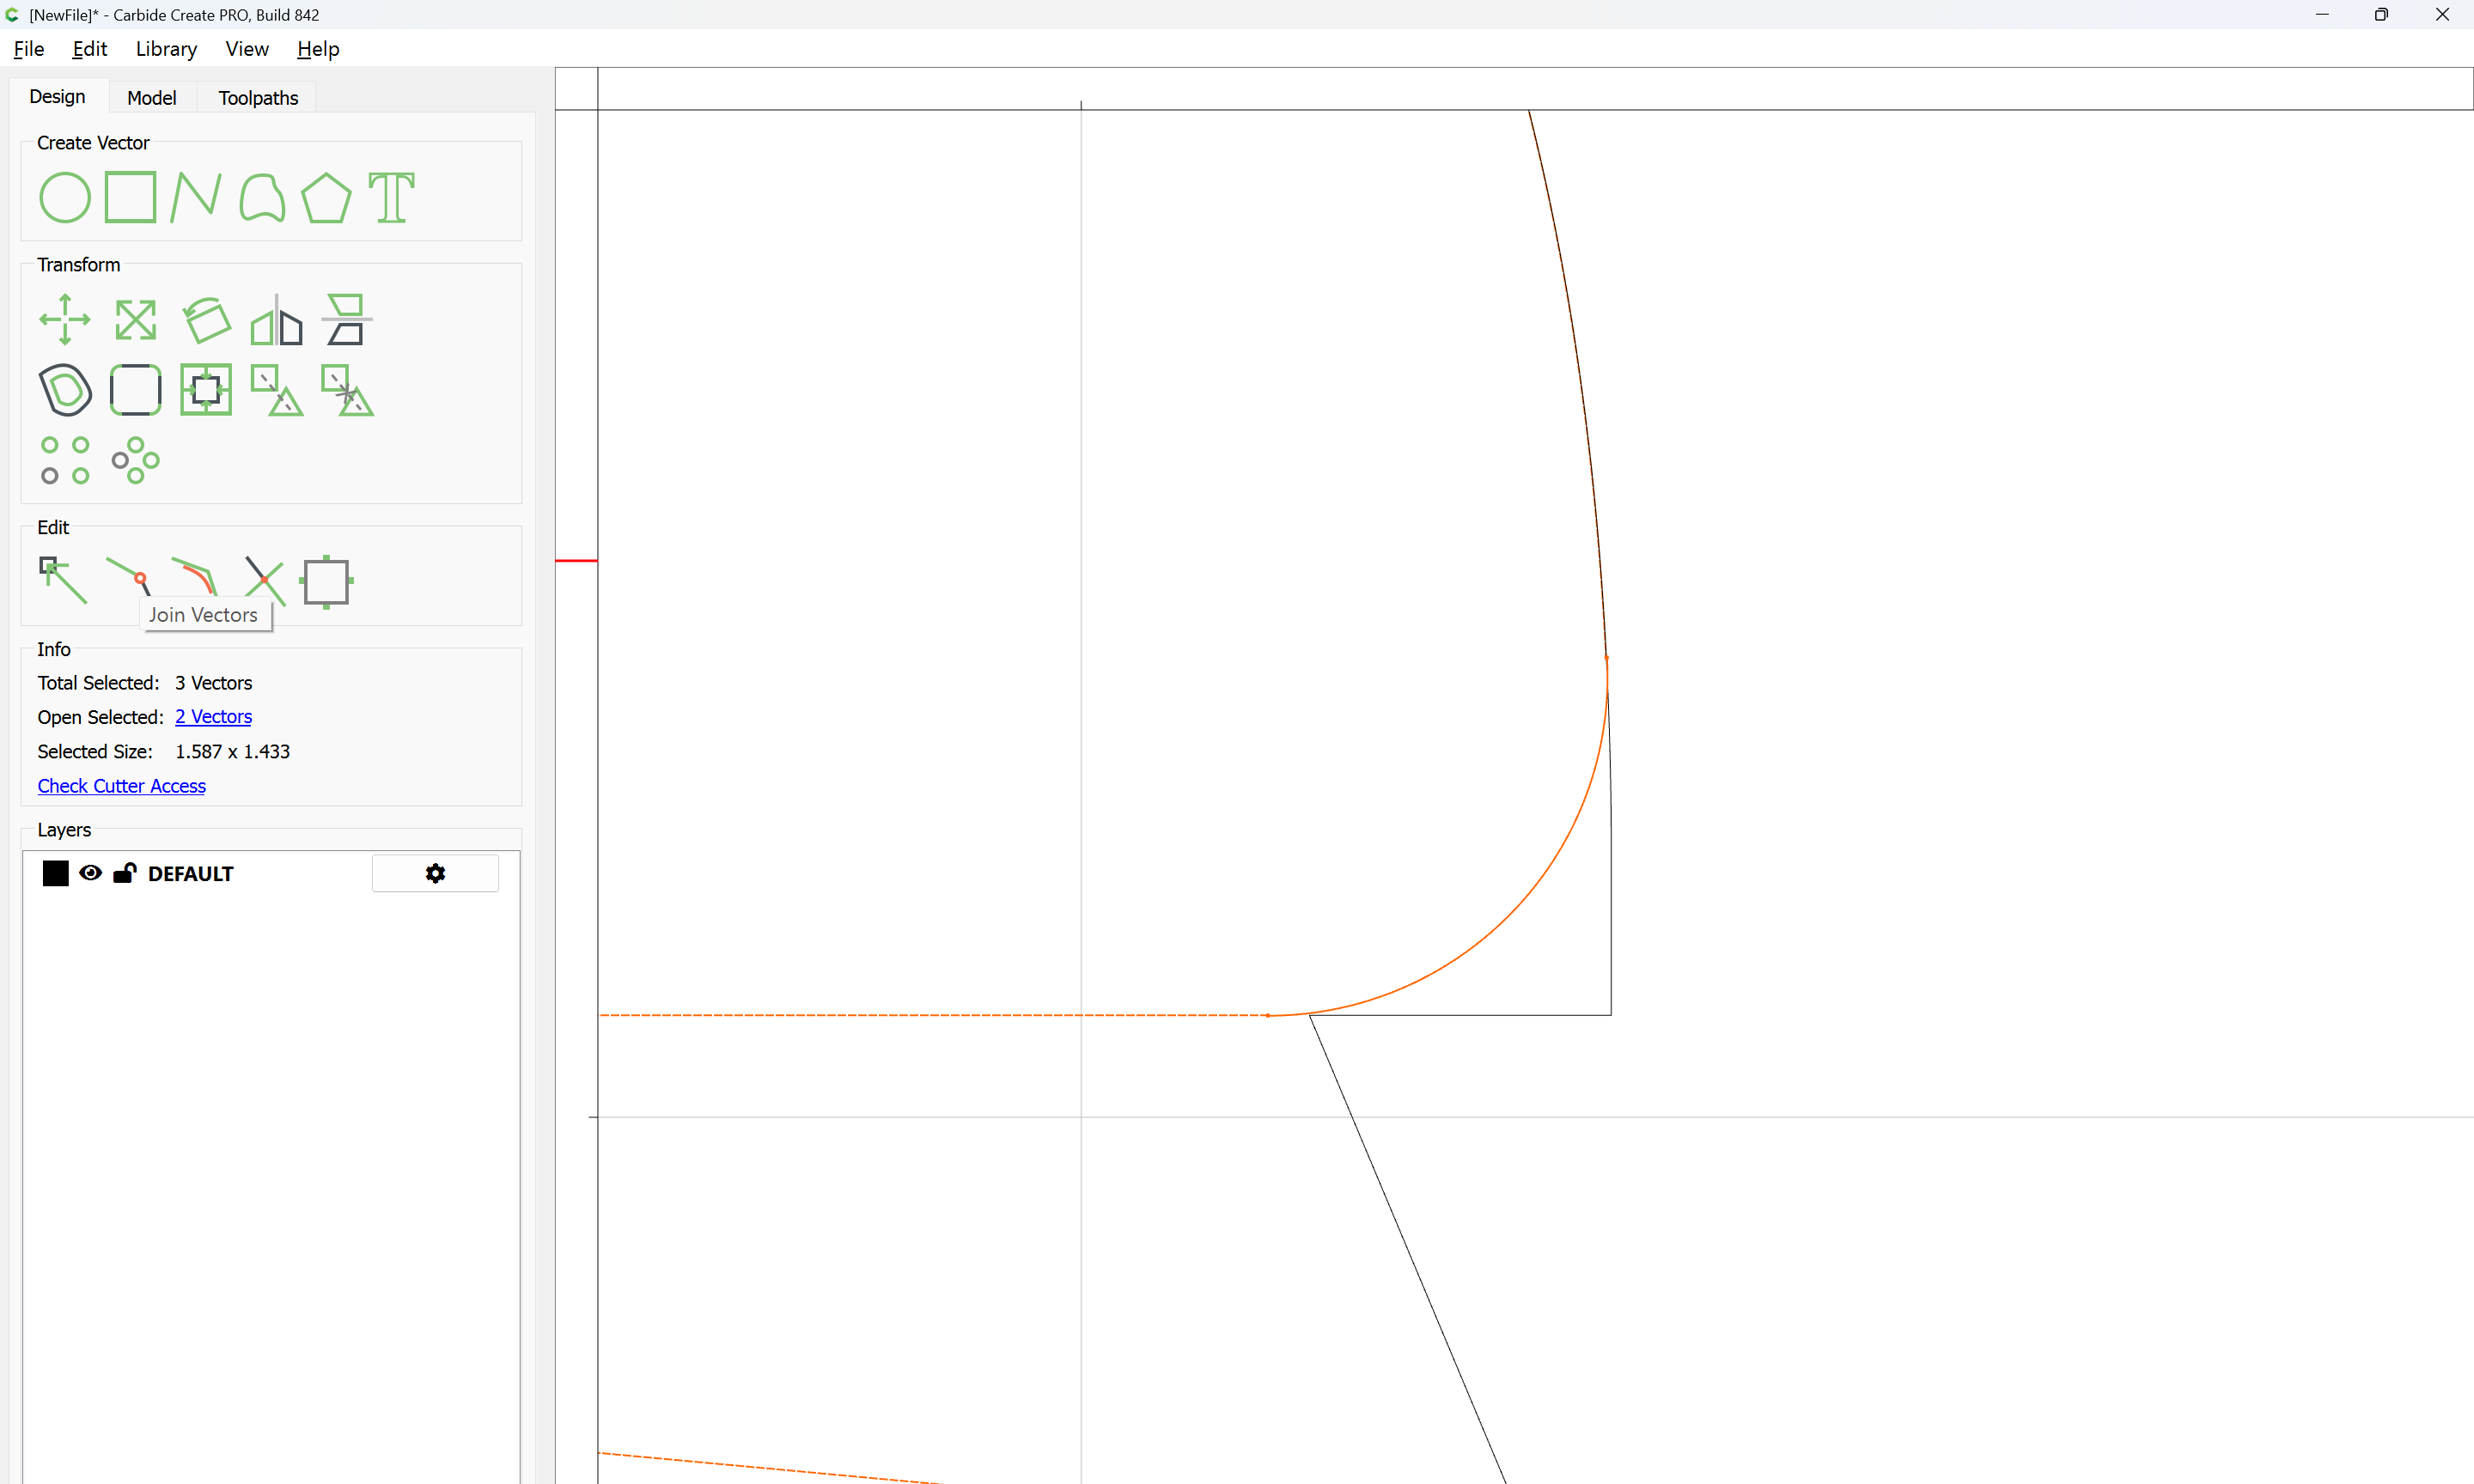
for the latter, draw in geometry to define where things will meet:
Done
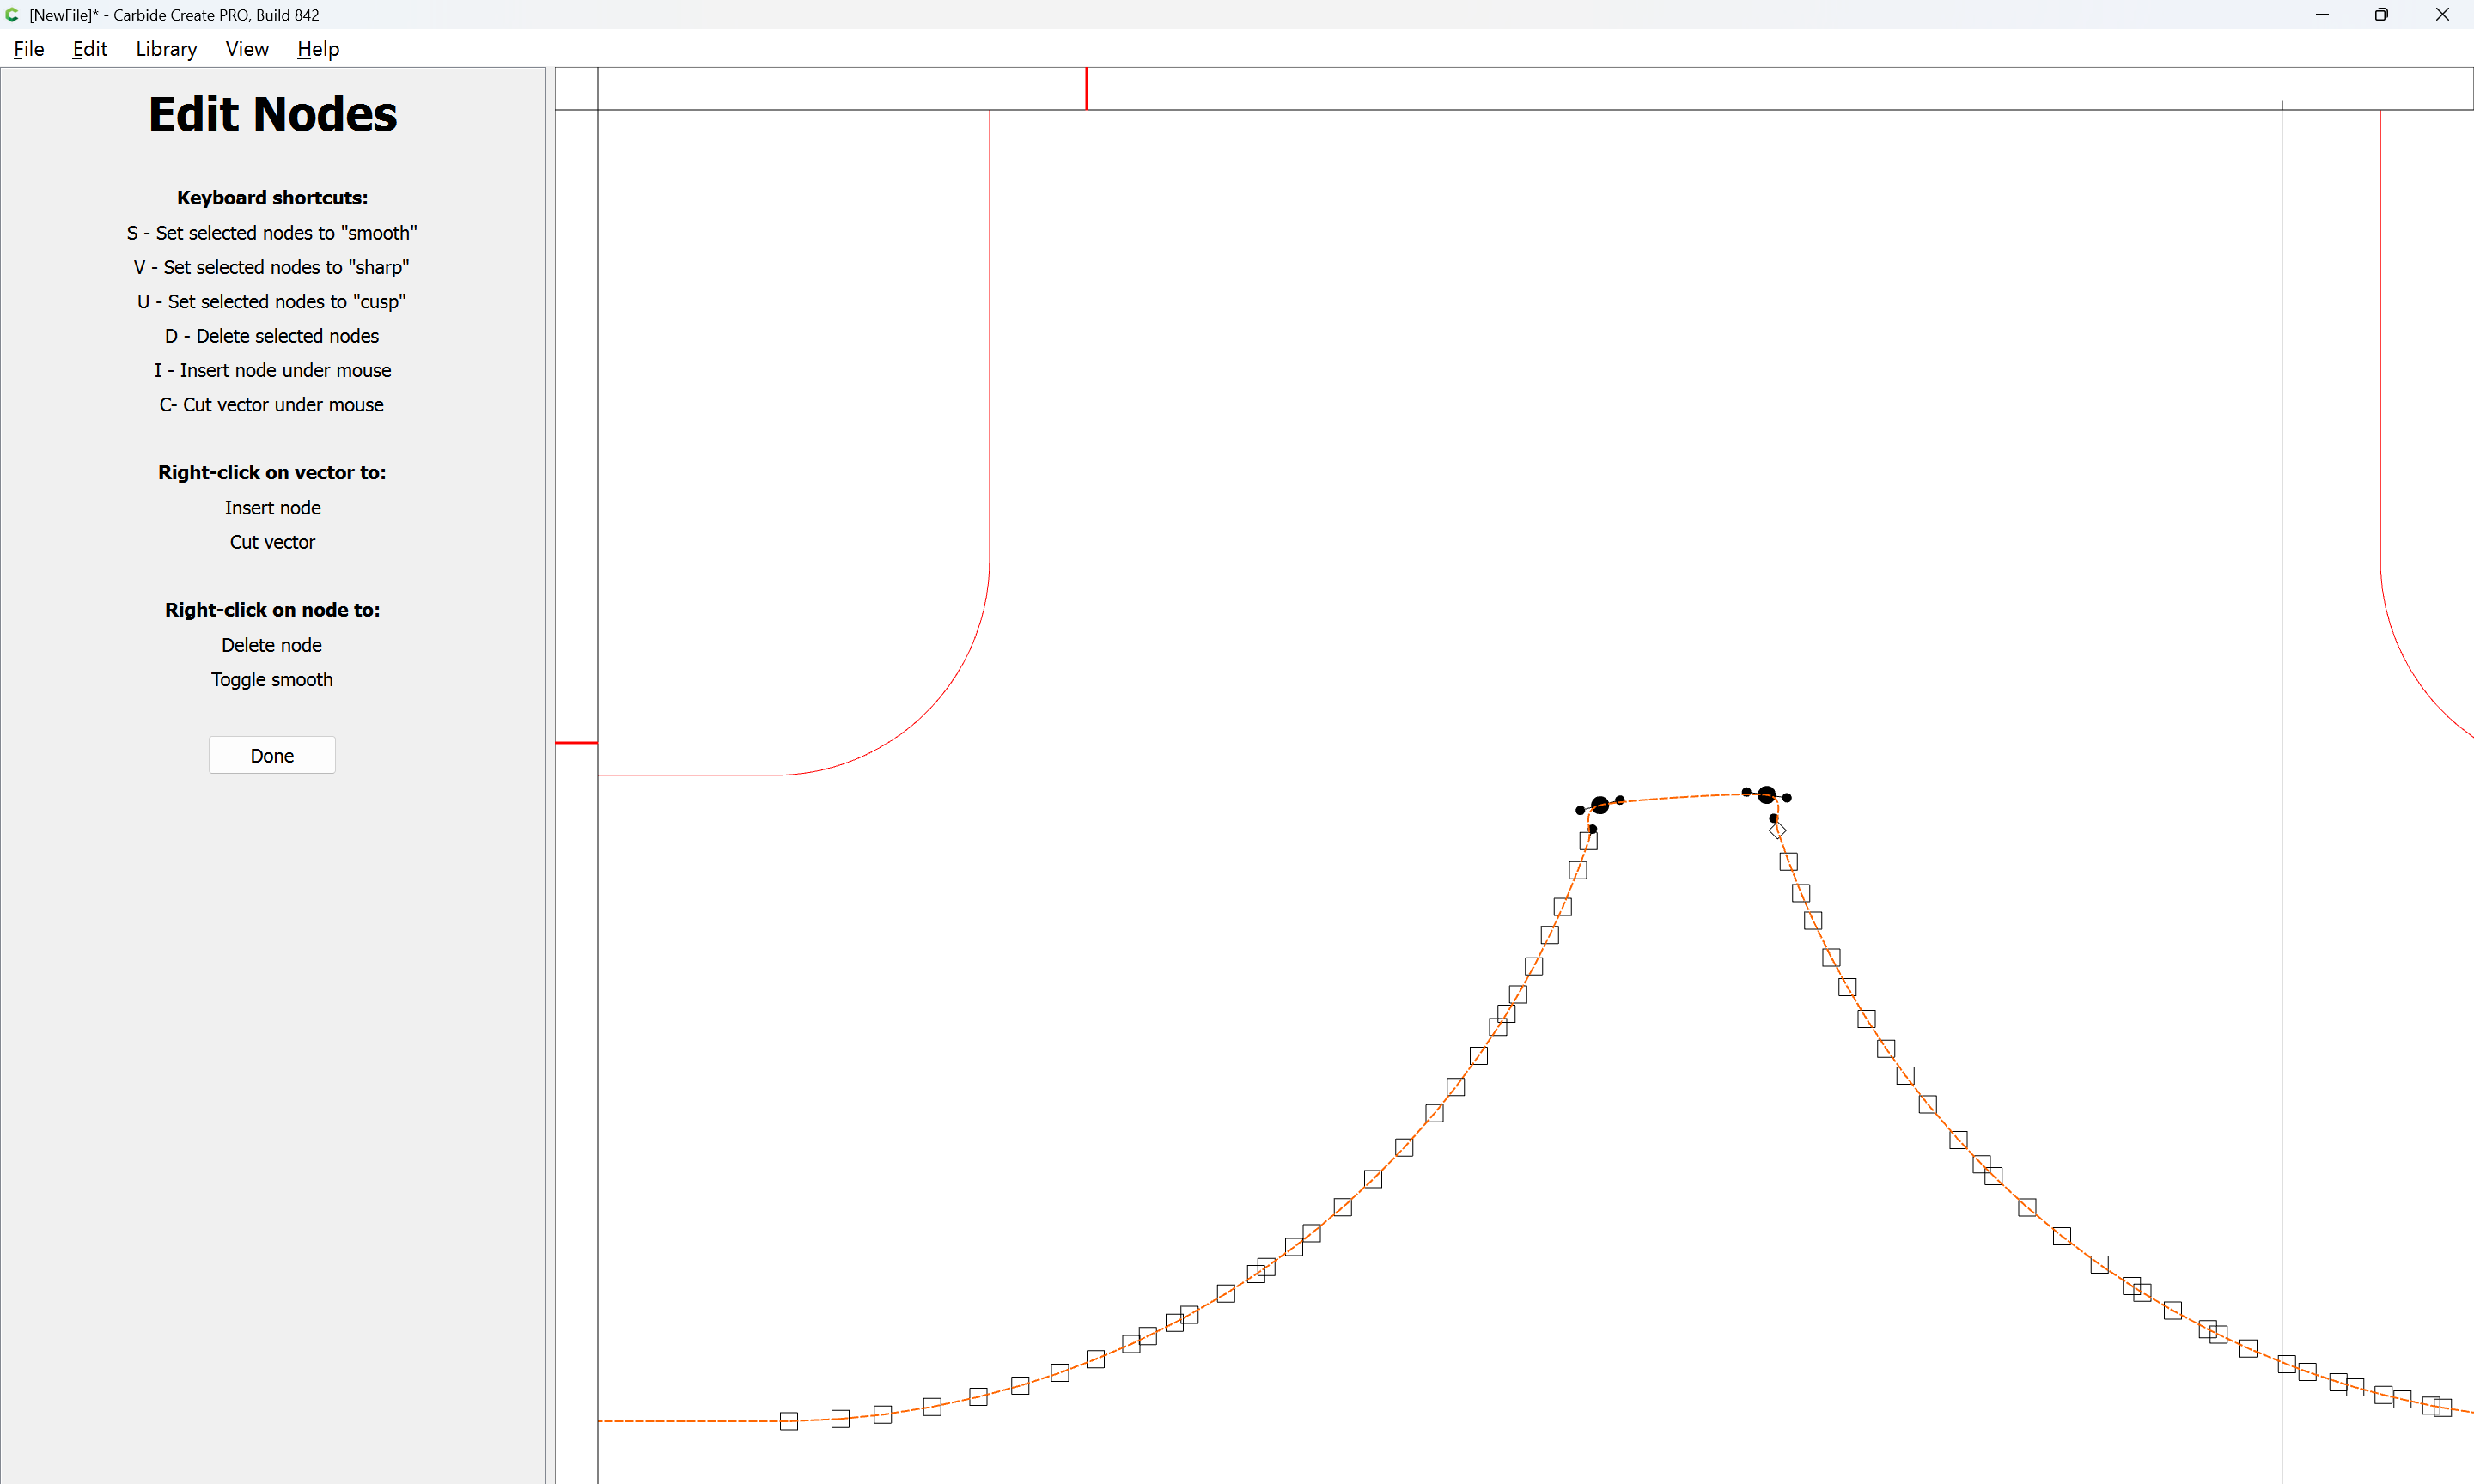
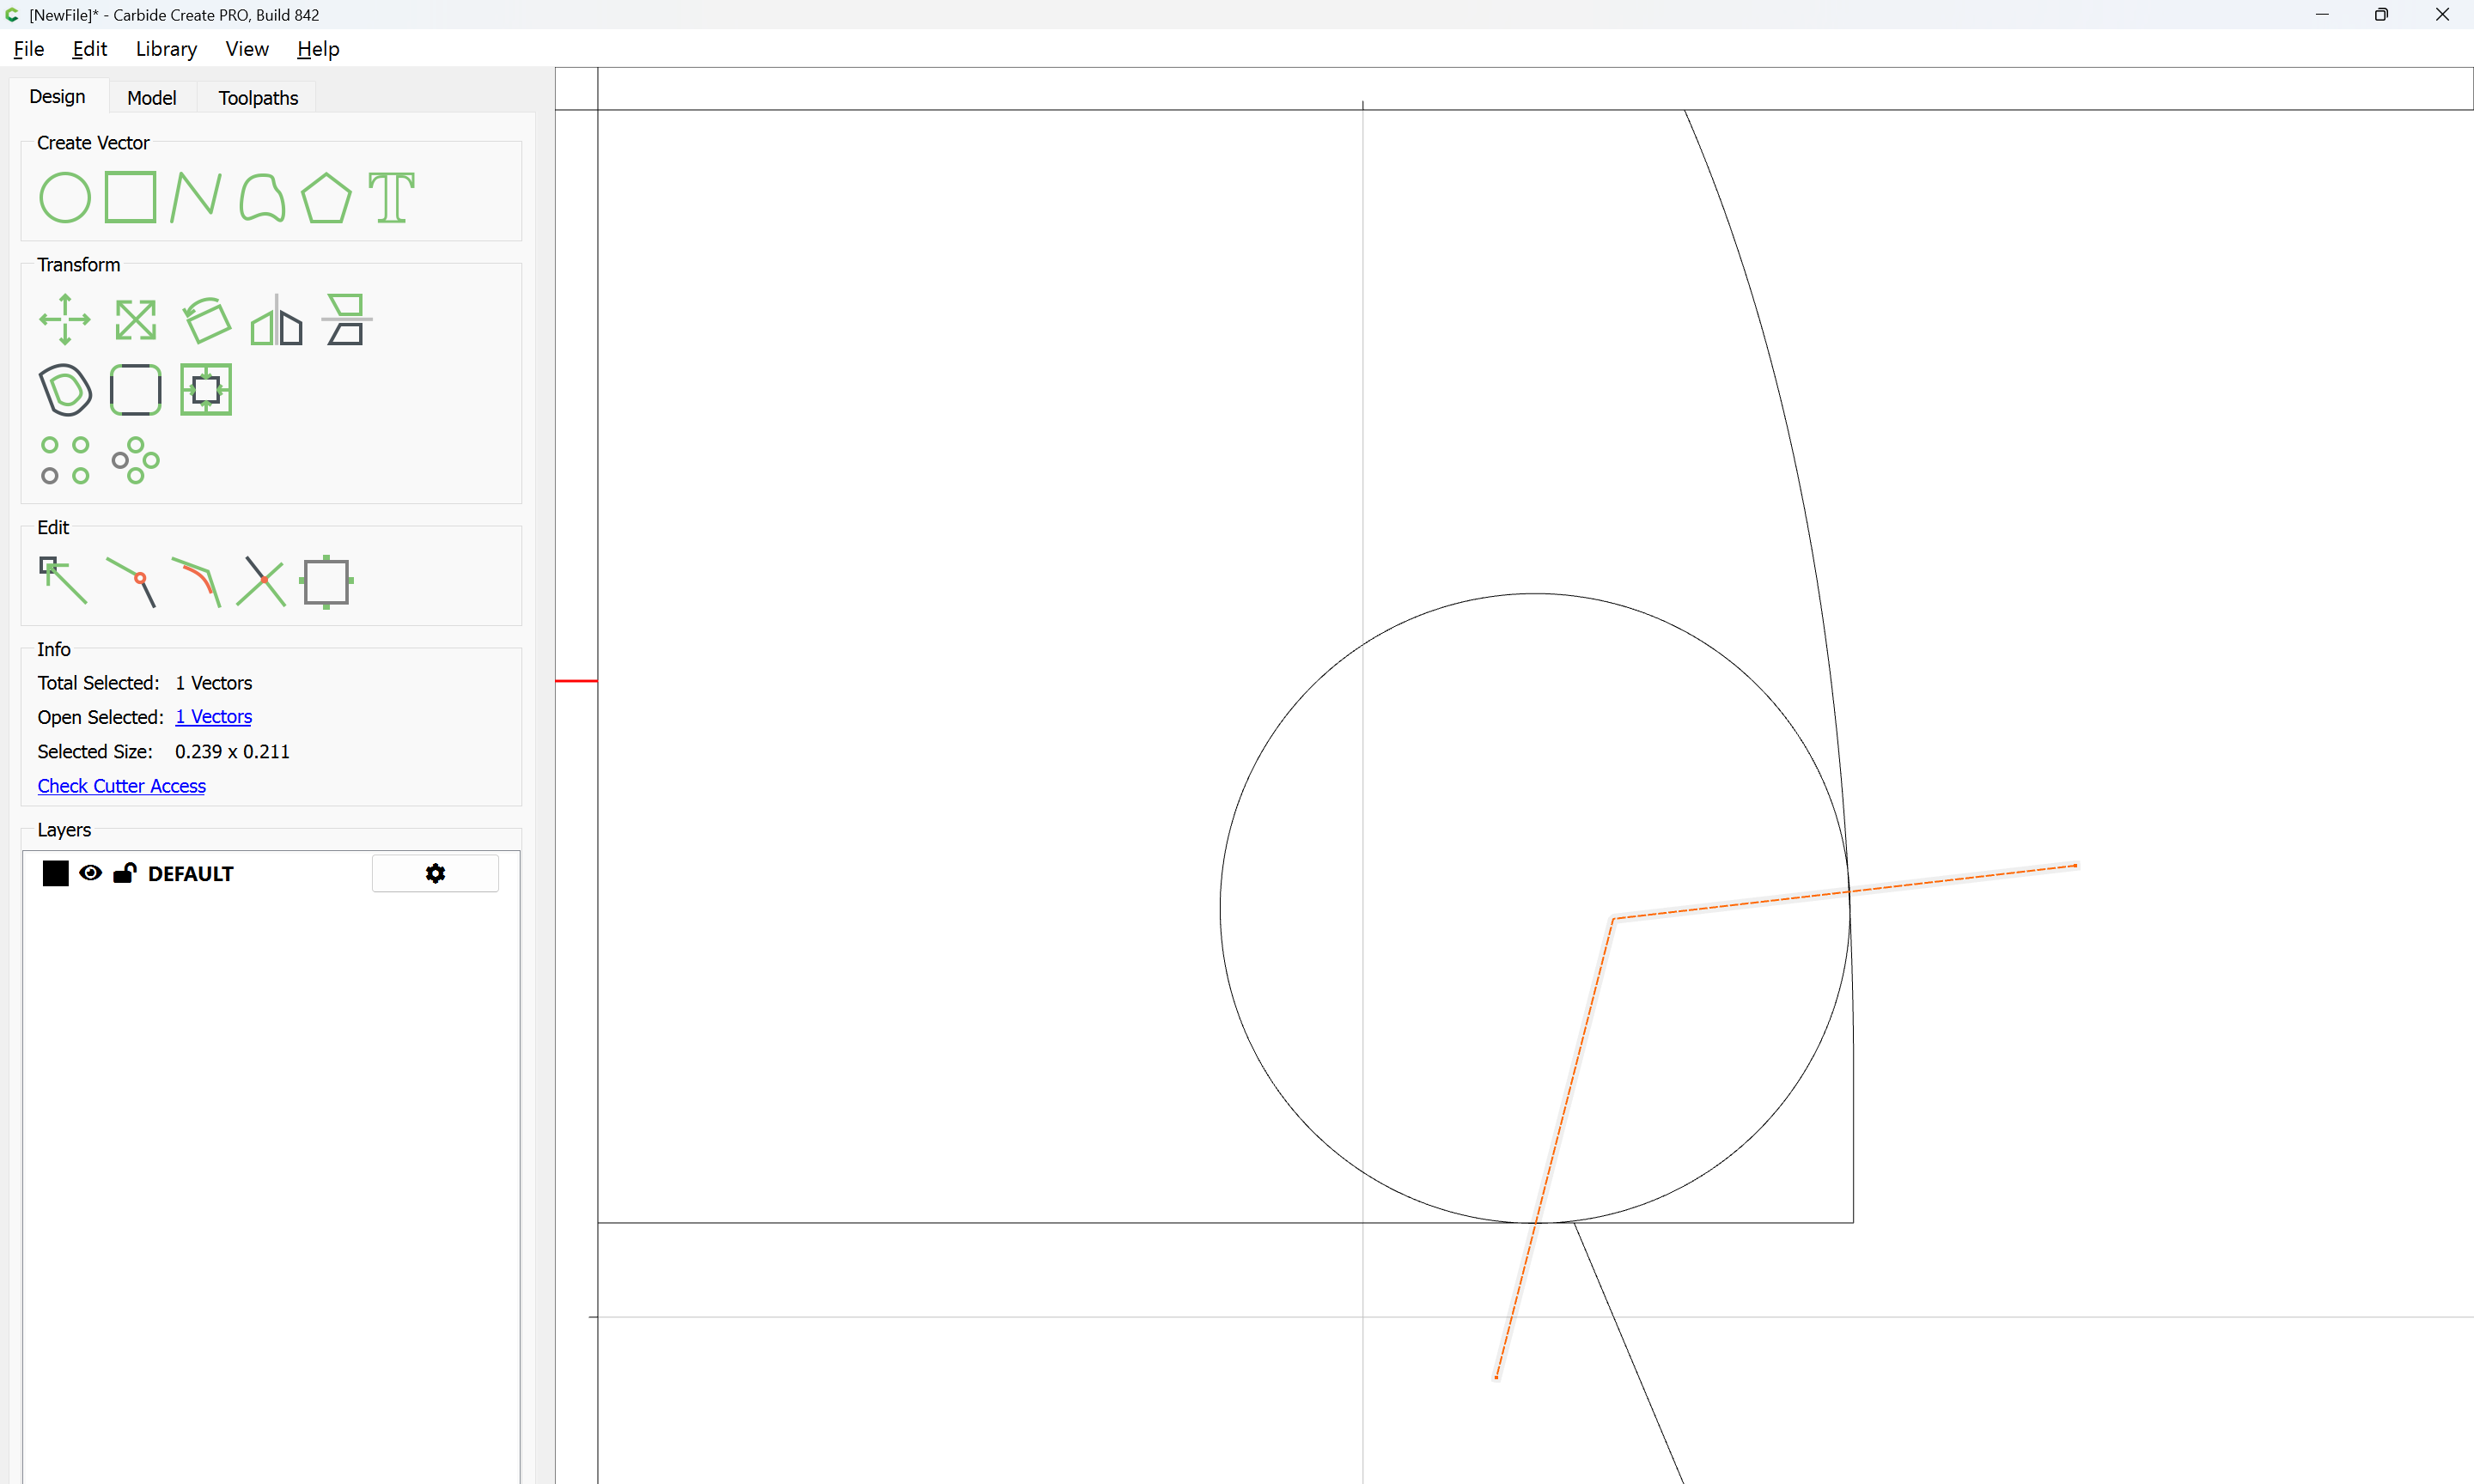
Then add one of the elements to the selection:
and use Trim Vectors to remove what is not wanted:
OK
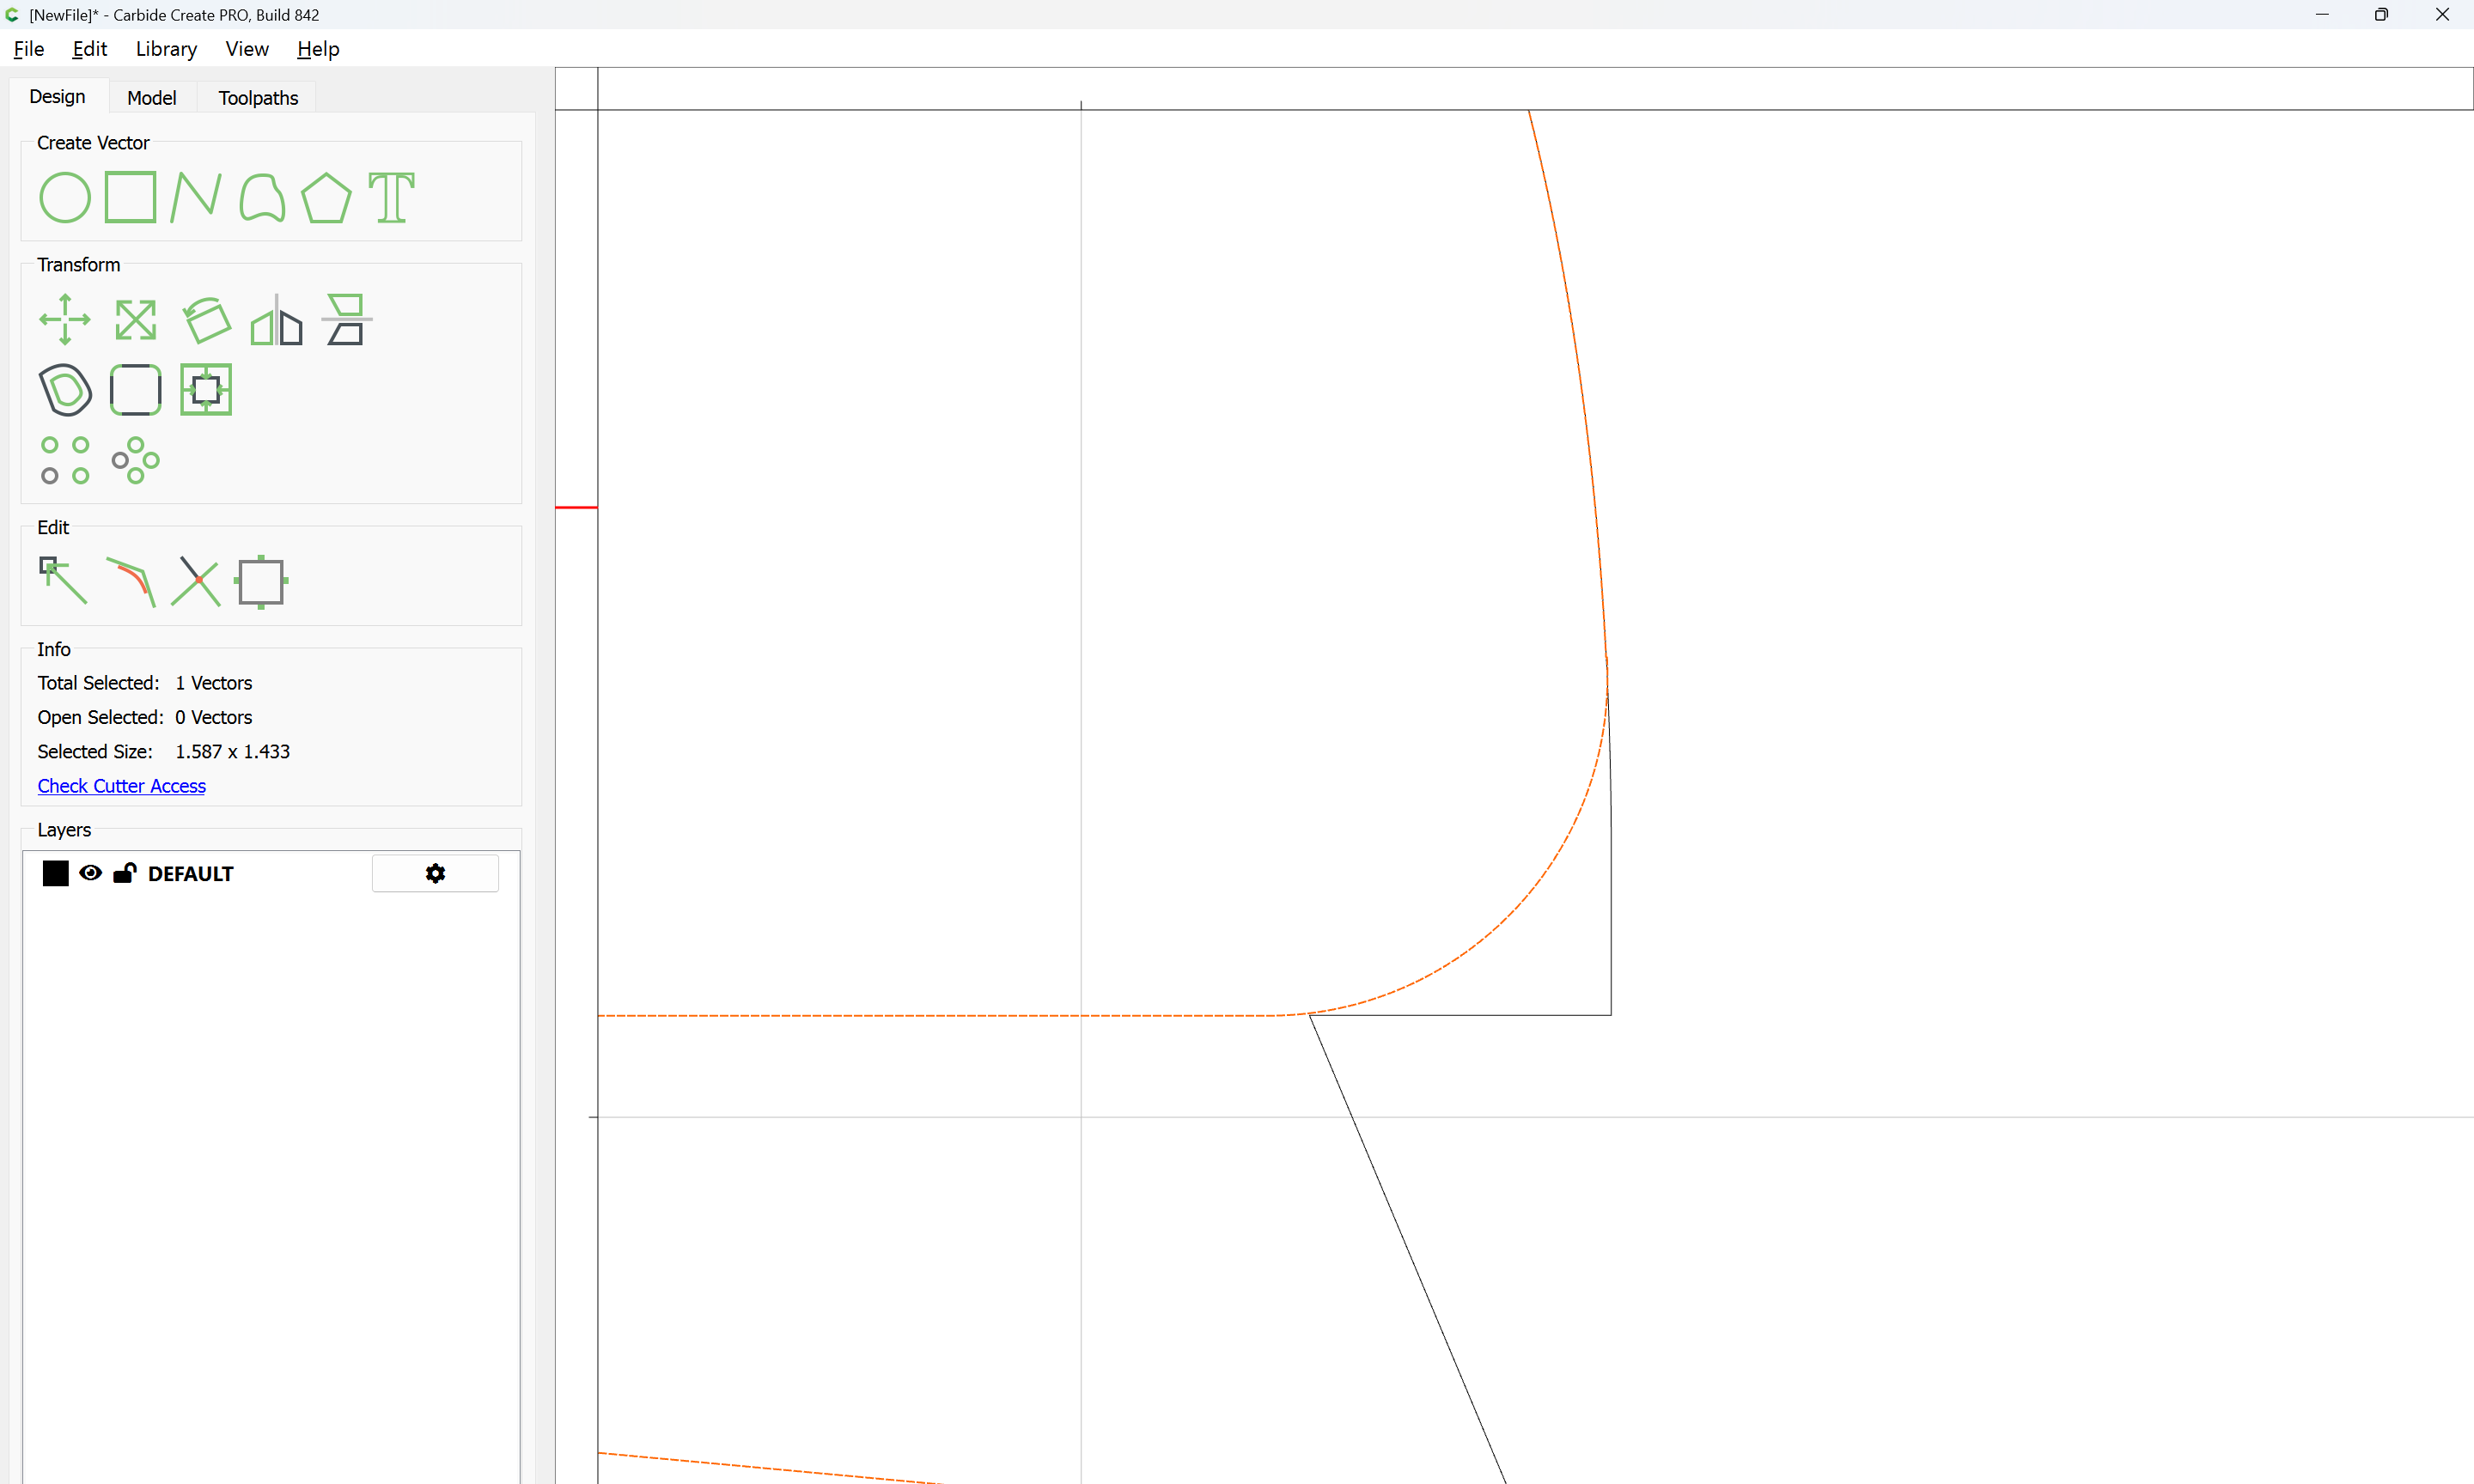
and repeat for the other element:
OK
Delete the added geometry:
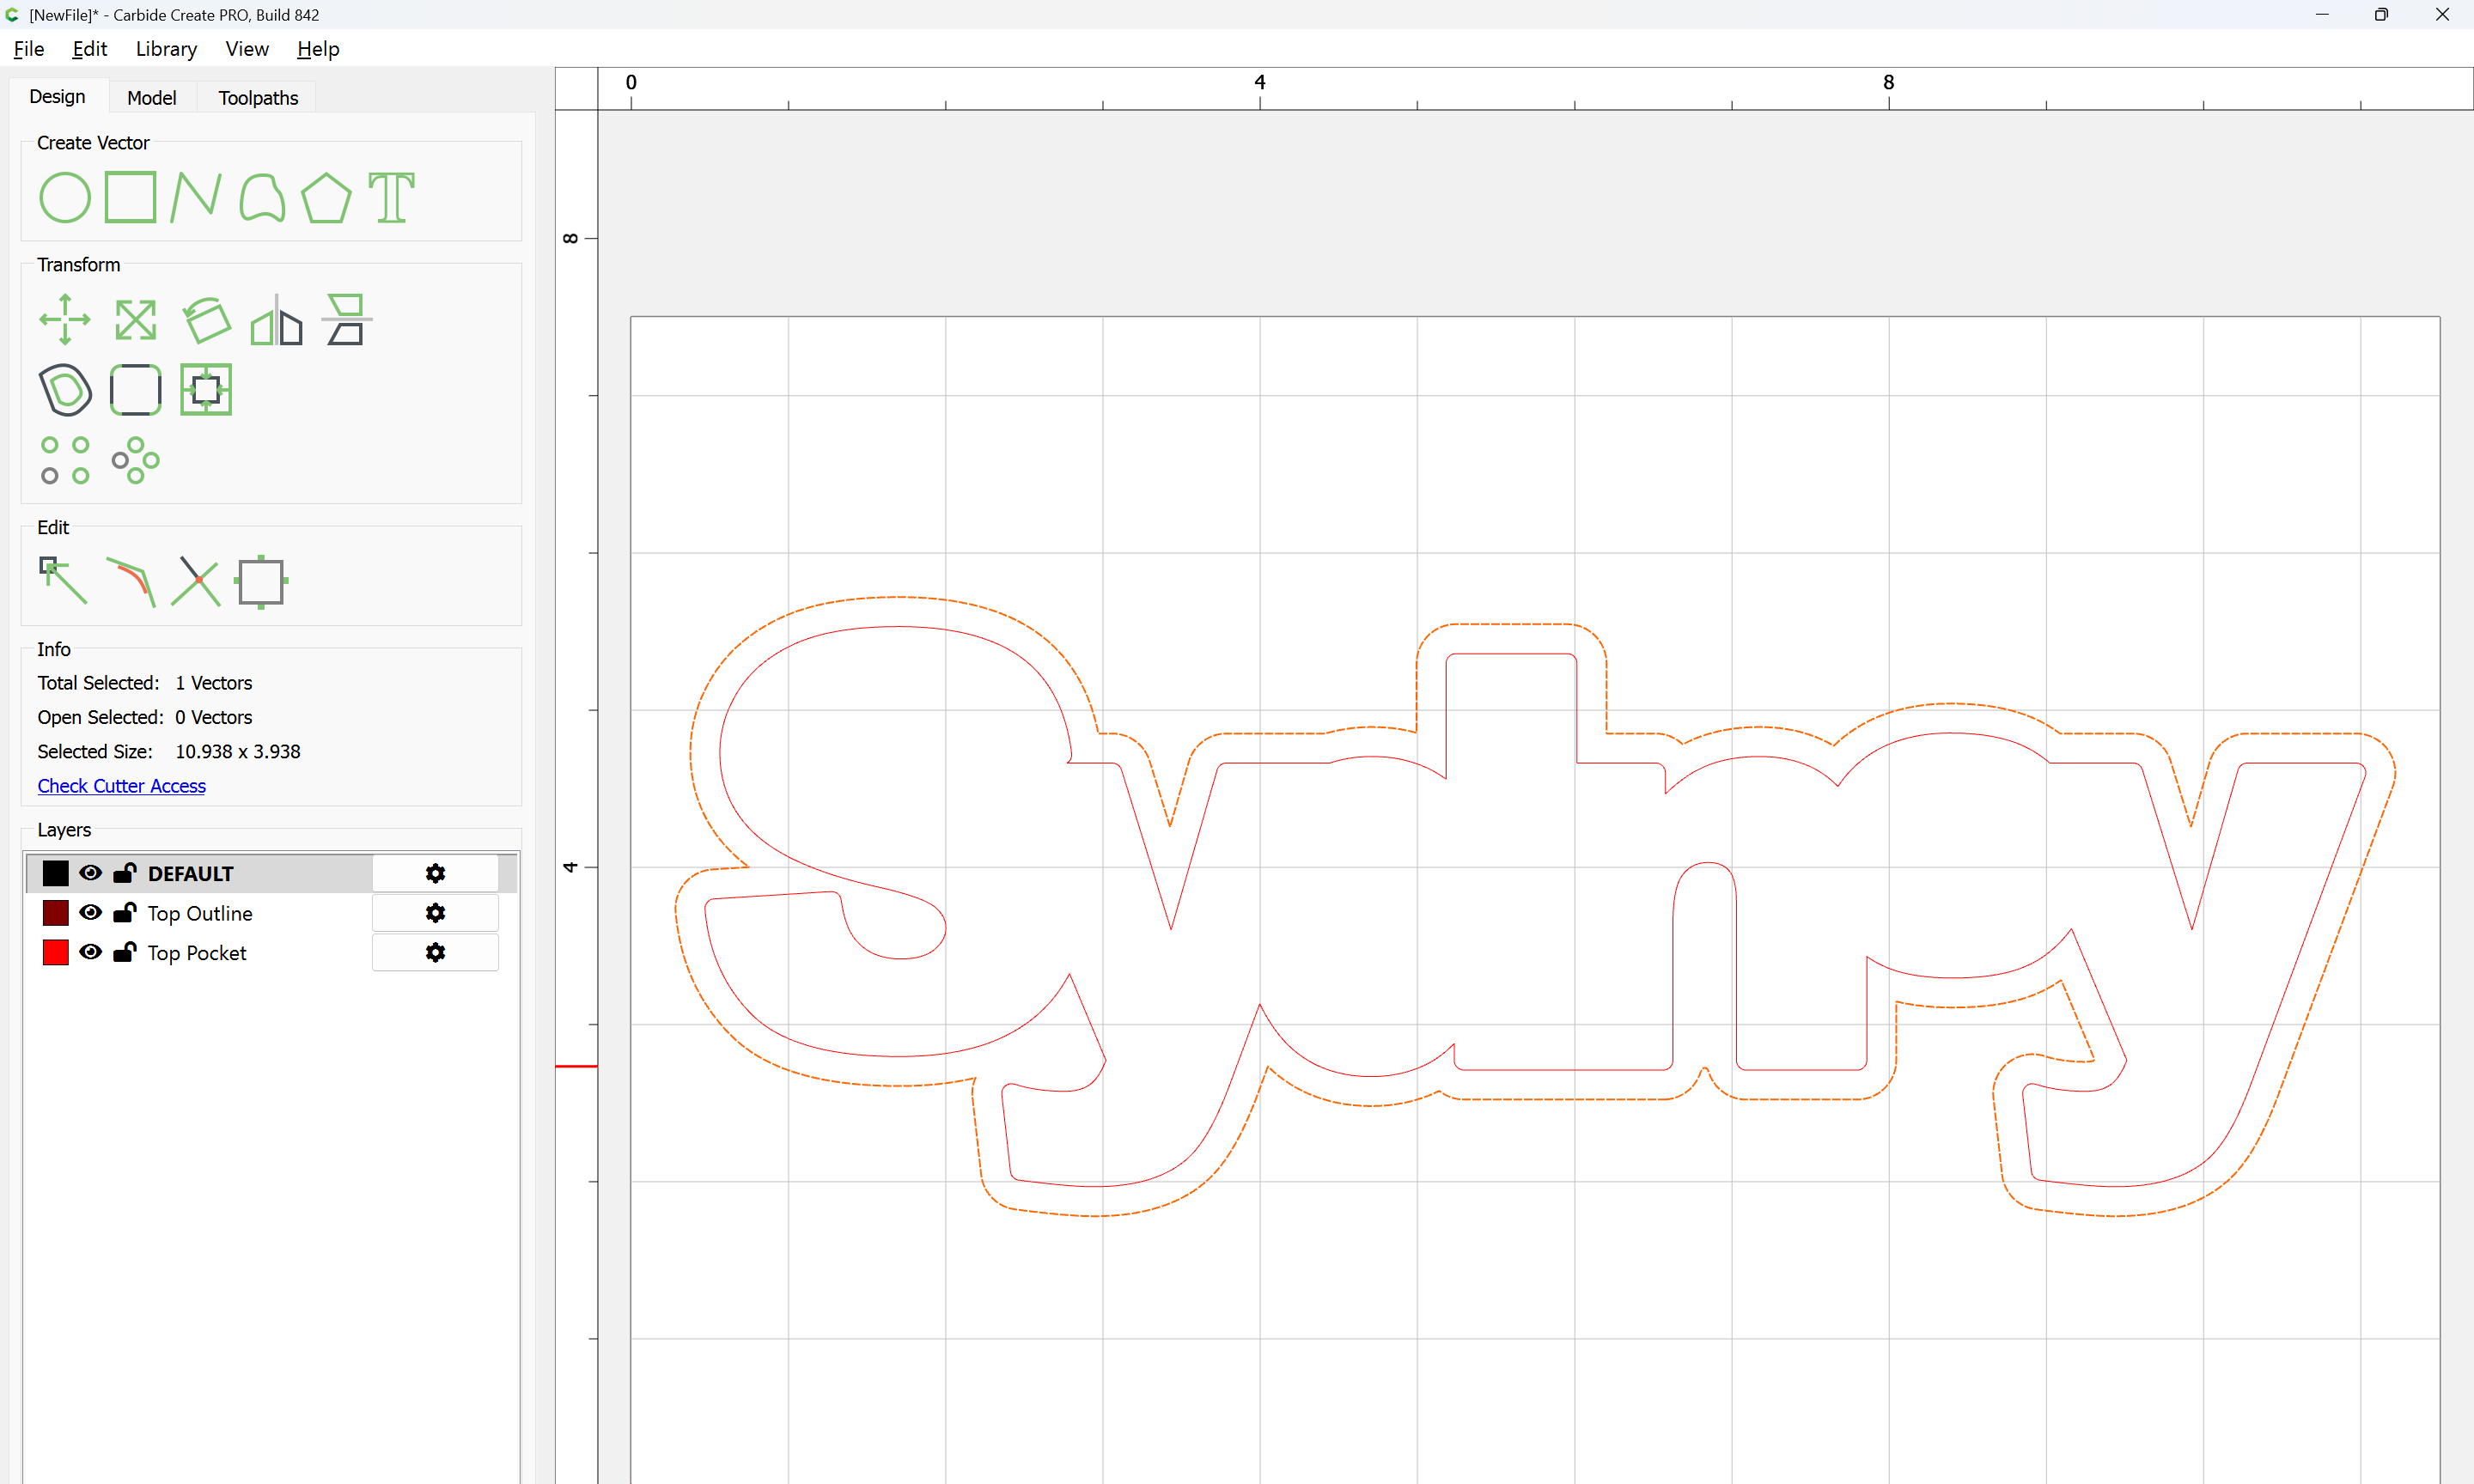
Then select the two open vectors:
and Join Vectors
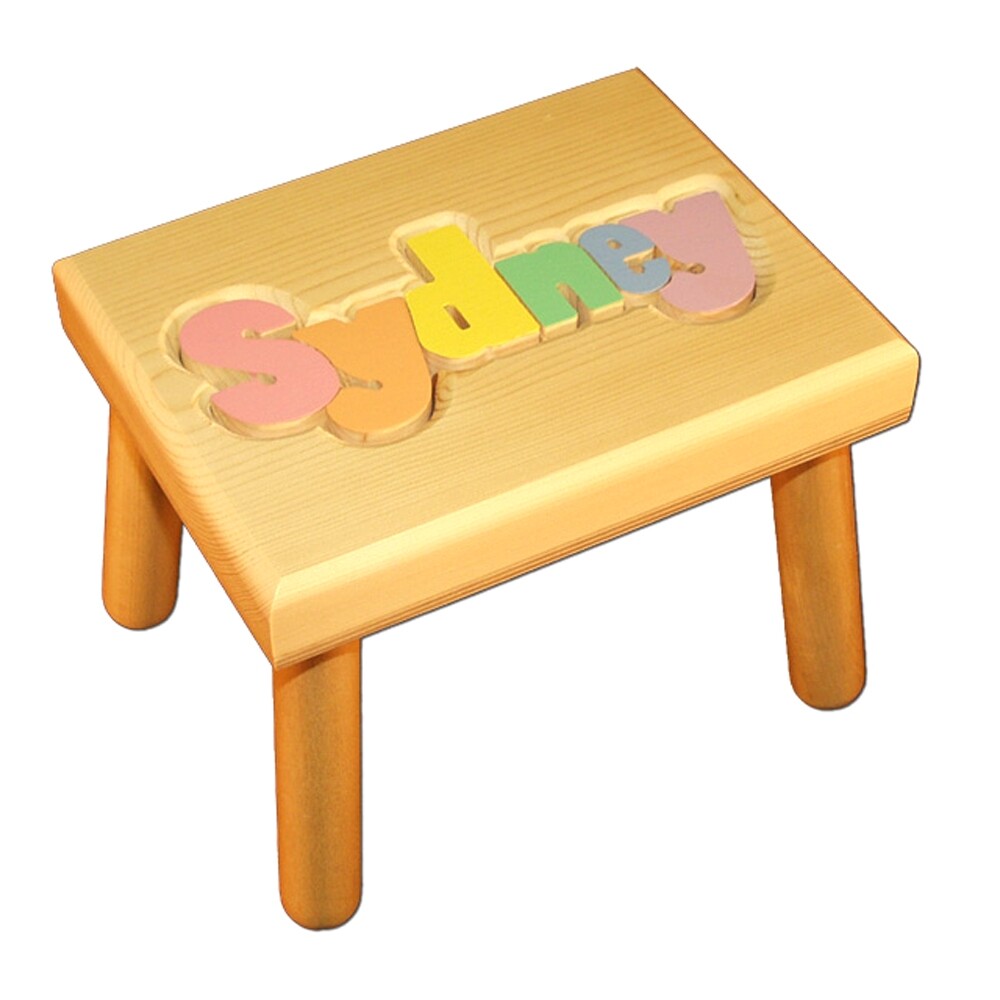
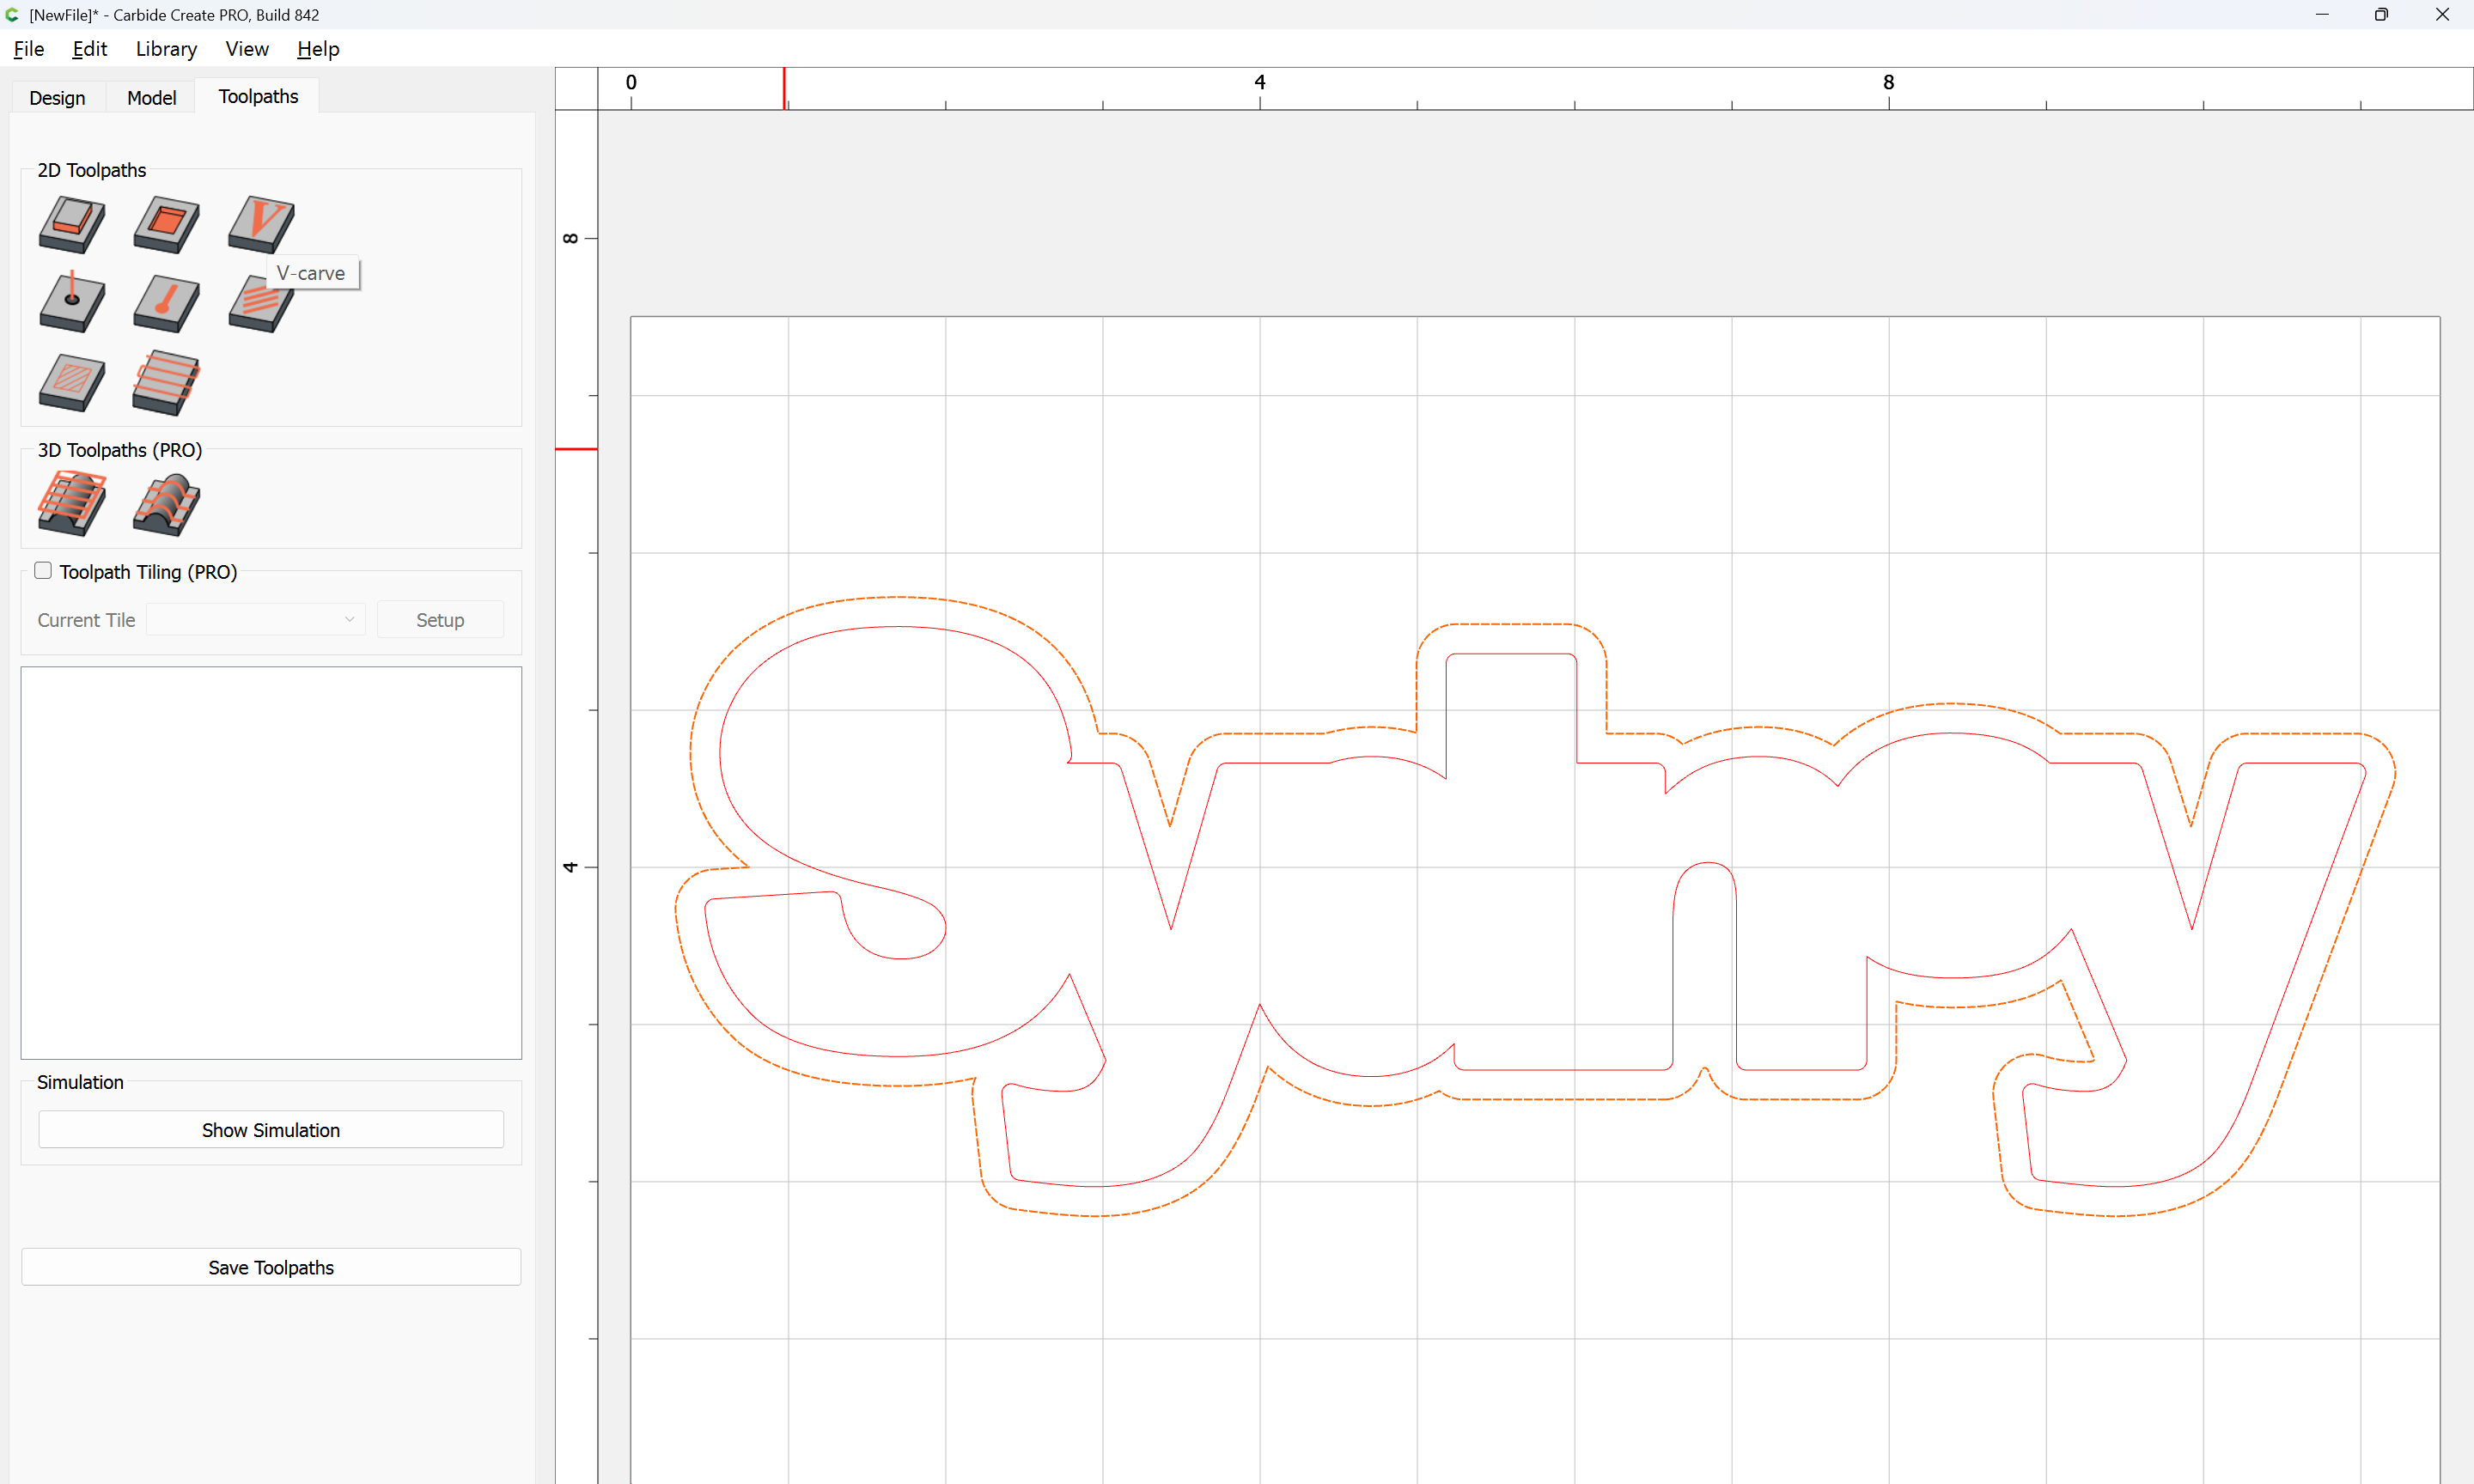
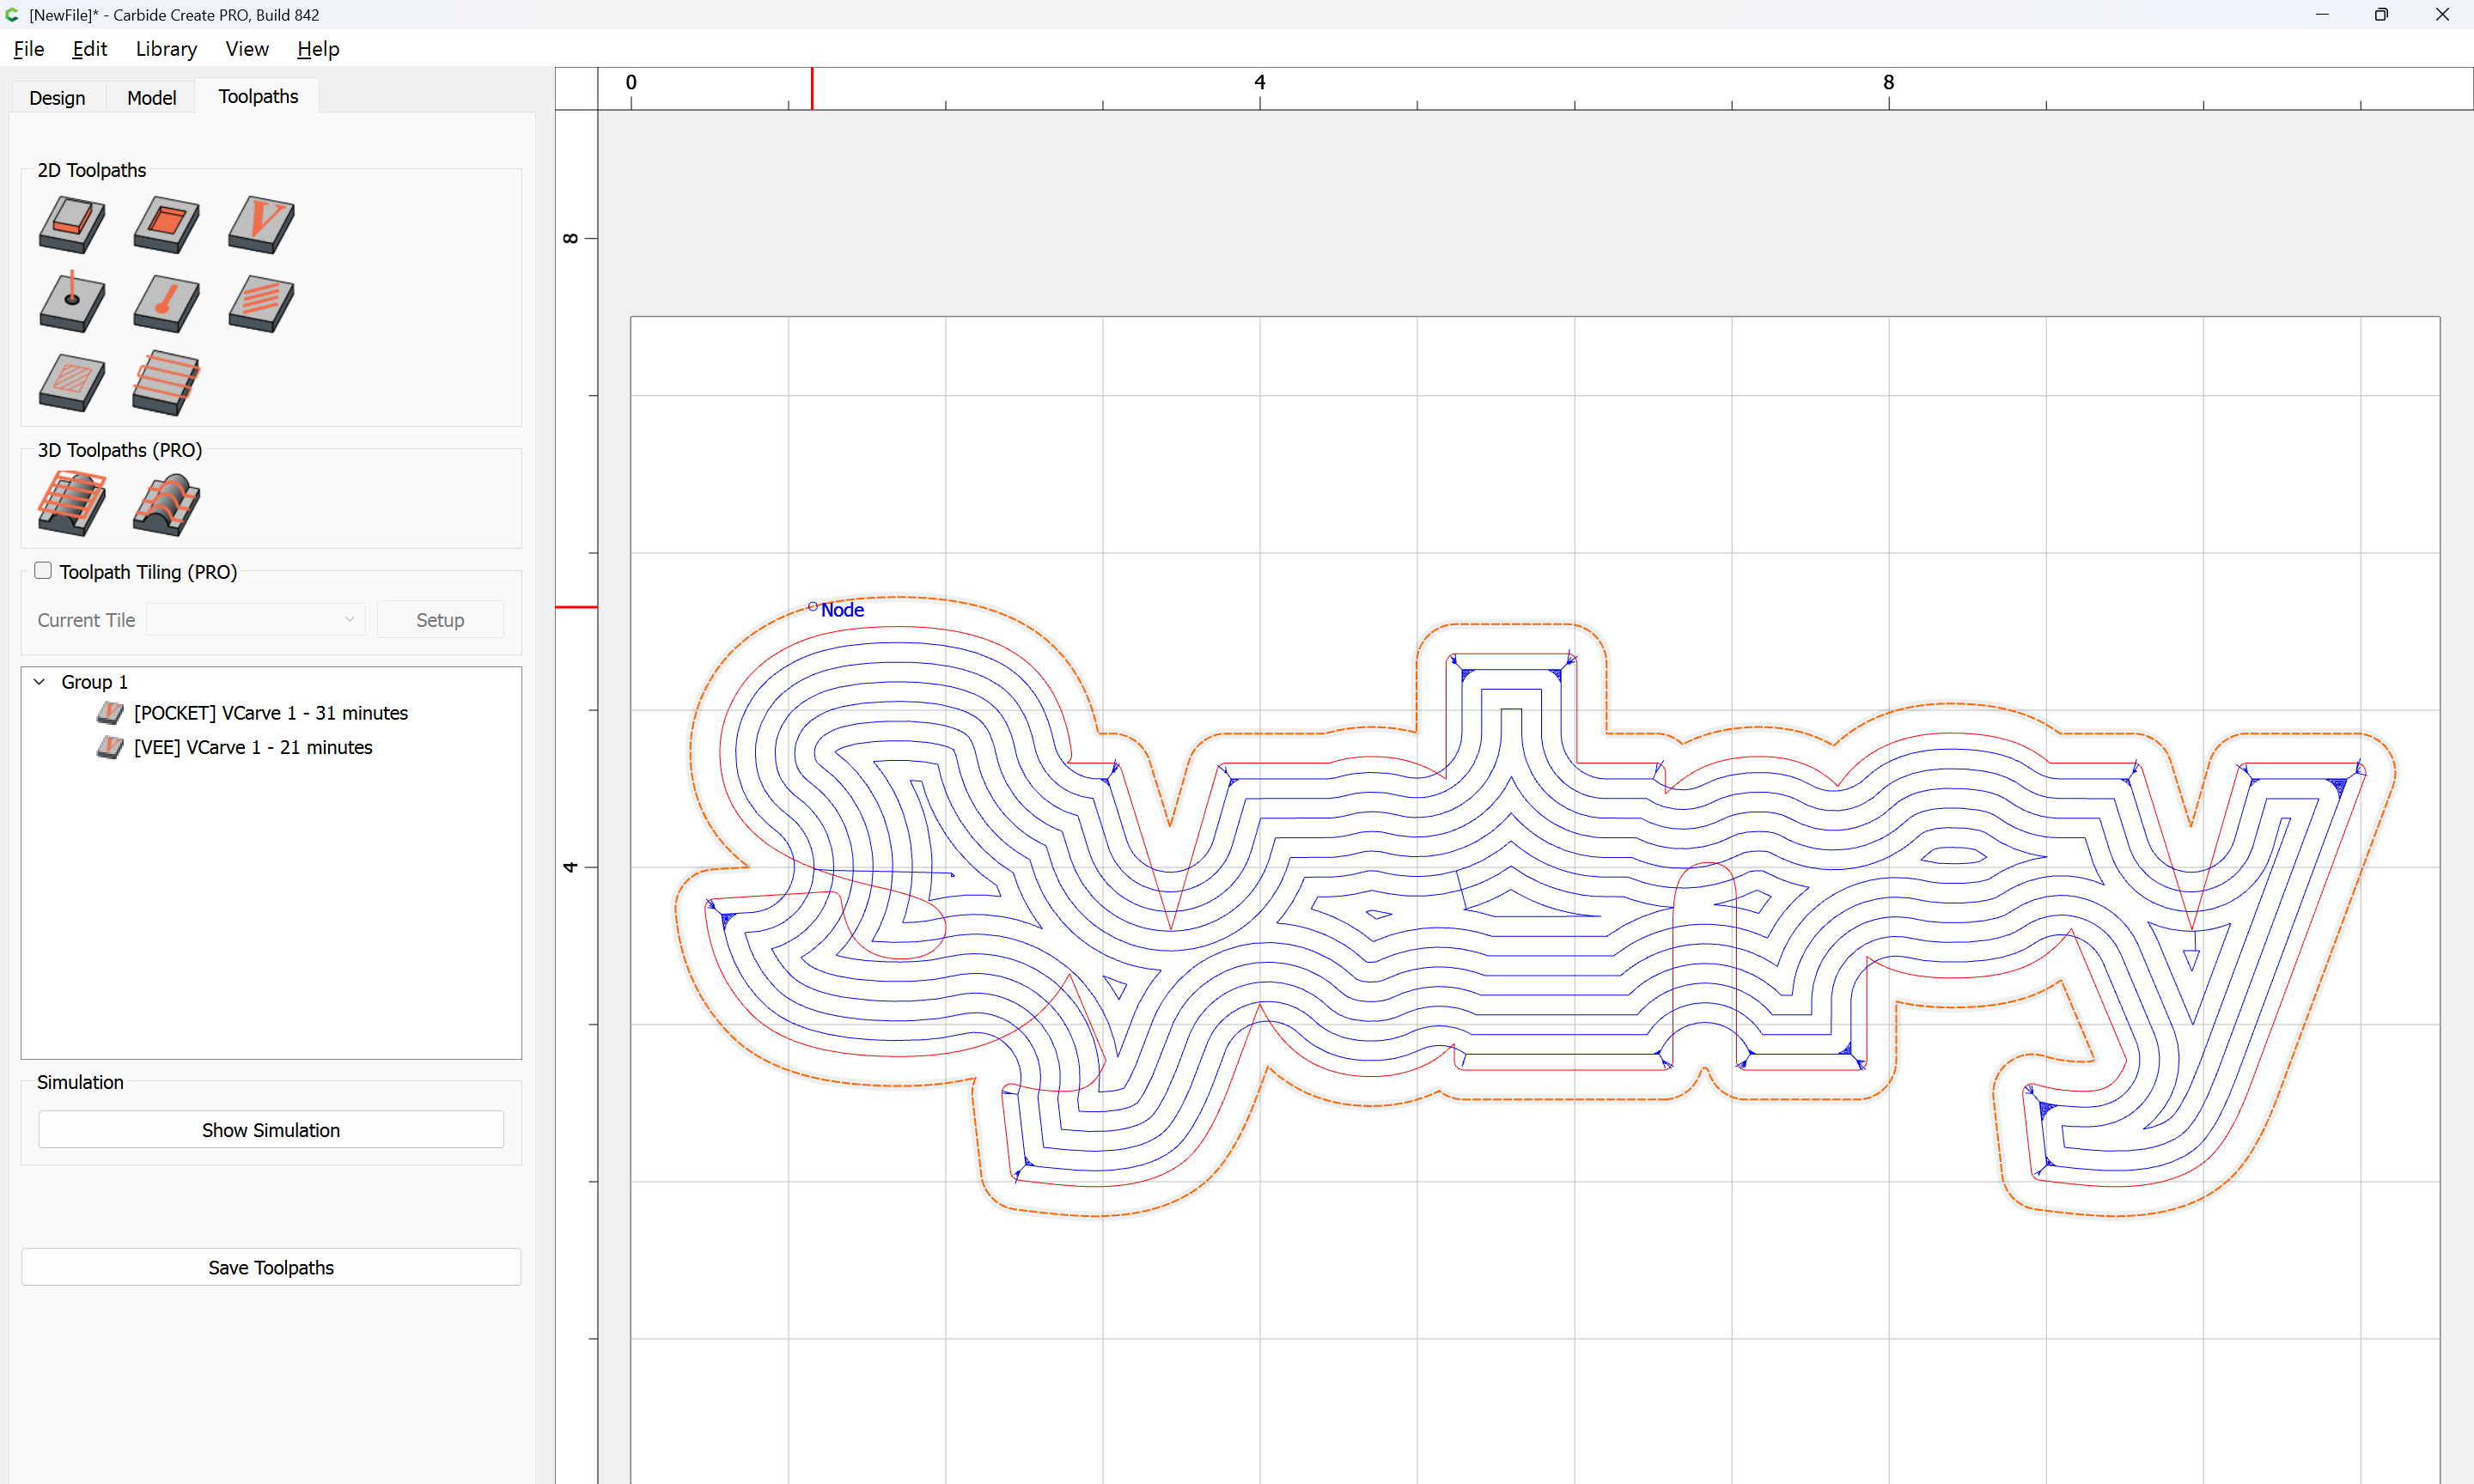
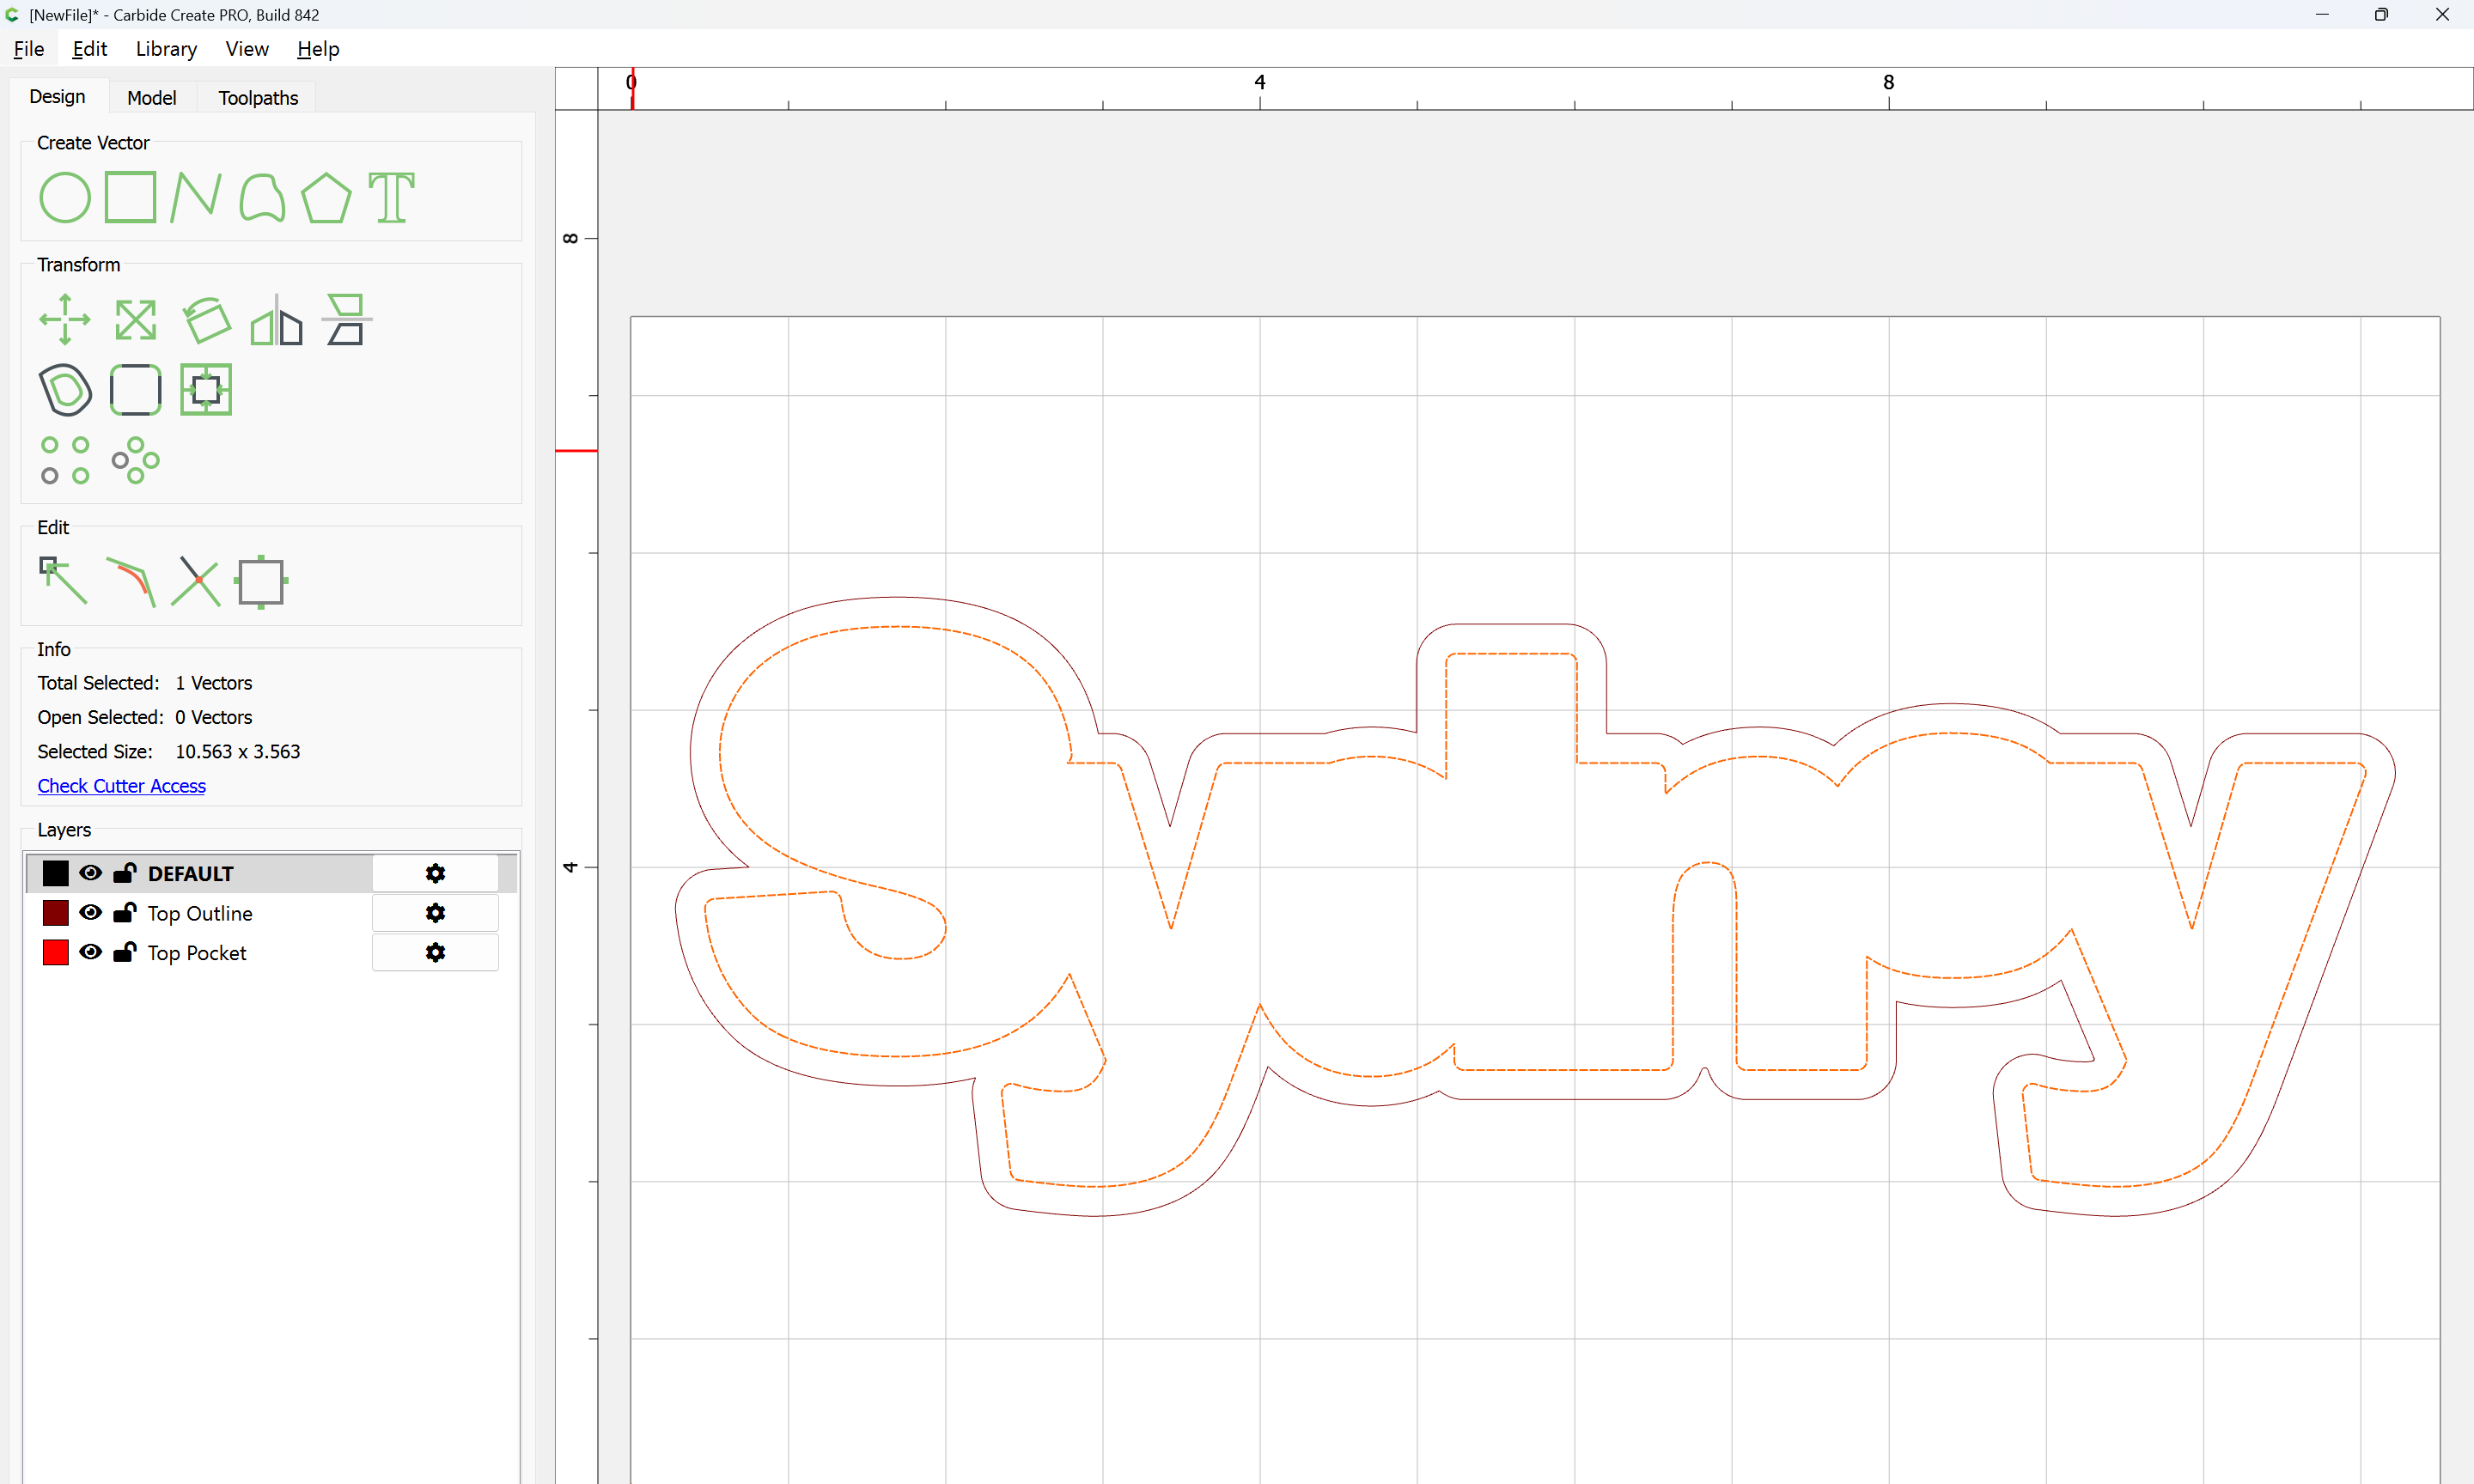
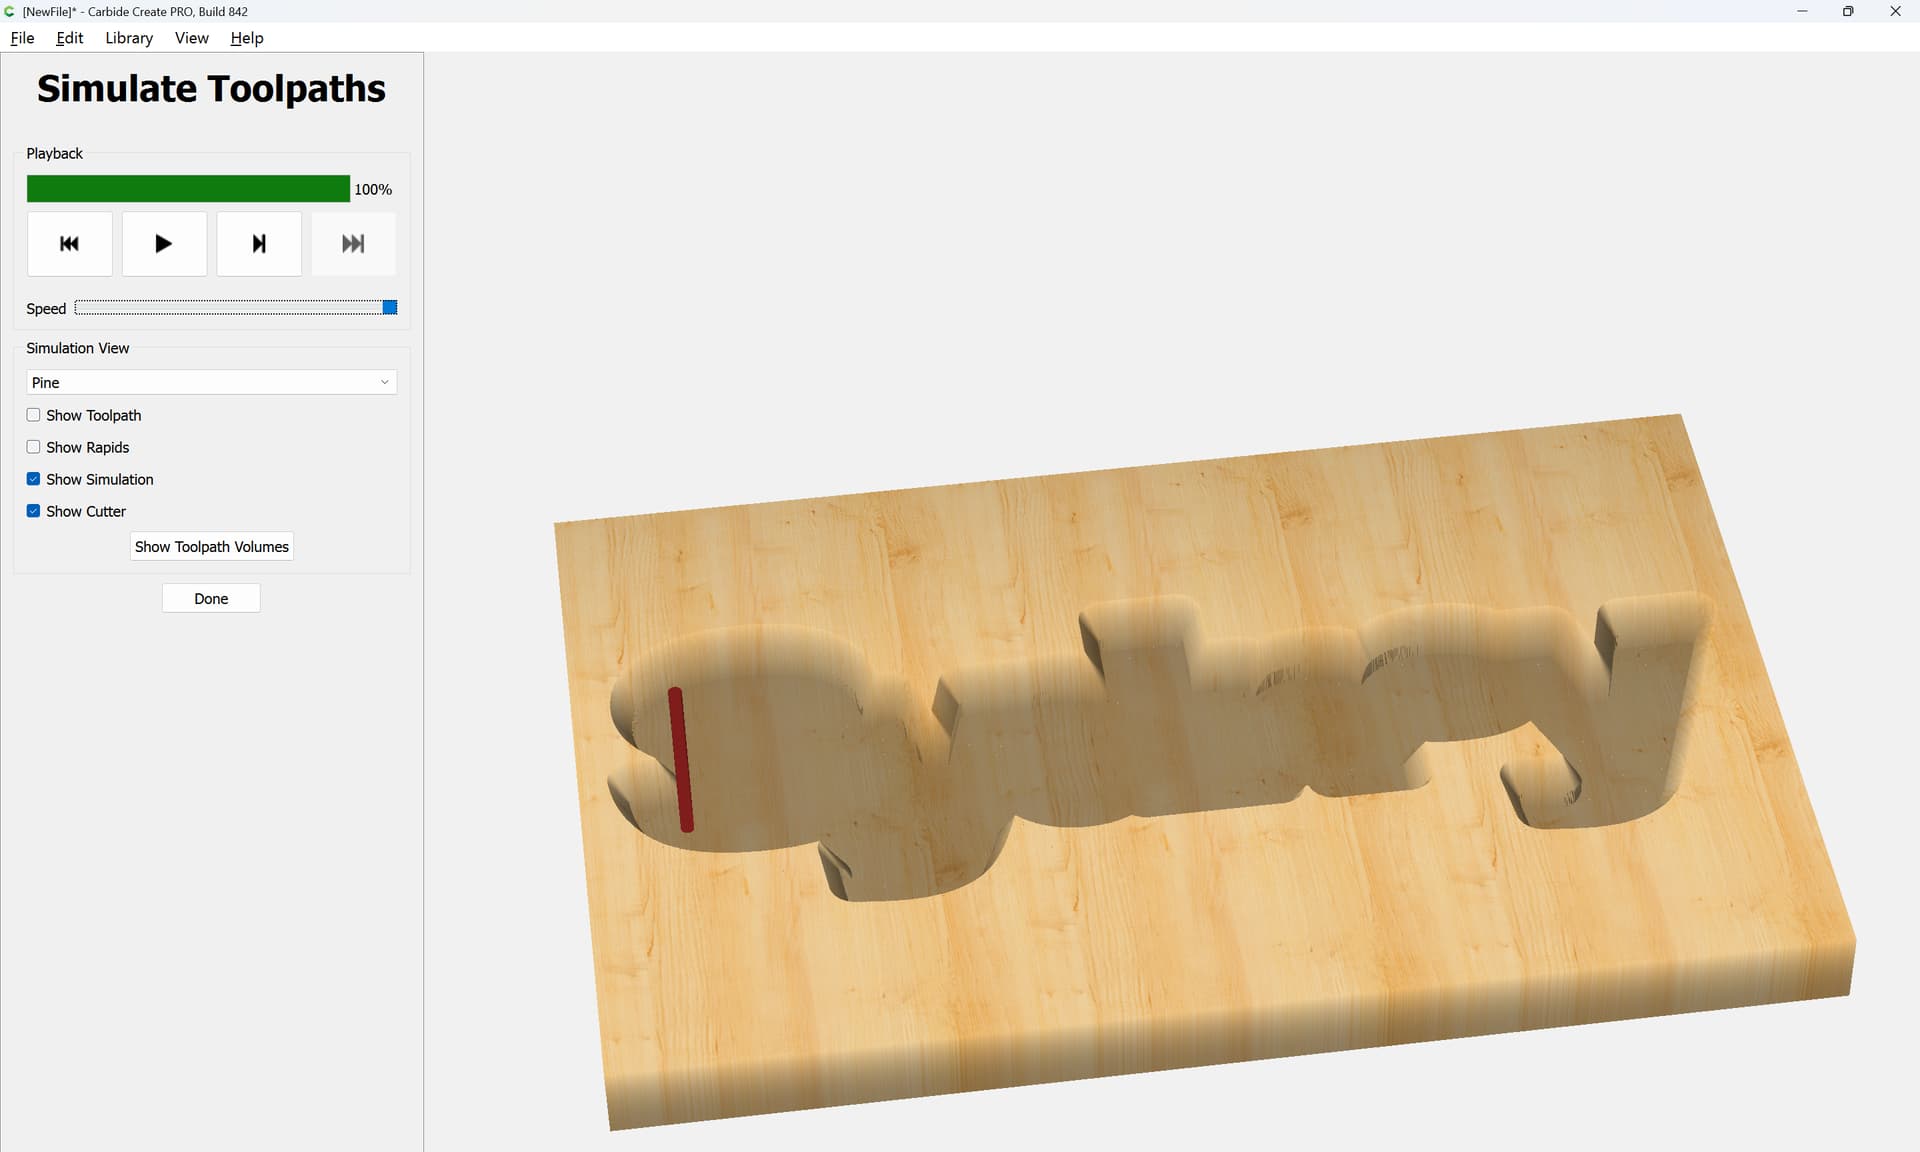
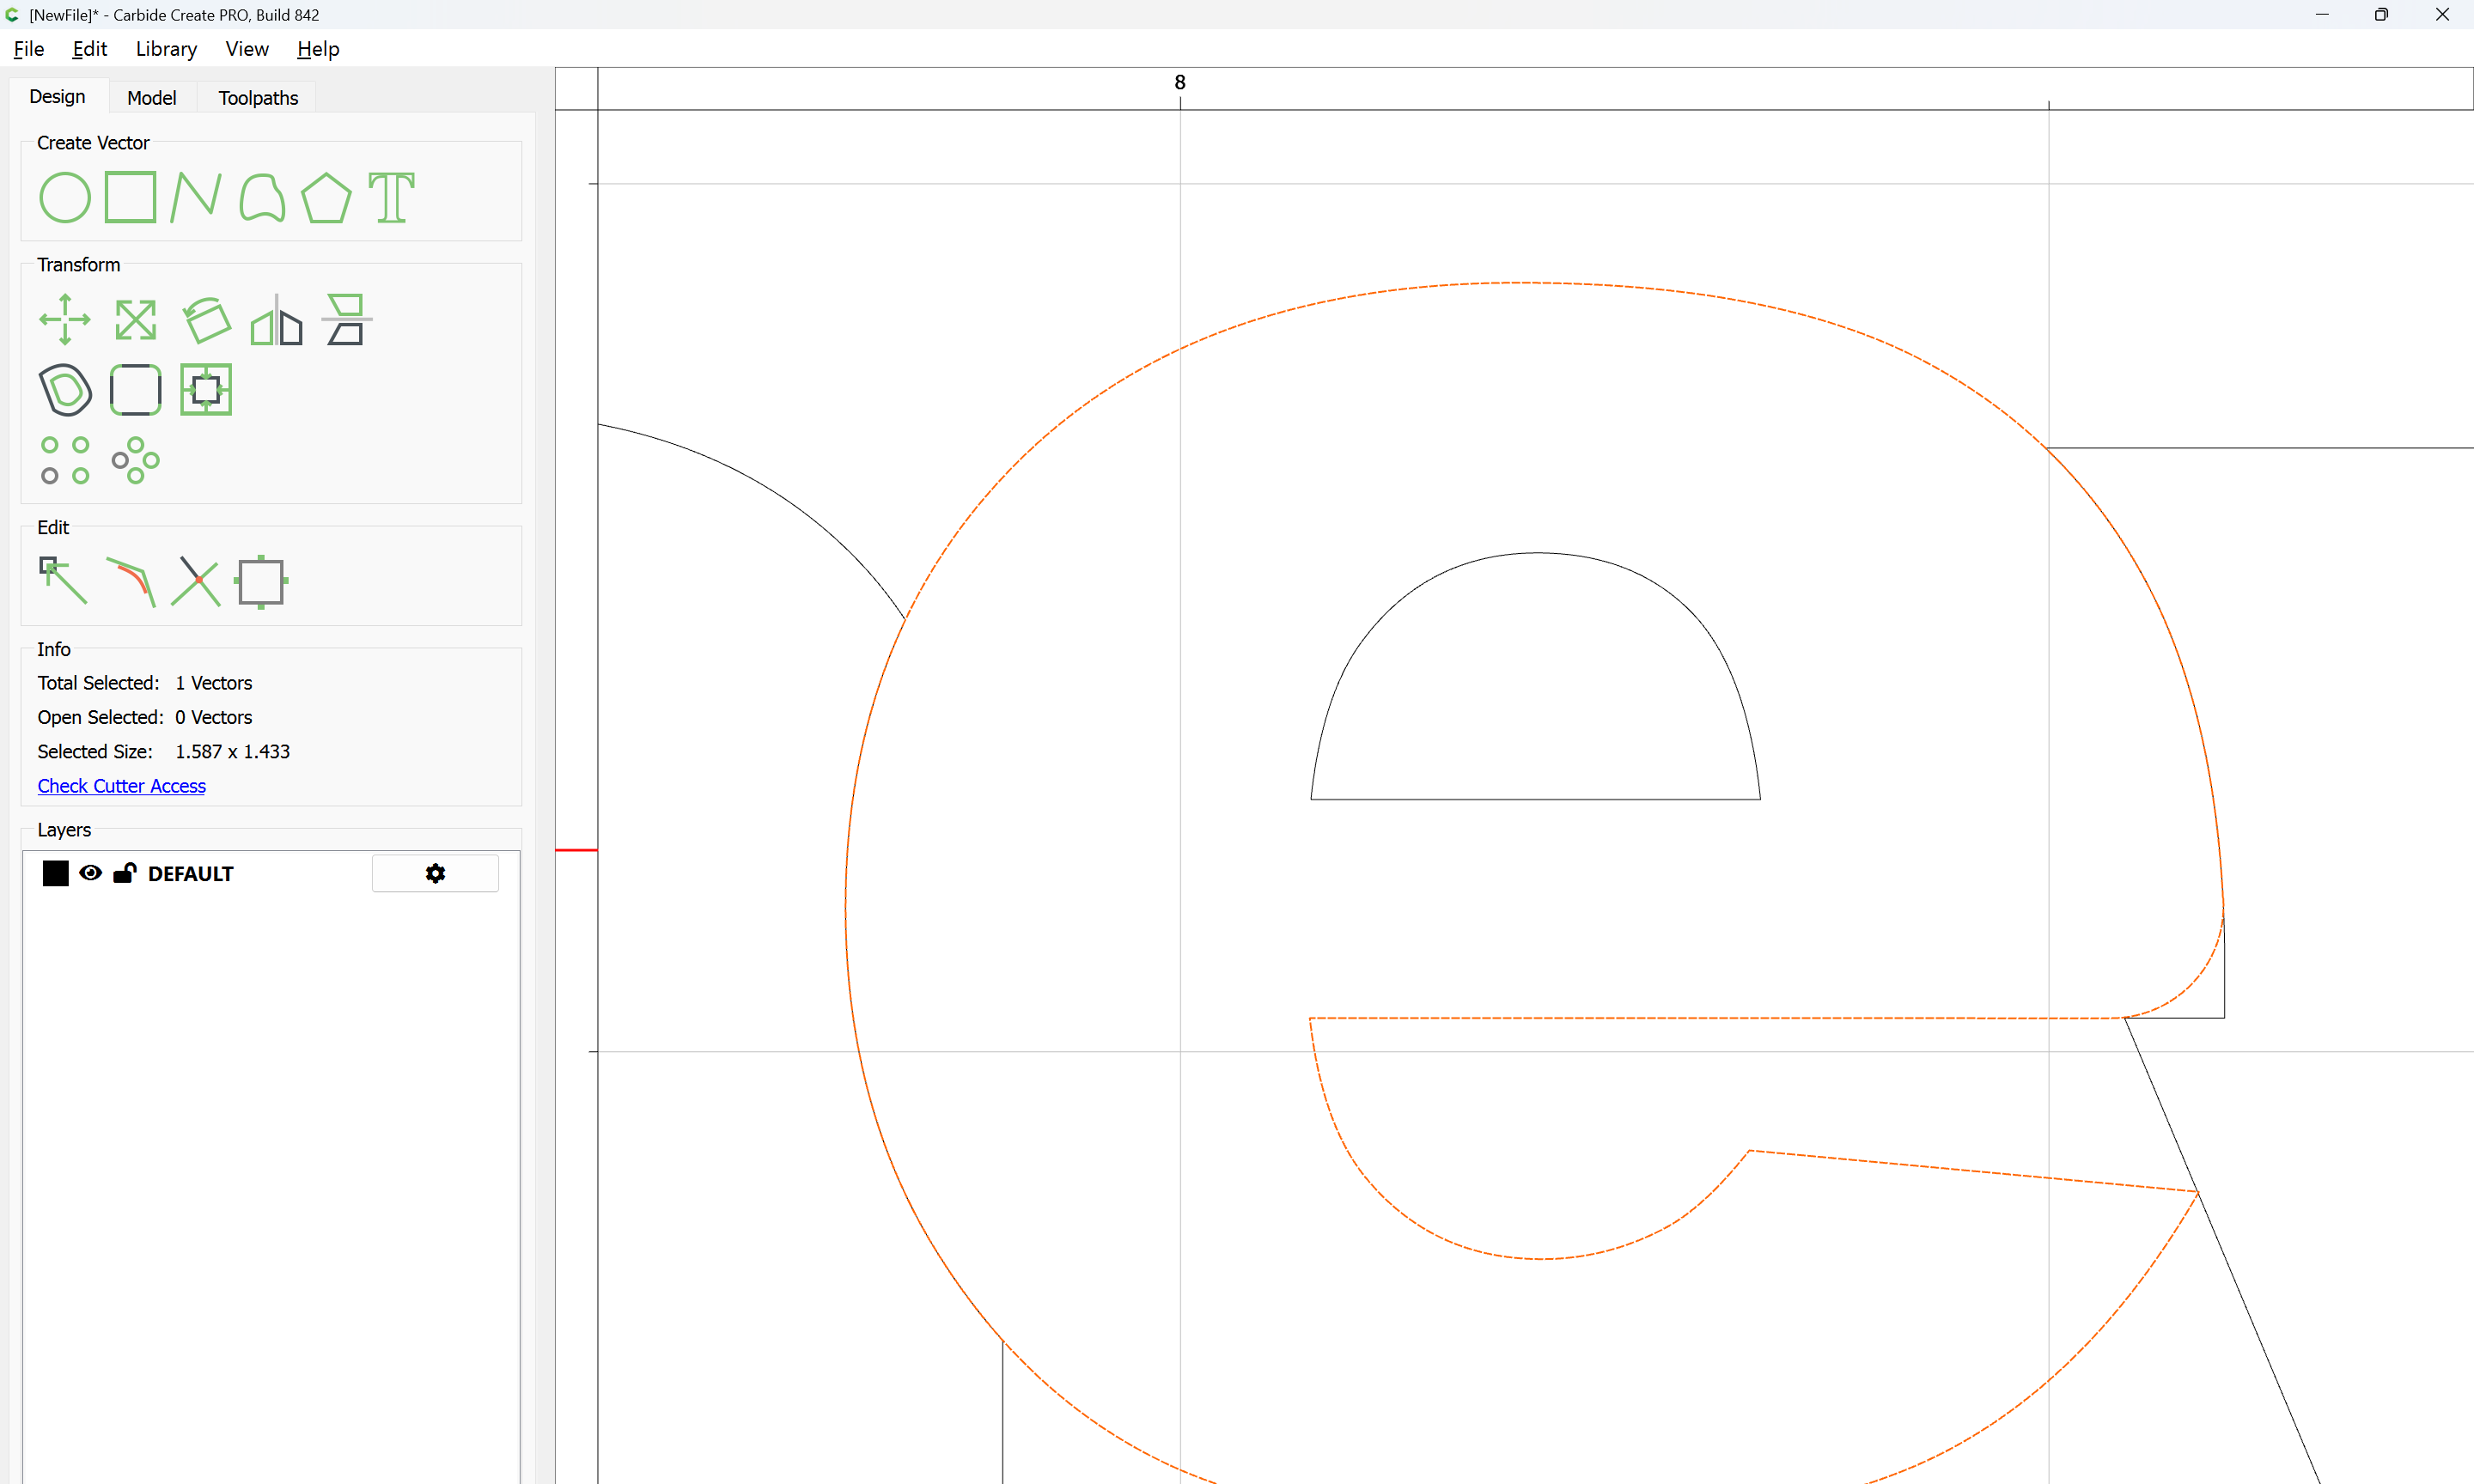
The letterforms may now be spaced out and cut out of a suitable thickness of material with suitable toolpaths — this is left as an exercise for the reader — if any difficulties are encountered, upload the file and we will look into it.
Note that a “kiss” fit is used above, the assumption being that tool deflection and a bit of sanding/filing will allow everything to fit — if that doesn’t work out, remake the letters after insetting a bit or other suitable adjustment.