Quick and easy question

Well the G-code is fine indeed,

It cuts down to 1.725 inches deep.

What exactly happens ? When things start to go wrong, what’s the current line number displayed in CM ?

Is the first pass the correct depth ?(0.07")

Thats just it doesn’t go 1.725 it keeps going through my 2" test stock and into the spoil board. When I killed it the z was reading -1.33 inches yet the bit was into the spoilt board over 2" deep

Here is another test. I made the simple box

Box height = -.2 in

Pkcet = -.1in

Ran the job on a block of cherry.

Result:

Box height cut = .25 in measure with digital caliper

Pocket = .155 in measure with digital caliper

I had a similar issue when I used the generic GRLB post processor instead of the carbide one. Something to check.

yup did that on the post process still doing it it is getting insane

So what about

It would be interesting to check if the first pass is 0.07" deep or more like 0.1"

1 Like

Where is your setup spot located? Did you home to the top or the bottom of the stock?

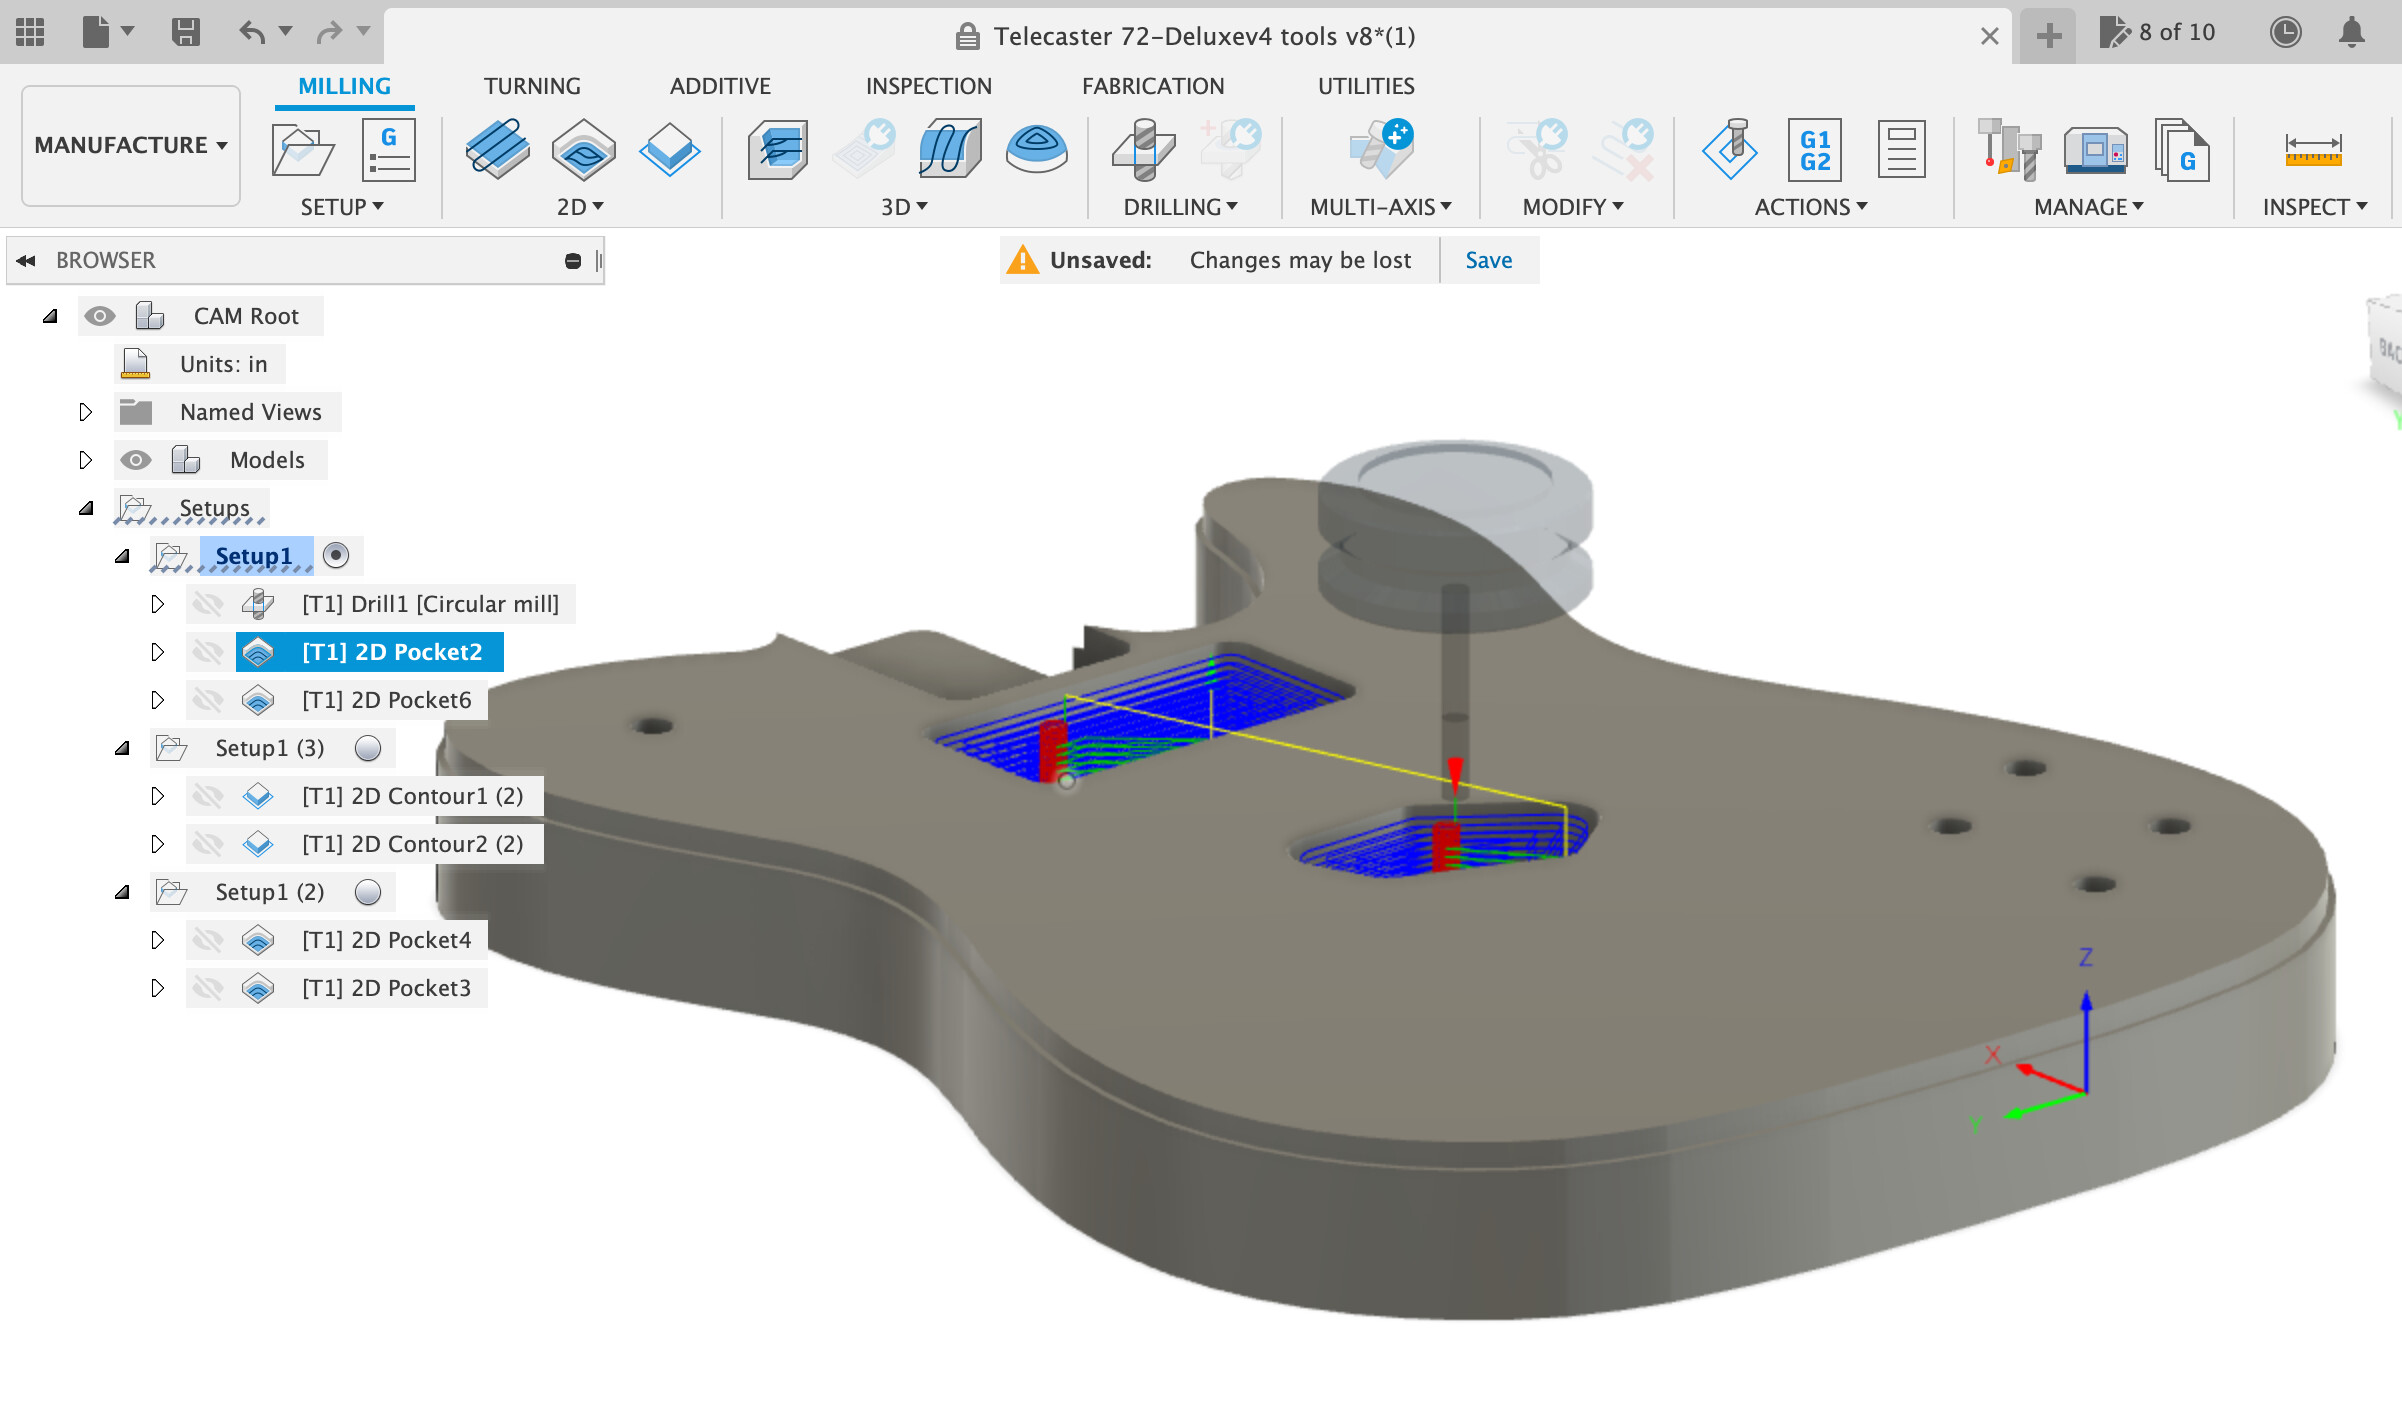
In the later CAM in the other thread it’s at the top of the stock on the centerline

I’ll bet $1 it’s a G28 thing.

2 Likes

Neil, there are 2 G28 G91 Z0 which one should I remove the one at the top or the bottom of the file

I took them out no change I want my dollar LOL!

2 Likes

Well, now I have to look into this.

On the contour pass…
Retract height is 0.4" from the stock top.
Clearance height is 0.4" from the Retract height

That’s 0.8" above your 1.68" stock. Assuming you have a bit installed that can cut that nearly 2" profile, you’re getting to >4.5" of travel. Depending on your Z axis…do you have that much room?

That would result in a crash at the top of travel, loss of position and cuts that are too deep.

Also, PM me your address, and I’ll get that cash to you ASAP!

4 Likes

Okay me thought those were independent measurements I did not realize they would be additive. So if I set the retract height to .4 from the stock top and set the Clearance height to retract height and 0 you are saying the clearance height would be .4? That makes sense ifit is additive.

The default is to have the clearance height set as an additional distance above the retract height. You have the option to not only change the distance, but also the reference that distance is offset from. It can be easy to lose track of those things.

1 Like

Oaky you can keep your dollar you hit it right on the head and I noticed it as soon as I hit start job because the Z retracted .25 before is said turn on the cutter which it had not been doing I just didn’t notice it… SO now with that said I just cut a piece and it worked fine so far have not done the contours yet but the 2 top pockets are fine. One last question Oh so much smarter than I and I mean that. When I runt he drill process it drills the first hole and then it drags across the top to the next one it looks like it is not retracting all the way as it should. I know drilling is different than pockets any idea what I did wrong since you already have the file and all LOL! Dude I cant tell you how much I appreciate this.

1 Like

Never mind the last question about Drilling it works now that I reset all the heights. Man you are a god send thank you so much.!!!

1 Like

Great!
So it’s all sorted out? Be sure to post your final results.

(I’ll donate the $1 to a good cause)

2 Likes

Okay Folks this has been resolved. Neil hit it correctly. I was not aware that the retract height and Clearance height offsets were additive. Meaning I was not aware that they would be added together and that would be the total retract height. I had them set for .4 to be safe was a bad move. that meant it retracted to .8 + depth of cut + bit length totaled almost 4" the XXL only has a total of 3" height so the z axis was getting confused when it would retract and throwing of the Zero point. Something i noticed should have been a dead give away when I started the job and it gave me the load tool message the Z Axis never retracted the .125 like it always does. Once I made these changes it acted completely normal. This also cleared up the dragging across the stock for the Drill process between holes, THANK YOU ALL FOR YOUR INPUT AND Hopefully I can get knowledgeable enough to return the favor to someone down the road you guys are AWESOME!!! Now to learn more about adaptive clearing and adding the 3D contours to this project. AGAIN THANK YOU ALL!!!

5 Likes

This topic was automatically closed after 30 days. New replies are no longer allowed.