I sized the various pieces by taking various measurements on my machine. Even though you also have an HDZ and 80mm spindle, I cannot guarantee that the pieces would fit perfectly on your machine.
in the file, the modeled pieces are OK but the fusion design history/timeline is a mess, I went through many iterations and butchered parts of it. It’s not going to be easy in case you have to modify anything.
most captive hex nuts are M5. The two that go in the back of the bottom piece are M4, because M4 bolts happened to be better to tighten that bottom piece against the back of the HDZ. It’s kind of a hack, these two M4 screws come and push in the back of the HDZ plate, in the exact spot where two hex screws (holding the “foot” of the HDZ ballscrew) are located, so that the tip of the M4 screw self-centers in the HDZ screw heads. Well it’s not easy to explain, but you’ll see what I mean if you print this.
I think I printed them at 20% infill. It should not matter much.
I sincerely appreciate it, thank you, thank you. You probably saved me lot’s of hours of work. I already opened it on Inventor. I use Inventor 2019, much better than Fusion 360. I use to be an instructor for Autodesk teaching 3d max, about 16 years ago.
I already opened the project. How long did it take you to do this?
I honestly have no idea…an hour here, an hour there over a few weeks, and since I’m learning Fusion360 as I go, I often diverge to check things/learn new tricks on the way. It’s also very iterative (design a part, 3D-print it, realize I messed up a dimension somewhere, go back to design, rinse and repeat). I’m at that awkard learning stage where I can probably rush this piece in a couple of hours now, but need to resist that urge, to take the time to create sketches and operations the RIGHT way so that the design is acutally modifiable later (i.e. really parametric) without everything breaking, which is harder than I anticipated.
Quick update to report that I’m quite happy with the airbrush solution so far. The focused air flow is strong enough to clear chips almost perfectly in cuts like this one:
I did not use coolant though, to avoid sticky chips in the pockets. I’ll try this scenario later.
In other news, I really need a chip guard. I’ll design something because these tiny critters jump all over the place (one more indication that the air blast is not that weak )
Looks really good. Did you add cooling fans to the compressor? I’ve been running mine for hours without cooling and while it gets uncomfortably hot, it still hasn’t given up hehe. One thing I was looking into is adding relay to turn the mister on and off, however I’m using post processor that’s been suggested by mrbeaver long time ago and despite coolant being selected in the F360 I don’t see that command in the code. I’ll have to try to figure it out once I have some extra time on my hands.
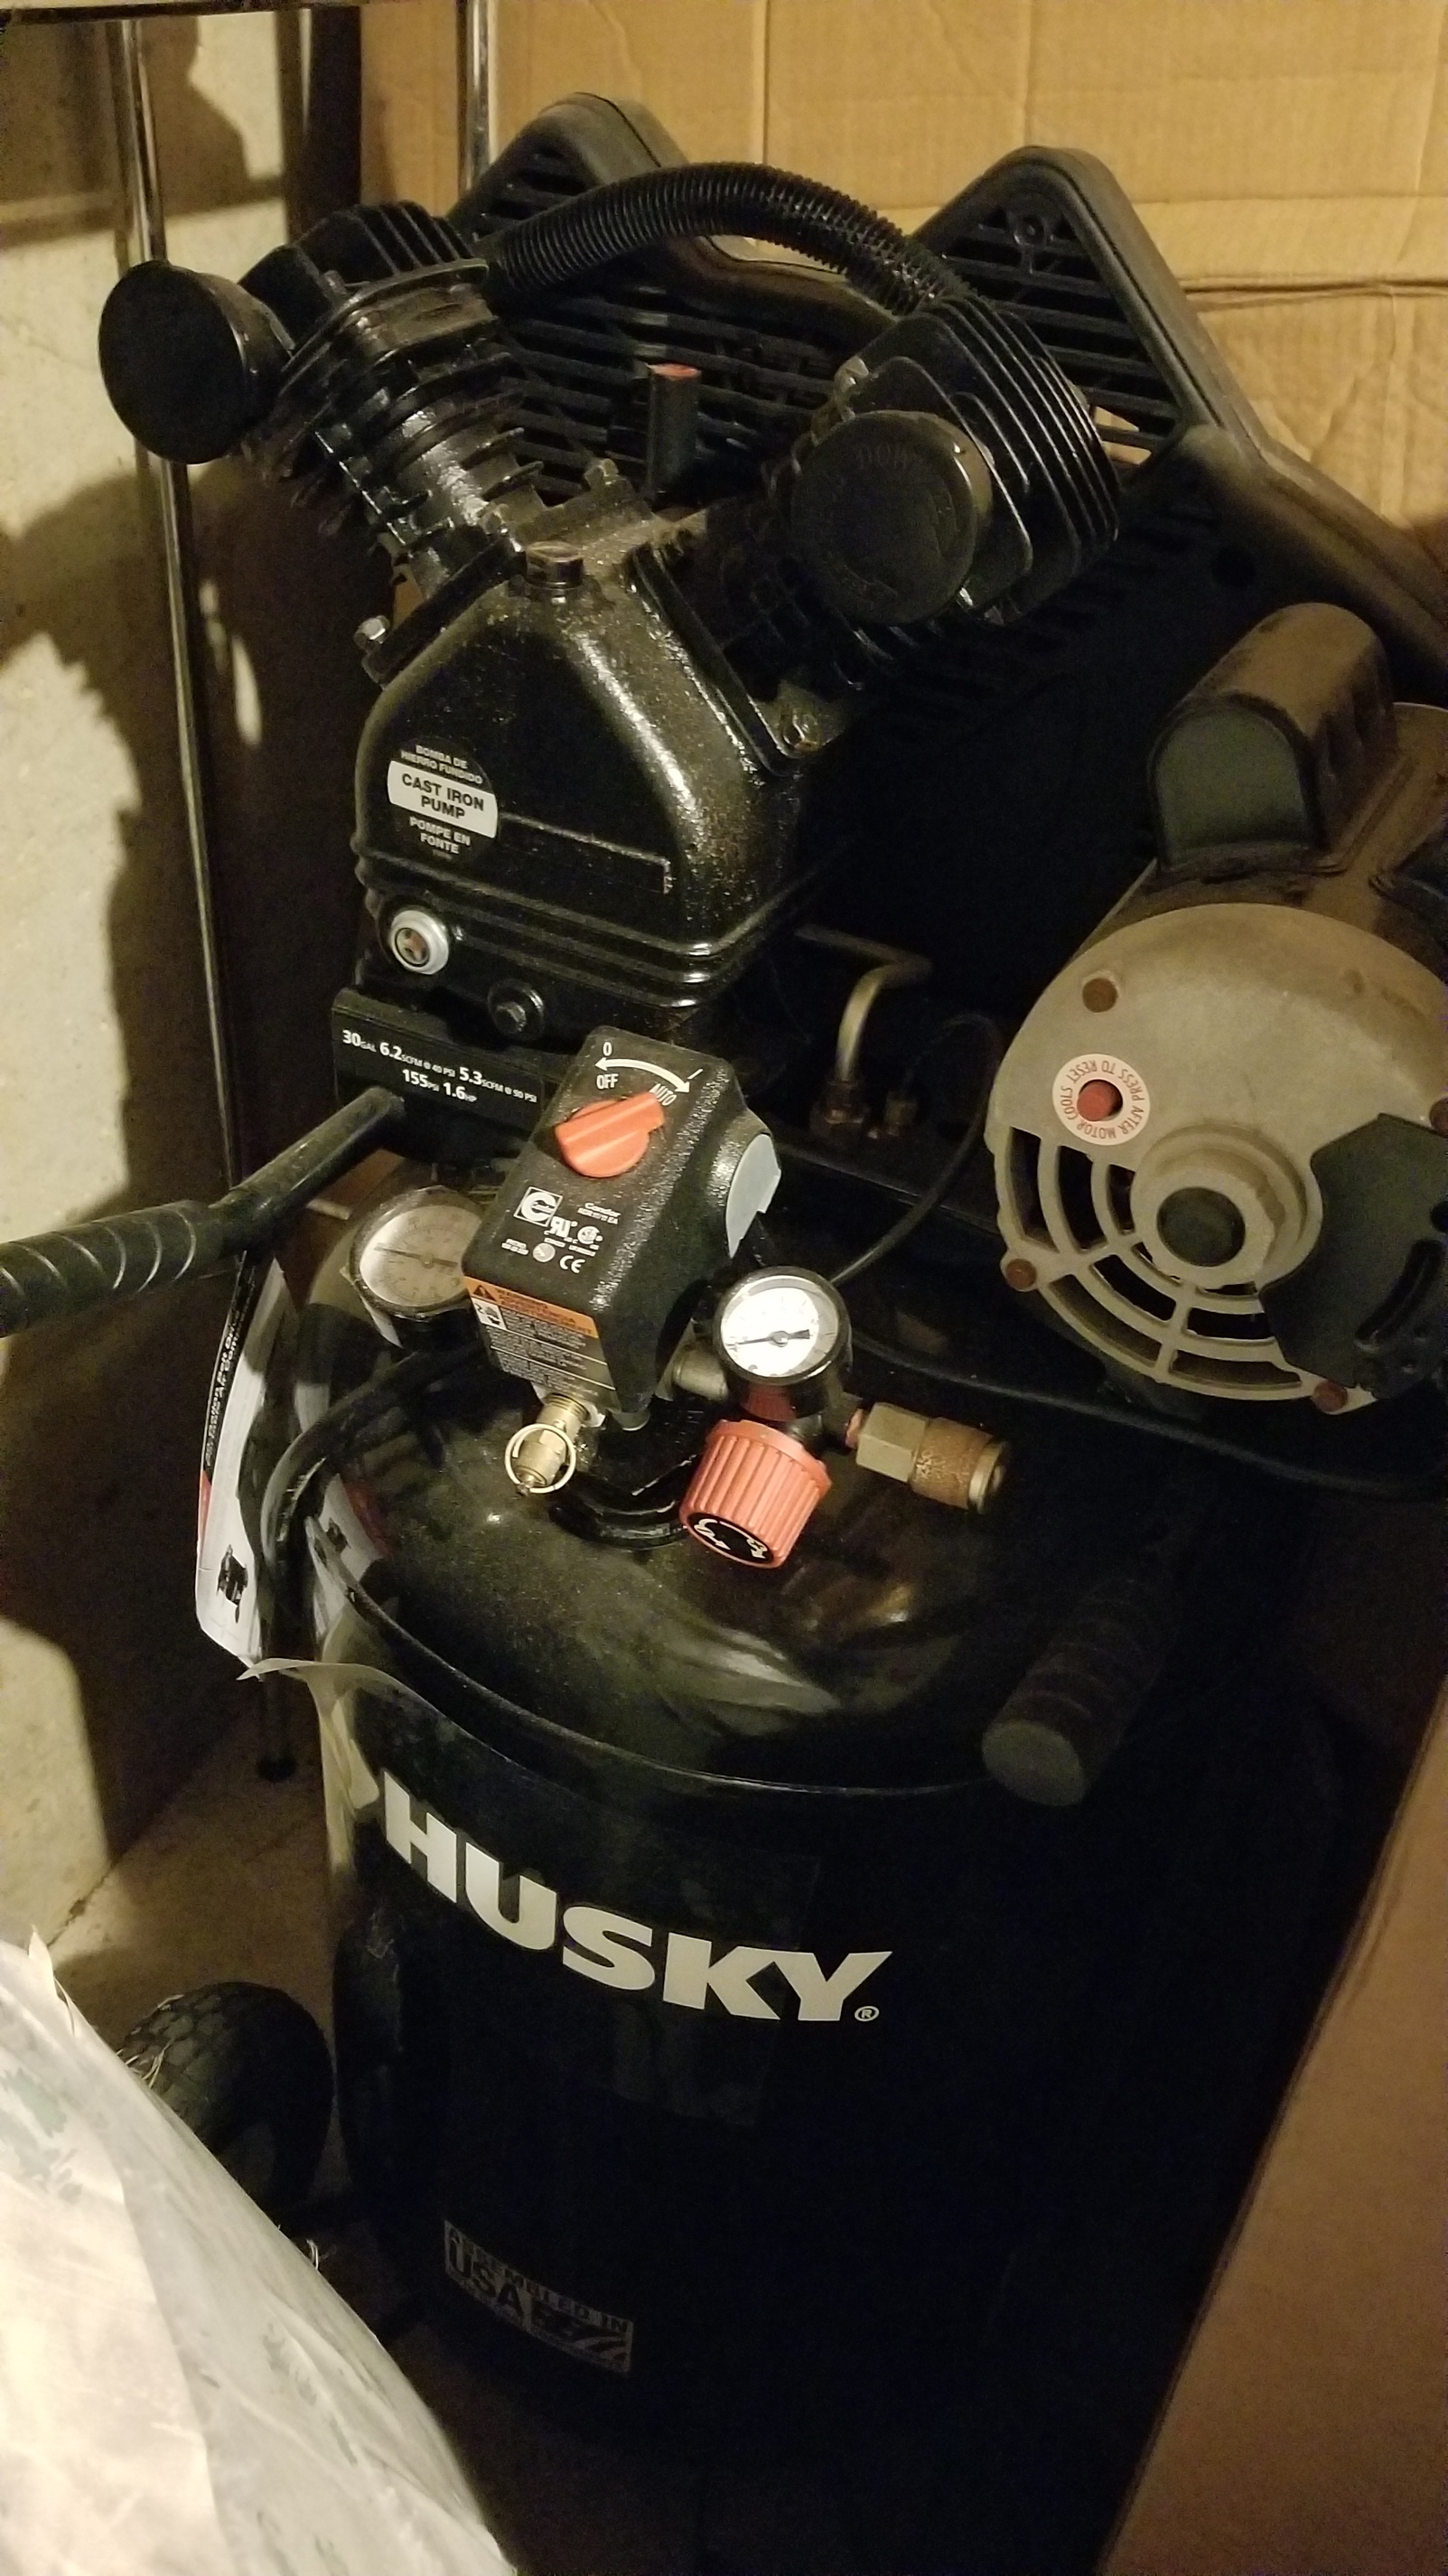
I did not add any cooling fan on the compressor yet, I am using that long job (in progress) to monitor how hot it gets. So far after about an hour on and off it’s hot but I can still put my fingers on it, so I’ll proceed like this and consider adding a fan later.
Fusion360: I only swear by @neilferreri’s post now, it has lots of user-defined parameters, I have not actually tested if coolant option is managed correctly, but I do see coolant-related lines in the file, so you may want to give it a try.
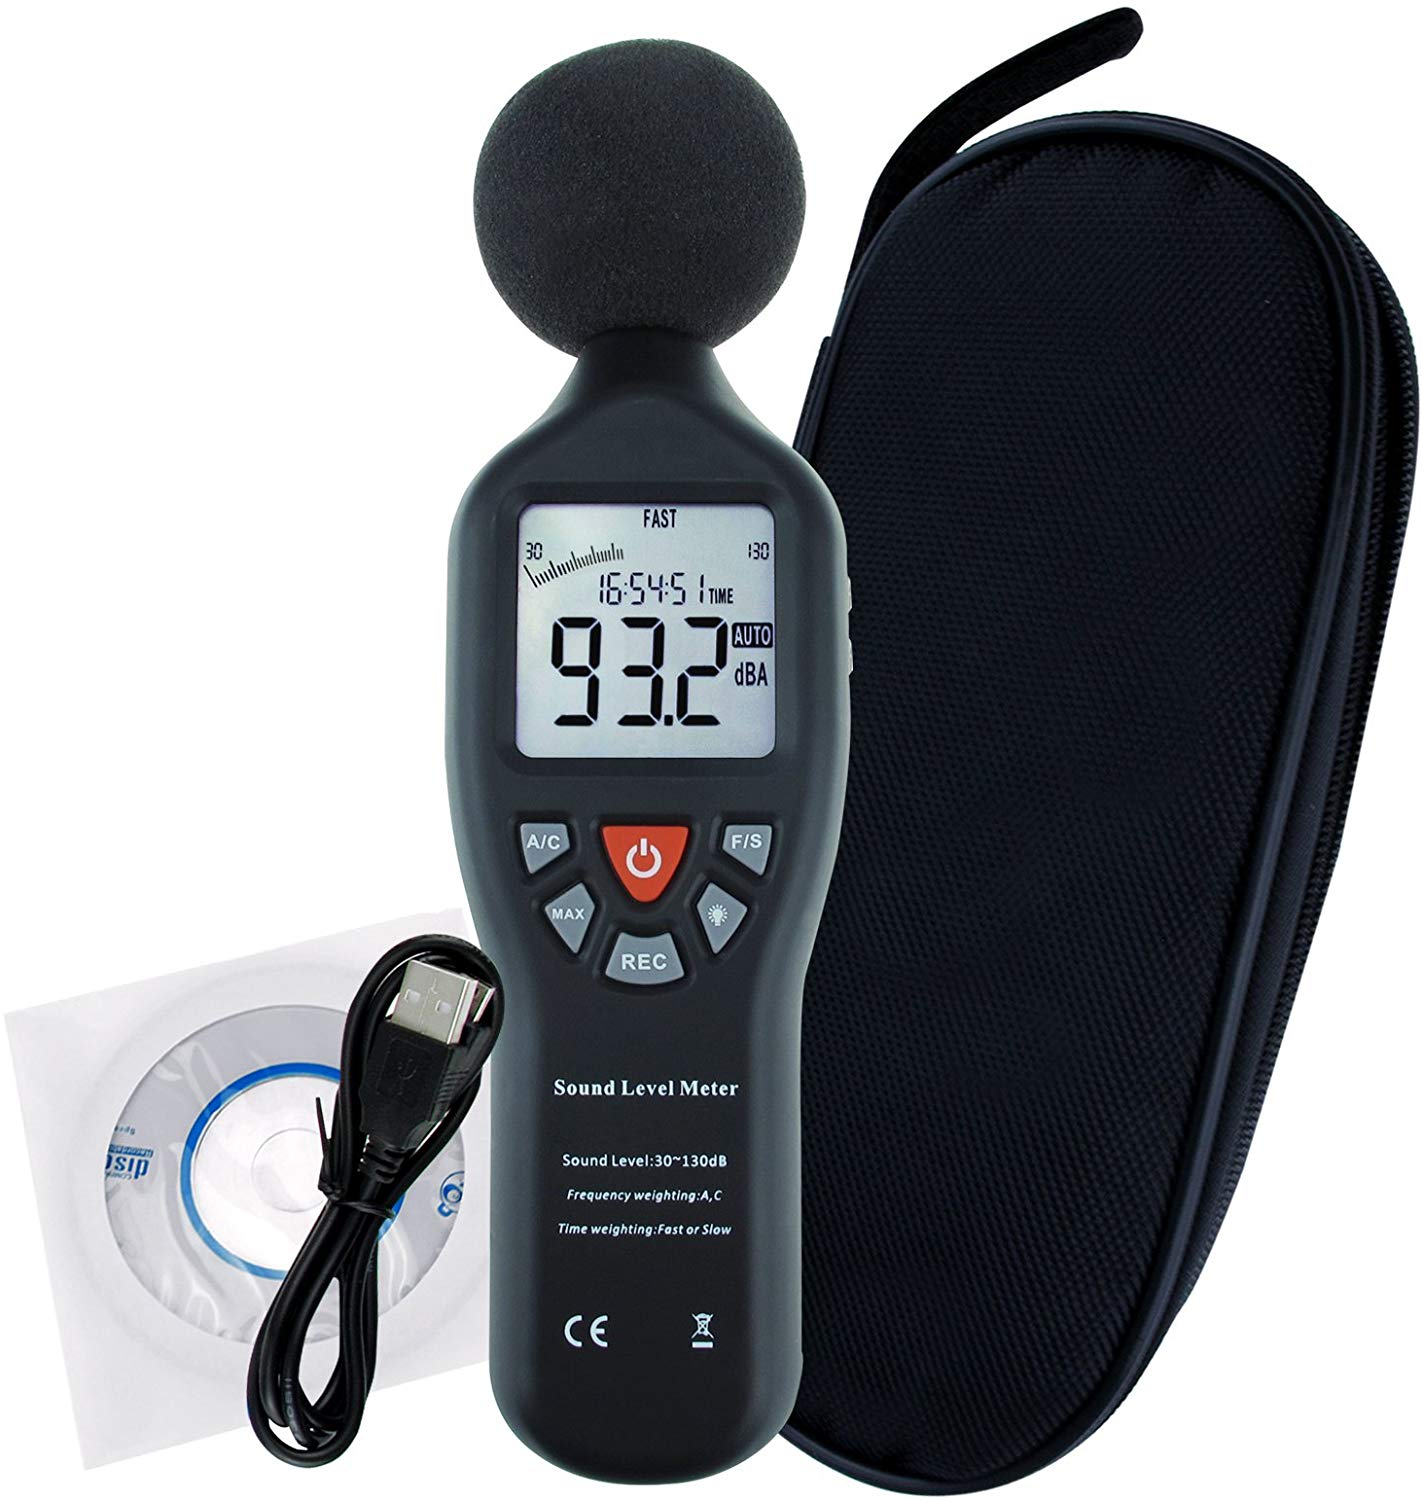
which is pretty loud. I think I will be getting the same airbrush kit you are using. I wanted to ask you about your CNC, is it a DIY kit? it looks really nice, and I like the lack of drive belts. How are your X and Y accuracies?
Thank you. This machine is being constantly upgraded. I’ve probably went through 3 or 4 iterations already. It’s all 3/4 aluminium plate that I cut myself. I’ve reused the shapeoko’s long extrusion but I’m not satisfied with it’s flatness so some time next month will be upgrading gantry to a bigger extrusion with 25mm hiwin rails. Next on the list are closed loop steppers like on my customised so3. Accuracy is always within 0.05 to 0.1mm. Good enough for all the parts that I’m making. Balsscrews have c7 accuracy class but maybe once I’ll start making real money with it, I’ll get a better ones.
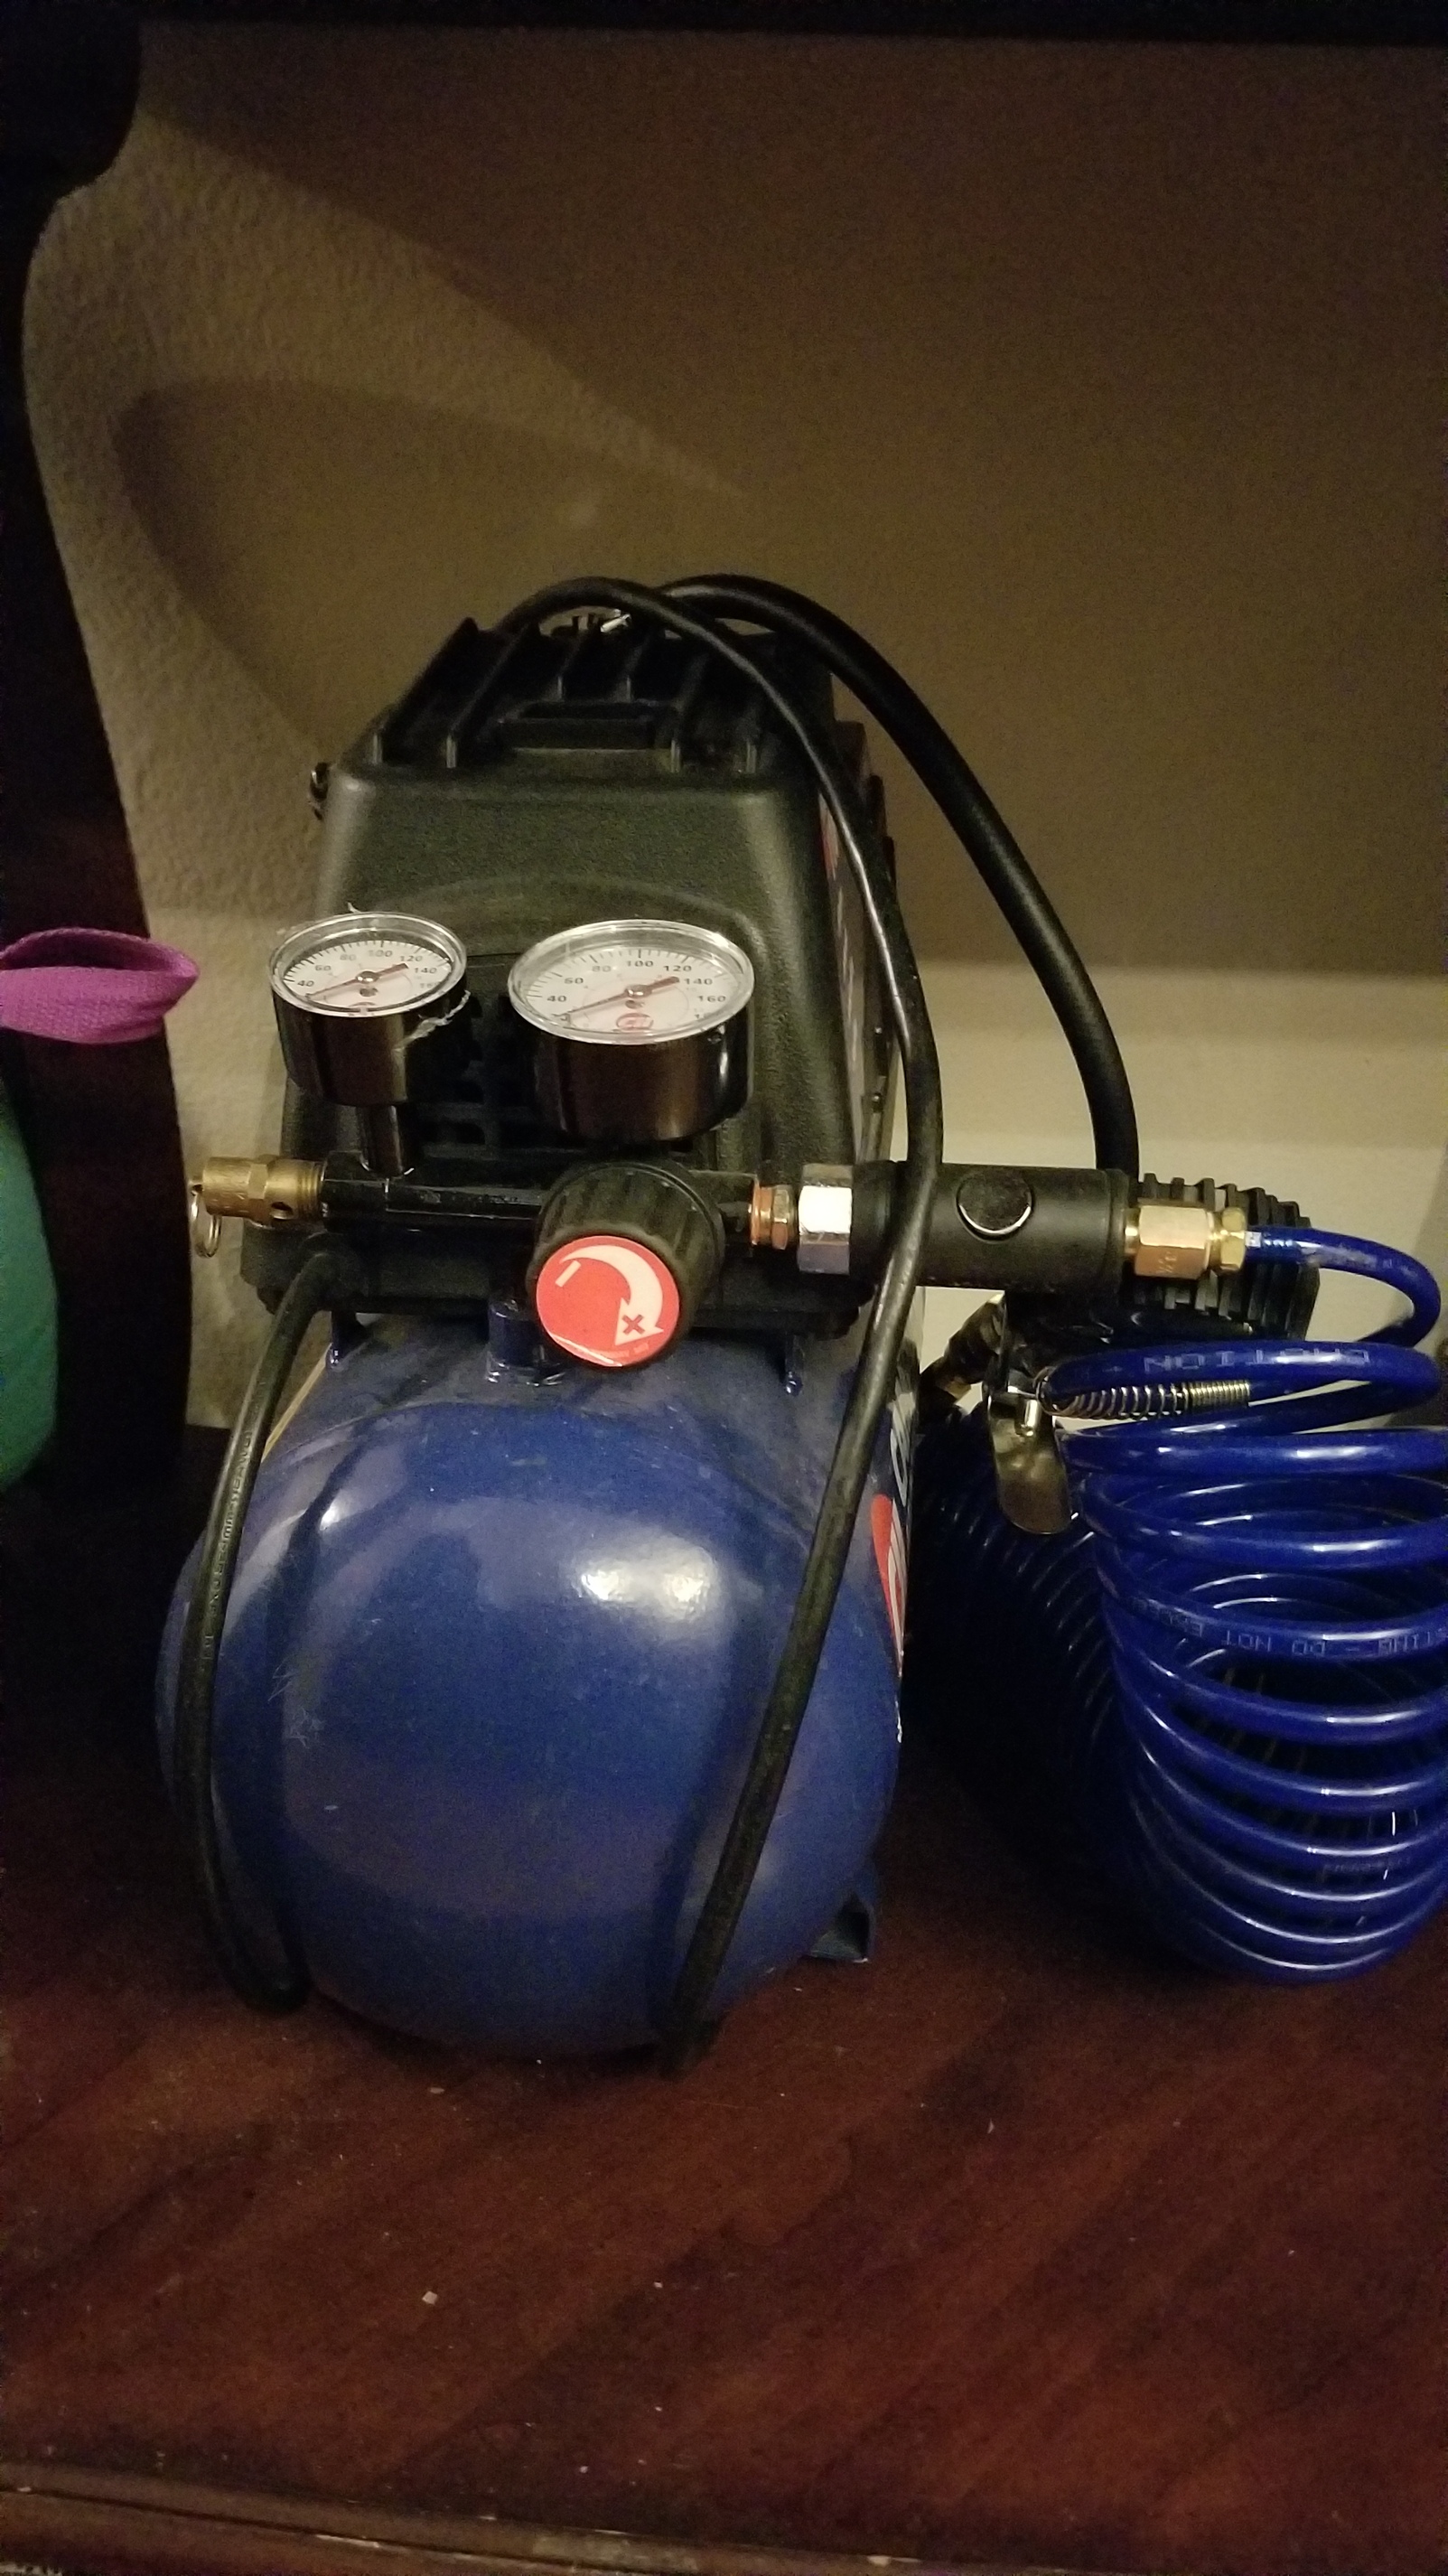
I’ve recently picked up, Husky 4gal ‘quiet’ compressor, but it’s twice as loud as the airbrush. Don’t know what it’s duty cycle is but it shuts down occasionally to cool down. I’m still very happy with the airbrush setup. Husky is great for clearing work area and the machine from chips, but not for a constant use.
Designed it myself from scratch. Once you know what components you want to use it’s very simple. At least in theory lol. All you have to do is make sure that everything is as square and straight as possible. It all looks so simple in the CAD but once you take into consideration the tolerances that the parts are made to, it gets fun because suddenly something is of here and there so you need to shim it or find a way to fix. Lots of fun nevertheless. I’m using xpro v4 controller, but I’d love to upgrade it to Masso controller and add an atc spindle, but that would cost me around $4k so no funds for it atm. The cool part is that once you learn how to build something you want to keep upgrading it and learning more.
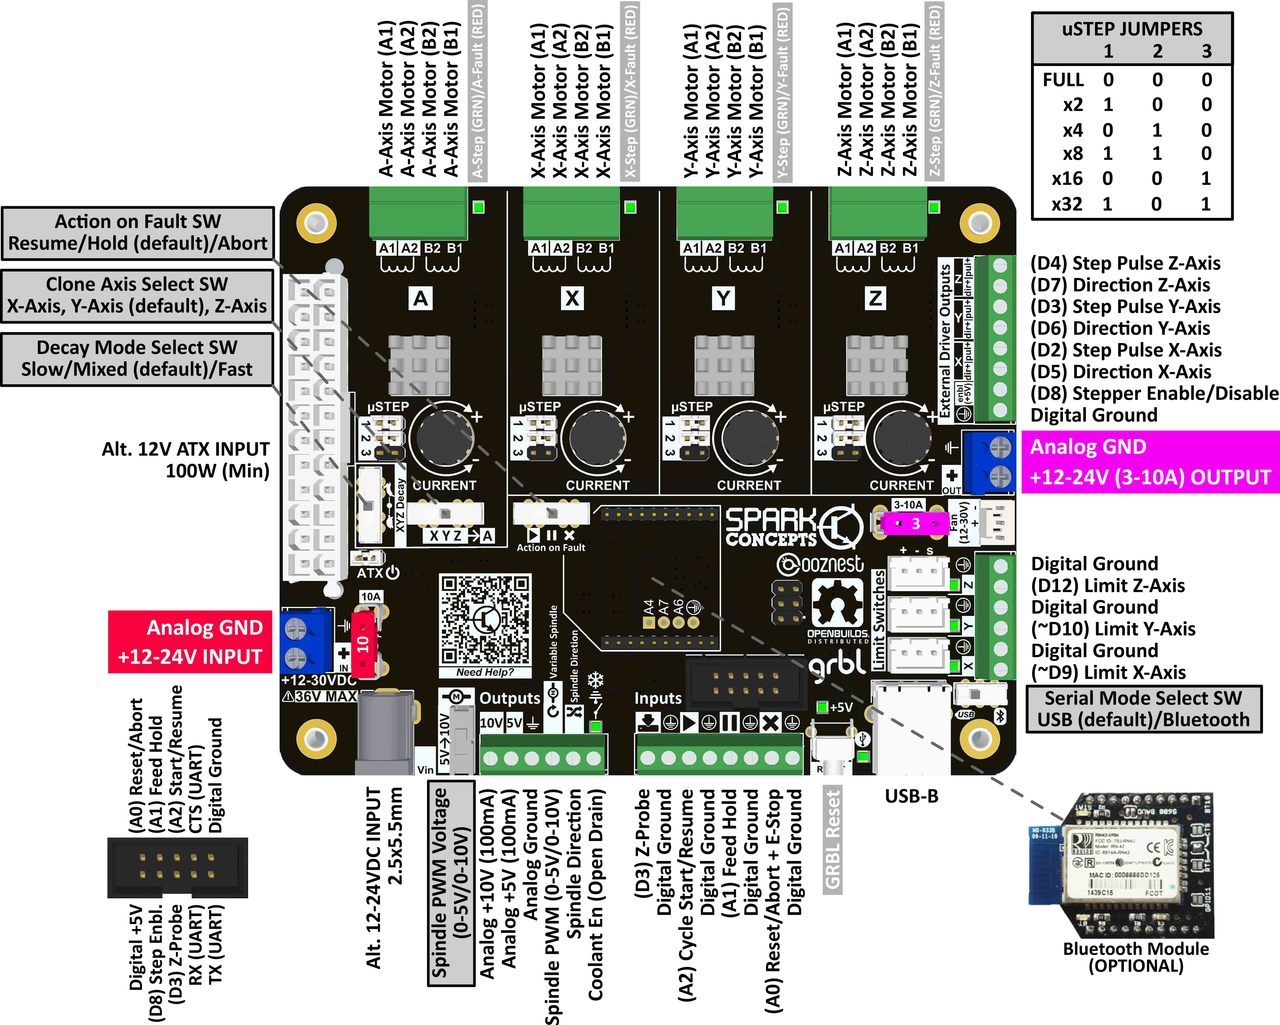
Looking at your controller, it looks like it has a single Y port controller. Looking at your machine, it has two Y motors like the Shapeoko, Y1 and Y2. How do you control your dual Y motors with this controller?
Connect second Y motor to the ‘A’ driver’s socket and select which axis you want to clone. There’s a small toggle switch below the driver that enables you to do that. If you’re using external stepper drivers you just daisy chain two drivers together. It’s all explained well on the spark concepts blog. Or go to the beavercnc.co.uk and it’s all perfectly explained how to build entire setup with this board
There are several solutions. The first, which you mention, is a quiet compressor. Any compressor must meet its requirements - pressure and volume. The larger the tank, the less it will have to go on and off, increasing its life.
California Air Tools specializes in quiet compressors. They have compressors suitable for MLQ that are 40 dB! Not cheap and not exotically expensive, they do the job. Some other less expensive ones at in the 60-64 dB range.
An alternative approach is an enclosure. Compressor enclosure design is more complex than CNC machine enclosure design Why? Because a compressor has to pull in air (breath) to compress and it also needs air to cool itself. Even hole to let air in, let’s sound out.
The “box” of a compressor enclosure is easy - it’s much like a CNC enclosure: mass, light foam, and heavy foam. How to get the air in, circulate, and get the air out is the challenge… can’t let the noise out! The secret is to design mufflers into the enclosure and a small fan to push air around inside the enclosure. Mufflers are easy to build… provided that they are done properly and an appropriate deadening foam is used within.
A properly designed compressor enclosure (with mufflers) isn’t expensive and 20-30 dB suppression is possible (with care), 10-15 dB is easy.
Another approach is a tiny compressor. These are often found associated with Koi ponds, tattoos, and air brushing. These can work well but due to their small size and storage volume they tend to wear out quickly. They aren’t designed to run for hours at a time.
mark
P.S.
What do I use?
I use a MagLube MLQ system. Probably out of the price range for many, this is a near perfect solution, almost infinitely adjustable. Once adjusted there is virtually no mess as 95% of the lubricant/coolant is consumed in the machining. The lubricant/coolant is safe to pour down the drain; conventional cutting fluids require EPA approved disposal methods.
I have one of the 40 dB California Air Tools compressors. Some refrigerators are louder.

 )
)