Hi, I’m not sure if I’m doing something wrong, but when I connect my machine to my computer, I always check my zero. I generally work with the same sized stock, so it’s usually right. But sometimes I change thickness so obviously the z zero needs to change.
Ive had this happen a few times now, but I turned it on, checked my zero, and this stock is a bit less thick so I tweaked the Z height and re-zero’d it where it needs to be. Then I loaded a file, it had me put the bit in, the machine went and did it’s little probe and I turned it on and set it to go.
The Z zero changed to waaaay deeper so my bit goes plunging half an inch deeper than it’s supposed to, and ruins an expensive piece of material.
Why? I literally just checked the zero, set the zero, then when I load a new file it randomly shifts the zero drastically. Any ideas? Also, is there a way to check where your zero is after starting a file? It’s a bit weird that I can check and jog but as soon as i load a file, i can’t check zero or anything. So when the machine changes it’s zero on me randomly there’s no way to make sure except to snap an 80 dollar bit and ruin a piece of material? I’m confused.
It works right 90% of the time then once in a while it just doesn’t.
Do you ALWAYS use the “Change Tool” button every single time you install a new bit in the router ? If you ever forget to do that and just swap the bit without telling CM (i.e. without using Change Tool), it will throw off your Z zero upon starting the job (that’s because CM adjusts the Z zero at the beginning of the cut based on the probing it does and the latest probing it did before that, so if in the meantime you changed the bit without re-probing…boom). This is (statistically) the most common pitfall leading to a wrong cutting depth upon running a job for BitSetter owners.
I don’t use any button, on a tool change, i install the new tool and just hit ok and it automatically goes and hits the little button. That device works great once a project is loaded and going. It never messes up the Z between tools. It’s the initial zero and initial load up that’s the issue. Sometimes it works, sometimes it doesn’t. And I do it identically every time.
I load up Motion. I connect to router, I rapid position it to the current zero (X, Y is ALWAYS perfect, never messes up)
Then I lower it down manually to the height I want (I work with 2 thicknesses of material so sometimes I need to do this, sometimes its already set at the right Z)
Once it’s just barely touching, I hit Zero all.
On the left, it says X: 0, Y: 0, Z:0. I assume this means the zero was successful. If I go back into Zero, it says theyre all at 0. Everythings great.
I load up a file, hit start. It asks me to enter my first tool. I do. I hit ok, it goes over automatically and taps the button, heads back to the middle, tells me to turn on the spindle. I do, i hit ok, and it starts. Half the time it plunges super deep, half the time it’s perfect.
Please press the button so that the machine knows that it is measuring a changed tool length offset rather than remeasuring a tool to ensure consistency.
Please make a pair of videos, one of which shows a successful cut, the other of which shows a cut to the wrong depth — at 50–50 odds it shouldn’t take more than 3 or 4 tries — and we’ll do our best to sort this out with you.
the carbide motion UI has a "change tool: button. Please use it
the problem is that the bitsetter does RELATIVE measurements, and will on each measurement, adjust the Z zero based on the difference between previous and current measurement.
If you use the GUI button for changing a tool, it will measure the new tool instantly after you change it… if you THEN zero, the next time you measure, it’s all great, since both measurements are the same, no adjustment to the Z zero.
if you change a tool without the GUI, set the zero, and THEN the system does a measurement, there will be a difference between the last time it measured (with the tool you had well before you zeroed) and the current, and there will be an adjustment made to the zero you just set.
so it’s very important to have the tool that you zero with, be measured by the bitsetter BEFORE you go set the zero yourself. Easiest way to do that is using the Change Tool gui button.
I’ll try and find that change tool button, I’ve never seen it. Maybe it should be relocated?
I still don’t understand why if I set a zero with my main tool, then I start a file, using that same tool, and it goes and checks the Z height, without changing a tool, that it changes my Z. I don’t change tools between zeroing and starting.
The zero I set with tool 1 is my zero. When I laod up the file, it asks me to insert tool 1, it’s already in. I hit done, it uses the bitsetter and shifts my zero by half an inch.
I don’t understand the point in it or the reason, and Im having a tough time figuring out how to know to hit buttons or not hit buttons when the action makes no sense to me
assume the bitsetter is very simple device
it measures the length of the tool. ANd it remembers the measurement.
The next time it measures, it calculates teh difference between measurements, and adjust the Z zero of the system.
This is how it normally works, you have bit 1 in that works, then you, in the middle of a cut, need to change it for bit 2, it measures, finds a difference, adjusts the Z with the difference in tool heights, and… the new tool is because of that, at the right Z again.
So far so good.
Now this goes badly if the system does not know that you changed tools (note that it does not know that you set your own zero). If you change tools, there will be a difference in tool length (unless you get super lucky and would insert it perfectly at the same length).
The bitsetter, the next time it measures, finds this difference, and adjusts the Z zero setting for this difference… since that is its job.
If you had set your own zero after a tool change, but before measuring the bit… this Z zero adjusting is unwanted since it will adjust the carefully set Z zero you just measured.
The way to deal with this is to make sure you have the bitsetter measure the bit BEFORE you set your own zero. Because the next time it measures afterwards, there’s then no length difference… and it all works.
And the easiest way to get this measured when you change a bit, is to use the button on the carbide motion “run” screen. (which is the screen you get into after you hit “initialize machine”)
Well if I hit the zero button, shouldn’t the system be aware the zero has changed? Seems like a pretty easy fix to make everything overall smoother and completely eliminate the change tool button
(I thought that as well for a long time, then realized it would be a mistake to only do that)
It turns out that quite a few people use a specific bit (one supported by the bitzero probing, or a V bit with a sharp point for accurate visual setting) for setting the zero, but use another bit for the first cut… This all works great, the bitsetter will just adjust for the difference between the bit you probed zero with, and the one you actually cut with.
But the change you propose would completely break that use model.
But yeah I can see it either way. I would not have minded the bitsetter probe to happen right after you hit “set zero” in the UI (and then it would ignore any tool delta)
That could be an interesting feature request for the C3D folks
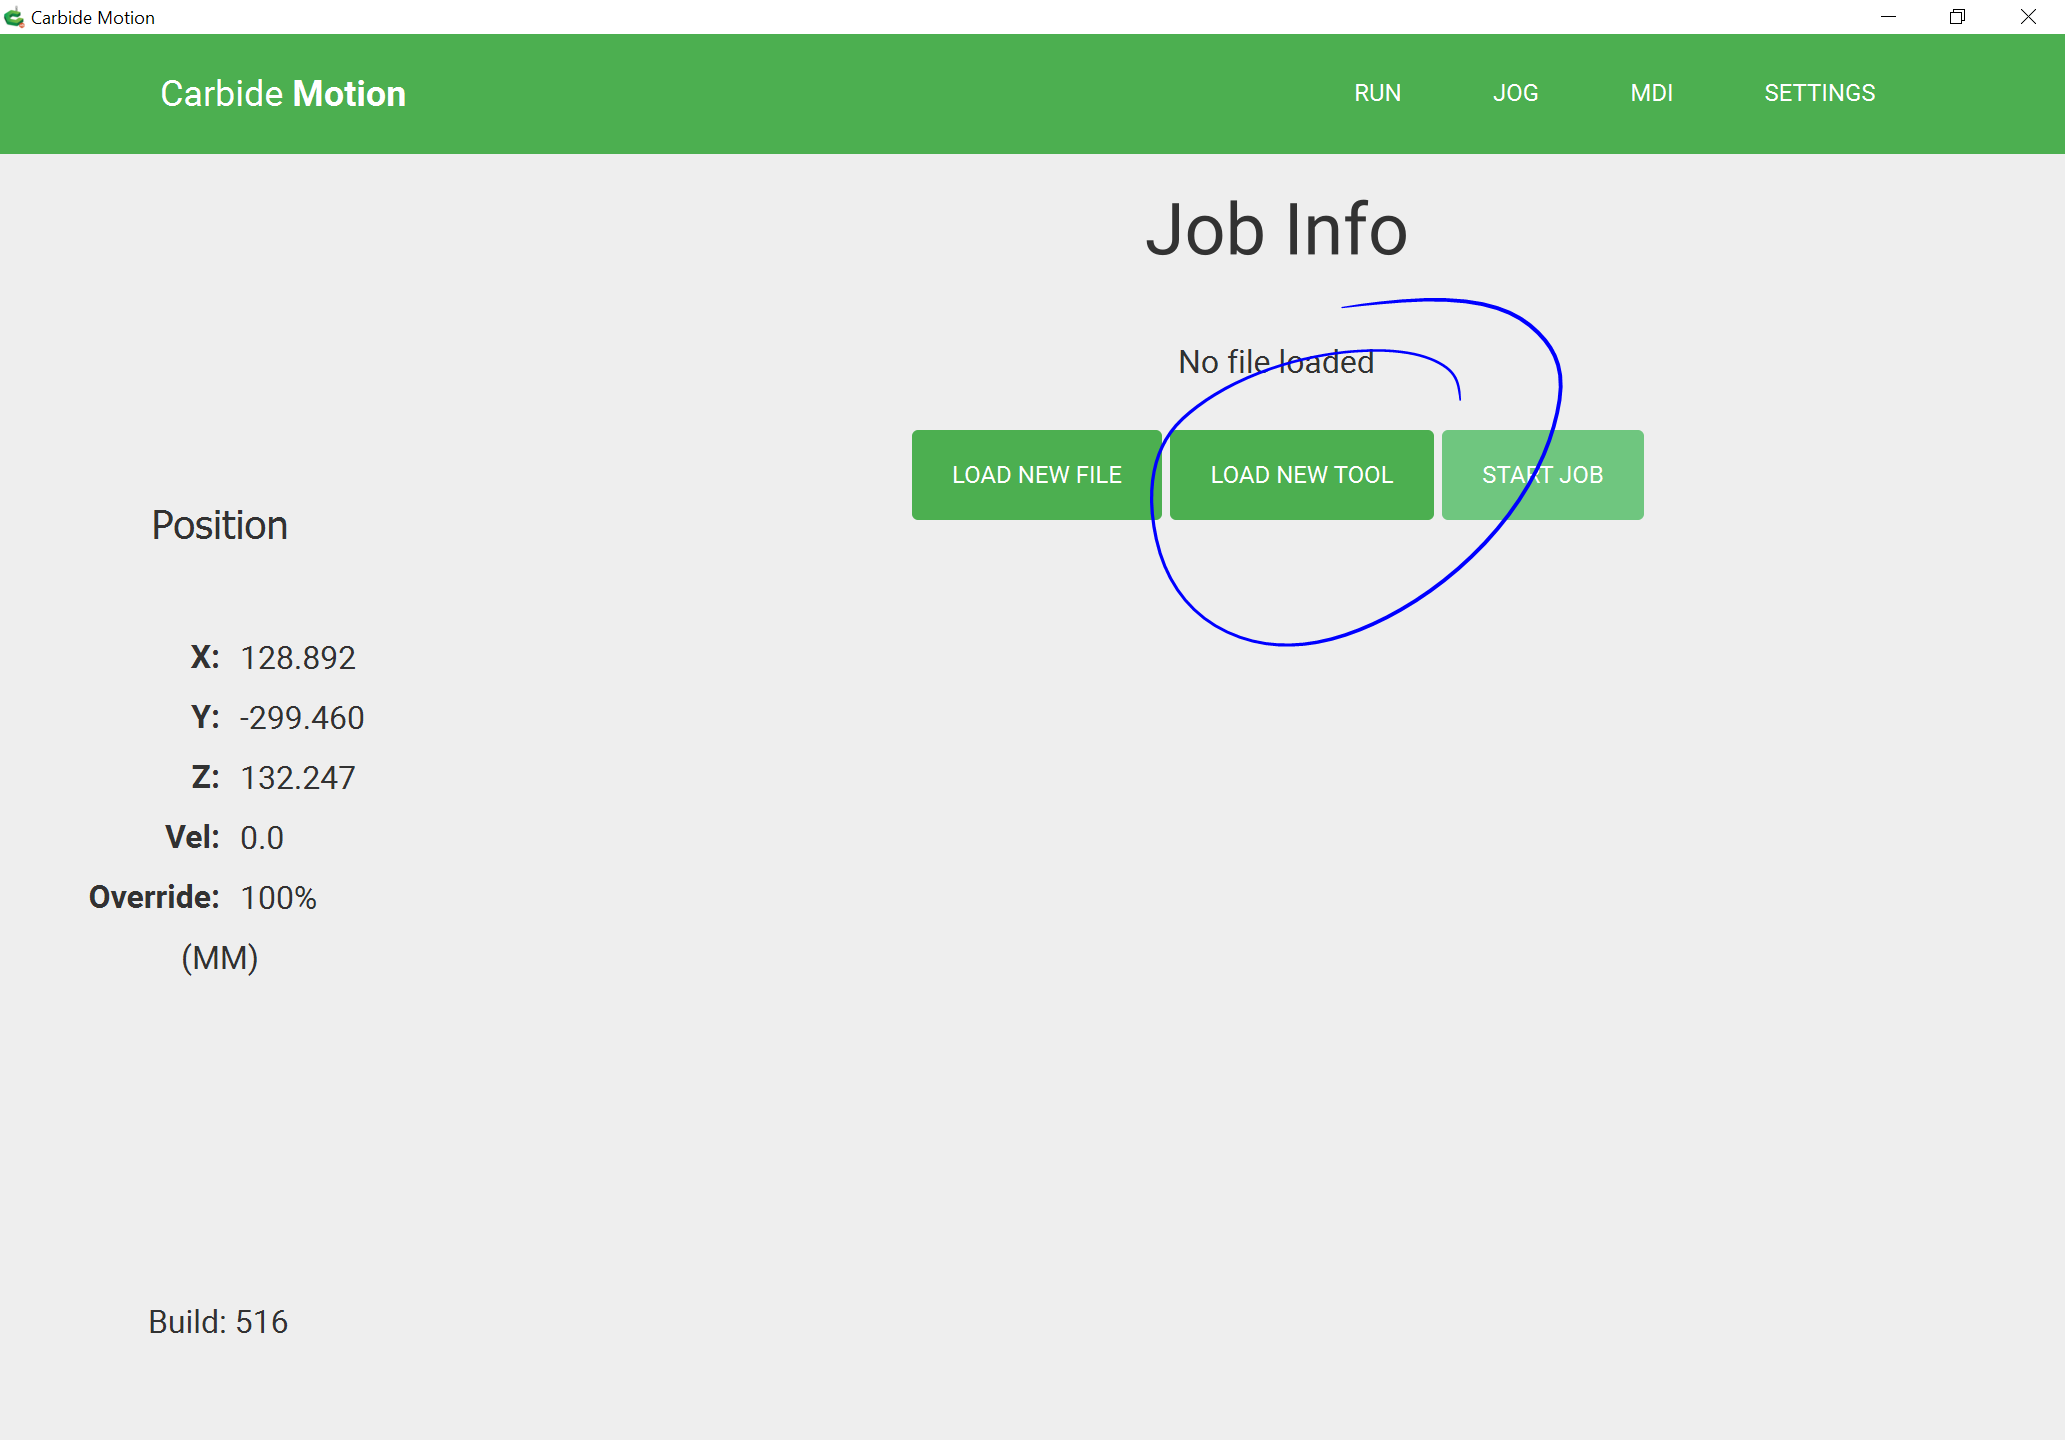
Several people stated that the previous job zero is in memory between power cycles. So if your previous job was 1/4 inch and you zero’ed Z on top of the 1/4 inch project, until you rezero the relative Z zero is at 1/4 inch above the spoil board no matter which tool you load. So if you power on your machine and the router comes to the front and asks for a tool and you put a new tool in the BitSetter sets the new tool for 1/4 inch above the spoil board. So after initialization, BitSetter and the router comes to the front use your “Load New Tool” button, the router will ask for the tool and then after “Resume” it will set the new tool but it will still set the zero for the last time the z zero was set which was 1/4 inch above the spoil board.
Then jog and set your zero’s with probe or paper method and if the new project is 3/4 inch the new zero for Z will be 3/4 inch from the spoil board if your project uses the top to set as a reference. Any tool you put in the router without rezeroing will set it at 3/4 inch above the spoilboard.