Can you Machine an Aluminum Can?
Yes you can!
(Project Files and build details are below)
Japanese Paper Craft was the initial inspiration for this project, and several years ago I adapted a Paper Robot design from paperrobots1999.com to fit onto an Aluminum can, this was before the Nomad and I had to print the design on Sticker Paper and then cut them with scissors. The Down side was that I could never cut them accurately or repeatably to confirm my design, so it got put in a project box and forgotten for 5 years.
Now, with the Nomad, whose middle name is Accuracy and Repeatability, I can make Shiny Metal Robots all day long!
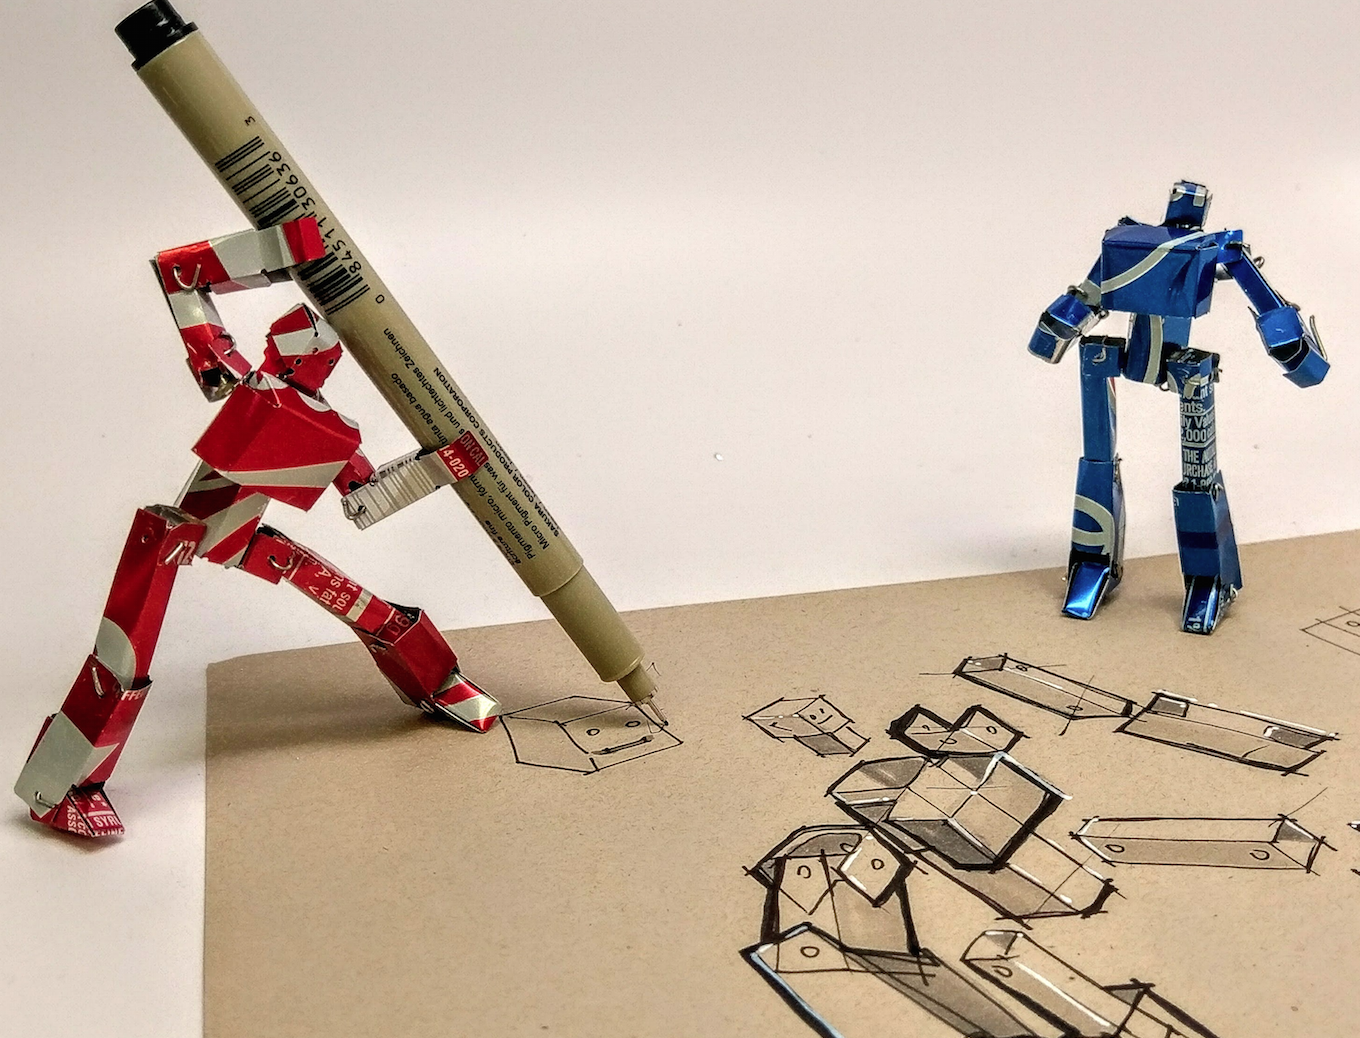
Heres the Final Robots and Parts:
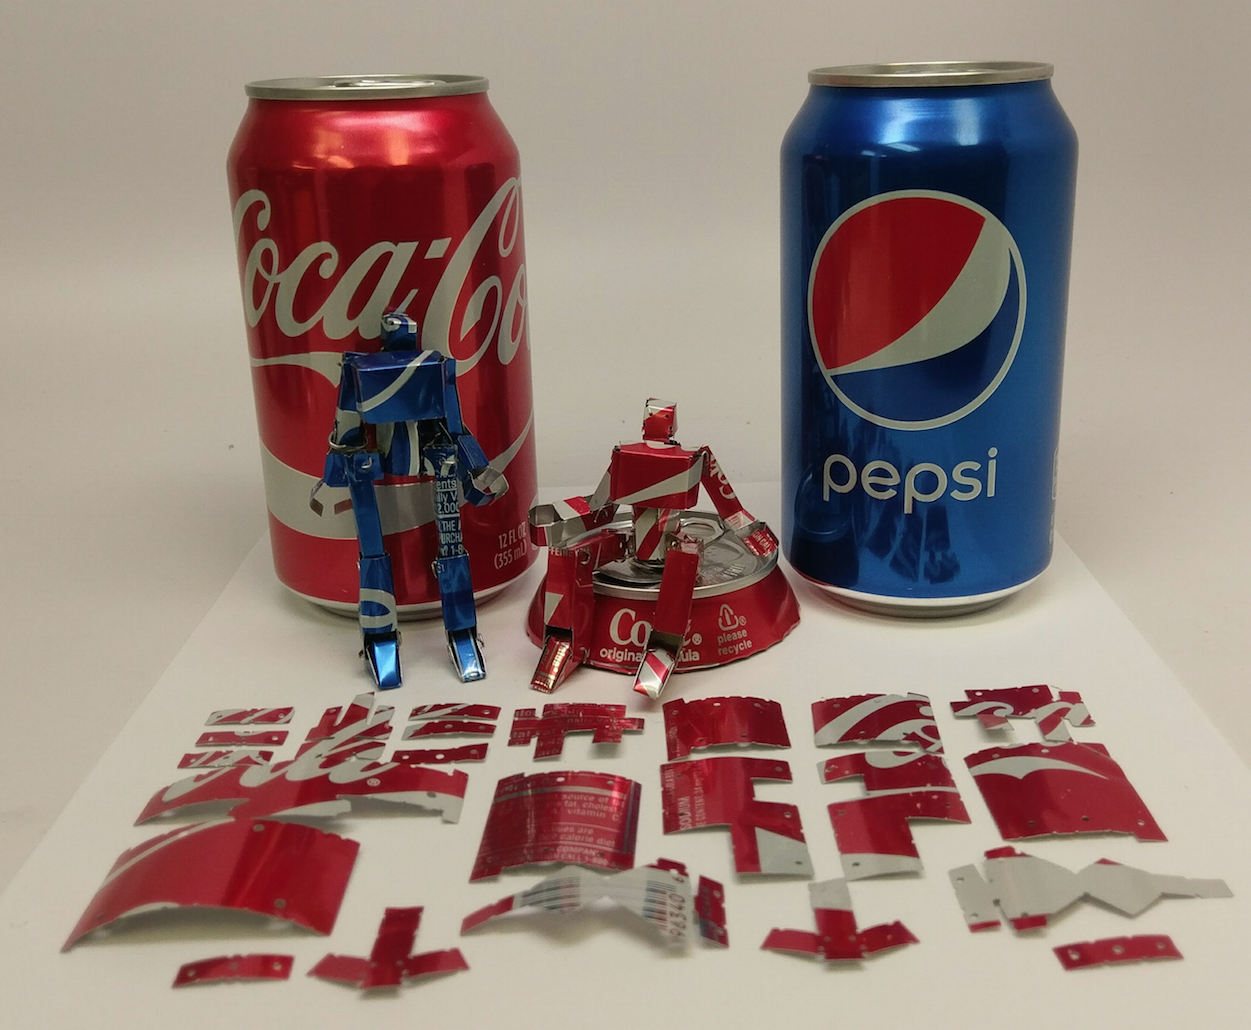
Coke Vs. Pepsi Vs. Nomad
Carbide Create Design File
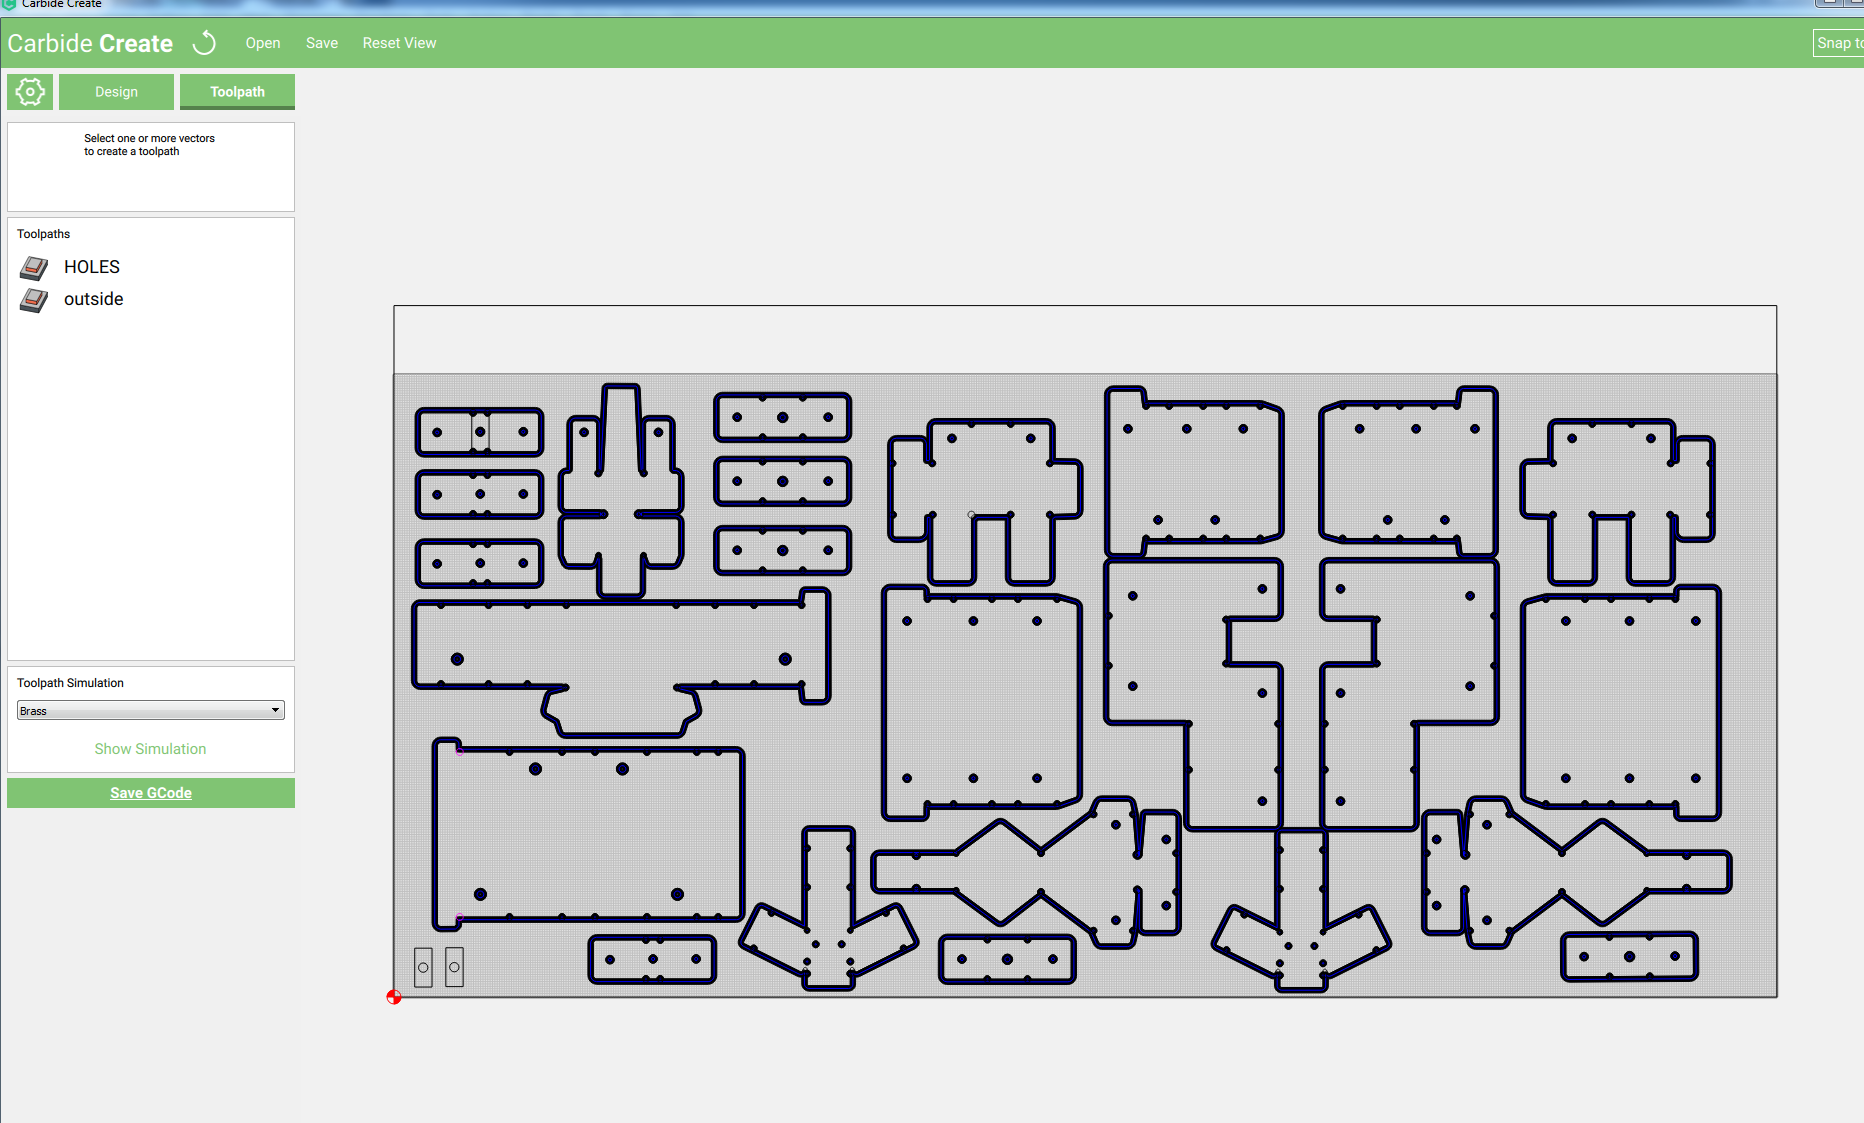
To help fold the small parts I first ran a toolpath of all the holes, which included the Axle holes, but also holes at all the fold points.
Carbide Create Cut Preview:
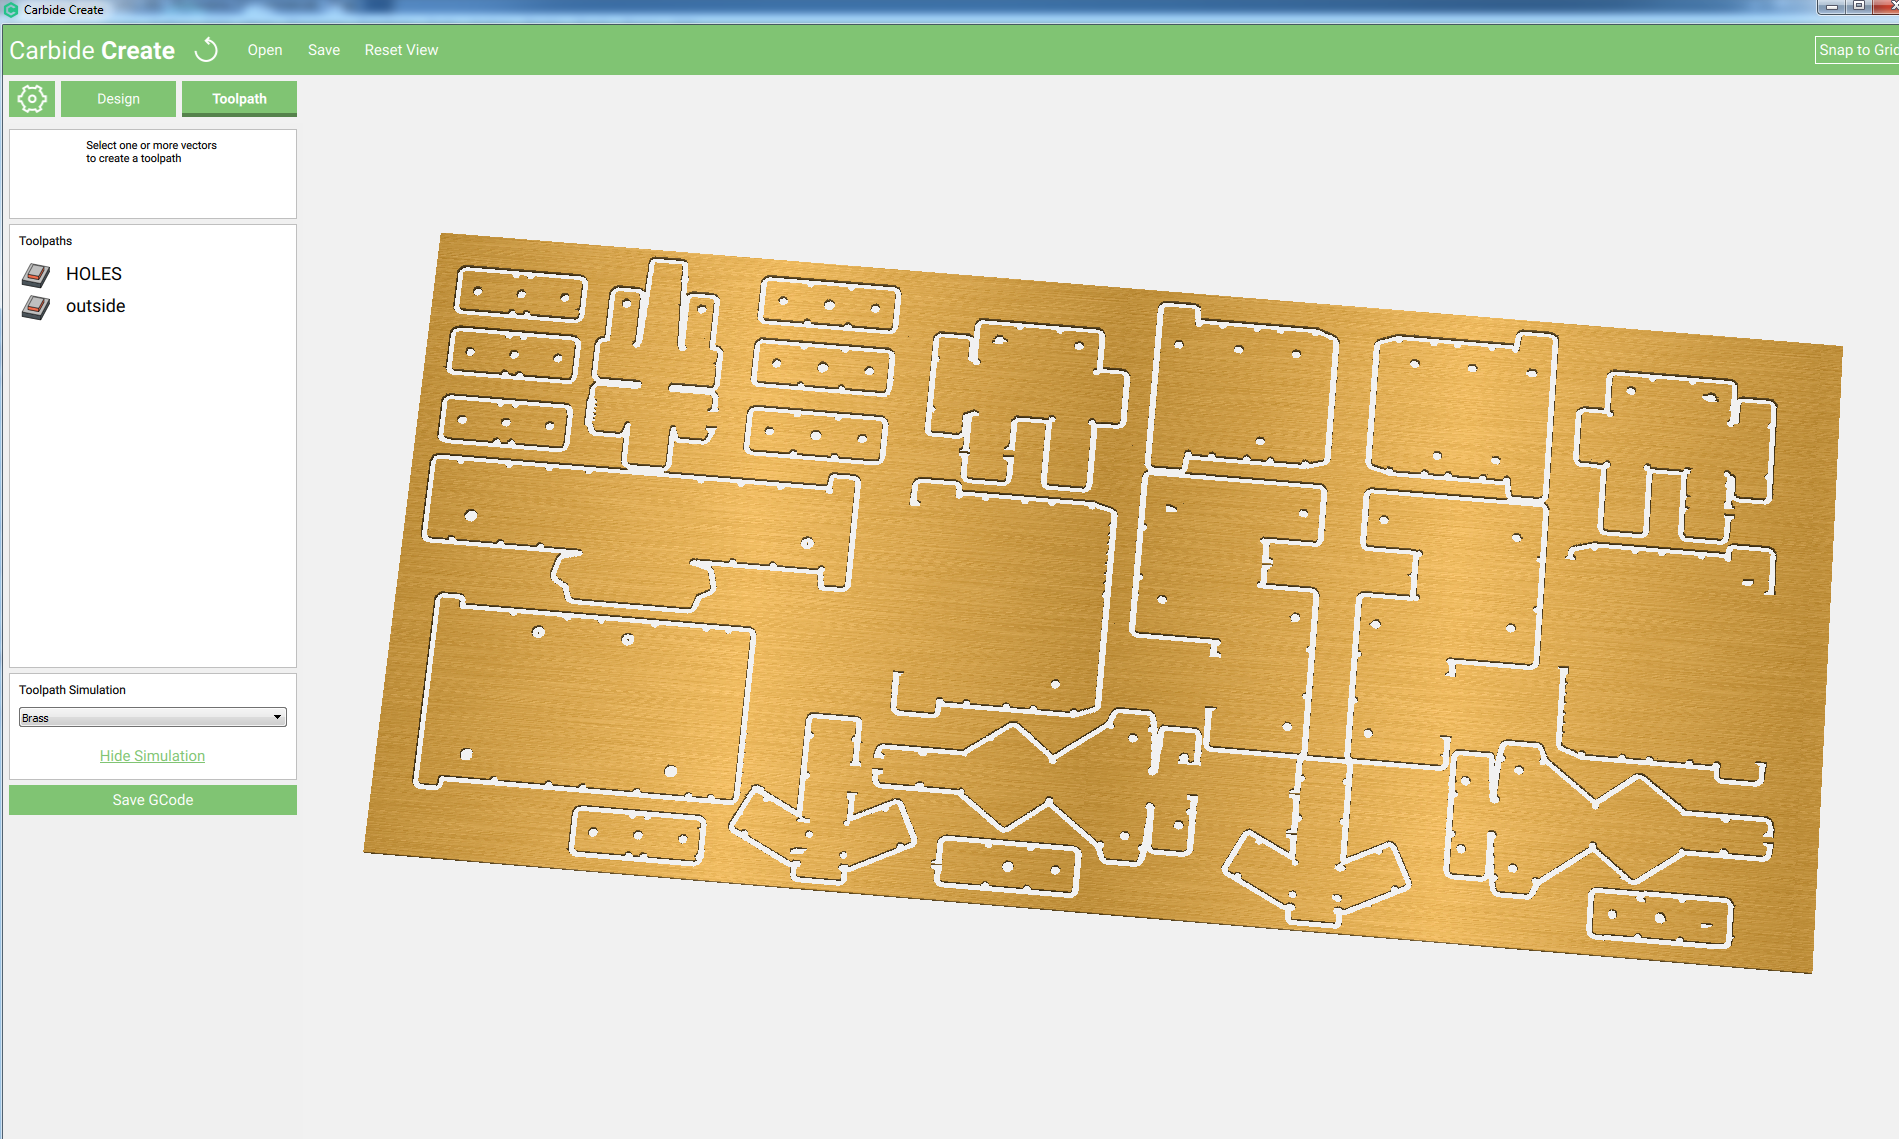
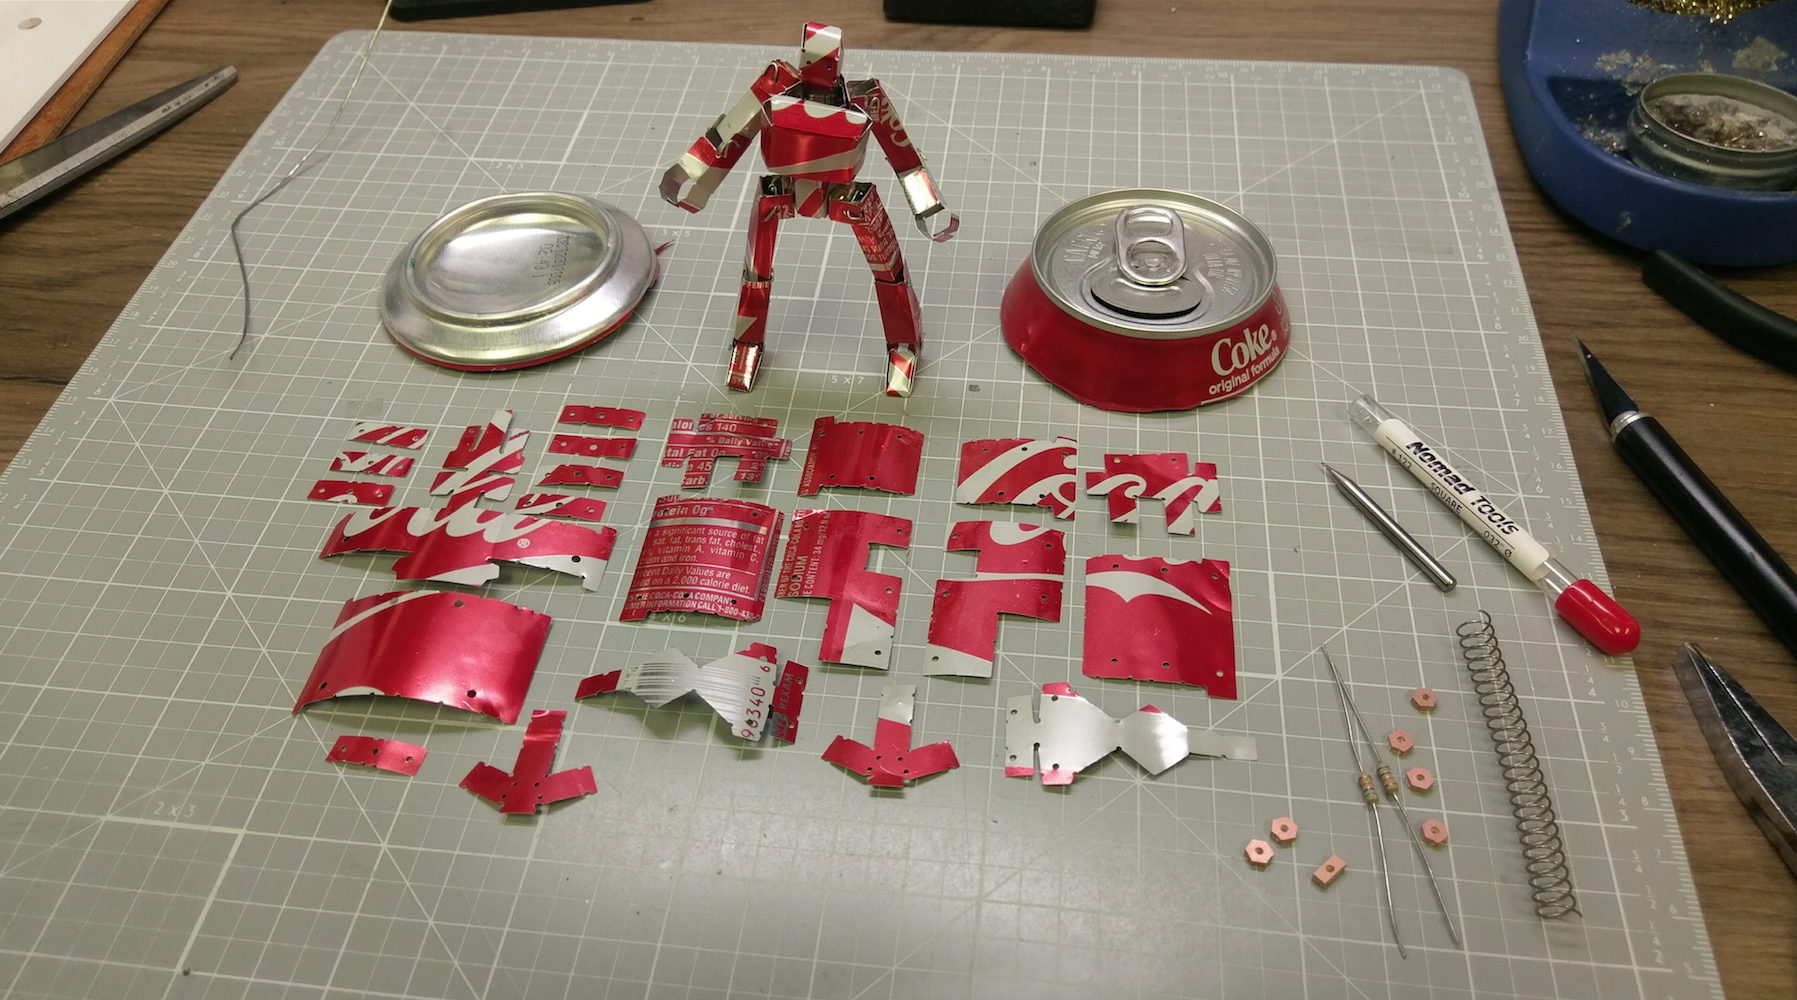
All the parts to build one 3" tall Articulated Robot, including a spare Helmet and some extra Hips and Shoulders.
The aluminum can canvas measures 8" x 3.6" x .005"
Work Holding the Aluminum Can:
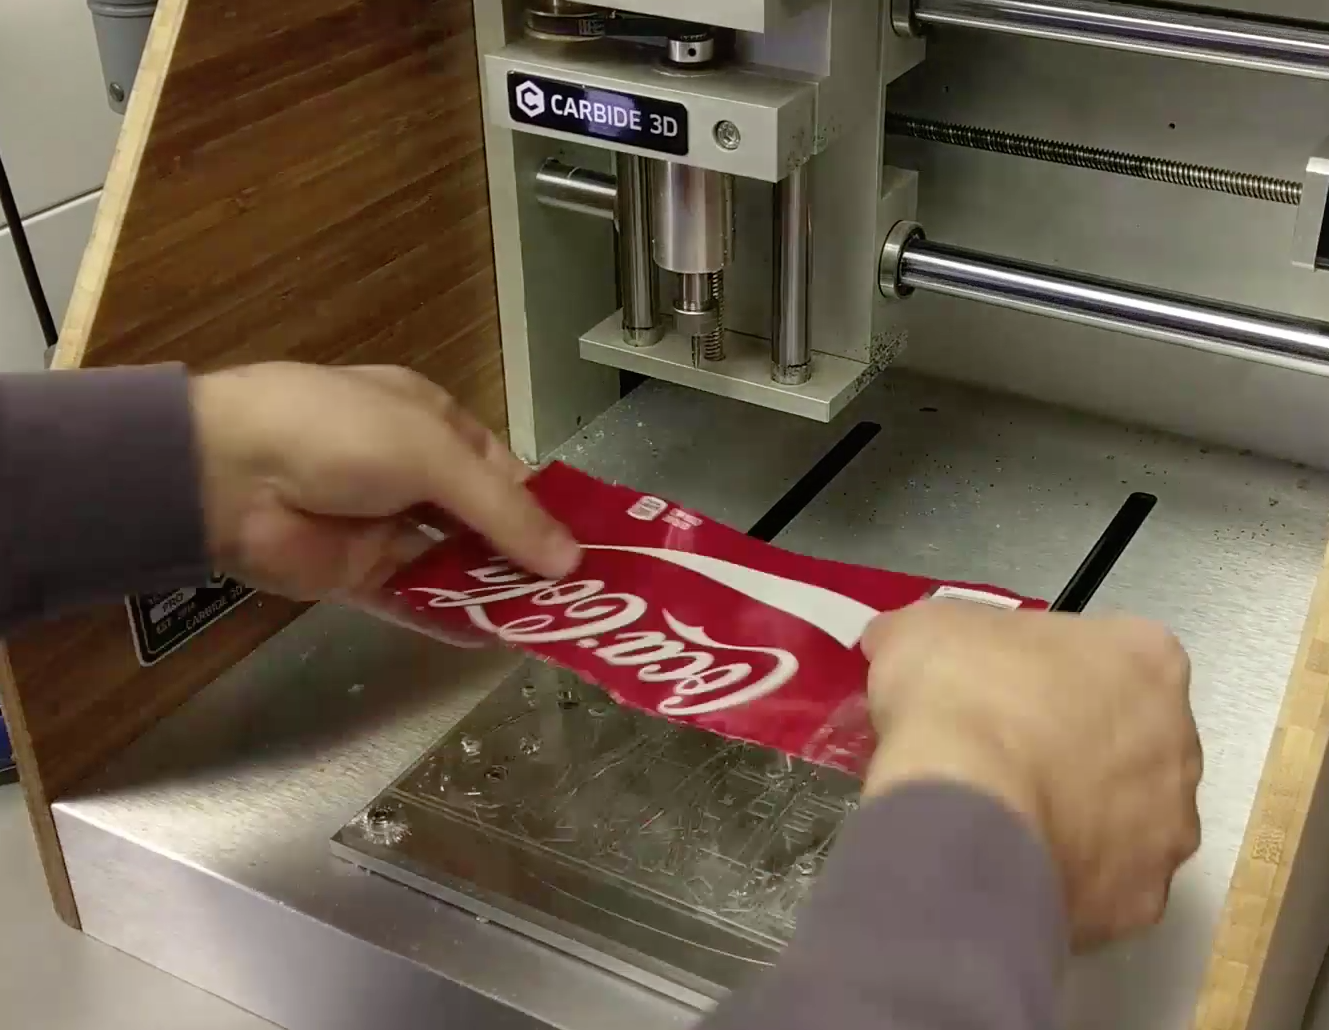
For Metal, I usually go with the Blue Wax, but even after Sanding the thin plastic layer and wiping the can with acetone, the wax would release the aluminum sheet during the cut. ( I think the thin material wont hold the necessary heat to bond with the wax properly)
Hot Glue does work to Hold the Aluminum, but introduces a Challenge of an un-even work surface.
The Solution is easy though, I set my DOC to .045" which put the tool into and through the .005" aluminum across the bed- regardless of the .030" variation found across the work.
I zeroed of the Acrylic wasteboard, and then jogged up .046" and zeroed the z again.
FYI: Rubbing alcohol will release Hot Glue, but it cracks acrylic. If you look closely at the video you can see the cracks at the bolt holes.
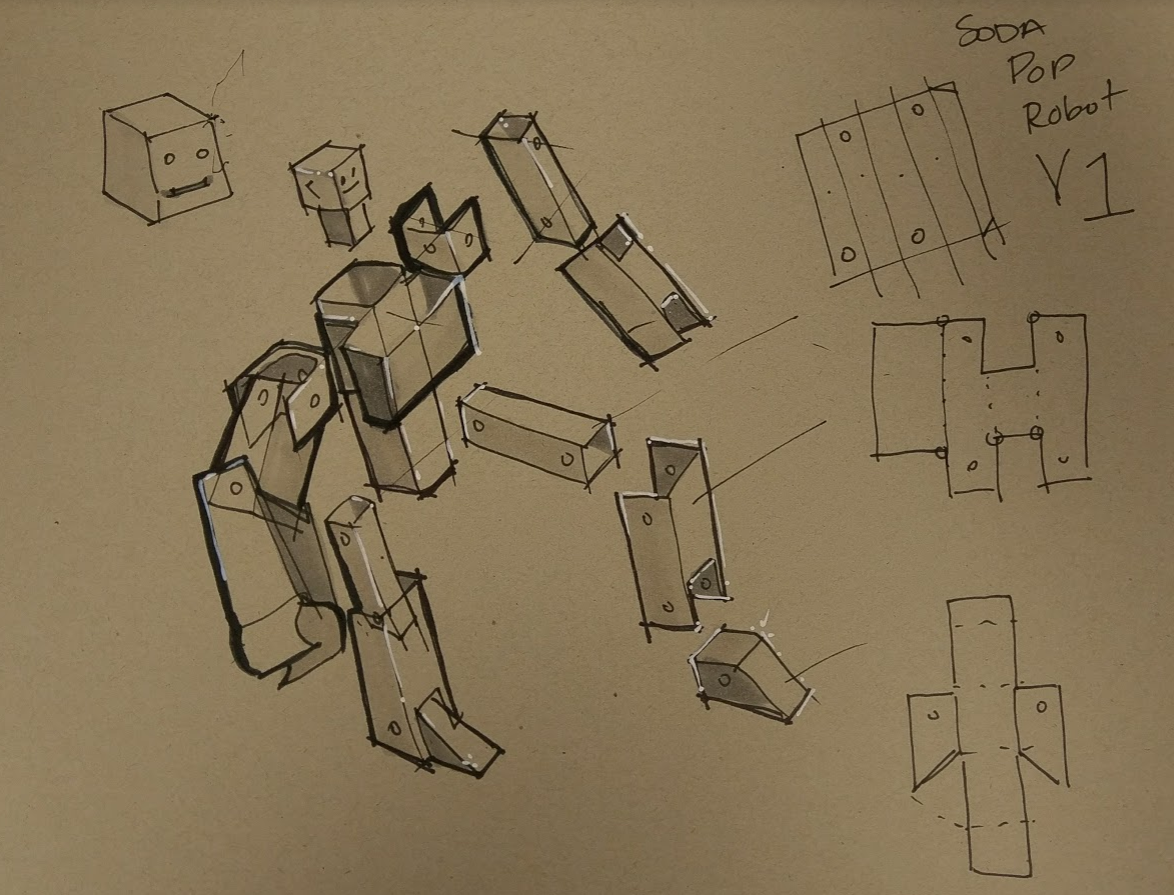
The Exploded Parts/ Construction sketch
Under 20 cents in Raw materials!
Fold, Pinch, Repeat. I placed an extra tab wherever possible, so you just fold the parts into square tubes, and pinch over the final small tabs. (Kinda like a Tonka truck)
Resistor wire, some PCB donuts, solder and a spring.
Boom, you got a Robot.
The Stop Motion Secret:

The Key to getting the Robots to stand up is Friction created by internal tension. I was able to create this by capturing the hip joints by soldering PCB Donuts onto either side of a resistor and then winding a small spring (a retractable pen spring will work) into the body.
I could never have planned for that to work, just one of the results of fiddling around until it does.

Heres a link to the Files:
If you have any questions let me know!
If you have too much fun with these, also let me know.
 only much more fun!