My machine has been running flawlessly for one year (almost exactly to the day). Yesterday I noticed some lines were not cut straight, realized one “Y” belt was loose. I tentioned it again while thinking it was strange to be so loose. I should have looked more carefully. Today I started running again and again the same belt was loose again.
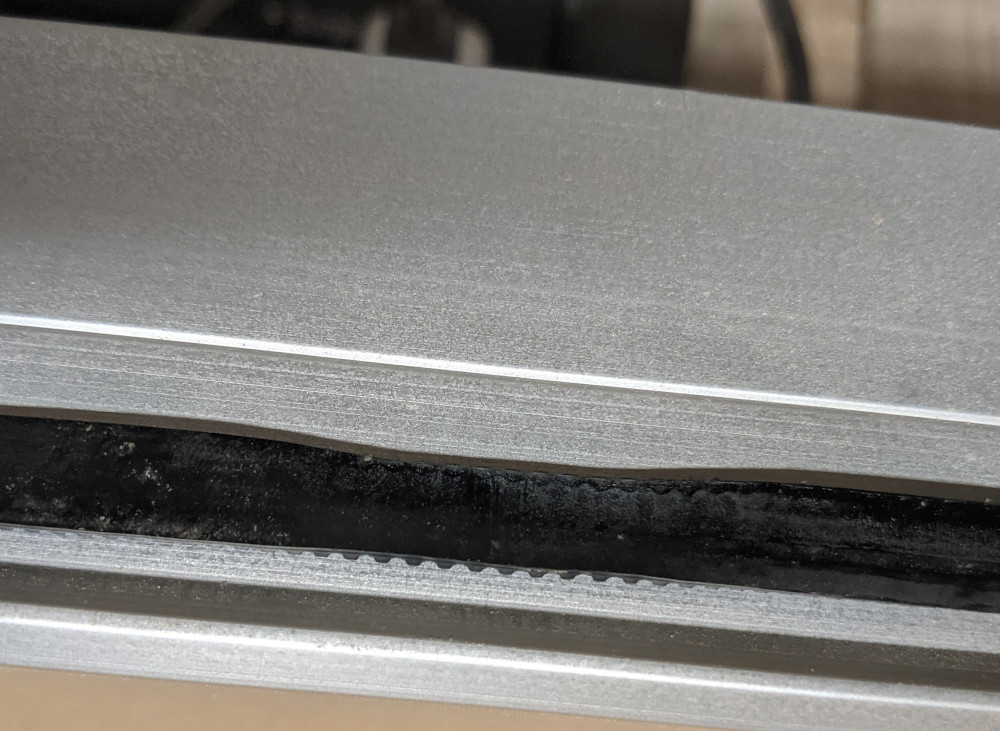
I inspected the belt and could CLEARLY see that it had failed. Looked like stretched silly putty about a 16 inches back from the front of the machine.
I immediately ordered the “Shapeoko Maintenance Kit” (that I’ve been meaning to order for the last 3 months). But then I found a post here that says the belts have since changed and I may need to be more careful with the new ones. As it turns out, I have steel core belt and the new ones will be fiberglass core. Fiberglass core belts are “more likely to be overtensioned” which I assume was the cause of my original failure.
The steel core belts were subject to metal fatigue due to the tight bends around the pulleys — let us know about this at support@carbide3d.com and we’ll do our best to sort out how to handle this.
You did not say what machine you had but for my xxl the y belts with the carriage back my finger inder the center feels tight. Now that is subjective because of finger thickness and what feels tight and so on.
The main peril with changing belts is getting the belt tension brackets straight. Hold the bracket with pliers while tightening the allen bolt. If you do not hold the bracket the allen tightening will cause the bracket to twist and get in the way of the v wheel and can cause homing failure. After tightening the belts with power off move the gantry all the back and forward to make sure the gantry can get maximum movenent without hitring the brackets.
Thanks. Good info there.
I placed an order for the maintenance kit as soon as I figured out what was wrong. So this morning I contacted sales to see if they could help me out. They were nice enough to get that order out to me today via express shipping at no extra charge.
A++ customer service. I’ll be back up and running this weekend!
Thanks again.