I have a small project to cut out a rocker from an svg I designed. The material was 12" x 46" which is much longer than my SO3 XXL. I have not done tiling before but get the basics of making a fence for the left side and some registration marks but my question is about the tiling tool path. Can you suggest how I create the cutout of this rocker using tiling.
I get the height of tile, I get overlap but what is X overlap. Should I have some vcarve registration marks cut or just use a marker to mark out the 20" length, overlap on tile 3 and 2? Generally I use center but should I use lower left as my X and Y zero
You need stock with a straight left edge to ride the fence. Or attach your stock to a sled piece.
X margin works like the Y overlap & chops off any toolpath that crosses that margin.
I use a 24" machinist scale to mark my 20" lines to move the part. I have used a v bit to mark the lines as well. If there is a v bit used in the program. In your case it’s an extra tool.
Another thing to note is the marks do not have be at Y0. They can be anywhere as long as they are exactly 20" (your tile height) apart.
You can use center, but your machine might not reach the center point when set up for tile 1.
You would have to have a secondary mark on the wood at a known position, and set the Y to that value rather than zero. I think it’s just easier to use lower left and zero the Y axis.
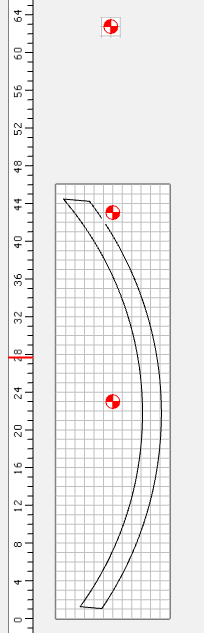
Here’s where the zeroes would be for all 3 tiles using center…
Thanks @Tod1d . I had thought about making a vee bit marks at zero and 1st section. Great minds ooze the same slime. When cutting first section completes does cut in cc pause for moving stock?.
The default was I think 3 sections so I was going modify to 2 sections so I only had to move stock once. I have SO3 32" bed.
I designed rocker from internet advise of 37" radius and chair base is 27 inch with a few inches in front and 13" in back. I added knob like at front and back to help stop rocking so as to not turn rocking chair over.
Thanks to @Tod1d with his help in doing my first tiling job. I thought it would be complicated but after cutting the rockers it is relatively simple. I wrote up a pdf about my first tiling experience. Hopefully it will help others with their first tiling job. I had read all over the forum and watched Kevin’s youtube but it did not get into a lot of detail. Please feed back on my pdf about tiling if I missed anything.