Rushed V-carve & epoxy cutting board

What do you do when you end up having to make 4 custom gifts for friends and family and only have a few days to do so ? I go to “basic” mode and challenge myself to do the simplest, fastest, lowest-amount-of-post-processing thing.

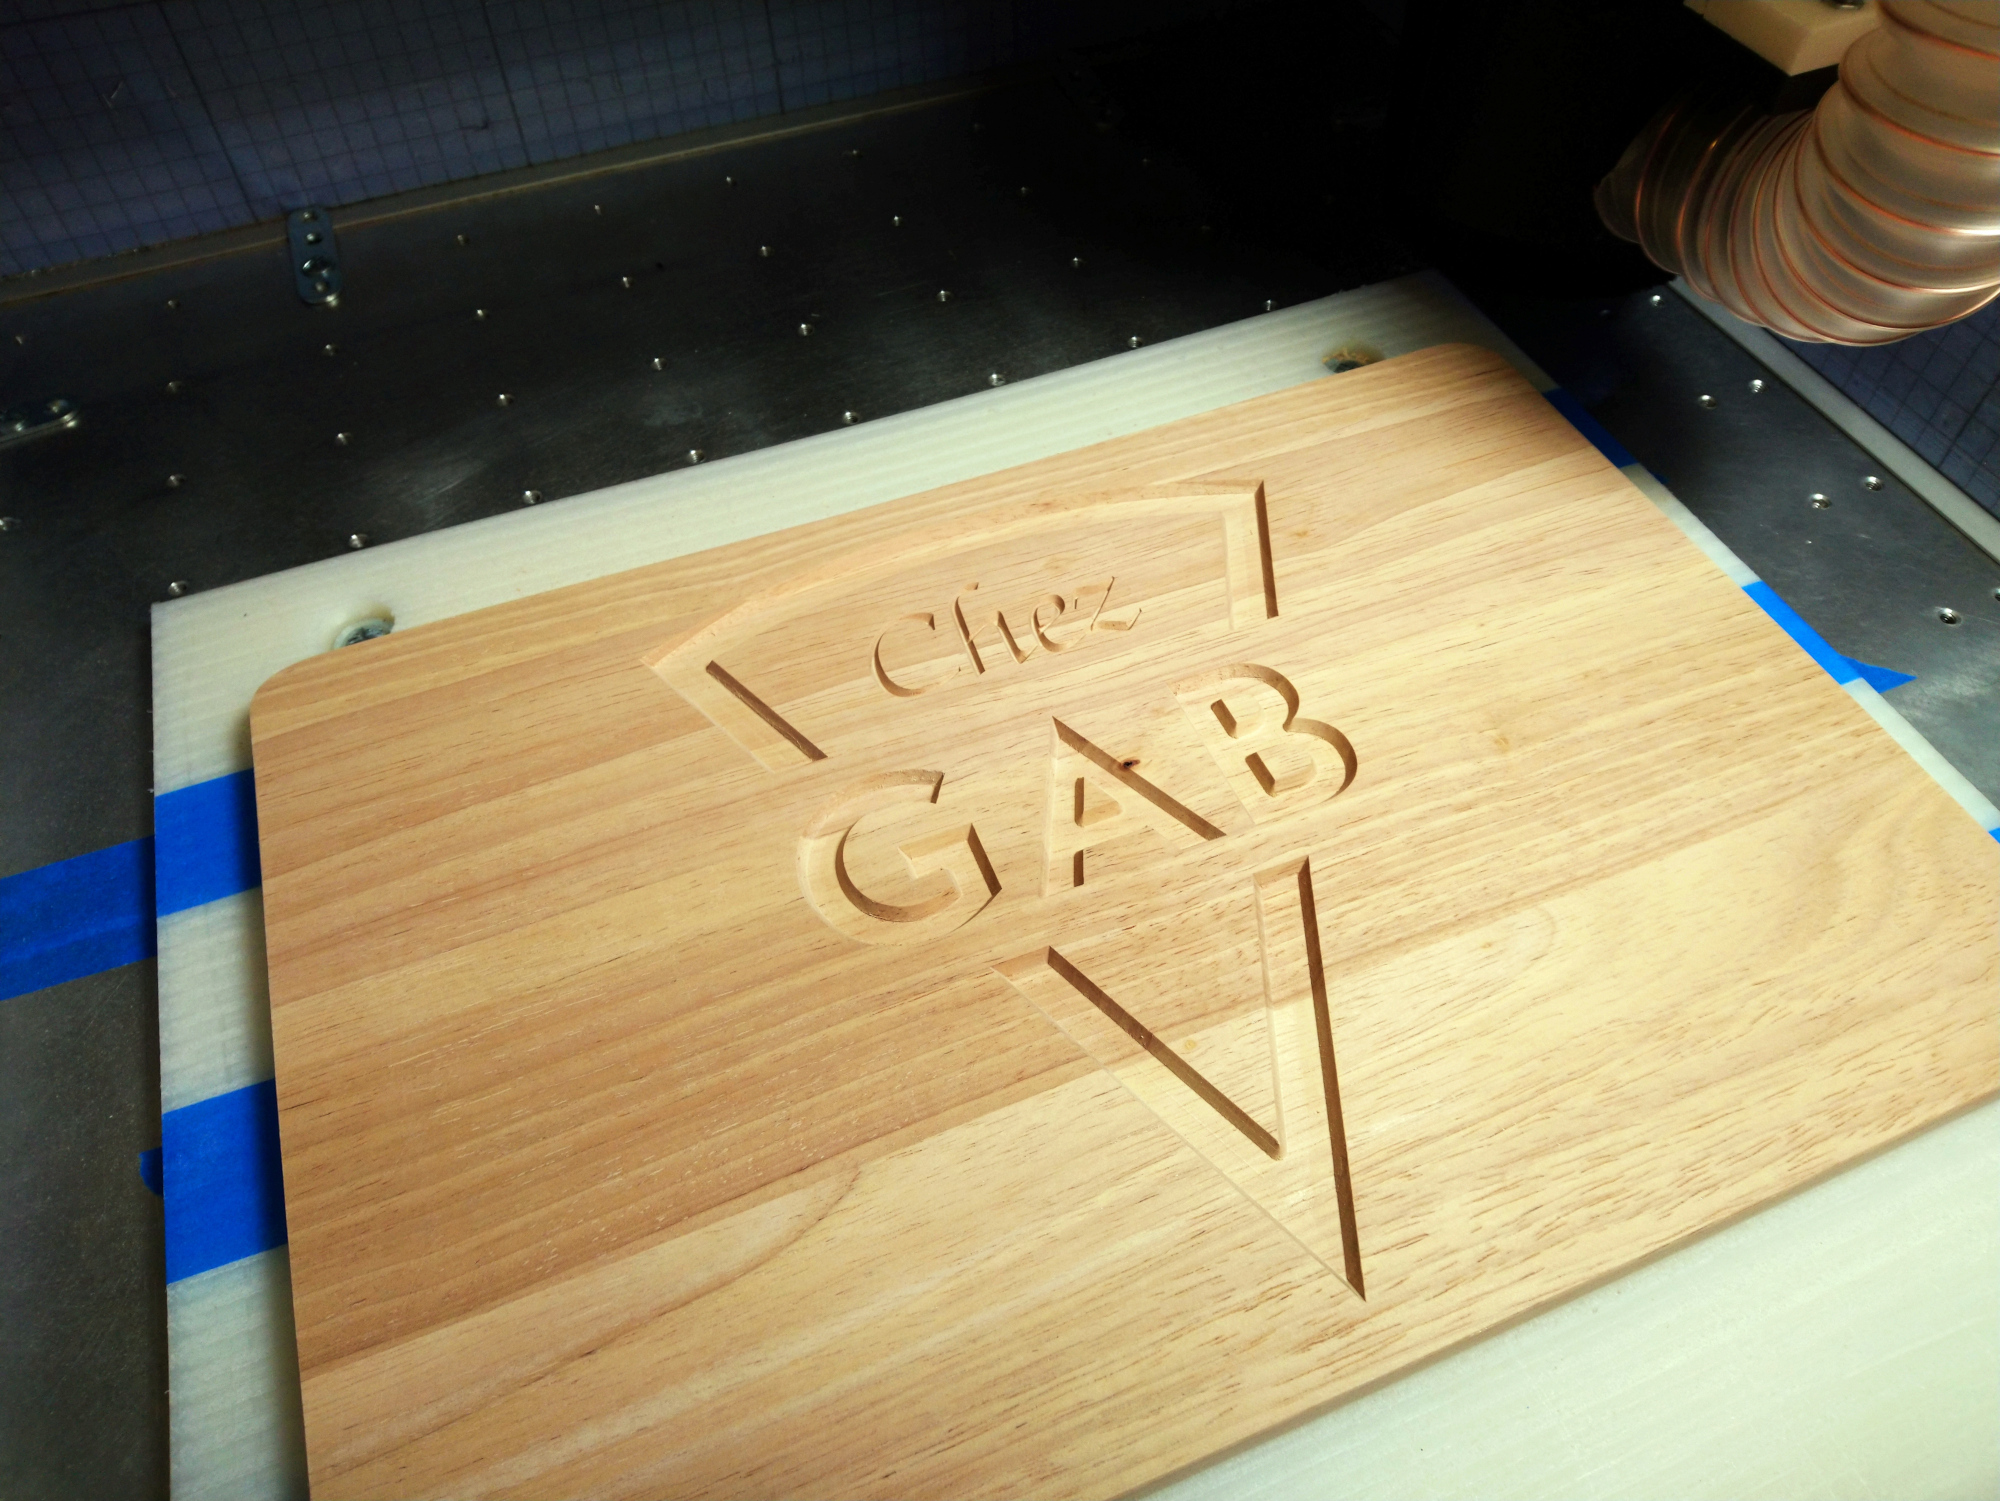
Step 1: grab a cutting board, surface it, V-carve it (with some text that will draw the attention away from the lack of any other fancy finishing details, because once people see their name on anything, their brain goes to the “it’s so cool!” zone, and those nice but barely-visible chamfers you spent time adding will go unnoticed anyway :slight_smile: ):

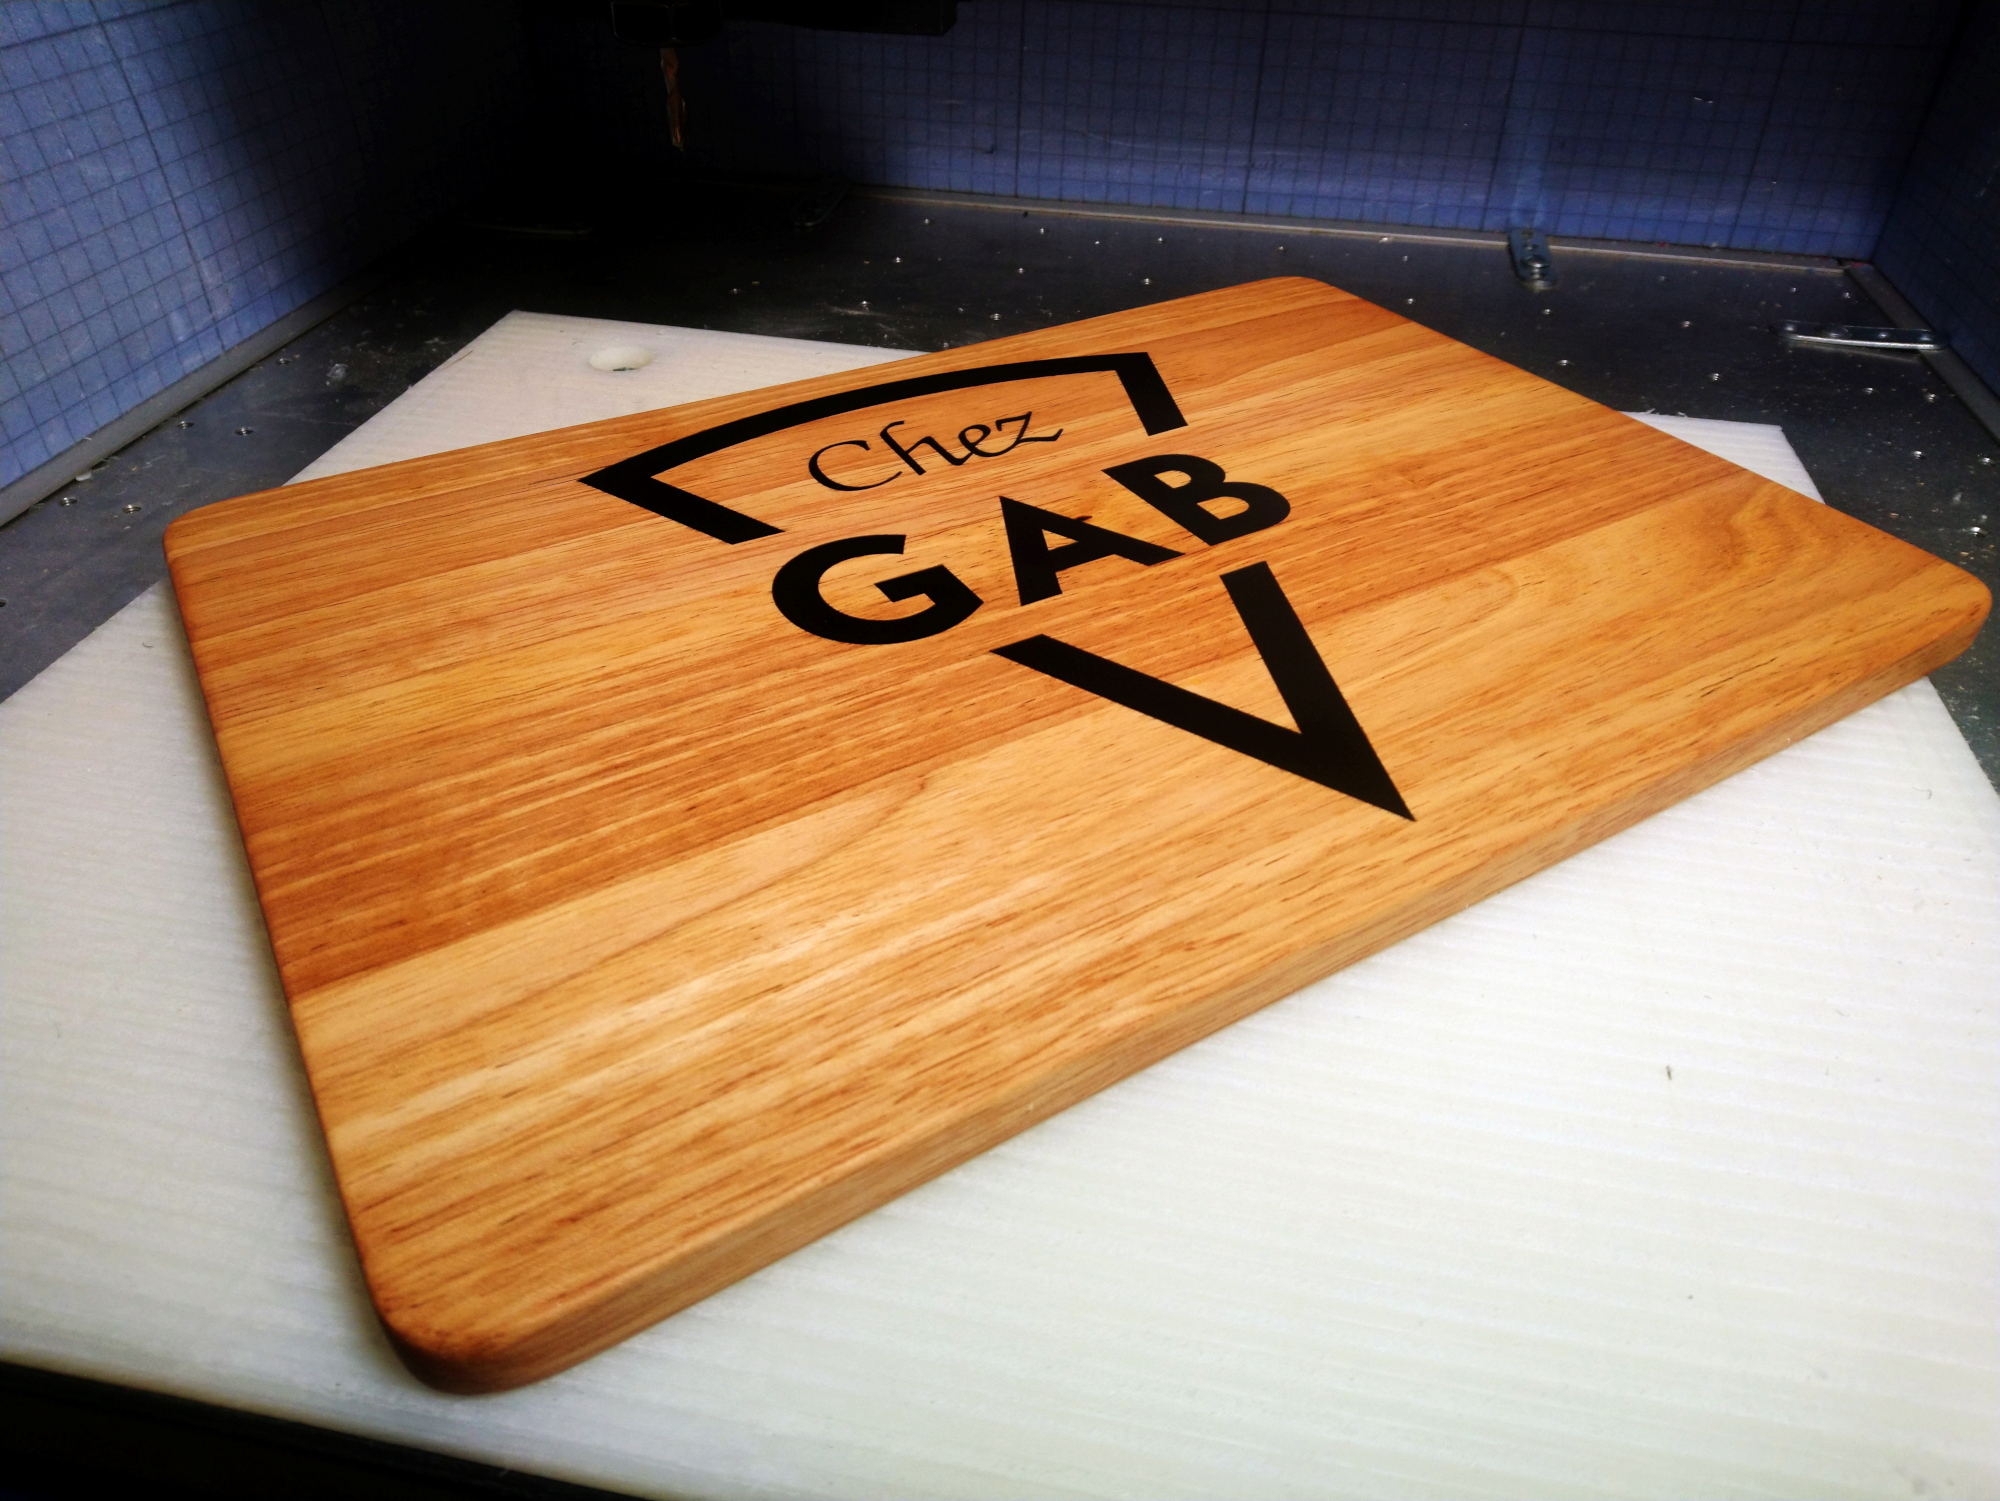
Spray/paint a layer of lacquer on that raw cut to seal the wood, then get the epoxy bottles, drop loads of coloring in the mix, such that it’s fully opaque and the subtle cutting marks at the bottom of the carve won’t matter. Pour it while the piece is still in the machine, torch the surface to kill bubbles, let dry overnight (in the summer…)

While the piece is still in the machine, run a surfacing pass to remove the extra epoxy:

then do the (unavoidable…for now) sanding passes manually, down to 320 grit or so:

Finally oil the thing (I use the food safe stuff from Ikea), and call it done.
(side note: despite the lacquer layer before pouring the epoxy, I still had some (barely noticeable) bleeding, but for some reason the oil finishing made it even less visible)

Phew, 24h gone, one down, three other projects to go.

12 Likes

Nice, quick work :slight_smile:

Can you tell something about the epoxy you use?
In my experience I really have to pour epoxy across the carved edges, because it contracts during hardening and then leaves a small valley if you didn’t pour enough.
Also I wouldn’t be able to remove the resin before 48h waiting: too soft.

1 Like

It’s that stuff:

(I’m still a noob when it comes to epoxy, so there is probably much better choices out there, but this happens to be on available on French Amazon.

Last time I poured epoxy was in the winter, and yes I did have to wait 48h for the (same) expoxy to cure back then (it was probably around 16°C in the garage, versus around 27°C right now).

I also encountered the issue of having to pour more epoxy than needed to avoid the “valleys”. This time though, when I poured the epoxy I could see it making a nice bumpy surface (as you can see in the pre-surfacing shot). I wonder if this is due to the lacquer layer, doing a surface tension thing ? I can’t remember if I had applied lacquer last time.

3 Likes

The label “Medium Viscosity” is probably the catch :smiley: . The stuff I tried is really low viscosity, didn’t know there were different sorts for that.

1 Like

They matter, you know they’re there and other people would notice the hard edge if there weren’t. It’s the details that make things work.

Now, perhaps you could machine one out of refrigerated chocolate…

3 Likes

Sorry to bring this back from the dead but I’m doing something similar and currently I am failing miserably!

I’m in the process of doing an epoxy inlay on a tabletop for a friend and I keep having issues with bubbles. I’ve watched a dozen YouTube videos and I do exactly as I see them do and I still have problems. My steps:

  1. Measure side A
  2. Measure exactly same amount for side B
  3. Mix mix mix til streaks are gone
  4. Slowly pour resin in design
  5. Take a flame and torch bubbles from the surface.

At this point, everything looks great. I walk away and return later to find the design is filled with bubbles! Only thing I can think is that air is entering the resin through the pores in the wood. I noticed you sealed yours and I wondered if this is why you sealed the wood before epoxying it. I’m begging anyone for help because this is really getting frustrating!

it’s usually a good idea to use a paint brush and put a thin layer of epoxy on the wood first, and use a heat gun (or your torch) to go over that. the heat makes it more viscous and also will pop the bubbles… but the thin layer will basically seal the wood, so that your big poor later does not get bubbles from the wood.

Also note that the heat-to-pop-the-bubbles needs to be done several times, I usually end up doing that every 5 minutes for half an hour. I use a heat gun instead of a flame, I am more comfortable with that and compared to some of the videos, I seem to get better results
(the heat gun puts out an even amount of heat, and I can go slower over the work since I don’t need to be afraid of anything catching fire or getting scorch marks)

2 Likes

Thank you! That’s a great idea and I’m certainly going to try it! I was using a lighter to get rid of the bubbles. So this is something that needs repeated several times and not once and done? My pour is not deep by any means. I am filling in an advance v carve that is only .075” deep. I wanted to let put that out there in case that is an important piece to this puzzle.

bubbles form later on (especially on wood) so not “once and done”… at least never for me.

If you don;t have a heat gun (e,g, those things you use for stripping paint etc), a hair drier may also work…
(https://smile.amazon.com/gp/product/B004NDX7O6/ is what I got. they’re not super expensive and it seems there’s even cheaper ones now)

but a lighter sounds awkward to me to be honest…

For most wood types I don’t do the sealing-thing to be honest… just the heat gun every 5 minutes or so until bubbles stop forming (usually about half an hour)
But for say, plywood or other very porous woods the sealing is key

2 Likes

I do have a heat gun so I’ll give that a shot as well. I’ve tried a propane torch and ended up scorching the epoxy which made it super bubbly and nasty. For my most recent test piece I have sealed the wood with a spray poly I have and measured as precisely as I can for the mixture. I poured it in and hit it with a heat gun up to this point. I’ll stick around and watch for bubbles during the next half hour and see how this one turns out.

1 Like

don’t skimp on the heating :wink:
the heat also makes bubbles form quicker… better now than when the epoxy is much further along curing

1 Like

Ok…so reading may be my downfall here. I just had another fail so I went back to the instructions and the epoxy I am using is measured by weight, not volume. Believe it or not I did read through the instructions prior but I missed this important little tidbit. Off to try another test! I

3 Likes

yeah that’ll make a mess ;(

You are correct about air entering via the pores of the wood. You need to seal the area that your pouring the epoxy into.

IF you can pull a vacuum on your mix container you can pull out a LOT of those bubbles formed when mixing the epoxy. It will out-gas quite a bit and it is necessary to not quickly pull a hard vacuum, even if it is a small vacuum pump.

I would say that if you’re doing a table (and doing other large inlays) a vacuum pump would pay for itself for the trouble of trying to HEAT all of the bubbles out of your project.

1 Like