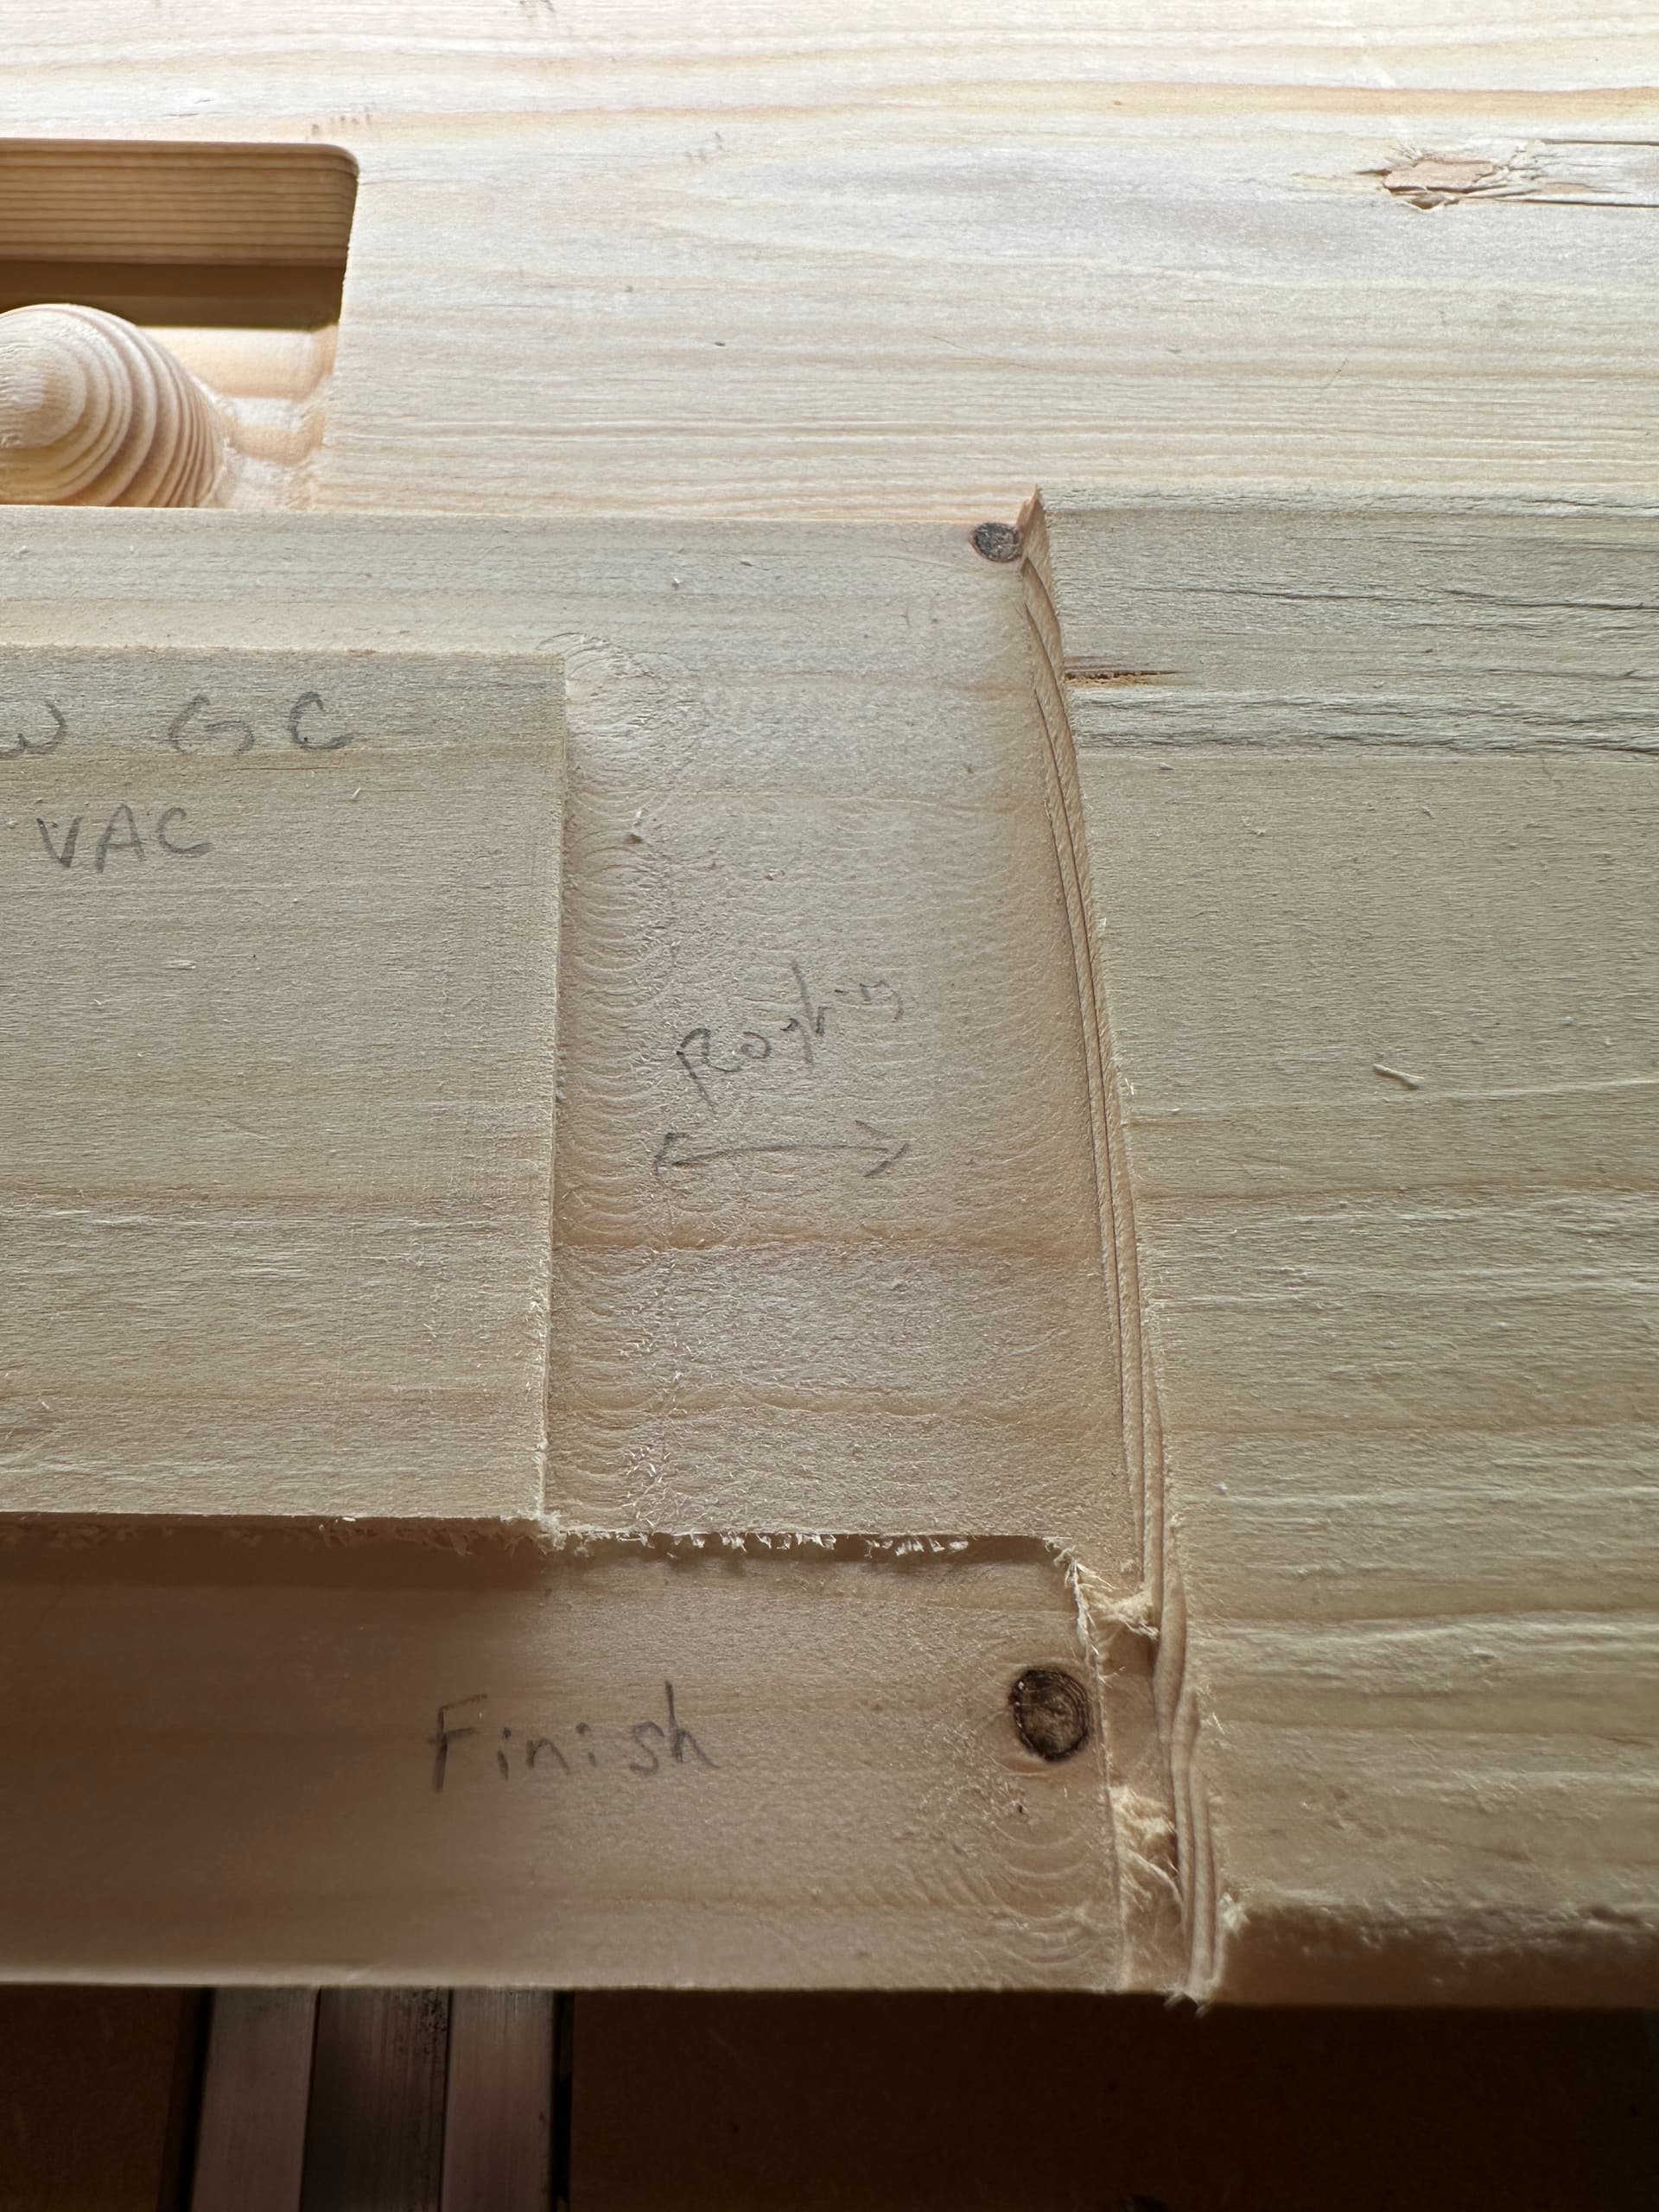
Hey everyone, newbie here. I have been having some issues with the surface finish of my cuts. I think it has to do with machine rigidity/acceleration being too fast. Typically the cuts will leave these swirl marks. They usually will only appear near where the tool changes cutting direction and smooths out until it needs to make another turn. This cut is with a 1/4in downcut spiral.
I’ve tried slowing down the feedrate and step over. This parallel finishing cut I had at 12000 RPM, 55 in/m FR, a .013in step over, and a 1/4 ball nose spiral, but it still seems pretty chattery near the edge of the toolpath.
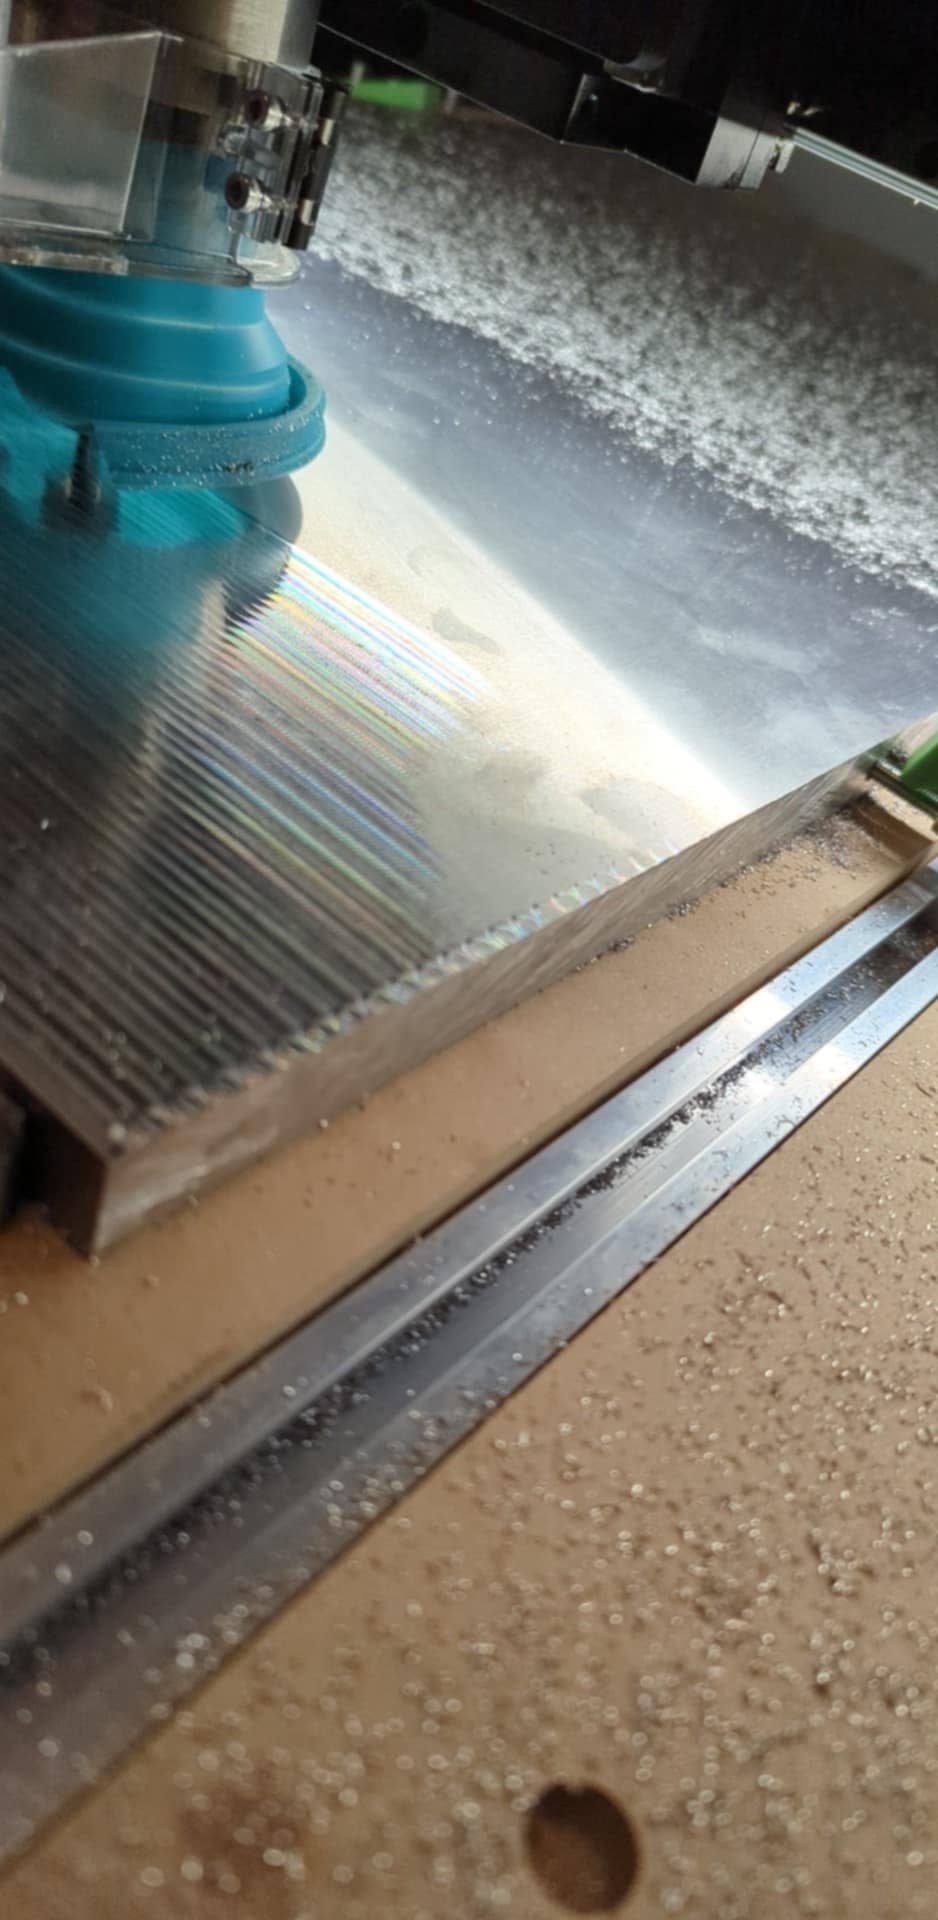
Here is a video of a perpendicular finishing pass that I ran at a higher feedrate, around 120 or so. As you can see the machine is shaking a bit at the beginning and end of each pass. Is this normal for a 4x4 machine? Also, these cuts are with pine, which seems is more sensitive to tooling marks, but I was curious if anyone else had run into anything similar.
Am I expecting too much, hitting machine limits, or something else?
Thanks for your time.
I did run through the tramming process a couple times, however I only used 123 blocks and a try square. If this was a tramming issue, wouldn’t there be ridges for the full length of the cut? These marks are usually only at the start and end of a pass, unless the pass is a short one. Thanks for your reply.
I have found that the easiest way to address this sort of thing is be adjusting the Depth per Pass so as to add a finishing pass at the end of a cut — say one is cutting to a Max Depth of 0.5" w/ a Depth per Pass of 0.125" resulting in 4 full depth passes. If Depth per Pass is reduces to 0.124", then 5 passes will be made, and the final pass will remove only 0.004" of material, usual yielding a good result.
If that’s not enough, leave the pocket short and add a full-depth finishing pass which cuts with the tool moving more slowly (but still moving fast enough to maintain chipload).
All of this assumes the machine is mechanically sound and in good condition and properly lubricated with all wiring continuous and connectors secure.
I will give that a shot, thanks! For the cut in my second photo, I ran a roughing pass and then a finishing pass that removed .02in of material. I haven’t gone smaller than that for finishing passes yet.
I did partly disassemble the HDZ and tighten a few loose screws with added loctite. It might have helped some, but no major improvements. I’ll go over the machine again and double check the connectors.
Note that a finishing pass should be at least chipload dimension in thickness, otherwise it will just rub.
For checking the machine mechanically the best thing is to install a probing pin, jog the machine to the center of motion for each axis, then grab the tip of the pin and to try to shift it in all directions — it shouldn’t shift at all, if it does, investigate what allows movement and address it.
yeah id look for it mainly in your y axis, couplers, etc. how level is your machine? can you get a tramming tool just to see? do you have a larger tool like a surfacing bit that might amplify this effect you can use to see where it becomes most prevalent?
Generally we’d blame corners in the toolpath as dwelling leaves coining usually in specific spots, the only other time id expect a cutter to be this bad is on a straight flute with a bad crown. What exact tool/brand are you having the issue with?
idk man something seems off to me I’m over here putting mirrors on things at the weakest point of the 4’x4’ 5 pro with a roughing cutter. Do you have a VFD? are you just experiencing a bad router or maybe some kind of wicked vibrations?
This bit isn’t radiused btw although i do have several and you can see the similar mark at the dwell point (I didn’t want to hit my workholding and this is the backside)
I leveled my machine and table using a long leveler, and then trammed, I’d need to order a tramming tool to get any more accuracy on that front. I did surface my wasteboard with a 1in surfacing bit. It left some lines from the passes, but no ridges that can be felt.
For the tools, all have been 1/4in, I’ve been getting the swirls from the first photo with the Nomad Tools #201, Whiteside RU2100 (spiral upcut), and Whiteside RD2100(spiral downcut). The marks from the second photo are with a Whiteside RU2075RN (round nose spiral).
I’ve read your post on this from last year many times! I was hoping maybe something new had come up. I tried a few of the things you mentioned with limited success like you’re saying.
Yeah this is with the 65mm VFD. Like you can see in the video I linked, things seem to be pretty bouncy whenever the x or y does a 180 in the toolpath. I’ll look at the couplers again and see if I missed any loose screws.
It’s good to see that the machine at least has the capability to do what you are doing. I want to machine aluminum and brass eventually, but I’m worried these problems will just be exacerbated if not fixed.
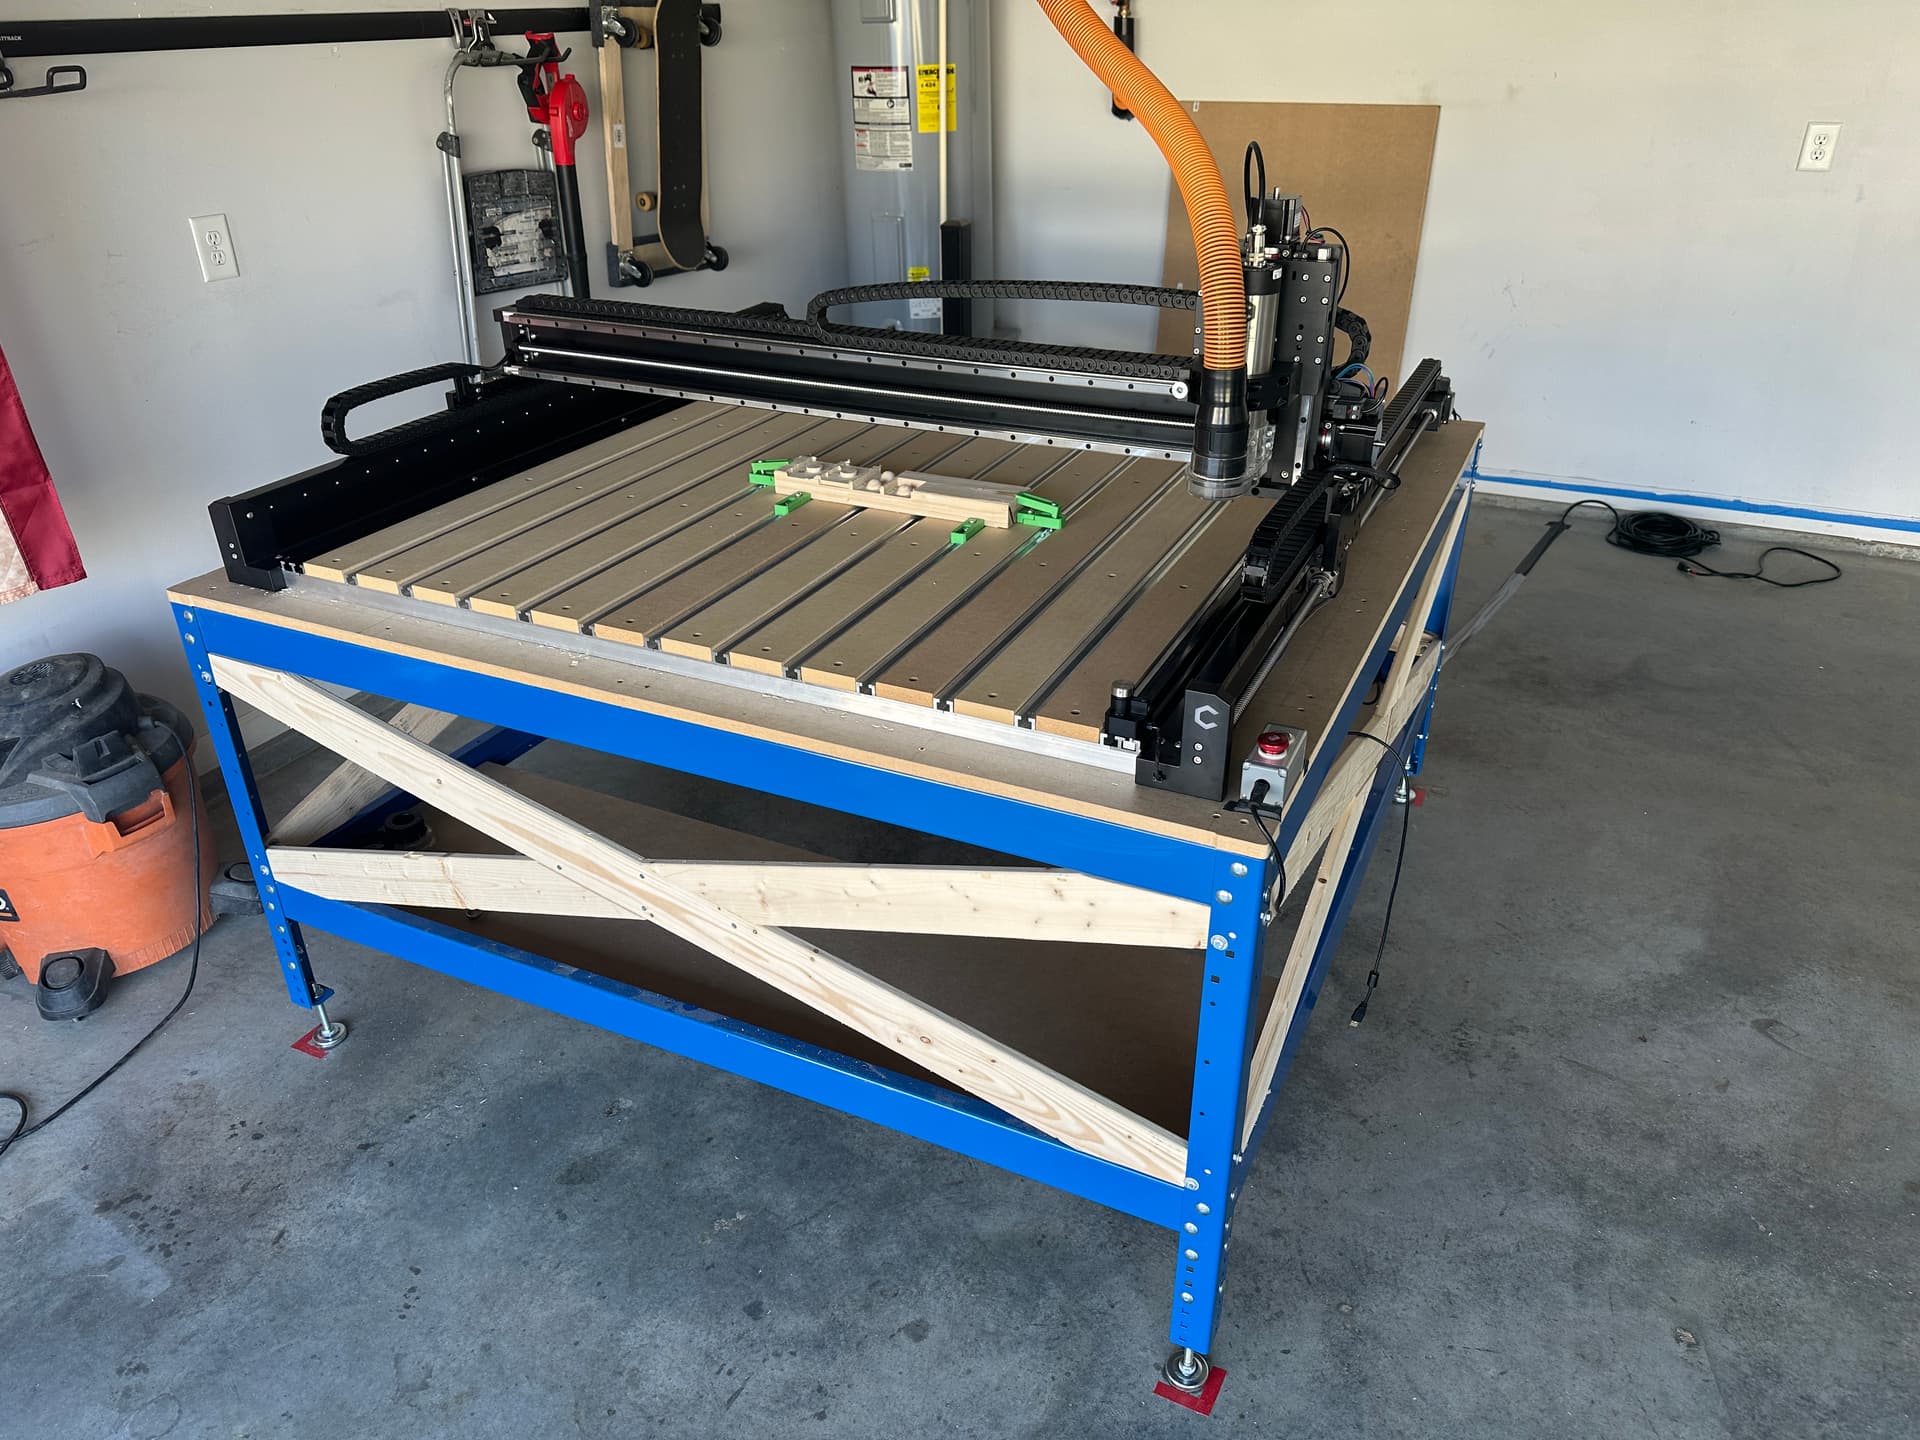
What is you machine sitting on? The table I built for my 2x4 had a slight rise in one area that caused the machine to “teeter” slightly as the gantry moved from front to back. I also had to reinforce my table as the whole table would wobble when the spindle would change direction. Padding under the machine is a good idea to dampen sound and vibration.
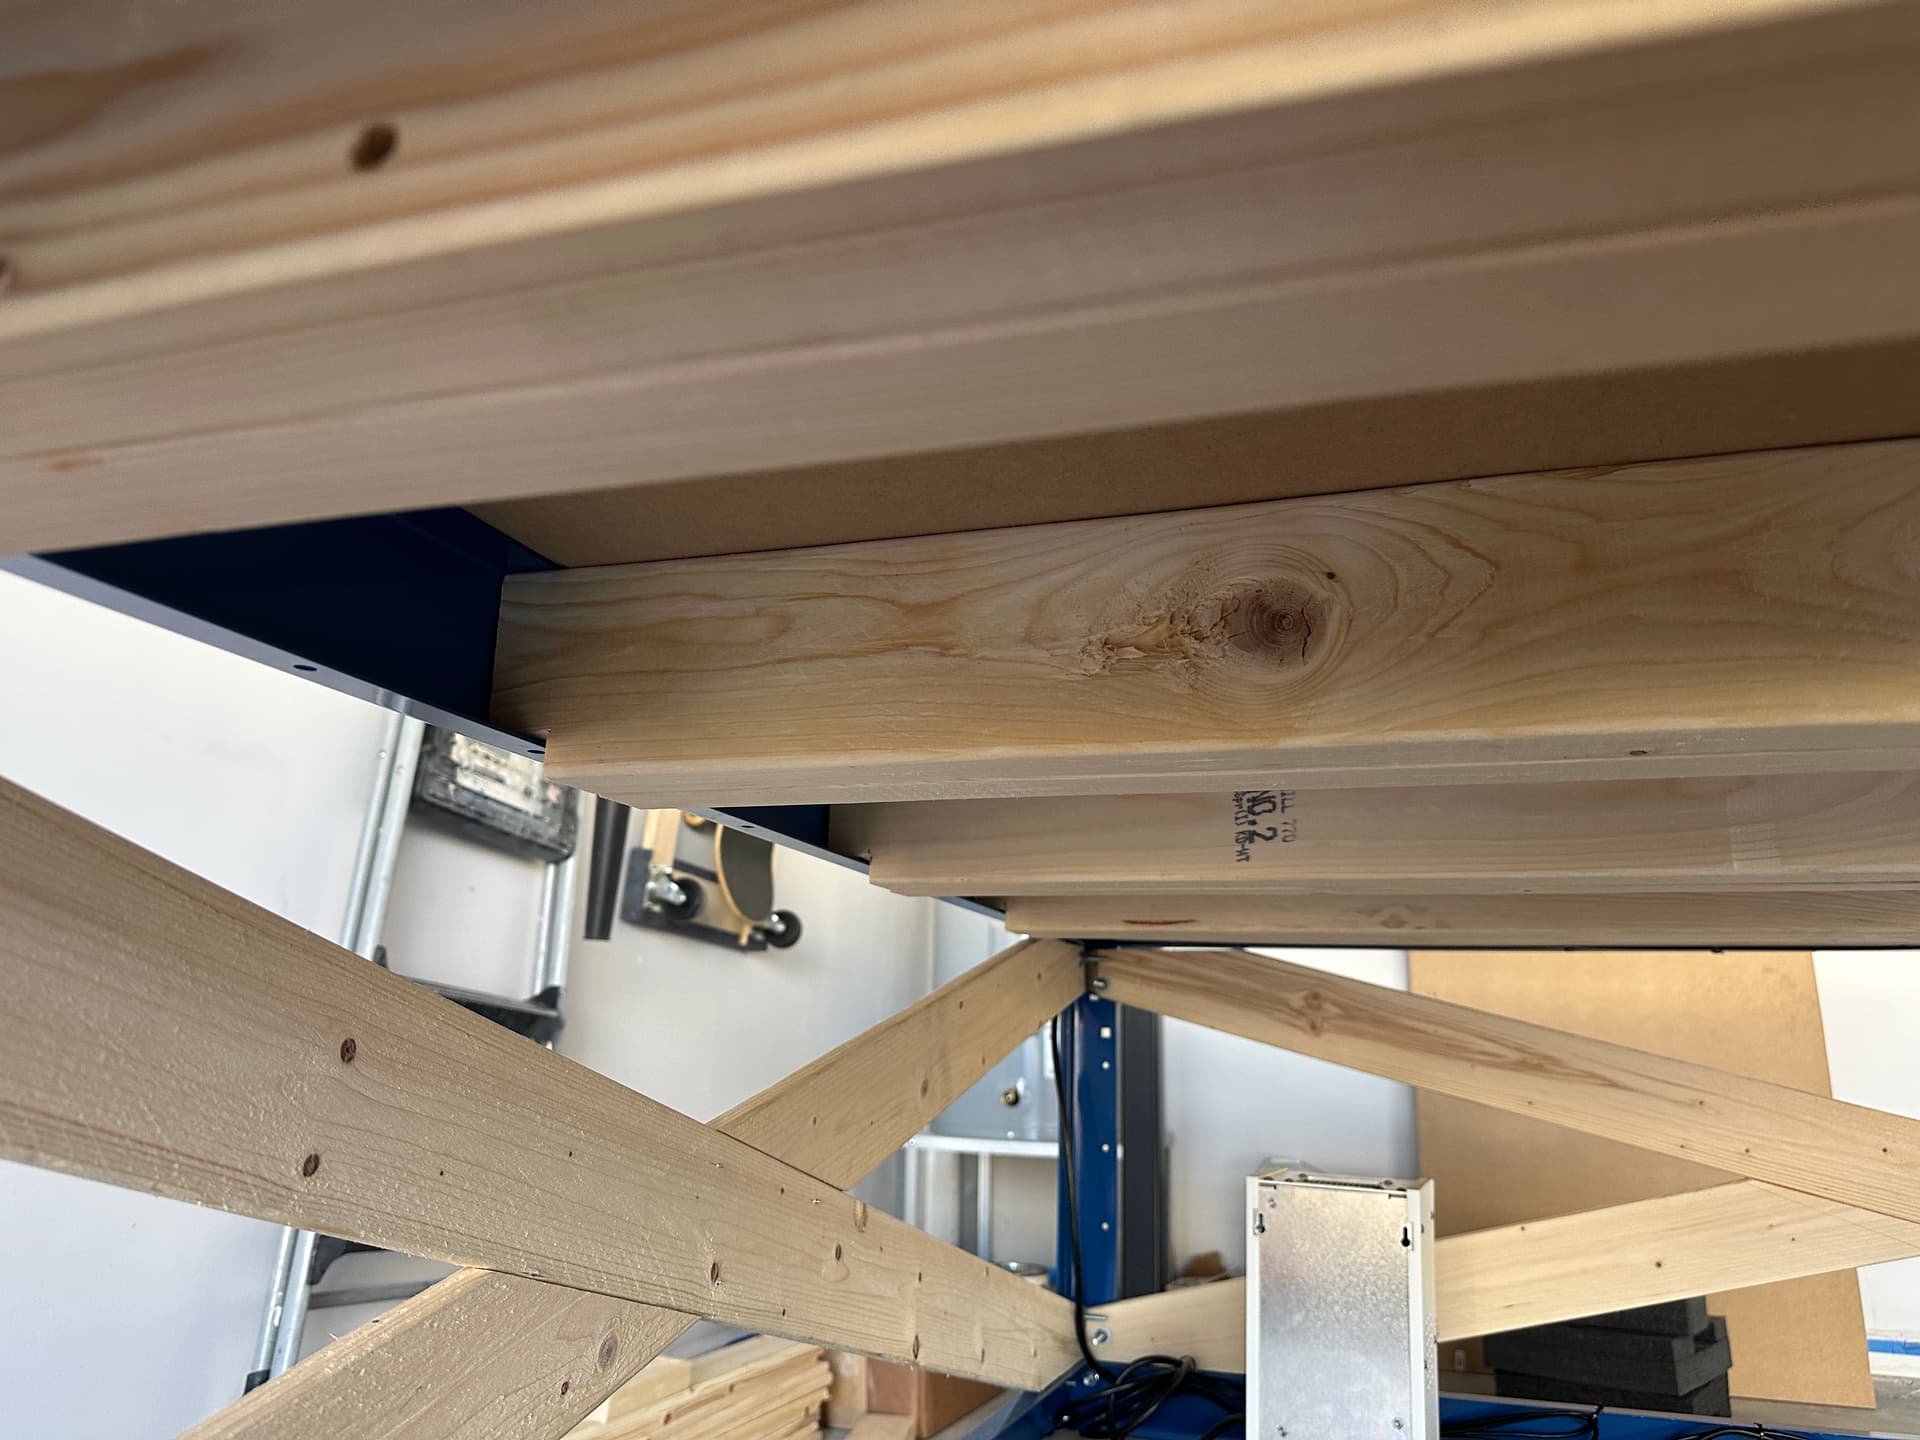
I’ve got it on a Kreg table. I made sure to level and square it as I built it. I routered the edge of the mdf sheets on top so that it would sit flat against the 2x4s underneath. I also reinforced it with those cross struts and it helped a lot with table wobble as the machine ran.
It’s a long shot but maybe try moving your spindle mount to the upper most position. This will move the spindle down in the mount closer to center. This will not stop the table from shaking but let’s see what it does for tool marks.
I think I might have found the issue, but fact check me here. Long story short I went around and disassembled and reassembled the stepper motors and couplers. I ran a test and then noticed that the Z axis coupler seemed to be shifting slightly during the toolpath at the edges of my passes.
Here is a video of an adaptive toolpath with a set depth of 1/4in. This z coupler shouldn’t be moving as to maintain a constant depth right? It would make sense to me on how this would cause slight variations of height in the cut.
I haven’t had time to try and resolve this issue, but figured I would give an update on where I left off.