Hello Carbide 3D World! - FYI this is long-winded but put together in gratitude to those of you on the forum whom have been assisting me indirectly via your archived helpful posts.
I came into my Shapeoko at the very end of last year. We own a house next to a rental home in central Phoenix where they rent out the rooms to folks apparently. While checking on their dogs due to a spat with a their cat one day I noticed this piece of equipment sitting on their backyard deck and although I didn’t know what it was I did recognize the Dewalt trim router from a distance.
About 15 months pass and the neighbors are moving out. In passing I asked one of them about the machine and what they would be willing to part with it for ($$$). She tells me to just come and get now because they are leaving and were just going to put it out on the curb. So she leads me into the backyard bushwacking through the weeds over to the deck and see that although it’s in bad shape, it may be salvageable. She said it was heavy and she was right.
Hour 1
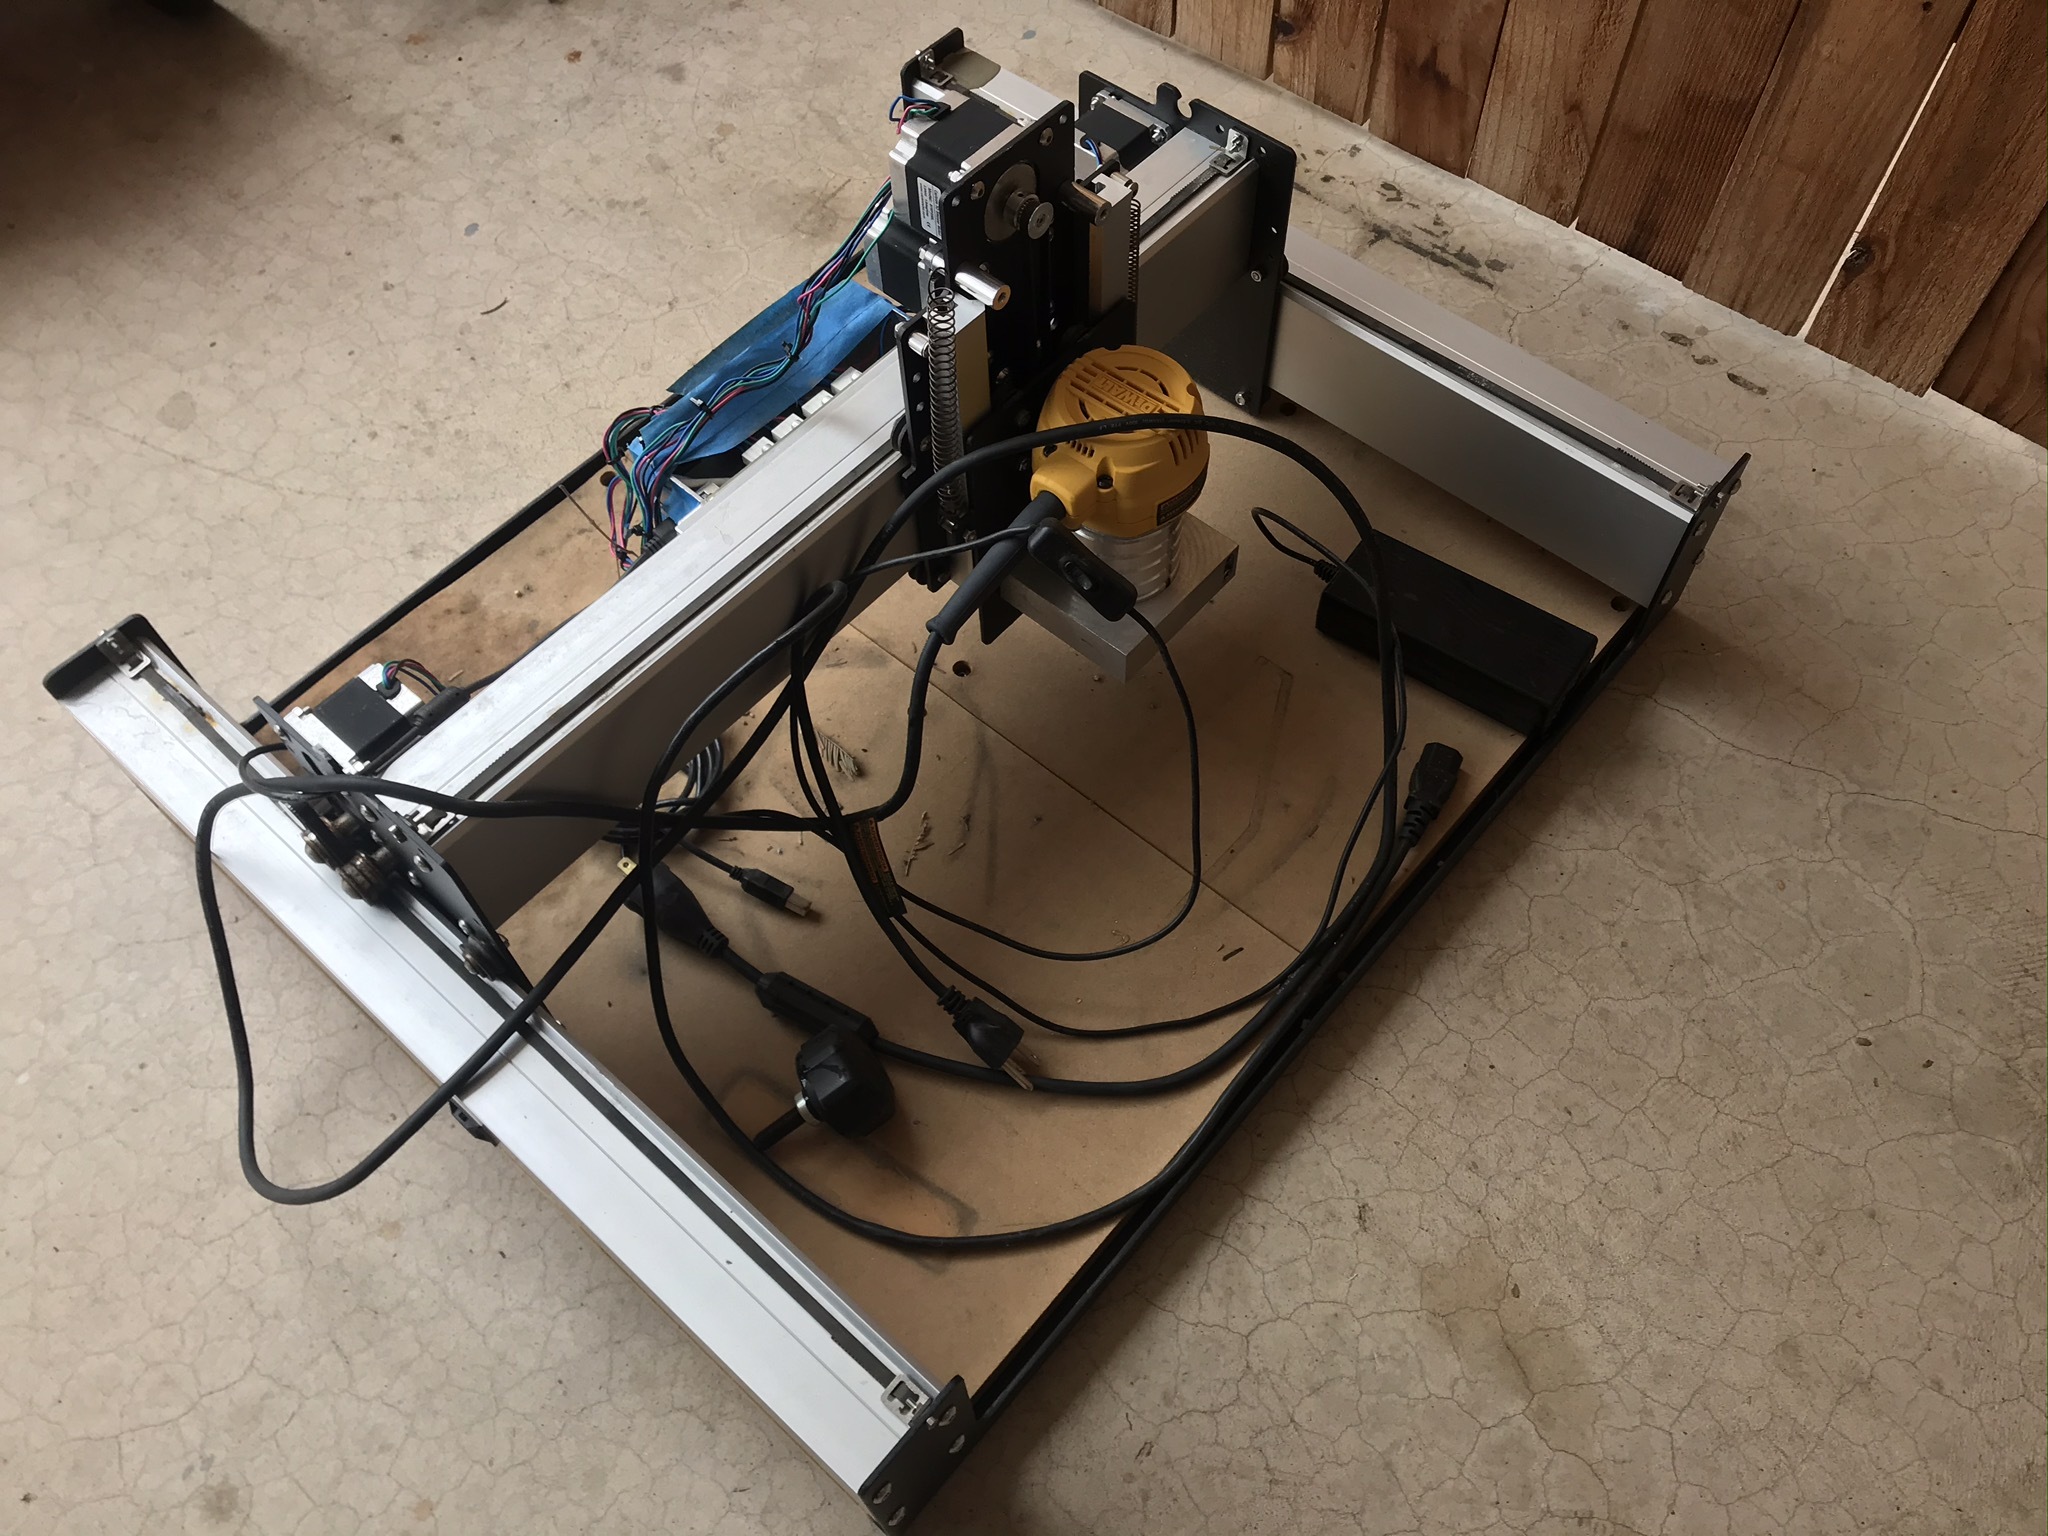
I picked it up and it was soaked from the overnight rains but I was able to haul it back to my shop where I took pictures of it to study it and figure out what it was. It did have a badge on it which quickly led me here.
The Breakdown
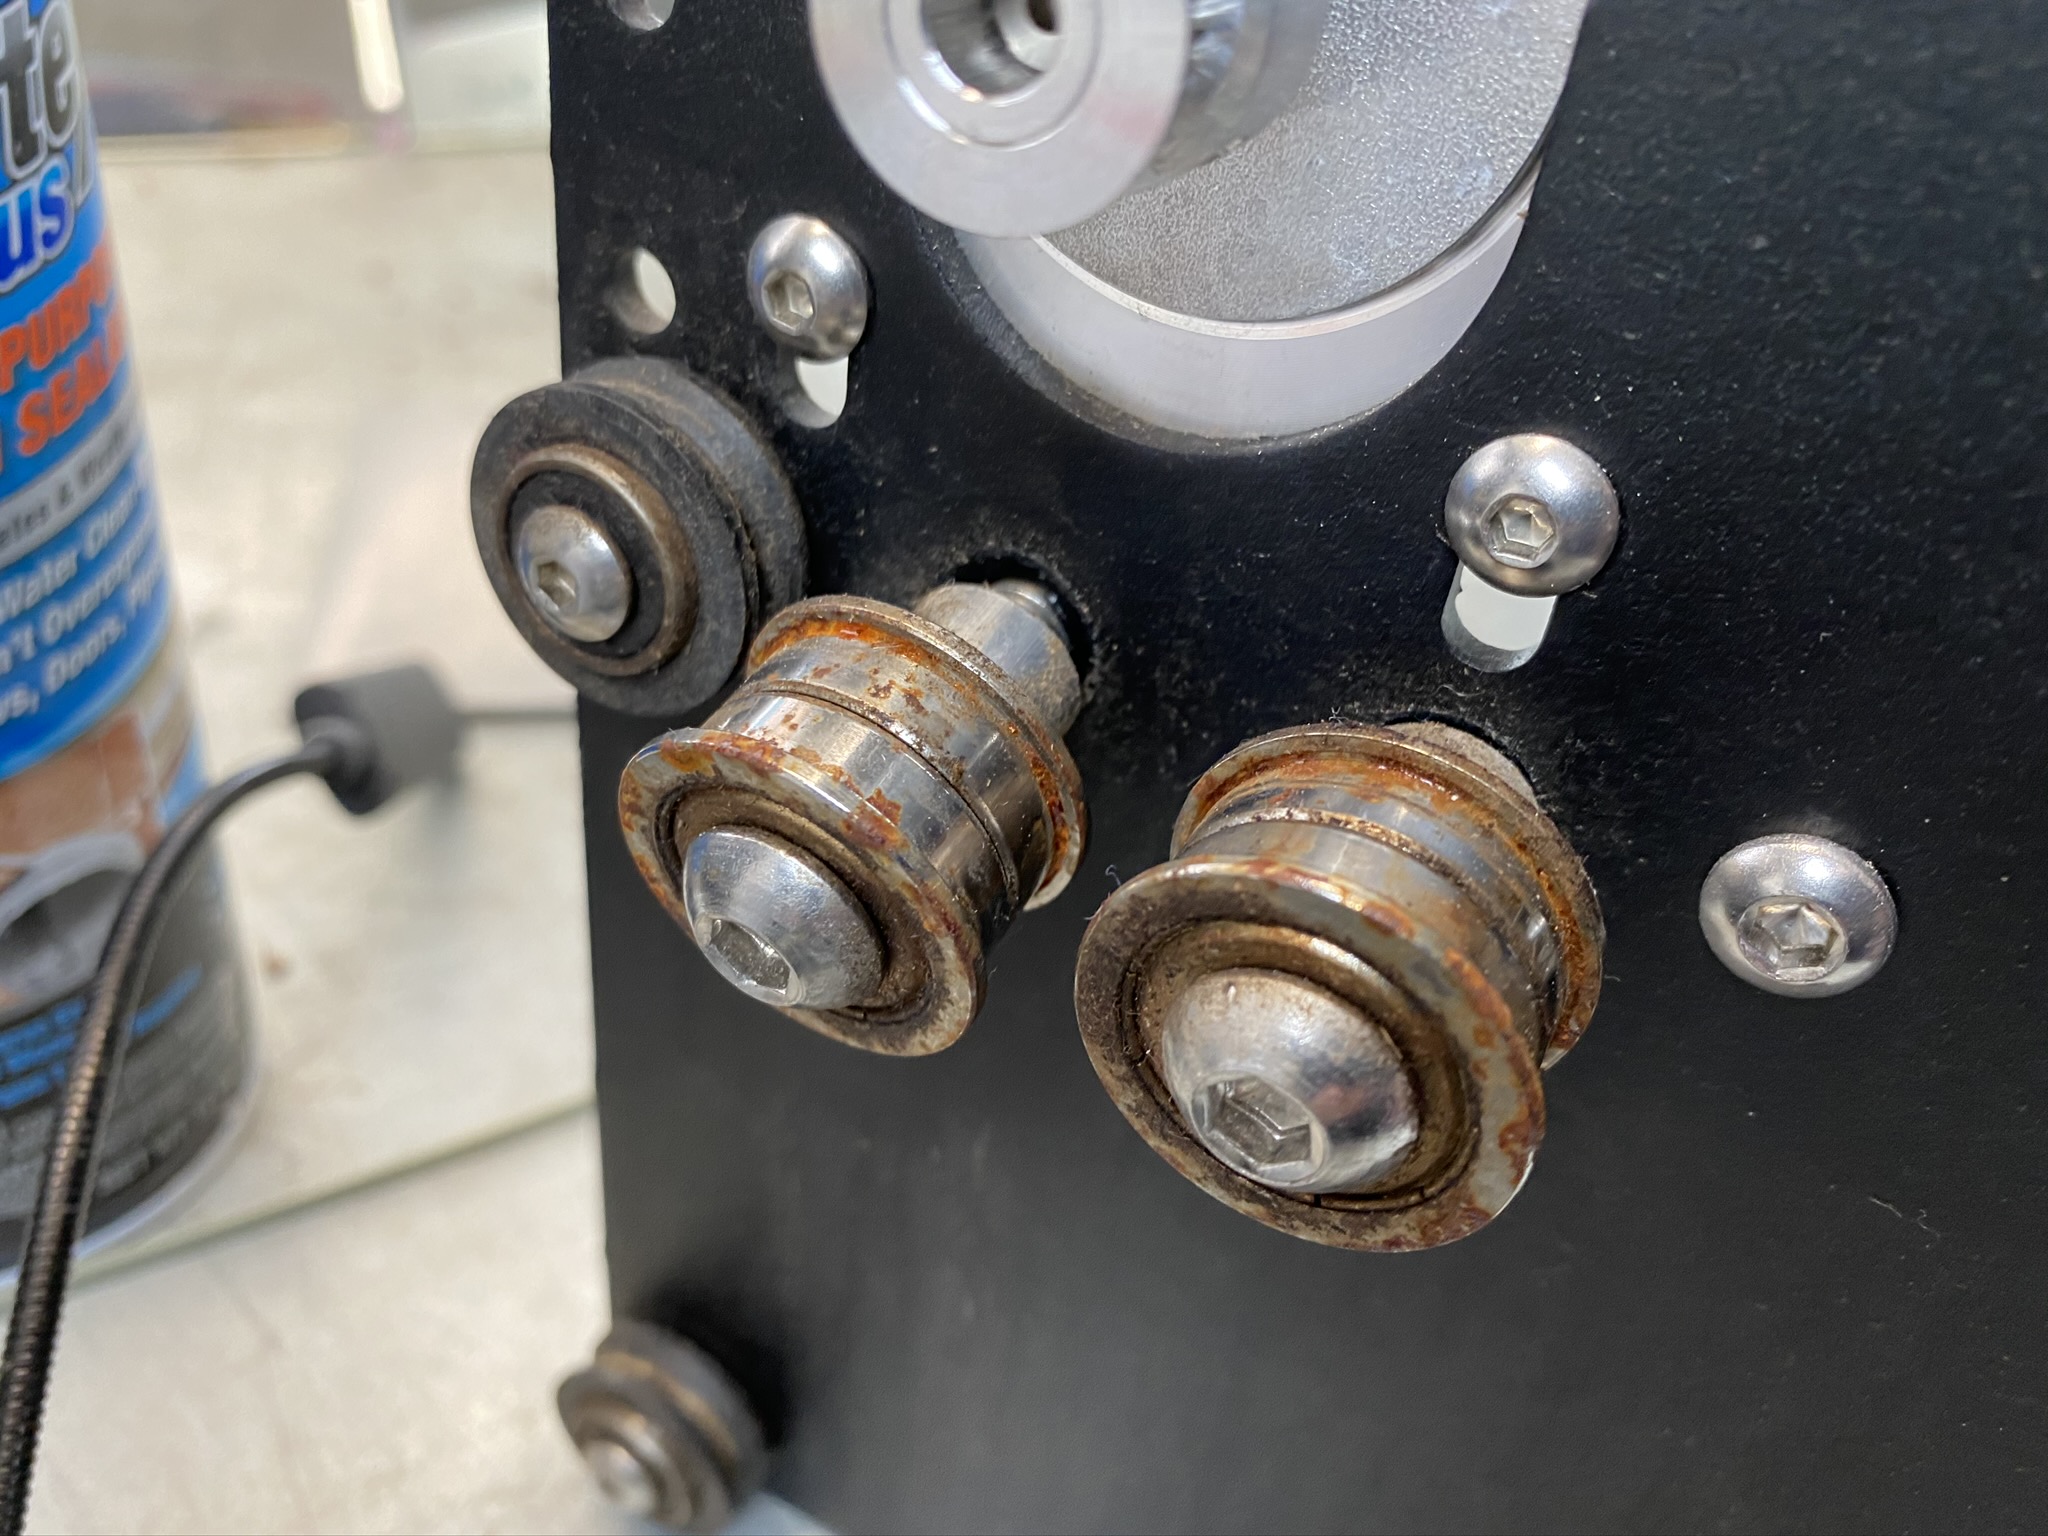
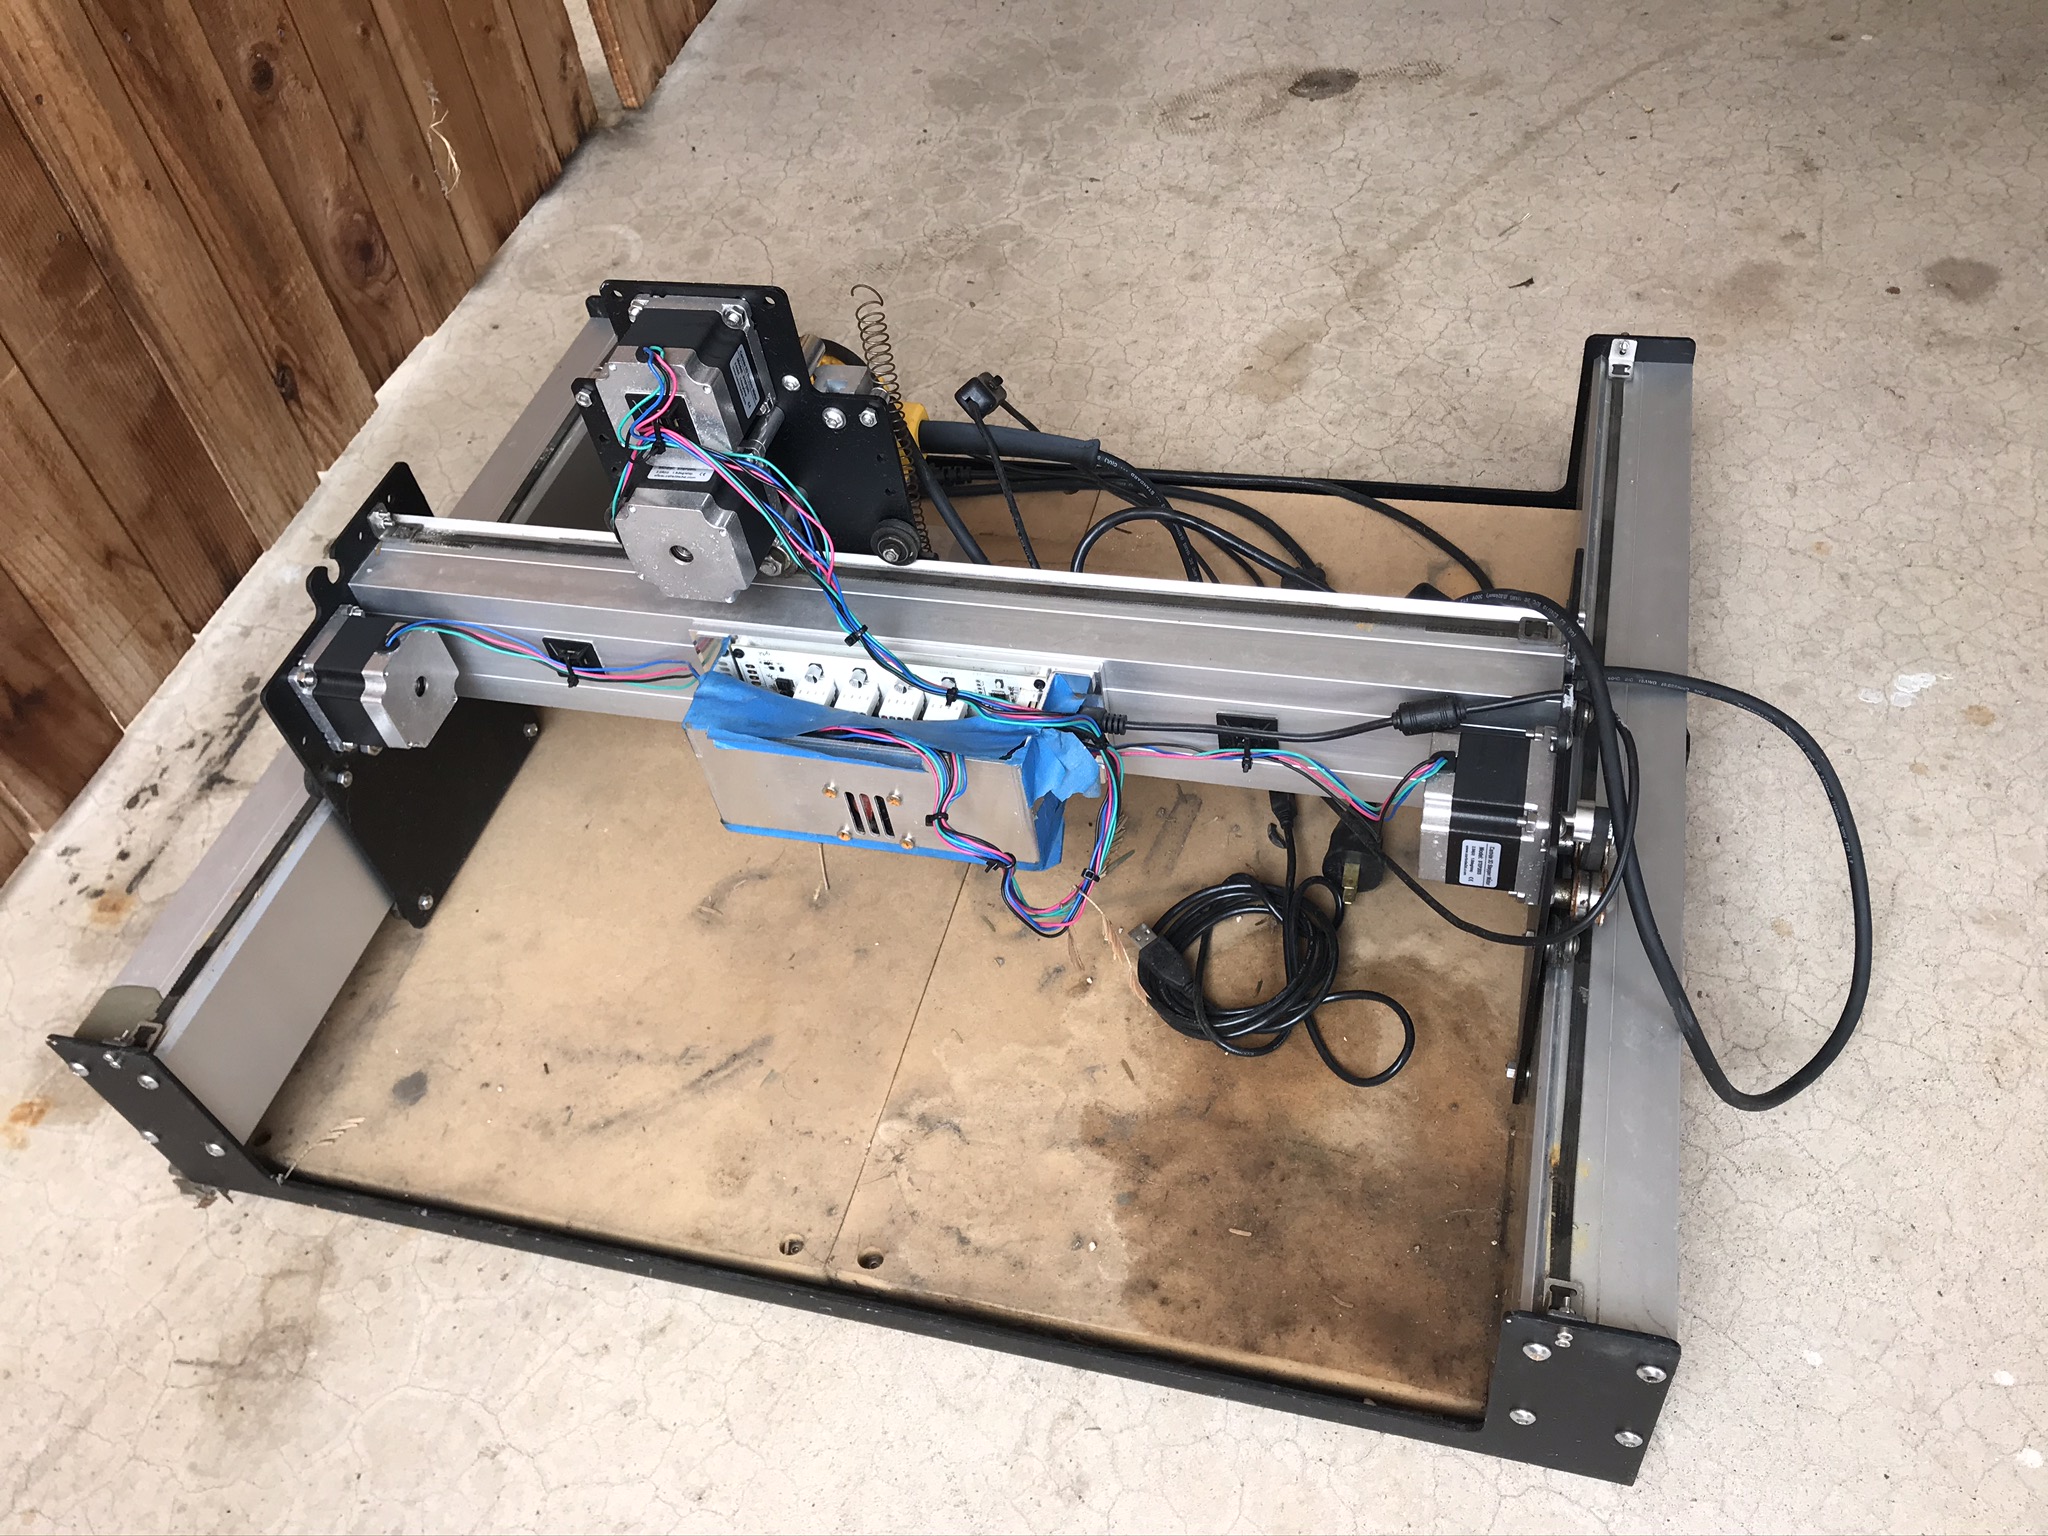
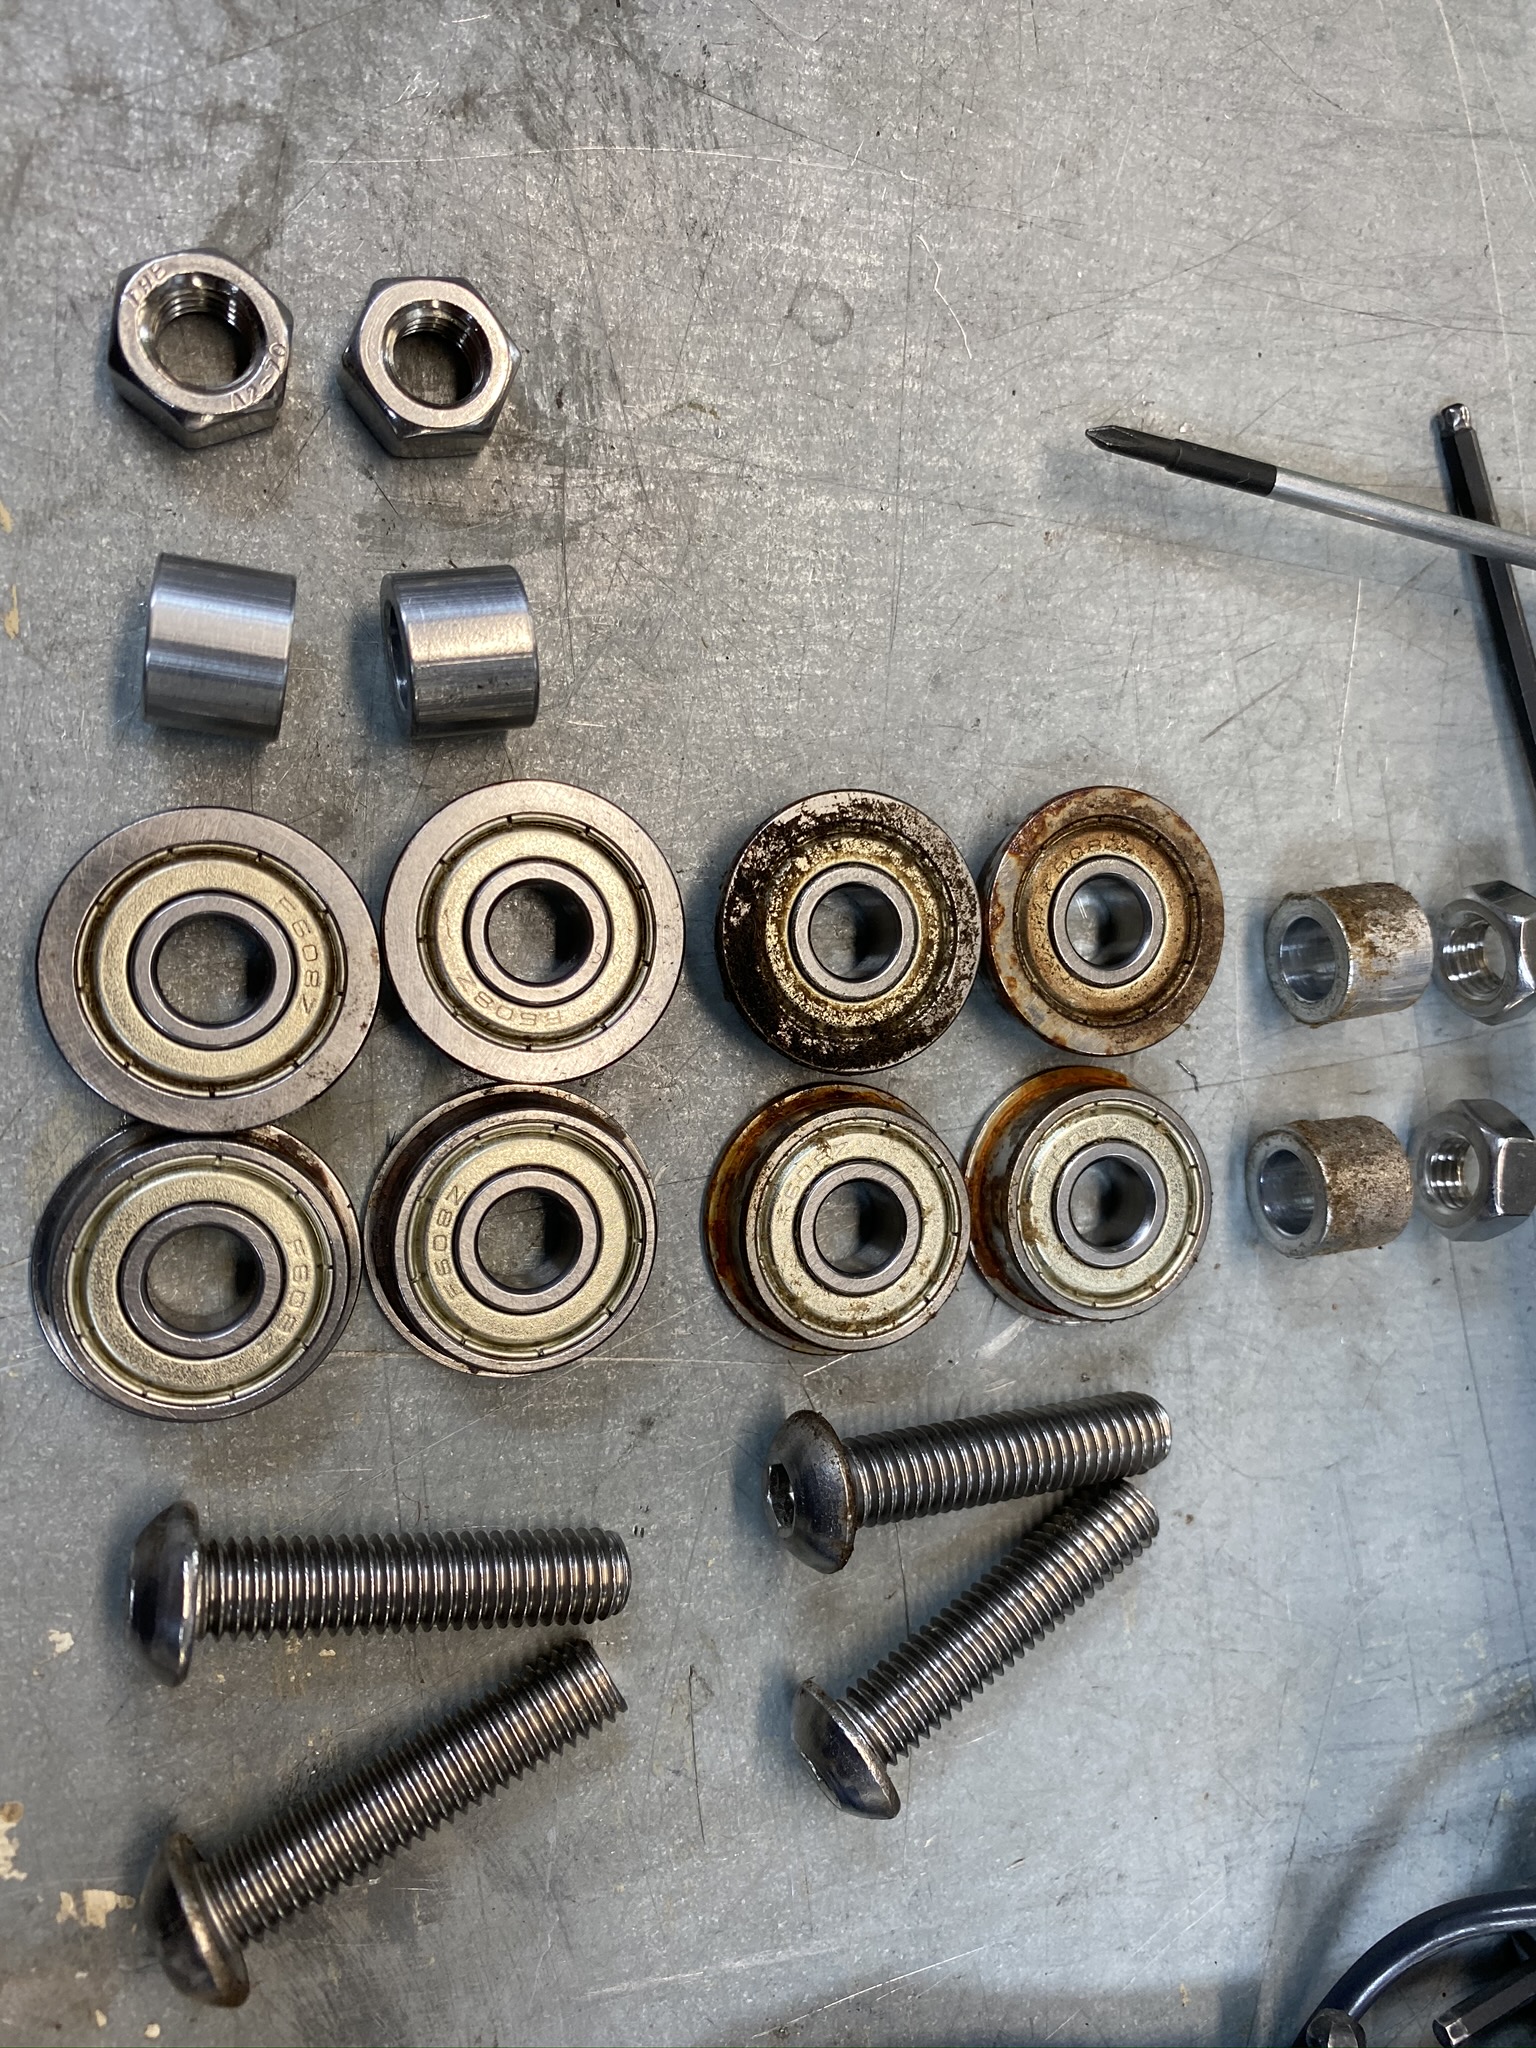
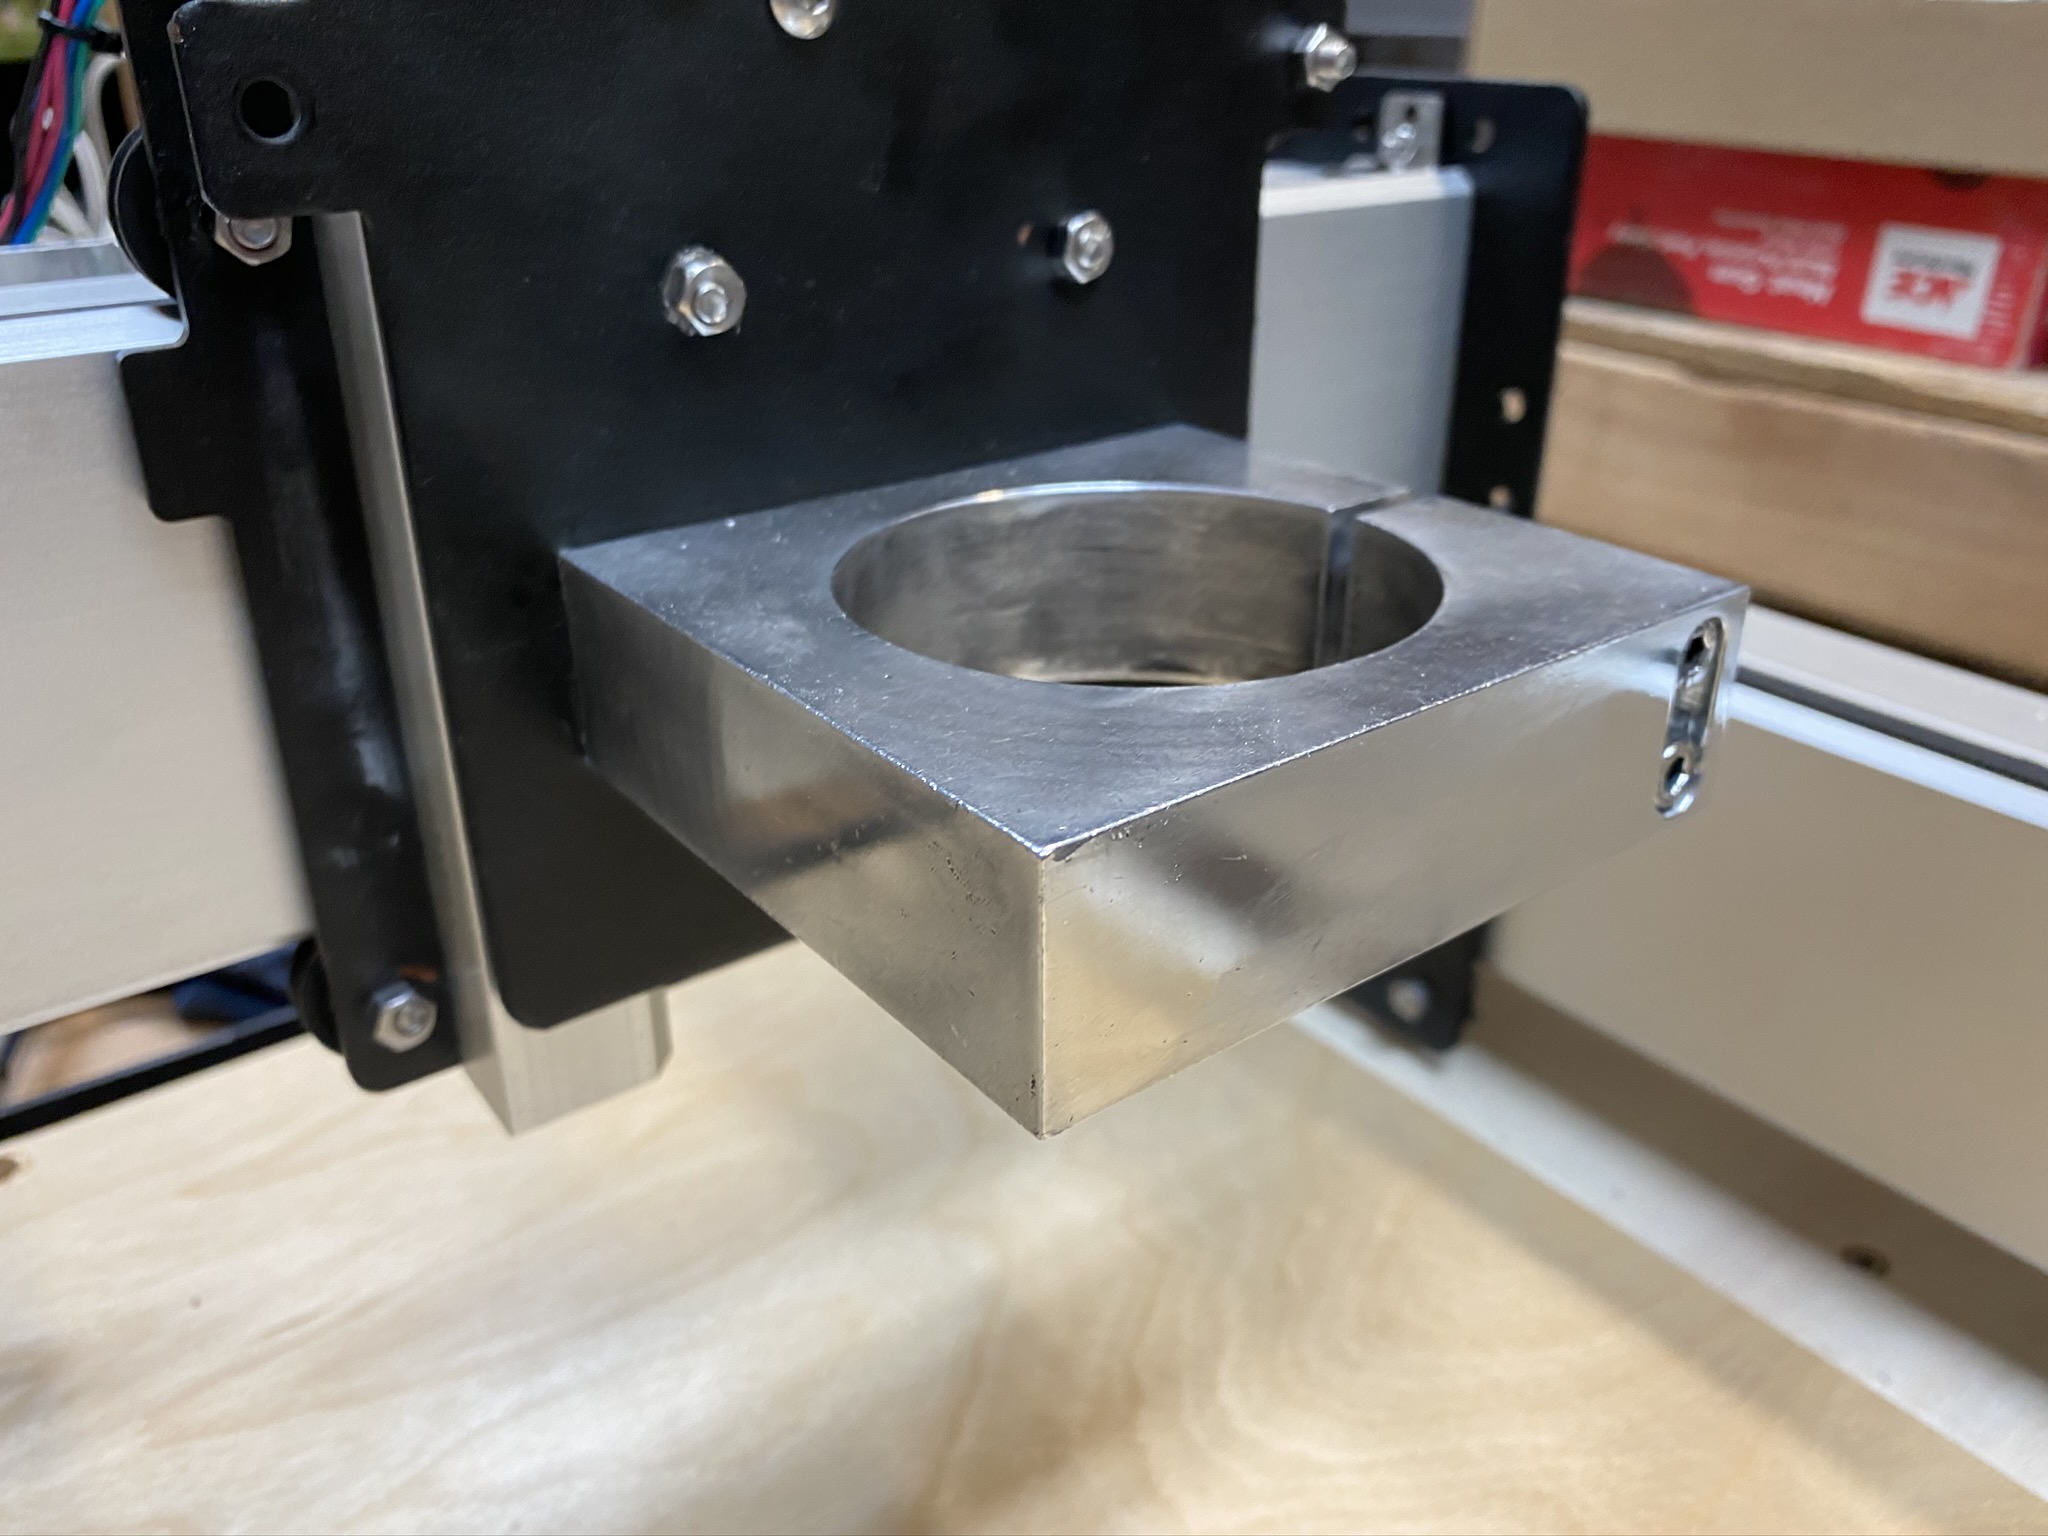
So I study and I quickly learn what I am working with is an early model of the Shapeoko 3 that carries the flat Z plate. With that I recognize the value of this unit and begin the rehab to see if it will even fire up. The power supply was full of water but i opened it up and let it dry out for a couple days and then cleaned all of the dirt out of it as well. While that was drying I broke down the unit entirely to nuts, cut a new wasteboard off of the warped MDF wasteboard as a template with what I thought was a decent 3/4" plywood and learned my first lesson. A 3/4" wasteboard doesn’t fit under the Y rails so i milled the area under the rails and then moved on to the cleanup. The bearings needed to be cleaned up and although rusted on the outside were smooth as can be. A few of the V wheeels were cracked so I put them on the bottom of the Y axis rails where they would have the least effect on the operation. With the power off the unit sailed easily across both axes other than the motors locking due to the power generation from turning stepper motors as they are manually moved along the axes. One of the springs on the Z axis was all stretched out but it also didn’t effect the operation.
Pre and Post Bearing Cleanup
With this unit sitting in over 1 year of rain during a very wet winter (18/19), direct southern sun exposure with no cover, dog/cats urinating on it, bugs living in it, and a good sense that it was not likely placed there gently I never expected this unit to run.
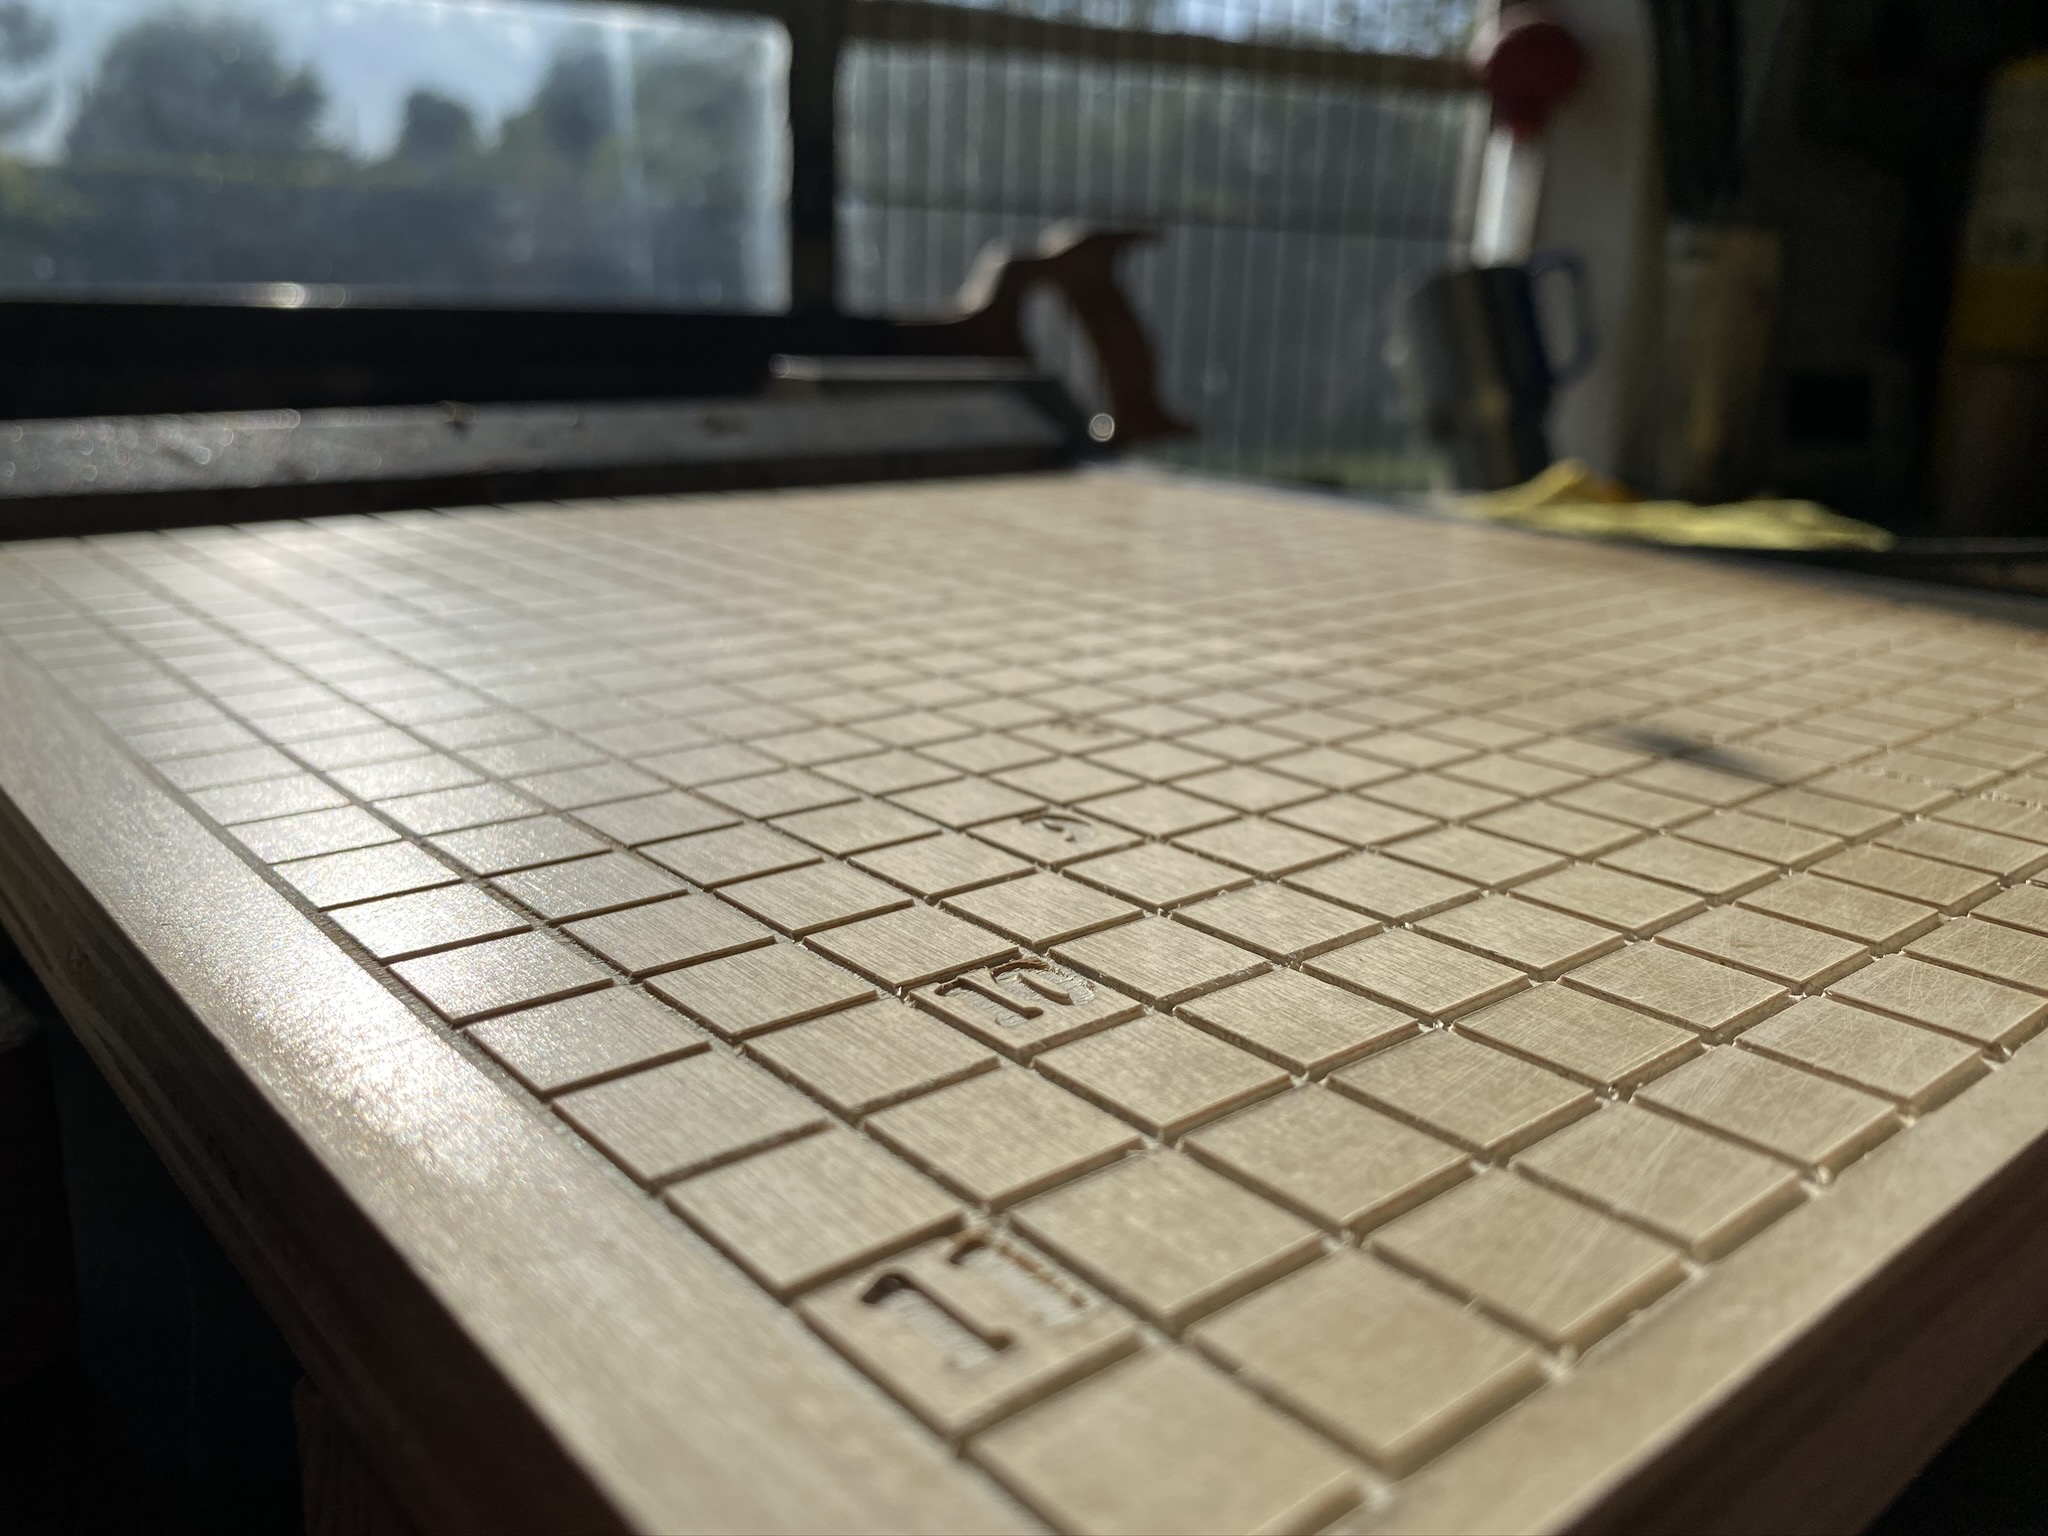
All Cleaned Up

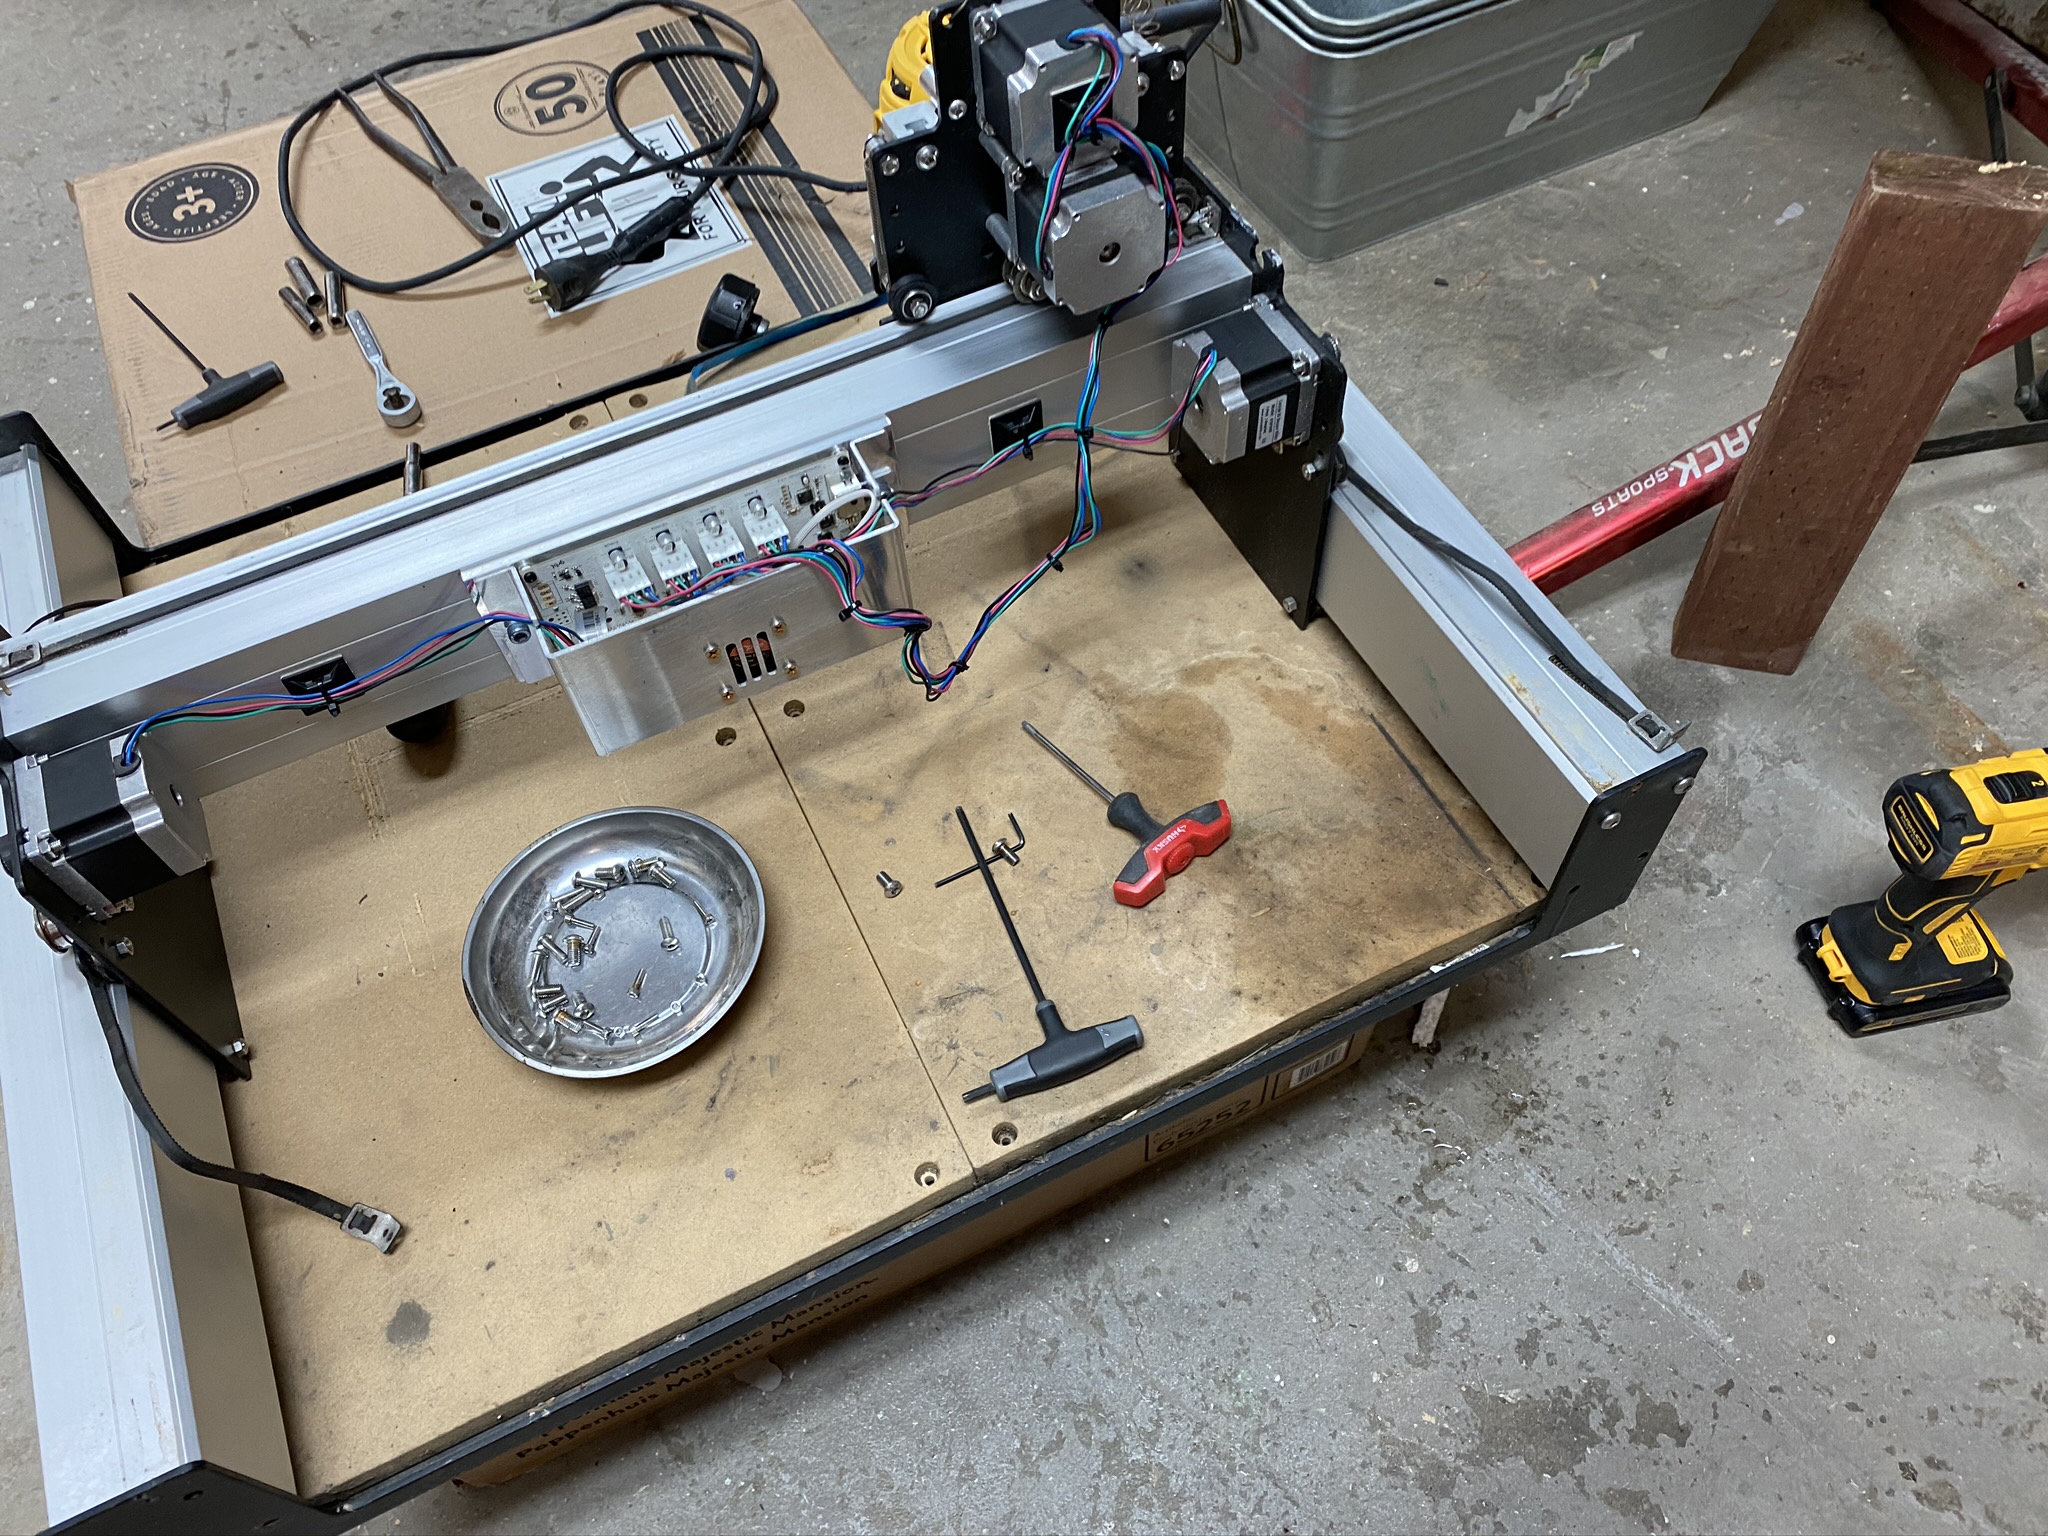
After I dried out, cleaned up, and reassembled everything, I plugged it in, hit the switch, and all the motors locked. I got after some cable management and really wanted to get a cable chain but stuck with what I had on hand, split corrugated plastic. There was a 1/4" double Freud fluted end mill in the router and it looked like it was in decent shape so i grabbed my router bits to see what I could use on hand. I had a Vee that was in fair shape so I fixed it in the router and was wanting to cut something but I knew i had to walk before I could run. That is when I moved it to my dining room table for testing and hopefully Hello World excellence but I would need to learn some Carbide 3d software first.!
Hello!
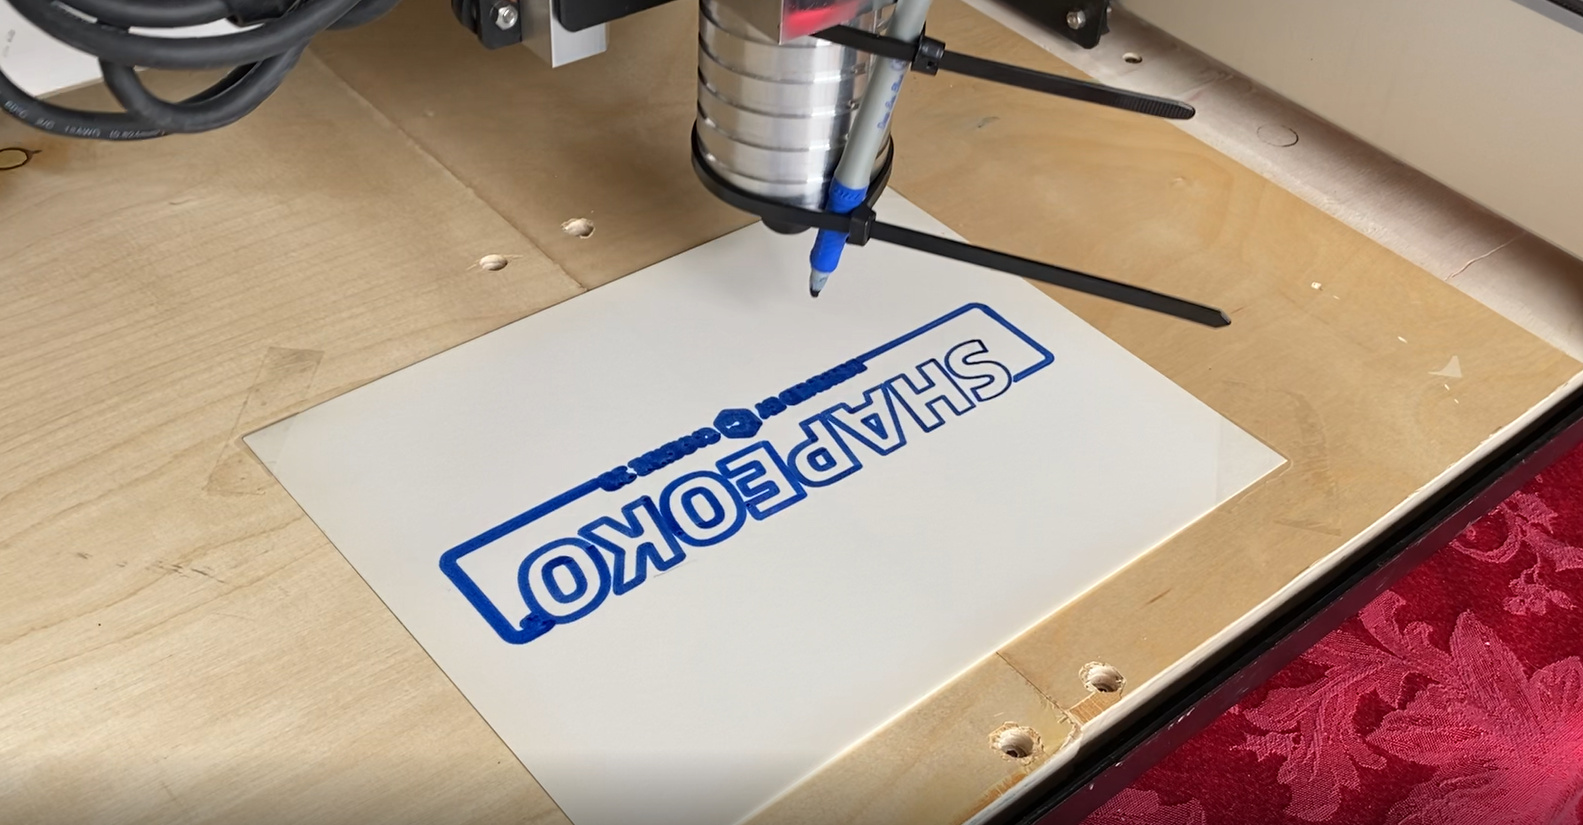
With my background in Engineering and Architecture I have used nearly every design software available excluding Fusion, Solidworks, and Inventor. Of course the 3 I could the most for this technology but many of the commands and design tools are similar for the Autodesk products I do use. Regardless, I decided to learn Carbide Create and Motion to at least be able to initiate my use of the machine for testing. I ran the Hello World file to get started and it halted mid way multiple times. I did some research and found that I likely needed to be plugged into a separate grounded receptacle (My house was built in 1924). With that I successfully completed hello world with the only hiccup being the flatness of my wasteboard which was evident by the pressure applied by the marker where the board is higher. But my circles were circles and the unit was effectively working.
After trimming up the unit I decided to give a cut a shot. I didn’t have any means of workholding other than conventional woodworking clamps so that’s what I used. I attempted a simple sign, my daughters name with a Vee bit with a flower cut with a 1/16 Freud bit I purchased… and iT WORKED! With that success I bought a set of bits on Amazon that were recommended and came with; 2 Vee’s, and 2 Engravers. I also got an .25" upcut end mill.
First cut!

That was the first week with the Shapeoko. In the second week I called up Carbide 3D to source a spring to be added to my order of a maintenance kit and homing switches. I replaced 3 of the wheels installed the homing switches and flashed the board to upgrade to the v5 Carbide Motion software. I should say that did not replace the belts which I may regret but since its working I didn’t want to change anything.

Cheap Old Router Bit Cutting Slow and Shallow

Same Bit Cutting Too Deep and Too Fast
Since then I have cut quite a few signs, workholding devices, and had some fun but have spent most of my time focusing on understanding the tooling application and variables. Watching all of Winston’s videos and reading the posts you all create hugely supports my education in CNC. I really want to cut something BIG, but like most I feel like i should earn the upgrade. My list of upgrades in order of priority will be Bitsetter, dustboot, Bit Zero, Zplus, and then XXL.
AZ Family Flag (pre-advanced V-cut)
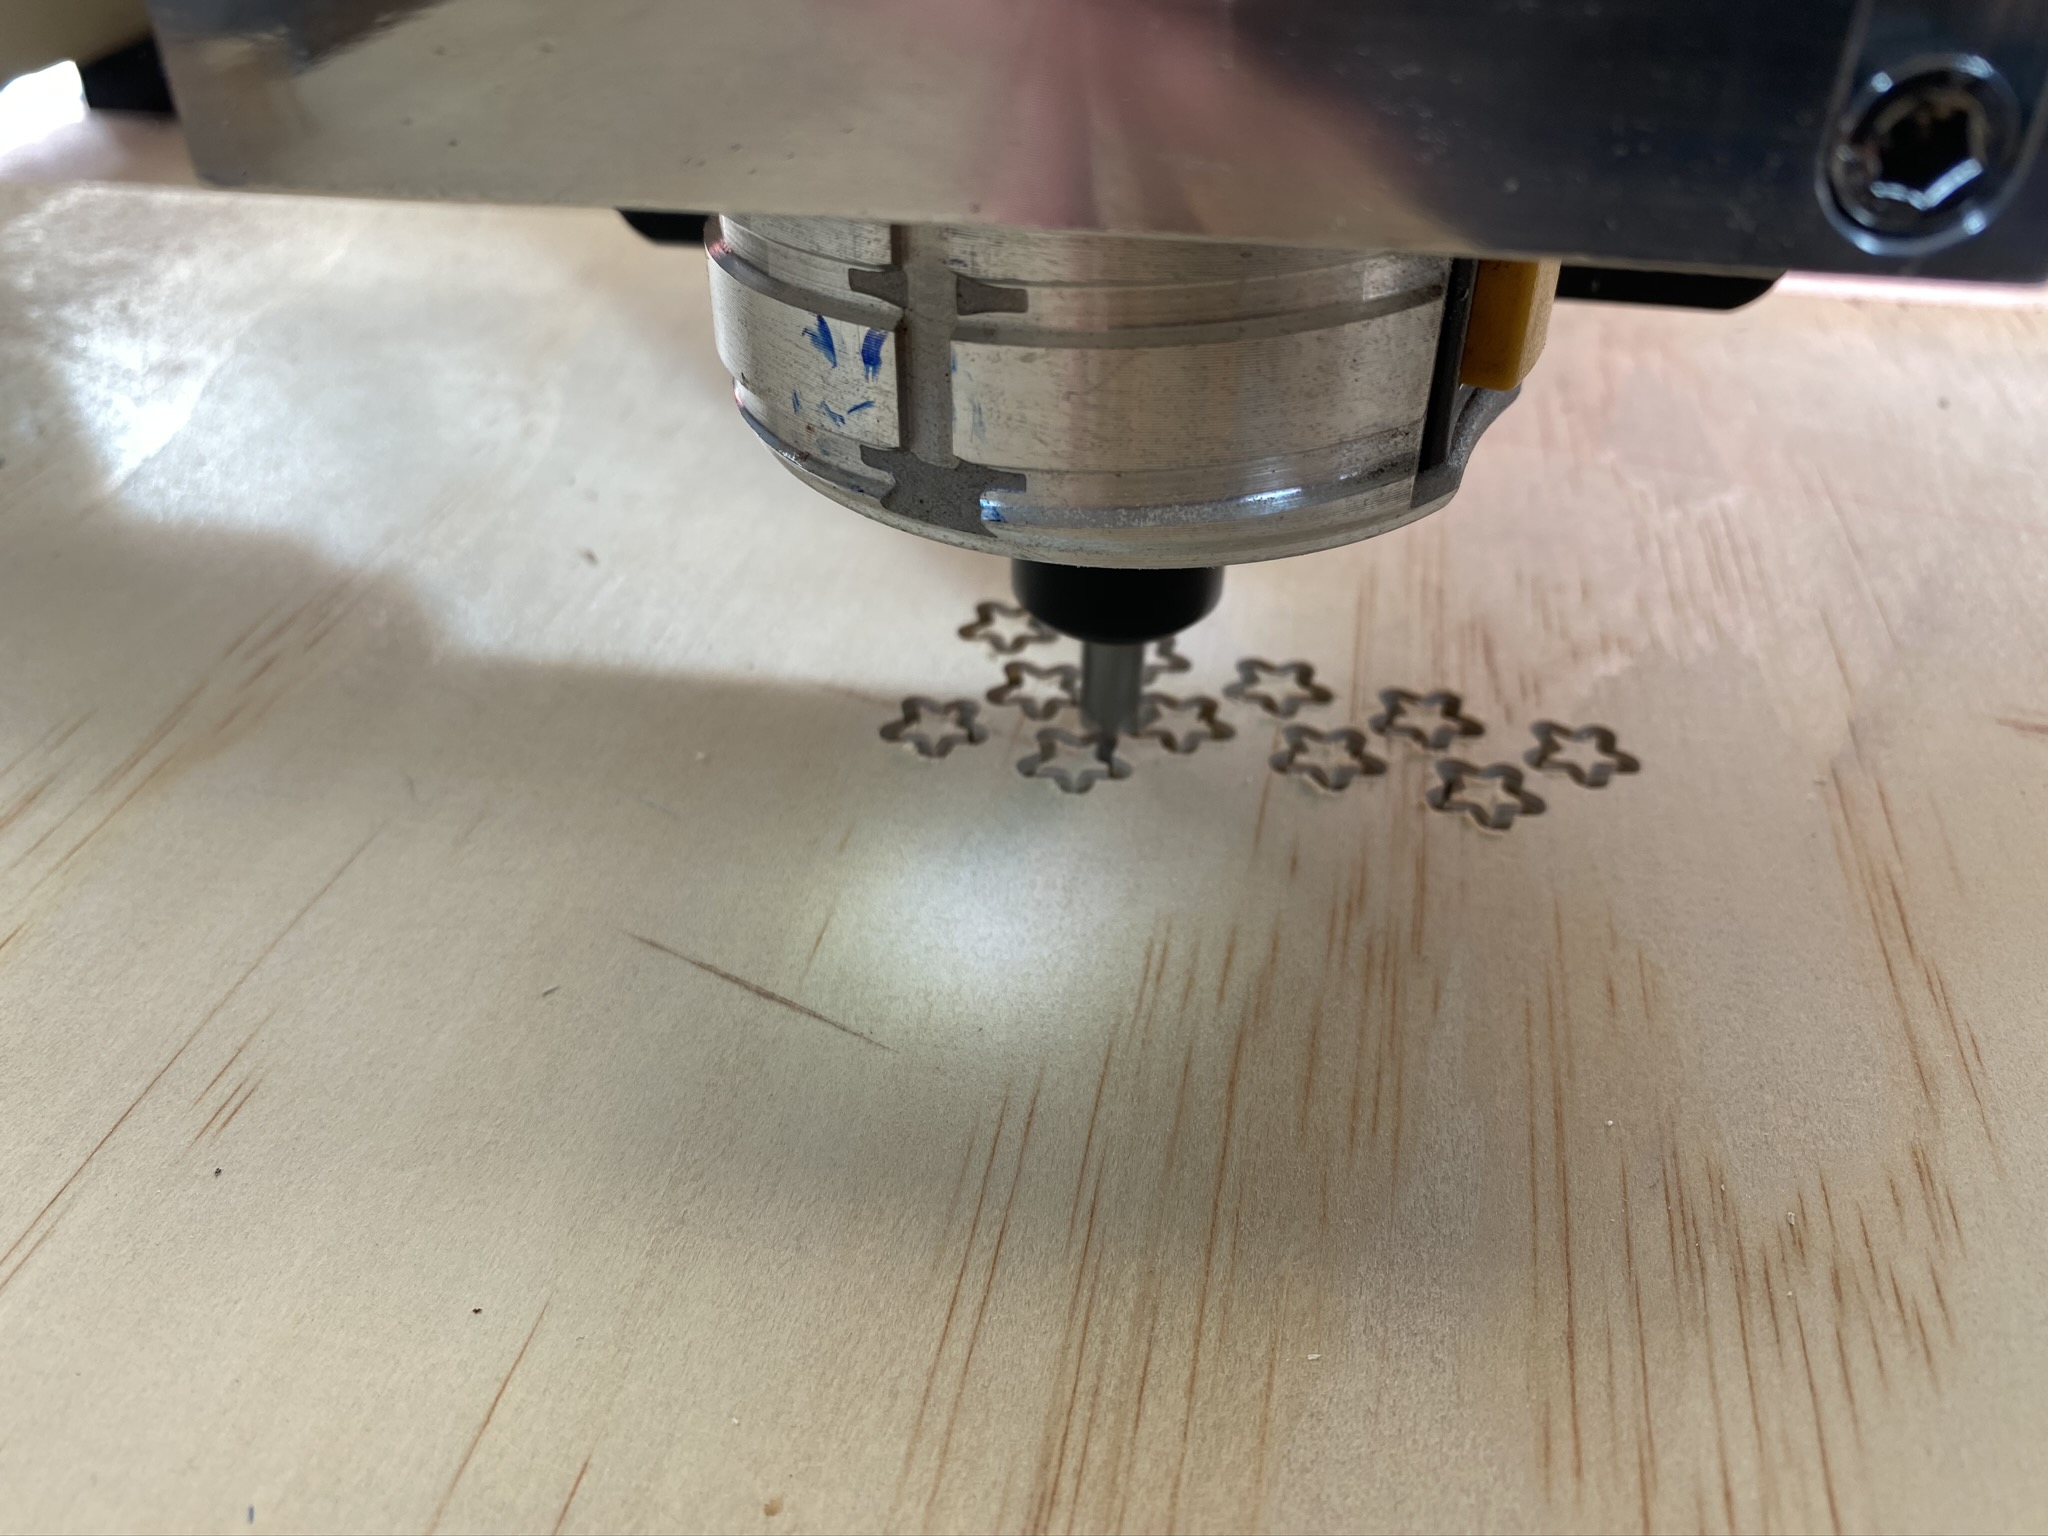
Stars too deep, bad toolpath.
Eventually would like to take a workflow for drone pointcloud capture I developed and incorporate as a resource to cut 3D. For now I want to focus on the hardware learning first and don’t want to sacrifice software for hardware dollars so that will have to wait.
Uncle George’s Boston 2612 paper cutter rebuild
There is a LOT to learn and I am still daily frustrated because of my mistakes but it makes me appreciate the guys who have been doing CNC professionally. A HUGE THANKS to Winston Moy, Carbide 3D, and DIY Engineering, for the clear guidance during the ramp up. Without many of the videos and documentation online I’d be lost. Thanks to youAll on the forum for your regular posts assisting us all.
And lastly, I appreciate Brandon Lee for helping me get another spring bumped onto my maintenance kit order.
AF


 Carry on!
 Mr. Moy, I cannot express my gratitude enough for your expertise and supporting videos. Your collection of videos is so helpful, with my most recent favorite being the “Making it Across America” Video. Although I have not seem them all I have learned so much in the last 130 days. Your documentation of your projects and videos is very well organized and I hope to become that organized in documenting my projects as time moves on.
