WillAdams
February 5, 2024, 1:51am
1
As requested on support…
If one purchases a rectangular branding iron from:
we have a video on this sort of thing courtesy @wmoy at:
and also see the relevant Material Monday videos for more on feeds and speeds:
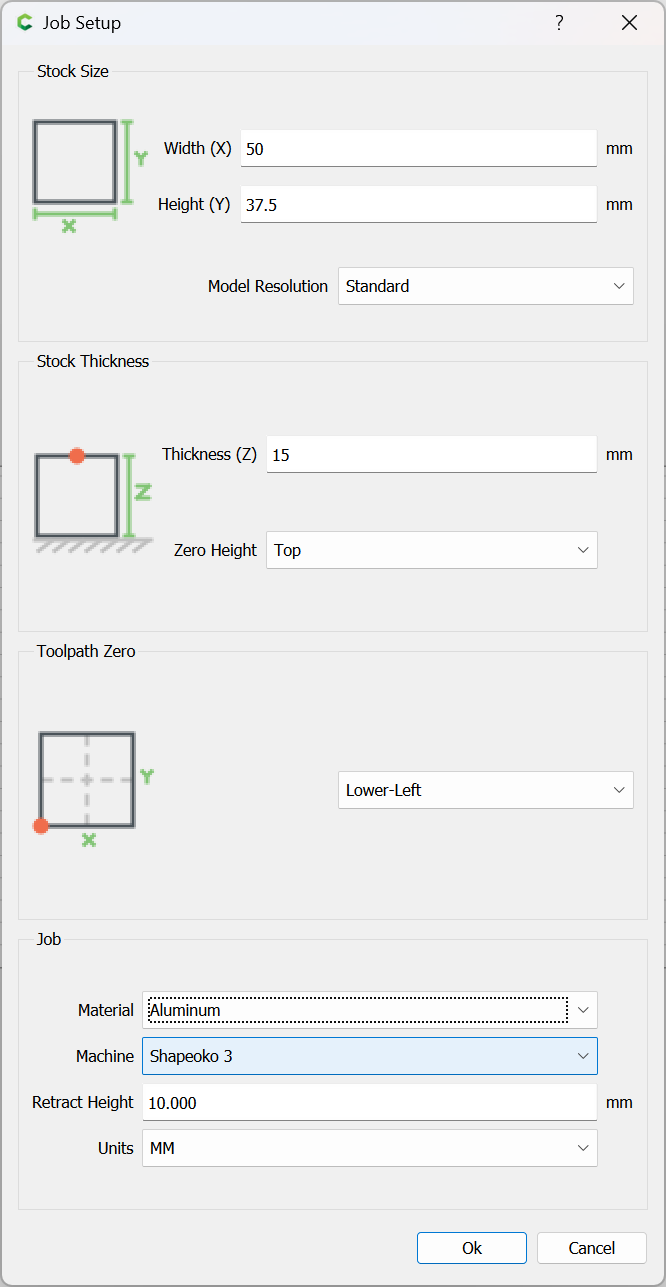
Then one would set it up as:
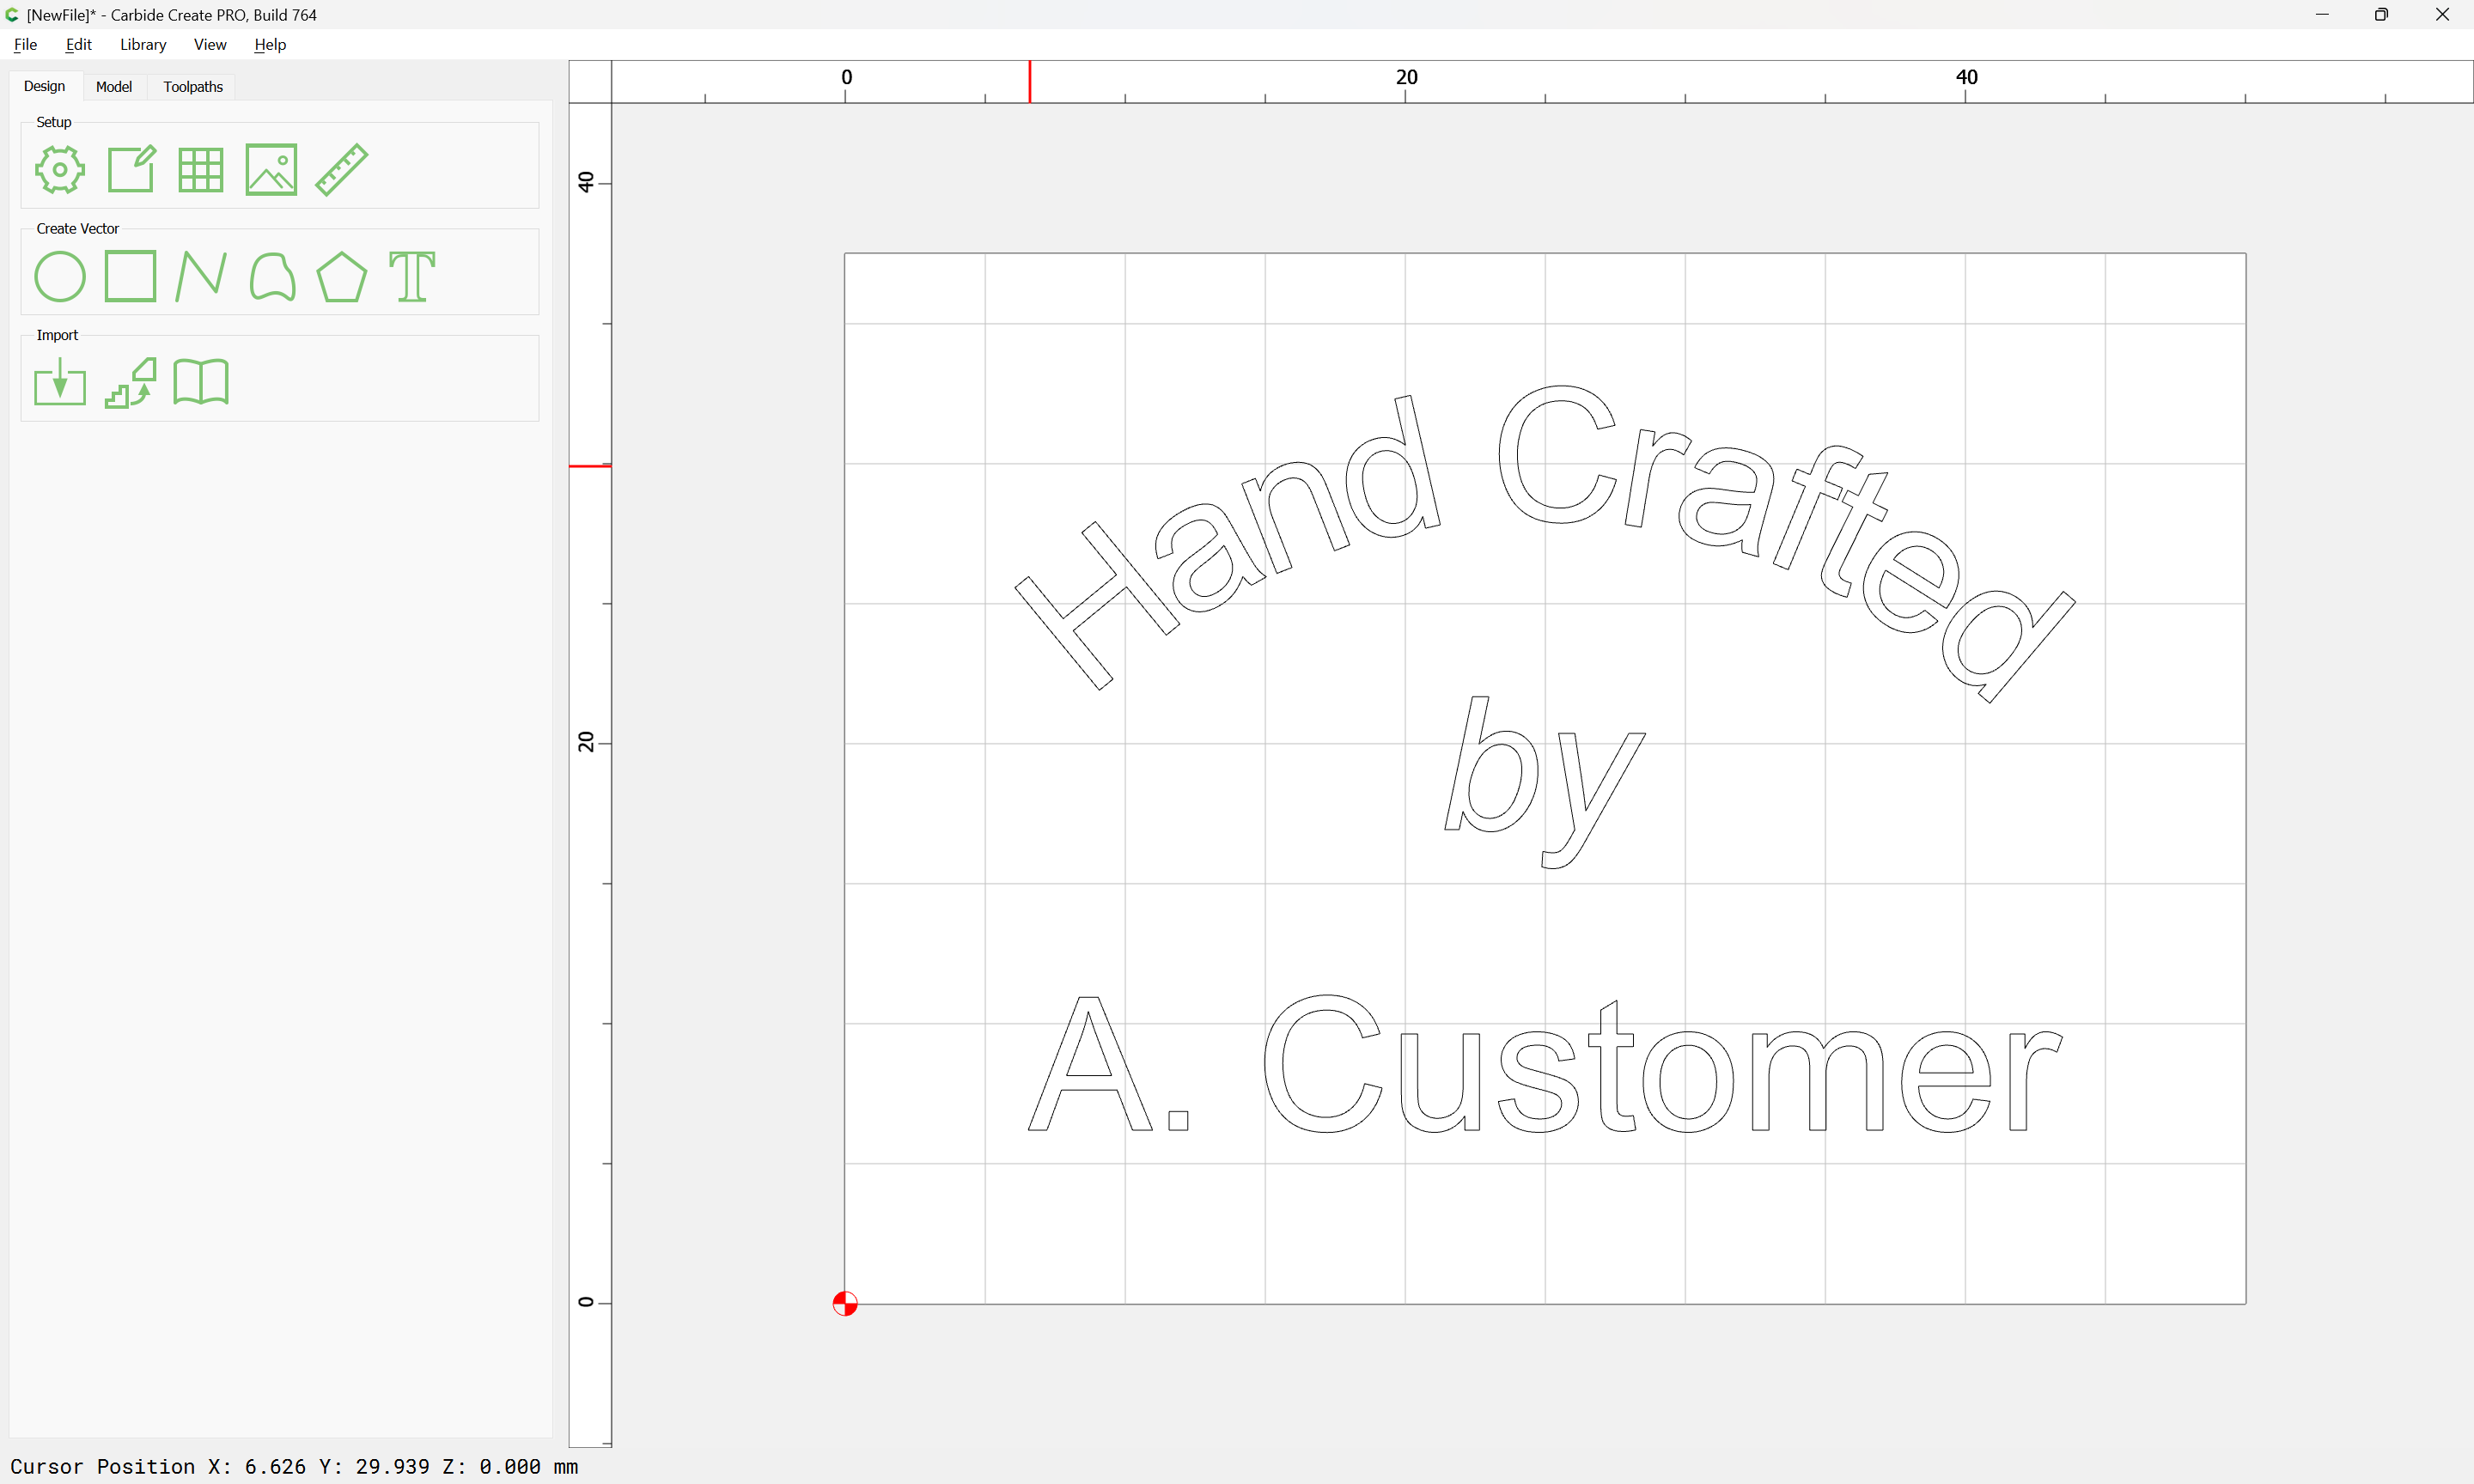
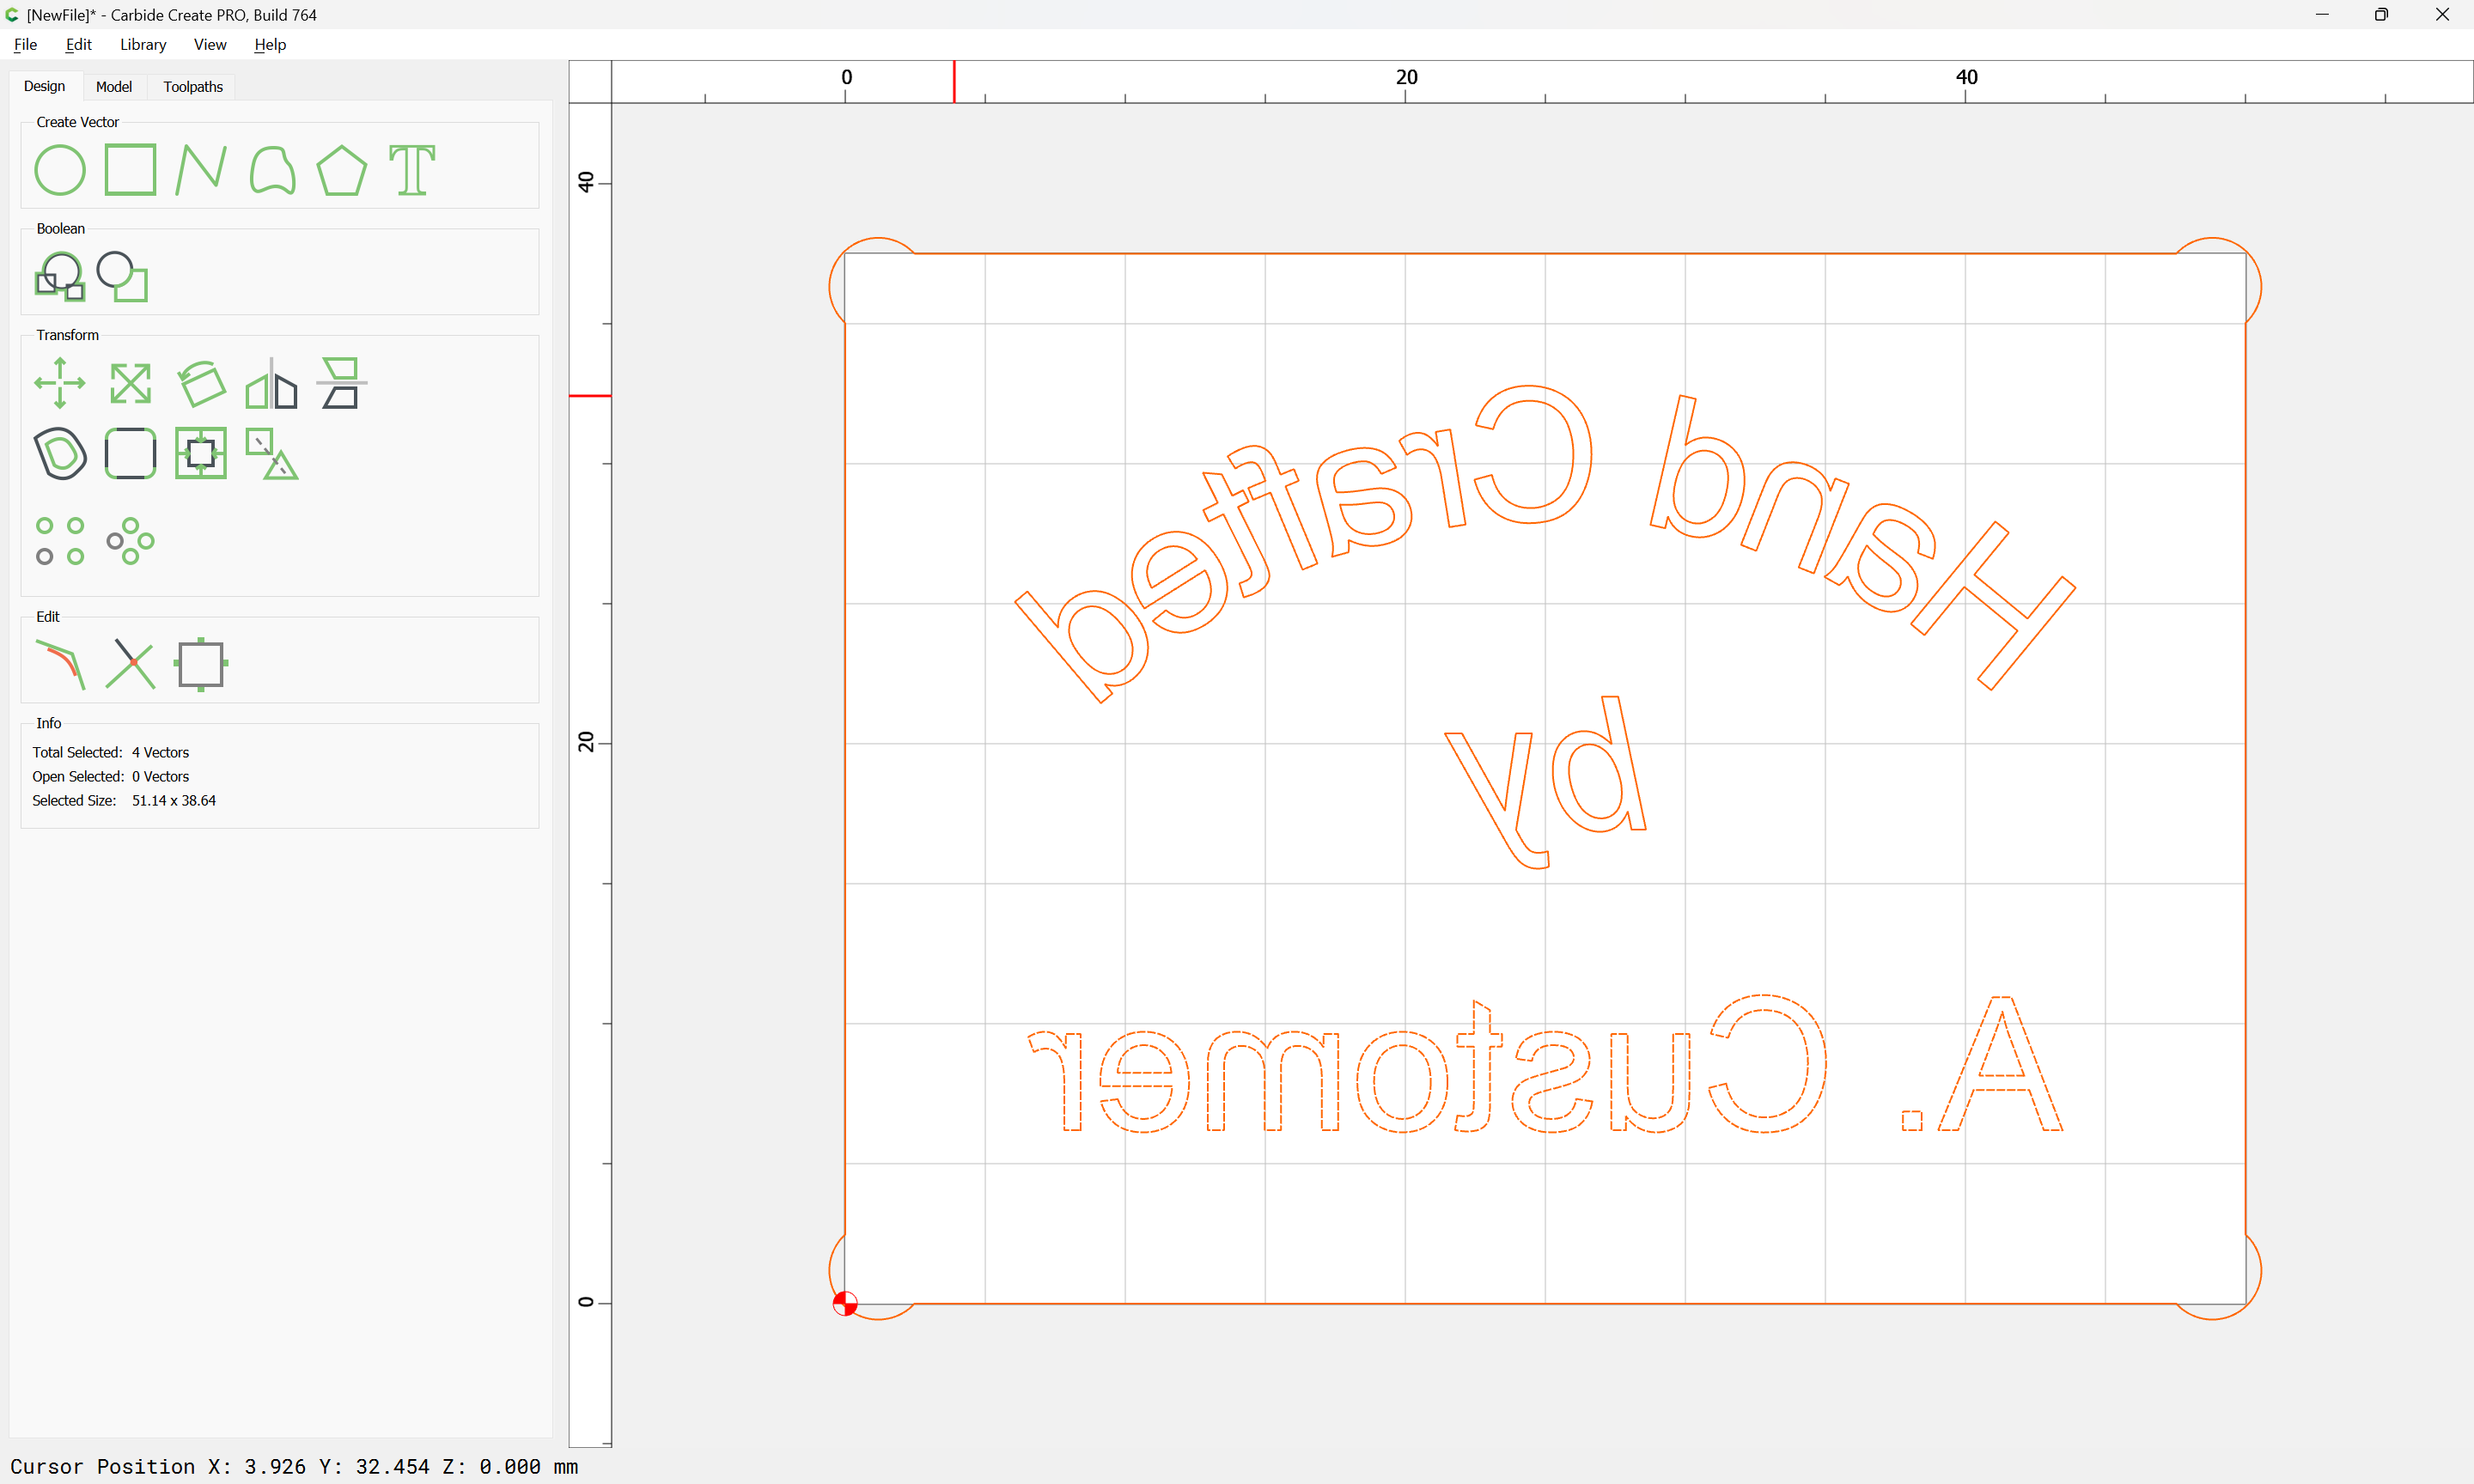
and set up the design:
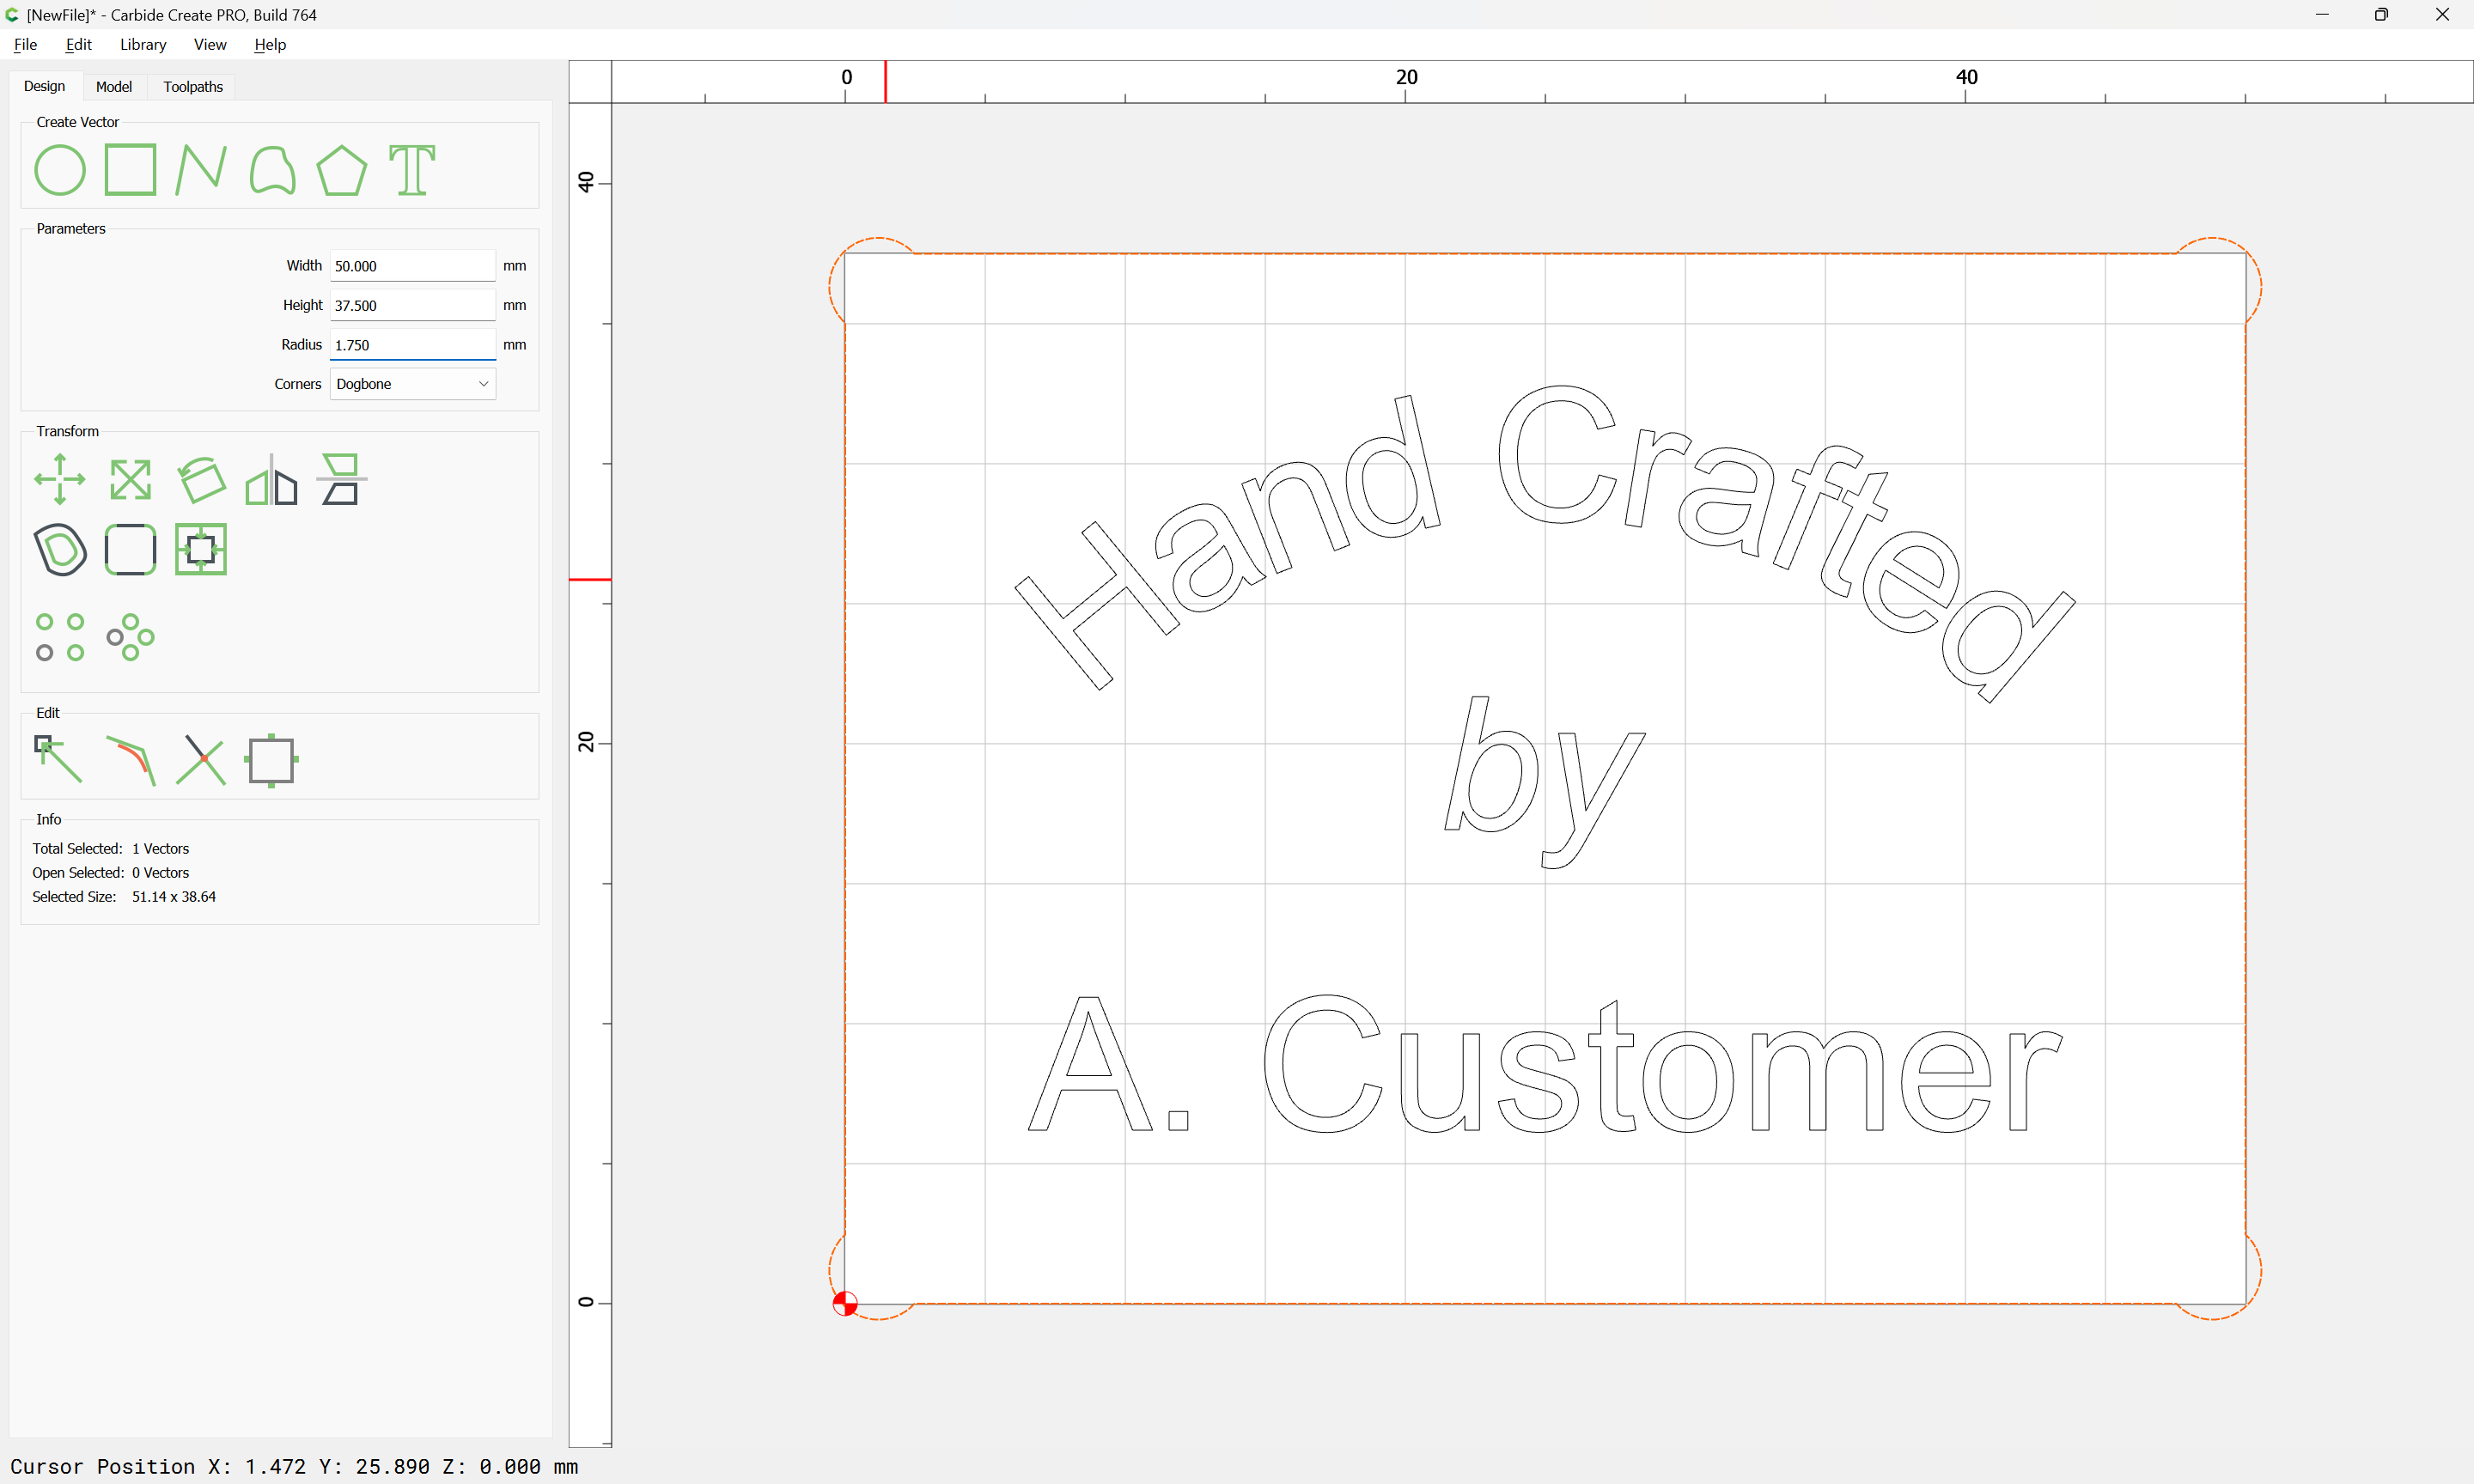
and then, if one wants the type raised, draw in a rectangle to remove the background:
and add dog bones at the corners:
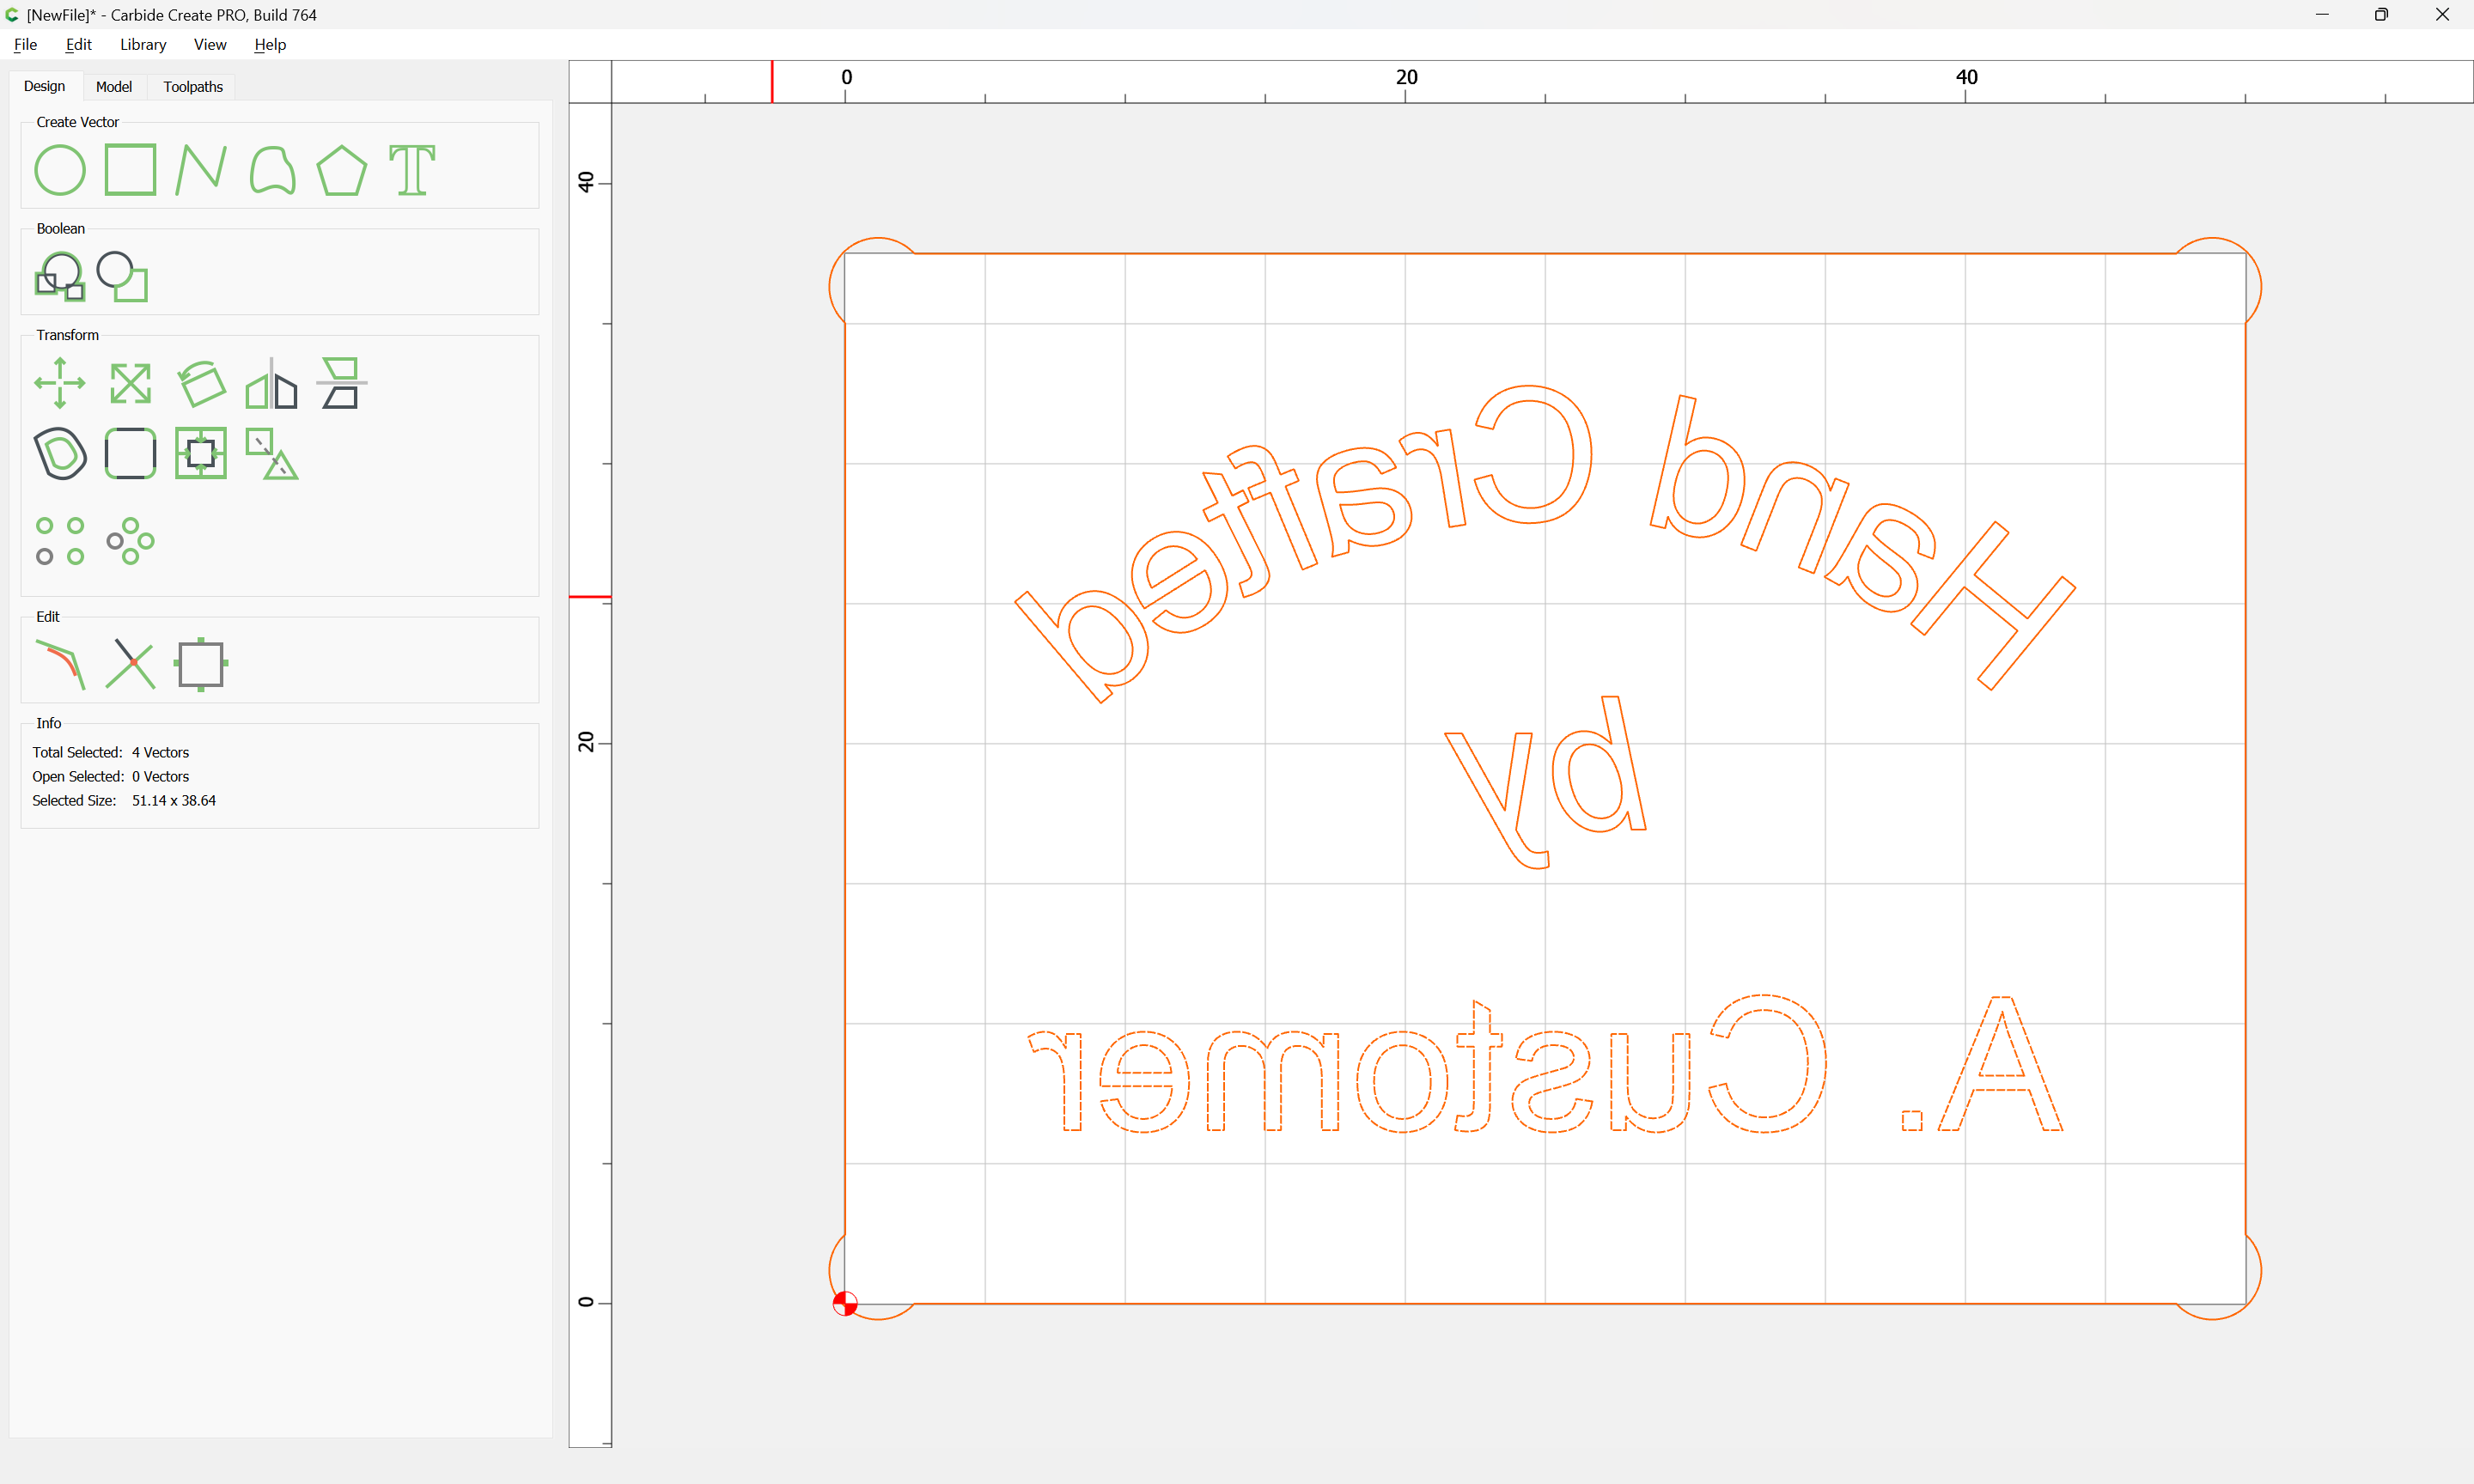
Since this is a brand, don’t forget to mirror the text:
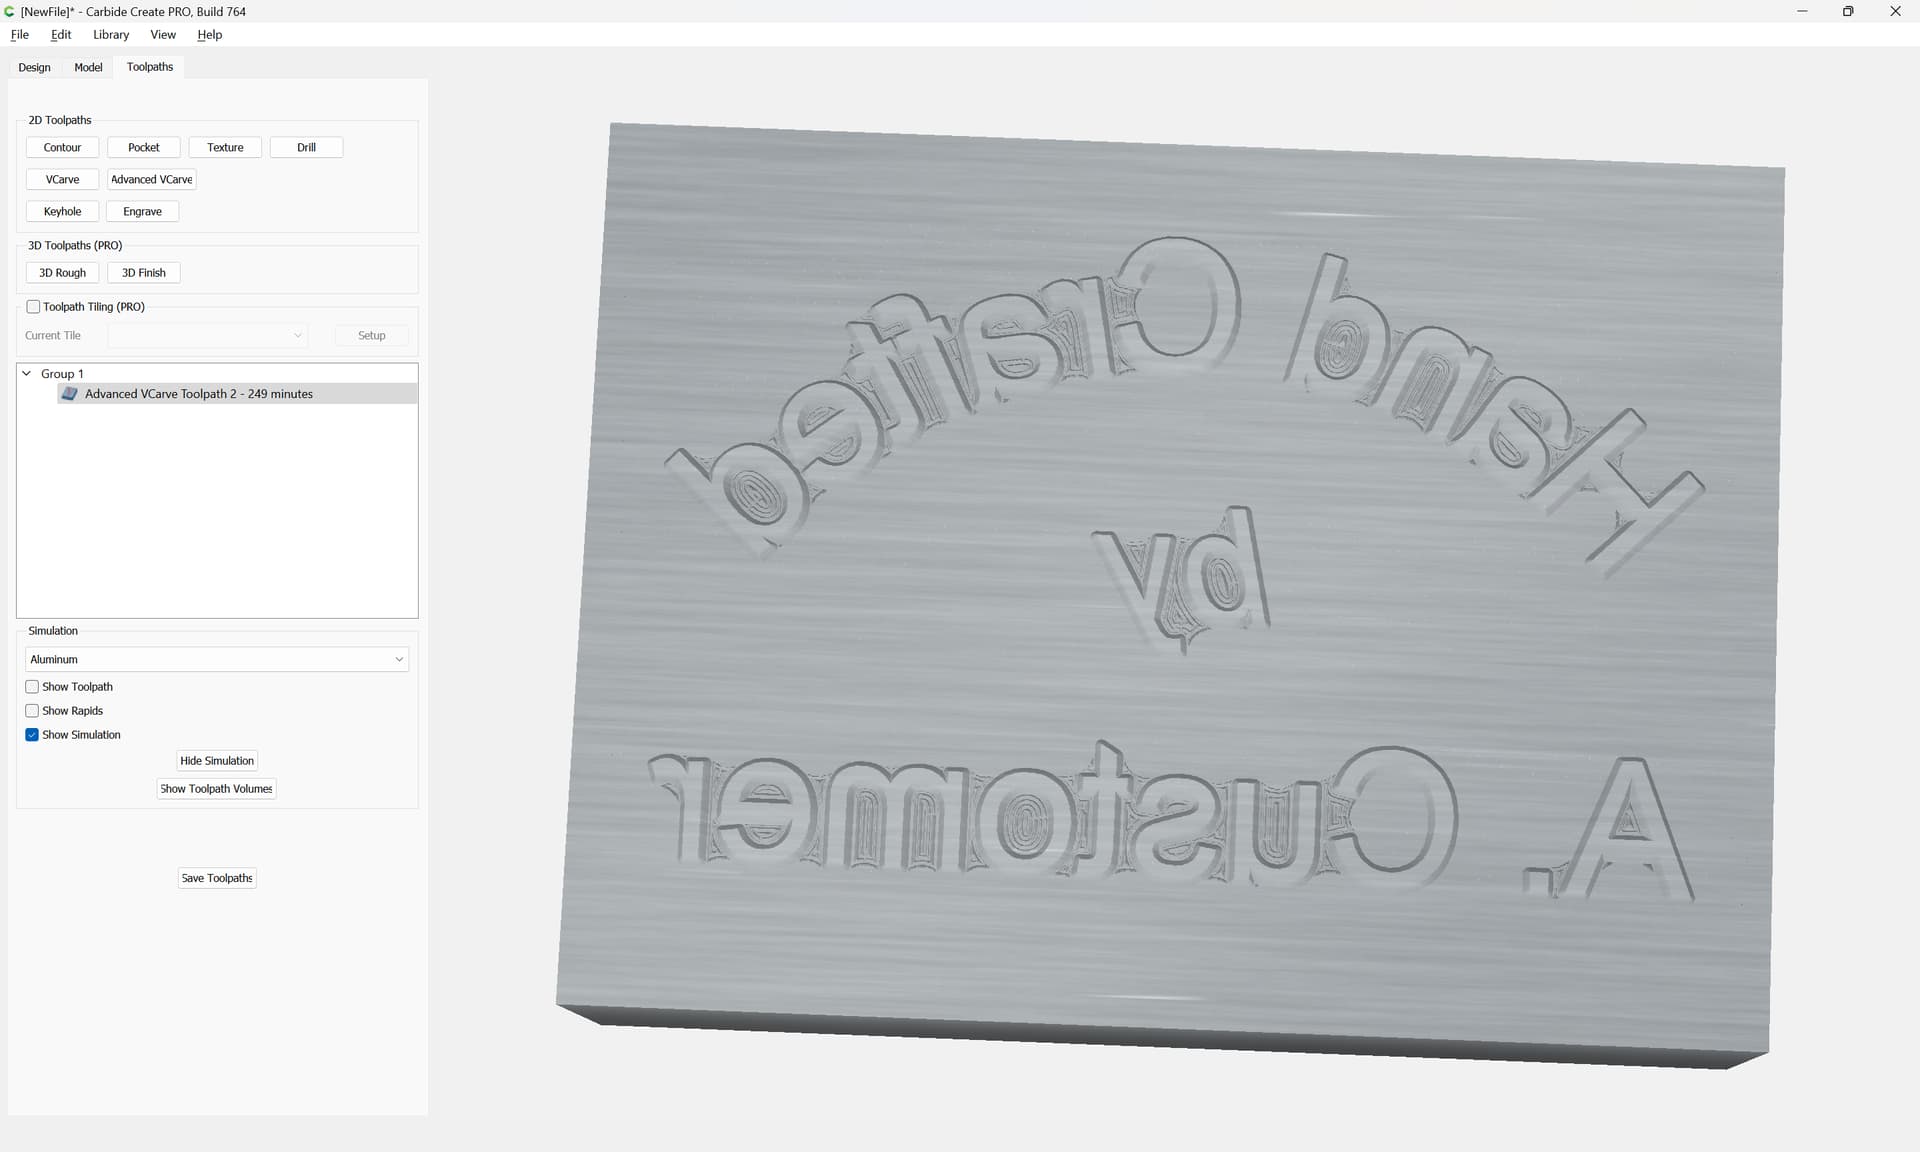
Then select the background and the design elements which one wants to be raised:
and assign a suitable toolpath, perhaps something along the lines of:
which previews as:
Check feeds and speeds, do test cuts, &c.
3 Likes
Zman
February 5, 2024, 3:22am
2
Ok, I will ask. Why the dogbones?
1 Like
mhotchin
February 5, 2024, 4:06am
3
Without, the round endmill won’t reach all the way into the corners. You’d be left with raised material.
You could also make the outer rectangle a bit bigger - 1/2 the width of the bit on each side would do it - actually I think the overlap needed is a lot less than 1/2 the width, I don’t want to do the math though.
3 Likes
Zman
February 5, 2024, 4:51am
4
Duh, Pull your head out of your arm pit Zman.
Thanks
system
March 6, 2024, 4:52am
5
This topic was automatically closed 30 days after the last reply. New replies are no longer allowed.